Below are our notes that respect our new open source filament testing. ASTM test samples are being created and in the upcoming months you can anticipate a summary on our website that reflects our adventures in 3D printing material science.
Material Tested: Scorpion Flexible Nylon
Manufacturer: Black Magic 3D
Filament Diameter: – 2.85mm
Color Tested: Natural
Date Tested: 4/06/2016

OBSERVATIONS
Ease of use: Those new to 3D printing may want to budget extra time when printing with Scorpion as it takes a little manipulation to perfect the temperature & retraction settings.
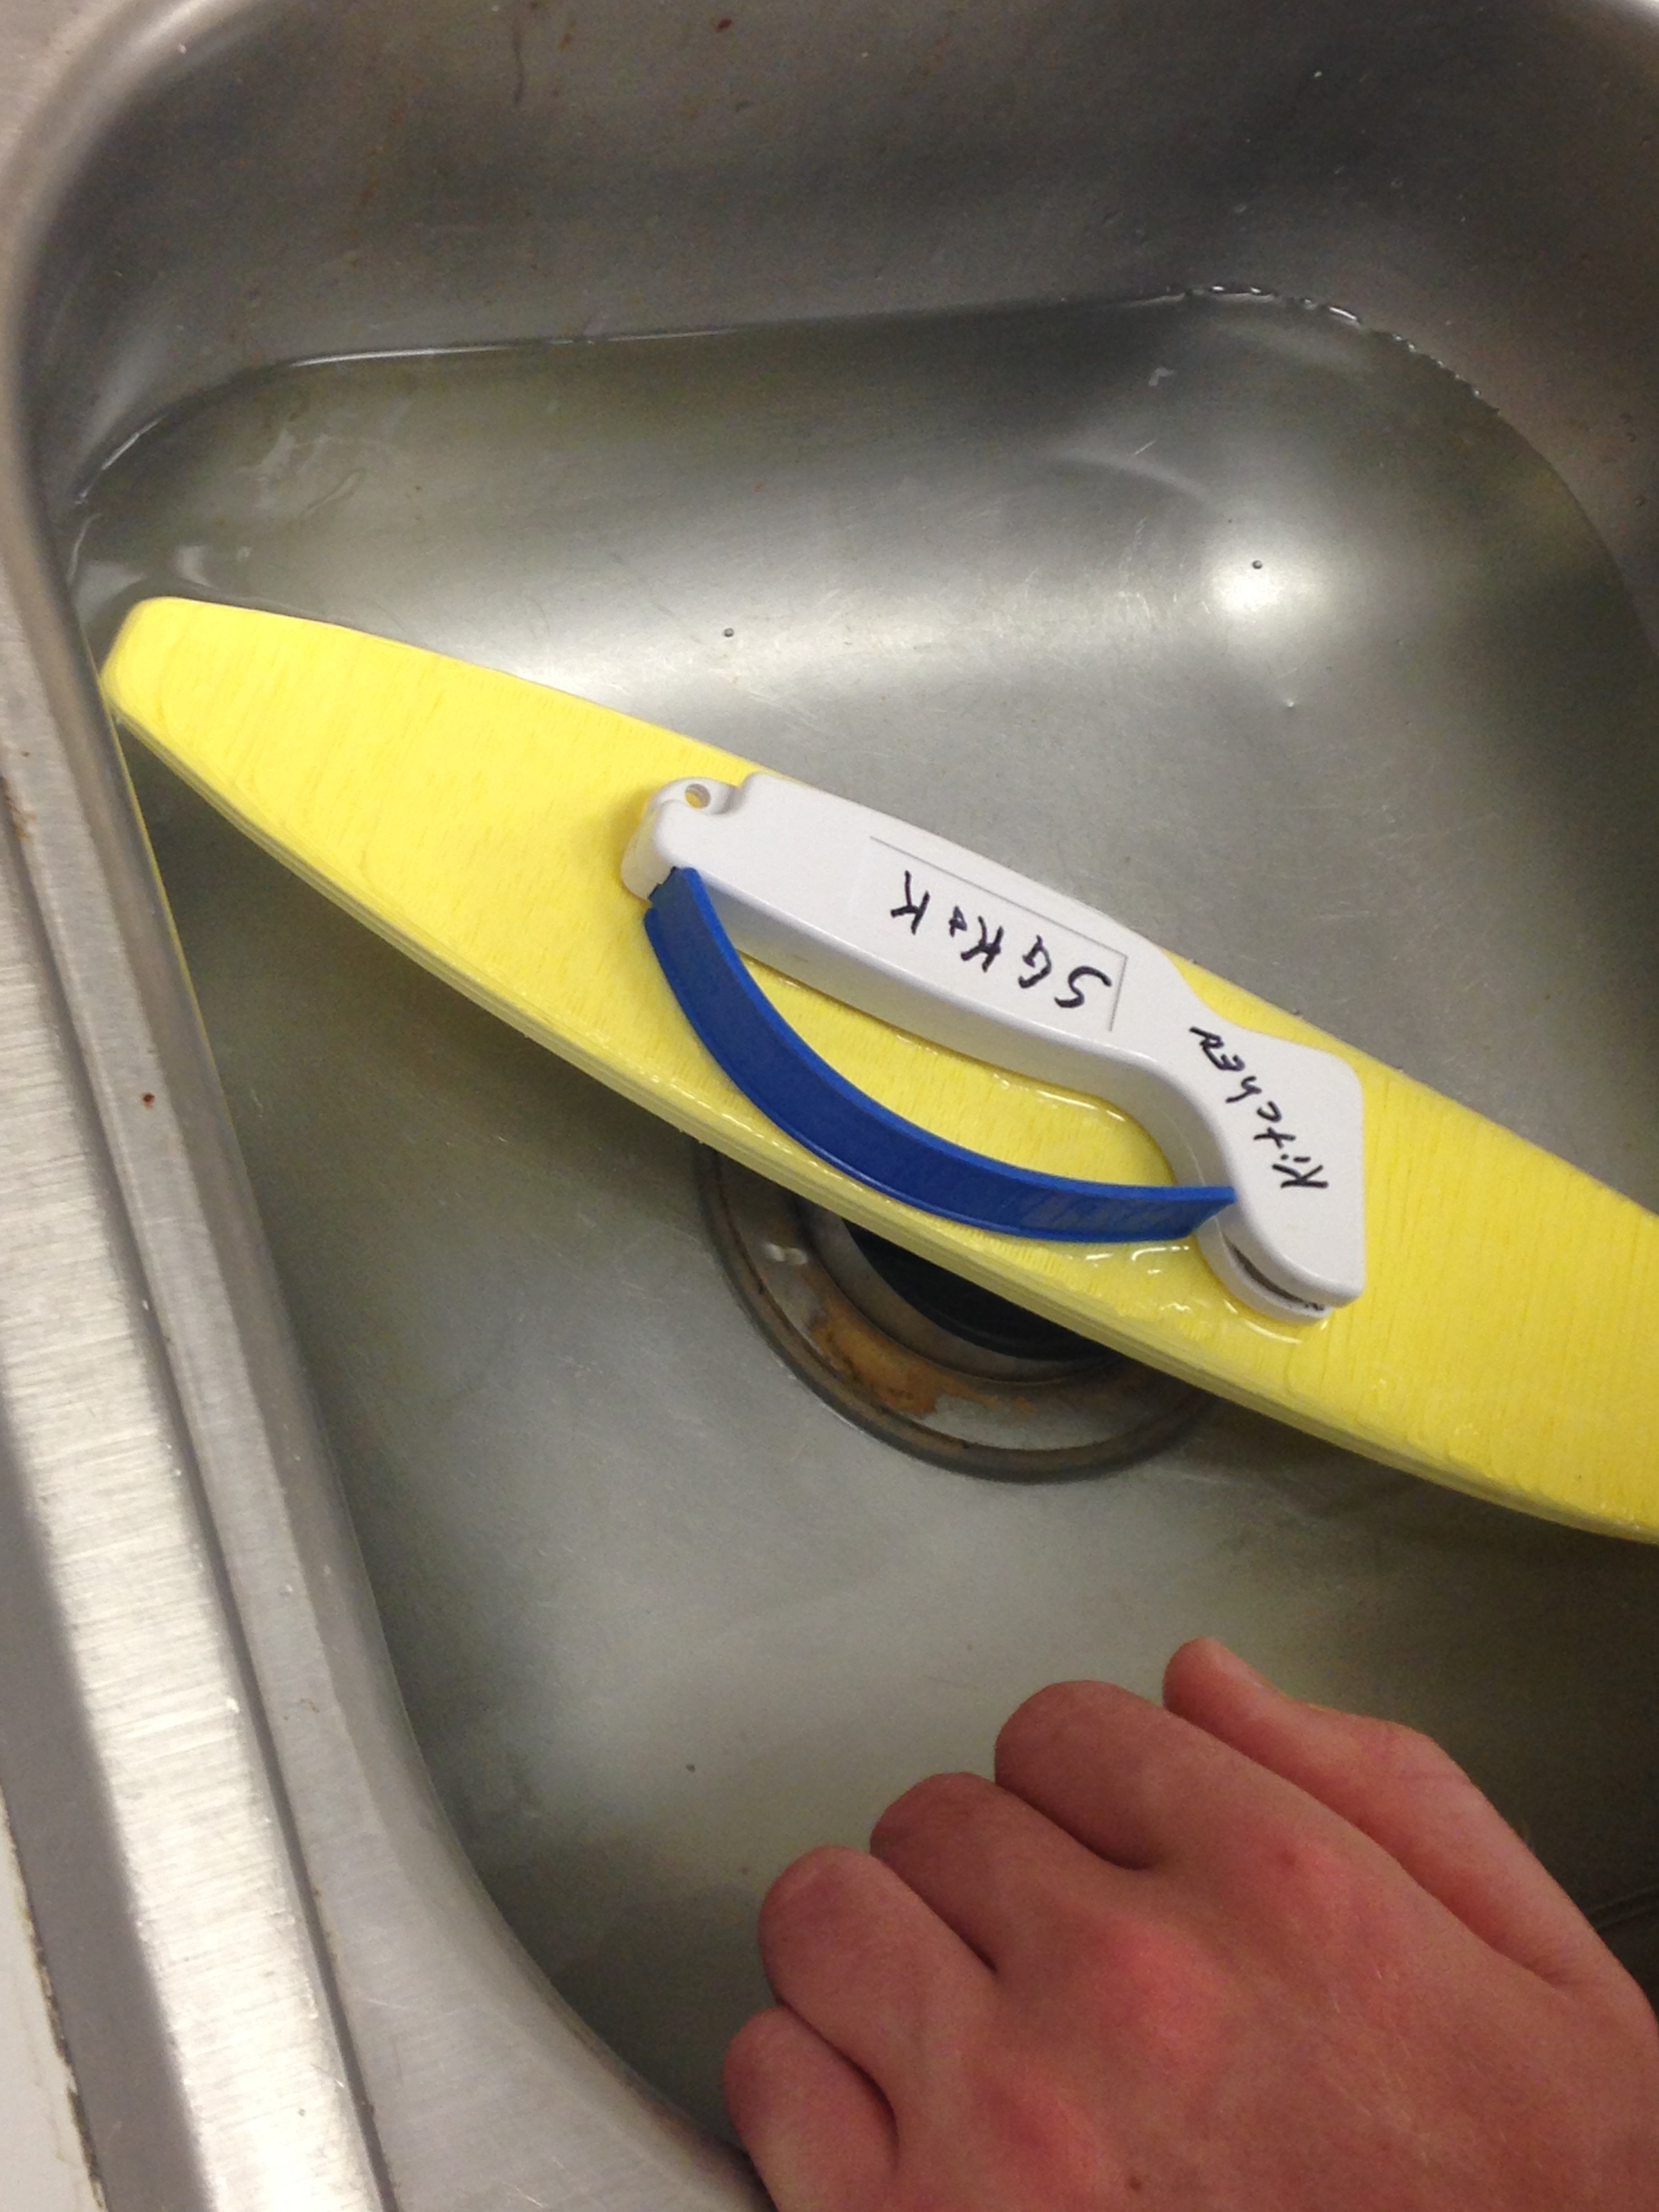
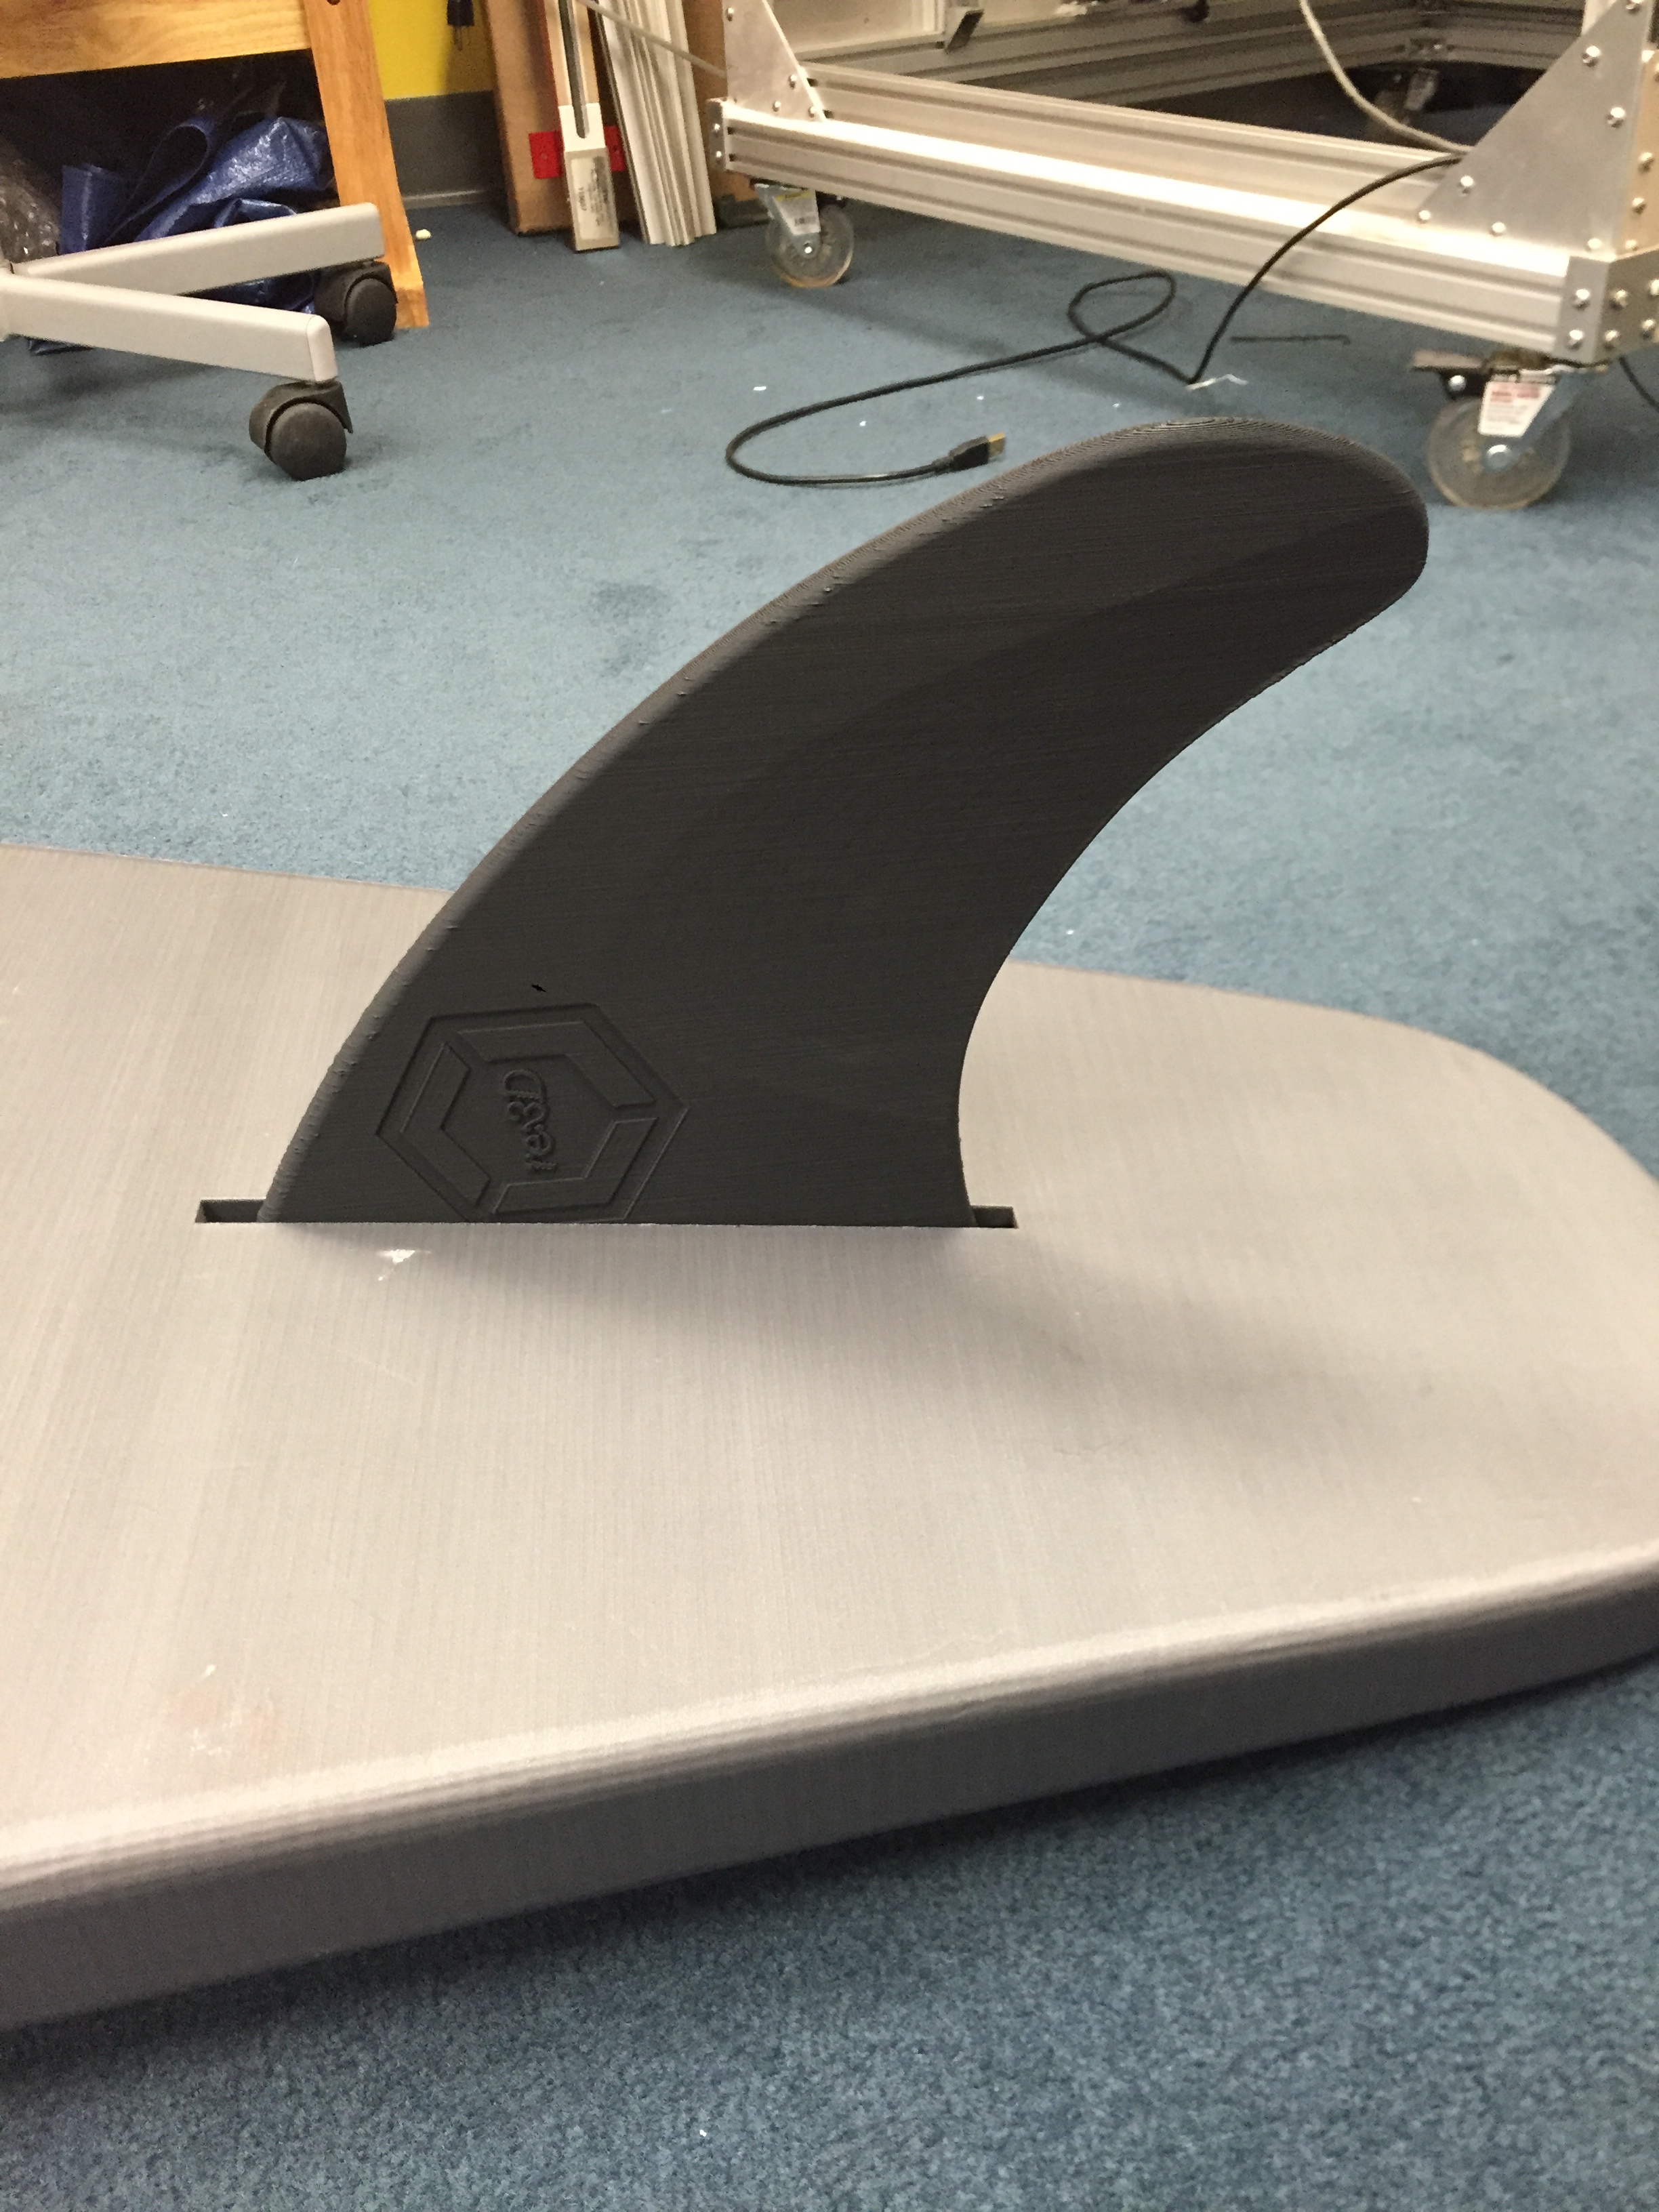
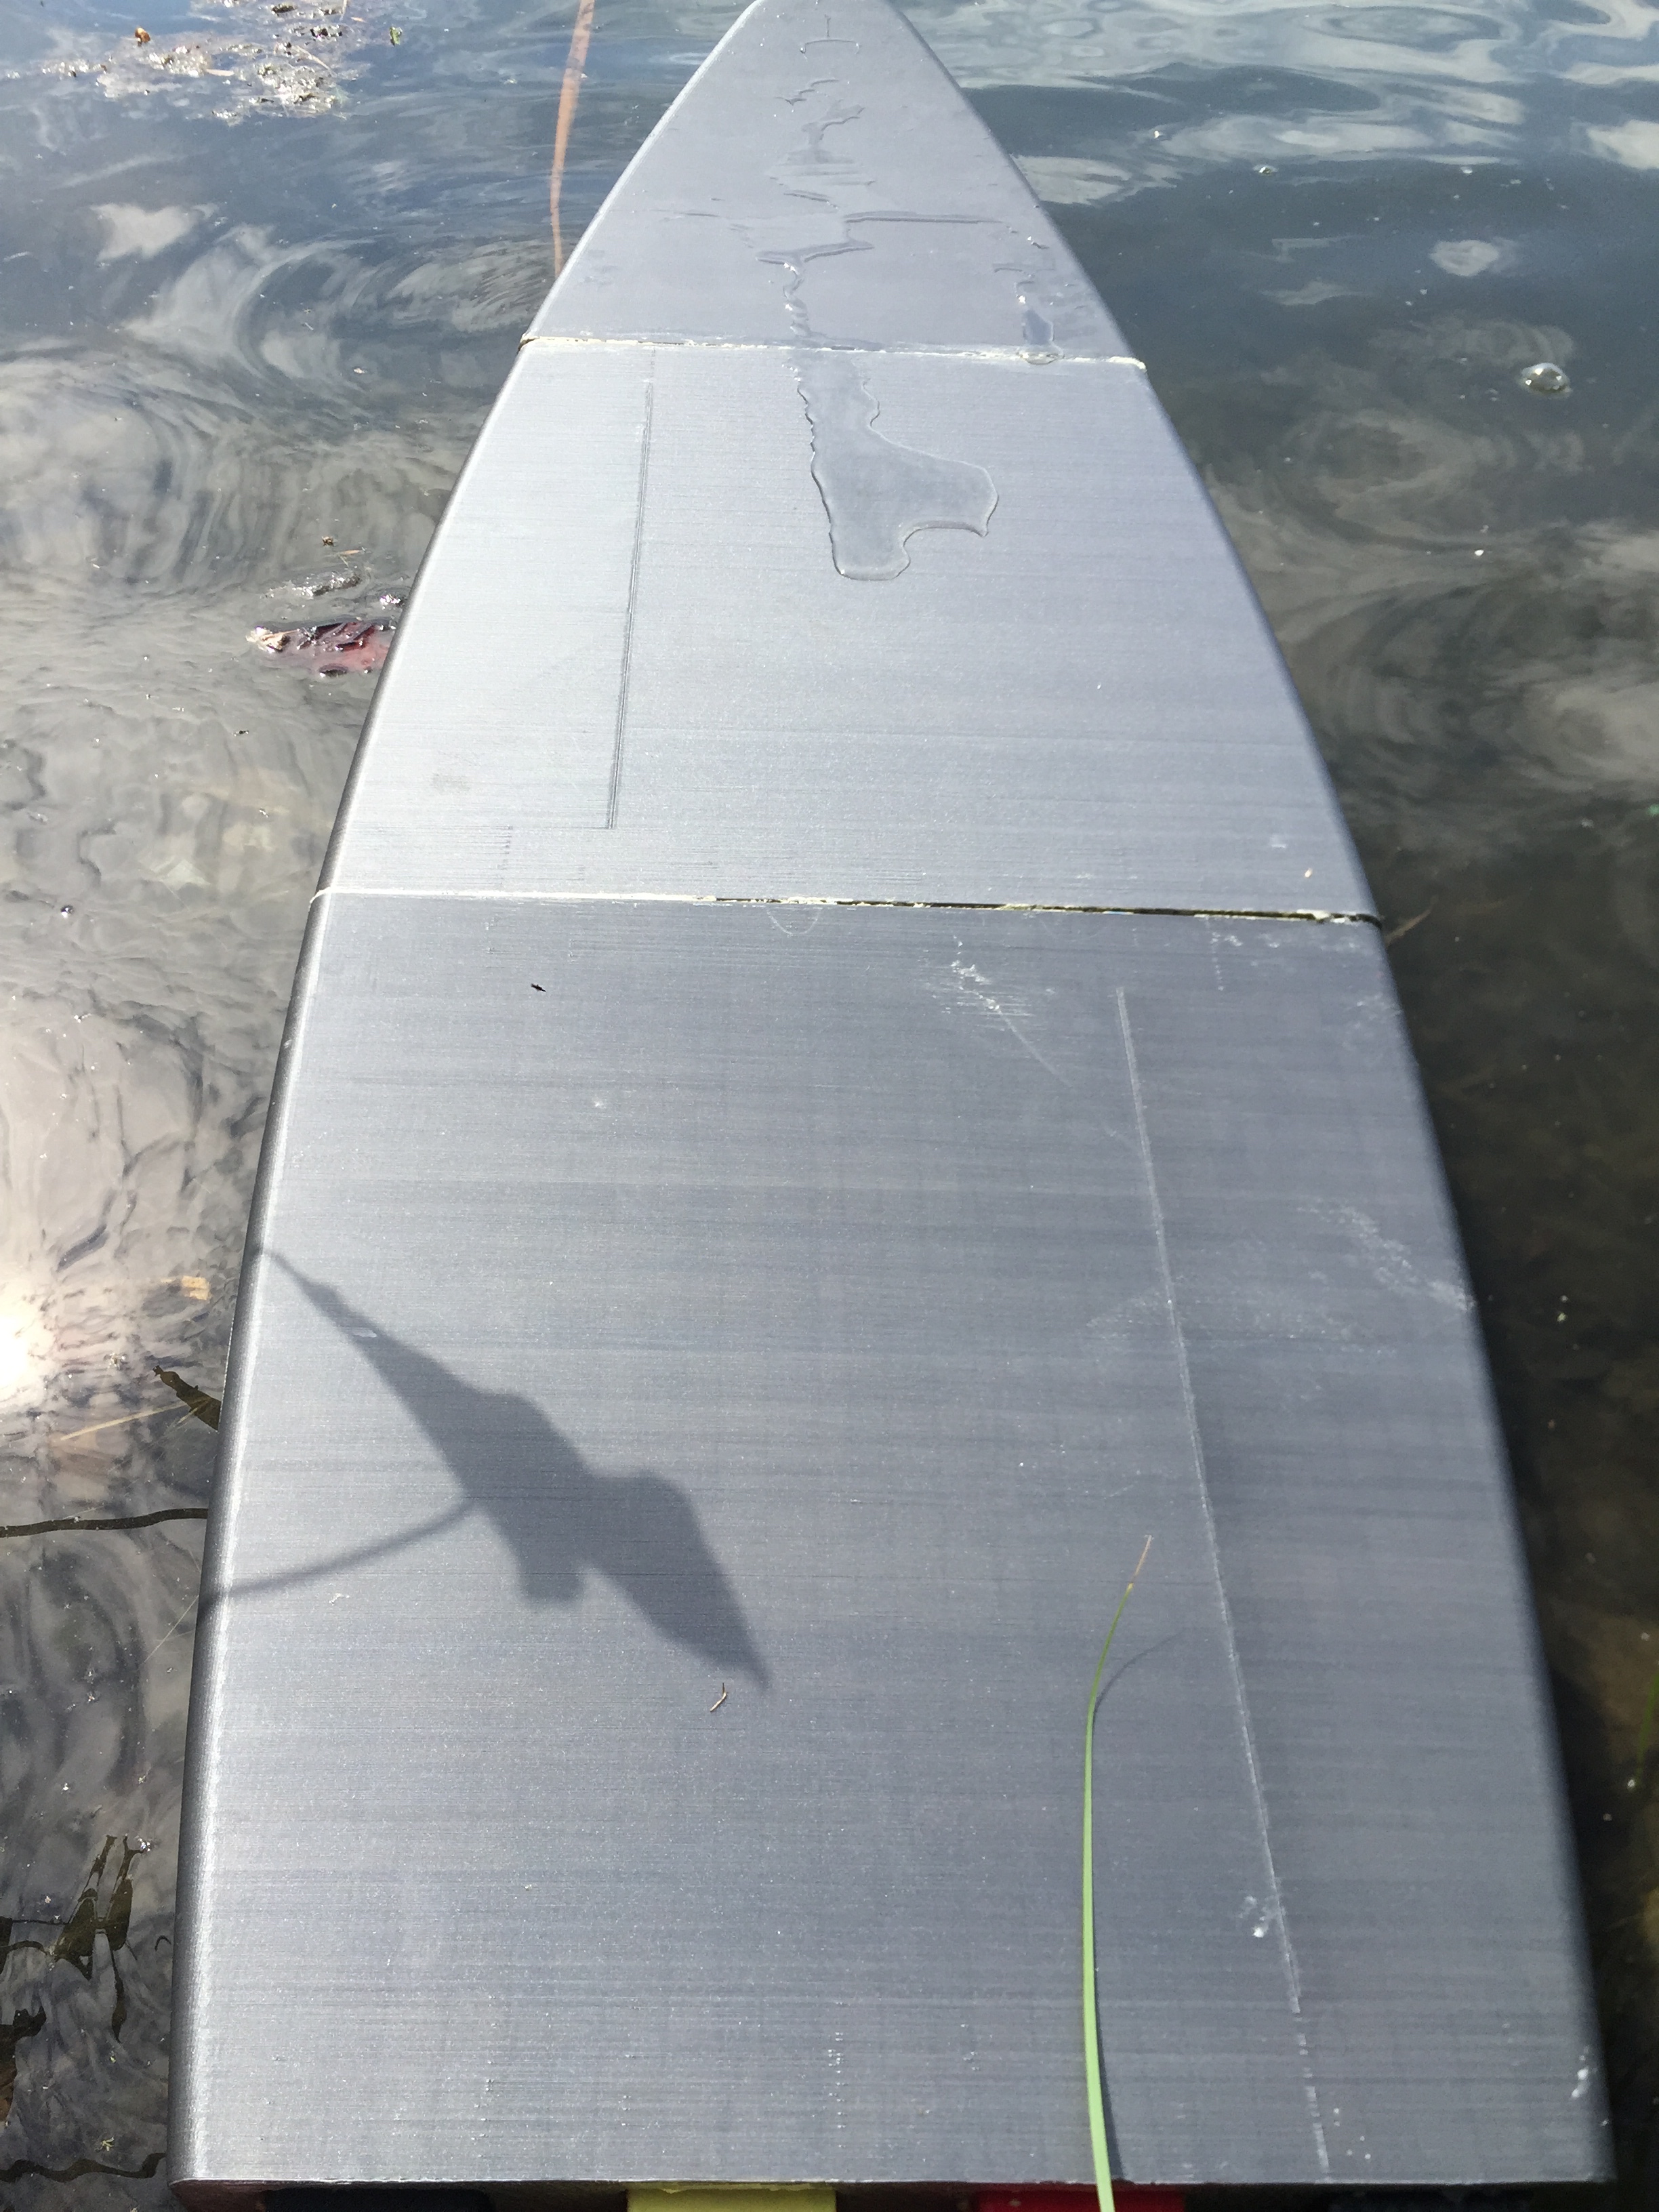
Appearance: The natural filament was clean and consistent. Prints matched filament color & opacity.
Size consistency: Awesome, less than 0.1mm within the roll.
Color consistency: Great, consistent throughout the coil.

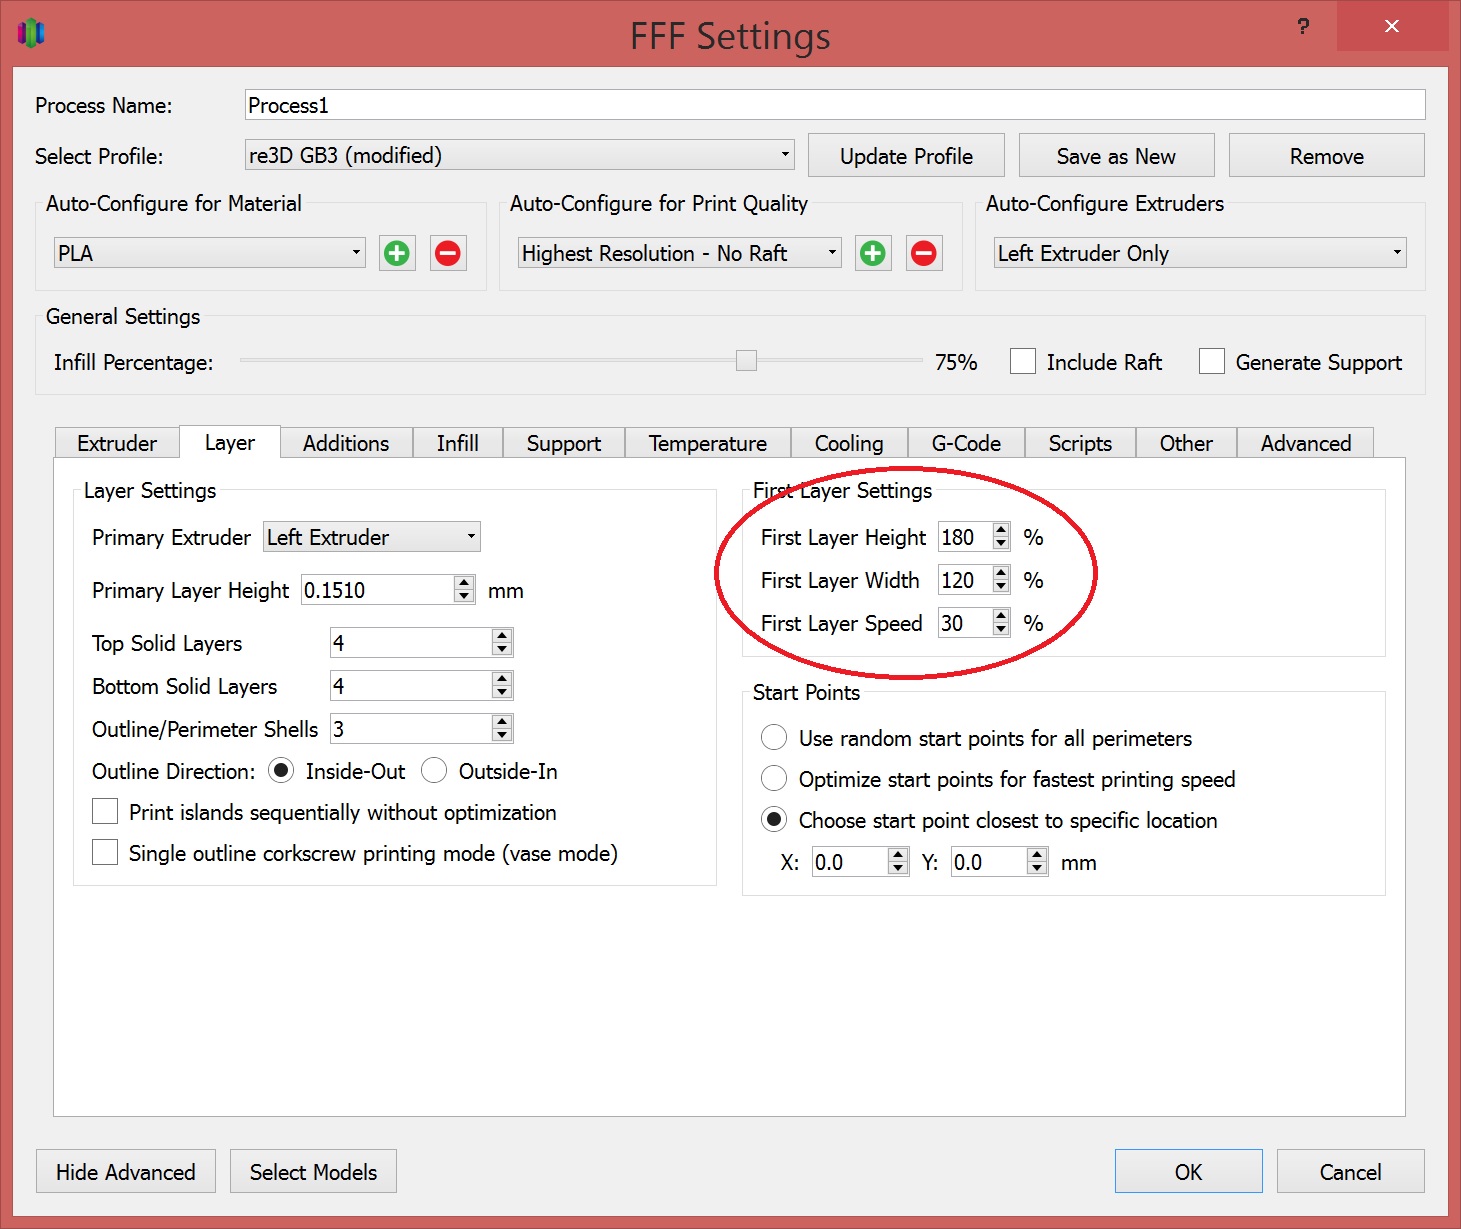
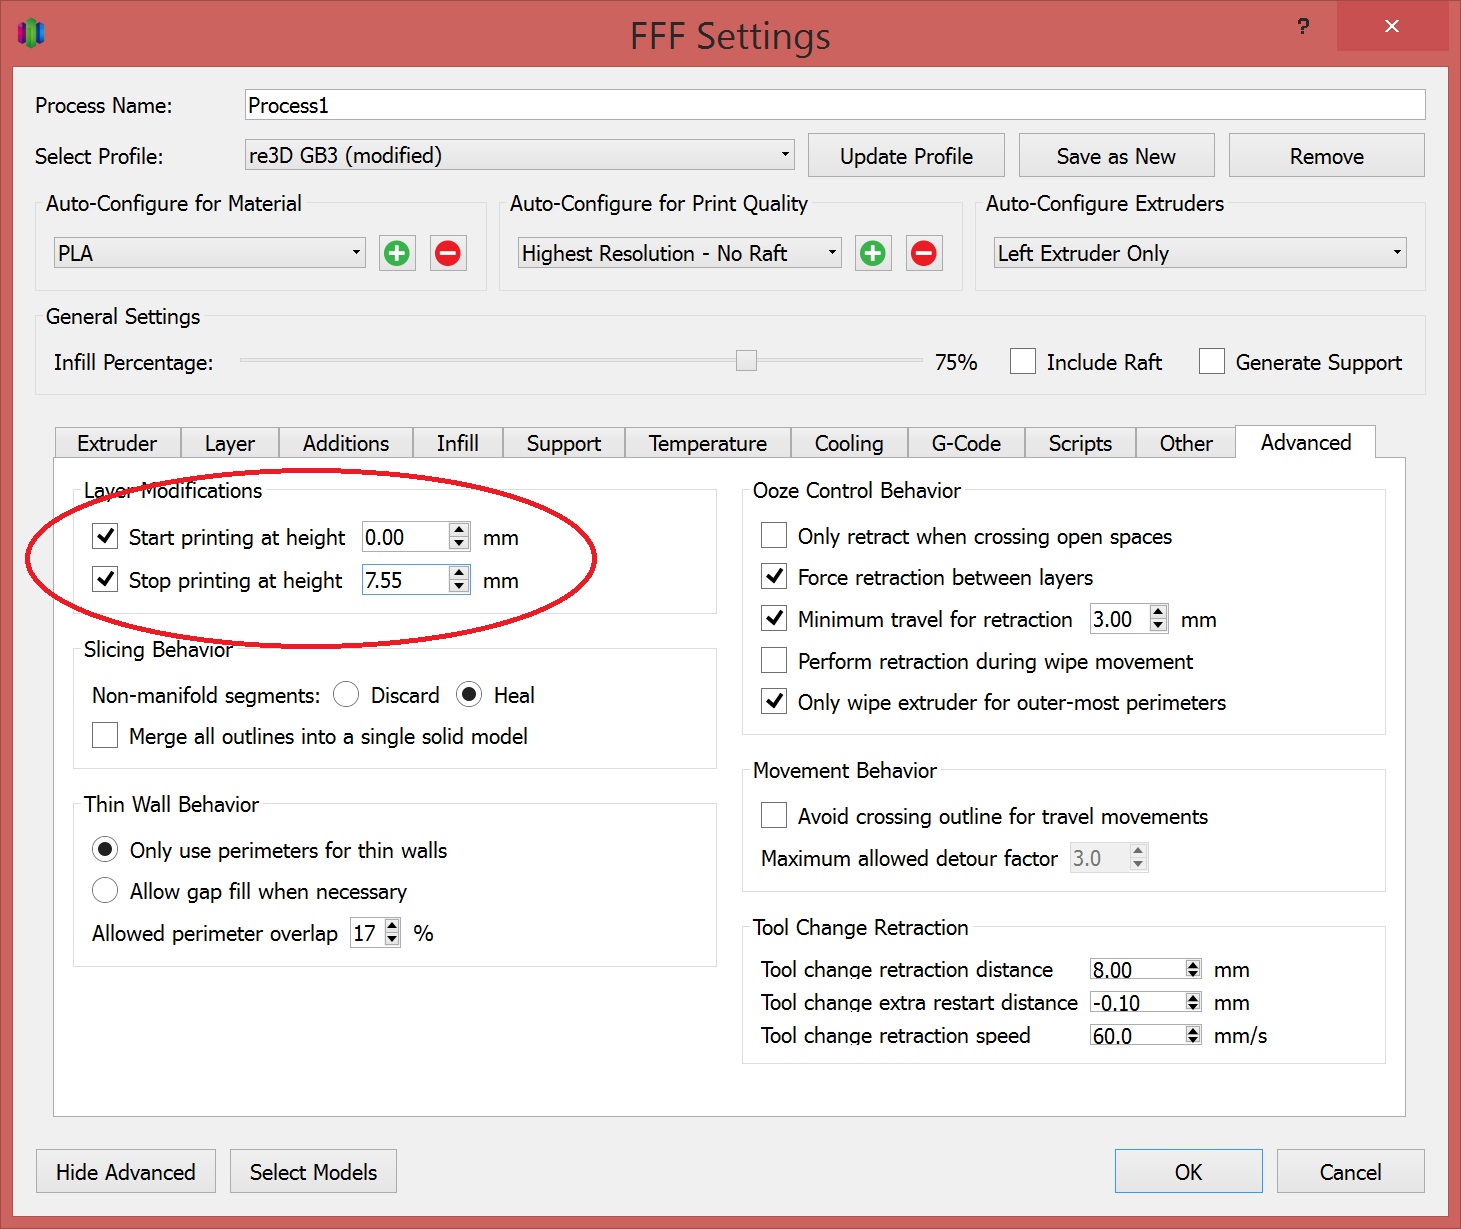
SETTINGS
Print temperature: 230-235 C (suggested): nozzle / 60C : bed
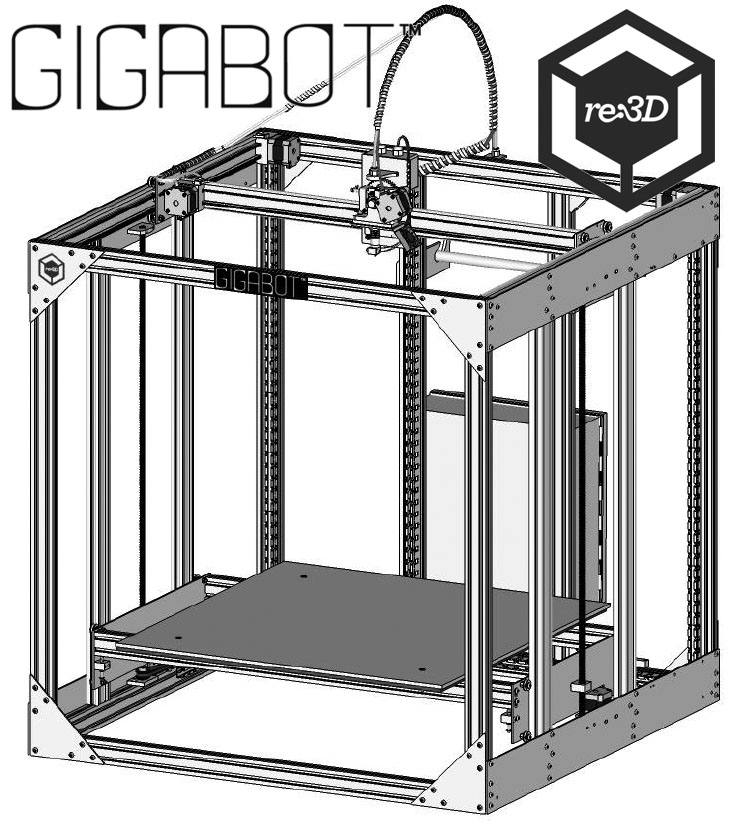
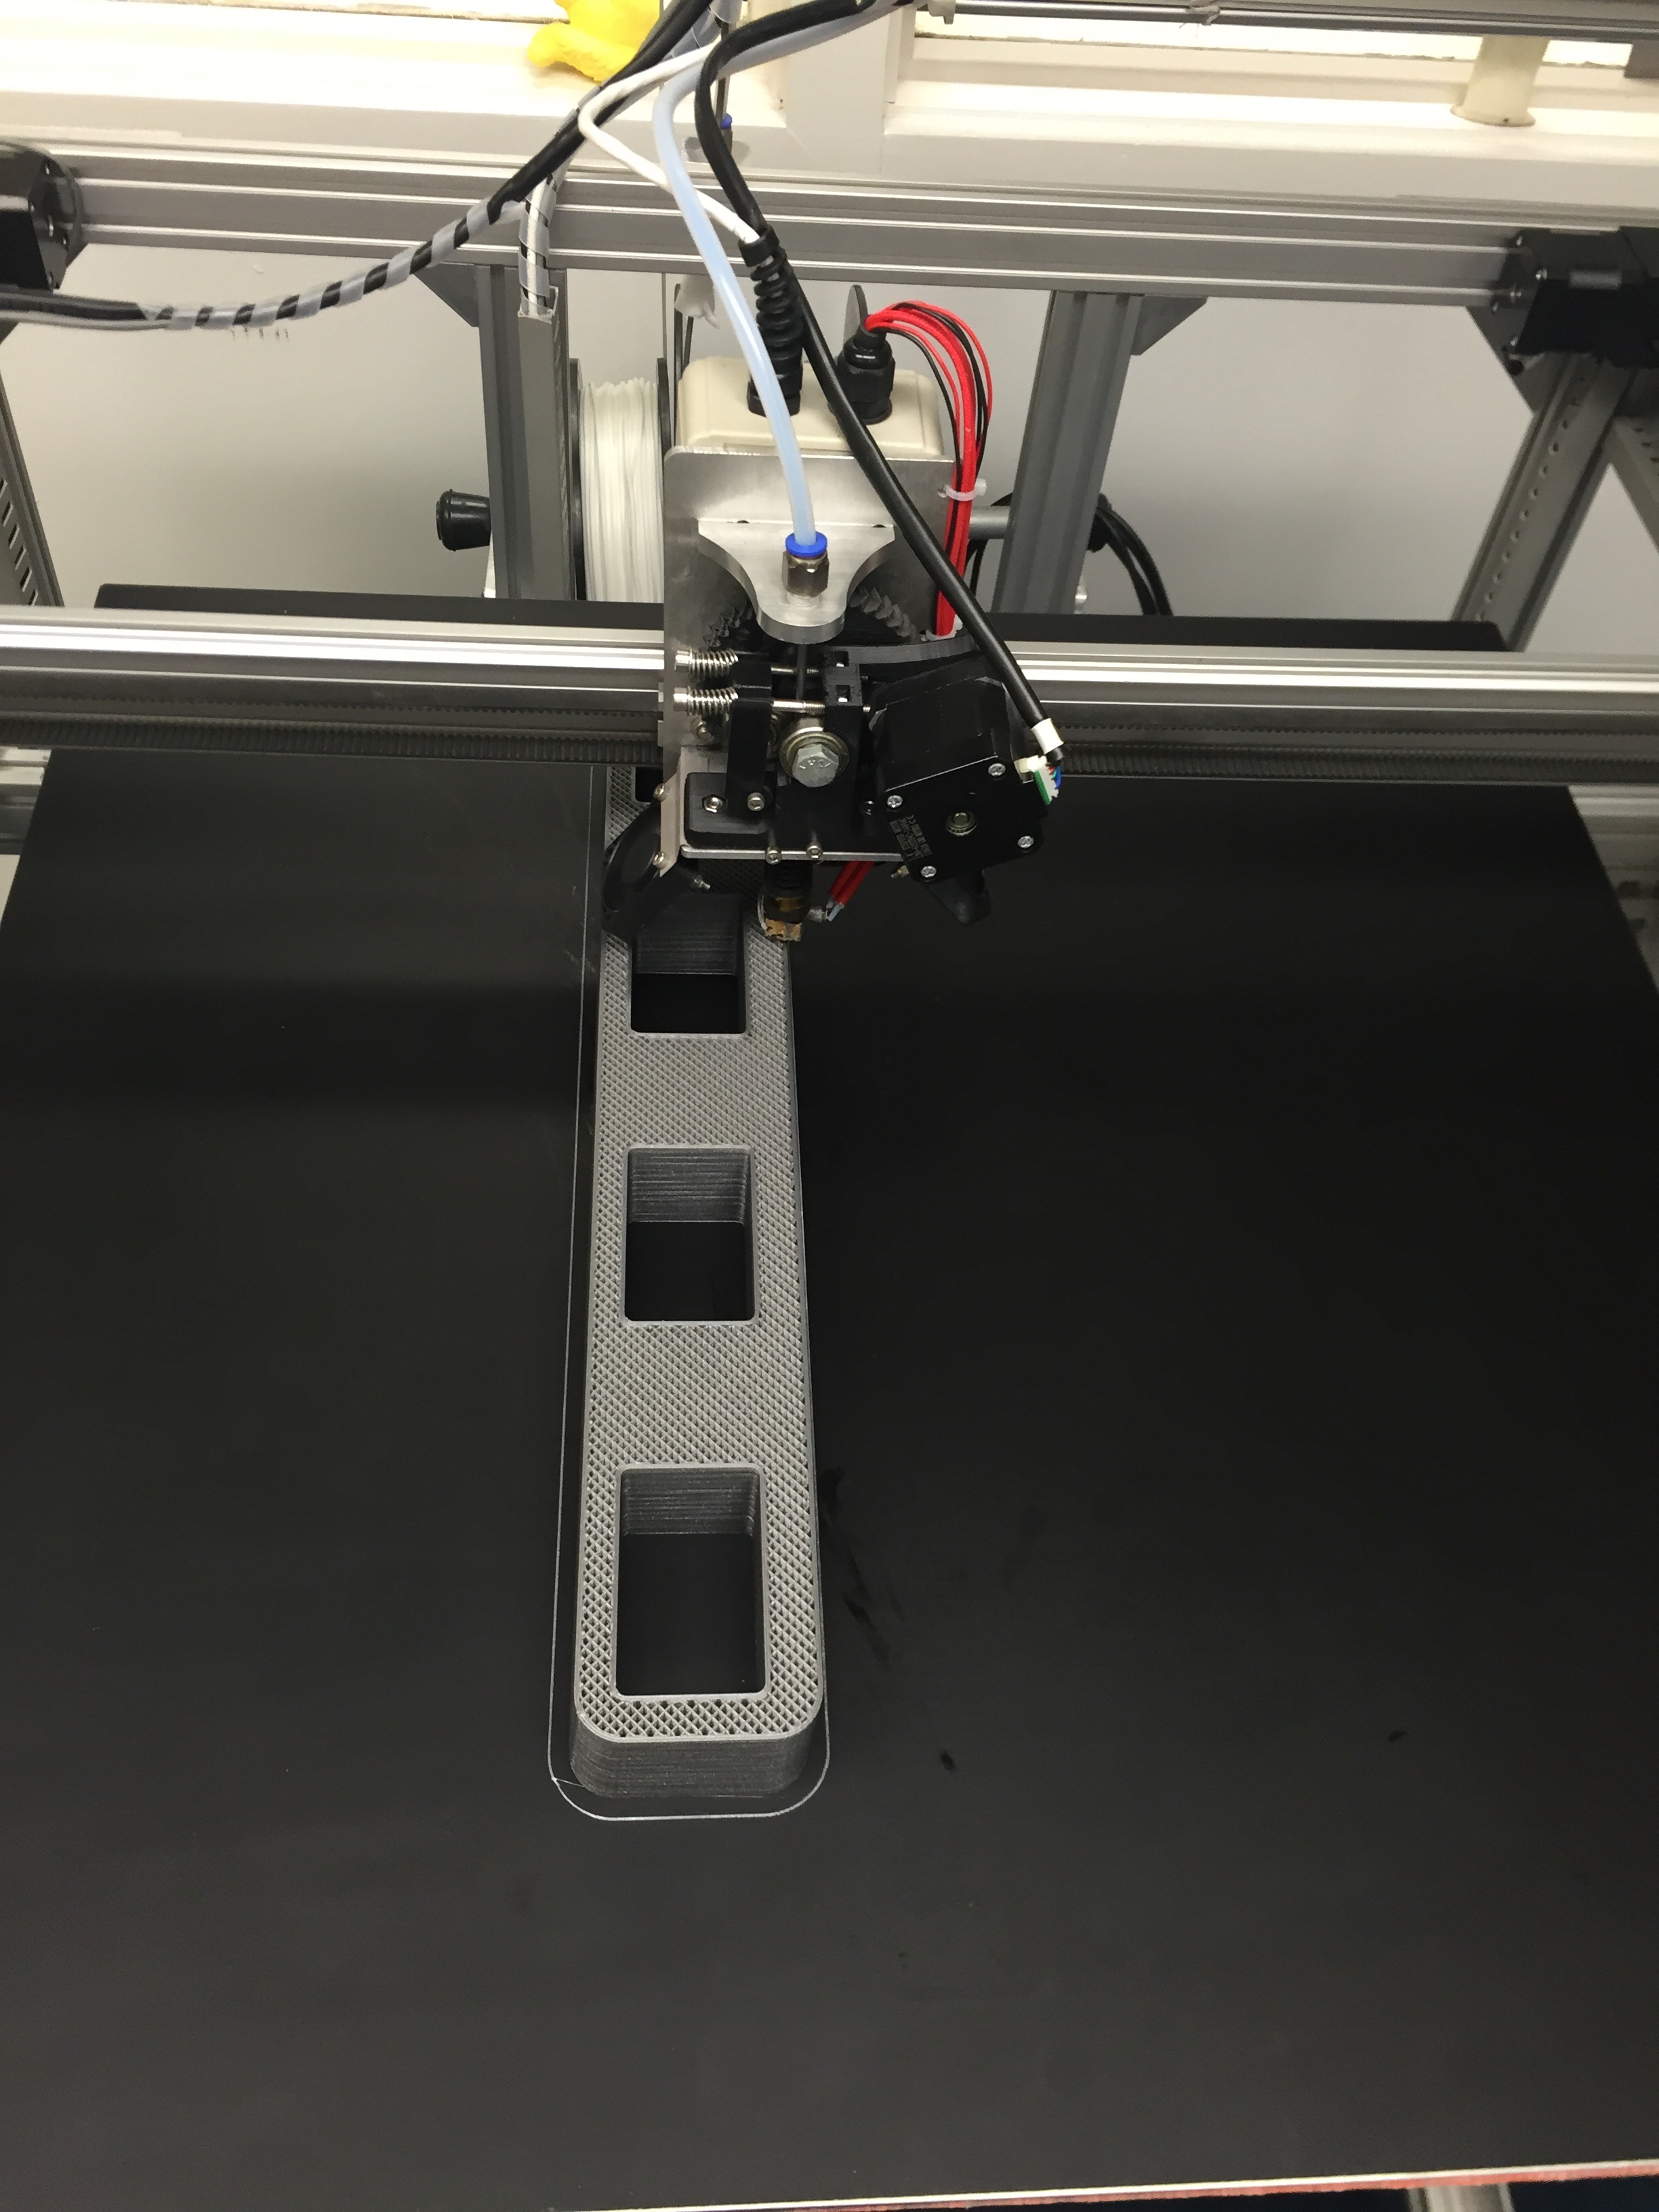
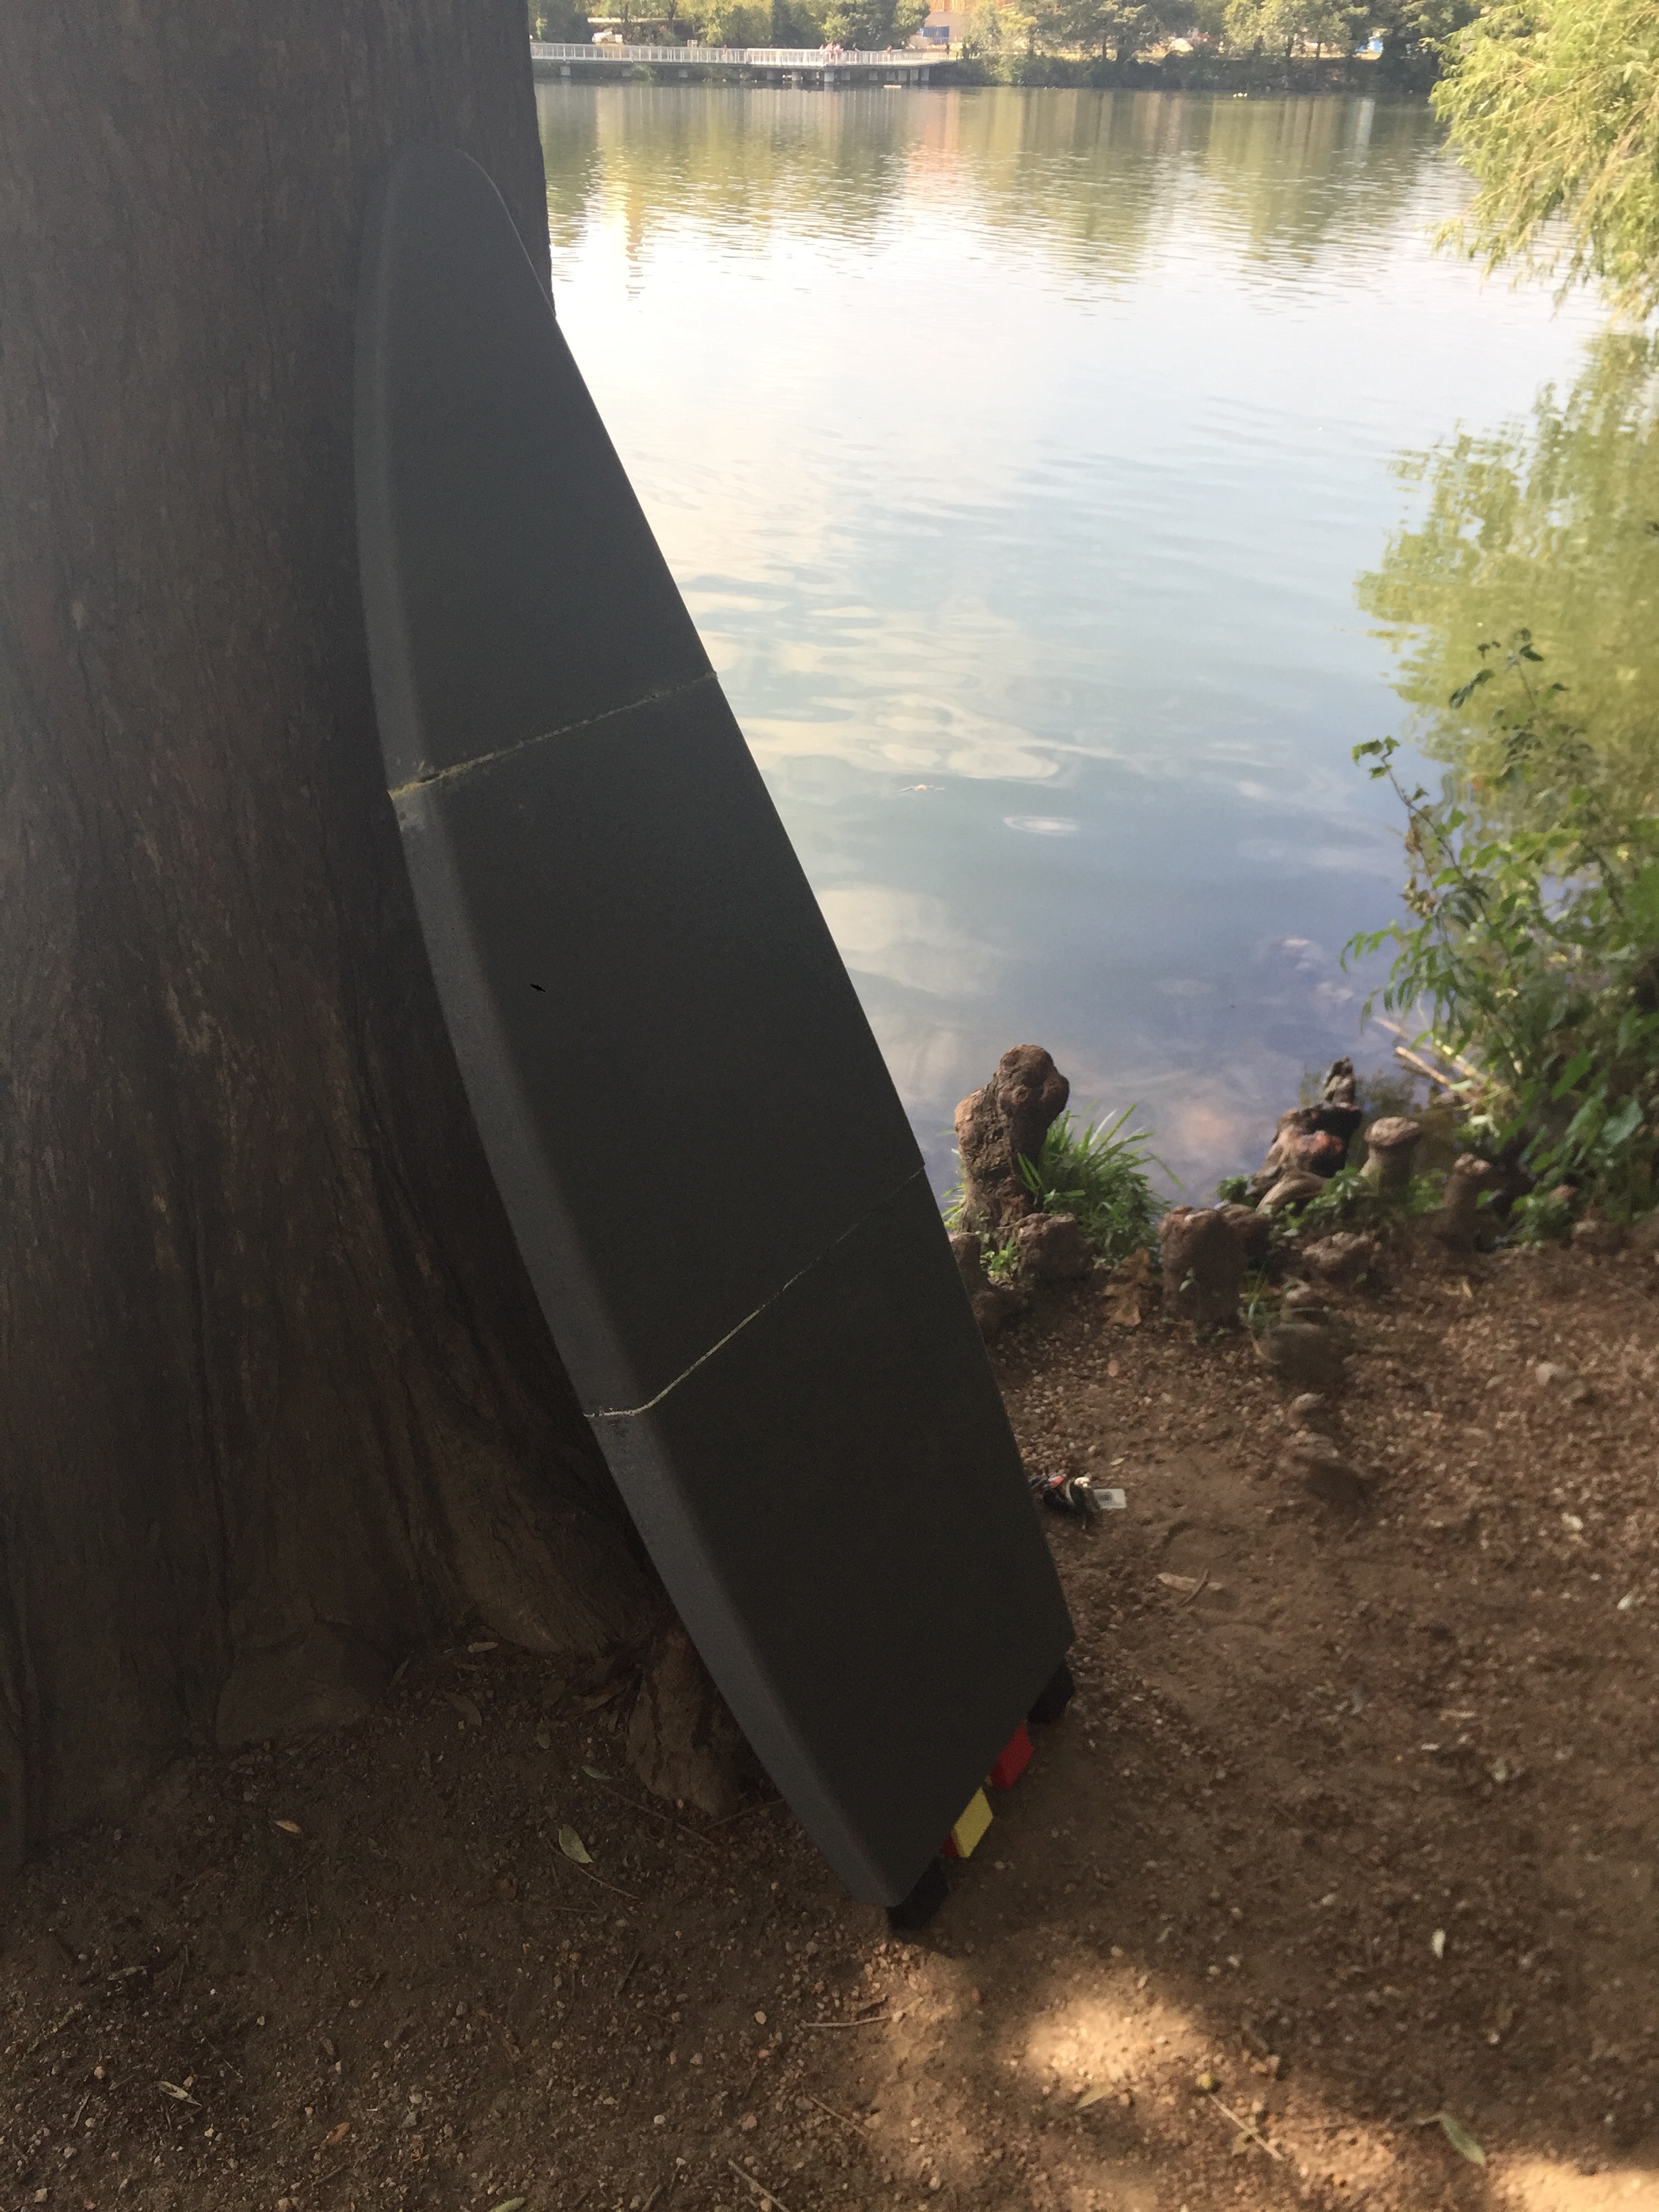
Printer Used: Gigabot
Speed: 50 mm/s
Layer Height: 0.3mm
Infill: 15%
Type(s) of print surface used: PRINTnZ with 3M Blue Painter’s Tape and 2 coats of Elmer’s Glue Stick
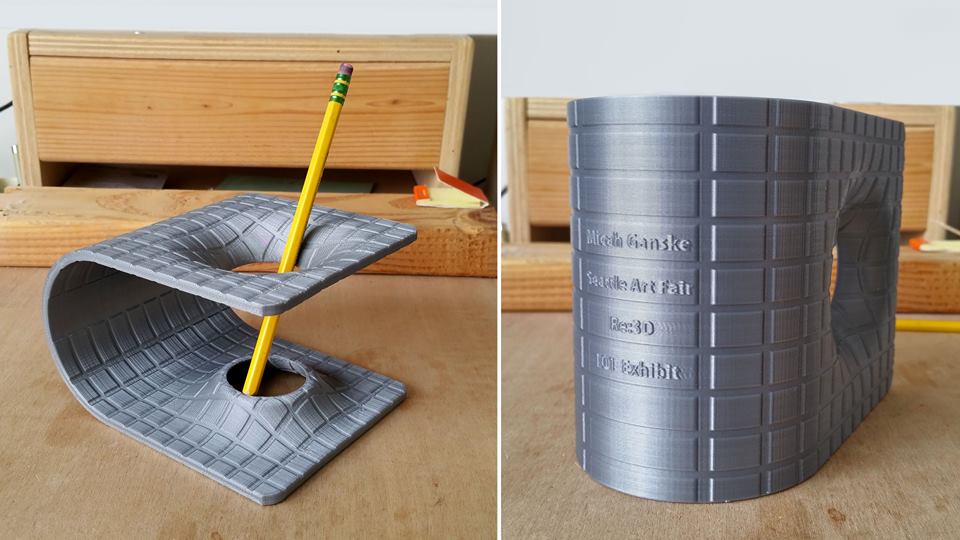
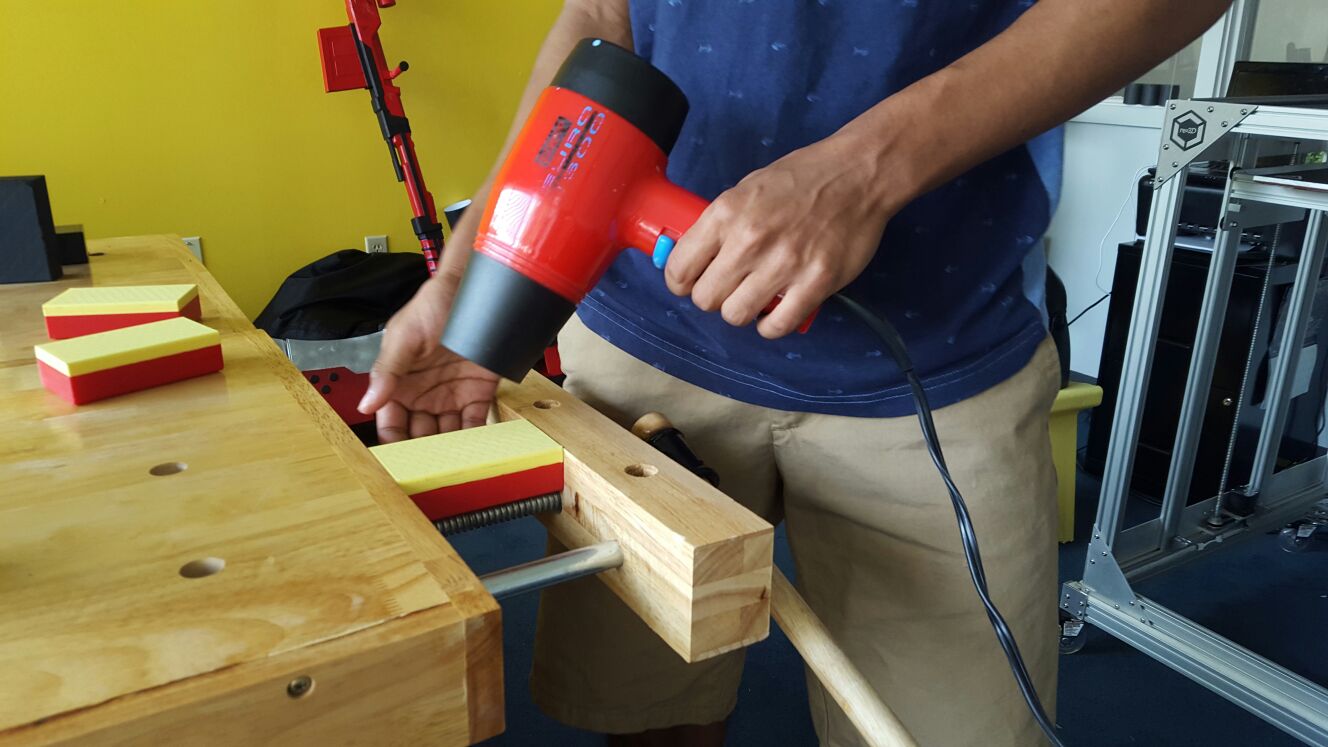
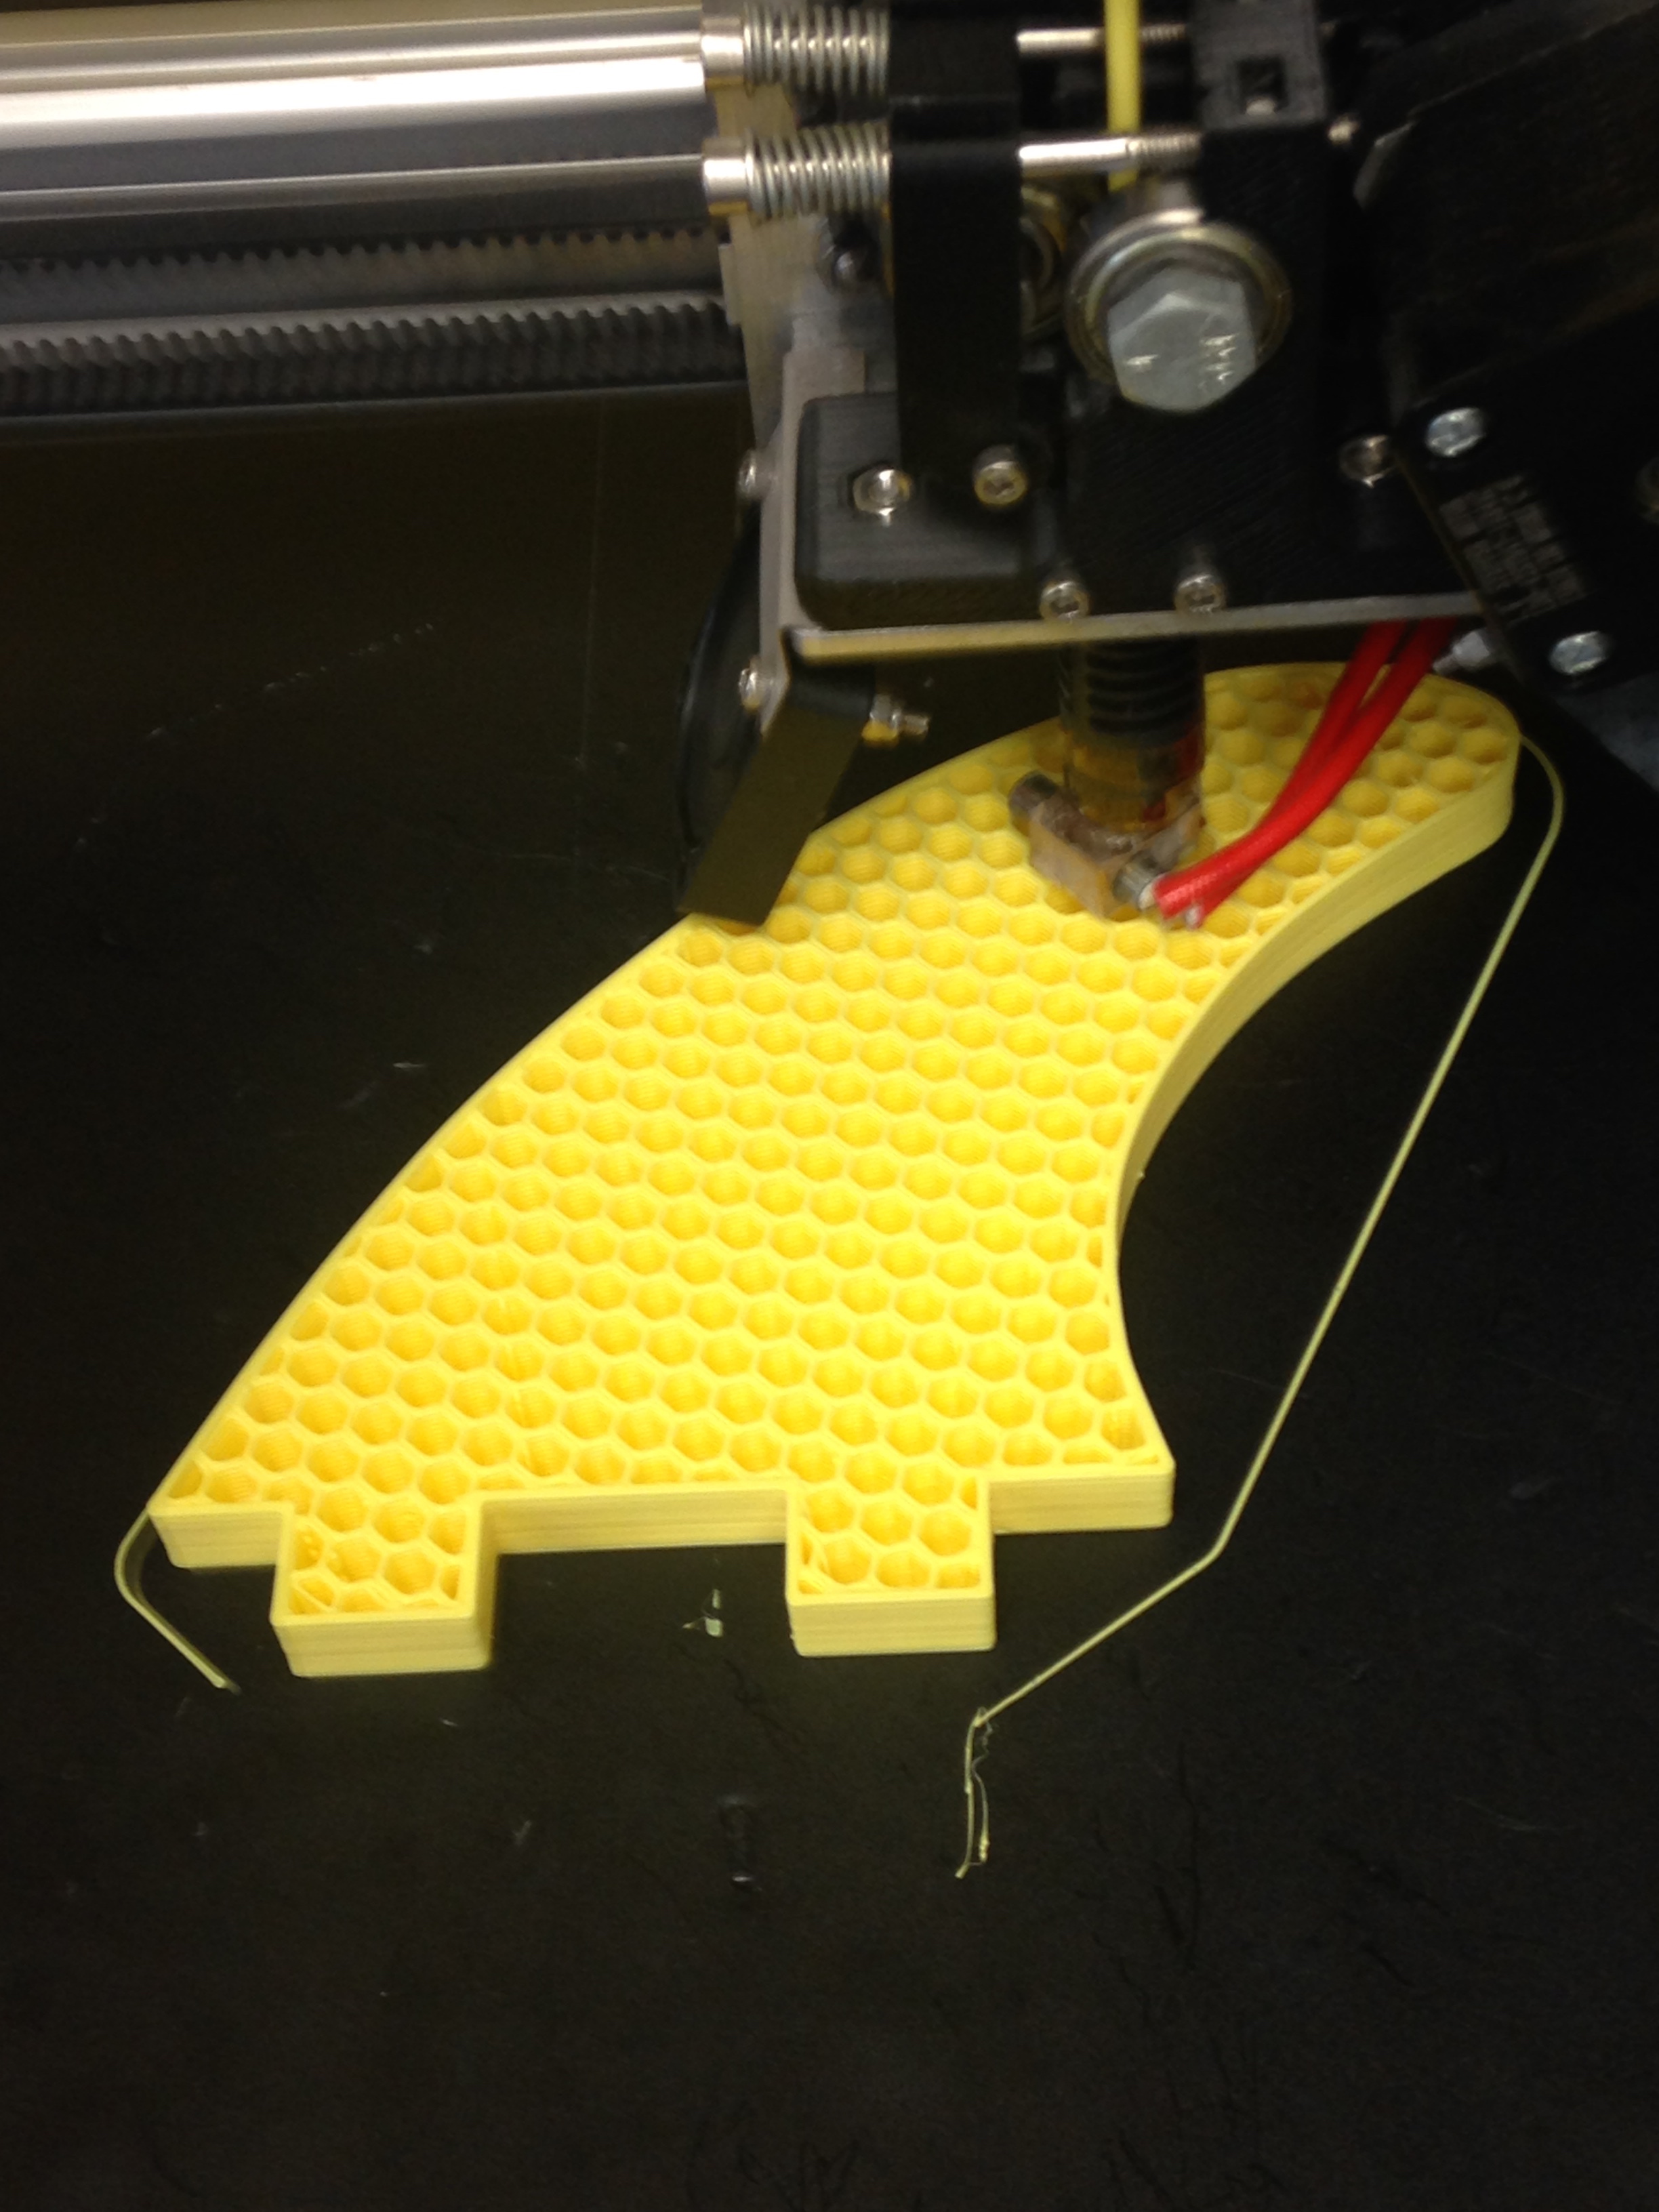
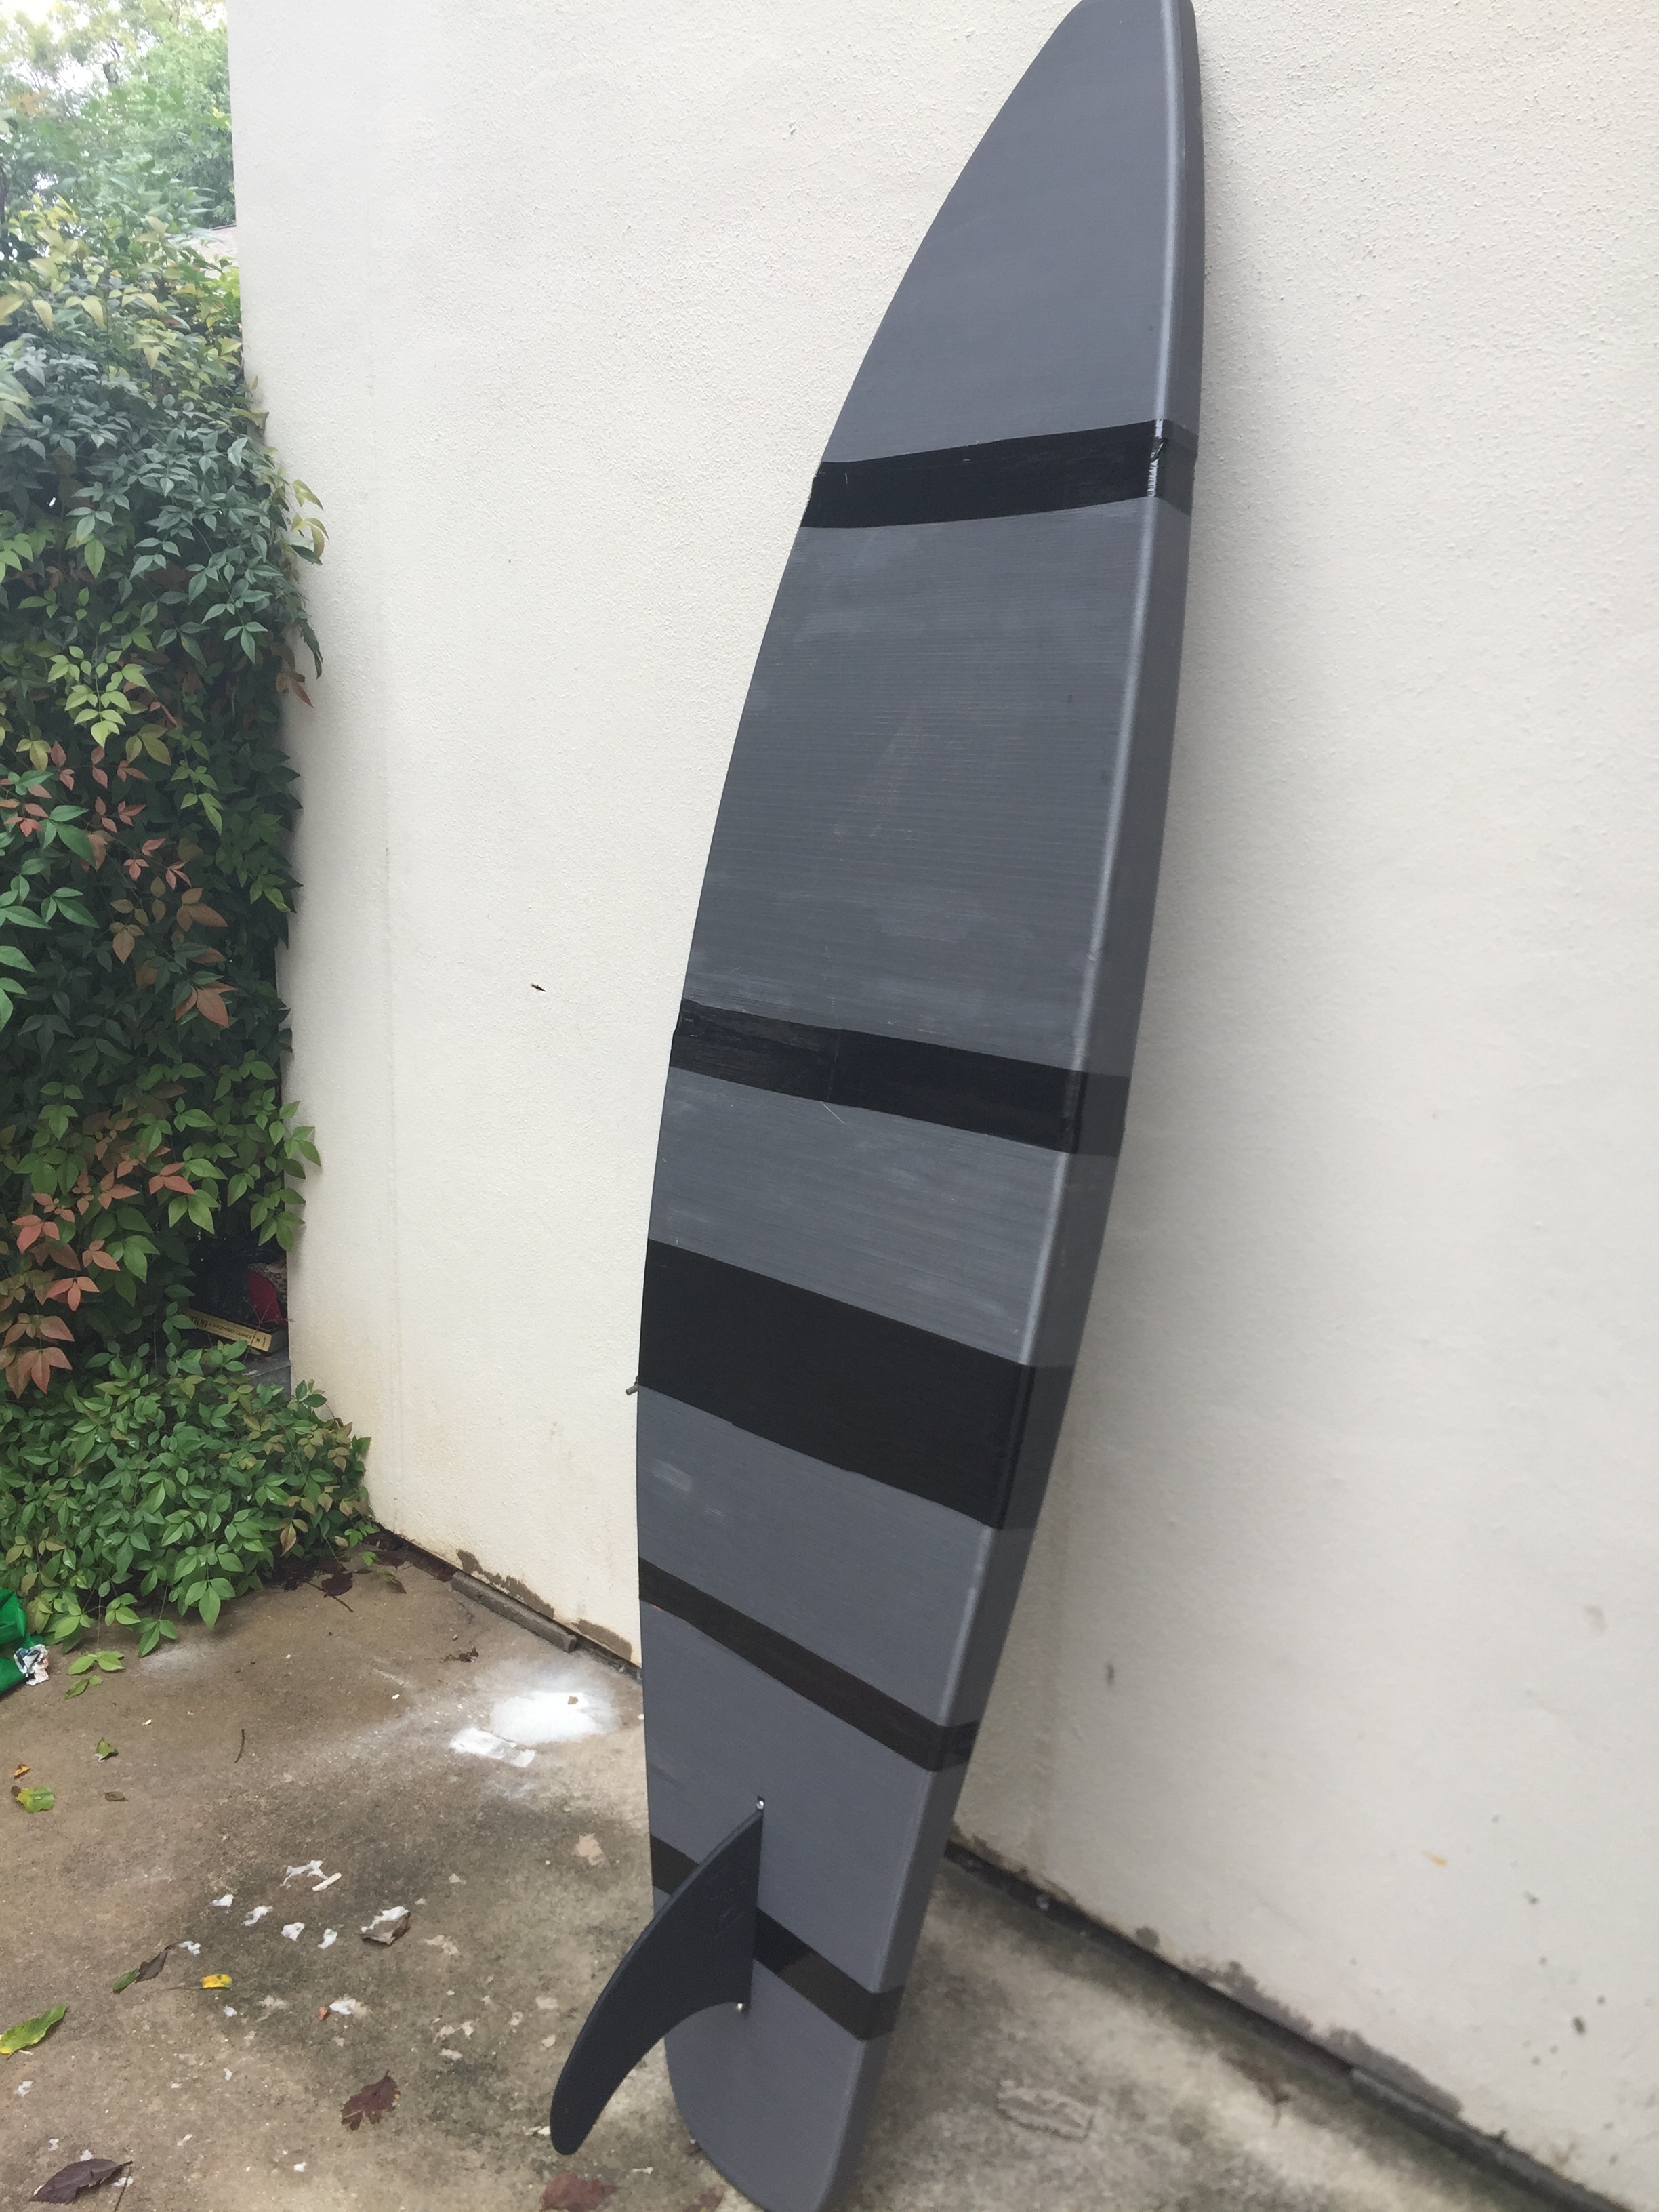
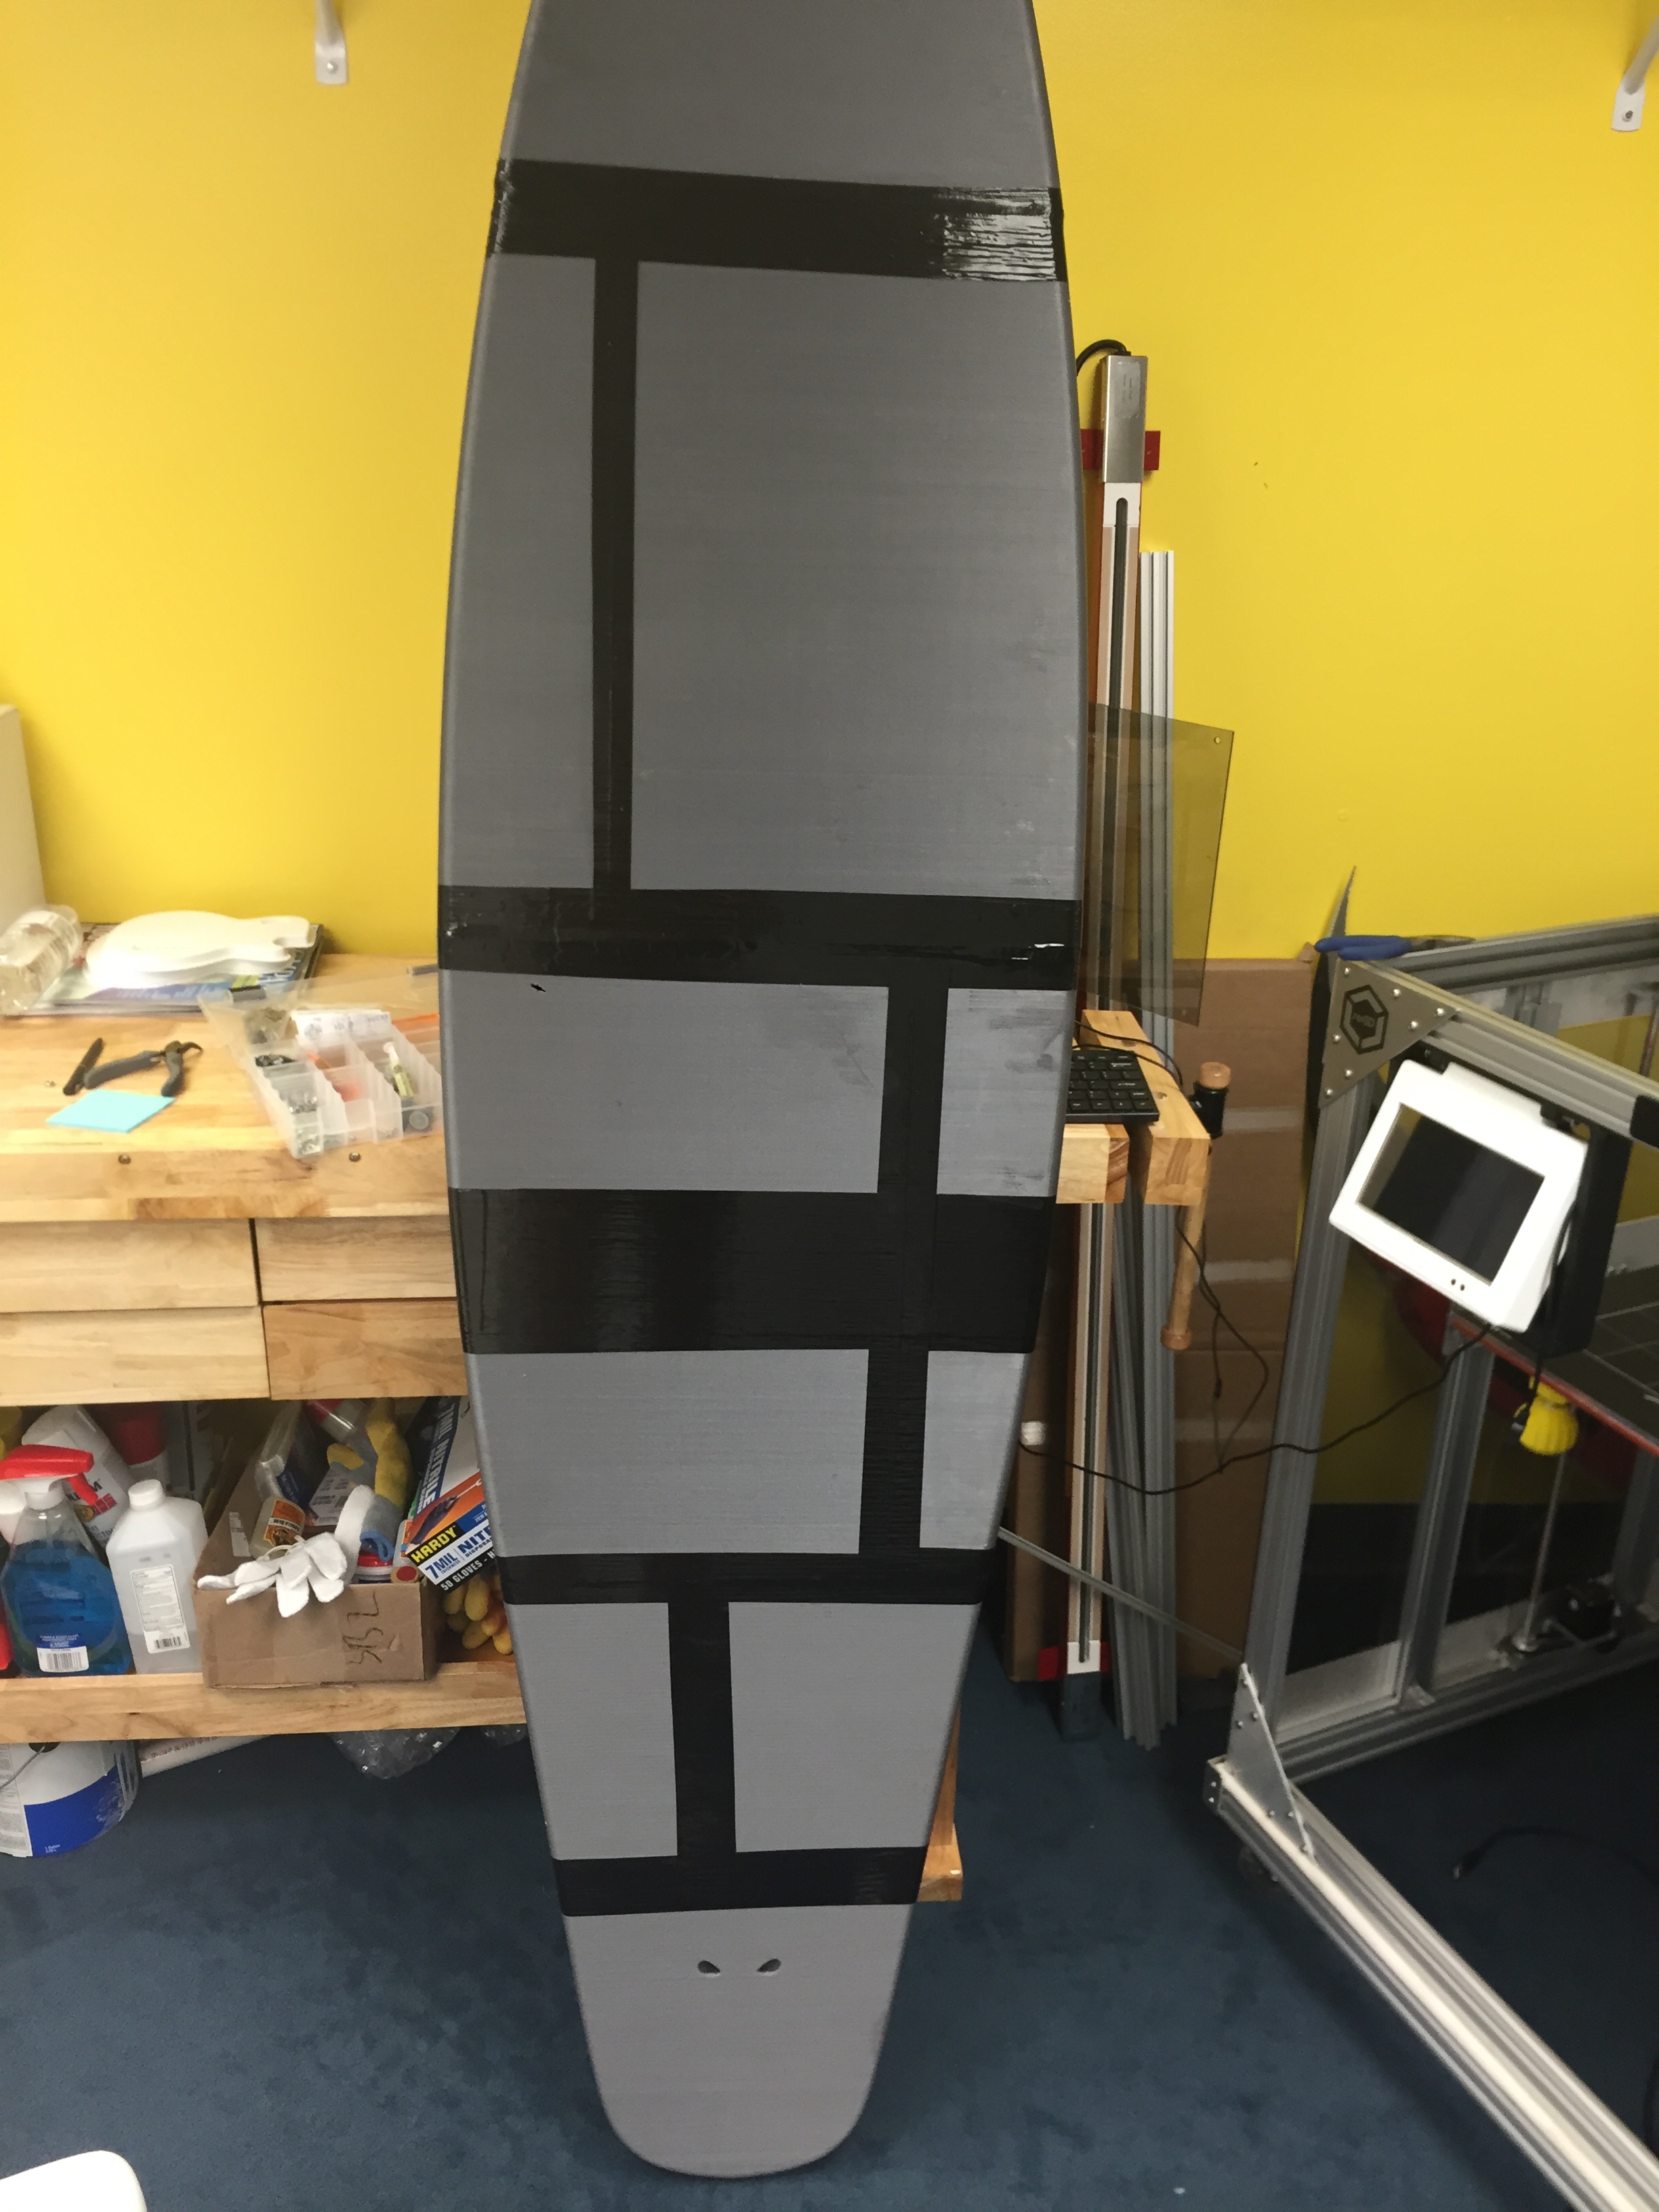
List of test files printed: re:3D’s test files 1, 2, and 3 (logo, vase, and Benchy Torture Test)
You view watch a video summarizing our testing below:
FINDINGS
Odor: None
Bed adhesion (1: terrible – 5: fabulous!)
- 4- Great adhesion could be achieved, but required two coats of PVA glue stick, painter’s tape, and the highest heat setting suggested for the bed and nozzle.
Stringing (1: lots – 5: none!)
- 4 -Stringing was observed across lettering, however doubling the retraction settings eliminated the problem.
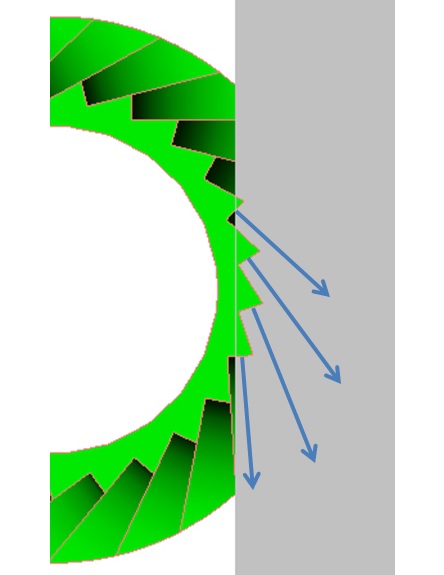
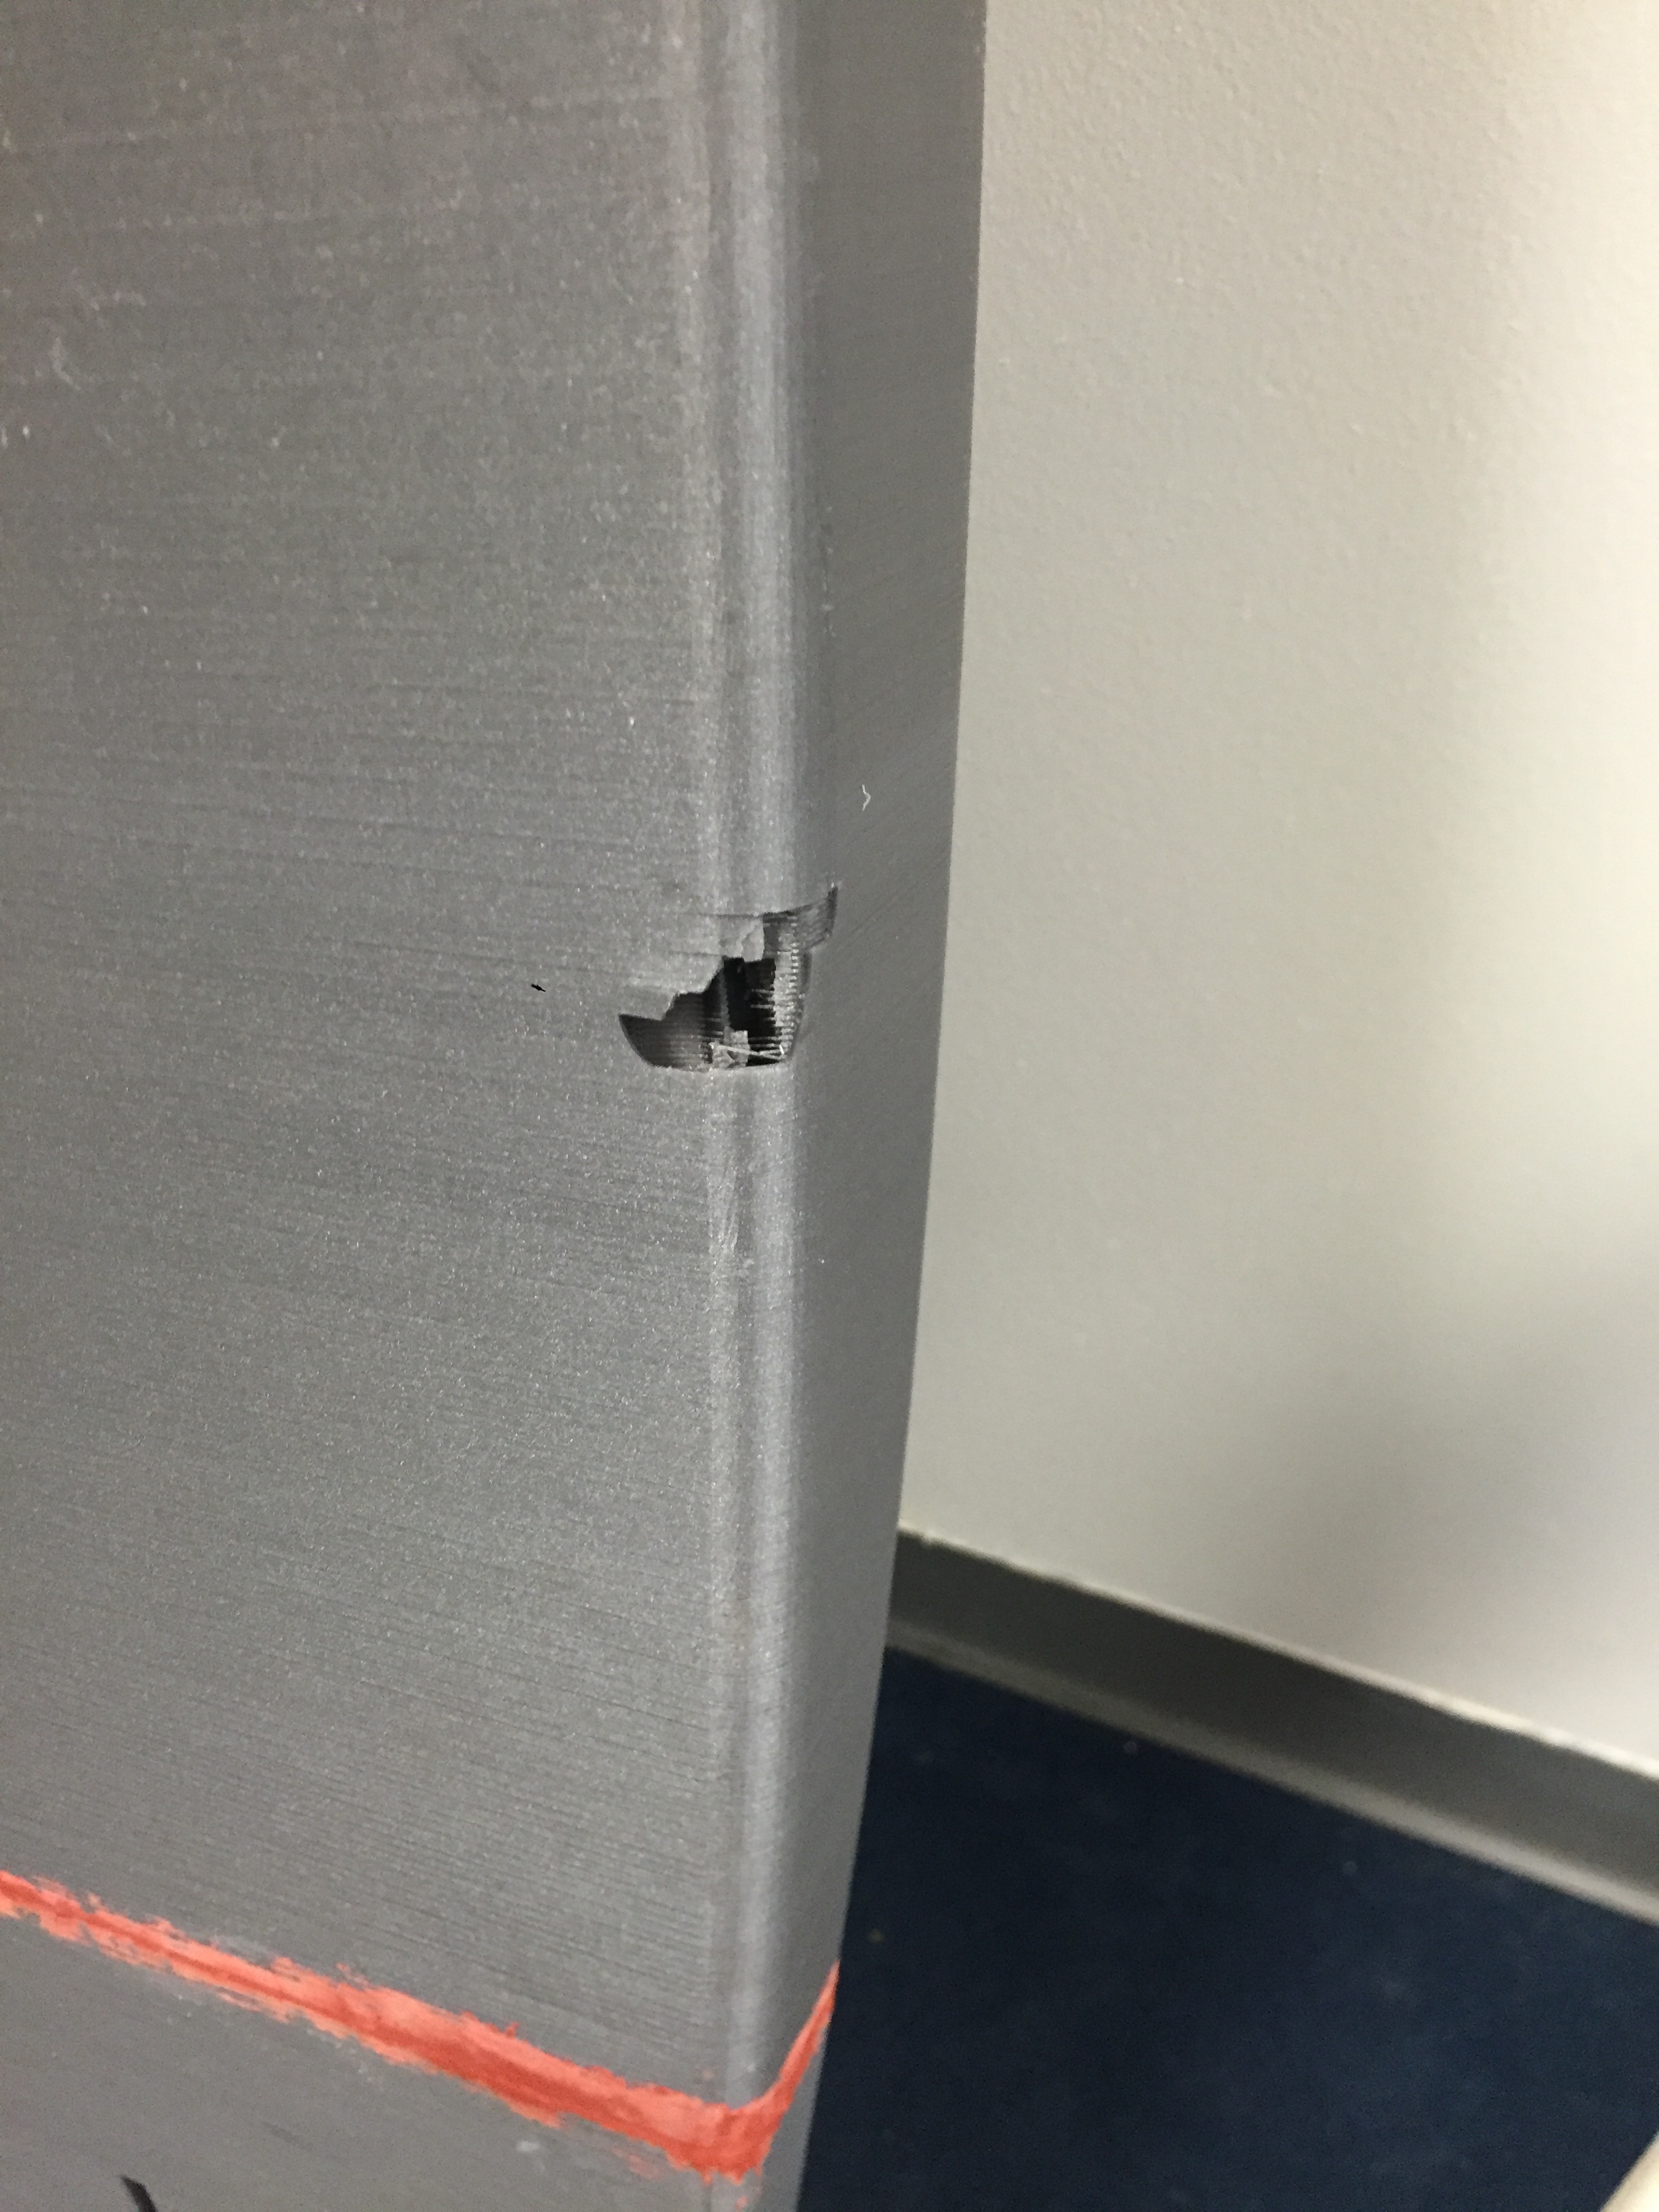
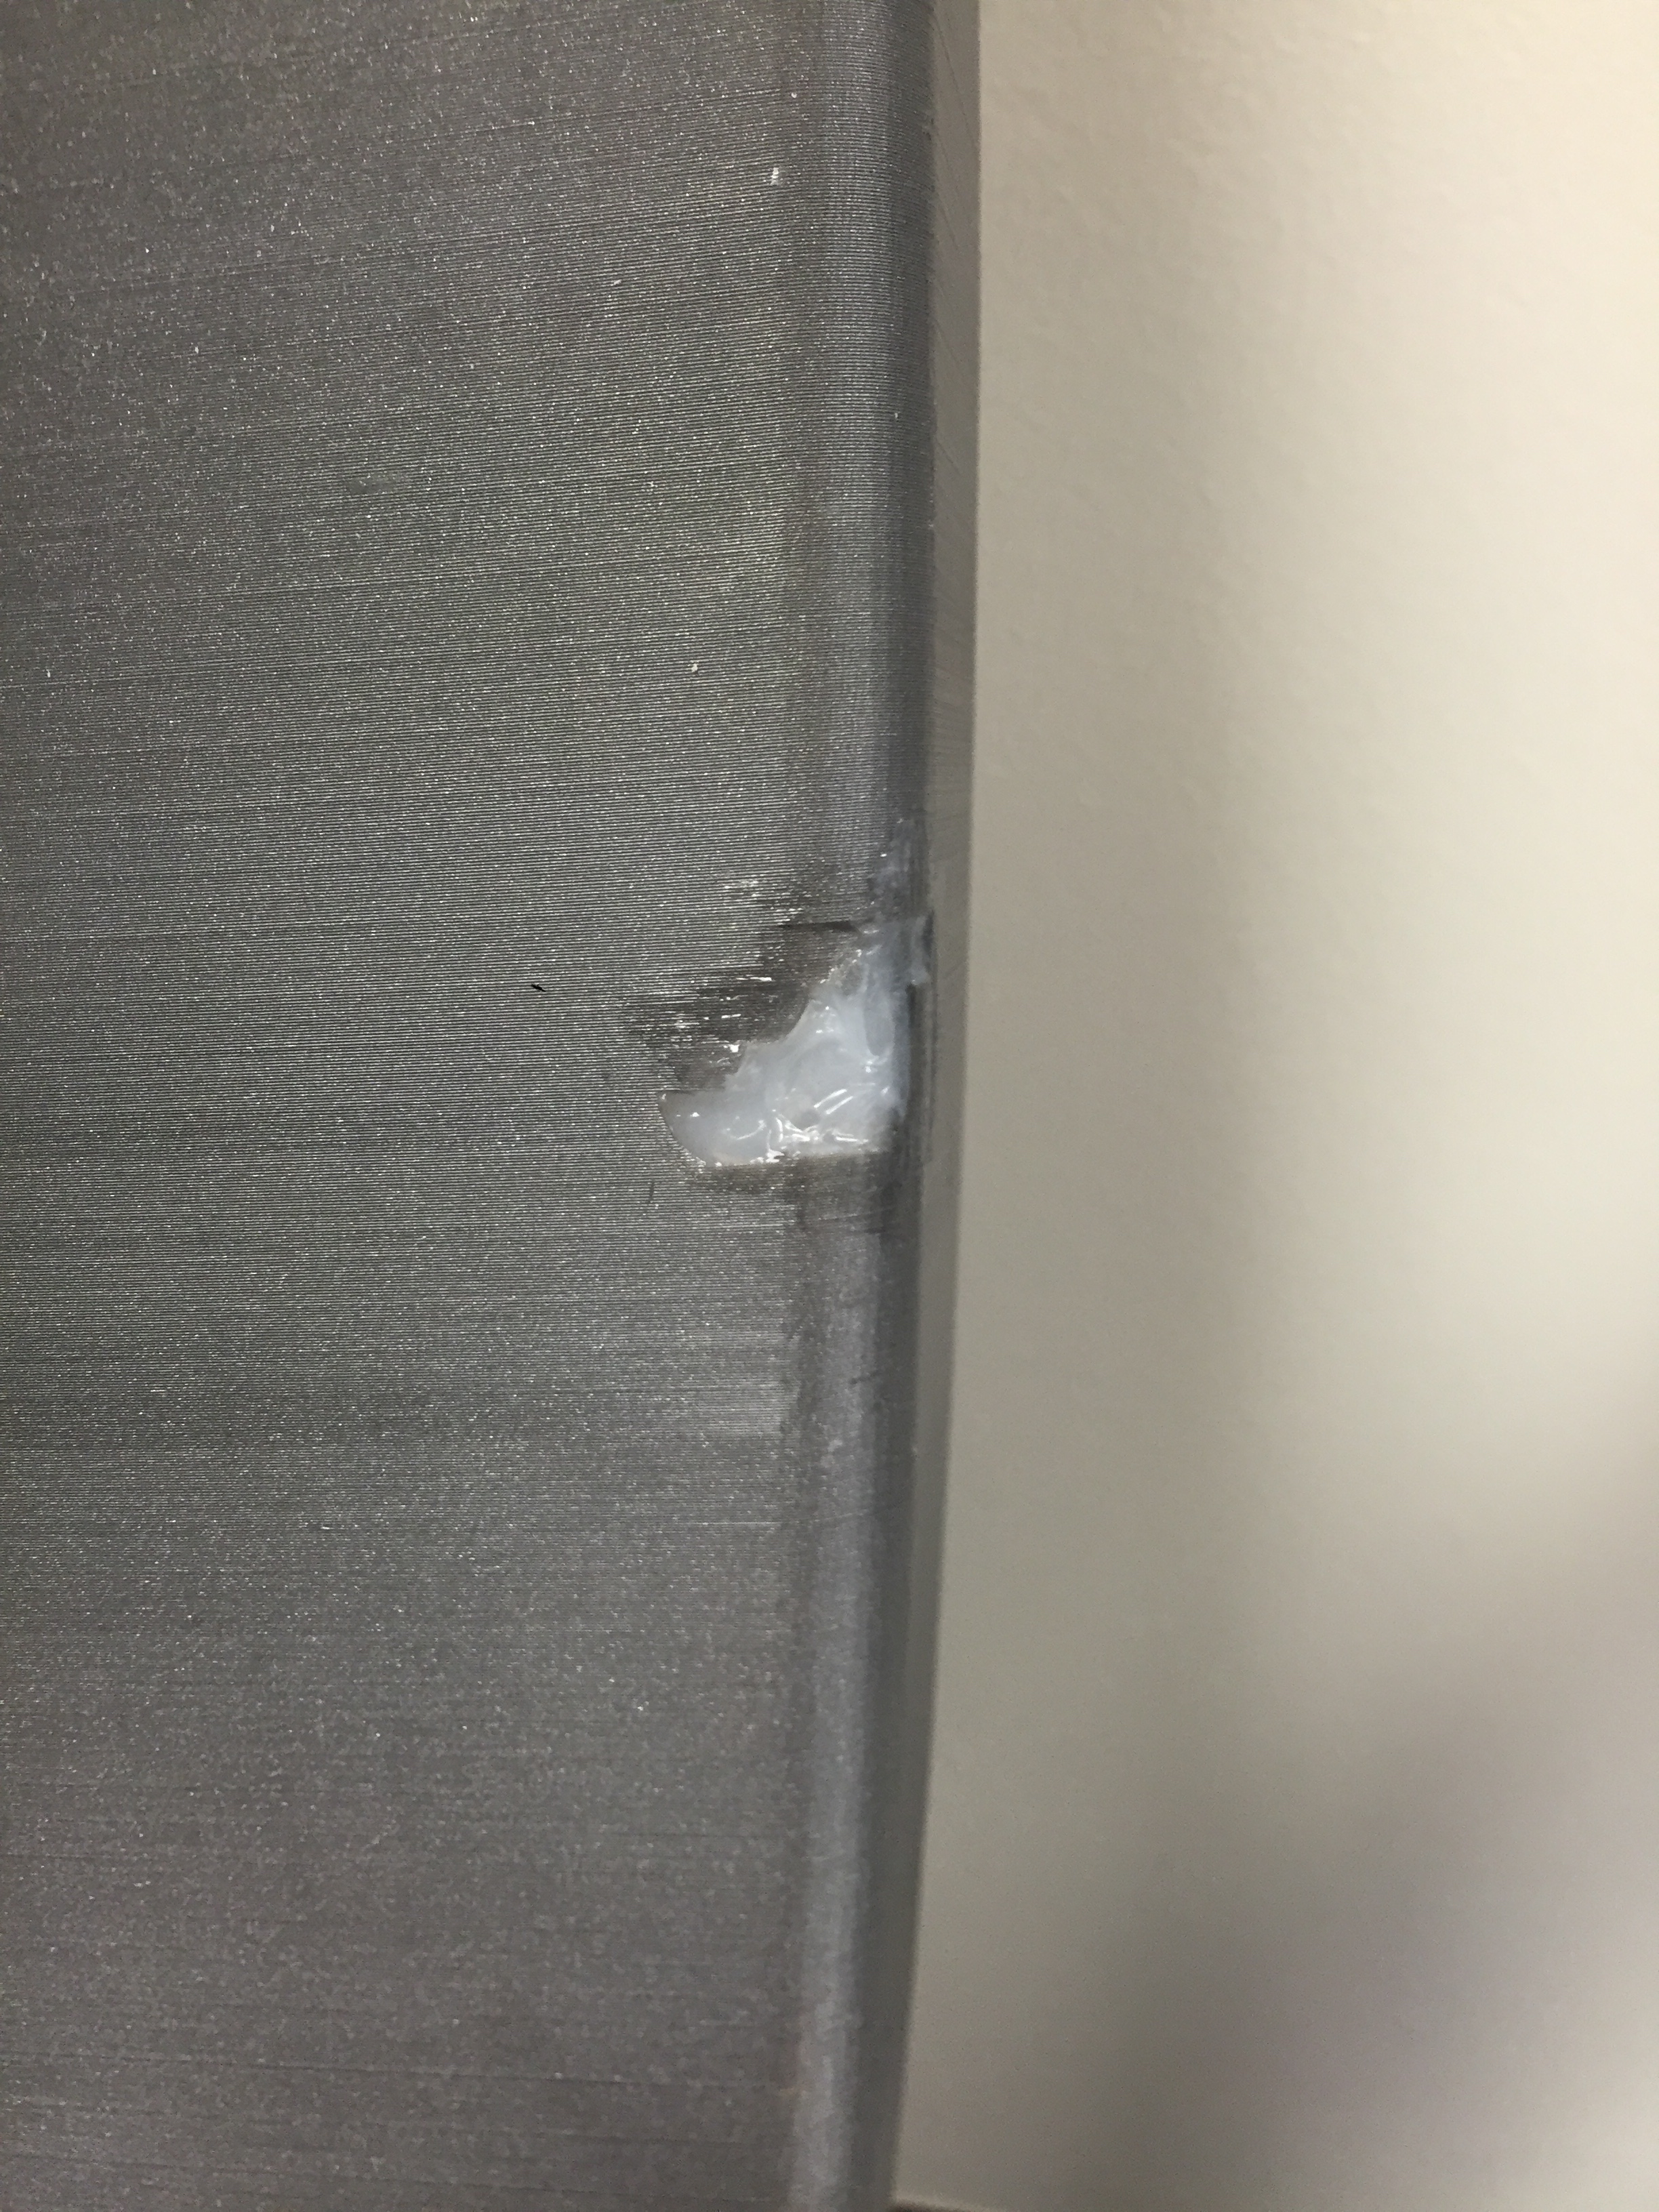
Shrinkage (1: lots – 5: none!)
- 4- Some curling was observed on corners of logo after removal. It is suggested that the print be allowed to cool down on the bed before taking it off.
Interlayer adhesion (1: terrible – 5: fabulous!)
- 5- Perfect!

NOTES:
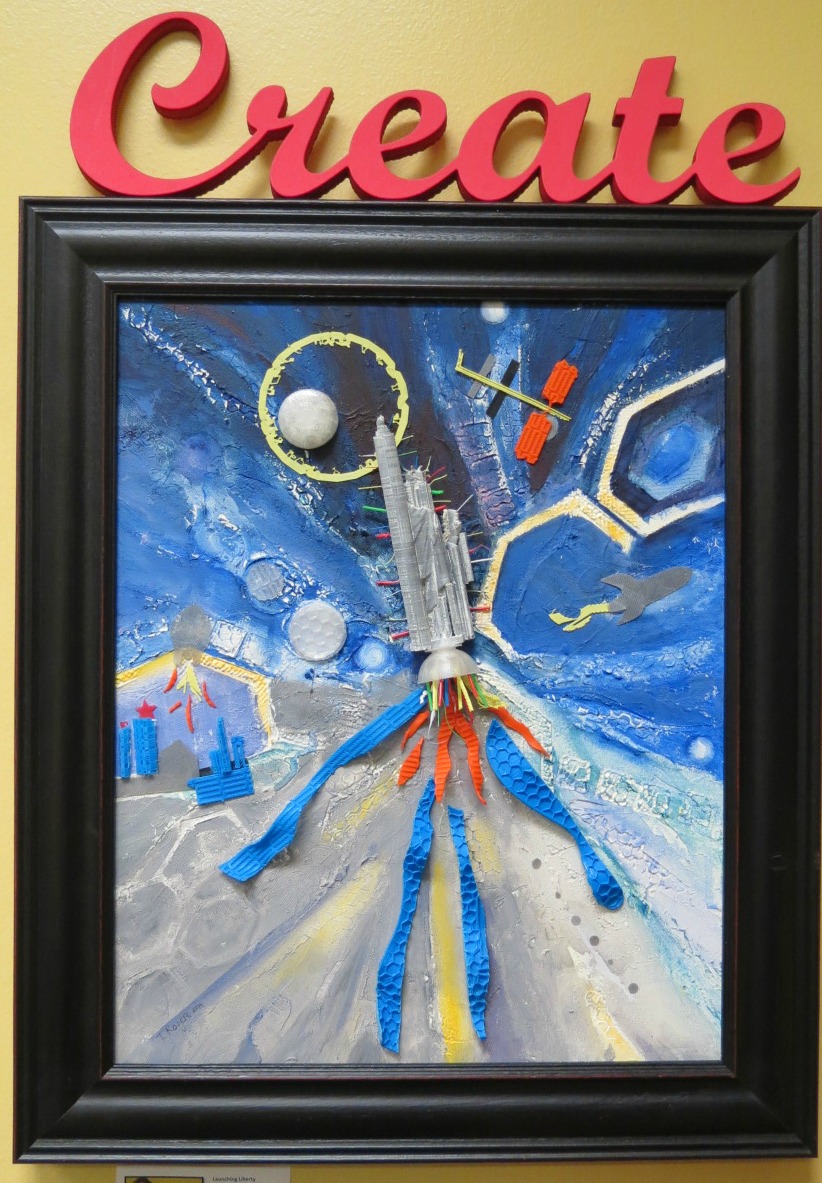
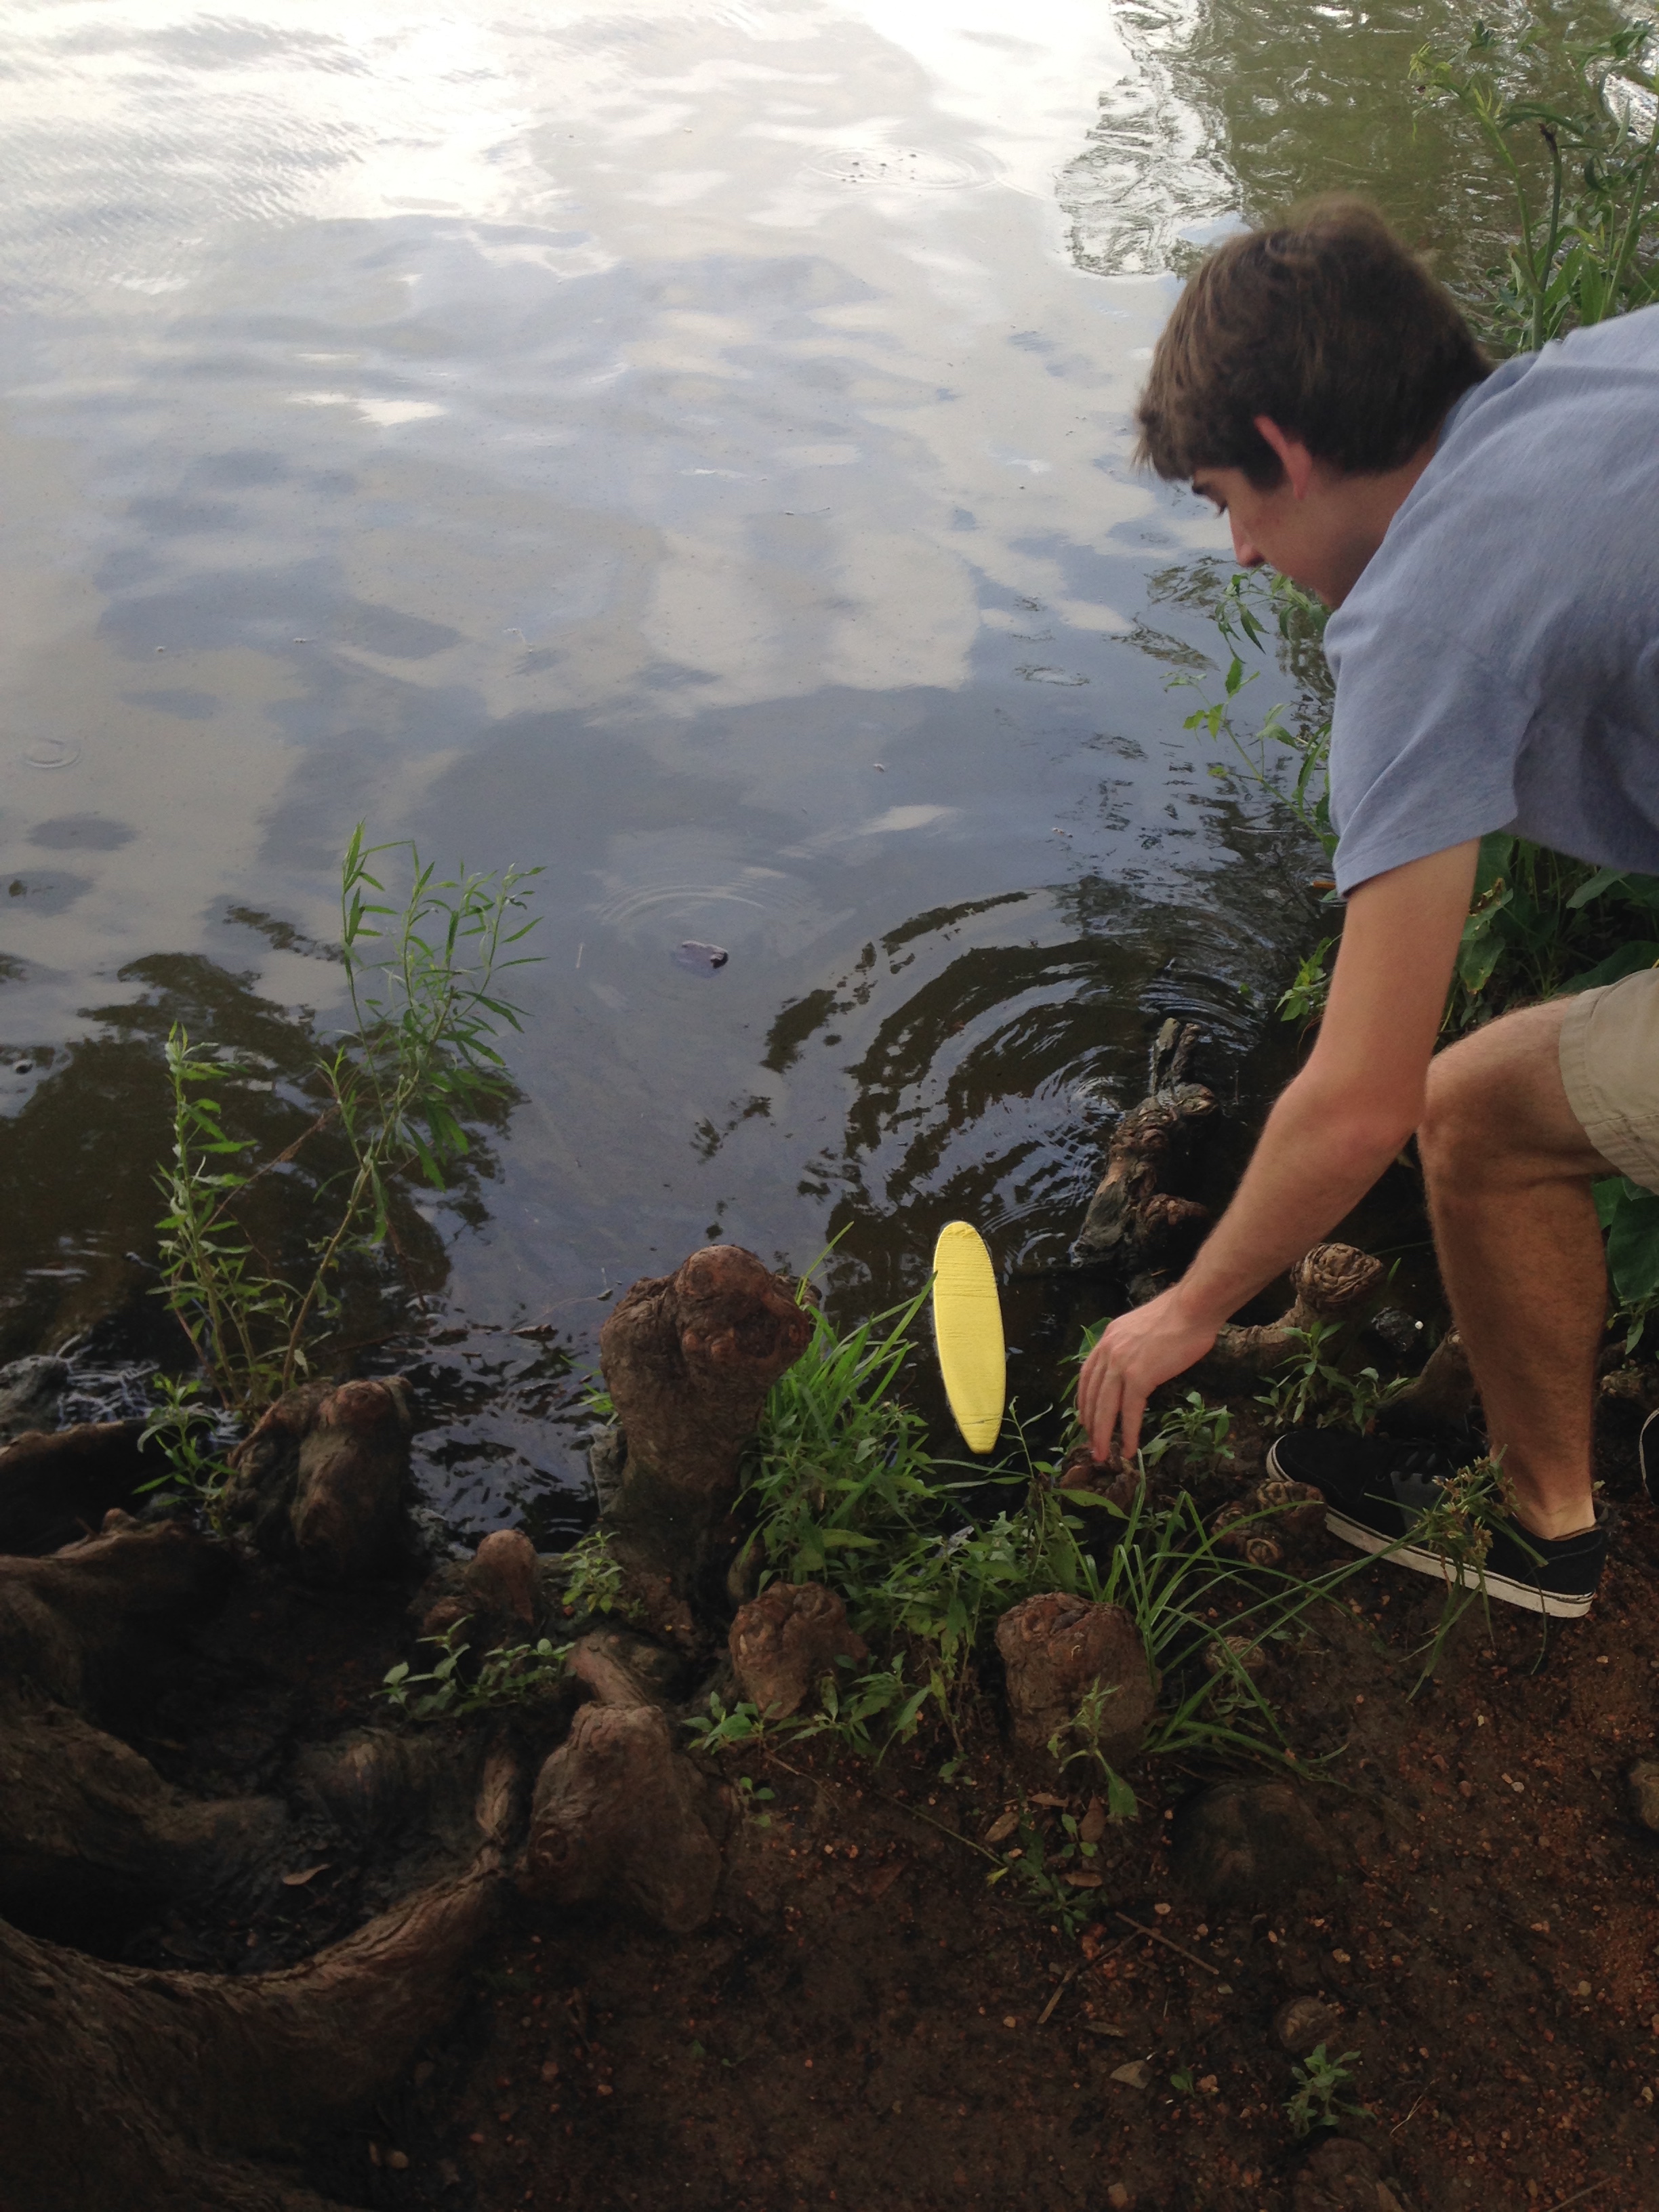
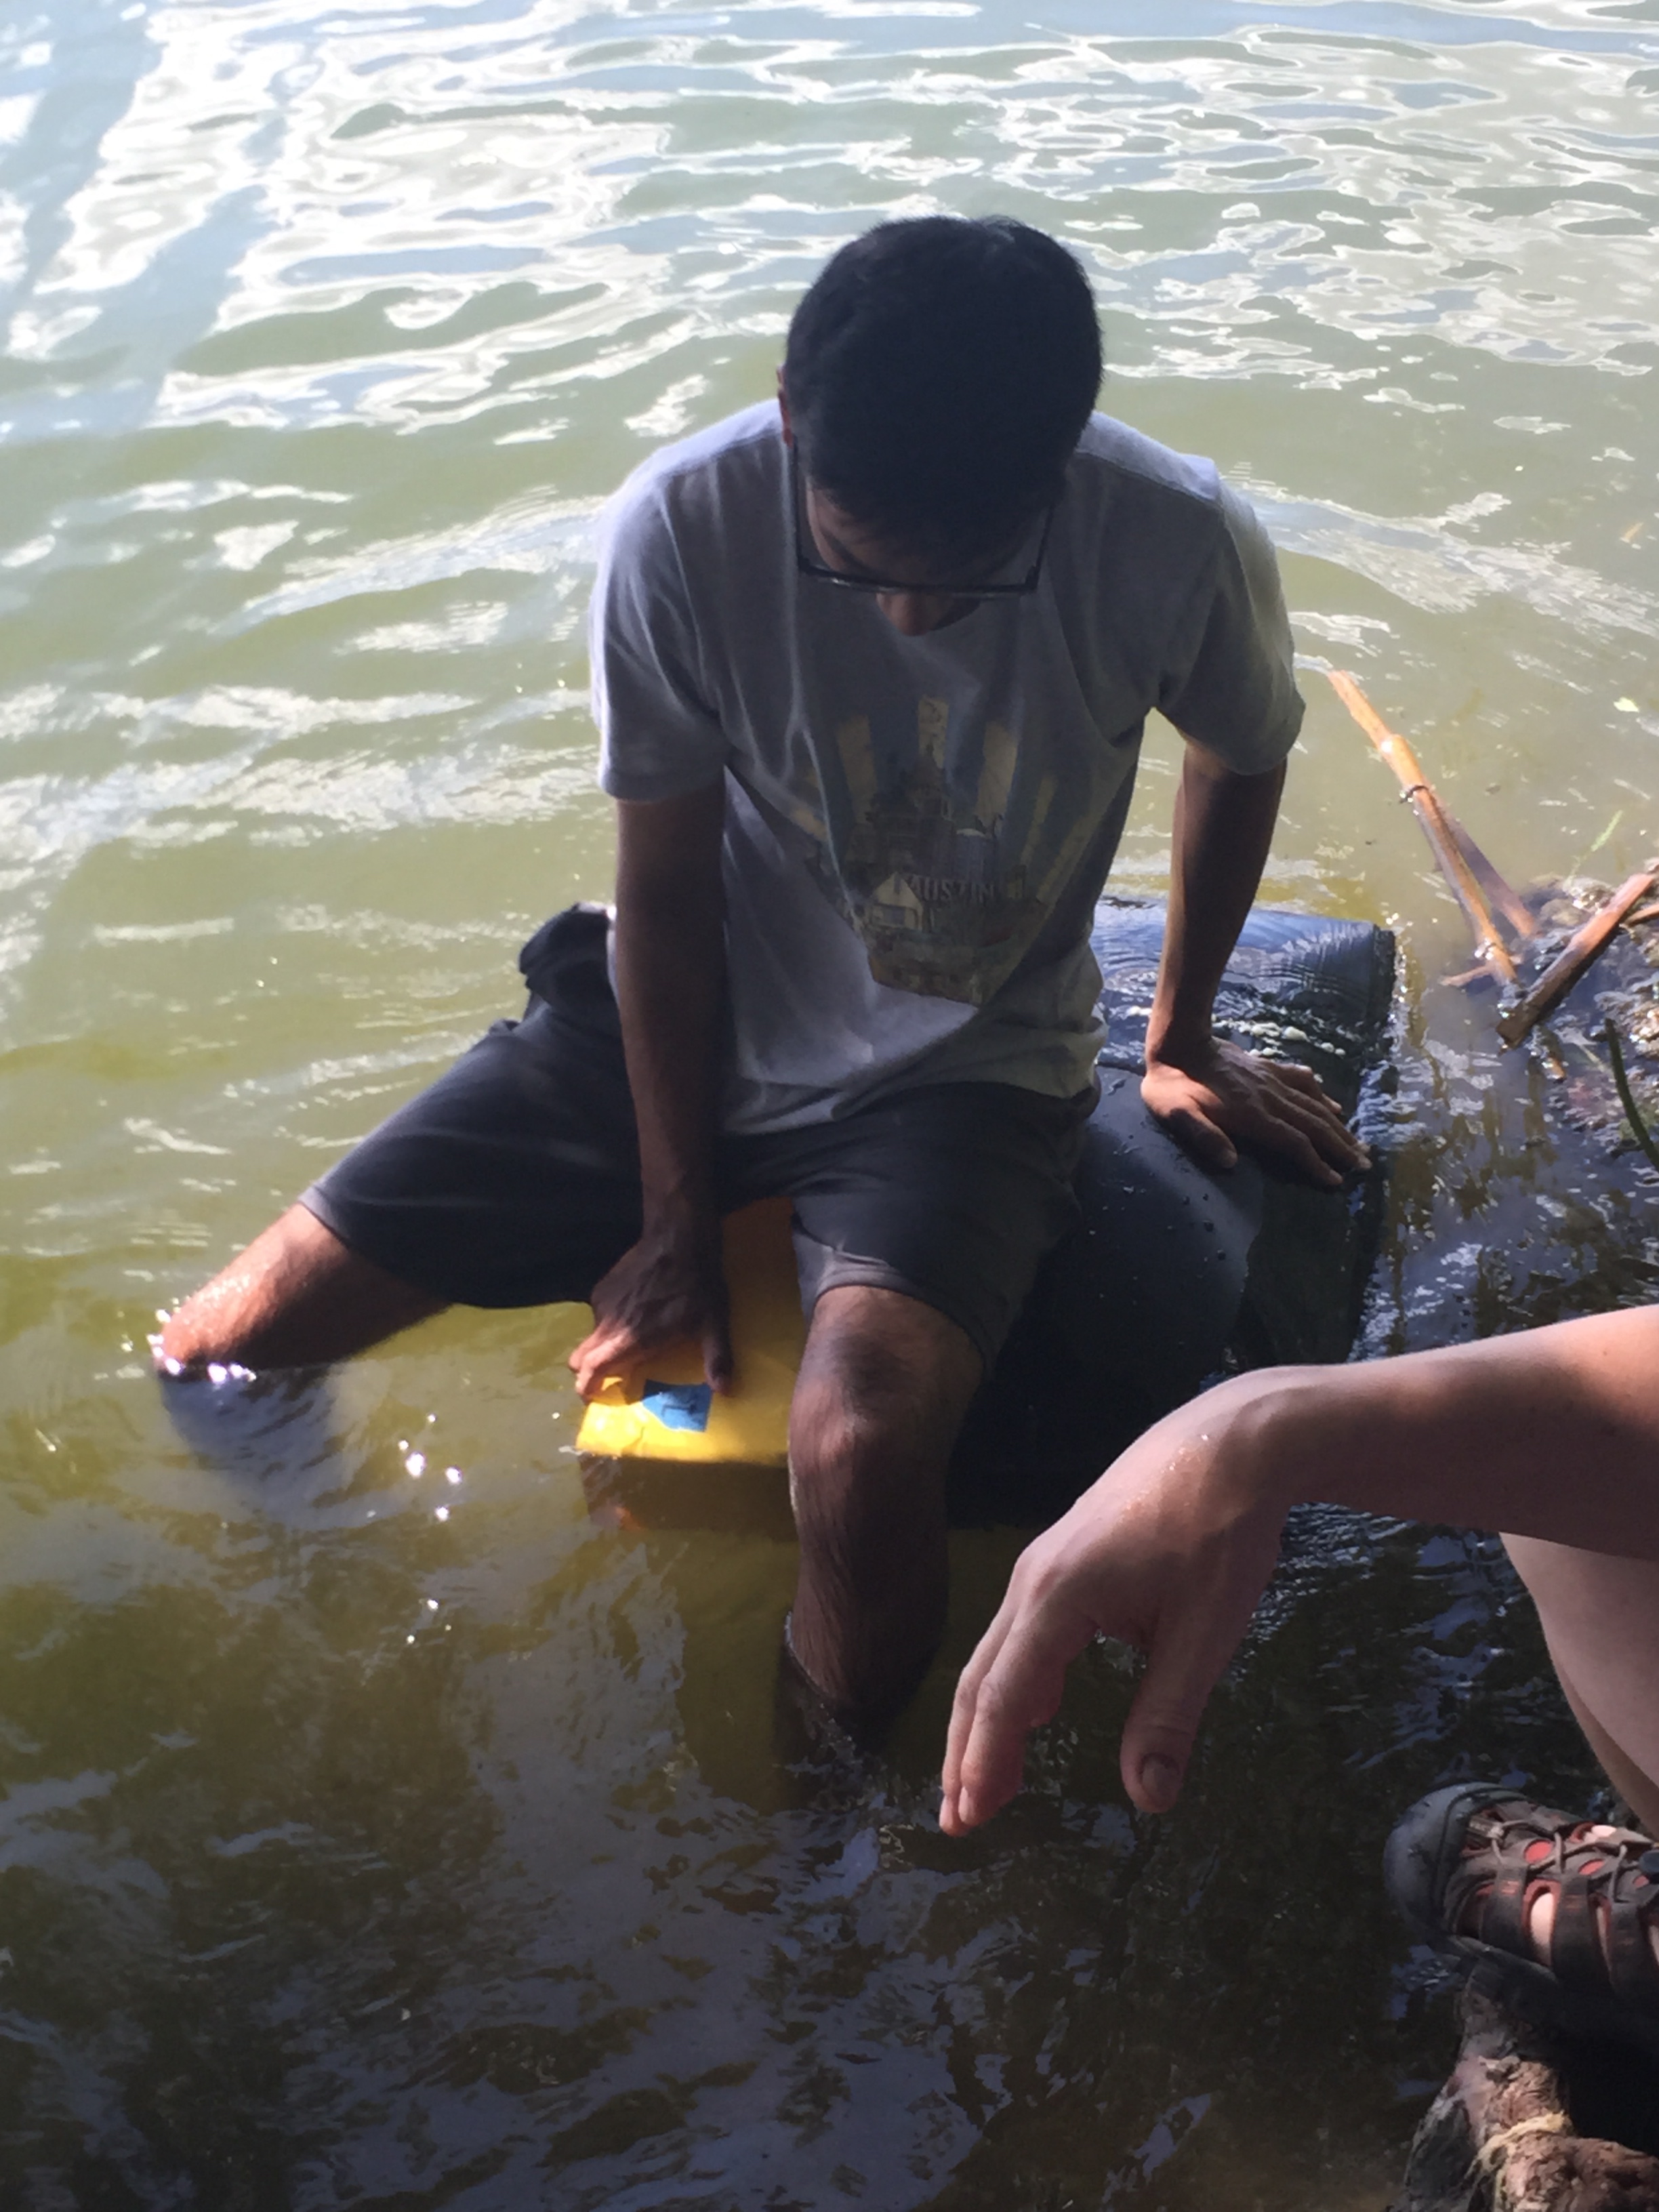
- A flexible nylon offers a lot of possibility to the 3D printing community
- This filament appears to overcome concerns that both flexible and nylon materials are difficult to use.
- With the right settings and adhesion hygiene, this material appears to yield consistent, quality prints.
- NOTE: this filament required 2 coats of Elmer glue stick on Blue Painter’s tape applied over a heated bed, using the max range of bed and nozzle heat settings
- Filament size consistency was excellent.
- Curling was observed with only 1 coat of glue stick and was also seen after print removal when the bed was still warm.
- It is recommended that the bed be allowed to cool before removal to mitigate curling after print completion.
- The best testing outcomes were observed at the highest temperatures settings (235C -nozzle, 60C- bed) and using the speed (50mm/s) that the manufacture provided. No guidance was given for retraction, which we found we needed to double or standard setting in order to eliminate stringing across lettering.
- The unboxing experience was well done and the recommendation sheet was very useful.
- No date stamp for production was listed, however a batch number was provided for traceability.
- Manufacturer recommended settings were easily referenced on the enclosed documentation.

RECCOMENDATIONS:
- This filament is extremely impressive and more than exceeded expectations due to past expereinces working with nylons and flexible materials.
- Upon review, we would highly recommend that larger, more complex prints be created to further investigate the potential this exotic, and much needed material provides.

Want to chat? Join our forum where we have initiated a thread about our experience!
https://re3d.zendesk.com/hc/en-us/community/posts/206375086-Testing-Scorpion-Flexible-Nylon-on-Gigabot
~Happy Printing!
Samantha snabes
Blog Post Author