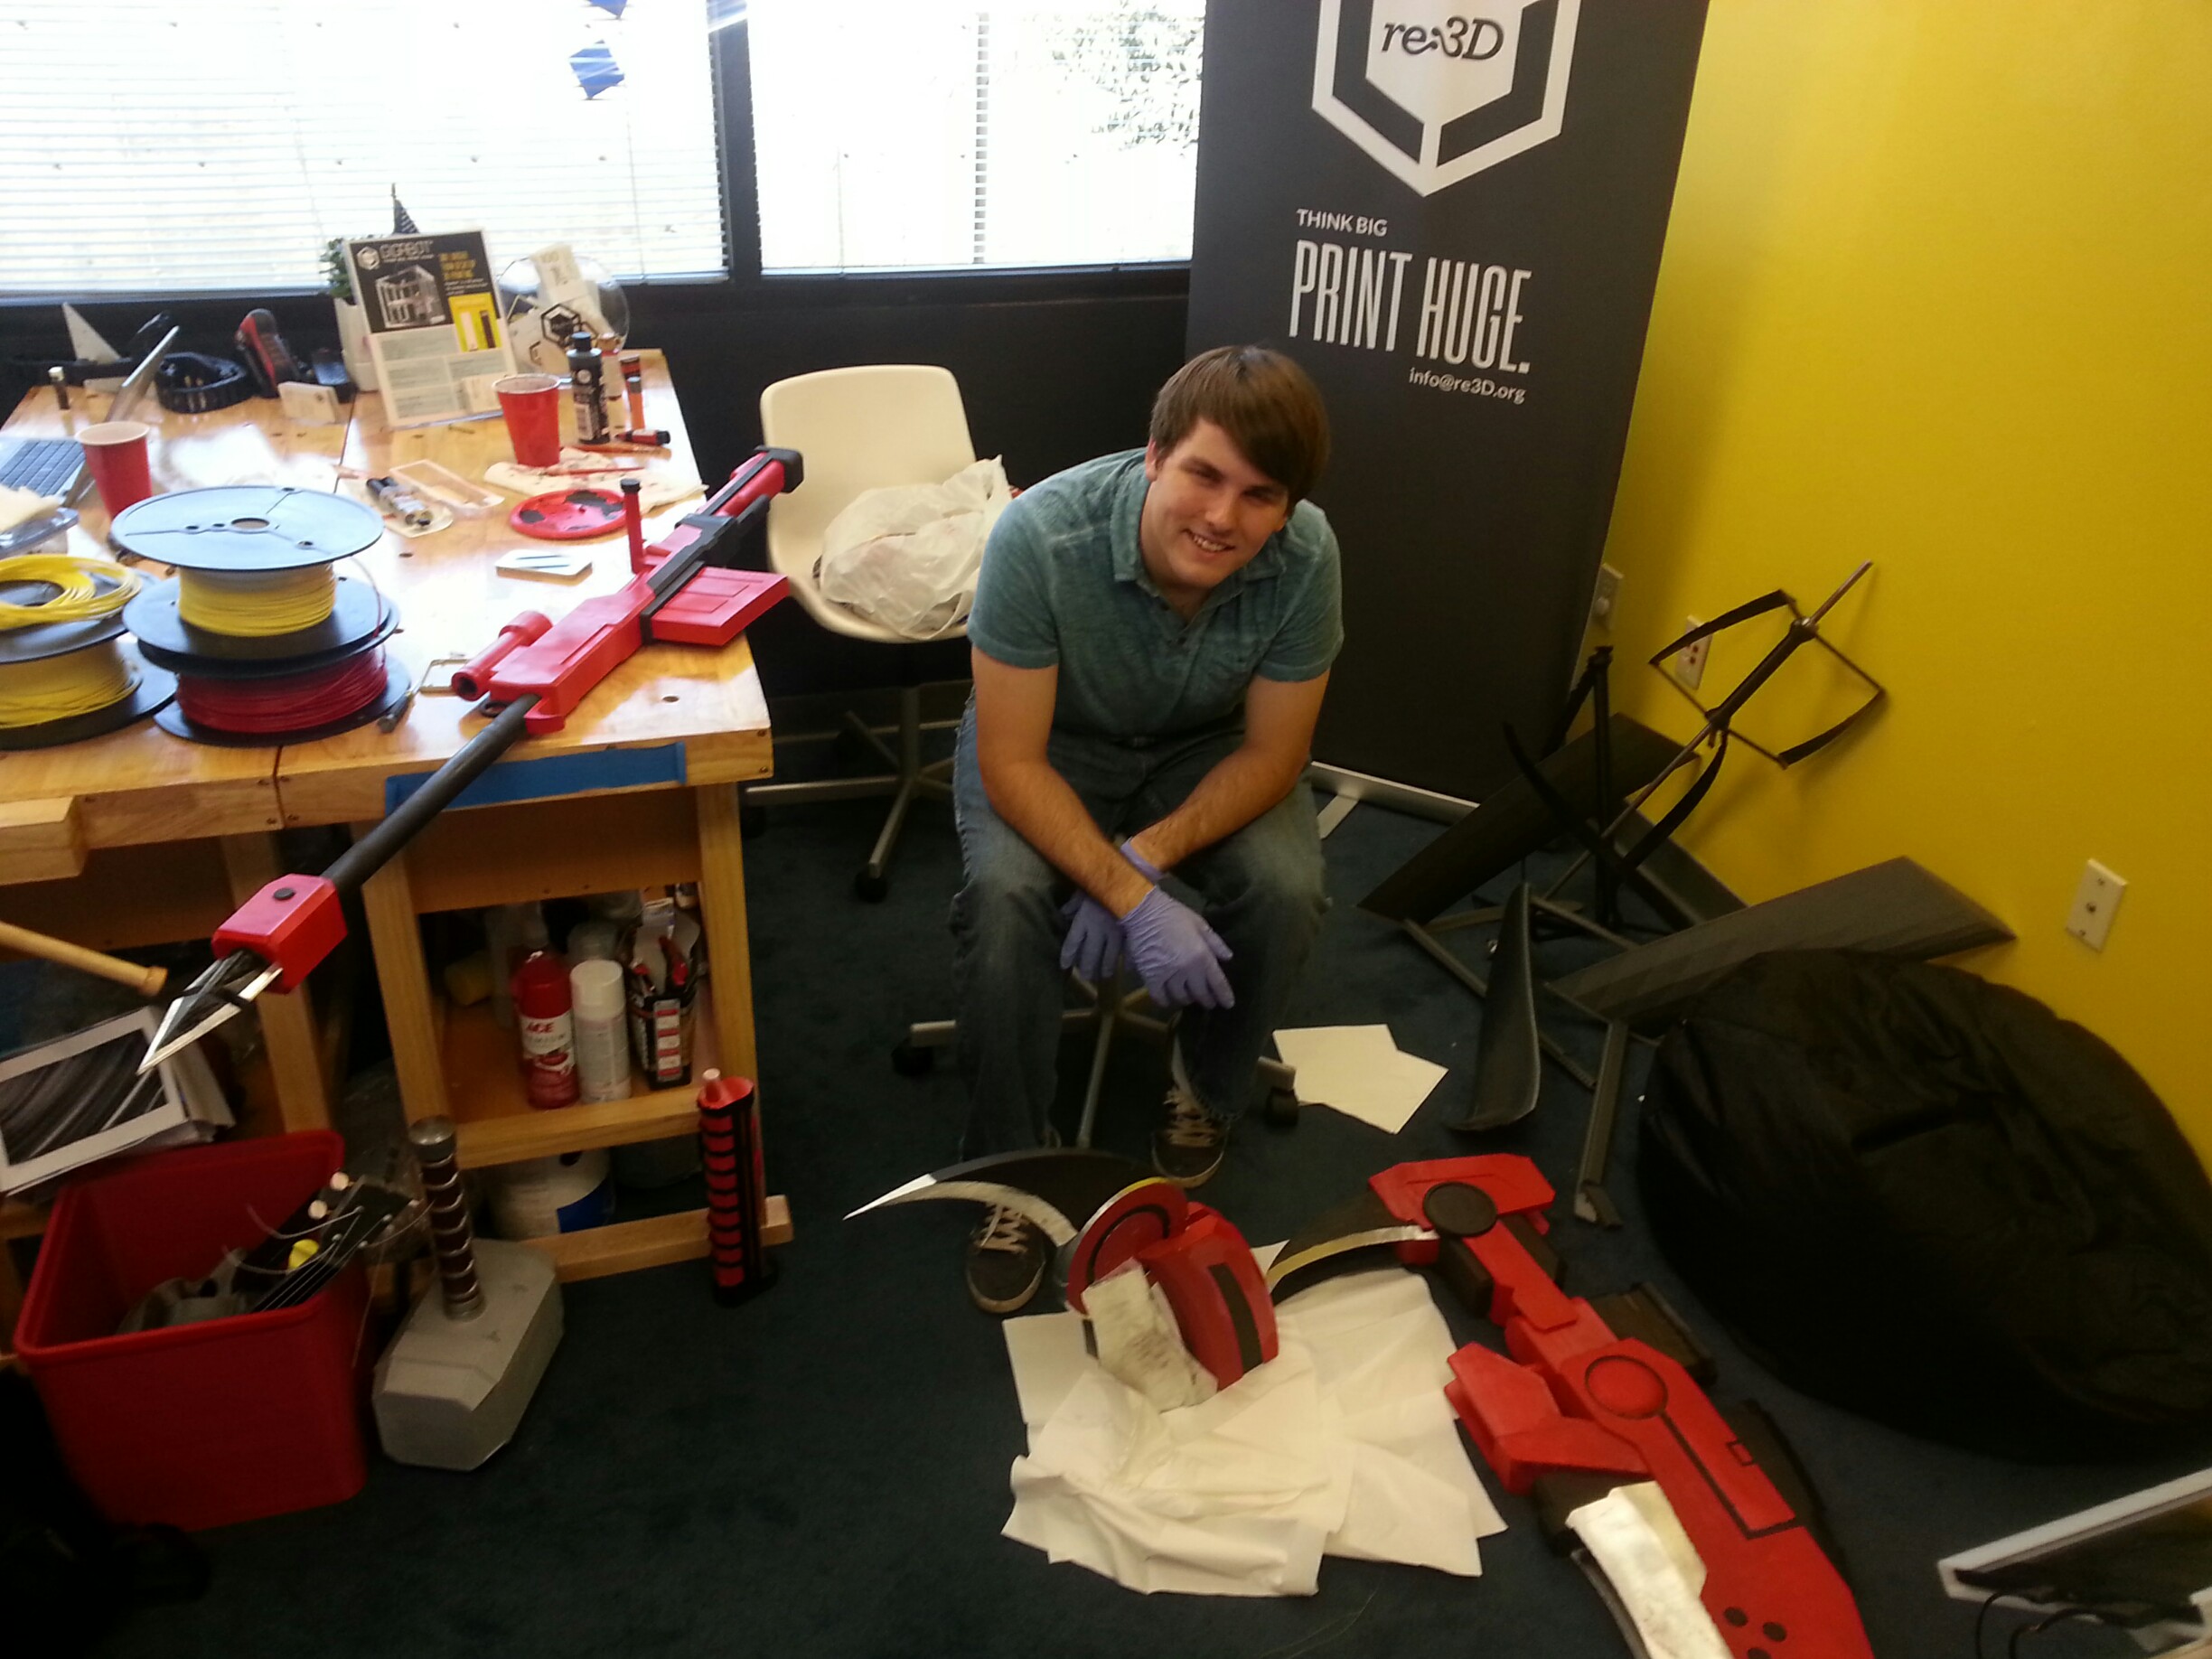
Pranathi Peri is developing a set of 3D printed, playable musical instruments for her summer internship. In her own words, she describes her design process:
When I was 5 years old, I remember walking into the music store, and immediately seeing hundreds of different instruments that were all foreign to me at the time. I had learnt a bit about music Here before visiting the music store but I didn’t have much knowledge about pianos. My Mother talked to the manager about purchasing a piano, while I explored all of the different instruments, getting a feel for each one individually. In that moment, I decided that instruments were something that I really found a natural passion for. This is the reason why I now play not only the piano, but also the guitar, and violin, and am self-taught in various other instruments as well. For this reason, I jumped at the opportunity to 3D print instruments.
As I explored the idea of designing my first 3D printed instrument, I had many questions and doubts. How do I alter the size to compensate for the material? Will the characteristics of a normally constructed instrument translate directly to that of a 3D printed instrument? Would it even work?
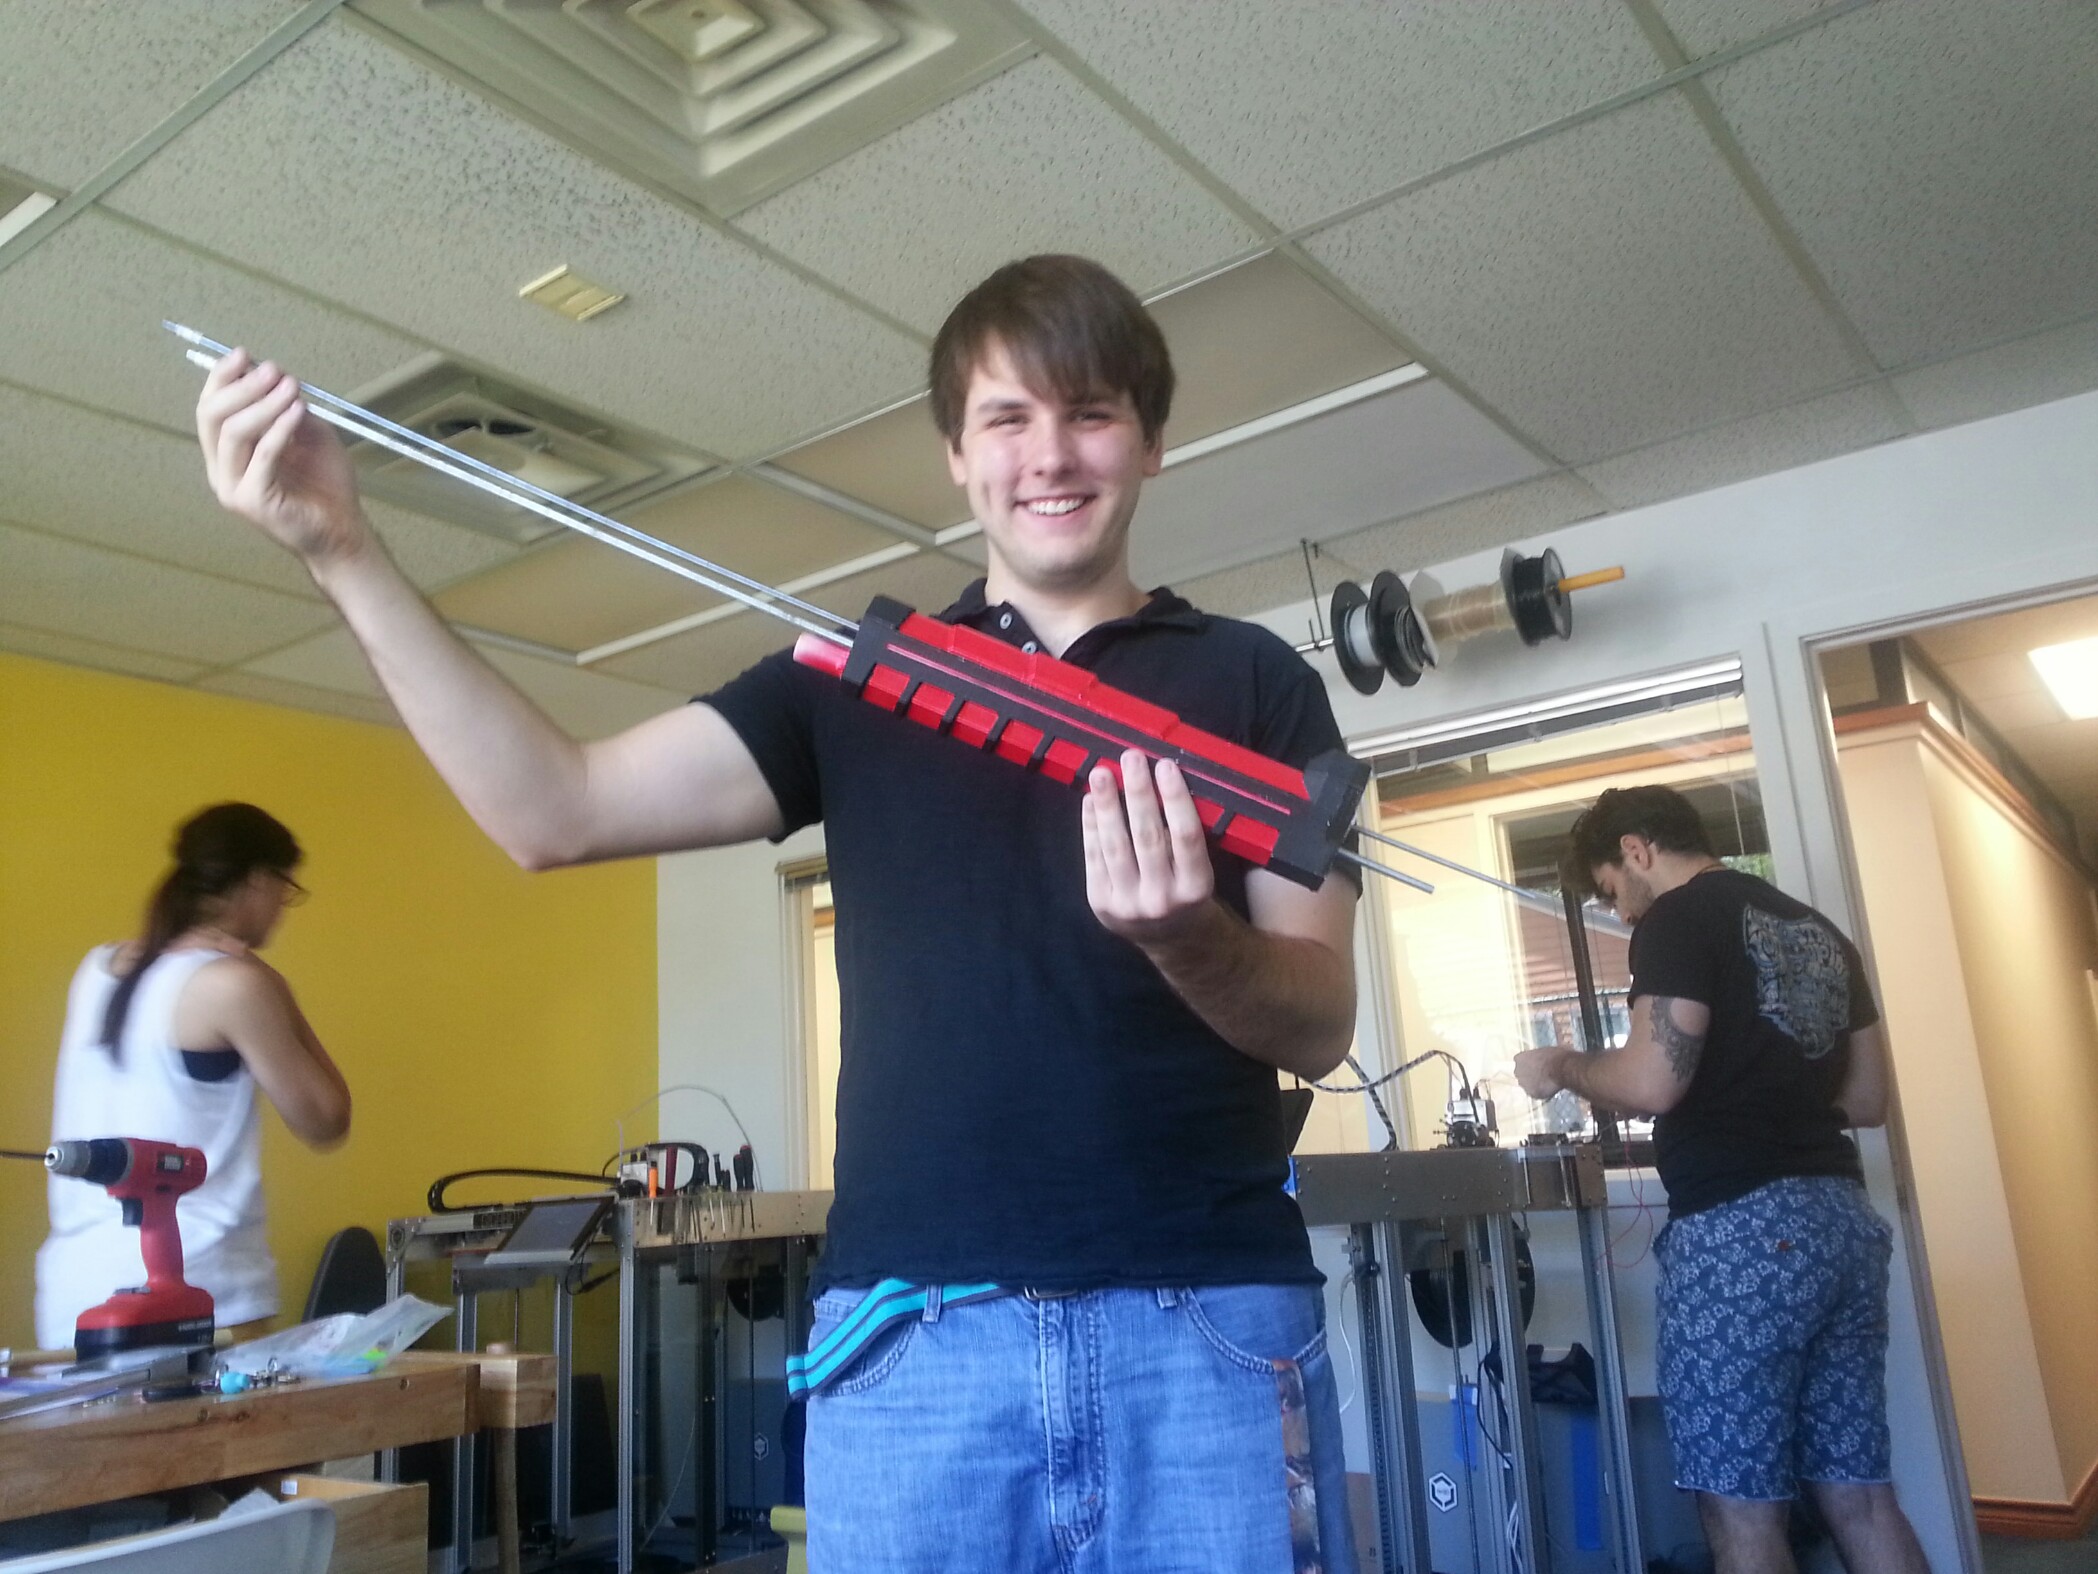
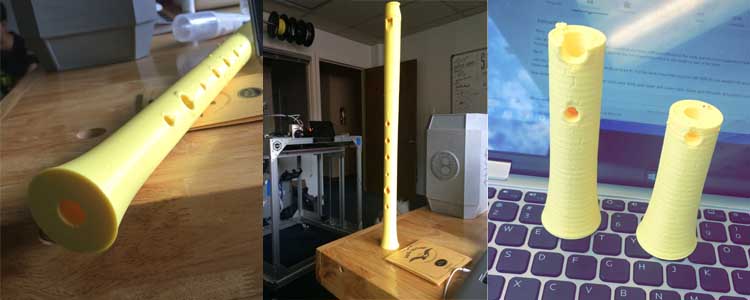
I took all of those questions into consideration, and through extensive research, I decided to design and print the most simple, straight forward instrument possible: a recorder.
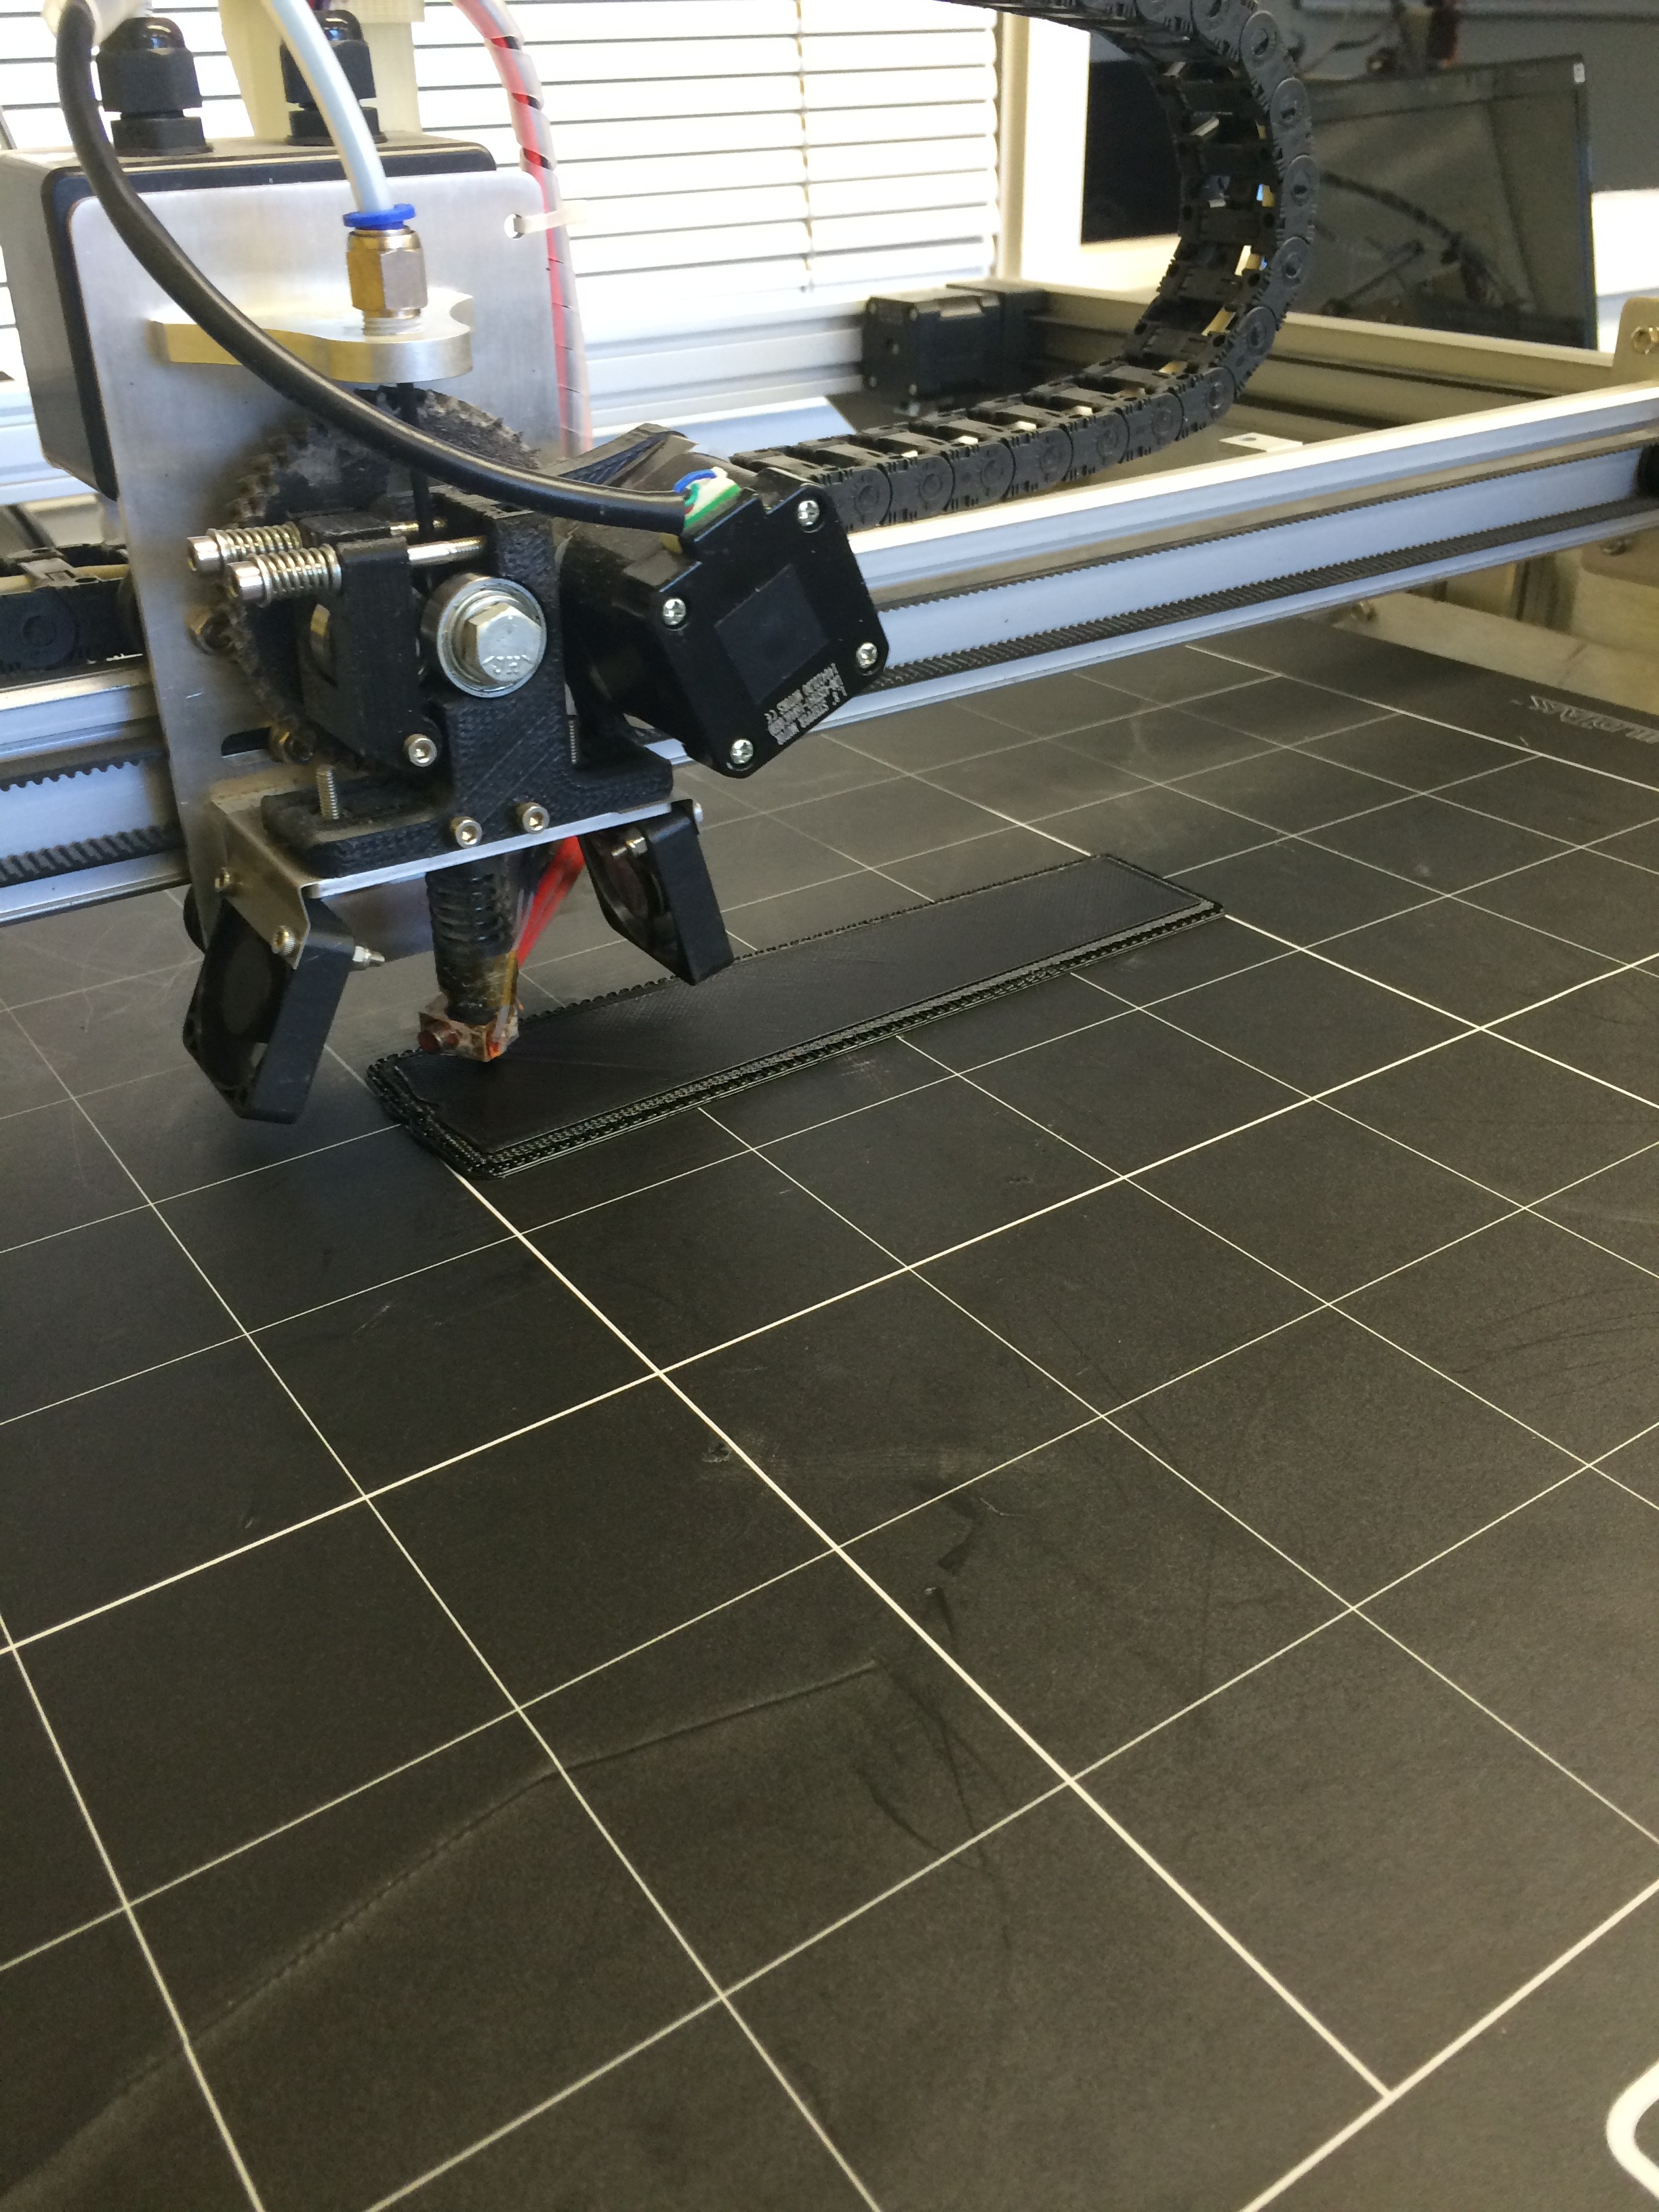
Recorders date back to the early 18th century, and are still used today in elementary schools all over the nation. Do you remember playing “Hot Cross Buns” and “Mary Had a Little Lamb” on that small plastic flute? There’s your classic recorder. Traditional medieval and baroque recorders are carved out of wood by a skilled luthier, but are now mass produced in factories, usually being made out of a plastic alloy. 3D printing an instrument, is in a way, a bridge between traditional production, and factory production. It allows for the precision and quality produced by a luthier to be expressed, while truncating the large time and labor-intensive factors that factory production targets.
I looked at how the acoustics transmitted inside the recorder, and how various holes produced different tones, and decided that I would mesh these characteristics with that of a whistle. I was also inspired by the recorder design of Cymon on thingiverse.com. (http://www.thingiverse.com/thing:12301)
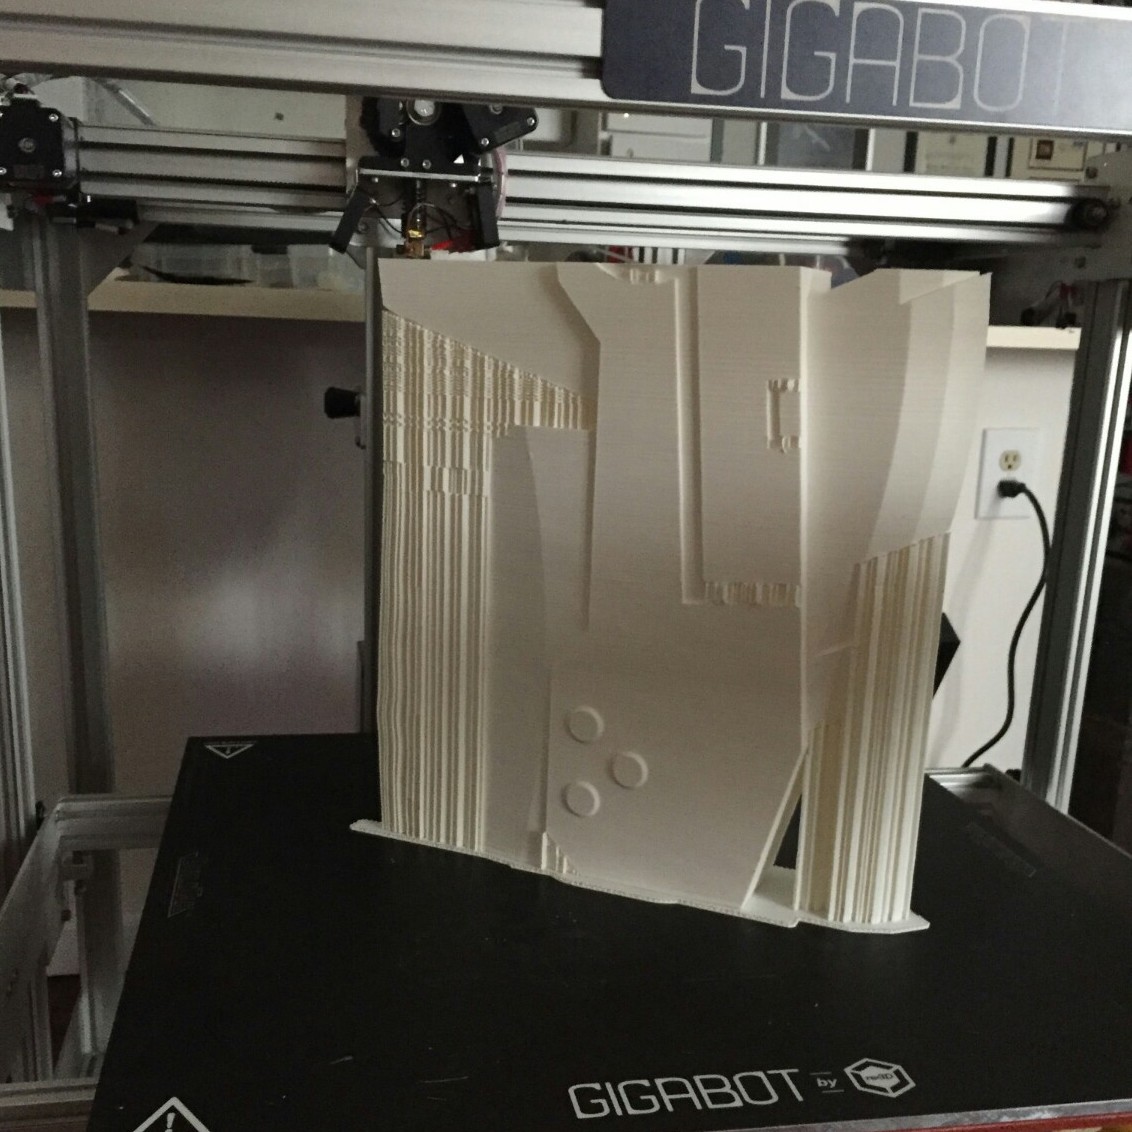
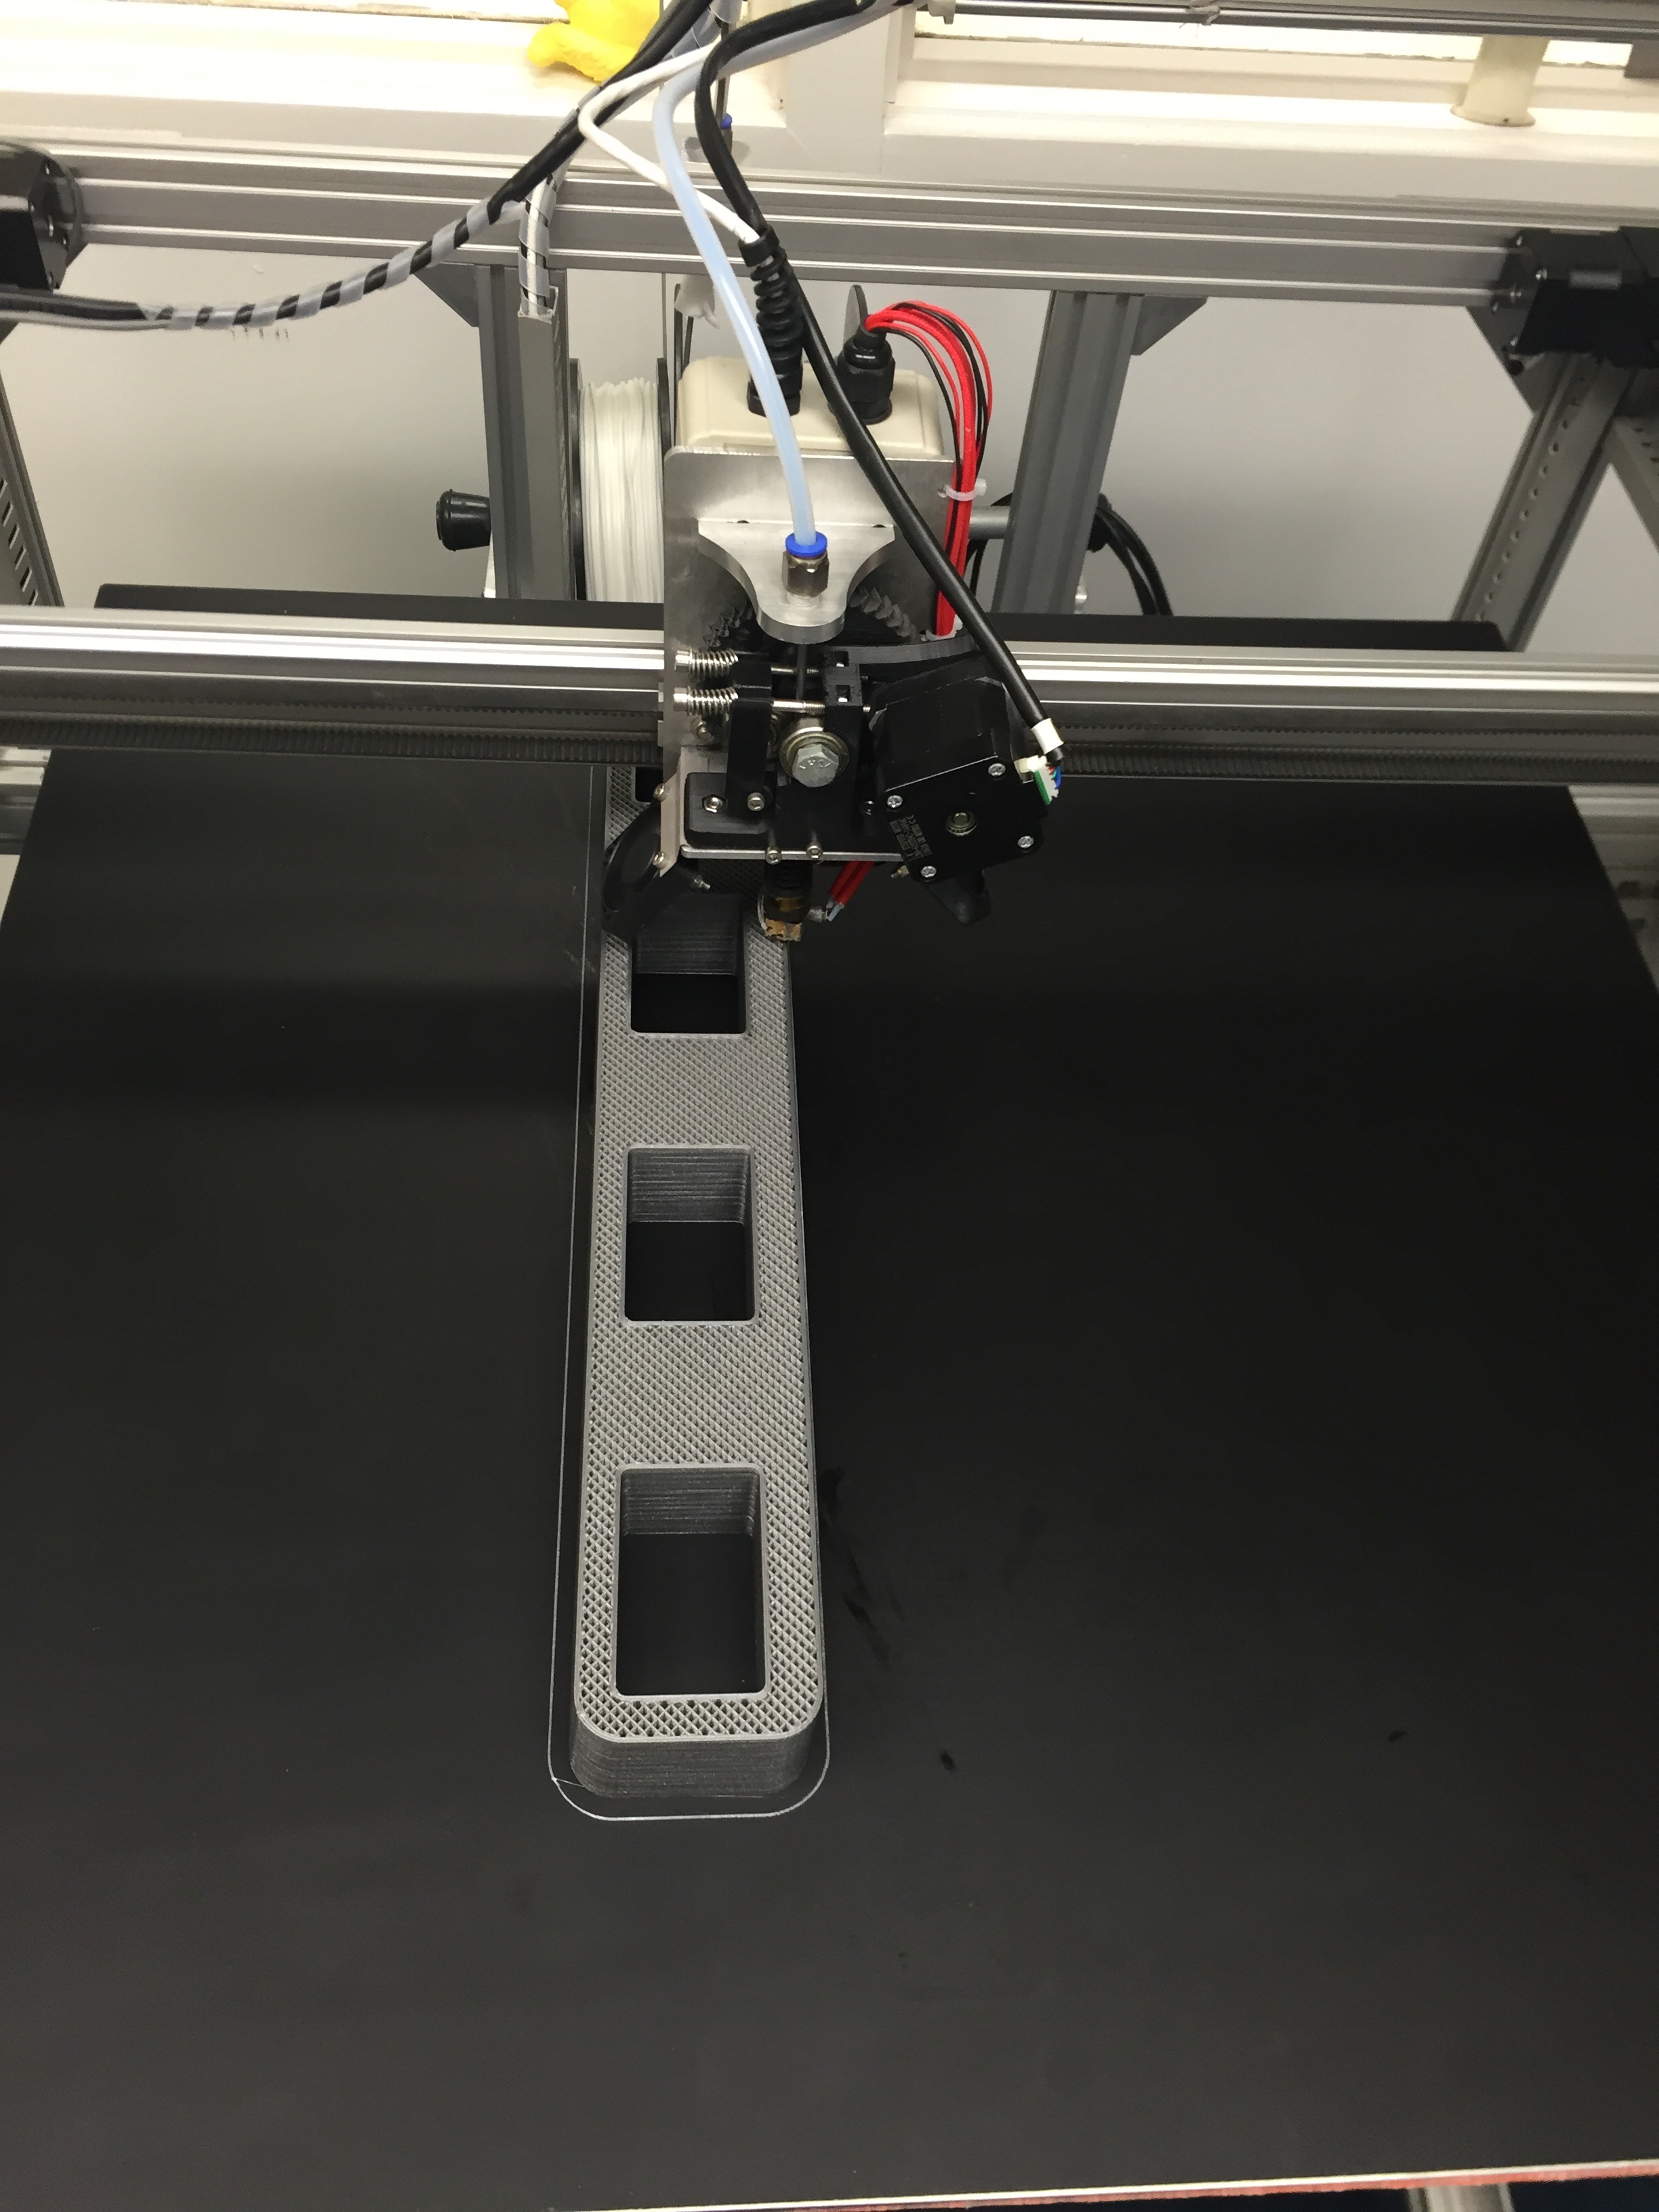
The final product that I created, is a combination of a recorder, folk whistle, and flute. Its tones and overall shape come from the recorder, the fact that it’s produced in one piece only (thanks to the GigaBot) and its various hole sizes are derived from the folk whistle, and its long, slender form, originates from the flute.