Innovating in The Time of Corona(virus)

The exponential spread of the novel coronavirus across the globe led to overwhelming demand on supply chains and disruptions to traditional manufacturing and distribution systems. Because of societal lockdowns and stay-at-home orders, a dire need quickly arose for locally fabricated, specifically focused and creatively sourced solutions to equipment shortages and emergency supplies. At home and across the globe, designers and engineers quickly mobilized into online, open-source prototyping groups to solve the challenge of a lack of personal protective equipment (PPE), ventilators and medical device accessories. 3D printing and additive manufacturing was an obvious go-to, with the ability to rapidly prototype and iterate on the fly, teams could utilize 3D printers to supply healthcare providers with equipment now, as soon as there were designs to print. The intention and needs were obvious and clear – to aid humanity and fill the gaps in supply chains – however, organizing volunteers and streamlining the process to avoid duplicate efforts was a daunting task.

As a company with a wealth of R&D project experience and long used to working as a distributed team, re:3D put out the call that we would prototype – for free – any life-saving devices or PPE in order to expedite review by medical professionals. We are conscientious contributors to the open source design community for COVID-19 response. We take a First, Do No Harm approach to any design work we do for this effort, meaning that it needs to be designed with input from, and in partnership with, the individuals who will utilize any equipment we prototype. We will not create anything that gives a false sense of security, but is ineffective or harmful. Our medical providers on the front lines are in need, and we are honored to take on the challenge.

Face Shields

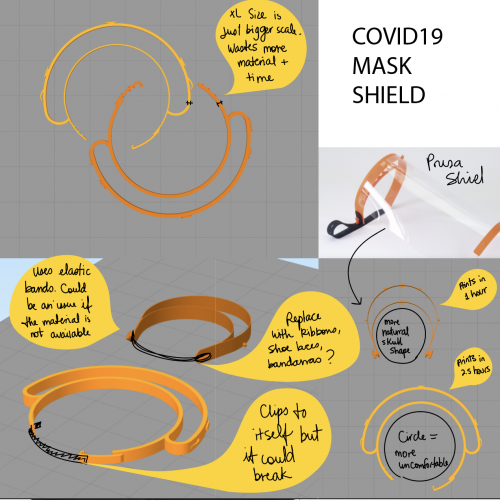
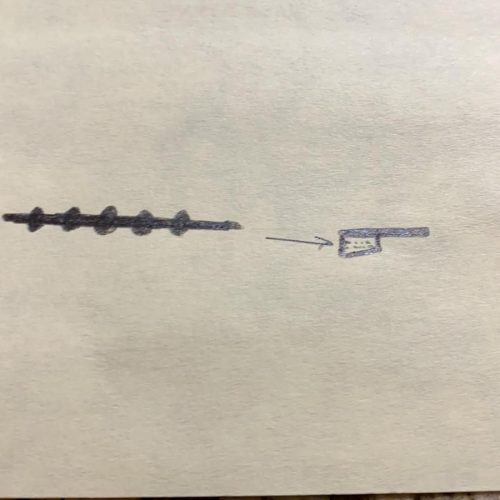
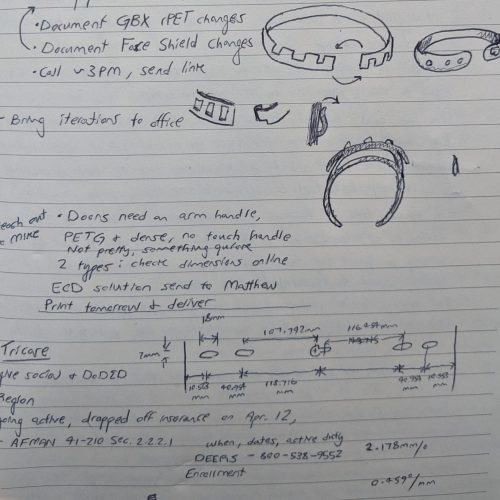
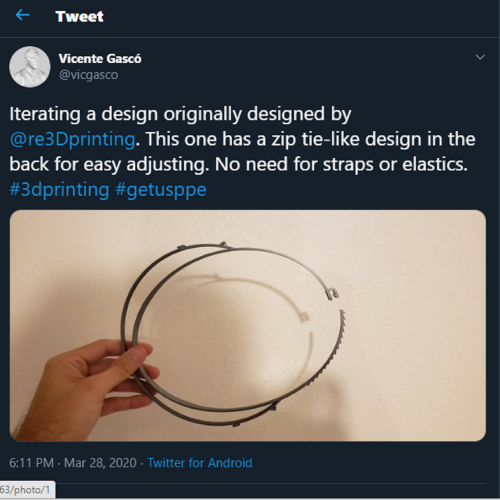
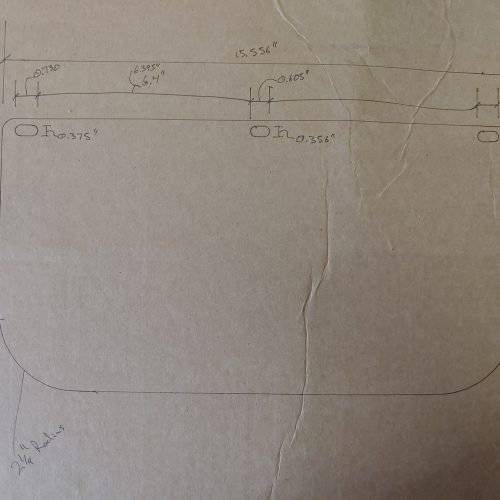
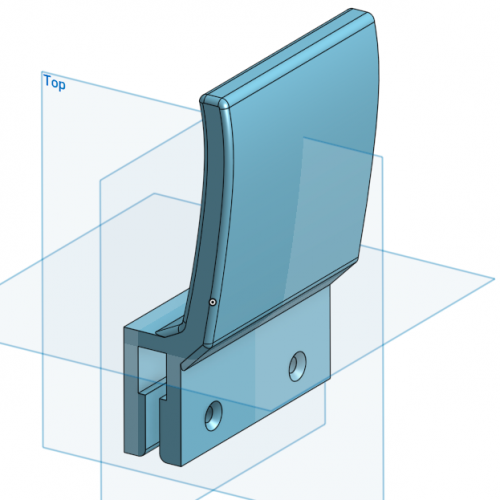
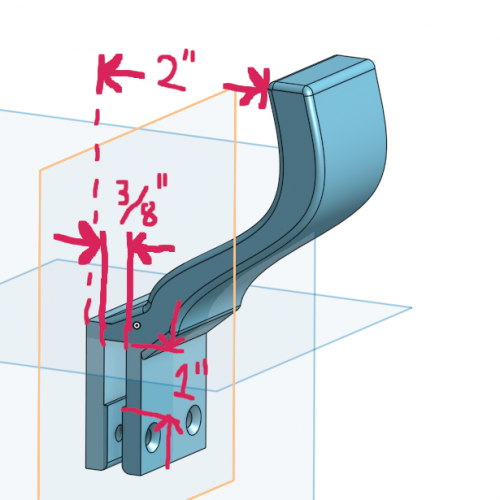
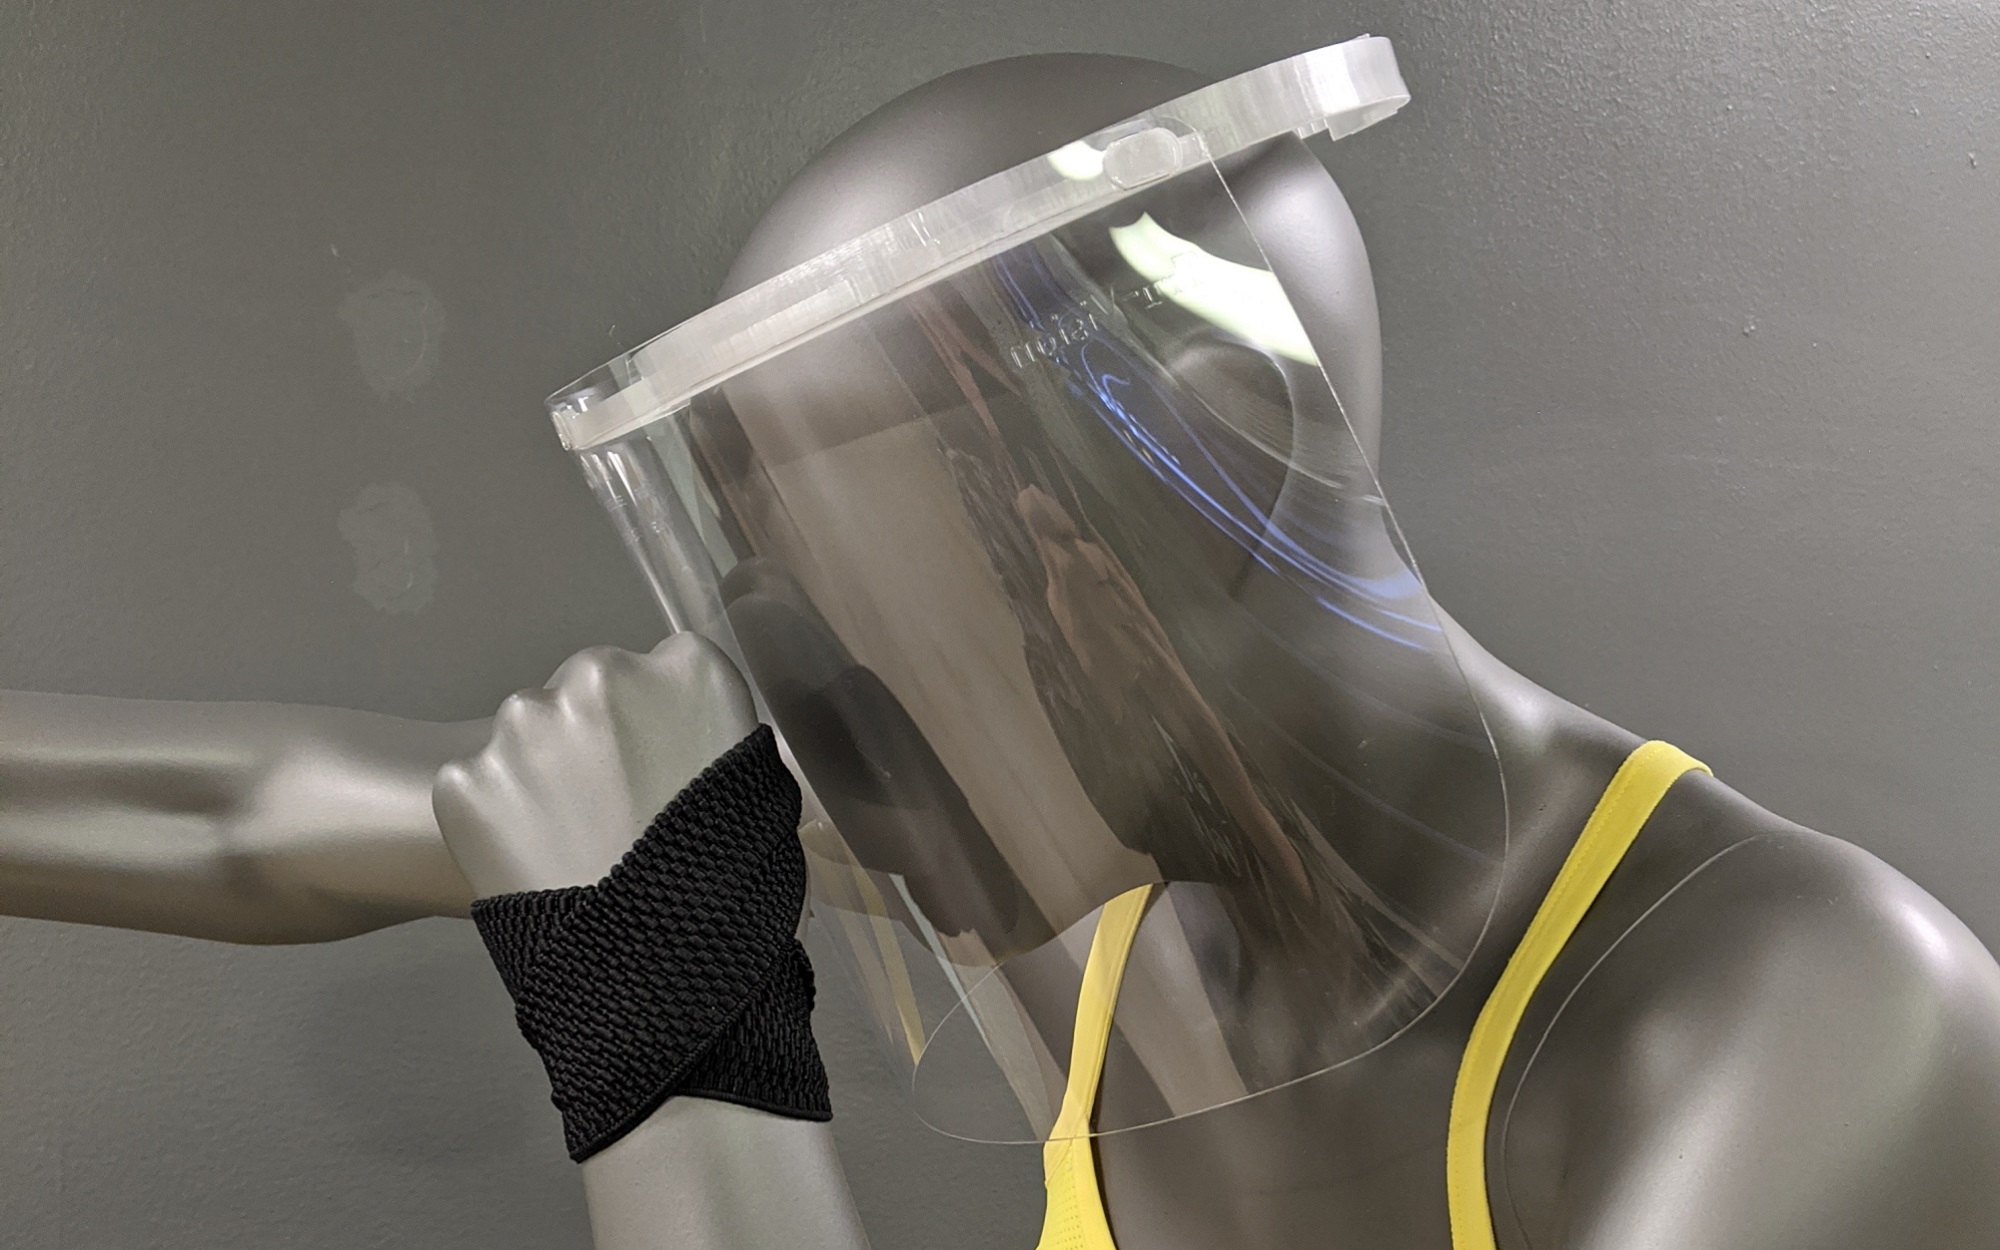
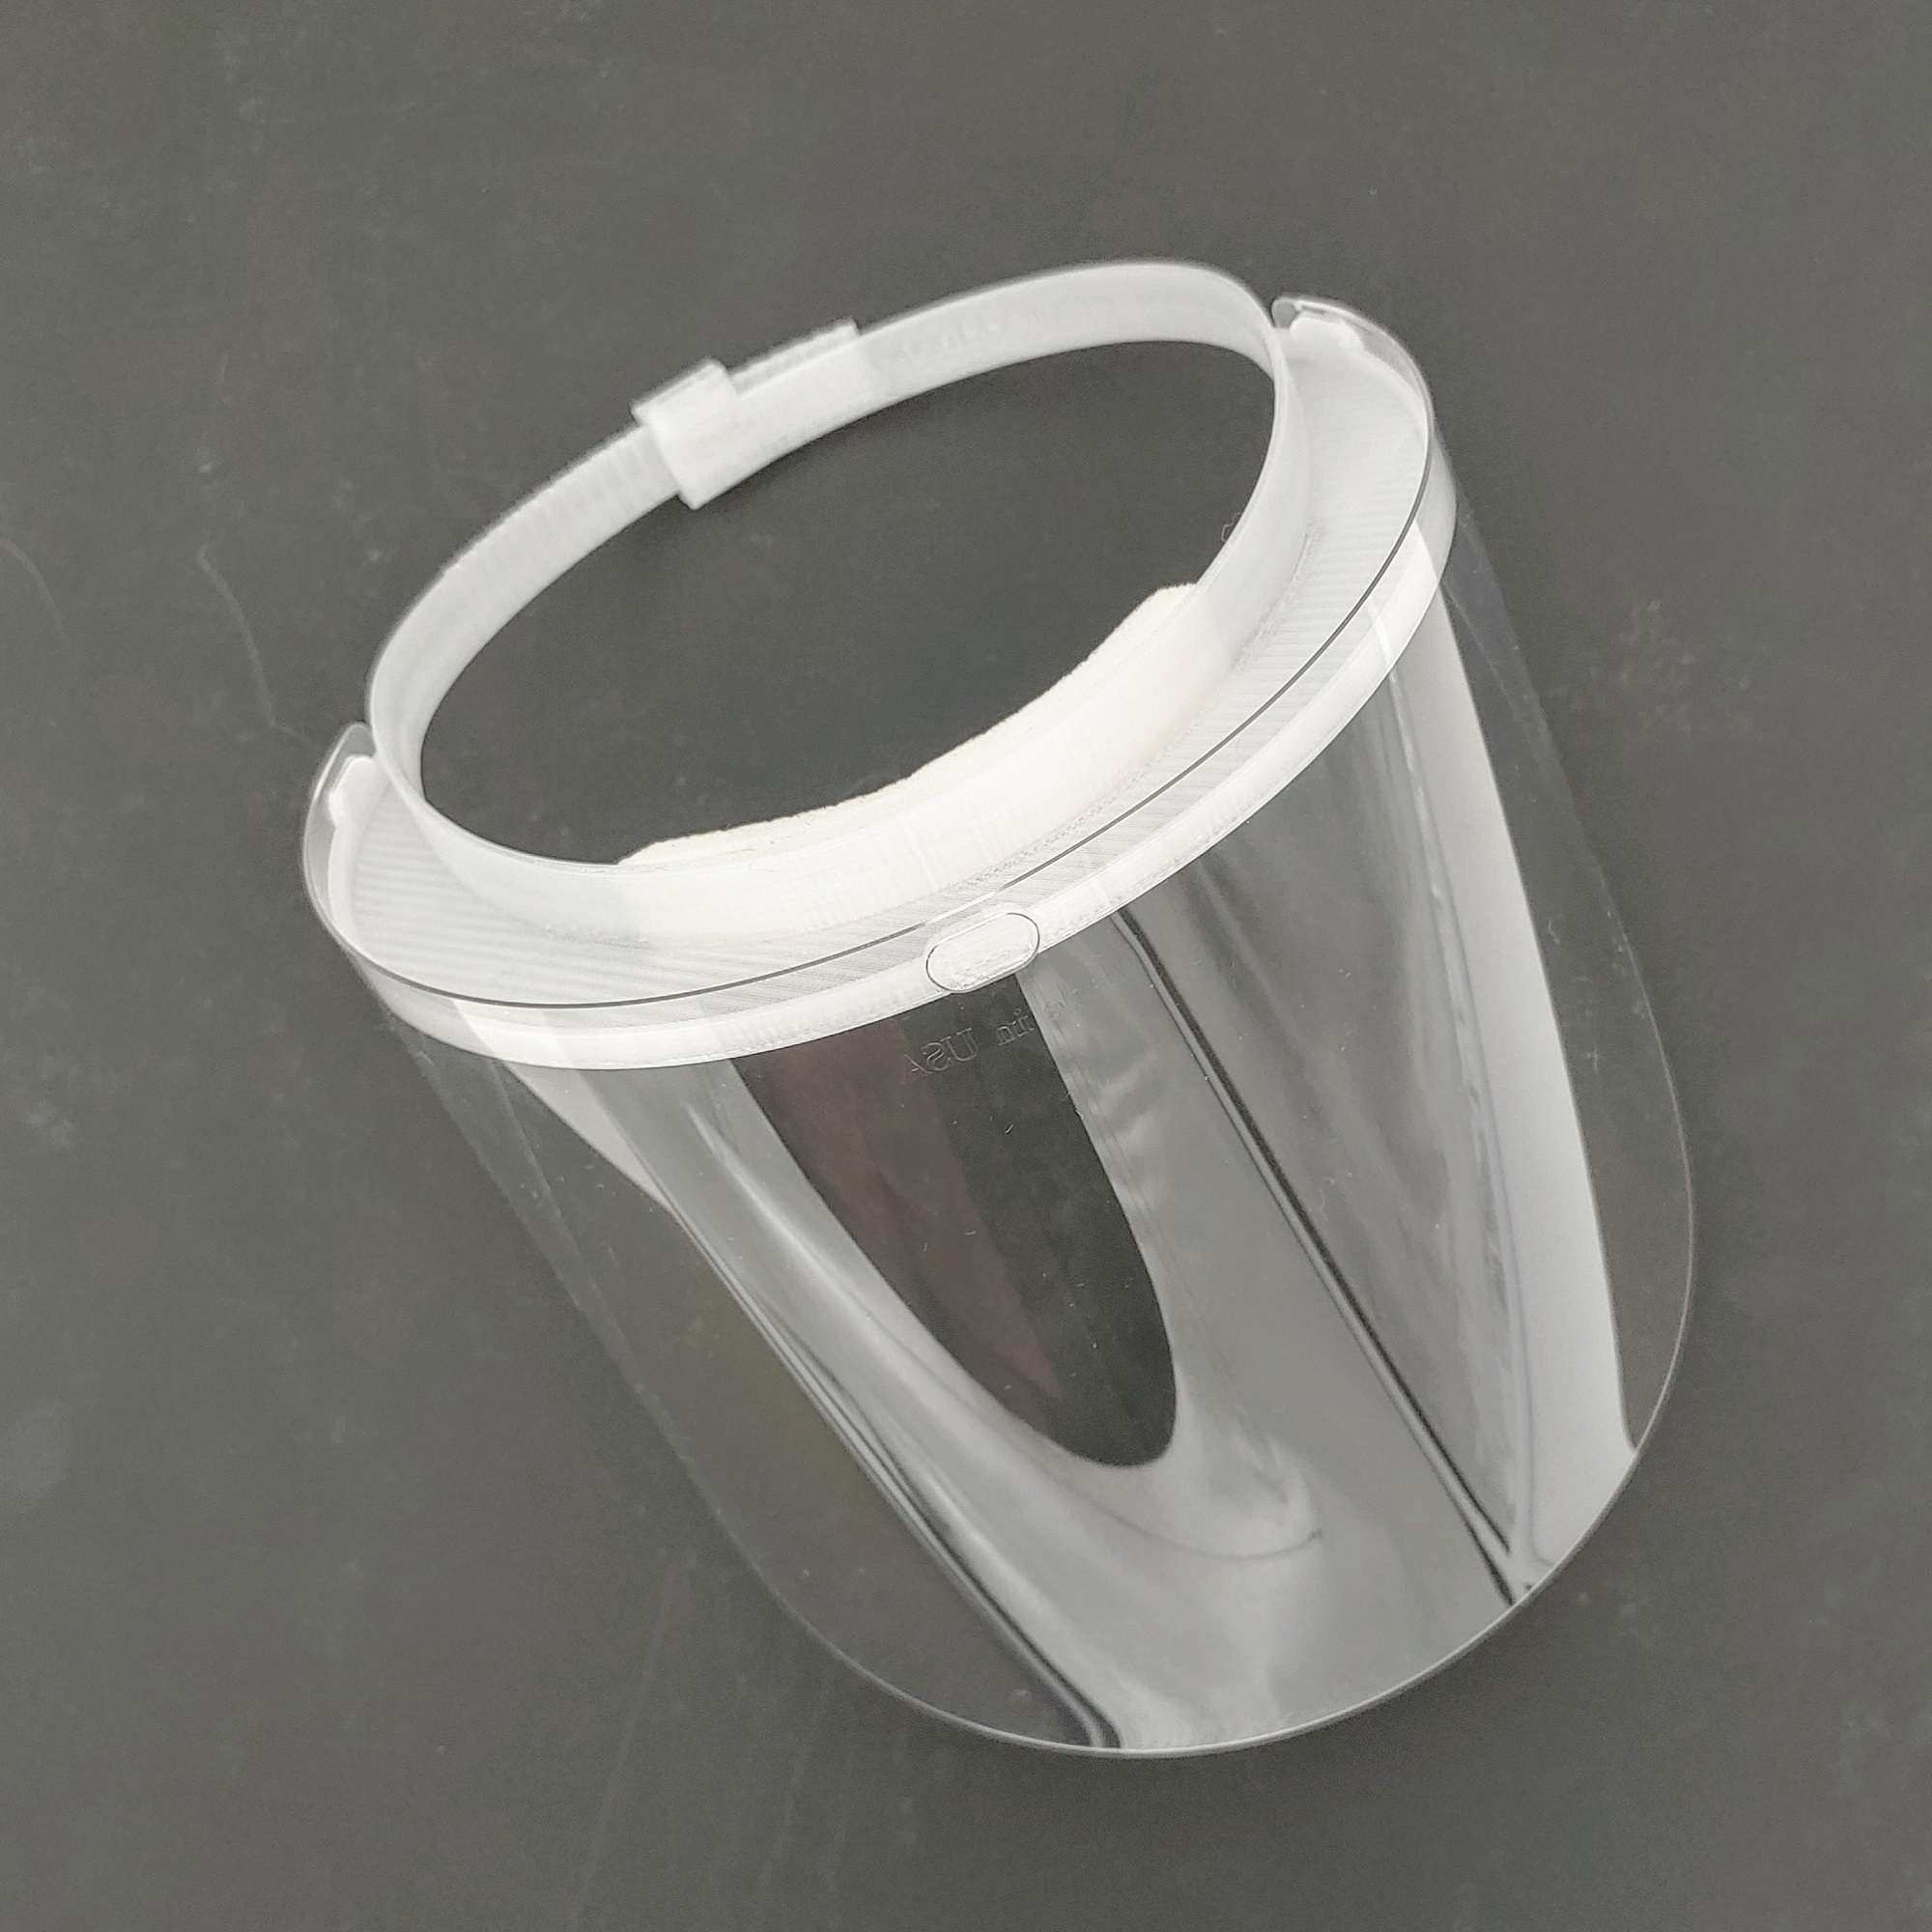
In two overlapping efforts, we prototyped a design for a 3D printed face shield with full visor coverage and an adjustable zip tie style latching mechanism. The inquiry started in Puerto Rico. Vicente Gascó, our friend and colleague from Tredé and Engine-4 shared he had a supply of 4000 clear plastic lenses for face shields, but no visor to which they would attach to the head. Armed with only the measurements of the lenses and aided by an idea from assembly guru and NASA technician Andrew Jica in Houston, Brian Duhaime, our mechanical engineer in Austin, and Alessandra Montano, our graphics designer in Puerto Rico, pumped out five different iterations of a face shield in only 48 hours.

Vicente and Luis Torres, co-founder of Engine-4, pulled our Puerto Rico Gigabot out of Parallel-18 and added it to the existing Gigabot at Engine-4. Gigabots in Austin and in Puerto Rico printed out iterations of the designs for testing.

In Houston at the same time, CTO Matthew Fiedler, mechanical engineer Helen Little and community liaison Charlotte Craff were meeting with doctors from a local hospital to discuss their needs for a face shield. Knowing that vetted, open source face shield designs were already available, the group reviewed designs by Prusa, Lazarus3D, Budmen and Professional Plastics. The Houston team 3D printed existing options for the doctors to test, but the designs didn’t meet all of the doctors’ needs:

  • Lightweight, fully closed top
  • Reducing the air gap between lens and chin
  • 180 degree lens coverage
  • Limit number of parts to reduce need to source materials in short supply

Knowing that supply chains were disrupted and very little raw materials were available in a timely manner, re:3D conferred with Professional Plastics and determined that plastic sheeting supplies were well behind schedule, but that there were excess pre-cut face shield lenses available. Again, re:3D opted to prototype to existing, local supplies, keeping stress off of traditional supply chains and getting creative with what was available.

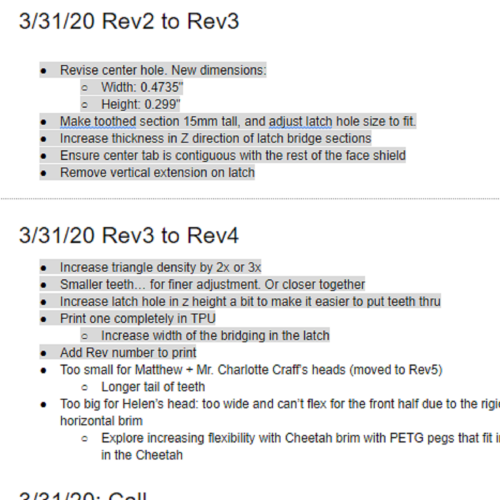
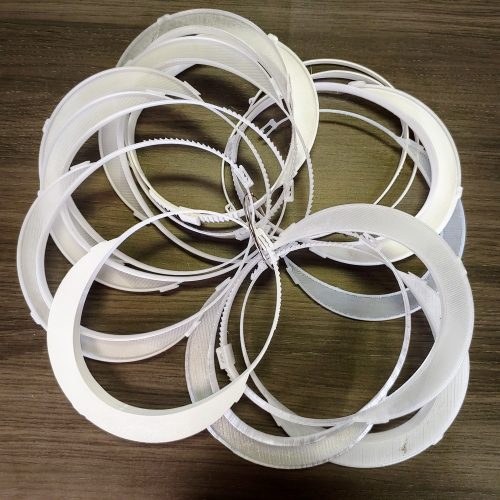
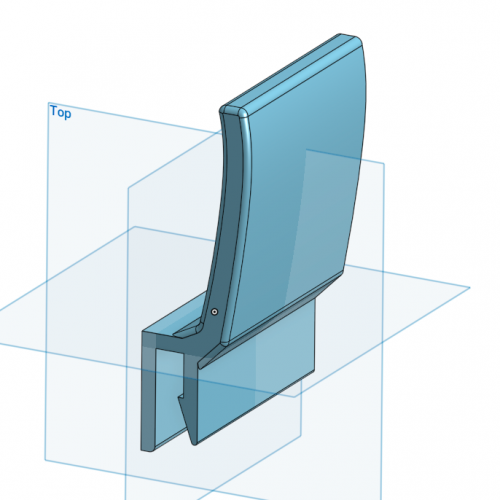
Over the next week, Helen built on the work done for the Puerto Rico design, integrated the needs of the doctors and iterated ten different versions of the face shield while working from home and rarely getting to hold a print in her hands. The result is a single print, face shield with an adjustable latching mechanism. It’s designed for 180 degrees of protection and comfort without the addition of foam padding.  It has the approval of the hospital’s Infection Control and  is currently available at the National Institutes of Health 3D Print exchange for COVID-19 Response. https://3dprint.nih.gov/discover/3dpx-013504
Hands-Free Door Pulls

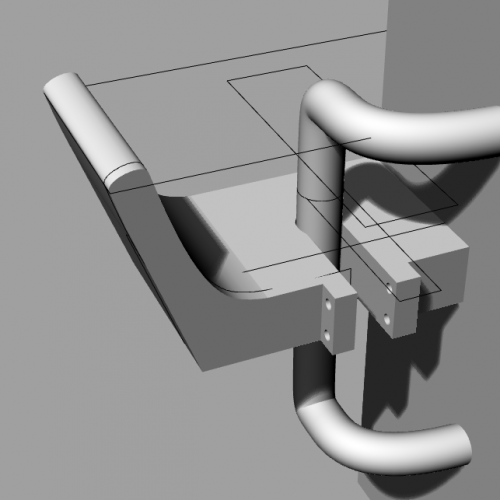
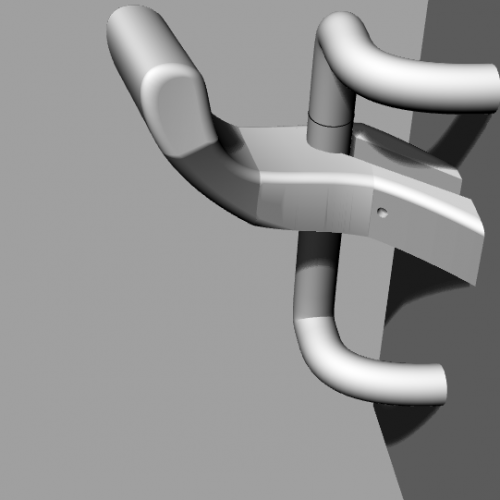
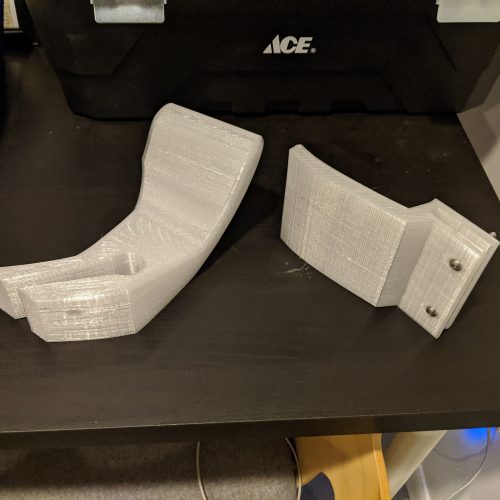
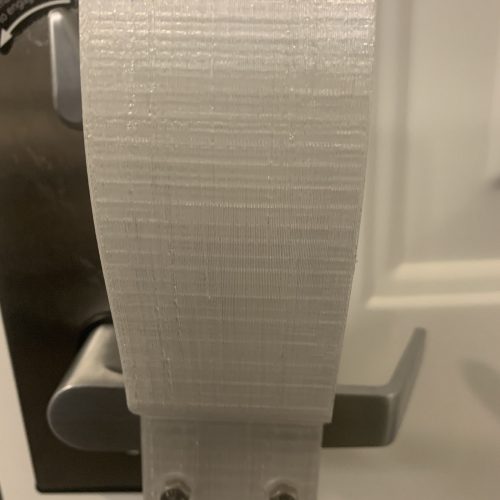
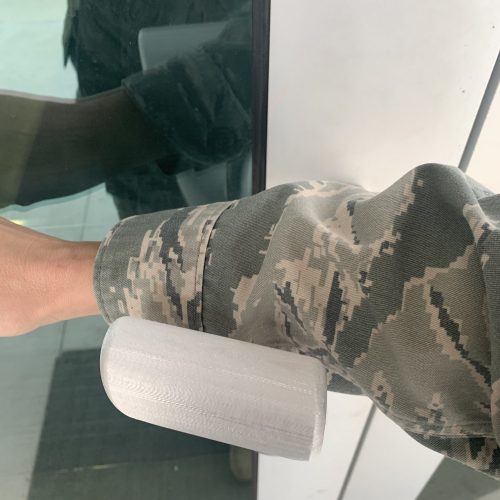
Eliminating unnecessary shared contact surfaces is imperative, especially in buildings where essential workers are operating to continue necessary services. Our team includes multiple military service members. One of our reservists was activated when she sent out a call back to our team to make some hands-free door pulls to use on the base. Aided by Matthew Fiedler, Mike Battaglia, our designer in Austin, and Brian Duhaime went to work prototyping hands-free door pulls for lever-style and bar-style door handles.

These designs were drafted before we had dimensions for either of the door styles, so had to be modeled in such a way to enable incremental dimensional adjustments while preserving the models’ shapes. During her free time, the service member sent feedback on the first versions via pictures and notes, and Brian and Mike iterated the changes remotely, melding organic shaped and attachment options into single print solutions.

The hands-free door pulls are now successfully in use on base, protecting our military personnel as they work to respond and aid COVID-19 efforts. These models are available for download here https://3dprint.nih.gov/discover/3dpx-013825 and here: https://3dprint.nih.gov/discover/3dpx-013822

From Intubation Box to Drape Stands

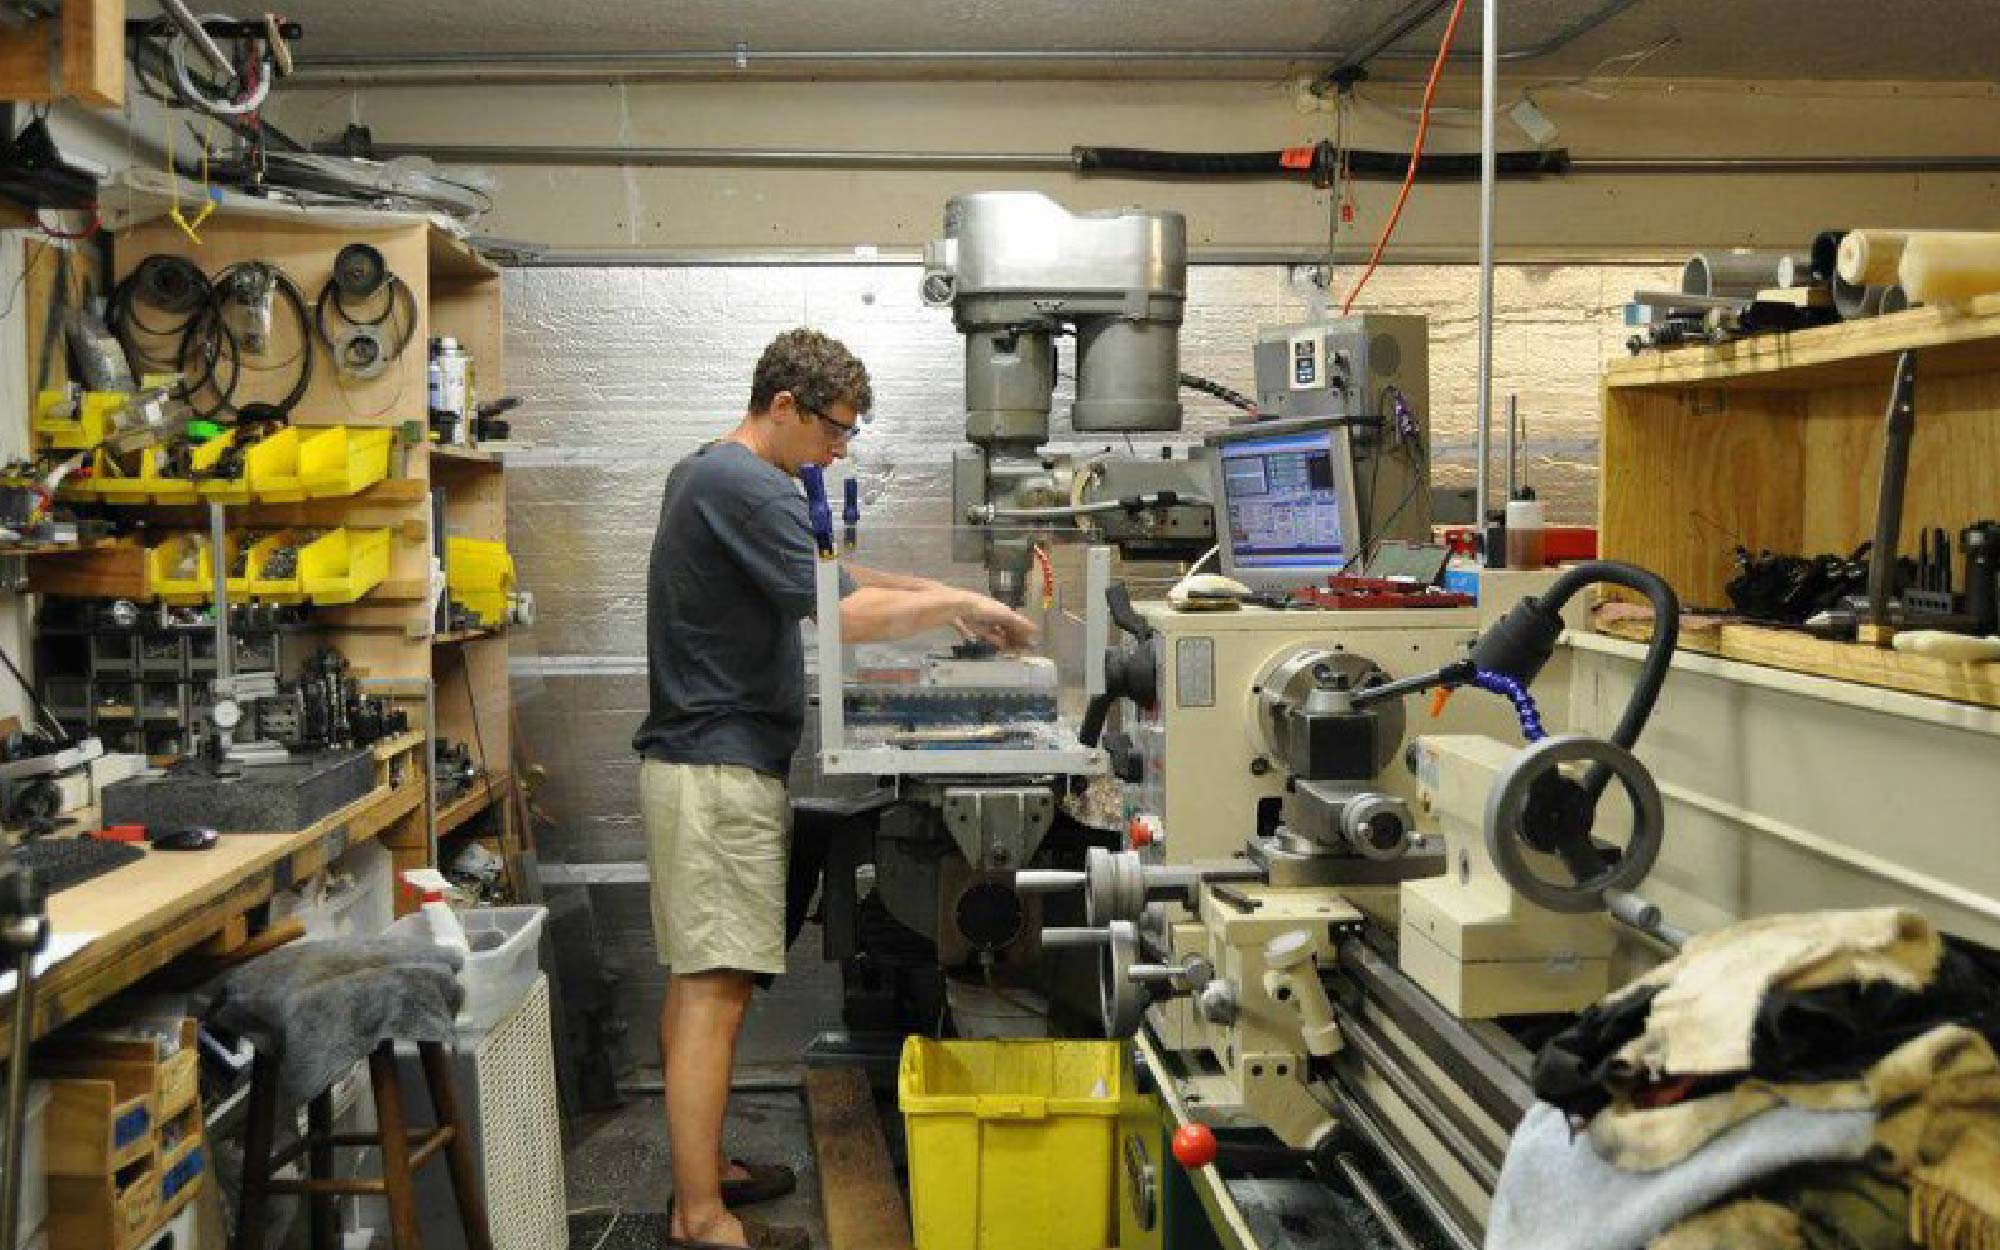
As a 3D printer manufacturer, we are understandably advocates of 3D printing use in manufacturing. However, we recognize that not all innovations require, or are best served by, an exclusively 3D printed solution. As we do much of our manufacturing in-house, including machining parts on our CNCs, we can apply rapid prototyping principals to traditional manufacturing methods. Take the example of an aerosol or intubation box:
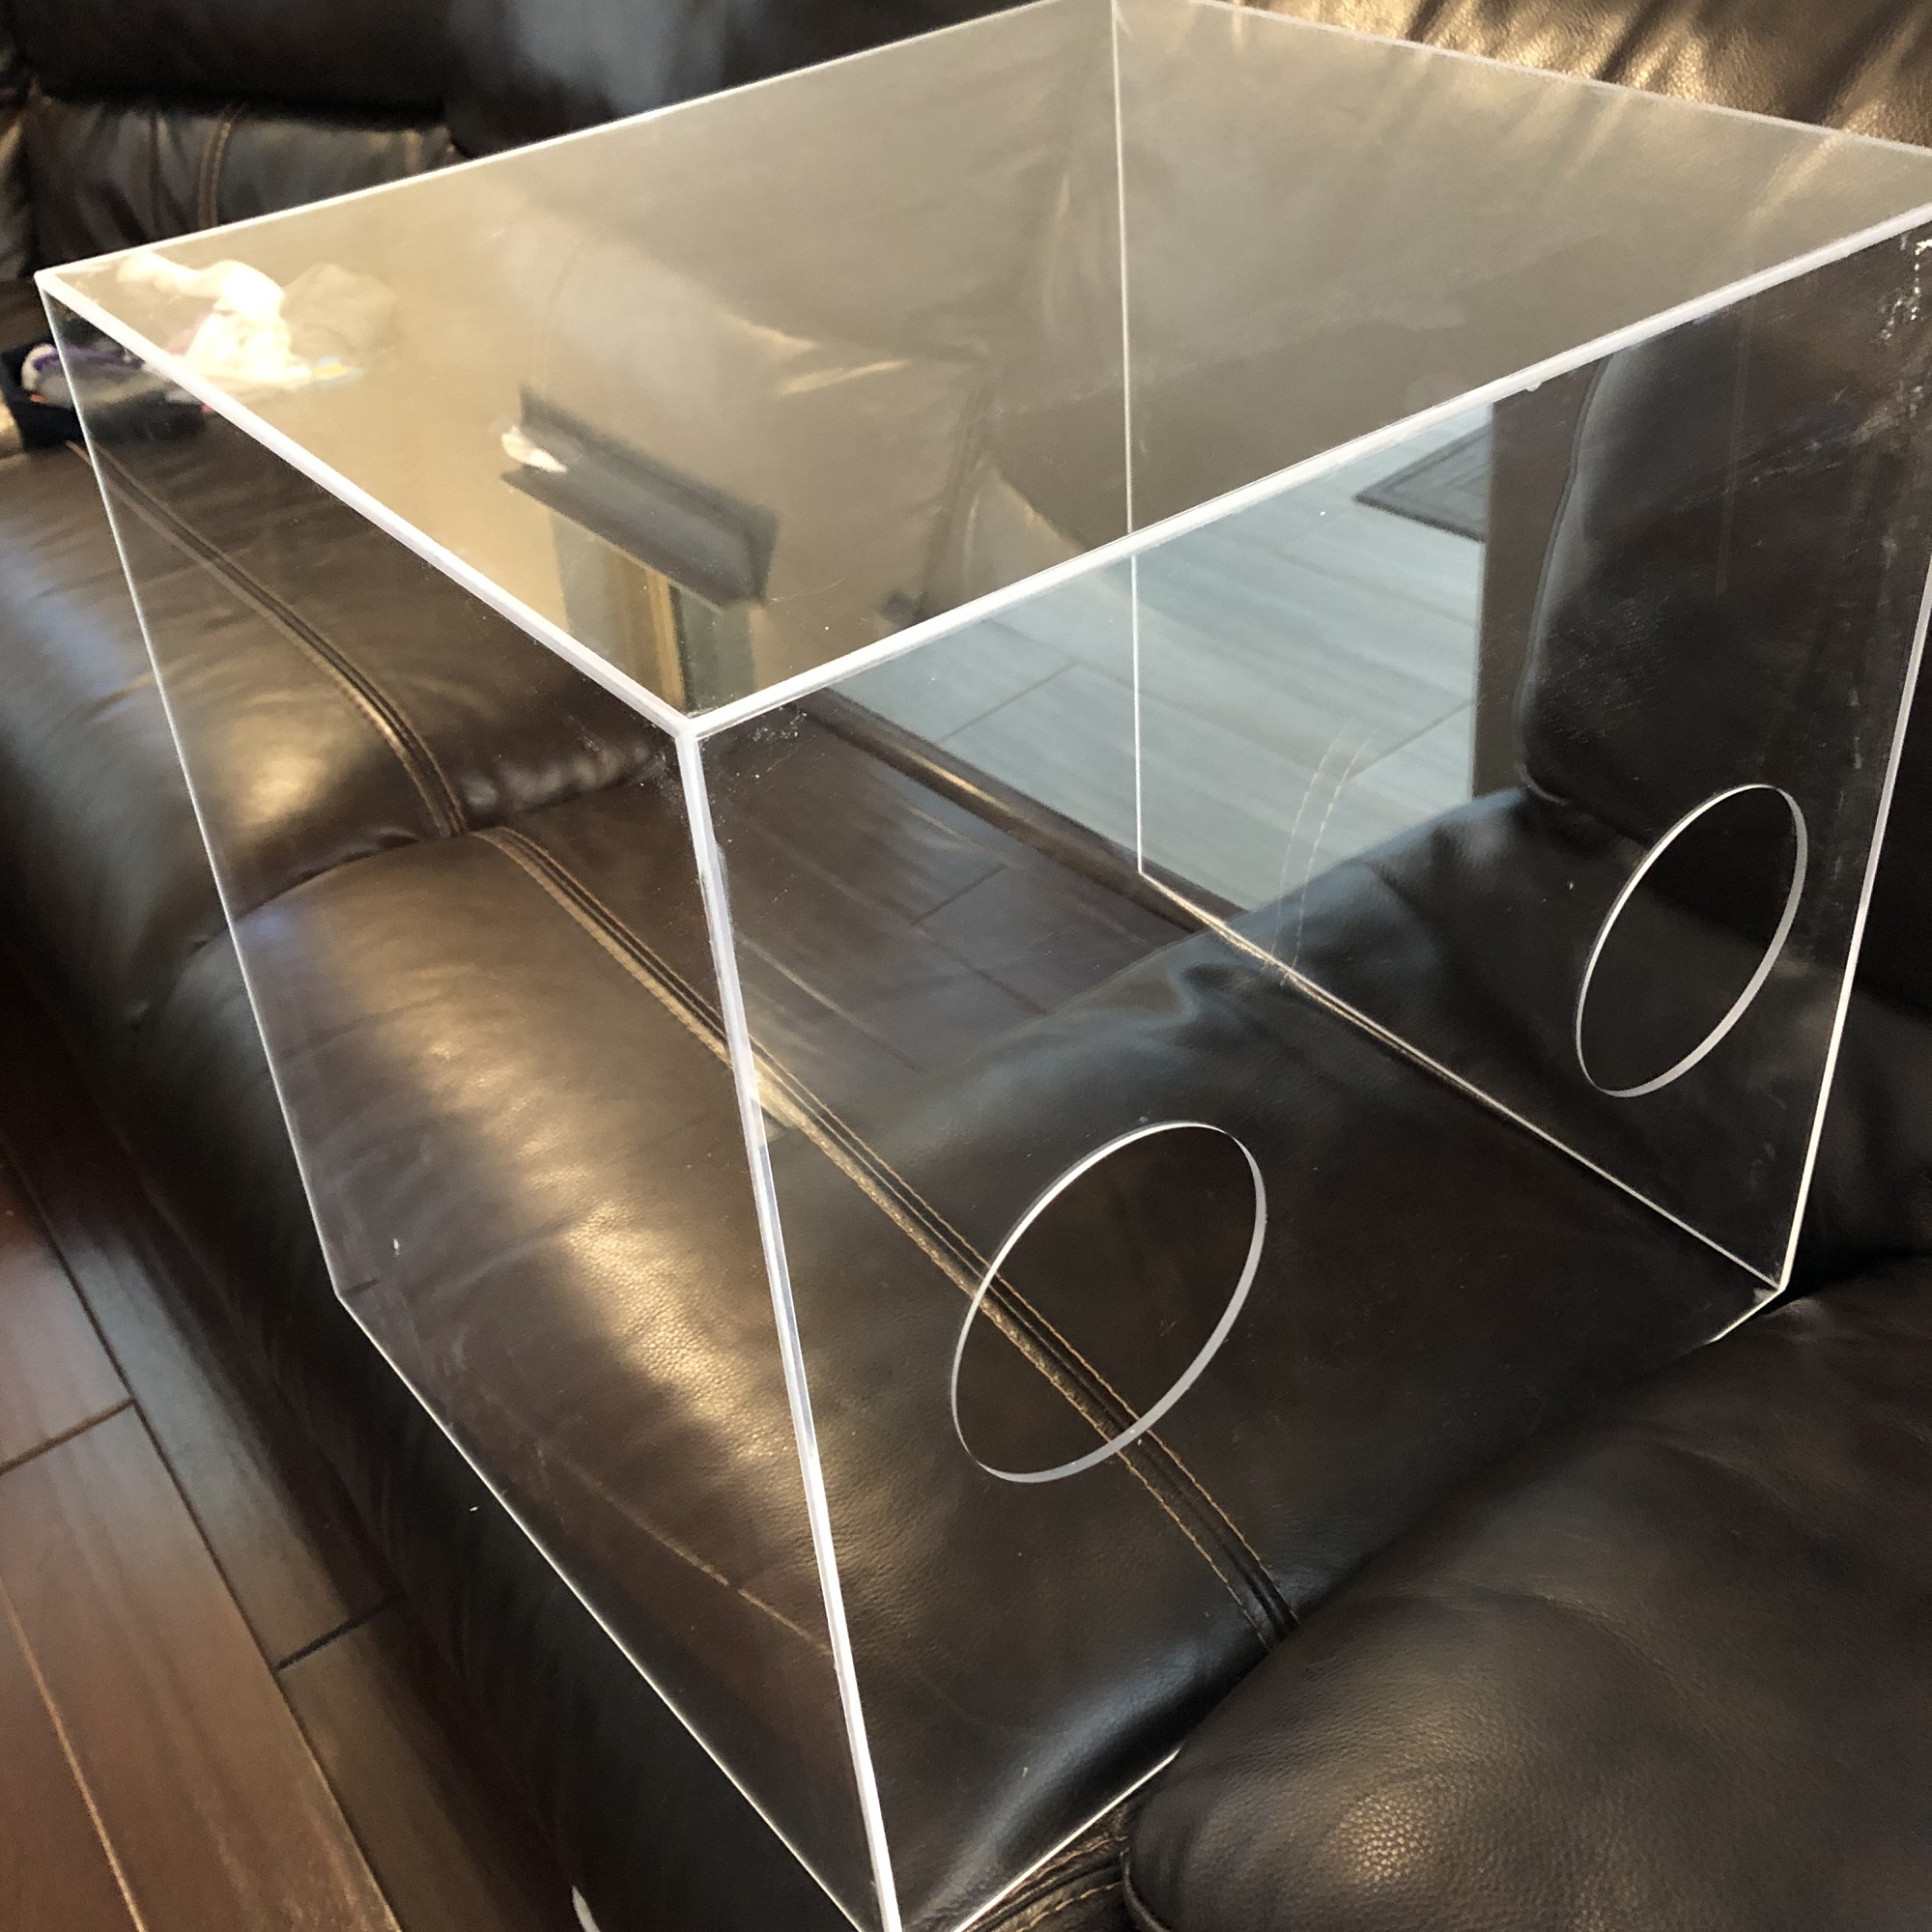
We were contacted by an anesthesiologist based in Austin about modifying such a box, used to protect doctors and nurses from aerosols released when intubating a patient. The doctor’s main concerns were ability to clean and the need for a “helper” hole. This equipment needed a curved, clear surface rather than sharp corners where germs could hide. We offered to prototype using polycarbonate sheeting and an aluminum framework available in our machine shop.  In this case, the request for aid evolved before we produced a prototype. The anesthesiologist reported that the existing boxes were unwieldy and took up too much space, so instead requested a solution for supporting clear plastic drapes to achieve the same purpose and be easy to store. Matthew Fiedler proposed a combined 3d printed base and a bent aluminum frame for the project. Design work is ongoing and we will update this post as the prototype develops.

Are you a healthcare professional needing a COVID-19 related equipment solution? Please reach out to us at info@re3d.org to begin coordination. Should you wish to purchase any of our COVID-19 designs. They’re available in our online store: https://shop.re3d.org/collections/covid-19

Interested in supporting existing efforts to fight COVID-19? See below for how to help in Austin, Houston and Puerto Rico.

There is a huge maker community that has sprung to action to support the 3D printing of PPE here in Austin and the surrounding areas.  One of the largest efforts is being run by Masks for Docs (masksfordocs.com), who are actively soliciting donated face shield prints, assembling the shield, and distributing them to hospitals, health clinics, nursing homes, etc – all around the Austin area.  To help with this effort, re:3D will be collecting donated 3D printed face shields in drop-boxes at two locations, Brew & Brew and the Draught House Pub.
 
If you have a 3D printer at home or work & want to help out in the Austin area, you can access the Face Shield Design here.
 
Recommended Print Settings:
  • PETG is preferred, but PLA is completely acceptable if you don’t have PETG or are not able to print with it.
  • 3-4 solid top/bottom layers
  • .3mm layer height
  • 5 Perimeters (AKA Shells or walls)
  • 0% Infill
 
Drop off boxes can be found at:
 
Brew & Brew
500 San Marcos St #105, Austin, TX 78702
 
The Draught House
4112 Medical Pkwy, Austin, TX 78756
TXRX and the amazing maker-community continue to organize face shield collection around Houston.  We are donating 3D printed face shields as well as hosting a community donation box for makers in the Clear Lake area who are printing the face shields at home.  At our factory, the batches are consolidated and sent to TXRX for assembly and distribution to hospitals and first responders in the Houston area.  To date, over 1600 face shields have been donated from the Clear Lake area –  keep it up!
More information and the design file is available here.
 
The Clear Lake drop off box can be found at:
re:3D, Inc.
1100 Hercules
STE 220
Houston, TX 77058
The maker community, including a few Gigabots have done a fantastic job collaborating in San Juan & beyond. We are currently collecting requests for those in need of PPE and sharing opportunities to connect with Engine-4 and Trede’s efforts in Bayamon and additional efforts. If you live in Mayaguez and would like create face shields to be assembled with sheets that have been donated to Engine-4, a drop off box has been established. A UPRM student has also initiated a Slack channel to share other needs. Email info@re3d.org for access.
 
The Mayaguez drop off box can be found at:

Maker Chris’ house at:
76 Calle Santiago R Palmer E, Mayaguez PR 00680


If you live outside of these areas and/or are seeking ways to contribute, A Form to Volunteer is Available Here. We will be responding to inquiries this weekend and doing our best to facilitate introductions:)

Charlotte craff

Blog Post Author
COVID-19 Update: Operations, Serving Educators & Joining the Fight

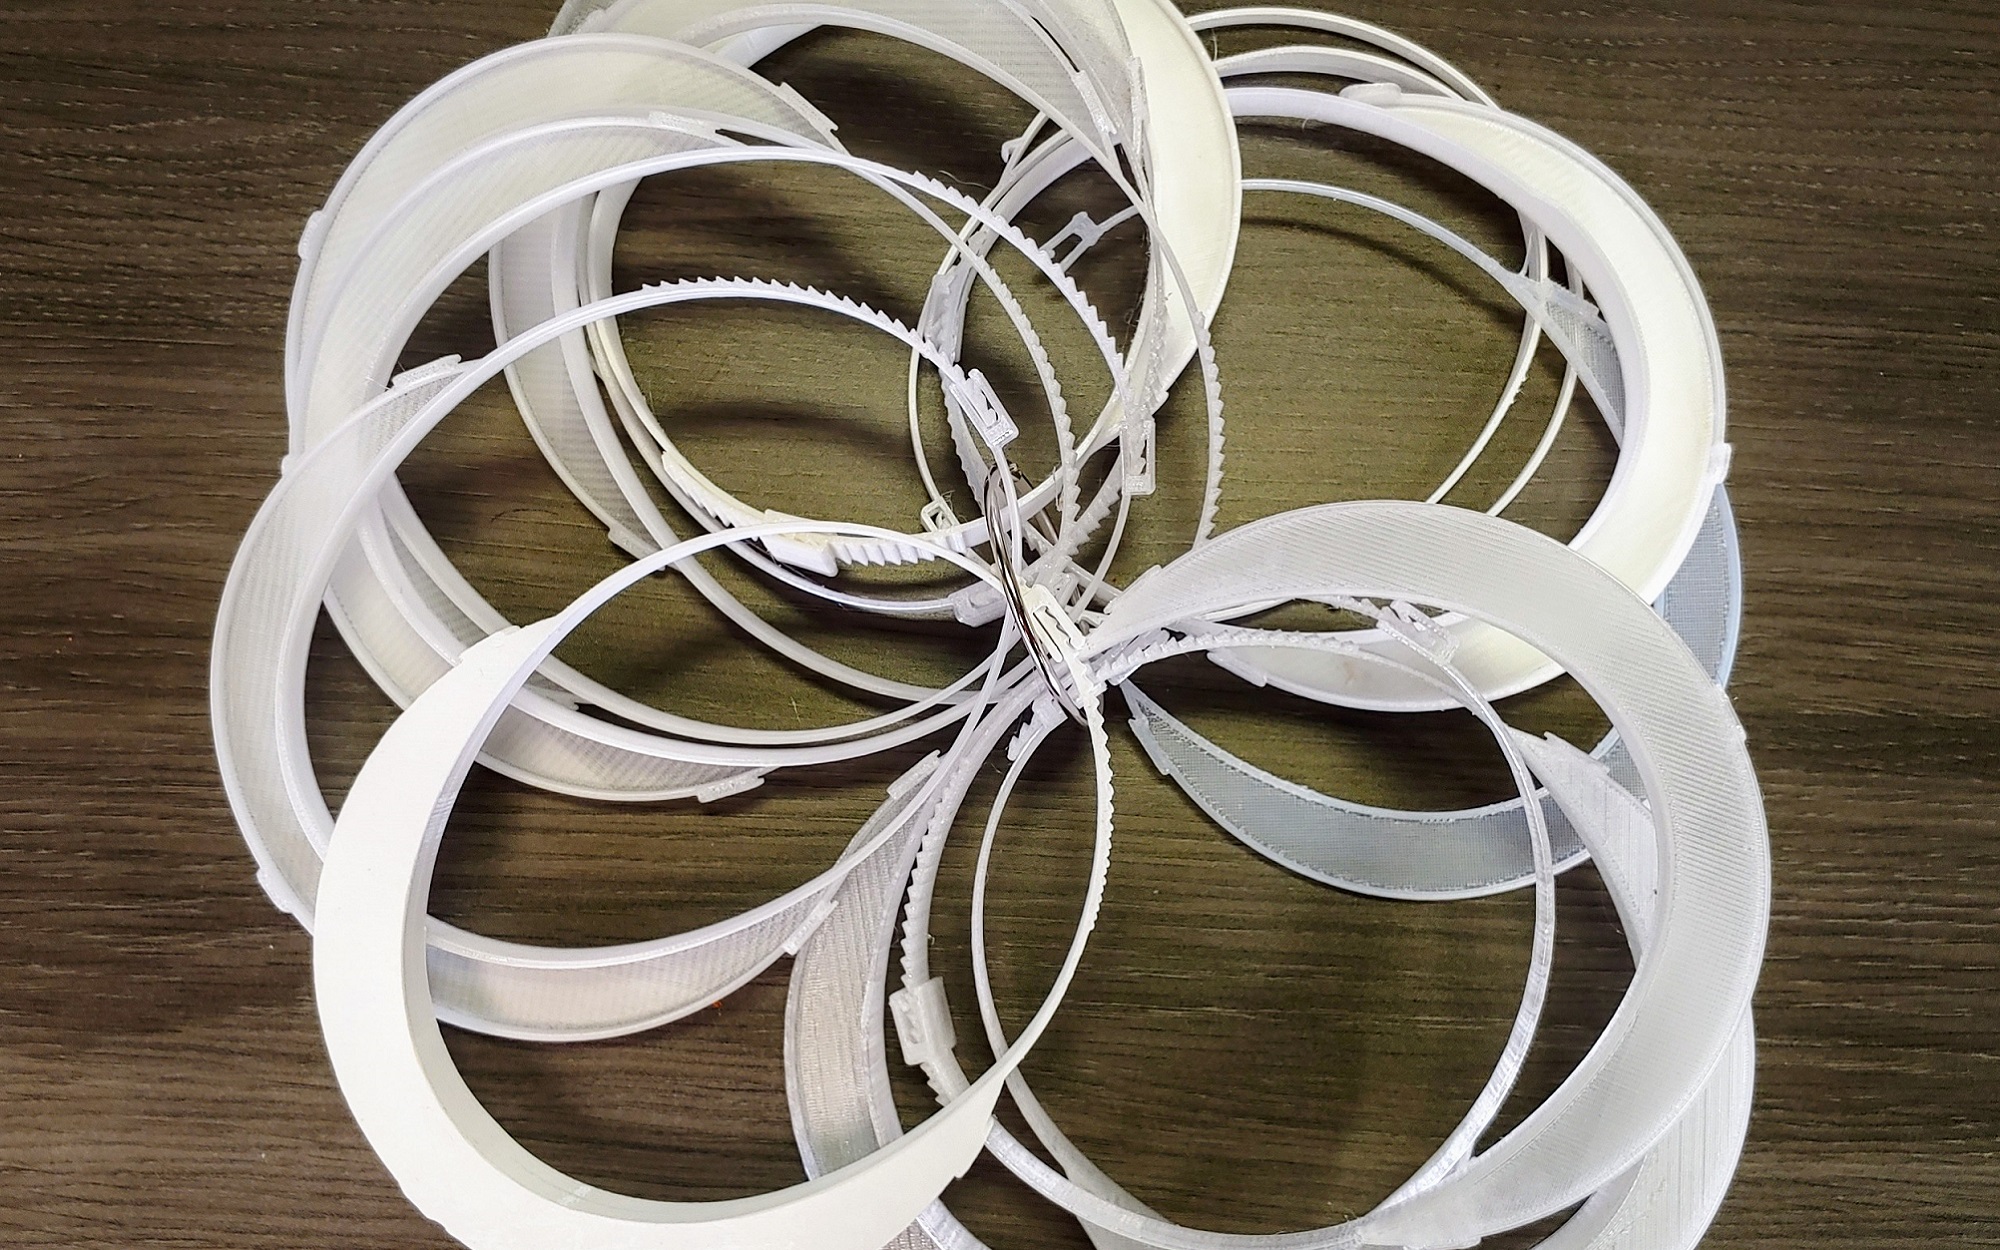
3D printed mannequin using a 3D printed face shield

2022 Update

Dear Gigabot Family,

re:3D still has about 200 face shields available for free anyone who needs them to keep your team safe. please fill out the form at https://houston.impacthub.net/getppe/

re:3D has returned to normal operations and are excited to be welcoming back groups of visitors to the Houston factory for tours and classes along with continuing our virtual tours. We are pushing forward on many of our R&D projects that began during the pandemic, and are building bigger with Gigalab, a shipping container sized manufacturing lab. We’re printing with even more trash plastic on Gigabot X and are hard at work on developing the next version of Gigabot, the Gigabot 4. Please reach out to us at either 512-730-0033 or info@re3d.org. We’re always happy to hear from you.

~ Team re:3D

2021 Update

To our Customers and Friends,

Since the latter half of 2020, re:3D has continued to support 3D printed PPE efforts in our local communities and beyond.

With a generous grant from Unreasonable Impact with Barclays, our program PPE for the People has expanded to provide PPE to those in need anywhere. Should you or a group you know have a need for face shields, ear savers, door pulls or splash guards, please fill out the request form at https://houston.impacthub.net/getppe/

We are heartened that vaccine distribution  continues to ramp up and look forward to when we will be able to re-open our Houston Factory to in-person guests. Until then, we’ll keep making printers and PPE to protect those who can’t get it elsewhere, and you are always welcome to sign up for a virtual tour by visiting https://re3d.org/community/

Happy Printing!

~the re:3D Team

Update May 29, 2020

It’s been a month since our last update, and our COVID-19 response is still going strong! On May 12, we were honored to receive an honorable mention in the America Makes Fit to Face – Mask Design Challenge.  Designer Mike Battaglia and Engineer Samantha Reeve submitted a mask in two sizes designed to be printed with NinjaTek Cheetah. We continue to collaborate with projects for supplying PPE and consulting on new solutions for face shields to ventilators because we understand that effective face protections is essential for keeping our employees and the general public happy and healthy.

Our Houston factory is still closed to the public, but our team remains committed to building your Gigabots and filling your supply orders and service needs.

Gigabot customers around the world are tirelessly supporting their communities and we are honored to share their stories. If you have been doing COVID-19 work, we’d love to hear from you!

AUSTIN UPDATE
Thanks to the efforts of so many groups in the city, the PPE needs for healthcare workers there have been met and we have wound down our collection boxes for 3D printed PPE.

HOUSTON UPDATE
As the city begins to open back up we have teamed up with Impact Hub Houston on PPE for the People, an effort to provide PPE to workers in minority and under-served communities who are at greater risk of critical illness from COVID-19. Please support this project by sharing, donating and letting local businesses know about the opportunity.

PUERTO RICO UPDATE
The PPE support work in Puerto Rico continues and the Gigabot collaboration at Engine-4 keeps churning out supplies for the island.

If you’d like to be connected to any local effort we would be happy to make introductions and provide resources. Please reach out to us at info@re3d.org.

Update: April 25, 2020

It’s hard to believe that two more weeks have past since our last post! We continue to aggregate and collect your PPE donations in Austin, Houston and PR. We also (just met the deadline for the America Makes Mask Fit Challenge). The final design will be posted to our NIH 3D print exchange tomorrow:)

We continue to be inspired by YOU, and welcome your pics and videos for future stories!

For those of you looking to help with PPE shortages near Austin, Houston and Puerto Rico, details can be found below:

AUSTIN
There is a huge maker community that has sprung to action to support the 3D printing of PPE here in Austin and the surrounding areas.  One of the largest efforts is being run by Masks for Docs, who are actively soliciting donated face shield prints, assembling the shield, and distributing them to hospitals, health clinics, nursing homes, etc – all around the Austin area.  To help with this effort, re:3D will be collecting donated 3D printed face shields in drop-boxes at two locations, Brew & Brew, Capital Factory and the Draught House Pub.
 
If you have a 3D printer at home or work & want to help out in the Austin area, you can access the Face Shield Design here. Recommended Print Settings:
  • PETG is preferred, but PLA is completely acceptable if you don’t have PETG or are not able to print with it.
  • 3-4 solid top/bottom layers
  • .3mm layer height
  • 5 Perimeters (AKA Shells or walls)
  • 0% Infill
 

Drop off boxes can be found at:
Brew & Brew
500 San Marcos St #105, Austin, TX 78702
The Draught House
4112 Medical Pkwy, Austin, TX 78756
Capital Factory
 701 Brazos St, Austin, TX 78701
(located in the parking garage, next to the loading dock:)
 
HOUSTON
TXRX is winding down its collection of its 3d printed face shield as they have been able to move to injection molding; a move we fully support! We are keeping our drop box open for community PPE donations and will make sure they get donated to those in need. Currently we can accept: assembled face shields, ear savers and Montana Masks. As we get more requests we will post opportunities here.

The Clear Lake drop off box can be found at:
re:3D Inc
1100 Hercules STE 220 Houston TX 77058
 
PUERTO RICO
The maker community, including a few Gigabots, have done a fantastic job collaborating in San Juan & beyond. We are currently collecting requests for those in need of PPE and sharing opportunties to connect with Engine-4 and Trede’s efforts in Bayamon, or other groups mobilizing. If you live in Mayaguez and would like create face shield to be assembled with sheets that have been donated to Engine-4, a drop off box has been established. A UPRM student has also initiated a Slack channel to share other needs. Email info@re3d.org for access.
 
 
San Juan face shield coordination:
Engine 4 Co-working Space: donation3dprinting@outlook.com
 
Mayaguez Drop-off: 
UPRM Transit and Security, Tránsito y Vigilancia:
Enter UPRM Campus through main gate, and guard will direct you

Update: April 10, 2020

What a week! You all have done an amazing job helping our neighbors & the community at large!

While we continue to iterate this face shield design for the Texas Children’s Hospital (you can view the design on the NIH 3D Print Exchange), as well as hands-free door pulls, we have been blown away by the many Gigabots around the world who are helping with the fight. We’ve started collecting some stories. If you would like to be added, please feel free to share your pictures, details and video with info@re3d.org!


Some of you have also asked how you can use Gigabot and/or other printers to support the local movements near our offices. For those of you looking to help with PPE shortages near Austin, Houston and Puerto Rico, details can be found below:

AUSTIN
There is a huge maker community that has sprung to action to support the 3D printing of PPE here in Austin and the surrounding areas.  One of the largest efforts is being run by Masks for Docs (masksfordocs.com), who are actively soliciting donated face shield prints, assembling the shield, and distributing them to hospitals, health clinics, nursing homes, etc – all around the Austin area.  To help with this effort, re:3D will be collecting donated 3D printed face shields in drop-boxes at two locations, Brew & Brew and the Draught House Pub.
 
If you have a 3D printer at home or work & want to help out in the Austin area, you can access the Face Shield Design here. Recommended Print Settings:
  • PETG is preferred, but PLA is completely acceptable if you don’t have PETG or are not able to print with it.
  • 3-4 solid top/bottom layers
  • .3mm layer height
  • 5 Perimeters (AKA Shells or walls)
  • 0% Infill
 

Drop off boxes can be found at:
Brew & Brew
500 San Marcos St #105, Austin, TX 78702
The Draught House
4112 Medical Pkwy, Austin, TX 78756


HOUSTON
TXRX and the amazing maker-community continue to organize face shield collection around Houston.  We are donating 3D printed face shields as well as hosting a community donation box for makers in the Clear Lake area who are printing the face shields at home.  At our factory, the batches are consolidated and sent to TXRX for assembly and distribution to hospitals and first responders in the Houston area.  We’ve received up to 300 donations in 6 hours- keep it up!
More information and the design file is available here.
 

The Clear Lake drop off box can be found at:
re:3D Inc
1100 Hercules STE 220 Houston TX 77058


PUERTO RICO
The maker community, including a few Gigabots, have done a fantastic job collaborating in San Juan & beyond. We are currently collecting requests for those in need of PPE and sharing opportunties to connect with Engine-4 and Trede’s efforts in Bayamon, or other groups mobilizing. If you live in Mayaguez and would like create face shield to be assembled with sheets that have been donated to Engine-4, a drop off box has been established. A UPRM student has also initiated a Slack channel to share other needs. Email info@re3d.org for access.
 
 
San Juan face shield coordination:
Engine 4 Co-working Space: donation3dprinting@outlook.com
 
Mayaguez Drop-off: 
UPRM Transit and Security, Tránsito y Vigilancia:
Enter UPRM Campus through main gate, and guard will direct you


If you live outside of these areas and/or are seeking ways to contribute:

A Form to Volunteer is Available Here. We will be responding to inquiries this weekend and doing our best to facilitate introductions:)

Update: April 3, 2020

re:3D is working on a number of different projects related to 3D printing and COVID response.  Our Houston factory is helping to support two efforts.  The first is supporting the efforts of TXRX and the amazing maker-community organizing taking place around Houston.  re:3D is donating 3D printed face shields as well as hosting a community donation box for makers in the Clear Lake area who are printing the face shields at home.  At our factory, the batches are consolidated and sent to TXRX for assembly and distribution to hospitals and first responders in the Houston area.  Second, the re:3D design team is prototyping a custom face shield design, in conjunction with doctors from Texas Children’s Hospital.  The new design incorporates a pre-cut clear plastic face shield with a 3D printed holder/headband.

In Austin, re:3D is rallying the local maker community.  While there are a number of people working on the 3D printed PPE issue in the Austin area, re:3D is hoping to help organize these efforts.  The Austin team is designing hands-free door pulls and intubation boxes, and we will be releasing all of the 3D printable open-source designs that we have created, including face shields, door pulls and anything else we develop, free of charge. We are opening Austin community drop boxes at multiple locations where anyone who 3D prints can donate their COVID-19 parts. location information will be released as soon as it’s finalized.

In Puerto Rico, re:3D is supporting efforts led by Engine-4 on 3d printing face masks and ventilator splitters. Thanks to efforts by Parallel18, our Gigabot has been relocated to Engine-4 to print for this effort and we are hosting weekly calls for healthcare professionals, designers and makers to organize the community to support creating PPE unique to the needs on the island. We are connecting with every available Gigabot owner on the island to help them join the cause.

For anyone who wants to volunteer to help, please fill out this form.

Updated: March 25, 2020

To our Global Gigabot Family and Supporters,

We hope this message finds you and your loved ones safe and healthy. The 3D printing community is a talented, diverse and compassionate arm of the creative tech ecosystem. We are energized and inspired by the mass mobilization of 3D printing to tackle COVID-19 head-on by providing protective gear to medical personnel, medical equipment to aid victims and filling gaps in supply chains. Every day, you are proving that this technology changes the world for the better. Keep at it!

re:3D IS OPEN FOR BUSINESS!

We have been closely following COVID-19 developments in our areas and listening to the recommendations from local and federal authorities. The small yet mighty re:3D team has always been mobile and adaptable, and we are continuing our regular operations while keeping the health and safety of our team at the forefront of all considerations. Here’s how:

    • Your Gigabots® are being built and shipped on their regular schedule.
    • Your supply orders are being fulfilled with minimal delay.
    • Your 3D printing, design and 3D scanning services are moving forward as planned.
    • As an essential business, the Houston factory is open and fully operational. In-person visits are restricted to deliveries and pickups only to respect guidance on social distancing.
    • Meetups, walk-in tours and in-person classes are suspended until further notice.
    • Classes will move to online-only as format and demand allows.

$100 SERVICE CREDITS FOR EDUCATORSThe education landscape has dramatically changed in the last few weeks and as many educators gamely adapt to new methods of teaching, you have awed us with your adaptability, tenacity, and positivity. In recognition of your herculean efforts, now through April 10th we are offering to educators a $100 credit, with no minimum purchase required, for re:3D printing, designing and scanning services.

For all those schooling from home, we are extending a 20% off discount on all services (scanning, design, printing, materials testing) for any effort supporting distance learning.

Service quotes can be requested at re3d.org/services

HELPING THE EFFORT TO FIGHT COVID-19

re:3D’s Houston factory is equipped with a printer farm of large-format industrial Gigabot® 3D FFF and FGF printers, a metrology-grade 3D scanner, a full machine shop that includes two CNCs, manual lathe, drill press and cutting tools. This equipment and our team of 25 engineers, designers and technicians is available to fabricate equipment for healthcare providers that has been reviewed for viability and safety by medical professionals. Please reach out to us at info@re3d.org to begin coordination. We are happy to prototype any life-savings device for free in order to expedite review by medical professionals.

For those looking for ways to put your 3D printing know-how to work in the effort to fight COVID-19, we are collecting contact information to share further developments and opportunities to 3D print for those in need.

 A Form to Volunteer is Available Here 

Additionally, a great list of other projects has been curated by our friends at the non-profit Women In 3D Printing.

Stay Healthy and Keep Printing!

  ~Gigabot & The re:3D Team

From Rubble to Rebirth: #NEWPALMYRA

From Rubble to Rebirth

In addition to the tremendous human suffering and loss in Syria, there is another component to the war which has taken an entirely different toll on the country and its psyche: the destruction of its cultural heritage.

Part of ISIS’s path of destruction has been on the ancient cities’ architecture themselves – they are decimating not only the human population but also their history and culture.

The city of Palmyra is one such example.

Palmyra, a UNESCO World Heritage Site, was once a Silk Road oasis that stood as one of the best-preserved ruins of antiquity before it was targeted by the violent extremist group. UNESCO Director-General Irina Bokova referenced Palmyra as an example of ISIS seeking to “destroy both human lives and historical monuments in order to deprive the Syrian people of its past and its future.”

But from the destruction and rubble came a glimmer of good. This is where the story of #NEWPALMYRA begins.

Forward-thinking Bassel Khartabil, the Creative Commons Syria leader, open source software developer, educator, and free culture advocate, began 3D modeling the endangered ruins of Palmyra back in 2005. In 2012 he was unlawfully imprisoned by the Syrian government for his work, and in 2015 was sentenced to death by the Assad regime. His current whereabouts are unknown.

After his arrest, his friends, family, and community rallied around his vision to create #NEWPALMYRA, a non-profit organization with the goal of “freeing Syrian culture digitally, providing agency and advancement for the Syrian people through cultural heritage and digital preservation.”

Creative Commons – a non-profit “devoted to expanding the range of creative works available for others to build upon legally and to share” – hatched a plan to debut #NEWPALMYRA “in the flesh” at their 2017 Summit in Toronto.

And this is where re:3D joined the story.

When our team heard about the possibility of helping out on such a project, we jumped at the opportunity. Mike Battaglia, Usability Engineer and Community Support Manager at re:3D, explained, “I had read about the destruction of Palmyra and was very inspired by Bassel Khartabil’s efforts. Helping preserve this landmark cost him his freedom; when I heard re:3D was supporting the project with a large-scale print I was excited at the thought of us helping continue where he left off.”

The Pylon Printing Process

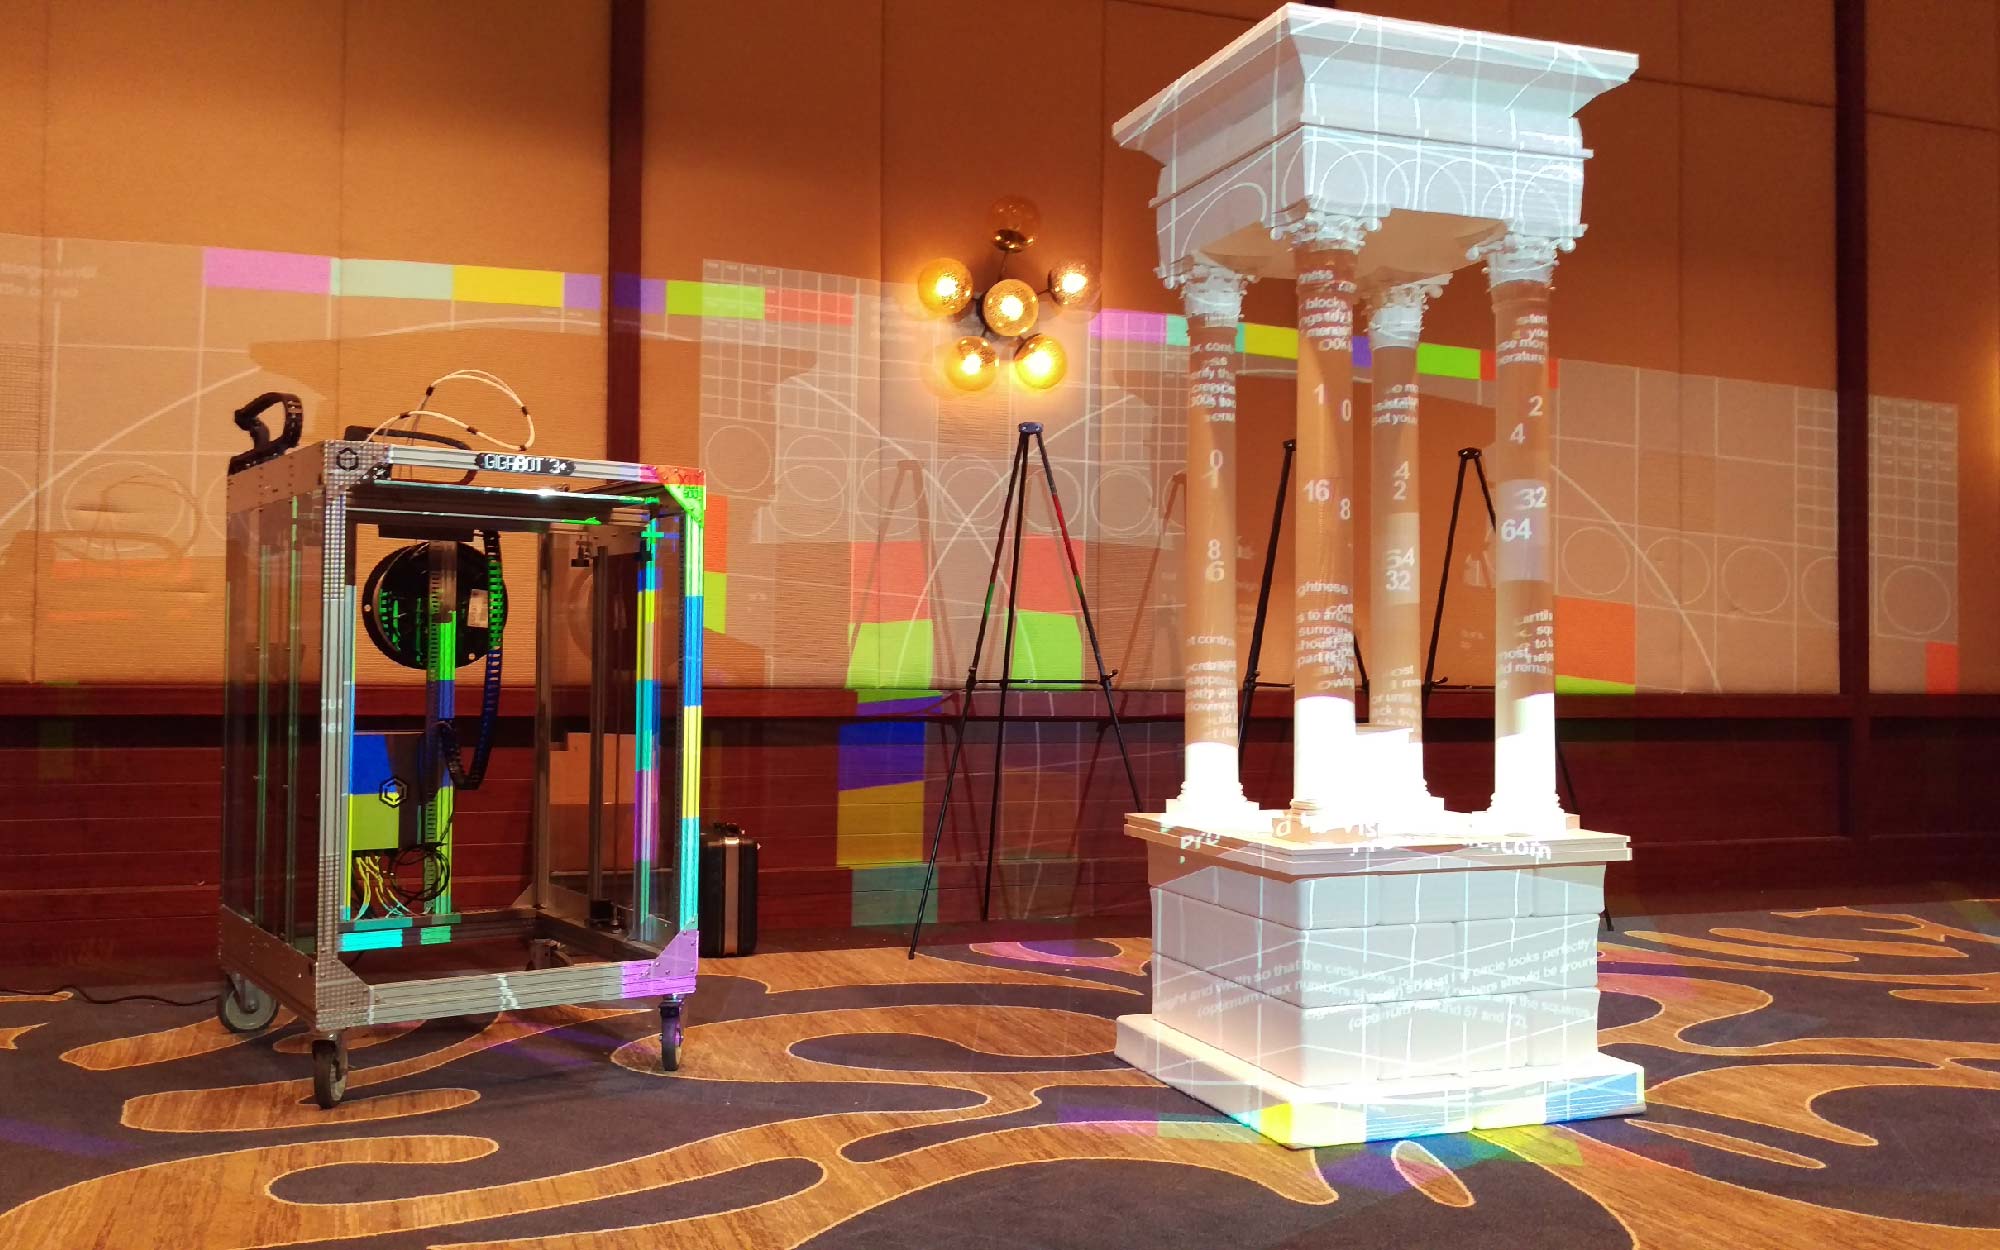
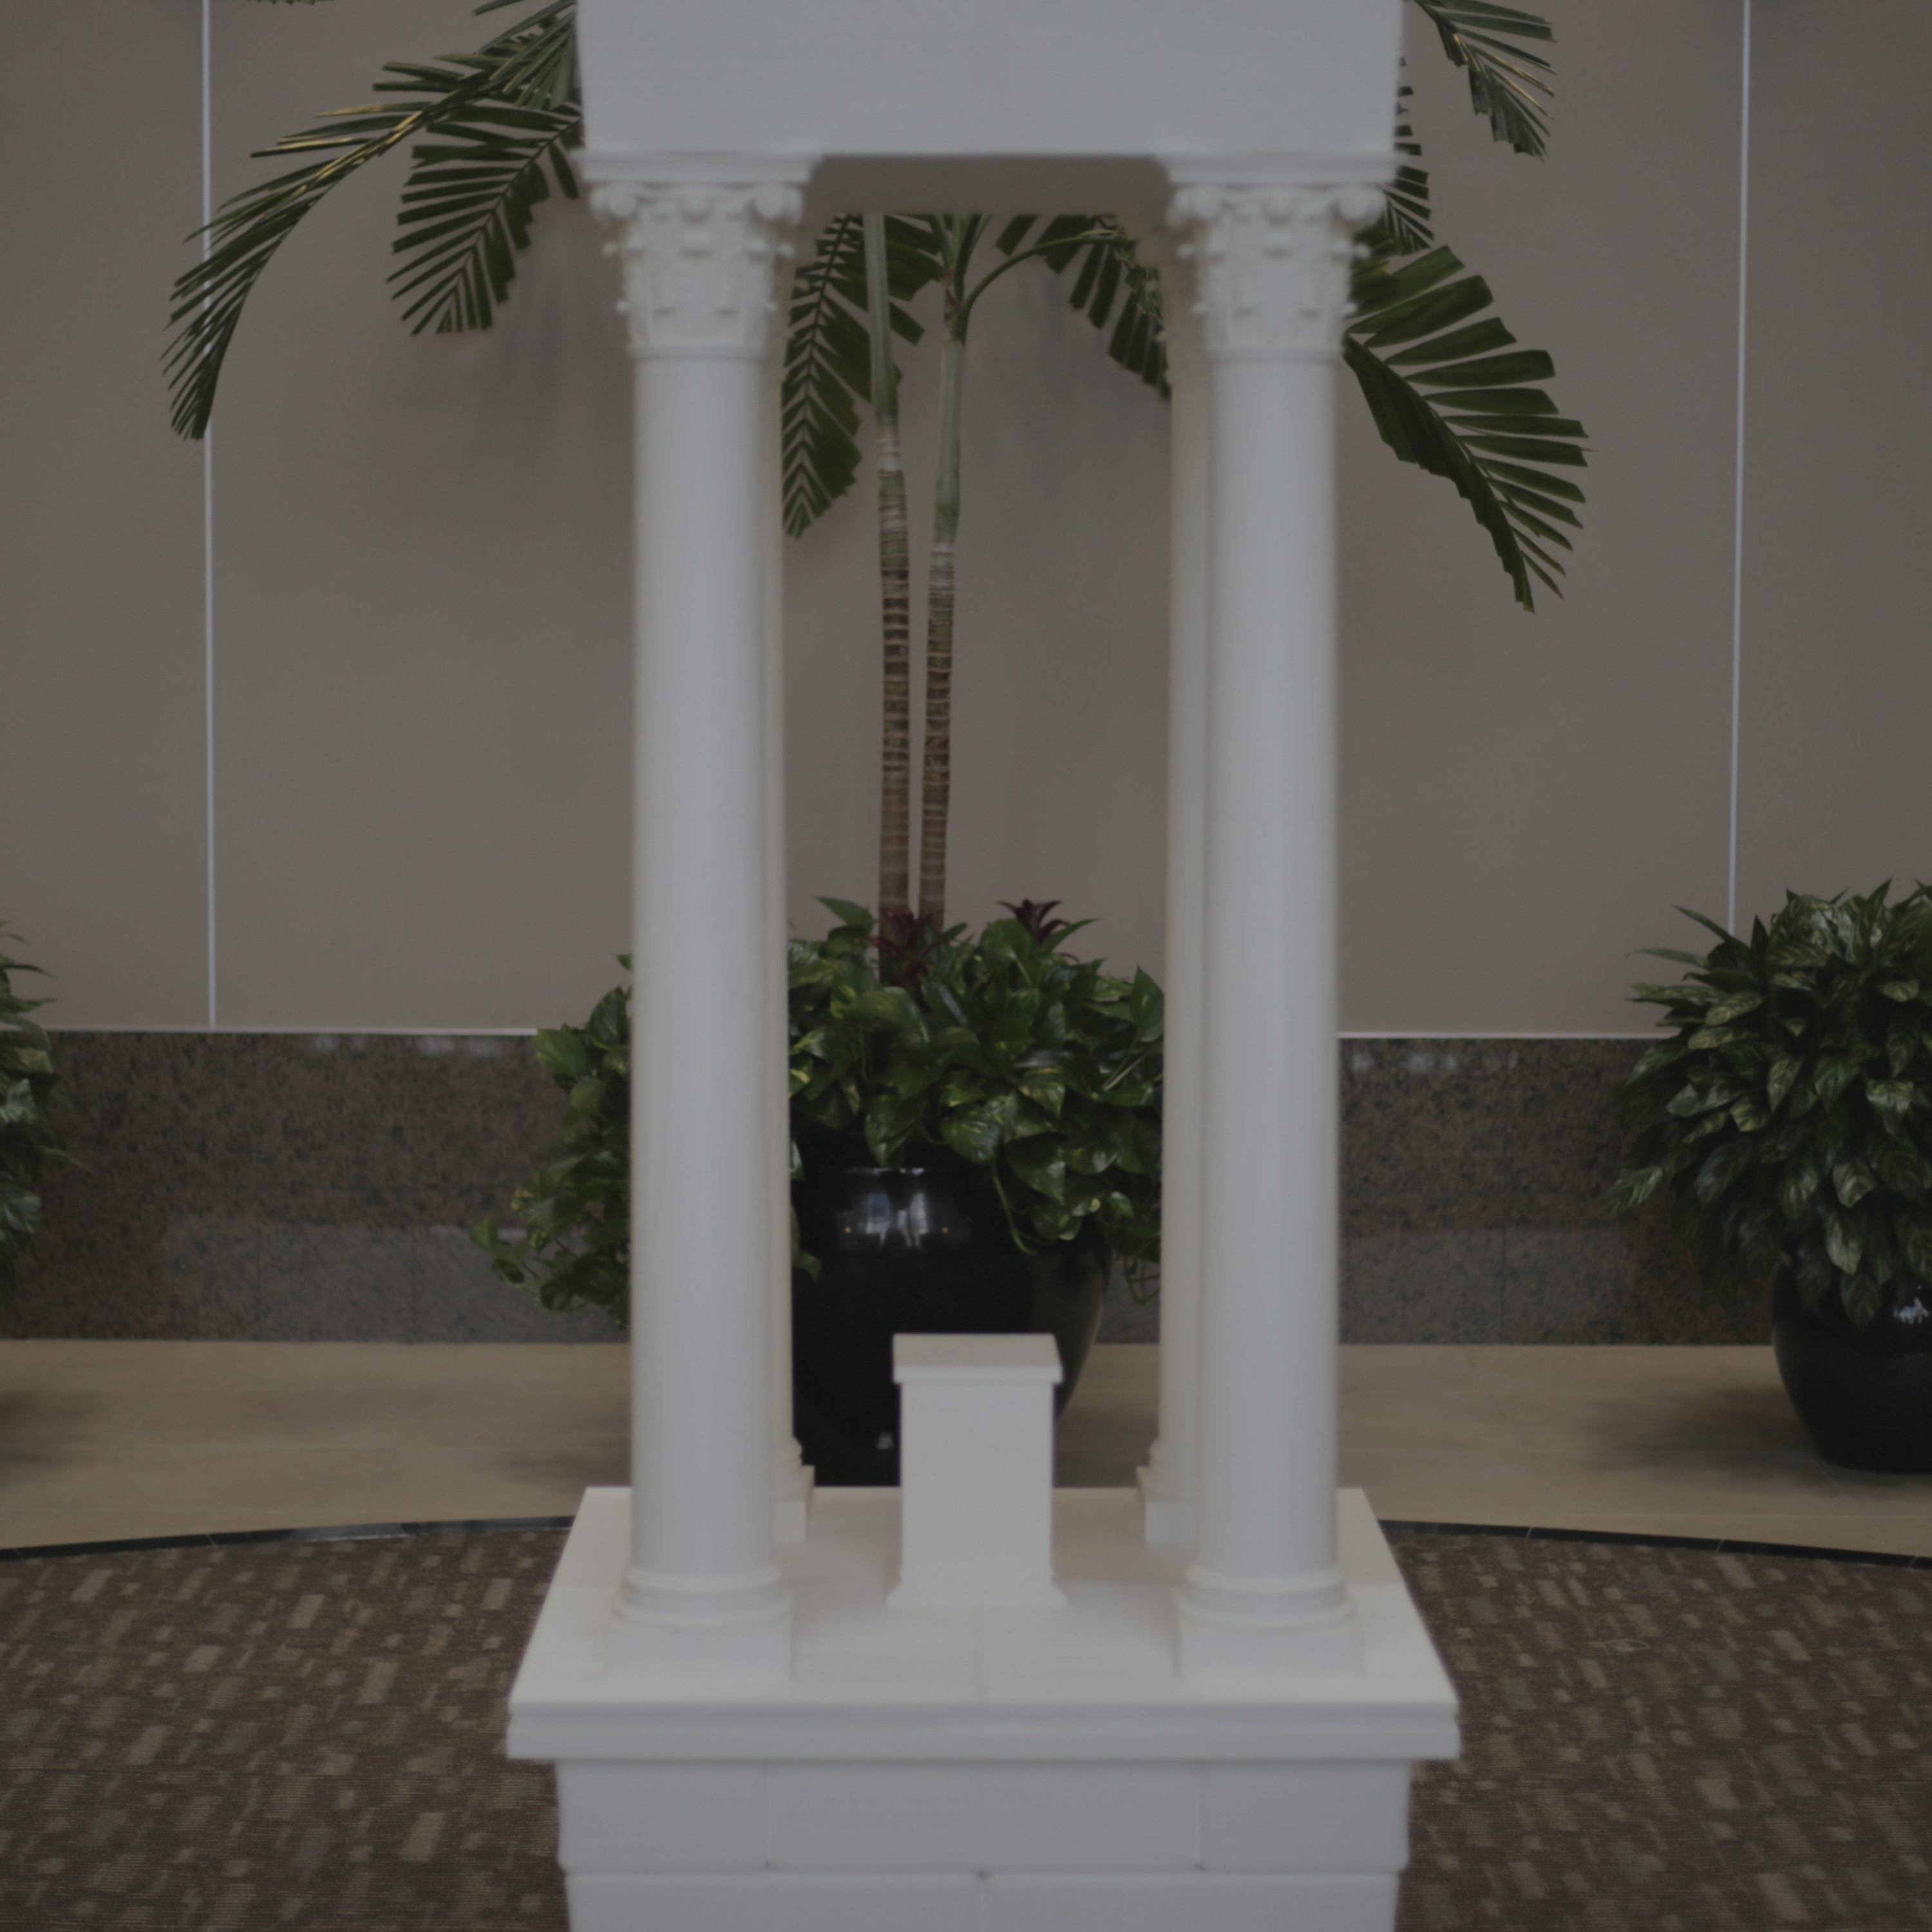
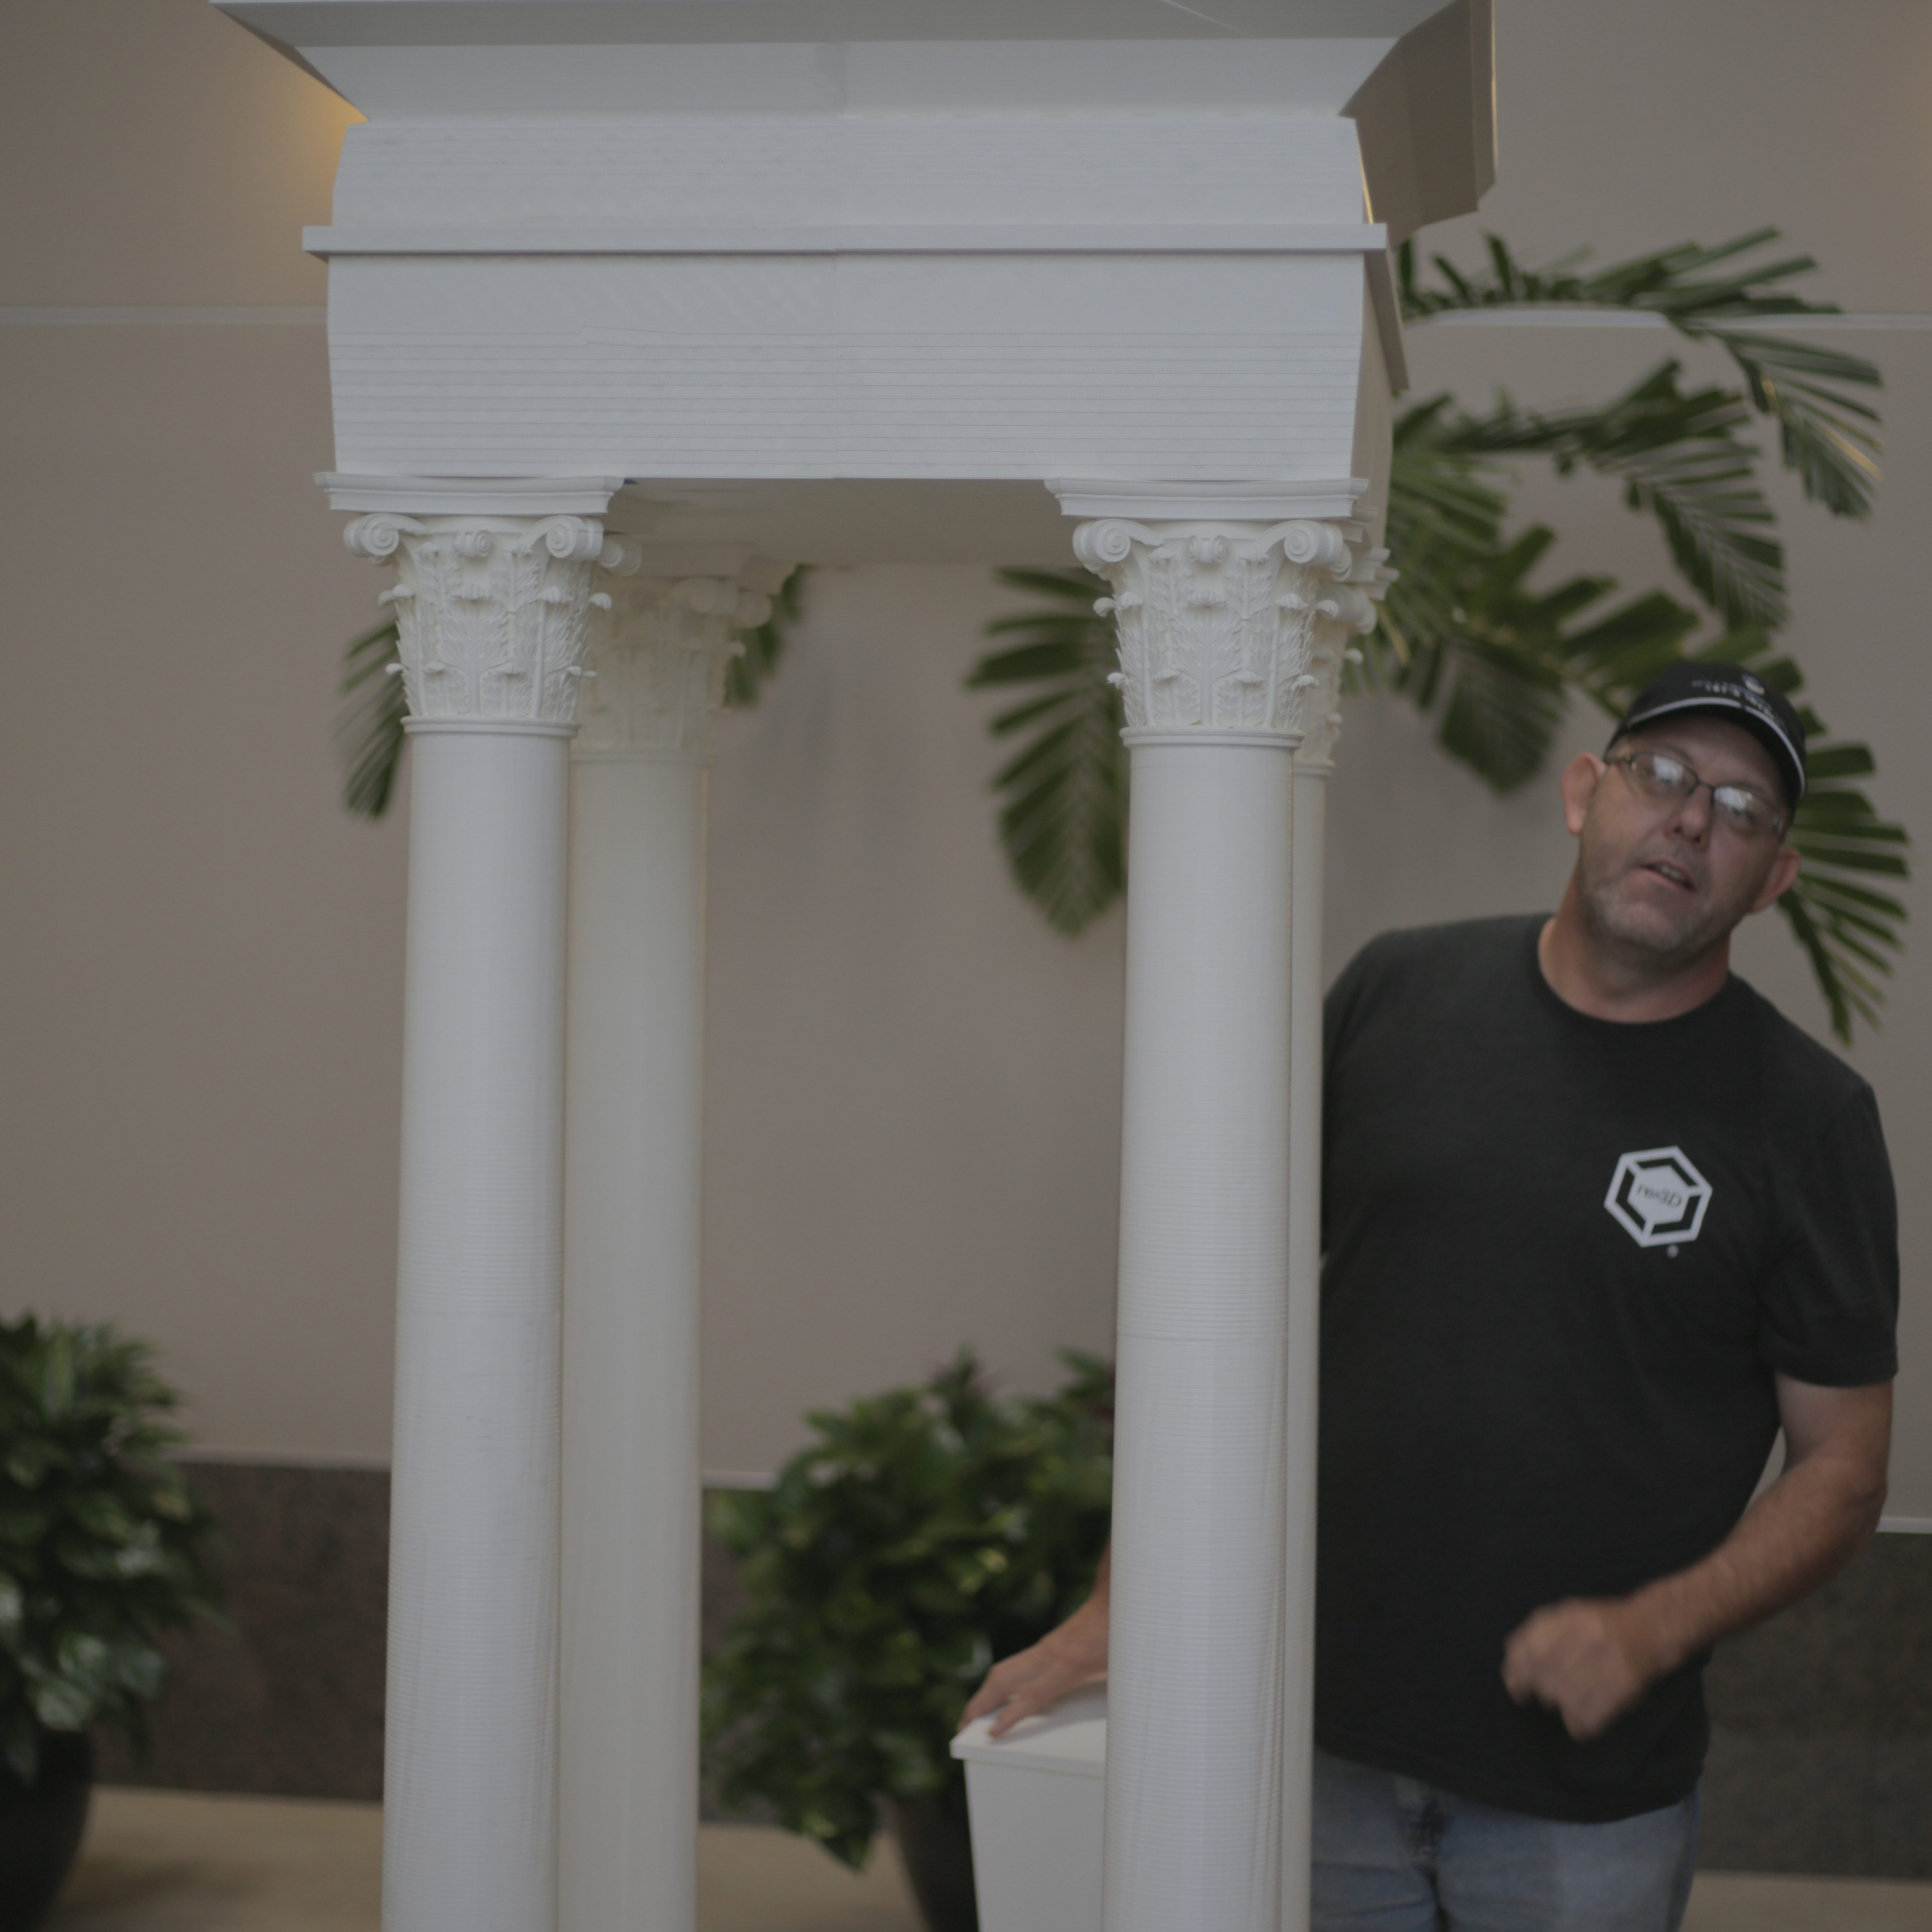
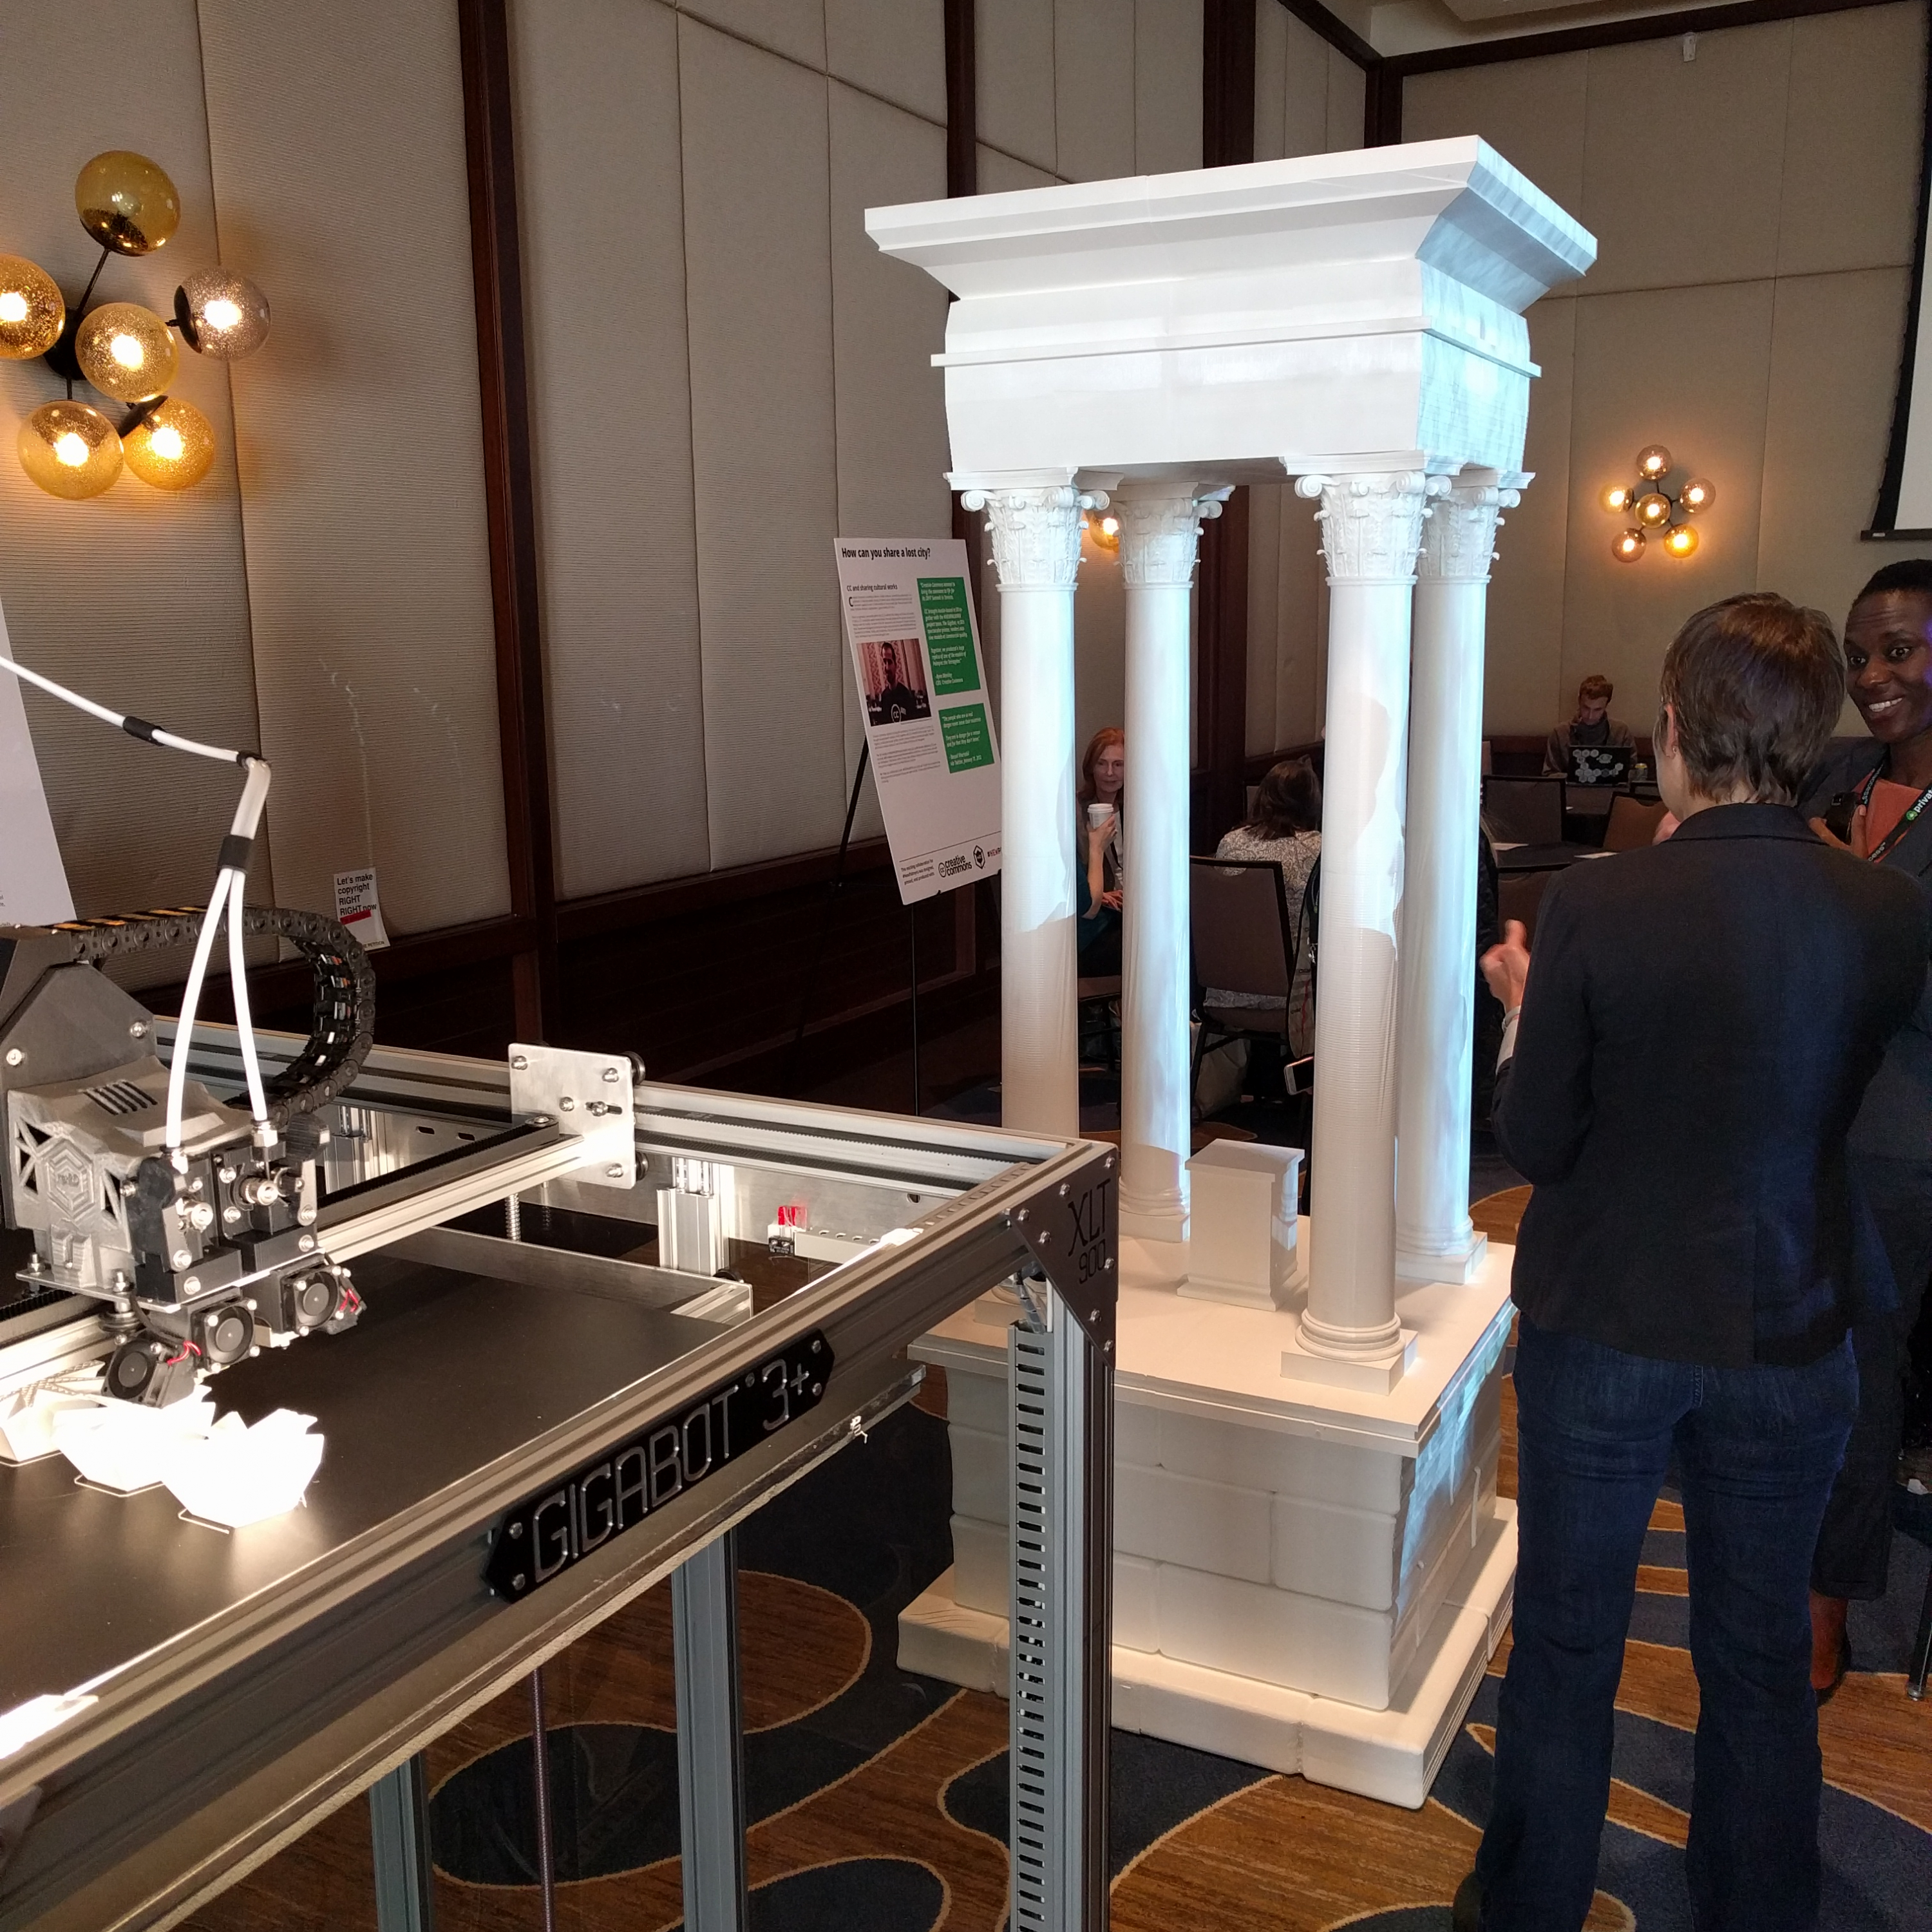
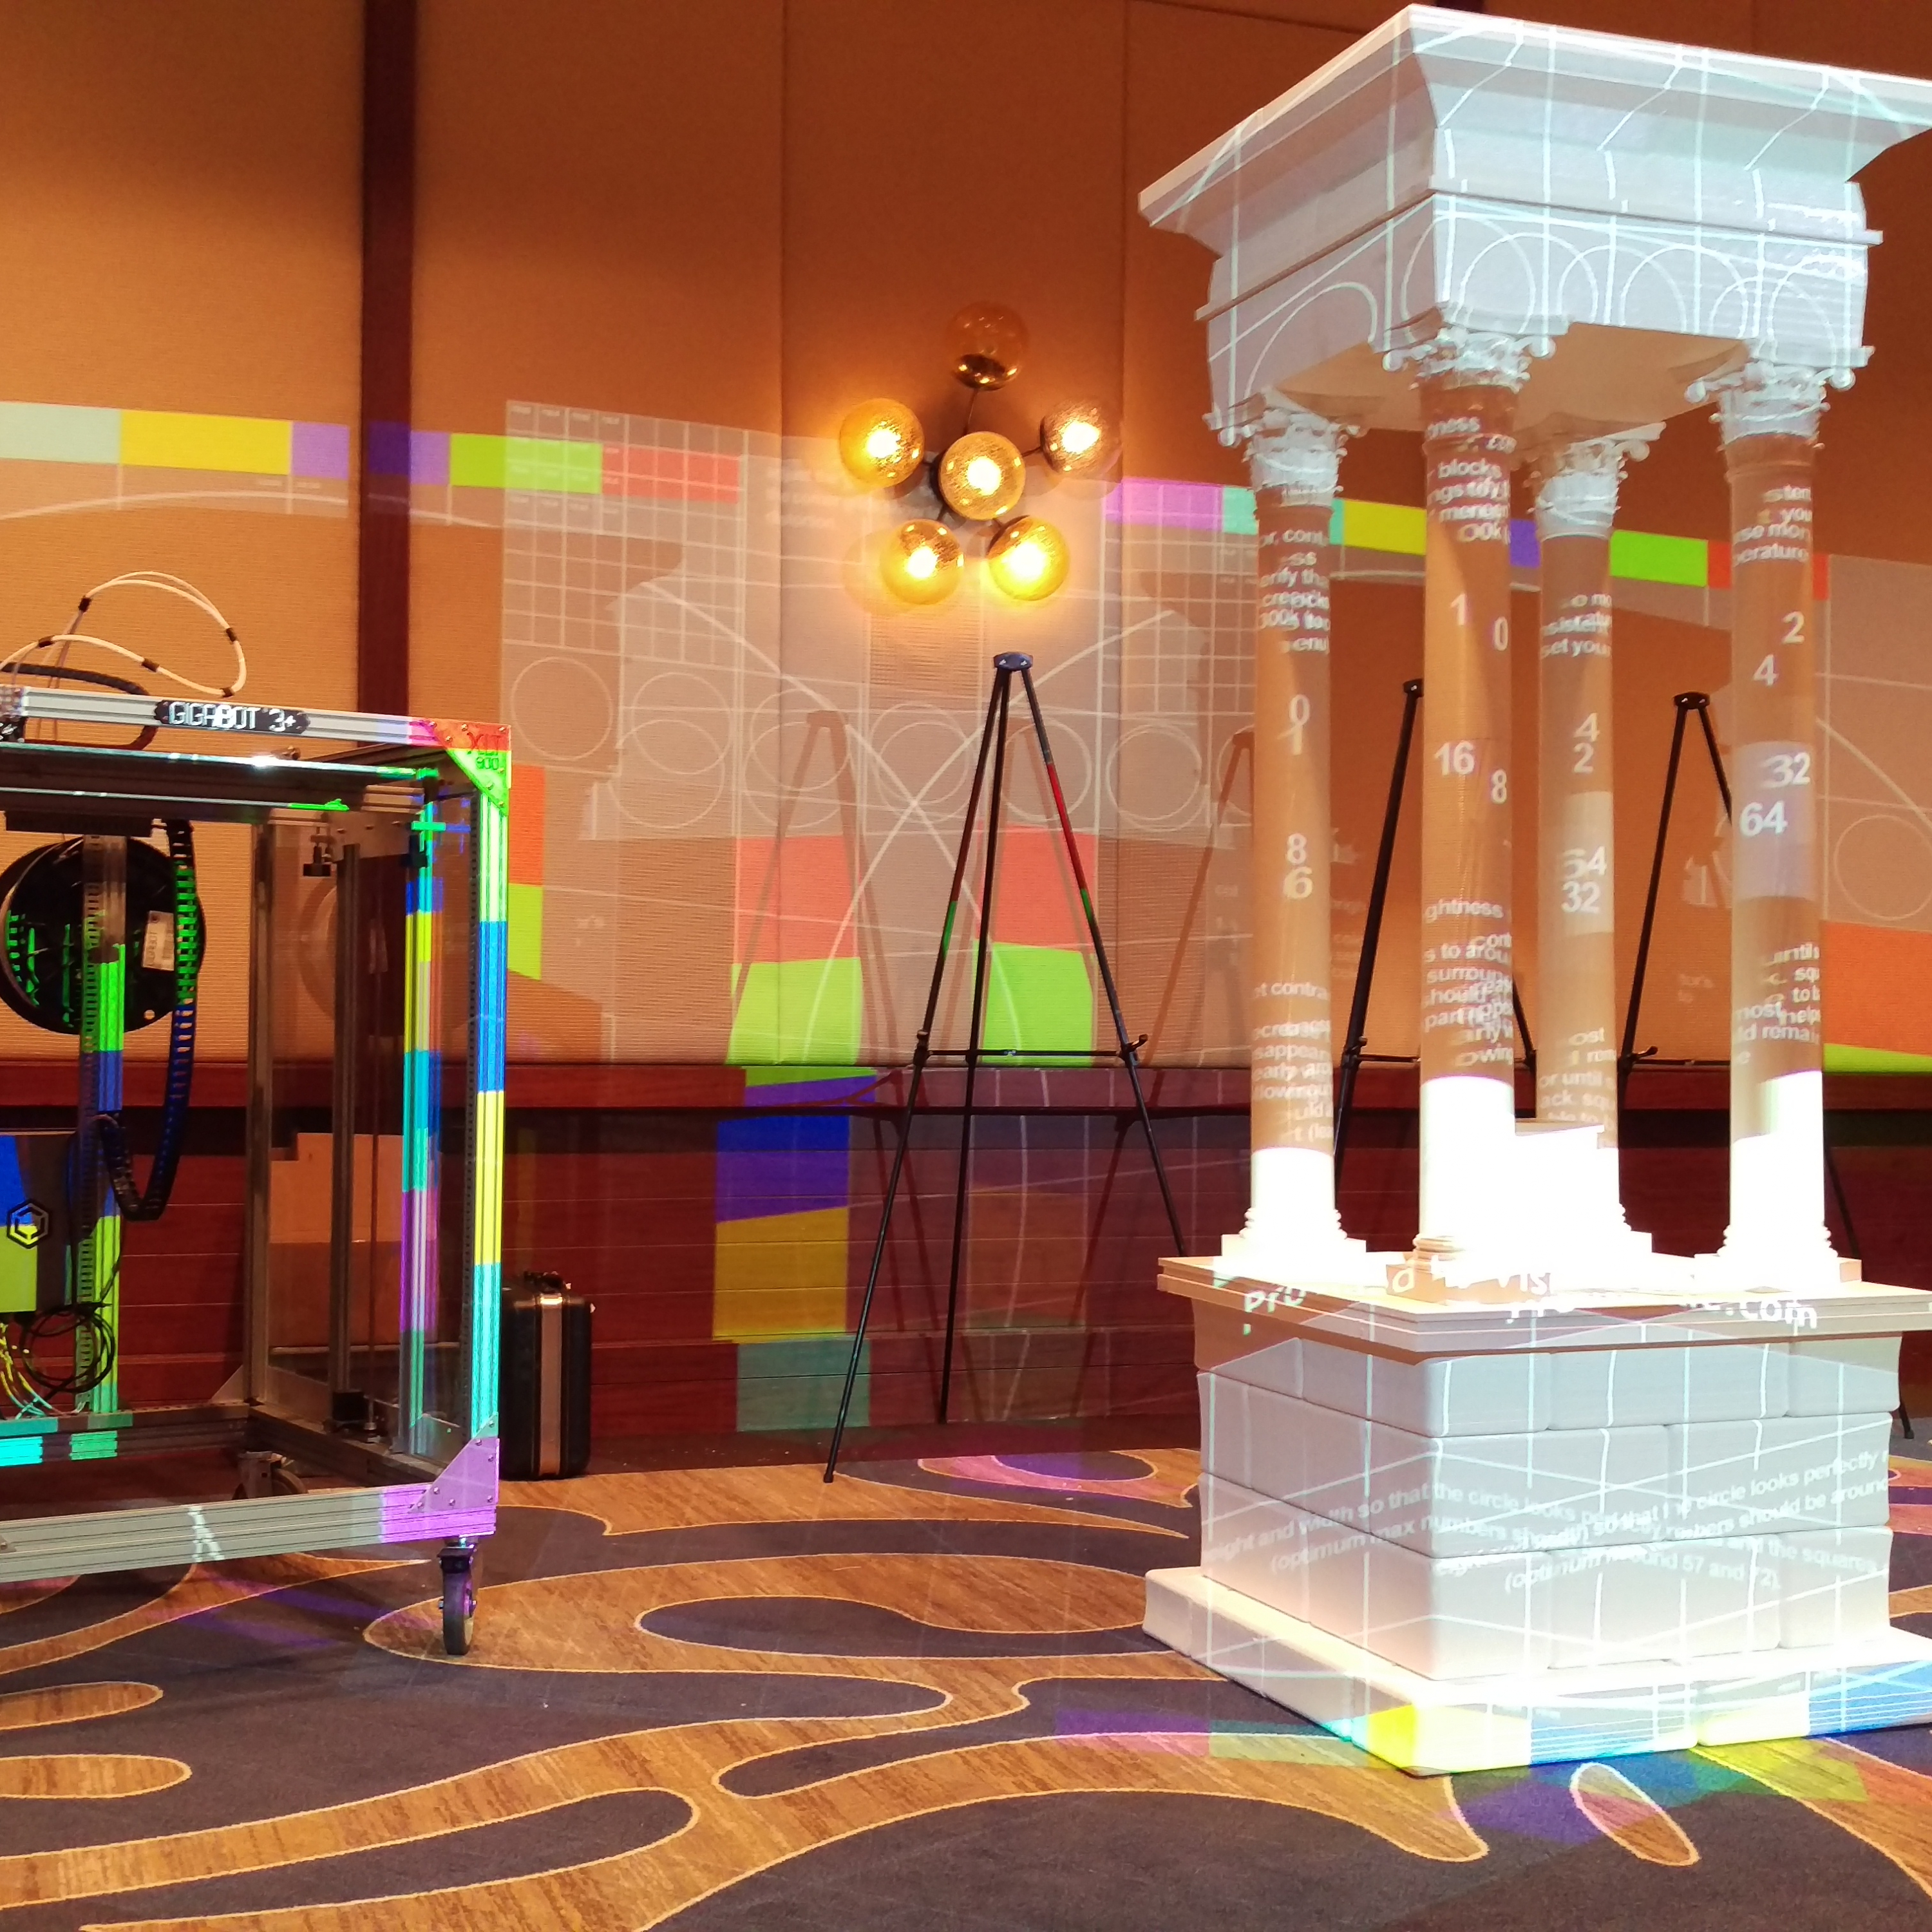
The piece that Creative Commons decided to bring to life for the Summit was the impressive Tetrapylon, one of four massive quad-column structures which mark the route of a road or central place in the city. These large structures were destroyed by ISIS in January of this year, as reported by The New York Times.

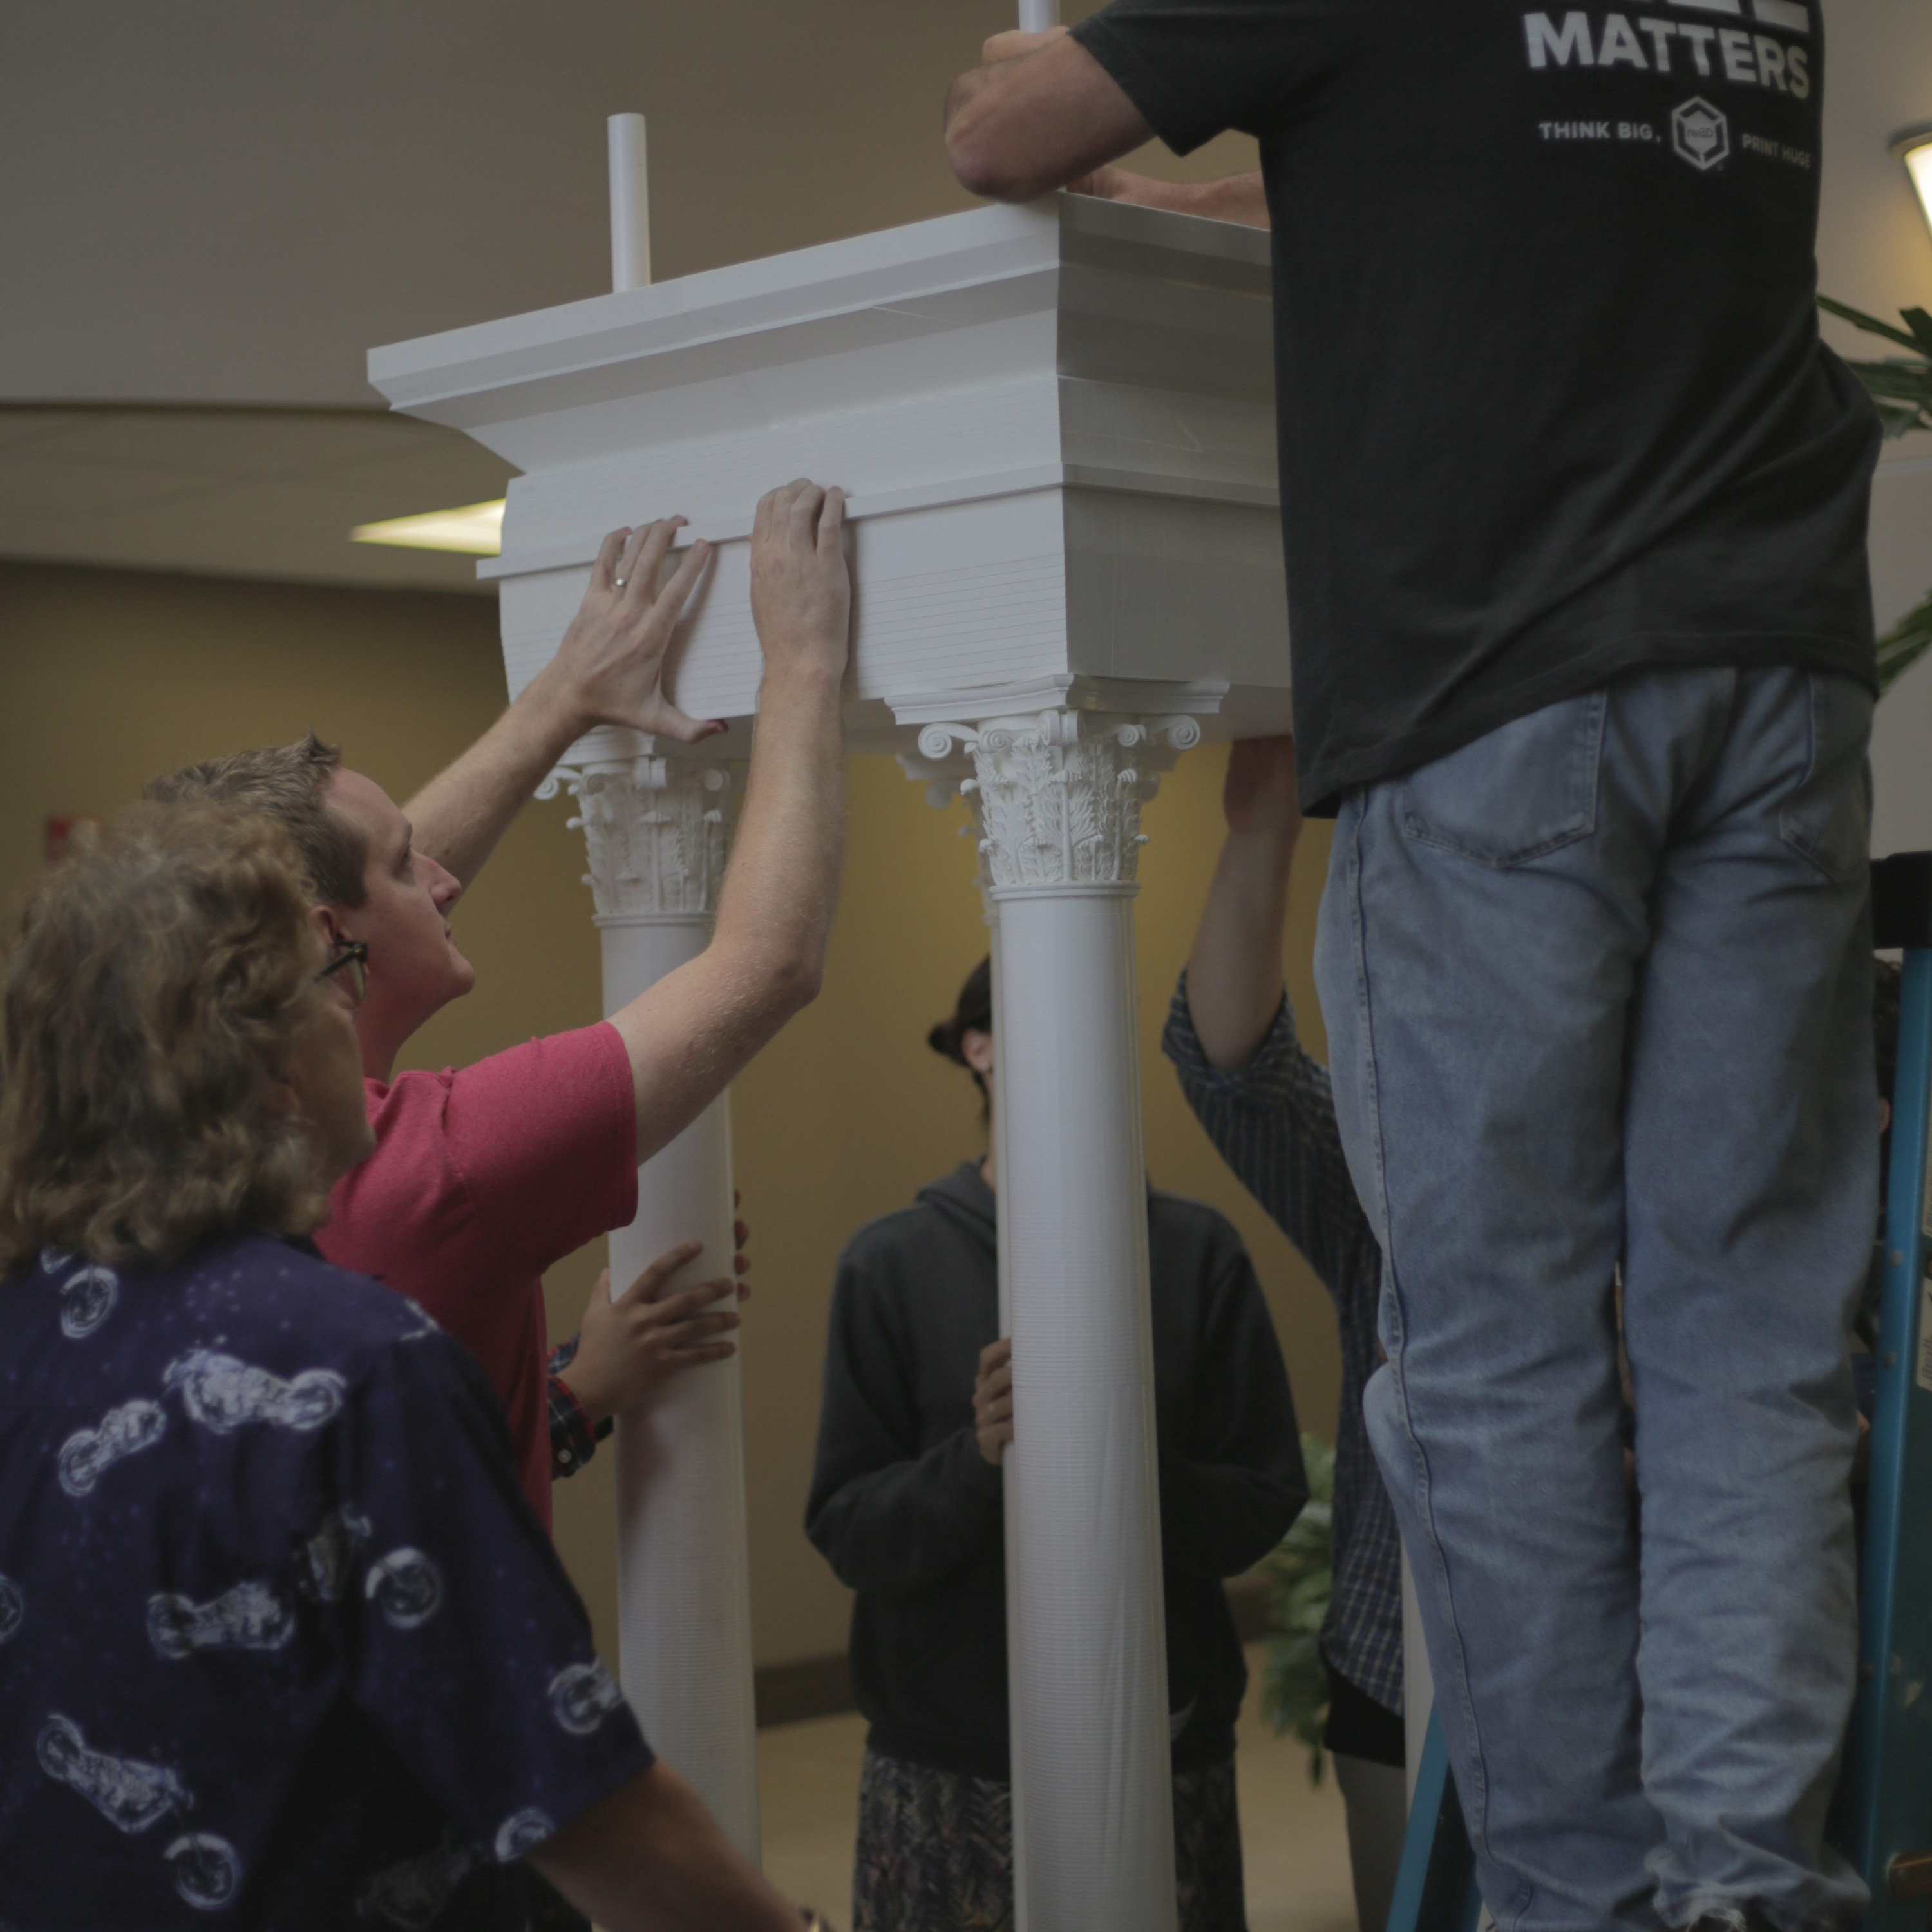
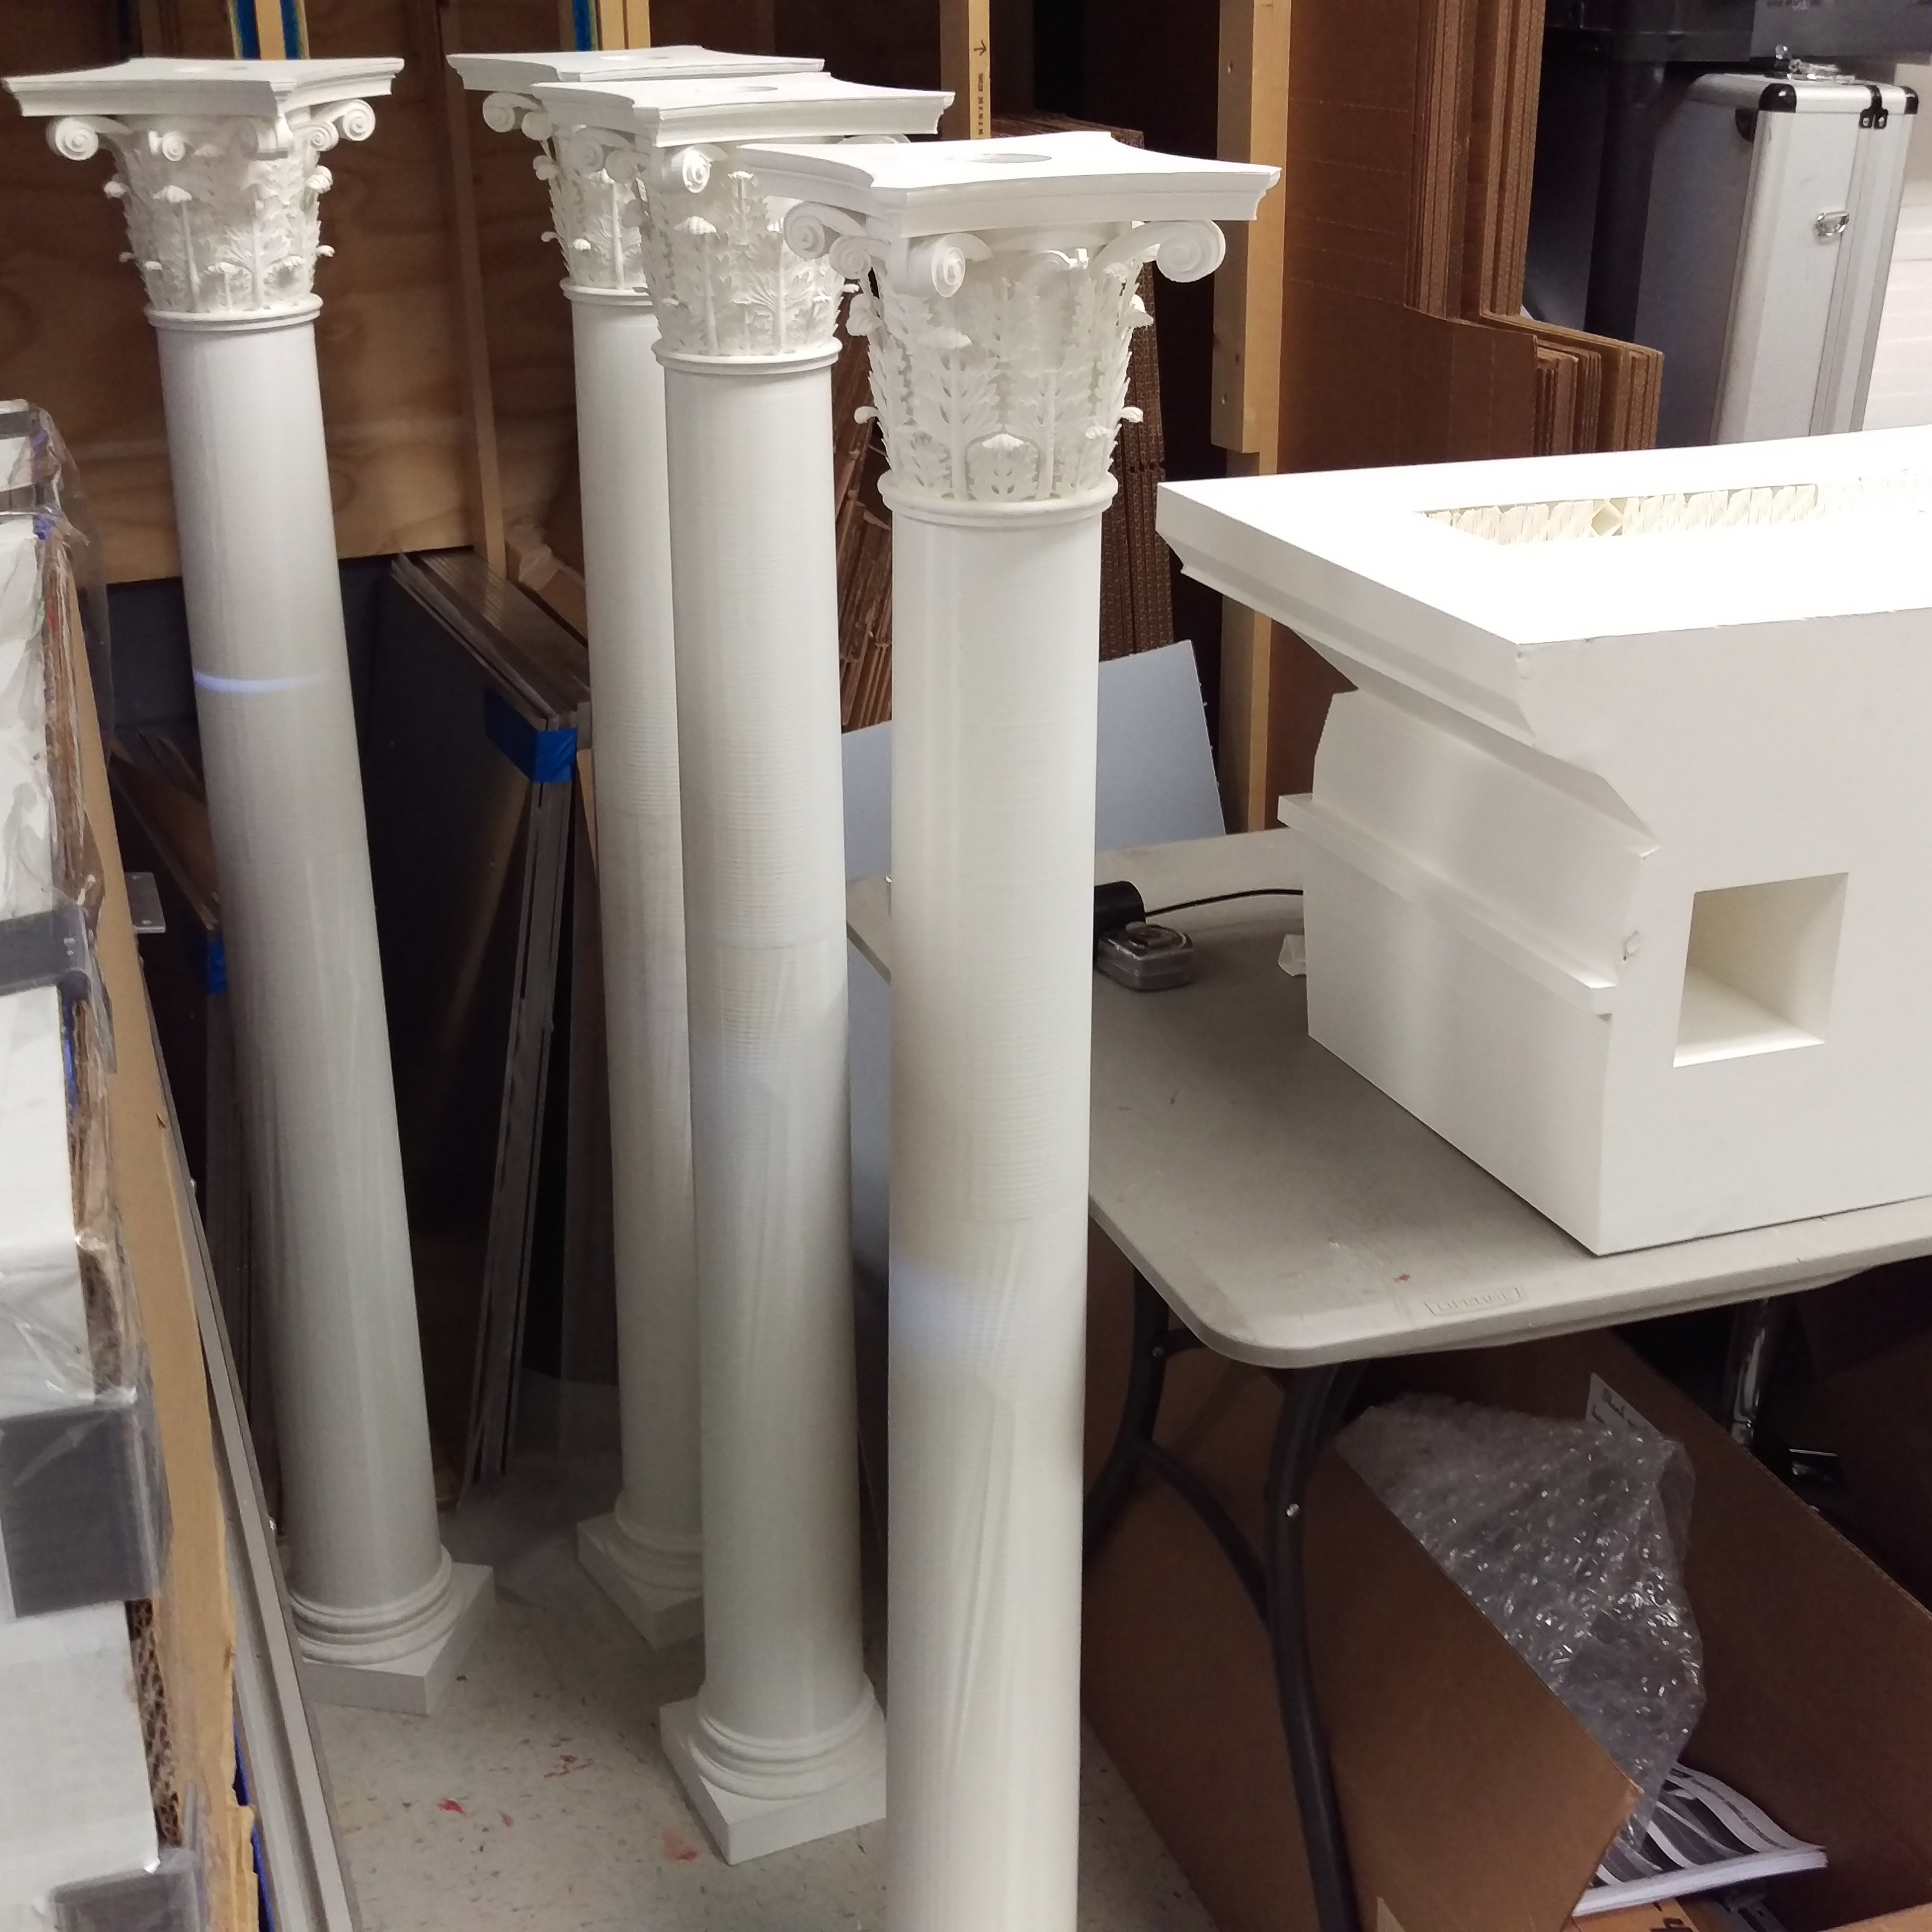
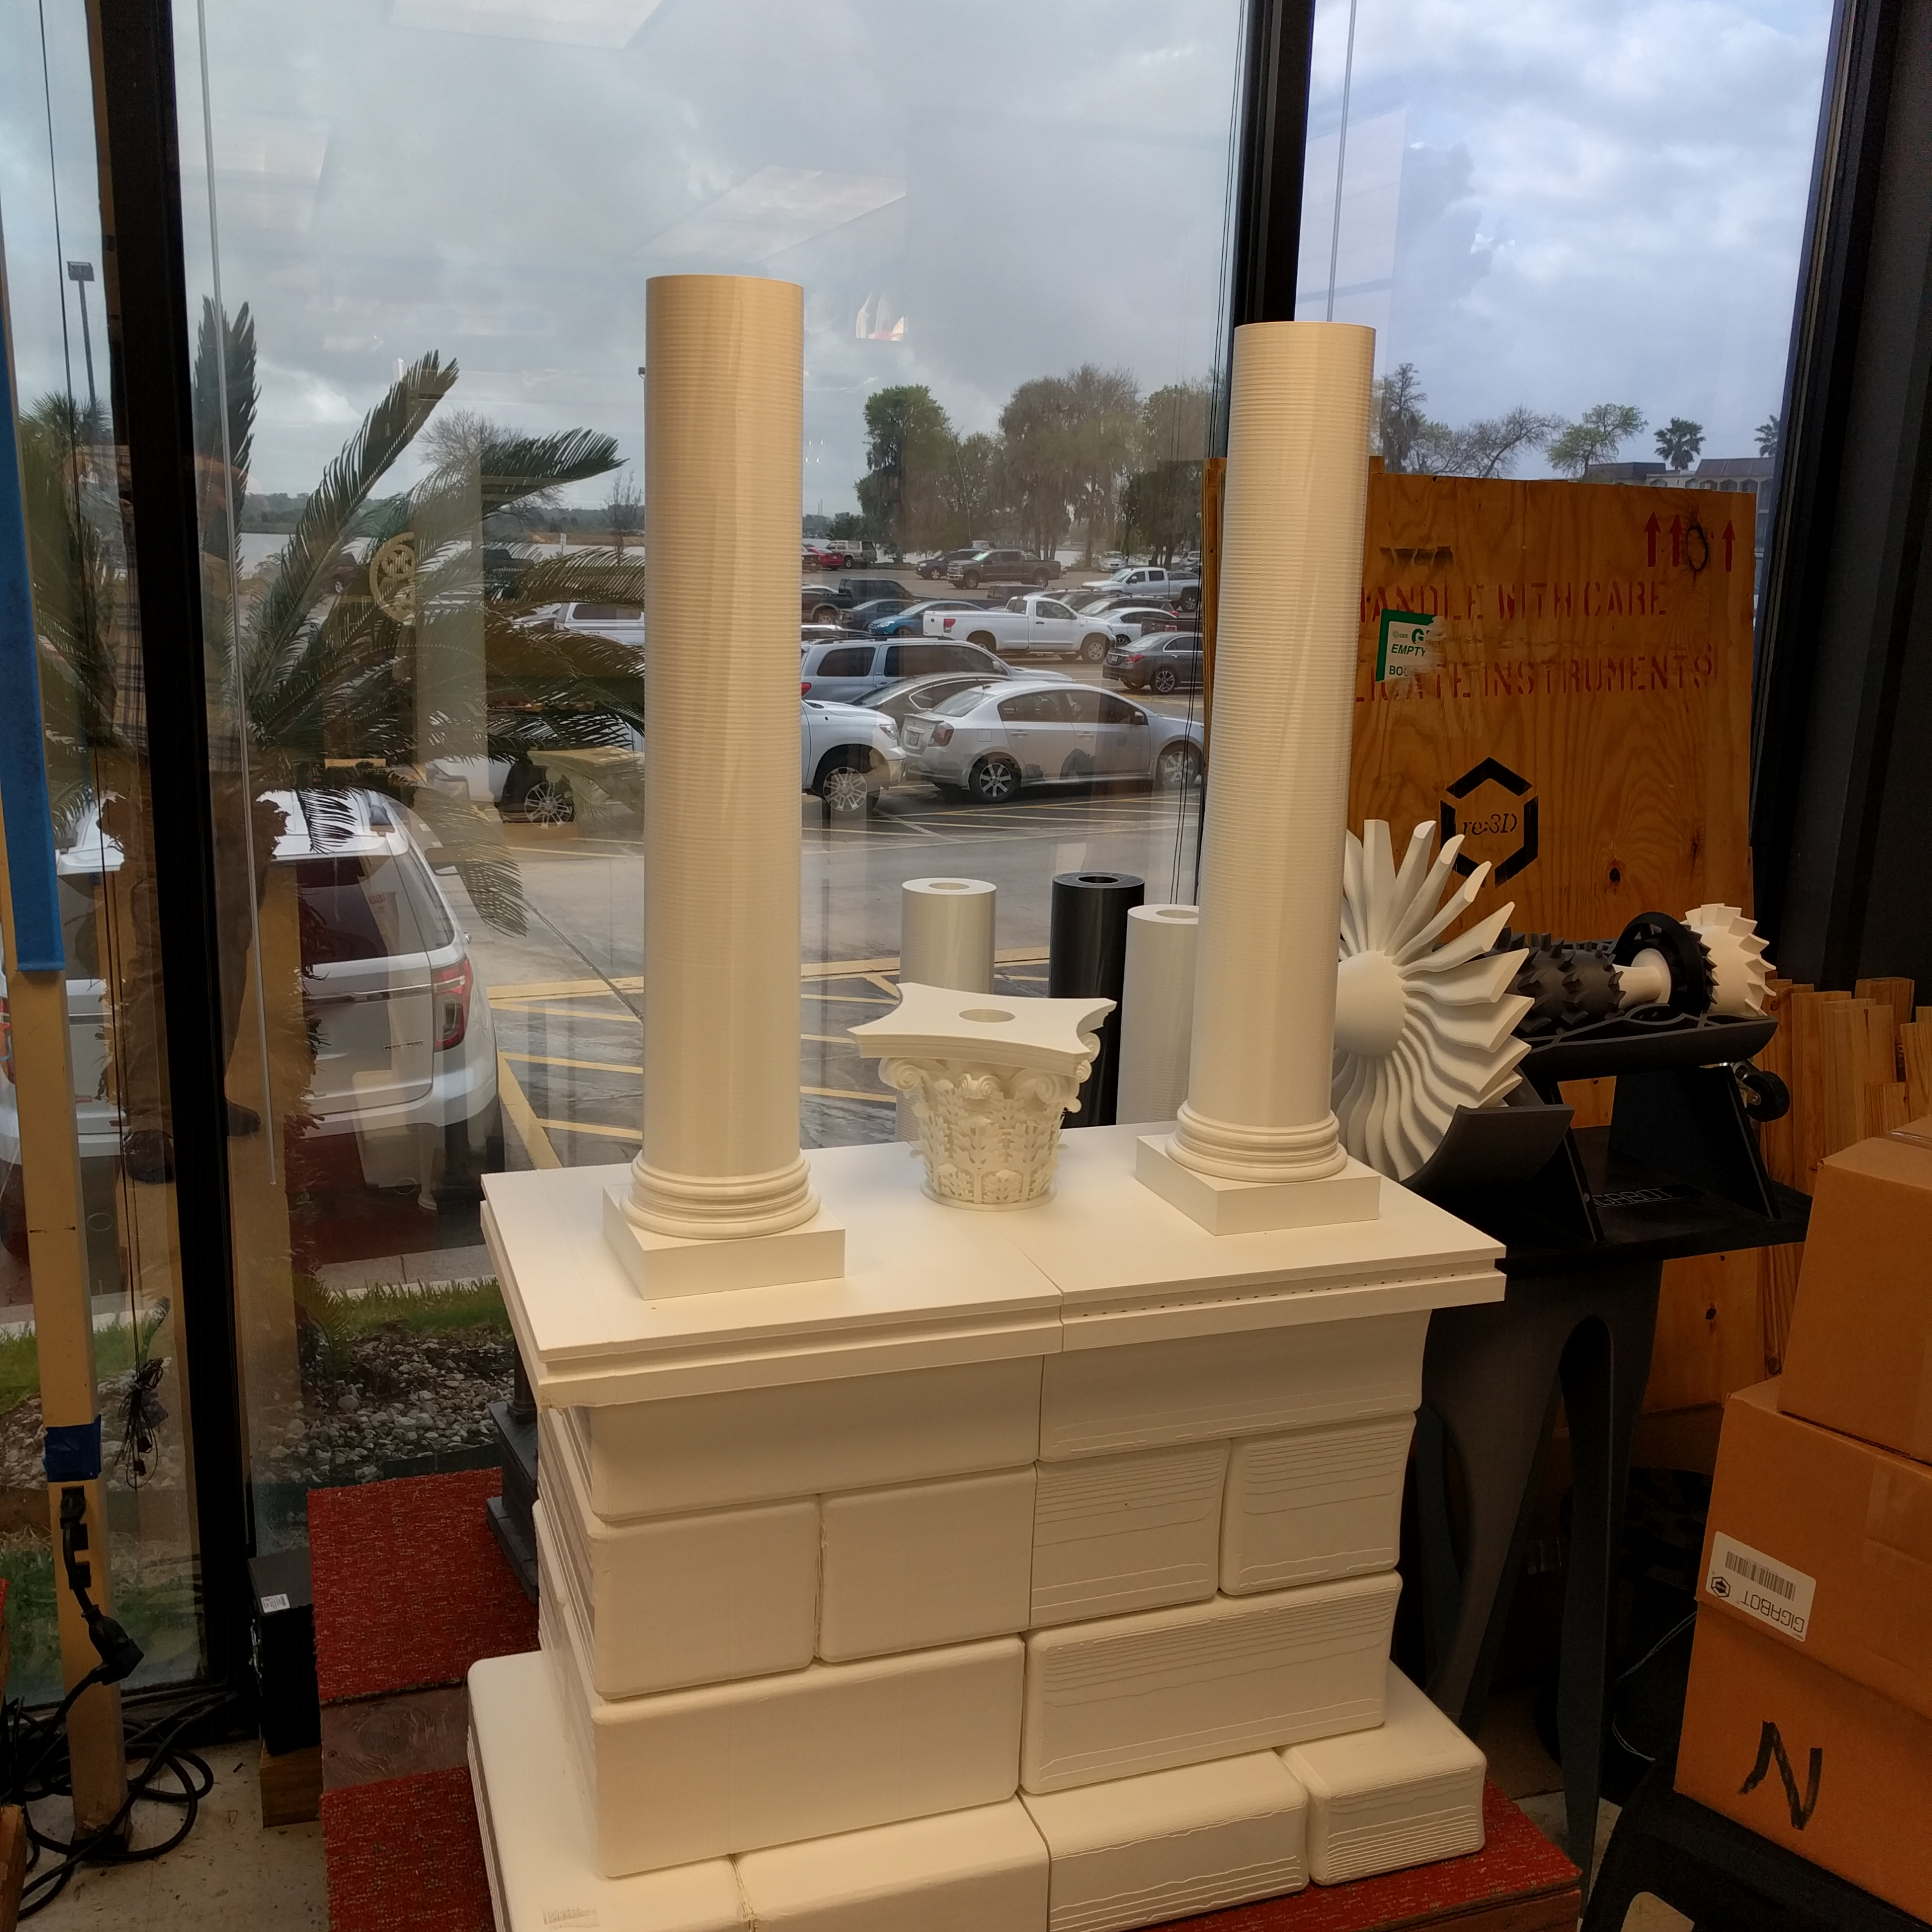
Creative Commons was looking for a machine capable of producing a version of one Tetrapylon which did testament to its immense real-life scale, which is how Gigabot entered the equation. We reconstructed a scaled-down Tetrapylon standing seven and a half feet tall and weighing in at over 200 pounds (90+ kg).

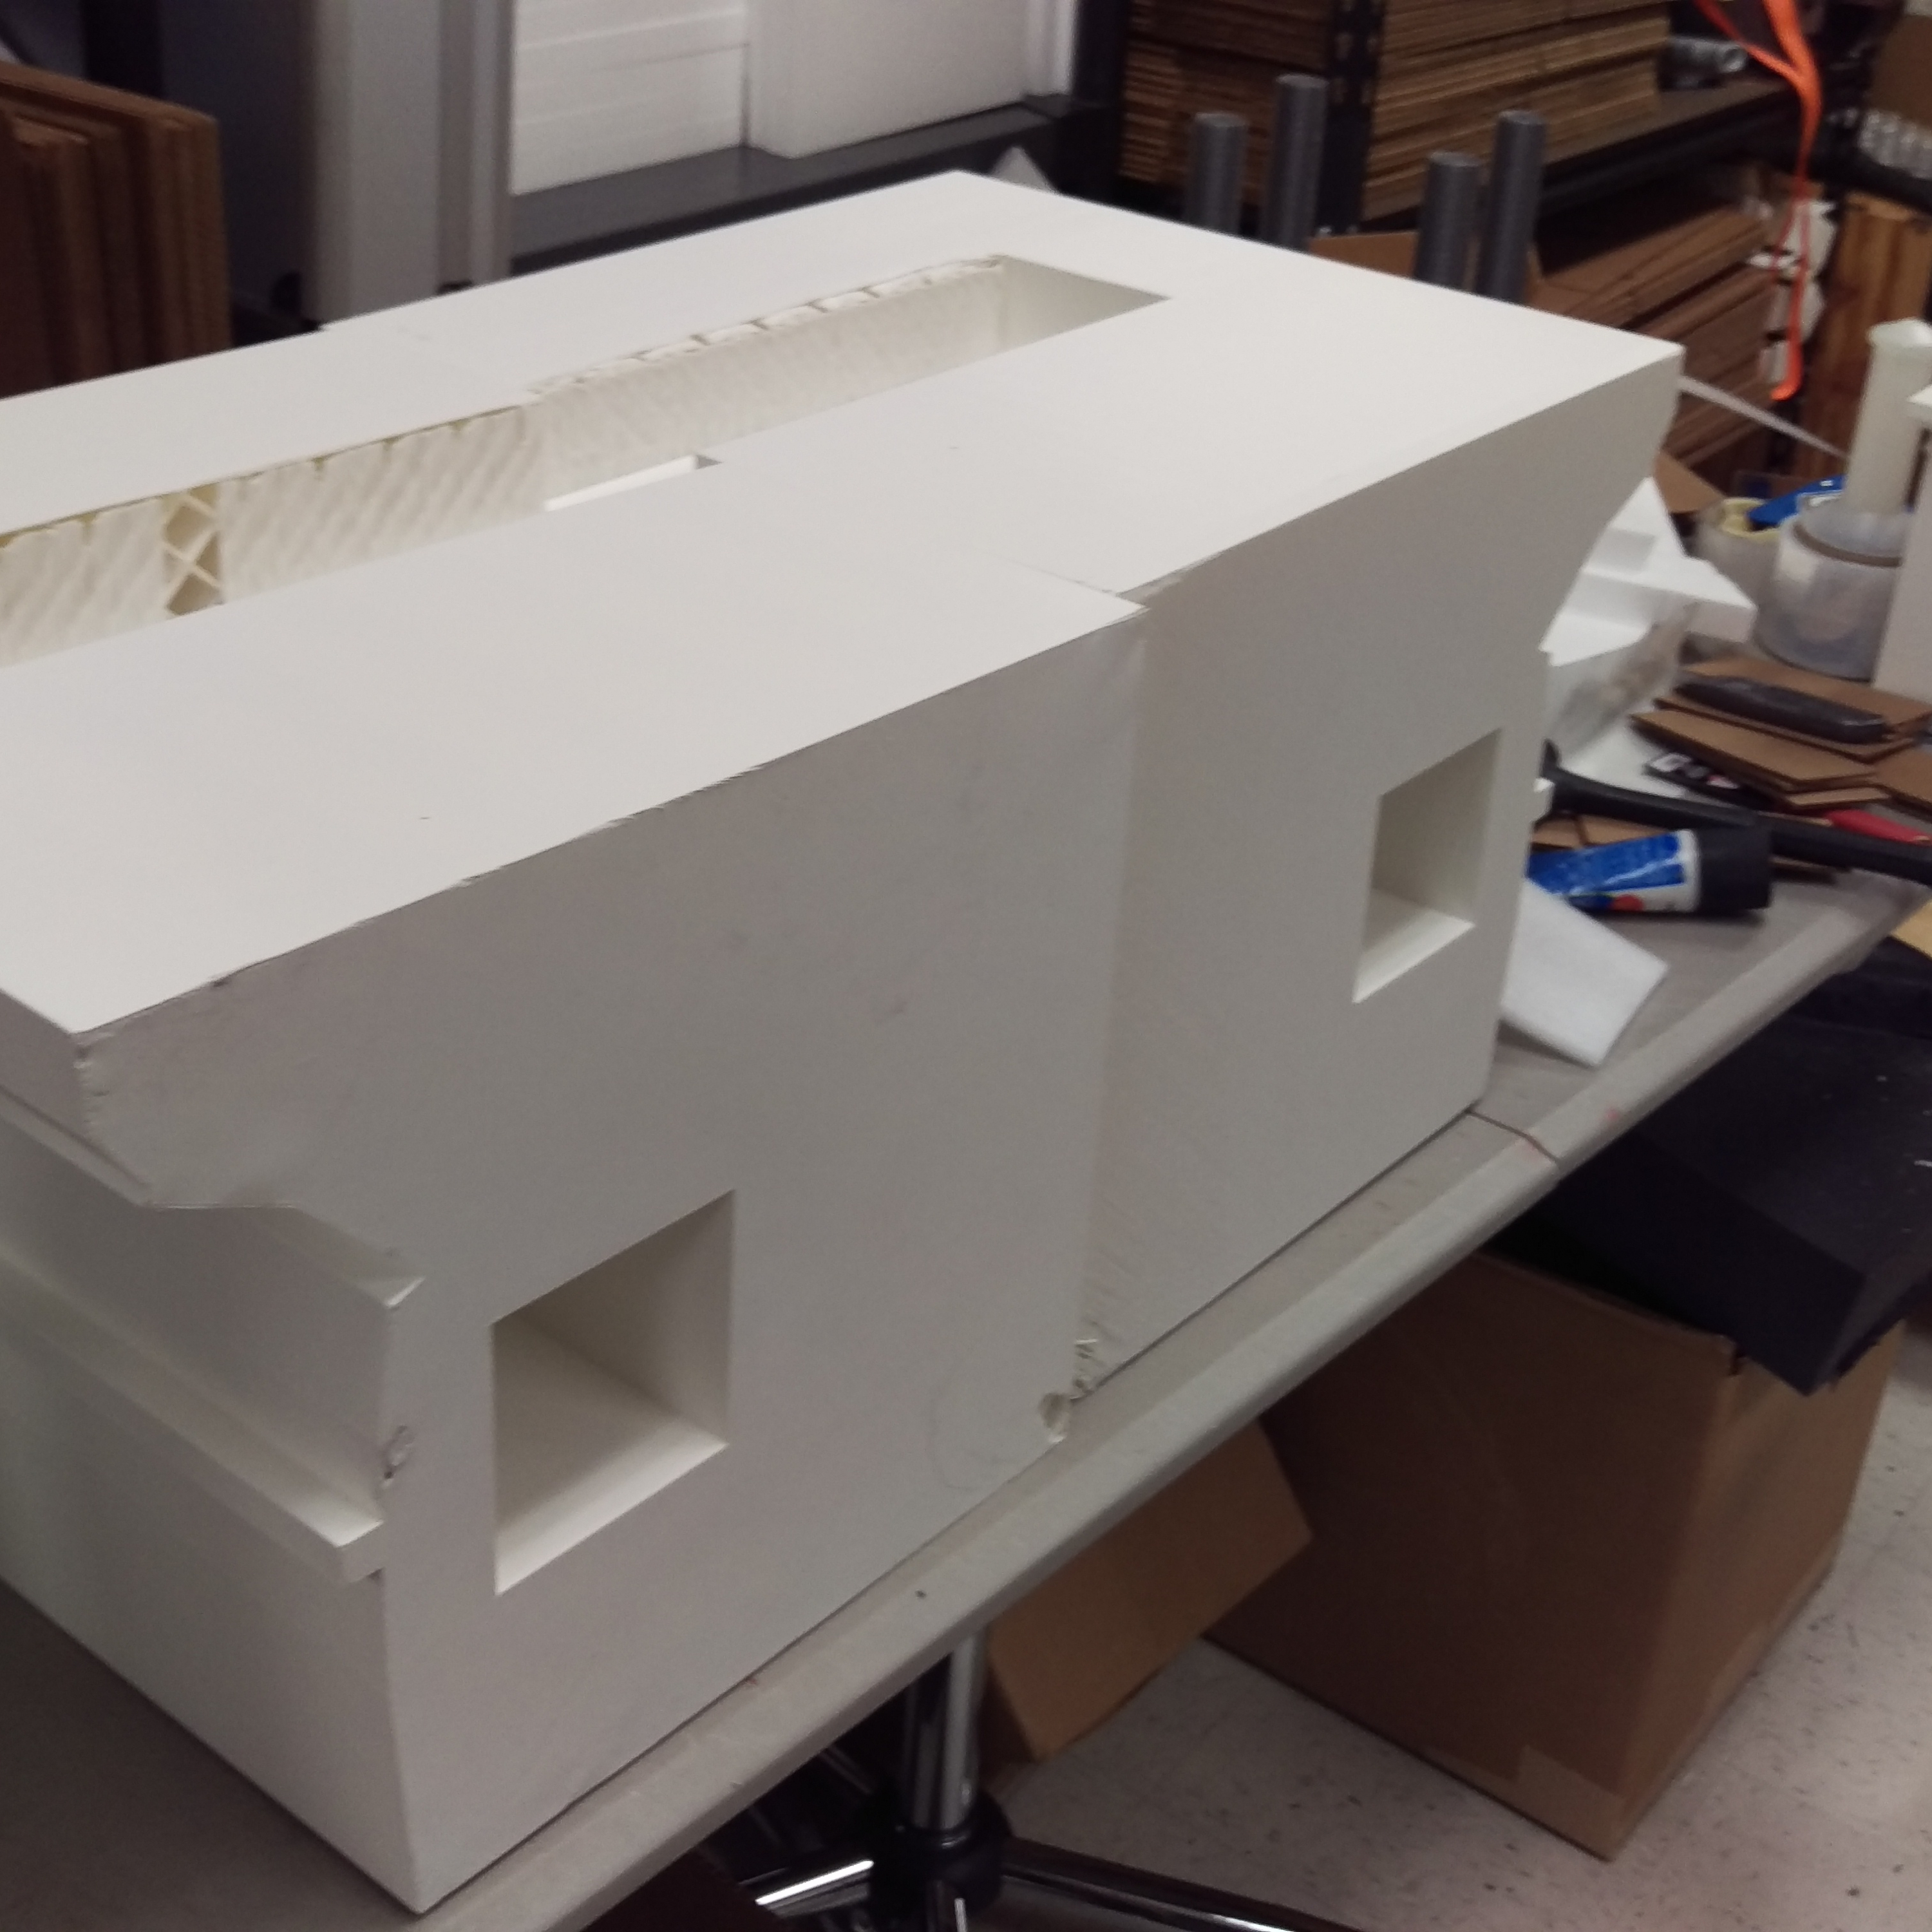
Using digital 3D models of the Tetrapylon provided by the #NEWPALMYRA team, Mike created printable files from the models. As he explained, “3D printing requires error-free ‘watertight’ models to create clean prints.” To accomplish this, he “ran the columns through several repair algorithms until they were good to go, redesigned the base to be better fit for 3D printing, and chopped up the model into smaller pieces that would fit [Gigabot’s] build volume.”

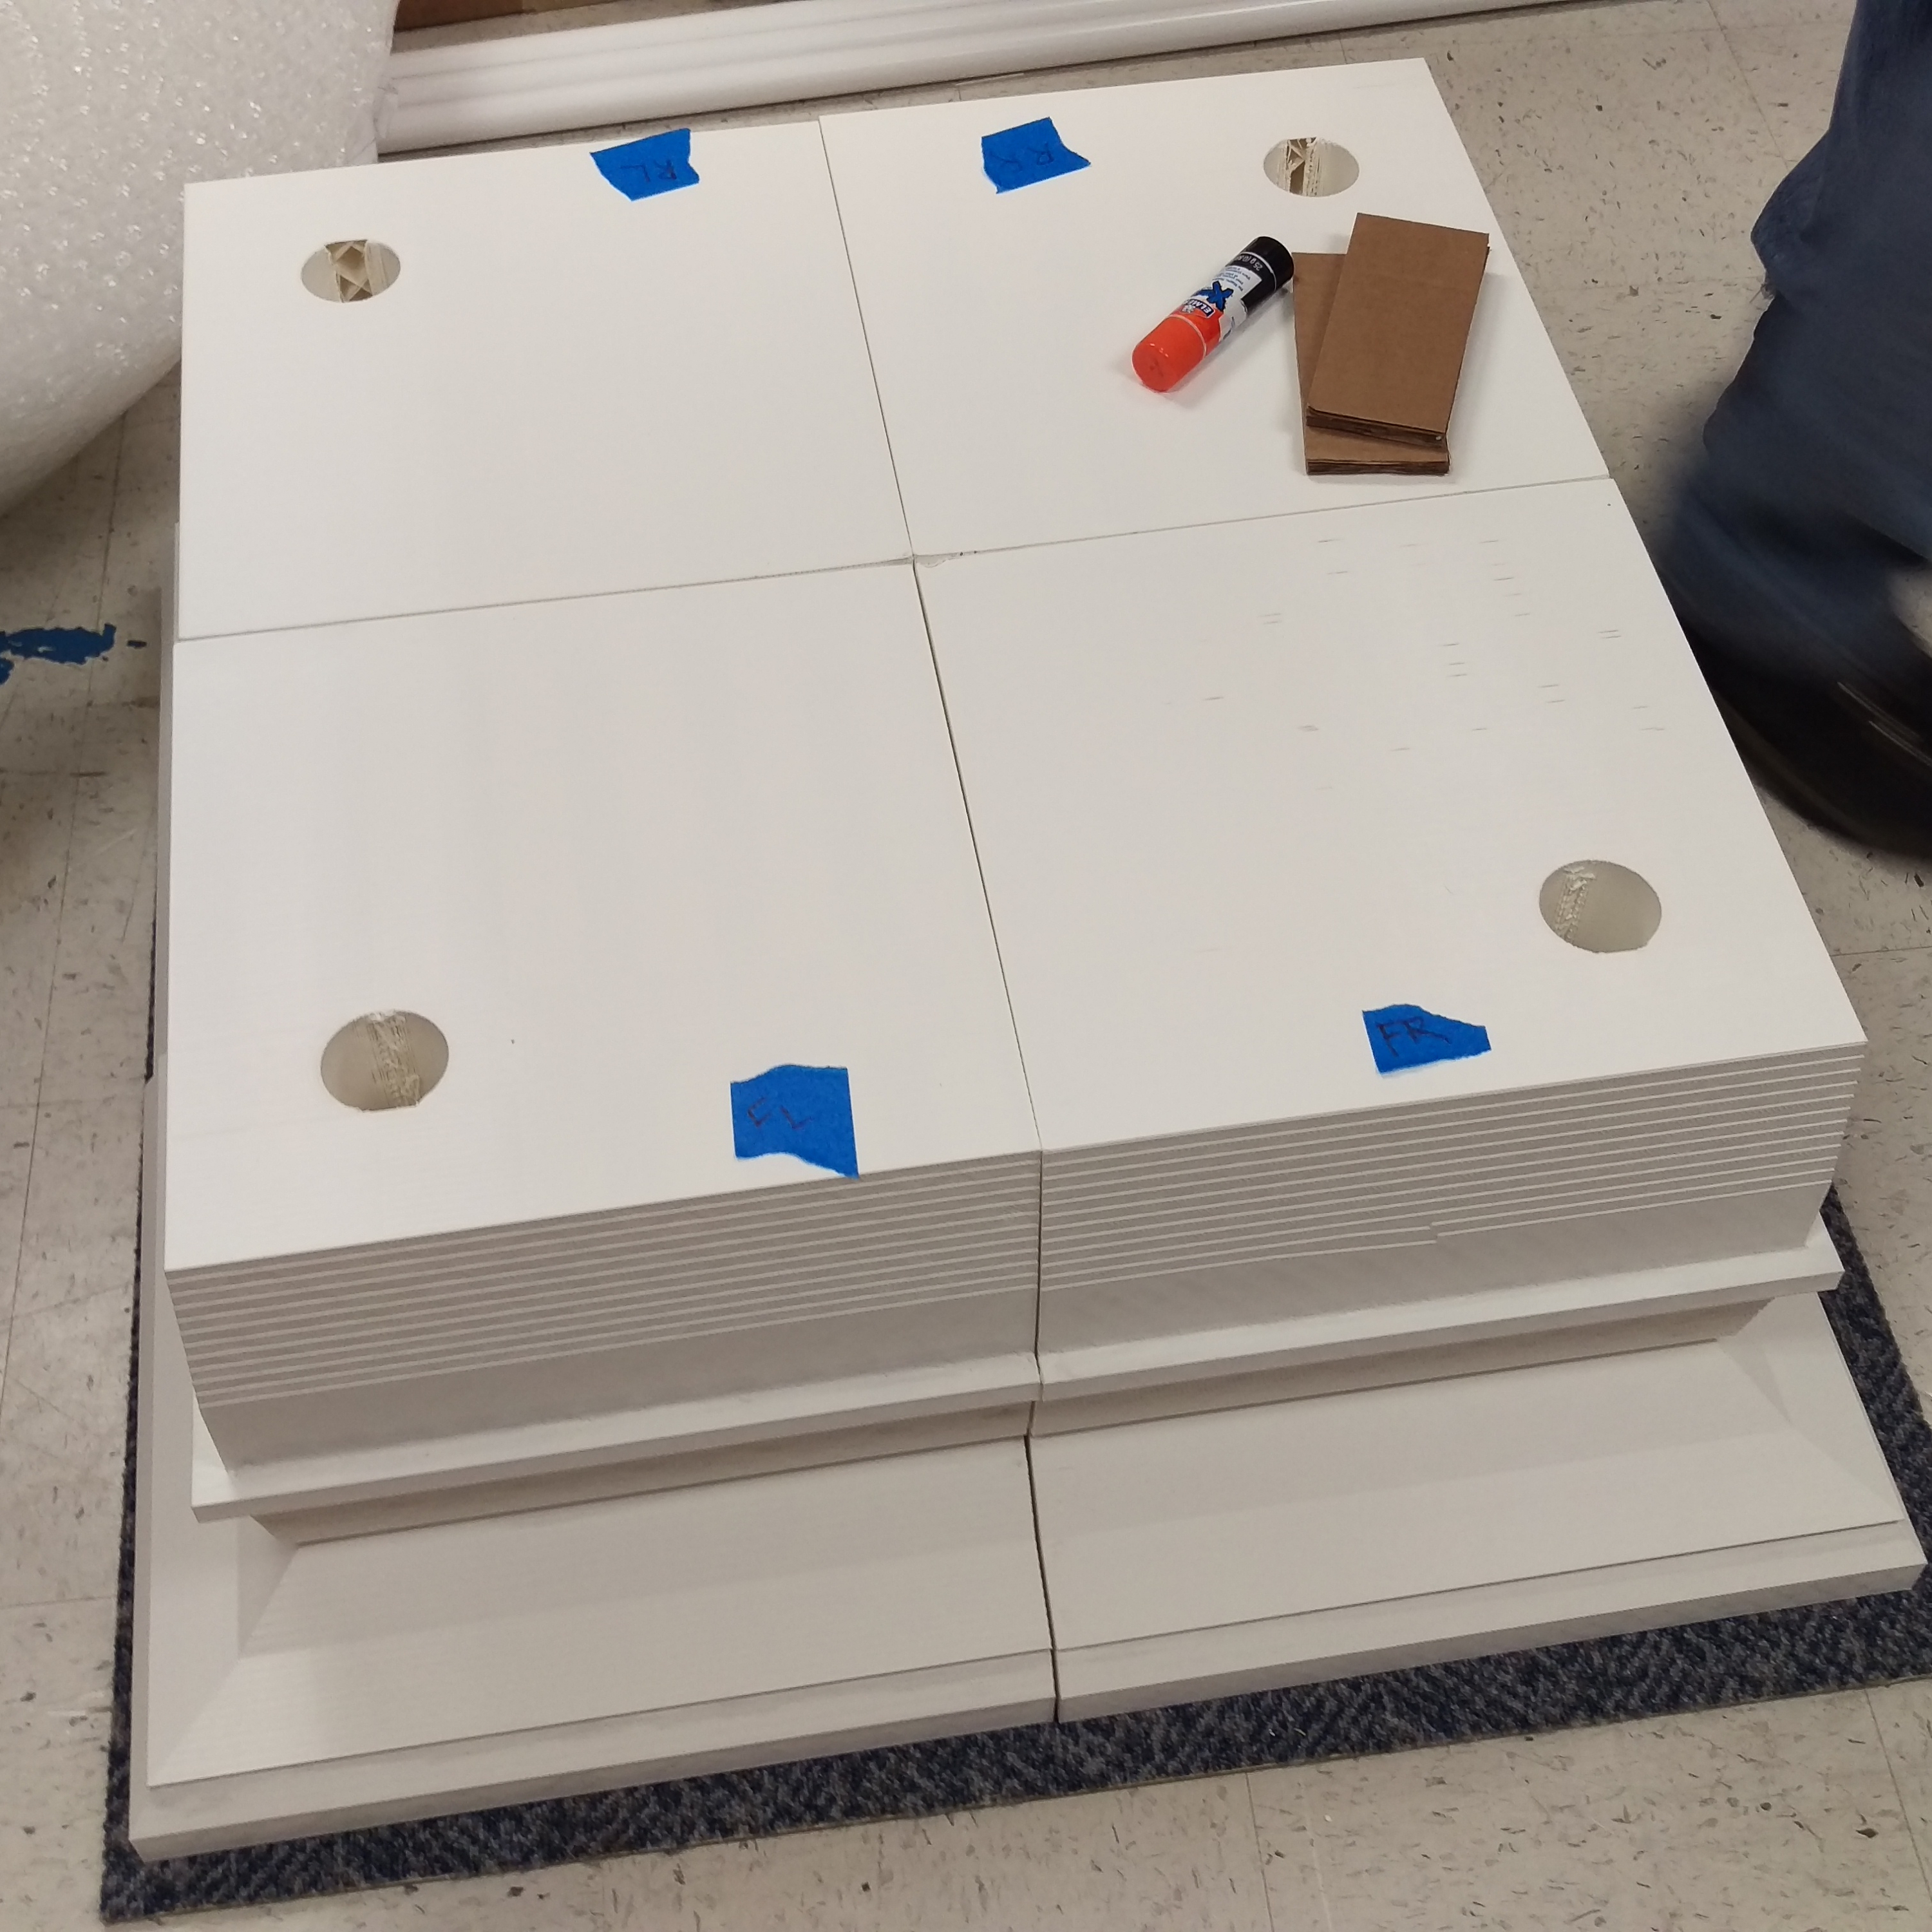
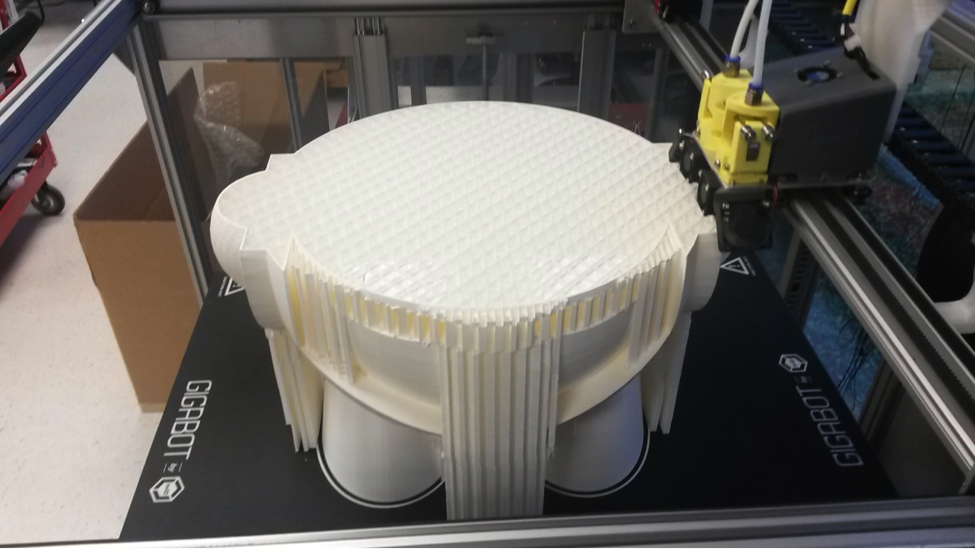
We broke the Tetrapylon into 25 separate pieces, clocking in around 800 hours of print time total. The biggest challenge for re:3D – as many of our bot owners can likely relate to – was working with this massive number of print hours. “The parts were so large that the print time estimates were through the roof,” said Jeric Bautista, Product Engineer at re:3D. Mike added, “This was the largest print that re:3D has taken on to date.”

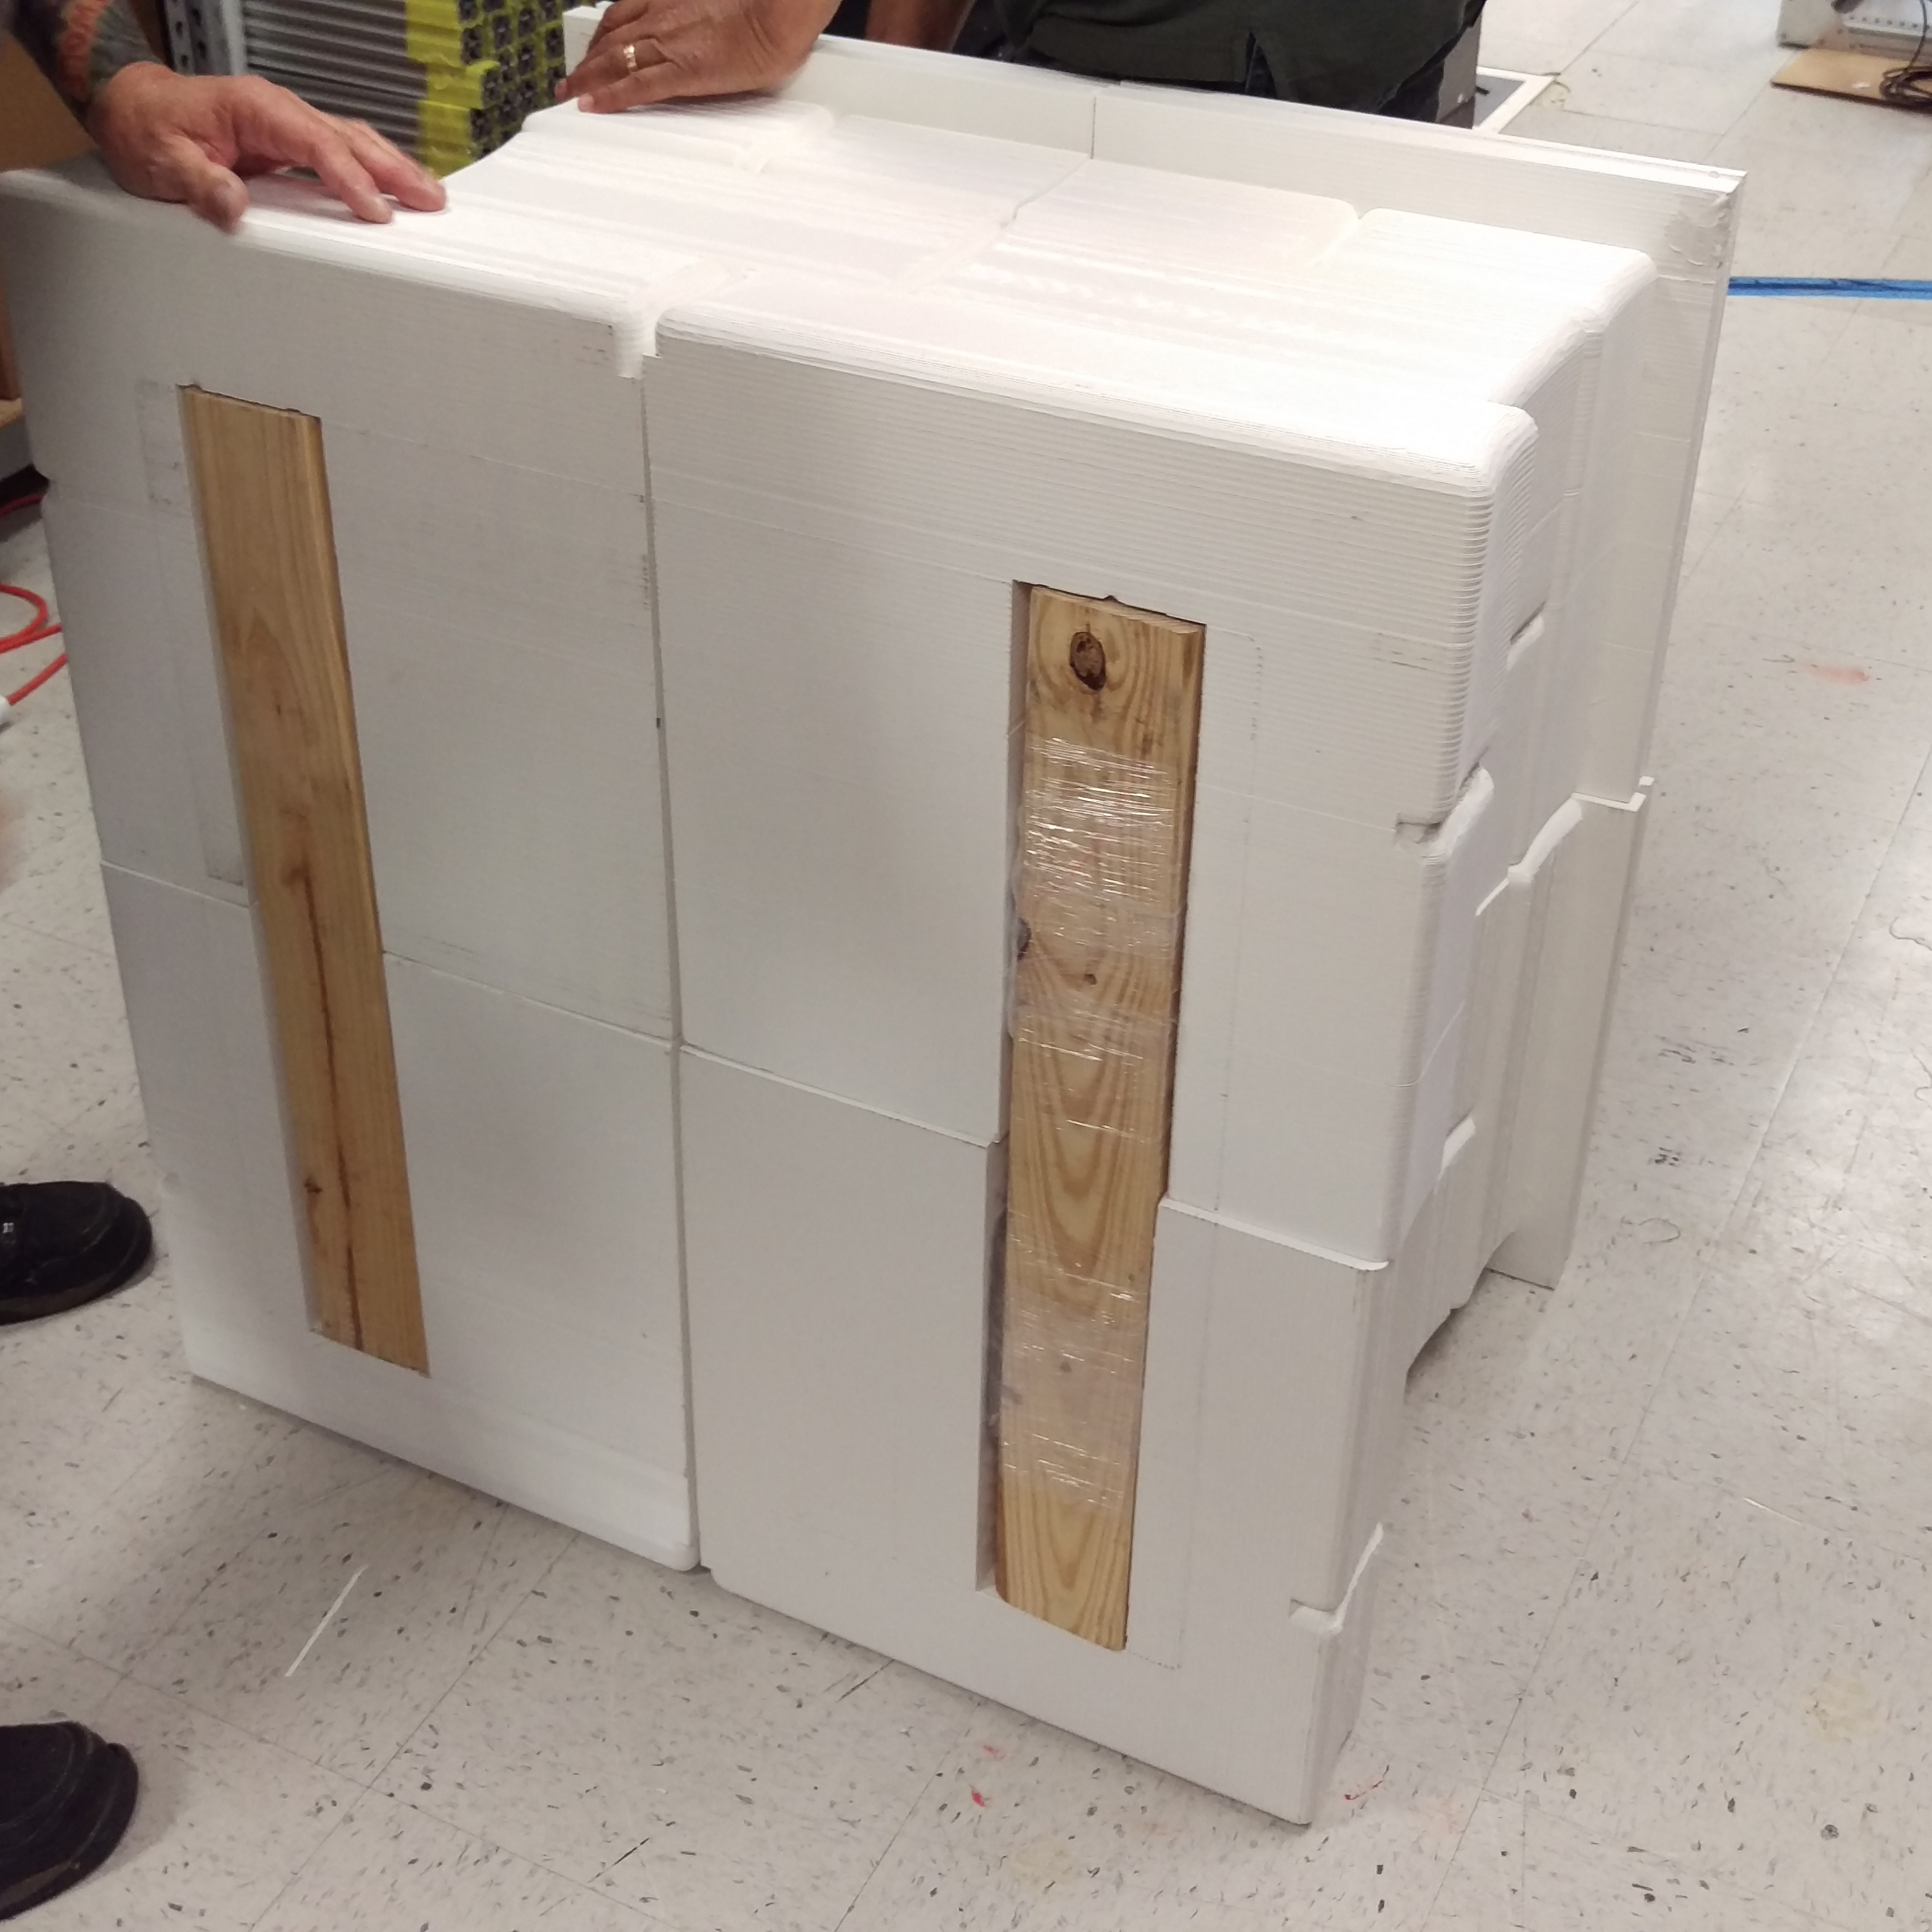
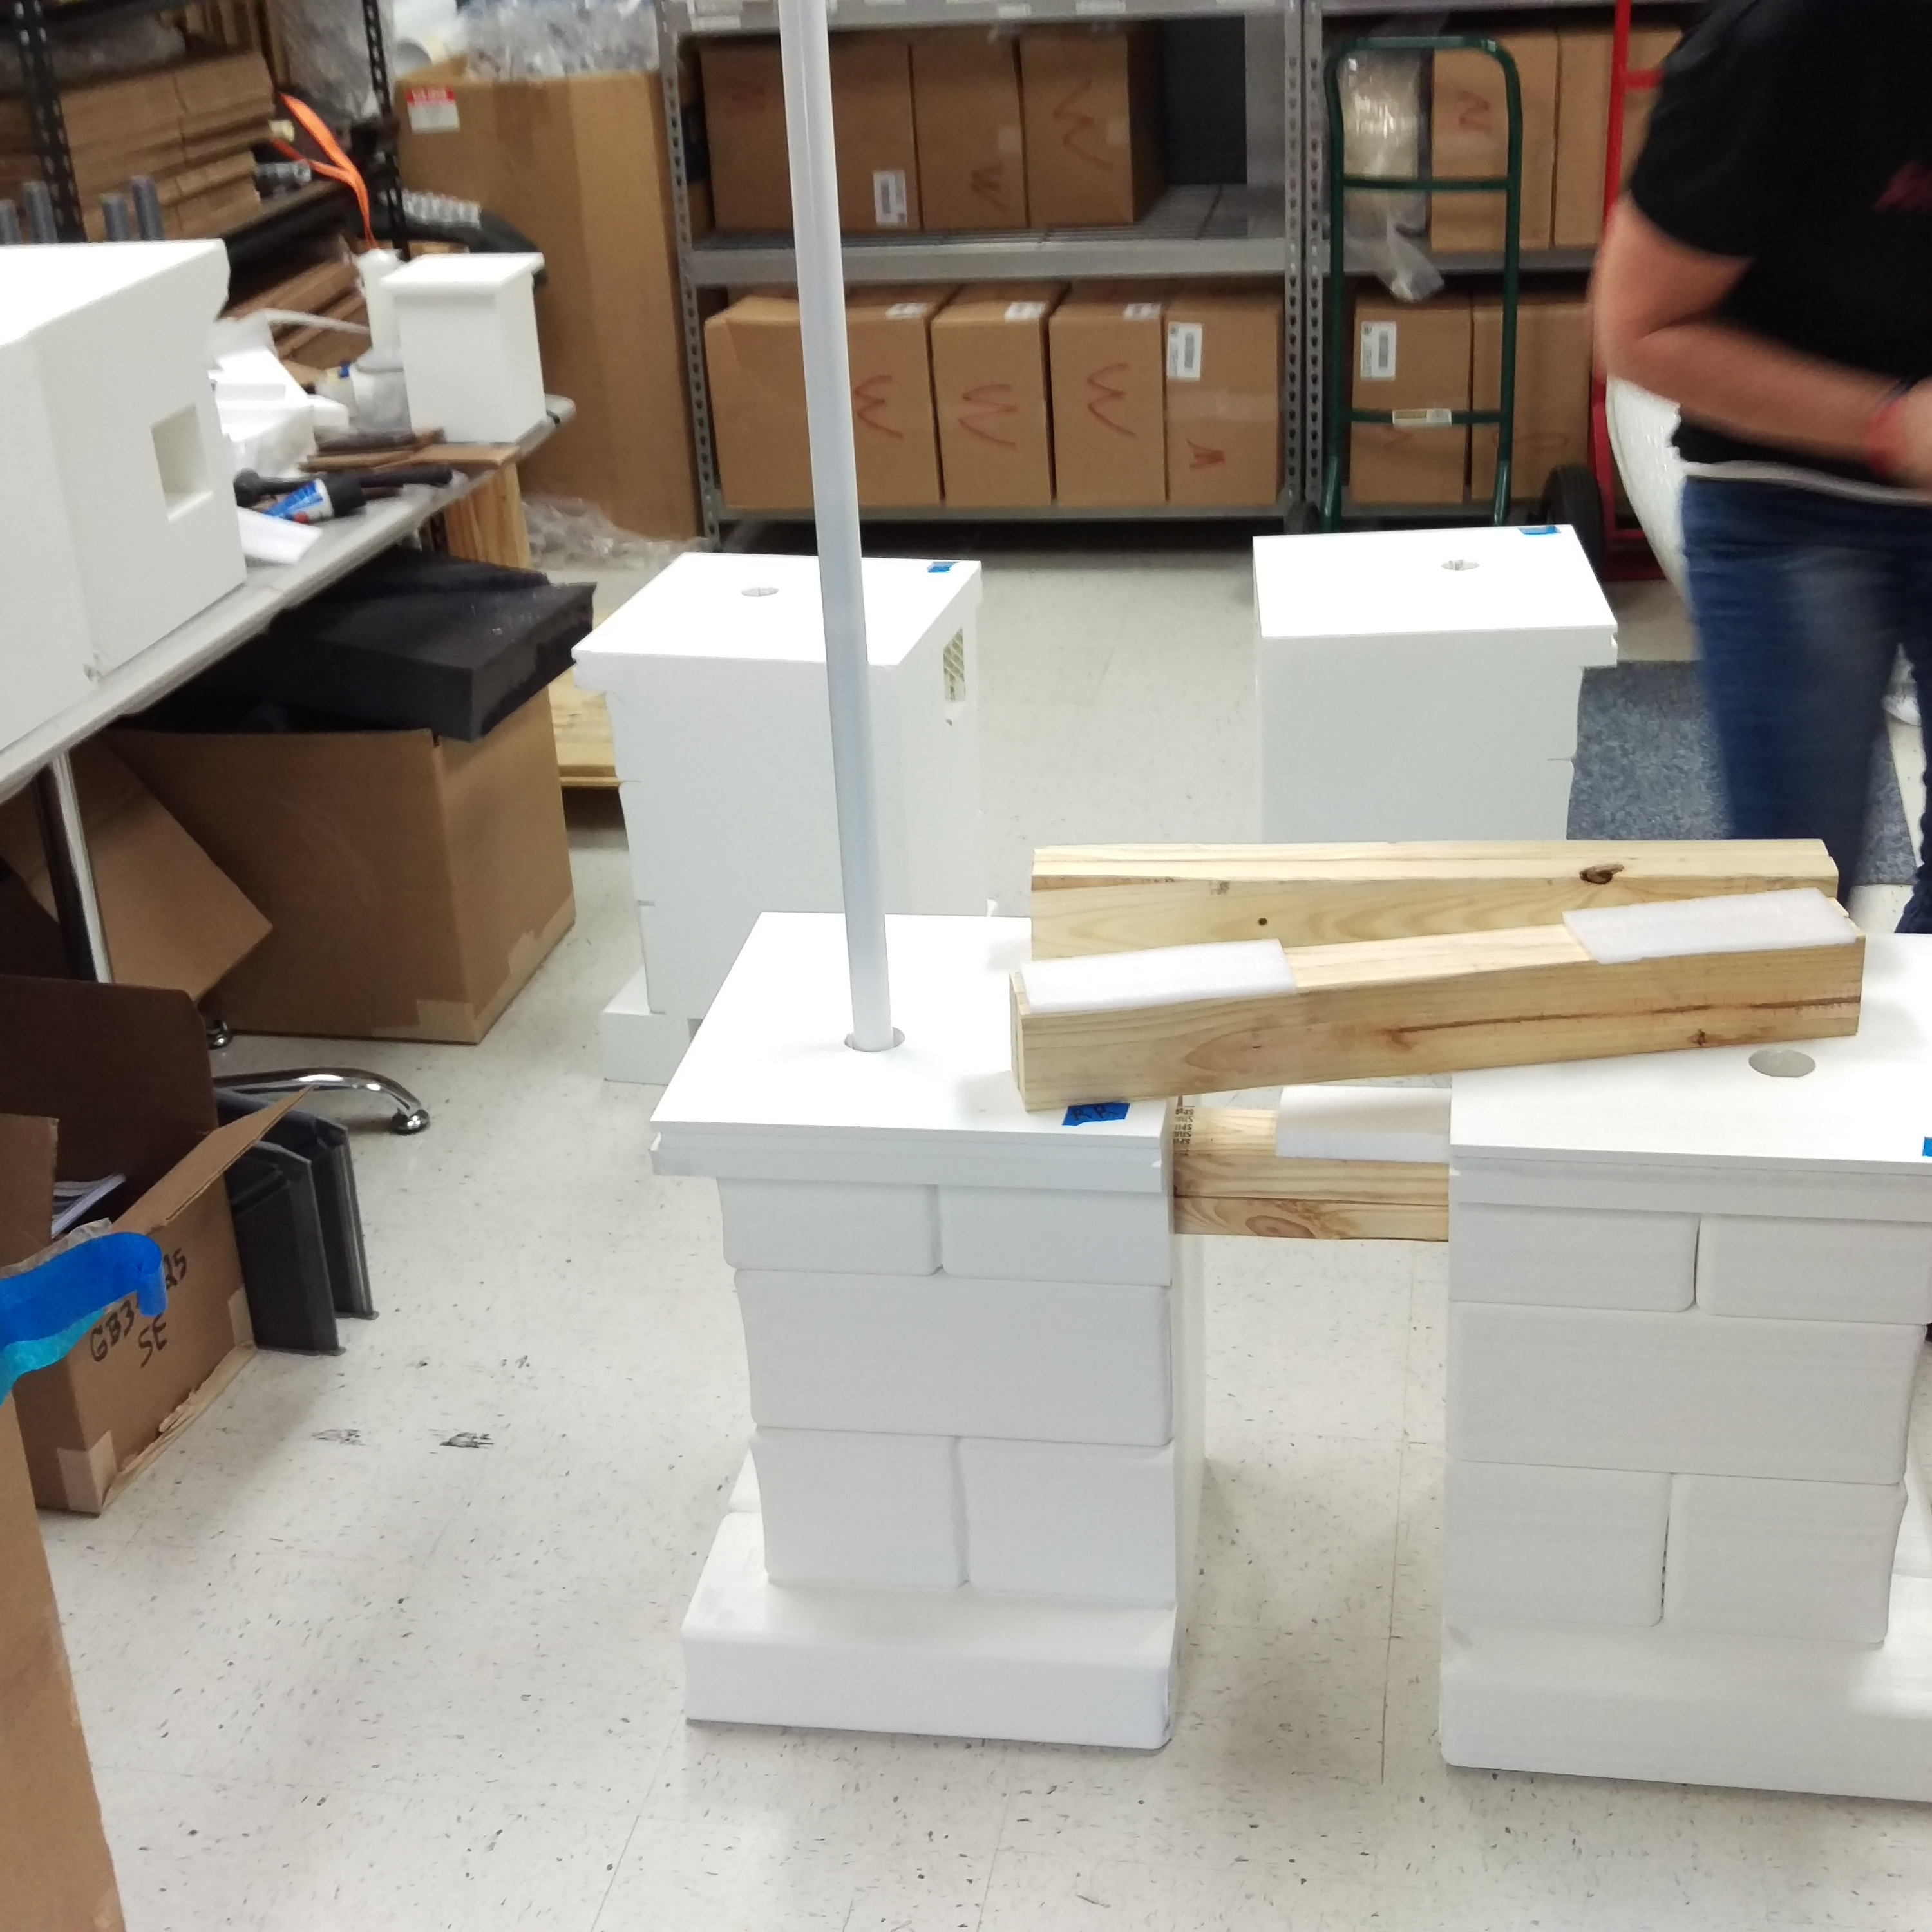
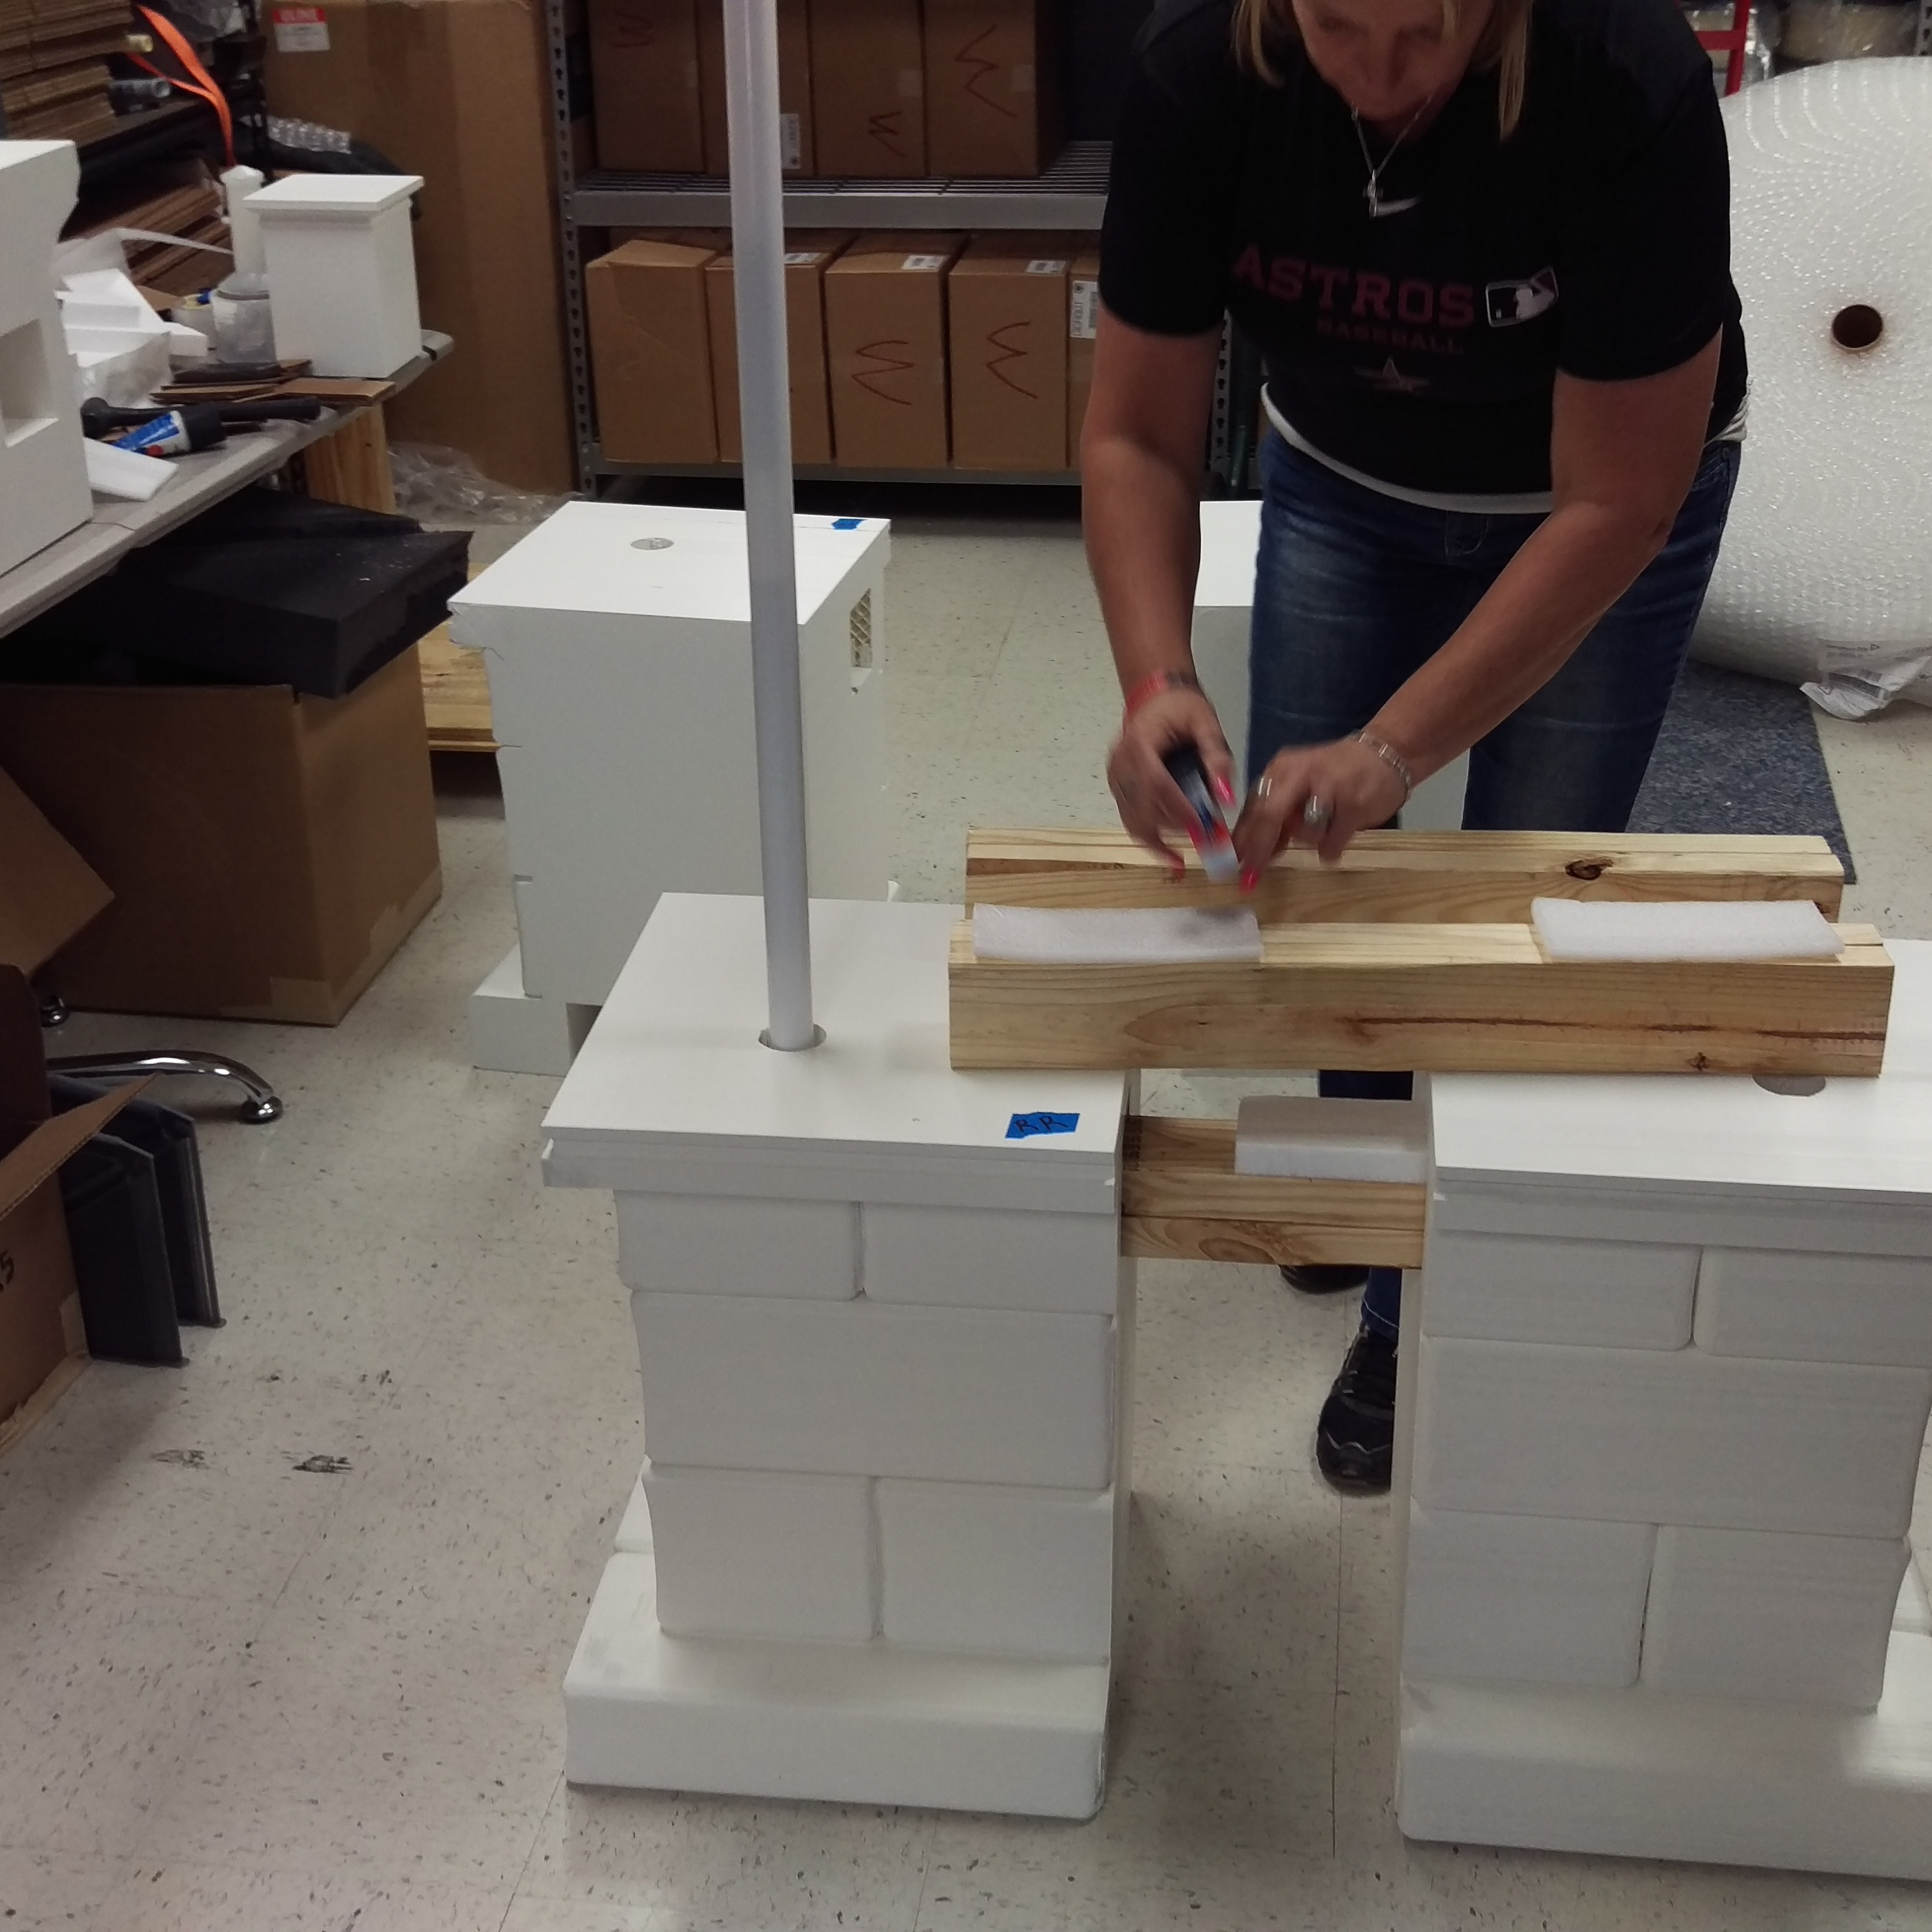
As for the sheer size of the print, Mike remarked that, “The fact that we had to design in safety measures because of the weight of the object was new to me. If one of those columns were pushed out, whoever was standing next to it could have had a very bad day.” For safety purposes, Mike designed channels into the print to run rods down each column, locked into place with 4×4 wooden blocks.

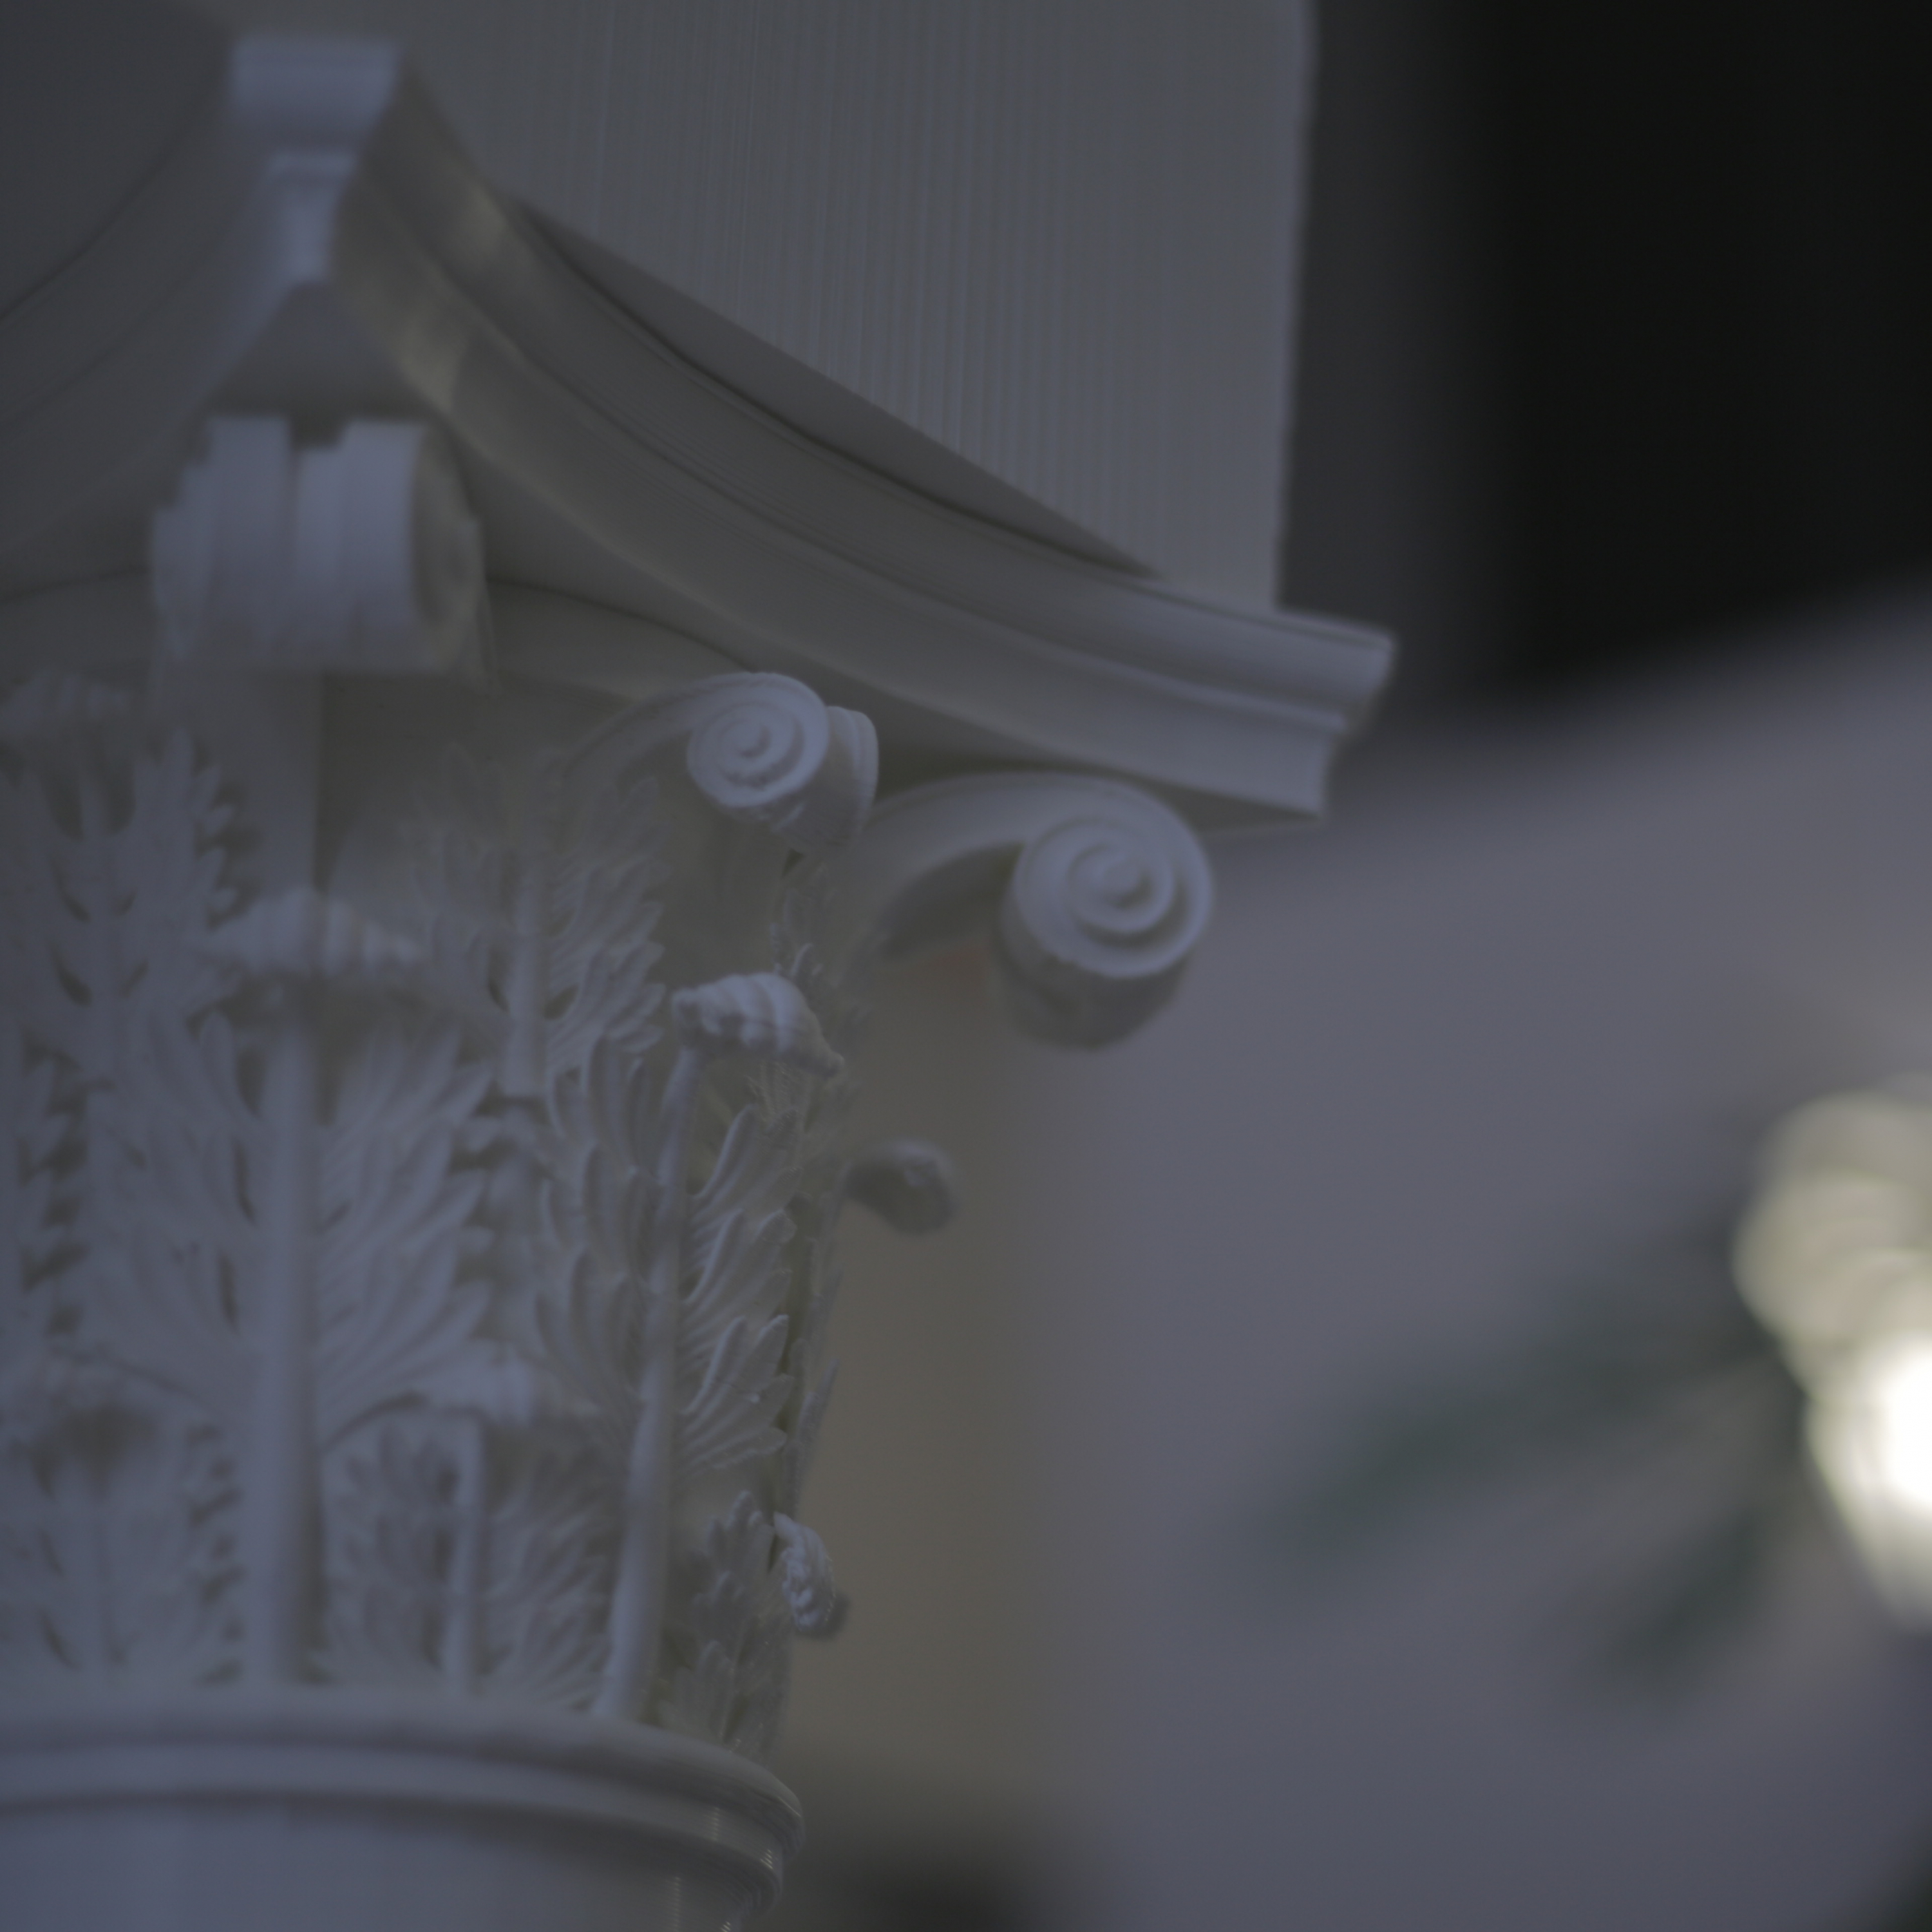
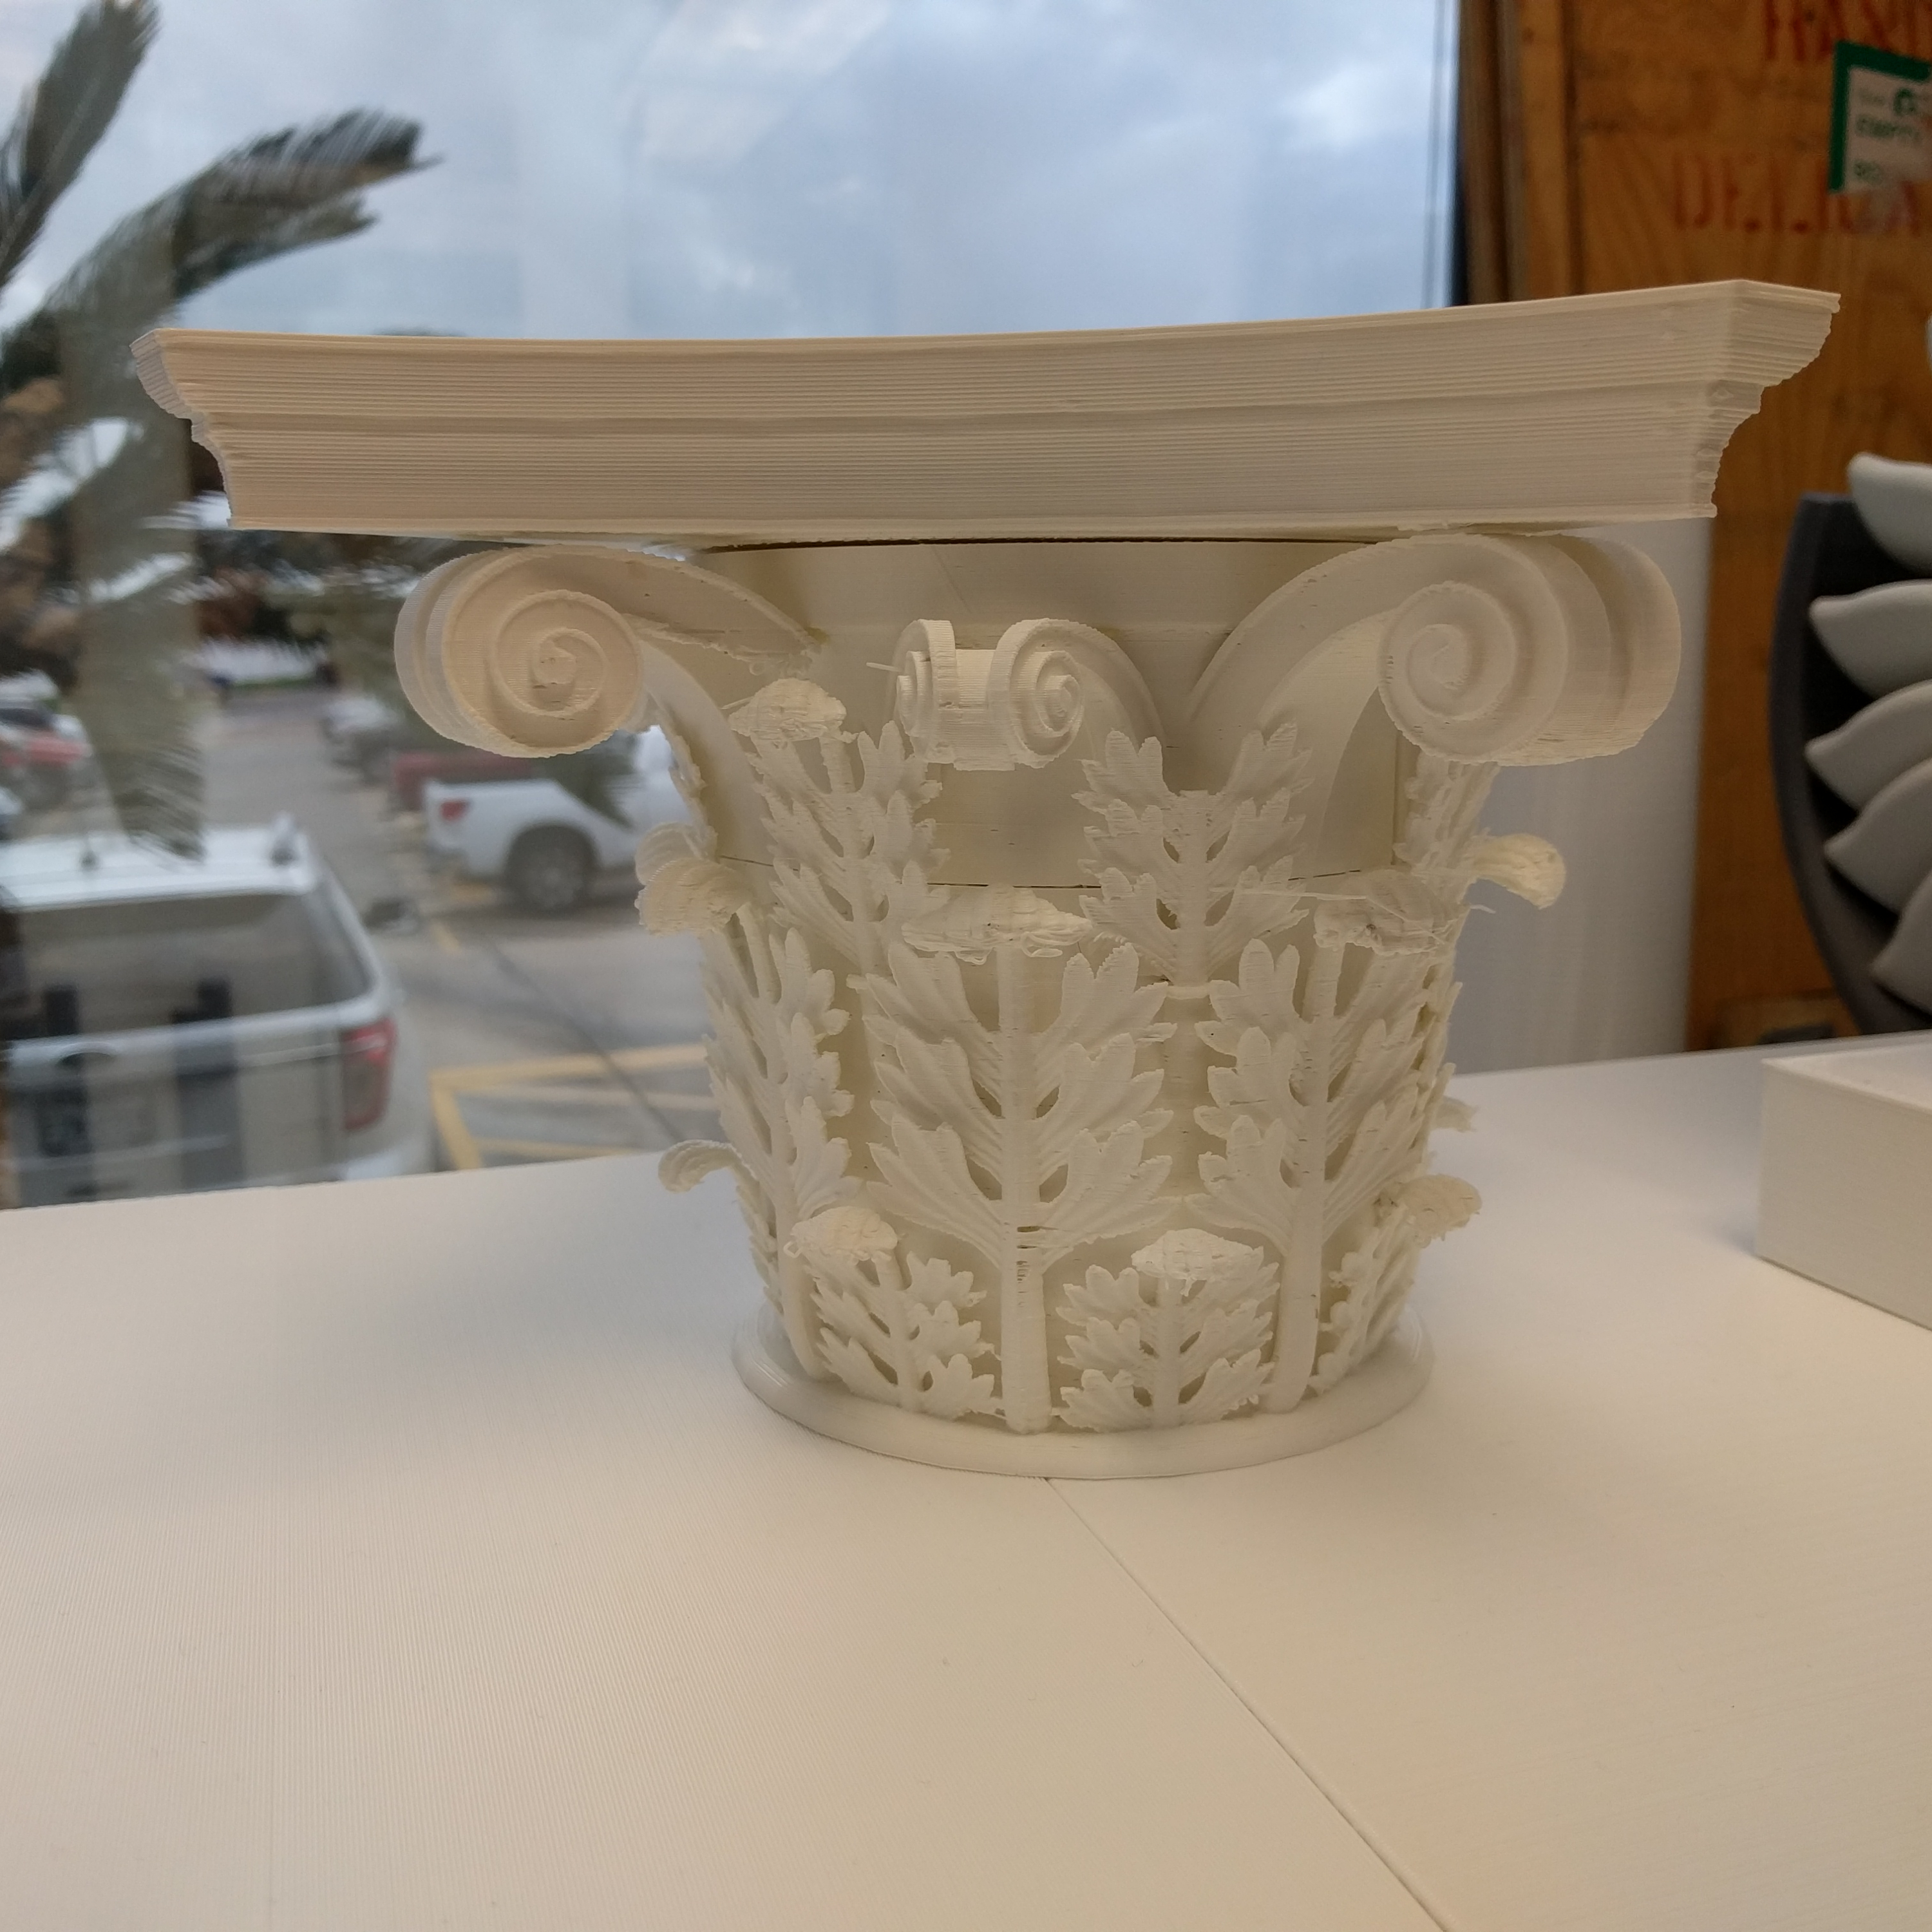
Coupled with the challenge of the overall size of the object was the detail variation within the print. While some parts of the structure are large and uniform – like the columns – other parts are so fine to the point that dual extrusion printing was required. The print resolution throughout the Tetrapylon ranges between ultra-detailed 200 microns and very large layers of 600 microns.

Jeric explained, “The completion of this project hinged on our R&D efforts to enable high-flow printing on Gigabot that drastically reduced printing times, as well as reliable dual extrusion printing to create highly detailed parts.”

Steve Johnson, lead Machinist and Programmer at re:3D, was in charge of creating a new hot end for the job. He explained his task of manufacturing one with a “longer heating area that would allow us to extrude faster because of the size of the print and the short time frame we had to complete it in.” He designed and machined four hot ends to be used for the project.

The tackling and subsequent success of this challenge reverberated throughout our engineering team.

Gigabot owners will be happy to hear Jeric’s take on things. “I want to go bigger and faster,” he said. “Going back to R&D – we were able to multiply our material output 5-10x for this project, but of course we won’t stop there.” He added, “I’d like to see how our ‘big printing’ R&D initiatives will put us in an even better place to tackle projects at larger scales.”

Crossing these technical challenges was one aspect of what made this project so rewarding. “Not only did we jump over multiple technical hurdles to get the printing done, but it was awesome to see everything literally come together before our eyes,” Jeric said. “And that was just on the 3D printing side, which was the last piece of an already long-running initiative.”

Lasting Impact

The initiative was over a decade in the making and required the cooperation of many different parties, making the success even sweeter. Working in conjunction with #NEWPALMYRA and Creative Commons on this project was an incredible honor for us.

“My favorite part of this project was how collaborative it was,” Jeric commented. “It required folks contributing from so many different spheres to make it all come together at Creative Commons Global Summit.” He went on, “There’s also something to be said about the power of open information and distributed manufacturing to preserve history and culture.”

The final reveal in Toronto was a culmination of countless hours of work by multiple different parties – the print’s completion hinged on a truly collaborative effort.

“It was so moving to see the New Palmyra unveiling at CC Summit and seeing everyone’s reactions, knowing the weight of what the project meant to all of them,” said Jeric. “It really brought things full circle, and was a great example of what is possible with open source projects.”

Of his experience, Mike said, “I was honored to have the opportunity to contribute to this project! I think this is one of the first of hopefully many preservation efforts for other cultural landmarks.”

The #NEWPALMYRA undertaking sets the stage – and the bar – for similar projects. As Mike remarked, “Museums like the MET and Smithsonian have already recognized the value of preserving their own collections of cultural artifacts via 3D scanning and 3D printing. Now let’s continue the same in large-scale.”

One can’t help but see the impact this project will have on future cultural preservation efforts from both intended destruction and natural degradation over time.

“My hope is that cultural heritage sites are preserved with 3D scanning as quickly as possible,” said Mike. “Having a digital back-up may even help to deter ISIS’ demolition in the future, since the symbolic value is lessened once a backup exists. We can even preserve the feeling of being at these sites with VR, and I hope this happens as well.”

As Jeric put it – “Full scale New Palmyra exhibits, anyone?”

Morgan Hamel

Blog Post Author
Zero to Factory: Why We’re Sharing our Experiences Being Scrappy

Week 1

As an optimistic group of underdogs we firmly believe that anyone, anywhere, anytime, should have access to their own personal factory while controlling their supply chain. With this vision we launched re:3D Inc– a social enterprise committed to making human-scale 3D printing available to emerging markets.

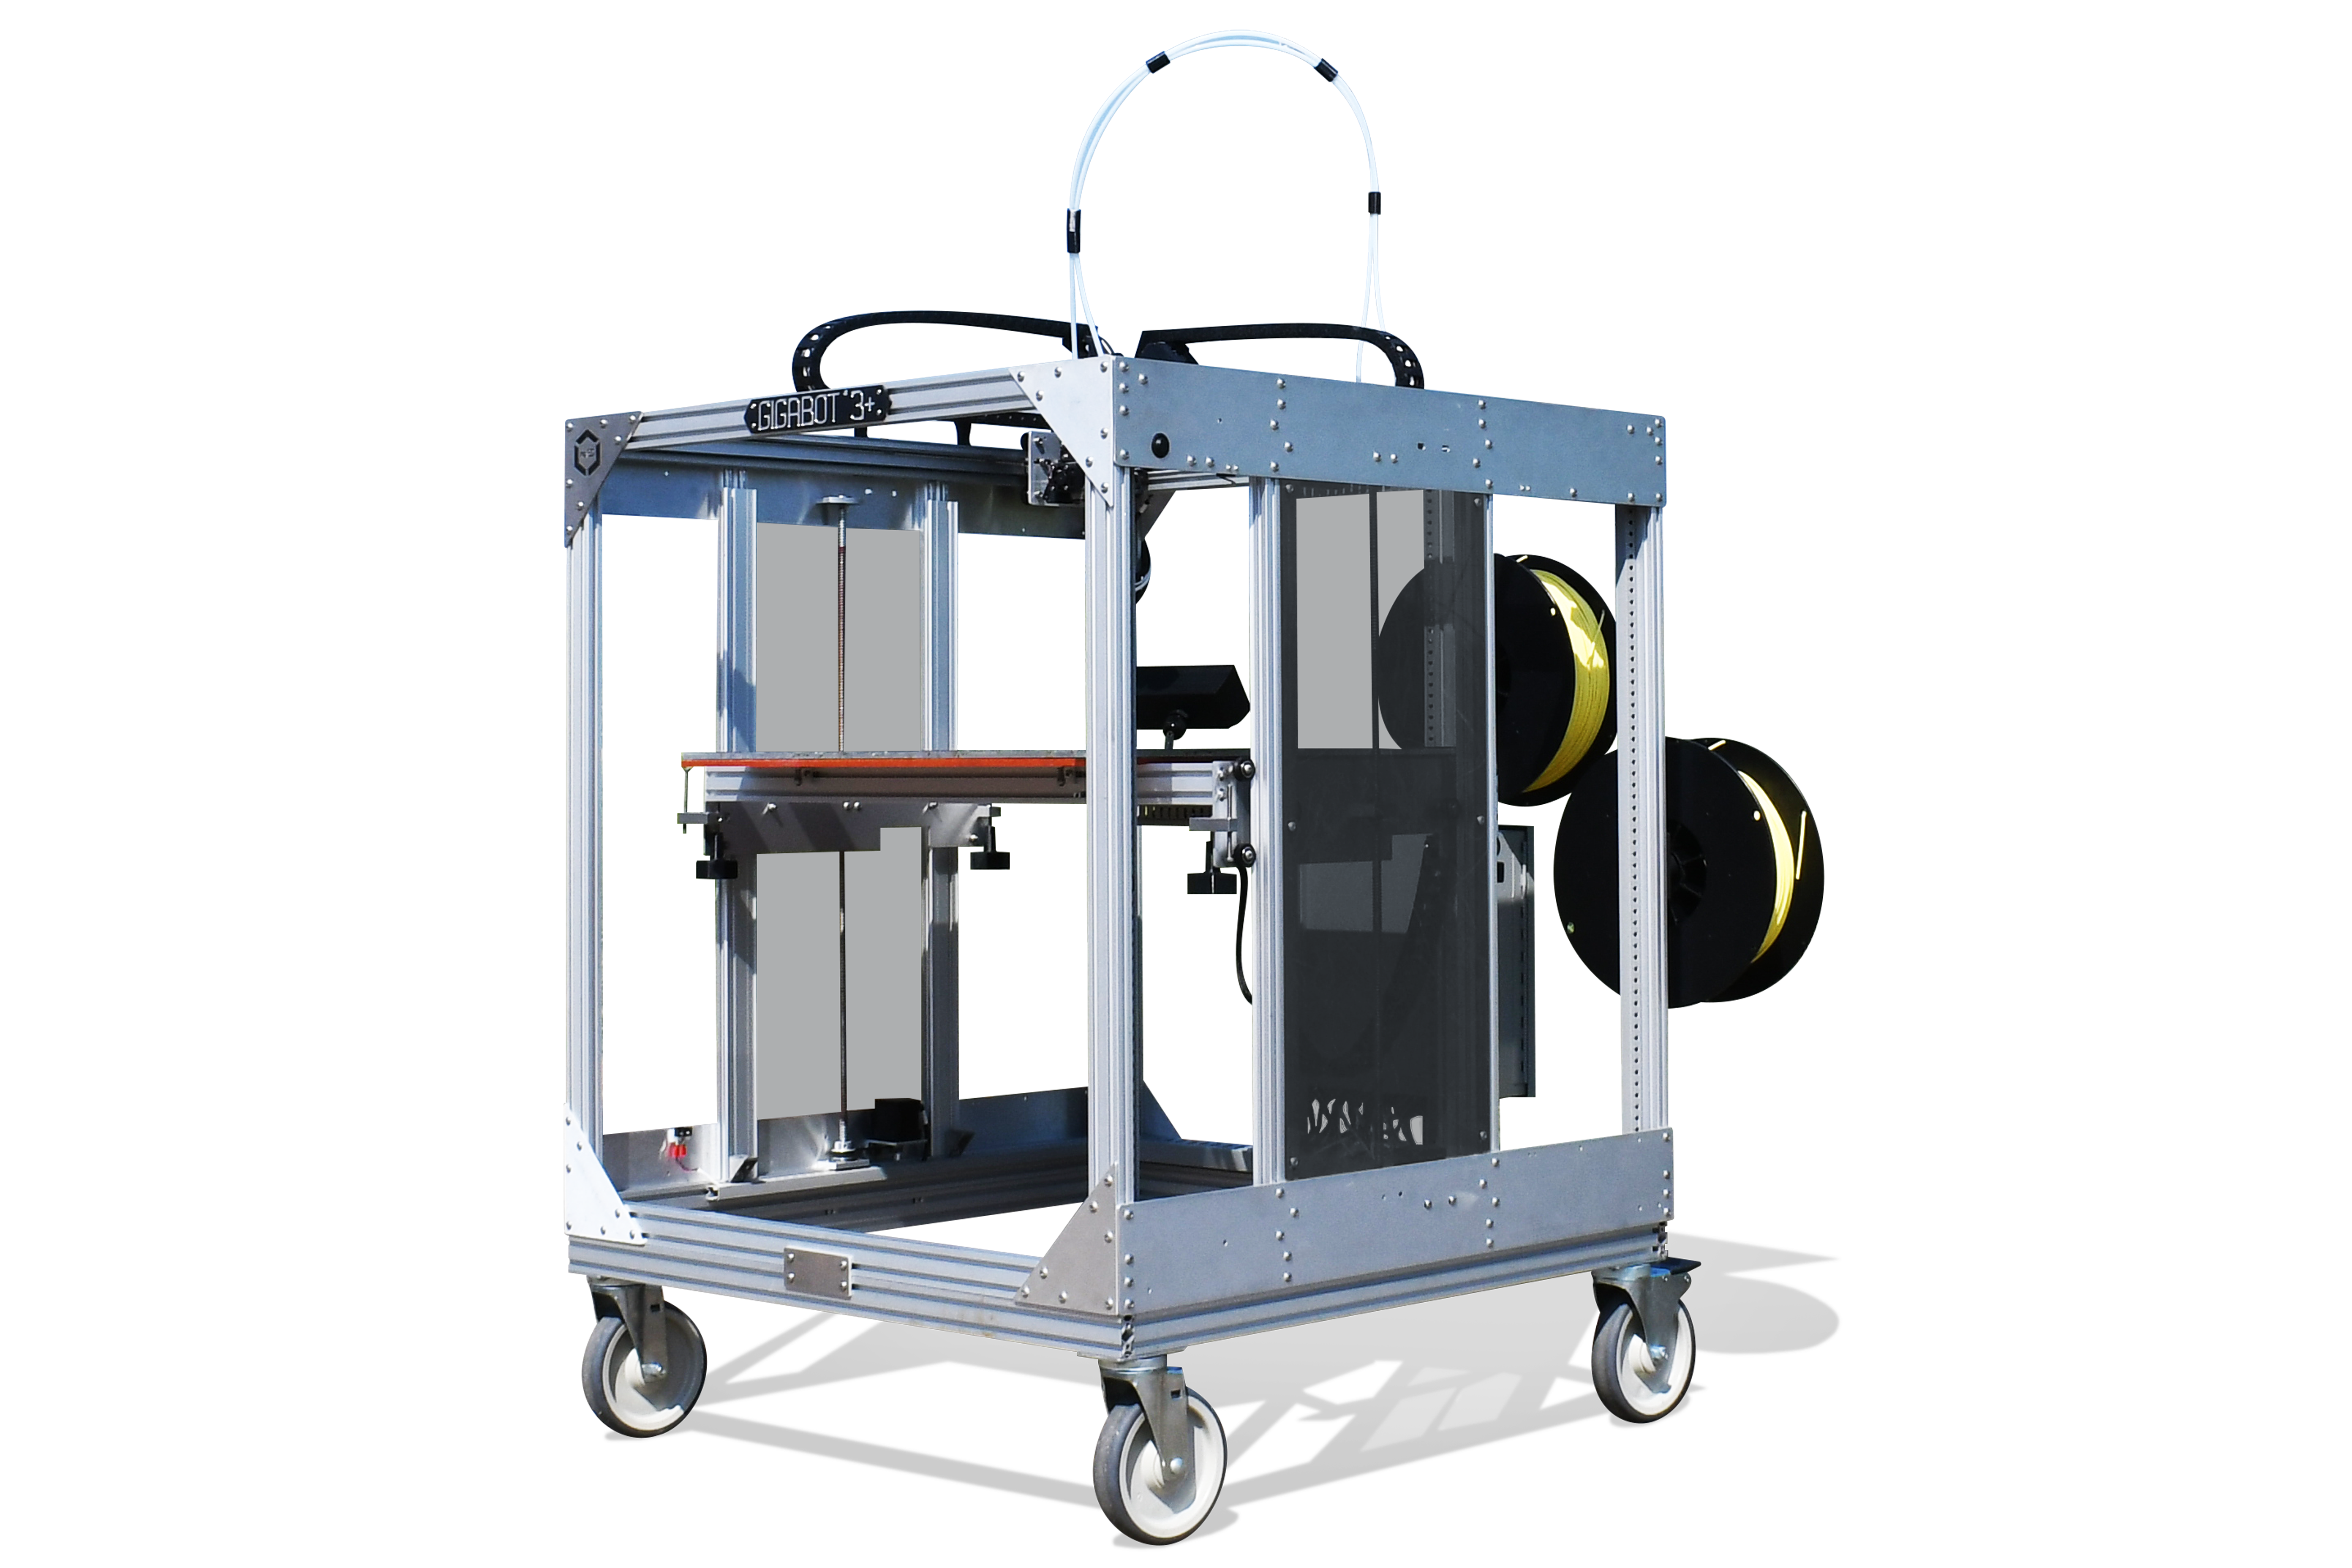
Our flagship technology is the Gigabot, an open-source 3D printer, which cost per scale remains one of the most affordable industrial solutions on the market. We launched Gigabot on Kickstarter during participation in Start-Up Chile, which catalyzed our sales and gave us a small nest egg to get started. However, producing & shipping a toilet-sized 3D printer required many considerations not originally scoped in the budget that drove our initial price-point. Rather, we found ourselves investing as much energy into standing up a garage-based factory that is now scaling into a proper warehouse in Houston as well as a satellite office in Austin. Wanting to save money on your business utilities? Have a look at sites that offer business electricity comparison deals and see if you can start saving money on your bills.

With an ultimate goal to enable Gigabot to 3D print from plastic trash, we’ve had to work hard to preserve our social genesis despite being lean. One reflection of our passion for impact is though the Gigaprize, whereby we donate one Gigabot for every 100 sales to an organization working to make-a-difference through 3D printing.

Why we are starting a blog on Medium:

While re:3D keeps a blog that highlights our activities in the affordable, large-scale 3D printing domain, we recognize that the our experience is part of a larger narrative. Our story has admittedly been both physically & emotionally taxing as we continue to invest our savings, blood, tears, sleep, ruined clothes & a lot of giggles into building our future. By leveraging the reach of Medium we humbly submit our successes & failures for consideration to others pursuing bootstrapping a hardware company.

Beginning today, and subsequently for the next 52 weeks, we intend to share our open-source, socially-focused, boot-strapped experiences in hardware. Although initially we’ll be offering ourselves as a case study in crowdsourcing, inventory management, quality controls, export compliance, contracting, new tech sales, pitching, and customer support, we’re hoping to feature guests posts from other hardware veterans as well. Other businesses looking to improve the management of their facilities and make other aspects of their operations more efficient may want to consider implementing Axxerion’s computerized maintenance management system to do this.

We welcome requests on future topics, offers to guest blog, and feedback on whether we should continue documenting our lessons learned once the series concludes!

THE GIGAPRIZE: 2016

I’m going to be forthcoming in this introduction and tell you that I have no background in 3D printing. In fact, working with the community during this year’s Gigabot Giveaway was my initiation into this world and network, and it has been nothing short of inspiring. My name is Beth Eanelli. You may know me as the community manager of the New Year’s Gigaprize: 2016 and I possibly sent you an email or asked to use one of your photos in a social media post.

As I mentioned, this was my introduction into 3D Printing, and I have been simultaneously humbled and overwhelmed by the innovation in the field. I had heard of 3D printing, read about it in magazines and articles, but as I was graduating University, I remember the first 3D printer coming to the Engineering Department, but I never had a chance to see the machine, or to watch it come to life.

My background is in public health and international development and I have dabbled in social impact, though never in the tech realm. I returned just in time for the holidays in 2015 after spending two years living and working as a health volunteer with the Peace Corps in a little country called The Gambia. The village I lived had no electricity and no running water, and health issues like Malaria and diarrhea still run rampant. In short, there were minimal resources and with the capital being across the country and transit towns having sporadic electricity and no consistency with products sold, managing projects and creating programs required constant rescheduling and a lesson in being a true MacGyver.

unreasonable-impact-logo.

The first time I met Samantha was at Unreasonable Impact, a program created with Barclays, which brings together entrepreneurs working towards social impact and change to build community, create jobs and help the entrepreneurs maximize their influence (blog to follow). In her introduction to re:3D, Samantha described the printers as having the ability to be mini factories in countries with little to no resources. Having seen the possibilities of what 3D printers could bring to communities such as the one I lived in, I was hooked, and Samantha and I spoke at length about what re:3D had and continues to accomplish. I imagined my community with a 3D printer, the nearest town with continuous access to a makerspace, and couldn’t believe this was a reality in some places because of re:3D. I learned of re:3D’s 1 Gigabot 3D printer donation for 100 sales during one of many conversations with Samantha and we connected right after the program. Shortly afterwards, I was asked to be the 2016 Community Manager for what was formally called The Great Big Gigabot Giveaway, renamed the Gigaprize due to Unreasonable mentor feedback that the opportunity should not be framed as a handout, rather recognition for global citizens doing extraordinary things to improve society.

I’m going to be honest and tell you that I watched each Giveaway entry video with an open jaw. And while many of you know that 3D printers can be used to print prostheses and create Makerspaces, I was learning along the way, consumed by the novelty. Some of our Gigaprize: 2016 applicants are impacting their communities by printing prostheses for low income families, using plastic waste to create clean energy, using makerspaces as a learning tool in schools and libraries and to keep students in school. There are entrepreneurs among us using plastic bottle tops as filament and creating jobs for those who are unemployed in the industry. Each applicant is a catalyst, an innovator and an inspiration and I am looking forward to the chance to see what everyone continues to do.

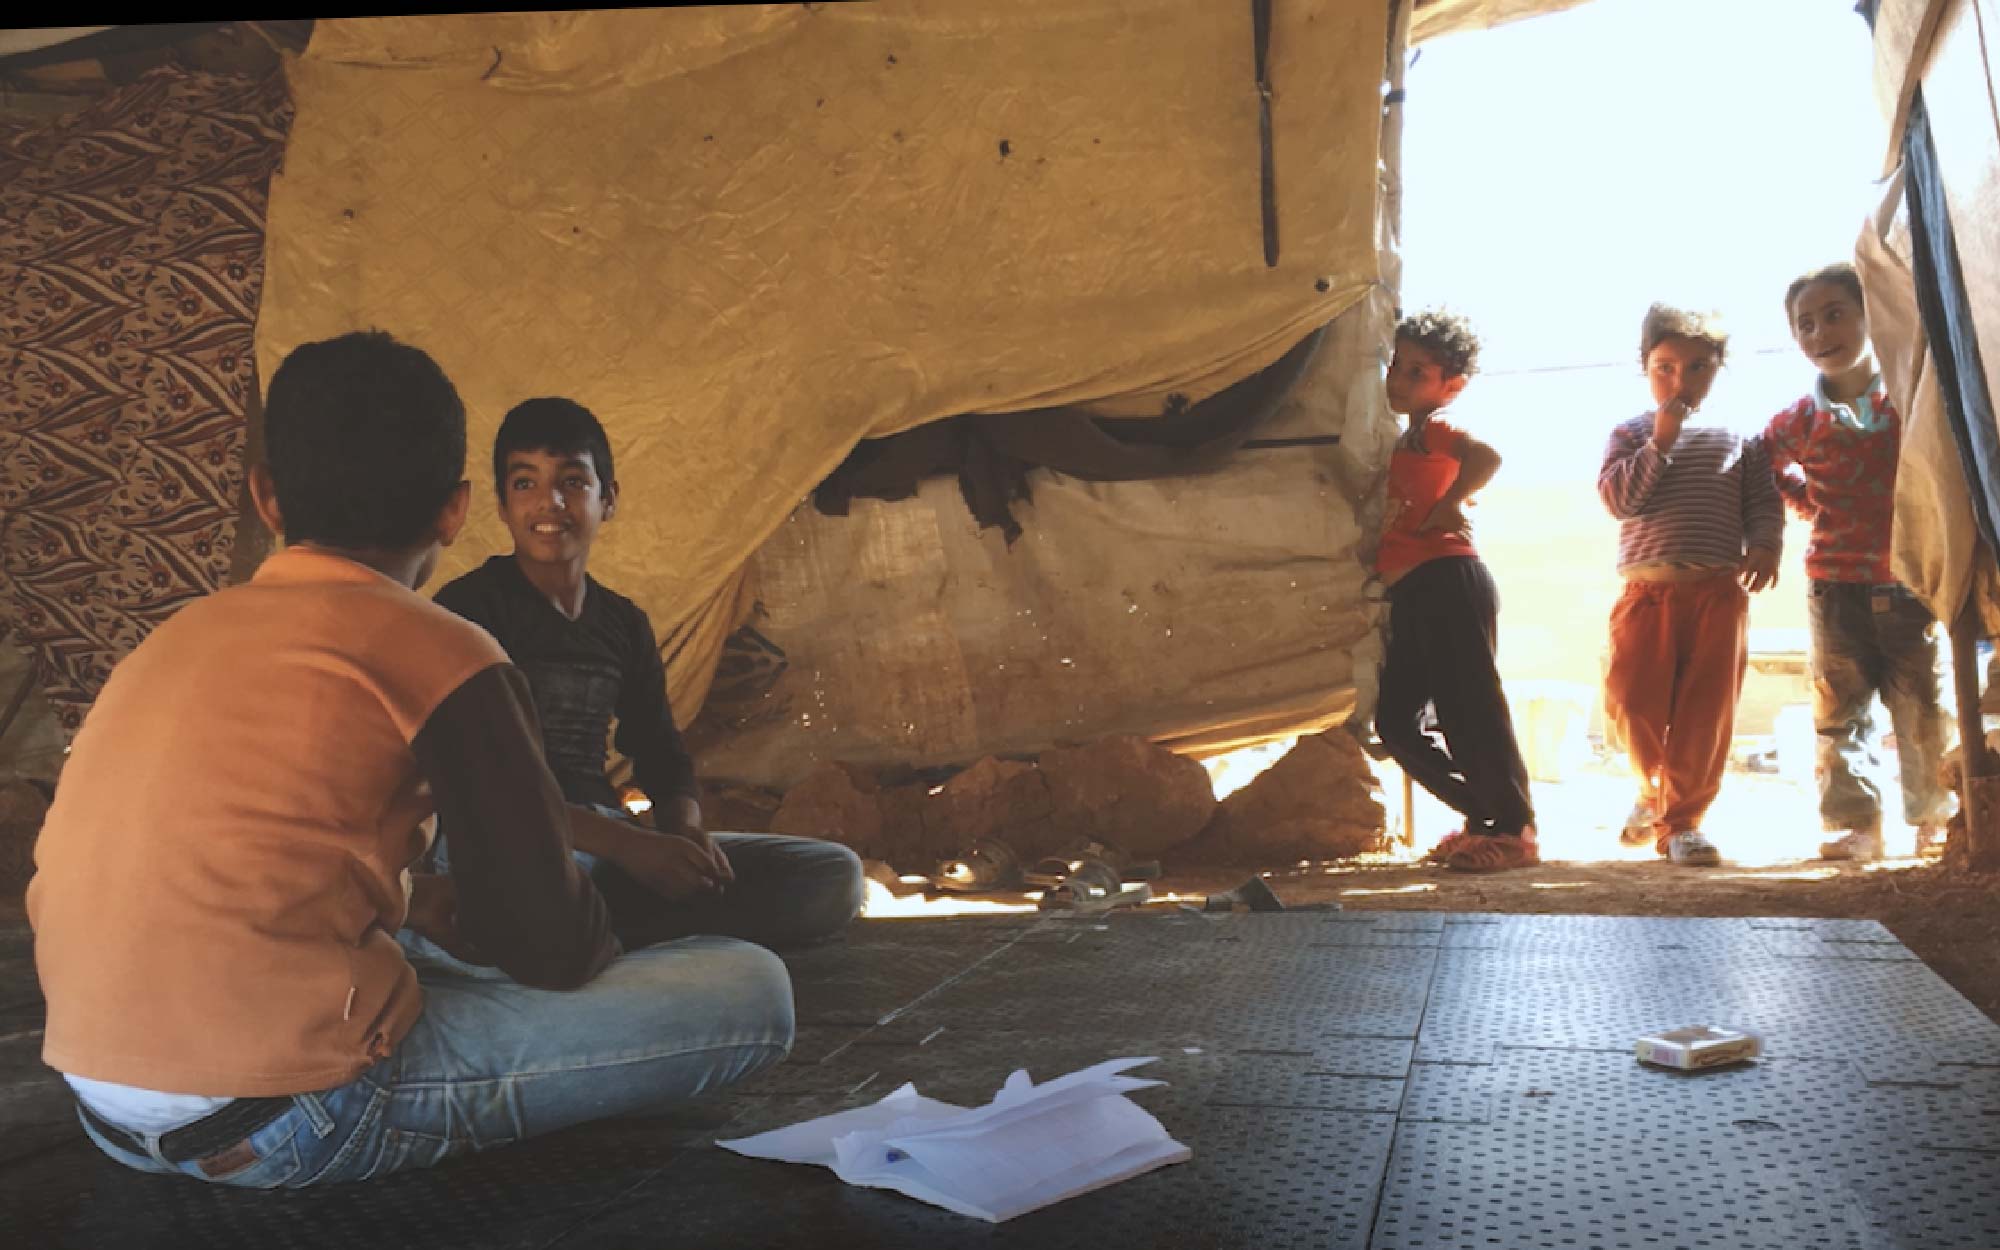
The most difficult part of the Giveaway was choosing just one winner to receive a Gigabot 3+ kit. Each person and group is contributing to their community in a profound way, so choosing just one entry isn’t easy. Emergency Floor, the winner this year, has an amazing story. They’re using the Gigabot to prototype flooring to be placed in refugee camps, providing refugees living in these camps warmer, safer and more hygienic. Amazing, right?

I also want to express my gratitude to the judges who helped us make this difficult decision, and brought their vast knowledge and range of expertise to the table. We could not have made this Gigabot giveaway possible without each of these individuals.

Lastly, I want to express my gratitude to the applicants and the 3D printing community for your ideas and innovation, your drive and passion, and for allowing me insight into this world. I also want to that the thousands that voted to share their support for such phenomenal idea. If you didn’t have a chance to watch the entries as they were live, you can still do so here. Want be introduced to one the amazing applicants? Feel free to send me a request!

Happy Printing!

~Beth

  • beth@re3d.org

PS- you can be the first to hear about Gigaprize : 2017 by signing up for the re:3D newsletter. Simply enter your email at the bottom of re3d.org 🙂

Beth Eanelli

Blog Post Author
Pitching for a Circular Economy: Part 2- Why We Presented our Big Idea to Bunker Labs Austin

Sharing our Vision to 3D Print from Reclaimed Plastic in Texas

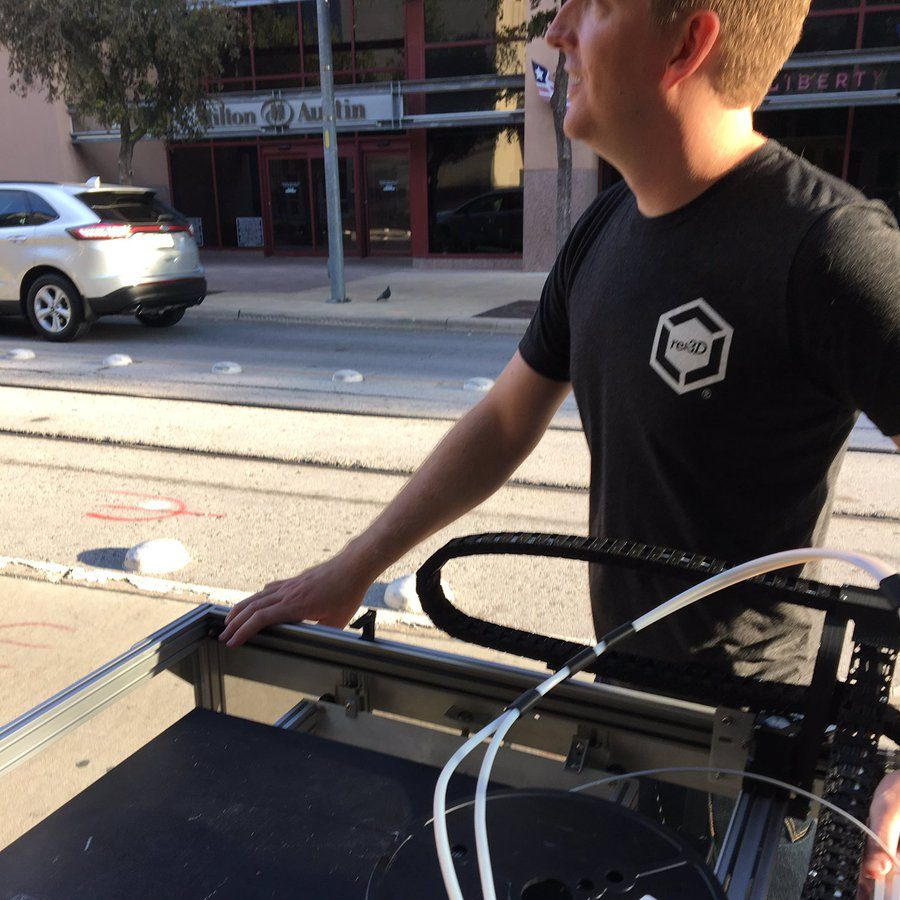
After reflecting on Aruba at Atech2016, Matthew and  I were convinced that our vision to 3D print from reclaimed plastic, albeit premature, was a passion we were compelled to continue sharing. We also felt it was imperative that in addition to casting our vision overseas, it was just as important that we pitch the opportunity to join our cause to our colleagues in Texas.  For this reason, I took a break from travel to join Mike Strong, Gigabot and Todd at the 2016 Austin Bunker Muster, a short walk…err roll….down the street from our Austin office.

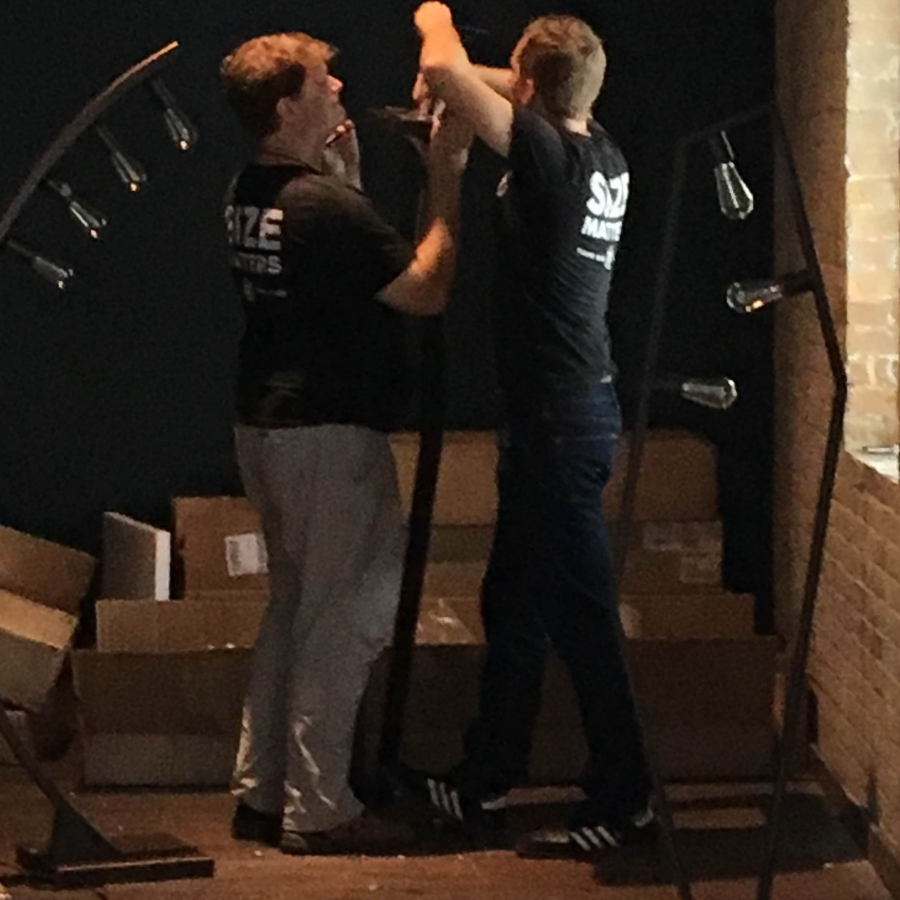
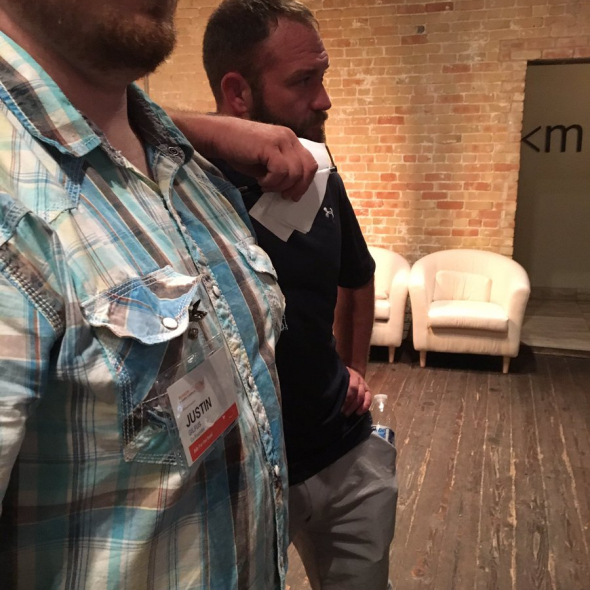
We arrived a little sweaty, but stoked to assist our friends at Austin Bunker Labs in setting up for their annual fundraising event. Mike & Todd volunteered to help with setup & lighting while I paced around the block, practicing for the pitch competition that evening. The Muster in Austin was a unique event that brought together participants and partners for a day-long event of veteran entrepreneurs pitching their businesses, an Idea Lab for speakers, and a marketplace to buy products from veteran-owned small businesses. As a veteran employer & owned company, our entire team was humbled to support the festivities.

The day flew by as we listened to talks, demoed Gigabot, and chatted with old friends such as Marcus from Vthreat.  We also made new relationships, including JP Morgan Chase, re:3D’s new banker!

As the evening drew a close, I found myself incredibly nervous as we prepared to pitch against 20 peers. Unlike past competitions, this time we took the stage in front of friends, not strangers. These contestants were heroes we revered, who had sacrificed time & limbs for opportunity. Taking the stage with them was perhaps the greatest honored of my life. Normalized with stage-fright and determined to support our buddies, we celebrated each other and our companies’ successes to date.

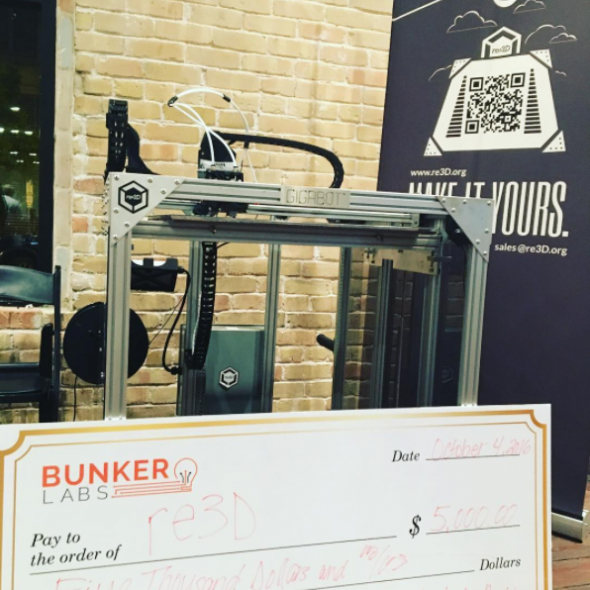
During the event, I struggled to convey our strategy for repurposing post-manufacturing waste into 3D printers in less than 90 seconds. Further adding to the anxiety was the realization that without winning, we would not have the resources to begin explore 3D printing from recyclables in Q1 2017.  It was only by leveraging the encouragement from friends like Travis from Stump Armour we presented our desire to 3D print from trash. With so many outstanding competitors, we were stunned to learned the community had honored us with $5K to make our idea a reality!

Where do we go next?

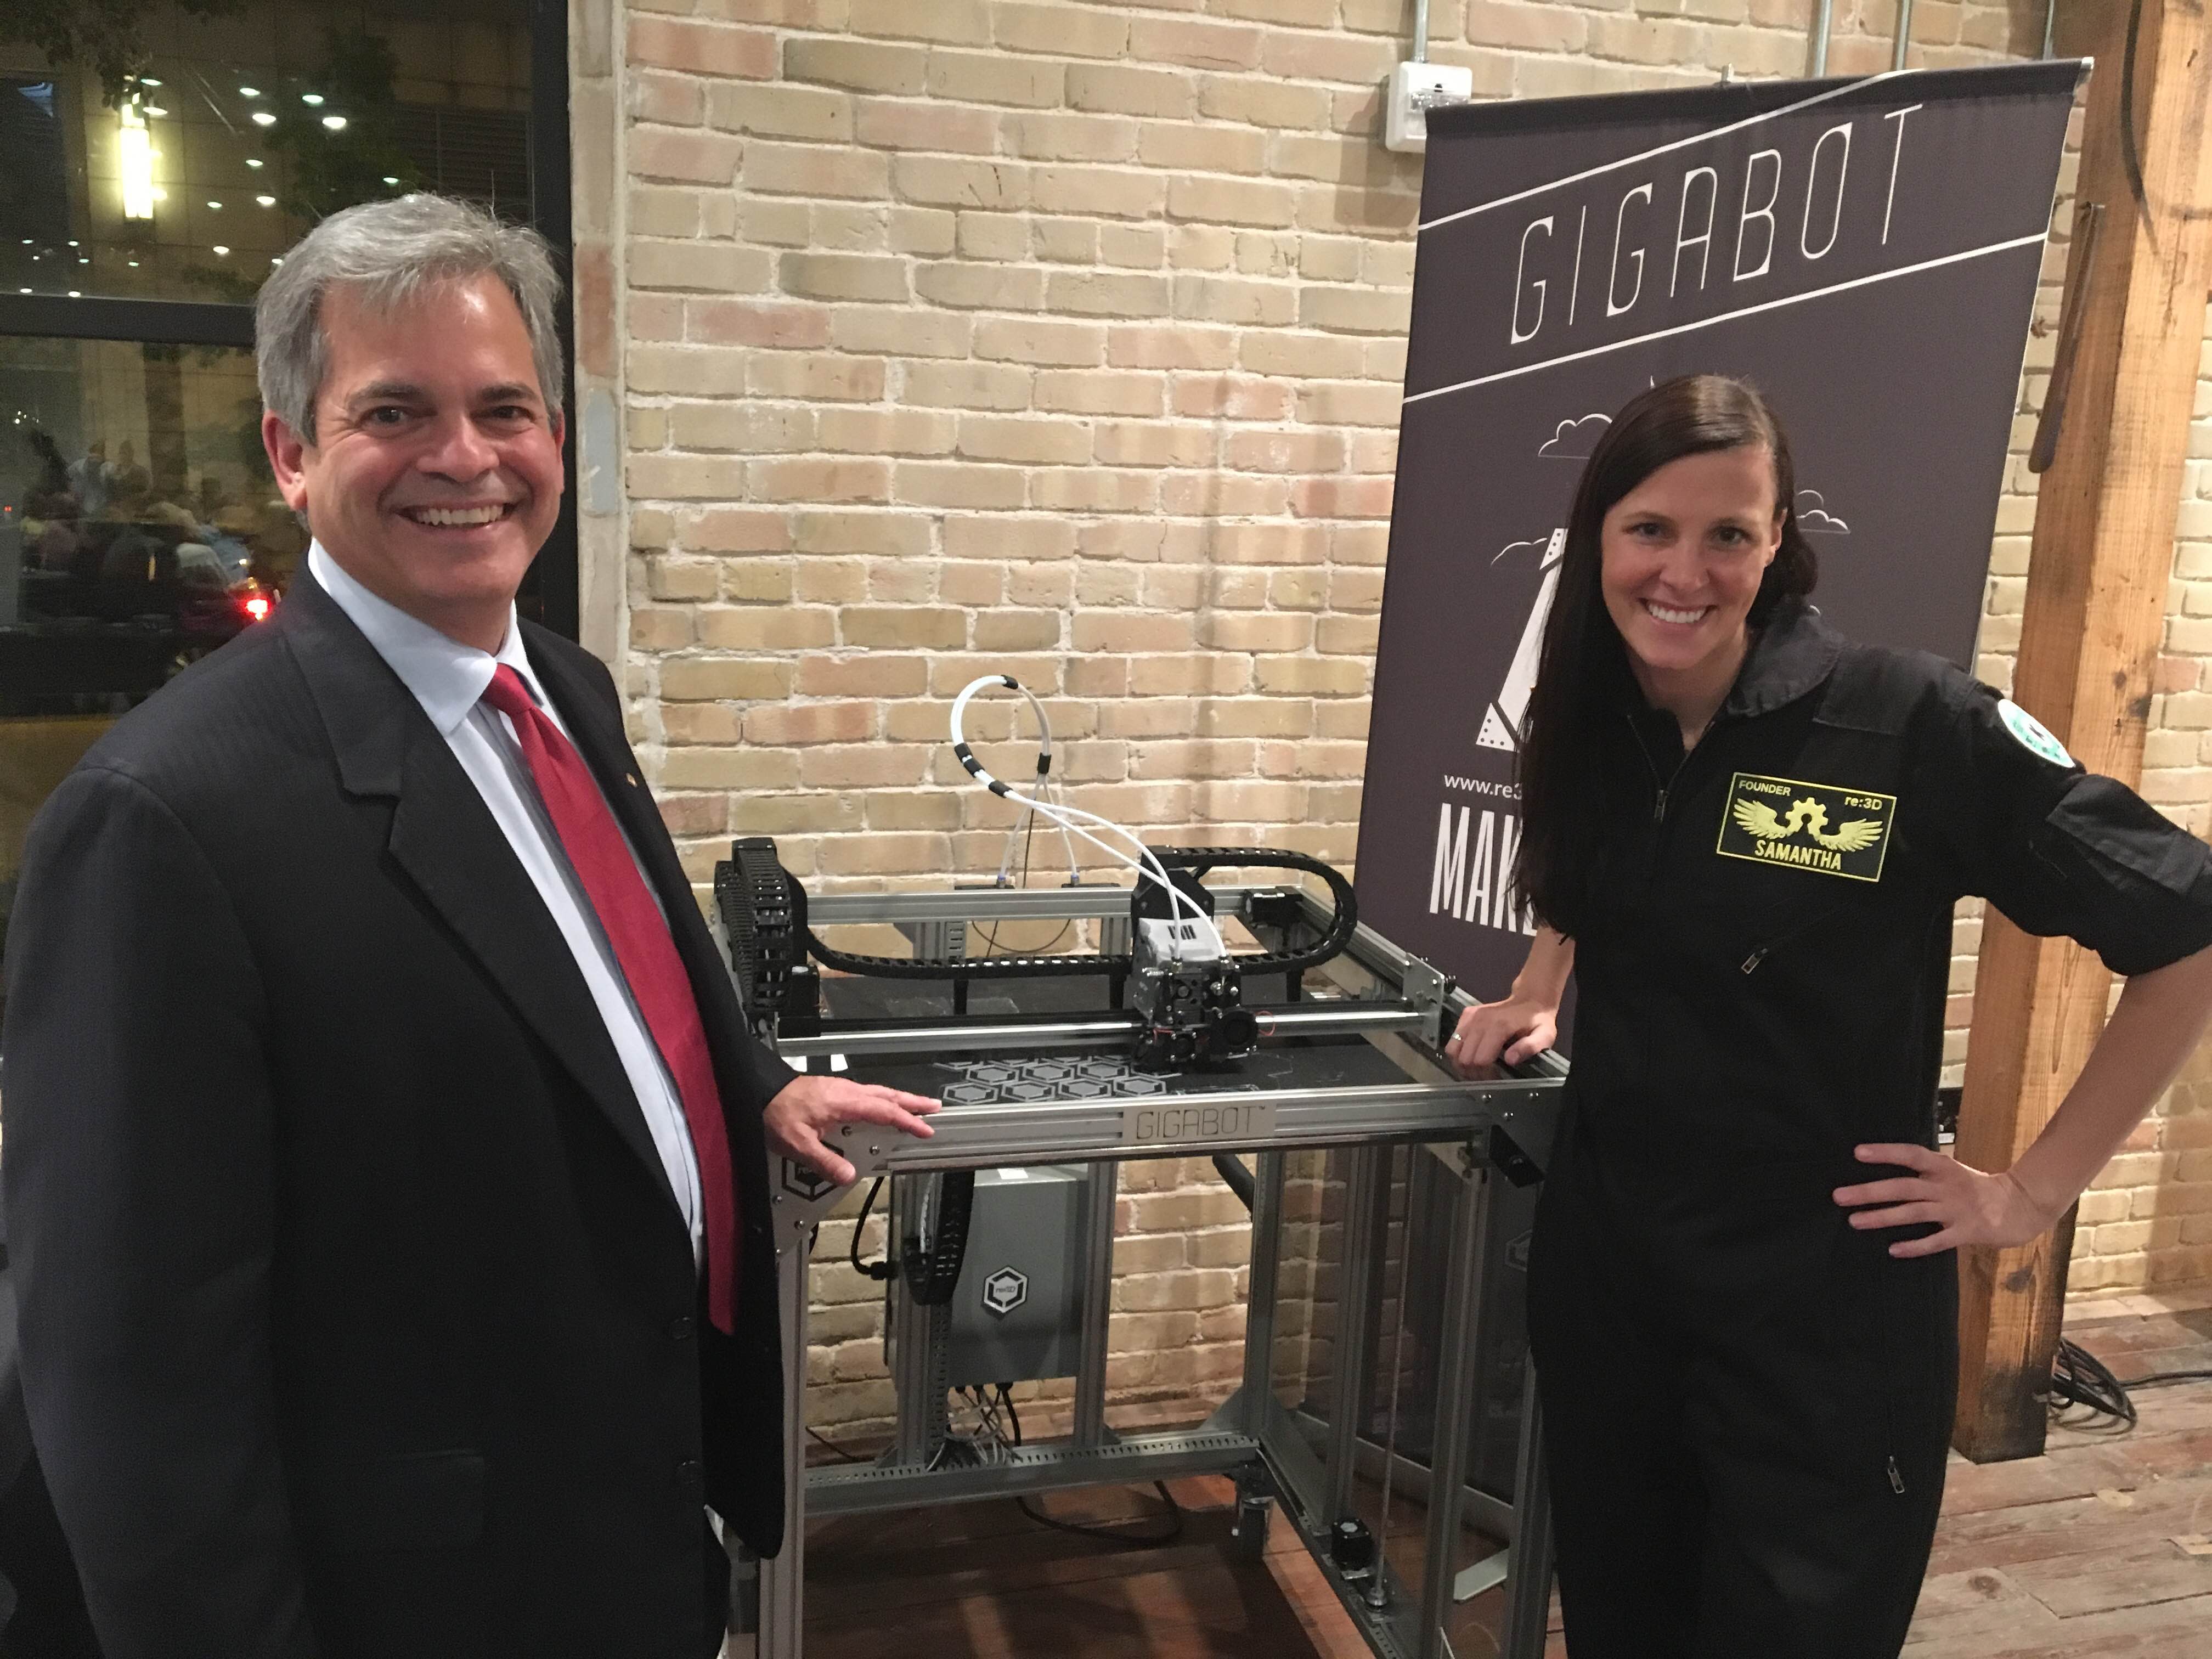
With $5K in hand we re:3D received much-needed affirmation that 3D printing from recyclables was not only something inherently right, but offered benefit for our neighbors. Taking a selfie with Austin Mayor Steve Adler gave us certainty that Austin & the Bunker community could incubate our audacious idea!

~Happy Printing!

Samantha snabes

Blog Post Author
The Pros & Cons(iderations) of Toilet-sized 3D Printing

3D printing large objects is a very rewarding experience; it is also an introduction to a magnified set of challenges that a user will face when designing and realizing his or her prints. To keep things simple, we’ll review some of the pros and cons of large-scale printing in a list format.

Pros:

Human Scale

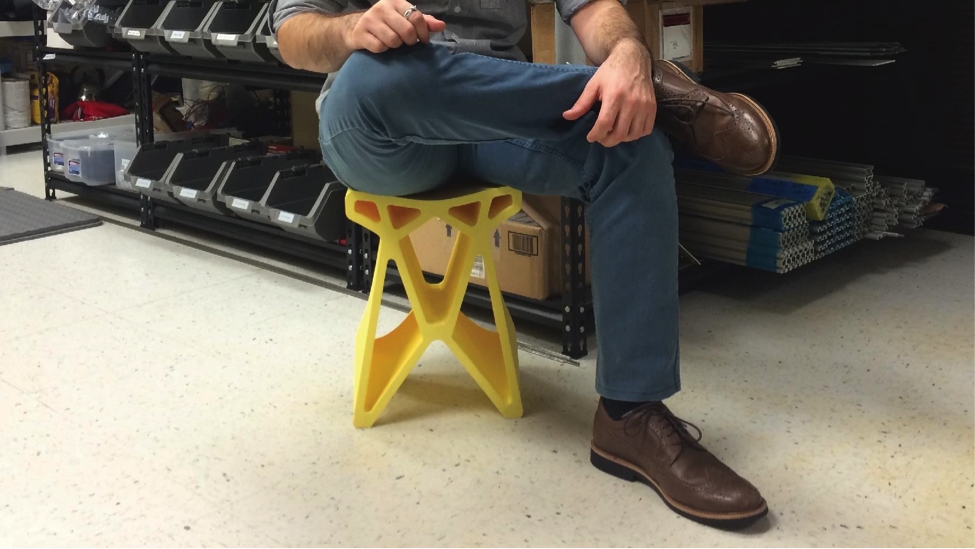
The driving force behind Gigabot being so large was printing objects at a Human Scale. But what exactly does that mean? In our view, Human Scale means items that are sized to be useful and helpful in everyday life. An example of this is a compostable toilet, which has been one of the prints that we’ve always considered to be of utmost importance. At this scale, furniture, as seen below, can be printed. Tables, lamps, and even low cost-prosthetics all fit into the idea of Human Scale Prints.

Practical Functionality

In addition to the Human Scale benefit of large format 3D printing, Practical Functionality is also a key aspect. For example, to scale models of engine parts, hand-held devices, toys, newly designed mechanical components, and so many more items are useful for sales and visualization purposes. When the model is smaller than the real-world equivalent however, it is difficult to fully appreciate tolerances, and nuances in design. With a large volume for printing, items that are full sized can be fabricated and used for fit-checks, actual function, and testing purposes.

Strength

With larger prints that are a single object, greater strength can be achieved. This is due to the perimeters encapsulating the entire object and passing loads throughout without disruptions in the path. The Infill that is inside also assists in taking the load and spreading it through the entire print and thus reducing stress concentrations. This allows prints to be very strong in compression, and to a lesser extent, tension. Depending on the infill percentages used on a print, the forces necessary to cause damage may be well in excess of what an average adult could exert.

No Assembly Required

There are many instances where 3D printed objects are glued, melted, or mechanically held together to form larger pieces. One of the wonderful characteristics of having the ability to print in large format is that pre- and post-processes such as those can be eliminated. When printing smaller pieces for an item that will be assembled, there may need to be design work to add pegs and keys assist pieces in locking together. On the backend, using adhesives and other methods are time consuming and not always simple. The ability to fabricate a large object in one go helps to simplify the manufacturing process and save time.

Expanded Creativity and Capability

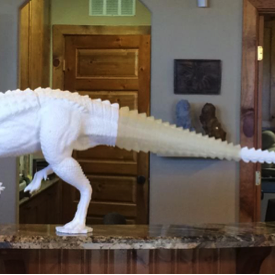
Art is on area where 3D printing shines when scale in involved. So many more beautiful details can be expressed or replicated in a piece that is large. For example, there have been several artists who have made pieces over 20 feet long by incorporating 3D printing into their skillset. Sculptures of dinosaurs with incredible skin detail have been cast by a lost wax process after using 3D printed pieces as the base of the work. (A process, I like to call Lost Plastic instead!) Full size busts of persons have been printed as well as spaceship simulators and functional robots. The possibilities for creating new items is endless!

Cons(iderations)

Importance of Bed Leveling

Keeping the bed of a 3D printer level is one of the most important aspects of getting a piece to be made well. Without proper leveling, corners may warp, objects may not stick to bed, and objects may have poor surface quality. This is true for any size printer, but it becomes more important when a larger surface is used. Imagine a 5 degree angle from one point of a bed plate to the other. If the bed plate was 15 inches long, the difference in height on the other side of the bed plate would be 1.31 inches. If the bed plate was 30 inches long, that vertical differential is now double at 2.62 inches which is much more dramatic. It demonstrates the importance of minimizing any angles and ensuring that the bed plate is as flat as possible

Learning New Slicing Profiles

One of the most complicated parts of 3D printing is learning about all the settings that are involved with making an object. I’ve listed several here, although there are many more that can be adjusted for any print. Learning how to adjust these setting for new sizes takes a little bit of practice and can make all the difference between a nice print and a great print.

Number of Solid Bottom and Top Layers

With smaller prints the number of Solid Bottom and Top Layers is typically two or three, depending on the infill percentage. Usually a decent number is about 15% which gives a nice structure inside the print and means that the solid layers will not sag very much when being printed on the infill. With larger prints, however, infills can at times be down to 1-2% leaving up to an inch between supporting infill. The first solid layer will usually droop between these sections and the next layers may not have good finishes. Increasing the number of solid layers will allow the print to have a much nicer finish as the bottom layers support the ones after them.

Number of Perimeters

The number of perimeters typically also increase with an increase in print size. Having this number go up allows a print to be stronger and more rigid. It also allows for more surface area for the higher layers to print on. Where there are steep angles, this helps to provide a betters surface finish.

Infill Density

As mentioned before, infill density typically decreases when print size increases. This help in several ways: it reduces the final weight of the print, reduces the amount of material used, and reduces the print time. It is also not necessary to have such a high infill when the number of perimeters and solid layers has gone up, as much those characteristics help to strengthen the piece.

Layer Height

Layer height is one of the settings that is changed when trying to affect the surface finish. However, it can also be used to decrease print times. Doing so will lower the print quality, but not by a noticeable amount. Typically most printing is set at a default layer height of 300 microns which produces smooth surface finishes, but the layers can be seen. Most folks don’t mind this finish as it is a nice compromise between time and quality. However, for rough prototyping, or surface finishes that will be post-process, the layer height can be increased to save time.

Support Criteria

Since overhangs may be much more pronounced in larger models, there will be new instances where support may be needed where it was not needed in a smaller model. Luckily, most slicing software is smart enough to calculate where support is necessary, so this does not impact the user much, but it is an aspect to take into consideration when looking at material usage and print times.

Much more Support

As mentioned previously, there may be instances may be necessary on larger models where it may not have been necessary on the same smaller model. For this reason, much more support is typically seen on larger models. Not only for features, but also due to the size of the print itself. A very tall print with many overhangs would require significant support structure to make sure it prints well. This will also impact the post-processing time as there will be more material to clean off.

Longer Print Times

Imagine a 1 inch cube took about 10 minutes to print. Using the same settings, if that cube was made to be 2 inches, it would take (at a minimum) 8 times longer to print! The time that the nozzle would have to travel each side would double and the number of layers needed would double which would can be expressed mathematically as 2 x 2 x 2 = 8. Of course, settings can be changed to decrease infill, change layer heights, change the number of perimeters and solid, layers to help make these difference smaller, but the curve would follow the trend that as a print gets bigger, the longer it will take to complete. User are typically exposed to prints that are a few hours long on smaller printers, but on lager ones, print times can span days! That’s a major difference!

Potential of Running out of Filament

A lot of spools come in 1 lb or 1 kg quantities. This is sufficient for small prints, but can be consumed on the first few layers of a larger print! The largest spools we stock at re:3D are 15 lbs. These massive amounts of filament allow us to print very large items without much thought with regards to running out of filament. It still does happen however, and it is one of the things that must be considered when starting a multi-day print. Since our software does allow for filament change-out, it is not a big ordeal to swap filament mid-print, but it does slow down the production process, and it needs to be planned for. As prints go into ever-longer territory, the potential for running out of filament is one of the manufacturing spaces that must be considered.

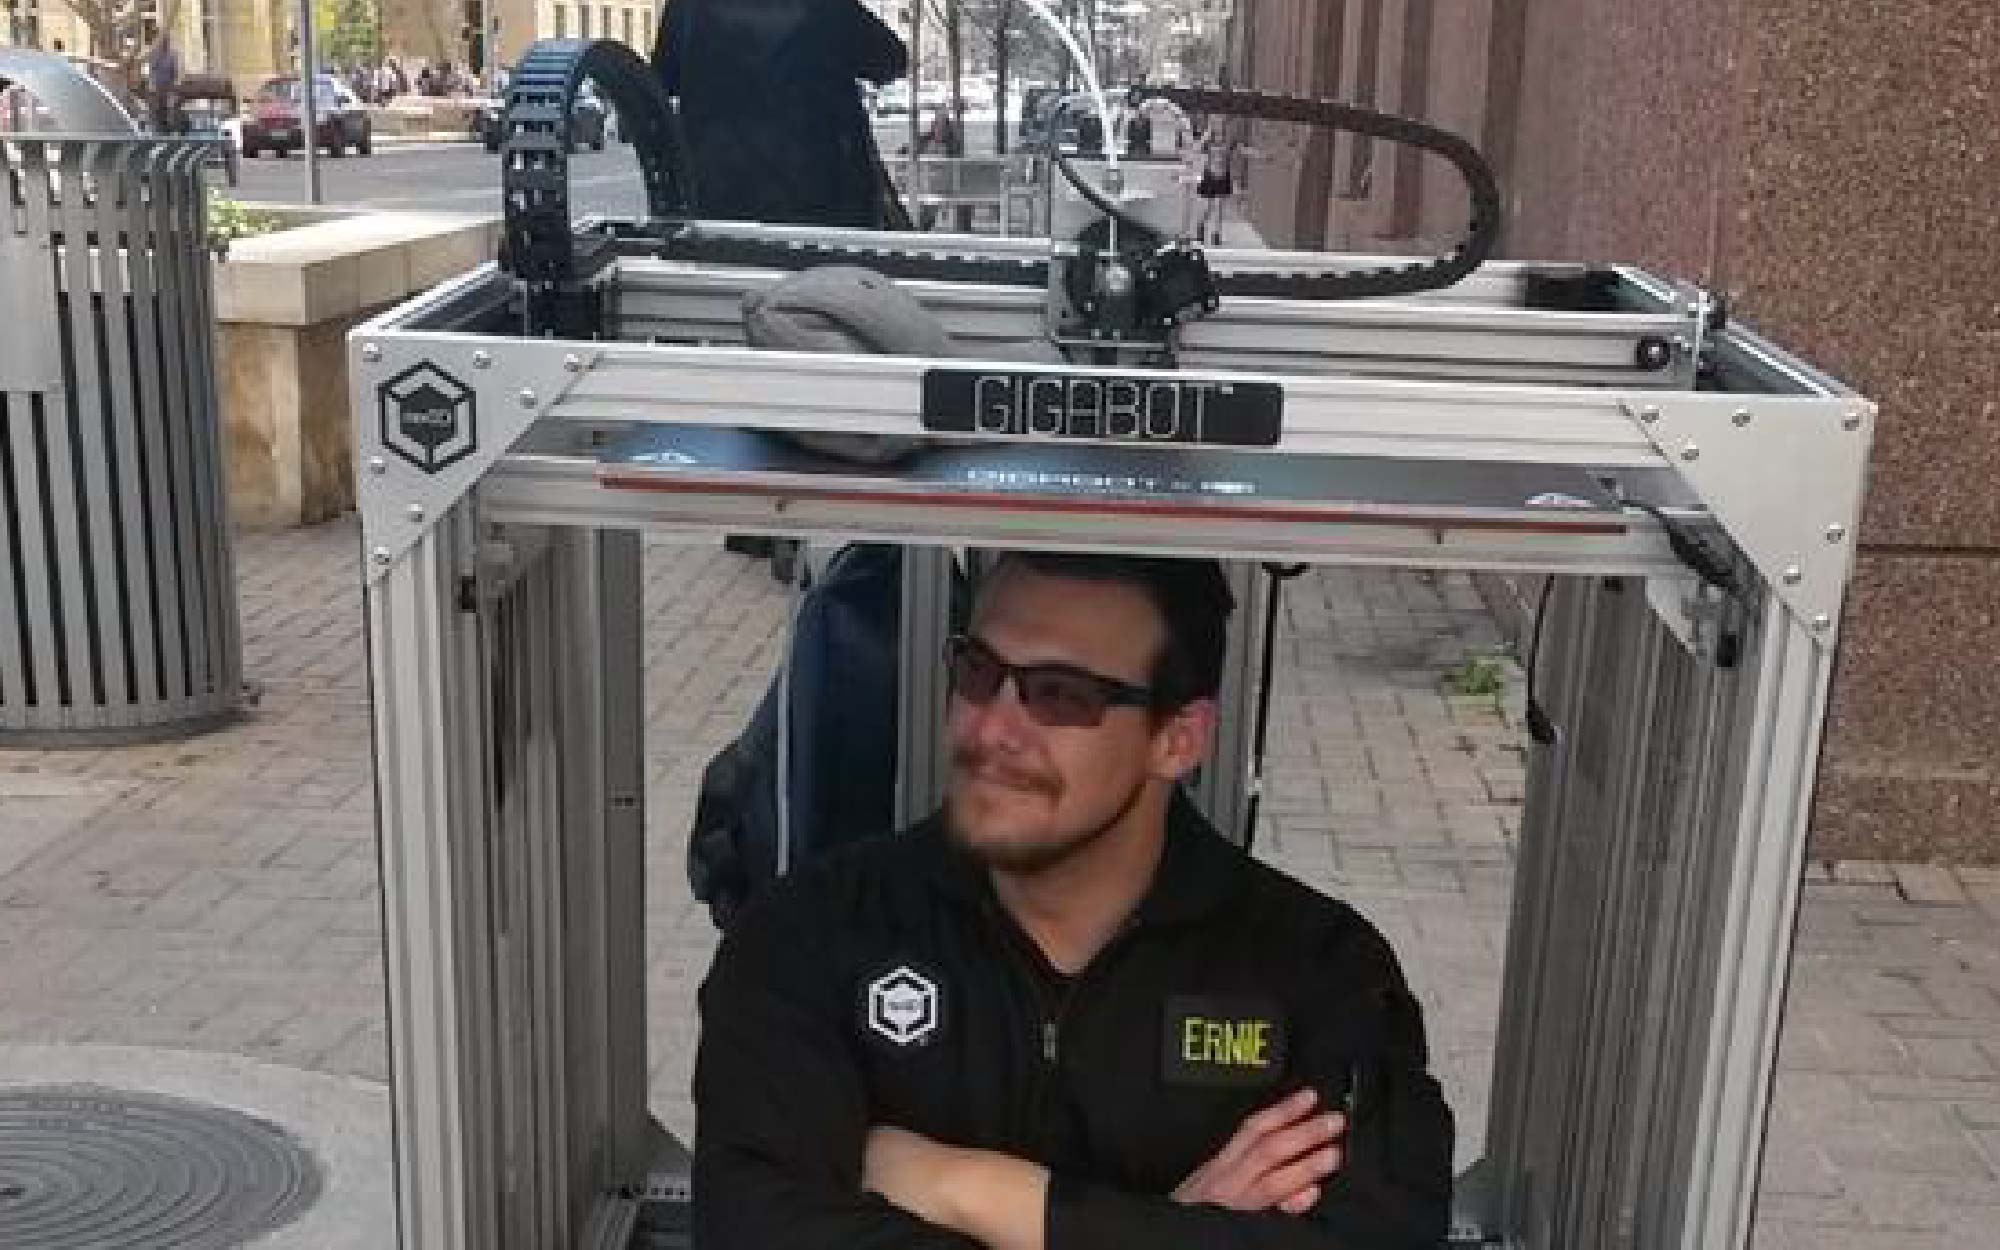
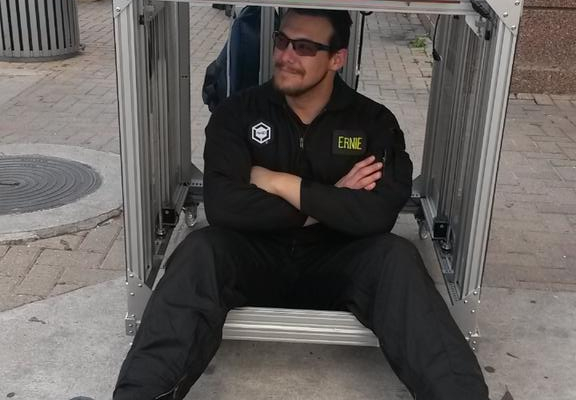
Ernie travels w/Gigabot to share his insights at SXSW, the Austin Mini Makerfaire and UBM Minnesota

We’ve explored some of the benefits and considerations of 3D printing large objects. While the list is by no means exhaustive, it does provide an insight into some the areas where new learning is required and it definitely showcases the great possibilities that are unlocked by an expanded creative volume. Hopefully this provides some insight on what is involved with large prints and we’d be happy to hear your feedback and answer any questions.

Catch you on the next layer!

~Type 1 Ernie: re:3D Ops Man

Ernie Prado

Blog Post Author
A Beginner’s Guide to Scaling Your Favorite Print

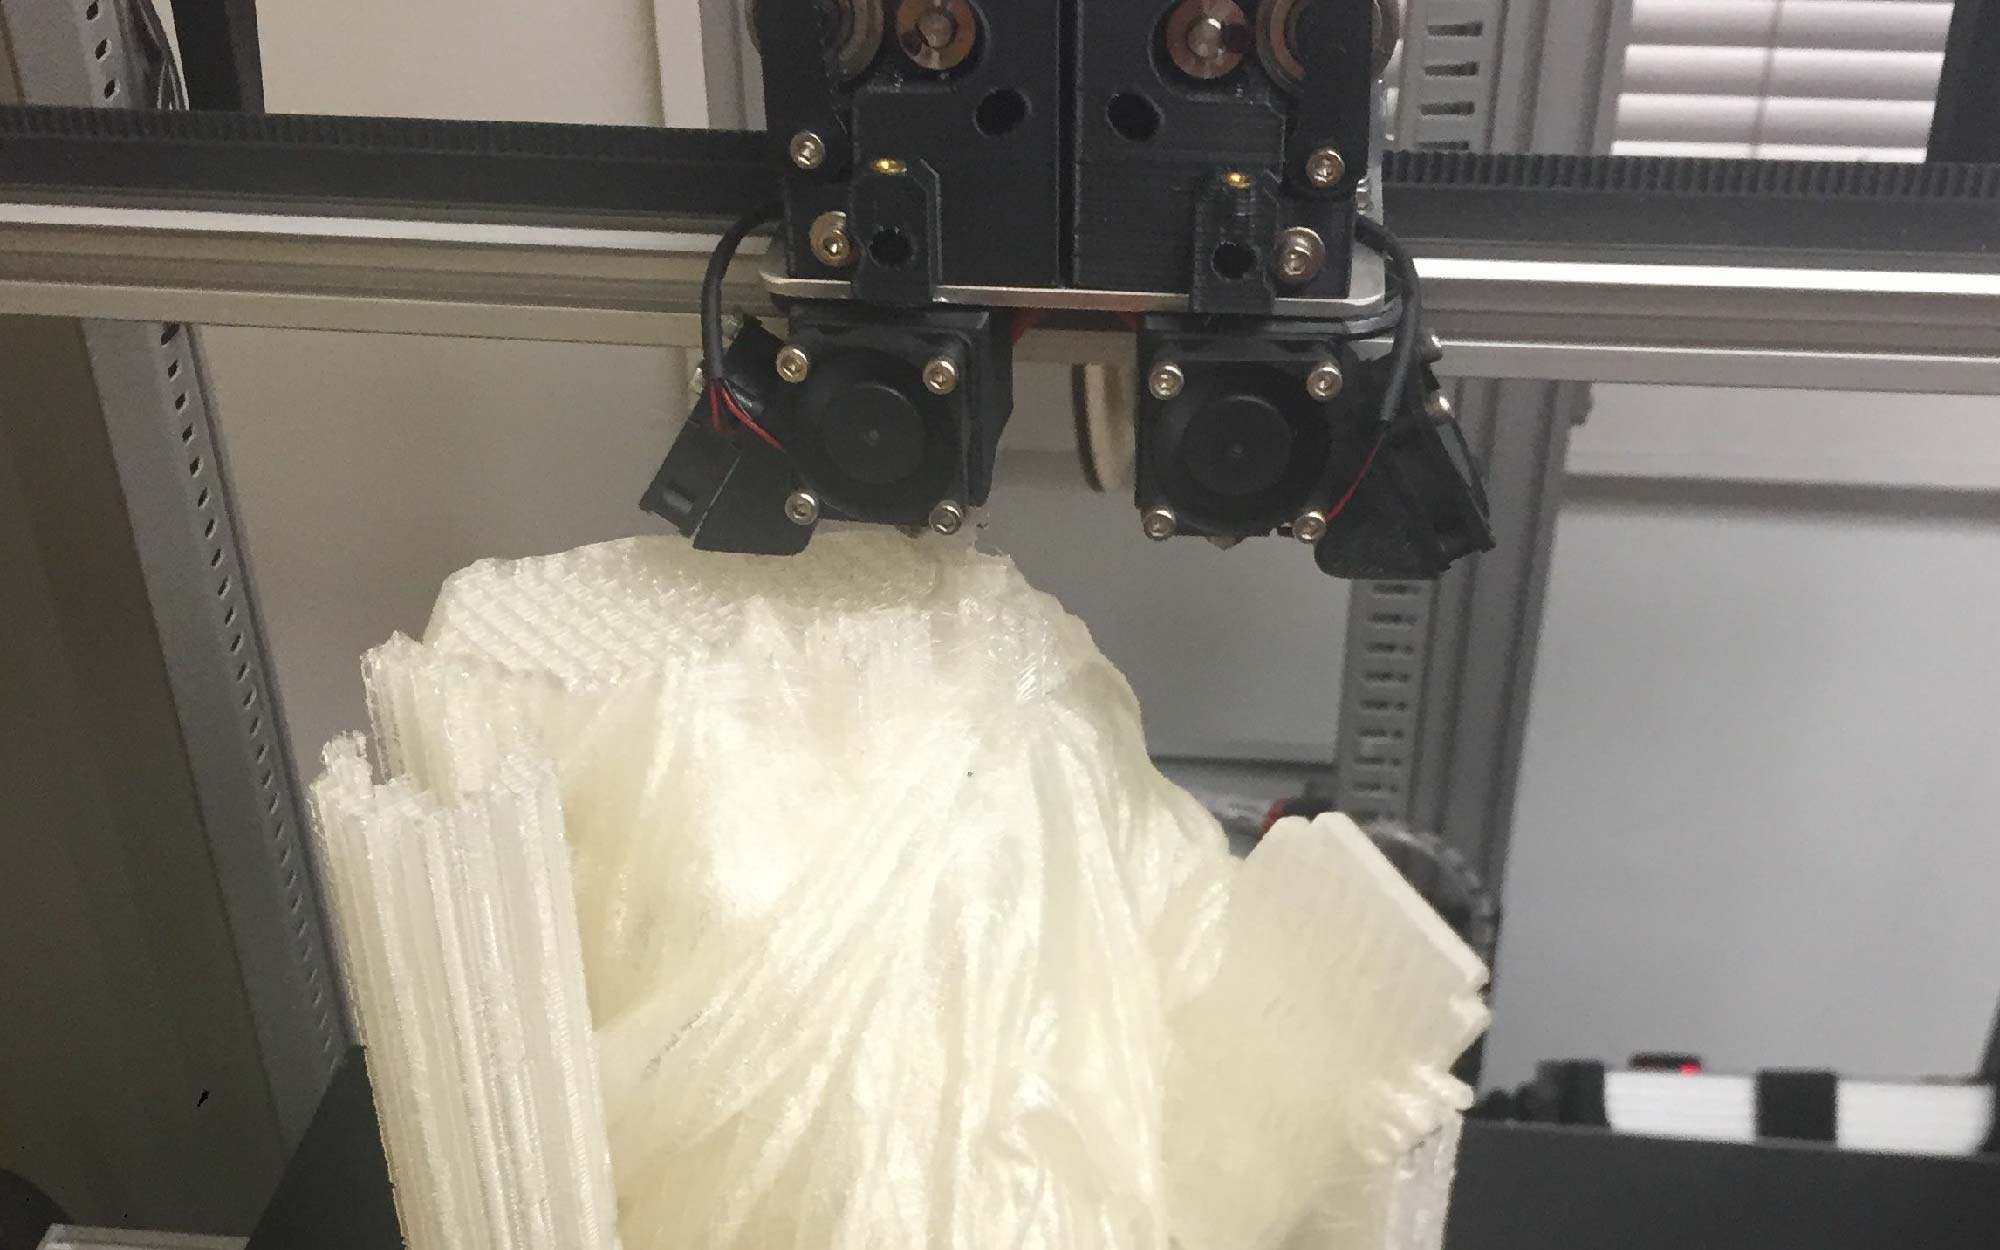
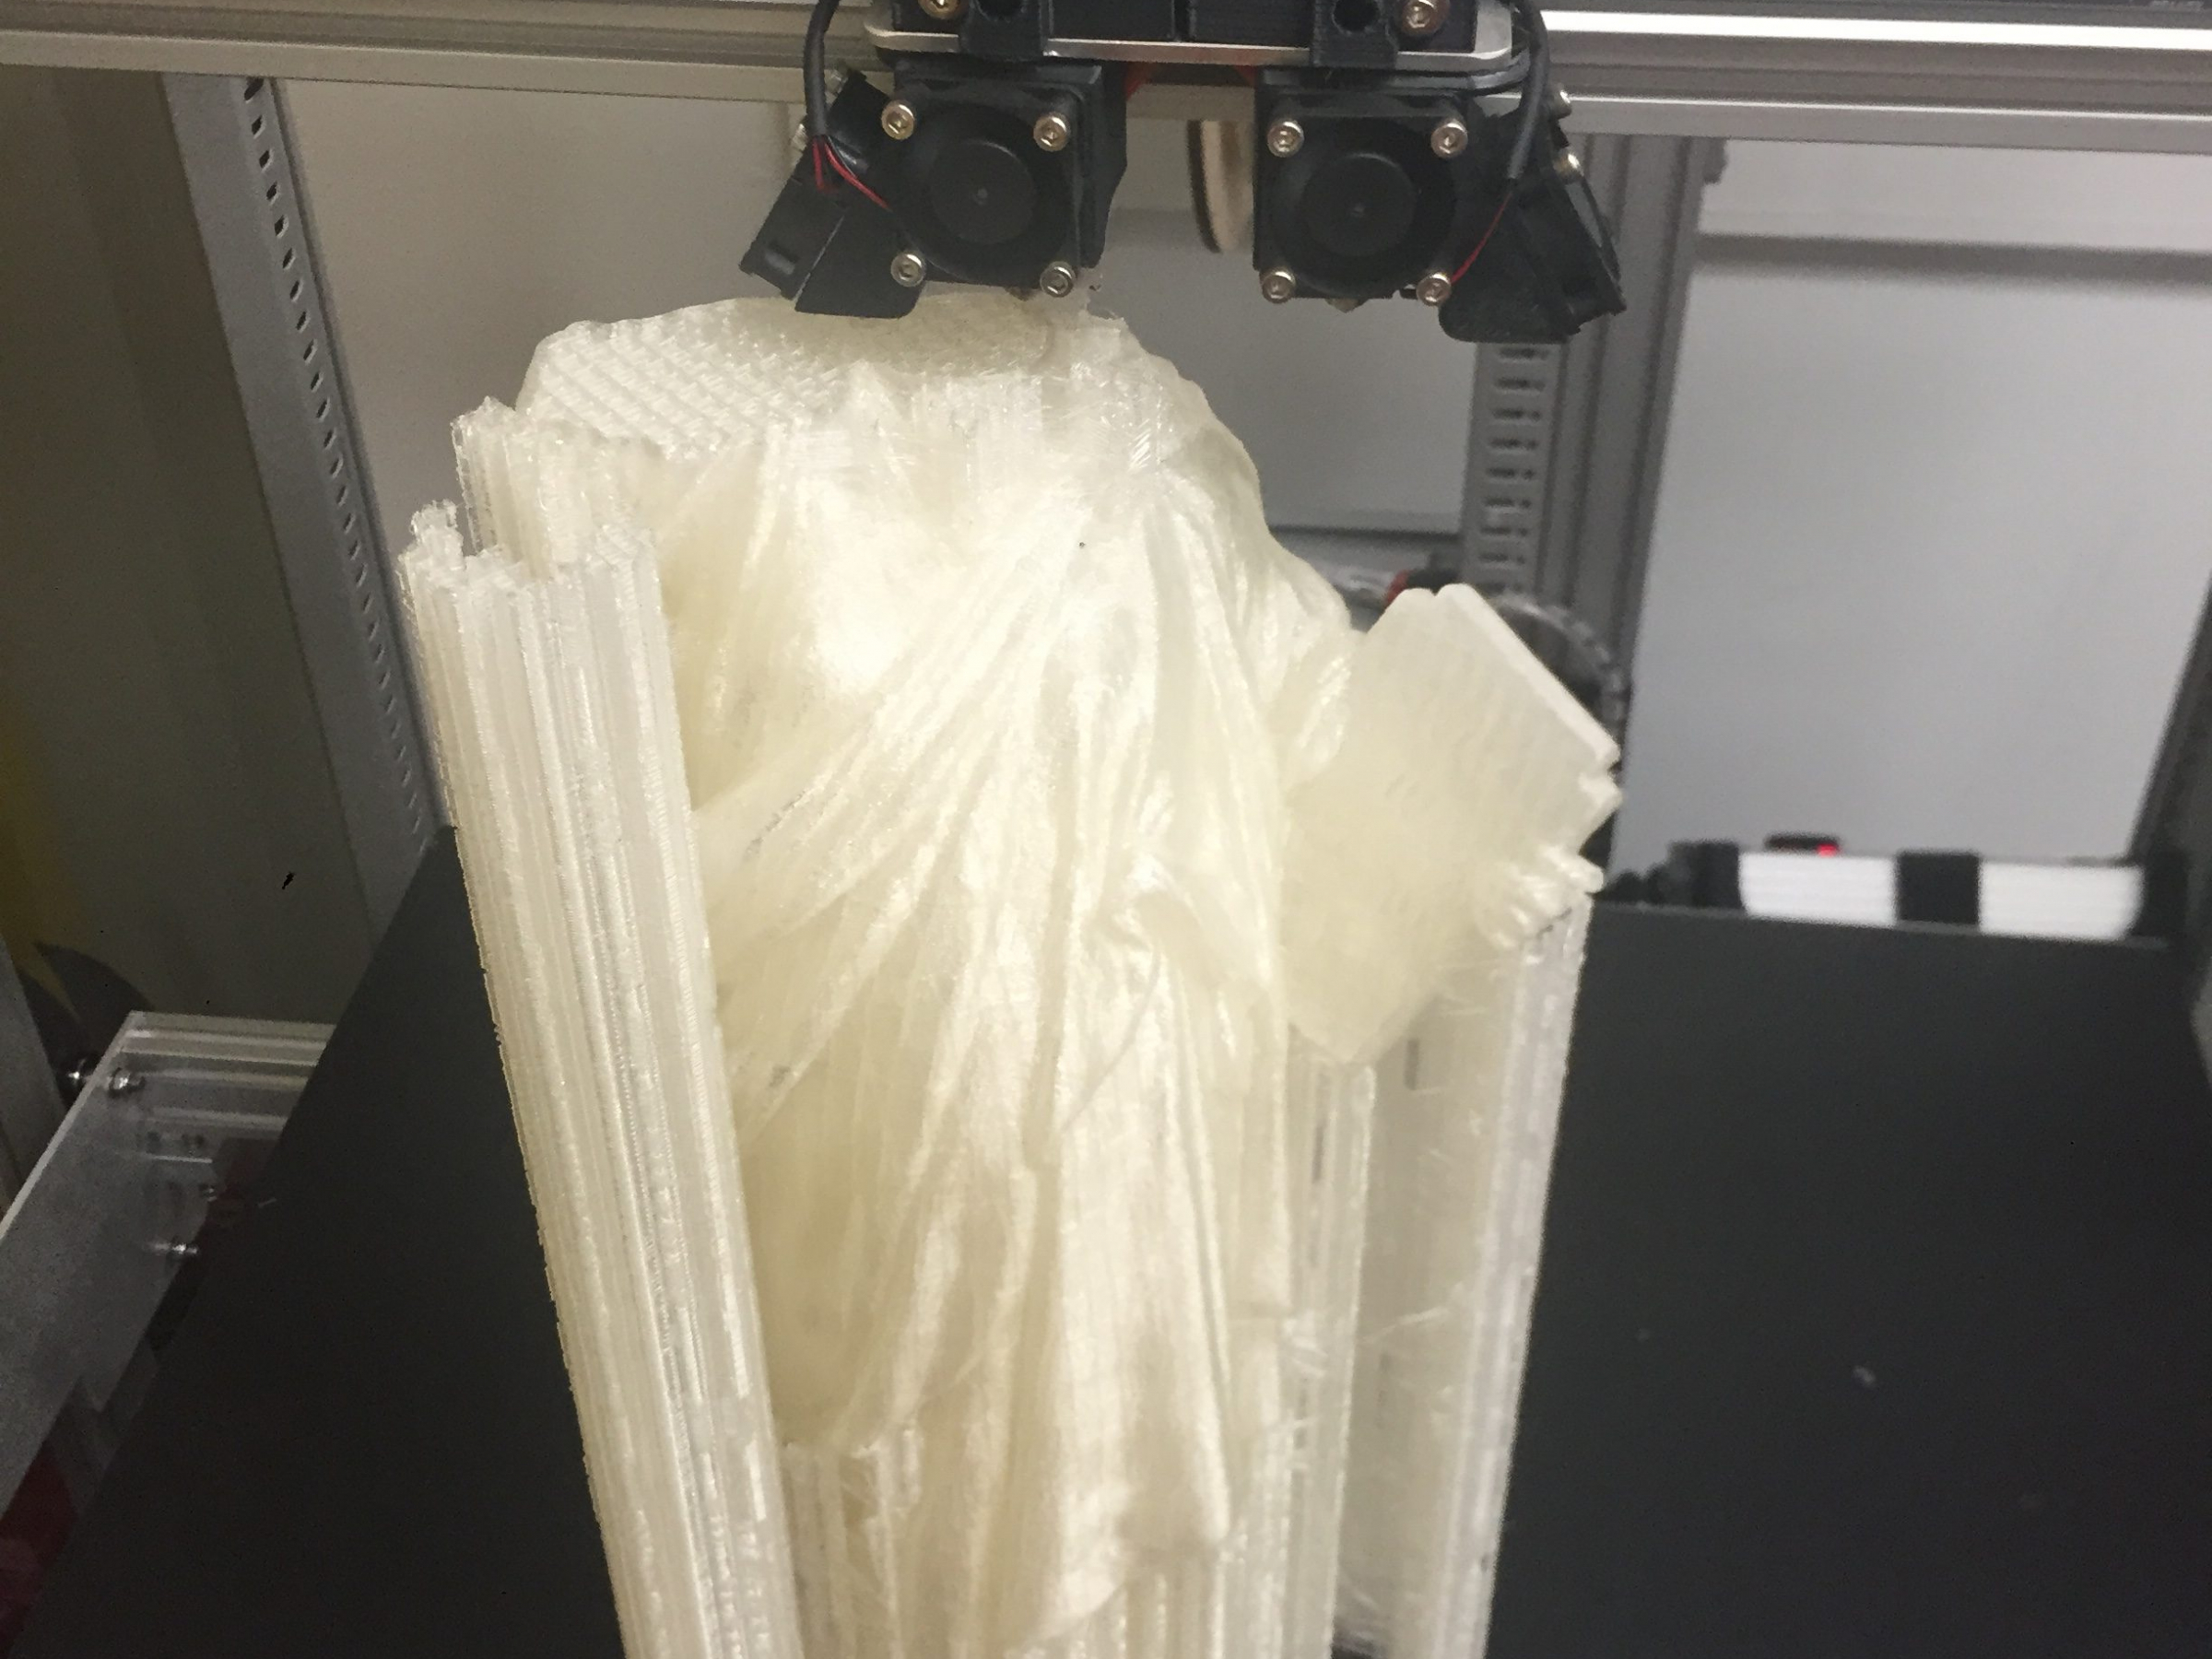
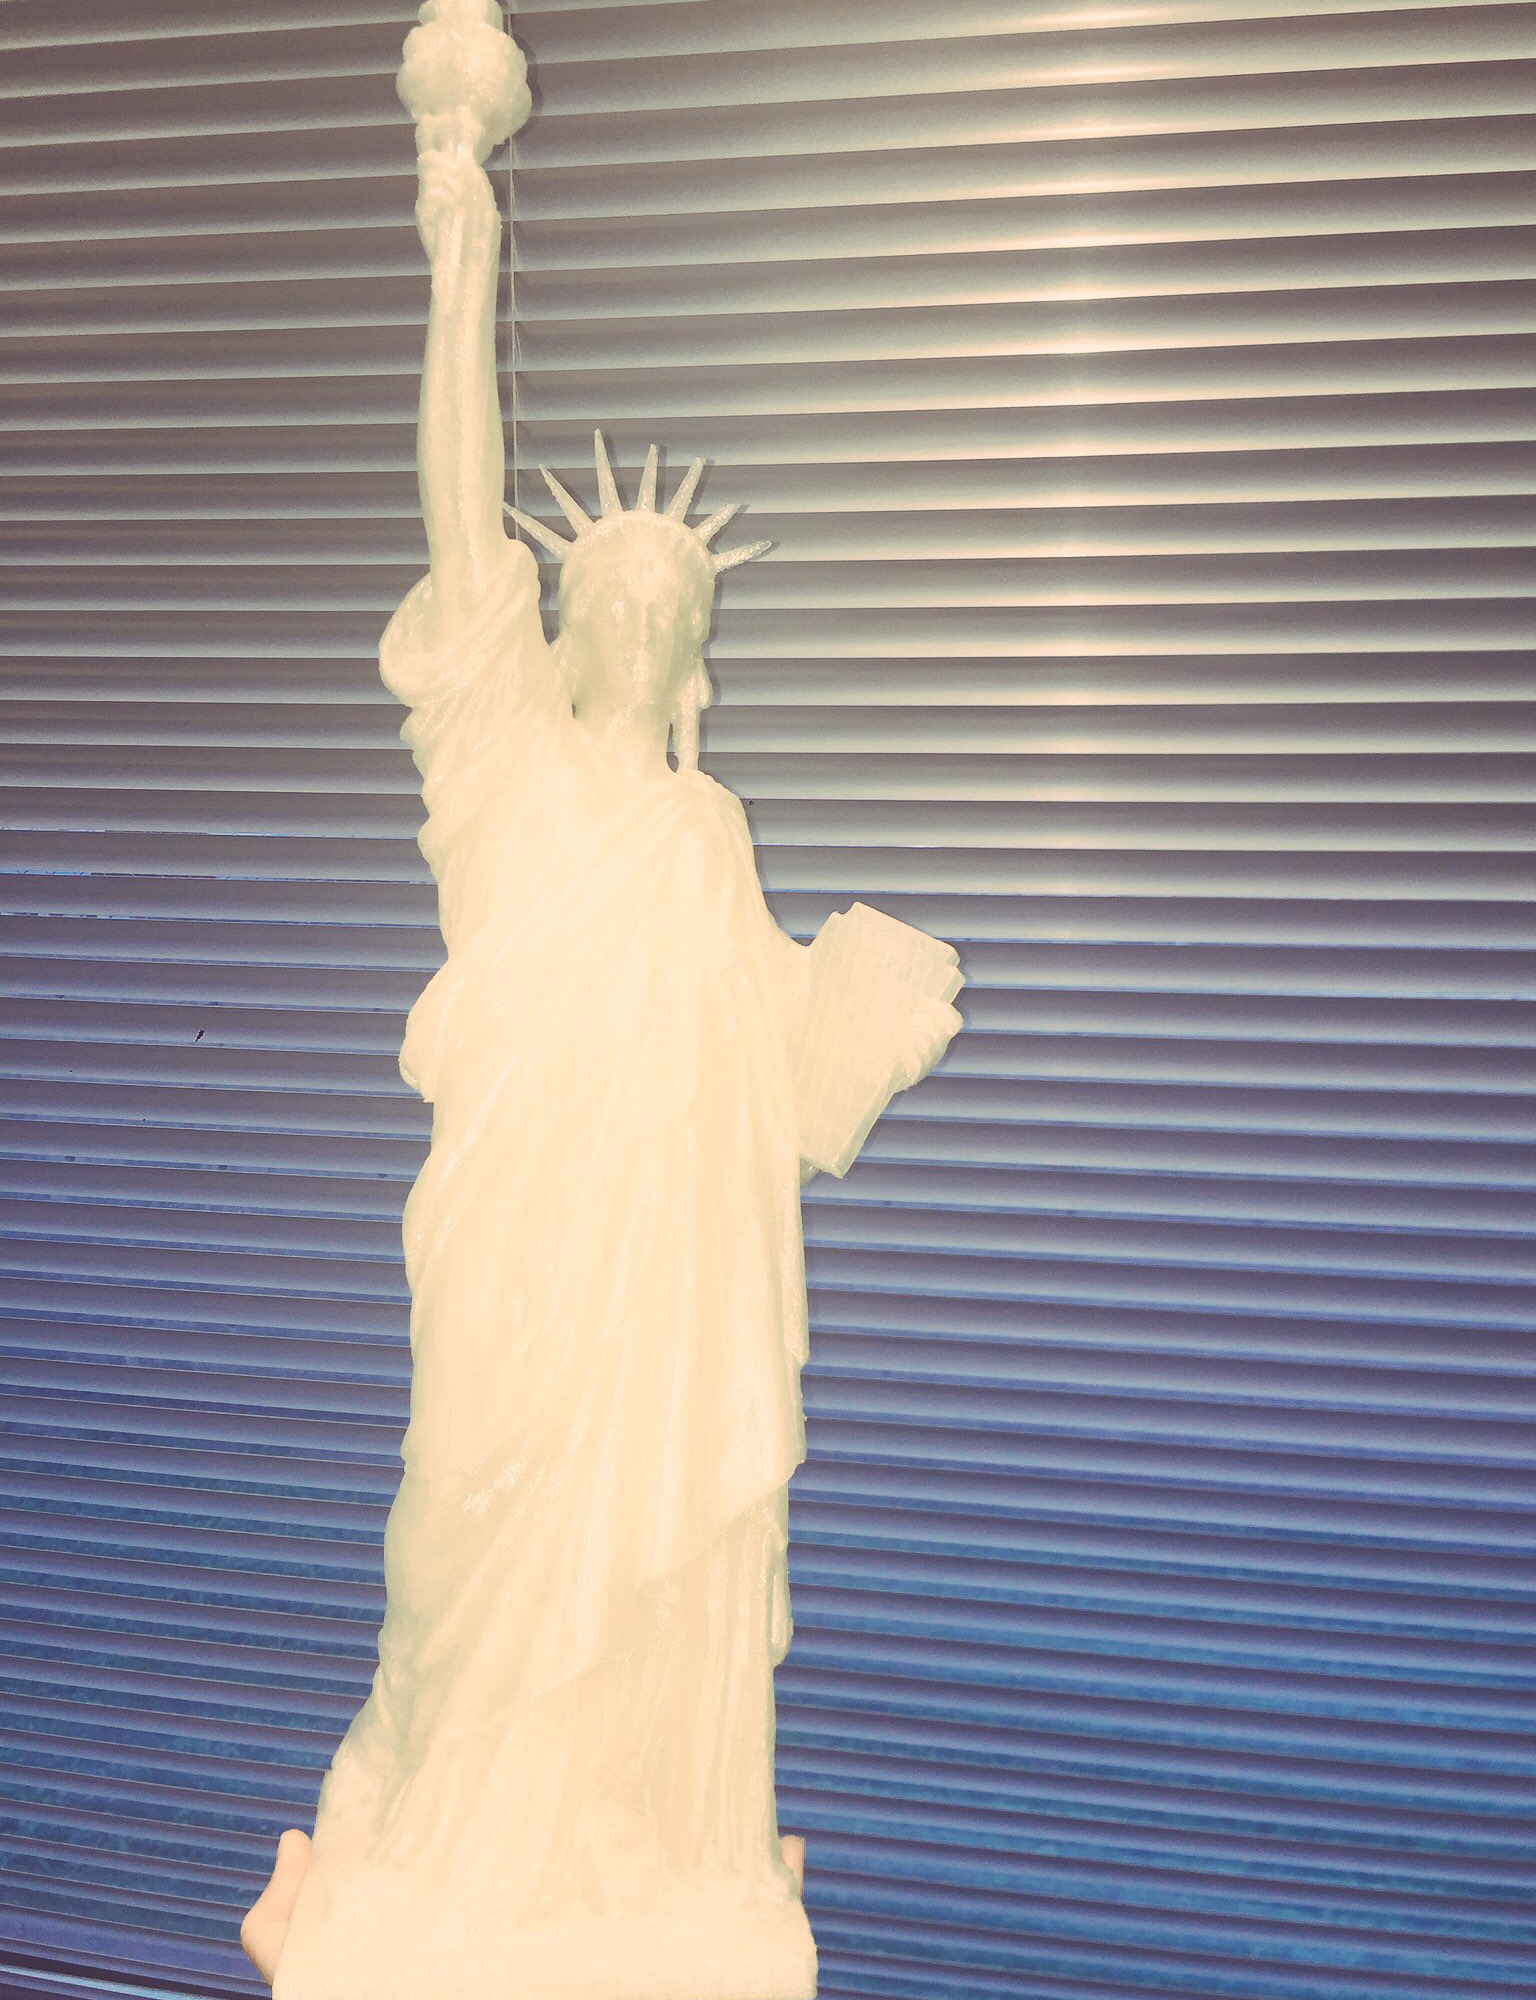
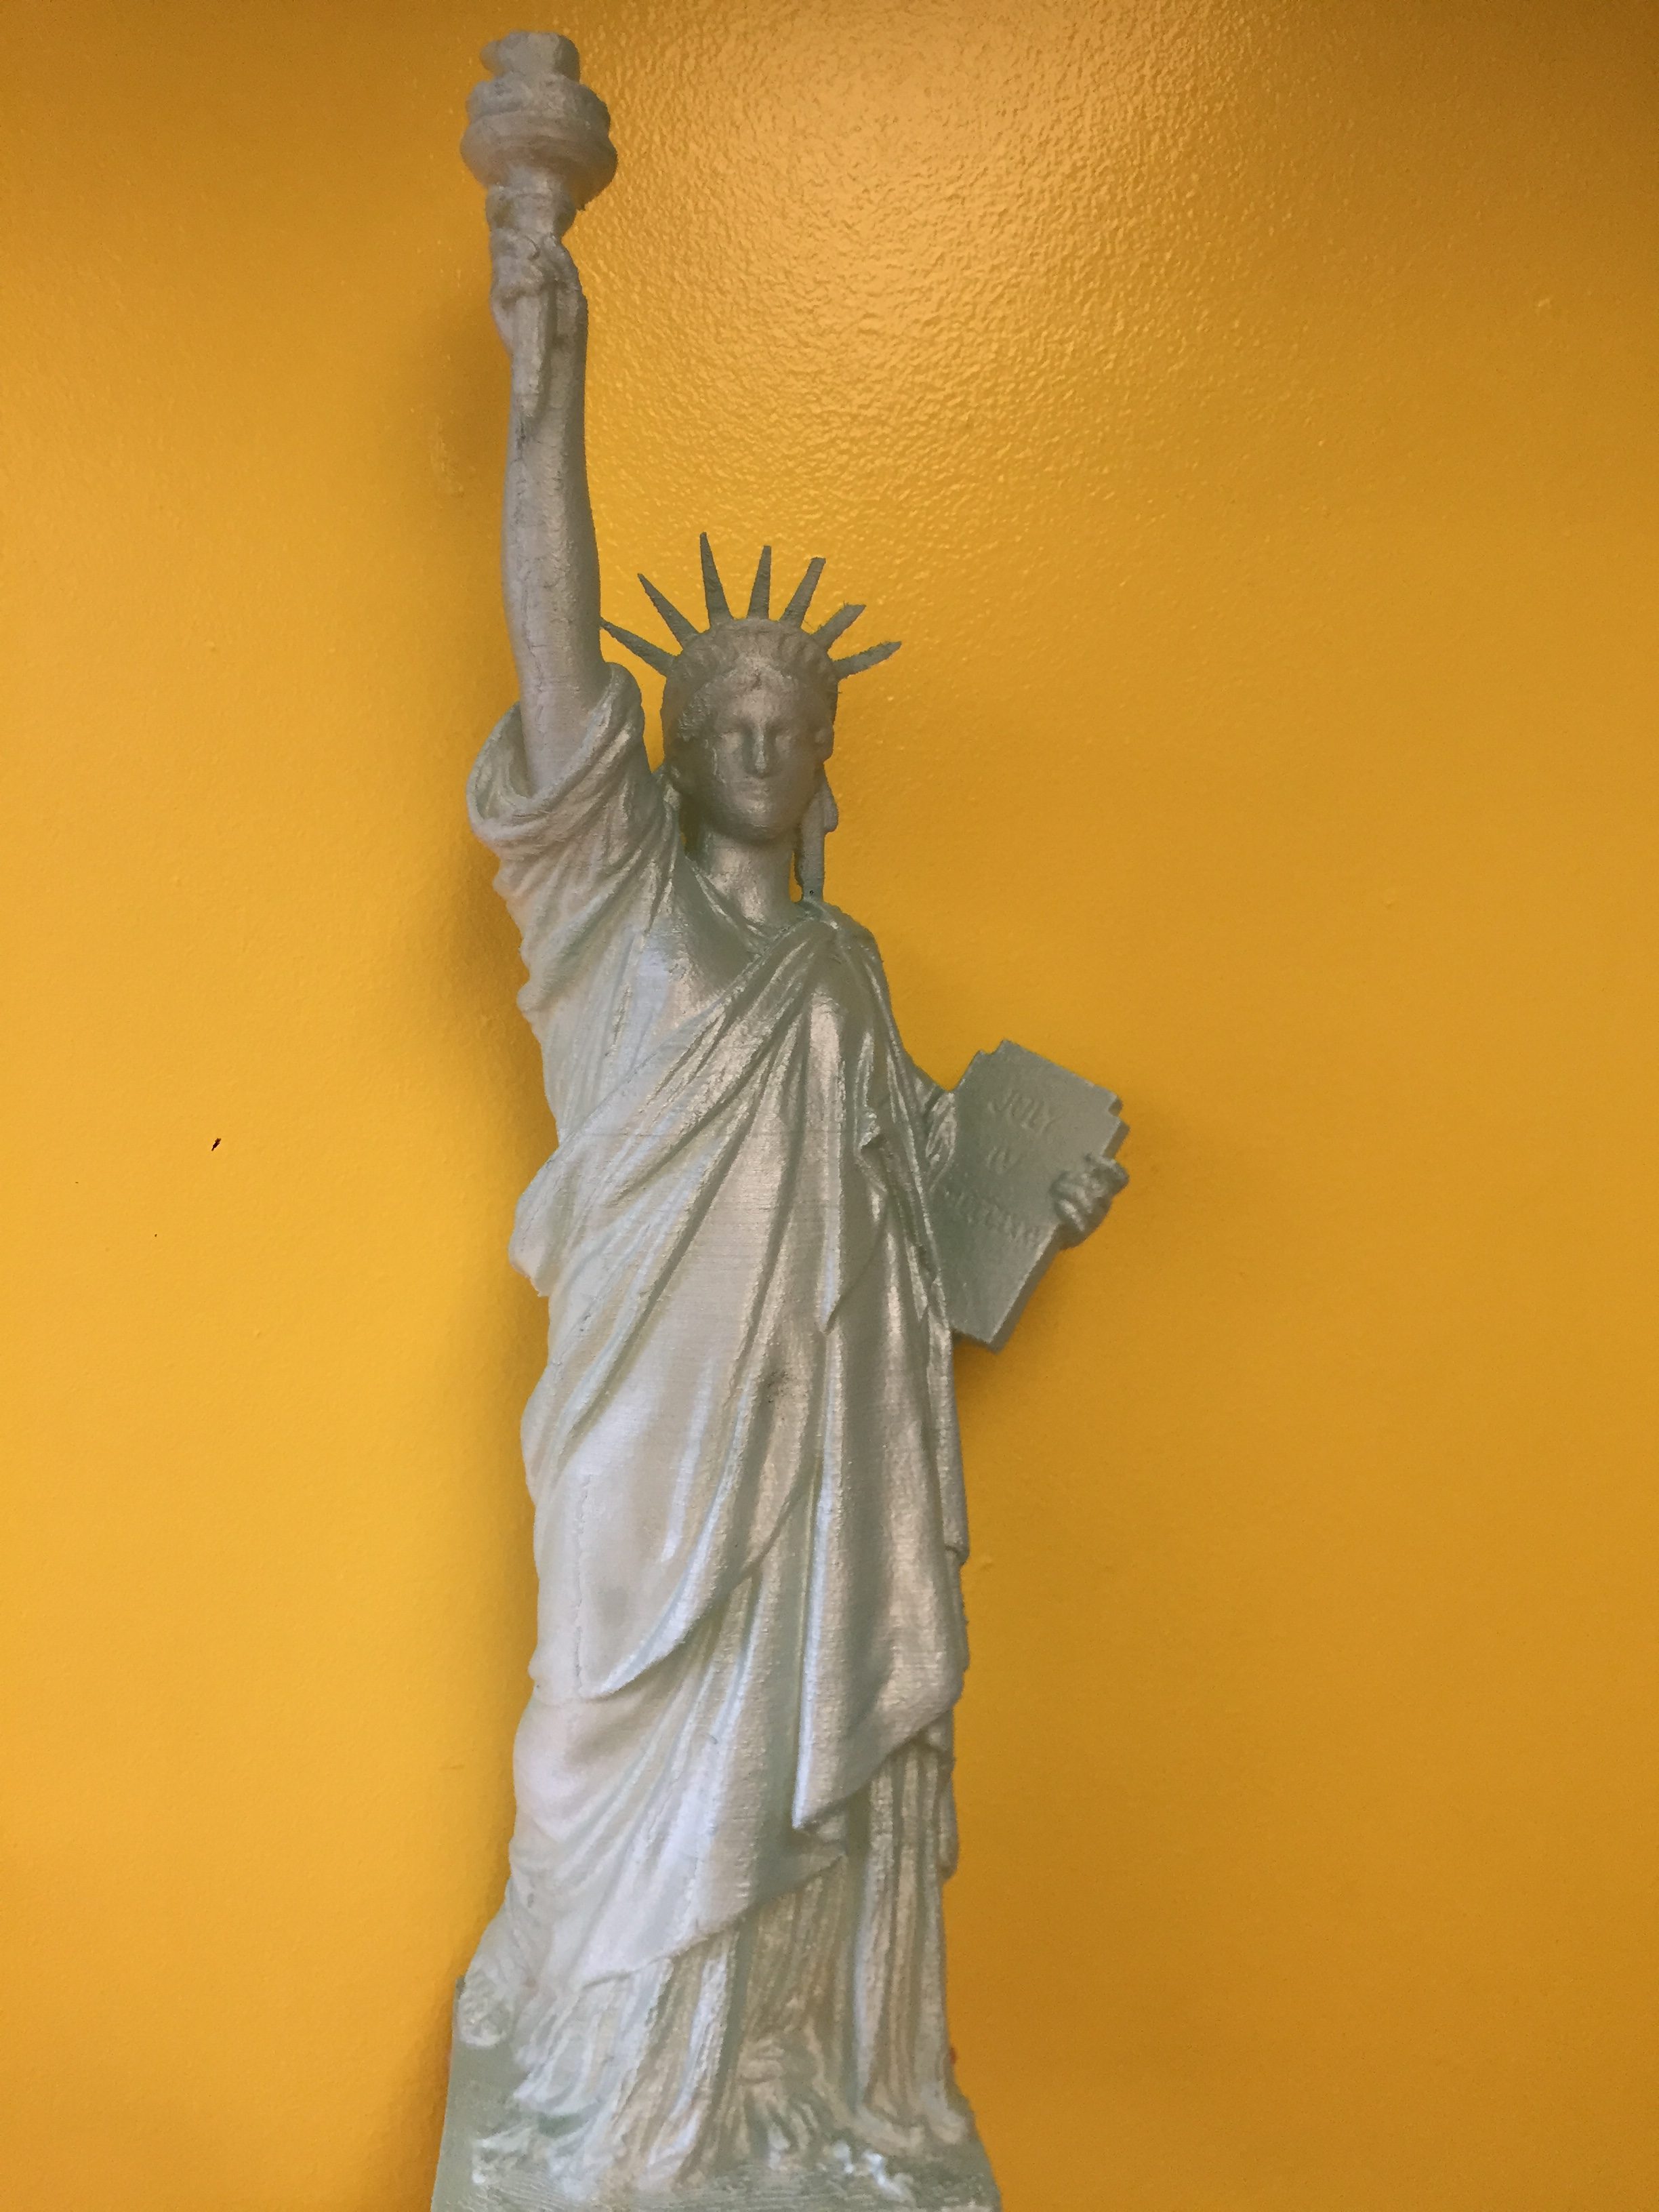
Odds are if you have a Gigabot you've discovered that the only thing better than 3D printing your favorite open source model, is printing it as big as possible!  In honor of Independence Day, we've scaled an impressive scan of a Statue of Liberty to almost two feet tall, while highlighting a couple of tricks we've learned along the way:).

Step 1: Find Your File

Knowing I wanted to print something patriotic, I conducted a quick search for “statue of liberty” on Yeggi, which yielded multiple results spanning several 3D file sharing platforms.  The Statue Of Liberty Bronze Model by jerryfisher quickly caught my eye, and being a huge Sketchfab fan, I clicked on https://skfb.ly/CONx. The impressive scan of a bronze Statue of Liberty had been downloaded over 200 times and the creator has produced several other awesome files, giving me confidence the file was print worthy.  I was also pleased to see the file was available for sharing through redistribution through Creative Commons licensing.

Step 2: Optimize for Large Scale Success

Once I downloaded the file, I opened it in Simplify3D, our preferred visualization and slicing tool. While centering the file on the build plate and inspecting the print, I noticed the bottom of the design had a slight curve. As I desired a level base to better support the future large statue, I borrowed a trick from Chief Hacker’s cheatsheet.  By lowering the print slightly into the bedplate until the upper part of the coven curve hit the platform, I was able to “cut off” the curved portion of the bottom, rendering it flat after slicing.

Due to the multiple overhangs (including Lady Liberty’s arm), the design required signifiant support material. Based on experience, I recalled that support material over 12 inches could be a little unstable, but after consulting with Chief Hacker, I learned this could be overcome by adding a -45 degree support angle in the support tab of Simplify3D. By alternating the angle, the supports would have more structure and be less wobbly.  I also decided to add a process setting to decrease the speed when printing the crown in order to give the tips more time to cool after seeing some prior fails with similar geometry.

IMG_3109

With these minor manipulations, I was ready to slice and get started! Two filament swaps later I was loving the out-of-filament detection feature on Gigabot Generation 3.0 and diggin my very own Statue of Liberty. Admittedly, it took a little time to remove the extensive support material (and I broke half of a piece of the crown), but the end result was more than worth it!

IMG_3114

Step 3: Personalize Your Masterpiece

The only thing missing was Liberty’s iconic color, which I sourced after a couple of trips to local hardware stores. Sea Mist Rustoleum metallic spray paint did the trick and resulted in a great finish! We’ve had the most luck using spray paints intended for plastic when post-processing PLA, but find dry times between coats need to be extended (or at least when spray painting in the Texas humidity). Also, be sure to remove all the support material before applying a coat of paint as all support artifacts stand out when coated!

We love having our own Lady Liberty in our Austin office.  Huge thanks to Jerry Fisher for sharing this fabulous Statue Of Liberty Bronze Model licensed under CC Attribution!
Want to download the file? Check out https://skfb.ly/CONx

~Happy Printing!

Samantha snabes

Blog Post Author

@samanthasnabes

DIY Gigahacking: 4 Knob Bed Leveling Kit

The printed parts can be found HERE. Pieces must be printed using ABS except for the knobs which can be PLA or ABS, The arms should use 3 perimeters and 40% infill. The rest of the parts can have 2 perimeters and 30 percent infill.

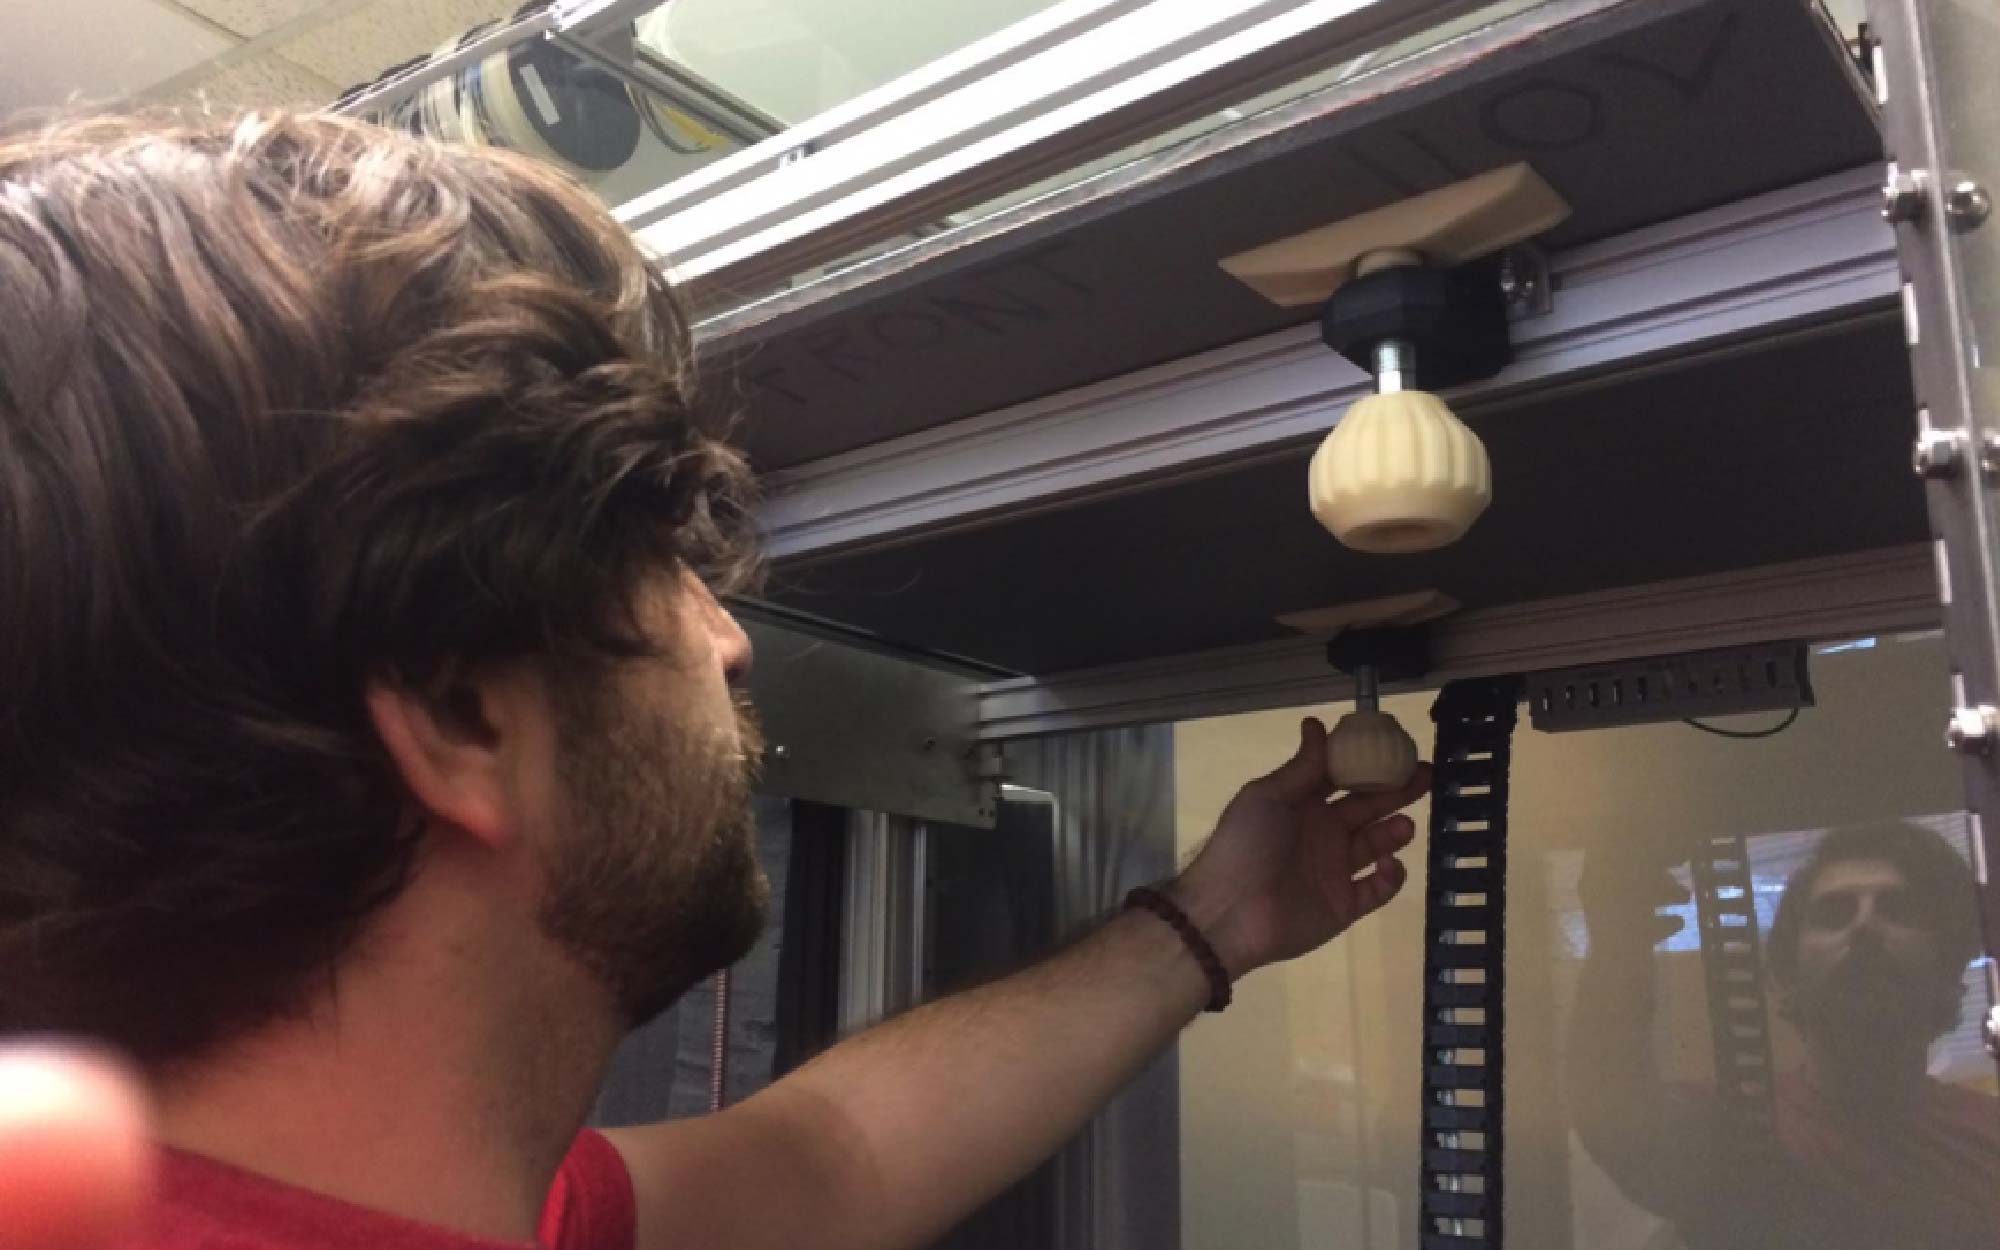
Let’s walk through the steps to retrofit your Gigabot to use the new knob system. Note: the knobs will be installed in the 4 corners of your Gigabot. The picture shows one centered knob in the back but this is for an early revision of Open GB.

4 Knob Leveling Install

Hardware

  • 1/2 inch-20 bolt (4)
  • 1/2 inch-20 nut (4)
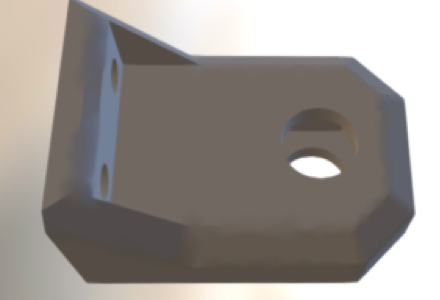
  • Arm (4)
arm
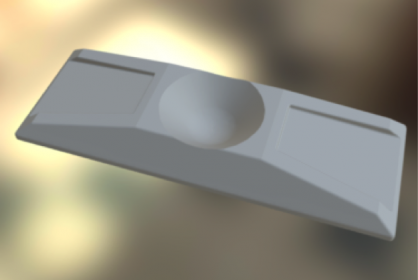
  • Bed Pad (4)
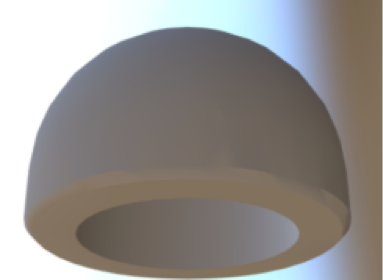
boltcap
  • Bolt Cap (4)
knob
  • Knob (4)
knobagin

Additional Materials used

Building the assembly

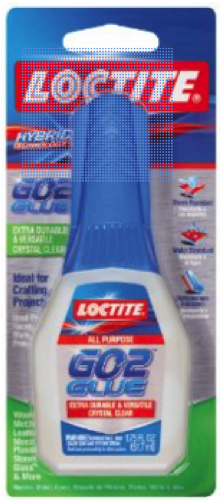
  • Put a dab of GO2 glue on the sides of a ½ inch nut
  • Drop the nut into the leveling arm so that the hole lines up with the hole for the nut.
  • Add some more glue into the recess just for good measure.
  • Put some glue under the head of the ½ inch bolt and insert the bolt into the knob so that the head hides in the hex hole; make sure it’s pushed in all the way.
  • Add a little more glue on the other side along the sides of the cutout.
  • Glue the cap on the other end of the bolt.
  • Glue sets in 30 min, cures in 24 hours

Preparing for installation

  • Loosen the bolts holding the bed rails. Lower all bed rails to the bottom of the slotted holes and re-tighten the bolts.
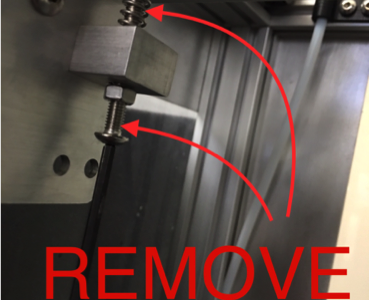
  • Remove the adjustment bolts/springs in all 4 corners.
remove
  • Lower the locknuts on all 4 L-bracket spring assemblies. This will provide the bed with the travel it needs. It’s easier to perform this step before putting on the build surface so that you have access to the head of the bolts.
  • Make sure that the rails are generally level with the bottom motors. The one that I installed these on was a decent amount off.
  • IMPORTANT: Adjust the Z height so that the natural state of the bed is about ½ cm or a little less than ¼ inch from the nozzle. Apply another nut to the underside of the Z limit switch bolt as this adjustment will no longer be used and should remain in place.

Installing the leveling assemblies

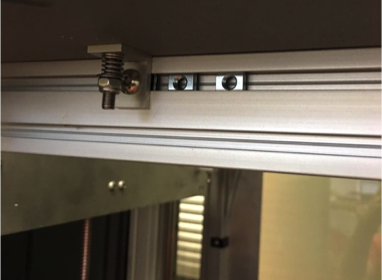
affixed
  • Insert 4 magic t-nuts (or regular t-nuts if you’re building it from scratch) along the top recess of the front bed rail. Make sure the nuts are inserted in between the L bracket/springs. Note: The locknut needs to be lower than the one in the image; ignore that.
  • Insert 2 t-nuts into each corner of the top recess of the back bed rail. Make sure they go into the side that is front facing. All leveling arms point towards the front of the machine.
  • Use M5 x 10 screws to bolt the arm assemblies into the t-nuts in the top rail.
  • Push the left arm snug against the left L-bracket and the Right snug against the right L bracket. The back arm will sit just left of the cable tray. Give it about a half inch clearance on the right.
  • Put a line of silicone on the flat side of each of the 3 bed pads.
  • Lower all knobs so that the nubs are almost touching the top of the arms, manually lift the bed and slip the bed pads over the nubs trying not to make a mess with the silicone in the process.
  • Raise the knobs and straighten out the pads. The pads should self-align to the nubs but just make sure the pads look visually straight to the edge of the bed and the rail.
  • Put a bead of silicone around each pad and then removed any excess by smearing it with my finger.

Leveling the bed

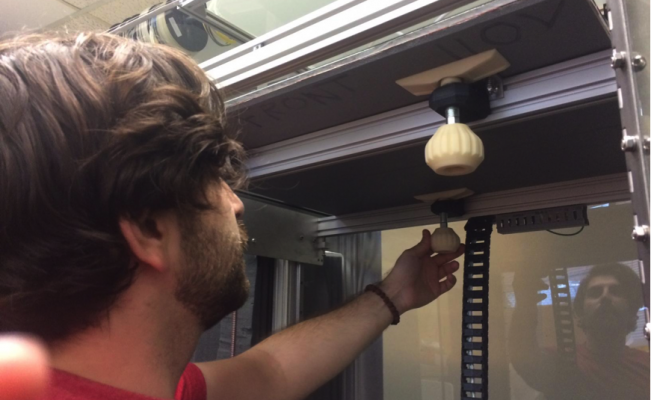
mikedone
  • Position the nozzle above the left knob and turn clockwise to raise the bed in that corner. Raise so that it’s almost touching. Do the same for the right side.
  • Raise the back knob so that the nozzle is almost touching the bed.
  • Go back to the front left and use a sheet of paper to keep between the bed and the nozzle. Turn the knob clockwise until you can feel slight friction on the paper. Do the same for the right side, and then do the same in the back 2 knobs.
  • Move the nozzle around the bed and try the paper trick to make sure all is flat. If it sticks anywhere, recheck your 4 points.

COMPLETE!!!

Happy Printing!

Mike Battaglia

Blog Post Author
@mikebattaglia

Drones & Open Source: Partnering with Local Motors

Below is a re-post of content MicheleAbbate hosted on the Local Motors Blog at: https://localmotors.com/MicheleAbbate/lmdrones-re3d-gigabot/

LMDRONES: re:3D Gigabot 

As part of the LMDRONES projects that you can find on Local Motors, we want to welcome re:3D and their Gigabot 3D printer as they join our LM Drone efforts!

lmre3dunite

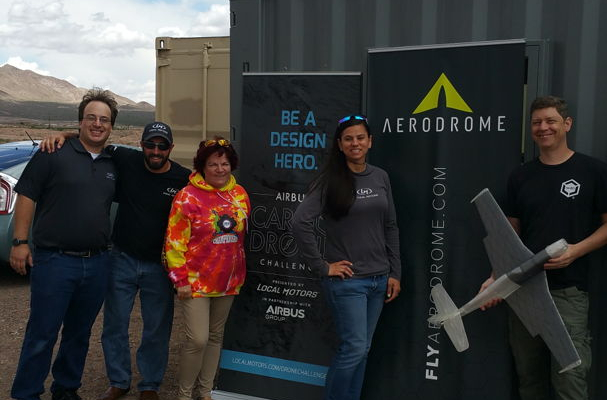
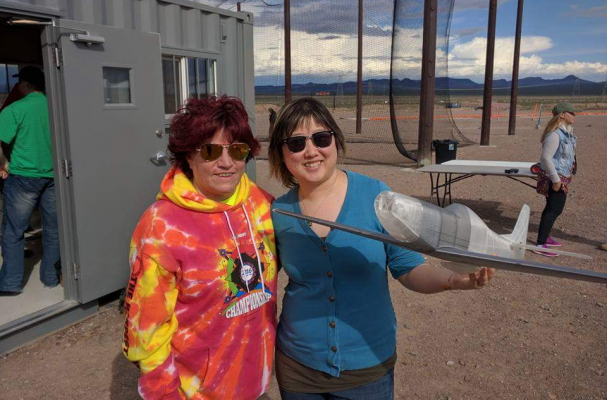
May 7th was International Drone Day and the Local Motors Teams, from both Vegas and Chandler, paired up with Matthew Fiedler, Co-Founder and Chief Engineer at re:3D, to bring their Gigabot 3D printer to the world’s first drone port, the Eldorado Droneport, in Boulder City, NV.

mfdronedemo

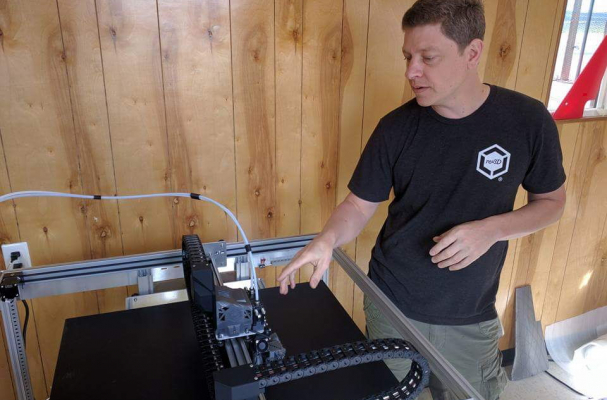
The all day event included open tuning, demonstrations, races, and freestyle flying.  Matt Jackson, Alaric Egli, and Alex Palmer of Local Motors brought a variety of different drones to take part  in the event.  Matthew began printing with the re:3D Gigabot as soon as it arrived, showing it’s potential and usability for creating parts, wings, and even a full size Wing FPV.
fpvdemo

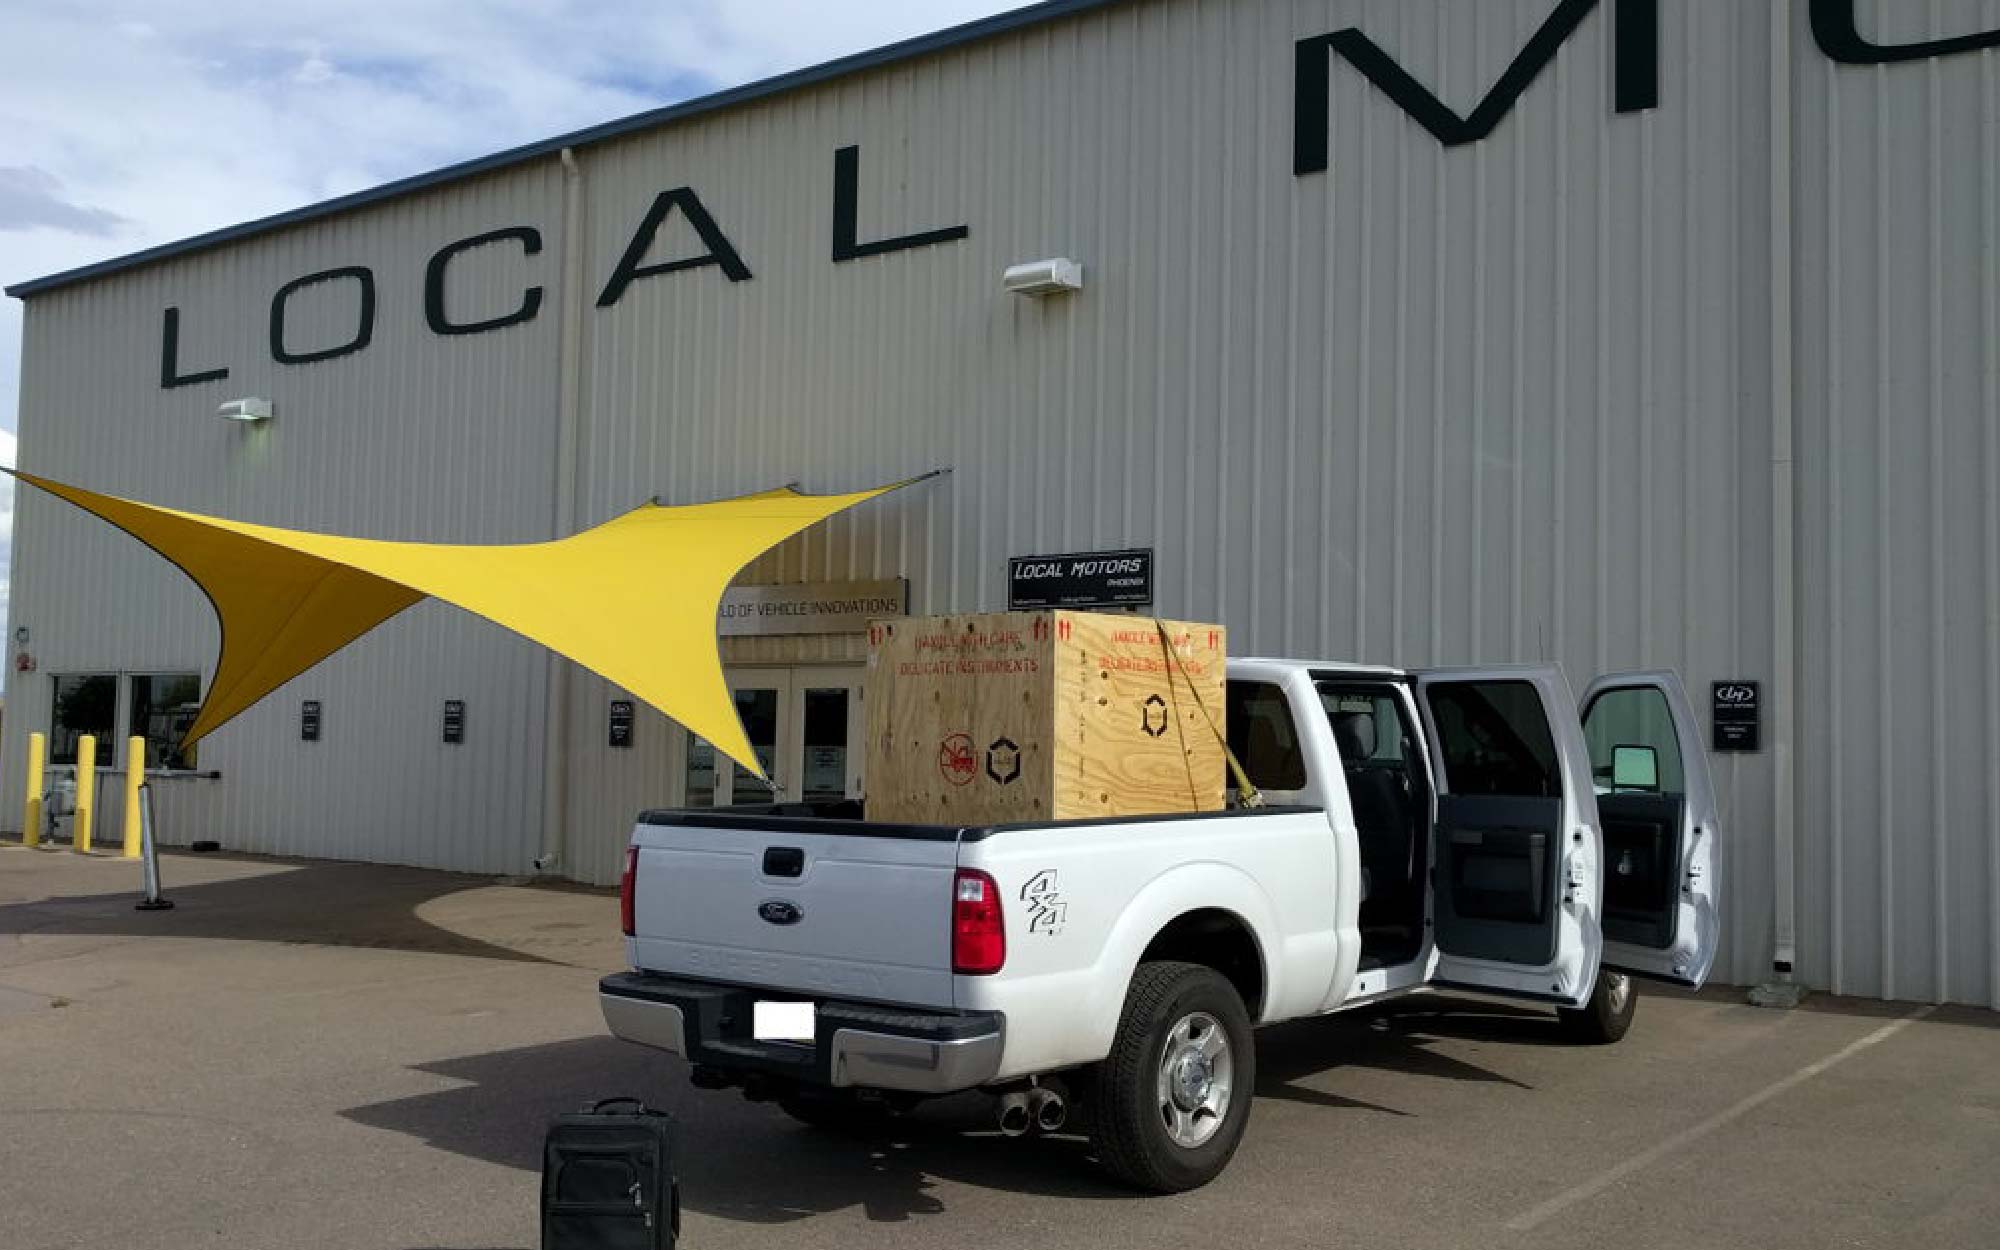
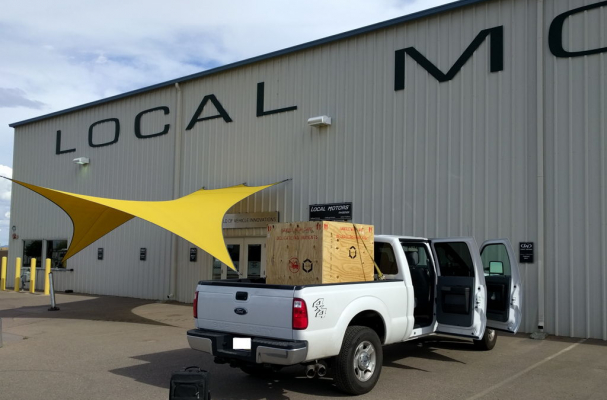
Stayed tuned for what’s next with the re:3D Gigabot which just made its successful journey from Nevada to Chandler, AZ at the Local Motors Headquarters!

gigabotarriveslmchandler

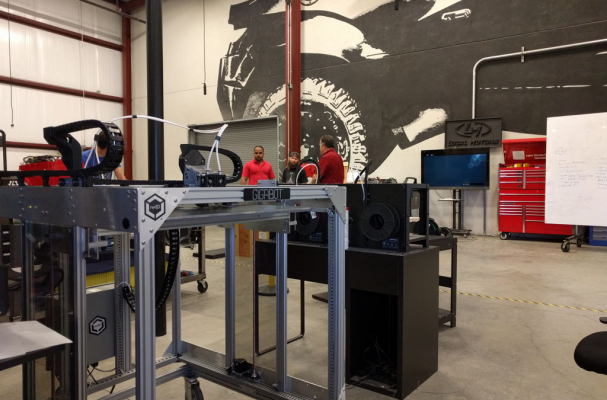
Gigabot arrives at Local Motors Phoenix facility after participating in the International Drone day festivities at Aerodrome near Las Vegas, Nevada. Engineers at Local Motors are excited to train on the Gigabot and start running their first prints!

gigabotatlm

re:3D Gigabot can now be found at the Local Motors’ headquarters in Chandler AZ!