A Journey of 3D Printing Innovation & Collaboration with YLAI Fellows

re:3D was first introduced to the US Department of State’s Young Leaders of the Americas Initiative (YLAI) in 2017. YLAI’s vision is to create a vibrant network of entrepreneurs across the Western Hemisphere. A key way this is achieved is through a Fellowship Placement with a business in the United States for four weeks. The Fellowship Placement is an opportunity for YLAI Fellows to experience the U.S. work culture and connect with key players in their industry. The YLAI Fellowship offers hands-on experience in exchange for using their skills and network to contribute to U.S. businesses and organizations. The Fellowship not only provides business insight and network for the Fellows but also provides their placement companies with cross-cultural understanding. Businesses form long-term relationships with their Fellows, extending the Fellowship well past the initial four-week placement.

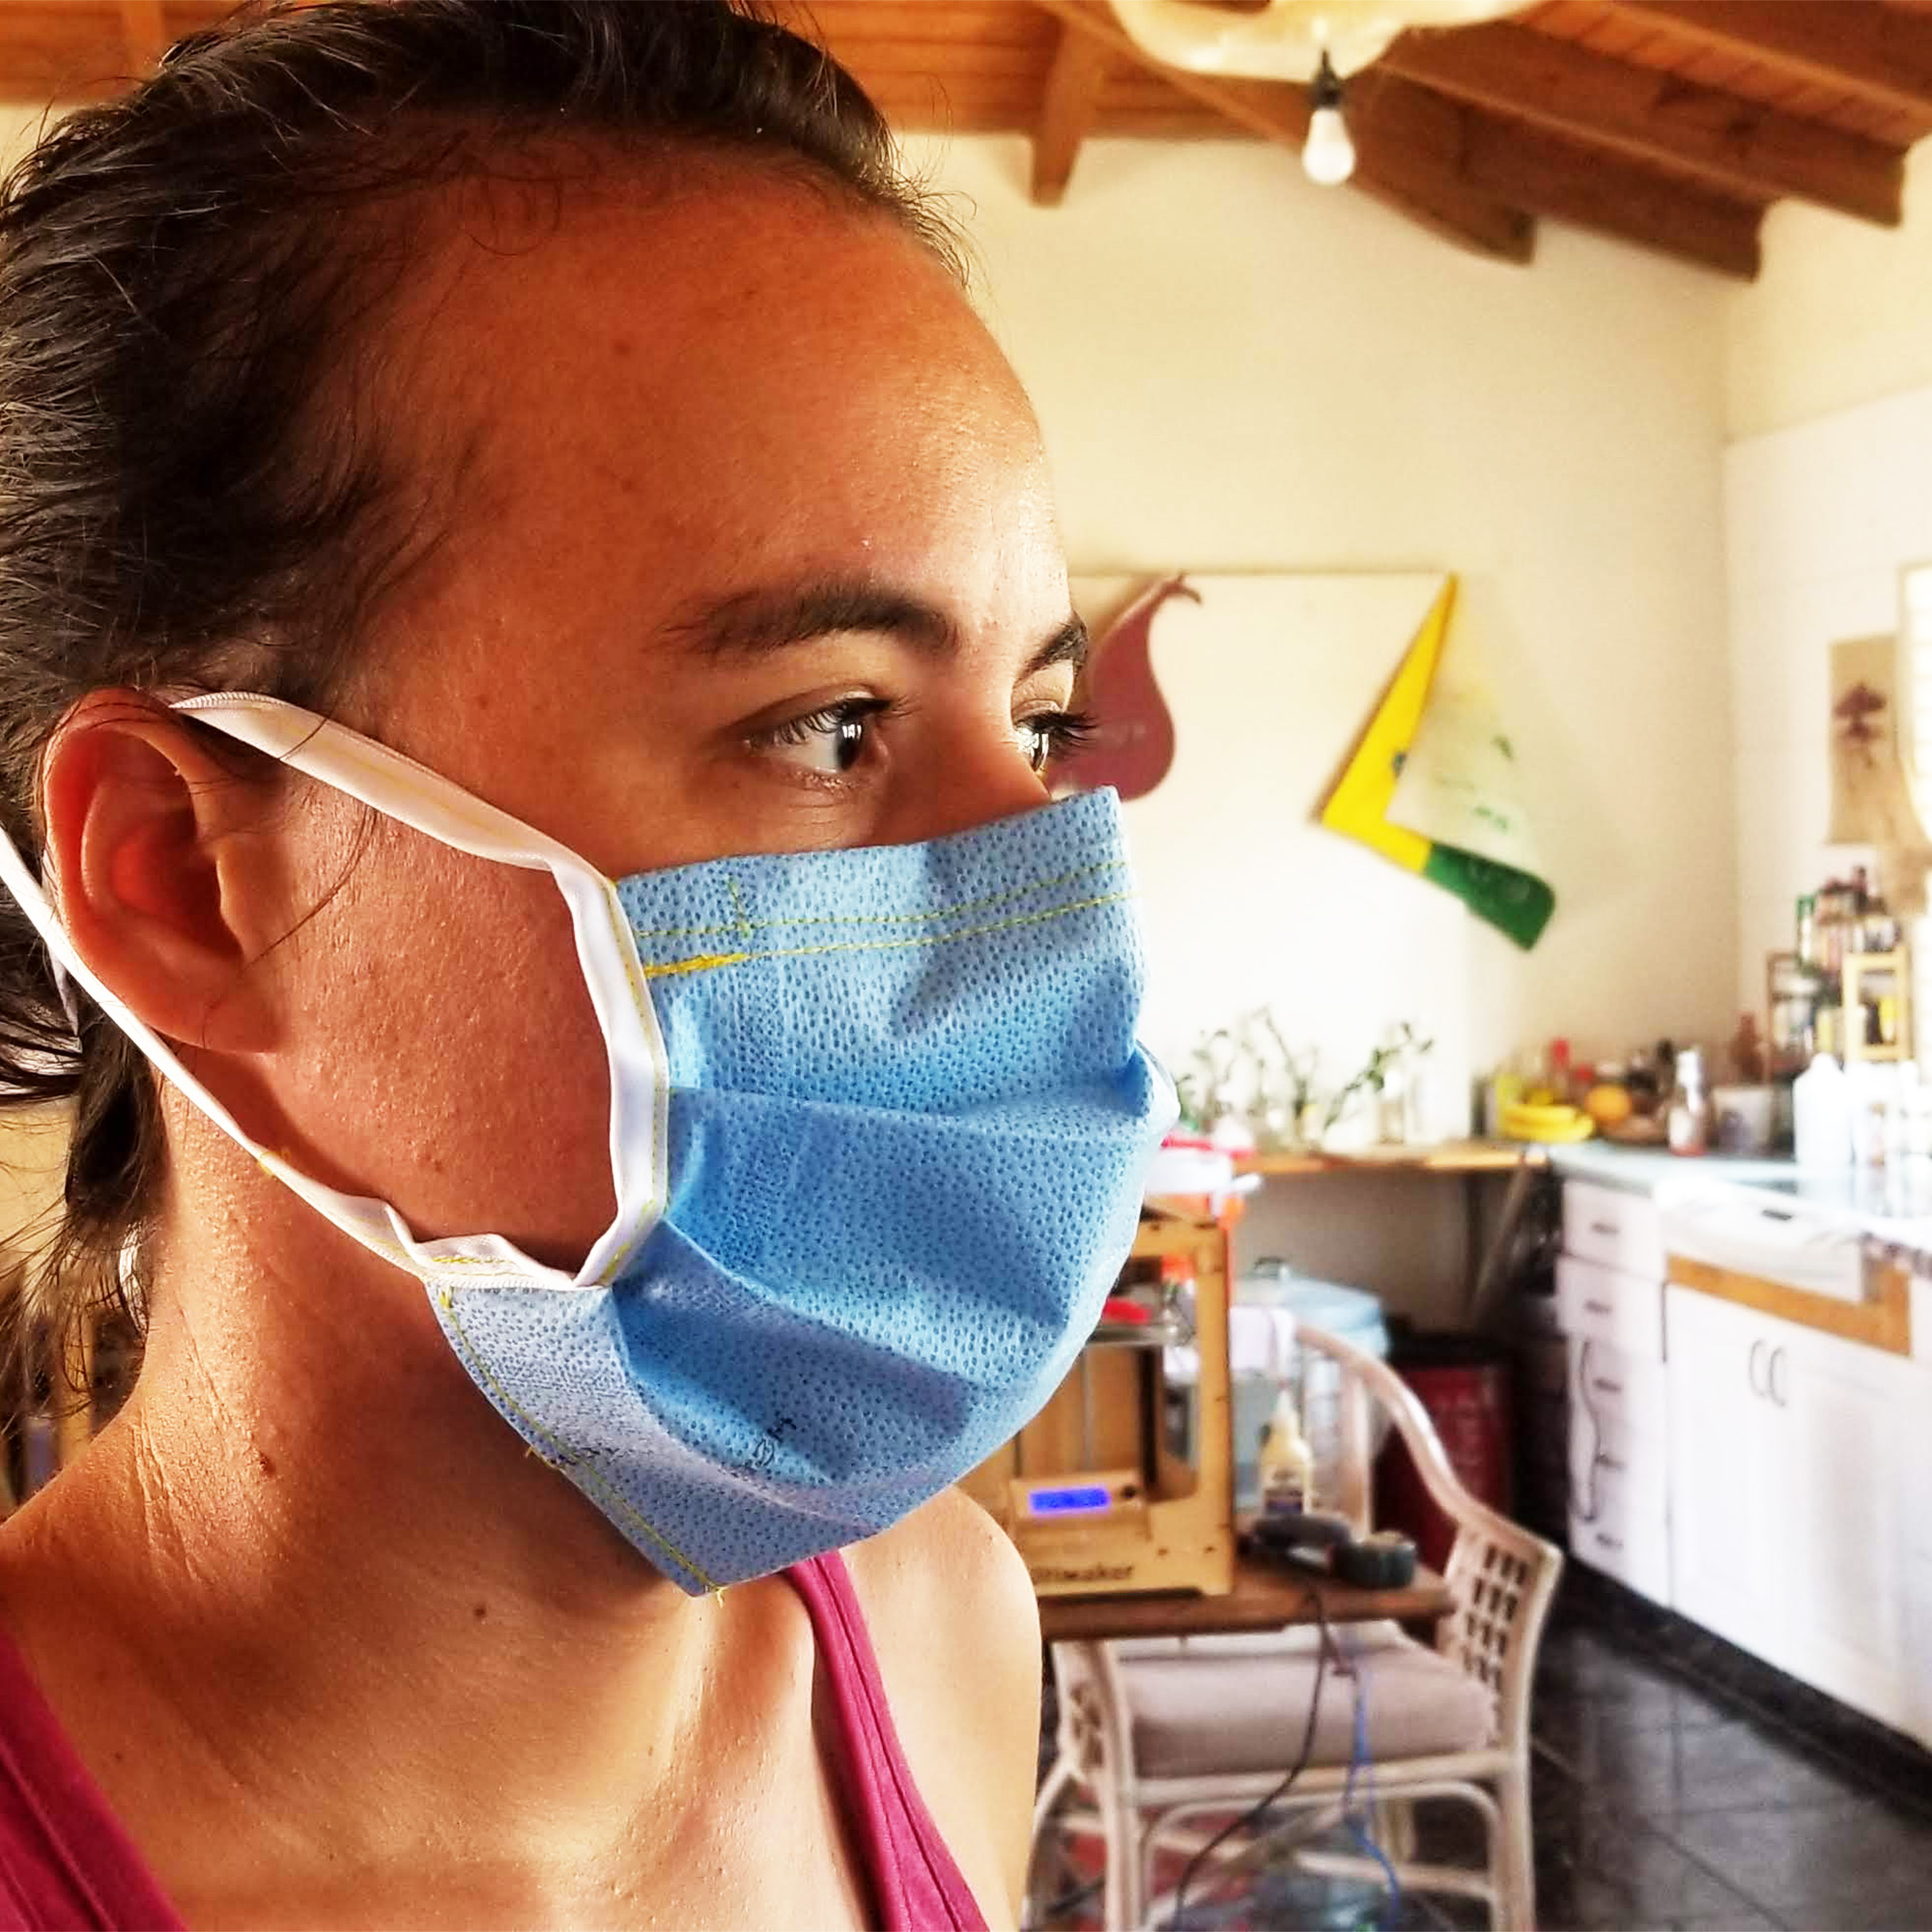
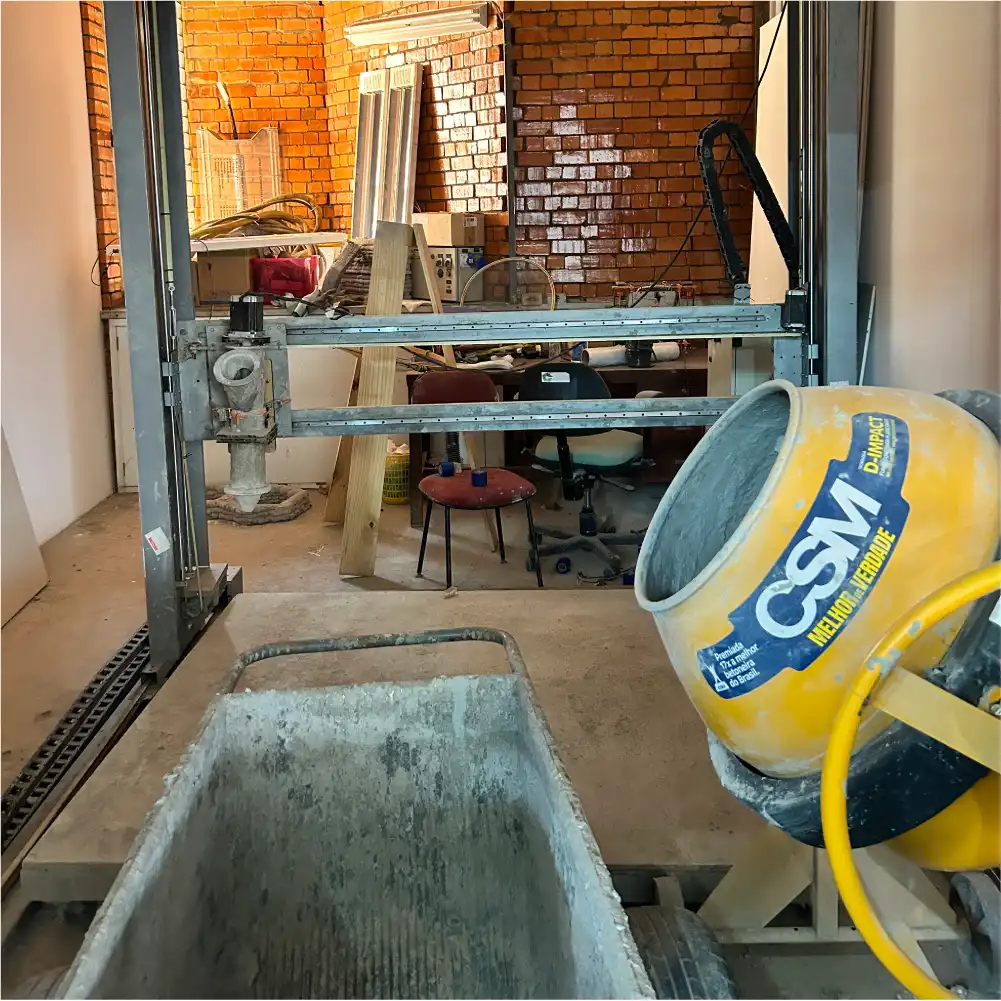
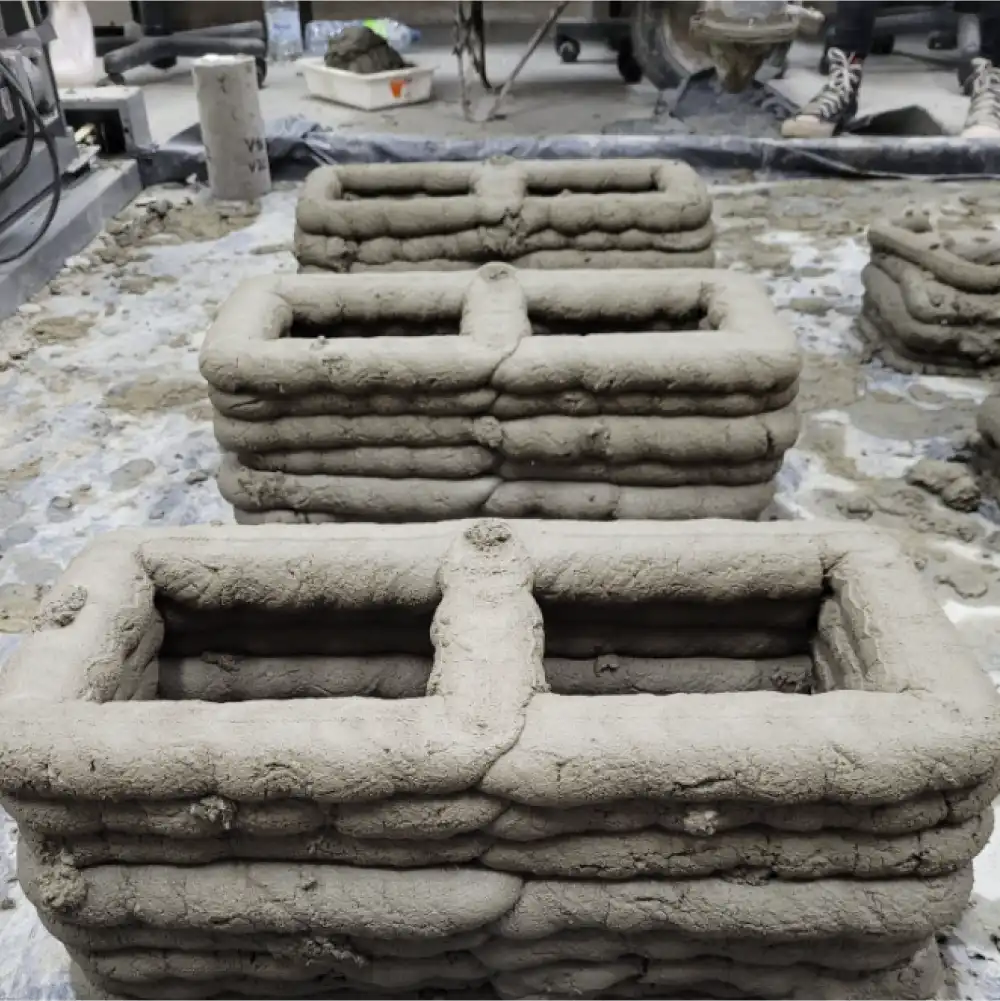
Since 2017, re:3D has hosted three YLAI Fellows, the most recent being Juliana Martinelli from Brasília, Brazil in May of 2023. Samantha Snabes, re:3D’s Co-Founder and Catalyst and Juliana met over video to ensure that re:3D would be a good match for her fellowship. Juliana’s company, InovaHouse3D, 3D prints with cement and has a mission to print affordable houses in Brazil. Even though re:3D prints with plastic, we also have a social responsibility aspect to our work and admire InovaHouse3D’s goals!

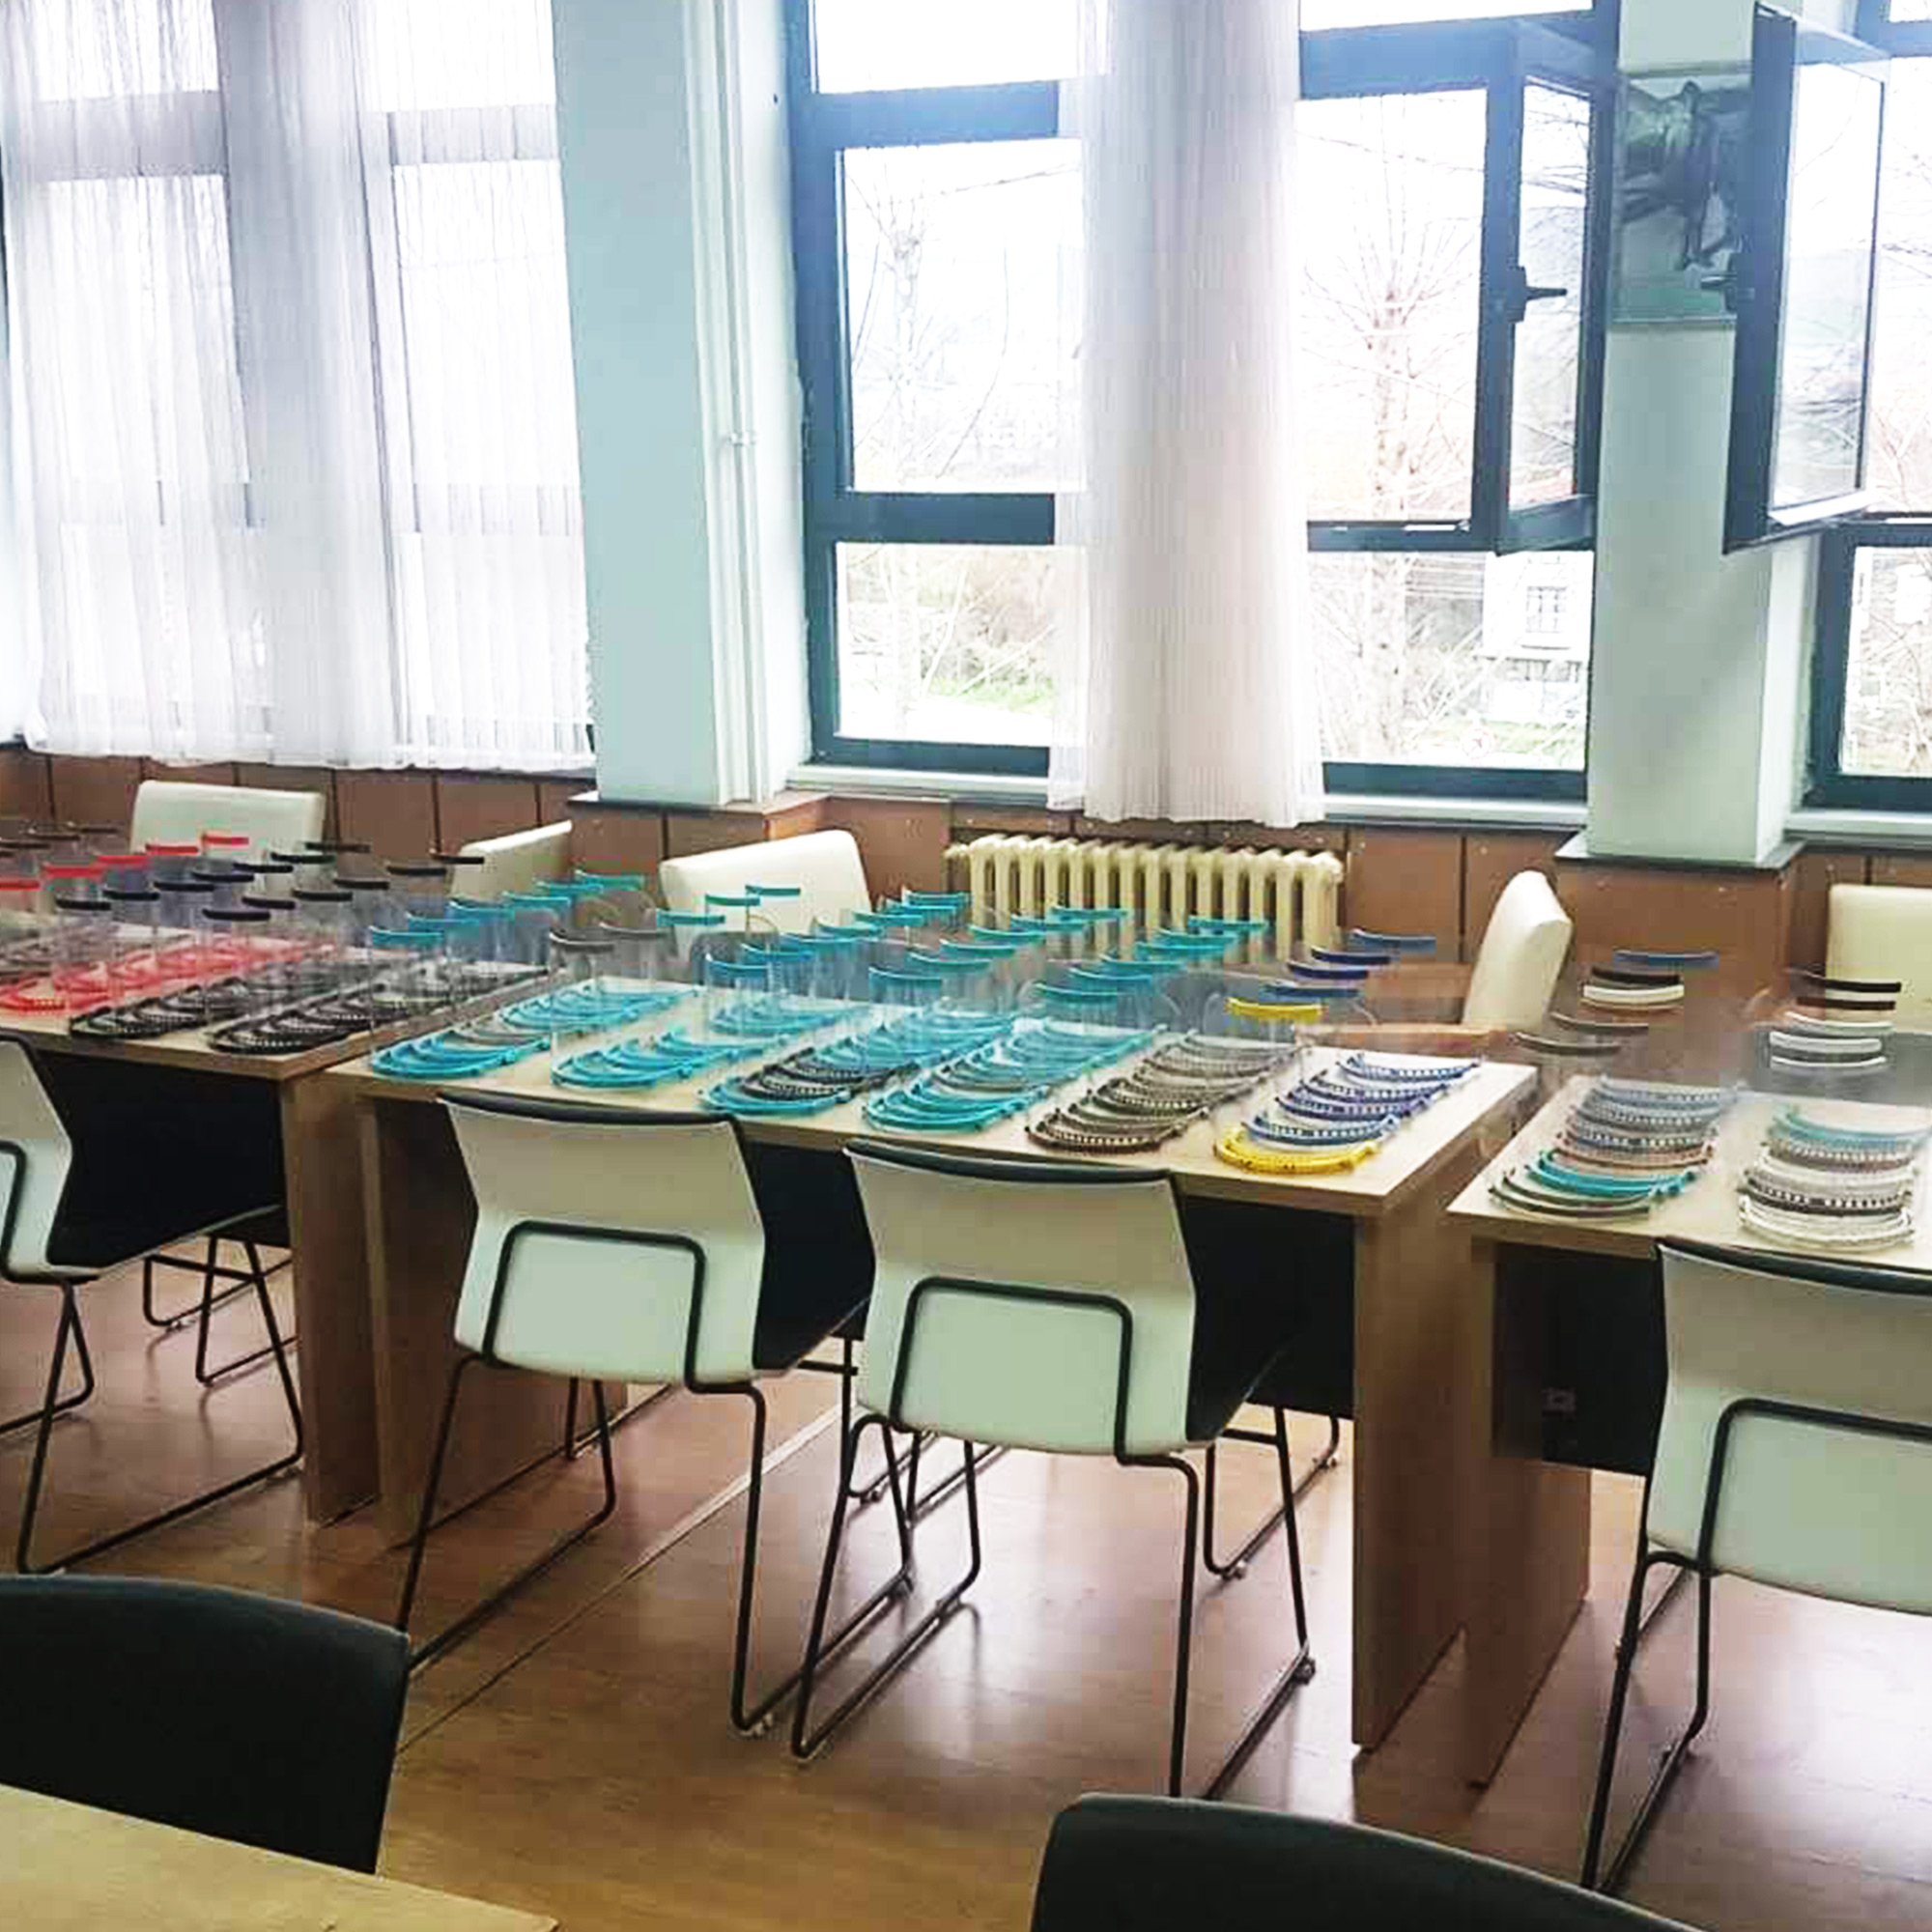
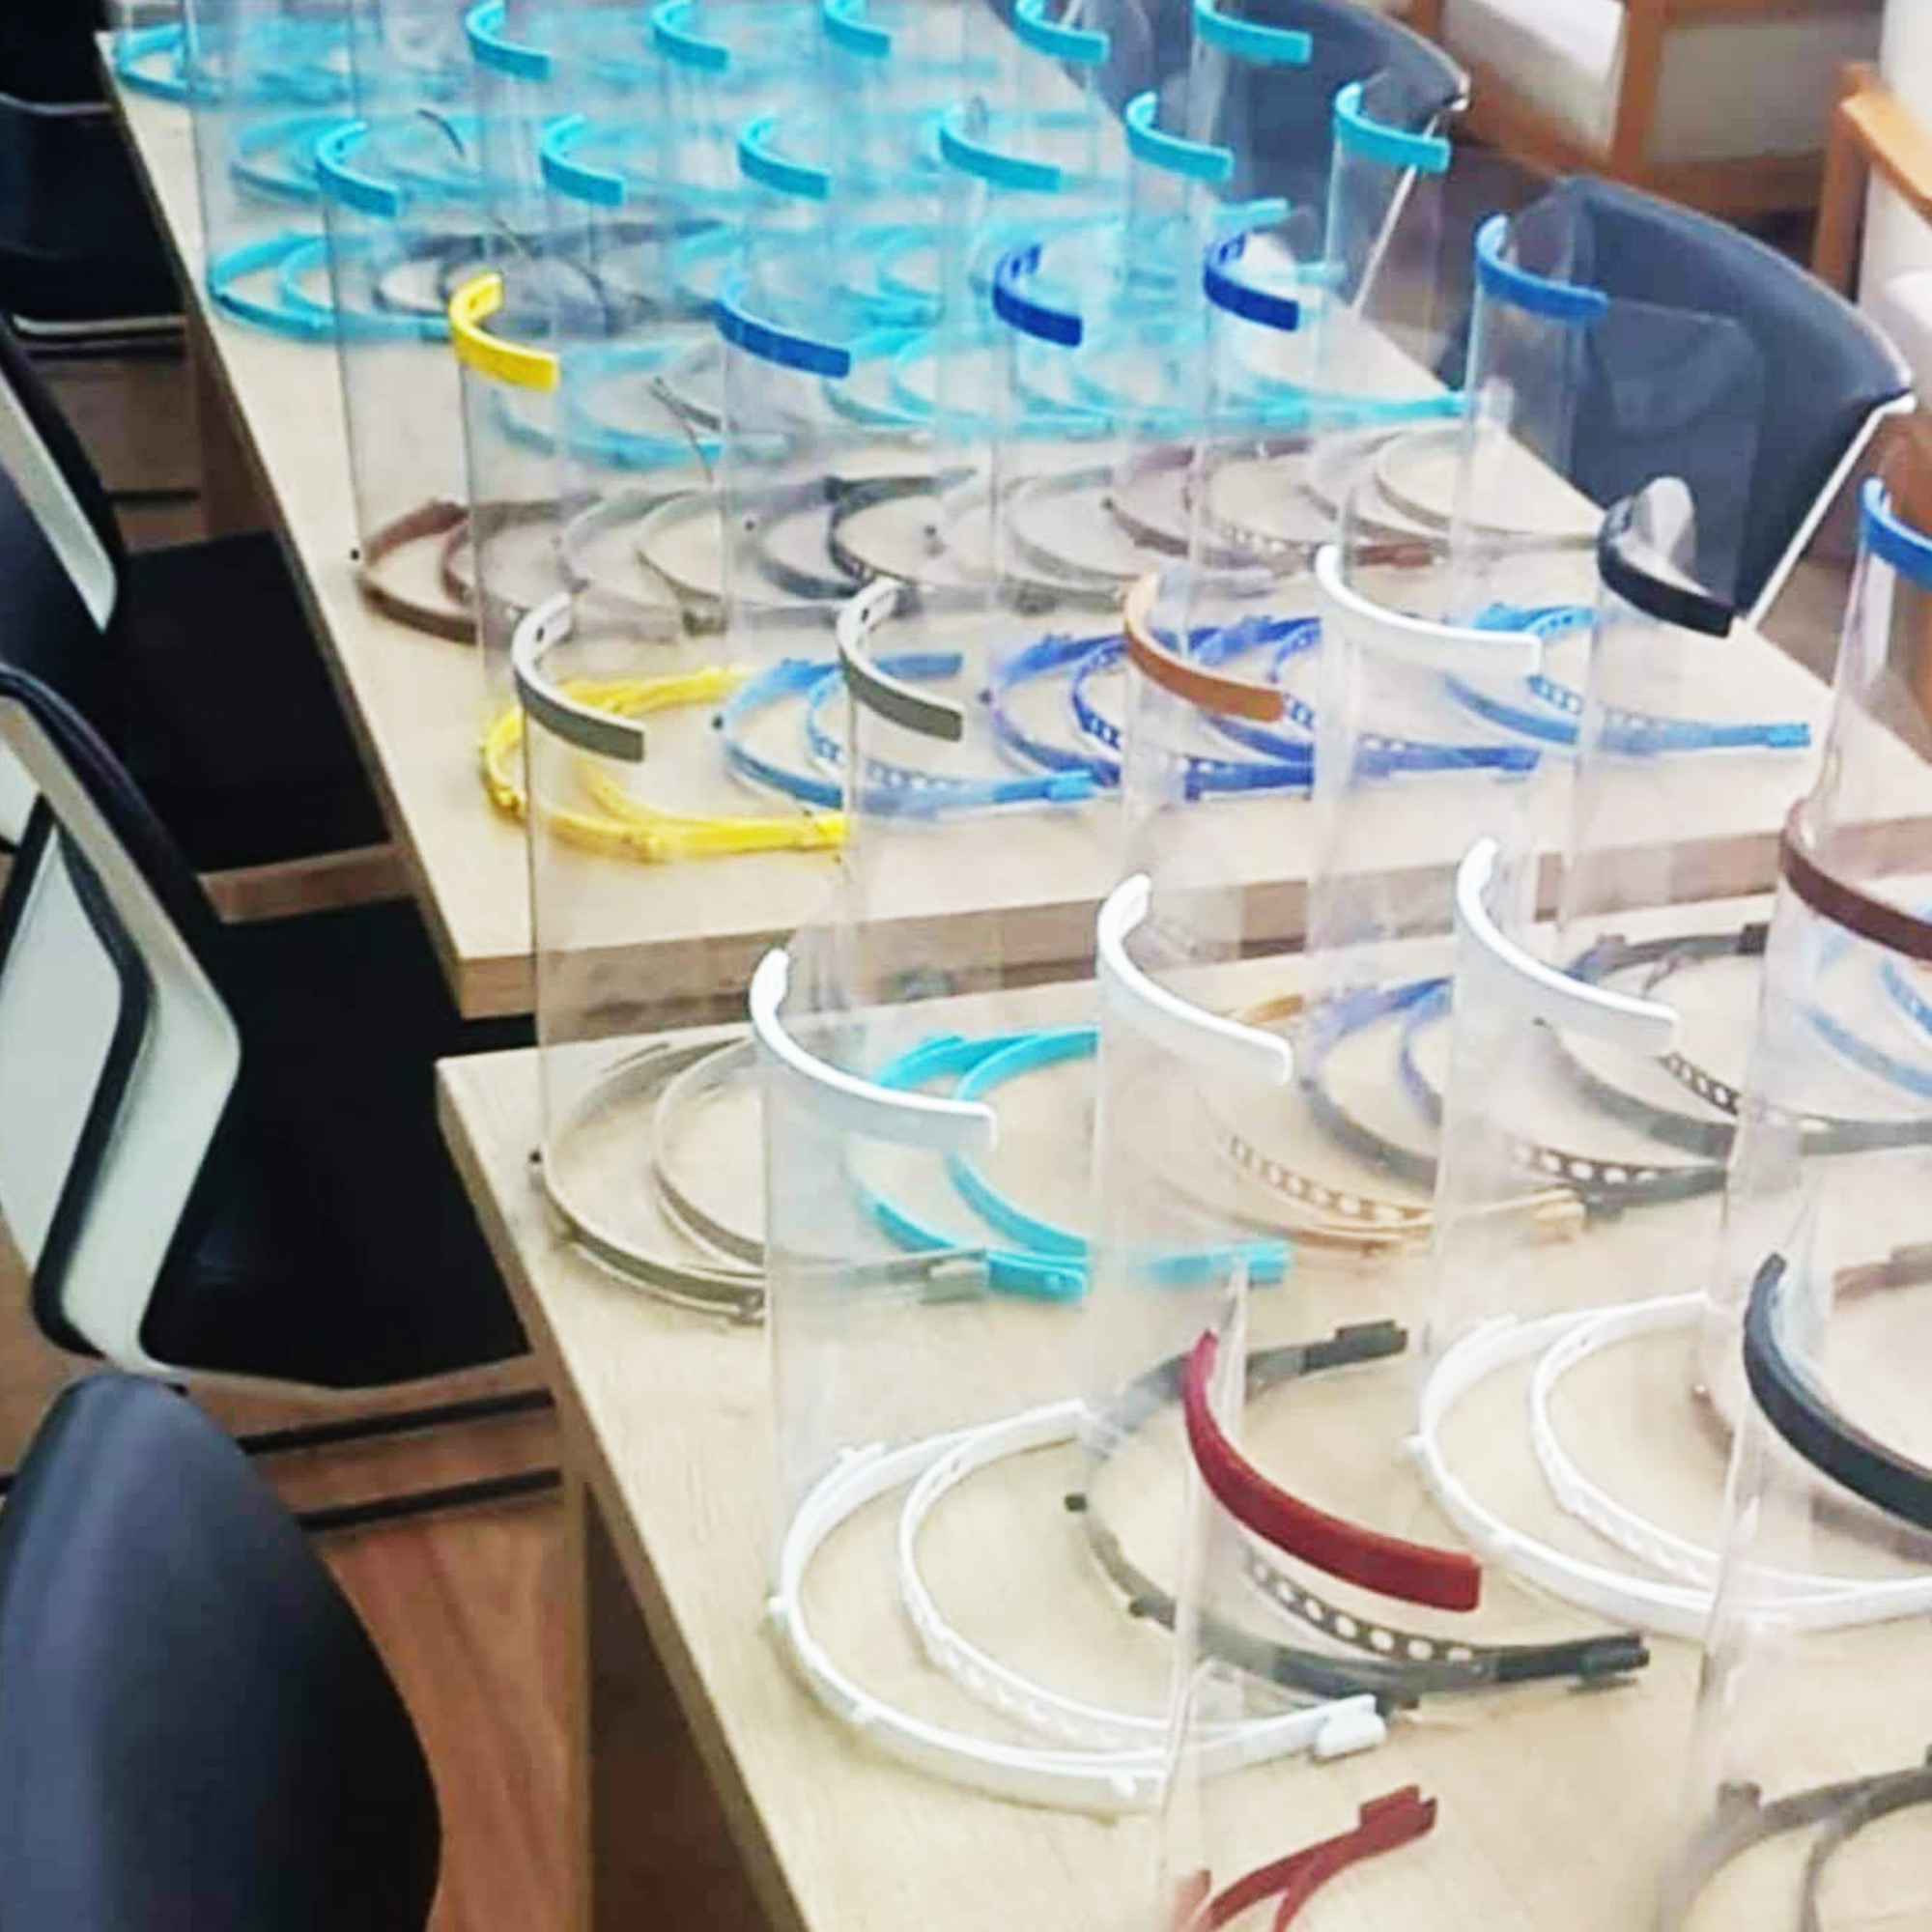
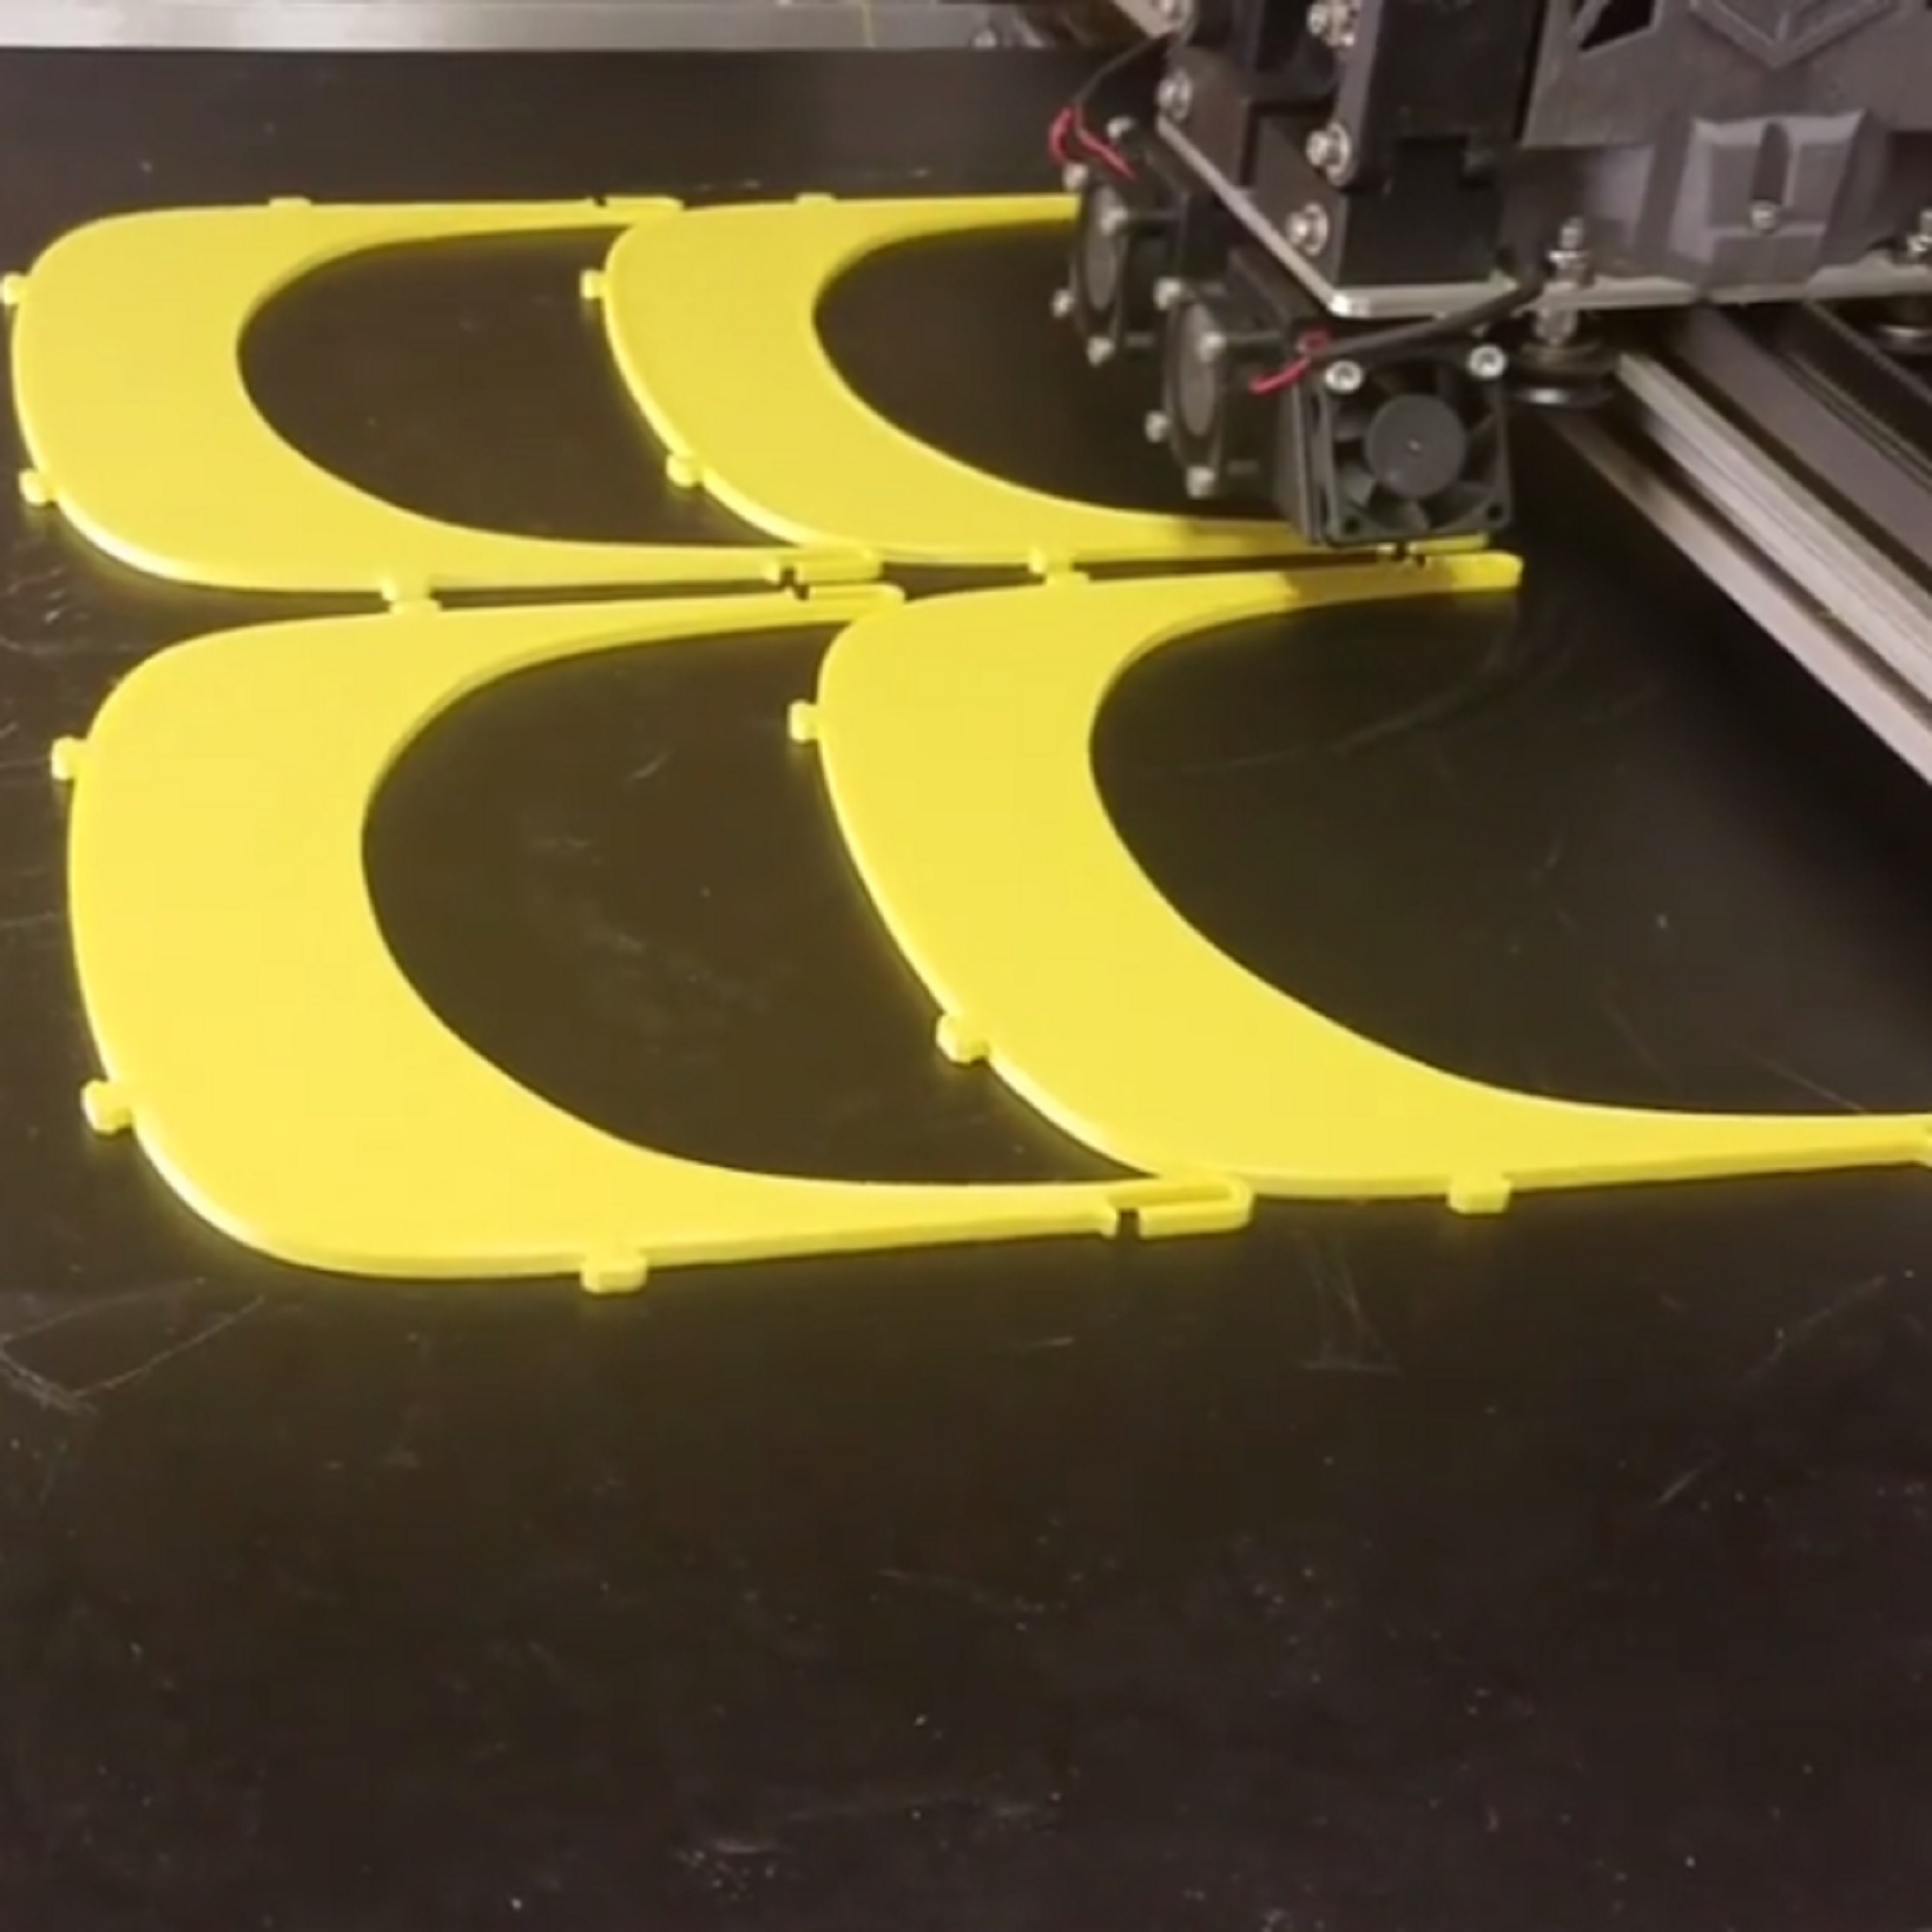
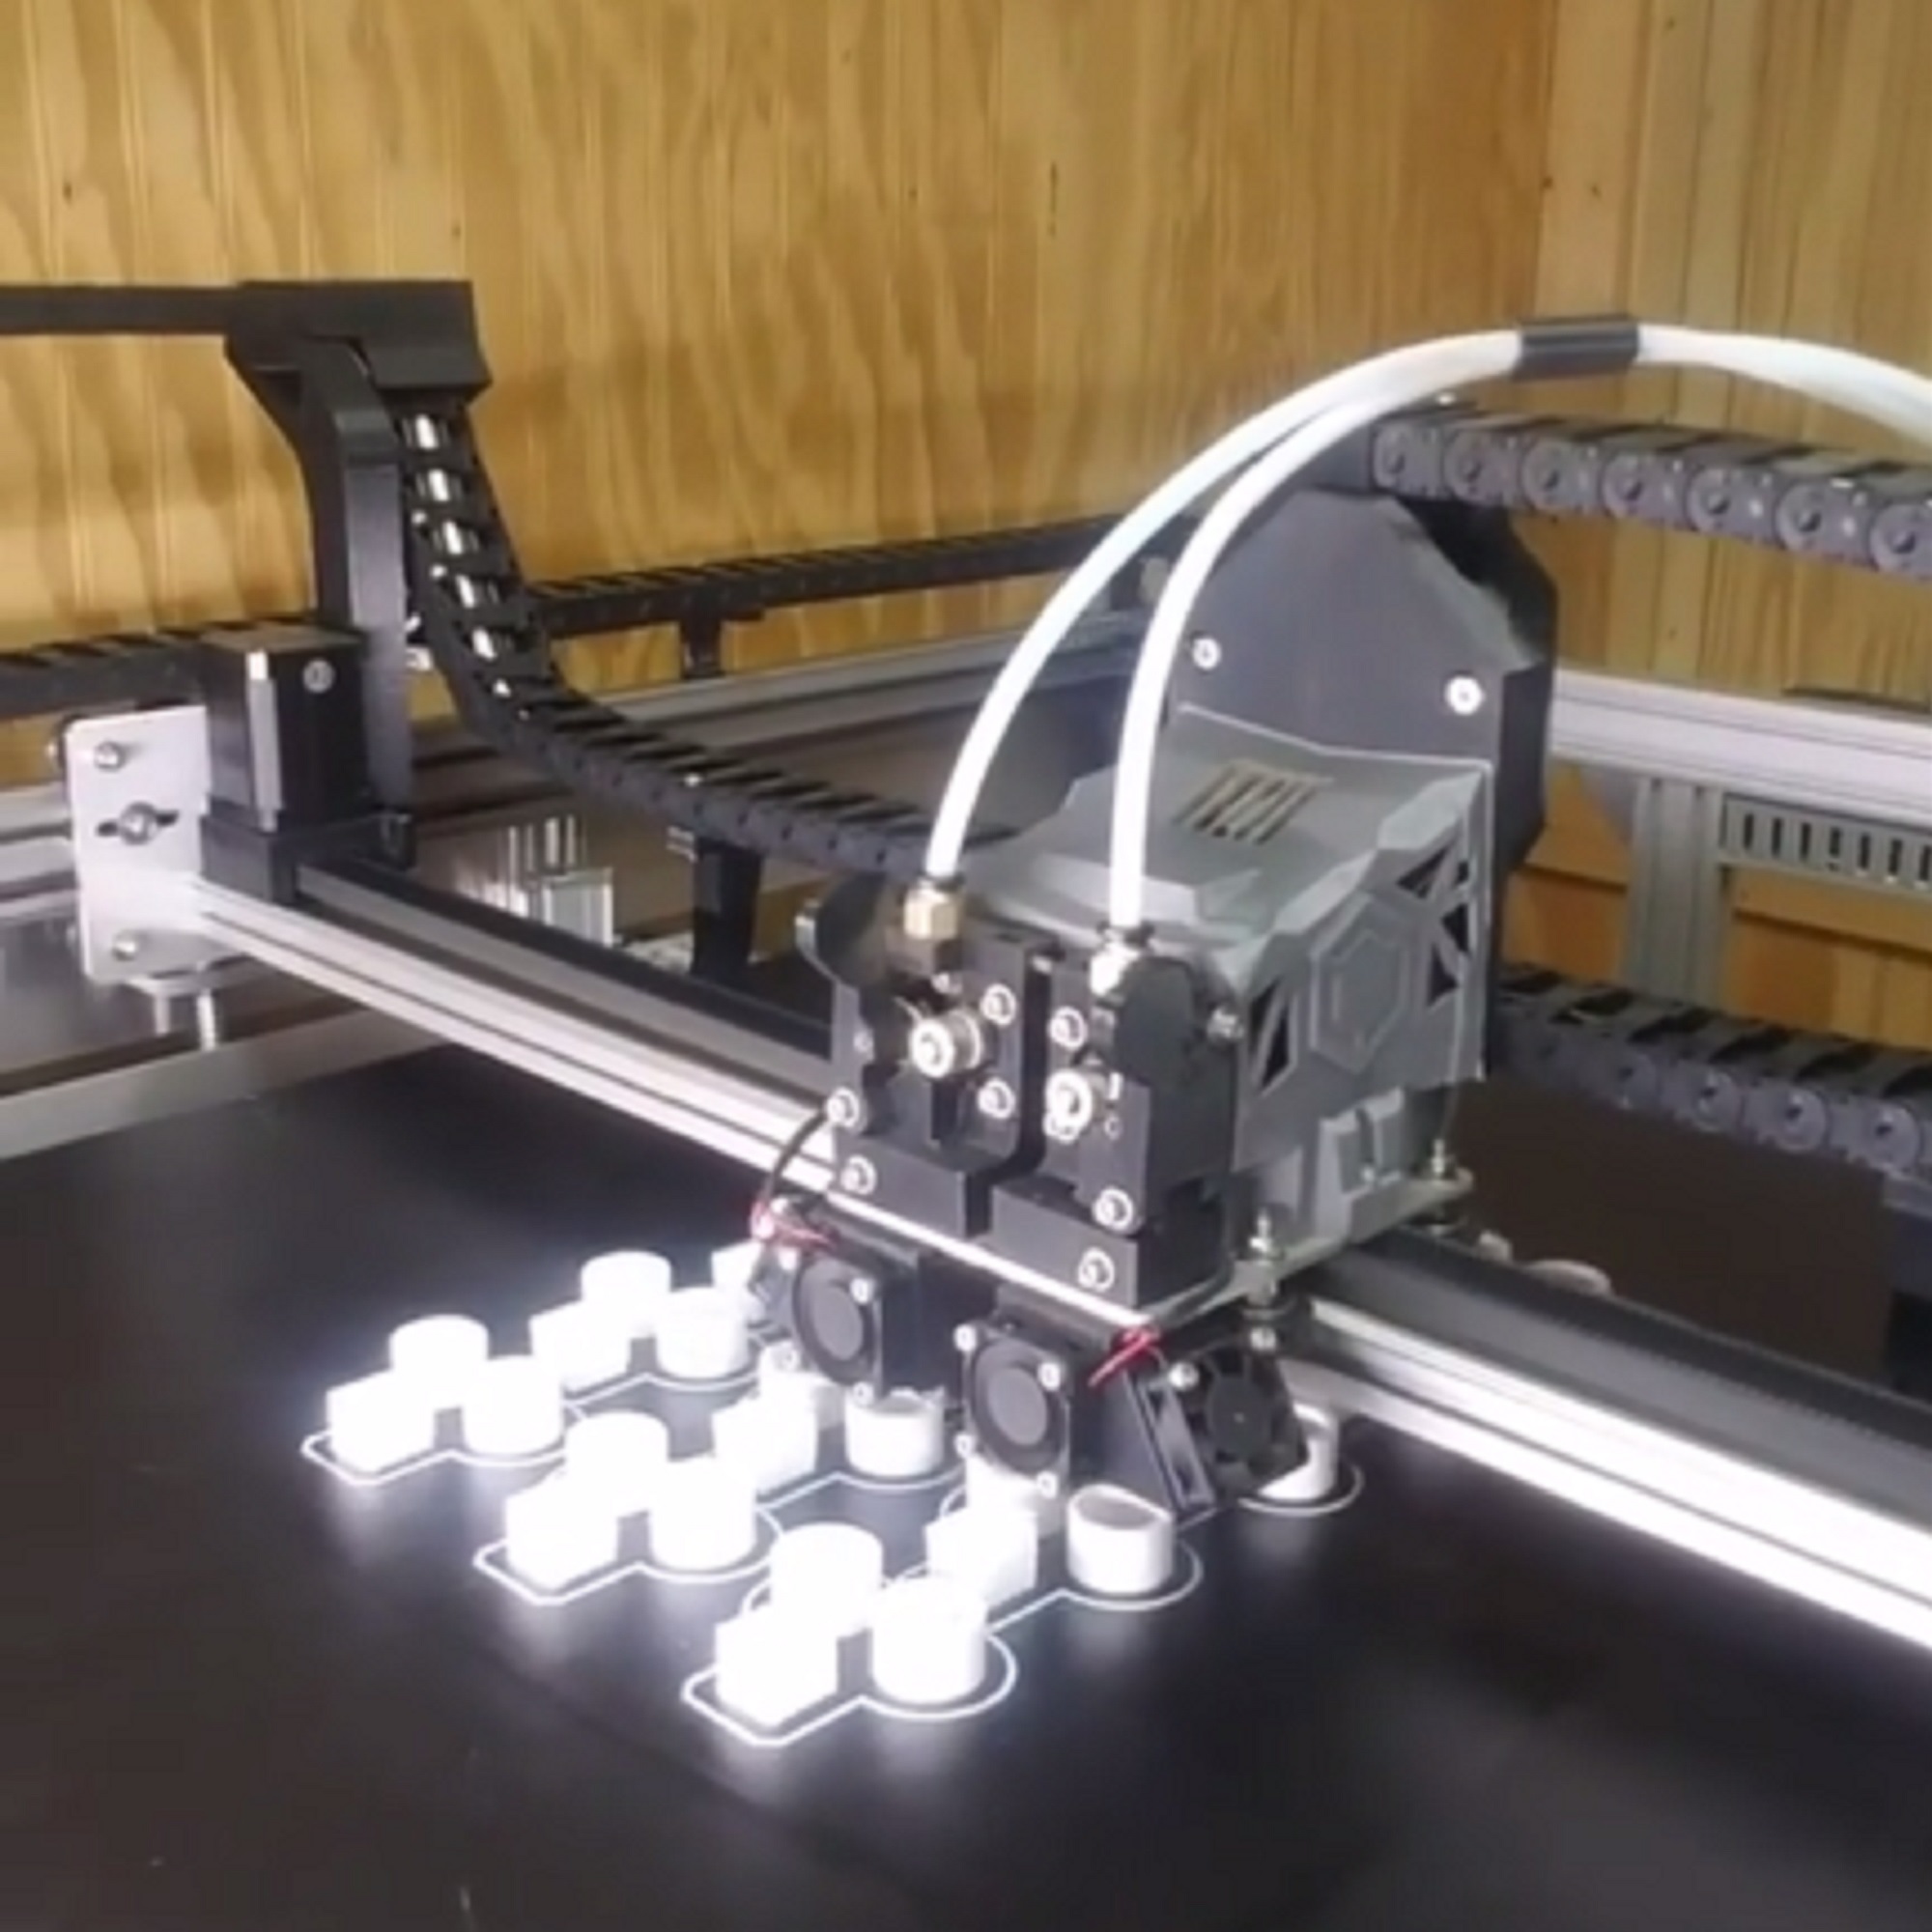
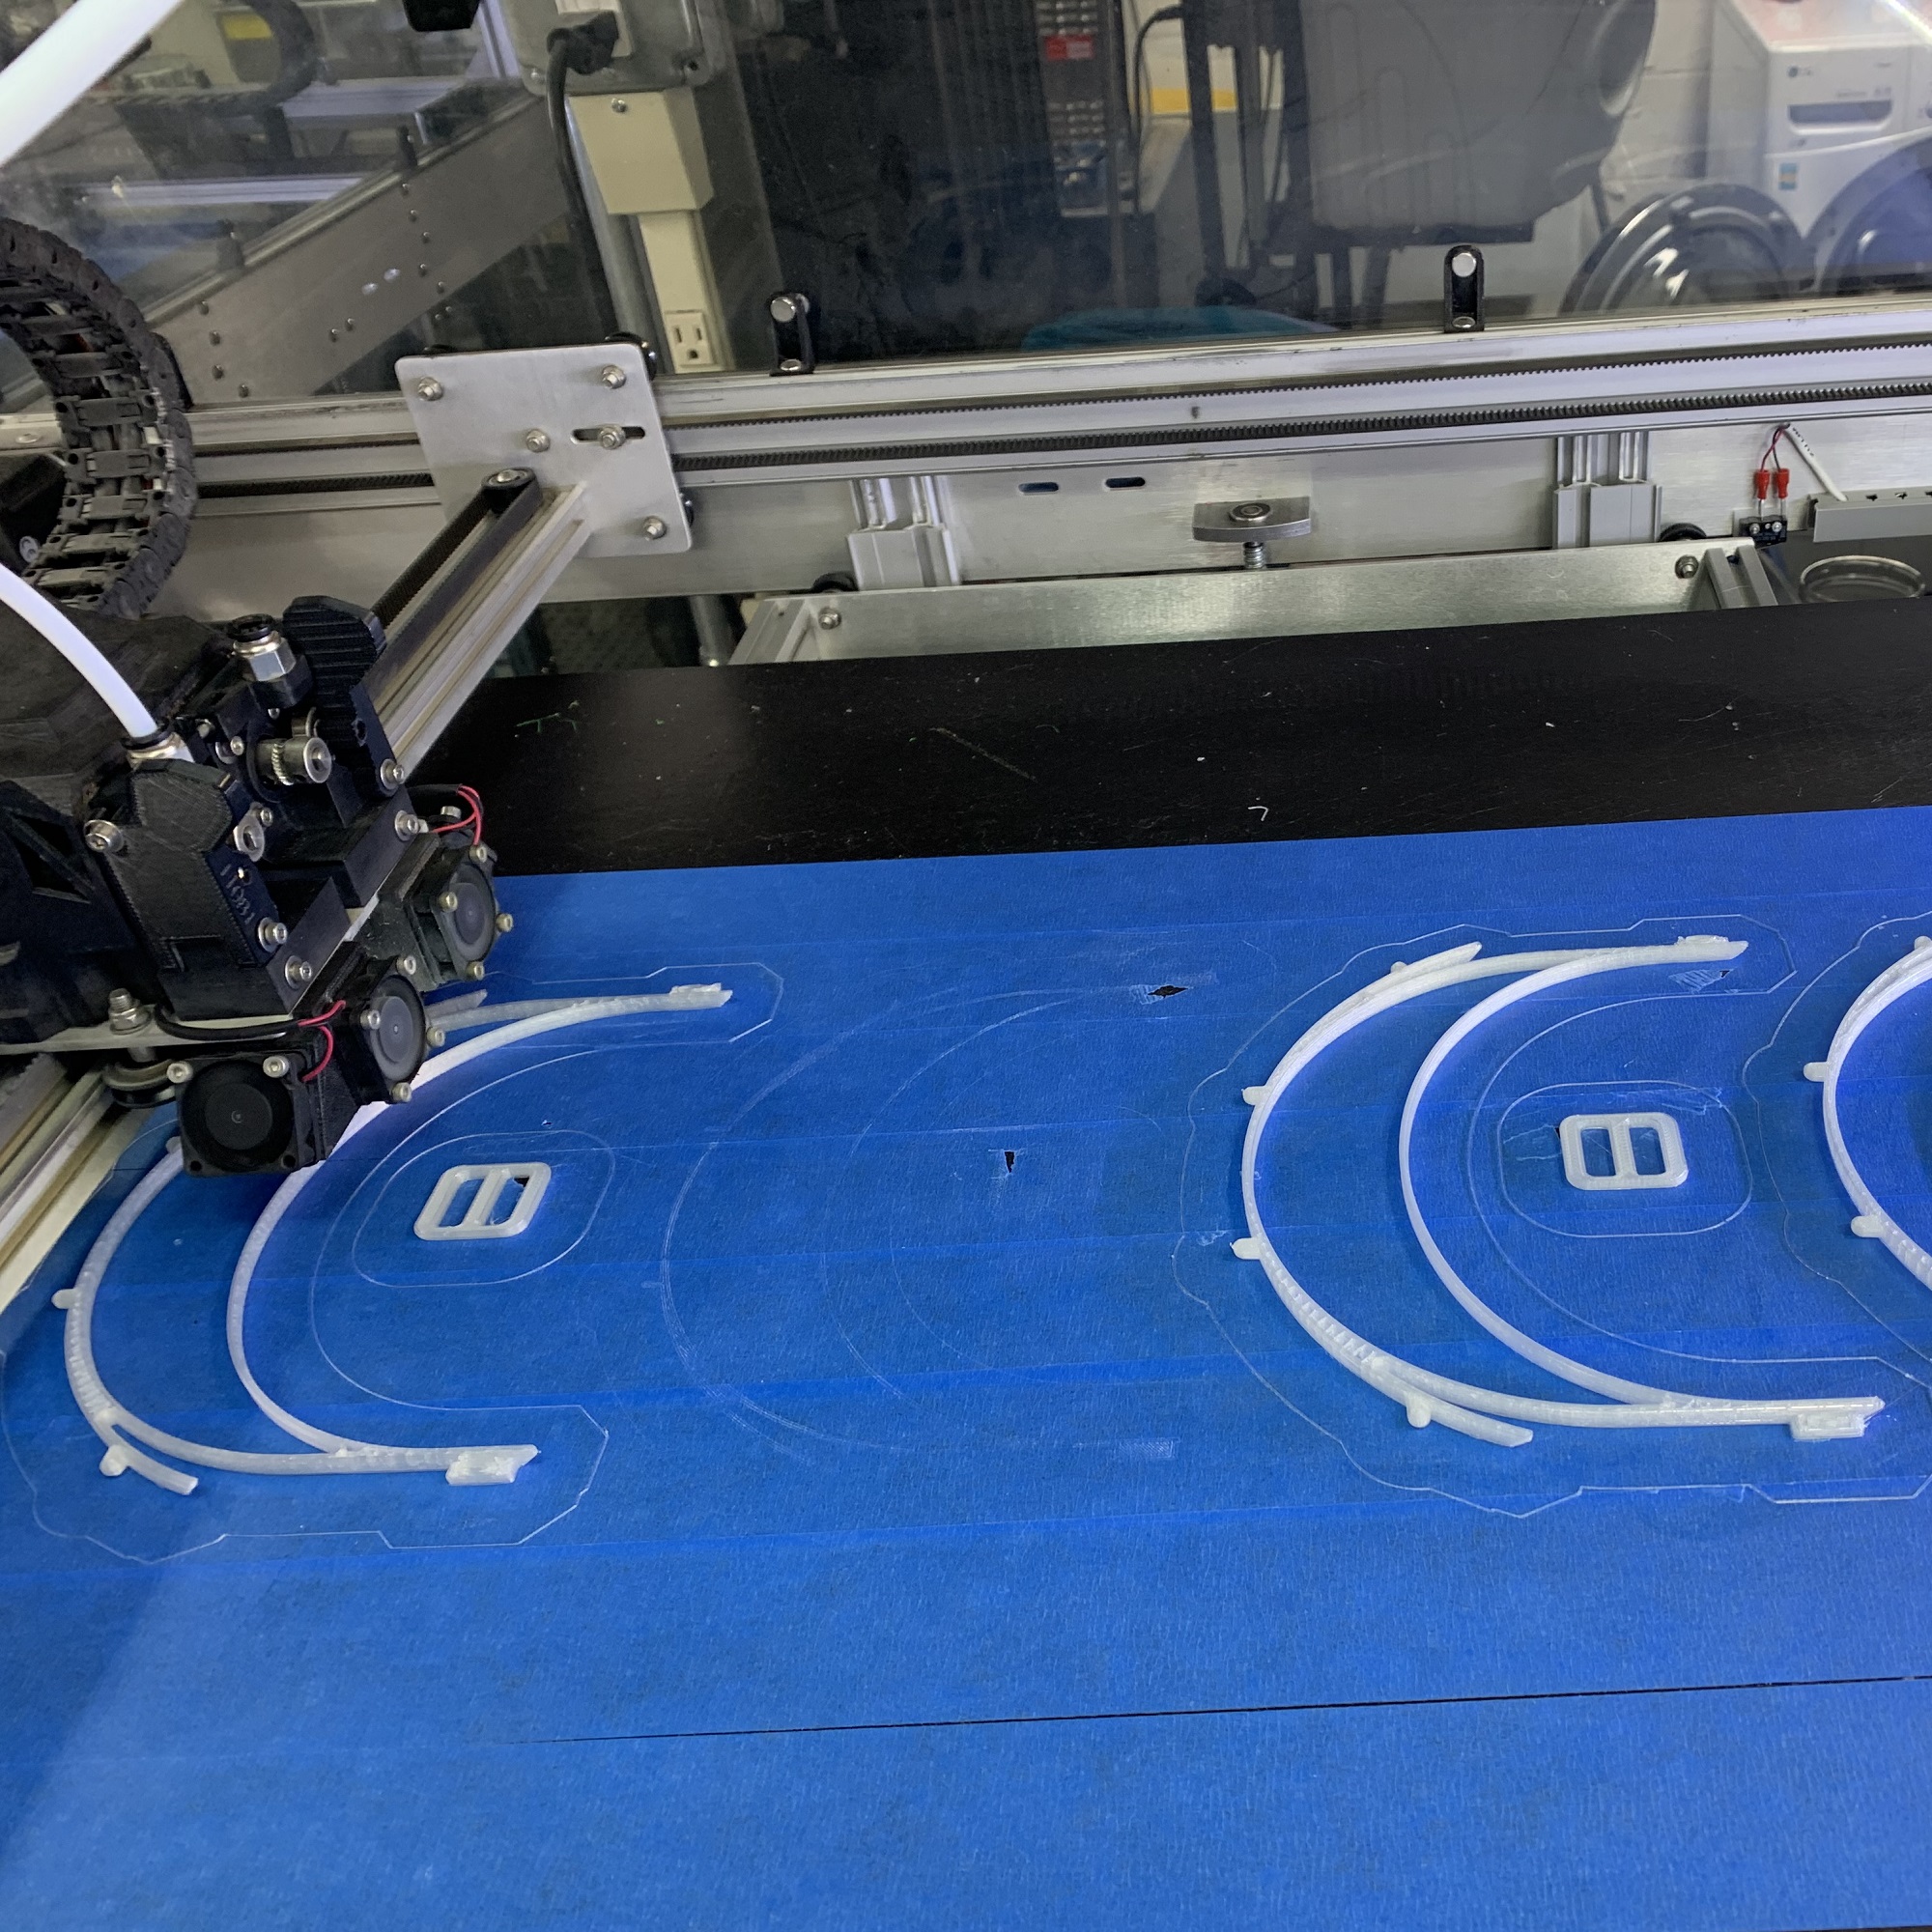
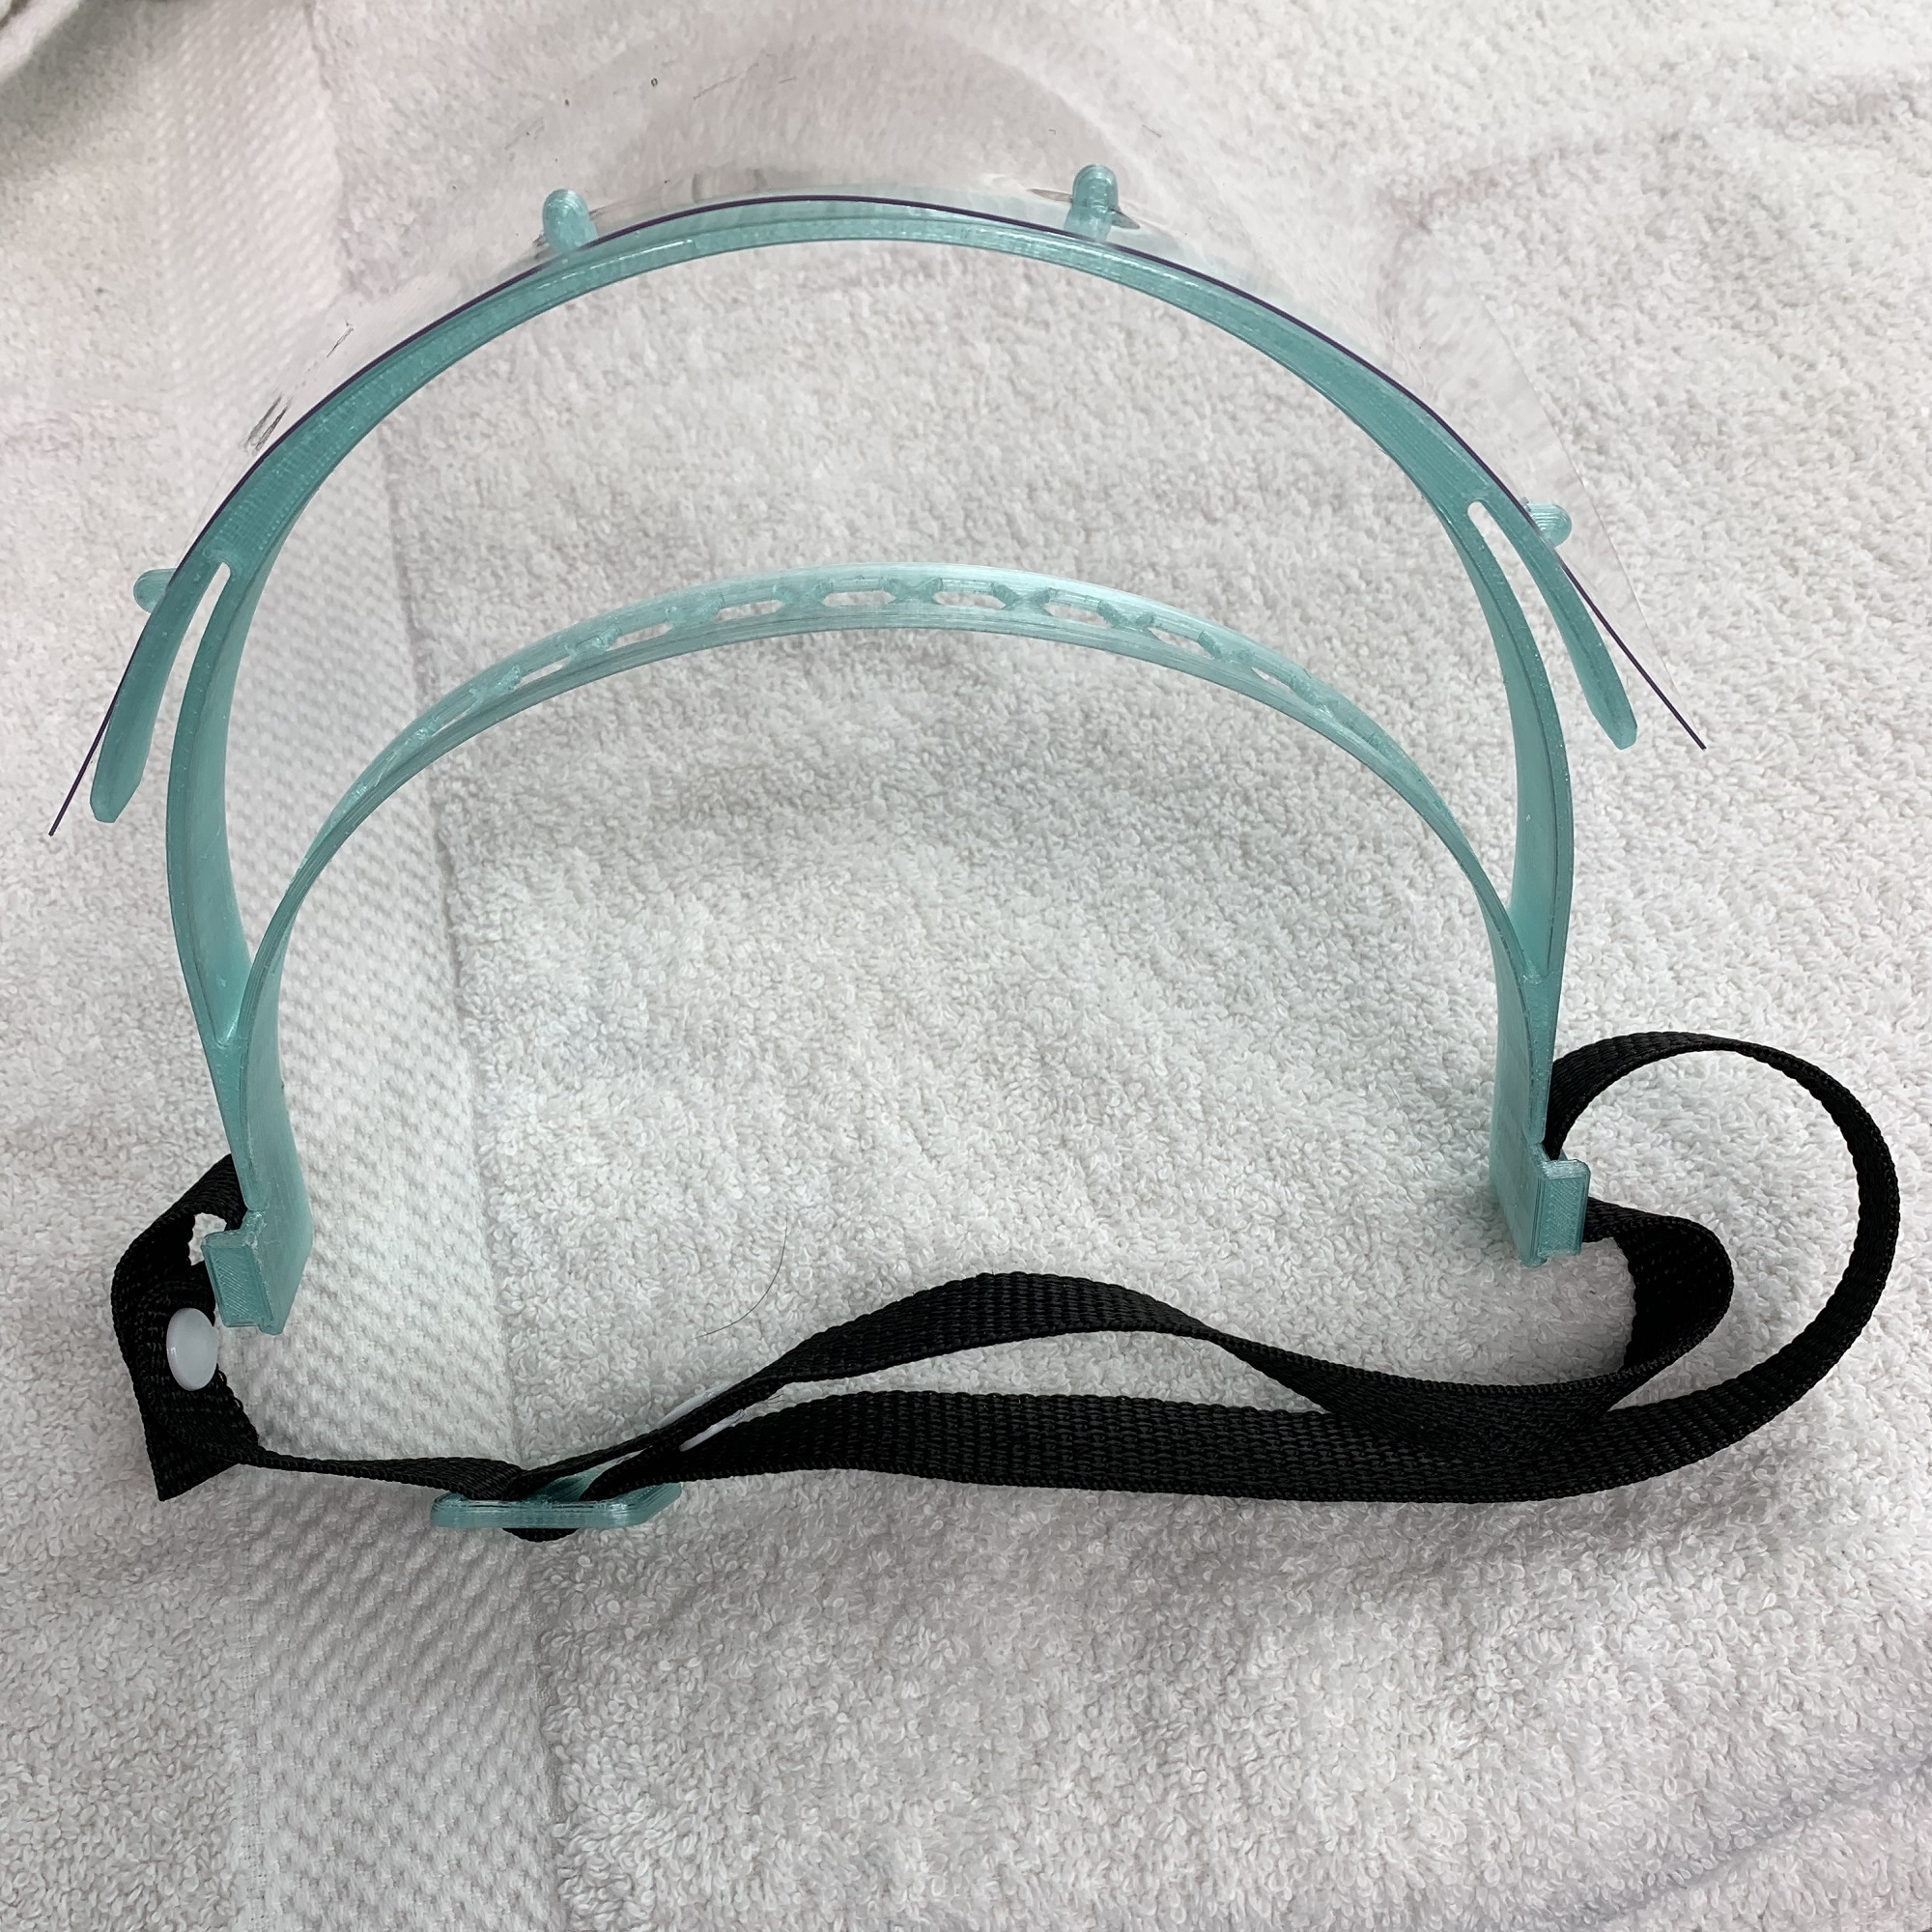
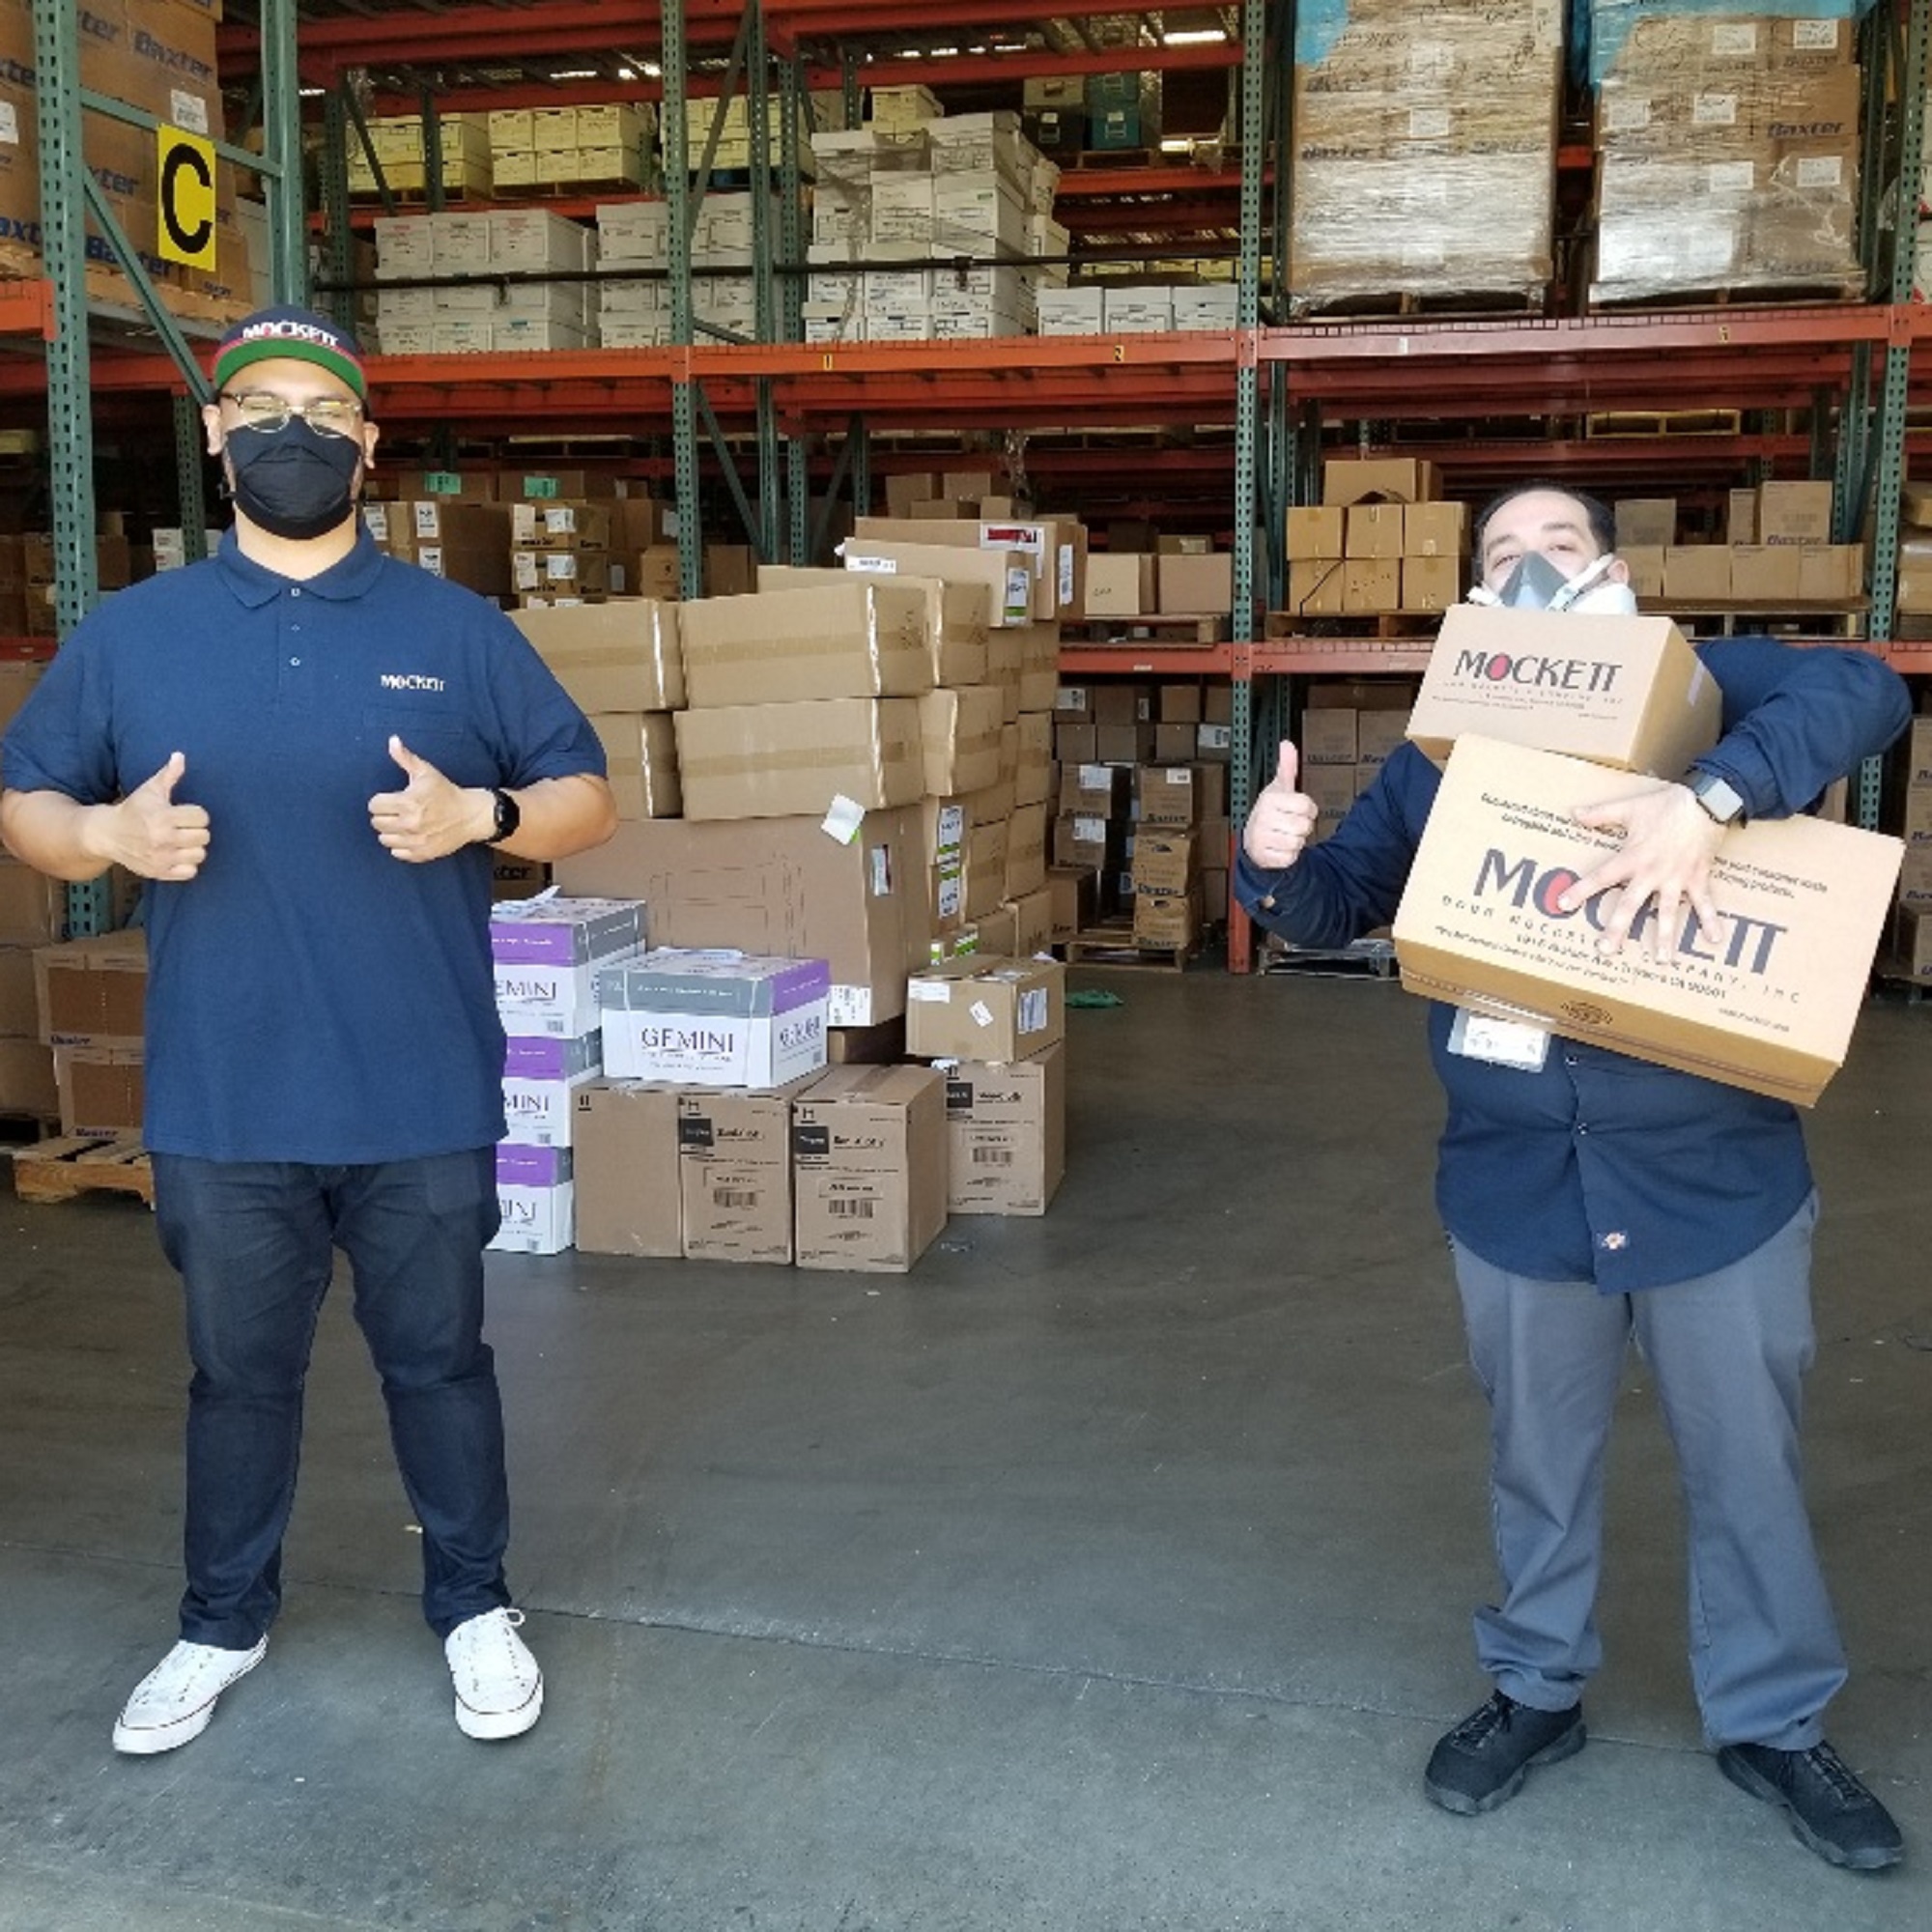
Juliana worked on three different projects during her Fellowship. The largest project she undertook was completing a customer outreach campaign to re:3D’s customers who spoke Spanish and Portuguese. Juliana individually contacted forty-four customers in Central and South America. She successfully heard back from twenty-five customers via email and set up in-depth phone calls with them. During these conversations, Juliana learned what each customer used their Gigabot for and the current state of their Gigabot. Juliana provided the customers with re:3D resources and connected them with other members of the re:3D team. re:3D values the relationships with our customers and the outreach Juliana did have a positive impact in connecting with customers we don’t normally get the chance to talk to. Additionally, this outreach campaign connected Juliana with more players in the Additive Manufacturing space in Latin America.

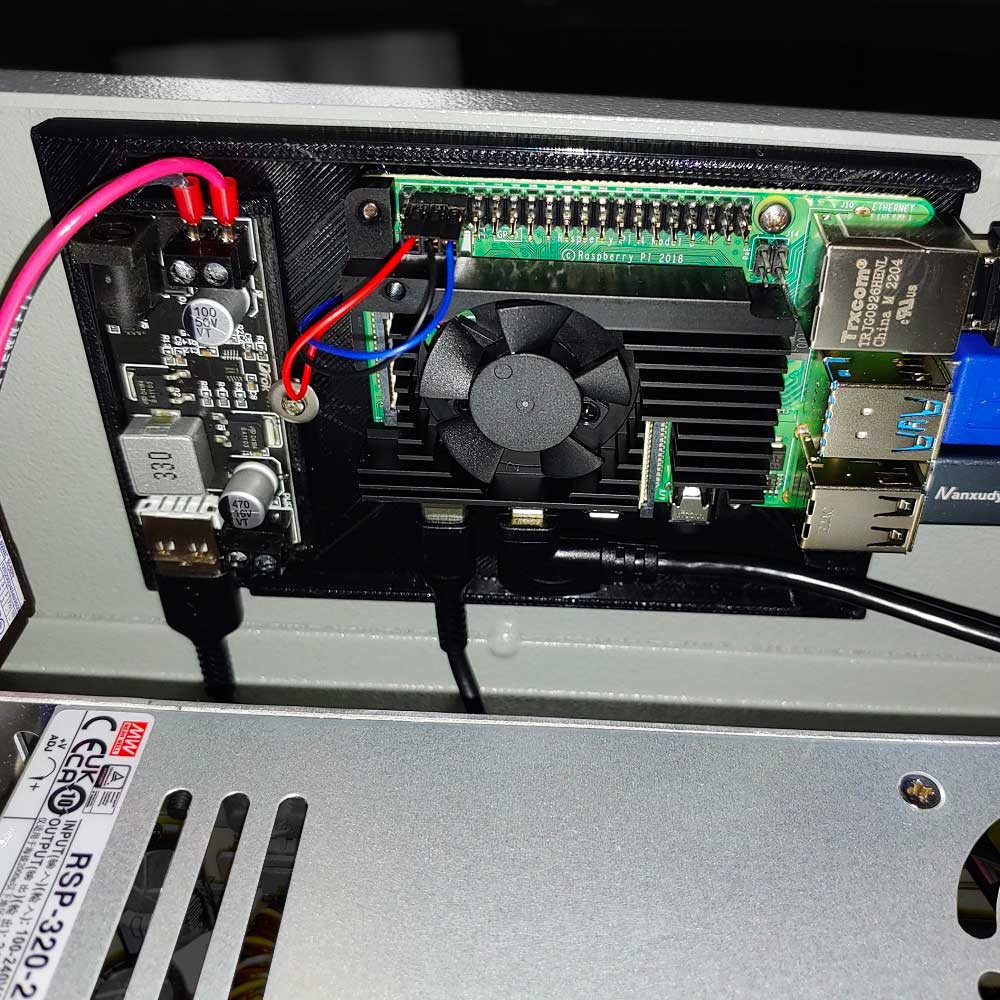
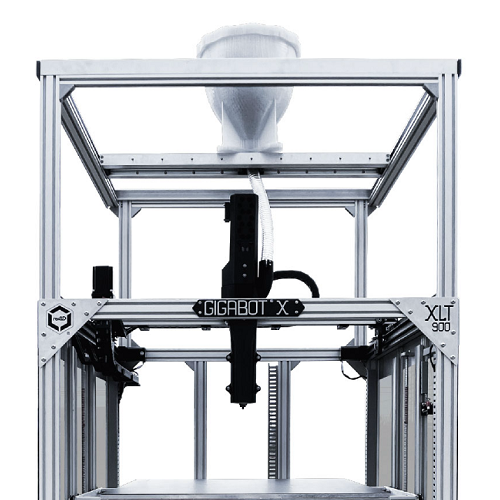
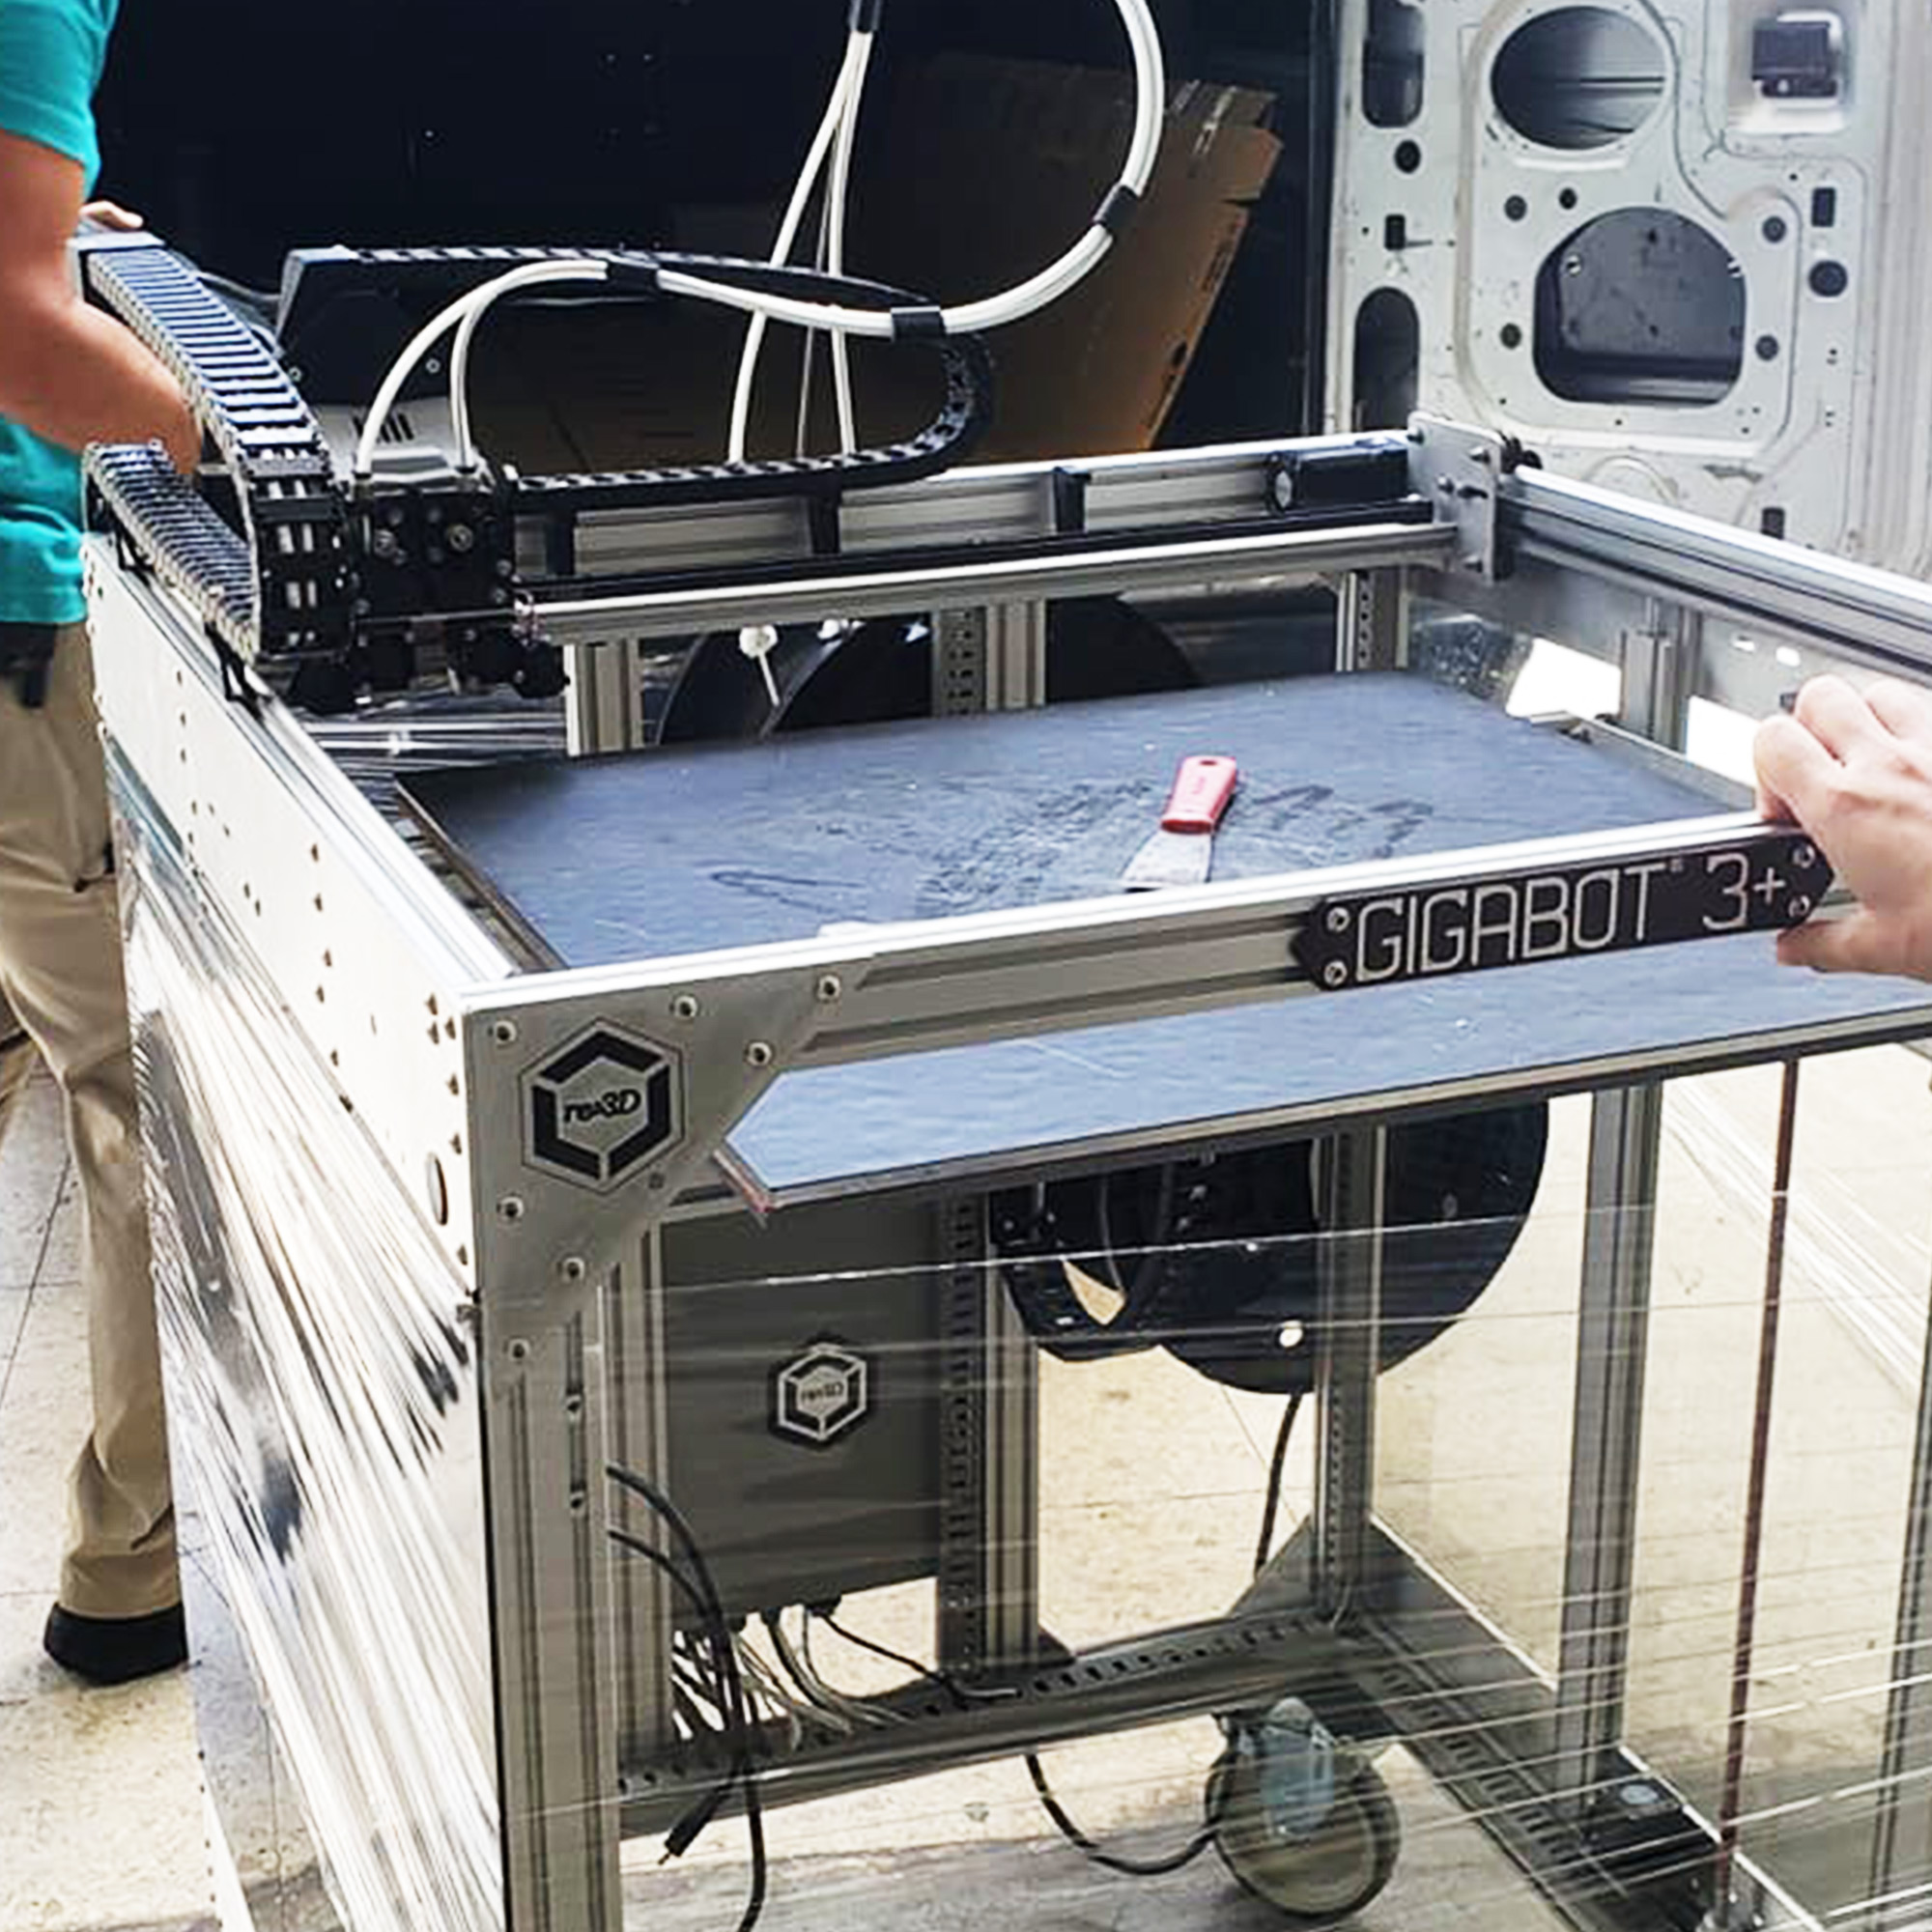
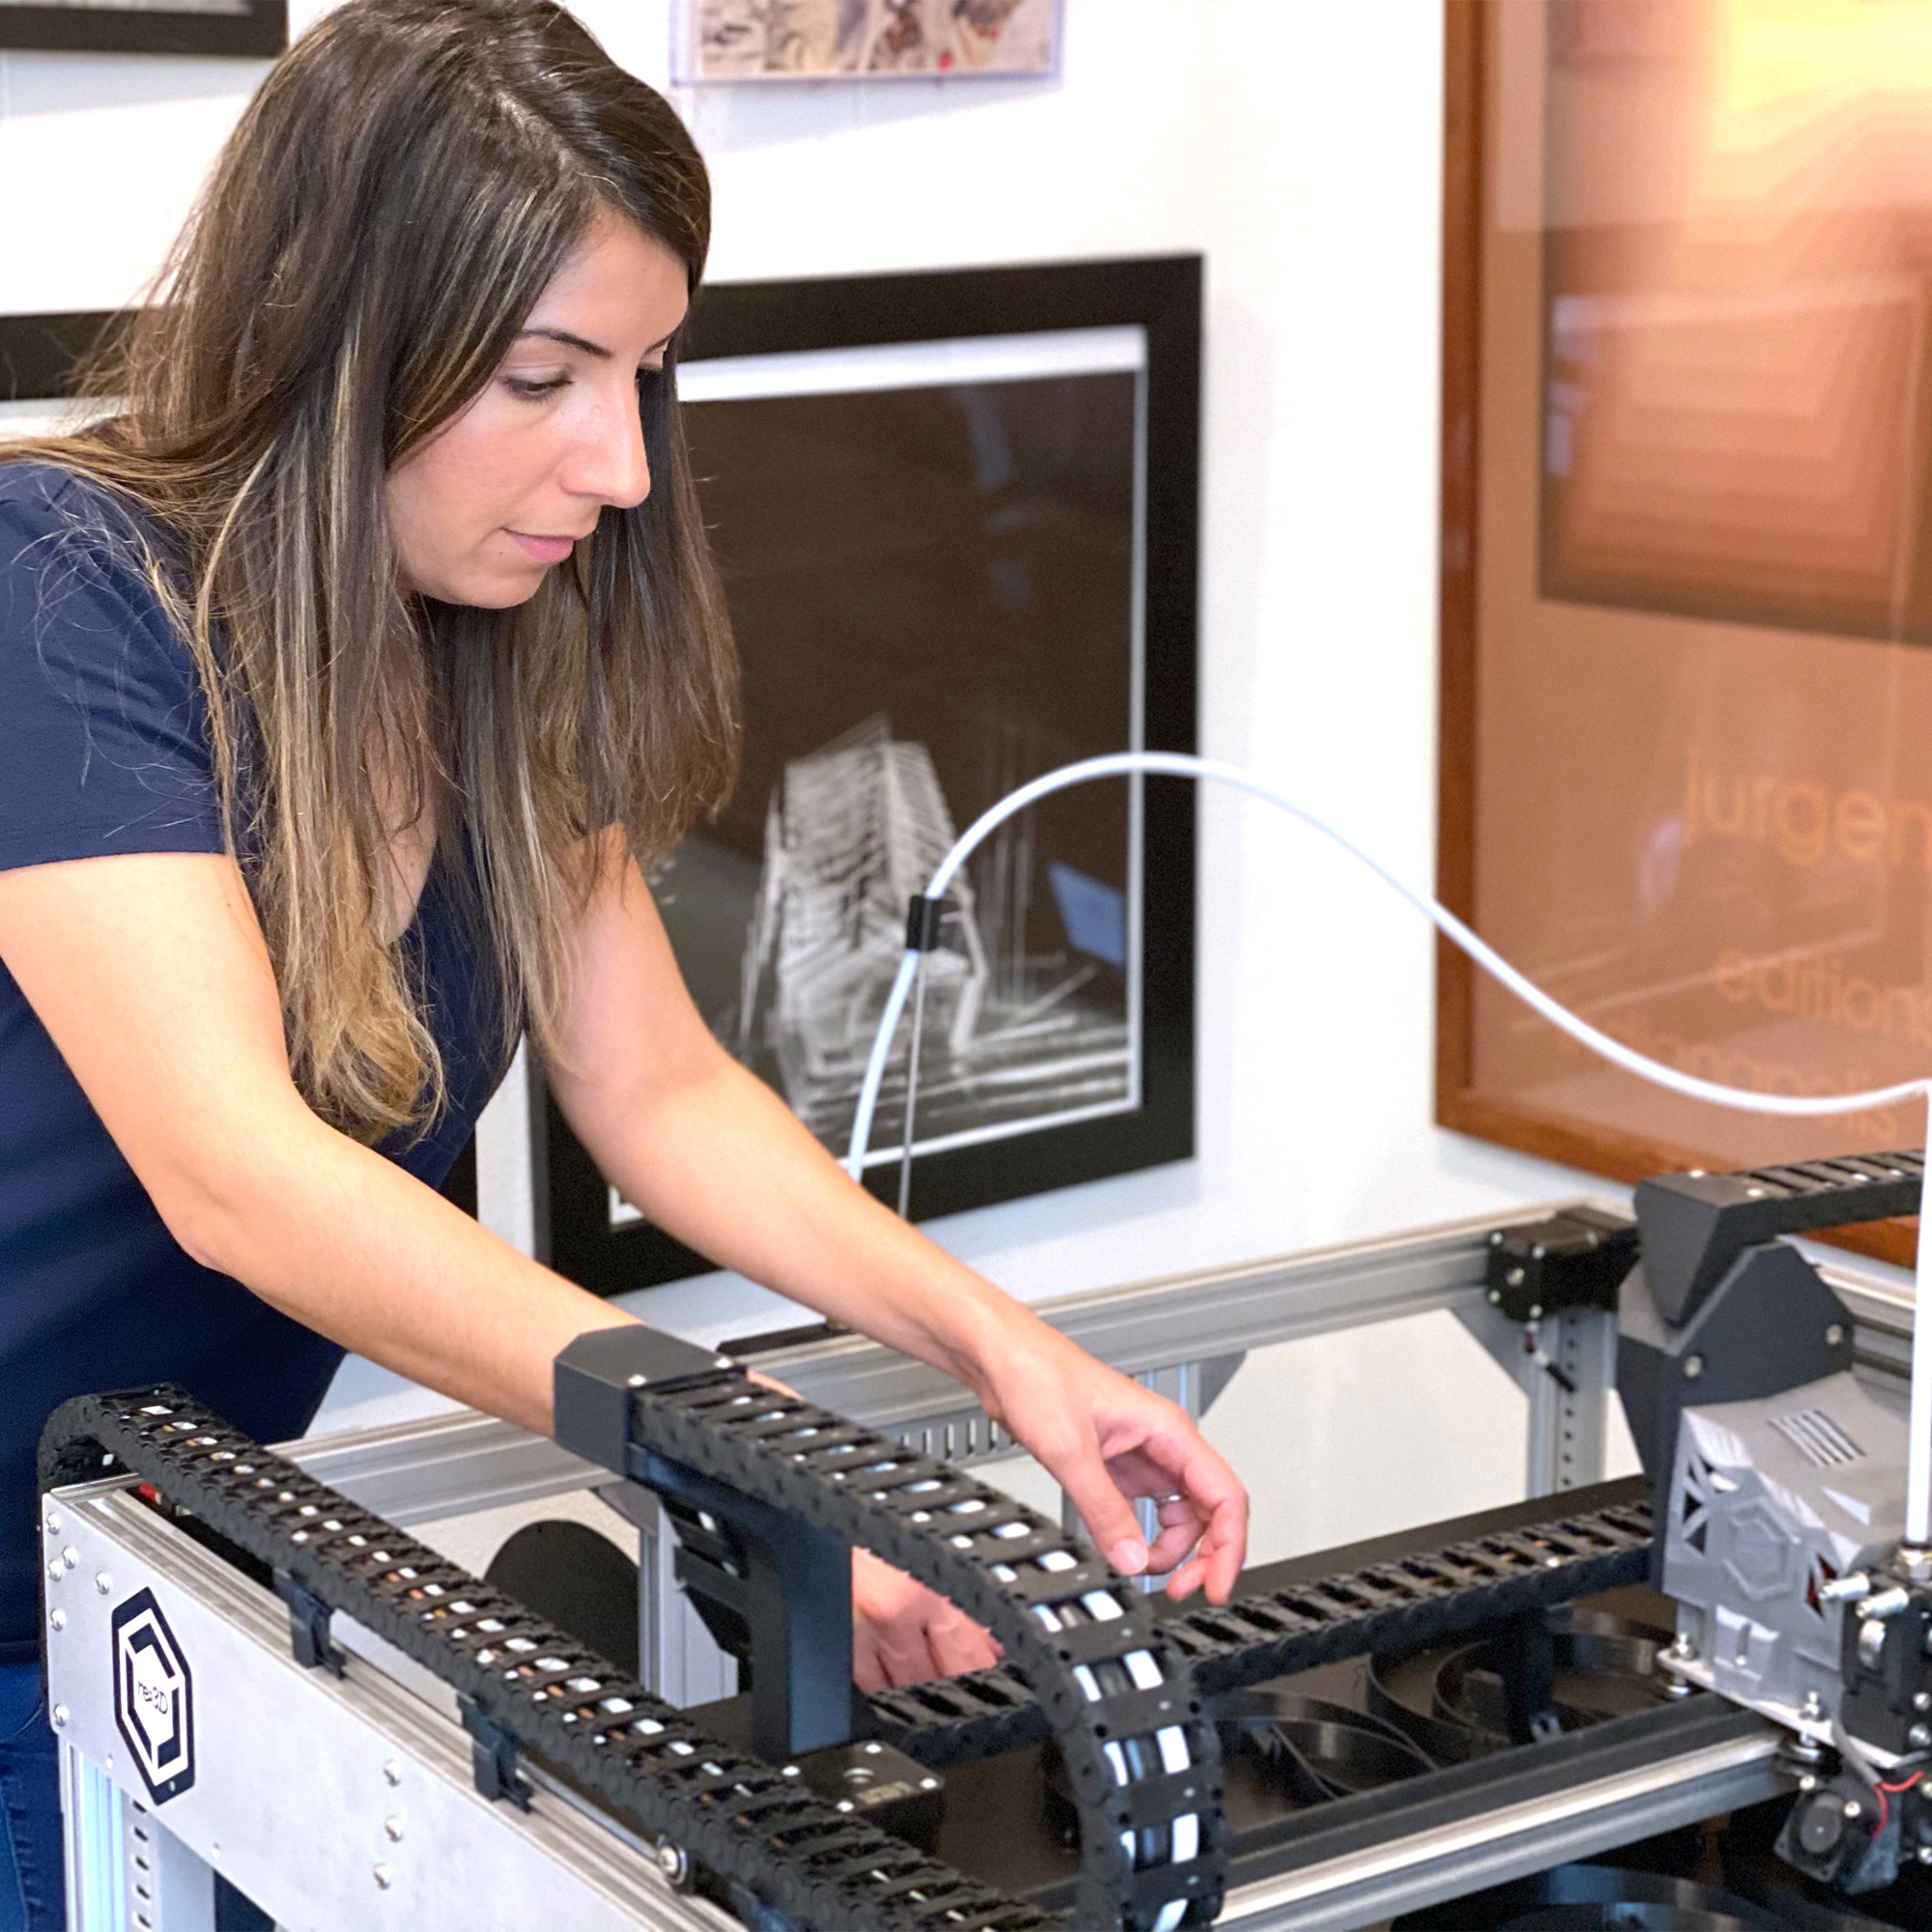
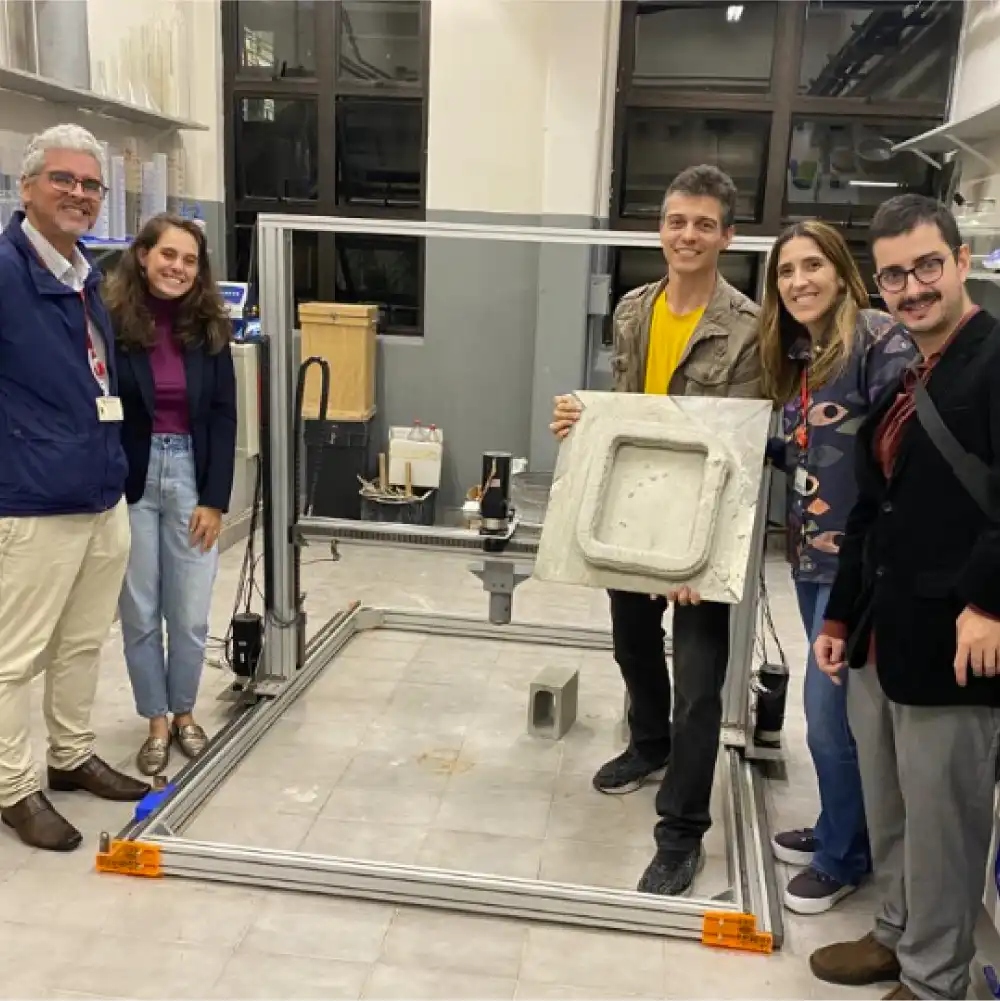
Because of Juliana’s background in Electrical Engineering, she was able to problem-solve grounding issues with Gigabot’s electrical box. This was incredibly helpful as re:3D was building up its engineering team. The final project Juliana worked on was a personal project. She wanted to pitch InoveHouse3D to a few American Investors to get their valuable feedback. Juliana was able to meet with two different Investors and strengthen her InovaHouse3D deck.

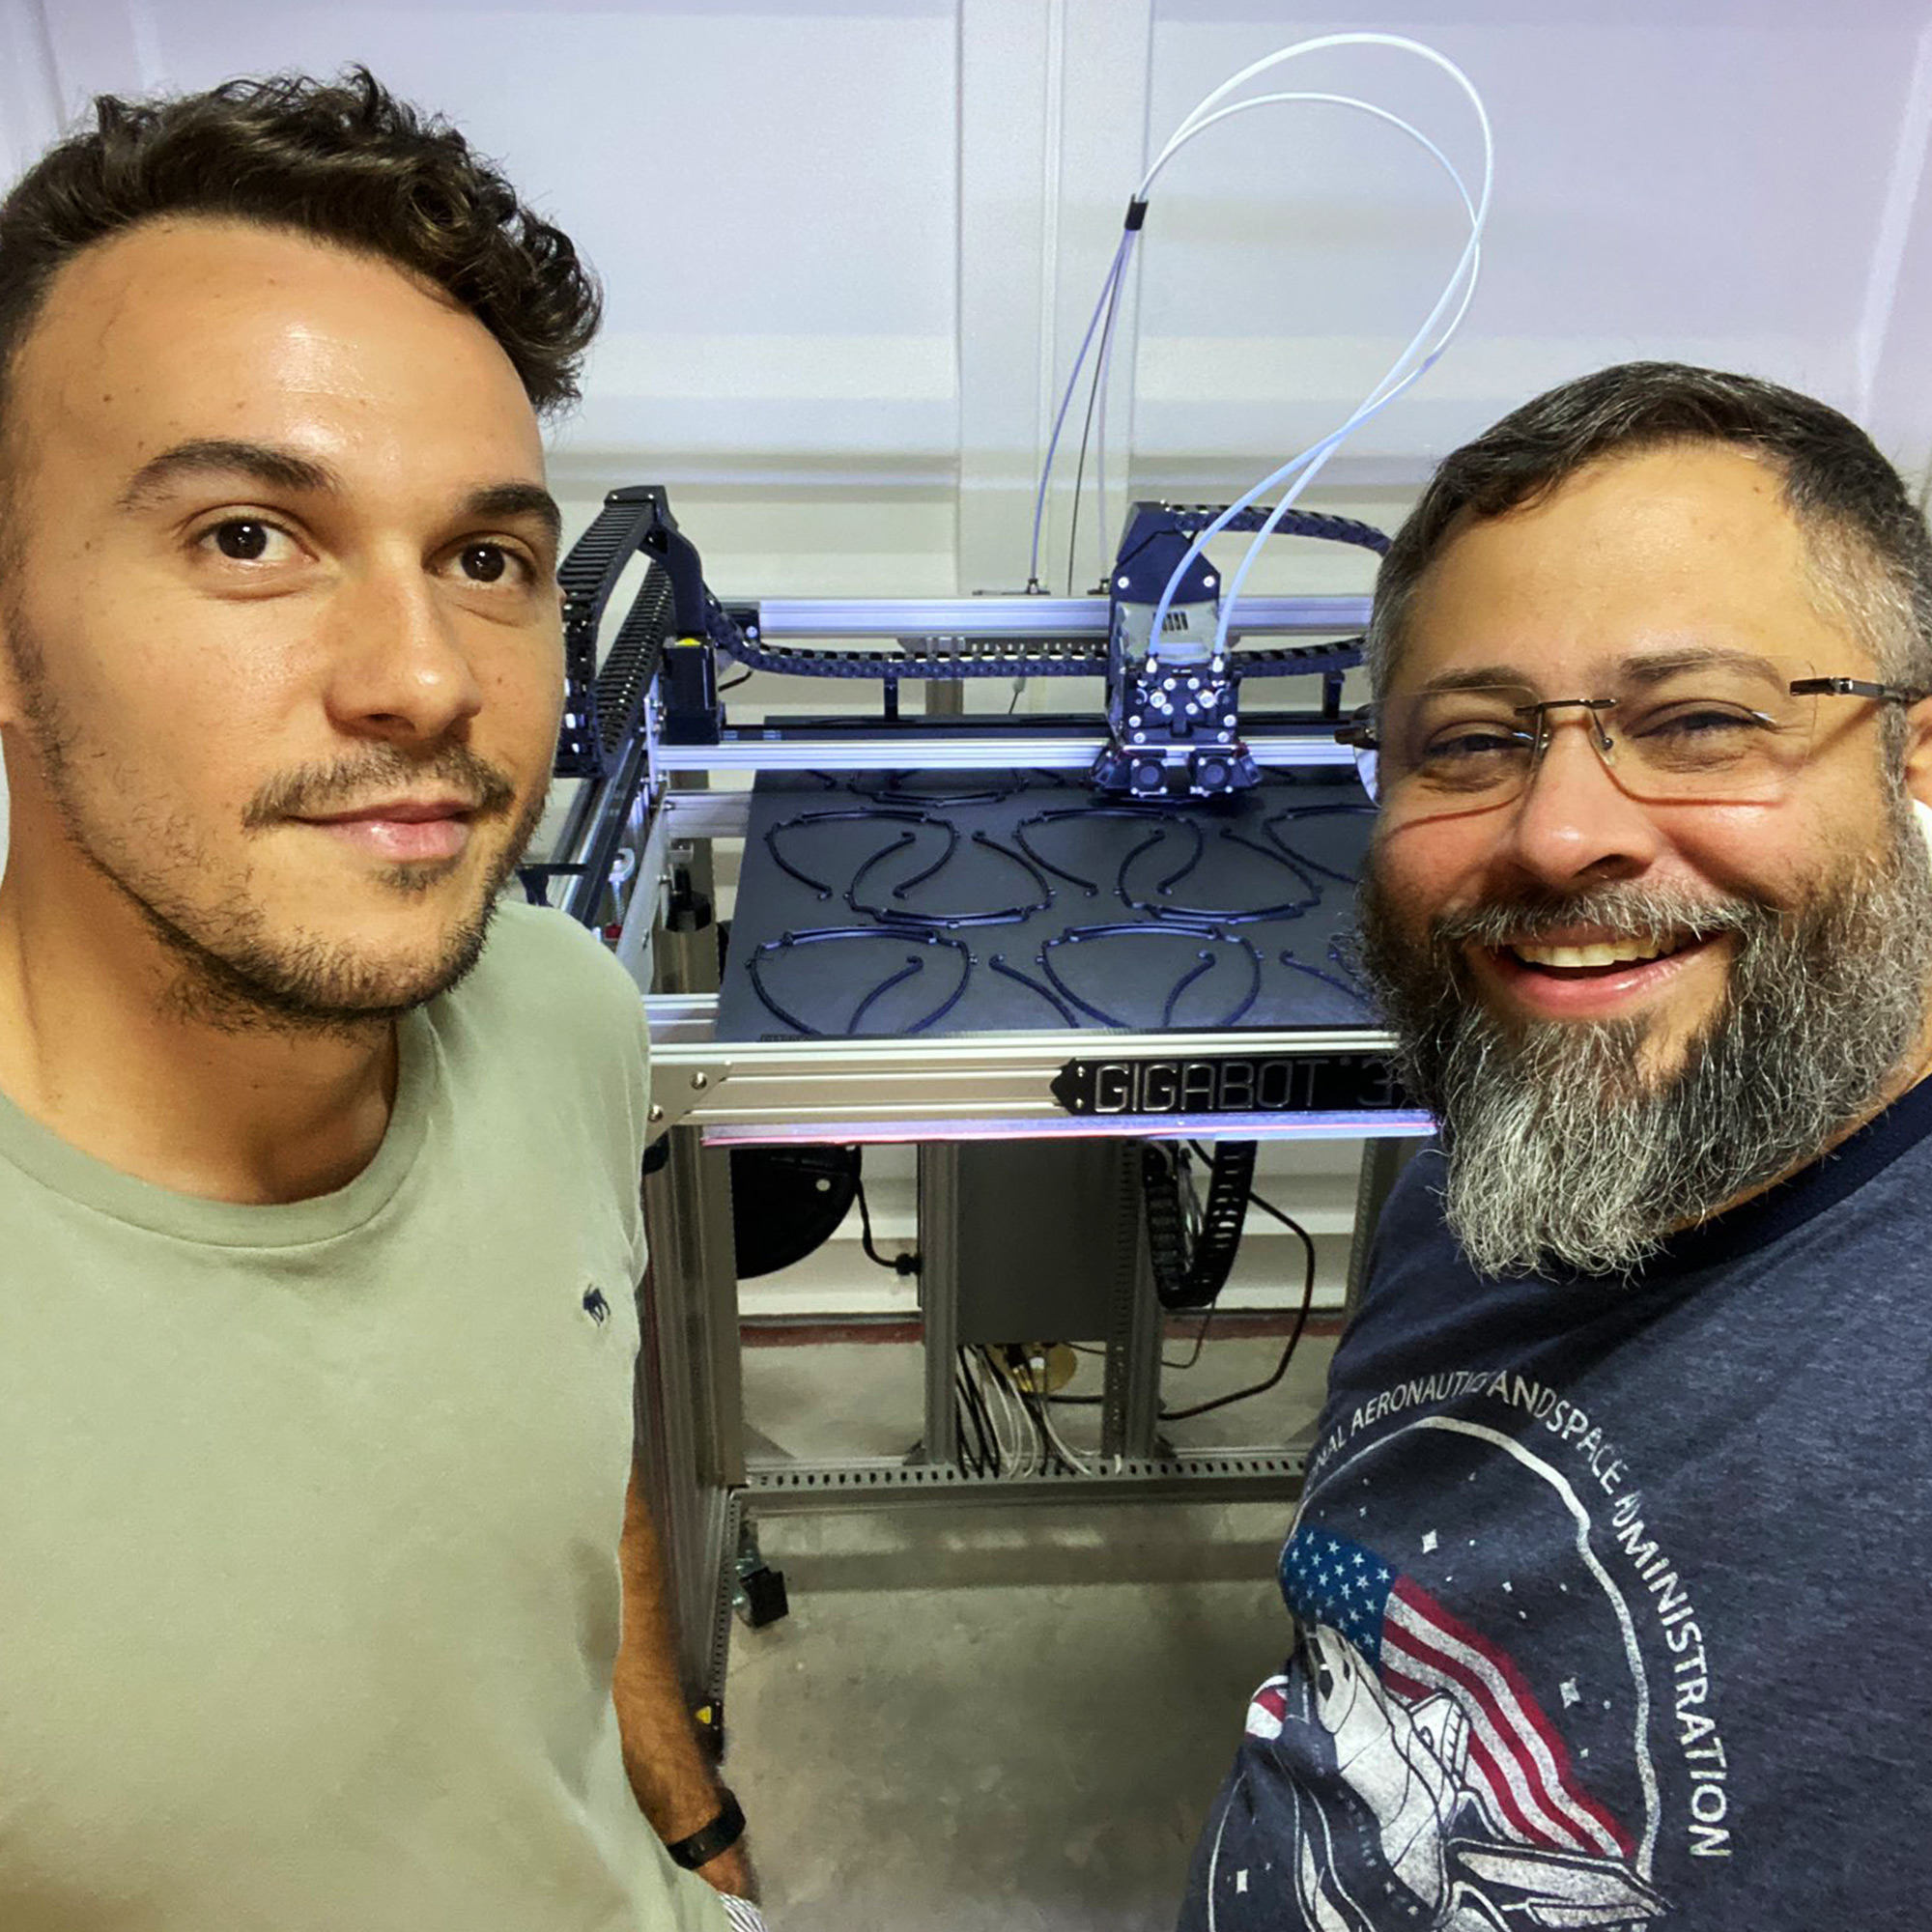
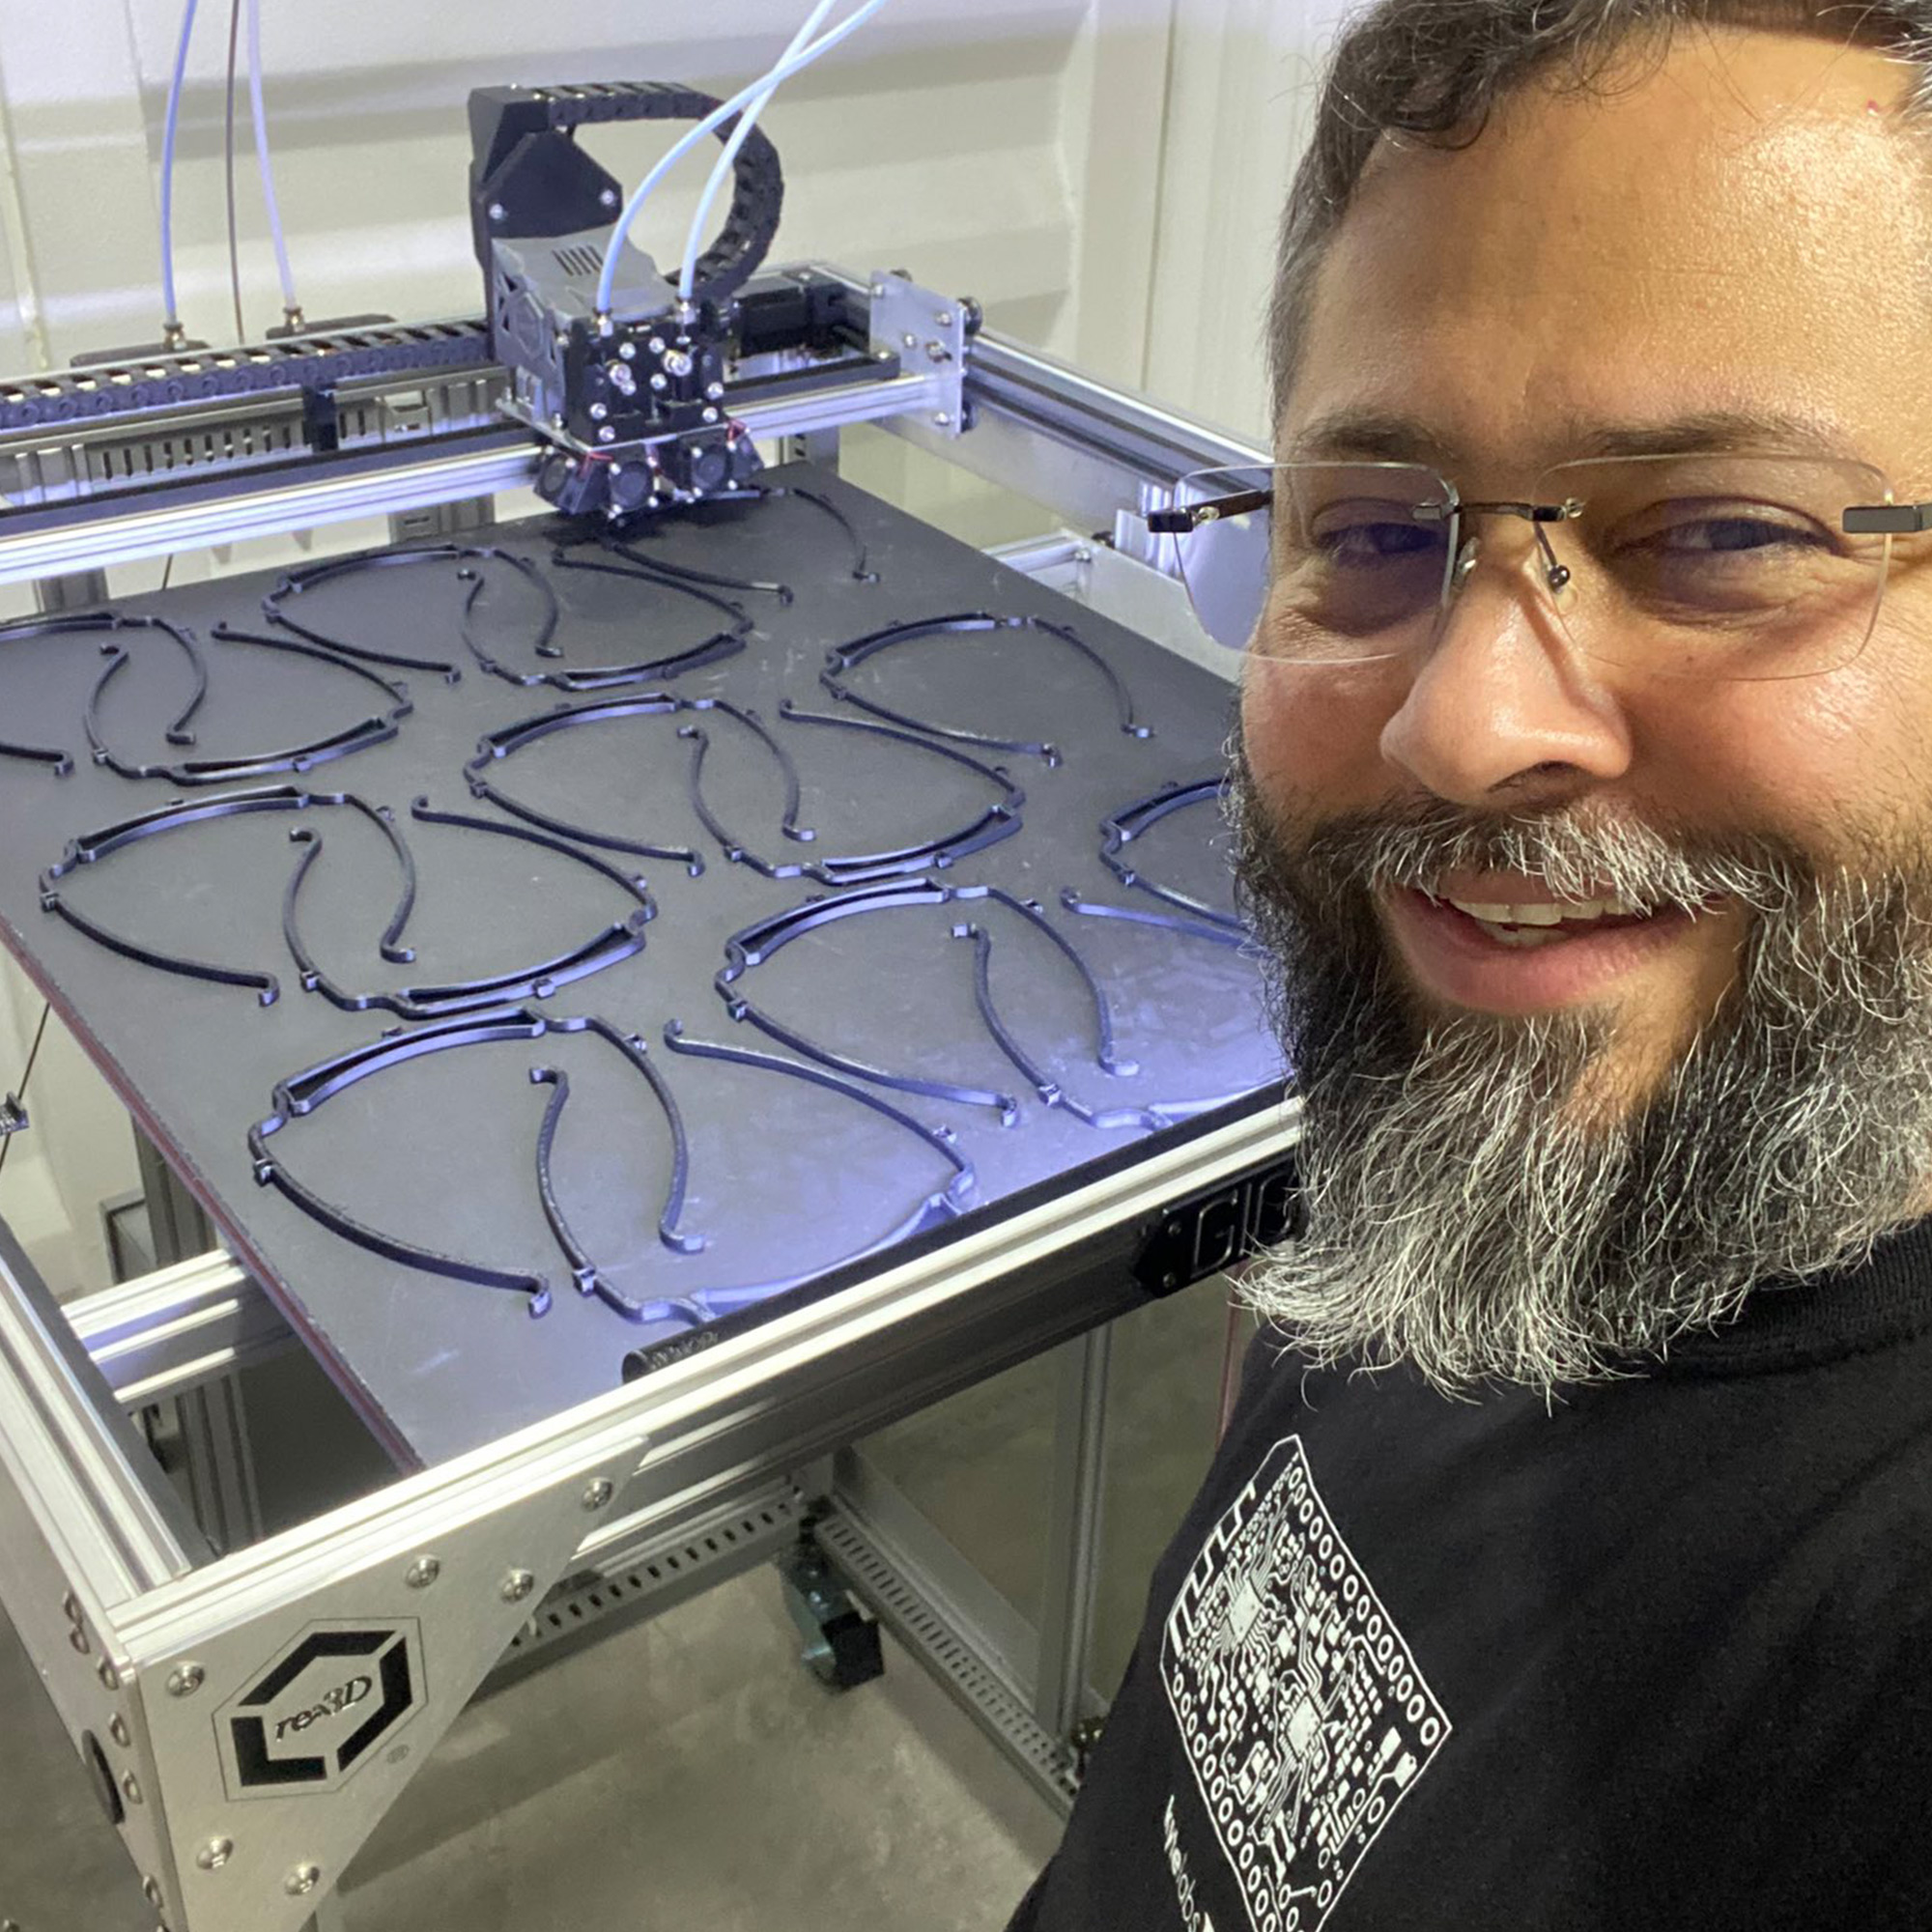
By the end of Juliana’s Fellowship, a strong connection had formed between her and the re:3D team. YLAI had let re:3D, and the other businesses hosting fellows, know that there would be an opportunity for an Outbound Exchange program. In this exchange, someone from re:3D would go to Brazil for two weeks and work with Juliana’s company. Jennifer Dennington, re:3D’s Account Manager, applied for the Outbound Exchange Program and was awarded the grant! Jennifer left for the exchange in early January 2024 to amplify the future of Additive Manufacturing in Brazil.

From Left to Right: Jennifer Dennington, Juliana Martinelli, and Cheyena Davis

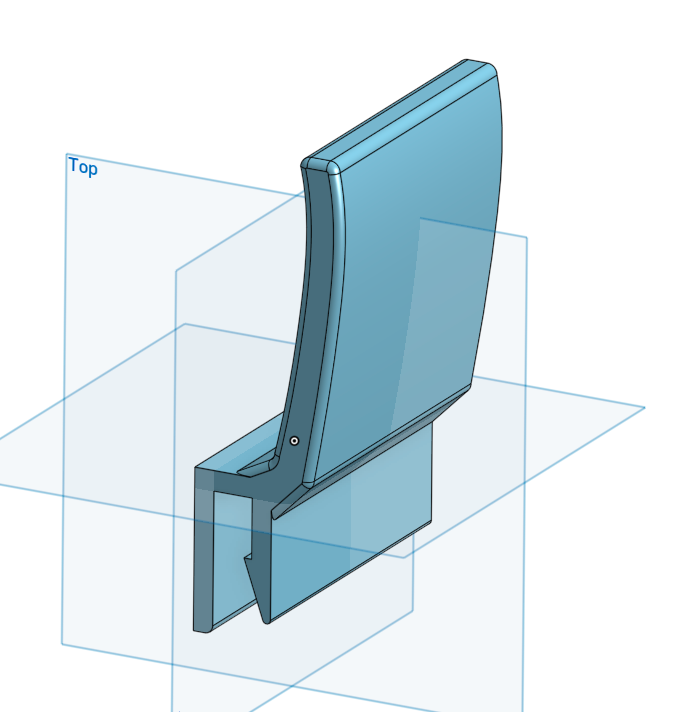
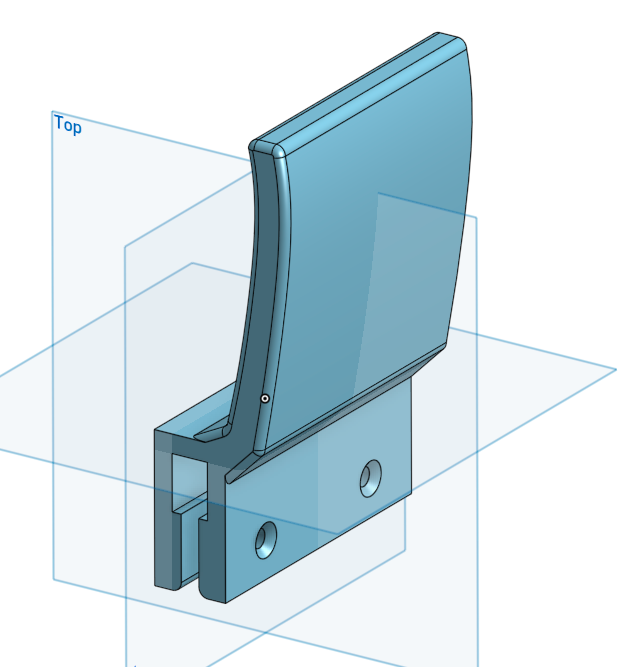
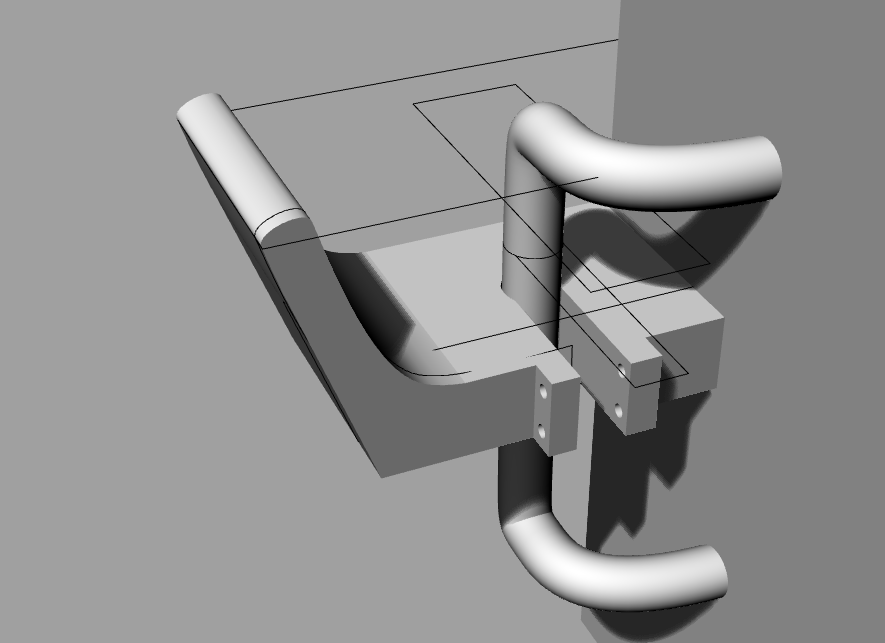
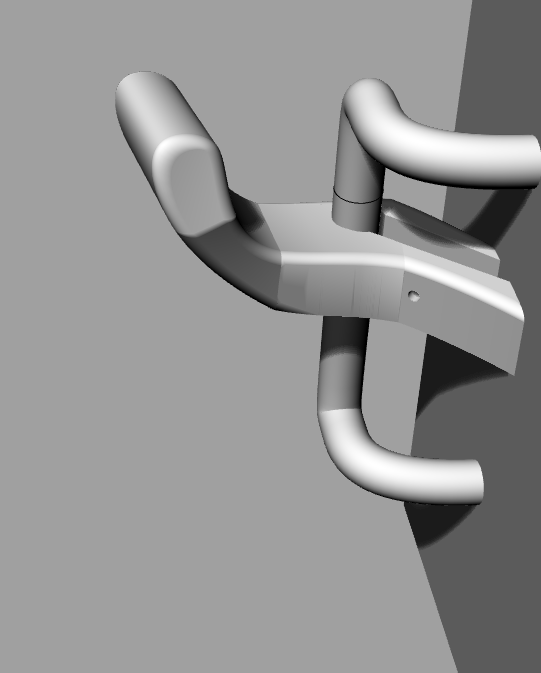
One of the main projects Juliana and Jennifer worked on was creating a storytelling blog post and video on re:3D’s customer Rhodes. Rhodes produces around 5 million components per year to assemble various models of office, school, and training chairs and public seats in airports, theaters, cinemas, and football stadiums. The blog article and video about how Rhodes uses its Gigabot will be published soon, so stay on the lookout for that.

Another project Jennifer and Juliana collaborated on was creating Additive Manufacturing lessons for Brazil. Jennifer’s background is in Special Education, she has a passion for making education fun and accessible to all people. Juliana teaches lessons to schoolchildren at the Planetário de Brasília (Brasília’s Planetarium) and has connections with public schools in Brasília. Before coming to Brazil, Jennifer knew she would share re:3D’s Introduction to Autodesk’s TinkerCAD lesson where Juliana would teach students how to make 3D models on their computers. However, after speaking with Juliana, Jennifer learned that many students do not have access to technology at school. Jennifer shifted gears and decided the first lesson she needed to create was an Introduction to 3D Printing lesson for students with limited to no knowledge of 3D printing and limited access to technology.

Jennifer modeled this lesson after the 5E Model of Instruction where students engage, explore, explain, elaborate, and evaluate 3D printing. She only included resources that Juliana had readily available to be used in the lesson. For example, because of Juliana’s partnership with the University of Brasília’s LAB, Juliana could bring 3D printed examples to show the students on top of having the Google Slides presentation. Click here to view and download the Introduction to 3D Printing Google Slides and here to view and download the full lesson plan.

Cement Lab at the University of Brasília

After Jennifer finished the Introduction to 3D Printing lesson, she went back to the Introduction to TinkerCAD lesson because it is a personal favorite of re:3Ds. TinkerCAD is a fantastic resource for teachers because you don’t have to have a 3D printer to do incredible and engaging lessons with your students. Teachers will have students they do not expect to interact with this lesson get really into it and become incredible 3D designers. Not only can students make 3D designs with TinkerCAD, but also they can create circuit boards and learn how to write code, all for free! TinkerCAD puts out challenges each month for students to compete in and educators post lessons they have created on TinkerCAD as well. Click here to view and download the Introduction to TinkerCAD Google Slides and here to view and download the full lesson plan and other additional resources. These lessons can be replicated and customized to fit different cultural contexts, educational settings, and learner demographics, thereby extending the reach and impact of 3D printing education. Jennifer hopes her lessons contribute to building a future workforce equipped with valuable science, technology, engineering, art, and math (STEAM) knowledge and competencies, thus promoting innovation and economic development in the long run.

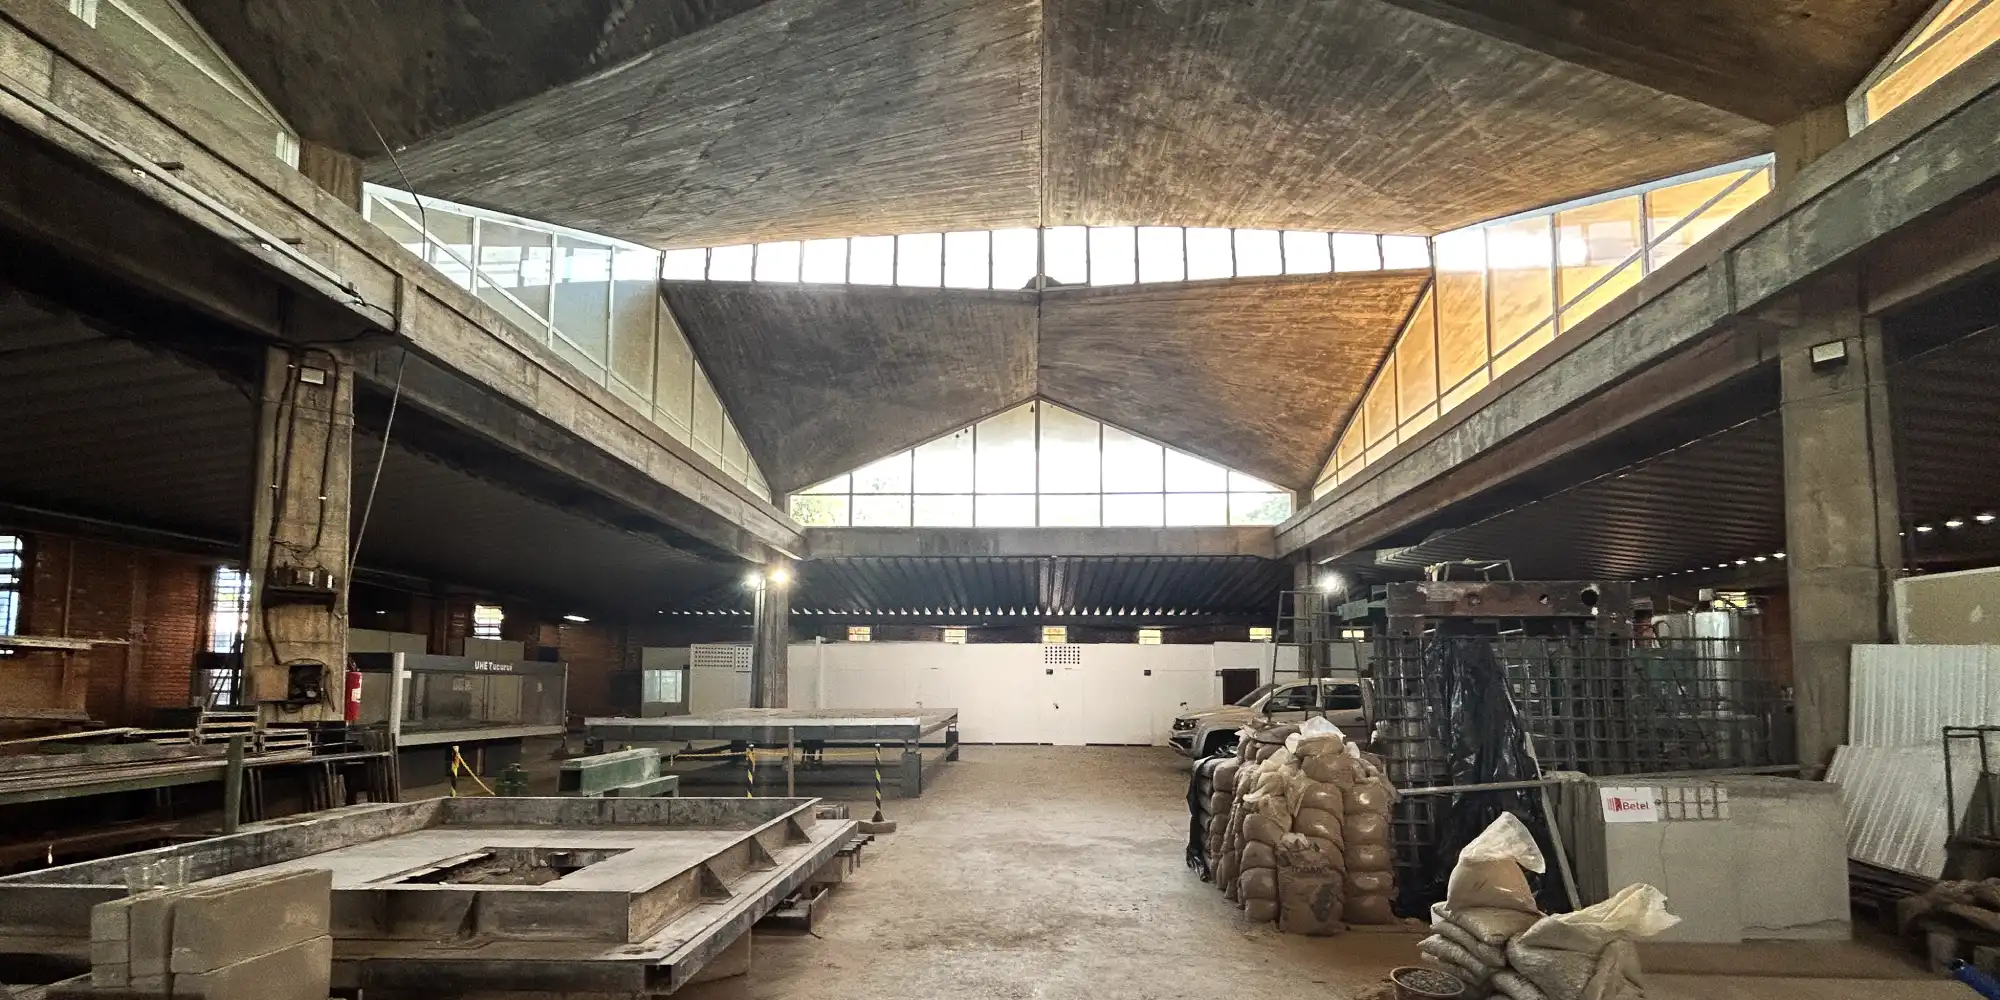
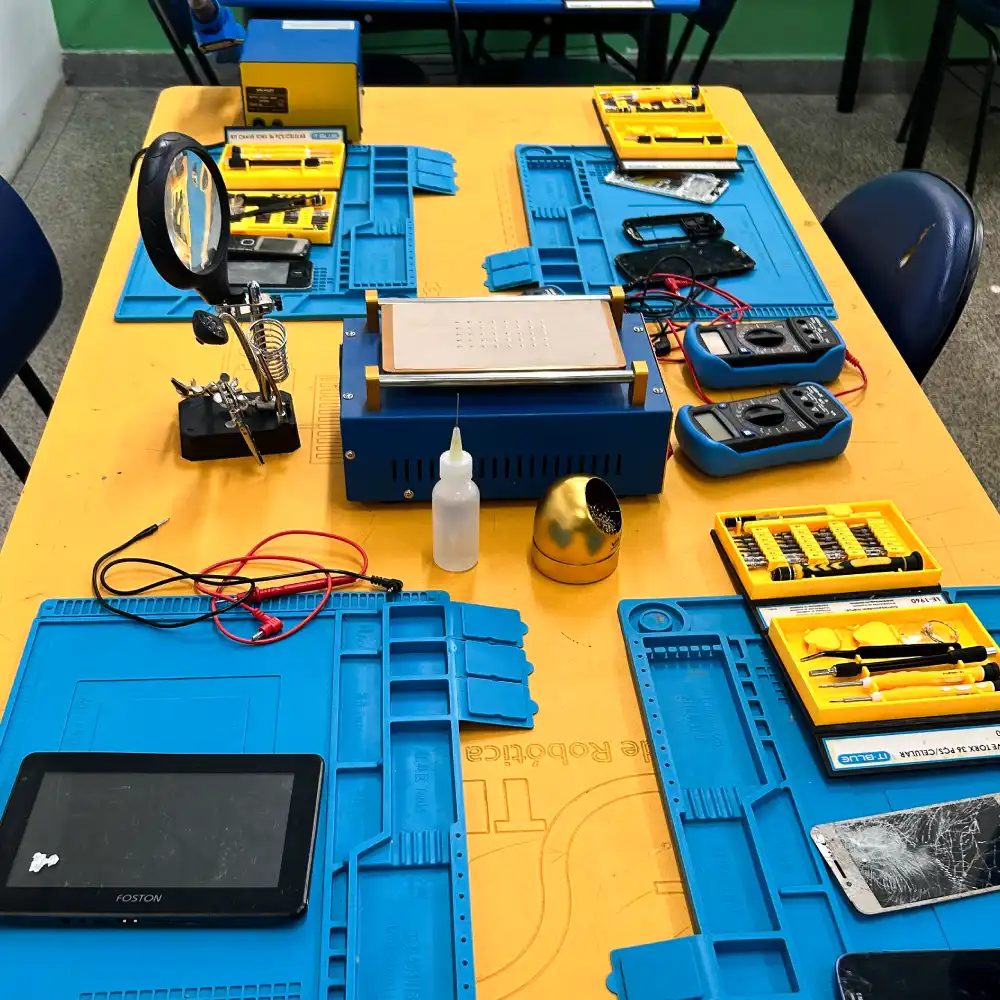
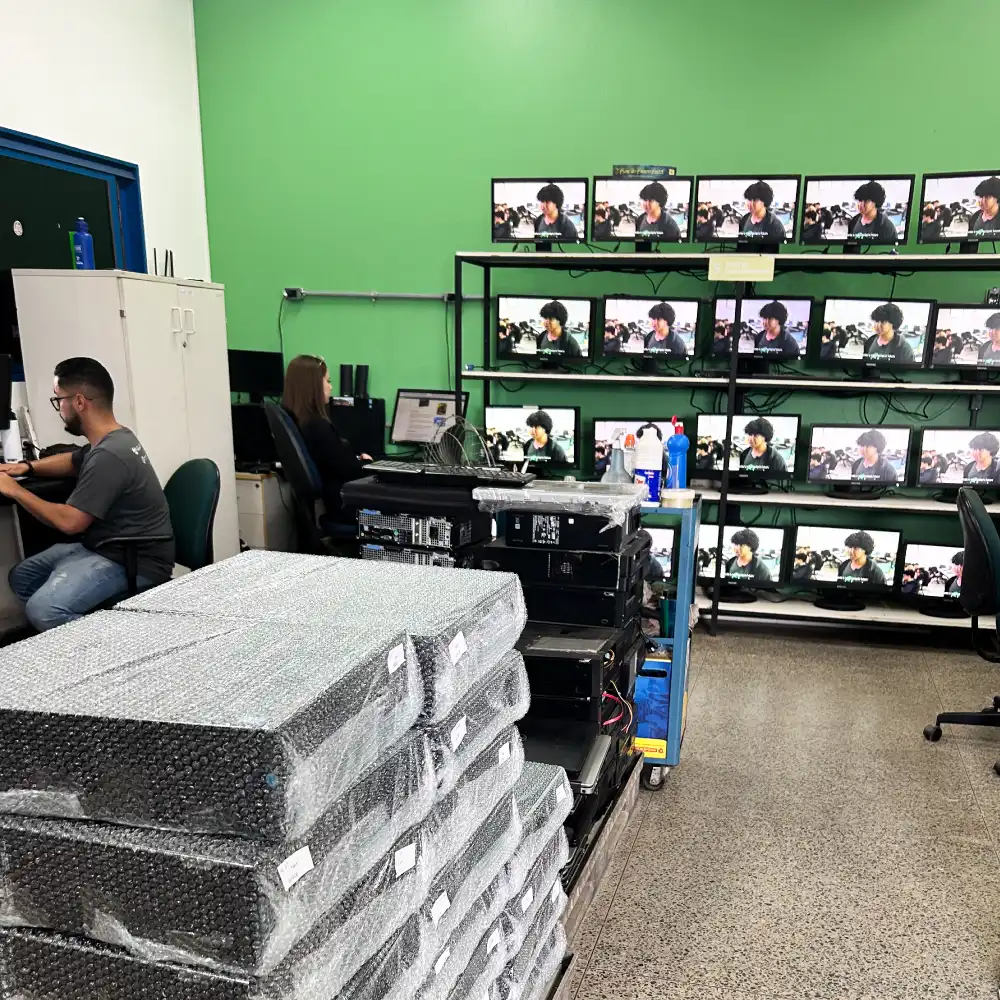
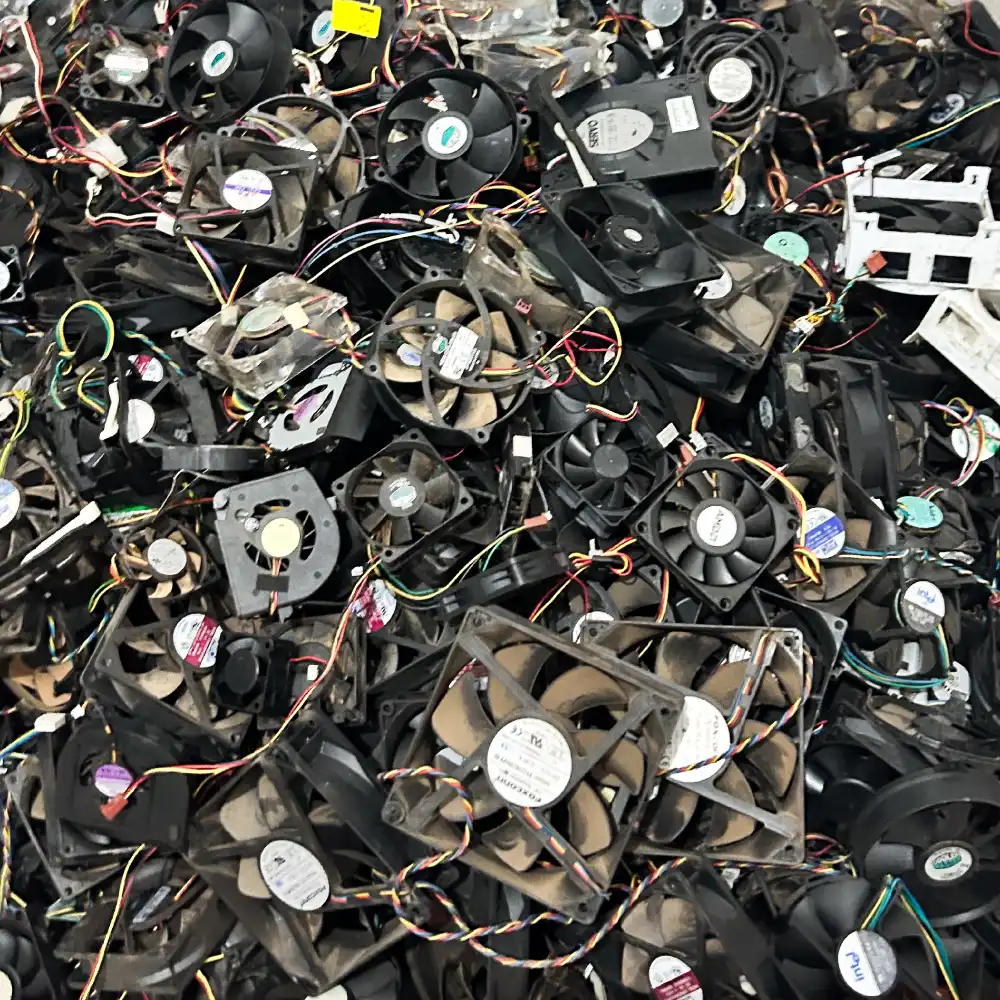
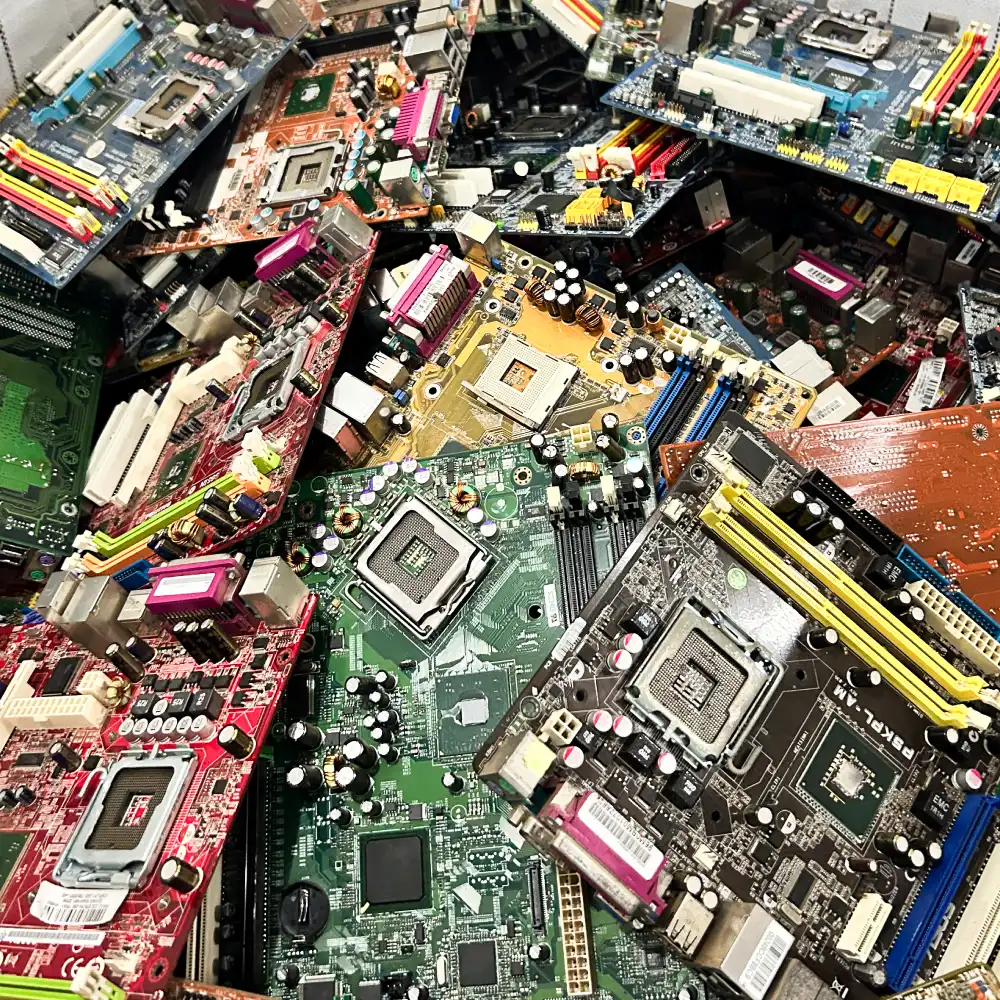
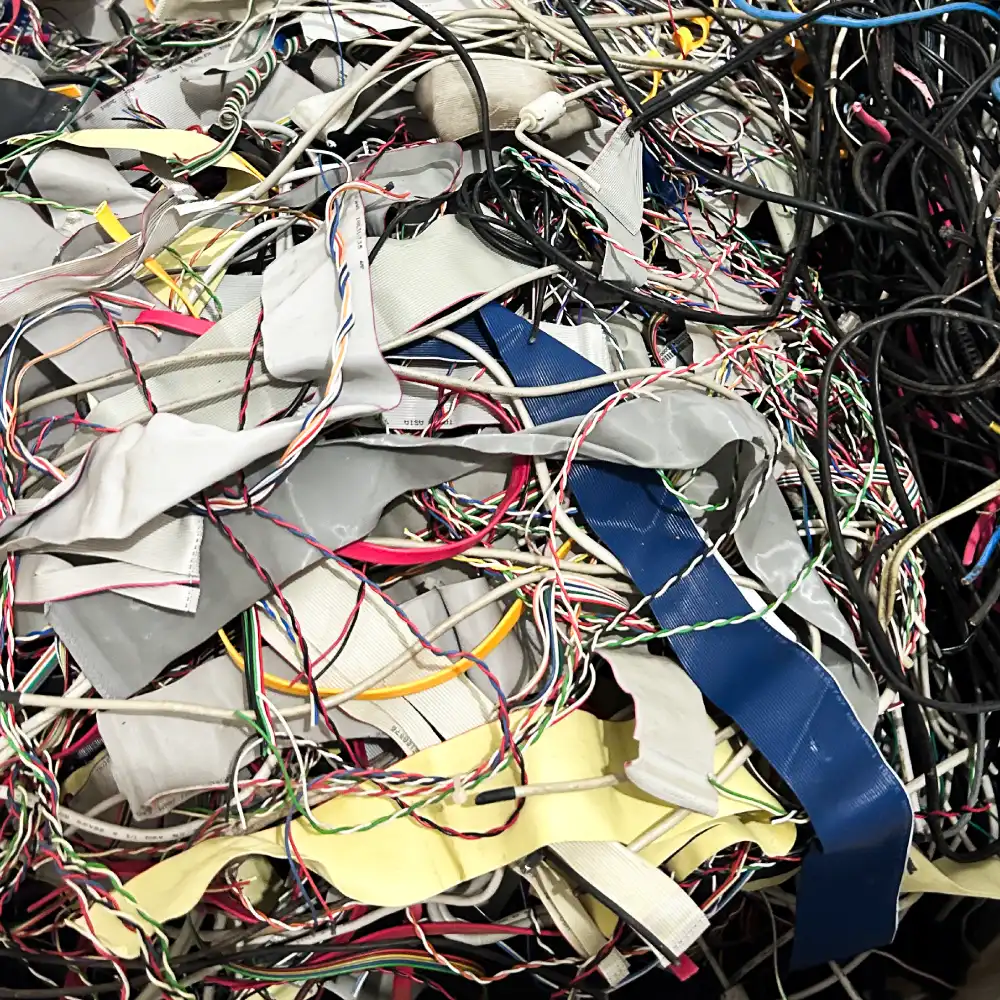
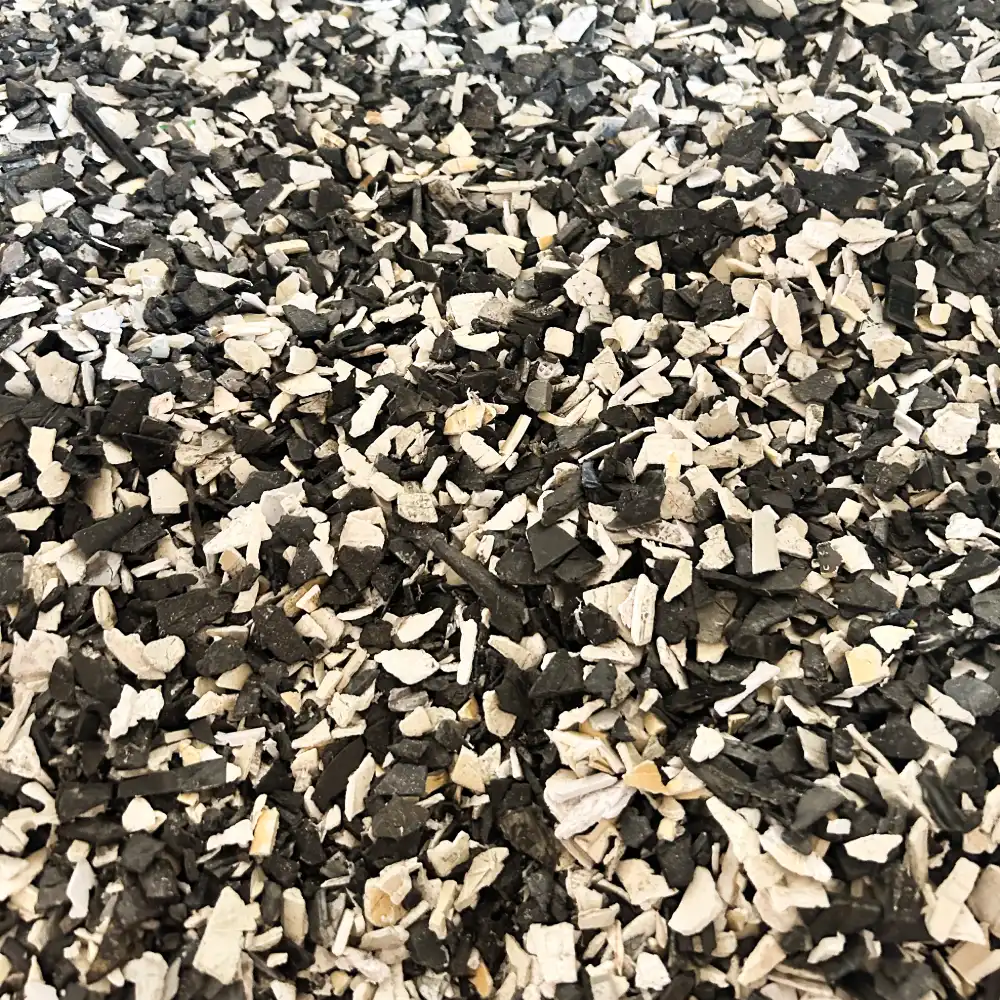
Juliana took Jennifer on a tour of Programando o Futuro, an electronic waste (e-waste) recycling center with a broader mission of providing free technology education to the community. Their hands-on courses in robotics, 3D printing, computer repair, and marketing aim to equip people with tech skills, boasting a 55% job placement rate. With a commitment to inclusivity and sustainability, Programando o Futuro engages in extensive plastic recycling, collaborating with companies like HP to transform shredded plastic into new products or filament for their 3D printing lab. Programando o Futuro has repaired and donated over 3,000 computers and aims to recycle 1,100 tons of material this year. They want to partner with Juliana and the University of Brasília to get a spectrometer, which will help them rapidly and accurately identify the types of plastic that are donated. Additionally, Juliana wishes to use her partnership with Programando o Futuro to apply for re:3D’s Gigaprize program or apply for a grant to purchase a GigabotX 2 for their organizations.

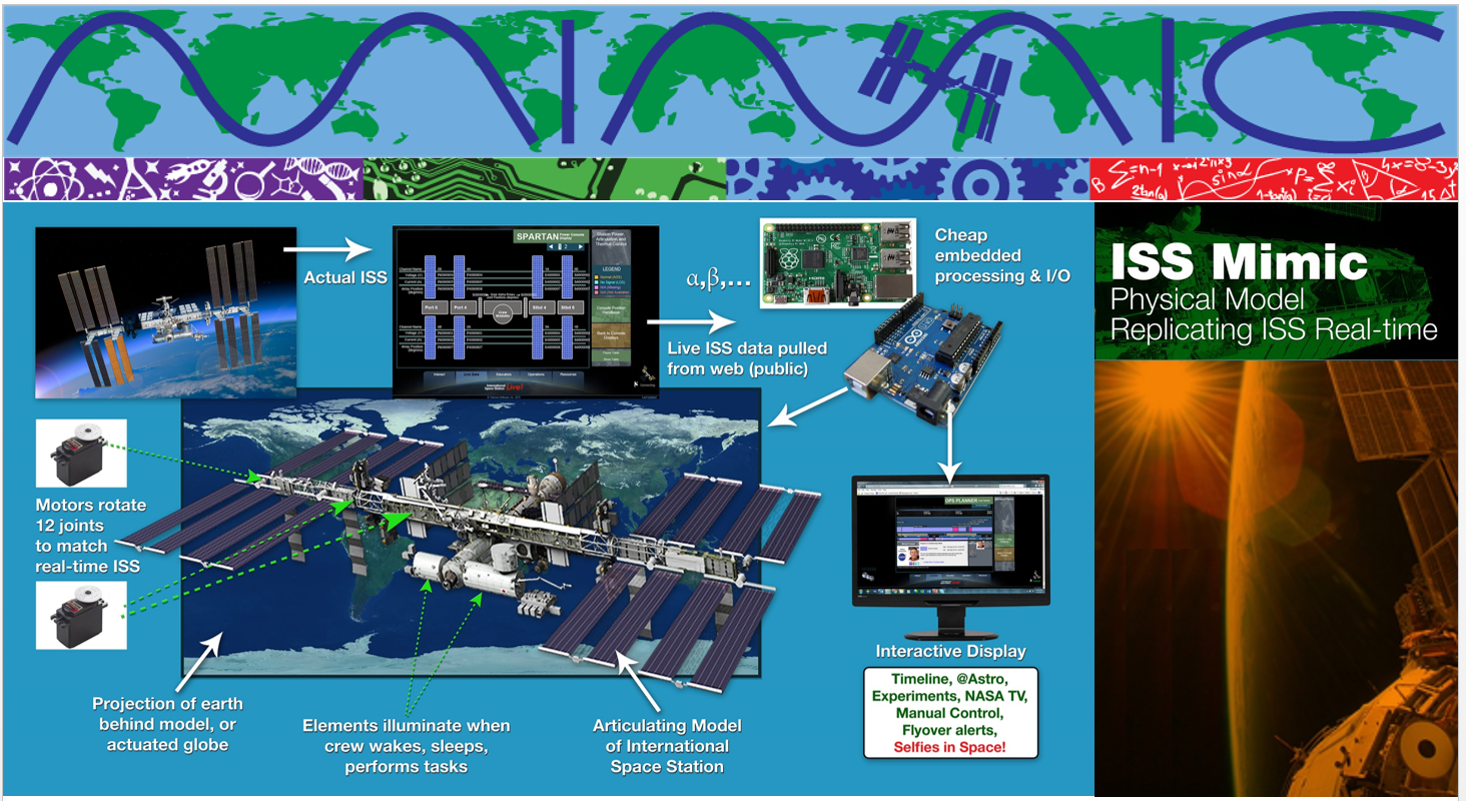
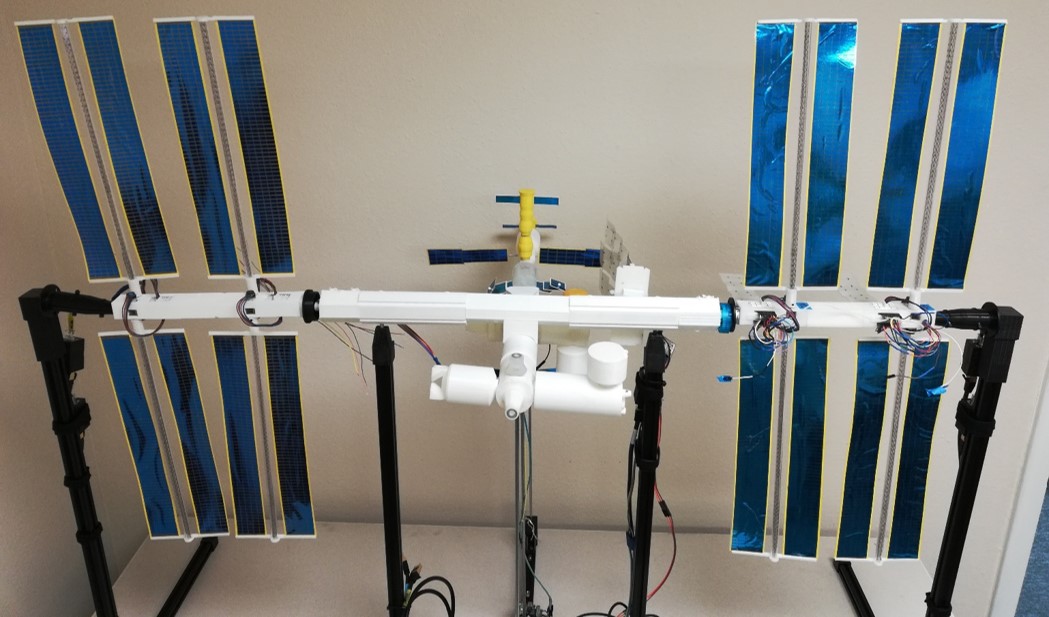
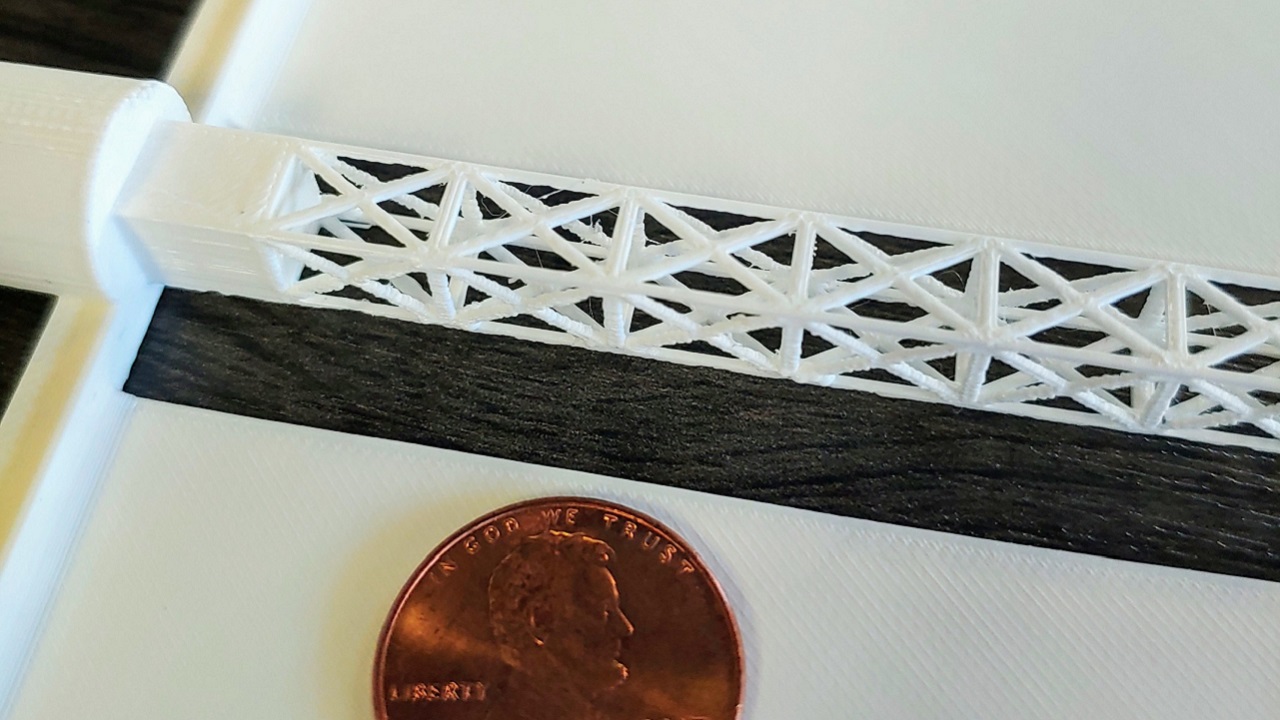
A bonus meeting happened with Bryan Murphy, Associate Chief Engineer for the International Space Station (ISS), at Boeing to bring ISS Mini-Mimics to Brazil. The ISS MIMIC is a 1:100 scale articulating model of the International Space Station (ISS) that runs off of live data streaming from the real ISS. re:3D has had the joy of helping the ISS Mimic team by 3D printing solar arrays and participating in the 11 Freeman Library Community Builds of the ISS Mimic. If you would like to learn more about the ISS Mimic, check out this article written by re:3D. Jennifer and Juliana’s meeting with Bryan was successful because they secured three ISS Mini-Mimics for educational institutions in Brasília. The goal is that after Juliana completes the ISS Mini-Mimic with students, she will then apply for grants to fund an ISS Mimic community build at the Planetarium! She is also hoping to get support from Brazil’s only astronaut, Marcos Pontes, who is currently a Senator for São Paulo, in this endeavor. Bringing the ISS Mimic to Brazil has the potential to foster a lasting interest in space exploration and STEAM fields to all who encounter it.

A final fortuitous event happened at the end of Jennifer’s time in Brazil when she was able to meet with the 2024 Class of Brazilian YLAI Fellows. Jennifer was in Brasília at the same time as their orientation for YLAI. Juliana and Jennifer went and spoke about their YLAI experience with the Fellows for an hour and a half. The Fellows Jennifer met were awe-inspiring entrepreneurs. They have built up their business and are incredibly hard workers. When they come to the US they are paired with businesses and are partnered with anyone from the CEO of the company to an Account Manager. YLAI is not only about the Fellows coming in and learning from an American company but also about them sharing their knowledge and passion with the company they are paired with. If you are interested in hosting a YLAI Fellow, please email info@re3d.org, and Jennifer will put you in touch with the proper contacts. re:3D hopes to continue partnering with YLAI for as long as we are around.
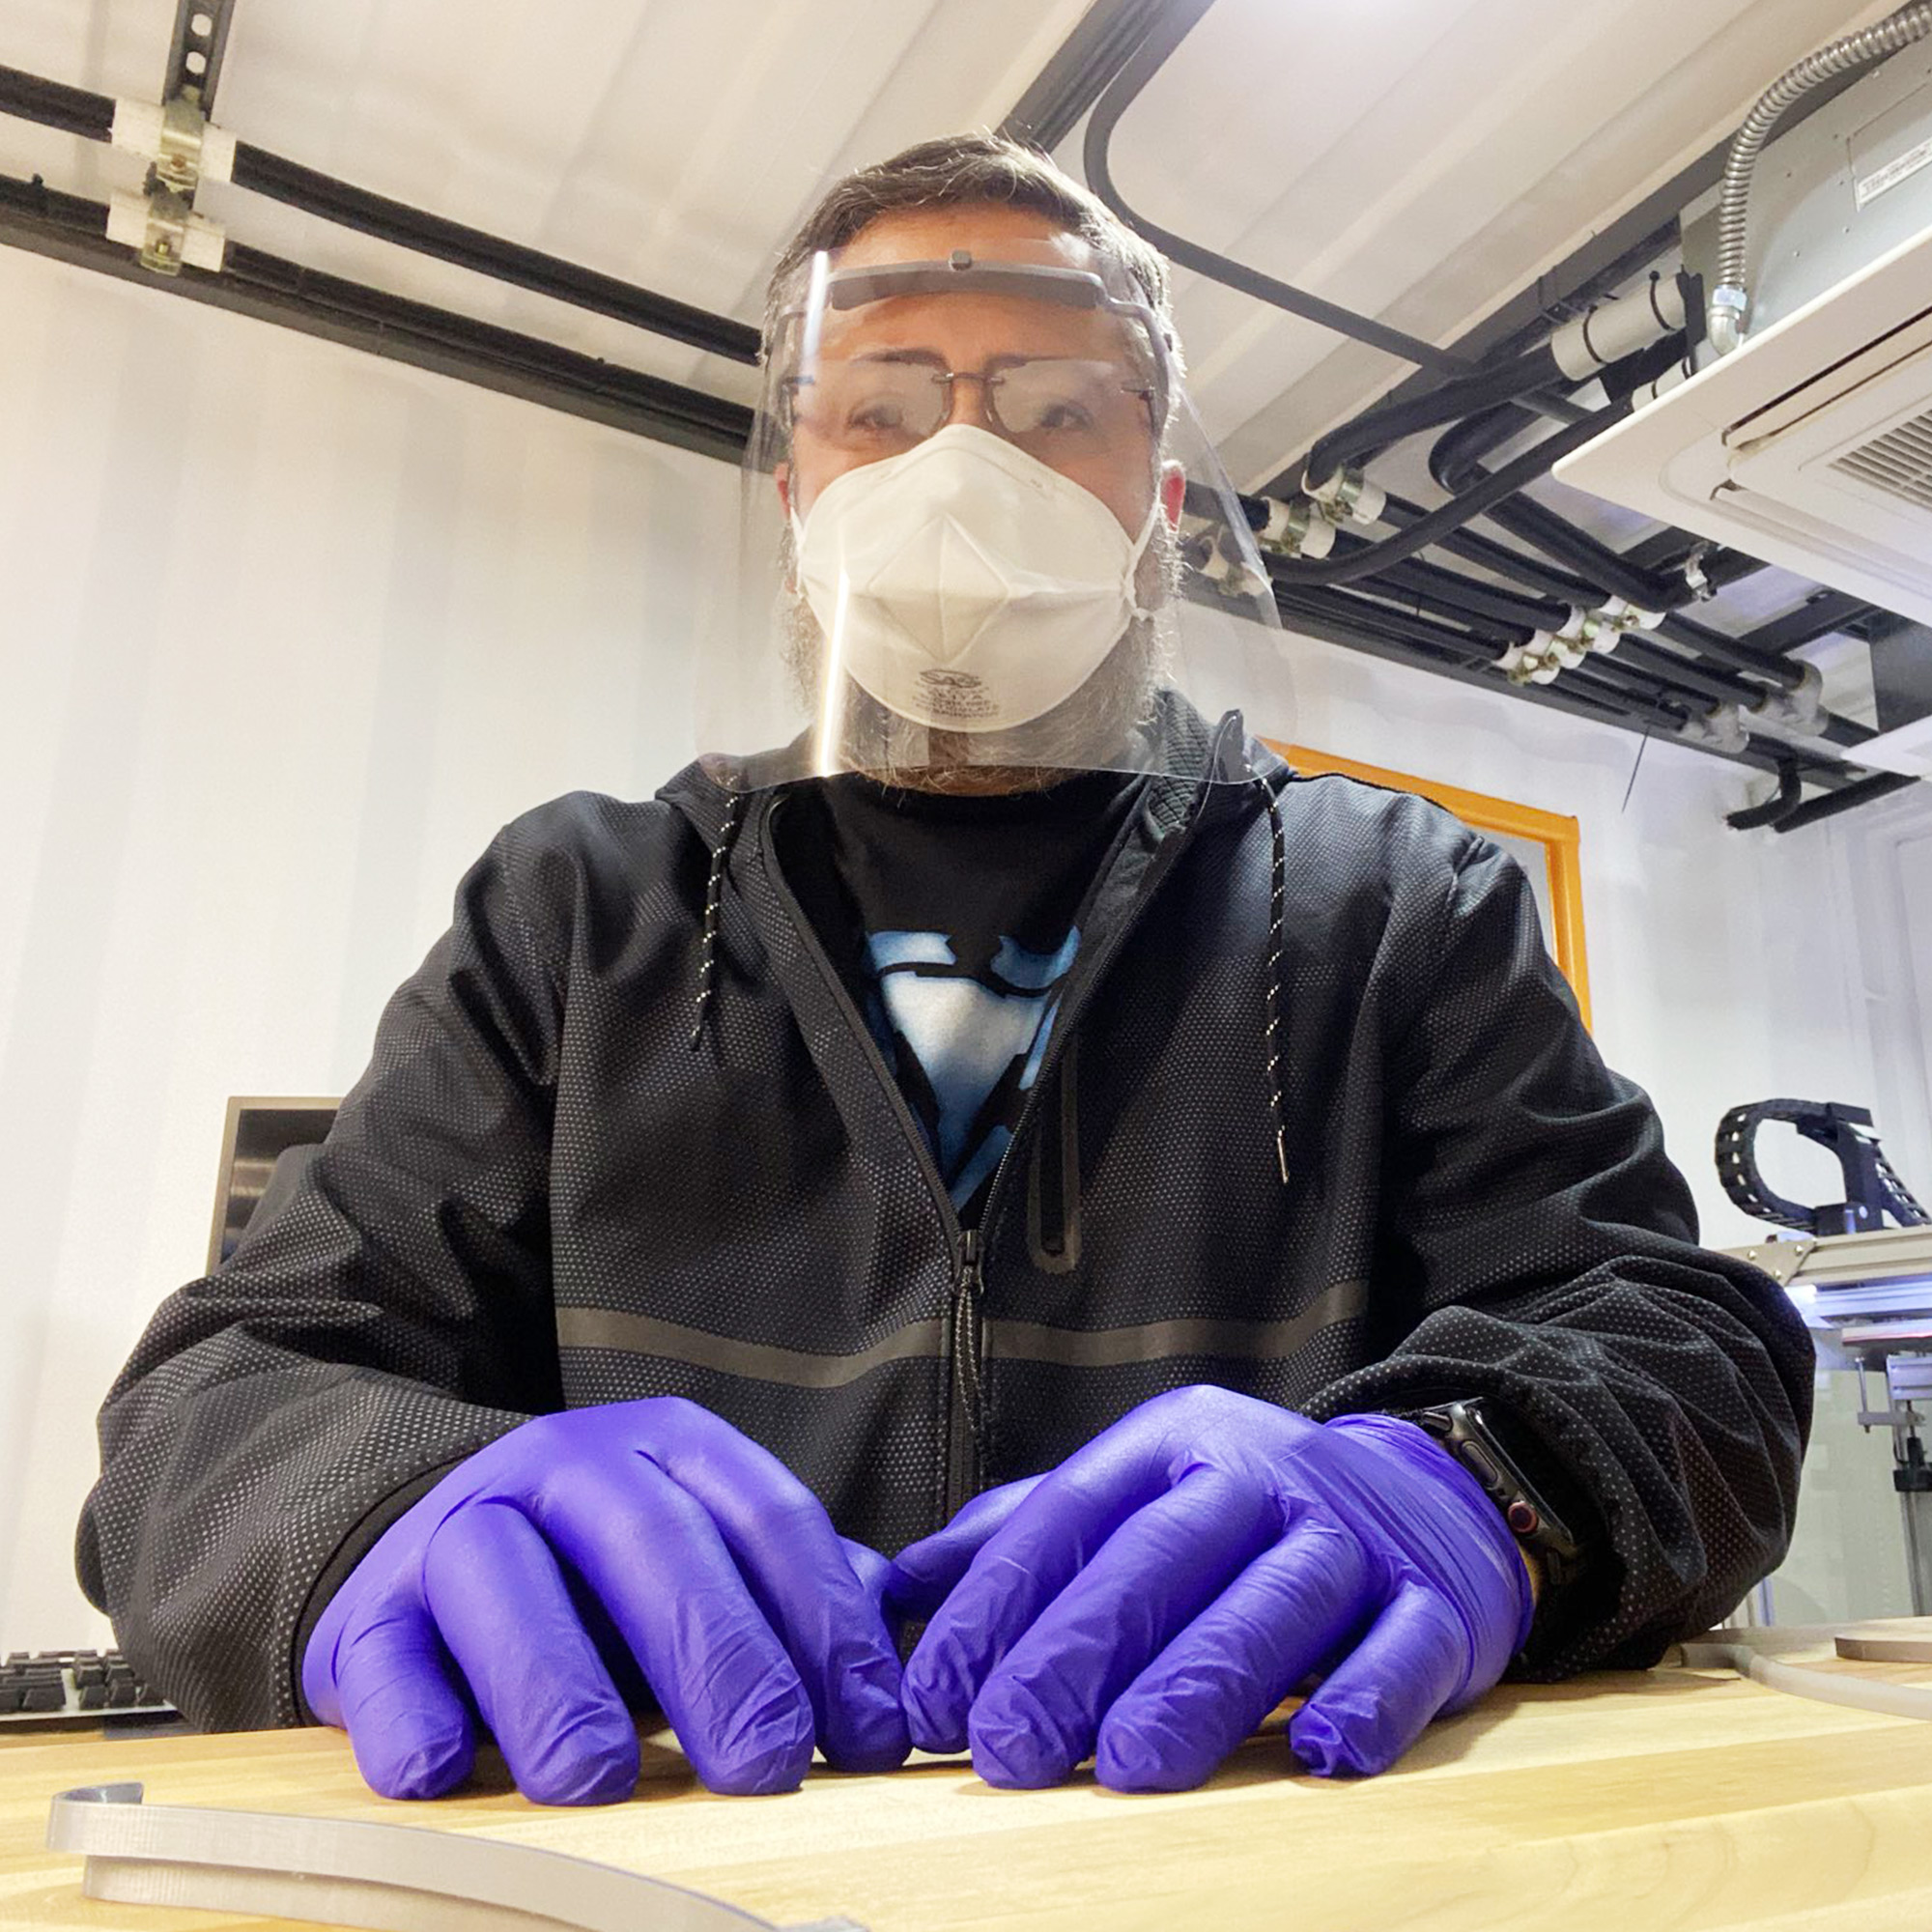
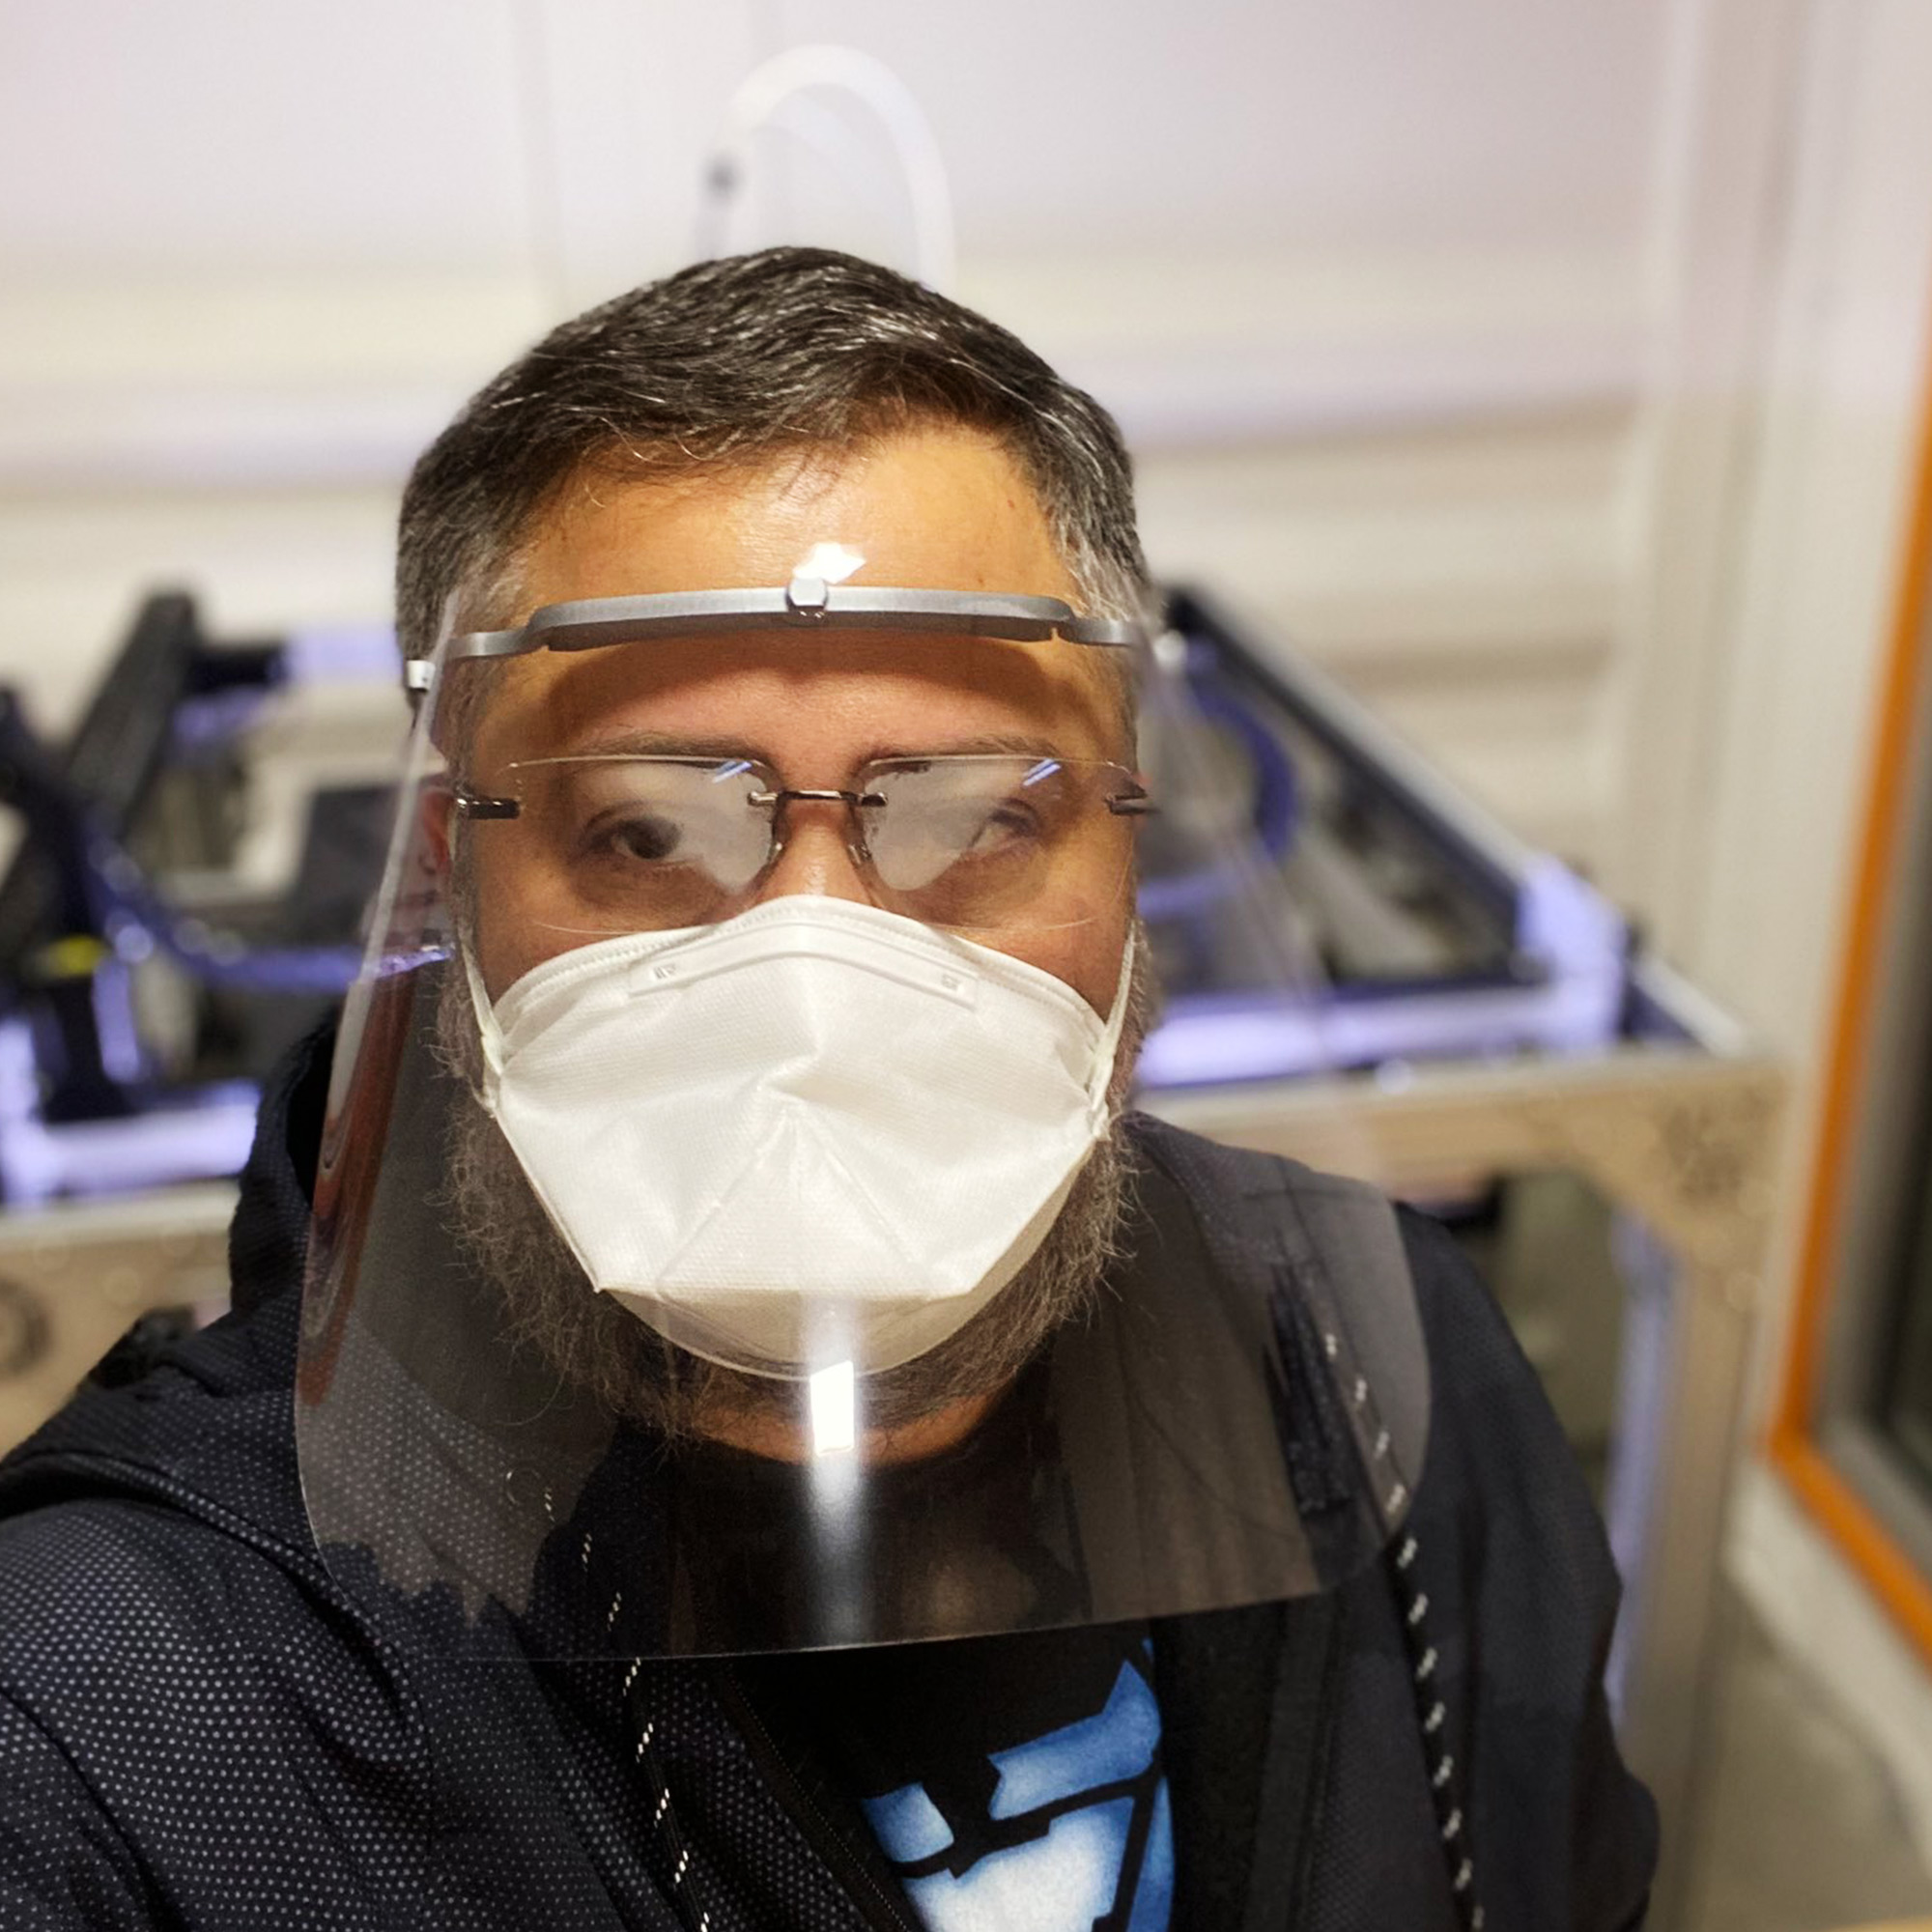
Jennifer Dennington

Blog Post Author

New Year, New Printers! Meet Gigabot 4, Terabot 4, GigabotX 2 & TerabotX 2

A green plated circuit board with many electrical components.
Left To Right: Gigabot 4 with Enclosure, Gigabot 4 XLT, Terabot 4, Exabot, TerabotX 2, GigabotX 2 XLT, GigabotX 2 with Enclosure

Introducing the Next Evolution of re:3D 3D Printers Featuring Klipper Firmware and ArchiMajor Control Boards

When deciding what changes to make on the next version of your Gigabot and Terabot 3D printers, your needs came first. The Gigabot family of customers has always inspired us to push this technology forward because it’s what you do with it that motivates us. Whether you’re teaching the next generation of change makers or innovating in advanced manufacturing, your feedback determines where we put our R&D focus.

The biggest visual change you’ll see on all versions of re:3D 3D printers is the front mounted 10” full color LCD touchscreen. The touchscreen includes temperature, and motion controls, temperature history graph and preset macros. The menu options add file management, gcode editing, command line input, and print history analytics and tracking. Also included is a webcam viewer for remote monitoring and an integrated USB port for loading gcode files directly on to your printer.

This touchscreen software is just one component of our new Klipper open-source software stack. We’ve transitioned from Marlin firmware to Klipper because it enables high precision stepper movement, smooth pressure advance and input shaping, and also an API server that enables opportunity for custom development. The Klipper web application runs the touchscreen from a Raspberry Pi and enables you to access the printer from your local network on desktop or mobile browsers with all the same control options you’re able to perform directly at the printer.

In order to successfully integrate this exciting new software stack, we’ve overhauled our electrical system starting with the control board. We partnered with US based manufacturer Ultimachine to design a custom 32bit ArchiMajor control board for your Gigabot. The advanced board features eight integrated stepper motor drivers, three heater outputs, five thermocouple inputs, four controllable fans and eight endstops. These provide flexibility to extend the functionality of your Gigabot, for example, adding an additional thermocouple or part cooling which is under development at re:3D. The new control board and the Raspberry Pi are now inside a 16” electrical enclosure with an integrated power switch, power filter and more durable flex rated cabling. Not only does this board increase your 3D printer’s processing power, but it allows us to better control our supply chain and electronics quality with a strong US manufacturer as our partner.

View the press release about this partnership.

Platform-Wide Features

Stress tested in the re:3D factory, the new tube-style thermocouple is a more durable, consistent and accurate temperature reader for your Gigabot. We’ve added this improvement with a ½” thick aluminum bed plate, that is precision-blanchard ground flat and parallel to less than 0.005”. The bed is heated by a full-size silicone rubber heating pad, which allows the printing of high-temperature industrial materials. A robust cable carrier and cables rated for 1 million cycles of flexing protects all moving wires. Additionally, all unenclosed printers come standard with full side panels to protect electronics and cabling

FFF Filament 3D Printer Features

In the transition from Gigabot 3+ to Gigabot 4 we’ve pushed out some changes early as technology improvements have increased reliability and longevity for your printer. Many of these updates center around the extrusion system: The all metal extruder body, 20 Series Hot Ends for 0.8 nozzles and Terabot 4, tube style thermocouples and heater cartridges are all standard, combining to make the most robust, industrial extruder system ever on your Gigabot.

To keep Gigabot affordable you may still purchase a regular 600 mm cubed Gigabot 4 as a kit which ships in flatpack boxes, and the full enclosure is an optional add-on for pre-built Gigabot 4 and Gigabot 4 XLT sized 3D printers. Terabot 4, as before, comes with the enclosure standard. One change we’ve integrated as standard is the side panels on your Gigabot cover the full side on the left and right to provide better protection for the motors and electronic components.

As with the changes we made during Gigabot 3+’s lifespan, This is just the beginning. Gigabot 4 will continue to iterate and grow and change to meet your needs as the technology evolves. Plans are already in the works for a filament dry box, bed probing and even more robust build plate and frame improvements. Stay tuned!

FGF Pellet and Granule 3D Printer Features

Since releasing the beta version of Gigabot X in 2018, re:3D invested significant R&D resources from community support to produce a more agile, advanced and capable fused granular fabrication 3D printer.

GigabotX 2 features a feeding and extrusion system precision engineered for processing pelletized and granular thermoplastics. Material is manually fed into the 24 hour capacity hopper which rides on an independent hopper gantry system, to allow a full and smooth range of motion and consistent feeding into the extruder.

Print material flows from the hopper into the extruder via either the gravity fed feed throat or the optional active feeding system, or crammer, which includes a motorized auger that pushes material into the extruder with a user controllable feed rate.

The GigabotX 2 extruder is powered by a 425 ozf*in NEMA 23 motor with planetary gear box to provide increased torque for flowing materials. The extruder is a solid steel ⅝” screw with 16:1 L/D ratio designed with our partners specifically for consistent throughput for thermoplastics. Three independently controllable heaters are mounted on the extruder barrel allowing for extrusion temperatures up to 270°C. Interchangeable nozzles between 0.4mm and 2.85mm in diameter can be used to control resolution and extrusion width.

GigabotX 2 is the culmination of our mission to enable more users to 3D print directly from novel and waste plastics, but we’re not stopping here. Research is currently underway to integrate a granulator, dryer and automatic feeding system with GigabotX 2 to make machine operation even more efficient and user friendly and enable anyone anywhere any time to be the problem solvers for their community.

Charlotte craff

Blog Post Author

Gigabot Engineering Updates – April 2022

Hi Gigabot family! It’s been a few months since we posted an engineering update, but re:3D’s engineers have been far from idle. We’ve made some further improvements to the new Metal Body Extruders and created an entirely new hot end to keep pushing the Gigabot to produce better and better results and improve your user experience. See below for details on what has changed. Current Gigabot®, Gigabot® X, Exabot® and Terabot® owners can order these as replacement parts that are upgradable from previous versions.

New Parts

Gigabot® 3+, Terabot®, Exabot®

  • 20 Series Hot Ends – Replacing the Mondo Hot End, the re:3D 20 Series Hot End was created by our engineers and machinists to increase the max flow rate of polymer deposition. With a greater flow rate, parts can print faster, reducing production time and cost. The 20 Series Hot End achieves this with a 20mm long heater block wrapped in Nomex® insulation. It comes standard with an A2 hardened steel nozzle for printing with abrasive materials like carbon-filled polymers. You can select either 0.4mm or 0.8mm nozzle size for your application.
  • 20 Series Fan Mounts – Fan mounts specific for the new 20 Series Hot End, these direct airflow to your prints for cooling.
  • Terabot only: Bed Frame Stands – an accessory for Terabot to aid in resetting the bed leveling.

Fit and Strength Part Adjustments

The below parts have had geometry changes or other additions to make them stronger or fit more precisely.

Gigabot® 3+, Terabot®, Exabot®

  • Metal Body Extruders- transitioned the new Metal Body Extruders from an aluminum frame and plastic inset to a complete aluminum piece. 
  • Light Strip Cover – redesigned to fit new LED light strip with on/off switch 

Gigabot® X

  • Gigabot X Extruder Cover – fit and tolerance adjustments. more secure mounting
  • Motor Spacer – added wire management clips for all connections to the extruder
  • End Rail Caps – covering the ends of the aluminum extrusion on the X cross rail.

Firmware

Gigabot® X 4.2.4.2 Reg

This release is GBX 4.2.4 with some bug fixes discovered after the release of GBX 4.2.4. The fixes are:

  • Updating the GBX Regular build volume in the X, Y, and Z dimensions
  • Updating the GBX XLT build volume in the X, Y, and Z dimensions
  • Adjusting the minimum temperature for the heat sink fan from 18C to 60C

Check out additional update on our Forum. Want to chat with an engineer to share feedback on your Gigabot & re:3D design priorities? Email info@re3d.org.

Happy Printing!

~Your Gigabot Engineering Team

Gigabot Engineering Updates – September 2021

An aluminum dual extrusion extruder for a 3d printer

re:3D engineers have spent the last few months making some exciting changes to our product lines. re:3D 3D printers are shipping with some great new enhancements. Current Gigabot®, Gigabot® X, Exabot® and Terabot® owners can order these as replacement parts that are upgradable from previous versions.

New Parts

Gigabot® 3+, Terabot®, Exabot®

  • Metal Body Extruder – 2 pieces, left and right. The metal body extruder replaces the unibody extruder on re:3D filament-based, dual extrusion 3d printers. High-strength aluminum housing and tensioner arm for a long-lasting, industrial extruder.
  • Terabot Magnetic Catch – Magnetic latch for Terabot enclosure doors

Fit and Strength Part Adjustments

The below parts have had geometry changes or other additions to make them stronger or fit more precisely.

Gigabot® 3+, Terabot®, Exabot®

  • Filament Detection Covers – Improved fit for easier removal
  • LED Light Cover – Redesigned to fit new led strip, plus improved durability when used in enclosures 
  • GB3+ X Axis Cable Carrier Support – Strengthened for greater durability
  • GB3+ XY Upright – Revised to fit larger wiring, better print quality and durability of interface with cable carrier
  • Mondo Hot End Fan Mounts (Left & Right) – Revised fan placement for better part cooling

Check out additional update on our Forum. Want to chat with an engineer to share feedback on your Gigabot & re:3D design priorities? Email info@re3d.org.

Happy Printing!

~Your Gigabot Engineering Team

Gigabot Engineering Updates – February 2021

CoverQ1

2021 is going to be an exciting year for re:3D, and we have multiple product releases in the works for you. First, however, we want to update you on upgrades to our current offerings as well as highlight some new products now available from re:3D. As of January 1, 2021, re:3D 3D printers will ship with some great new enhancements. Current Gigabot®, Gigabot® X, and Terabot®, owners can order these as replacement parts that are upgradable from previous versions.

New Products

New Parts

Gigabot® X

  • Extruder Cover – covers and protects extruder area of GBX
  • Hopper Gantry – puts the hopper on a mobile gantry system which improves pellet flow 
  • For additional details on GBX Updates, see our Forum Post

Fit and Strength Part Adjustments

The below parts have had geometry changes or other additions to make them stronger or fit more precisely.

Gigabot® X

  • [11384] Thrust Bearing Plate – Improved fit with extruder body 
  • Extruder Body – Improved material feeding
  • Feed Throat – Improved material feeding
  • Feed Tube – Revised for compatibility with new gantry
  • Hopper – Revised for compatibility with new gantry
  • Motor Spacer – Revised for compatibility with new extruder cover

Terabot®

  • Viki Enclosure – Improved wire routing to electrical box

Firmware

Gigabot® X

  • Adjusted Change Pellet Routine extrusion speed and resolved bug
  • Fixed build chamber dimensions for XL and XLT sizes
  • Updated preheat temperature options
  • Added capability for ditto printing with a motorized auger as a second extruder
  • Firmware installation instructions are available in our Knowledge Base

Check out additional update on our Forum. Want to chat with an engineer to share feedback on your Gigabot & re:3D design priorities? Email info@re3d.org.

Happy Printing!

~Your Gigabot Engineering Team

ISS Mimic: a Link to the International Space Station here on Earth

When computer programmer Dallas Kidd was growing up, she wanted to be an astronomer.

“But I realized as a kid,” she said, “that I didn’t know what that meant, because I didn’t know any astronomers. So I decided I couldn’t do that.”

In high school computer programming classes, when other students were creating financial programs for banks, she again felt discouraged. She thought, “I didn’t know how to do that, so I guess I can’t have a career in this.” It took a long, circuitous journey to get where she is now. “I spent years figuring out what I wanted to do, and if someone had just been there to say, ‘Hey! I’m an astronomer,’ or ‘Hey, I’m a computer programmer. You can do this and here’s how!’ to make it real. I would have done this forever ago.”

Now an engineer at Skylark Wireless, LLC, Kidd is committed to offering those opportunities to students. Recently, she joined a special project that offers eager young learners hands-on experience in applied computer science, electrical engineering, 3d printing and mechatronics and encourages them to focus on space innovation: the ISS Mimic.

Five years ago, on the 15th anniversary of continuous human presence on the International Space Station (ISS), Boeing engineer Bryan Murphy proposed a STEM outreach project to his colleagues who work on the real space station. The idea: to create a 1% scale model of the ISS, complete with moving parts, that mimics in real-time the telemetry data of the space station that circles the earth every 90 minutes.

A poster with the title "ISS Mimic Physical Model Replicating ISS Real Time." A flowchart is labeled "Actual ISS," arrow "Live ISS data pulled from web," arrow "Cheap embedded processing & I/O," arrow "Interactive display," arrow "articulating model of ISS," arrow "Elements illustrate when crew wakes, sleep, perform tasks," arrow "Projection of earth behind model," arrow "Motors rotate 12 joints to match real-time ISS."
A poster created by Bryan Murphy explaining the ISS Mimic project.

Murphy wasn’t the only one in the group who had discovered that NASA was constantly broadcasting live, publicly available data from ISS back to earth via ISS Live. The vast collection of data, including details on battery levels, solar array rotations, air lock pressure, and much more was available for anyone to use. Murphy and his teammates figured: why not bring the station down to earth in a desk-sized model that anyone could interact with? They decided to go for it.

Boeing is the prime contractor for the ISS. For over two decades, Boeing’s ISS team has provided round-the-clock operational support, ensuring that the full value of the world’s most unique and capable research laboratory is available to NASA, its international partners, other U.S. government agencies and private companies. So, for three and a half years following the conception of the ISS Mimic, the off-hours project progressed slowly alongside the engineers’ work supporting the space station and the mind-blowing scientific achievements emerging onboard. The primary project goals were keeping cost and complexity down to be educator friendly while maintaining the essence of ISS.

"...that was the major obstacle that inspired us to either give up the project or fight with everything, with all of our arsenal, to get it refunded."
Sam Treadgold

ISS Mimic steadily took shape, but it wasn’t until February of 2019 before they felt it was ready for public demonstration. They took ISS Mimic to a local high school to show students the moving model. But something was wrong. The live data stream – that important information ISS Mimic relied on to represent its big sister in the sky – had disappeared. “Everything worked until we got there[to the school], and we were like, ‘what’s going on?,’” recalled Craig Stanton, Murphy’s fellow Boeing engineer and ISS Mimic teammate. Without the data, they couldn’t demonstrate the live syncing, but could still show off the mechanics, control screen, LEDs, and 3D printed parts, so in true fail-forward fashion, they pressed on.

The interest from teachers and students was palpable. Though they’d done some small in-house show-and-tells, “it was the first time for us to take it anywhere,” shared Murphy. “For me, it was very motivational to finally be out there.” The team knew they wanted to move forward and get ISS Mimic in the hands of more teachers and students, but what had happened to the data from ISS Live?

ISS Mimic, a 100th scale model of ISS, sits on a table. You can see 3d printed tubes, wires connecting to motors and large, foil covered solar arrays.
The ISS Mimic model includes 3D printed modules and motorized solar arrays. Not pictured is the Raspberry Pi interactive display screen. Photo curtesy of Bryan Murphy.

The team went searching for answers, and the news was not good. Sam Treadgold of Boeing’s ISS team phrased it succinctly, “ISS Live got defunded – the public NASA telemetry suddenly shut down, and that was the major obstacle that inspired us to either give up the project or fight with everything, with all of our arsenal, to get it refunded.”

They thought the project was toast. It would have taken a major decision from NASA leadership to reverse the funding decision, but the tenacious team wasn’t ready to give up. They contacted everyone they knew who had vested interest in the STEM engagement and outreach benefits of the now defunct program. After a string of touches with decision makers, a fateful meeting with William Harris, the CEO of Space Center Houston, the public visitor center next to NASA-Johnson Space Center, brought forth Harris’ support, and the collective efforts were enough to get the funding restored. The data stream turned back on.

ISS Mimic uses real-time data from the International Space Station to control its movements. Photo by Estefannie https://www.youtube.com/user/estefanniegg

“Once we passed that hurdle, it was like the floodgates opened. Let’s go. Let’s do it!” shared Susan Freeman, who also supports Boeing’s space station program. ISS’s 20th anniversary was approaching, and NASA was interested in promoting the project to encourage public interest in ISS. The ISS Mimic itself was in a development state that it could visualize interesting changes on ISS in real time. “One of the data values is the pressure in the U.S. airlock. We monitor that data so our program can recognize when a spacewalk is happening,” said Treadgold, “ Last year, when a hole formed in one of the Russian vehicles, the pressure in the whole ISS started dropping, and our lights started flashing [on ISS Mimic]. There wasn’t a spacewalk going on, and we were aware of the leak.”

“That’s not usually publicly known when that’s happening. It’s usually announced a few days later when NASA makes the public report,” shared Stanton, “but this way, you’re looking at the live data stream, and all of a sudden, you’re just as in the know as the people in the operations room. How cool is that for people and kids at home!”

re:3D donated highly detailed 3D prints of the ISS Mimic solar arrays for the project. The solar arrays are printed with PLA on Gigabot using a 0.25mm nozzle.

And it was becoming more than just an outreach project, they were discovering that this scale model was helping them understand the work they were doing on the real space station with more insight and more collaborative understanding of the challenges and quirks of the flying football-field sized spacecraft. “ISS is massive,” said Freeman, “I know only these tiny little pieces. That in itself is a humbling thing, to realize and accept that I’m not expected to know all of this vehicle. There is so much work done on ISS, and a lot of time you’re so focused on your little, tiny detail, that you don’t necessarily know what else is going on around you.”

Boeing’s Chen Deng, whose day job focuses on supporting the experiments on ISS, explained looking at ISS Mimic helped cut through misunderstanding about thermal needs of payloads. “By looking at [ISS Mimic], we realized it was at an angle where the payload was not getting any of the sunlight needed to keep its warmth or input from the station itself, and that really helped.”

Six people, four men and two women stand in front of a display of the earth with the ISS floating above their heads. All of them are wearing tshirts that read "ISS20"
Some of the ISS Mimic team posing inside of Space Center Houston. From left: Doug Kimble, Craig Stanton, Bryan Murphy, Sam Treadgold, Susan Freeman, Chen Deng. Photo by Estefannie https://www.youtube.com/user/estefanniegg

The ISS Mimic team is in the process of building a second model for Boeing’s internal team in charge of “pointing” the solar arrays. The ISS Mimic can rotate its solar arrays 60 time faster than the actual space station, allowing the engineers to test and visualize their code before using it on the real thing. ISS Mimic can also “replay” previously collected data engineers use to assess and understand anomalies. “This is better than numbers on a screen or even CAD animations,” reflected Treadgold. “You see this and know exactly what’s happening.”

But beyond the functional model, of which they’ve replicated 80-90% of ISS, the team wants to use ISS Mimic to make the interface intuitive, easy to understand and exciting to build for students. To make it so easy to pick up that it’s like a LEGO build, and so inviting that it draws people in to an interest in science or space. “The hardest part to get right is STEM outreach,“ shared Doug Kimble of Boeing’s ISS team. “We need to get more students involved and excited about ISS. We need future astronauts; we need future female astronauts. We need more kids excited about STEM, and science and math, and this is one of the ways we can do it.” Showing students that the robots they’re crashing into each other in competitions use the same encoders, the same programming, the same motor drivers that are on the ISS Mimic makes it accessible and reinforces for students their own capabilities.

“We want these ISS Mimic models everywhere, in every airport, in every museum, in every school. Big dream,” declares Freeman.

“So people can see that they’re capable of this,” explains Murphy, “and have a real chance to play in this domain. It’s a means to let every disadvantaged kid know they can do this stuff, tinker in this field and see if they may want to turn this into more than a hobby one day.” It circles back to Kidd’s experience with a lack of role models. If the team can introduce the ISS Mimic to a student who hadn’t been exposed to the space program before, they might spark an interest the student didn’t even know was there. It might just set them on a path to a career which, for the members of the ISS Mimic team, is challenging, thrilling, and celebrates humanity’s greatest collaboration.

The ISS Mimic team includes:
Chen Deng
Susan Freeman
Dallas Kidd
Doug Kimble
Bryan Murphy
Craig Stanton
Sam Treadgold

Want to volunteer? ISS Mimic is looking for programmers, 3D modelers & educators to join the team! Reach out to them at:
email: iss.mimic@gmail.com
fb: https://www.facebook.com/ISS.mimic/
ig: https://www.instagram.com/iss_mimic/
twitter: https://twitter.com/ISS_Mimic
discord: https://discord.gg/34ftfJe

re:3D offers 3D printed ISS Mimic parts available at shop.re3d.org

Charlotte craff

Blog Post Author

Gigabot Engineering Updates – October 2020

re:3D’s Research and Development team never stands still, and while we’re developing the next generation of your Gigabot® and Gigabot® X 3D Printers, we’re continually looking for ways to refine the current iteration’s user experience, precision, and quality. As of October 1, 2020, all new Gigabot® 3+, Terabot and Gigabot® X 3D printers ship with the below enhancements. Current Gigabot® owners can order these as replacement parts that are fully compatible with previous versions.

New 3D Printed Parts

All Models

  • [12007] Fan Filter Base, [12008] Fan Filter Attachment,  [12074] Filter – Prevents buildup of dust in electrical box 

Gigabot® X

  • [12077] GBX Feed Tube Mount – Reduces slack in feed tube for better feedstock flow

Fit and Strength Part Adjustments

The below parts have had geometry changes or other additions to make them stronger or fit more precisely.

Gigabot® X and Gigabot® 3+

  • [11158] Gigabox Magnet Bracket 4 – Revised for better fit with linear rails
  • [11352] GBX Motor Driver Enclosure & [11354] GBX Motor Driver Enclosure Lid – Revised fit for easier assembly
  • [11336] GBX Feed Throat & [11986] GBX feed Throat Stopper – Improved pellet flow
  • [11484] GBX Hopper & [11529] GBX Hopper Lid – Improved seal and durability

Check out additional update on our Forum. Want to chat with an engineer to share feedback on your Gigabot & re:3D design priorities? Email info@re3d.org.

Happy Printing!

~Your Gigabot Engineering Team

Gigabot Engineering Updates – July 2020

re:3D’s Research and Development team never stands still, and while we’re developing the next generation of your Gigabot® and Gigabot® X 3D Printers, we’re continually looking for ways to refine the current iteration’s user experience, precision, and quality. As of July 1, 2020, all new Gigabot® 3+, Terabot and Gigabot® X 3D printers ship with the below enhancements. Current Gigabot® owners can order these as replacement parts that are fully compatible with previous versions.

New 3D Printed Parts (Polycarbonate unless otherwise indicated)

Gigabot® X

  • [11925] GBX Hopper Hose Clip: To make changing out feedstock less messy.
  • [11948] GBX Motor Coupler Insert (Taulman Nylon 910): more durable than the previous iteration.

Terabot

  • [11914], [11915] Terabot Light Rail End Cap: angled cap for positioning the LED light correctly.
  • Viki Enclosure: Terabot specific VIKI enclosure which takes its size into account.

New Metal Parts

Gigabot® X

  • [11955] GBX Radial Bearing (updated): more durable than previous version

Gigabot® 3+

  • [11953], [11954] GB3+ Hot End 0.25mm nozzle (Optional Part): for those who want finer details while printing big.

Fit and Strength Part Adjustments:

The below parts have had geometry changes or other additions to make them stronger or fit more precisely.

Gigabot® X

  • [11339] GBX Y Slide Bracket
  • [11344], [11342] GBX Belt Mounts
  • [11338] GBX Motor Spacer
  • [11952] GBX Enclosure Bottom Panel

Gigabot® 3+

  • [10880] Viki Mount
  • [Various] Z-axis Threaded Rods now coated for improved corrosion resistance
  • [10257] X Motor Mount
  • [11081], [11136] Left and Right GB3+ Extruder Tensioner
  • [11518] GB3+ Unibody Extruder
  • [10113] GB3+ Dual Extruder Cover

Terabot

  • [11662] Terabot Y Axis Belt Mount
  • [11658] Terabot Y Slide Bracket
  • [11697], [11690] X and Y Motor Mounts
  • [11664] Y Limit Switch Mount
  • [11736] 40×40 Rail End Cap
  • Bed Leveling Knobs Removed and Replaced With Bolts
  • [11504] Full Enclosure

Electrical Updates

  • Improved Viki grounding for all units
  • Electrical Box layout redesigned for Gigabot® 3+

Innovating in The Time of Corona(virus)

The exponential spread of the novel coronavirus across the globe led to overwhelming demand on supply chains and disruptions to traditional manufacturing and distribution systems. Because of societal lockdowns and stay-at-home orders, a dire need quickly arose for locally fabricated, specifically focused and creatively sourced solutions to equipment shortages and emergency supplies. At home and across the globe, designers and engineers quickly mobilized into online, open-source prototyping groups to solve the challenge of a lack of personal protective equipment (PPE), ventilators and medical device accessories. 3D printing and additive manufacturing was an obvious go-to, with the ability to rapidly prototype and iterate on the fly, teams could utilize 3D printers to supply healthcare providers with equipment now, as soon as there were designs to print. The intention and needs were obvious and clear – to aid humanity and fill the gaps in supply chains – however, organizing volunteers and streamlining the process to avoid duplicate efforts was a daunting task.

As a company with a wealth of R&D project experience and long used to working as a distributed team, re:3D put out the call that we would prototype – for free – any life-saving devices or PPE in order to expedite review by medical professionals. We are conscientious contributors to the open source design community for COVID-19 response. We take a First, Do No Harm approach to any design work we do for this effort, meaning that it needs to be designed with input from, and in partnership with, the individuals who will utilize any equipment we prototype. We will not create anything that gives a false sense of security, but is ineffective or harmful. Our medical providers on the front lines are in need, and we are honored to take on the challenge.

Face Shields

In two overlapping efforts, we prototyped a design for a 3D printed face shield with full visor coverage and an adjustable zip tie style latching mechanism. The inquiry started in Puerto Rico. Vicente Gascó, our friend and colleague from Tredé and Engine-4 shared he had a supply of 4000 clear plastic lenses for face shields, but no visor to which they would attach to the head. Armed with only the measurements of the lenses and aided by an idea from assembly guru and NASA technician Andrew Jica in Houston, Brian Duhaime, our mechanical engineer in Austin, and Alessandra Montano, our graphics designer in Puerto Rico, pumped out five different iterations of a face shield in only 48 hours.

Vicente and Luis Torres, co-founder of Engine-4, pulled our Puerto Rico Gigabot out of Parallel-18 and added it to the existing Gigabot at Engine-4. Gigabots in Austin and in Puerto Rico printed out iterations of the designs for testing.

In Houston at the same time, CTO Matthew Fiedler, mechanical engineer Helen Little and community liaison Charlotte Craff were meeting with doctors from a local hospital to discuss their needs for a face shield. Knowing that vetted, open source face shield designs were already available, the group reviewed designs by Prusa, Lazarus3D, Budmen and Professional Plastics. The Houston team 3D printed existing options for the doctors to test, but the designs didn’t meet all of the doctors’ needs:

  • Lightweight, fully closed top
  • Reducing the air gap between lens and chin
  • 180 degree lens coverage
  • Limit number of parts to reduce need to source materials in short supply

Knowing that supply chains were disrupted and very little raw materials were available in a timely manner, re:3D conferred with Professional Plastics and determined that plastic sheeting supplies were well behind schedule, but that there were excess pre-cut face shield lenses available. Again, re:3D opted to prototype to existing, local supplies, keeping stress off of traditional supply chains and getting creative with what was available.

Over the next week, Helen built on the work done for the Puerto Rico design, integrated the needs of the doctors and iterated ten different versions of the face shield while working from home and rarely getting to hold a print in her hands. The result is a single print, face shield with an adjustable latching mechanism. It’s designed for 180 degrees of protection and comfort without the addition of foam padding.  It has the approval of the hospital’s Infection Control and  is currently available at the National Institutes of Health 3D Print exchange for COVID-19 Response. https://3dprint.nih.gov/discover/3dpx-013504

Hands-Free Door Pulls

Eliminating unnecessary shared contact surfaces is imperative, especially in buildings where essential workers are operating to continue necessary services. Our team includes multiple military service members. One of our reservists was activated when she sent out a call back to our team to make some hands-free door pulls to use on the base. Aided by Matthew Fiedler, Mike Battaglia, our designer in Austin, and Brian Duhaime went to work prototyping hands-free door pulls for lever-style and bar-style door handles.

These designs were drafted before we had dimensions for either of the door styles, so had to be modeled in such a way to enable incremental dimensional adjustments while preserving the models’ shapes. During her free time, the service member sent feedback on the first versions via pictures and notes, and Brian and Mike iterated the changes remotely, melding organic shaped and attachment options into single print solutions.

The hands-free door pulls are now successfully in use on base, protecting our military personnel as they work to respond and aid COVID-19 efforts. These models are available for download here https://3dprint.nih.gov/discover/3dpx-013825 and here: https://3dprint.nih.gov/discover/3dpx-013822

From Intubation Box to Drape Stands

As a 3D printer manufacturer, we are understandably advocates of 3D printing use in manufacturing. However, we recognize that not all innovations require, or are best served by, an exclusively 3D printed solution. As we do much of our manufacturing in-house, including machining parts on our CNCs, we can apply rapid prototyping principals to traditional manufacturing methods. Take the example of an aerosol or intubation box:

We were contacted by an anesthesiologist based in Austin about modifying such a box, used to protect doctors and nurses from aerosols released when intubating a patient. The doctor’s main concerns were ability to clean and the need for a “helper” hole. This equipment needed a curved, clear surface rather than sharp corners where germs could hide. We offered to prototype using polycarbonate sheeting and an aluminum framework available in our machine shop.  In this case, the request for aid evolved before we produced a prototype. The anesthesiologist reported that the existing boxes were unwieldy and took up too much space, so instead requested a solution for supporting clear plastic drapes to achieve the same purpose and be easy to store. Matthew Fiedler proposed a combined 3d printed base and a bent aluminum frame for the project. Design work is ongoing and we will update this post as the prototype develops.

Are you a healthcare professional needing a COVID-19 related equipment solution? Please reach out to us at info@re3d.org to begin coordination. Should you wish to purchase any of our COVID-19 designs. They’re available in our online store: https://shop.re3d.org/collections/covid-19

Interested in supporting existing efforts to fight COVID-19? See below for how to help in Austin, Houston and Puerto Rico.

There is a huge maker community that has sprung to action to support the 3D printing of PPE here in Austin and the surrounding areas.  One of the largest efforts is being run by Masks for Docs (masksfordocs.com), who are actively soliciting donated face shield prints, assembling the shield, and distributing them to hospitals, health clinics, nursing homes, etc – all around the Austin area.  To help with this effort, re:3D will be collecting donated 3D printed face shields in drop-boxes at two locations, Brew & Brew and the Draught House Pub.
 
If you have a 3D printer at home or work & want to help out in the Austin area, you can access the Face Shield Design here.
 
Recommended Print Settings:
  • PETG is preferred, but PLA is completely acceptable if you don’t have PETG or are not able to print with it.
  • 3-4 solid top/bottom layers
  • .3mm layer height
  • 5 Perimeters (AKA Shells or walls)
  • 0% Infill
 
Drop off boxes can be found at:
 
Brew & Brew
500 San Marcos St #105, Austin, TX 78702
 
The Draught House
4112 Medical Pkwy, Austin, TX 78756
TXRX and the amazing maker-community continue to organize face shield collection around Houston.  We are donating 3D printed face shields as well as hosting a community donation box for makers in the Clear Lake area who are printing the face shields at home.  At our factory, the batches are consolidated and sent to TXRX for assembly and distribution to hospitals and first responders in the Houston area.  To date, over 1600 face shields have been donated from the Clear Lake area –  keep it up!
More information and the design file is available here.
 
The Clear Lake drop off box can be found at:
re:3D, Inc.
1100 Hercules
STE 220
Houston, TX 77058
The maker community, including a few Gigabots have done a fantastic job collaborating in San Juan & beyond. We are currently collecting requests for those in need of PPE and sharing opportunities to connect with Engine-4 and Trede’s efforts in Bayamon and additional efforts. If you live in Mayaguez and would like create face shields to be assembled with sheets that have been donated to Engine-4, a drop off box has been established. A UPRM student has also initiated a Slack channel to share other needs. Email info@re3d.org for access.
 
The Mayaguez drop off box can be found at:

Maker Chris’ house at:
76 Calle Santiago R Palmer E, Mayaguez PR 00680


If you live outside of these areas and/or are seeking ways to contribute, A Form to Volunteer is Available Here. We will be responding to inquiries this weekend and doing our best to facilitate introductions:)

Charlotte craff

Blog Post Author

Global Gigabot Community Rises to the Challenge of COVID-19

As we all face our new normal and adjust to the realities of life during a pandemic, our 3D printing friends and colleagues around the world have stepped up to provide much needed personal protective equipment, filling the supply gap for everyone on the front lines. This isn’t just for doctors and nurses, it’s also for the police, EMTs, grocers, gas station attendants, and every other essential worker who suit up to keep our societies’ services going during this crisis.

More close to home, we couldn’t be more honored to count many of these selfless volunteers as our customers. re:3D’s social mission to democratize manufacturing and 3D print with purpose tends to attract like minded individuals and businesses whose first instincts are to be the problem solvers for their communities.  Featured below are our friends’ efforts in their own words.

Engine-4, Tredé, Parallel18 & Daniel Varela

Bayamón, Puerto Rico

Tell us about the design you are printing.

After learning about a need for PPE, we started printing a derivative of the 3DVerkstan visor design for face shields that could accept pre-cut shields that had been donated. We chose that design because it was the fastest to print. It was nice to see along the way that it got NIH endorsement. Our expanding print farm of Gigabots & Prusa printers is located at Engine-4, and includes local Gigabots that Parallel 18, Daniel Varela, and Atlantic University (once it clears customs!) loaned to help bolster production.
Design Inspiration: https://3dverkstan.se/protective-visor/

PR Variant: Link to .stl file direct download

What material are you printing with?

We are currently printing with PLA.

Who are you printing this design for?

We are donating face shields to health professionals across PR. So far we have donated 1400. We’re also helping a doctor with 3D printed splitters. Just today we got a tightly fitted design and are doing further testing.

This fabulous group of makers who combined forces can be found online:

@engine4cws @trede.pr @p18startups

https://engine-4.com/

http://tredeprinting.com/

https://parallel18.com/

Bill Albertini

New York City, New York, USA

Tell us about the design you are printing.

When I heard about a potential shortfall in PPE supplies at New York area hospitals, my first reaction was to research mask/respirator models but soon realized they were not an ideal candidate for FDM printing. Face shields are also in short supply and there were a couple of designs that looked promising. I downloaded and tested several candidates before I found a design on March 26th by Swedish 3DVerkstan which they had just released in the wild, I soon I discovered that Weill Cornell and several other institutions had adopted this model because of its simplicity and ease of assembly. It consists of two components, a 3D printed head strap and a clear plastic shield which can be easily fabricated using letter size acetate sheet .005 or thicker and a standard 3 hole punch.

Download Site: https://www.youmagine.com/designs/modified-protective-visor-by-3dverkstan
Design Site:https://3dverkstan.se/protective-visor/

What material are you printing with?

I am currently printing with PLA but I am going to switch over to PETG as soon as I can set up better ventilation. This is an old fashioned New York loft work/live situation.

Who are you printing this design for?

Most of this first batch was donated to DIY Shield Project through connections with nycmakesppe.com, and they have been pretty much distributing to (public) hospitals with severe shortages like Elmhurst and Lincoln. I am also giving 50 kits directly to someone I know at Montefiore Hospital in the Bronx. I have also been in contact with Jenny Sabin who is running a site for Weill Cornell https://www.sabinlab.com/operation-ppe

Bill Albertini can be found online:

@bill_albertini

billalbertini.com

Efes Bronze | Serdar Erol

Yalova City, Turkey

Tell us about the design you are printing.

It is a simple face shield design that can save lives. The design came from 3BOYUTLUDESTEK.ORG platform. There are thousands of volunteers in this platform with 3D printers. “Sizi seviyoruz” is located on the shield and means that we love and thank you to all struggling with COVID-19.

What material are you printing with?

PLA

Who are you printing this design for?

All sanitarians, policemen, and some other officials that have to contact each other everyday.

Where can people sign up to assist with this effort?

WWW.3BOYUTLUDESTEK.ORG

Efes Bronze can be found online:

@efesbronze

Metabolic Foundation | Christie Mettes & Tony Sevold

Aruba

Tell us about the design you are printing.

We started working with the design from Prusa, which looked like it was carefully researched and tested and approved and it worked well, so we printed about 400 of those in total. We’ve recently moved on to the 3DVerkstan design, which takes half the time to print so it helps us increase our production. In addition to these, we’ve also designed a copy of some safety glasses they use at the hospital, which print even quicker and use less material.

What material are you printing with?

We’re printing mainly with PLA because that’s what we have, and it’s easy to work with. We’ve also used a bit of PETG and some ABS because that’s what we had, and it should work fine according to the Prusa and 3DVerkstan websites.

Who are you printing this design for?

We’re printing for the two main hospitals on the island, Horacio Oduber Hospital, and ImSan (Instituto Medico San Nicolas), as well as the department of health who are doing the testing (DVG, Directie Volksgezondheid), the psychiatric hospital organization (Respaldo), the union of family doctors and dentists, as well as individual health workers including nurses and family doctors who ask us specifically.

Where can people sign up to assist with this effort?

If you’re in Aruba, and have a 3D printer or can sew, you should sign up. Best way is to email us at lab@brenchies.com, or WhatsApp us at +297 630 2475

Metabolic Foundation can be found online:

https://www.facebook.com/brenchieslab/

https://www.instagram.com/brenchies/

Plodes® Studio | John Paul Plauché & Roya Plauché  

Baytown, TX, USA

Tell us about the design you are printing.

We are printing a head banding component of a protective face shield. It is based on a design by Prusa, and had been approved by the Czech Ministry of Health for use to help fill the void of PPE (Personal Protective Equipment). The version we are printing is a redesign by TXRX Labs and part of a volunteer effort that they had organized to help with our own local need for PPE during this worldwide COVID-19 pandemic. We are excited to see local additive manufacturing step up to a shared worldwide call, where intellectual property and design ego take a back seat to provide real time evolving, useful, and needed objects for humanity.

What material are you printing with?

We are printing with PLA from re:3D, always our first choice for on hand reliable material. We are printing 24×7 on our original (but upgraded a little) Gigabot #21! Each part is around 1hr and we are doing at least 6 units at a time.

Who are you printing this design for?

These prints are for our Houston area doctors, nurses, and staff on the front lines of the COVD-19 pandemic in hospitals and stations that are in need of PPE or anticipate a need in the coming days/weeks. Our parts are delivered to TXRX labs in Houston and are assembled with laser cut shields and elastic bands to complete the product and are distributed from there.

Where are you located?

We are located in Baytown, TX in our home office. My wife (Roya Plauché) and I (John Plauché) make up plodes® studio. We are a Texas based multidisciplinary design firm that draws from a coalescence of art, product, and architectural design. Our products are varied, authentic, minimal, and distilled with rigorous process to a balanced purity. Currently our best sellers are fire pits, so check them out and make a backyard escape for yourself while we are in this ‘Great Stay’. Help flatten the curve and please stay home as much as possible! 

Where can people sign up to assist with this effort?

We could use local area volunteers to pickup parts from us and drop to TxRX labs when we get 50-100 units at a time. Please email info@plodes.com with subject “TXRX pickup”. And please everyone visit TXRx’s go fund me at https://www.gofundme.com/f/txrx-manufactures-protective-medical-equipment and give what you can!

plodes® studio can be found online:

http://www.plodes.com/shop

@plodesstudio

CM Welding & Machine | Corey Mays

Midland, TX, USA

Tell us about the design you are printing.

We were printing a prototype ventilator splitter designed by Texas Tech and UT Permian Basin to allow up to 4 patients to use one ventilator. The first run has been sent for testing and we are waiting to hear back on that part. In the meantime we started reaching out to local medical personnel and some of the rural areas to see what needs they might have. We found the biggest need was for face shields. We chose a simple open source design and have been printing these 24/7 to fill these needs.

What material are you printing with?

For the ventilator splitter I chose PETG material and we are printing the face shield headgear out of PLA.

Who are you printing this design for?

Any medical personnel in need of face shields. 

Where can people sign up to assist with this effort?

I encourage anyone with a 3D printer to contact your local medical personnel or local universities of schools to help fill immediate needs there. Also, go to www.matterhackers.com and sign up for the COVID-19 response team. They will send out requests and files.

What has it been like for you working on this project?

It’s been exciting to be able to work on this project. As a manufacturer and mechanical designer I’m a problem solver by nature so being able to have the capability to help has been really fun and exciting! The Gigabot has been absolutely rock solid through this project. The larger print bed allows us more freedom to run different part arrangements so that we do not have to have someone here 24/7 to watch the machine. With the face shield head gear, we start a run of 6 in the morning and that run is ready to be pulled off by 5 pm. We then start a run of 8 that is ready when we come back in the following morning. I don’t think it has been off in almost 2 weeks and still going strong!

CM Welding & Machine can be found online:

Facebook: CM Welding & Machine

Pamton 3D | Pamela Szmara

Youngstown, OH, USA

Tell us about the design you are printing.

The headband design is PRUSA stl file. It is an existing design.

What material are you printing with?

We are using PETG from Village Plastics in Barberton, Ohio.

Who are you printing this design for?

We have supplied masks to Hospice of NY, the Ravenna Fire Dept in Ohio, and doctors at the Cleveland Clinic. 

Pamton 3D can be found online:

http://www.pamton3d.com/

The Kinkaid School | Jeff Diedrich

Houston, TX, USA

Tell us about the design you are printing.

The design is from TX/RX, a non-profit makerspace here in Houston. My first prints were based on a single design where I could fit 9 on the bed. Then Patrick Ferrell @PBFerrell told me about a stacked design with 9 high which meant I could do 81 at a time. This was a 110 hour print.

What material are you printing with?

PLA

Who are you printing this design for?

These are being printed for TX/RX

What has working on this project been like for you?

I am fortunate to work at a school with a Gigabot, and our head of school, Dr. Ed Trusty, was more than happy to allow me to use the school’s equipment and material to give back to the community.

Jeff Diedrich can be found online:

@misterdiedrich

Qrint Studio | Qumar Mirza

Toronto, Canada

Tell us about the design you are printing.

The designs we printed are our own design for non-medical grade face shields for local business and restaurants. Due to this reason, we made it so it could have a minimal cost.

What material are you printing with?

We printed with PETG.

Who are you printing this design for?

A local community non-profit.

What has working on this project been like for you?

We started just to help the community, but we end up applying for a health certificate so we could produce medical grade face shields.

Qrint Studio can be found online:

https://www.facebook.com/qrinting/

@qrintstudio

Doug Mockett & Co | Paul de Leon

Manhattan Beach, CA, USA

Tell us about the design you are printing.

We started printing designs a friend of mine sent to me – all from Thingiverse. After printing for a few days, I realized our two Gigabots weren’t going to be able to catch up with the demand, so Carlos and I played with the settings and got the print time down to 28 mins per visor for open visors, 35 mins for closed top visors (some hospitals preferred closed visors) which still wasn’t enough. I saw a post by a company from another country which did in house casting. That was clever so I thought we should do the same. I contacted our local silicon and plastic supplier for molding instructions and to buy materials to make silicon molds. I designed a closed visor that could work with molding and casting. I printed a few versions using our Gigabot 3+  and used that print to create a silicon mold.

We are also printing ear savers (mask extenders). These seem to be quite popular.

What material are you printing with?

PLA

Who are you printing this design for?

Local hospitals and nursing homes:

  • Torrance Memorial Hospital, CEDARS SINAI & Providence Little Company of Mary (earsavers), Long Beach Memorial Rehab, and other local clinics.
  • Delano Hospital, VA Palo Alto and other smaller clinics in other states

What has working on this project been like for you?

It has been a privilege and an amazing team experience to be able to create something to help in this time of need. It means a lot to our team to be a part of this project and donate to healthcare providers.

Doug Mockett & Co can be found online:

@dougmockett

https://www.facebook.com/dougmockett/

https://www.youtube.com/user/dougmockett

https://twitter.com/dougmockett

https://www.pinterest.cl/dougmockett/

Compendium Federal Technology LLC | Stuart Langford

Lexington Park, MD, USA

Tell us about the design you are printing.

Originally, we were going to make frames and donate them to Makers Unite in Baltimore, MD. At the time, they were asking us to use the Prusa v.RC2 face shield design.  In the meantime our CEO was communicating with local first responders, and Medstar Saint Mary’s communicated that they were running low on face shields. We used the Prusa v.RC2 face shield, but we made some minor changes so they would print faster. The straps are our design. We tried several designs including the strapless, but we received the best feedback from the modified Prusa v.RC2.

What material are you printing with?

PLA for the frame. NinjaFlex TPU 85 for the straps. The clear screens are made from clear acetate or PVC sheets.

Who are you printing this design for?

Medstar Saint Mary’s Hospital, Charlotte Hall VA Clinic, several nursing homes and private practices.

What has working on this project been like for you?

It has been busy, but rewarding. I wasn’t the only person contributing. My CEO John OConnell did the leg work, and my coworker Cedrick La Marca assisted with the CAD designs and resin printing. In addition to the face shields, we also printed spare ventilator parts for Saint Mary’s Hospital. Everything was donated free of charge.

Our story was featured on WJLA-TV Washington DC ABC affiliate.

Compendium Federal Technology LLC can be found online:

https://www.facebook.com/compendiumfederaltechnology.llc/

Are you a re:3D Gigabot customer working on COVID-19 efforts? We’d be happy to add your work to this blog. Email us: info@re3d.org 

Charlotte craff

Blog Post Author