Rolling Out the re:3D Wind-Up Car

Written by: Brendan J. Towlson

How do we encourage creators to explore new concepts? Give them something to create! When re:3D’s Community Liaison, Charlotte Craff was thinking of ways to spread the message that 3D printing is the future of manufacturing on Manufacturing Day, she came up with the idea of allowing visitors to build something out of 3D printed parts.“We build machines all day; why not provide our guests the opportunity to do so as well?” The wind-up car build was conceived. And the best part: you can print and build it yourself!

The 3D Printed re:3D Wind-Up Car

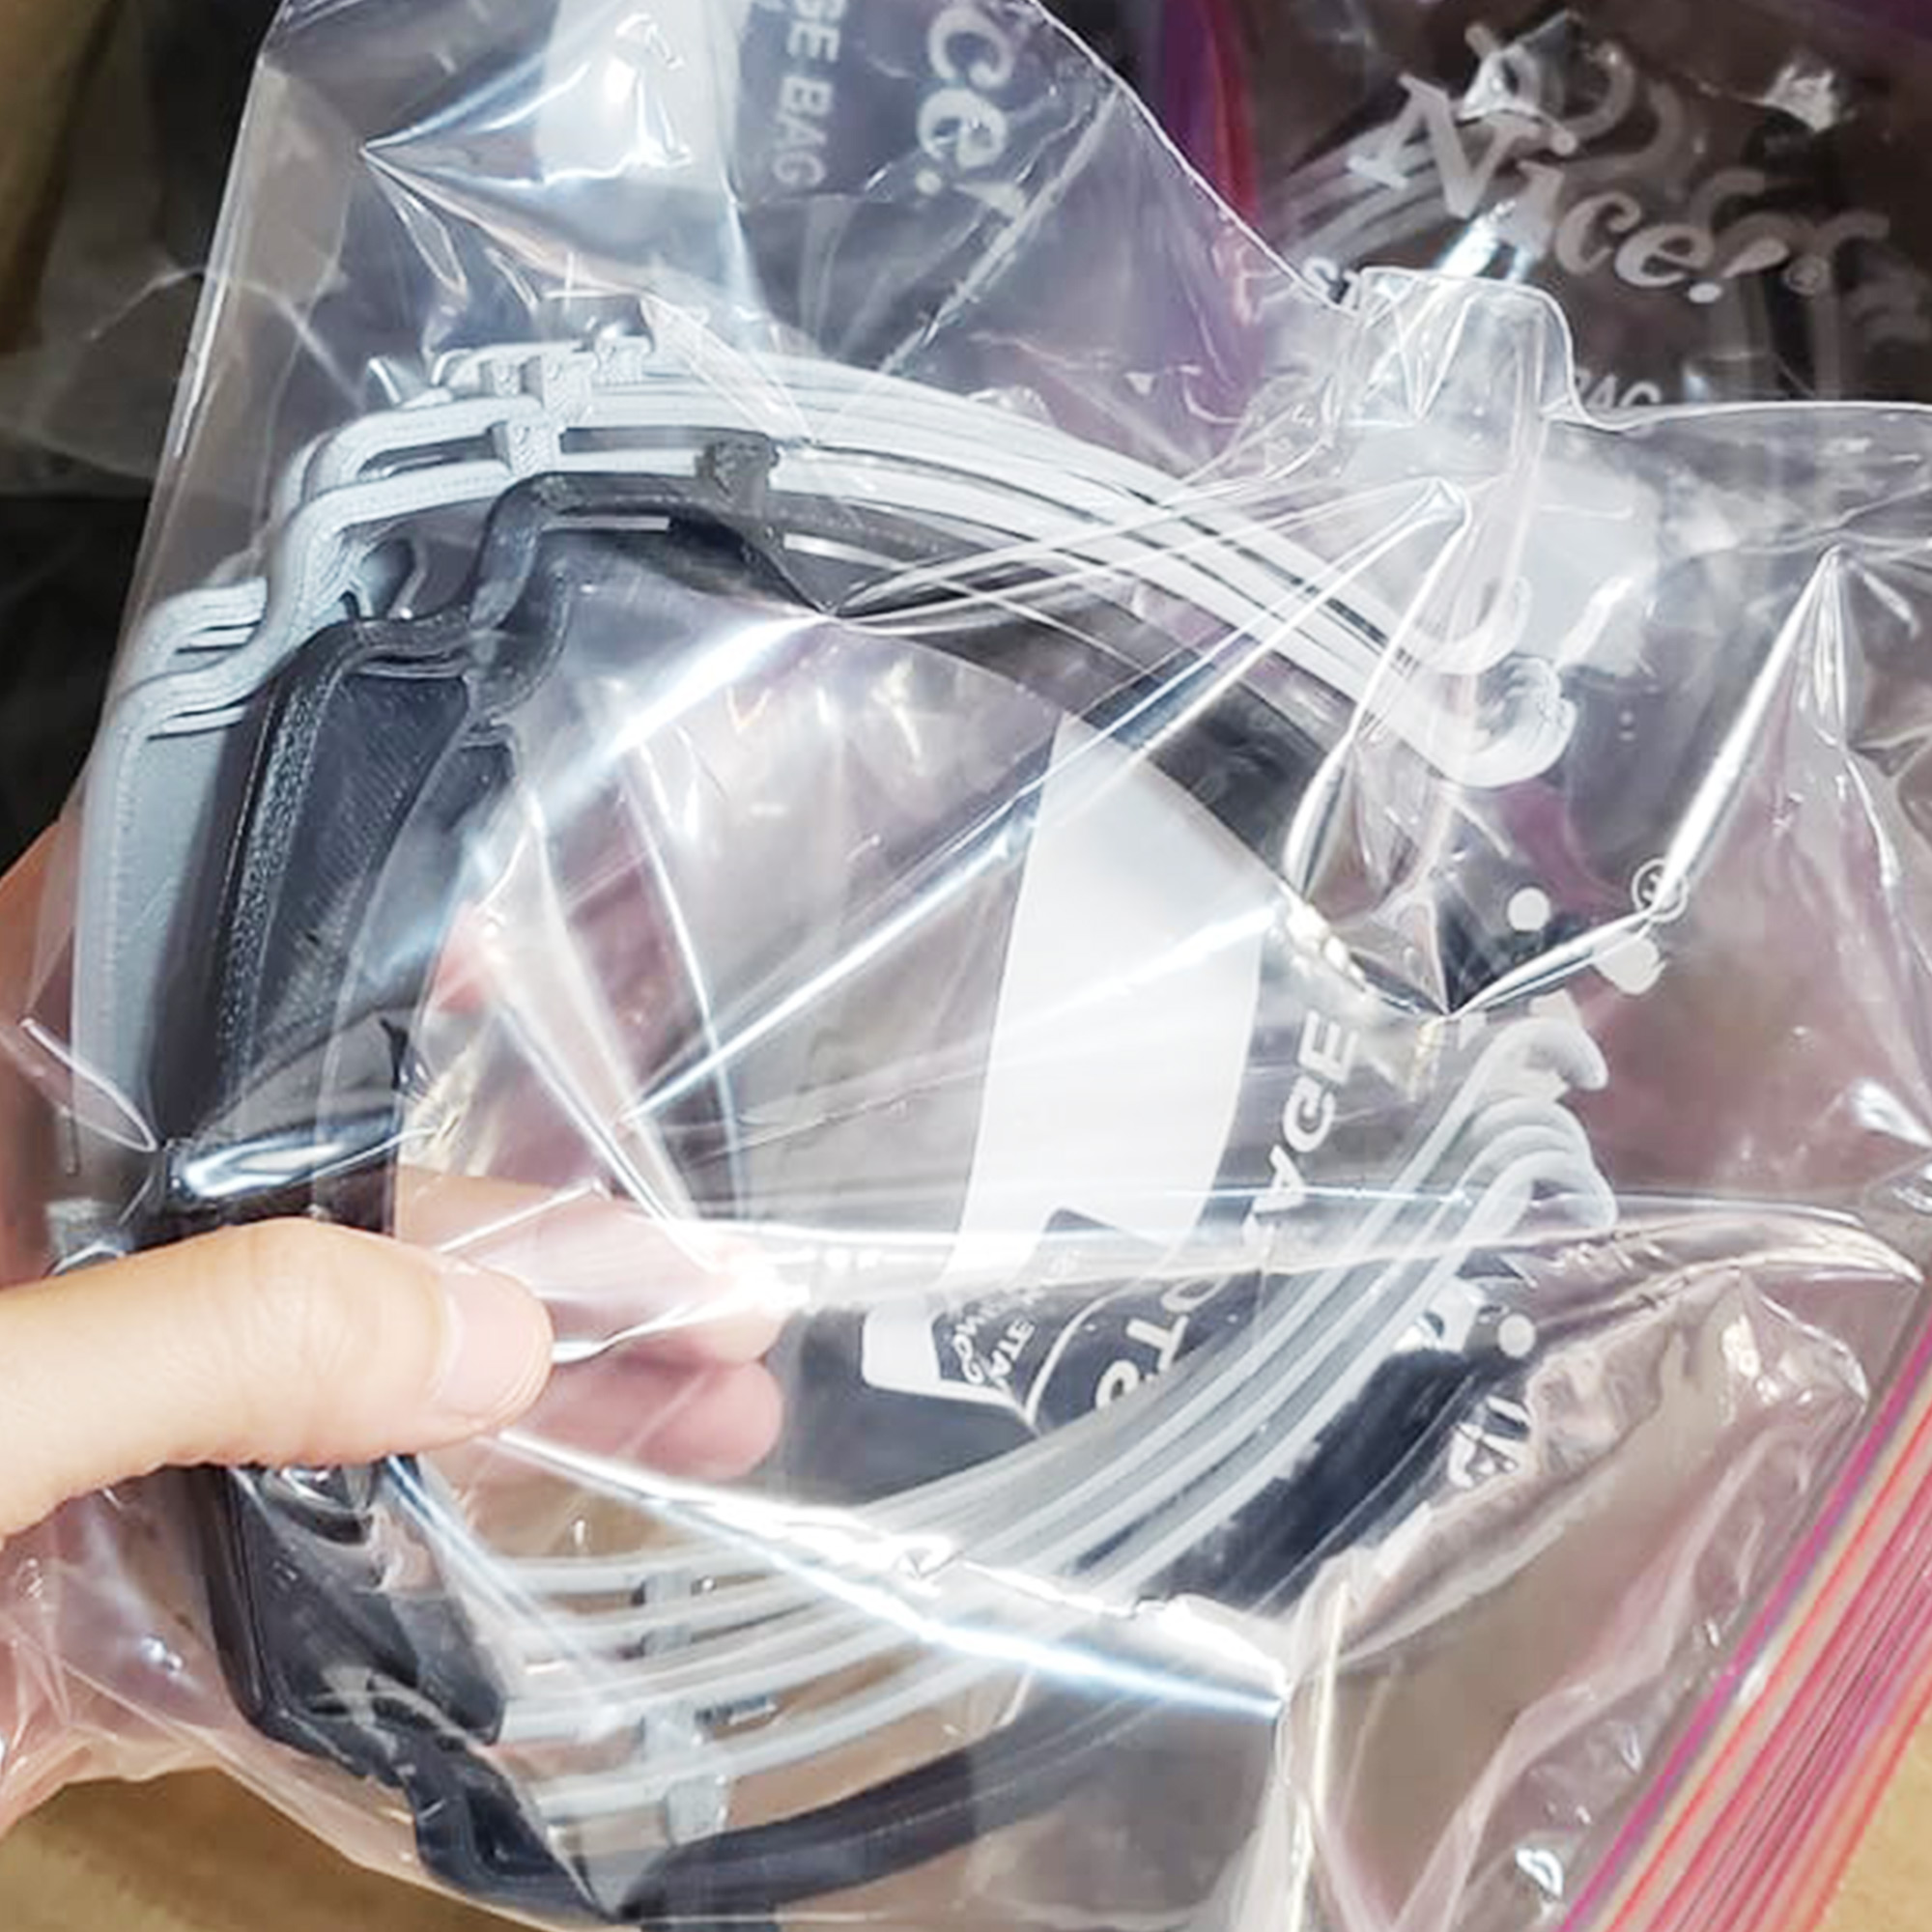
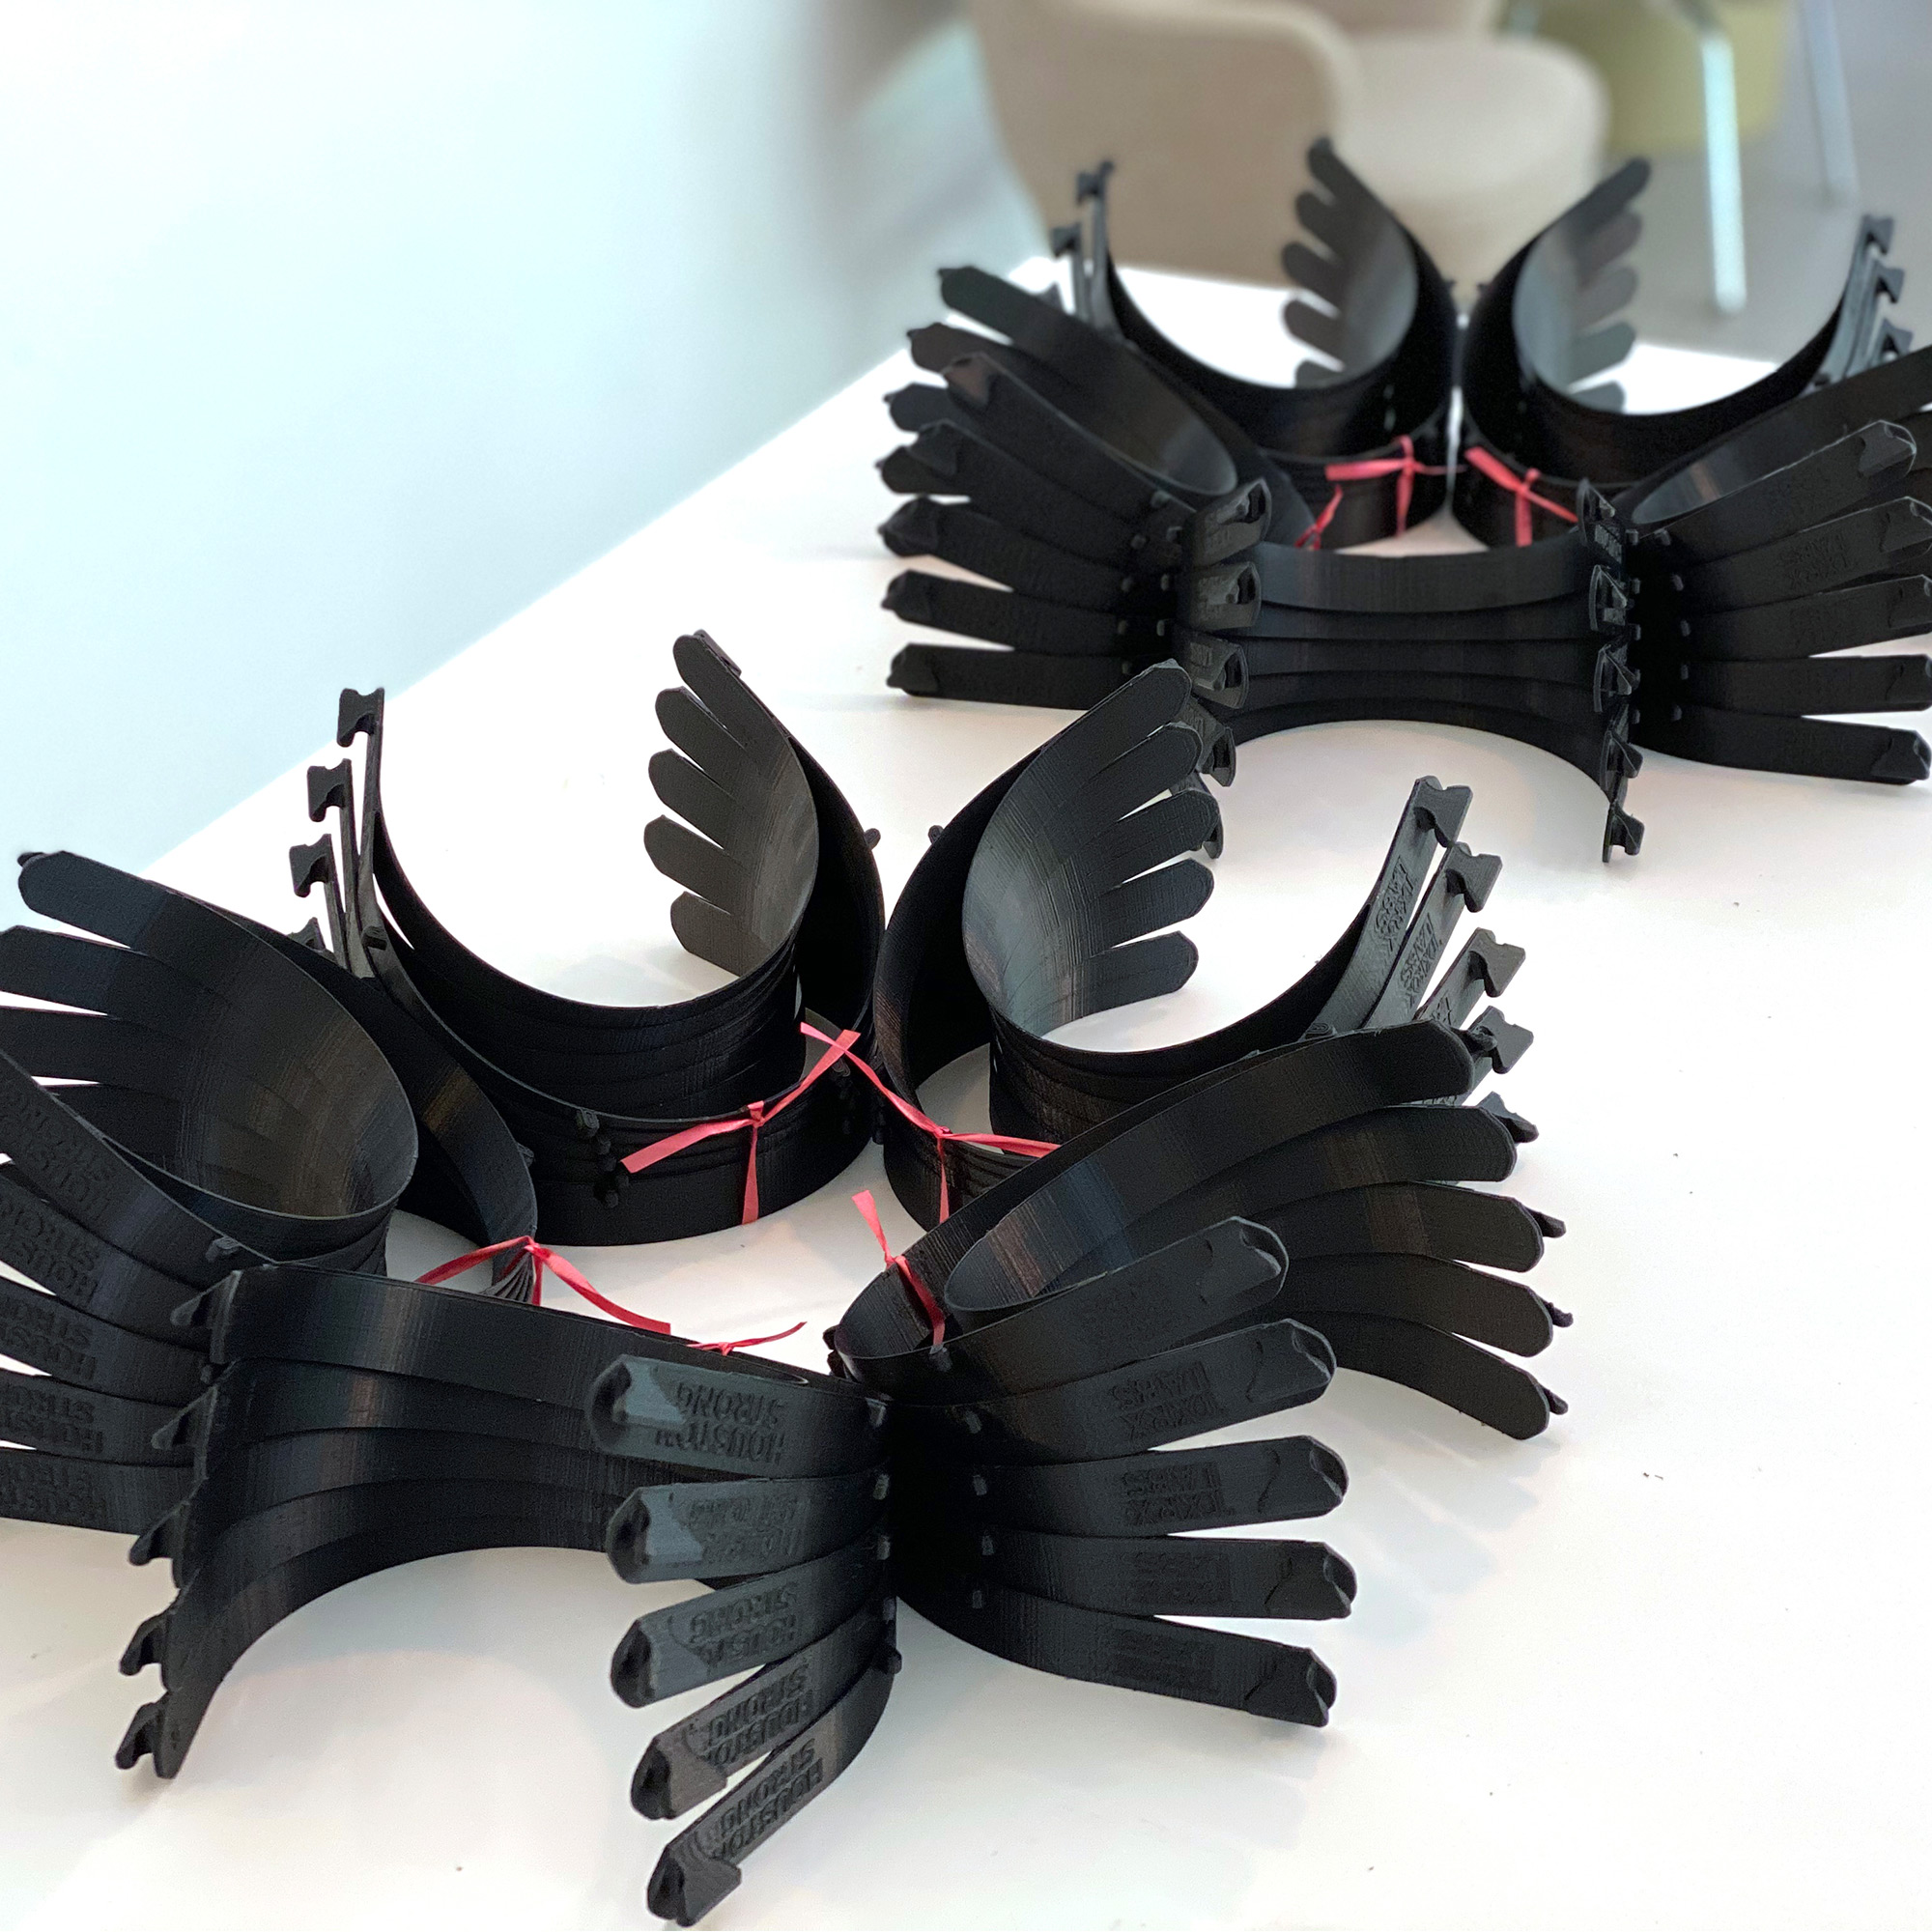
Attendees of re:3D’s Manufacturing Day Open House had the opportunity to tour the factory, touch and feel 3D prints from around the world, learn about the different skill sets involved in operating this unique hardware company, and finally take home their very own wind-up car. The challenge, though, was that the cars were not pre-assembled. If visitors wanted a car, they had to put it together themselves.

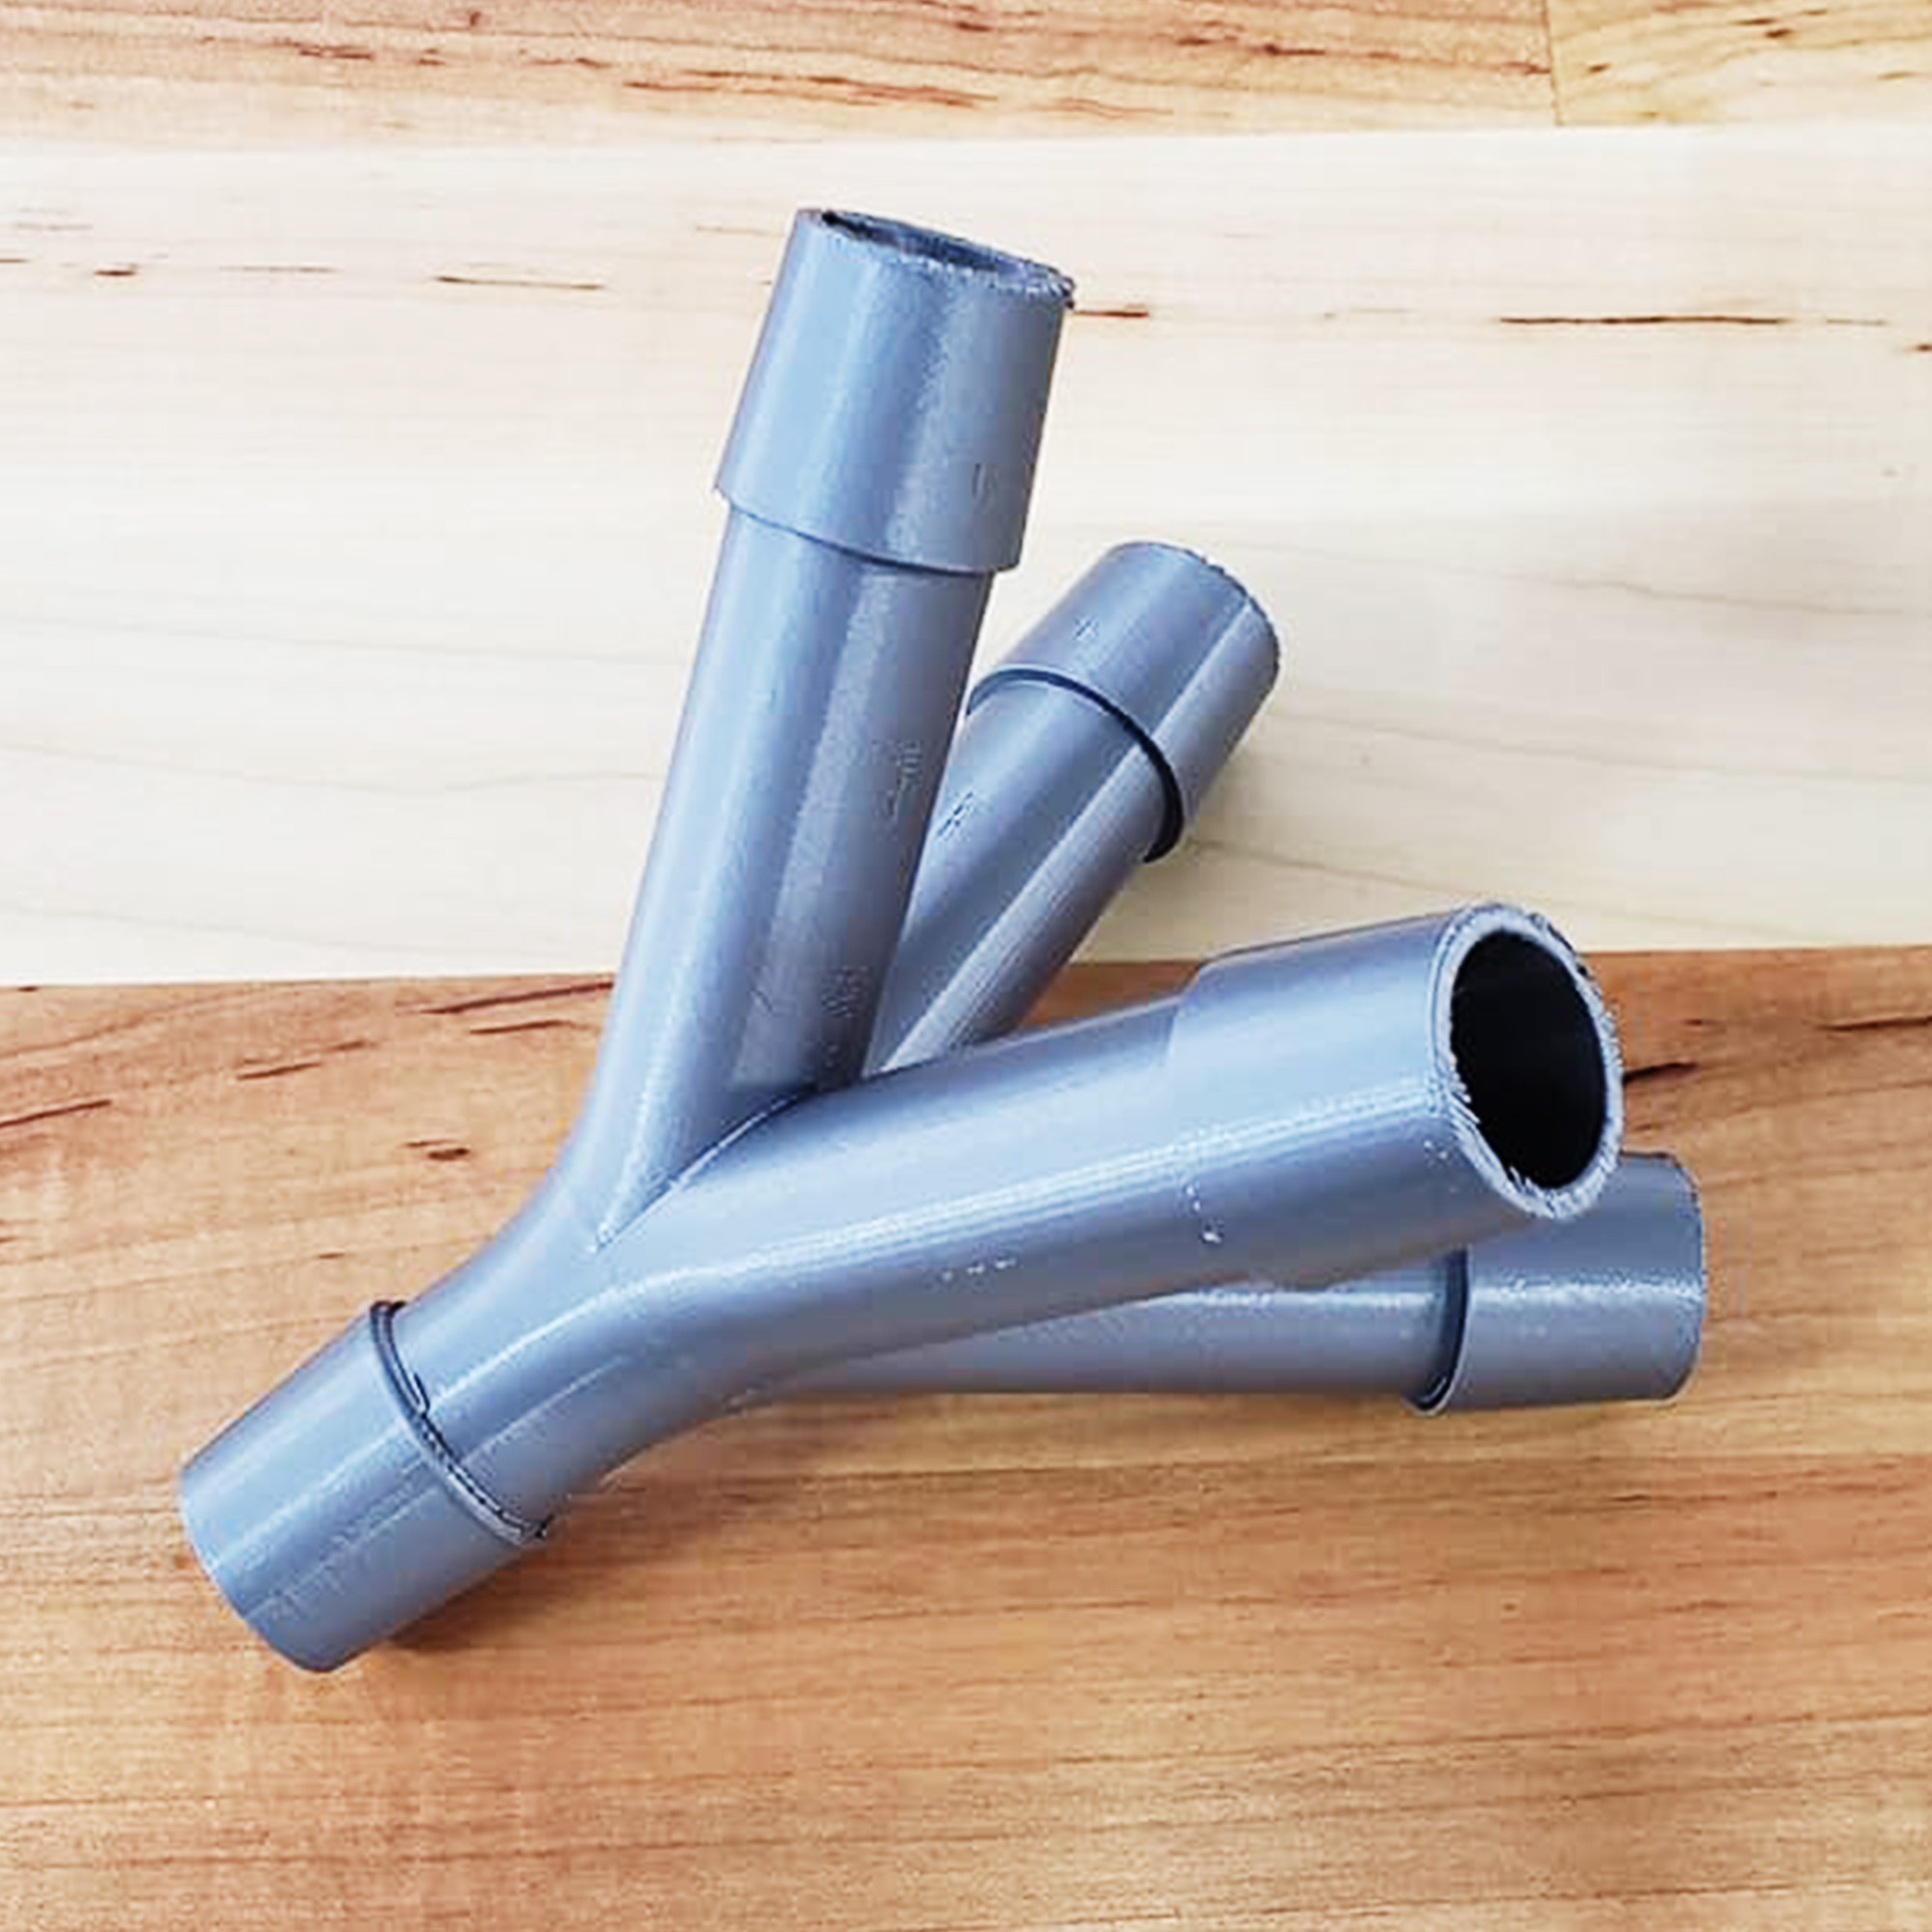
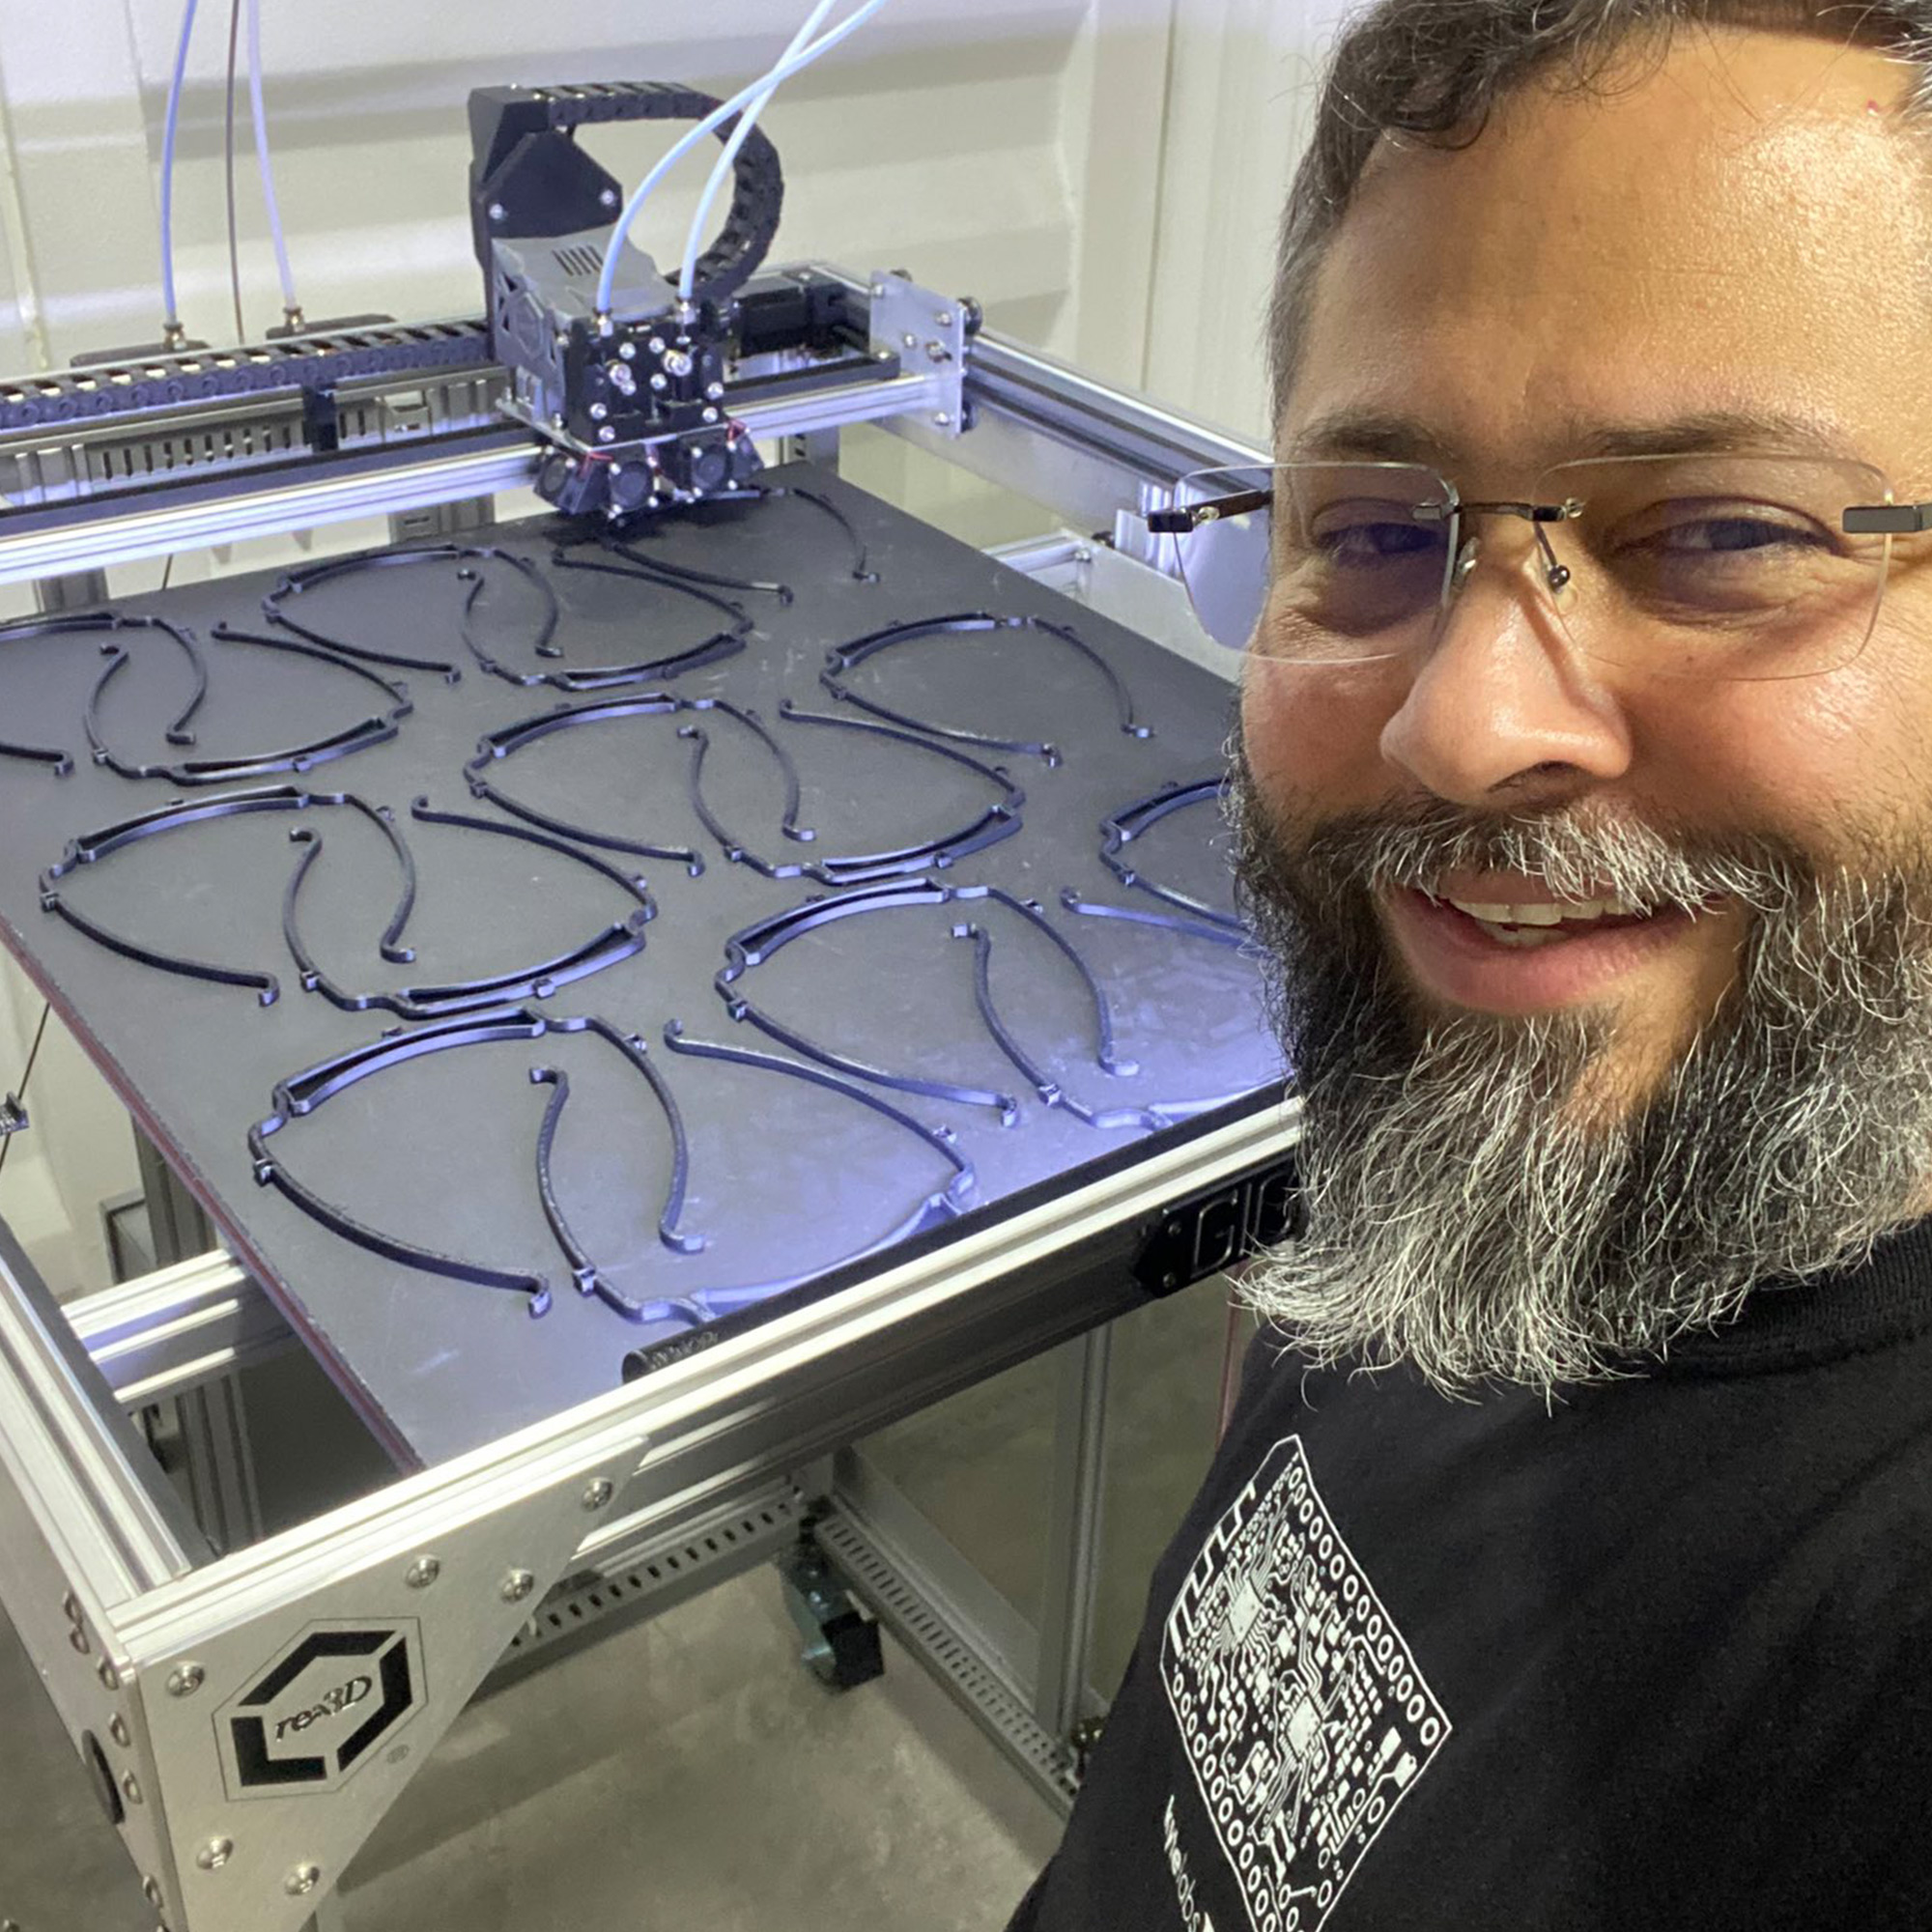
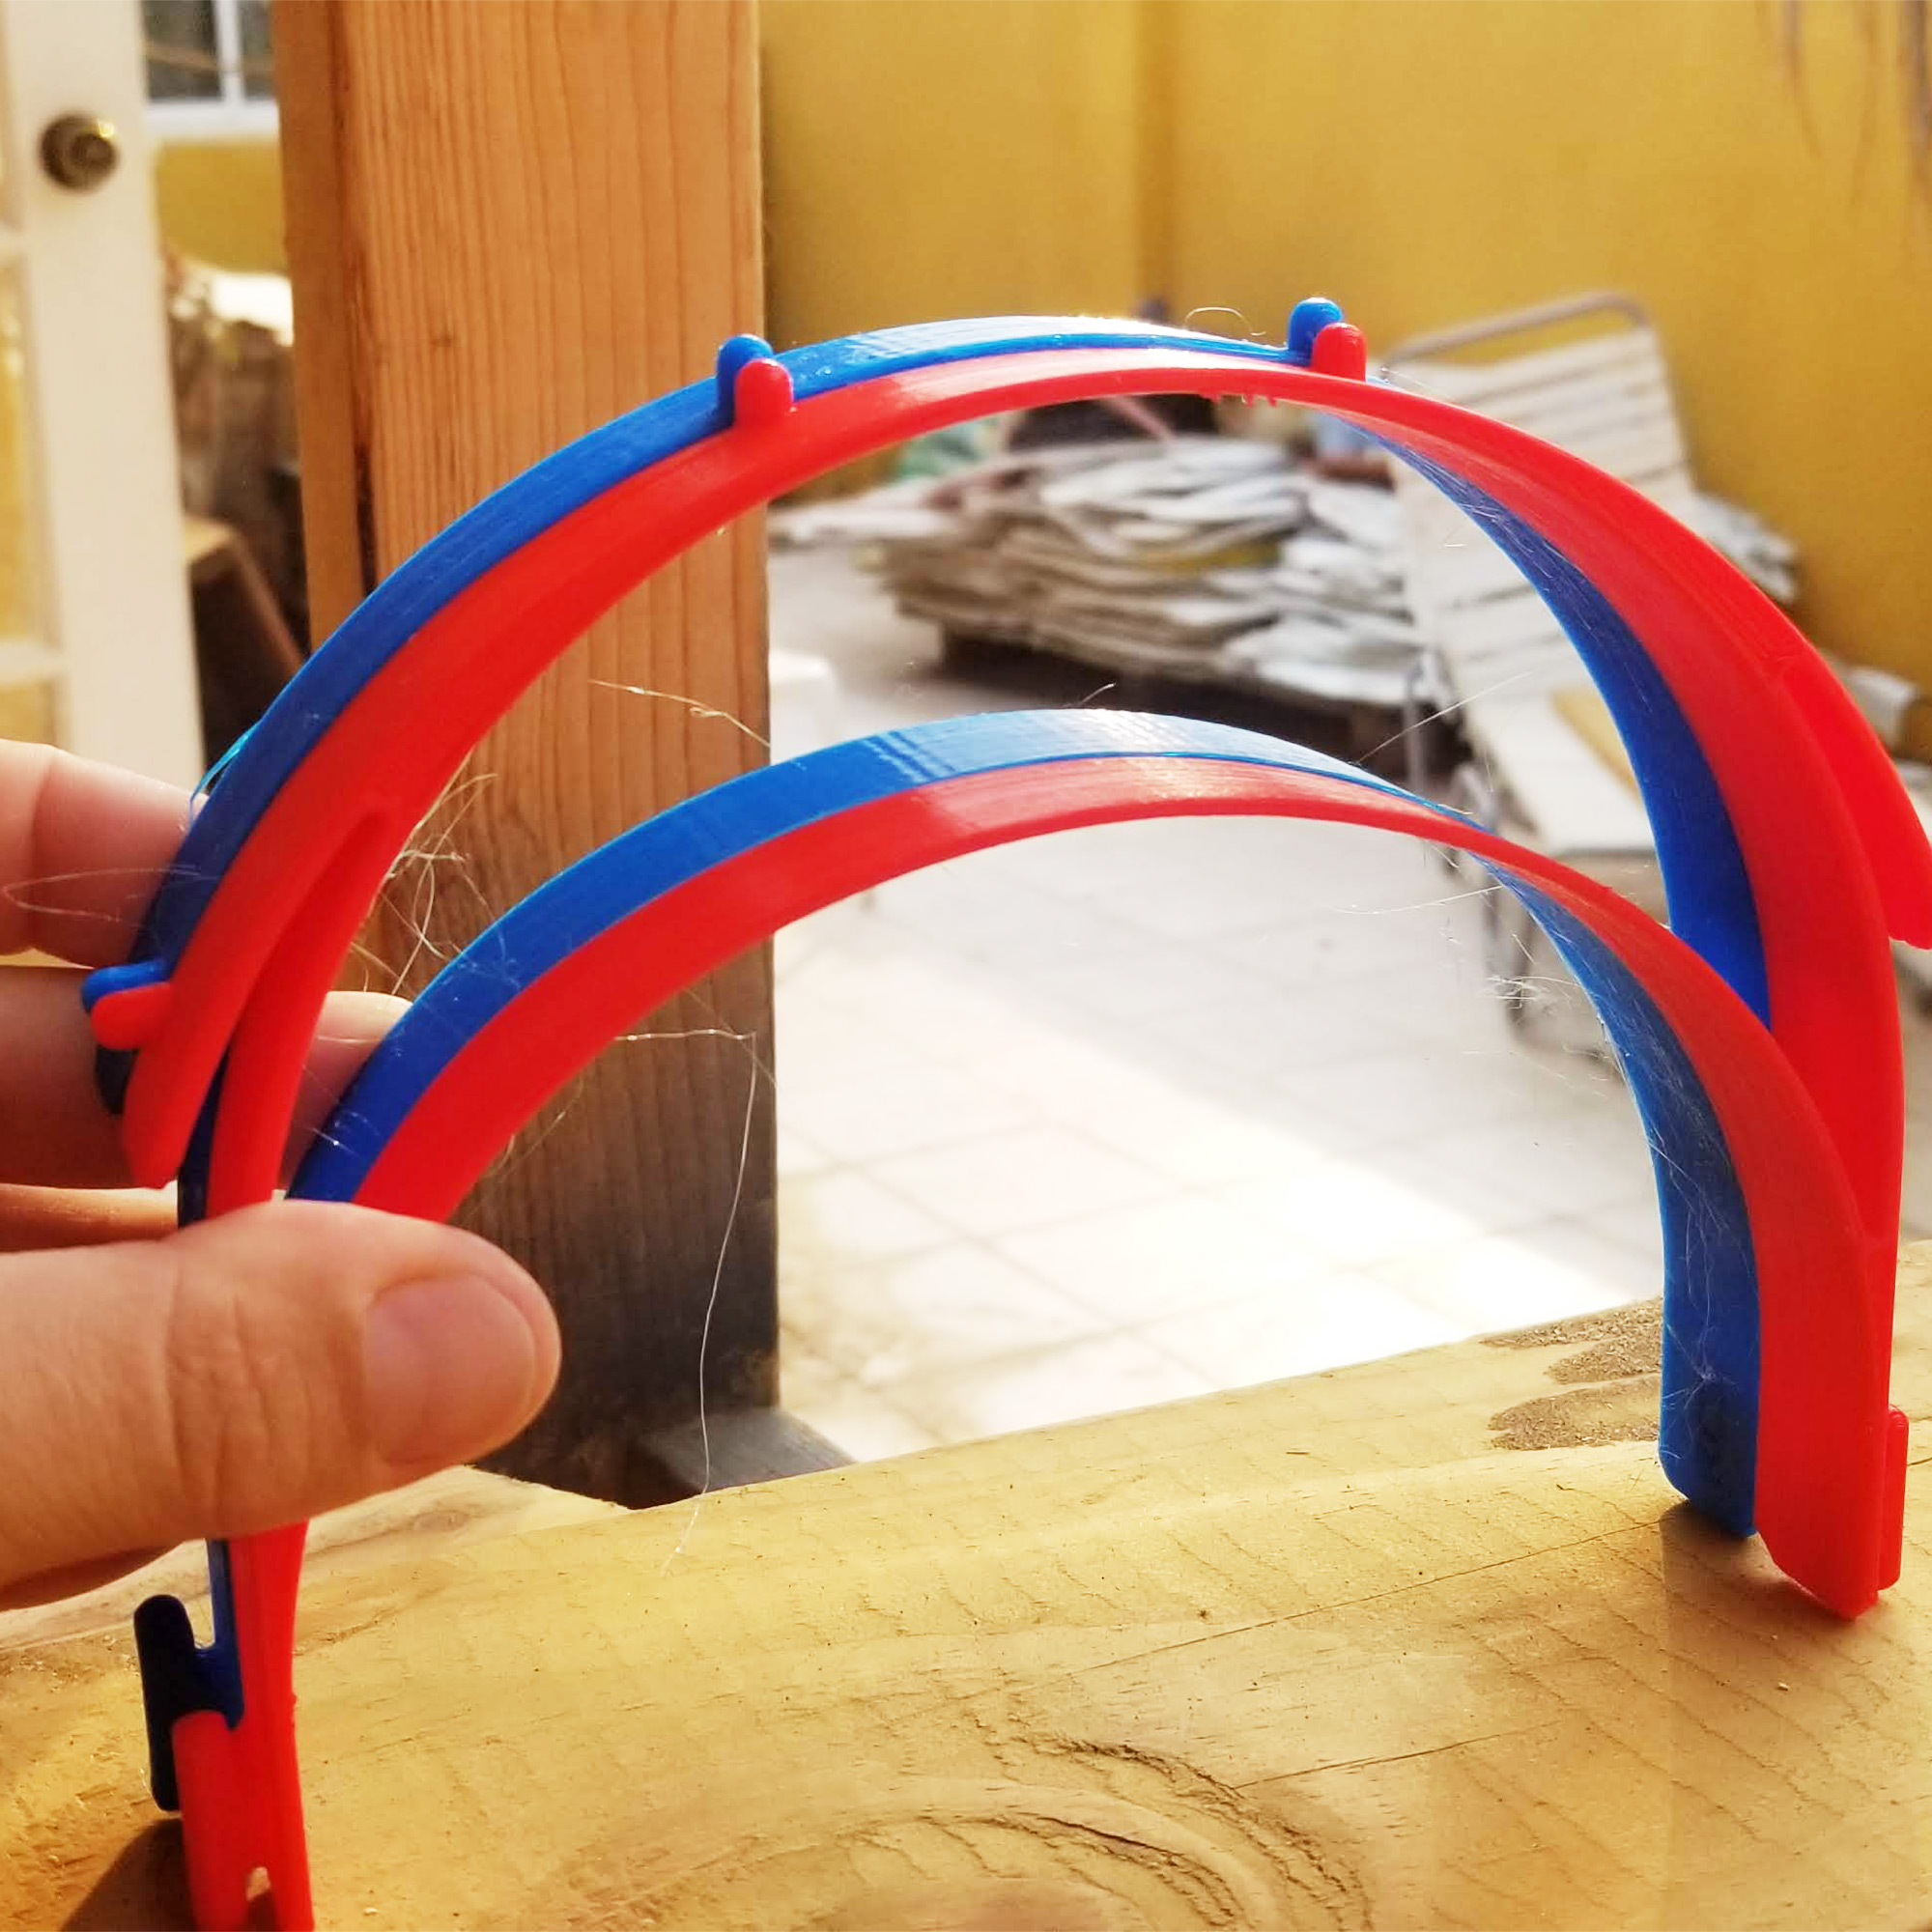
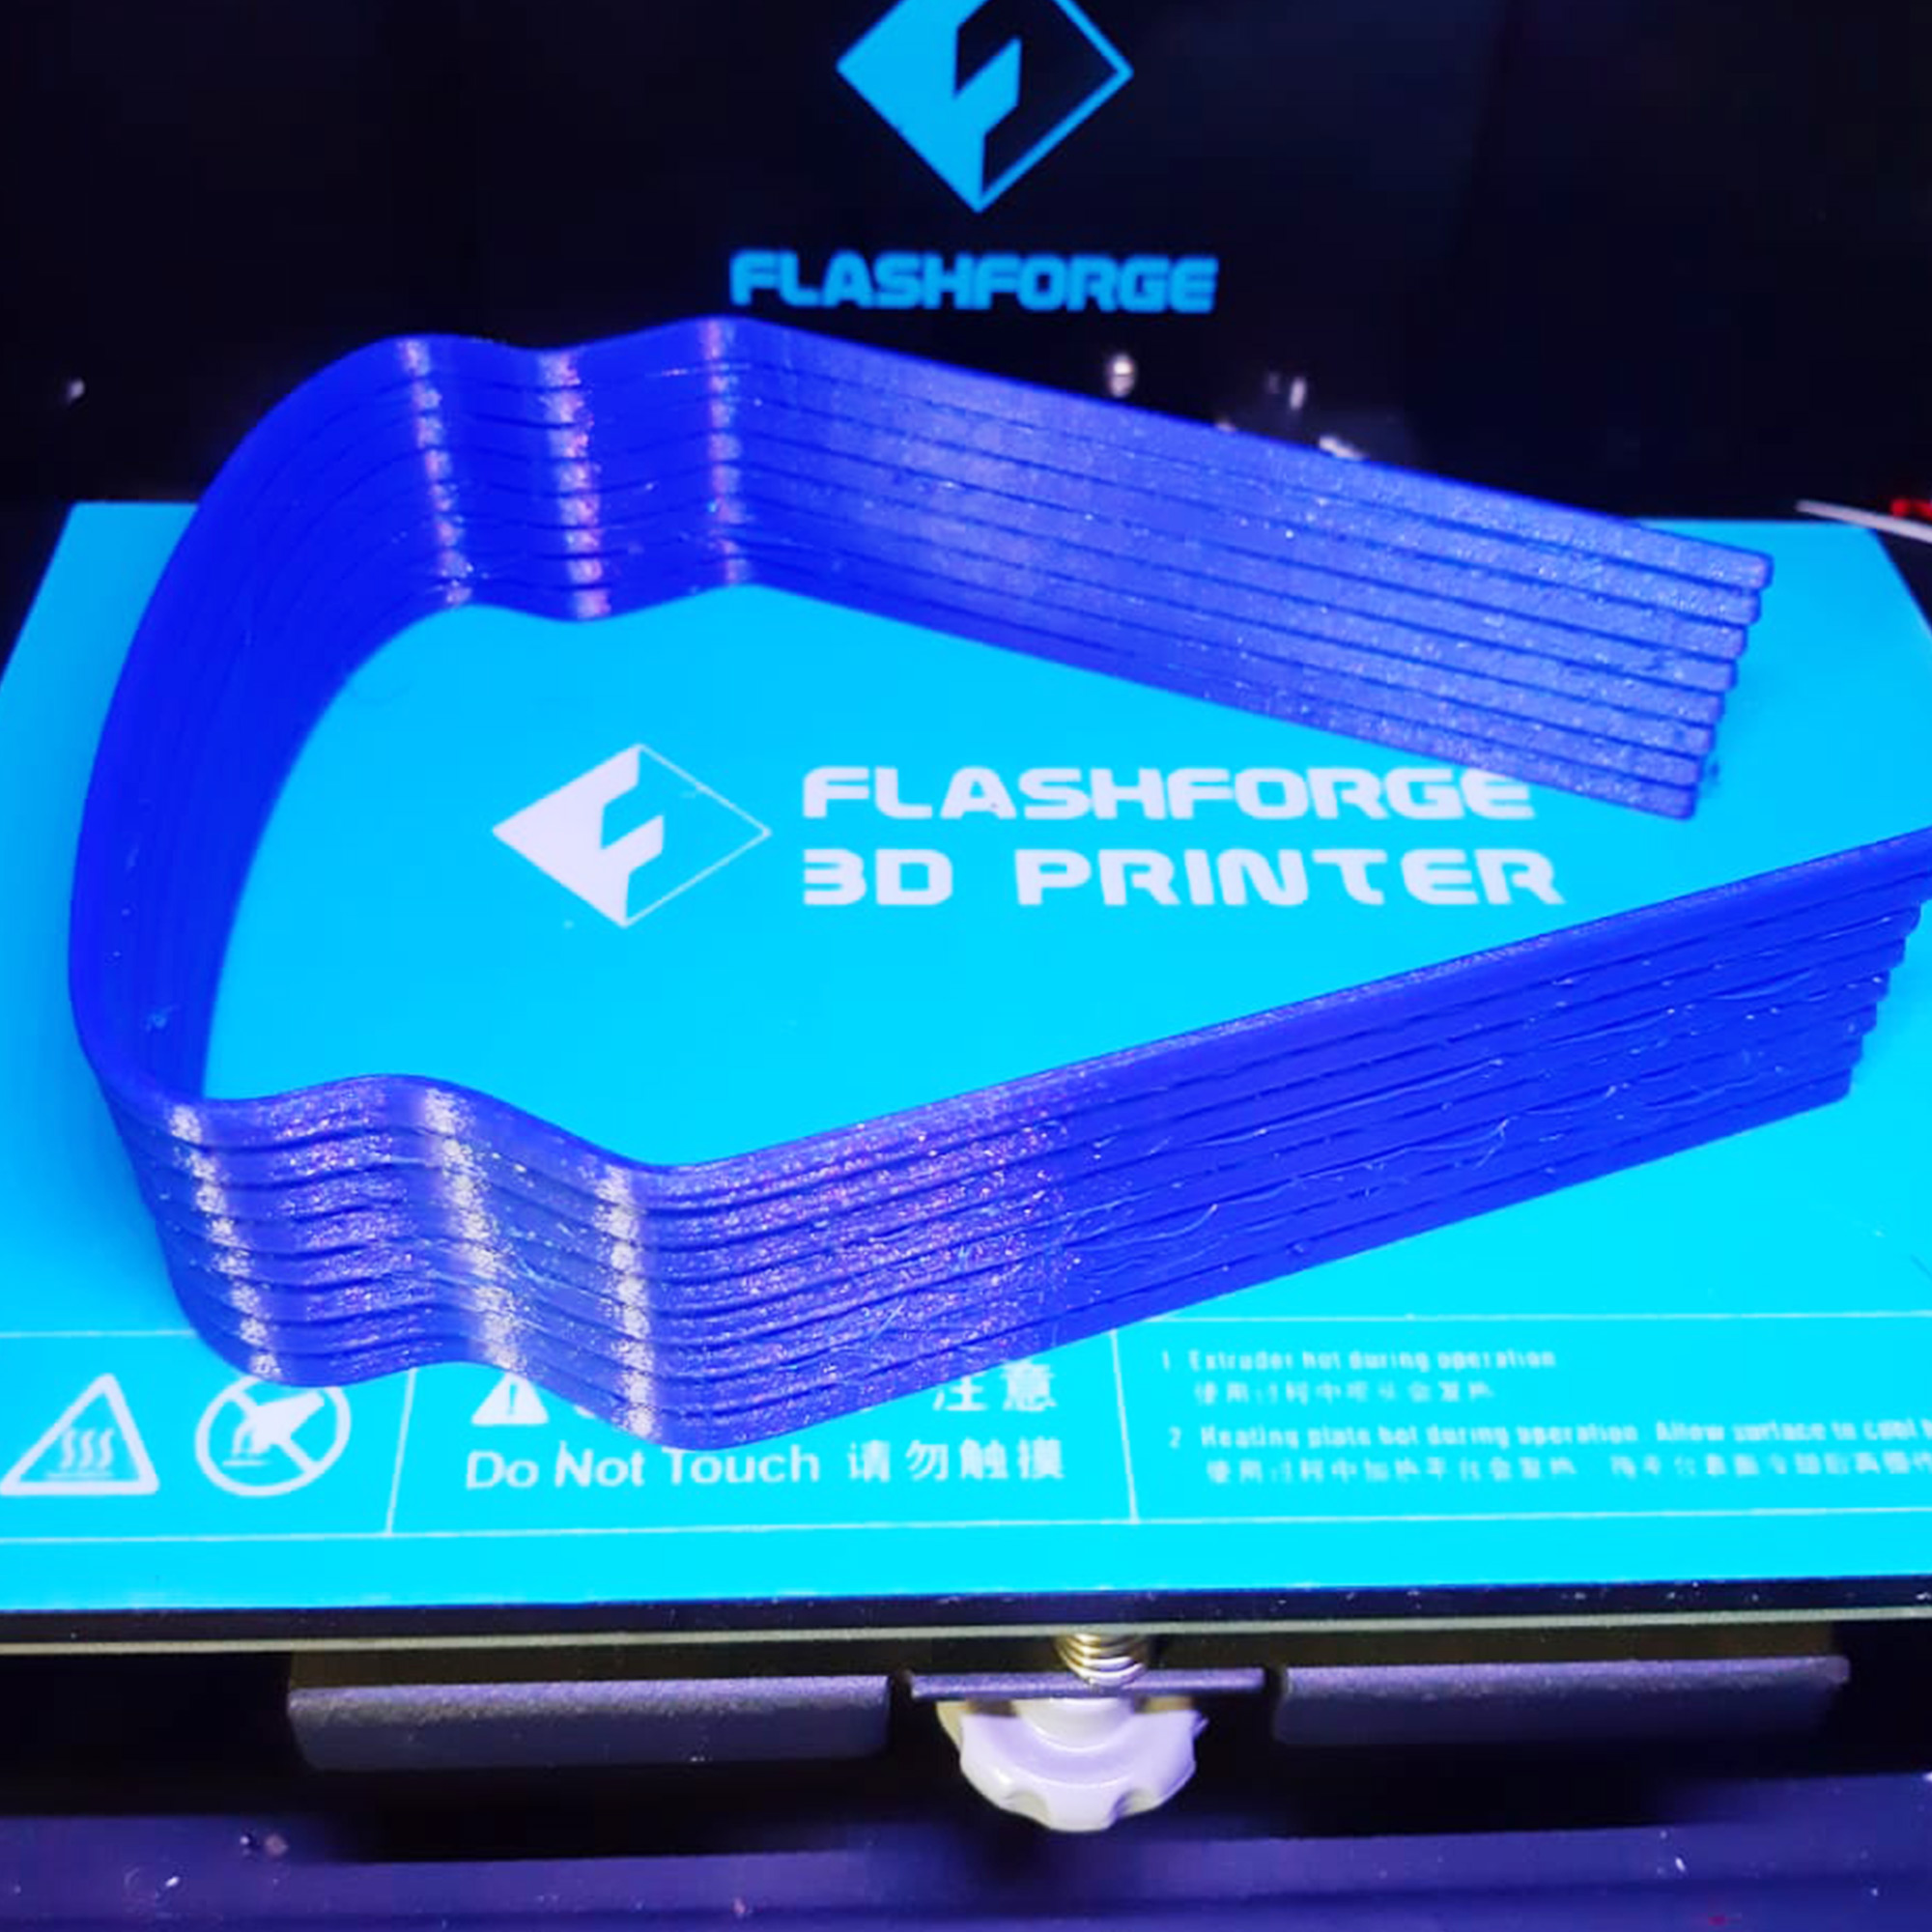
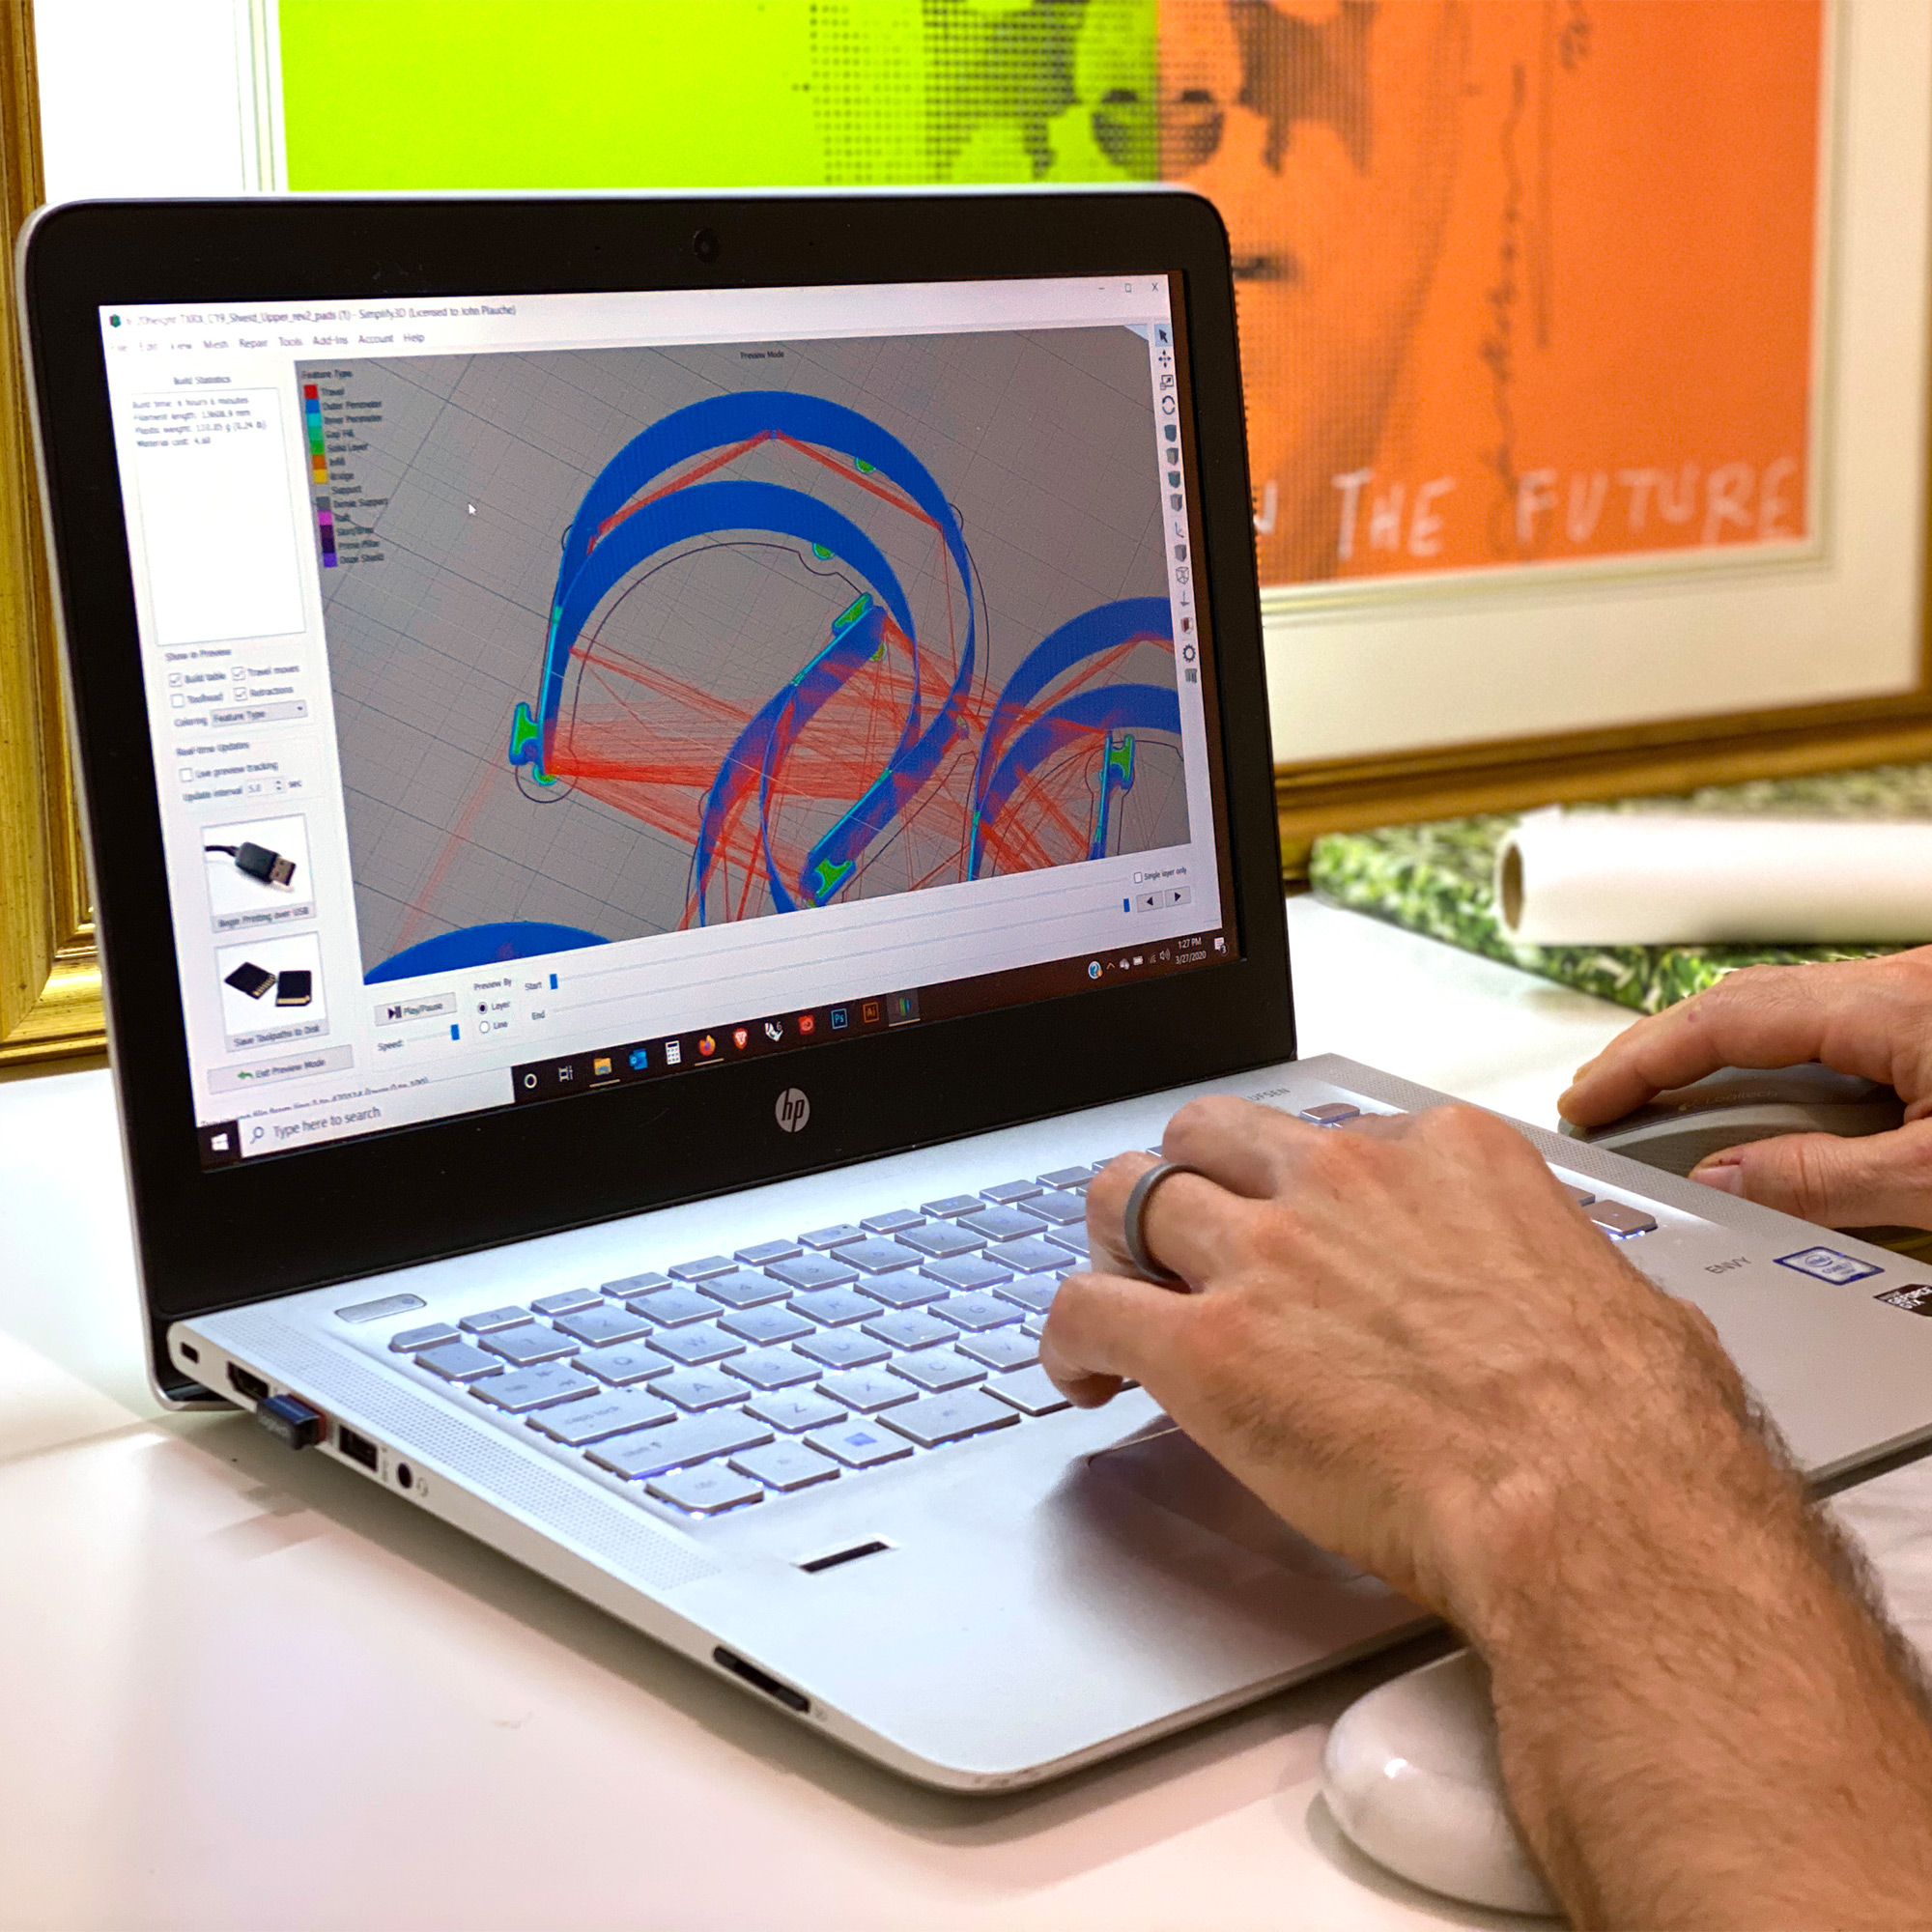
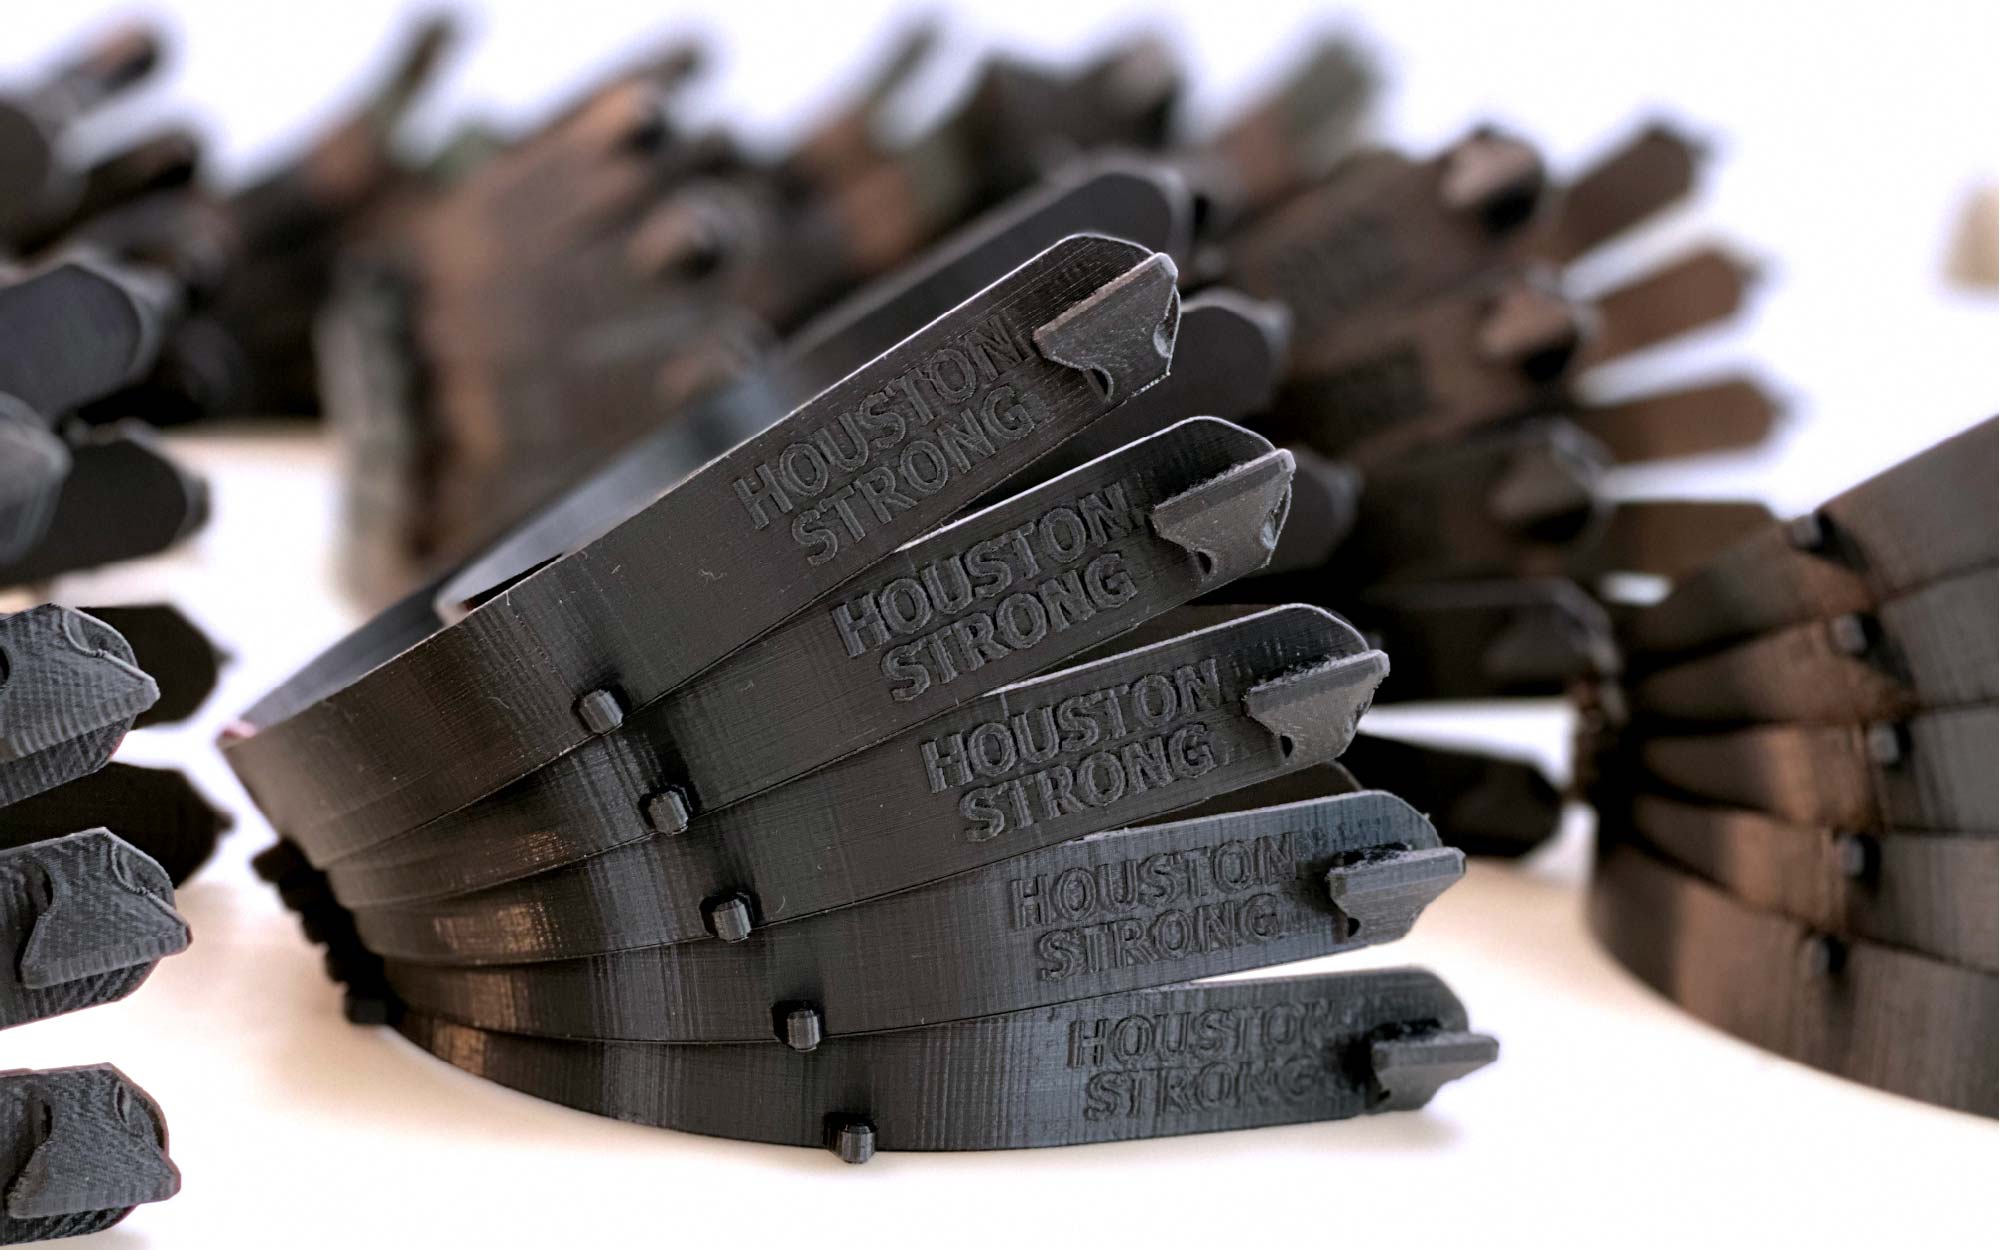
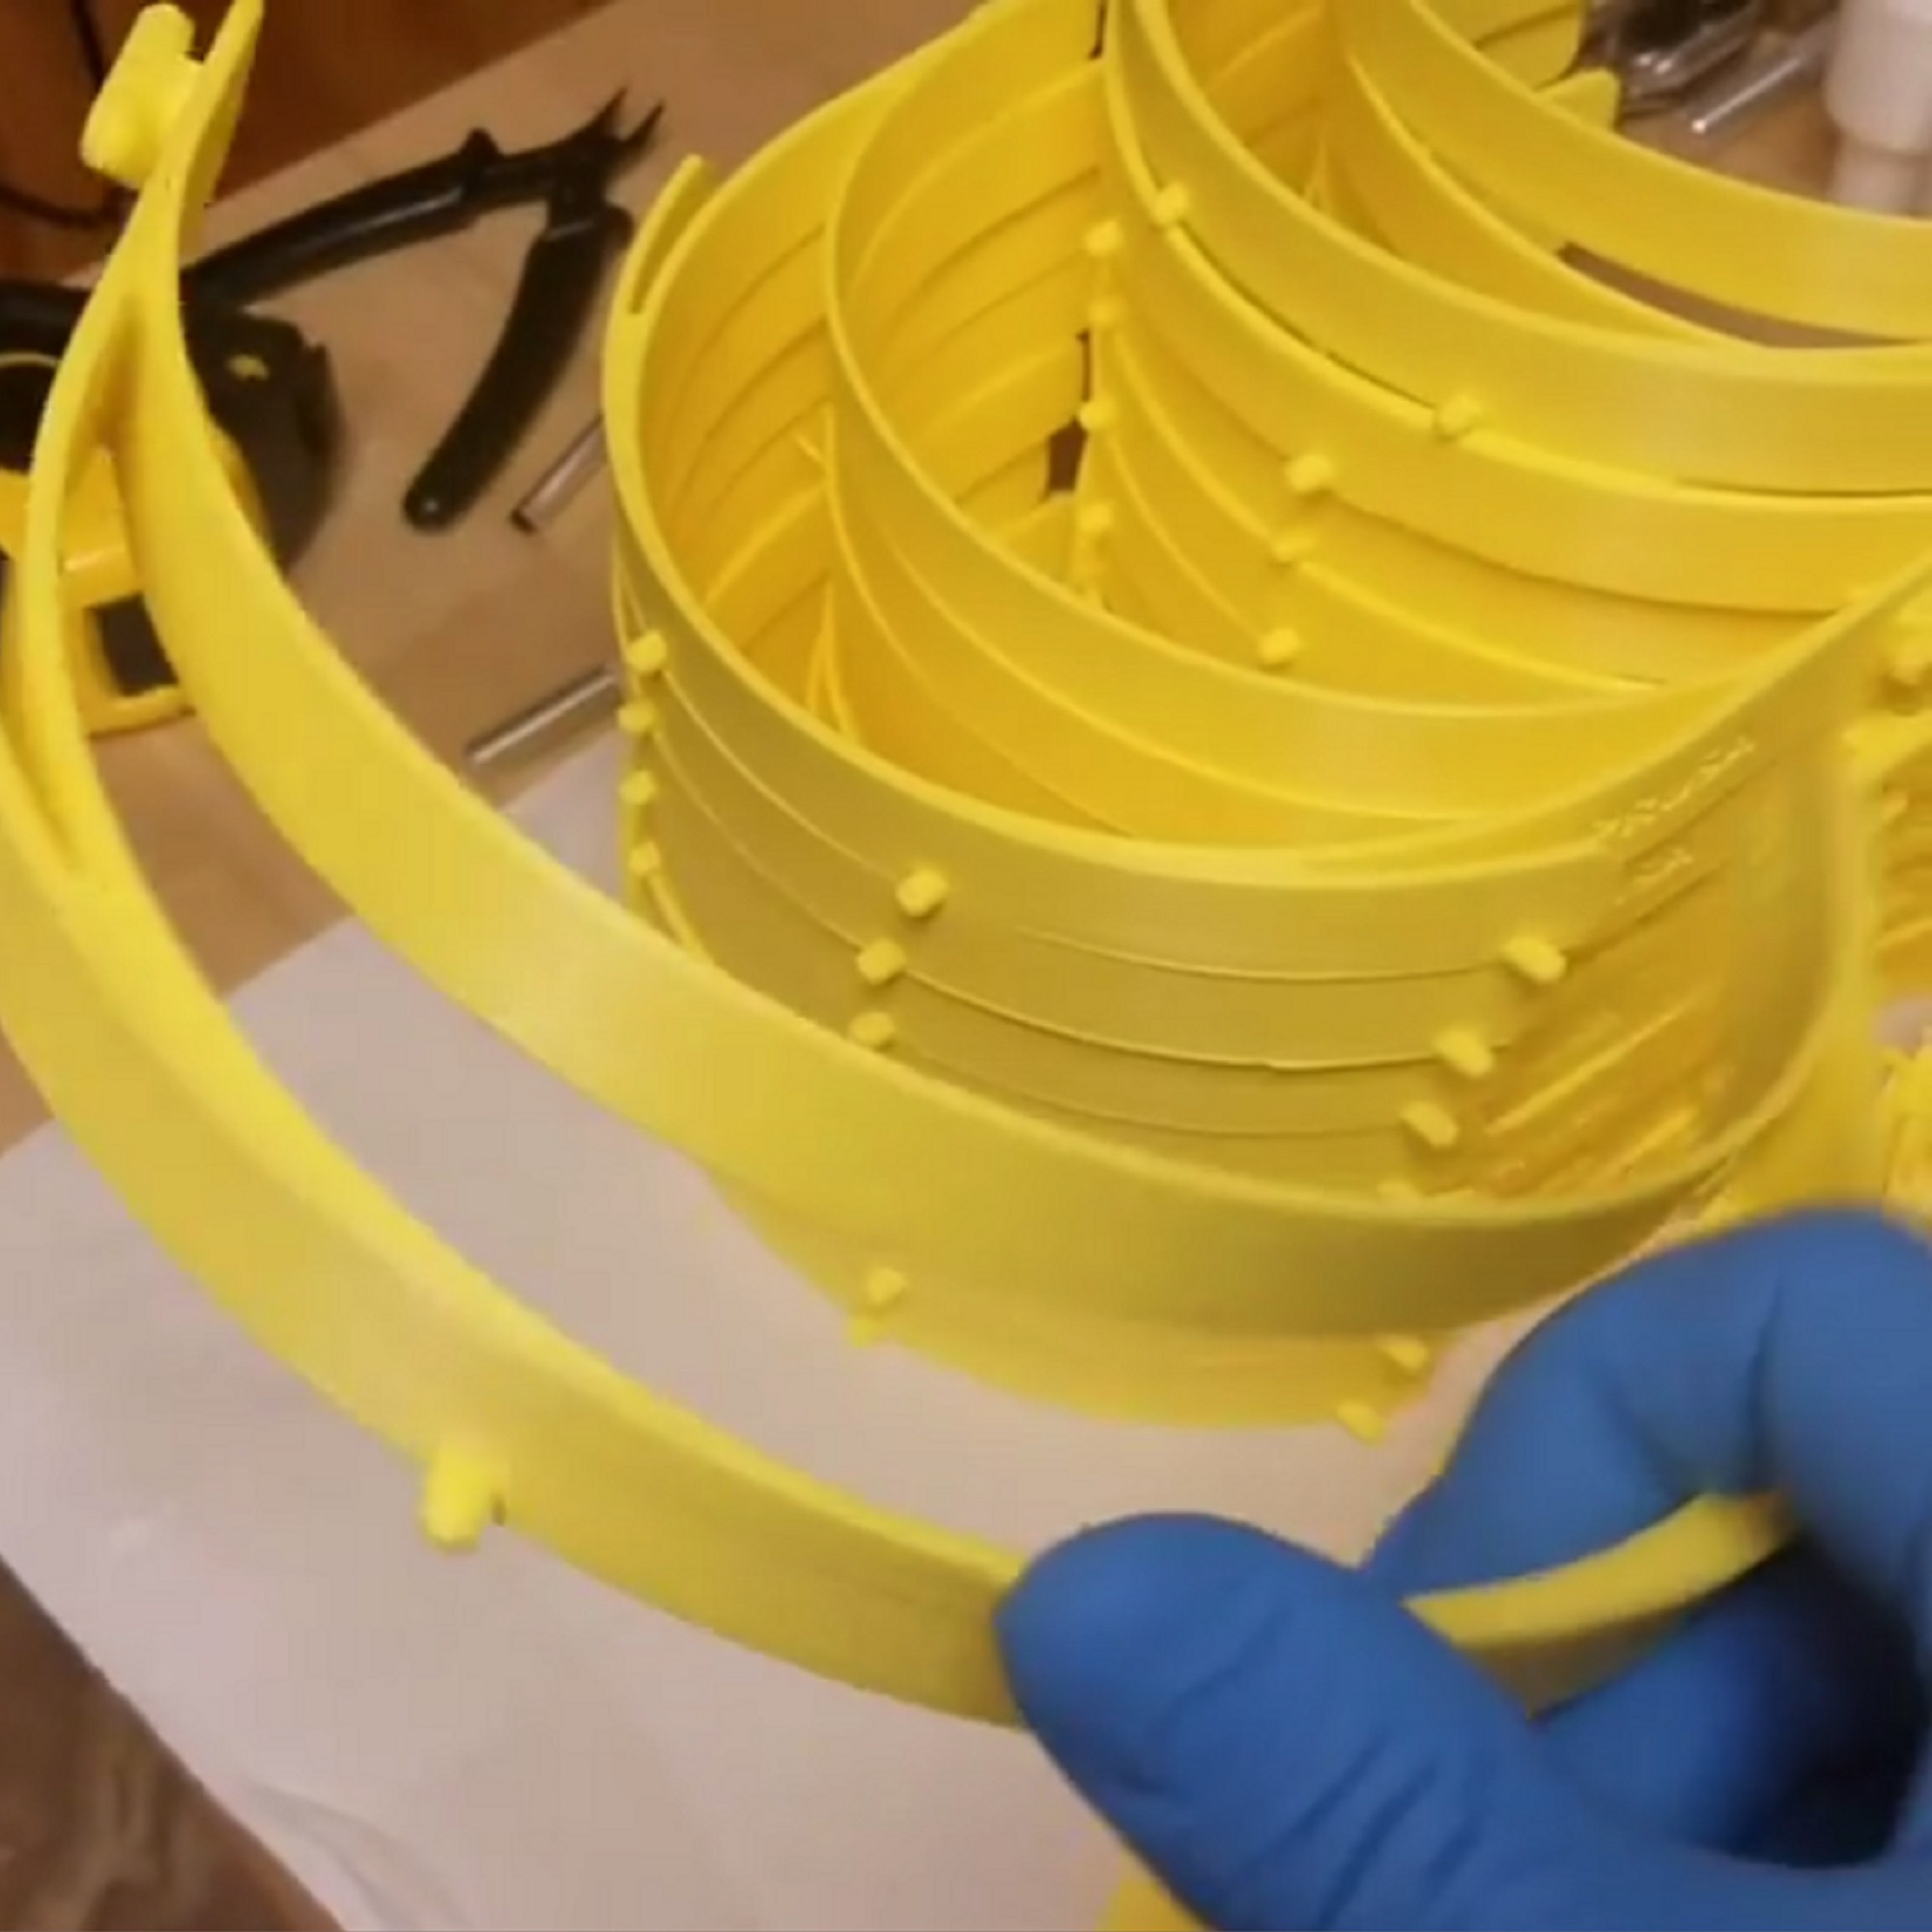
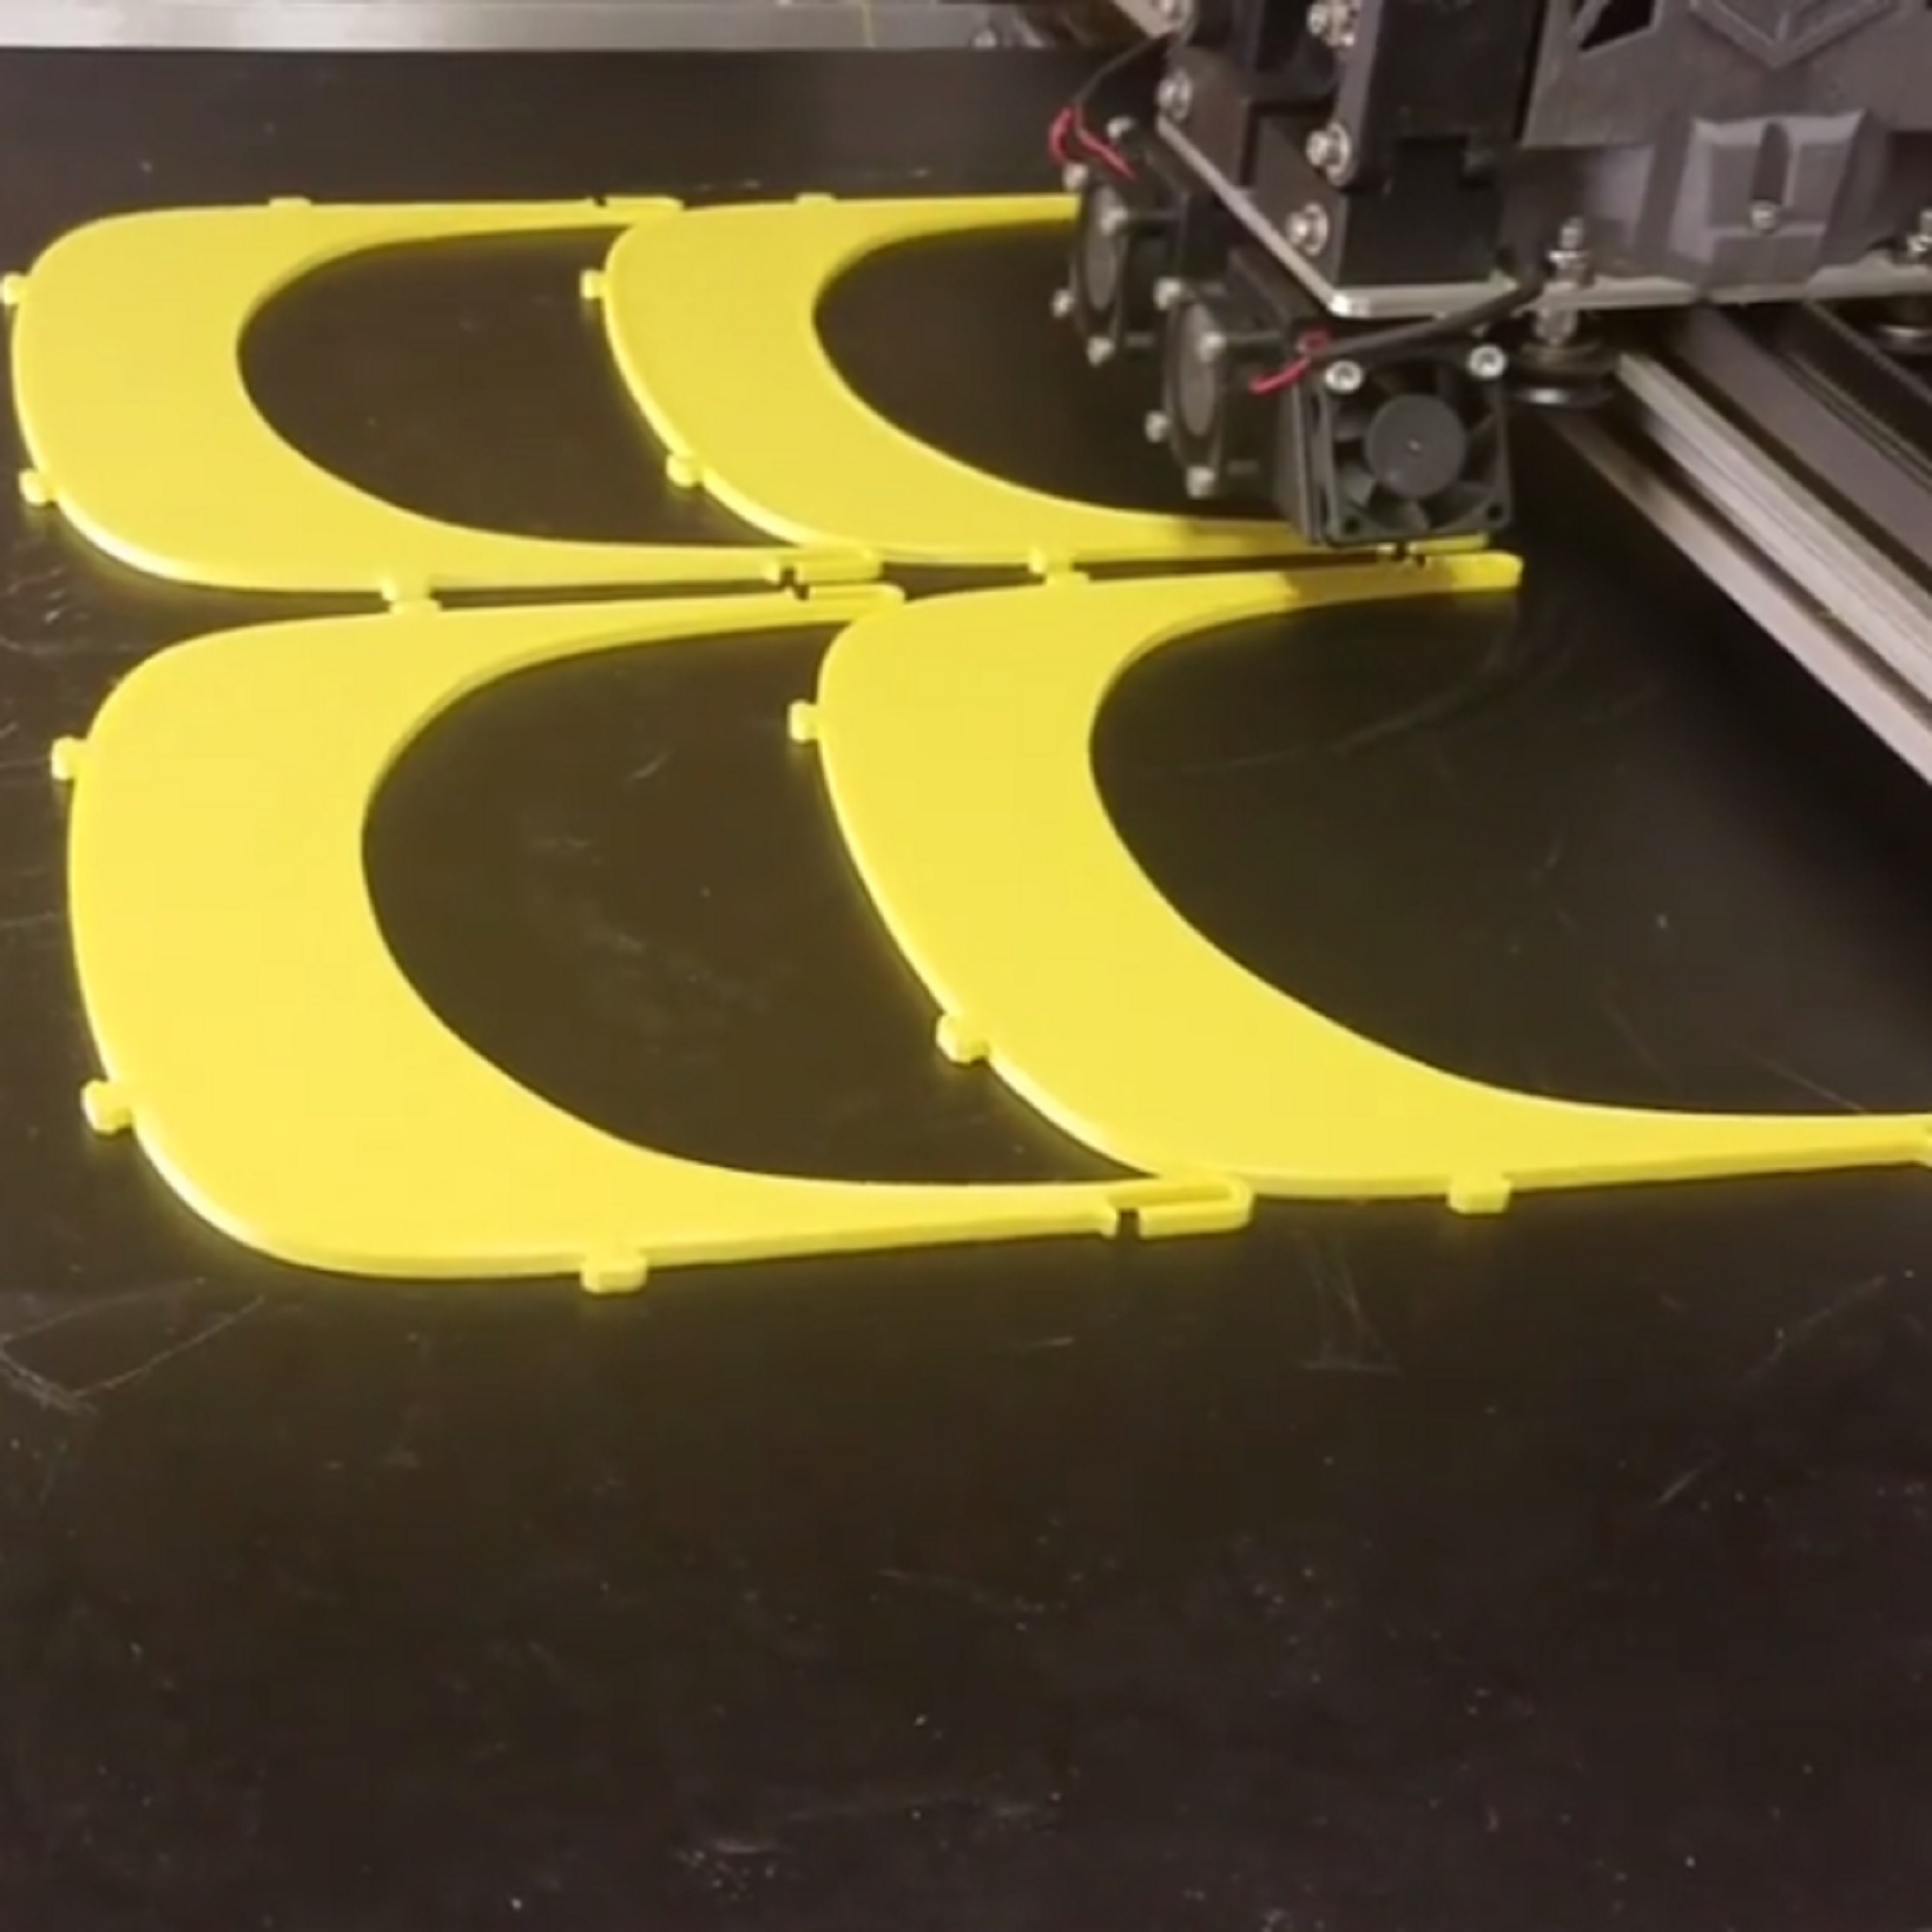
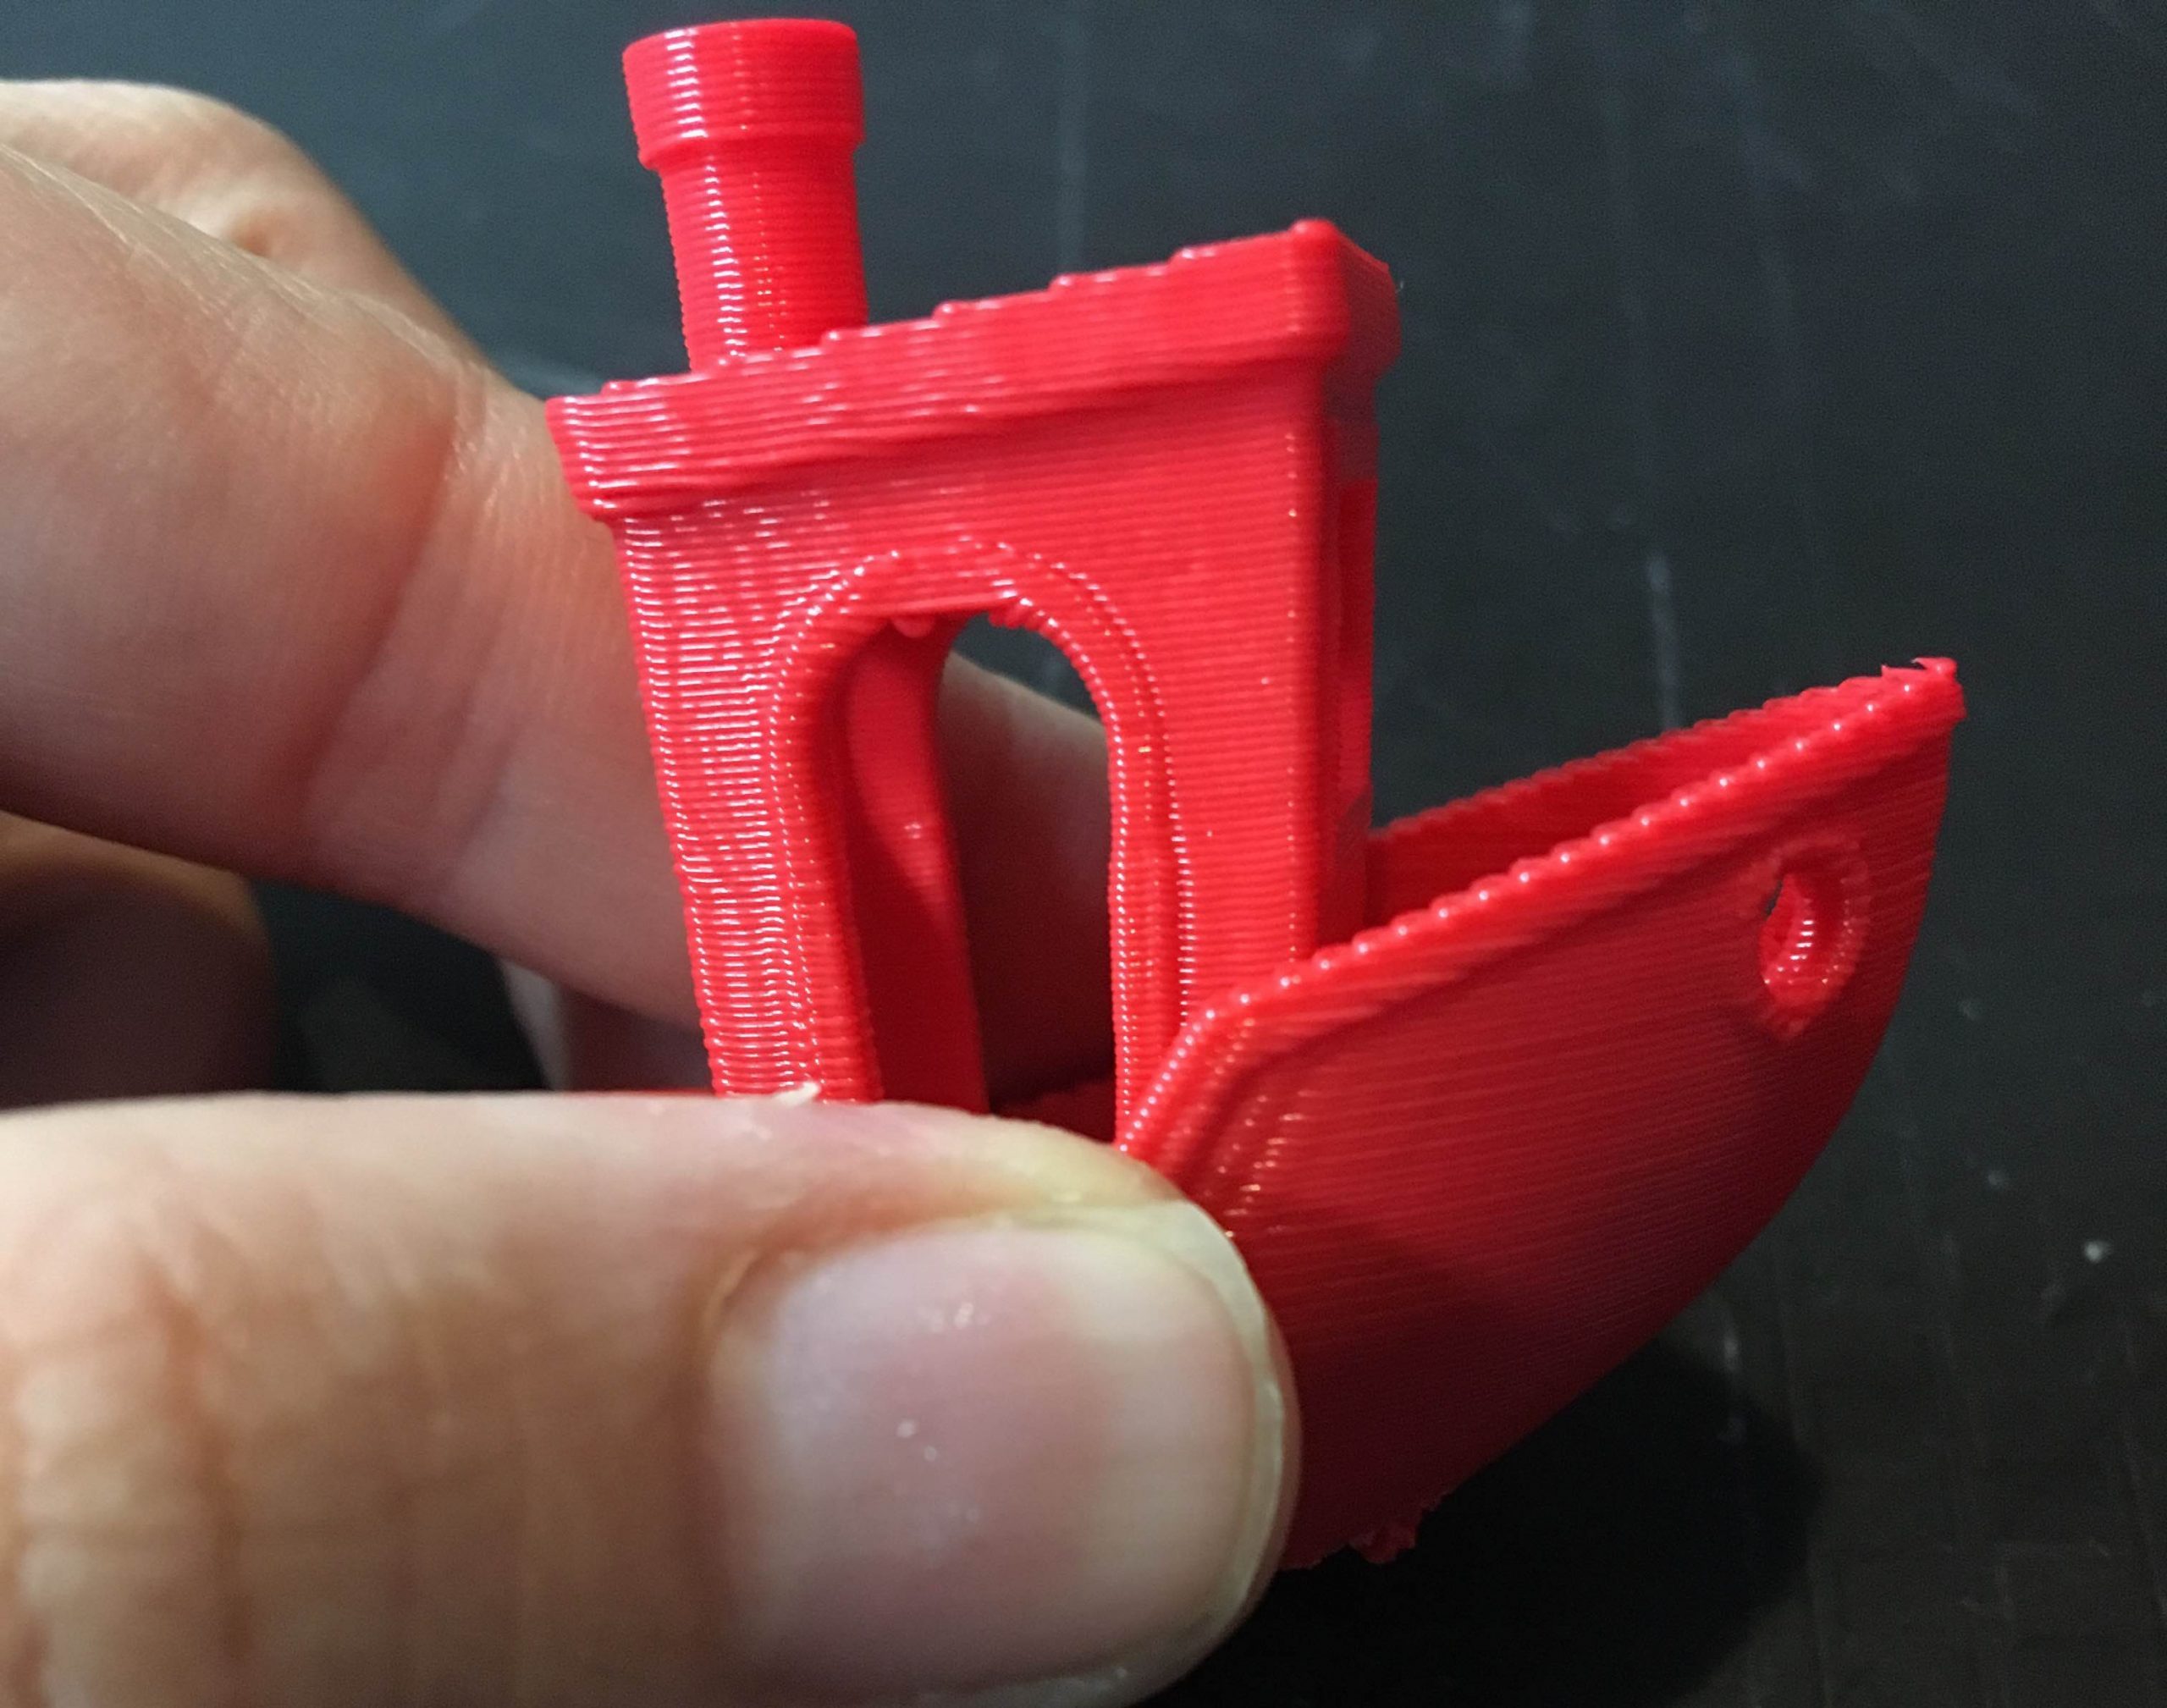
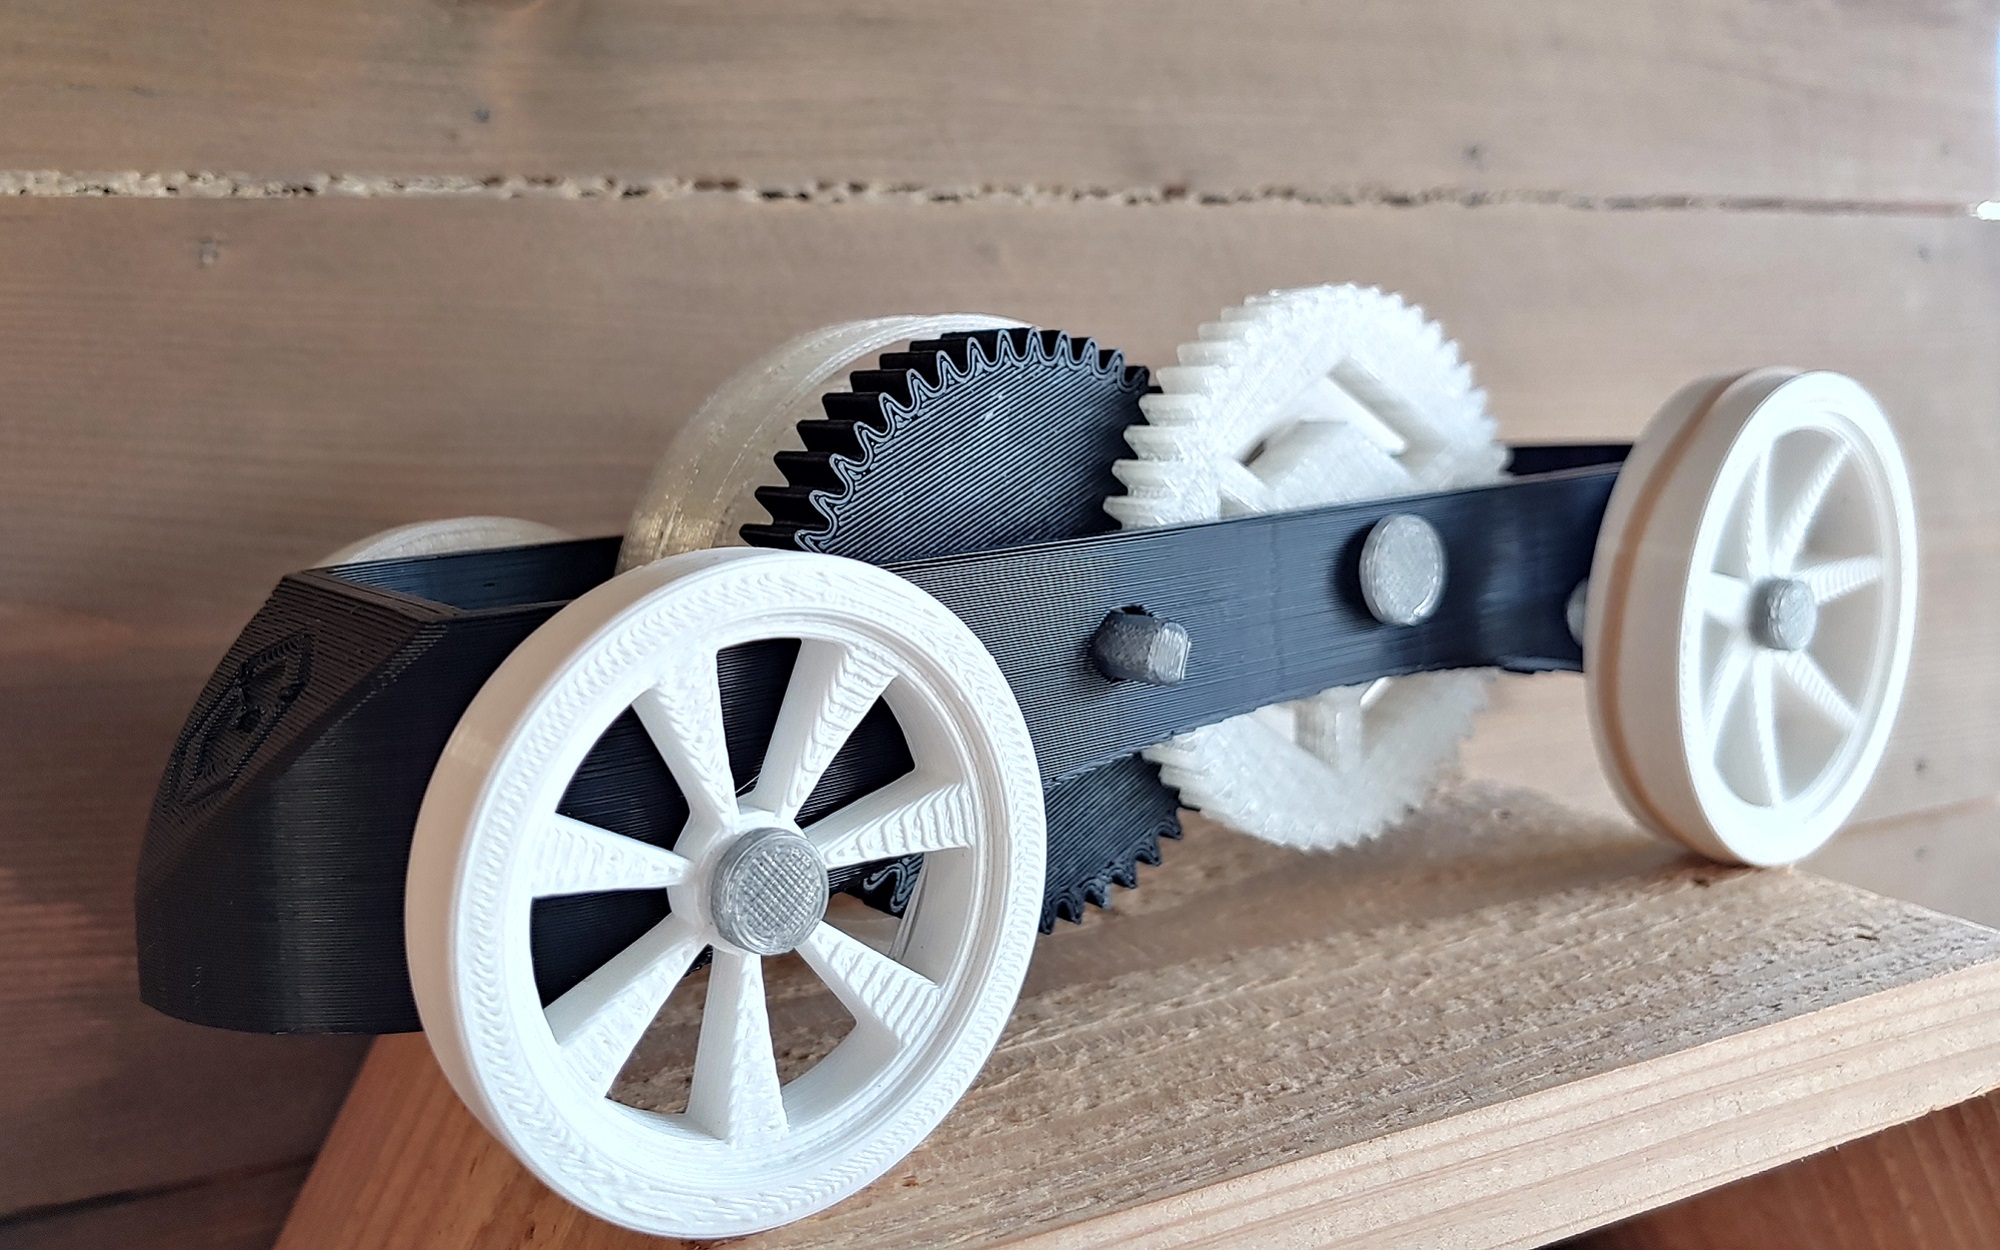
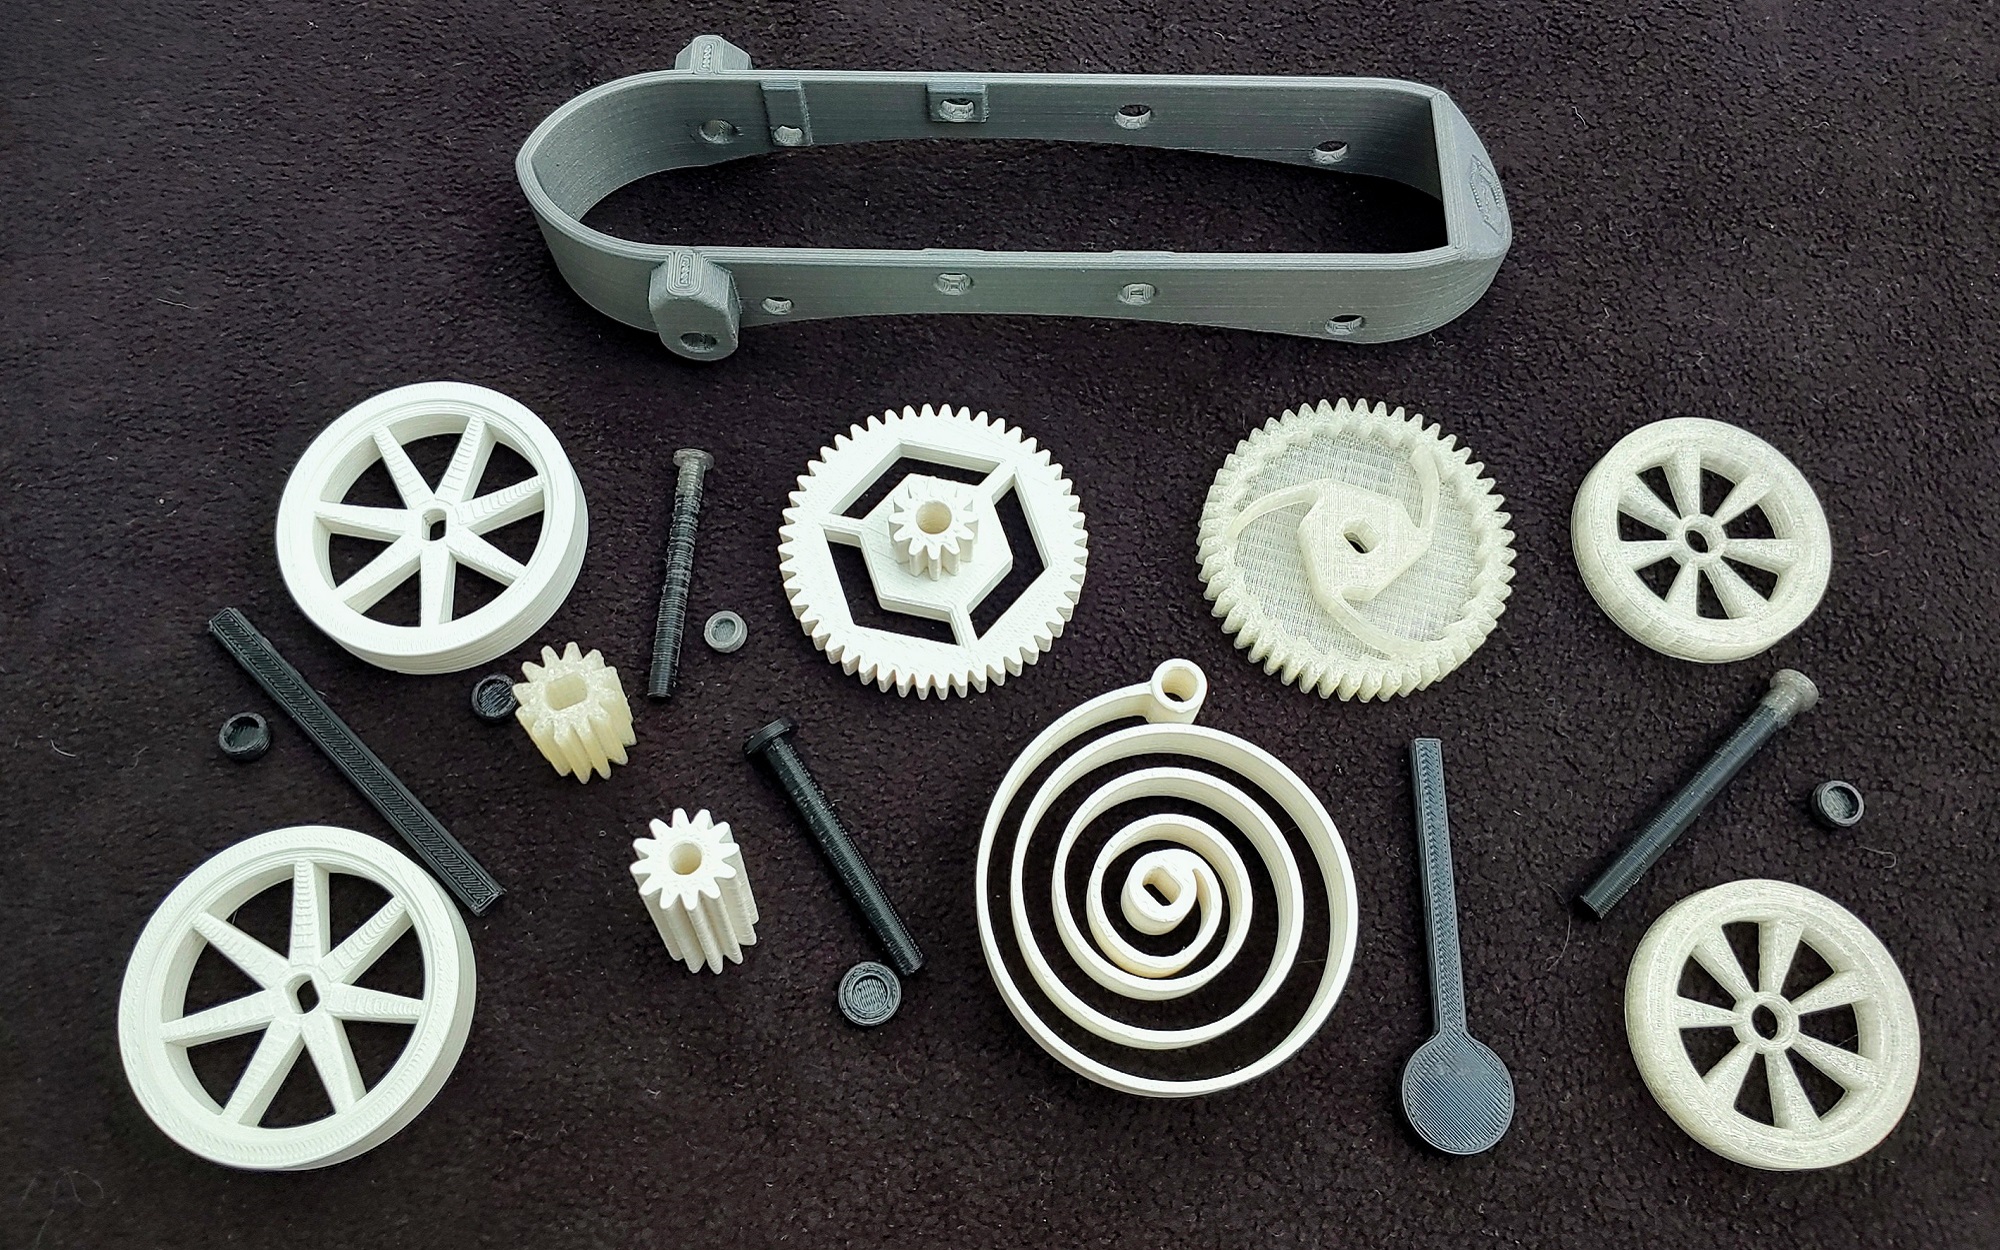
This wind-up car was designed by Mike Battaglia in Rhinoceros 3D software. It is made entirely of 3D printed parts, which is a difficult feat to get right. There are 21 parts, including four wheels, two axles, a gear system, and a spring with a hand crank. Once printed and assembled, you can crank the spring to store potential energy, and then release the car to watch as it converts potential to kinetic energy, and transfers it through the gears to the wheels that drive the car forward. It is a simple concept, but getting the parts to work together was a test of our 3D printing skills, and Mike spent time adjusting tolerances to get it just right.

Twenty-one 3D-printed parts make up the wind-up car.

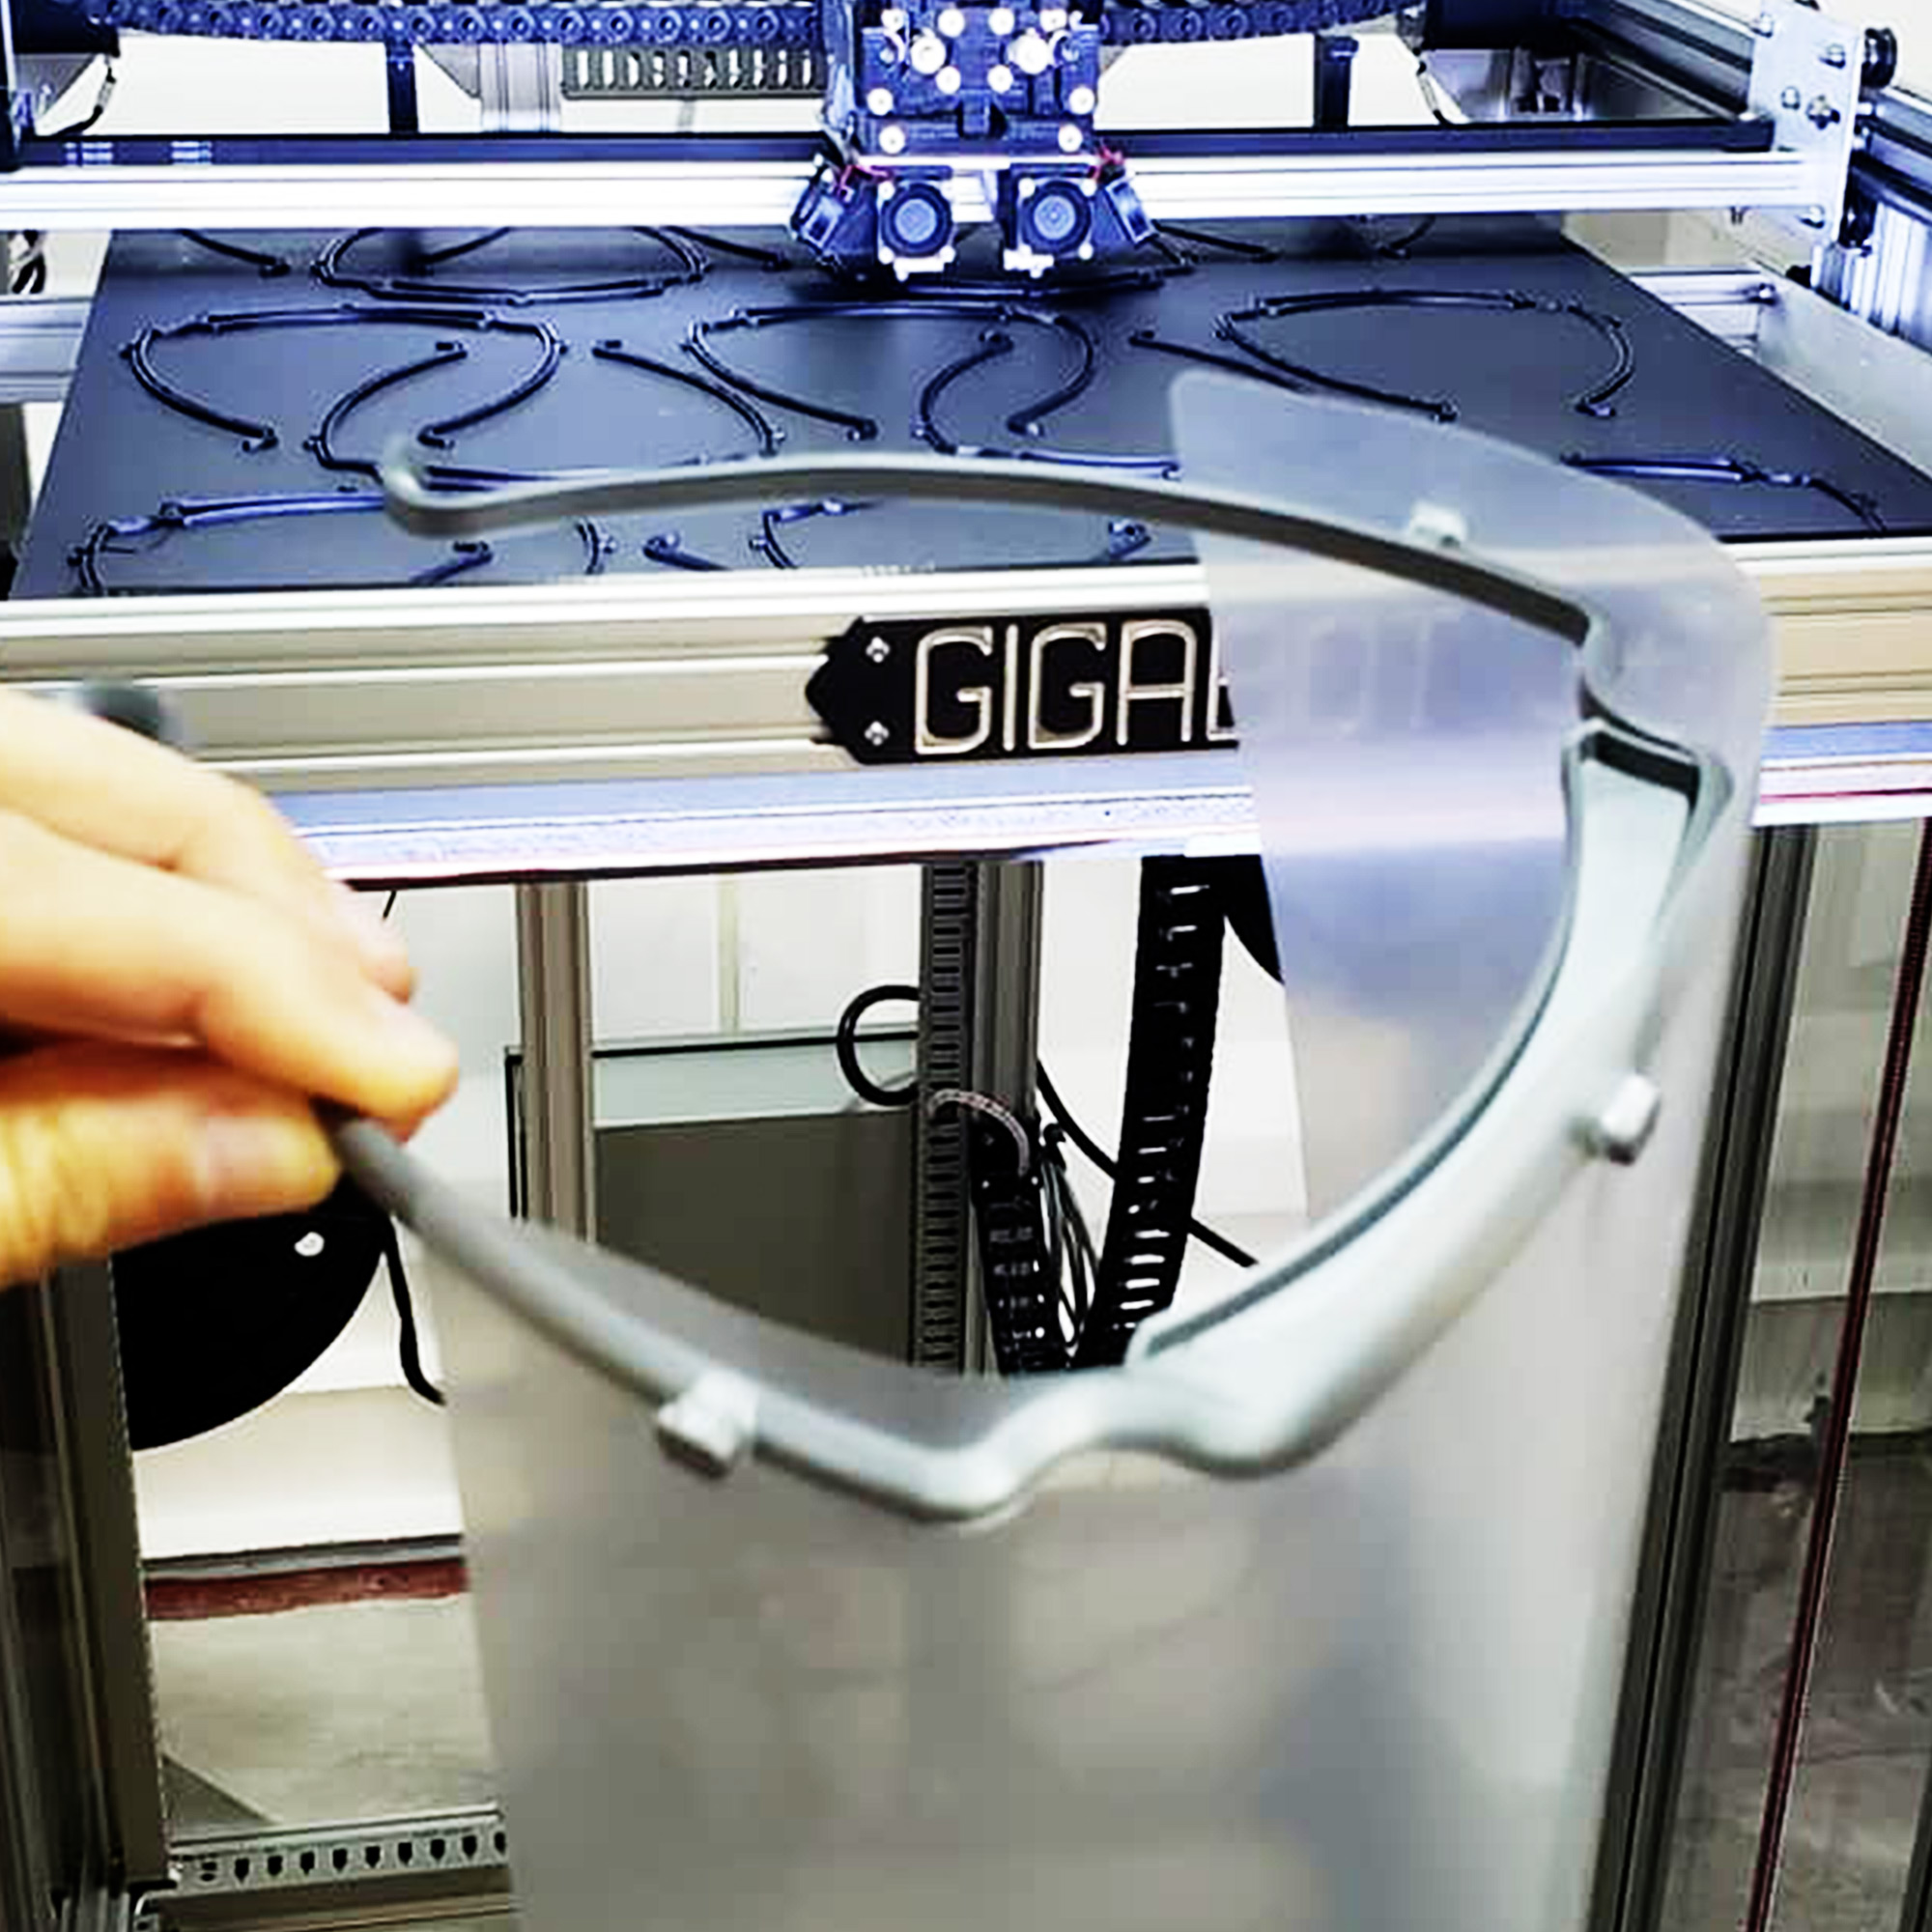
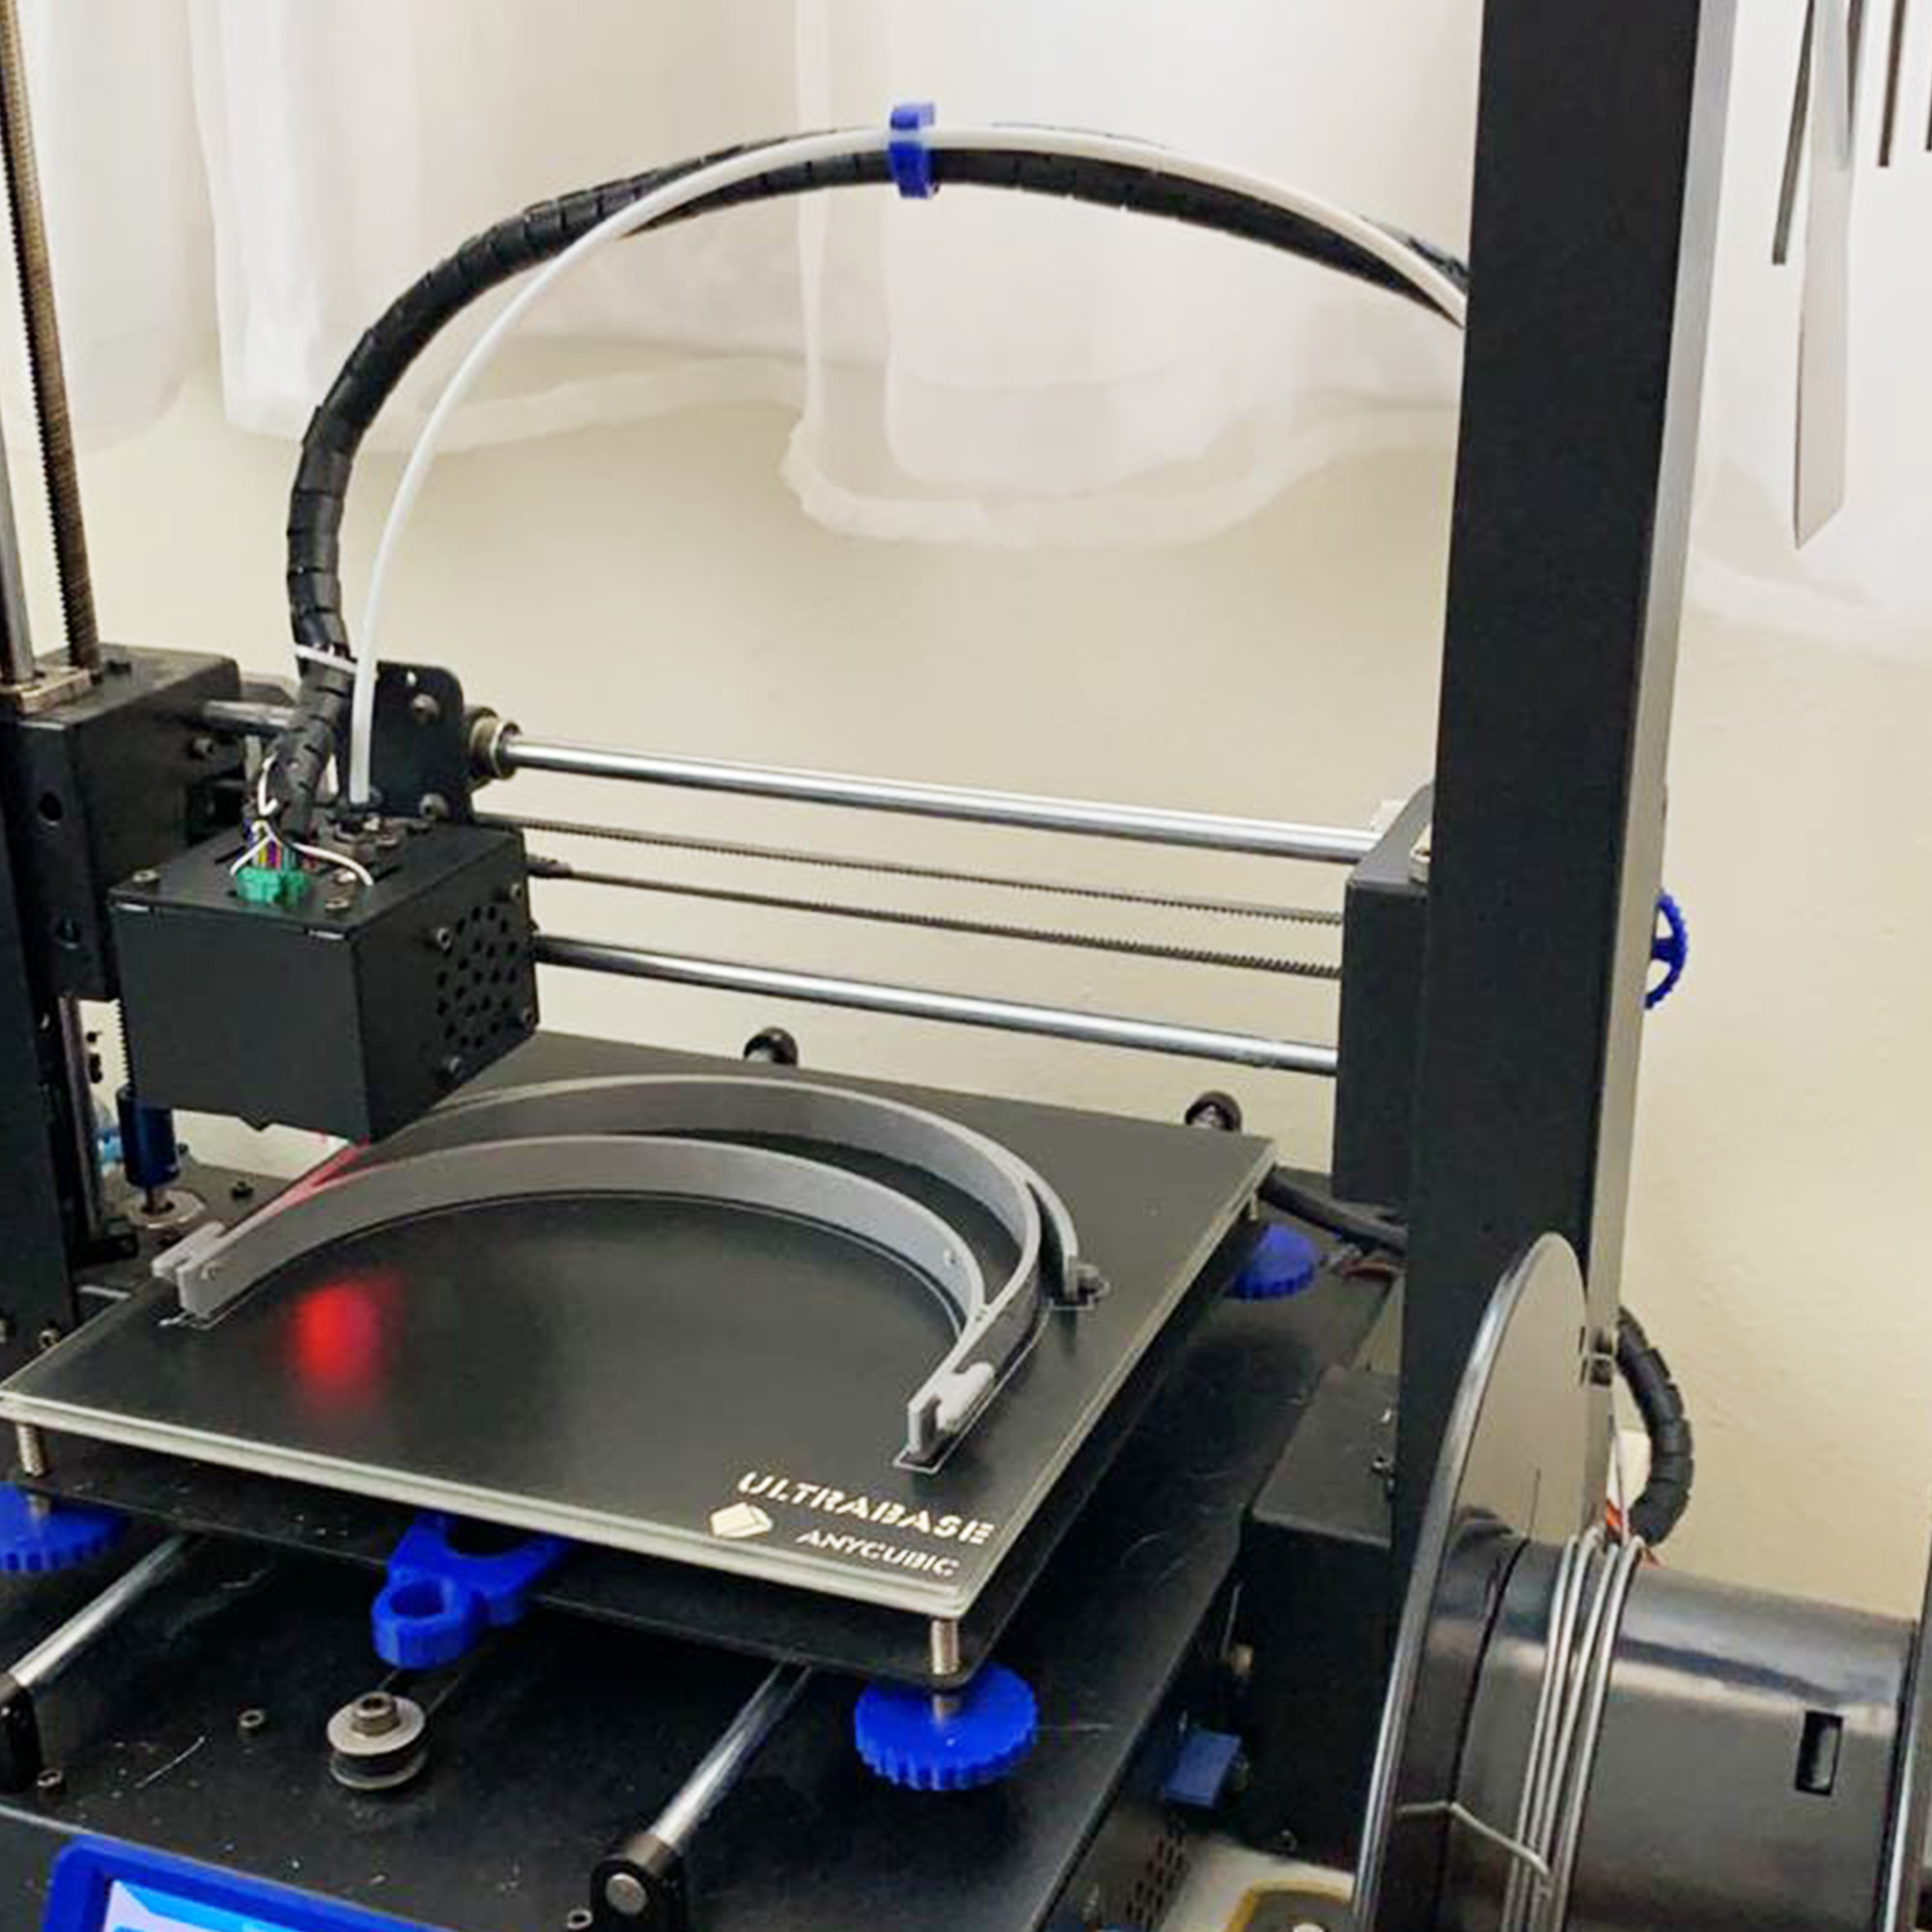
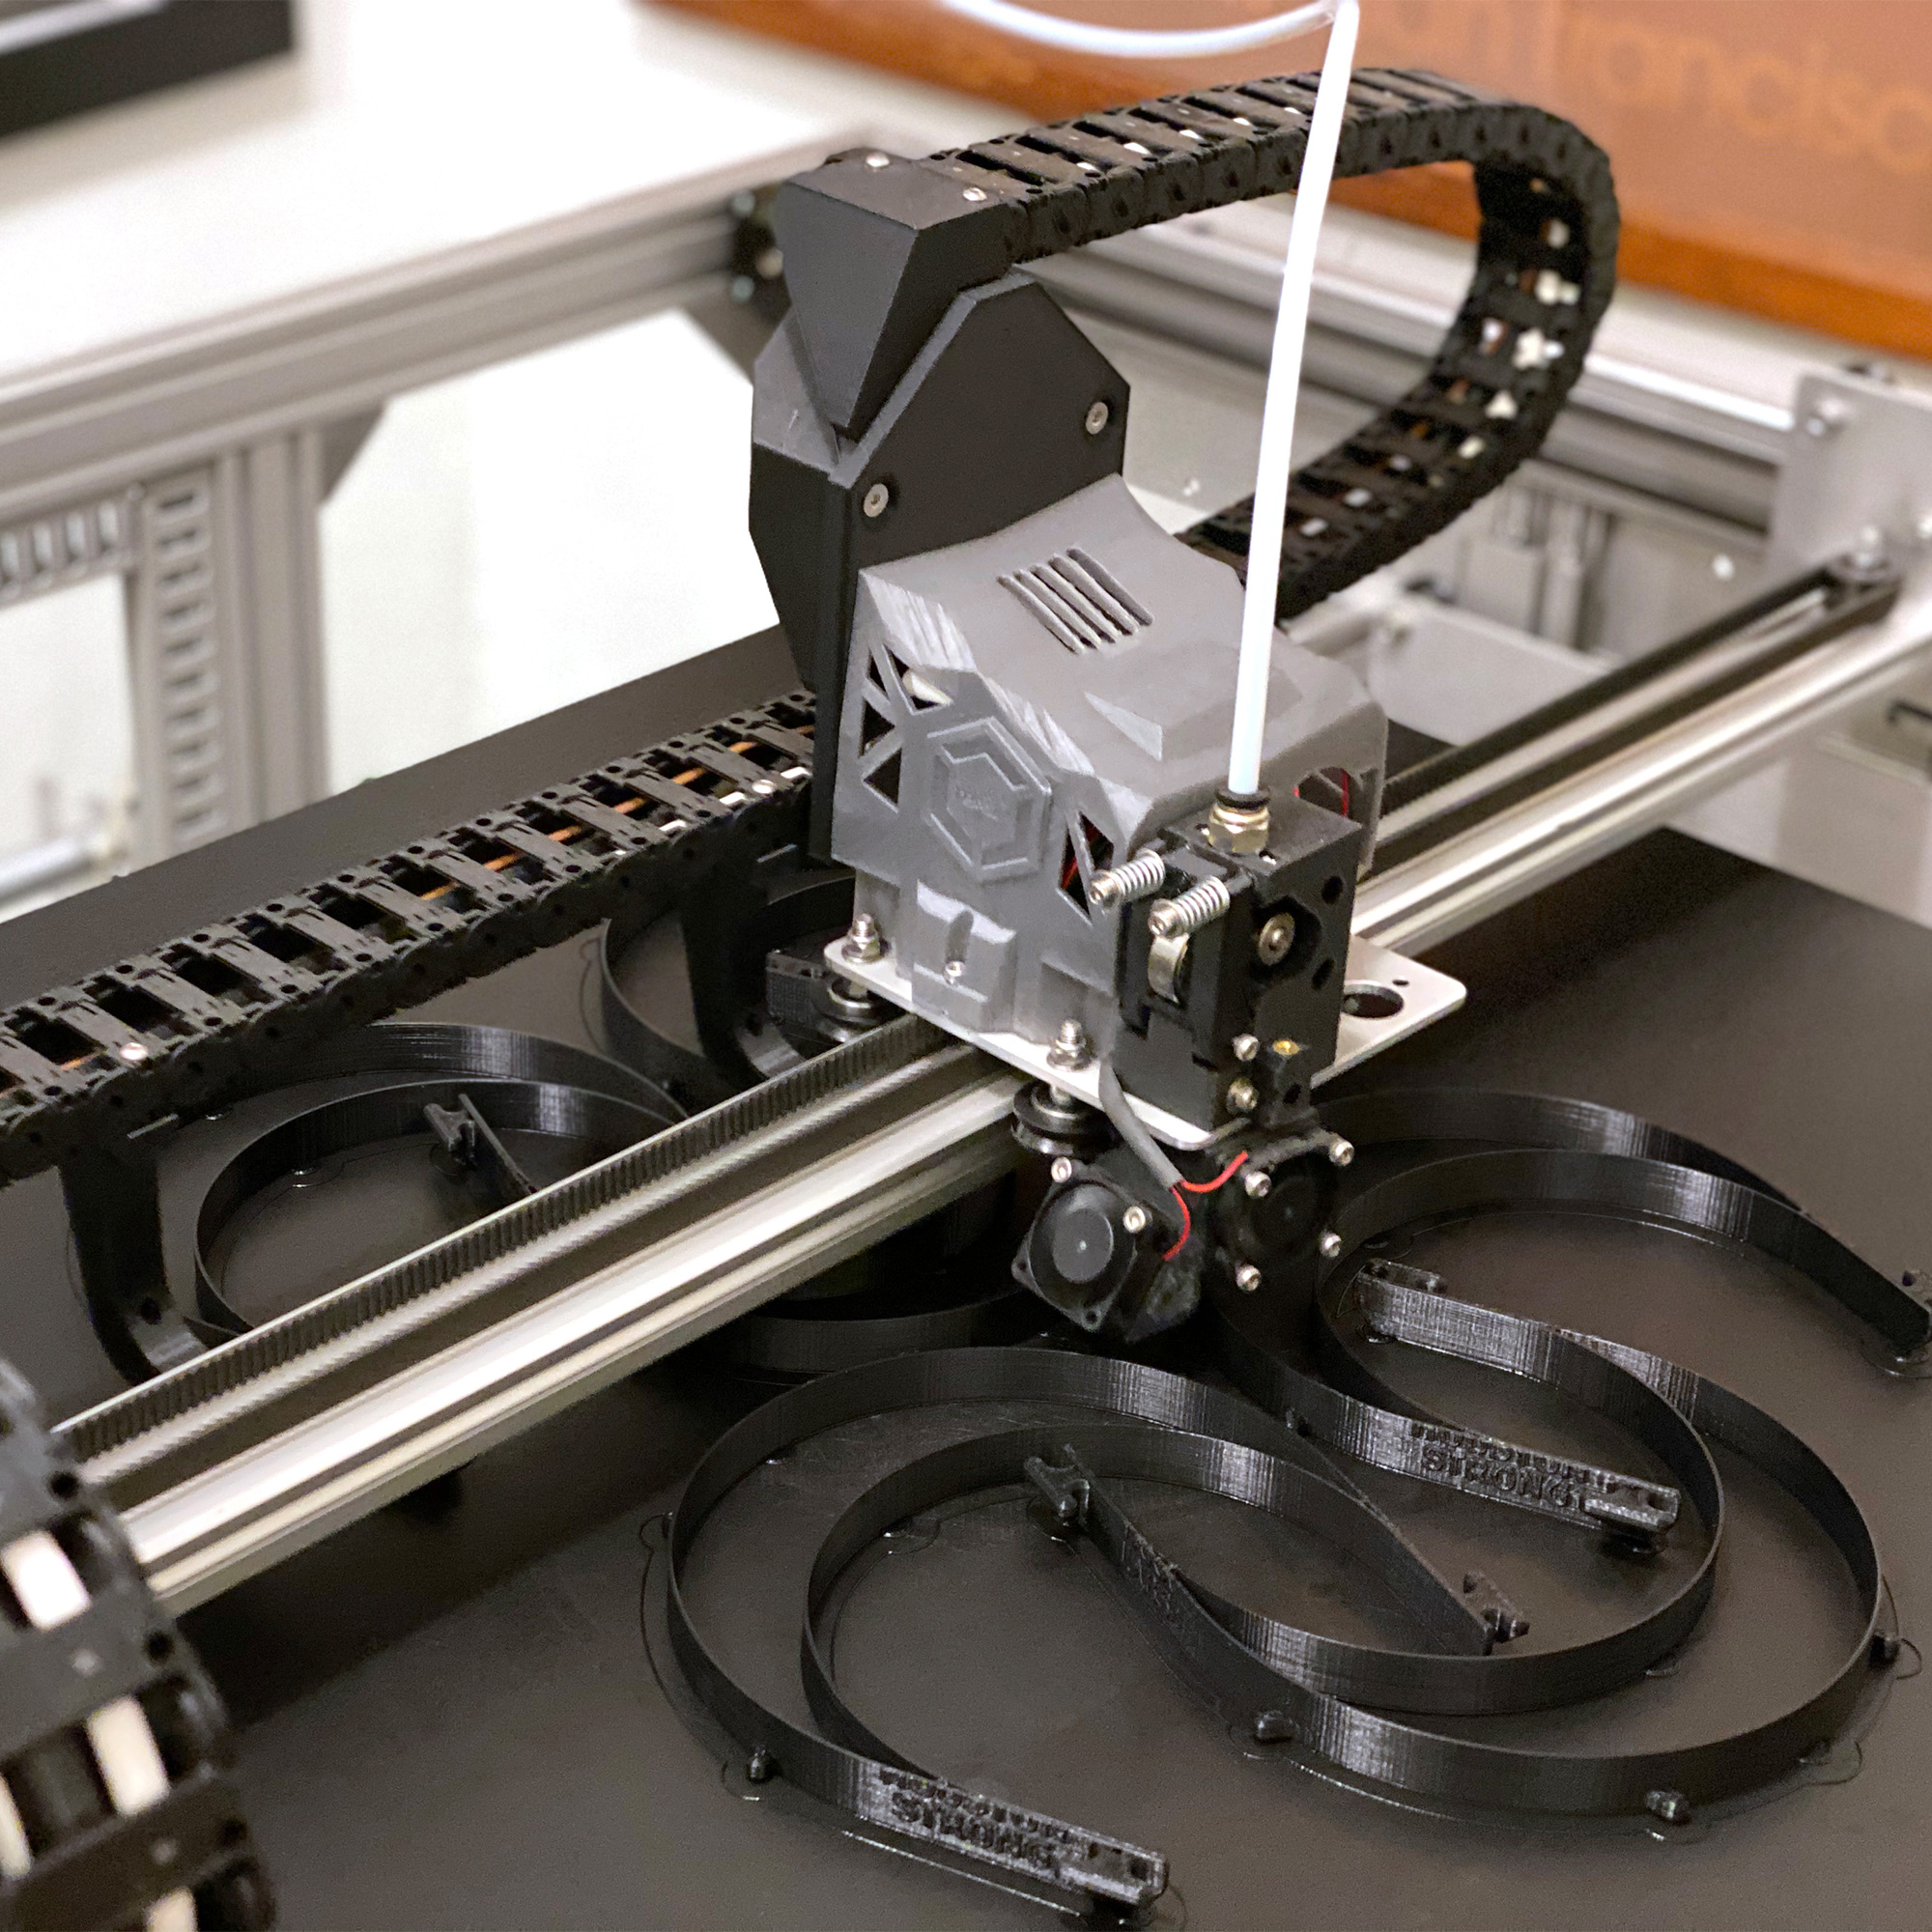
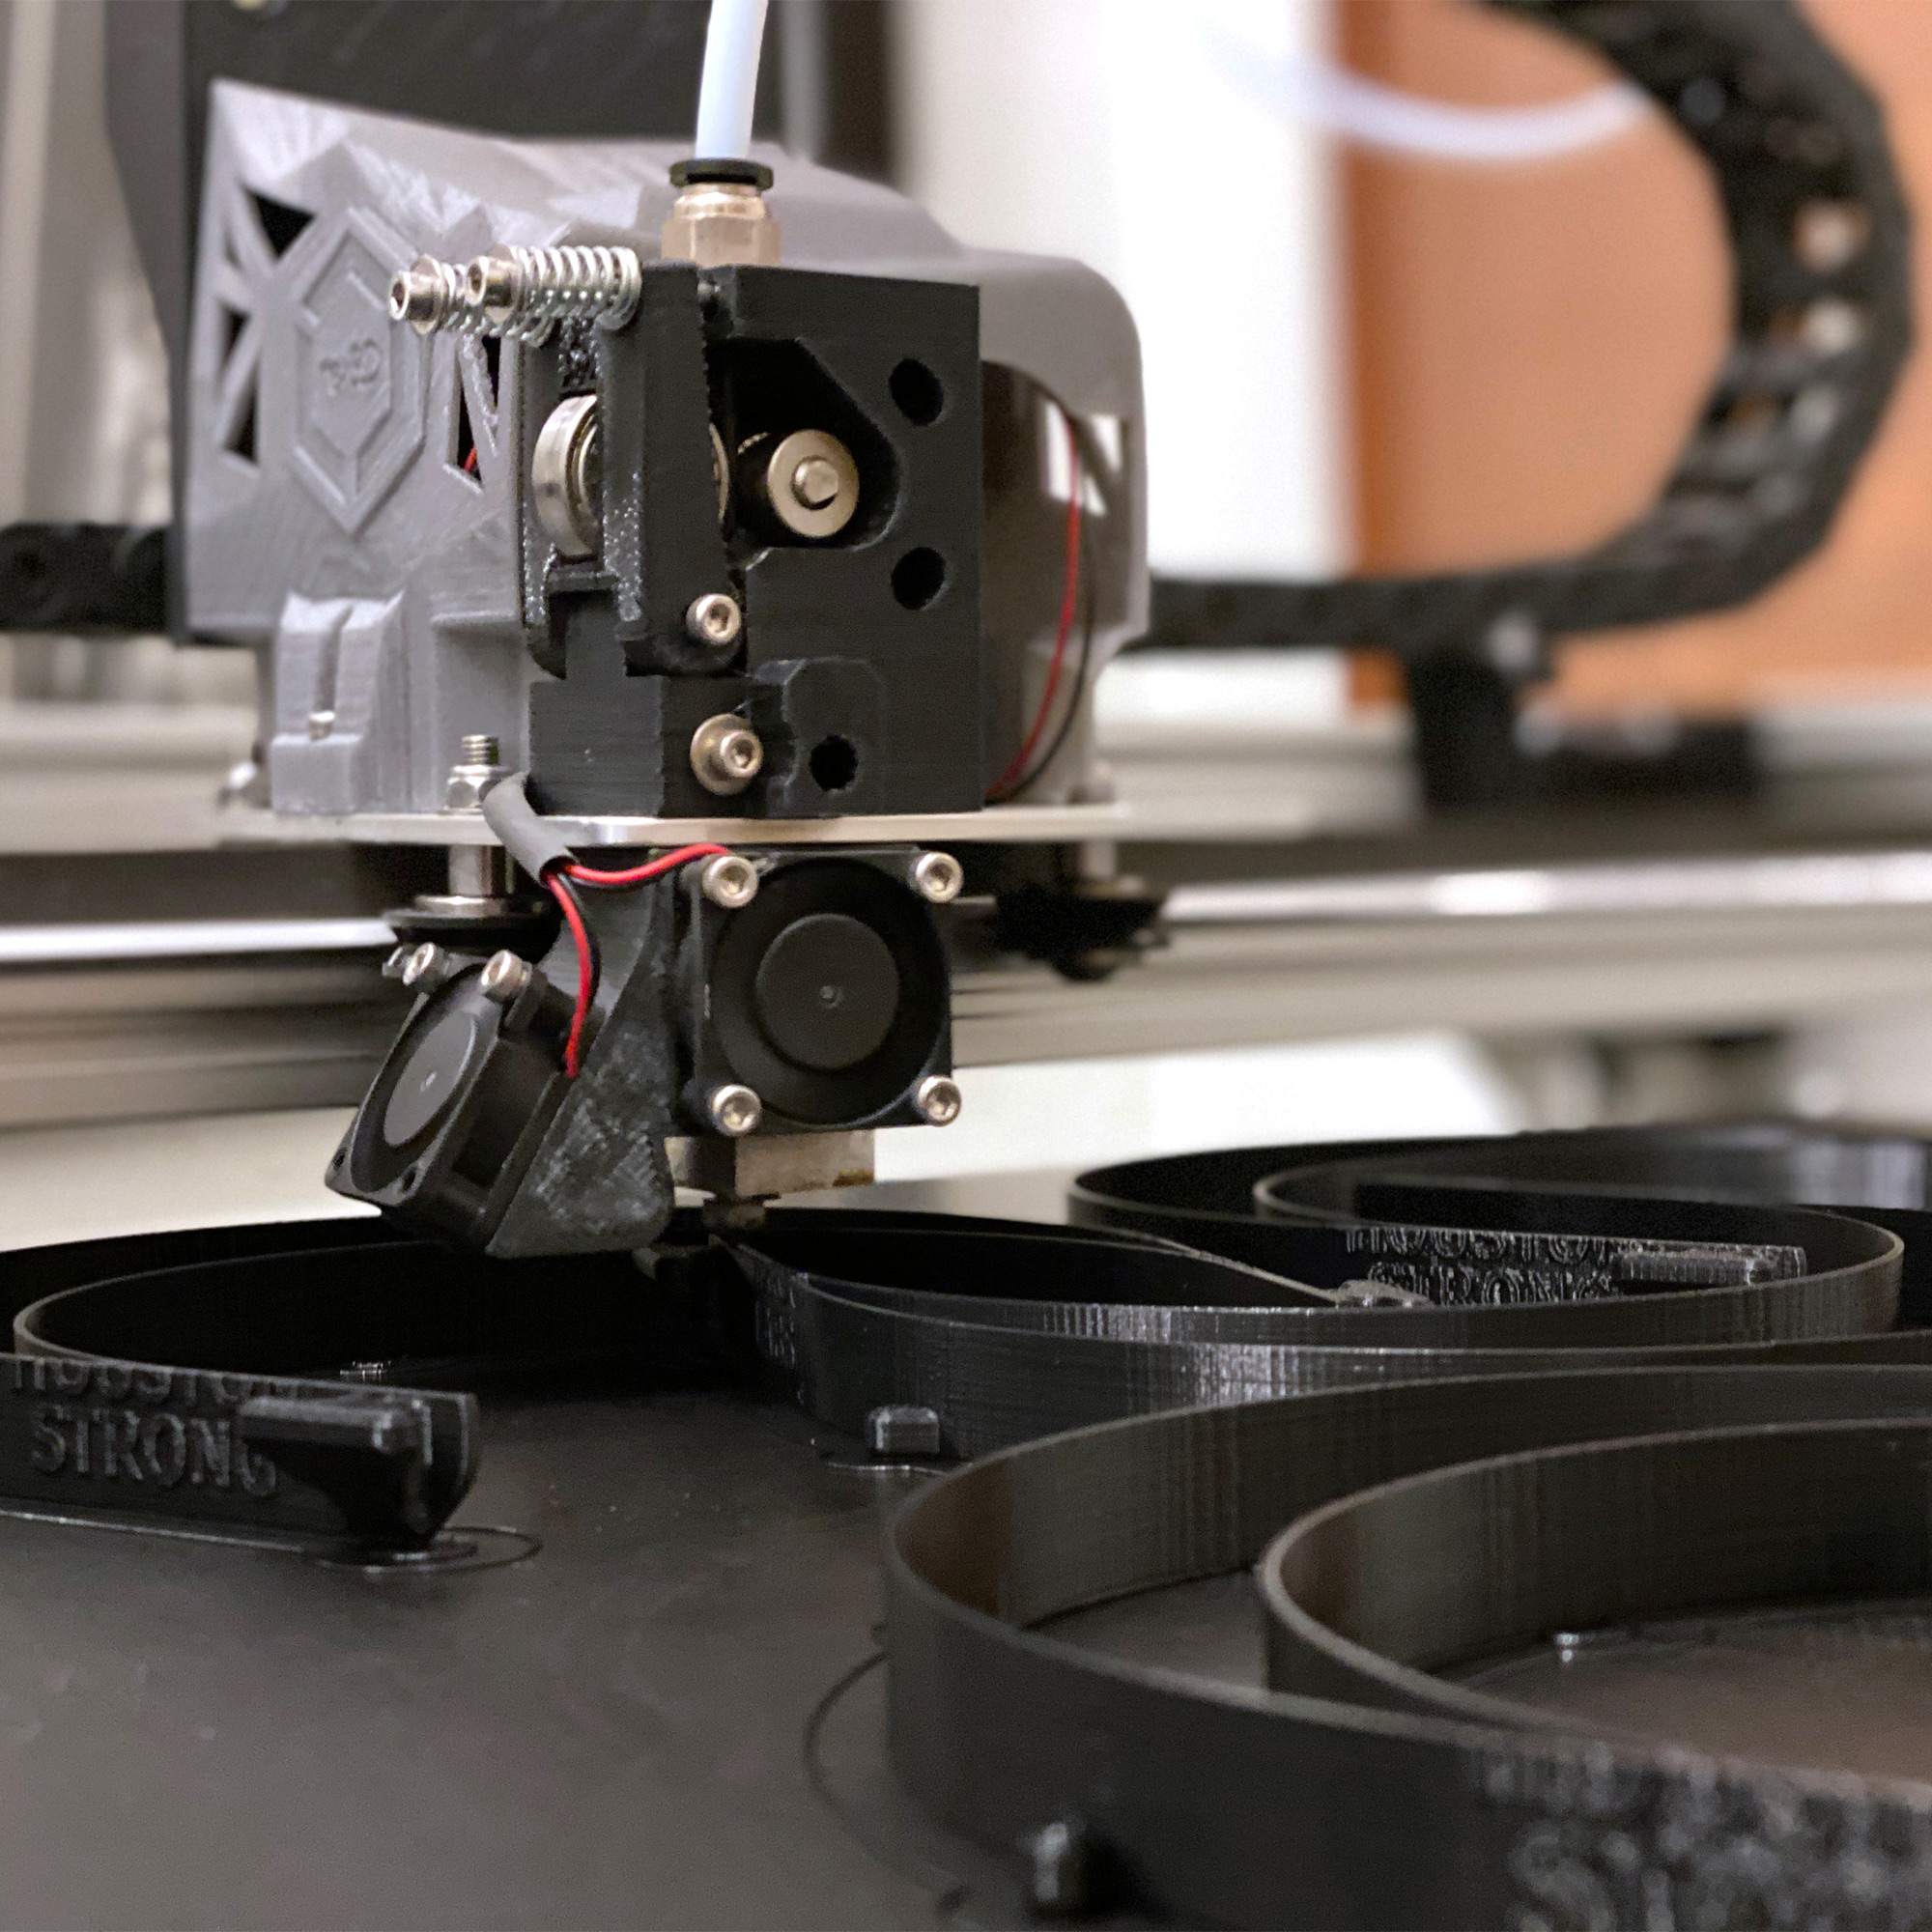
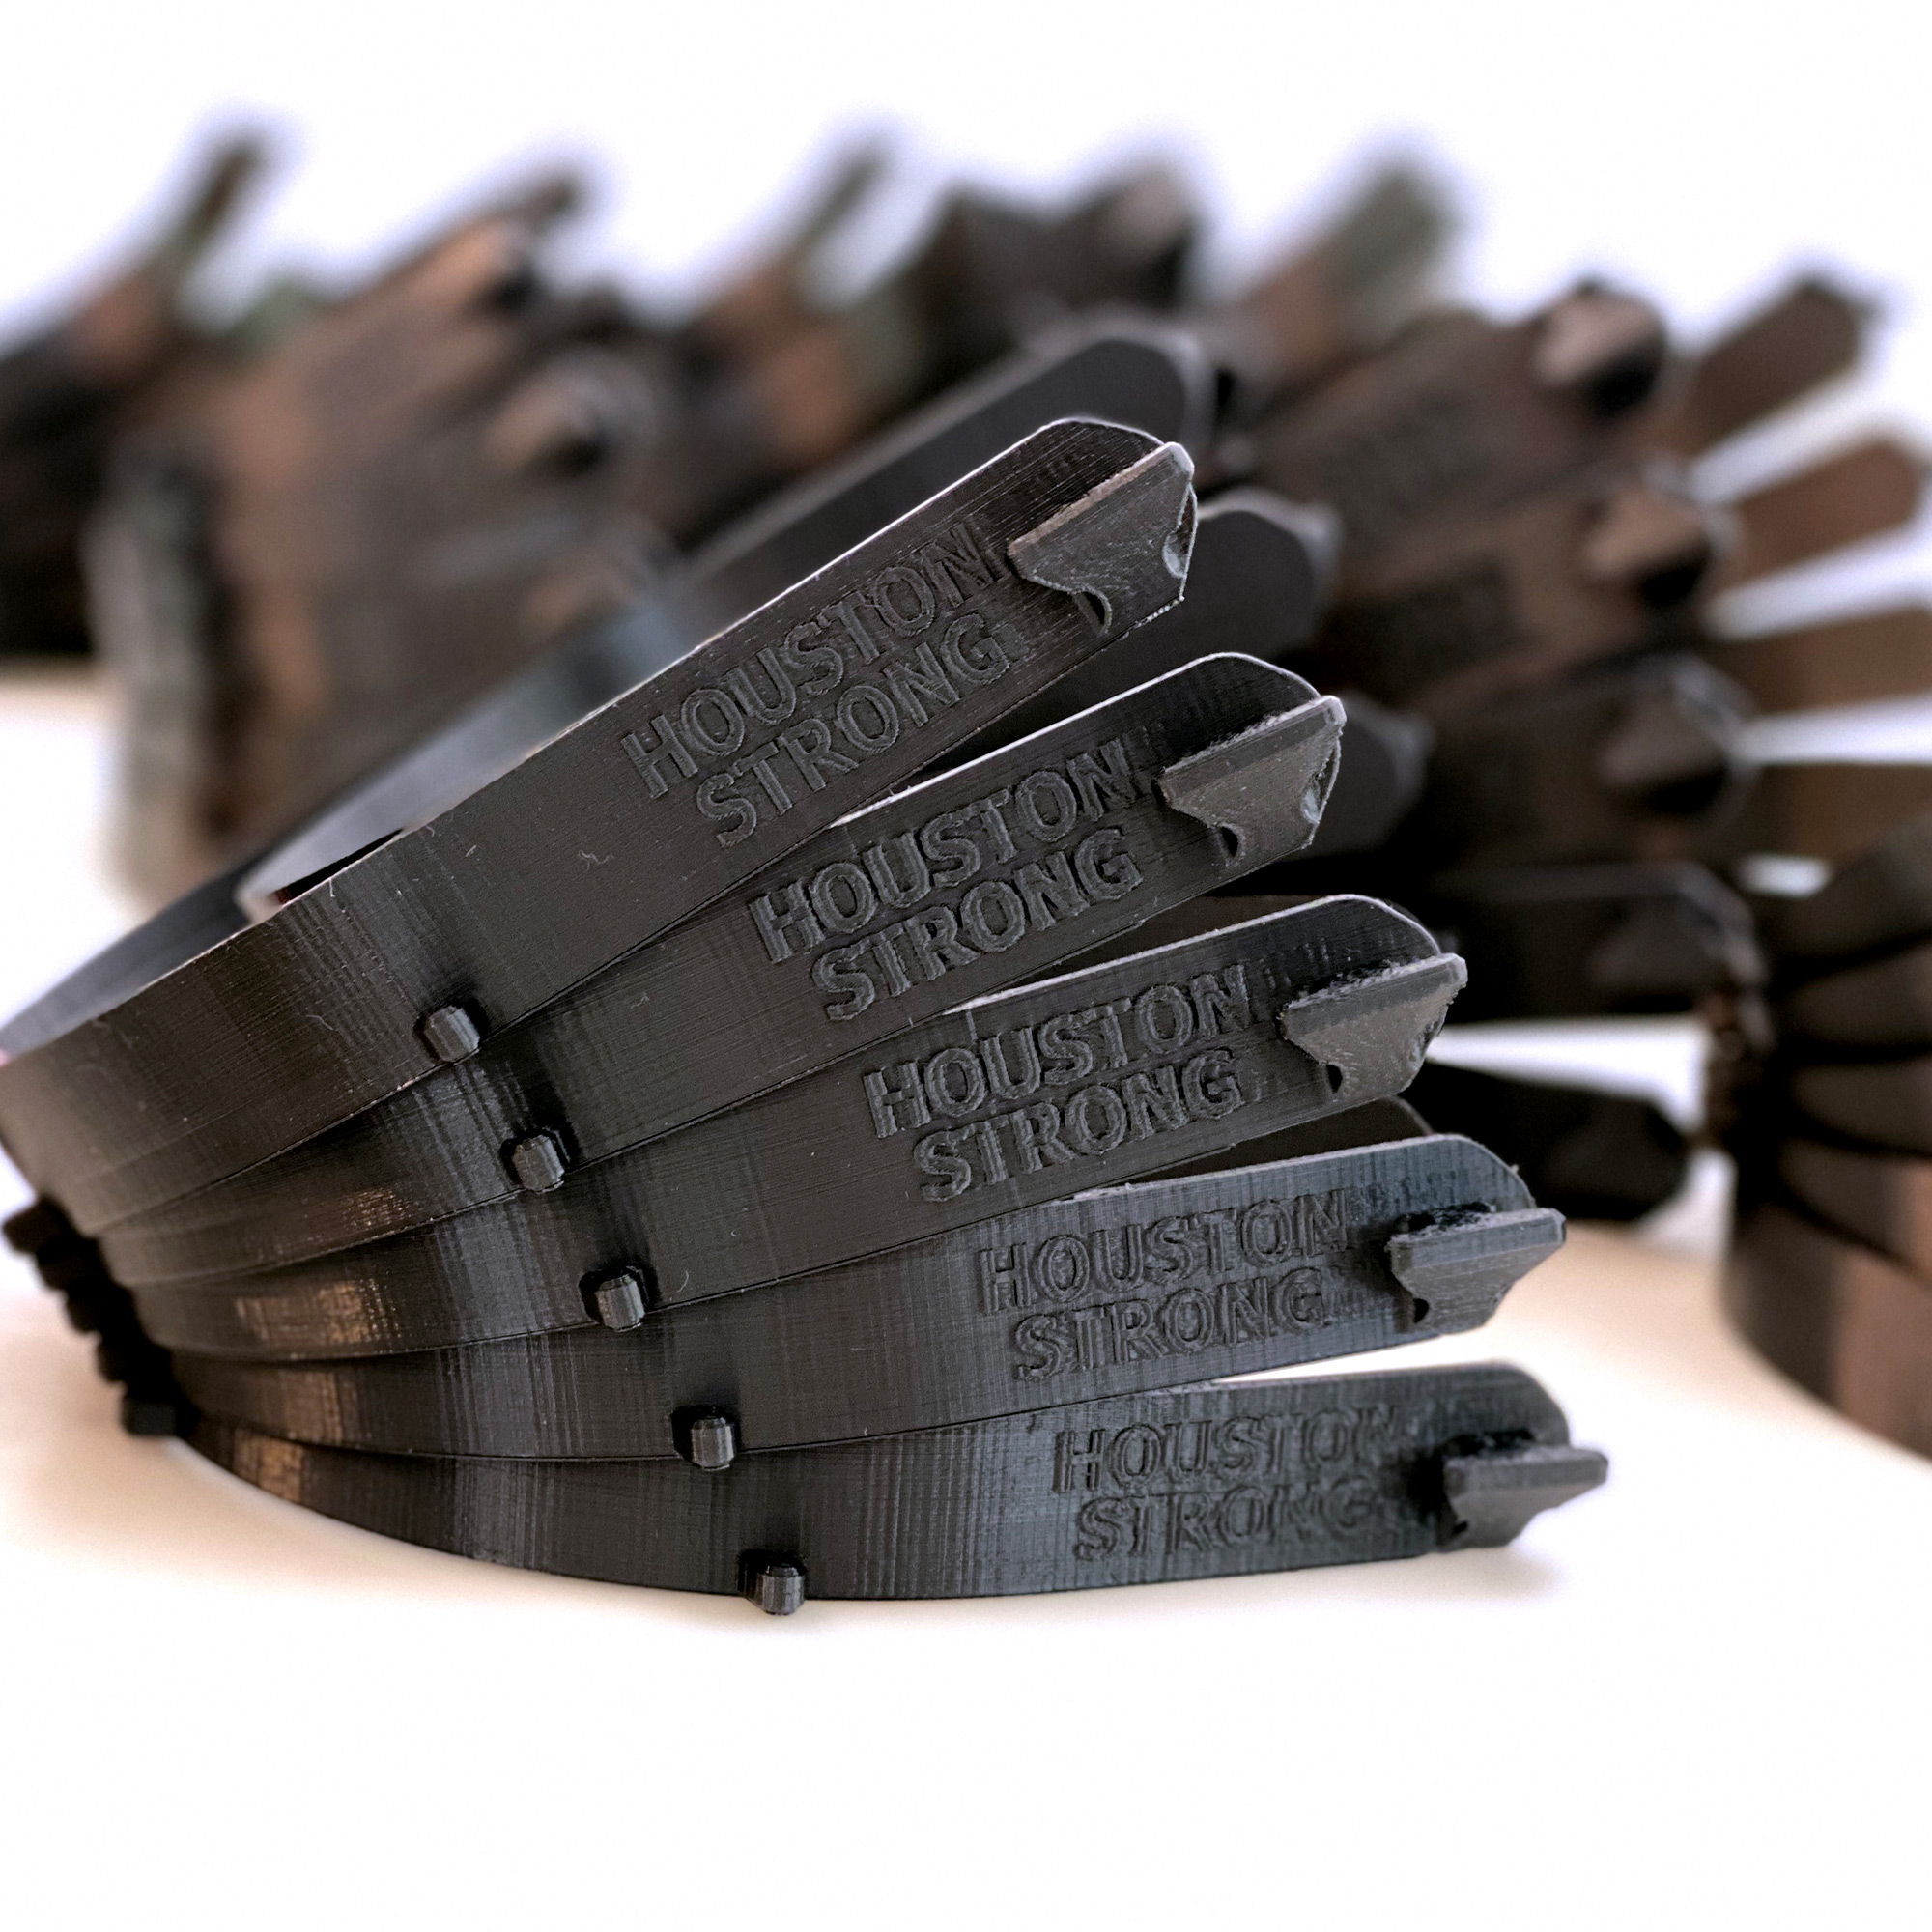
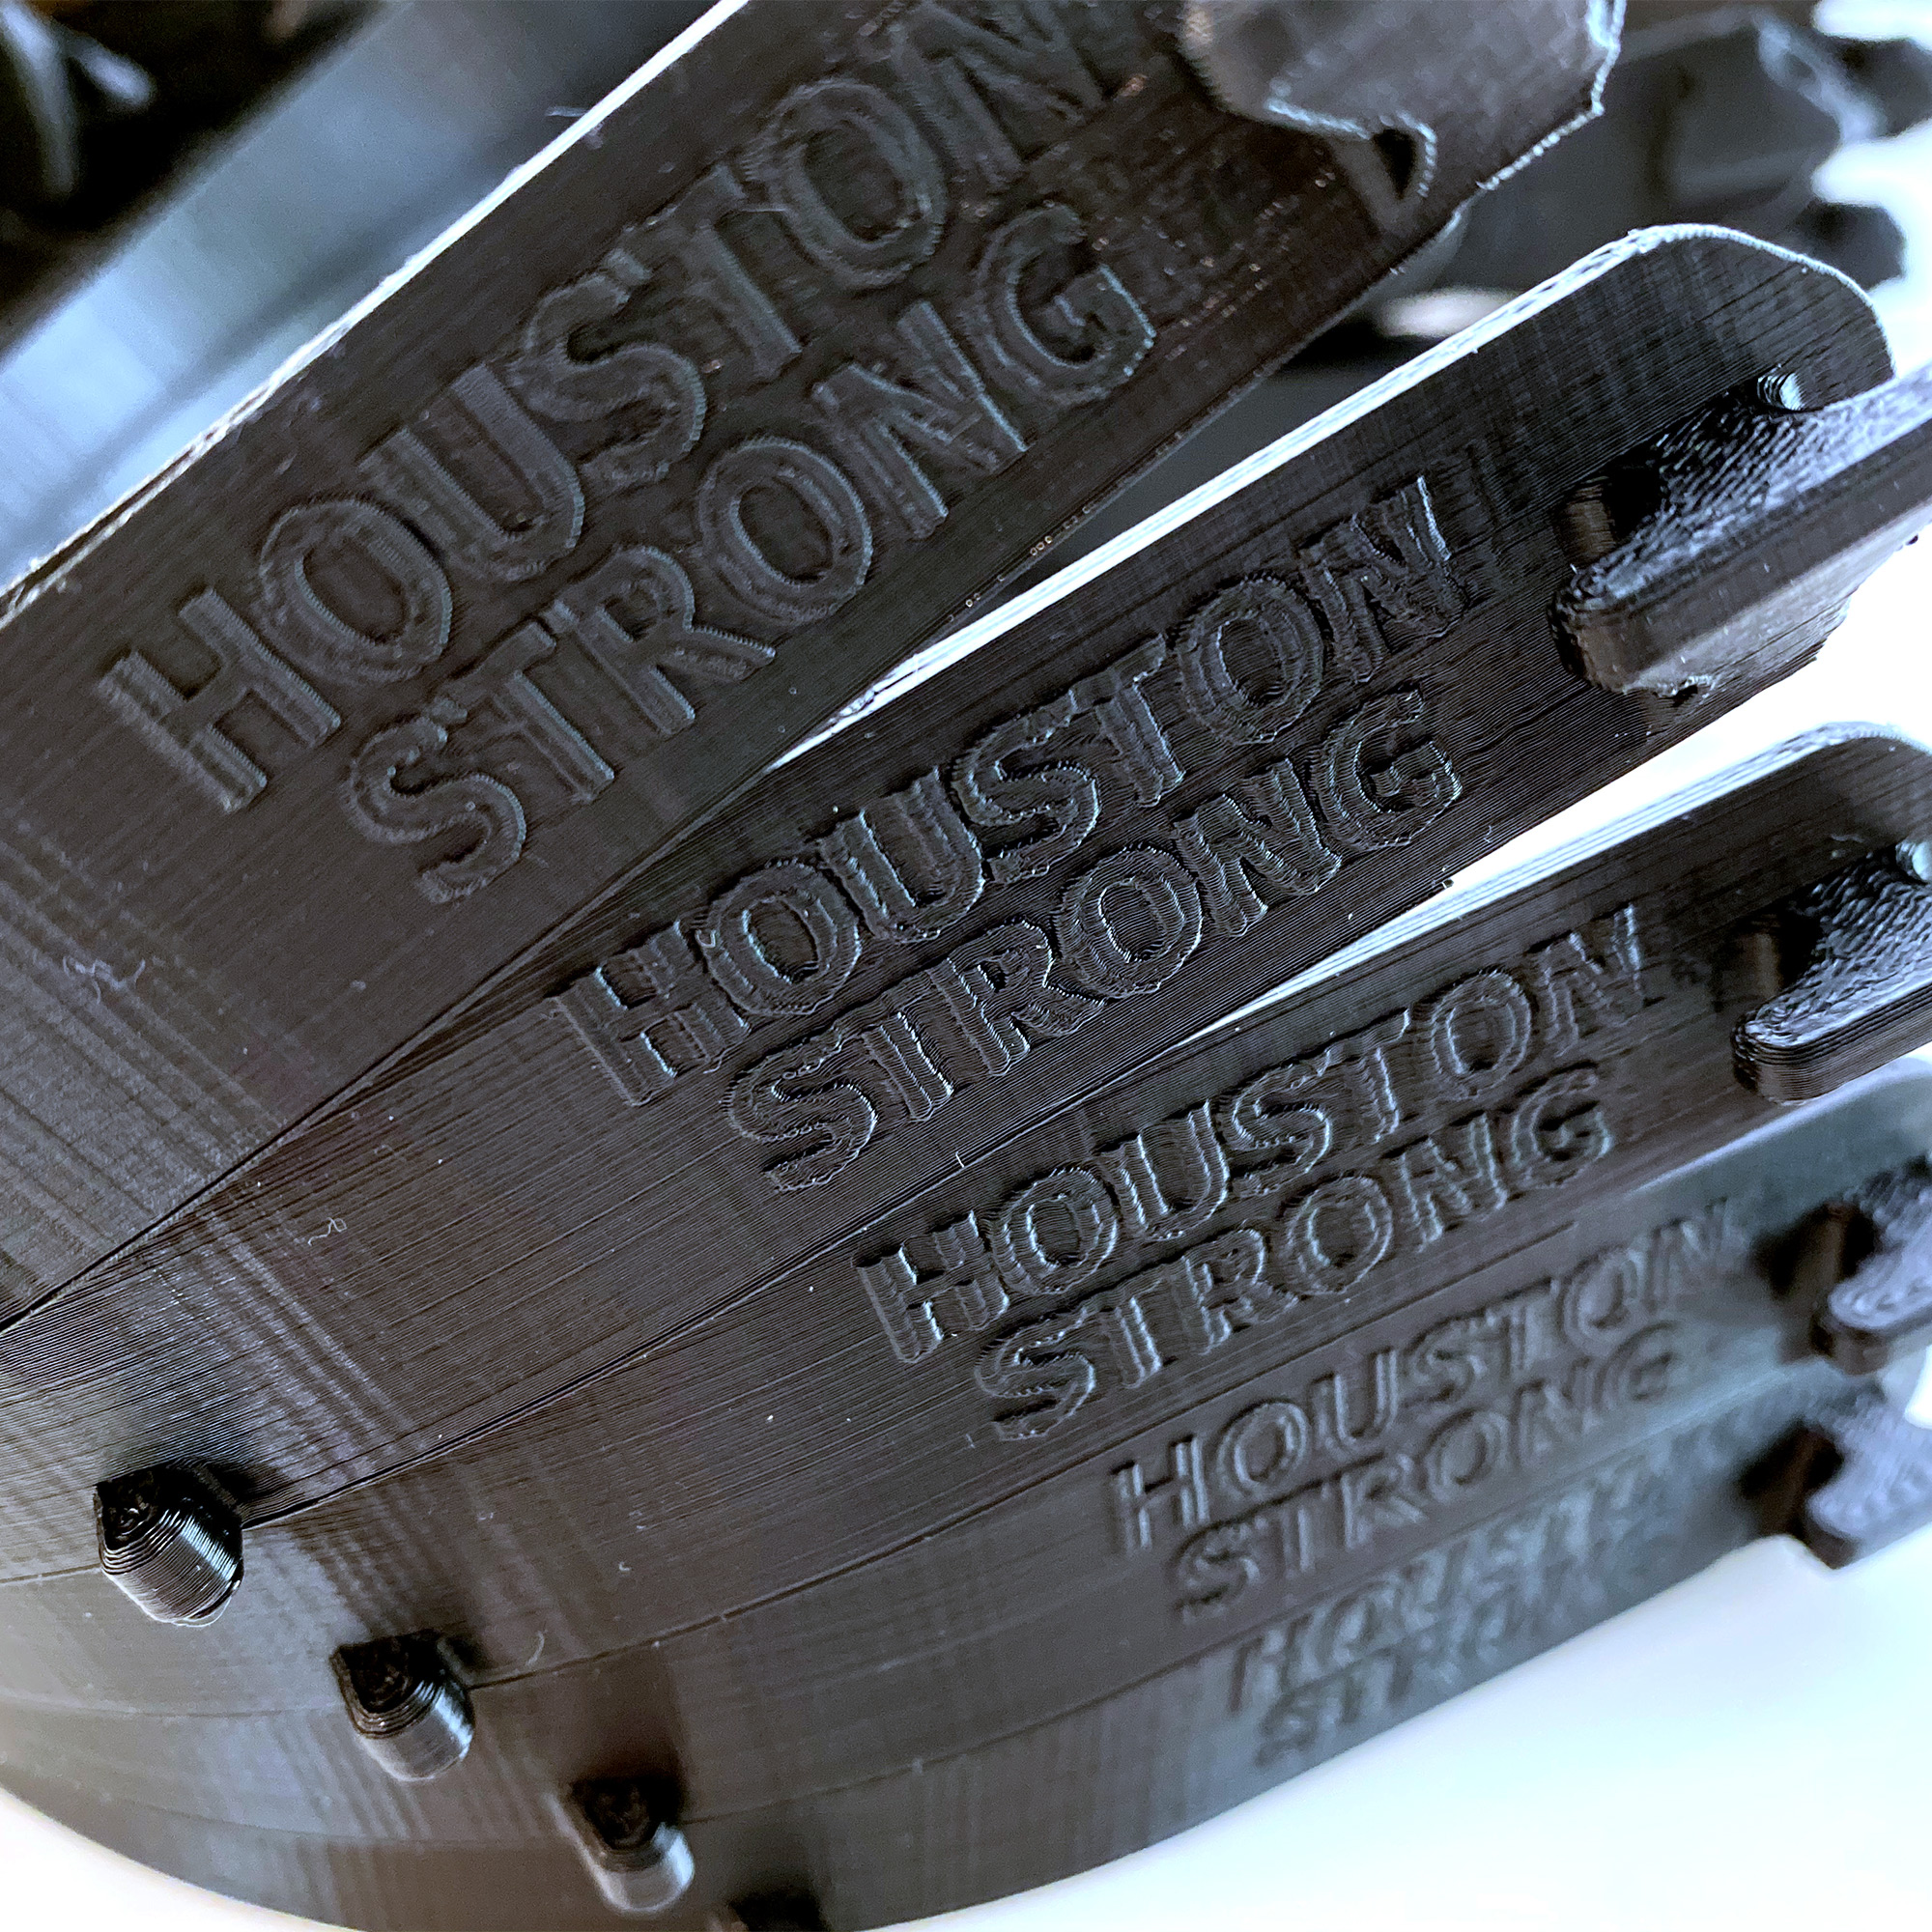
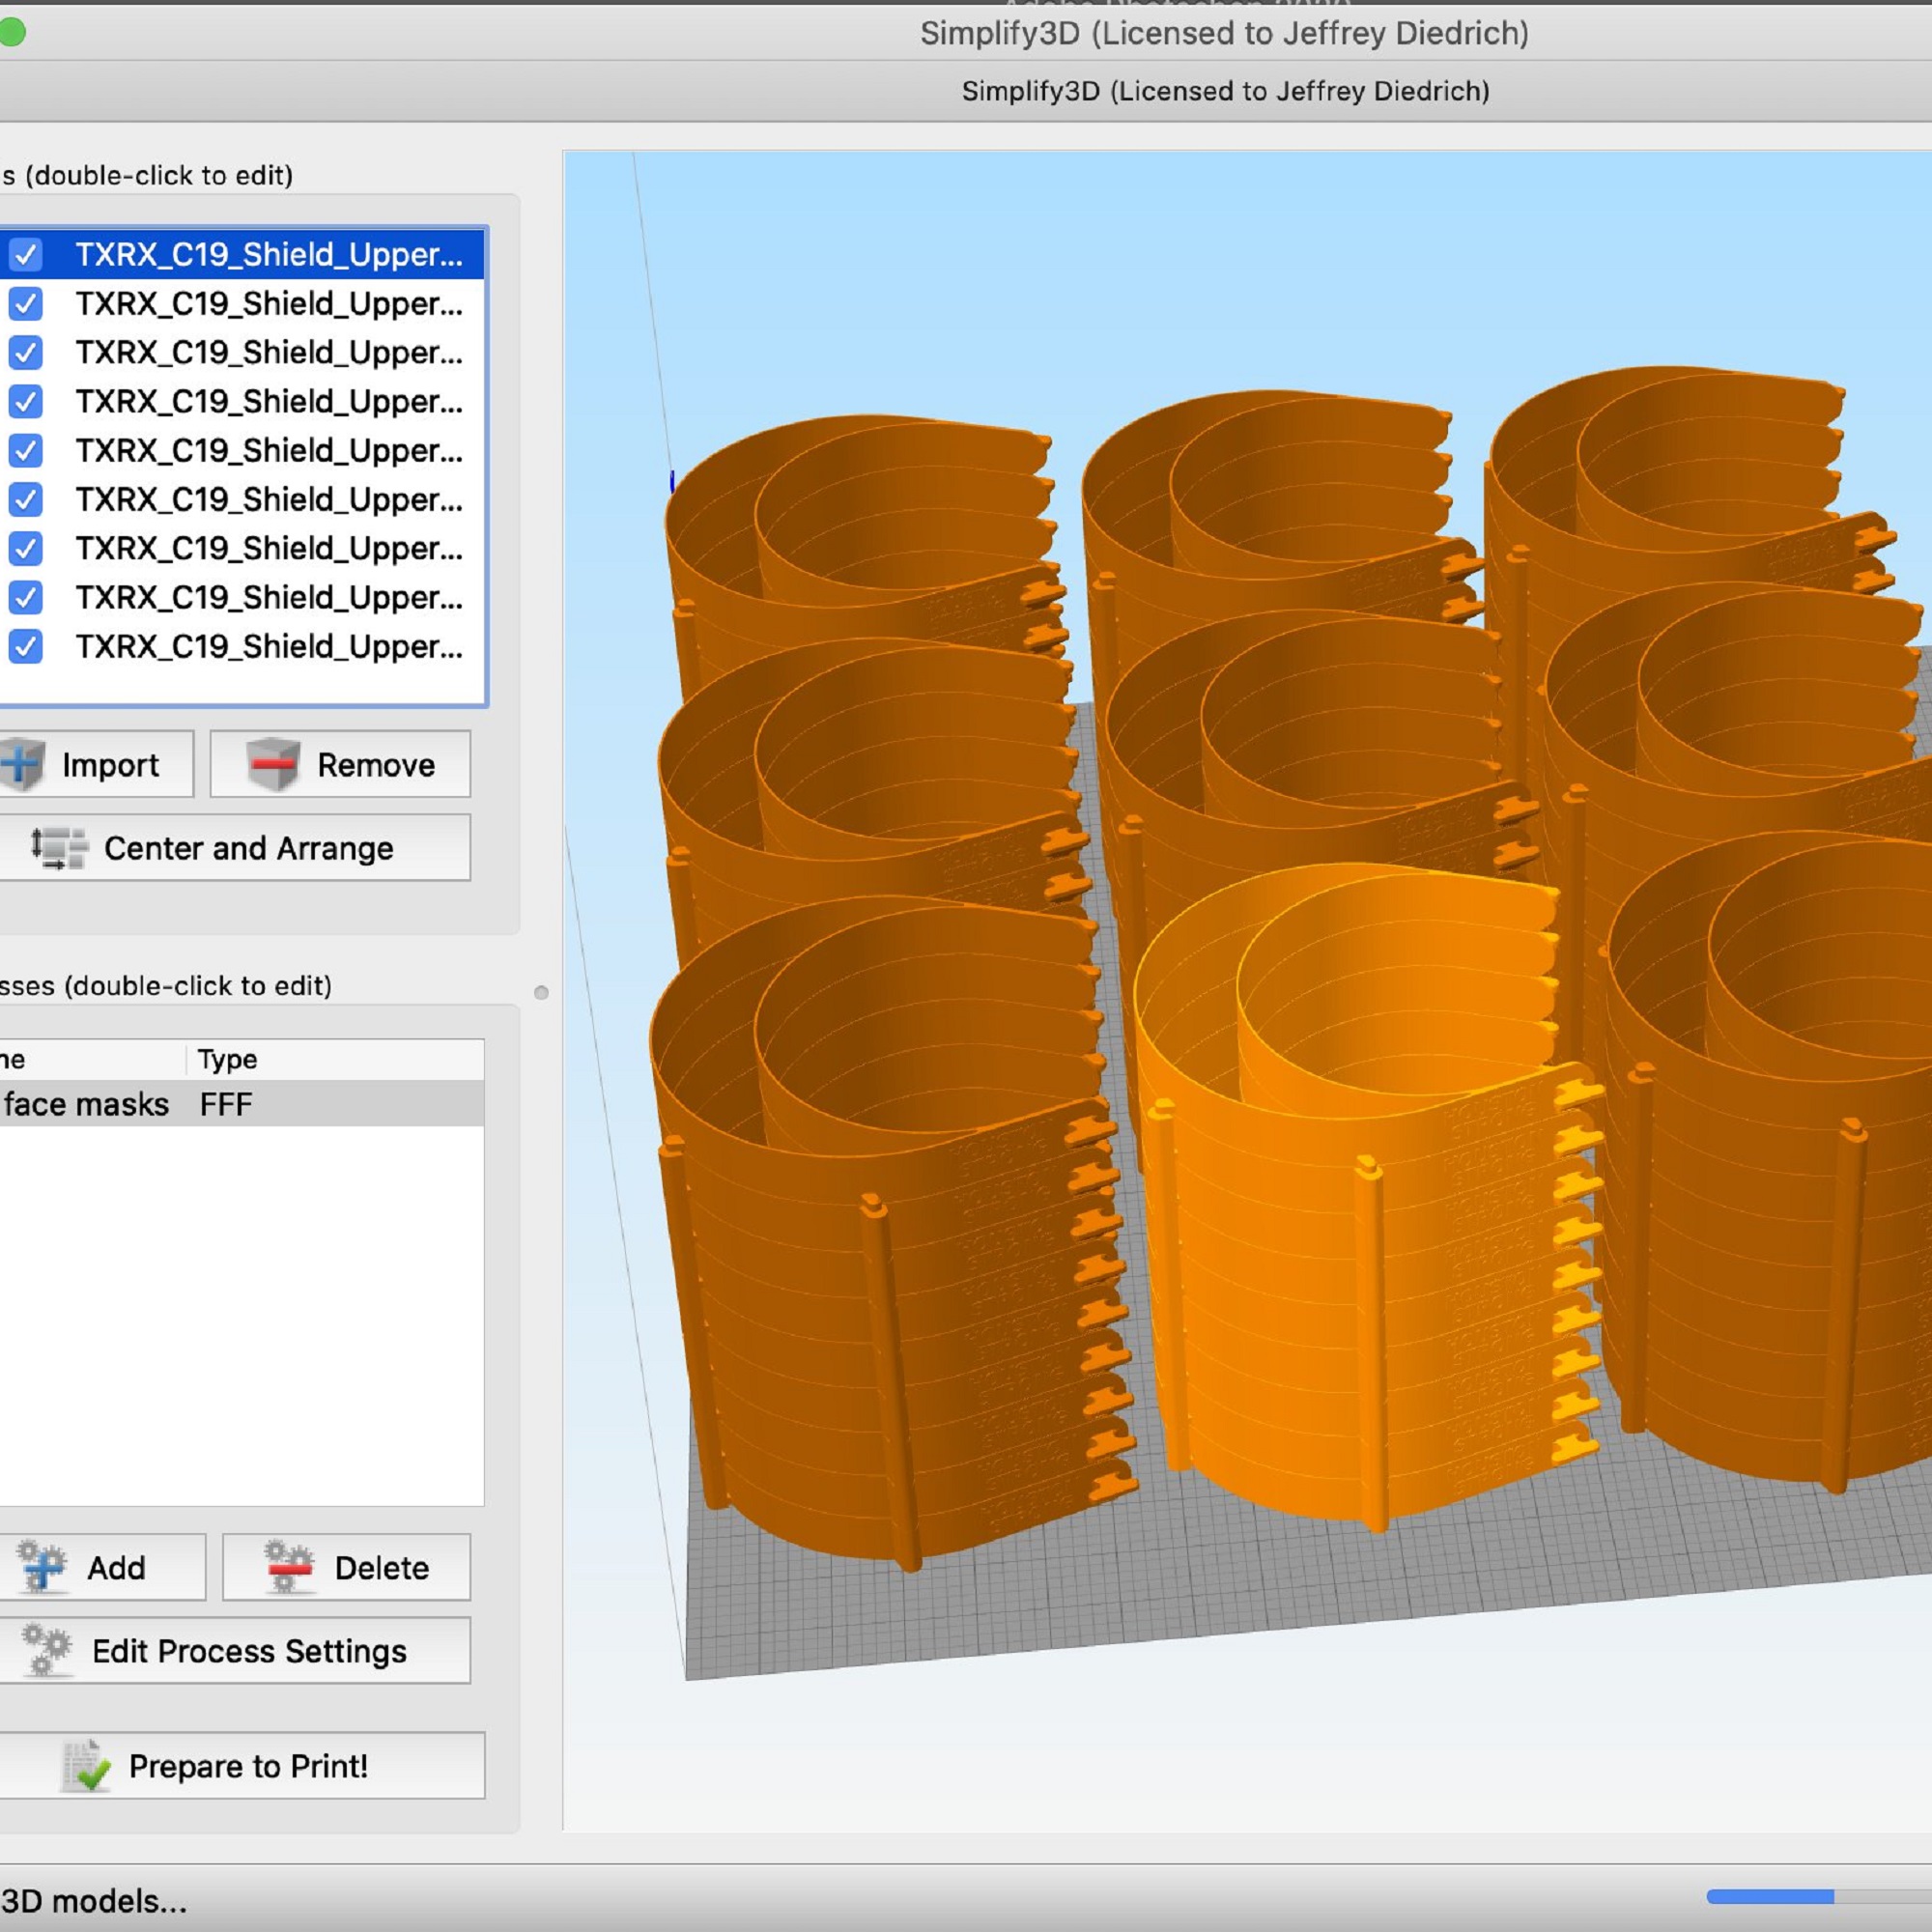
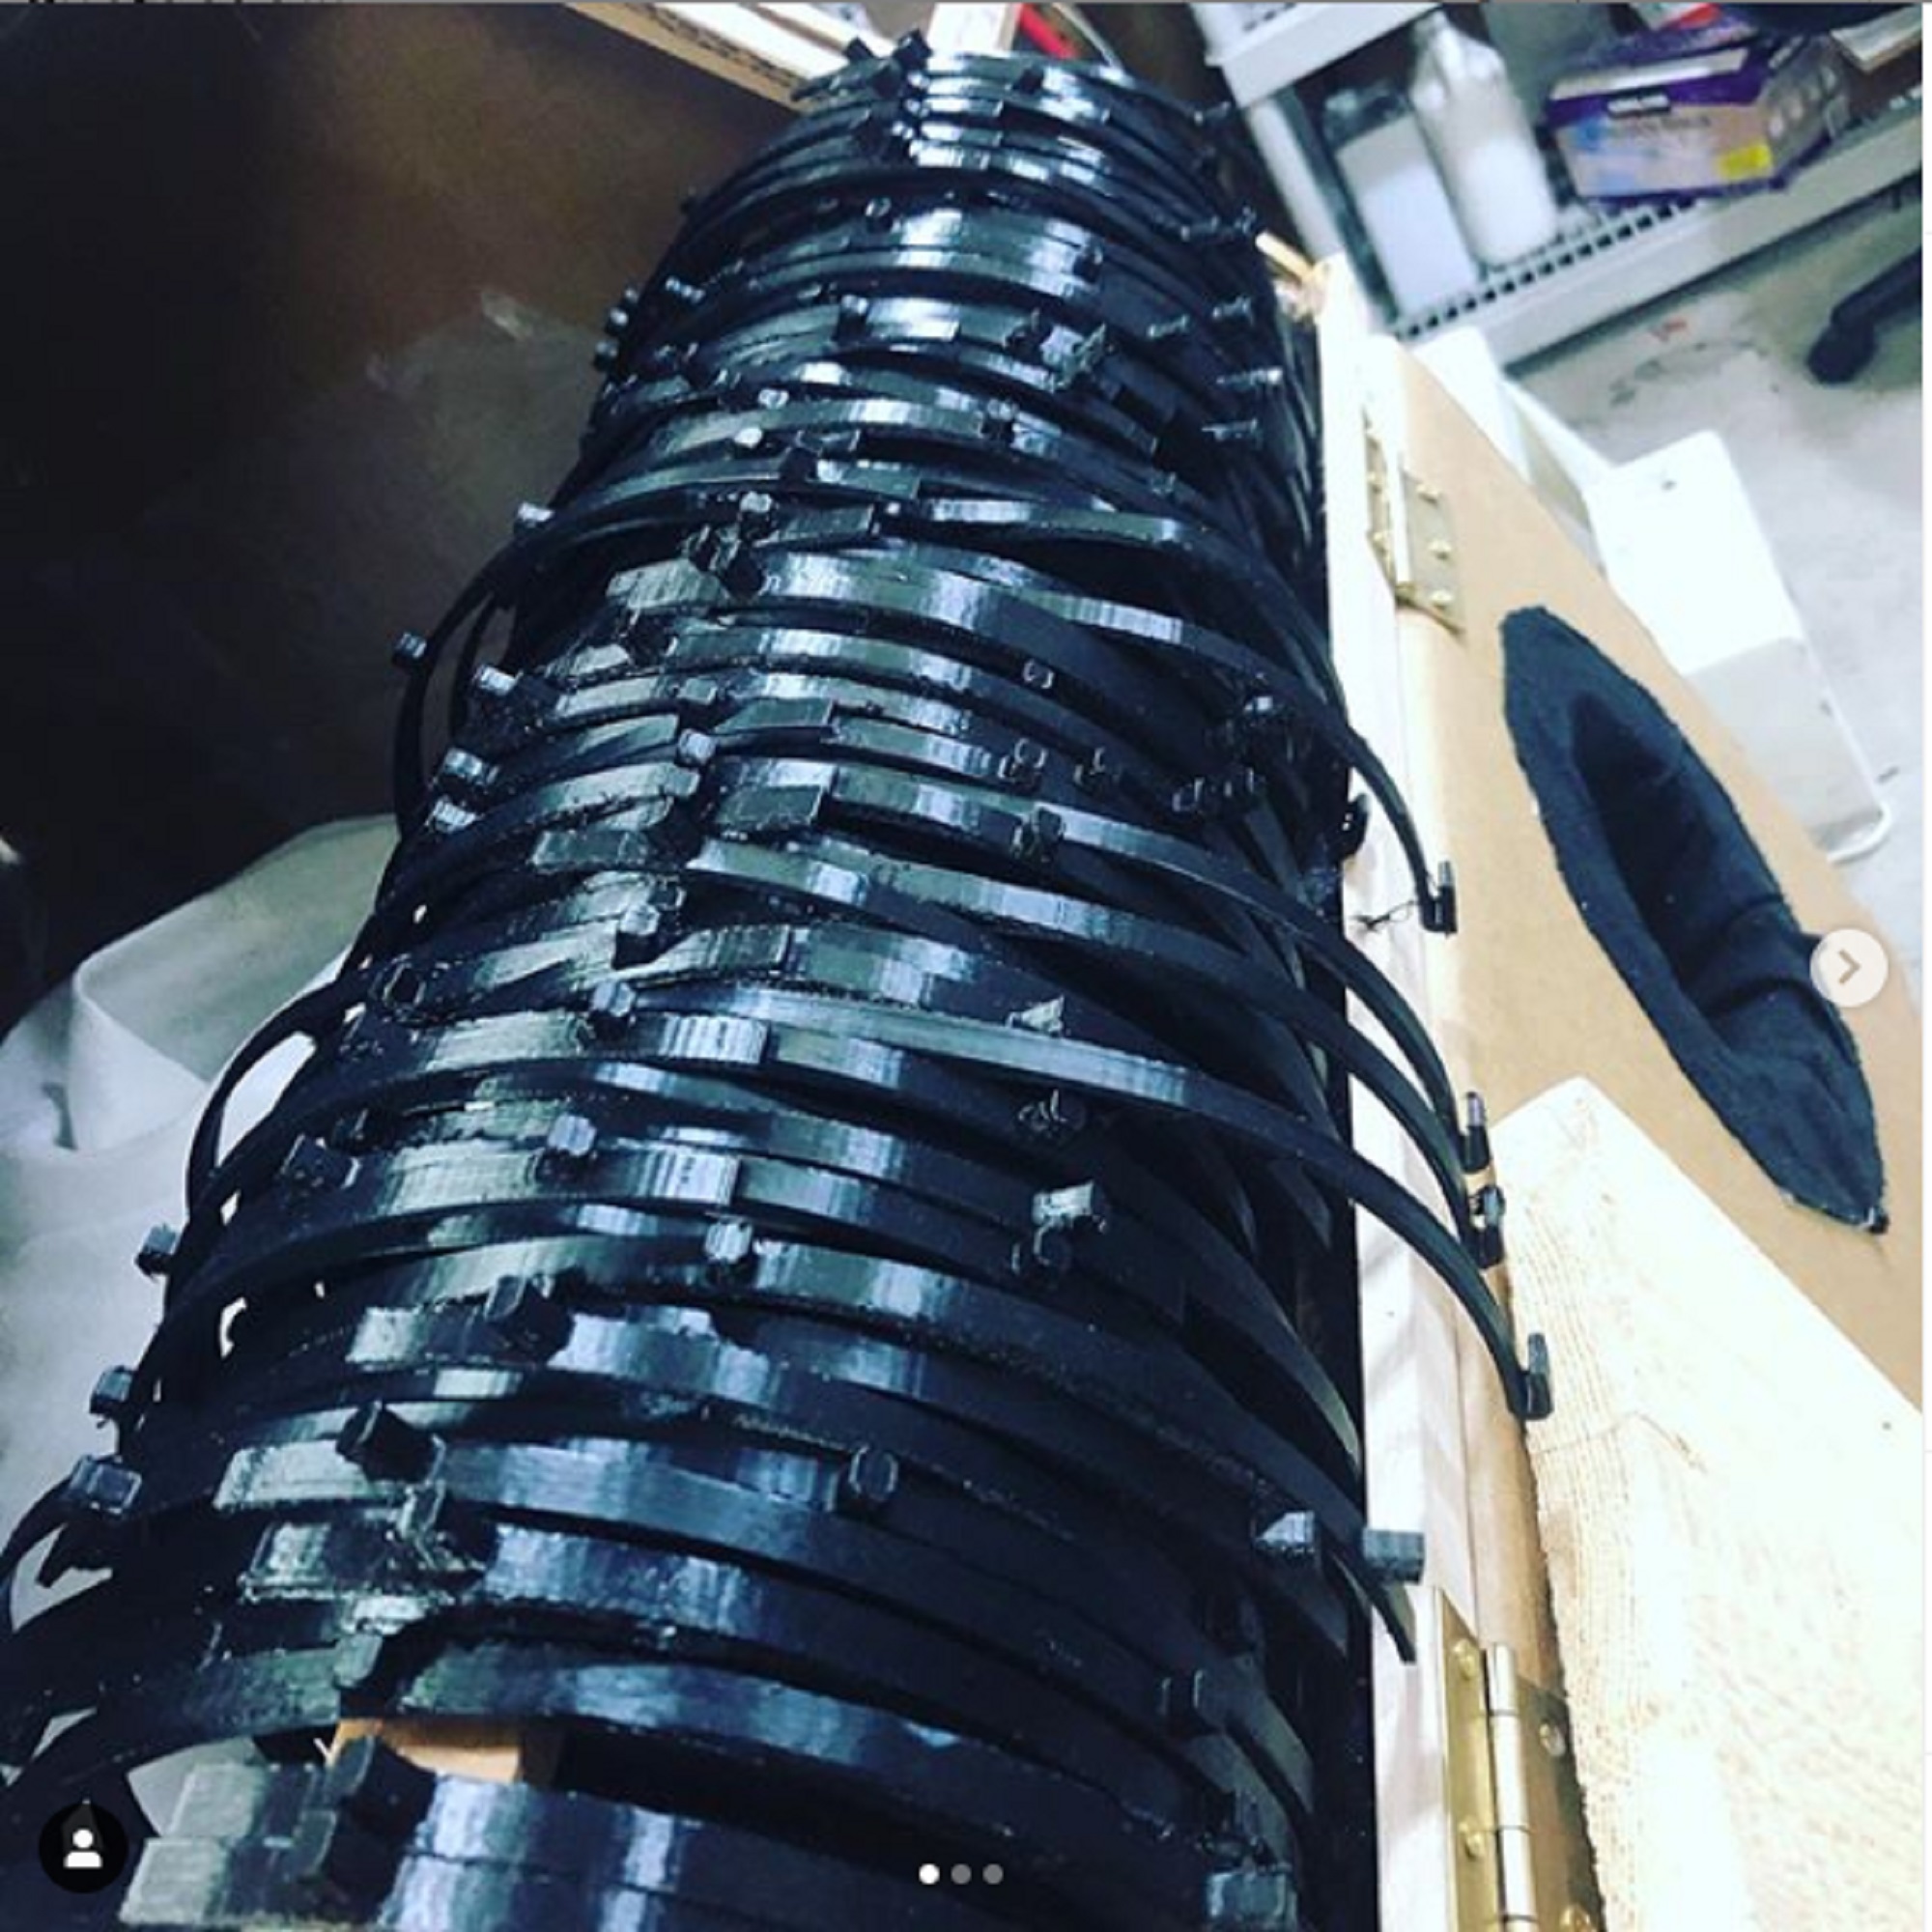
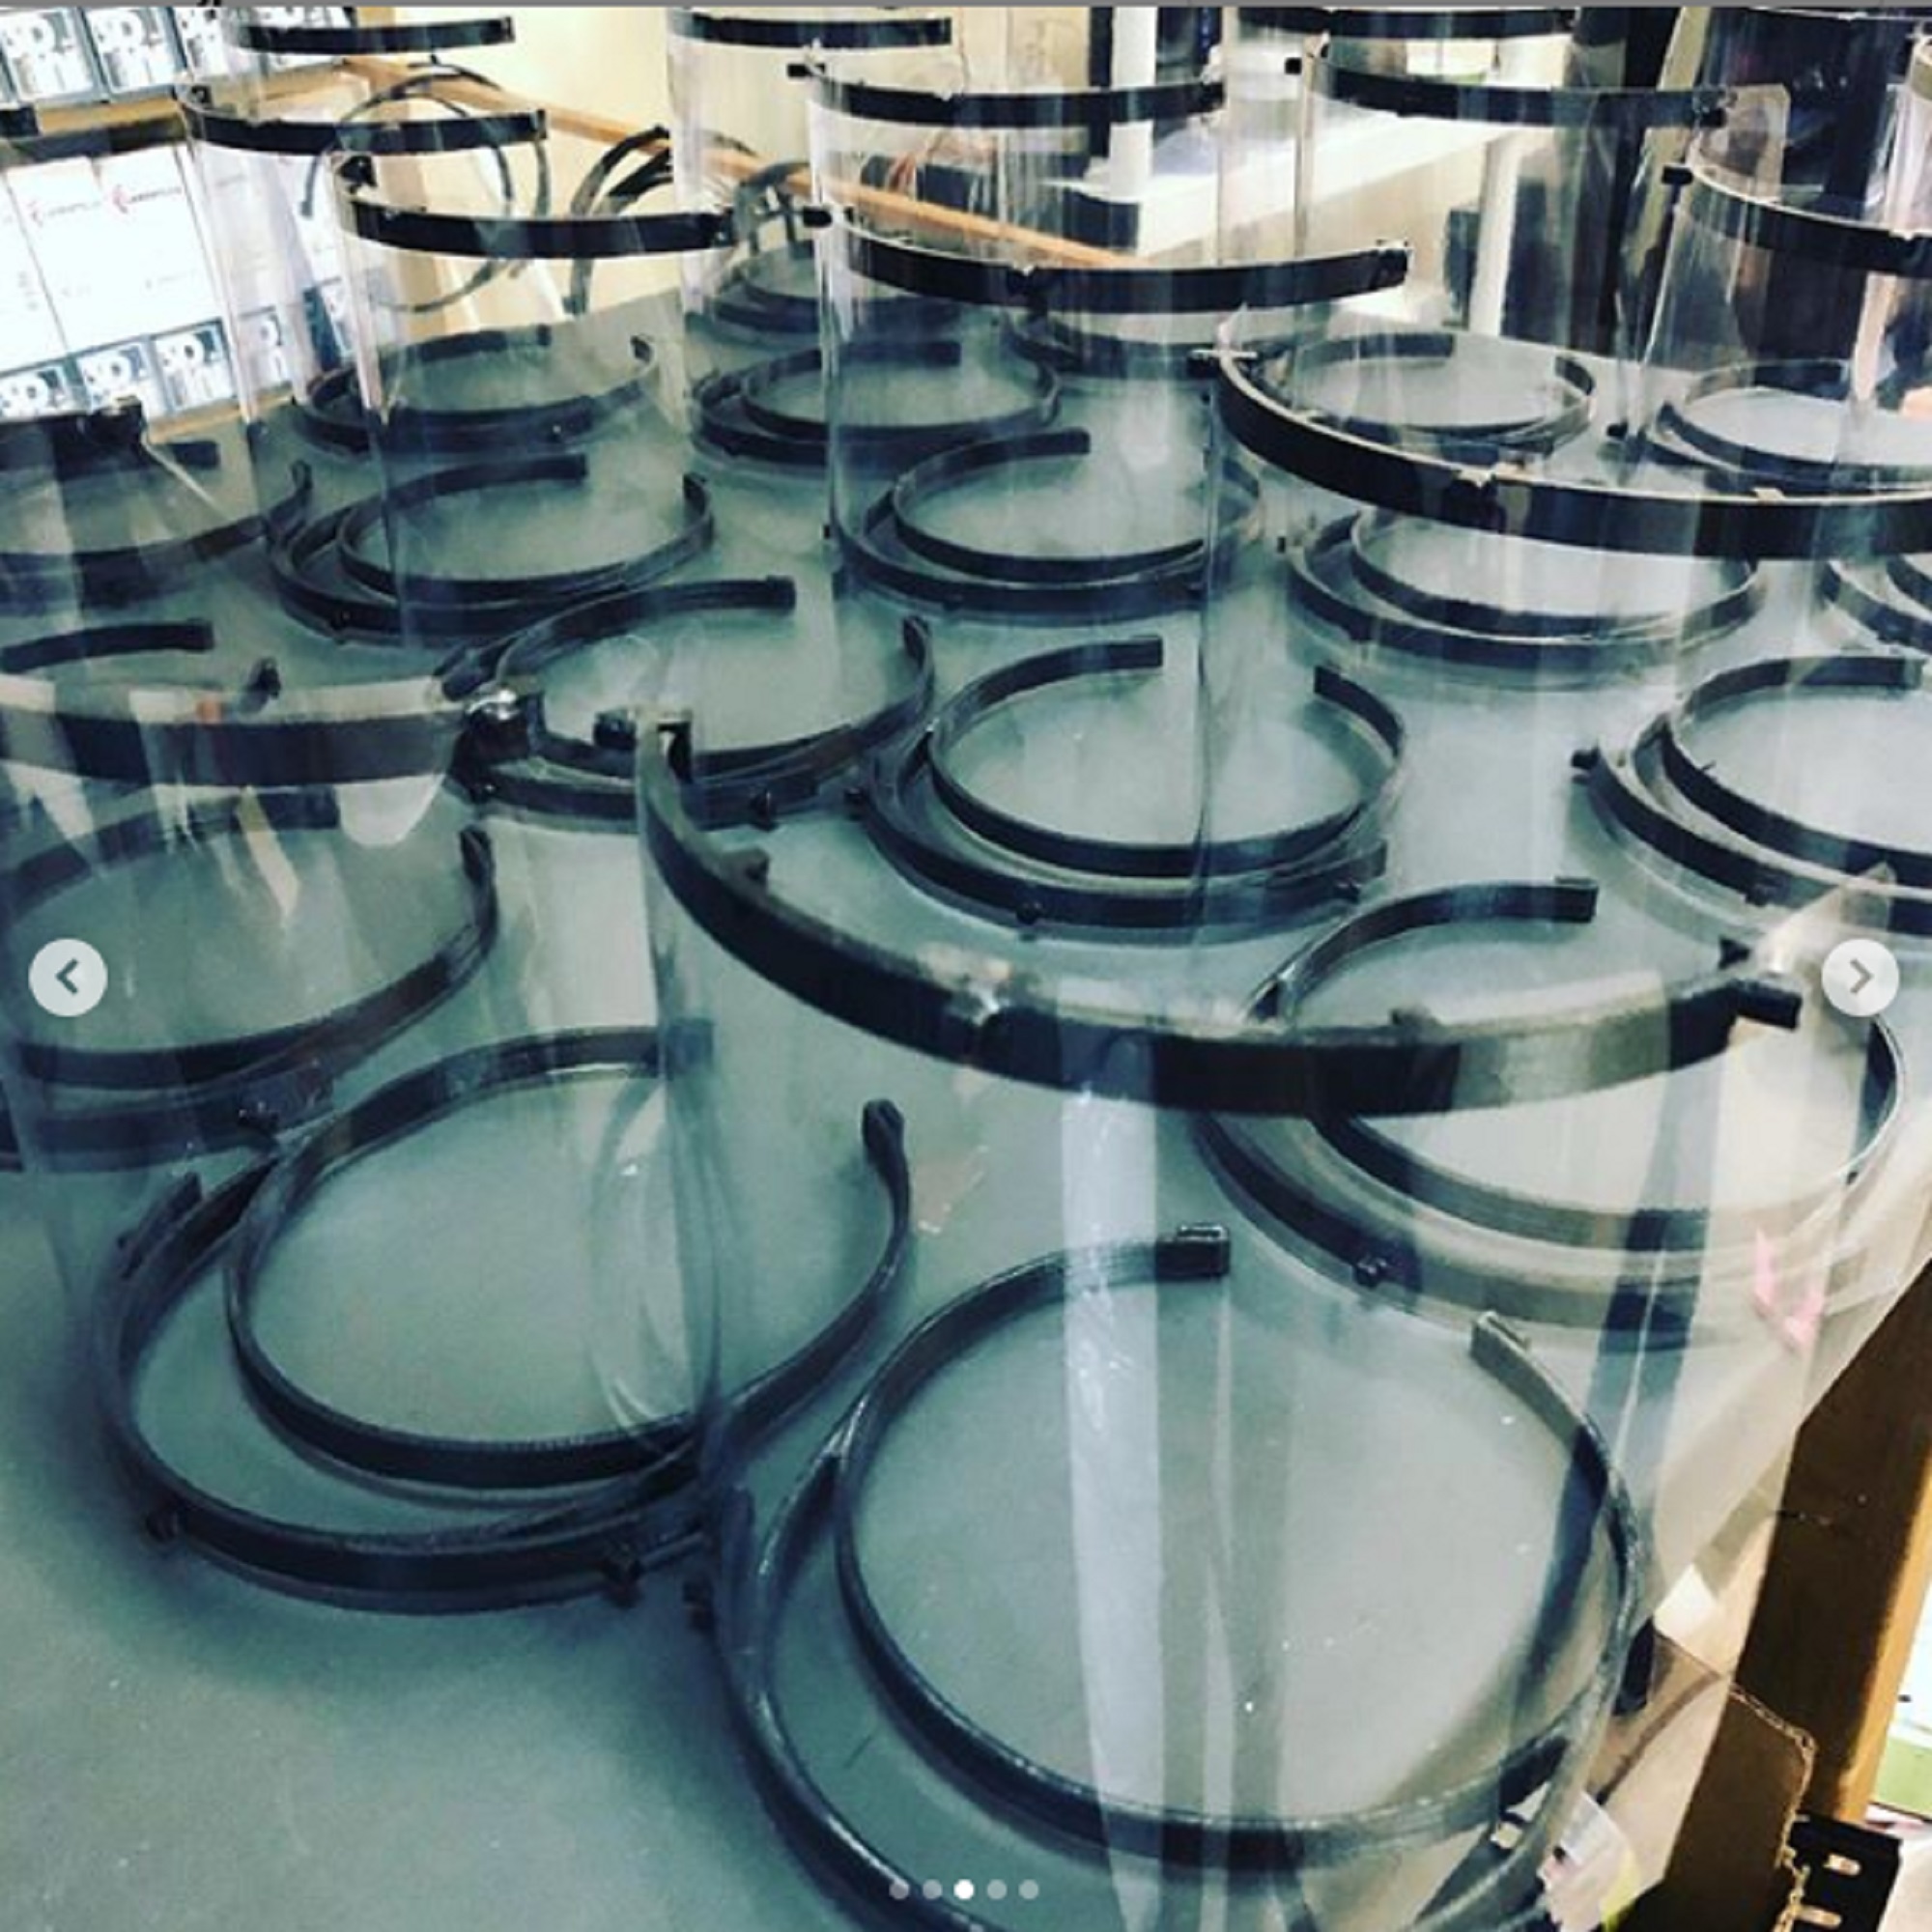
The cars printed for Manufacturing Day were made of PLA. We learned a lot about this material while designing the cars. For example, white PLA is very pigment saturated, causing it to behave differently when melting and cooling. Tolerances on each part had to be adjusted accordingly. We used up to six of our Gigabot® 3+ workhorses at a time running 36 hour prints continually over a period of two weeks to complete the prints. In the end, for the Manufacturing Day event, printing 56 complete cars added up to 1,176 total parts, 420 hours of print time, and 28 pounds of material.

Challenging 3D print builds like this produce something that is more than just a toy. “It’s meant to demonstrate that even simple machines are complex, fun and buildable by people of all ages,” Charlotte said, “and it’s meant to inspire young people to look deeper into how machines function.” 3D print your own Wind-up car by downloading the design from Thingiverse or CultsOr buy the kit from us on Etsy

Brendan J. Towlson

Blog Post Author

Global Gigabot Community Rises to the Challenge of COVID-19

As we all face our new normal and adjust to the realities of life during a pandemic, our 3D printing friends and colleagues around the world have stepped up to provide much needed personal protective equipment, filling the supply gap for everyone on the front lines. This isn’t just for doctors and nurses, it’s also for the police, EMTs, grocers, gas station attendants, and every other essential worker who suit up to keep our societies’ services going during this crisis.

More close to home, we couldn’t be more honored to count many of these selfless volunteers as our customers. re:3D’s social mission to democratize manufacturing and 3D print with purpose tends to attract like minded individuals and businesses whose first instincts are to be the problem solvers for their communities.  Featured below are our friends’ efforts in their own words.

Engine-4, Tredé, Parallel18 & Daniel Varela

Bayamón, Puerto Rico

Tell us about the design you are printing.

After learning about a need for PPE, we started printing a derivative of the 3DVerkstan visor design for face shields that could accept pre-cut shields that had been donated. We chose that design because it was the fastest to print. It was nice to see along the way that it got NIH endorsement. Our expanding print farm of Gigabots & Prusa printers is located at Engine-4, and includes local Gigabots that Parallel 18, Daniel Varela, and Atlantic University (once it clears customs!) loaned to help bolster production.
Design Inspiration: https://3dverkstan.se/protective-visor/

PR Variant: Link to .stl file direct download

What material are you printing with?

We are currently printing with PLA.

Who are you printing this design for?

We are donating face shields to health professionals across PR. So far we have donated 1400. We’re also helping a doctor with 3D printed splitters. Just today we got a tightly fitted design and are doing further testing.

This fabulous group of makers who combined forces can be found online:

@engine4cws @trede.pr @p18startups

https://engine-4.com/

http://tredeprinting.com/

https://parallel18.com/

Bill Albertini

New York City, New York, USA

Tell us about the design you are printing.

When I heard about a potential shortfall in PPE supplies at New York area hospitals, my first reaction was to research mask/respirator models but soon realized they were not an ideal candidate for FDM printing. Face shields are also in short supply and there were a couple of designs that looked promising. I downloaded and tested several candidates before I found a design on March 26th by Swedish 3DVerkstan which they had just released in the wild, I soon I discovered that Weill Cornell and several other institutions had adopted this model because of its simplicity and ease of assembly. It consists of two components, a 3D printed head strap and a clear plastic shield which can be easily fabricated using letter size acetate sheet .005 or thicker and a standard 3 hole punch.

Download Site: https://www.youmagine.com/designs/modified-protective-visor-by-3dverkstan
Design Site:https://3dverkstan.se/protective-visor/

What material are you printing with?

I am currently printing with PLA but I am going to switch over to PETG as soon as I can set up better ventilation. This is an old fashioned New York loft work/live situation.

Who are you printing this design for?

Most of this first batch was donated to DIY Shield Project through connections with nycmakesppe.com, and they have been pretty much distributing to (public) hospitals with severe shortages like Elmhurst and Lincoln. I am also giving 50 kits directly to someone I know at Montefiore Hospital in the Bronx. I have also been in contact with Jenny Sabin who is running a site for Weill Cornell https://www.sabinlab.com/operation-ppe

Bill Albertini can be found online:

@bill_albertini

billalbertini.com

Efes Bronze | Serdar Erol

Yalova City, Turkey

Tell us about the design you are printing.

It is a simple face shield design that can save lives. The design came from 3BOYUTLUDESTEK.ORG platform. There are thousands of volunteers in this platform with 3D printers. “Sizi seviyoruz” is located on the shield and means that we love and thank you to all struggling with COVID-19.

What material are you printing with?

PLA

Who are you printing this design for?

All sanitarians, policemen, and some other officials that have to contact each other everyday.

Where can people sign up to assist with this effort?

WWW.3BOYUTLUDESTEK.ORG

Efes Bronze can be found online:

@efesbronze

Metabolic Foundation | Christie Mettes & Tony Sevold

Aruba

Tell us about the design you are printing.

We started working with the design from Prusa, which looked like it was carefully researched and tested and approved and it worked well, so we printed about 400 of those in total. We’ve recently moved on to the 3DVerkstan design, which takes half the time to print so it helps us increase our production. In addition to these, we’ve also designed a copy of some safety glasses they use at the hospital, which print even quicker and use less material.

What material are you printing with?

We’re printing mainly with PLA because that’s what we have, and it’s easy to work with. We’ve also used a bit of PETG and some ABS because that’s what we had, and it should work fine according to the Prusa and 3DVerkstan websites.

Who are you printing this design for?

We’re printing for the two main hospitals on the island, Horacio Oduber Hospital, and ImSan (Instituto Medico San Nicolas), as well as the department of health who are doing the testing (DVG, Directie Volksgezondheid), the psychiatric hospital organization (Respaldo), the union of family doctors and dentists, as well as individual health workers including nurses and family doctors who ask us specifically.

Where can people sign up to assist with this effort?

If you’re in Aruba, and have a 3D printer or can sew, you should sign up. Best way is to email us at lab@brenchies.com, or WhatsApp us at +297 630 2475

Metabolic Foundation can be found online:

https://www.facebook.com/brenchieslab/

https://www.instagram.com/brenchies/

Plodes® Studio | John Paul Plauché & Roya Plauché  

Baytown, TX, USA

Tell us about the design you are printing.

We are printing a head banding component of a protective face shield. It is based on a design by Prusa, and had been approved by the Czech Ministry of Health for use to help fill the void of PPE (Personal Protective Equipment). The version we are printing is a redesign by TXRX Labs and part of a volunteer effort that they had organized to help with our own local need for PPE during this worldwide COVID-19 pandemic. We are excited to see local additive manufacturing step up to a shared worldwide call, where intellectual property and design ego take a back seat to provide real time evolving, useful, and needed objects for humanity.

What material are you printing with?

We are printing with PLA from re:3D, always our first choice for on hand reliable material. We are printing 24×7 on our original (but upgraded a little) Gigabot #21! Each part is around 1hr and we are doing at least 6 units at a time.

Who are you printing this design for?

These prints are for our Houston area doctors, nurses, and staff on the front lines of the COVD-19 pandemic in hospitals and stations that are in need of PPE or anticipate a need in the coming days/weeks. Our parts are delivered to TXRX labs in Houston and are assembled with laser cut shields and elastic bands to complete the product and are distributed from there.

Where are you located?

We are located in Baytown, TX in our home office. My wife (Roya Plauché) and I (John Plauché) make up plodes® studio. We are a Texas based multidisciplinary design firm that draws from a coalescence of art, product, and architectural design. Our products are varied, authentic, minimal, and distilled with rigorous process to a balanced purity. Currently our best sellers are fire pits, so check them out and make a backyard escape for yourself while we are in this ‘Great Stay’. Help flatten the curve and please stay home as much as possible! 

Where can people sign up to assist with this effort?

We could use local area volunteers to pickup parts from us and drop to TxRX labs when we get 50-100 units at a time. Please email info@plodes.com with subject “TXRX pickup”. And please everyone visit TXRx’s go fund me at https://www.gofundme.com/f/txrx-manufactures-protective-medical-equipment and give what you can!

plodes® studio can be found online:

http://www.plodes.com/shop

@plodesstudio

CM Welding & Machine | Corey Mays

Midland, TX, USA

Tell us about the design you are printing.

We were printing a prototype ventilator splitter designed by Texas Tech and UT Permian Basin to allow up to 4 patients to use one ventilator. The first run has been sent for testing and we are waiting to hear back on that part. In the meantime we started reaching out to local medical personnel and some of the rural areas to see what needs they might have. We found the biggest need was for face shields. We chose a simple open source design and have been printing these 24/7 to fill these needs.

What material are you printing with?

For the ventilator splitter I chose PETG material and we are printing the face shield headgear out of PLA.

Who are you printing this design for?

Any medical personnel in need of face shields. 

Where can people sign up to assist with this effort?

I encourage anyone with a 3D printer to contact your local medical personnel or local universities of schools to help fill immediate needs there. Also, go to www.matterhackers.com and sign up for the COVID-19 response team. They will send out requests and files.

What has it been like for you working on this project?

It’s been exciting to be able to work on this project. As a manufacturer and mechanical designer I’m a problem solver by nature so being able to have the capability to help has been really fun and exciting! The Gigabot has been absolutely rock solid through this project. The larger print bed allows us more freedom to run different part arrangements so that we do not have to have someone here 24/7 to watch the machine. With the face shield head gear, we start a run of 6 in the morning and that run is ready to be pulled off by 5 pm. We then start a run of 8 that is ready when we come back in the following morning. I don’t think it has been off in almost 2 weeks and still going strong!

CM Welding & Machine can be found online:

Facebook: CM Welding & Machine

Pamton 3D | Pamela Szmara

Youngstown, OH, USA

Tell us about the design you are printing.

The headband design is PRUSA stl file. It is an existing design.

What material are you printing with?

We are using PETG from Village Plastics in Barberton, Ohio.

Who are you printing this design for?

We have supplied masks to Hospice of NY, the Ravenna Fire Dept in Ohio, and doctors at the Cleveland Clinic. 

Pamton 3D can be found online:

http://www.pamton3d.com/

The Kinkaid School | Jeff Diedrich

Houston, TX, USA

Tell us about the design you are printing.

The design is from TX/RX, a non-profit makerspace here in Houston. My first prints were based on a single design where I could fit 9 on the bed. Then Patrick Ferrell @PBFerrell told me about a stacked design with 9 high which meant I could do 81 at a time. This was a 110 hour print.

What material are you printing with?

PLA

Who are you printing this design for?

These are being printed for TX/RX

What has working on this project been like for you?

I am fortunate to work at a school with a Gigabot, and our head of school, Dr. Ed Trusty, was more than happy to allow me to use the school’s equipment and material to give back to the community.

Jeff Diedrich can be found online:

@misterdiedrich

Qrint Studio | Qumar Mirza

Toronto, Canada

Tell us about the design you are printing.

The designs we printed are our own design for non-medical grade face shields for local business and restaurants. Due to this reason, we made it so it could have a minimal cost.

What material are you printing with?

We printed with PETG.

Who are you printing this design for?

A local community non-profit.

What has working on this project been like for you?

We started just to help the community, but we end up applying for a health certificate so we could produce medical grade face shields.

Qrint Studio can be found online:

https://www.facebook.com/qrinting/

@qrintstudio

Doug Mockett & Co | Paul de Leon

Manhattan Beach, CA, USA

Tell us about the design you are printing.

We started printing designs a friend of mine sent to me – all from Thingiverse. After printing for a few days, I realized our two Gigabots weren’t going to be able to catch up with the demand, so Carlos and I played with the settings and got the print time down to 28 mins per visor for open visors, 35 mins for closed top visors (some hospitals preferred closed visors) which still wasn’t enough. I saw a post by a company from another country which did in house casting. That was clever so I thought we should do the same. I contacted our local silicon and plastic supplier for molding instructions and to buy materials to make silicon molds. I designed a closed visor that could work with molding and casting. I printed a few versions using our Gigabot 3+  and used that print to create a silicon mold.

We are also printing ear savers (mask extenders). These seem to be quite popular.

What material are you printing with?

PLA

Who are you printing this design for?

Local hospitals and nursing homes:

  • Torrance Memorial Hospital, CEDARS SINAI & Providence Little Company of Mary (earsavers), Long Beach Memorial Rehab, and other local clinics.
  • Delano Hospital, VA Palo Alto and other smaller clinics in other states

What has working on this project been like for you?

It has been a privilege and an amazing team experience to be able to create something to help in this time of need. It means a lot to our team to be a part of this project and donate to healthcare providers.

Doug Mockett & Co can be found online:

@dougmockett

https://www.facebook.com/dougmockett/

https://www.youtube.com/user/dougmockett

https://twitter.com/dougmockett

https://www.pinterest.cl/dougmockett/

Compendium Federal Technology LLC | Stuart Langford

Lexington Park, MD, USA

Tell us about the design you are printing.

Originally, we were going to make frames and donate them to Makers Unite in Baltimore, MD. At the time, they were asking us to use the Prusa v.RC2 face shield design.  In the meantime our CEO was communicating with local first responders, and Medstar Saint Mary’s communicated that they were running low on face shields. We used the Prusa v.RC2 face shield, but we made some minor changes so they would print faster. The straps are our design. We tried several designs including the strapless, but we received the best feedback from the modified Prusa v.RC2.

What material are you printing with?

PLA for the frame. NinjaFlex TPU 85 for the straps. The clear screens are made from clear acetate or PVC sheets.

Who are you printing this design for?

Medstar Saint Mary’s Hospital, Charlotte Hall VA Clinic, several nursing homes and private practices.

What has working on this project been like for you?

It has been busy, but rewarding. I wasn’t the only person contributing. My CEO John OConnell did the leg work, and my coworker Cedrick La Marca assisted with the CAD designs and resin printing. In addition to the face shields, we also printed spare ventilator parts for Saint Mary’s Hospital. Everything was donated free of charge.

Our story was featured on WJLA-TV Washington DC ABC affiliate.

Compendium Federal Technology LLC can be found online:

https://www.facebook.com/compendiumfederaltechnology.llc/

Are you a re:3D Gigabot customer working on COVID-19 efforts? We’d be happy to add your work to this blog. Email us: info@re3d.org 

Charlotte craff

Blog Post Author

Saying ‘I Do!’ To 3D Printing For A Wedding

It’s that lovely time of year again where love is all amongst us as weddings are galore! More than a handful of our teammates have utilized the power of 3D printing with Gigabot to create wedding decor that reduces costs while optimizing creative expression & personalization… so we thought we’d share their applications in hopes to inspire 3D printing for your special day.

4 Ways To Utilize 3D Printing For A Wedding (& Why You Should)

3D Printed Wall Decor Lighting Up The Dance Floor 

Jeric 3D printed and assembled an LED sign for his sister’s wedding. The printed parts took 14 hours in total to make using a combination of PLA & PETG – PETG for the front, translucent part of the sign and PLA for everything else. He used super glue and hot glue to hold everything together. He also installed LEDs throughout the inside – the LEDs are RGB and have a transmitter connected, so they can use a remote to control the color and light-up patterns. Check out the photos from the full build process in this album.

Why use 3D printing?

“3D printing gave me amazing flexibility in the design, but also let me quickly build a functional 3D design.”
Jeric Bautista

The 3D Printed Icing On Top of the Cake: 3D Printed Wedding Toppers

Alessandra designed & 3D printed ‘Mr&Mrs’ wedding cake toppers and table decorations for Samantha Snabes’ sister’s wedding. They took about 1 hour to design and model for each print and the wedding cake topper took approximately 1 hour to print while the table decoration took about 43 hours to print using silver PLA. The prints were then spraypainted with gold. 

Why use 3D printing?

"Weddings are expensive but custom wedding items are extremely expensive. With 3D printing, you can literally shape your dreams without having to go bankrupt. Time-wise, I was able to get a specific picture from the customer's Pinterest and generate a 3D model under 1 hour. Even if one of the models takes 43 hours to print, you can leave Gigabot in charge while you go home, watch series and take a nap, so you virtually save those 43 hours of possible manual work.”
Alessandra Montano
3D Printed Wedding Cake Topper

A Trove of Treasures In A 3D Printed Chest: 3D Printing Gifts

Mike B. 3D printed a Zelda treasure chest for a Zelda themed wedding. The chest had a slot at the top to drop in gift cards. He also 3D scans newlyweds when he goes to weddings and ships them print-outs of themselves a few months later. For the Zelda treasure chest, he used hinges from the hardware store, a bit of Bondo to give a wood texture, acrylic paint, and a clear coat. The design took 2 hours, and Mike kept changing it to look more authentic to the game. The portraits were printed in white PLA and scanned with a Structure Sensor. Scans were cleaned up a bit in MeshMixer.

Why use 3D printing?

"For many fabricated items, the materials inform the design but with 3D printing, you can make virtually anything if you can model it. A treasure chest would traditionally be made with wood and metal. You can mimic lots of different fabrication methods all with the same two tools, a CAD program, and a Gigabot. The Zelda treasure chest needed to look cartoony so in this case, it was actually easier to prime/paint than a metal/wood fabrication would have been. 3D printing is indispensable for prop design! For the scans, someone would have had to sculpt them; this was more of a portrait captured at the moment which I think is special.”
Mike Battaglia

3D Printed Accessories: A Life-Sized Diamond Isn’t Tough

Tammie 3D printed a diamond to be a light within a large diamond ring to further accessorize the wedding. She used natural PLA and it took 1.5 to 2 hours to complete the print using Gigabot and didn’t do any post-processing work on the prints.

Why use 3D printing?

“I would have never found a diamond this large to display for the day! Thankfully for the size of Gigabot and the versatility of 3D printing, it was made possible.”
Tammie Vargas

There you have it! Four special 3D printing applications for very special days. We’d love to know – what have you printed for weddings & special occasions? Don’t hesitate to share on our forum! Until then…happy printing ever after 🙂

Cat George

Blog Post Author

D&D Helps Kids Level Up Their Social Skills

“But will you guys be mad at me if I don’t?”

That earnest and open-hearted question was posed by a student participating in D&D@CLCE, an after-school skills group at Clear Lake City Elementary School (CLCE) in Houston, TX. They were role-playing a situation with a difficult choice: should I give up something I own and care about in order for the whole group to benefit? As the student contemplated his decision, his peers, in turn, responded with how they felt. This form of social skills group therapy has been around a long time, aiding those who struggle socially to learn and develop those skills in a safe and moderated group setting. Kari Euker, the Counselor at CLCE debuted a program this year to combine skills training with the tabletop fantasy roleplaying game Dungeons and Dragons (D&D). Those unfamiliar with D&D may have seen it recently reflected in pop culture on the TV shows Stranger Things or The Big Bang Theory. In a nutshell, one plays by gathering a group of people who then create characters with certain sets of skills, be they wizards or rogues or fighters, and together they explore an imaginary world narrated by the game’s lead storyteller and referee, the dungeon master. It’s improvisational storytelling on steroids.

In the case of the student’s conundrum, he wasn’t mulling over the consequences of keeping a football to himself in the schoolyard, he was trying to decide whether to give up a sparkling magic crystal by placing it on a wall with crystals belonging to the rest of his adventuring party. If he placed his crystal, the wall would absorb the crystals and open a portal leading the team onto a new escapade. If he kept it to himself, the magic wouldn’t take hold, the team would be stuck, but he’d still have that beautiful crystal. What to do?

Ms. Euker didn’t discover D&D on her own. It was her high-school aged son Christopher and his friends who caught her on to the idea. Christopher’s enthusiasm for D&D opened Ms. Euker to the possibility that D&D could provide a fun and imaginative setting in which to practice life skills in a low consequence environment. As she wasn’t an expert in playing the game, they worked together using the older boys’ experience with D&D and Ms. Euker’s knowledge of skills training to craft artful scenarios where the CLCE students could flex those social skills muscles. The older boys served as dungeon masters, the younger kids were the explorers, and Ms. Euker was there to facilitate each session. What they discovered is that the fantasy elements of their role-playing helped the kids contemplate the consequences of their actions from a safe distance and therefore allowed for critical thinking and deep conversations that are hard to achieve in real-life scenarios.

Ms. Euker approached re:3D about helping the students’ characters come to life, and re:3D was more than happy to support the team’s innovative problem-solving. In D&D, dungeon masters will often use real maps and tokens to help keep track of where adventurers and their foes exist in relationship to each other. The students designed minifigures in Hero Forge, selecting the race, armor, weapons and accessories that best fit their whimsical characters. re:3D took those 3D models, and with a little bit of slicing manipulation and custom supports, printed out the whole group of minifigures in one batch.

Though we at re:3D are known to Dream Big, Print HUGE, in this instance we made an exception. Utilizing Gigabot’s highest resolution of 0.1510 mm layer height, we printed these tiny 48 mm tall figures, miniscule accessories and all, with PLA and water soluble PVA supports. After an overnight bath, these creative creations were ready to join the fray.

The older boys were so invested in this project that they took the time to paint the minifigures by hand, and the CLCE students were thrilled to see their hard work rewarded with a physical representation of the character they built from their imagination. And the kid who was hesitant to give up his treasured crystal? He listened to his peers and then chose to add the crystal to the wall. Away they journeyed, onward to the next adventure.

*This project was supported through re:3D Houston’s Community Engagement Team. Are you a school or non-profit with a passion to explore 3D printing? Reach out to us at discover@re3d.org to schedule a tour or workshop!*

Charlotte craff

Blog Post Author

Testing Fiberlogy HD PLA

Below are our notes that reflect our new open source filament testing. ASTM test samples are being created and in the upcoming months you can anticipate a summary on our website about our adventures in 3D printing material science. 
img_5763

MATERIAL TESTED: HD PLA

Manufacturer: Fiberlogy

Filament Diameter: 2.850 mm Normative, 2.851 Real Ave Diameter, +/- 0.02mm

Color Tested: Red

Date Tested: 11/15/2016

img_5773

OBSERVATIONS

Ease of use: Working with this filament was very enjoyable. It printed easily, was consistent and predictable. No breakage was noticed. The PLA appeared to be of a high quality.

Appearance: The filament displayed a pleasing red tone with an incredible sheen!

Size consistency: Awesome, less than 0.1mm within the roll, the filament measured 2.851mm

Color consistency: Great, consistent throughout the coil.

img_5766

SETTINGS

Print temperature: 200-220 C (suggested)/210C was used: nozzle / 60C : bed

Printer Used: Gigabot

Speed: 60 mm/s

Layer Height: 0.3mm

Infill: 15%

Type(s) of print surface used: PRINTnZ

List of test files printed: re:3D’s test files 1, 2, 3 and 4 (Logo, Vase, Moai and Benchy Torture Test).

img_5764

FINDINGS

Odor: None

Bed adhesion (1: terrible – 5: fabulous!)

  • 5- Great adhesion was achieved with no temperature manipulation.

Stringing (1: lots – 5: none!)

  • 5 –No stringing was observed with our settings.

Shrinkage (1: lots – 5: none!)

  • 5- The filament extruded and cooled with no shrinkage.

Interlayer adhesion (1: terrible – 5: fabulous!)

  • 5- Perfect!
img_5768

NOTES:

  • We were first contacted by the Fiberlogy team last fall, who offered to send us a spool of their filament to evaluate on Gigabot. We recognize that the community is fortunate to have several PLA vendors to select from, however as not all PLA is created equal, and were eager to vet a European supplier for our customers accross the pond. Fiberlogy HD PLA boasts that it is a high quality and dependable PLA that has the added benefit of increasing strength when annealed.
  • Seeing that we offer a limited color selection in our store that ships from North America, we are always eager to test additional PLA sources.
  • This material appears to yield consistent, quality prints.
  • Filament size consistency was excellent and no breakage was evident in the 1 kg roll we examined, suggesting it was well mixed.
  • The packaging and spool design was futuristic, intentional, and of high quality.
  • No curling was observed in any of the 4 prints created.
  • We used the mid point of the temperature range that the manufacture provided (200-220C). No guidance was given for settings aside from temperature, so we used the standard Simplify3D profile on wiki.re3d.org.
  • The unboxing experience was outstanding and highly professional.
    • A batch number was provided for traceability.
    • Manufacturer recommended settings were easily referenced on sticker located on the packaging.

RECCOMENDATIONS:

  • After printing the four objects in our protocol, I support Fiberology’s claims that they produce high quality PLA and would recommend it to our customers.
  • Upon review, we would also recommend that we include this filament in our ASTM test sample research.
  • Per the guidance on their website , I did attempt to anneal the PLA in my oven at home, however without empirical testing against similar objects printing in ABS, I can not testify to the strength claims Fiberlogy asserts for annealed HD PLA.

Want to chat?

Join our forum where we have initiated a thread about our experience at:

https://re3d.zendesk.com/hc/en-us/community/posts/255640066-Testing-Fiberology-HD-PLA

img_5765

~Happy Printing!

Samantha snabes

Blog Post Author

Investment Casting with 3D Printing

The following post was written by Todd Ronan. Todd joined the re:3D sales team after hearing a Co-Founder panel discussion on 3D printing & recyclable material at IEEE. From Michigan, parts Northwest, and now Austin (Portland’s si(hip)ster city) he is a Futurist, passionate about evolving technology, dreamer, and enthusiast of fine meade.

The thousand year old lost wax casting process has been revolutionized by the Human-Scale 3D printing of Gigabot

Several re:3D customers have augmented their foundries with Gigabot 3D printers because of the time savings, cost savings, and ability to convert more jobs into happy customers.

In traditional investment casting, a wax model is dipped into a ceramic slurry which is then allowed to dry. The resulting hard ceramic shell is then heated to melt the wax away, leaving a perfect model negative where the wax used to be.

Modern foundries however, have been making the move to 3D printing as a means of creating models for casting. With the ability to use  PLA prints in place of the wax models of old, 3D printing provides a cost efficient alternative method for producing investment casting patterns.

In layman’s terms: hot melted plastic can be printed in any shape, in any size, and allows for a cost efficient alternative to the traditional technique of lost wax casting.

In the past, 3D printers lacked the size to perform life-sized pieces and large format 3D printers, starting at $100K have been cost prohibitive. Enter re:3D’s Gigabot at 1/10th the price. A 3D printer with an 8 cubic foot build space for super-sized 3D printed parts.

Anyone lucky enough to find themselves outside of Austin in Bastrop will notice the beautiful, large bronze pieces of art around the city. These are courtesy of a high-point on the Austin Cultural Map tour, Clint Howard’s Deep In The Heart Art Foundry. Jamie and Clint Howard purchased the foundry in 1999, and have become the premier statuary design and manufacturing business in the state of Texas.

With demand for large pieces the foundry added a Gigabot FDM printer to their arsenal a couple of years ago. Instead of the long curing process associated with wax models, their Gigabot can make any design using standard CAD program, and print HUGE in PLA. It just so happens that PLA burns out just as clean as wax! The cost savings was almost immediate – cutting months and thousand of dollars off traditional casting allowing for increased bandwidth for contract pieces, and substantial revenue increase. With increased demand for printing, Deep in the Heart ordered a second Gigabot printer to keep up with the demand.

Another re:3D satisfied customer: family owned and operated Firebird 3D, located in Troutdale Oregon, recently participated in the Columbia River Highway centennial celebration.  Parts on this Model A (shown below) were Gigabot printed and cast along with this Rip Caswell piece, Devoted Passion, a re-telling of the exploration and creation of this amazingly scenic Pacific Northwest highway.

At Firebird they still use their traditional processes of wax casting but can use wax filament or PLA to print larger bronze pieces. It burns out, leaving a small amount of ash in the shell mold, which can be removed with washing. 3D printed PLA plastic burns out cleanly and is a more durable and more easily handled than a wax part. Chad Caswell (shown below) checks the layer height of their next print. They are, literally and figuratively burning through filament with a cost savings up to 70% by reducing labor!

We just got word Deep in the Heart purchased a 3rd Gigabot to help with workflow and high demand, and now has three 8 cubic foot 3d printers printing (money) while their workers sleep.

re:3D urges: Try a FREE print on us. Find out if Lost Wax (minus WAX + PLA) works for you! Please contact info@re3D.org for additional info on Gigabot 3D printers and lost wax castings!

Mike Strong

Blog Post Author

Testing MakeShaper PLA

Below are our notes that reflect our new open source filament testing. ASTM test samples are being created and in the upcoming months you can anticipate a summary on our website about our adventures in 3D printing material science. 

Material Tested: MakeShaper PLA

Manufacturer: MakeShaper PLA

Filament Diameter: 3.00 mm

Color Tested: Orange

Date Tested: 4/01/2016

OBSERVATIONS

Ease of use: Working with this filament was very enjoyable. It printed easily, was consistent and predictable. No breakage was noticed. The PLA appeared to be of a high quality.

Appearance: The filament exhibited a pleasing orange tone that even the greatest orange pantone haters on our team found appealing. A slight sheen presented when printed.

Size consistency: Awesome, less than 0.1mm within the roll, however the filament measured 2.87mm, not 3mm

Color consistency: Great, consistent throughout the coil.

SETTINGS

Print temperature: 190-215 C (suggested)/202C was used: nozzle / 60C : bed

Printer Used: Gigabot

Speed: 60 mm/s

Layer Height: 0.3mm

Infill: 15%

Type(s) of print surface used: PRINTnZ

List of test files printed: re:3D’s test files 1, 2, and 3 (logo, vase, and Benchy Torture Test). After April’s UX meeting, it was decided to also print a Moai as a 4th print.

You view watch a video summarizing our testing here:

FINDINGS

Odor: None

Bed adhesion (1: terrible – 5: fabulous!)

  • 5- Great adhesion was achieved with no temperature manipulation.

Stringing (1: lots – 5: none!)

  • 5 –No stringing was observed with our settings.

Shrinkage (1: lots – 5: none!)

  • 5- The filament extruded and cooled with no shrinkage.

Interlayer adhesion (1: terrible – 5: fabulous!)

  • 5- Perfect!
IMG_2556

NOTES:

  • The community is fortunate to have several PLA vendors to select from, however we’ve heard cautionary tales from many of our customers that all PLA is not created equal. MakeShaper PLA boasts that it is a high quality and dependable PLA.
  • Seeing that we offer a limited color selection in our store, we are always eager to test additional PLA sources in order refer customers to other reputable consumer retailers.
  • This material appears to yield consistent, quality prints.
  • Filament size consistency was excellent and no breakage was evident in the 1 kg roll we examined, suggesting it was well mixed.
  • No curling was observed in any of the 4 prints created.
  • We used the mid point of the temperature range that the manufacture provided (190-225C). No guidance was given for settings aside from temperature, so we used the standard Simplify3D profile on wiki.re3d.org.
  • The unboxing experience was well done and the recommendation sheet was professional.
    • A batch number was provided for traceability.
    • Manufacturer recommended settings were easily referenced on the enclosed documentation.

RECCOMENDATIONS:

  • After printing 4 objects in our protocol, I support MakeShaper’s claims that they produce high quality PLA and would recommend it to our customers.
  • Upon review, we would also recommend that we include this filament in our ASTM test sample research.
IMG_2553

Want to chat? Join our forum where we have initiated a thread about our experience!

https://re3d.zendesk.com/hc/en-us/community/posts/206511376-Testing-MakeShaper-PLA

~Happy Printing!

Samantha snabes

Blog Post Author

Materials Testing: PLA++, PLA, & n-vent

With some new filament in the office, I took the opportunity on a recent visit to Houston to do some materials testing, also known as breaking things, which happens to be my specialty.

My main goal was to test out a new filament called PLA++ by Breathe-3DP and compare it to the regular PLA we use. As they describe it, the second “+” is for functionality – where normal PLA snaps, their PLA++ stays strong. I wanted to see that for myself.

To spice things up a bit, I threw some n-vent into the mix, which ended up adding a nice third dimension to the spectrum of strength we saw.

I printed out a handful of the ASTM Tensile Test Specimen, dubbed the “dogbone” in the office, and got to breaking things. The PLA++ was first on the chopping block.

You can see in the video that I’m able to get the dogbone flexed into a nice St. Louis Gateway Arch shape – it had a good amount of give to it. I could feel the material bend under my fingers; in the video you see the edges in the center start to turn a slight white color as the print flexes. Only once I move my thumbs to the outside of each end and force the two together does the center finally give.

Even once it does finally break, only the top of the print has actually split – the bottom is still attached. It takes me ripping the two apart to separate the two halves. You can see in the video how much the print has curved due to my bending it, and it retains that bend even after it is broken.

The flexible nature of the PLA++ becomes more apparent when compared to the standard PLA test. PLA, our choice filament around the office, is known for its ease of printing, but also its brittleness.

I’m able to flex the PLA dogbone a fair amount – further than I expected, but not as far as the PLA++ – but its reaction to this flexion is explosive and violent. You can see pieces rocket off once the print reaches its breaking point, loud enough to make one of our engineers in the room jump and whip around to see what new trouble I was getting myself into.

Last up was the wild card, Taulman’s n-vent. What seemed promising to me was its ease of printing yet also its toughness and resistance to high temperatures.

The n-vent wouldn’t quit. I bent it one way, then the other way, then back the first way, flexing it beyond where the PLA++ made it. When it finally gives up the fight, it’s a slow, unceremonious break. With the outer edge finally split, I’m able to flex the two ends until they touch, and even then the dogbone wouldn’t break in two.

You may notice a hand model swap at different points throughout the video – our lead engineer jumped in for a piece of the action – and the n-vent put up just as much of a fight for him. He bent the two halves back and forth several times before forcefully ripping them apart.

In the close-ups at the end of the video you can see the stringy infill of the n-vent print, the internal structure which kept the two ends hanging onto each other so well. In contrast, the standard black PLA shows a clean break – unsurprisingly – after the gunshot-like force by which it broke. The PLA++ shows an edge somewhere between the two – not stringy like the n-vent, but with a rougher edge than the standard PLA, due to the slower, bendy break it experienced.

In the end, the n-vent won out in overall toughness, with the PLA++ a close runner-up; though the PLA++ has a leg up in the “ease of printing” category. The standard PLA continues to be a favorite around the office and strong recommendation from our engineers to our users due to the fact that it prints so well and easily. For design and prototyping it does the trick – it’s only once you venture into working prototypes that require some strength or temperature resistance that you may run into issues with it.

In conclusion, each filament has different strengths that lend it well to different applications – it’s all about choosing the right one for your particular project.

Morgan Hamel

Blog Post Author