The GSA Advantage: Part 1

As a self-identified “knower of totally random facts” I pride myself on the amount of odd pieces of information that happen to be floating around in my brain.  And while I did have some idea about what GSA was; going through the process of getting awarded a GSA Contract for re:3D was one heck of a learning experience.

So lets start simple, what is the GSA?

The General Services Administration (GSA) is an agency within the federal government that helps the government to function.  That is their job in the most basic and simple terms I could come up with.  Government real estate (leasing and management), government acquisition services (procurement and contracting), plus best practices and policy guidance, all of these things fall under the GSA, and I am sure there are loads of other functions that I don’t even know about.

I was most familiar with the GSA through their GSA Auction website.  Do you ever wonder where you can buy an airplane, old refrigerators, and 5 barrels of spent brass shell casings? 

gsaauctions

Why the answer is simple – bid on it, the GSA is selling!!  GSAAuction.gov sells anything and everything that the federal government and it’s agencies no longer want.  I personally enjoy the listings for old lighthouses, I mean – who doesn’t want to own a lighthouse? My favorite listing by far was the lighthouse for sale (which had multiple bidders!) that had a Coast Guard maintained fog horn which operated a decibels “higher then recommended for the human body” – It would be like music to my ears as I sipped margaritas in my lighthouse cupola.

Why was it important for re:3D to get onto a GSA Contract?

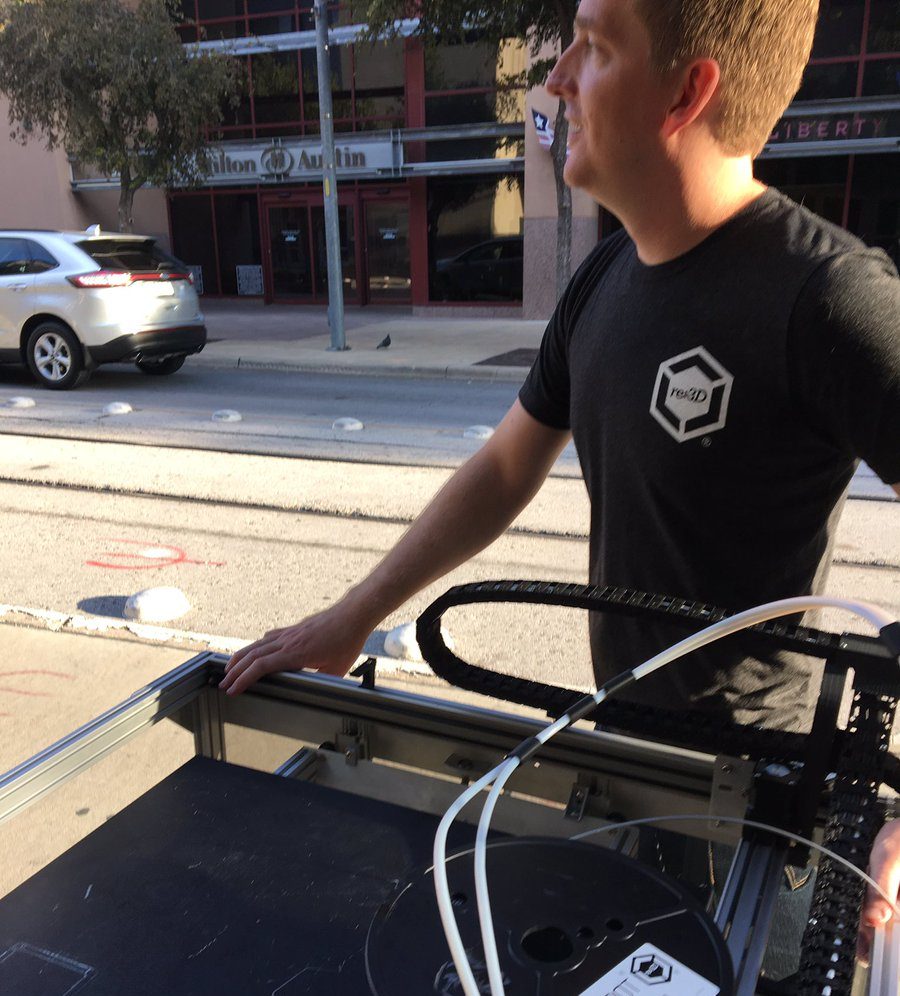
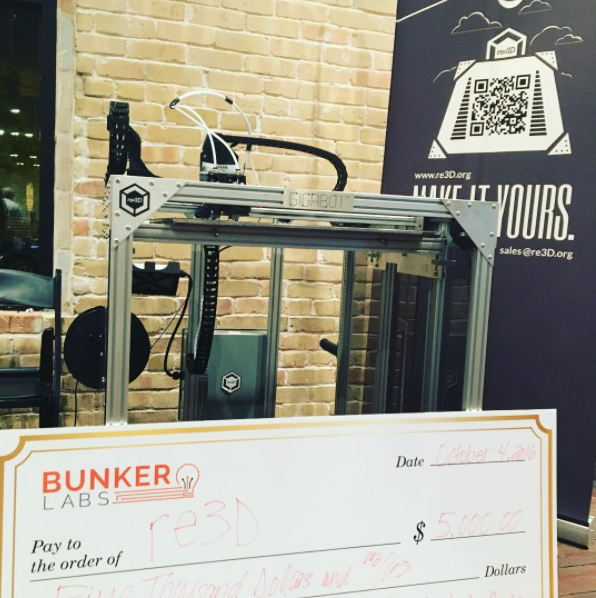
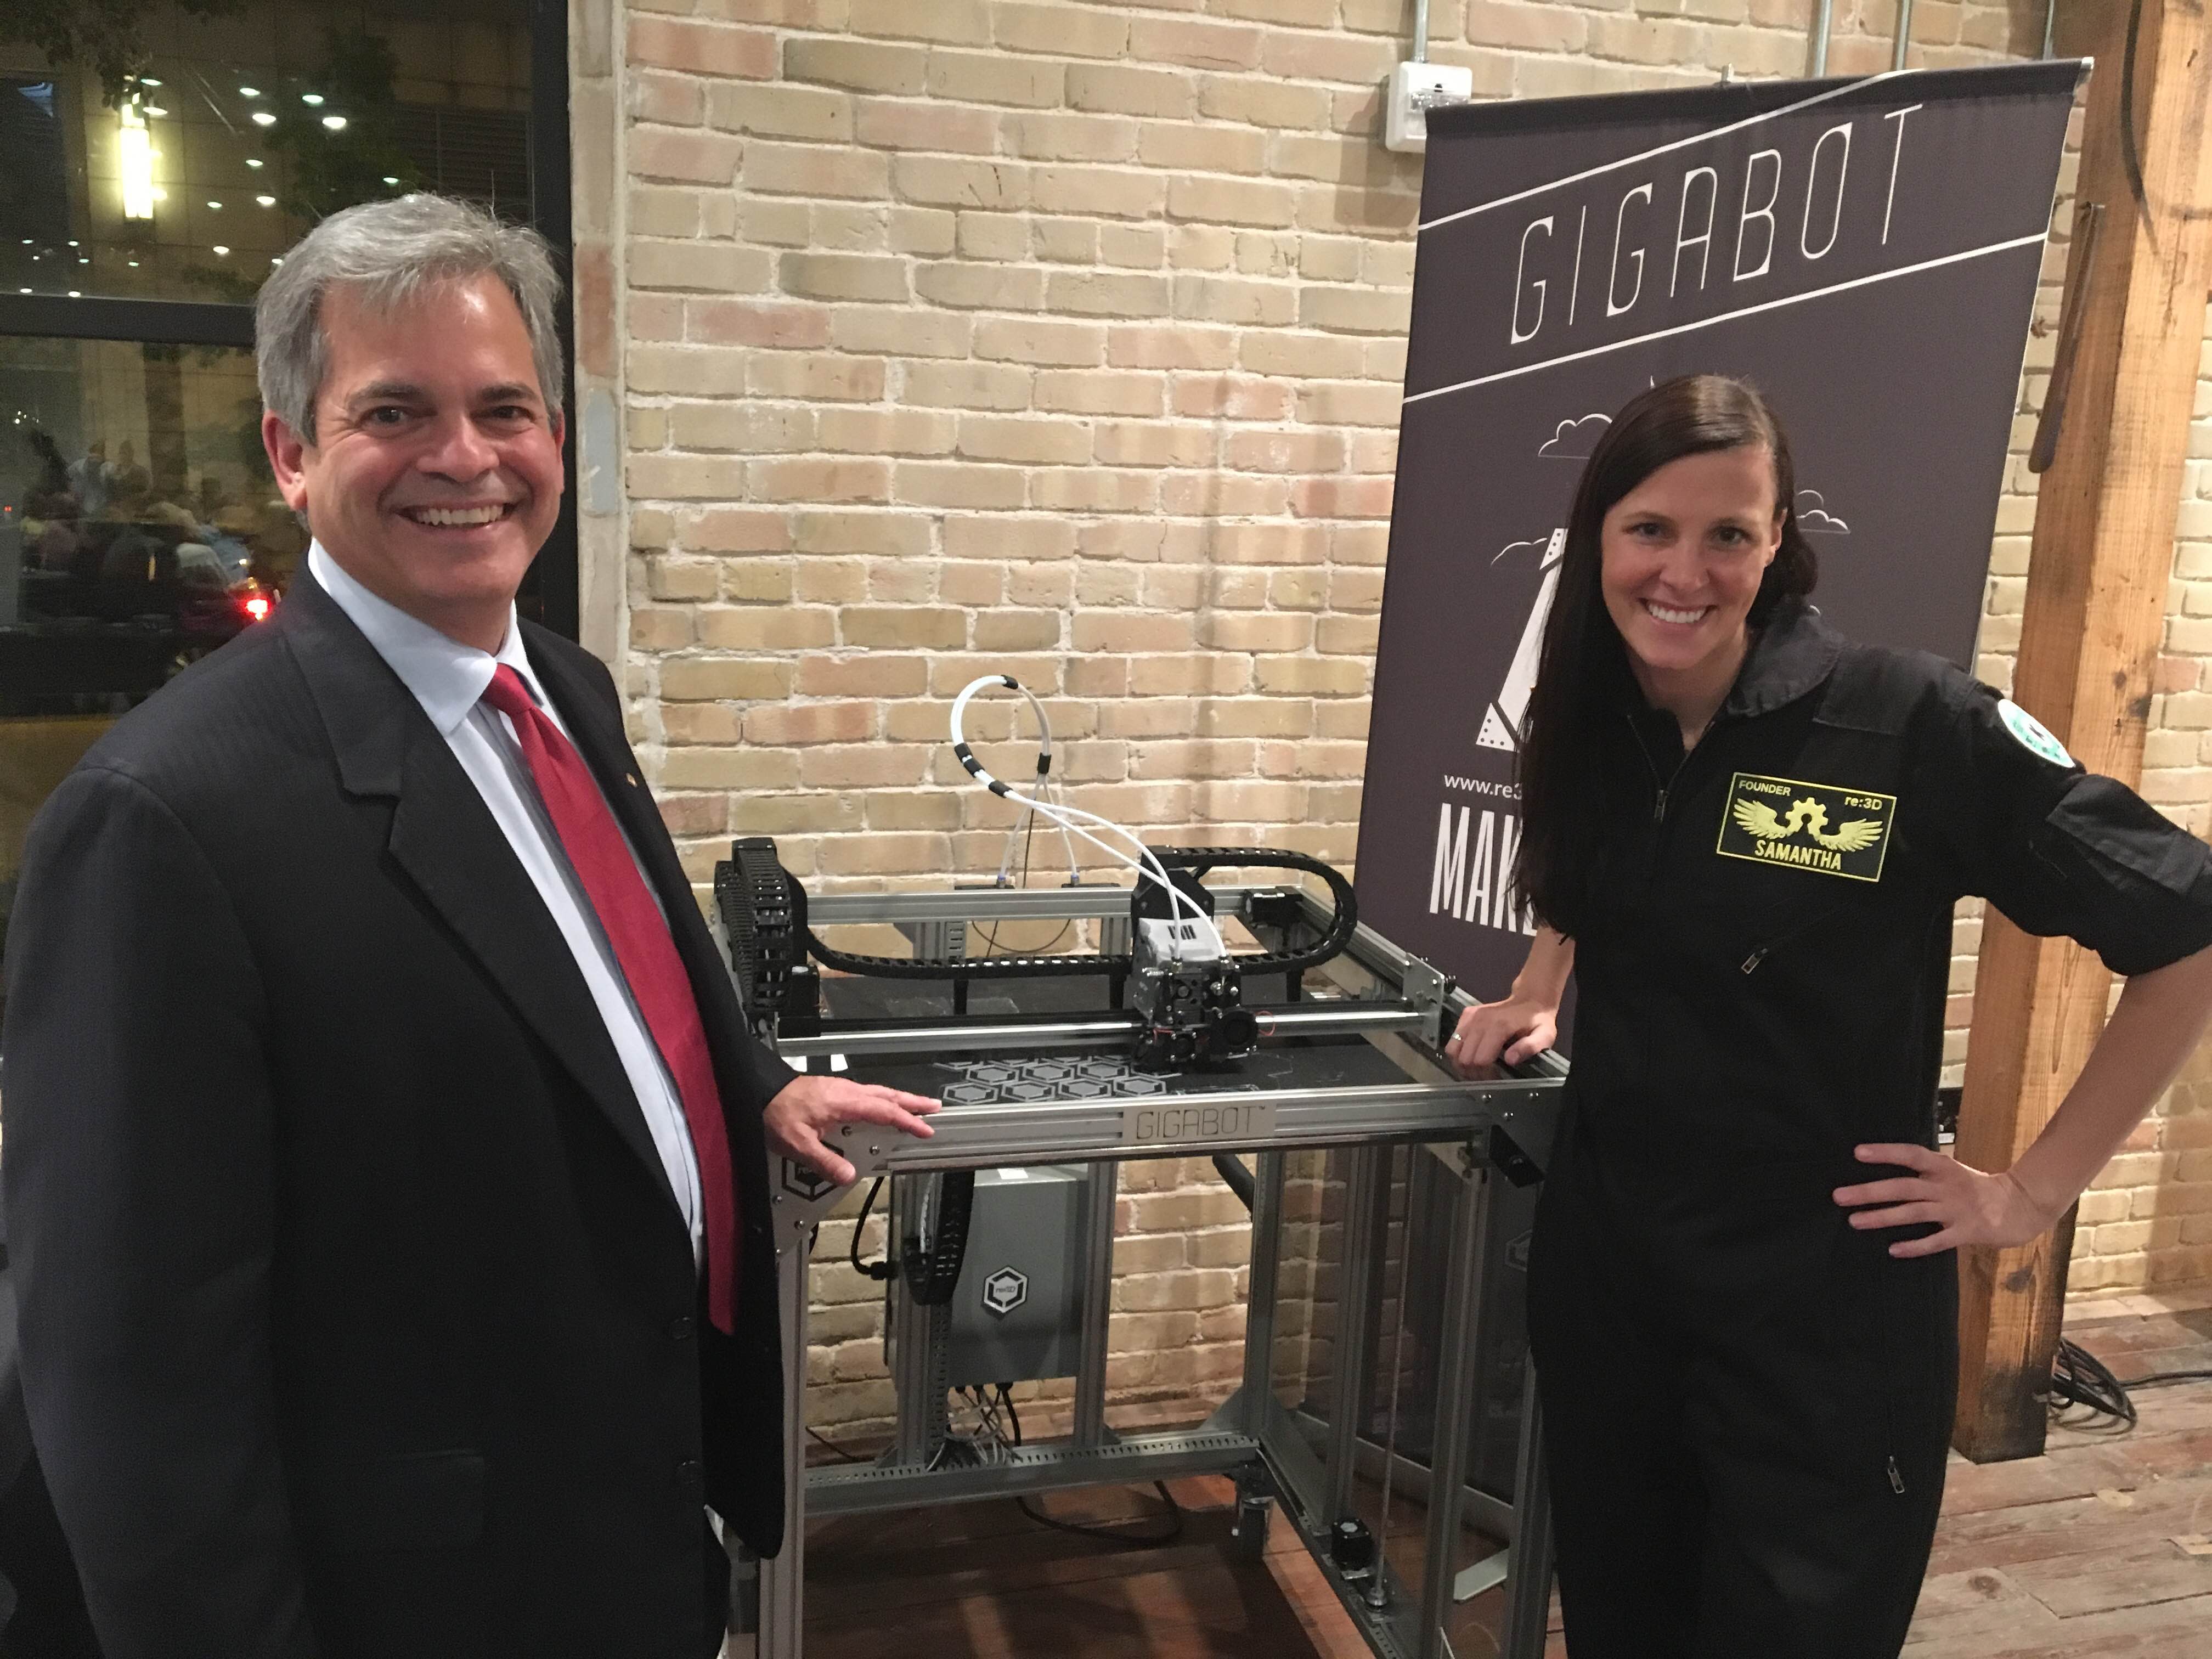
Selling to the federal government is difficult.  We recognized that we had more and more interest from different federal agencies who wanted to purchase Gigabot.  These purchases took a long time, because the government buyer would have to get through a lot of red tape and a lot of different hoops in order to purchase our products.  So in the interest of saving our buyers time, we took on the task of becoming a government contractor and getting on a Multiple Award Schedule.

What is a Multiple Award Schedule?

A Multiple Award Schedule (MAS) is basically a category that government contractors apply to sell in.  For instance, re:3D is in Schedule 36. Schedule 36 is The Office, Imaging, and Document Solutions category, and within each schedule are sub-categories or Special Item Numbers (SIN), in our case SIN: 51.400 – 3D Printing Solutions. So to put it all together, and really test our acronyms – re:3D is a MAS 36 SIN 51.400 GSA Contract Holder – hooray!

What does that mean for me?

The answer to that, as always, is: it depends.

Are you just a person, with no government connections? Then this post is really just informative, and won’t have any real bearing in your day-to-day life, but stay tuned because I will follow-up with an even more in-depth meat and potatoes post about getting a government contract -real edge of your seat reading.

Are you part of a government agency or subcontractor who is allowed to purchase products through GSA? Do you need a Gigabot 3D Printer? Then you’re in luck!

The reason companies are required to go through the GSA contract procedures are numerous, but the most important one for the government is the guarantee that the government buyers are getting the best price possible.  Which means that all pricing of all products is pre-negotiated with your assigned GSA Contracting Officer (Hi, John!).

Contract awardees (that’s us!) are then able to upload their products onto the GSA Advantage website (gsaadvantage.gov), think of it as Amazon for the federal government.  Government buyers can then search for products to purchase, everything from pens, to desks, to 3D Printers can be purchased through the GSA Advantage website.

Through the GSA Advantage we have created Federal Packages, available only through GSA.  These packages include Gigabot (Standard, XL, XLT), the wheeled cart, PrintinZ, Simplify3D, 3 Year Warranty, and CONUS shipping.  Printing HUGE has never been easier to attain for government buyers!

Over the next year we are going to be putting a lot of effort to marketing our products to government buyers.  It isn’t enough just to get onto a Schedule Contract, you actually have to sell if you want to keep your contract.  Our goal is to look for opportunities to speak and exhibit at government-centric events this year, with the hopes of talking to the right people to make some sales!

To see what our GSA Advantage products look like, or to purchase our Gigabot, Terabot, or Exabot Federal Packages – click here.

Happy Printing!

Mike Strong

Blog Post Author

Pitching for a Circular Economy: Part 2- Why We Presented our Big Idea to Bunker Labs Austin

Sharing our Vision to 3D Print from Reclaimed Plastic in Texas

After reflecting on Aruba at Atech2016, Matthew and  I were convinced that our vision to 3D print from reclaimed plastic, albeit premature, was a passion we were compelled to continue sharing. We also felt it was imperative that in addition to casting our vision overseas, it was just as important that we pitch the opportunity to join our cause to our colleagues in Texas.  For this reason, I took a break from travel to join Mike Strong, Gigabot and Todd at the 2016 Austin Bunker Muster, a short walk…err roll….down the street from our Austin office.

We arrived a little sweaty, but stoked to assist our friends at Austin Bunker Labs in setting up for their annual fundraising event. Mike & Todd volunteered to help with setup & lighting while I paced around the block, practicing for the pitch competition that evening. The Muster in Austin was a unique event that brought together participants and partners for a day-long event of veteran entrepreneurs pitching their businesses, an Idea Lab for speakers, and a marketplace to buy products from veteran-owned small businesses. As a veteran employer & owned company, our entire team was humbled to support the festivities.

The day flew by as we listened to talks, demoed Gigabot, and chatted with old friends such as Marcus from Vthreat.  We also made new relationships, including JP Morgan Chase, re:3D’s new banker!

As the evening drew a close, I found myself incredibly nervous as we prepared to pitch against 20 peers. Unlike past competitions, this time we took the stage in front of friends, not strangers. These contestants were heroes we revered, who had sacrificed time & limbs for opportunity. Taking the stage with them was perhaps the greatest honored of my life. Normalized with stage-fright and determined to support our buddies, we celebrated each other and our companies’ successes to date.

During the event, I struggled to convey our strategy for repurposing post-manufacturing waste into 3D printers in less than 90 seconds. Further adding to the anxiety was the realization that without winning, we would not have the resources to begin explore 3D printing from recyclables in Q1 2017.  It was only by leveraging the encouragement from friends like Travis from Stump Armour we presented our desire to 3D print from trash. With so many outstanding competitors, we were stunned to learned the community had honored us with $5K to make our idea a reality!

Where do we go next?

With $5K in hand we re:3D received much-needed affirmation that 3D printing from recyclables was not only something inherently right, but offered benefit for our neighbors. Taking a selfie with Austin Mayor Steve Adler gave us certainty that Austin & the Bunker community could incubate our audacious idea!

~Happy Printing!

Samantha snabes

Blog Post Author

Investment Casting with 3D Printing

The following post was written by Todd Ronan. Todd joined the re:3D sales team after hearing a Co-Founder panel discussion on 3D printing & recyclable material at IEEE. From Michigan, parts Northwest, and now Austin (Portland’s si(hip)ster city) he is a Futurist, passionate about evolving technology, dreamer, and enthusiast of fine meade.

The thousand year old lost wax casting process has been revolutionized by the Human-Scale 3D printing of Gigabot

Several re:3D customers have augmented their foundries with Gigabot 3D printers because of the time savings, cost savings, and ability to convert more jobs into happy customers.

In traditional investment casting, a wax model is dipped into a ceramic slurry which is then allowed to dry. The resulting hard ceramic shell is then heated to melt the wax away, leaving a perfect model negative where the wax used to be.

Modern foundries however, have been making the move to 3D printing as a means of creating models for casting. With the ability to use  PLA prints in place of the wax models of old, 3D printing provides a cost efficient alternative method for producing investment casting patterns.

In layman’s terms: hot melted plastic can be printed in any shape, in any size, and allows for a cost efficient alternative to the traditional technique of lost wax casting.

In the past, 3D printers lacked the size to perform life-sized pieces and large format 3D printers, starting at $100K have been cost prohibitive. Enter re:3D’s Gigabot at 1/10th the price. A 3D printer with an 8 cubic foot build space for super-sized 3D printed parts.

Anyone lucky enough to find themselves outside of Austin in Bastrop will notice the beautiful, large bronze pieces of art around the city. These are courtesy of a high-point on the Austin Cultural Map tour, Clint Howard’s Deep In The Heart Art Foundry. Jamie and Clint Howard purchased the foundry in 1999, and have become the premier statuary design and manufacturing business in the state of Texas.

With demand for large pieces the foundry added a Gigabot FDM printer to their arsenal a couple of years ago. Instead of the long curing process associated with wax models, their Gigabot can make any design using standard CAD program, and print HUGE in PLA. It just so happens that PLA burns out just as clean as wax! The cost savings was almost immediate – cutting months and thousand of dollars off traditional casting allowing for increased bandwidth for contract pieces, and substantial revenue increase. With increased demand for printing, Deep in the Heart ordered a second Gigabot printer to keep up with the demand.

Another re:3D satisfied customer: family owned and operated Firebird 3D, located in Troutdale Oregon, recently participated in the Columbia River Highway centennial celebration.  Parts on this Model A (shown below) were Gigabot printed and cast along with this Rip Caswell piece, Devoted Passion, a re-telling of the exploration and creation of this amazingly scenic Pacific Northwest highway.

At Firebird they still use their traditional processes of wax casting but can use wax filament or PLA to print larger bronze pieces. It burns out, leaving a small amount of ash in the shell mold, which can be removed with washing. 3D printed PLA plastic burns out cleanly and is a more durable and more easily handled than a wax part. Chad Caswell (shown below) checks the layer height of their next print. They are, literally and figuratively burning through filament with a cost savings up to 70% by reducing labor!

We just got word Deep in the Heart purchased a 3rd Gigabot to help with workflow and high demand, and now has three 8 cubic foot 3d printers printing (money) while their workers sleep.

re:3D urges: Try a FREE print on us. Find out if Lost Wax (minus WAX + PLA) works for you! Please contact info@re3D.org for additional info on Gigabot 3D printers and lost wax castings!

Mike Strong

Blog Post Author

Improving Your Manufacturing Equipment with Gigabot

Below is Gigamachinist Steve Johnson’s second blog on 3D printing for re:3D’s Gigabot fabrication shop.

Improving Your Manufacturing Equipment with Gigabot

by Steve Johnson

Sometimes, you have a product that works, but there is a way to improve it to make it work better.

A few months back, we added a 4th axis rotary table to our mill at re:3D. It has allowed us to begin to capitalize on the full milling envelope of our machine, allowing us to mill as much as 8 times more parts per program cycle, and reduced the need for multiple operations on some parts.

We quickly found a weak spot in our rotary table though. The table was designed without any seals to prevent shavings from entering the gearbox. As a result, we have had to disassemble the rotary table twice now in order to clean out aluminum shavings that had bound up in the worm gear. We decided this time, that we needed to find a solution for this issue, to keep our mill up and running longer between needed maintenance.

Once we had the rotary table apart, we found the area where the shaving were getting into the gearbox. There is a groove in the back of the table section, and a boss on the rotary body that rides inside the groove. But the fit between the two, once assembled, is very loose, and will allow anything smaller than .1 of an inch to pass through. Obviously we needed some type of o-ring, or gasket in order to seal this gap, without creating unwanted friction.

A few quick measurements, and Matthew headed to the computer to create a short profile on Solidworks, that would fill the gap. Using Ninja semi-flex filament from www.ninjatech.com, we made a first print of that profile on Gigabot, and took it to the shop to test fit. It was a little tight, so back to the computer to adjust a couple dimensions, and another short profile print. Once we had the right fit, we revolved the profile into a full circle on Solidworks, and 15 minutes later, we had a custom made flexible gasket that seals the rotary table from chips without creating drag on the axis motor.

gasket4

We found a problem. We imagined a solution. And with Gigabot, we made it a reality today.

gasket5

Now we are back up and running so that we can manufacture the parts for YOUR new Gigabot.

Happy Printing!

Steve Johnson

Blog Post Author

Material Testing & Heat Treating Natureworks PLA 3D850

The notes below reflect our new open-source filament testing protocol. After evaluating the printability of Coex PLA Prime/PLA 3D850 on Gigabot, I decided to experiment with a heat treatment process.  

Manufacturer:  Coex    

Filament Name:  PLA Prime

Color Tested:  Natural

Date Received: 6/10/2016

Date Tested: 6/16/2016

Ease of use:   Excellent

Appearance:  Clearer than regular PLA

Size consistency: Great

Color consistency: Great

Odor: None

Manufacturer’s recommendations

  • Speed: none given mm/s
  • Temperature: has a higher MFI so should be able to print slightly cooler than regular PLA C
  • Infill %: any
  • Layer Height: tested at 0.3175mm
  • Printer Used: GB # 004
  • Print temperature used: 200 C (nozzle) /55C (bed)
  • Speed used: 60 mm/s
  • Layer Height:0.3175 mm
  • Infill: 15%
  • Odor: none
  • Type(s) of print surface used: Print n Z

FINDINGS

Bed adhesion (1: terrible-5: fabulous!)

   5

Stringing (1: lots -5: none!)

   4

Shrinkage (1: lots-5: none!)

   4: None!

Interlayer adhesion (1: terrible-5: fabulous!)

   4: Perfect!

The technical datasheet for the pellets that the filament is derived from can be found here.

I suspect that most, if not all the temperature resistant PLA uses the 3D850 as its base. There is very little information out there for recommended heat treat methods.

Here are a couple pictures from a recent experiment I did with Natureworks PLA 3D850 that claims increased crystallization with heat treat. I used a wall oven to heat treat the parts at 200F but please note that I did not verify with a second thermometer.

The three parts on the top row are not heat treated and the three on the bottom row are heat treated at 200F for 15 minutes. I placed the parts into a cold oven and let the oven heat to temp and maintained temp for 15 minutes then removed the parts to air cool. The color change and warping happened while the parts were in the oven not after they were removed.The top two parts were made with one perimeter (0.48mm width). The center two are two perimeters and the bottom two have three perimeters. Interestingly enough the part with two perimeters warped the least. I also heat treated a couple objects with more structural integrity and found little to no warping (small 5″ Moai statue and the re3D logo placard).

I think the next steps are to control the rate of heating to see if the amount of warping can be reduced. Would love to hear other’s experience with heat treating the PLA 3D850.

Further information about annealing PLA is here: http://www.4spepro.org/view.php?article=005392-2014-03-28
 
Quesions or Comments?
  • Share your thoughts on the materials section of our forum:
    • https://re3d.zendesk.com/hc/en-us/community/posts/206087383-Natureworks-3D850
 
Happy Printing!

Matthew Fiedler

Blog Post Author

How My Gigabot Fixed the Power Wagon

One of the realities of owning an old car is that they tend to wear out with time. In my case I am the fortunate owner of a 1949 Dodge Power Wagon that was originally purchased new by my grandfather Leo.

It happened last week when I first started the engine that I smelled the unmistakable odor of leaking fuel. Upon a little investigation I found the fuel bowl gasket had given up it’s ghost and was no longer providing an effective seal between the fuel pump and the sediment bowl. After calling a few automotive parts stores it quickly became evident that parts for a 1949 Dodge were not kept in stock.
 
Lucky for me and my normally trusty Power Wagon I have a Gigabot 3D printer and a stock of TPU filament from Fenner drives (https://ninjatek.com/) that I hoped to use for manufacturing a suitable replacement fuel gasket. A quick investigation of the chemical resistance for the TPU filament showed an “A” resistance to gasoline and I quickly set off to create the CAD model for the simple gasket. A few minutes later I had the Model processed for 3D printing using Simplify3D and was pressing the Print button on Gigabot.

The gasket was printed in under five minutes and I felt a great sense of accomplishment as I installed the gasket and started the old truck. No more leaking fuel and just for safe measure in another five minutes I had made myself a spare!

~Happy Printing

Matthew Fiedler

Blog Post Author

A Beginner’s Guide to Scaling Your Favorite Print

Odds are if you have a Gigabot you've discovered that the only thing better than 3D printing your favorite open source model, is printing it as big as possible!  In honor of Independence Day, we've scaled an impressive scan of a Statue of Liberty to almost two feet tall, while highlighting a couple of tricks we've learned along the way:).

Step 1: Find Your File

Knowing I wanted to print something patriotic, I conducted a quick search for “statue of liberty” on Yeggi, which yielded multiple results spanning several 3D file sharing platforms.  The Statue Of Liberty Bronze Model by jerryfisher quickly caught my eye, and being a huge Sketchfab fan, I clicked on https://skfb.ly/CONx. The impressive scan of a bronze Statue of Liberty had been downloaded over 200 times and the creator has produced several other awesome files, giving me confidence the file was print worthy.  I was also pleased to see the file was available for sharing through redistribution through Creative Commons licensing.

Step 2: Optimize for Large Scale Success

Once I downloaded the file, I opened it in Simplify3D, our preferred visualization and slicing tool. While centering the file on the build plate and inspecting the print, I noticed the bottom of the design had a slight curve. As I desired a level base to better support the future large statue, I borrowed a trick from Chief Hacker’s cheatsheet.  By lowering the print slightly into the bedplate until the upper part of the coven curve hit the platform, I was able to “cut off” the curved portion of the bottom, rendering it flat after slicing.

Due to the multiple overhangs (including Lady Liberty’s arm), the design required signifiant support material. Based on experience, I recalled that support material over 12 inches could be a little unstable, but after consulting with Chief Hacker, I learned this could be overcome by adding a -45 degree support angle in the support tab of Simplify3D. By alternating the angle, the supports would have more structure and be less wobbly.  I also decided to add a process setting to decrease the speed when printing the crown in order to give the tips more time to cool after seeing some prior fails with similar geometry.

IMG_3109

With these minor manipulations, I was ready to slice and get started! Two filament swaps later I was loving the out-of-filament detection feature on Gigabot Generation 3.0 and diggin my very own Statue of Liberty. Admittedly, it took a little time to remove the extensive support material (and I broke half of a piece of the crown), but the end result was more than worth it!

IMG_3114

Step 3: Personalize Your Masterpiece

The only thing missing was Liberty’s iconic color, which I sourced after a couple of trips to local hardware stores. Sea Mist Rustoleum metallic spray paint did the trick and resulted in a great finish! We’ve had the most luck using spray paints intended for plastic when post-processing PLA, but find dry times between coats need to be extended (or at least when spray painting in the Texas humidity). Also, be sure to remove all the support material before applying a coat of paint as all support artifacts stand out when coated!

We love having our own Lady Liberty in our Austin office.  Huge thanks to Jerry Fisher for sharing this fabulous Statue Of Liberty Bronze Model licensed under CC Attribution!
Want to download the file? Check out https://skfb.ly/CONx

~Happy Printing!

Samantha snabes

Blog Post Author

@samanthasnabes

DIY Gigahacking: 4 Knob Bed Leveling Kit

The printed parts can be found HERE. Pieces must be printed using ABS except for the knobs which can be PLA or ABS, The arms should use 3 perimeters and 40% infill. The rest of the parts can have 2 perimeters and 30 percent infill.

Let’s walk through the steps to retrofit your Gigabot to use the new knob system. Note: the knobs will be installed in the 4 corners of your Gigabot. The picture shows one centered knob in the back but this is for an early revision of Open GB.

4 Knob Leveling Install

Hardware

  • 1/2 inch-20 bolt (4)
  • 1/2 inch-20 nut (4)
  • Arm (4)
arm
  • Bed Pad (4)
boltcap
  • Bolt Cap (4)
knob
  • Knob (4)
knobagin

Additional Materials used

Building the assembly

  • Put a dab of GO2 glue on the sides of a ½ inch nut
  • Drop the nut into the leveling arm so that the hole lines up with the hole for the nut.
  • Add some more glue into the recess just for good measure.
  • Put some glue under the head of the ½ inch bolt and insert the bolt into the knob so that the head hides in the hex hole; make sure it’s pushed in all the way.
  • Add a little more glue on the other side along the sides of the cutout.
  • Glue the cap on the other end of the bolt.
  • Glue sets in 30 min, cures in 24 hours

Preparing for installation

  • Loosen the bolts holding the bed rails. Lower all bed rails to the bottom of the slotted holes and re-tighten the bolts.
  • Remove the adjustment bolts/springs in all 4 corners.
remove
  • Lower the locknuts on all 4 L-bracket spring assemblies. This will provide the bed with the travel it needs. It’s easier to perform this step before putting on the build surface so that you have access to the head of the bolts.
  • Make sure that the rails are generally level with the bottom motors. The one that I installed these on was a decent amount off.
  • IMPORTANT: Adjust the Z height so that the natural state of the bed is about ½ cm or a little less than ¼ inch from the nozzle. Apply another nut to the underside of the Z limit switch bolt as this adjustment will no longer be used and should remain in place.

Installing the leveling assemblies

affixed
  • Insert 4 magic t-nuts (or regular t-nuts if you’re building it from scratch) along the top recess of the front bed rail. Make sure the nuts are inserted in between the L bracket/springs. Note: The locknut needs to be lower than the one in the image; ignore that.
  • Insert 2 t-nuts into each corner of the top recess of the back bed rail. Make sure they go into the side that is front facing. All leveling arms point towards the front of the machine.
  • Use M5 x 10 screws to bolt the arm assemblies into the t-nuts in the top rail.
  • Push the left arm snug against the left L-bracket and the Right snug against the right L bracket. The back arm will sit just left of the cable tray. Give it about a half inch clearance on the right.
  • Put a line of silicone on the flat side of each of the 3 bed pads.
  • Lower all knobs so that the nubs are almost touching the top of the arms, manually lift the bed and slip the bed pads over the nubs trying not to make a mess with the silicone in the process.
  • Raise the knobs and straighten out the pads. The pads should self-align to the nubs but just make sure the pads look visually straight to the edge of the bed and the rail.
  • Put a bead of silicone around each pad and then removed any excess by smearing it with my finger.

Leveling the bed

mikedone
  • Position the nozzle above the left knob and turn clockwise to raise the bed in that corner. Raise so that it’s almost touching. Do the same for the right side.
  • Raise the back knob so that the nozzle is almost touching the bed.
  • Go back to the front left and use a sheet of paper to keep between the bed and the nozzle. Turn the knob clockwise until you can feel slight friction on the paper. Do the same for the right side, and then do the same in the back 2 knobs.
  • Move the nozzle around the bed and try the paper trick to make sure all is flat. If it sticks anywhere, recheck your 4 points.

COMPLETE!!!

Happy Printing!

Mike Battaglia

Blog Post Author

@mikebattaglia

Made in America: 3D Printing Prototypes for Stump Armour Molds

Meet Travis: A Texan, father, entrepreneur, warrior, and inventor.

re:3D first met Travis in Austin last winter as he was prototyping his second version of Stump Armour: an affordable, accessible device he pioneered in order to expand mobility options for bilateral amputees.

As a combat-wounded Marine, Travis is uniquely qualified to inspire solutions to increase maneuverability for other double amputees while reducing back strain that traditional prosthetics can create. By using himself as the test subject and leveraging business insights he acquired in the 100 Entrepreneurs Project and the Entrepreneurial Bootcamp for Veterans (EBV), Travis launched Stump Armour on indiegogo this week.

stumparmourdurty
Stump Armour Mod 1

About Stump Armour

Stump Armour is a round design that connects to traditional sockets to allow for constant surface contact from any angle. Pressure can be directly applied to a terrain without changing position, allowing amputees to roll themselves up independently when preforming activities close to the ground.  Since the round shape can grab from nearly any position, it works great on uneven/irregular surfaces, so the amputee doesn’t need to focus as much concentration on limb placement when compared to other devices.  Travis doesn’t feel Stump Armour is intended to replace full leg or knee prosthetics. Rather, it’s meant to increase functionality with specific tasks.

IMG_1546

Keeping Costs Low

A key tenant of the Stump Armor’s mission is to make devices as affordable as possible worldwide. For this reason, Travis contracted Mike Battaglia & I last January to see if we could 3D print his vision for a Stump Armour’s Modification. Using Simplify3D we were able to generate a raft & support that could easily break off. The completed PLA prototypes printed great and we were excited to give them to Travis, who planned to use the prints to create a mold to scale Stump Armor globally.

IMG_1549
3D printed Stump Armour Mods 3 (left) and Mod 4 (right) cast at SureCast

Prints in hand, Travis partnered with local foundries who guided him through the process of making his own custom mold to cast multiple sets of Stump Armour.  This week we interviewed Travis to learn more about the process he used to create a mold from a print by working with Stevens Art. Below are the steps that he described:

stumparmourmold
  • From a 3d printed prototype made on Gigabot, a silicone rubber mold was created.
  • The print was covered in an releasing agent that was then covered in silicone, leaving an inlet for wax to be poured in later.
  • After the silicone cured, a 2 piece plaster shell was made.
  • Once completed, the silicone was carefully cut with a razor along where the plaster shells come together so it would come apart into 2 pieces.
stumparmourpour
  • The shells were clamped together and hot wax was then poured into the inlet.
  • When the wax hardened, the wax casting of the original print was removed.
stumparmourwaxdone
  • The wax cast was then dipped in a a ceramic slurry and power coat until a hard shell formed.
  • This shell was fired in an oven to harden the cast melt the wax out.
  • Metal was poured in and the ceramic shell was broken off after it cooled.
  • A metal replica of the original 3d print was then ready for finishing!
stumparmourstacked
Stump Armour Mod 2

Using lost wax casting, Travis was able to do his first production run of Stump Armour, which is now available to other amputees on the Stump Armour indiegogo campaign. You can support Stump Armour’s next production run and Stump Armour donations at: https://www.indiegogo.com/projects/stump-armour#/  until July 1st.

stumparmournewlogo
Want to learn more?
  • Email: info@stumparmour.com
  • Web: http://www.stumparmour.com/
  • YouTube: https://www.youtube.com/channel/UCsObkfi6W6x2B6dpZ89_CGg/videos?sort=dd&view=0&shelf_id=0
  • Facebook: https://www.facebook.com/Greens-Machines-LLC-716439551739895/
  • Google: https://plus.google.com/u/2/b/106145756742784523319/106145756742784523319/posts
  • LinkedIn: https://www.linkedin.com/company/10602419trk=tyah&trkInfo=clickedVertical%3Acompany%2CclickedEntityId%3A10602419%2Cidx%3A2-1-2%2CtarId%3A1464716547152%2Ctas%3Agreens%20machines

Samantha snabes

Blog Post Author

April Puzzler Solution Revealed!

Below is the solution to the Monthly Puzzler Chief Hacker presented in our April Newsletter. Want to play? You can sign up to receive our monthly publication by submitting your email address in the sign up at the bottom of re:3D.org. Proposed answers are presented on our forum at: https://re3d.zendesk.com/hc/en-us/community/posts/206262336-April-Puzzler

The Question

The April puzzler is another print quality mystery. Take a look at the below pictures of an oversized auger screw originally designed for an automated pet feeder. On one side of the auger there is a blemish in the print yet from another view the print shows an excellent surface finish. What is causing the poor print quality on one spot only?

The Solution

The winning answer was presented by whosawhatsis who stated both reasons for the problem.

  1. Uneven cooling
  2. Steep overhang with no support

Great job to everyone and keep an eye out for an improved 360 degree cooling feature for the GB3 hot end to give even better printing capabilities!

Happy Printing!

Matthew Fiedler

Blog Post Author