Odds are if you have a Gigabot you've discovered that the only thing better than 3D printing your favorite open source model, is printing it as big as possible! In honor of Independence Day, we've scaled an impressive scan of a Statue of Liberty to almost two feet tall, while highlighting a couple of tricks we've learned along the way:).
Step 1: Find Your File
Knowing I wanted to print something patriotic, I conducted a quick search for “statue of liberty” on Yeggi, which yielded multiple results spanning several 3D file sharing platforms. The Statue Of Liberty Bronze Model by jerryfisher quickly caught my eye, and being a huge Sketchfab fan, I clicked on https://skfb.ly/CONx. The impressive scan of a bronze Statue of Liberty had been downloaded over 200 times and the creator has produced several other awesome files, giving me confidence the file was print worthy. I was also pleased to see the file was available for sharing through redistribution through Creative Commons licensing.
Step 2: Optimize for Large Scale Success
Once I downloaded the file, I opened it in Simplify3D, our preferred visualization and slicing tool. While centering the file on the build plate and inspecting the print, I noticed the bottom of the design had a slight curve. As I desired a level base to better support the future large statue, I borrowed a trick from Chief Hacker’s cheatsheet. By lowering the print slightly into the bedplate until the upper part of the coven curve hit the platform, I was able to “cut off” the curved portion of the bottom, rendering it flat after slicing.
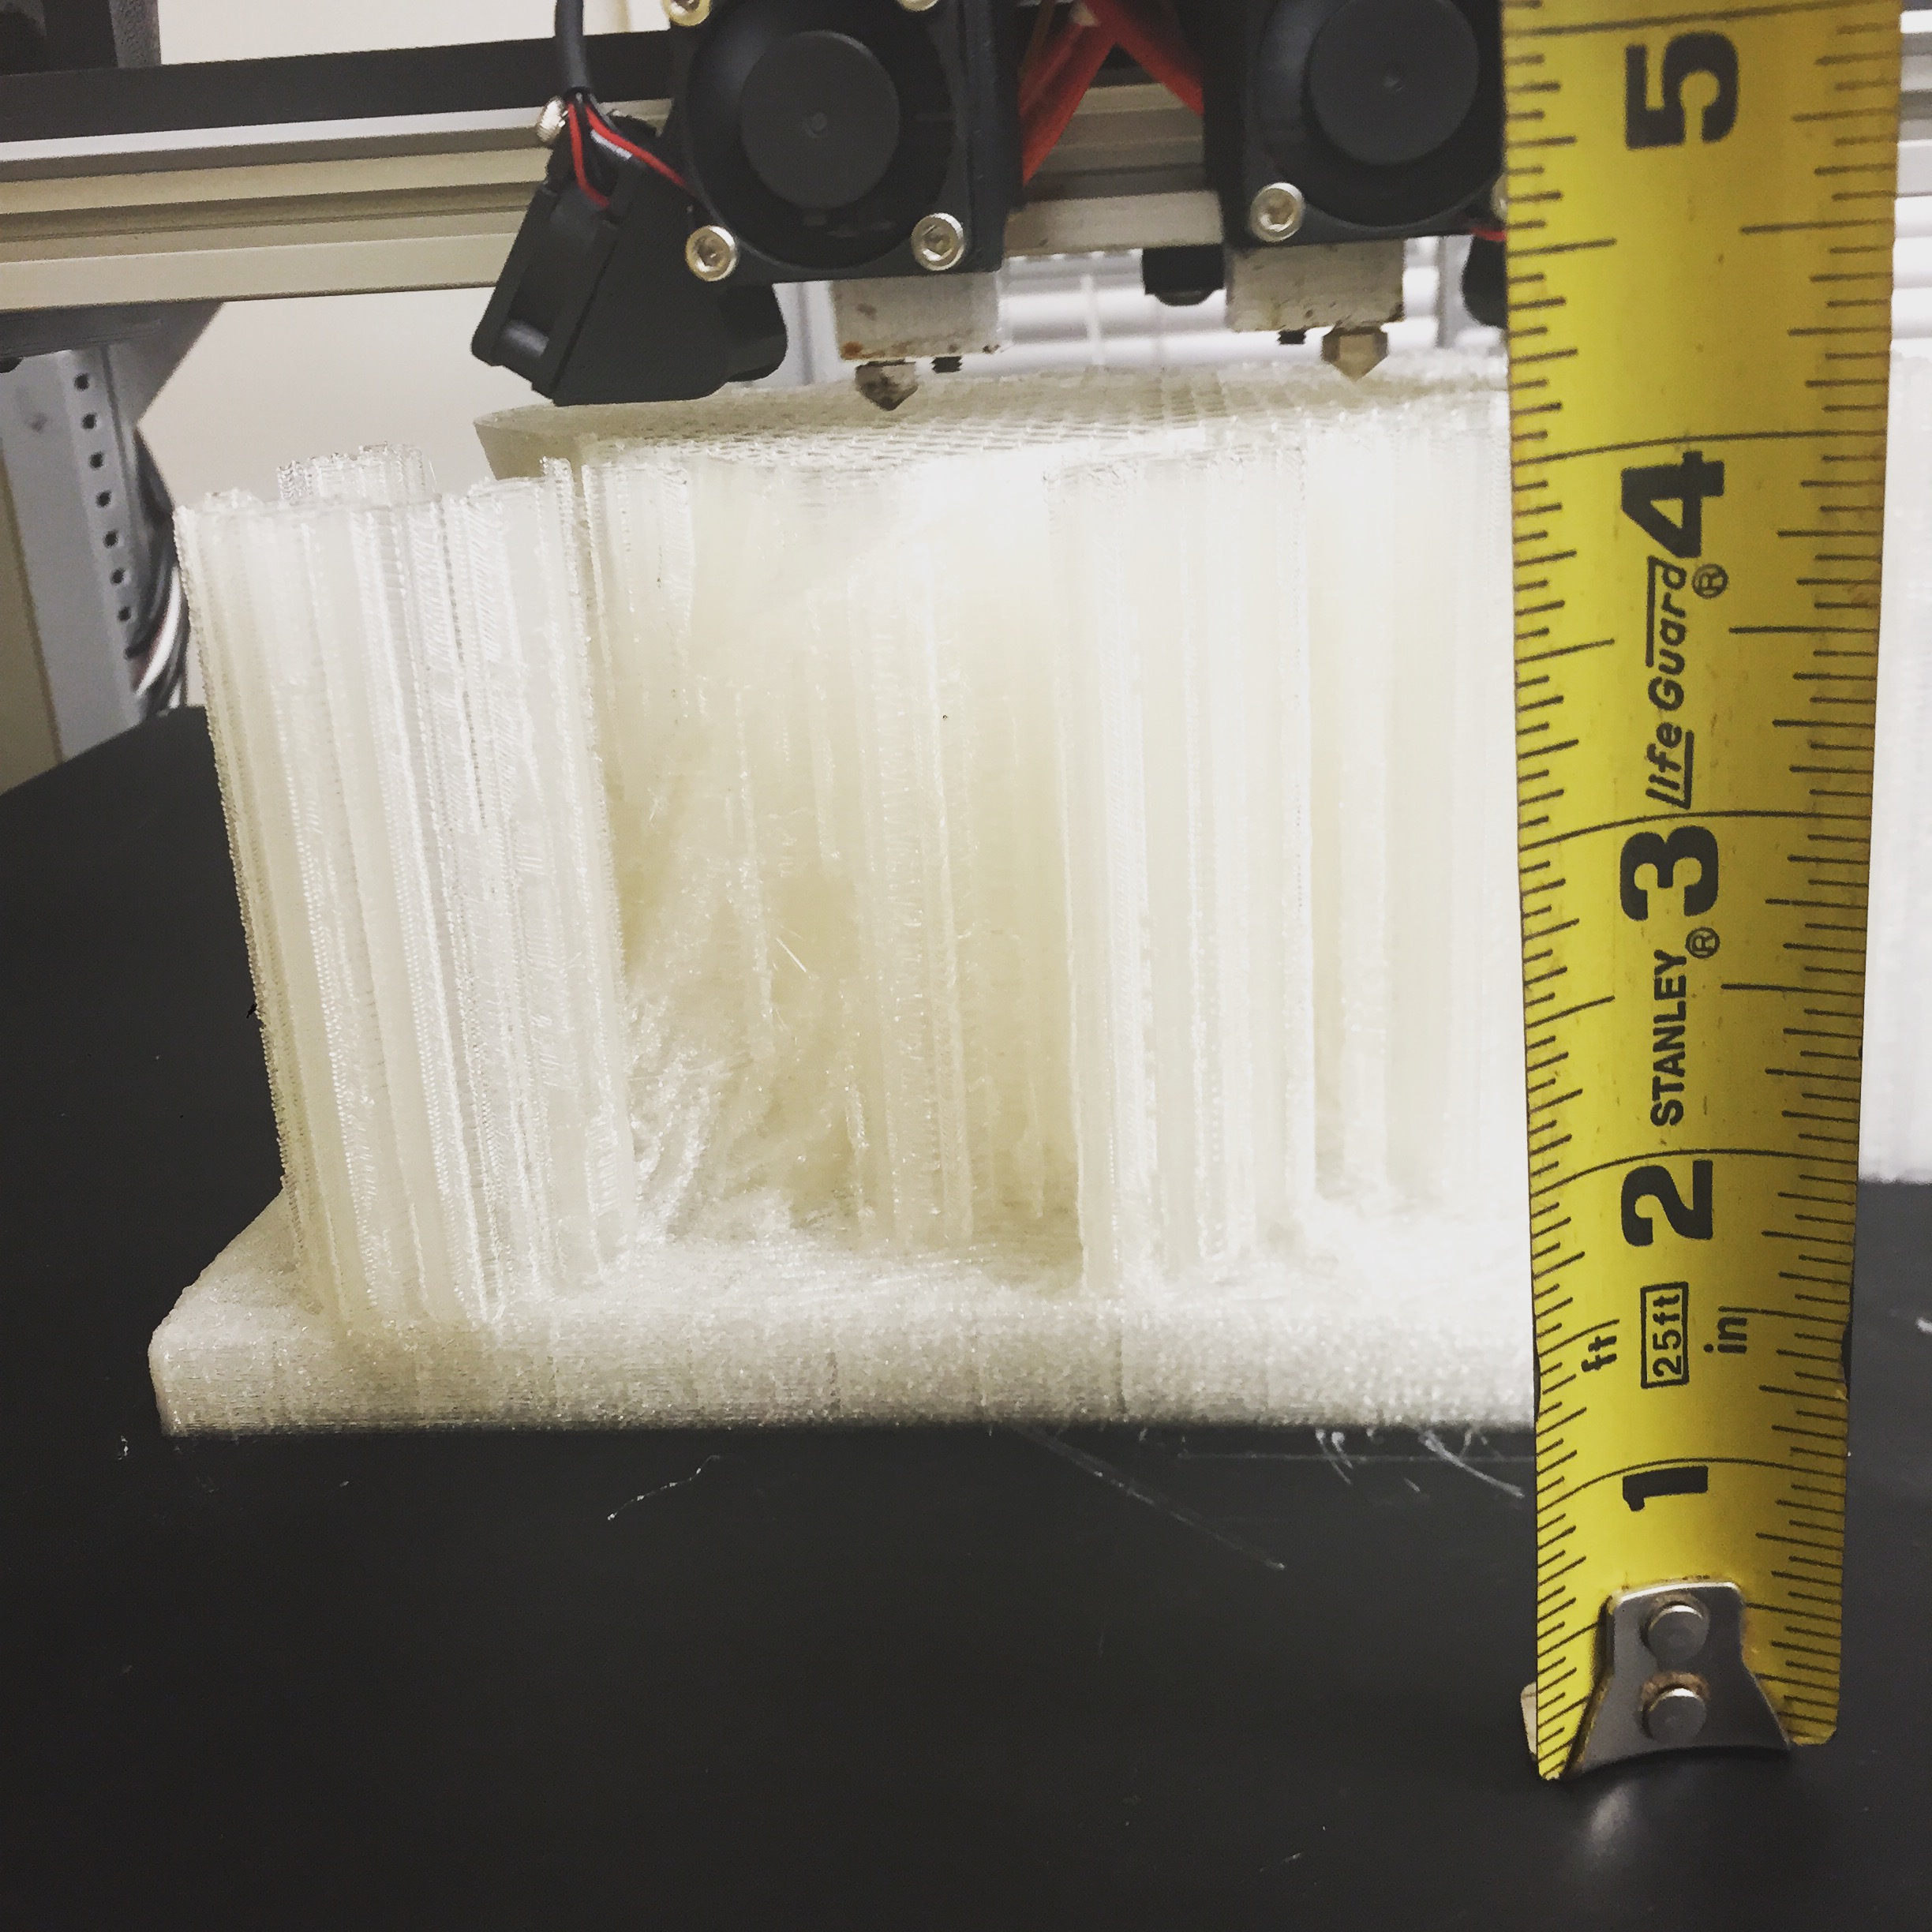
Due to the multiple overhangs (including Lady Liberty’s arm), the design required signifiant support material. Based on experience, I recalled that support material over 12 inches could be a little unstable, but after consulting with Chief Hacker, I learned this could be overcome by adding a -45 degree support angle in the support tab of Simplify3D. By alternating the angle, the supports would have more structure and be less wobbly. I also decided to add a process setting to decrease the speed when printing the crown in order to give the tips more time to cool after seeing some prior fails with similar geometry.

With these minor manipulations, I was ready to slice and get started! Two filament swaps later I was loving the out-of-filament detection feature on Gigabot Generation 3.0 and diggin my very own Statue of Liberty. Admittedly, it took a little time to remove the extensive support material (and I broke half of a piece of the crown), but the end result was more than worth it!

Step 3: Personalize Your Masterpiece
The only thing missing was Liberty’s iconic color, which I sourced after a couple of trips to local hardware stores. Sea Mist Rustoleum metallic spray paint did the trick and resulted in a great finish! We’ve had the most luck using spray paints intended for plastic when post-processing PLA, but find dry times between coats need to be extended (or at least when spray painting in the Texas humidity). Also, be sure to remove all the support material before applying a coat of paint as all support artifacts stand out when coated!
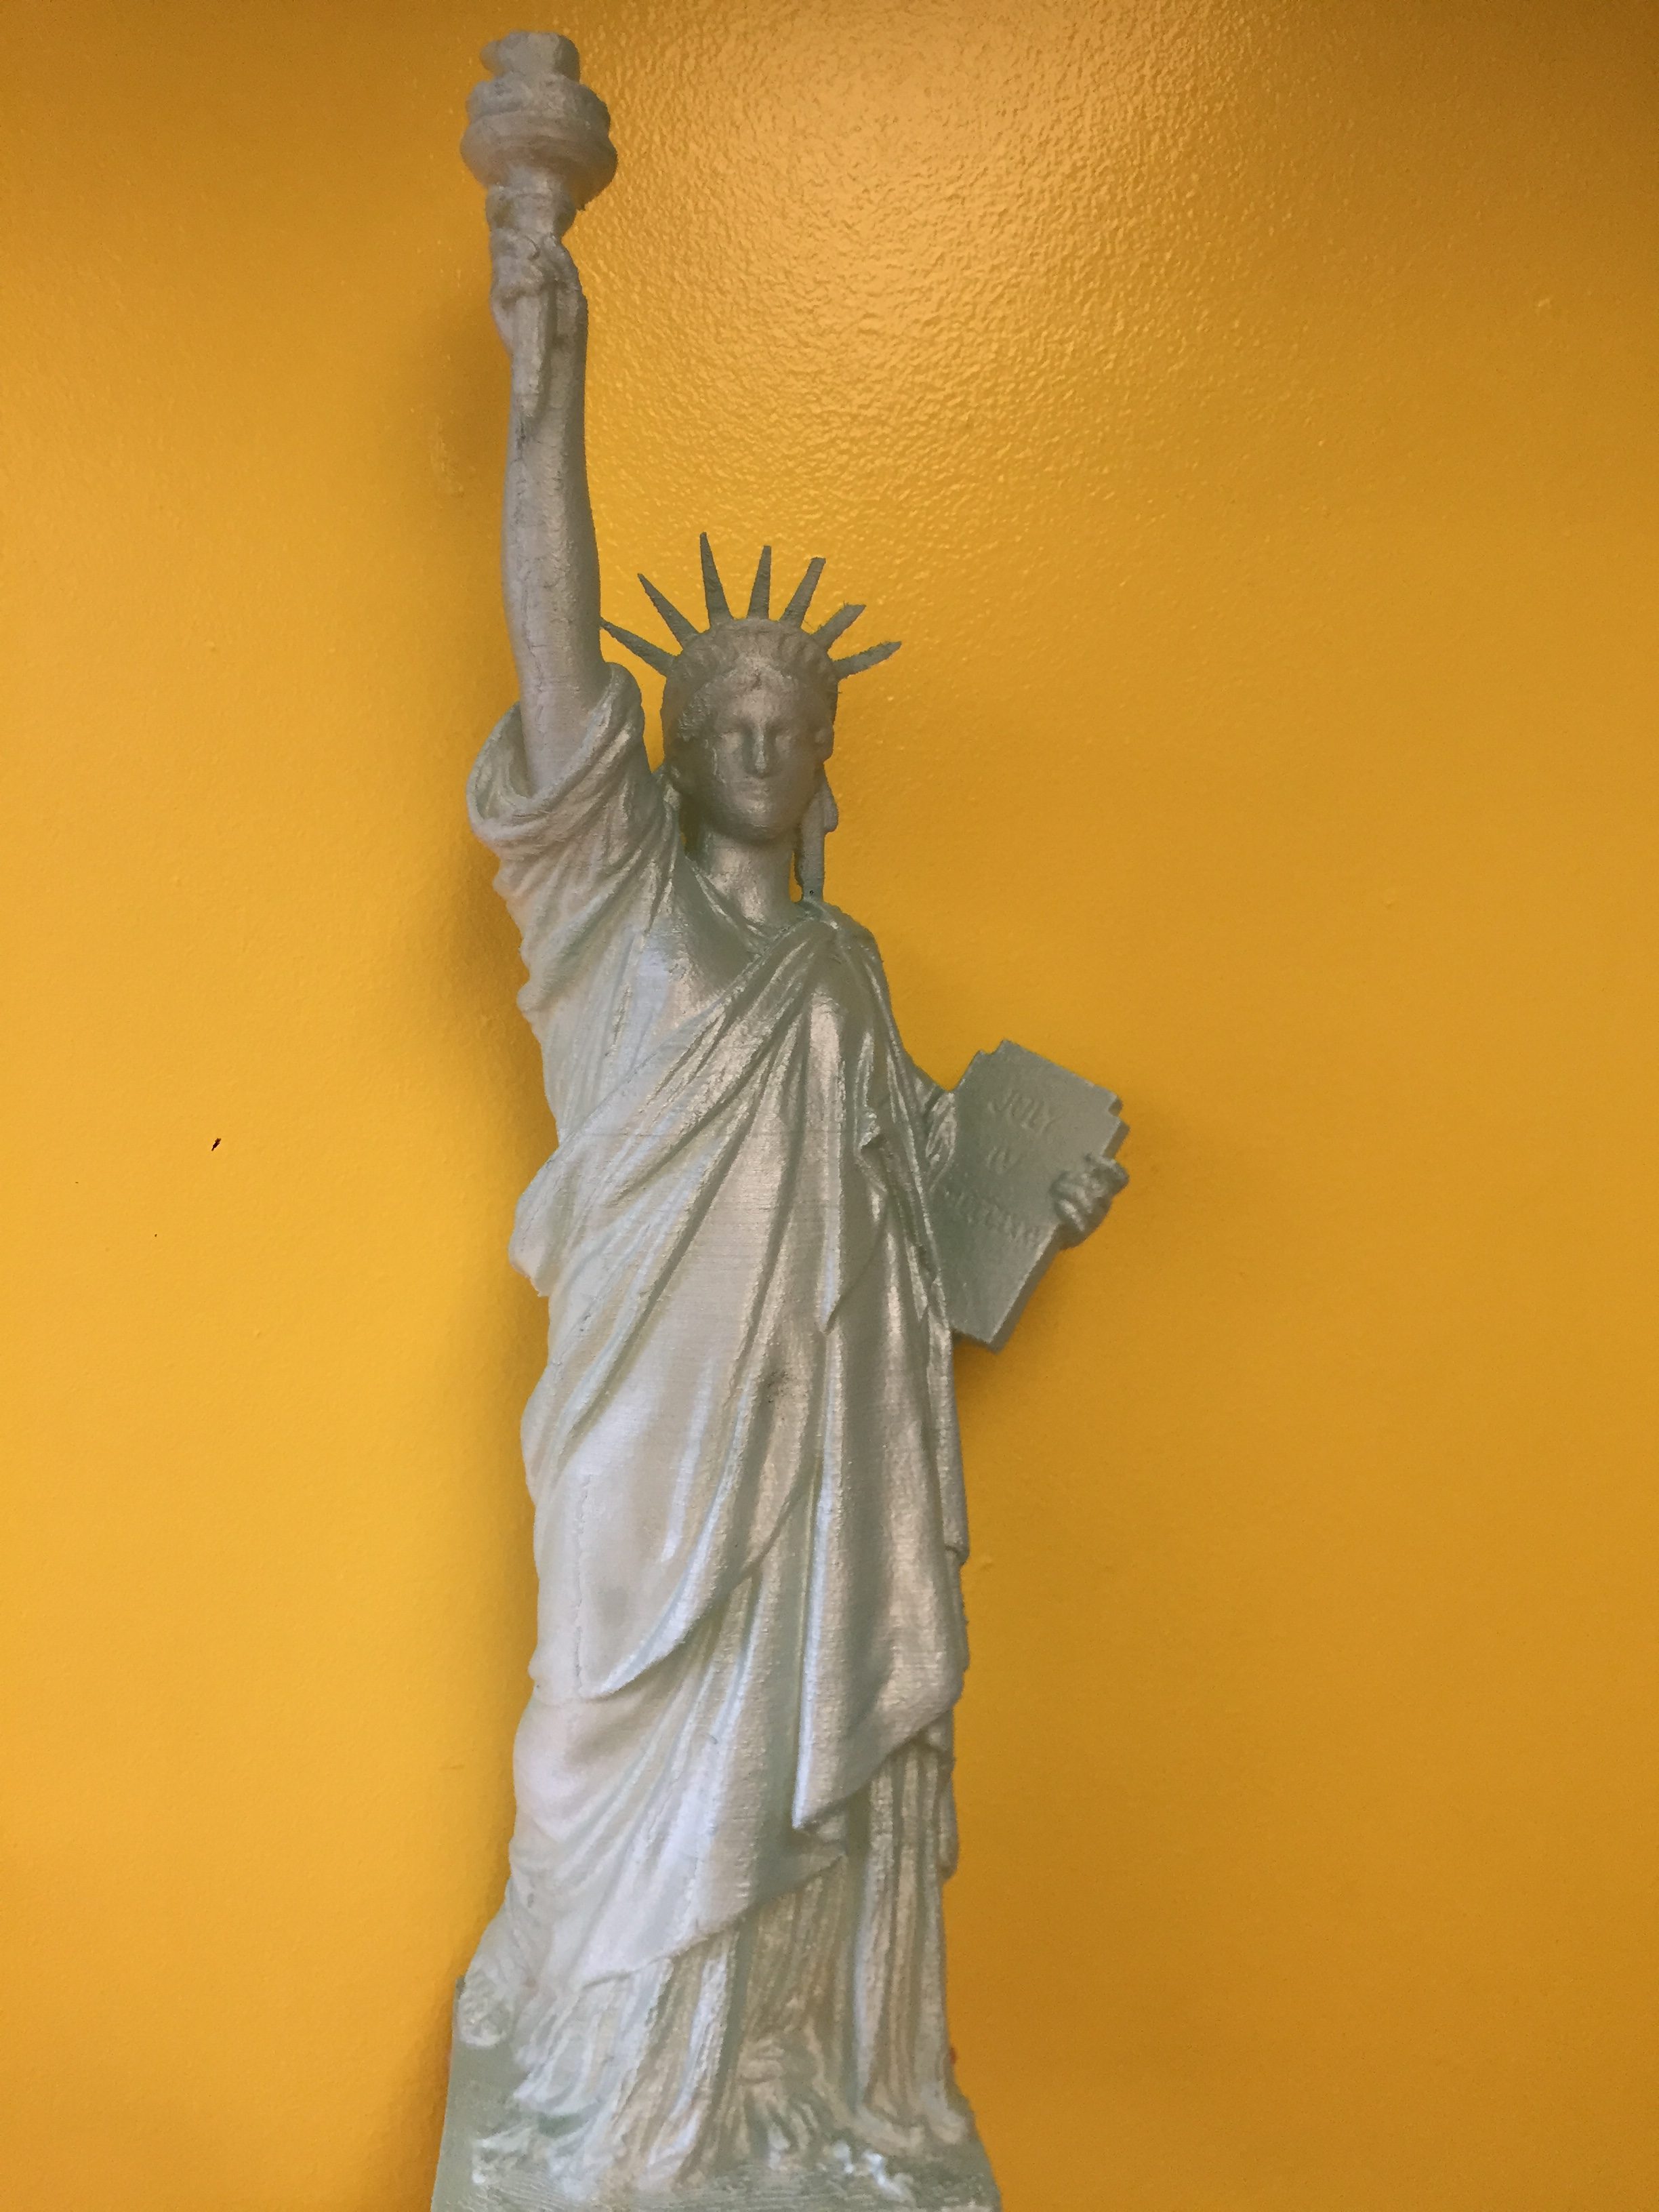
We love having our own Lady Liberty in our Austin office. Huge thanks to Jerry Fisher for sharing this fabulous Statue Of Liberty Bronze Model licensed under CC Attribution!
Want to download the file? Check out https://skfb.ly/CONx
~Happy Printing!
Samantha snabes
Blog Post Author
@samanthasnabes