The Power of Printing With PETG

We’re excited to now sell PETG at re:3D! Why do you ask? I sat down with Co-Founder and Head of Technology, Matthew Fiedler, for some Q&A on the power of 3D printing with PETG. Read below, check out some video footage of how we are using PETG at re:3D and tune into our inaugural Meet with a 3D Printing Engineer live session next week no matter where in the world you are to chat with our 3D printing engineers live and bring any questions you may have.

Why is re:3D releasing and deciding to sell PETG now?

“Polyethylene terephthalate Glycol is an interesting material for FFF AM because of the enhanced material properties compared to the most common filament, PLA. PETG exhibits high layer to layer bonding strength, slightly elevated Tg of 80C over PLA which has a Tg of around 55C. PETG also allows better light transmission which can be a great benefit for parts that require visible light to pass through them.”

What do people use it for?

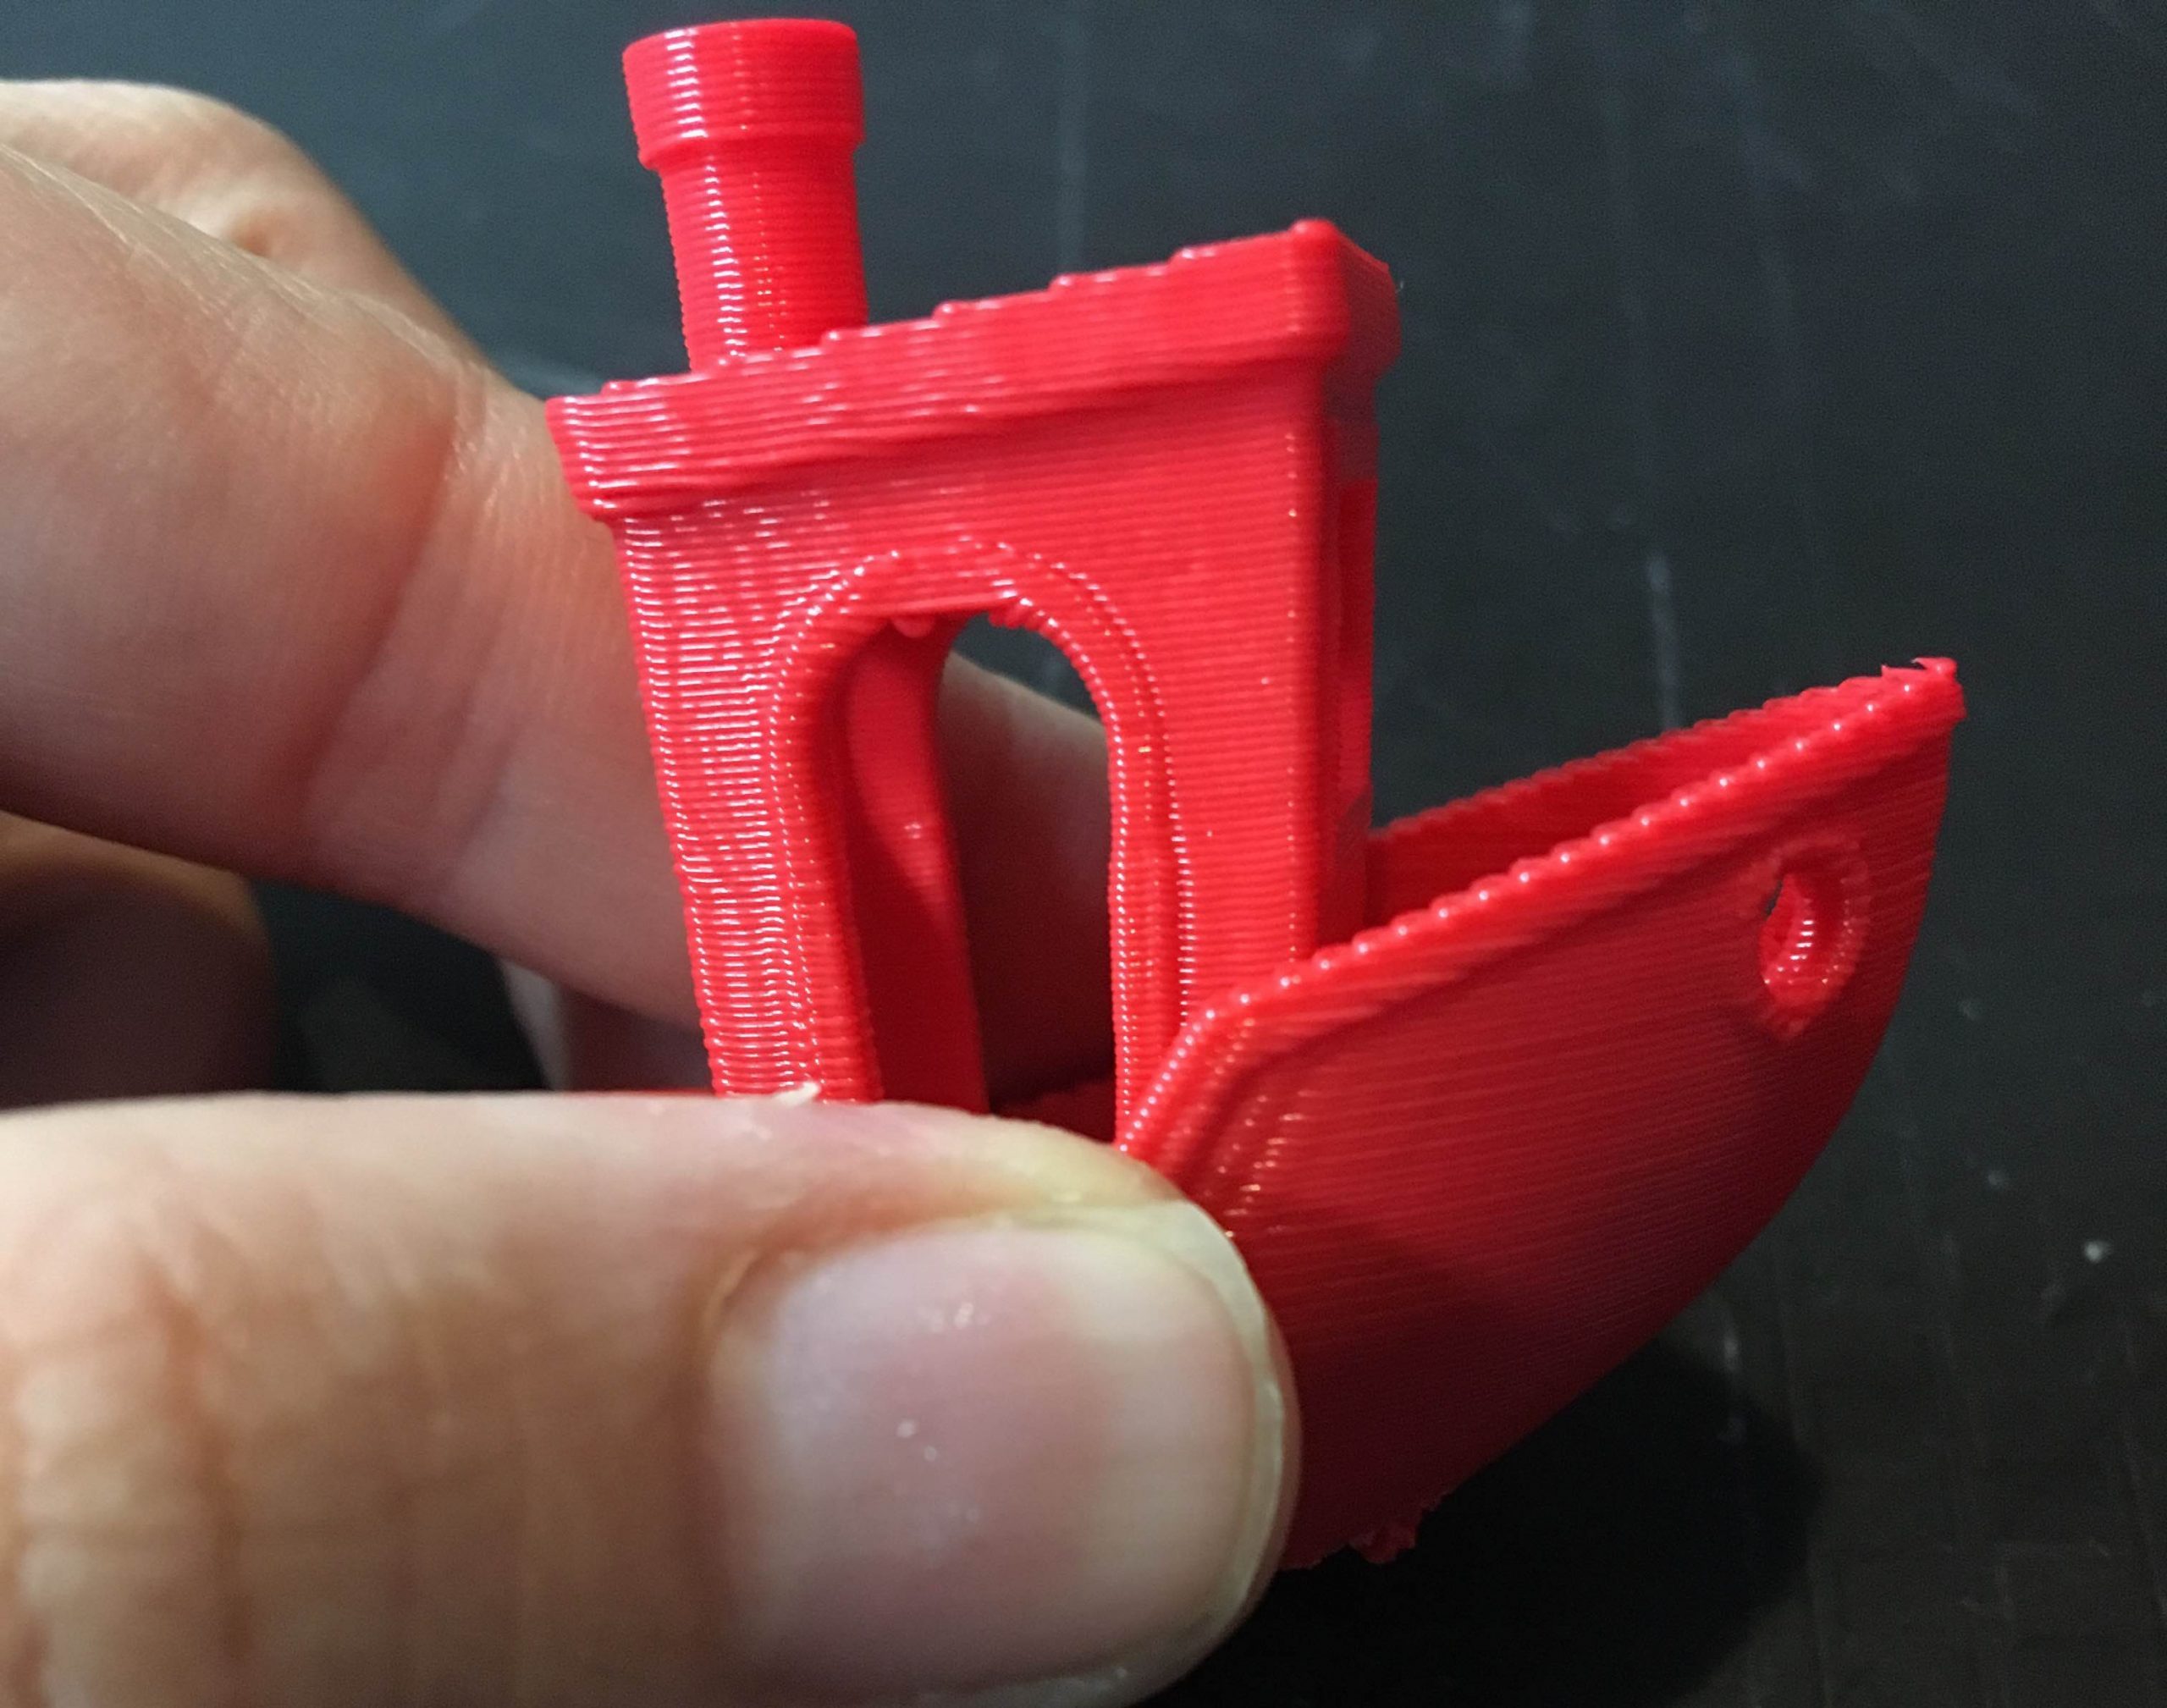
“PETG is most commonly known as the plastic used in water bottle and soft drinks containers. In 3D printing, it makes an excellent breakaway support material for parts printed in PLA. The opposite is also true where you can use PLA as breakaway support material for parts made in PETG.”

What are some unique advantages of PETG?

“Parts printed in PETG are also slightly more flexible than those made from PLA.“

What have engineers done with it at re:3D to date?

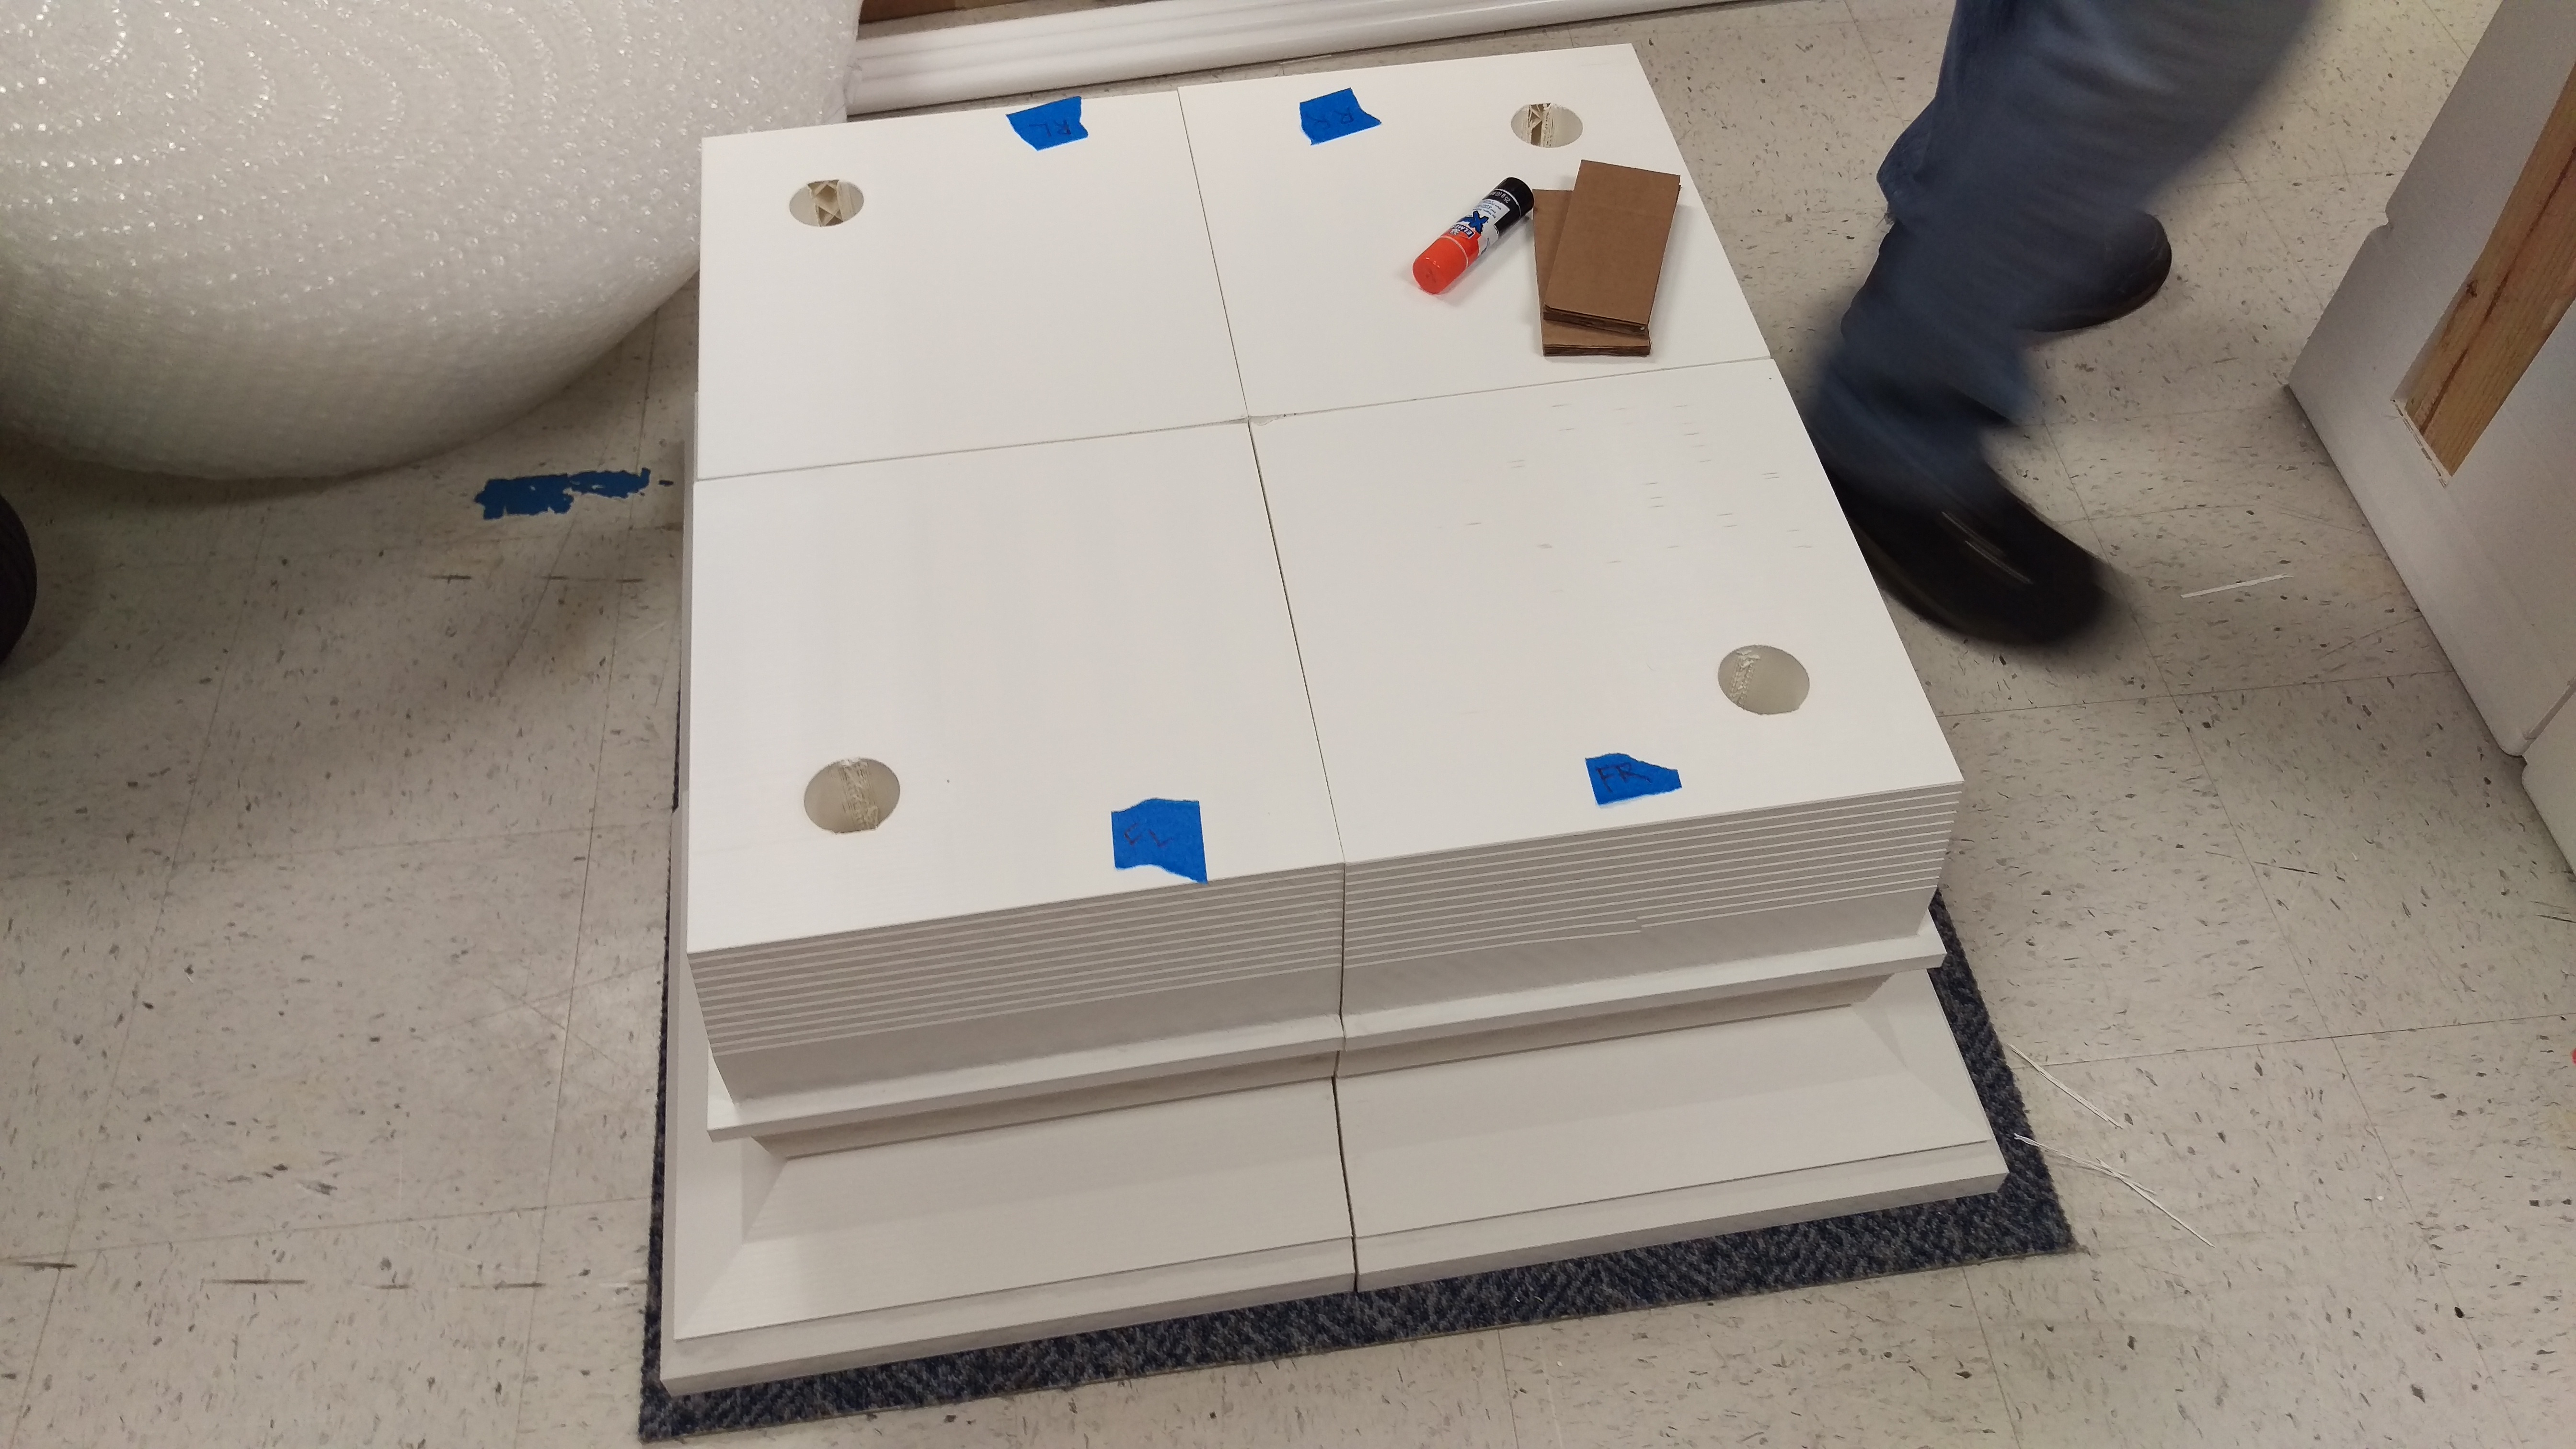
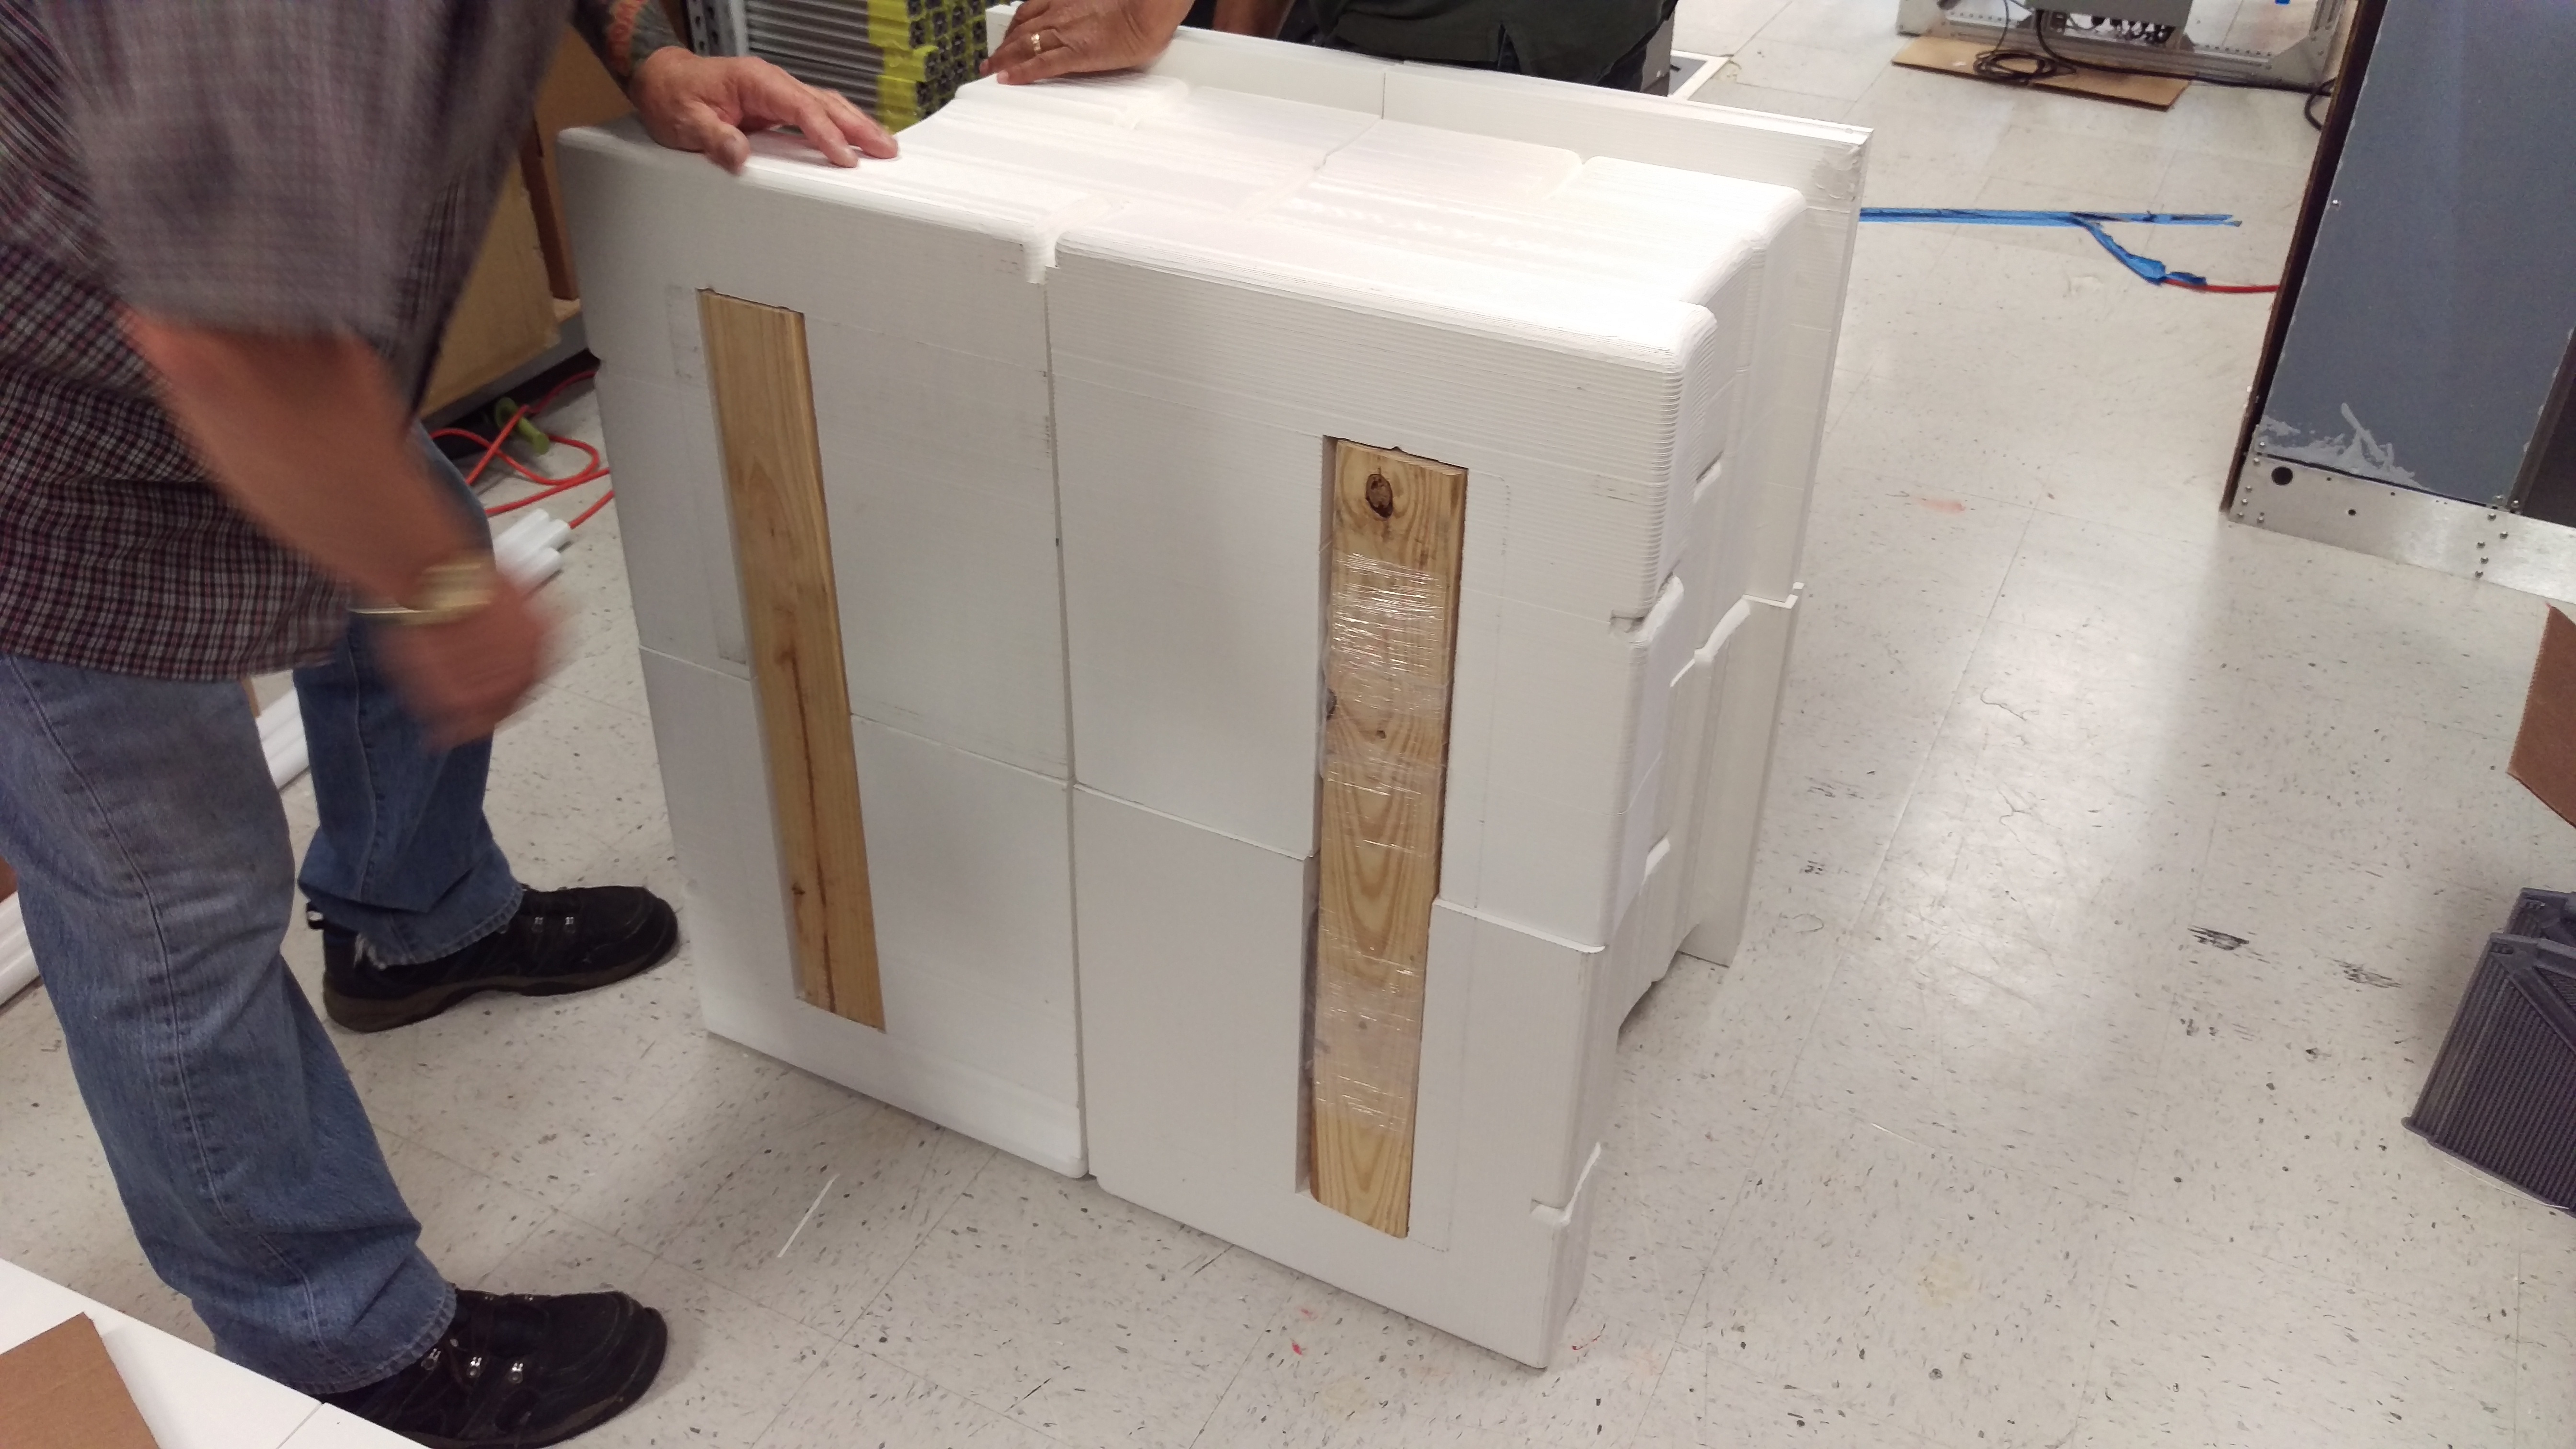
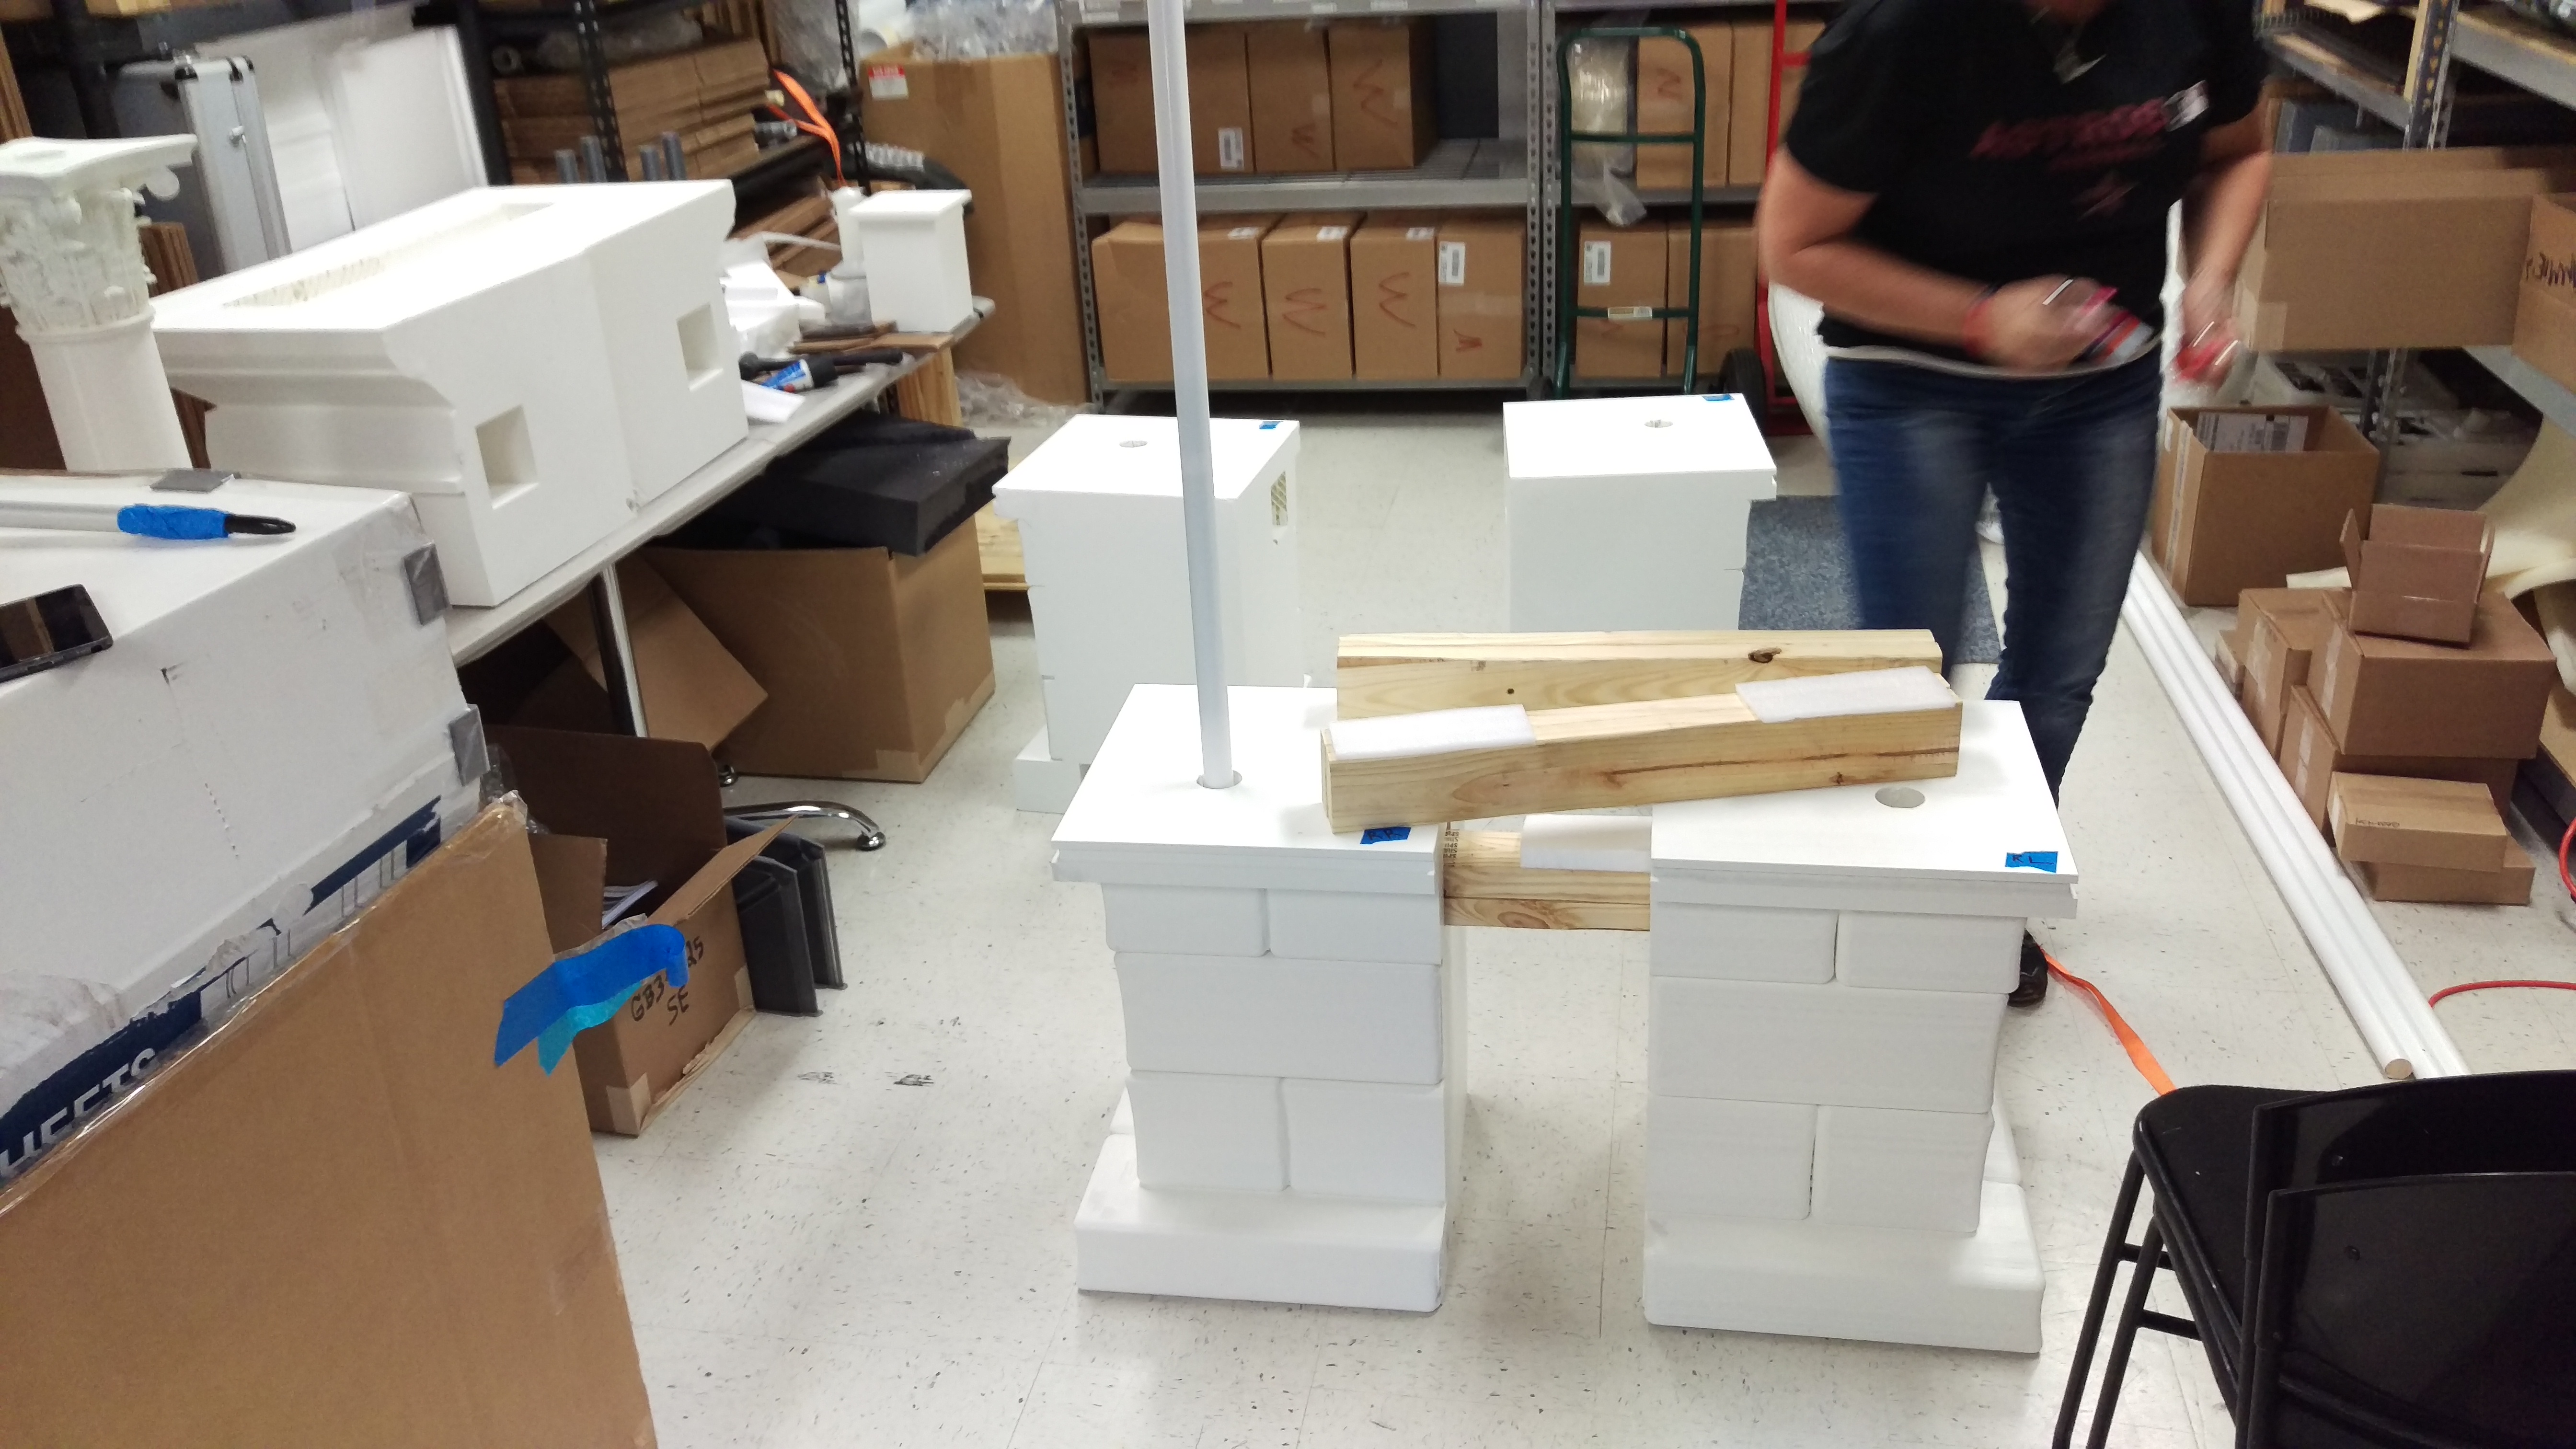
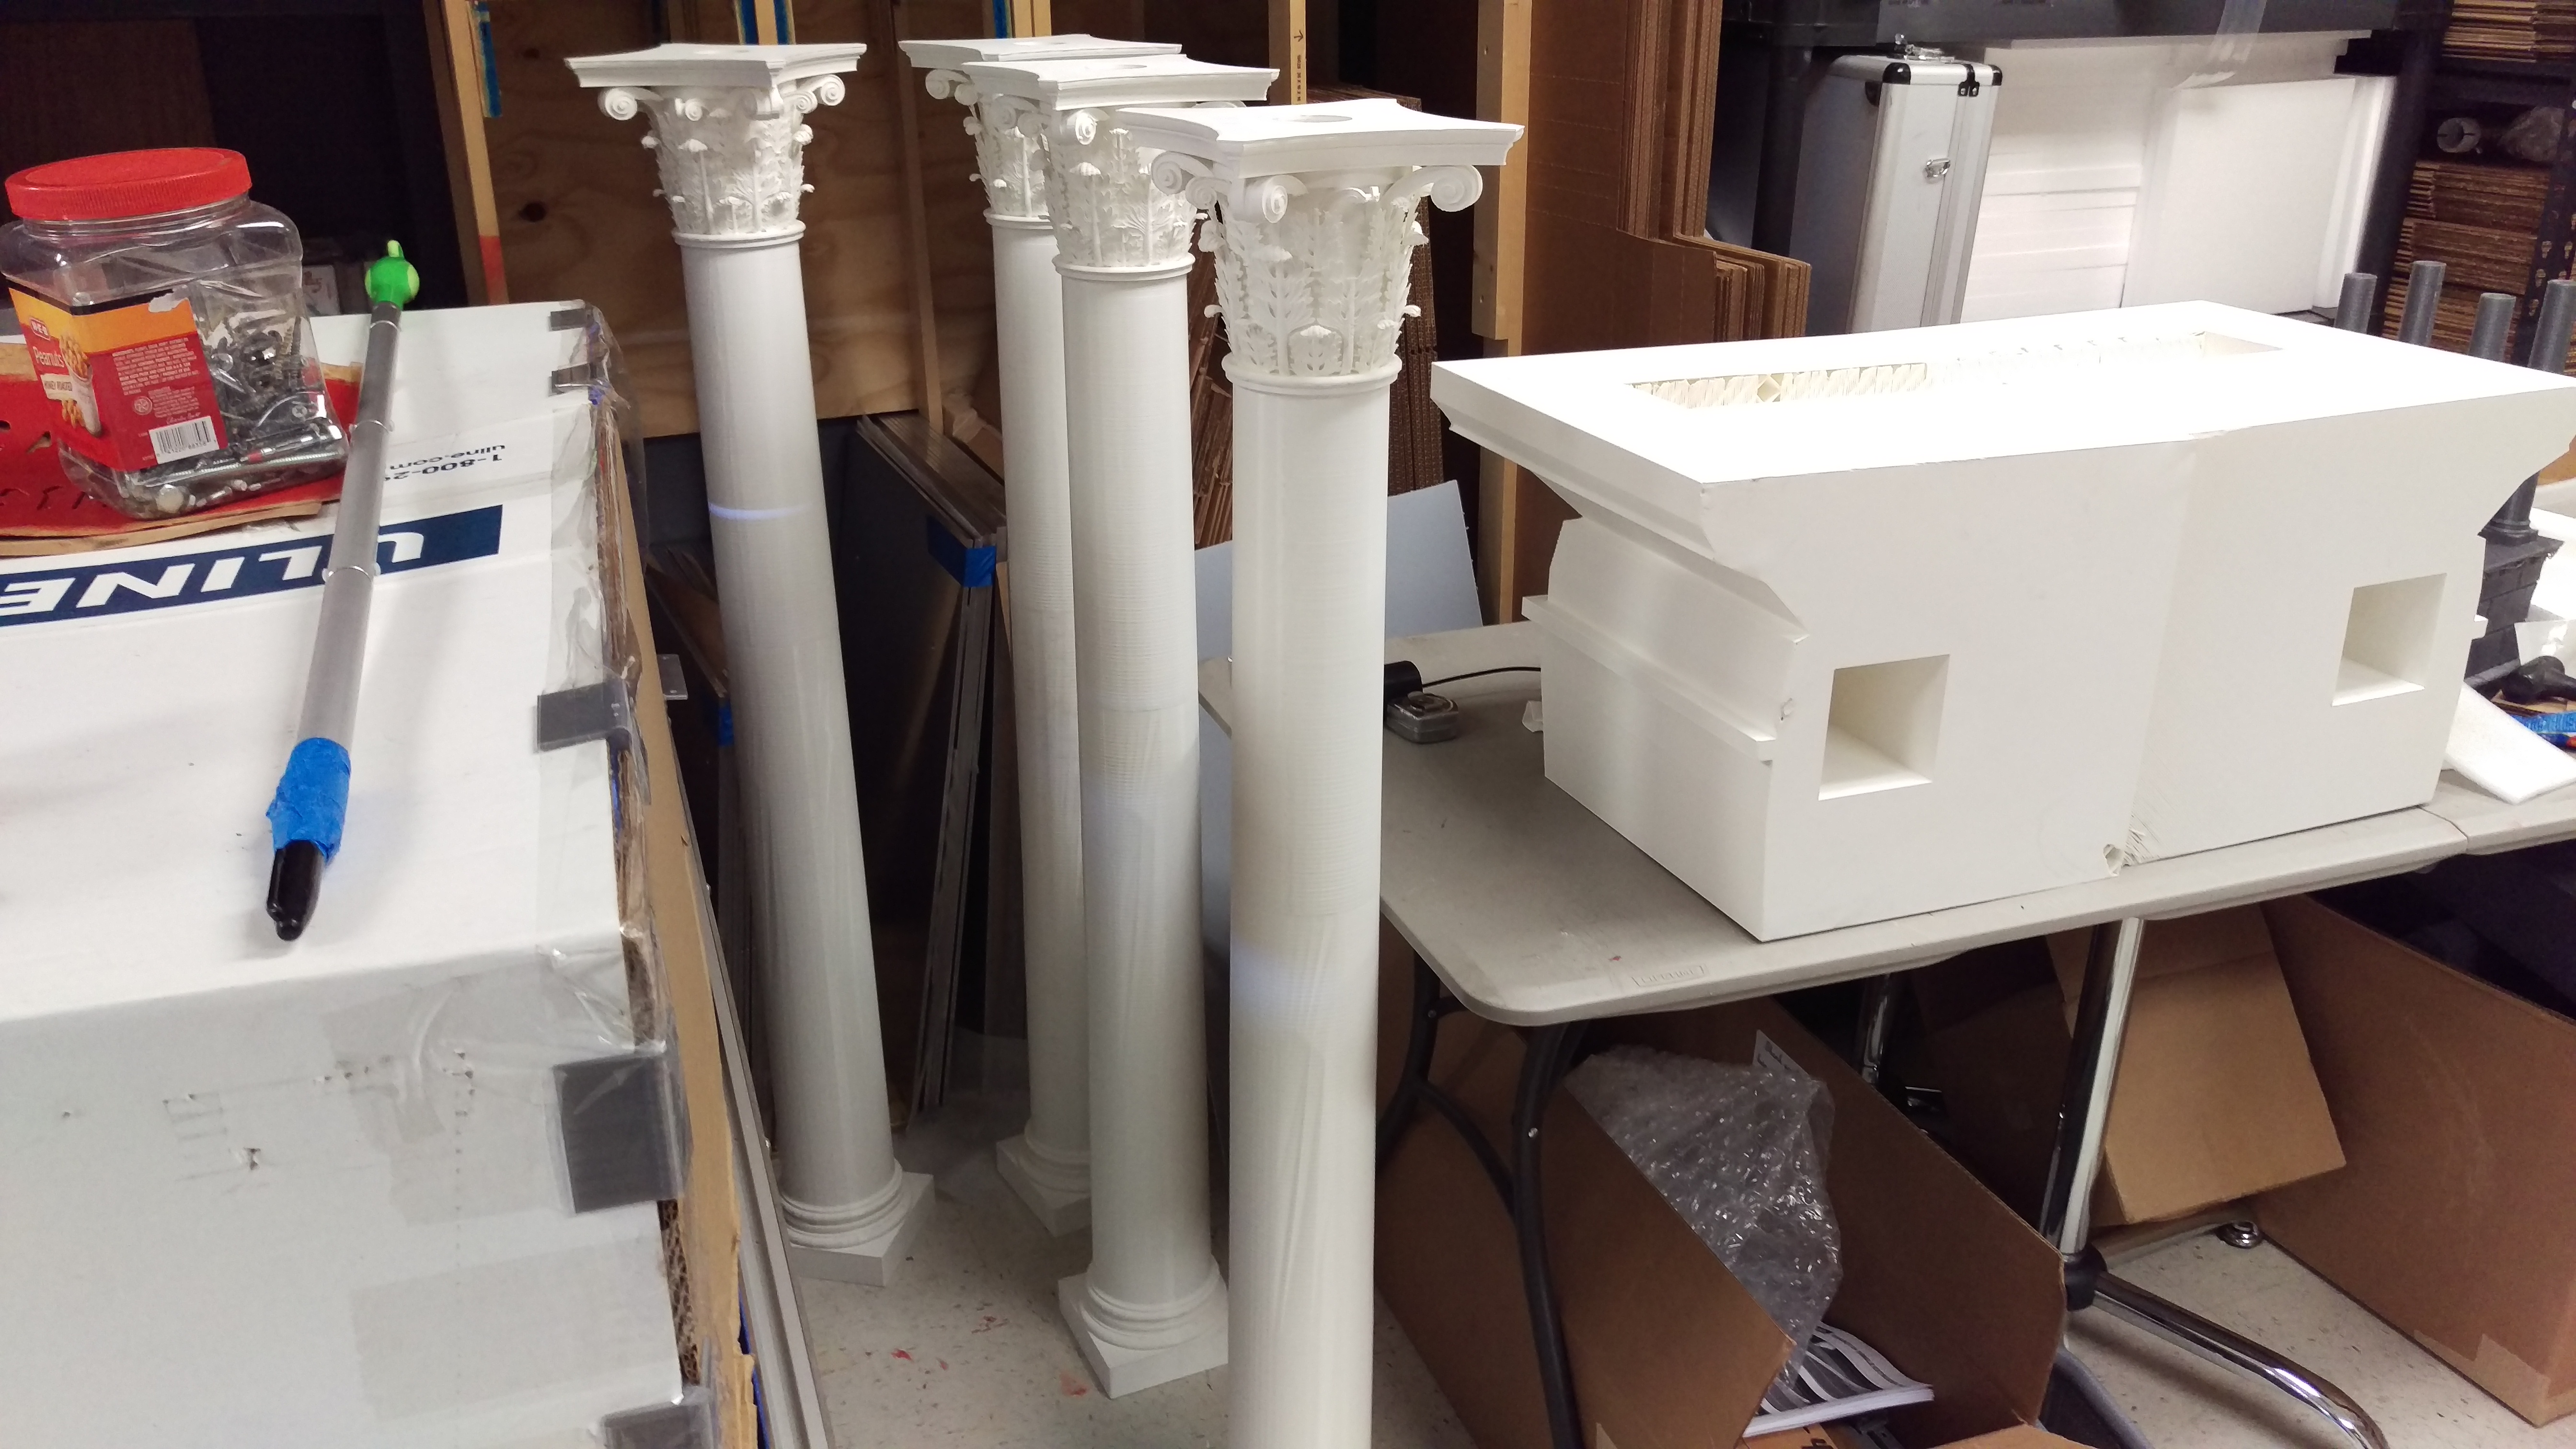
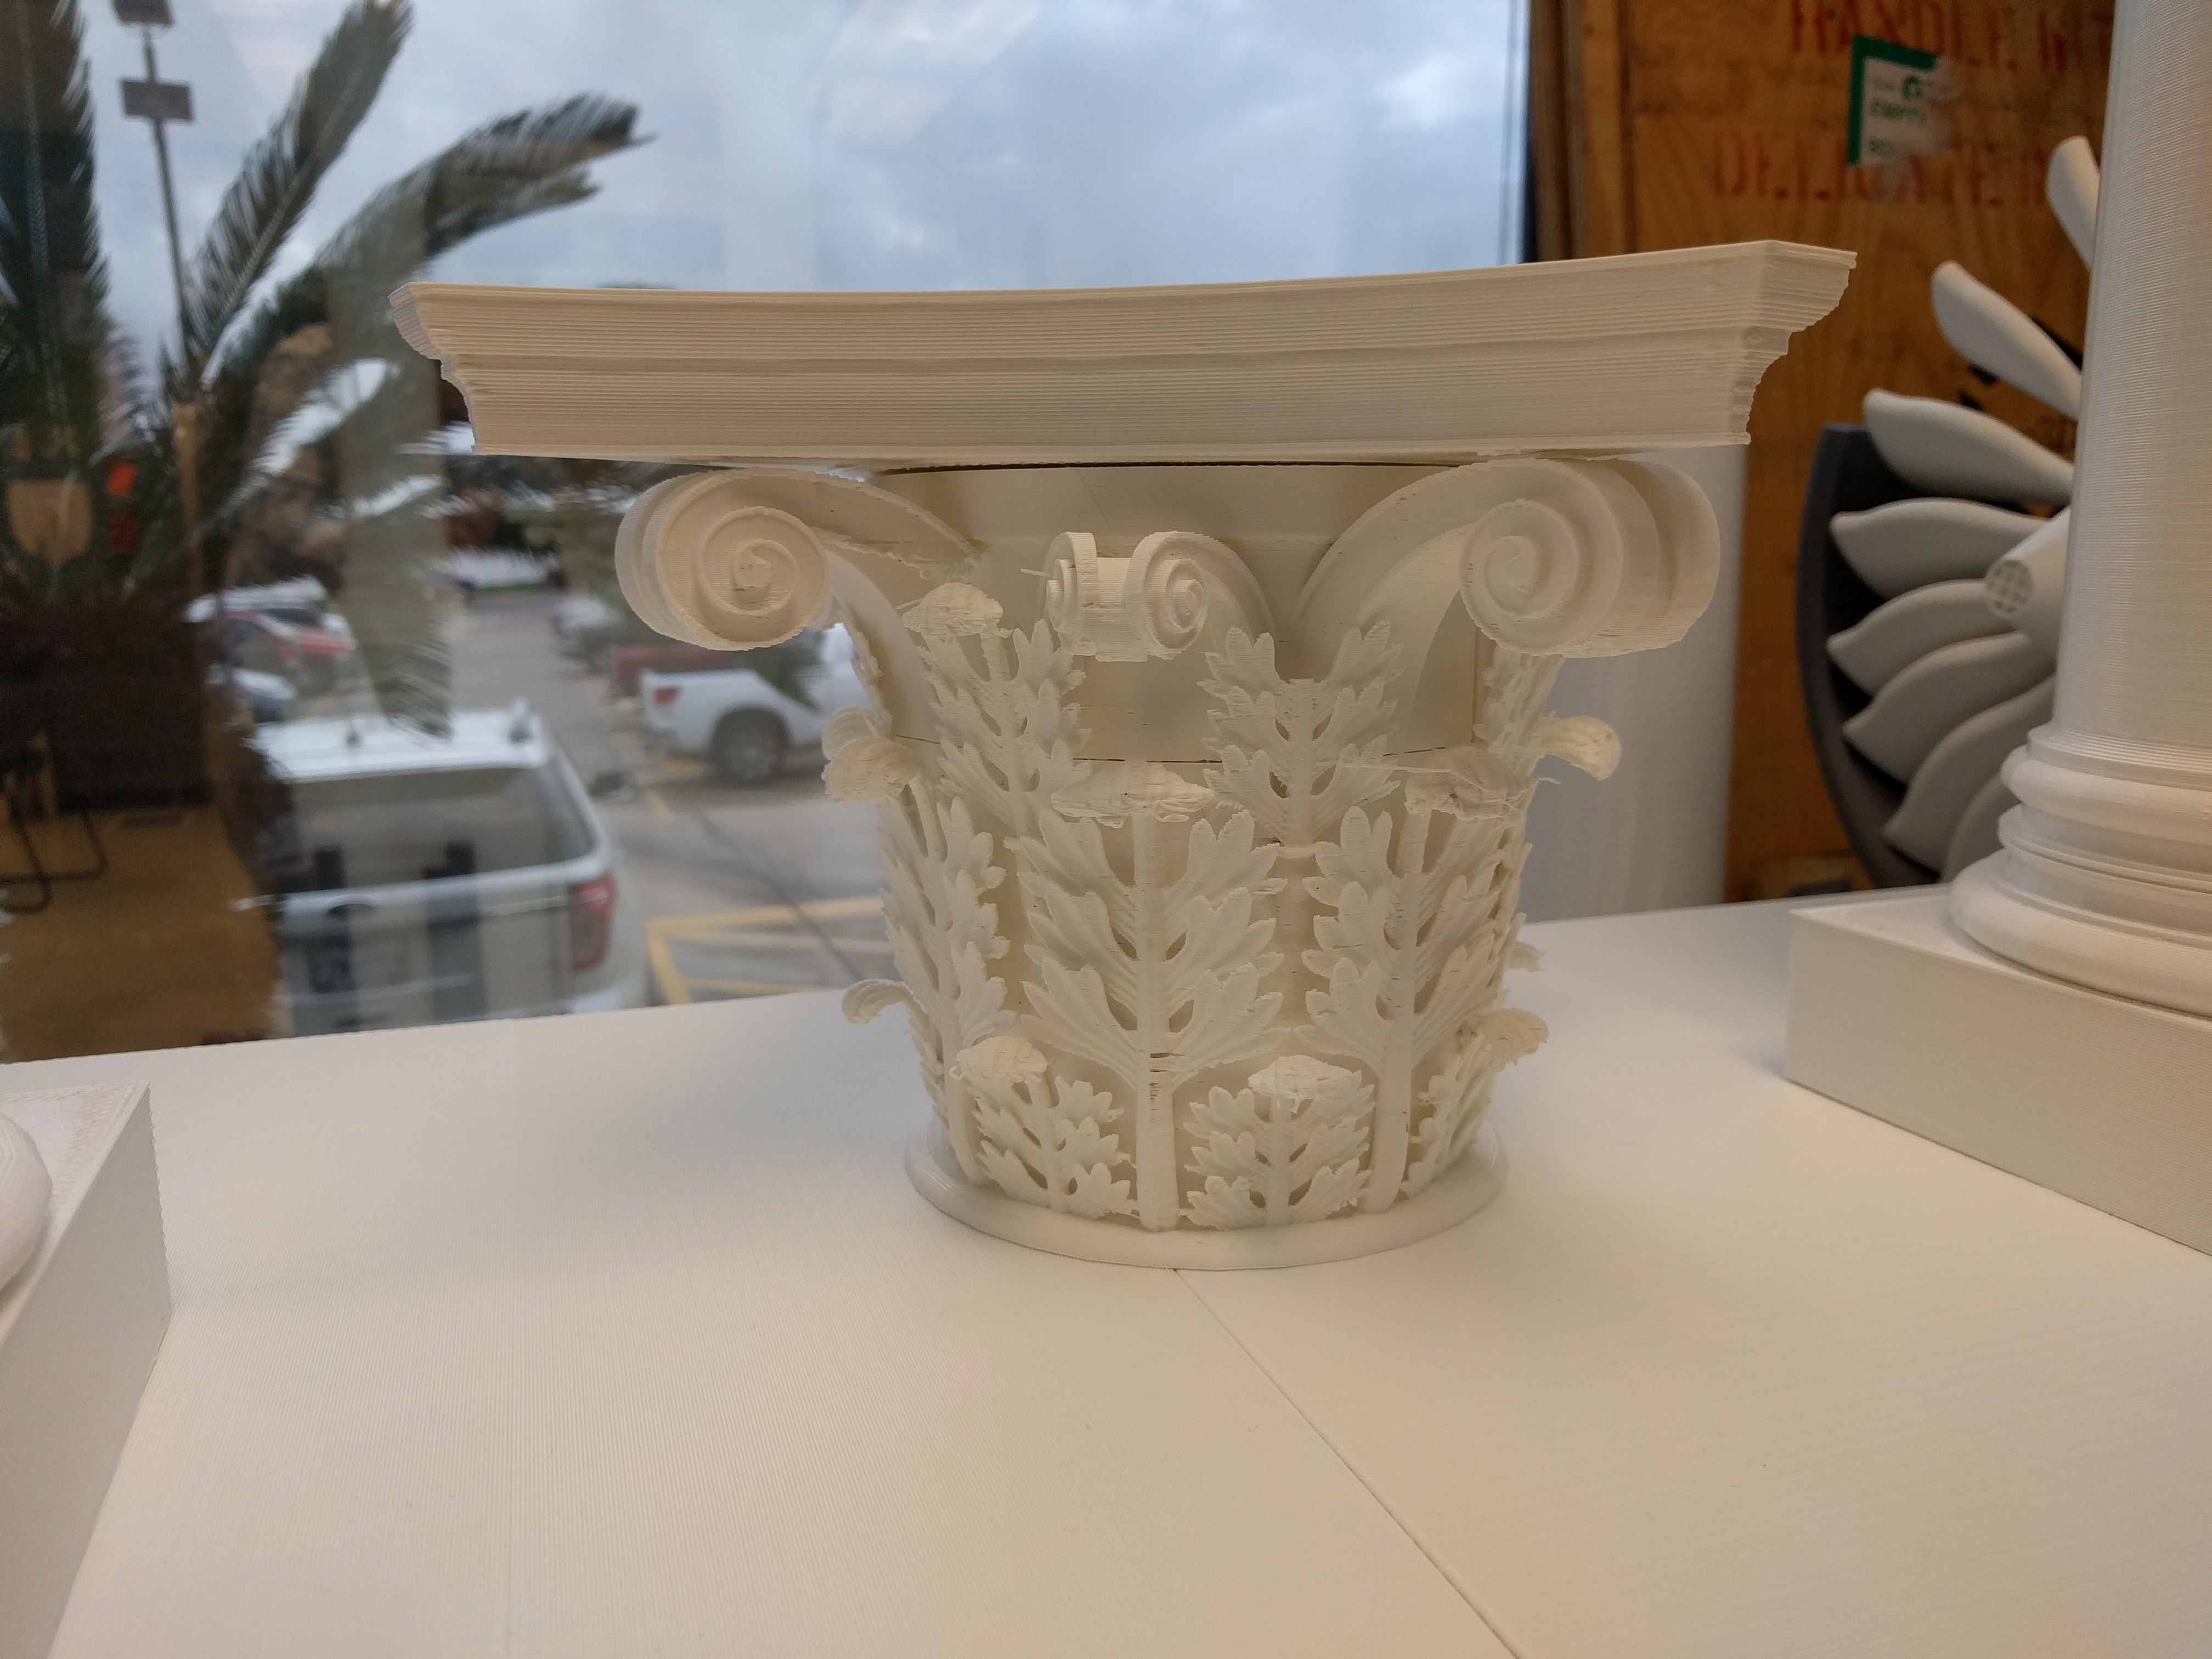
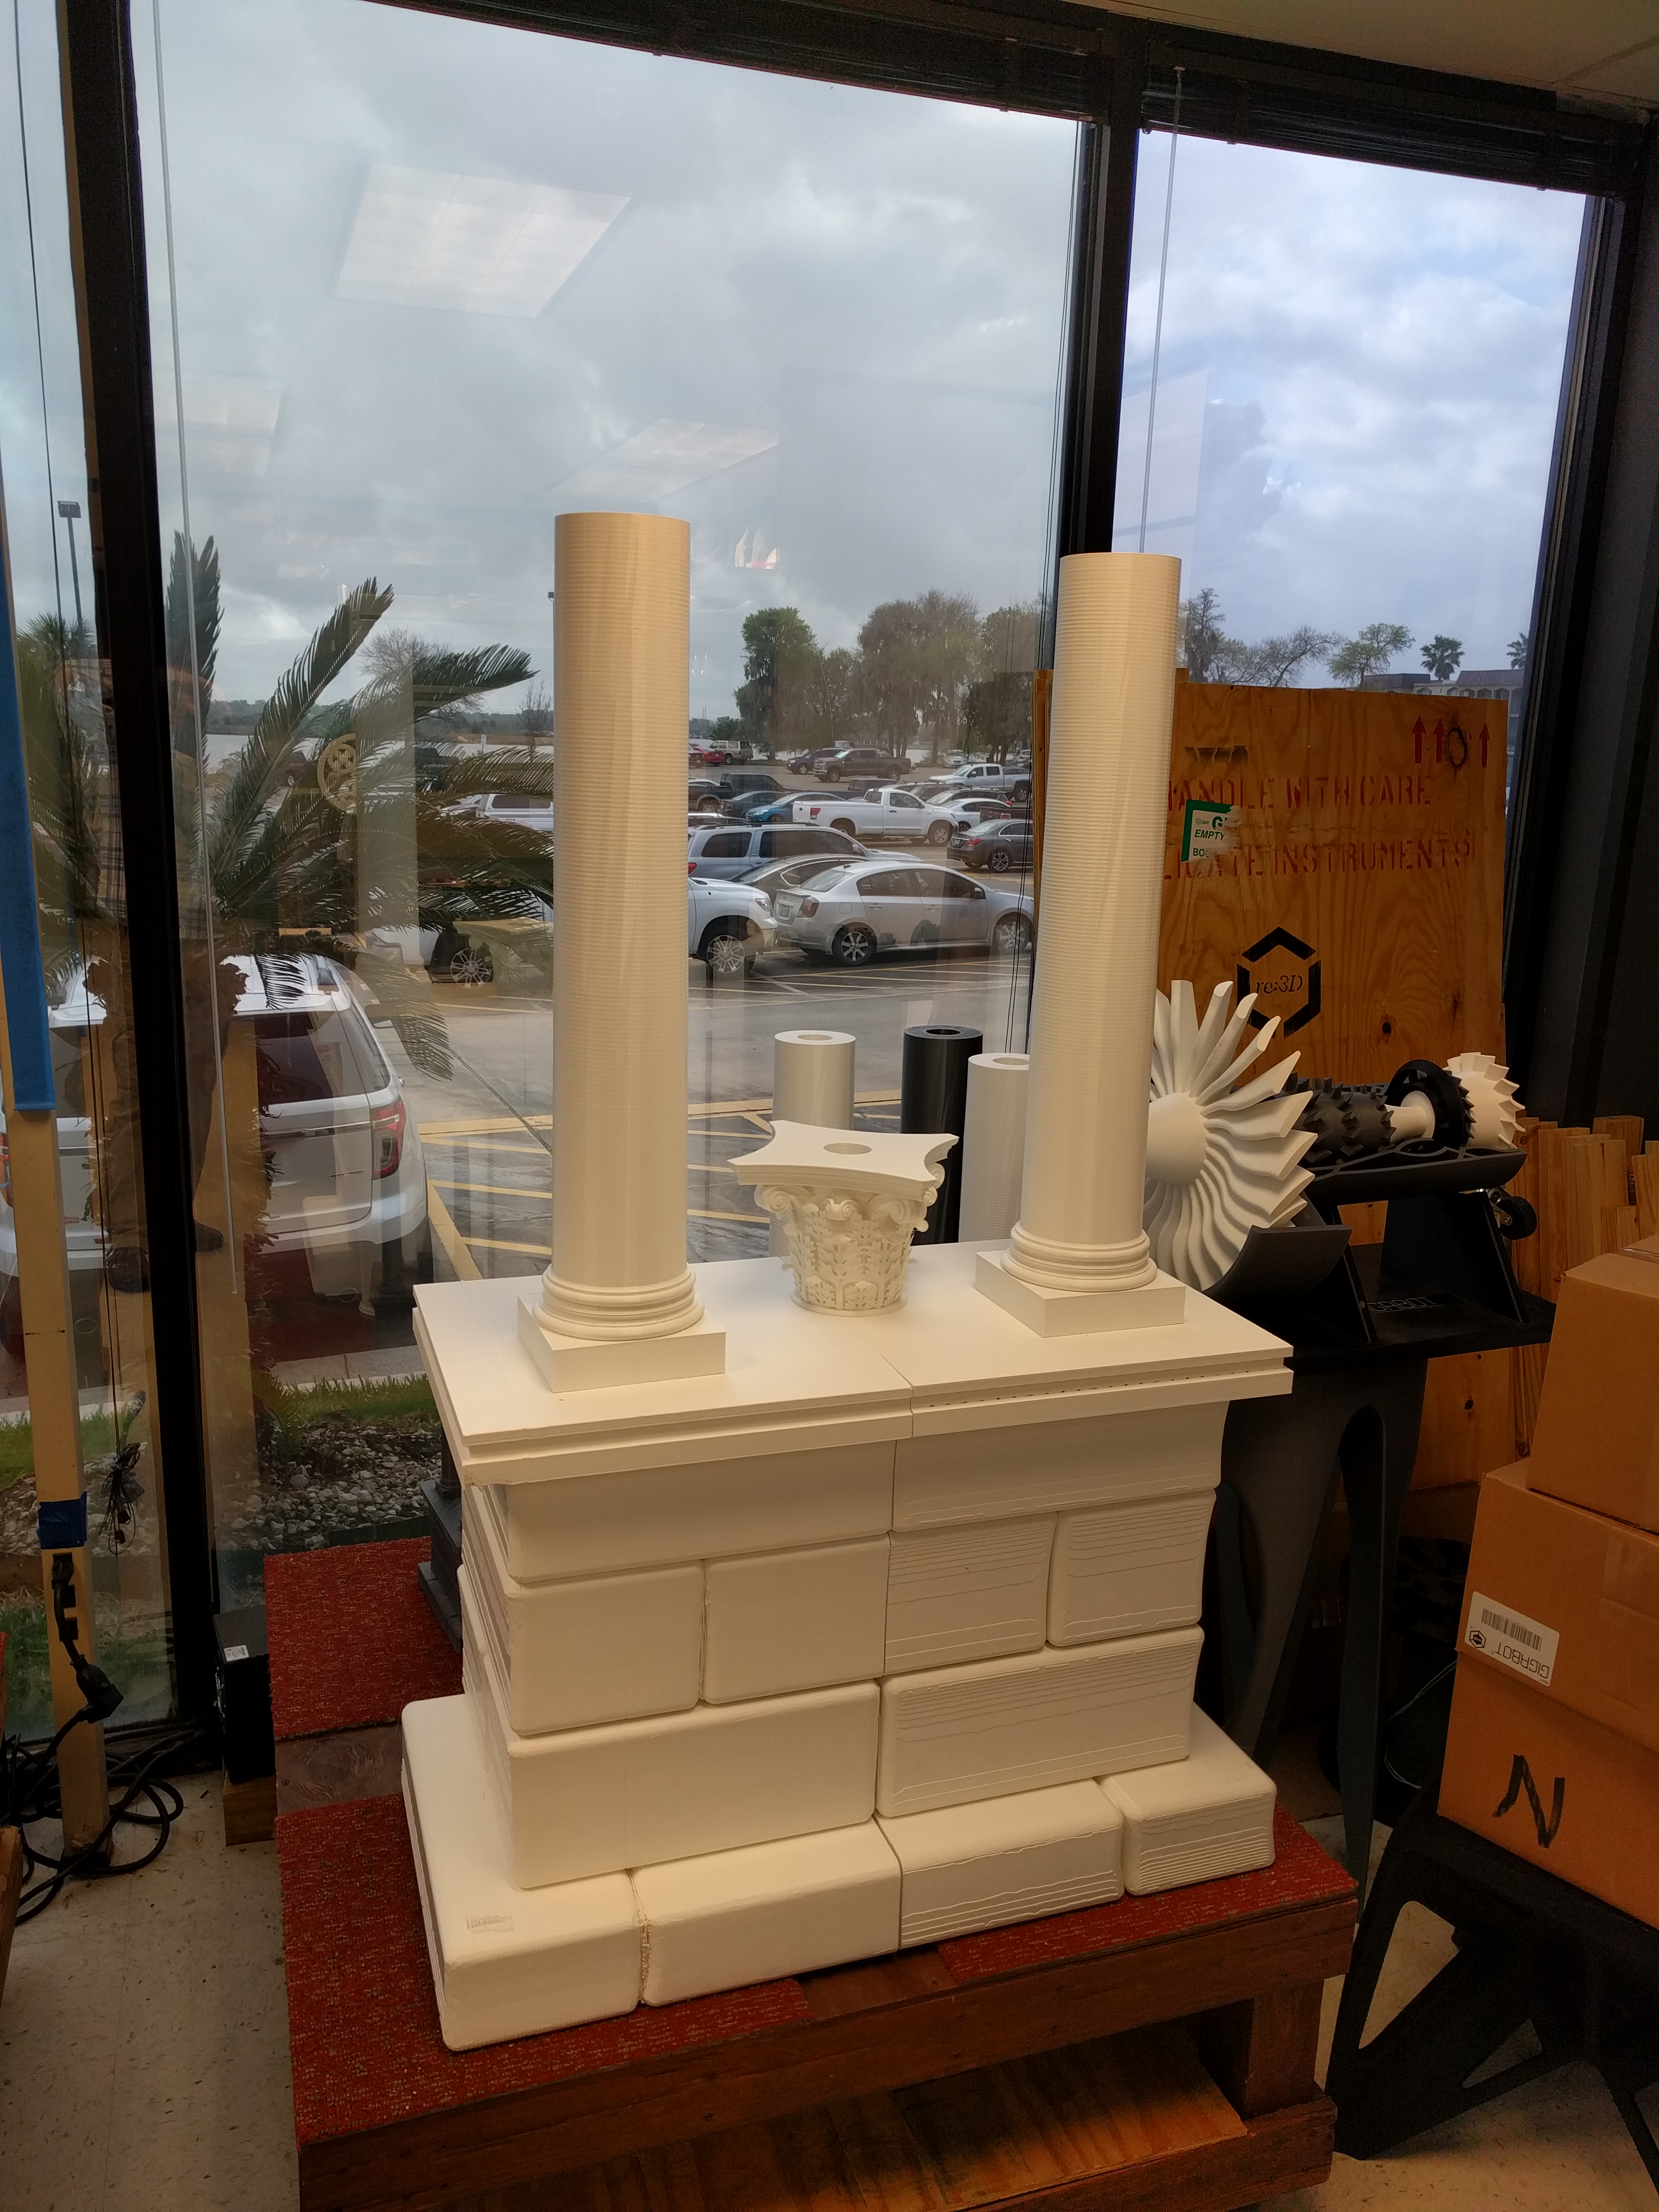
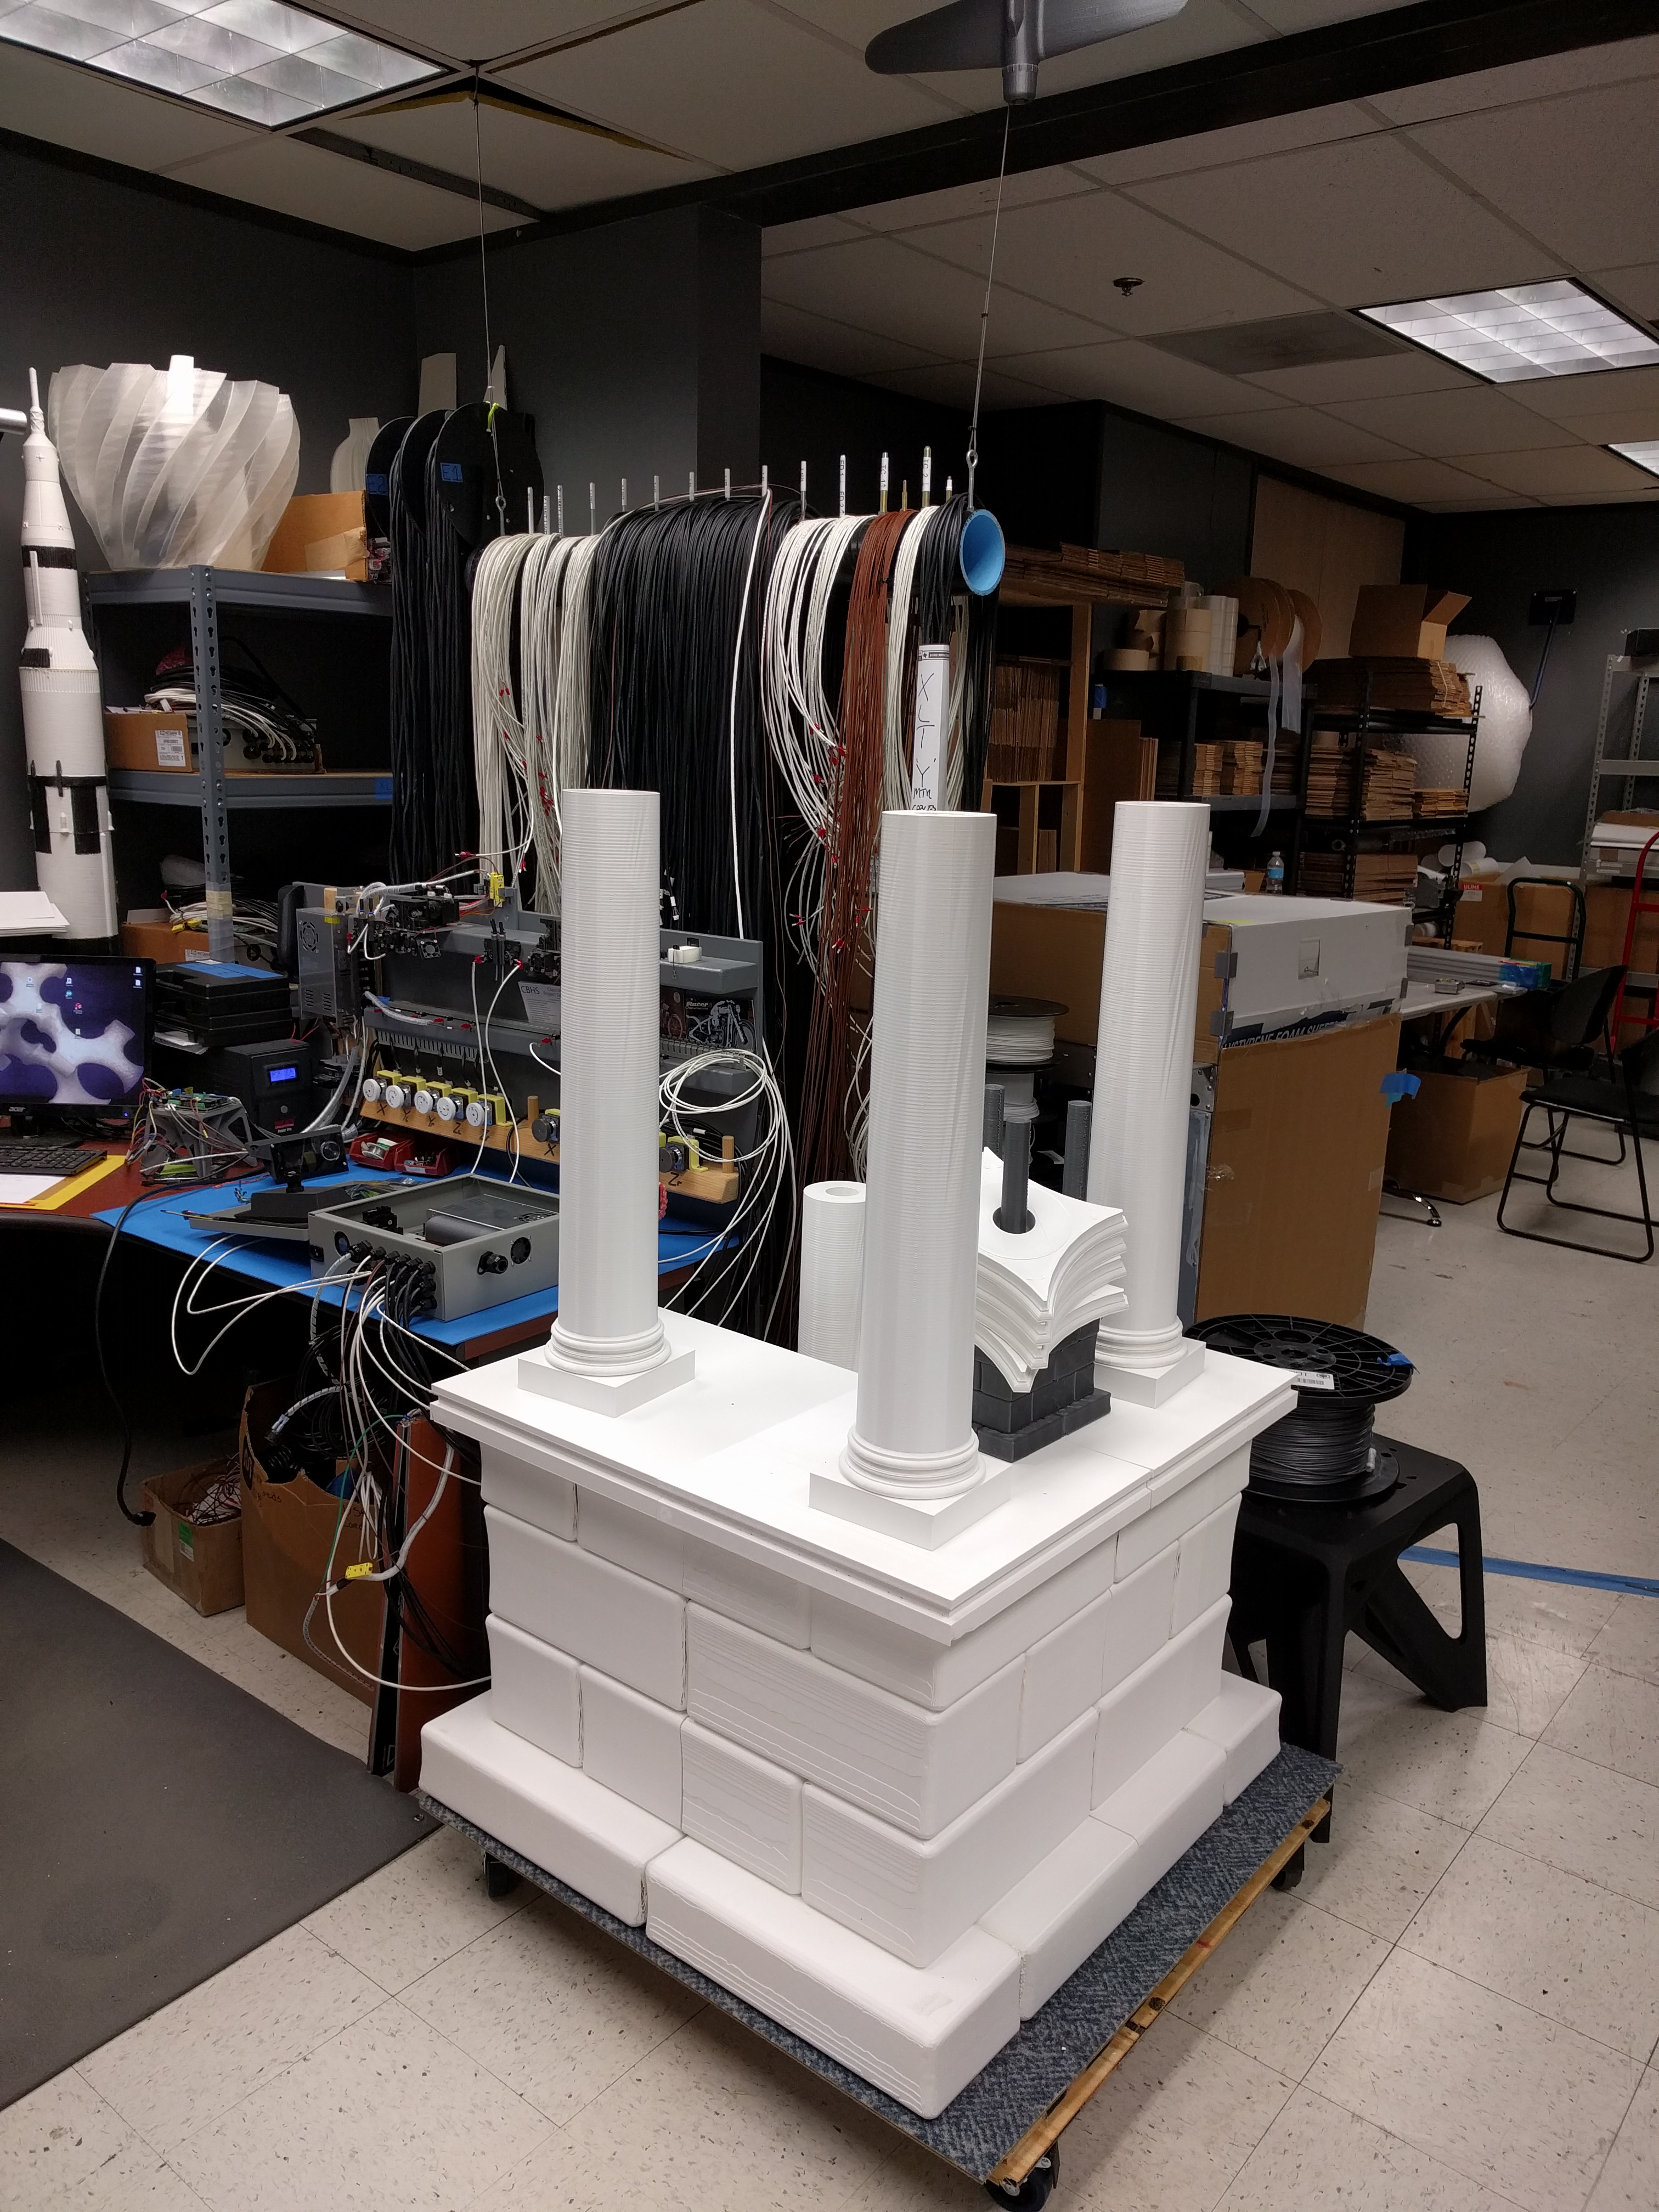
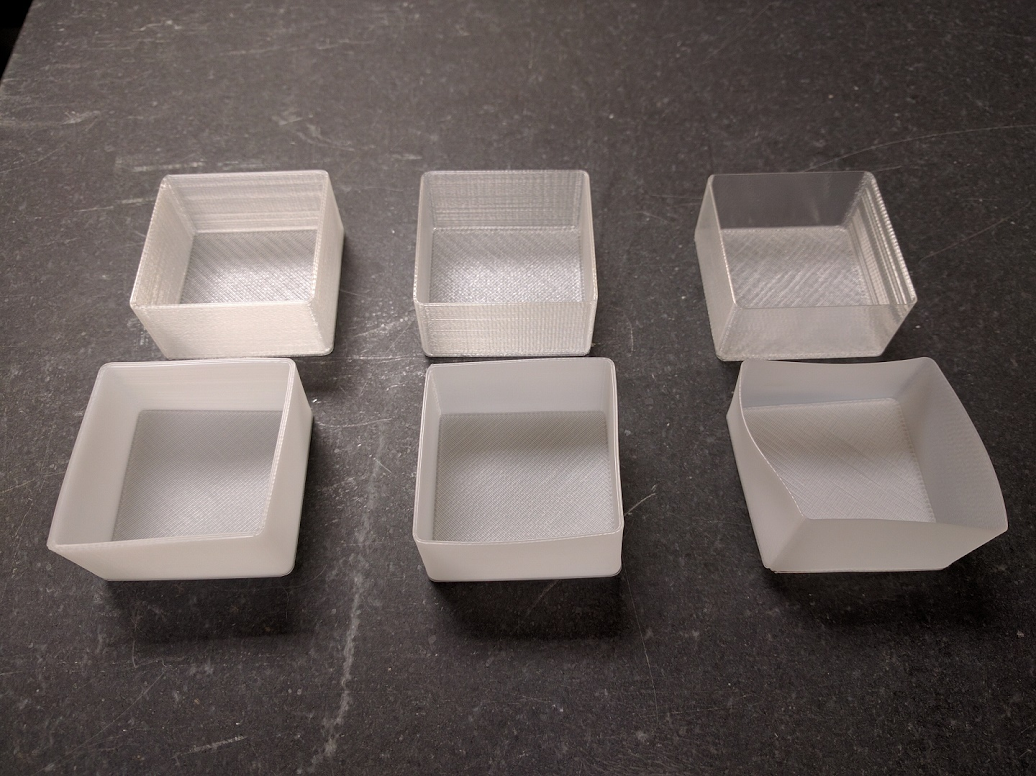
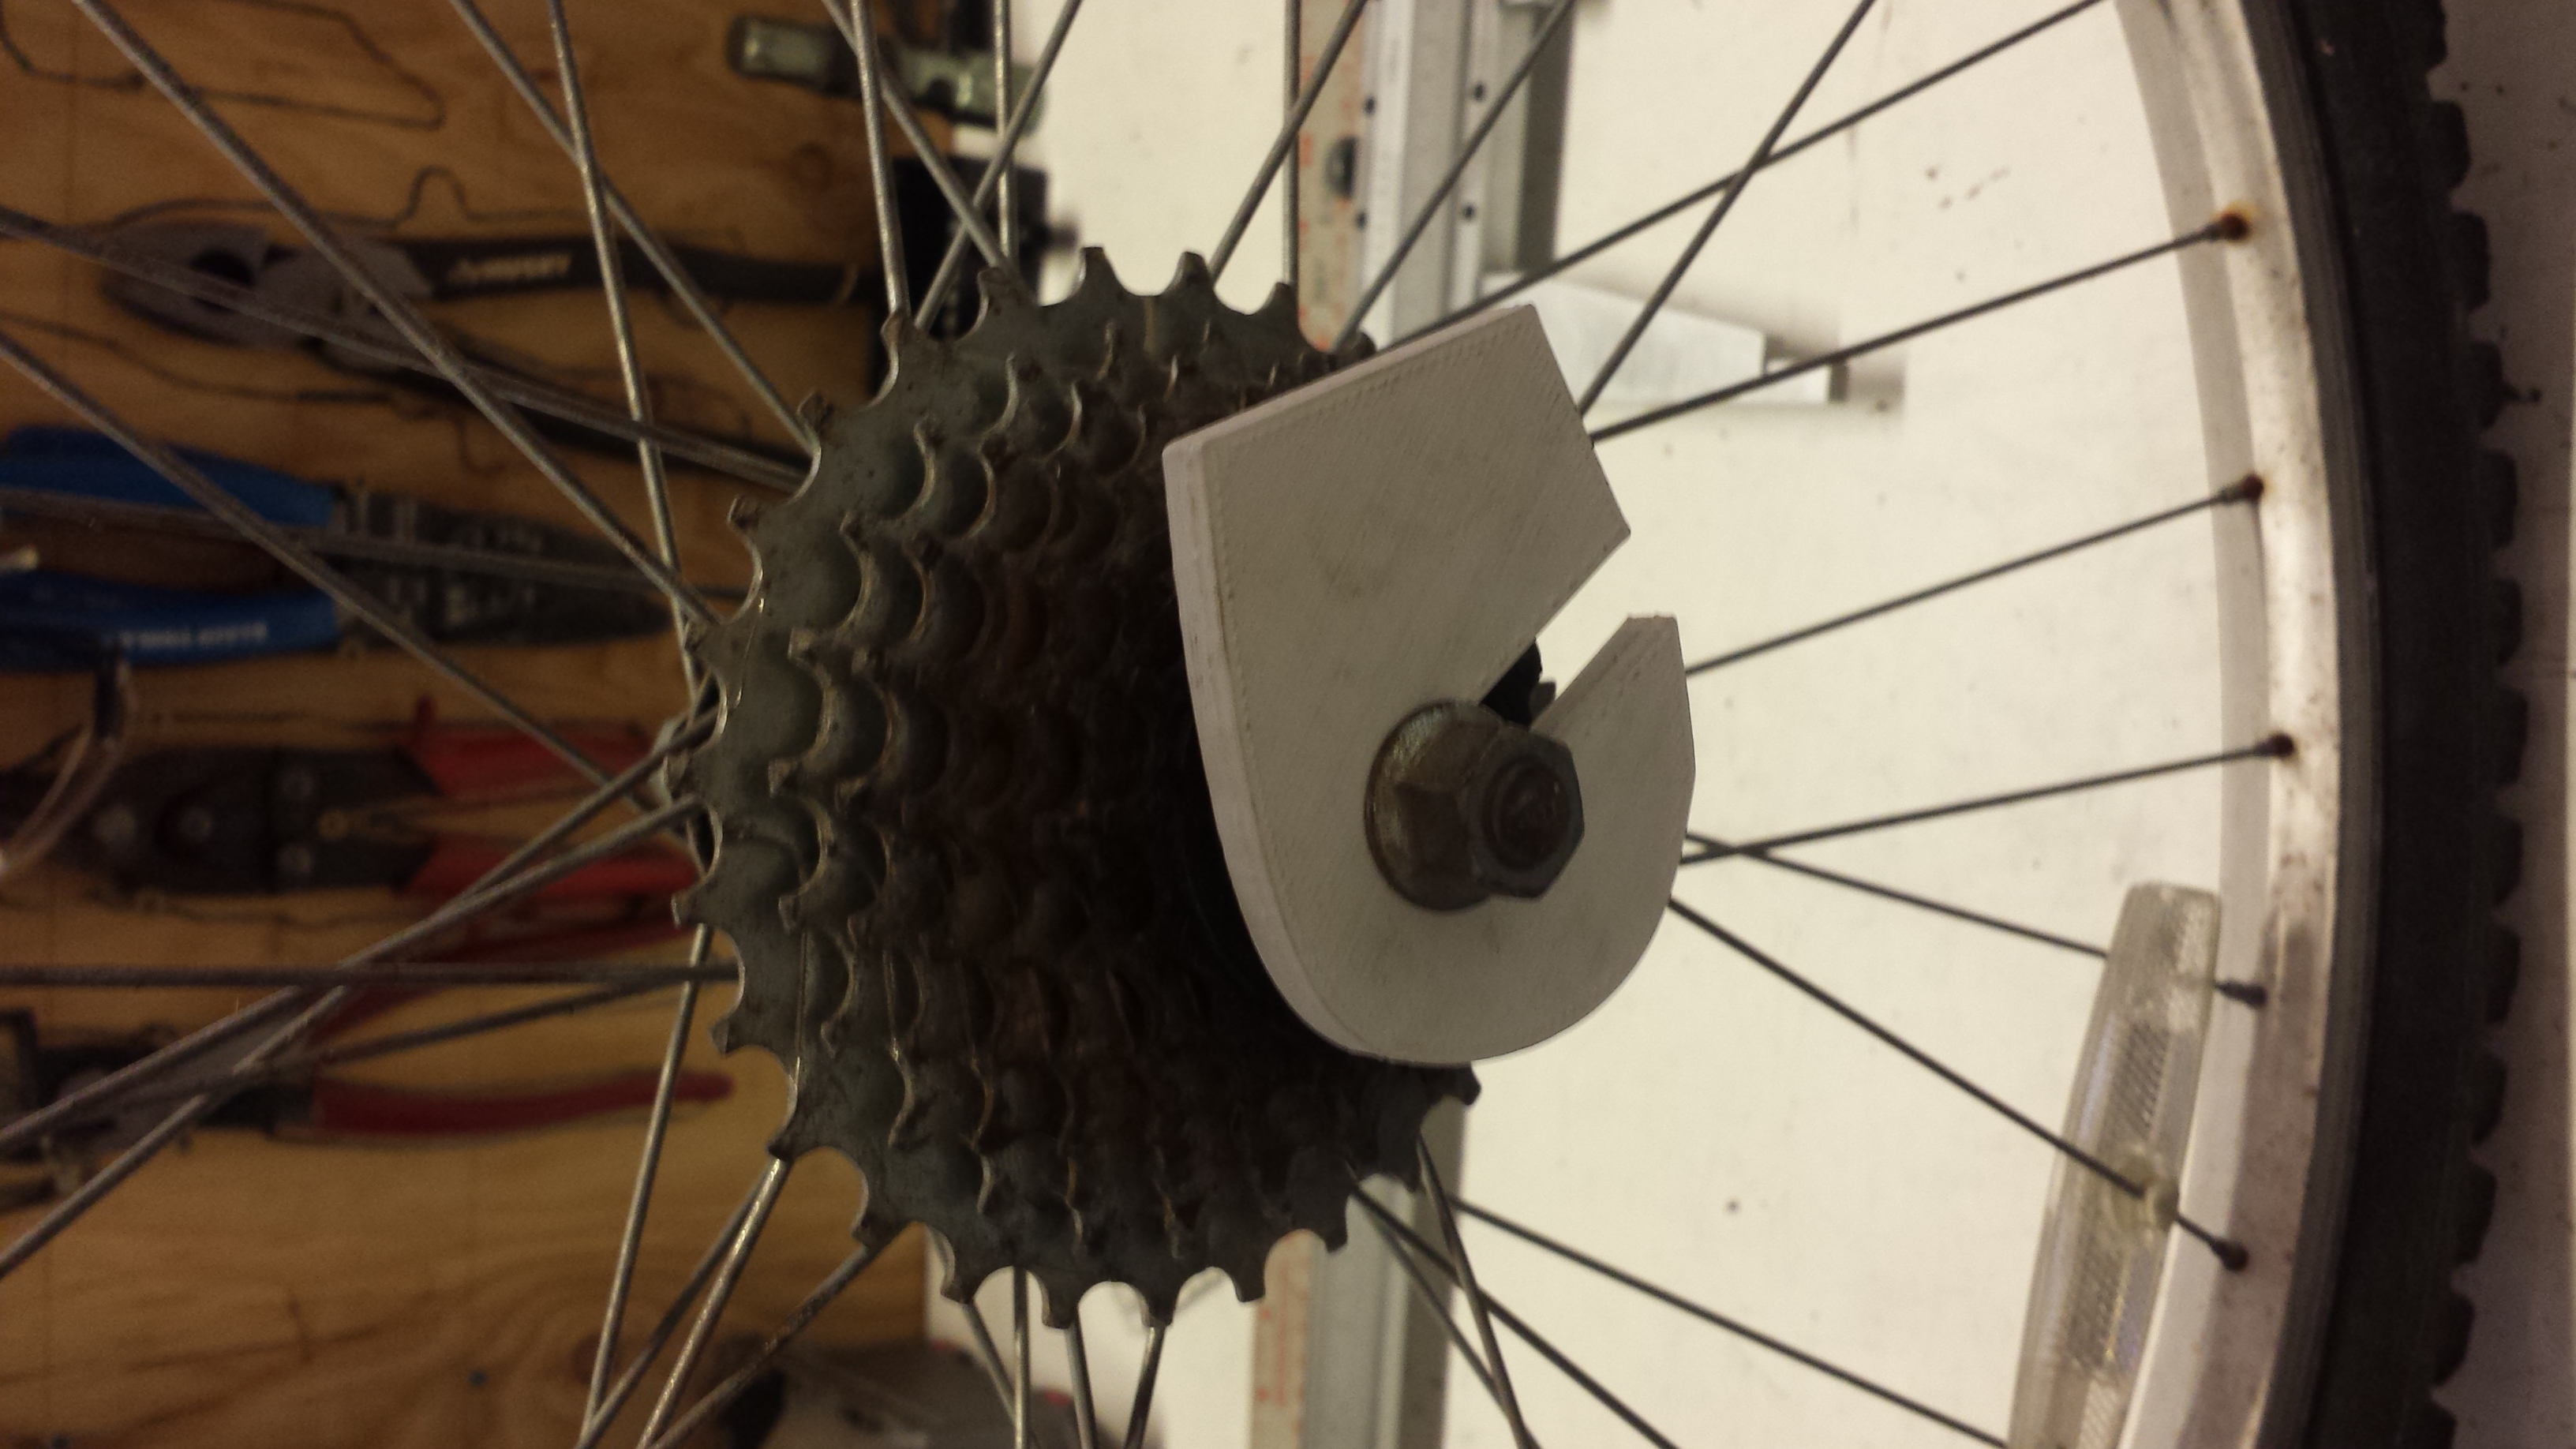
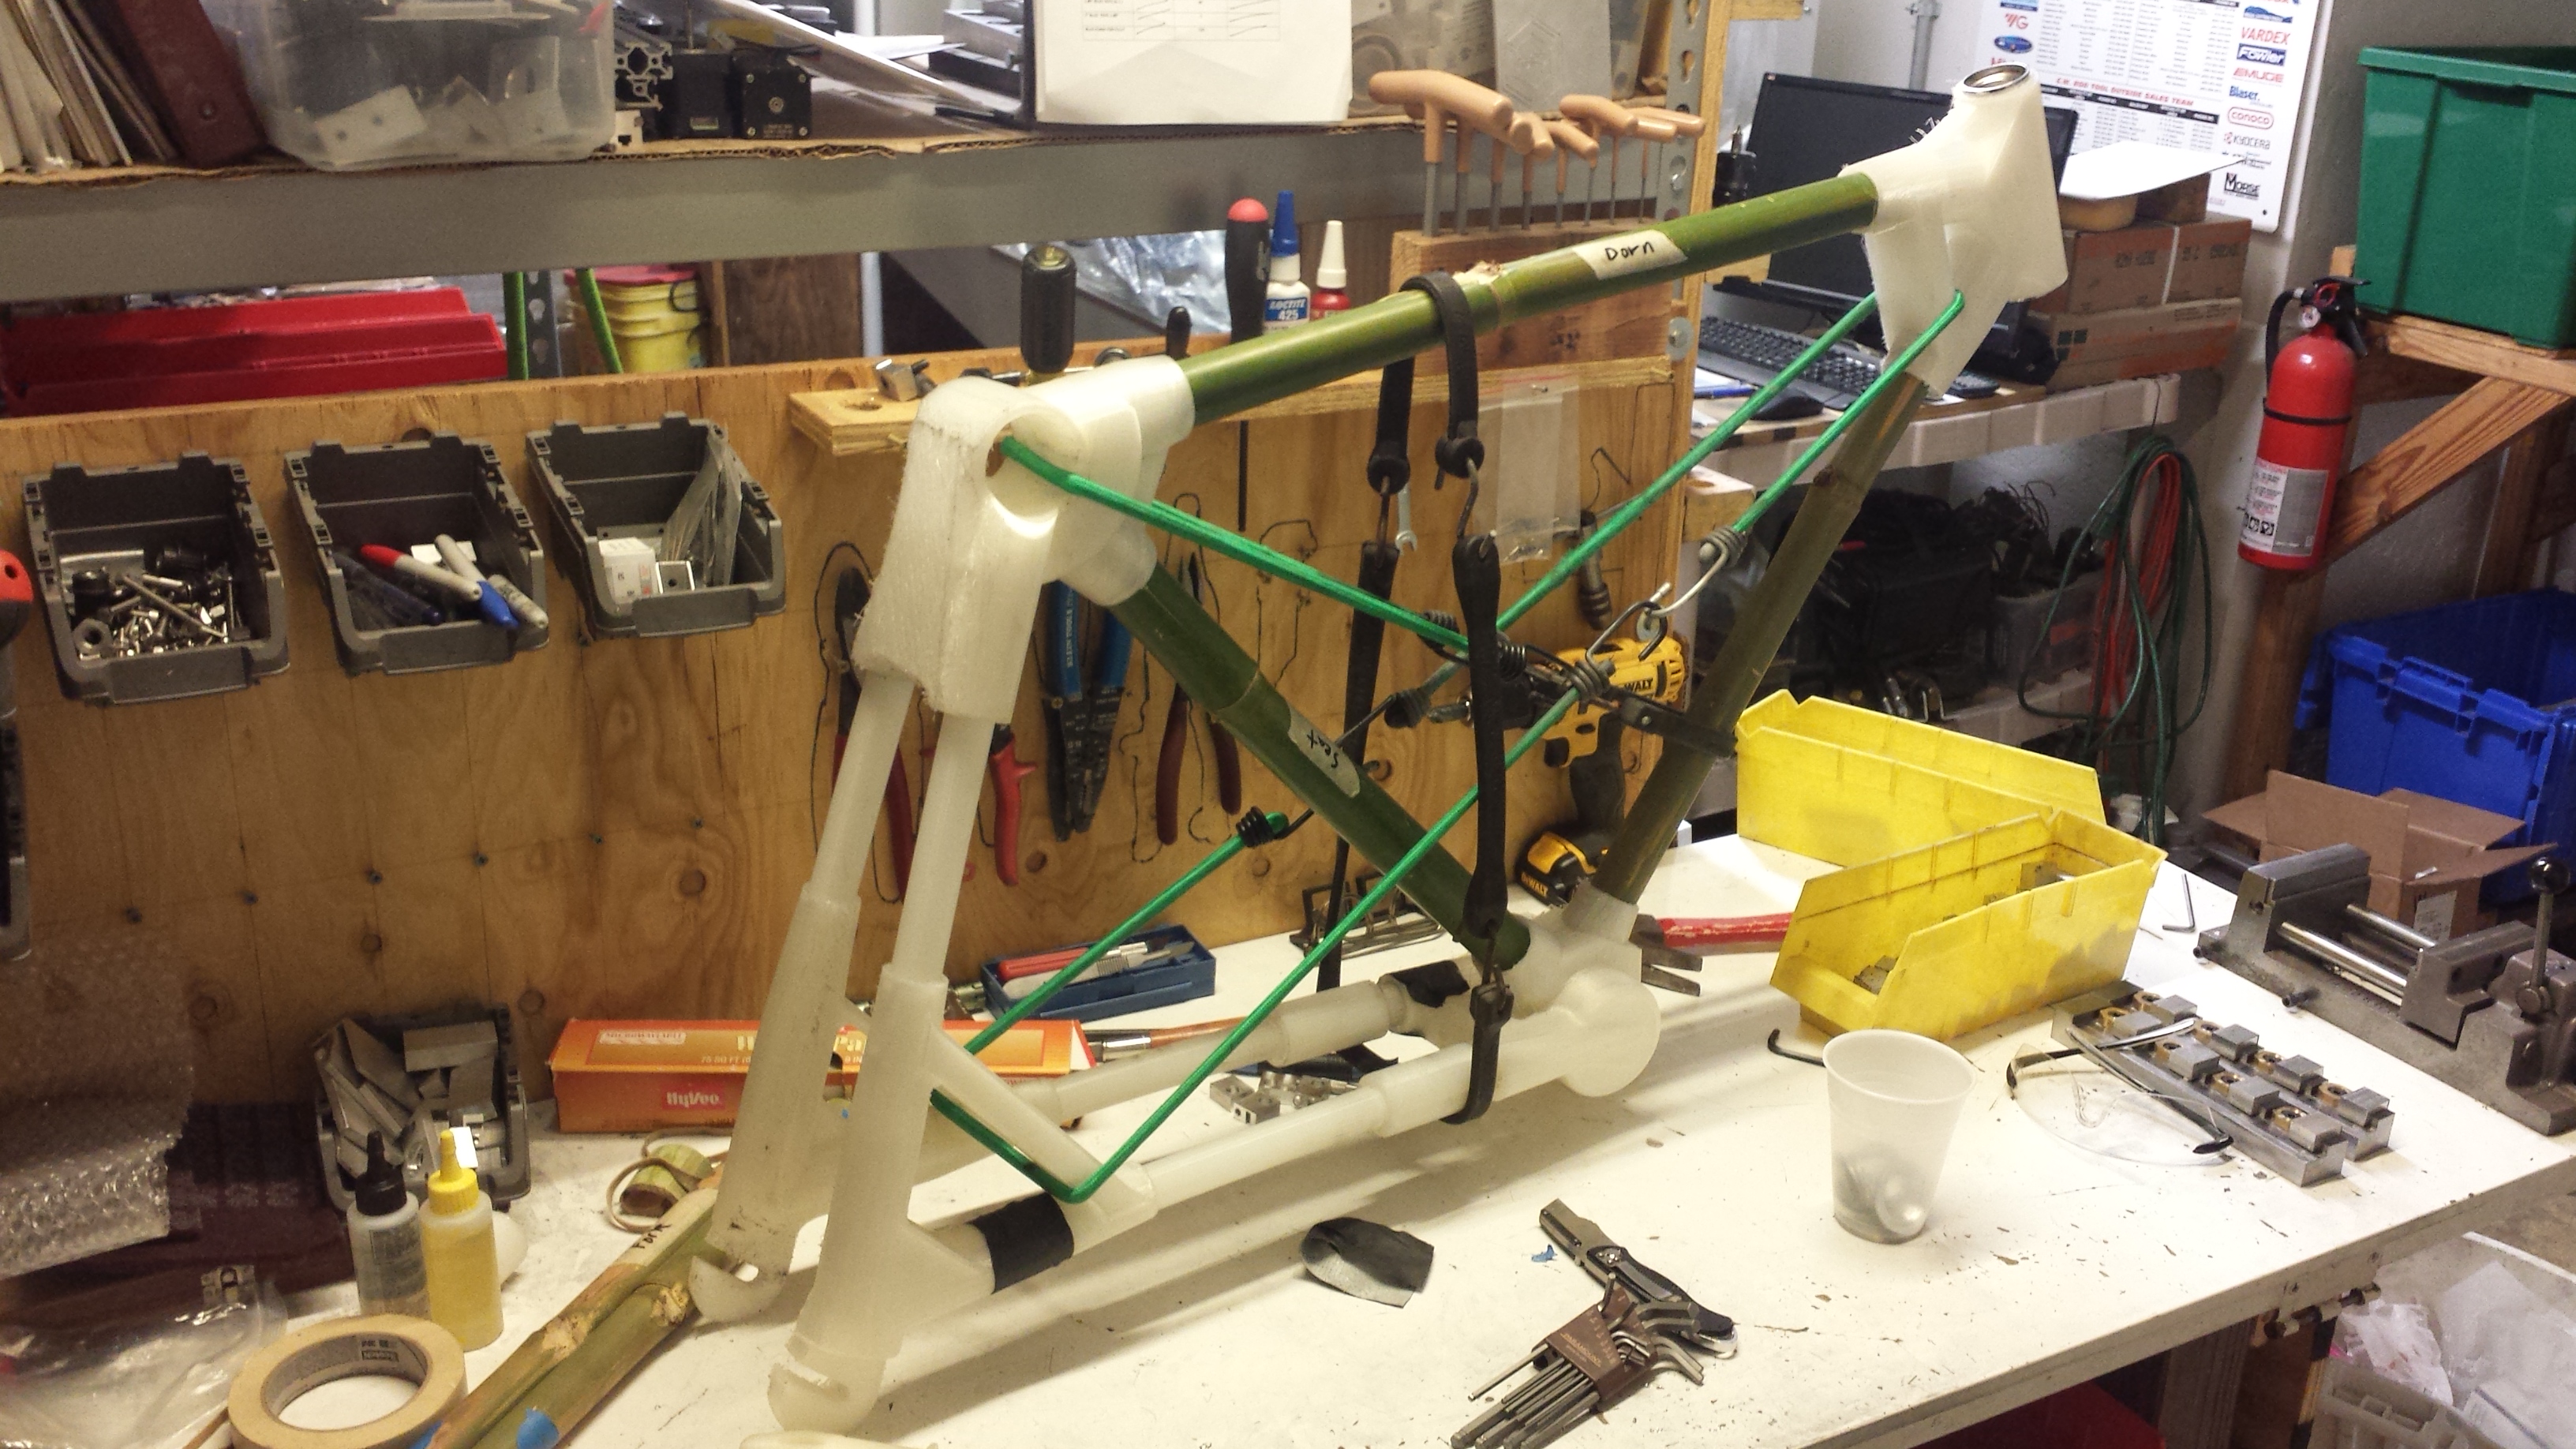
“We show several videos on our YouTube channel how well it works as support and raft material (like this video). In pellet form, we use PETG with Gigabot X to produce skateboards, decorative interior design pieces and a basket for coffee pickers in Puerto Rico. (You can watch Gigabot X 3D printing a vase with PETG here.)”

What are some of your favorite prints or examples of 3D printing with PETG?

“My two favorite are Gigabot X produced interior design vase because of the stunning visual and light qualities of PETG and the coffee harvest basket for the coffee farm in Puerto Rico.” 

Any additional context or pre-emptive answers to questions people may ask about materials?

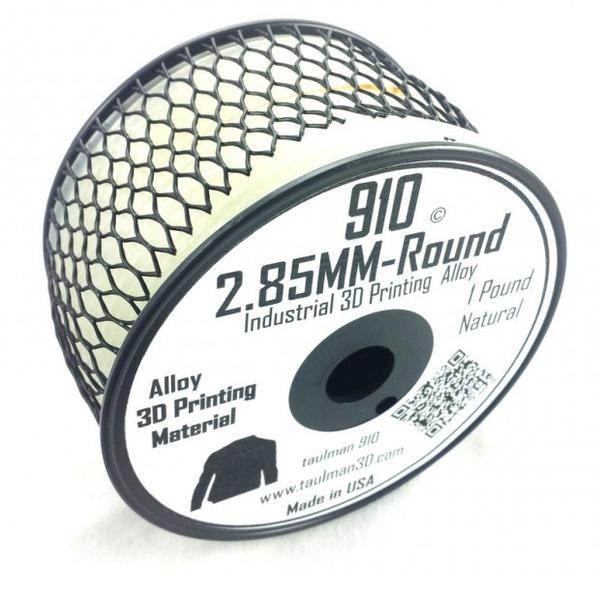
“You can purchase 5lb and 15lb spools of PETG in our online store. You can print PETG on your Gigabot with a nozzle temp of 235C and bed temp of 60C. A thin coating of Elmer’s X-treme glue stick on the PRINTinZ surface will provide excellent adhesion. You can use the same print speed and layer heights as PLA. We have created a special Simplify3D profile for using PETG and PLA together. You can download it from Zendesk here.”

Have more questions for Matthew on 3D printing wit PETG? Tune into Meet with a 3D Printing Engineer next week via Facebook for a live session with him. Also, if you’re as excited as we are about 3D printing with PETG – watch videos on our YouTube and buy PETG online at shop.re3D.org!

PET 3D Printing Filament materials

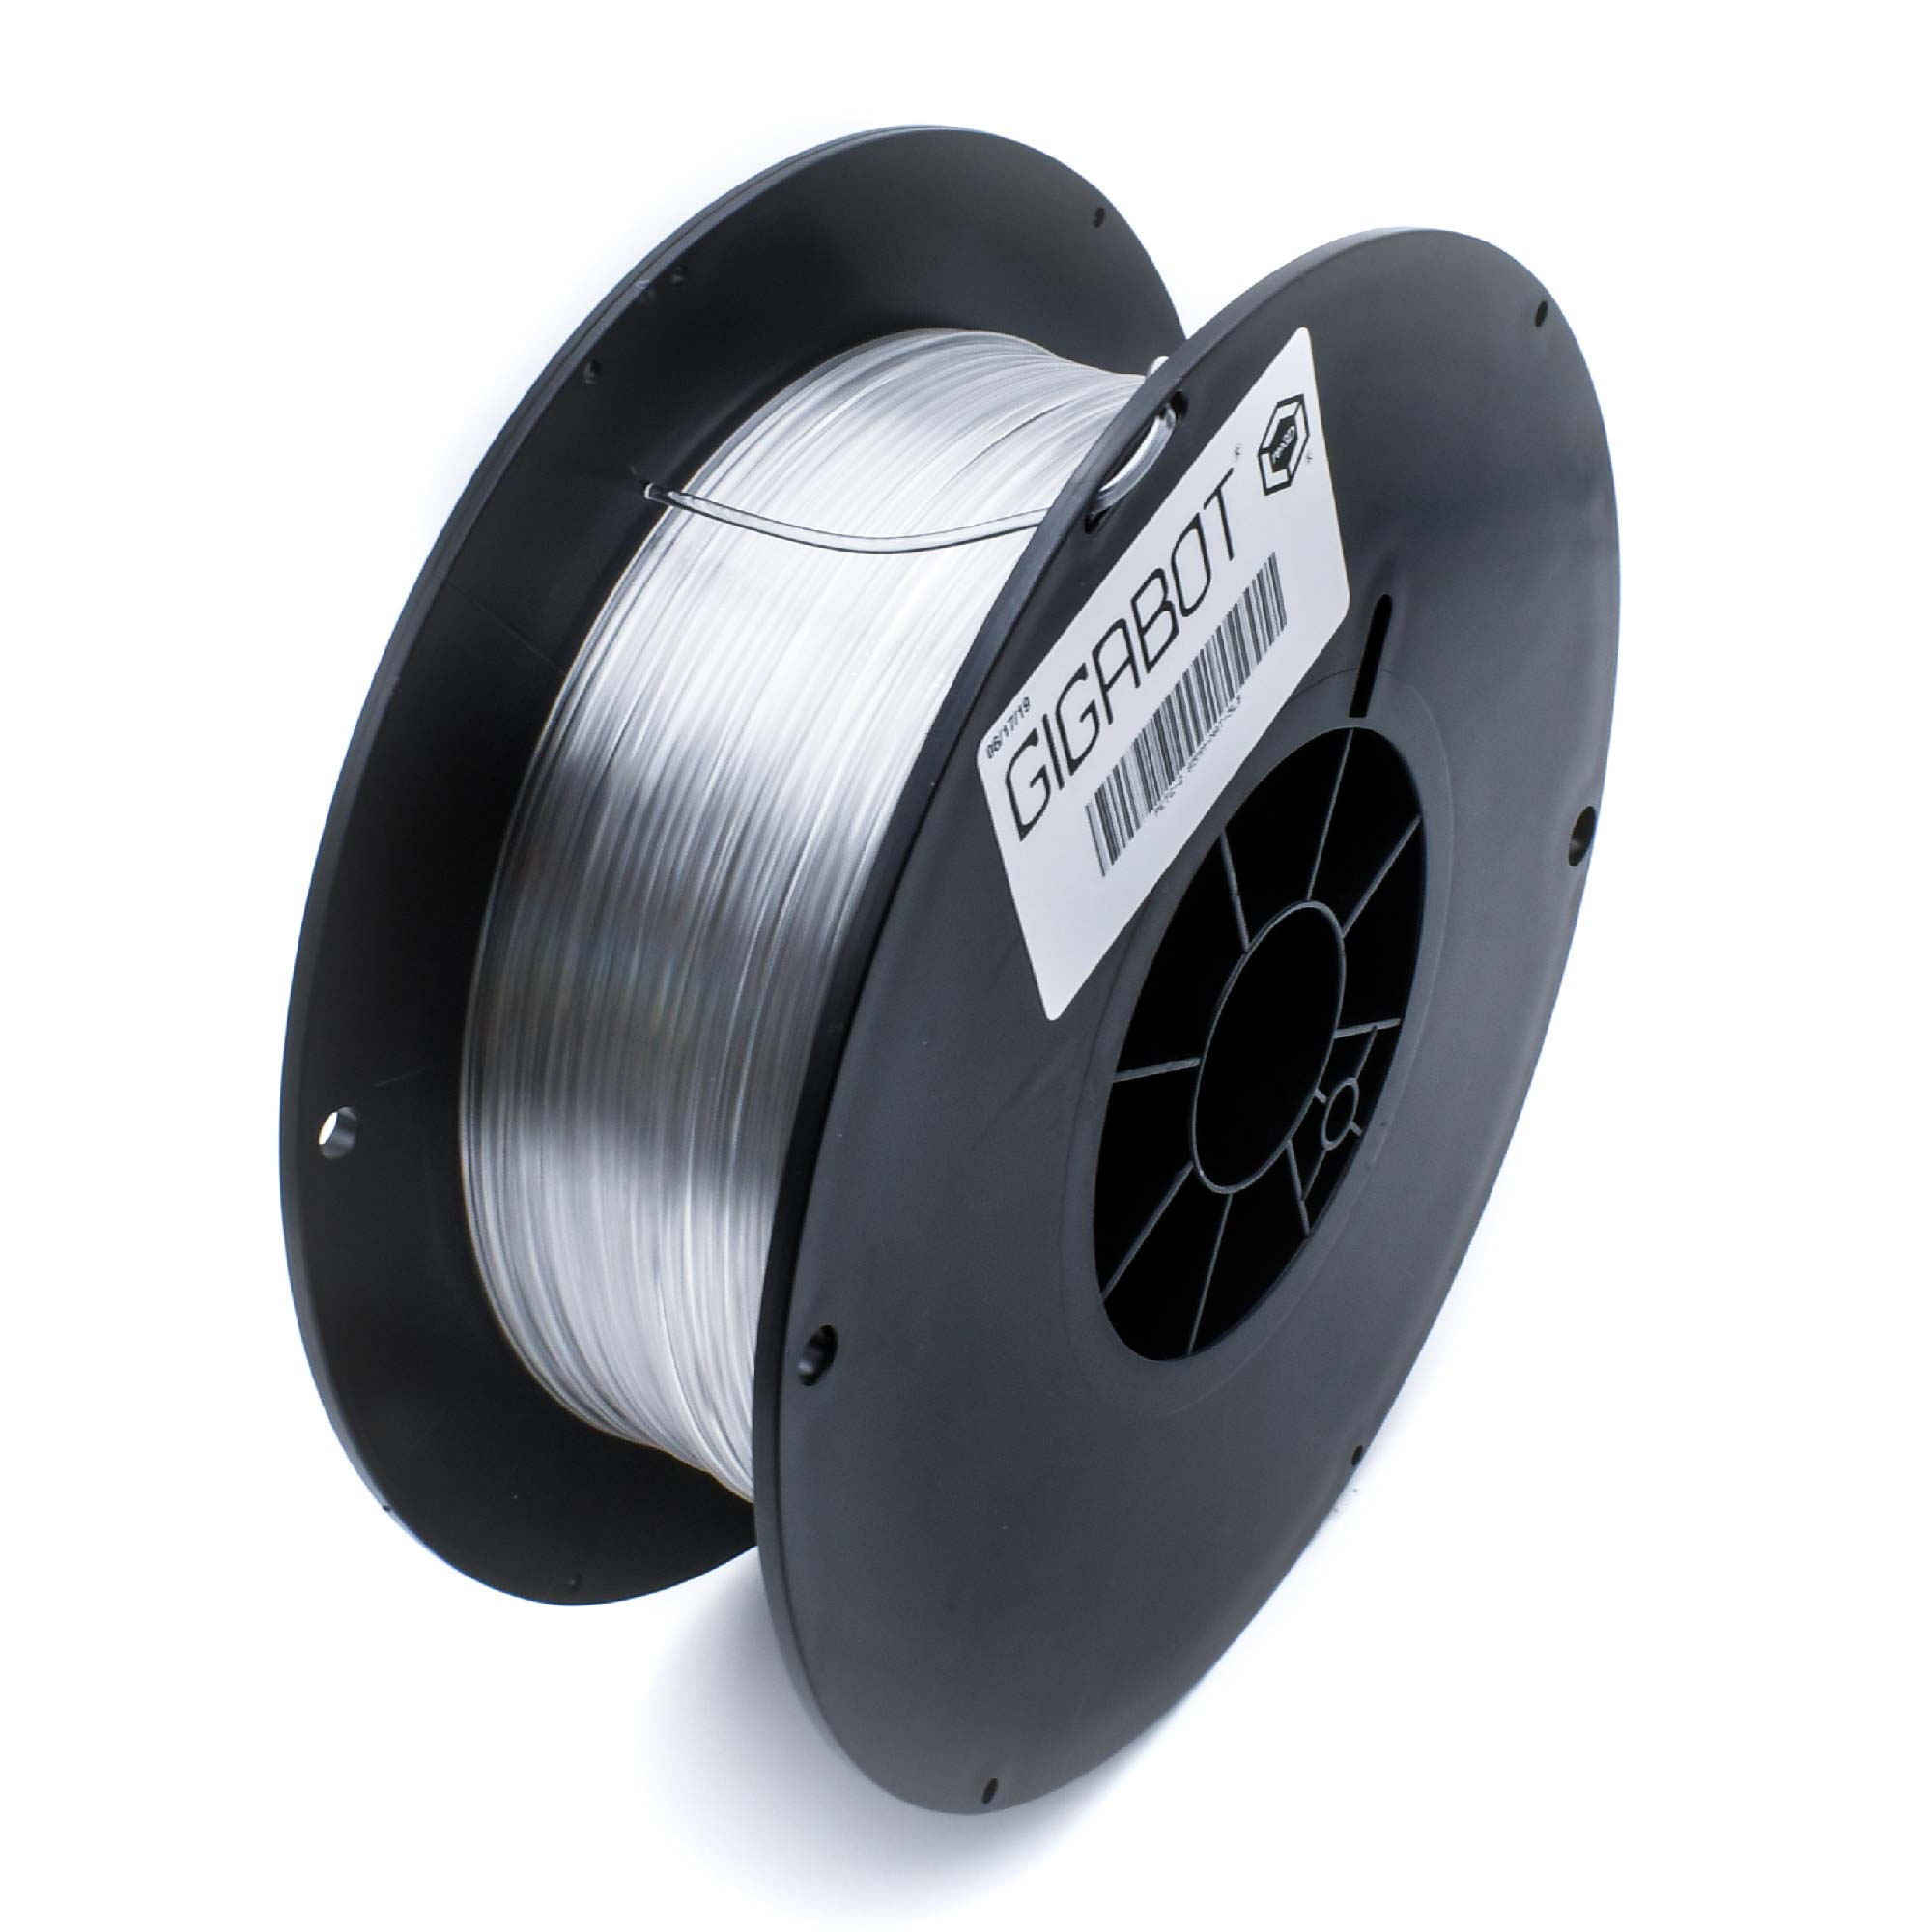
Buy PETG online at shop.re3D.org!

Cat George

Blog Post Author

From Rubble to Rebirth: #NEWPALMYRA

From Rubble to Rebirth

In addition to the tremendous human suffering and loss in Syria, there is another component to the war which has taken an entirely different toll on the country and its psyche: the destruction of its cultural heritage.

Part of ISIS’s path of destruction has been on the ancient cities’ architecture themselves – they are decimating not only the human population but also their history and culture.

The city of Palmyra is one such example.

Palmyra, a UNESCO World Heritage Site, was once a Silk Road oasis that stood as one of the best-preserved ruins of antiquity before it was targeted by the violent extremist group. UNESCO Director-General Irina Bokova referenced Palmyra as an example of ISIS seeking to “destroy both human lives and historical monuments in order to deprive the Syrian people of its past and its future.”

But from the destruction and rubble came a glimmer of good. This is where the story of #NEWPALMYRA begins.

Forward-thinking Bassel Khartabil, the Creative Commons Syria leader, open source software developer, educator, and free culture advocate, began 3D modeling the endangered ruins of Palmyra back in 2005. In 2012 he was unlawfully imprisoned by the Syrian government for his work, and in 2015 was sentenced to death by the Assad regime. His current whereabouts are unknown.

After his arrest, his friends, family, and community rallied around his vision to create #NEWPALMYRA, a non-profit organization with the goal of “freeing Syrian culture digitally, providing agency and advancement for the Syrian people through cultural heritage and digital preservation.”

Creative Commons – a non-profit “devoted to expanding the range of creative works available for others to build upon legally and to share” – hatched a plan to debut #NEWPALMYRA “in the flesh” at their 2017 Summit in Toronto.

And this is where re:3D joined the story.

When our team heard about the possibility of helping out on such a project, we jumped at the opportunity. Mike Battaglia, Usability Engineer and Community Support Manager at re:3D, explained, “I had read about the destruction of Palmyra and was very inspired by Bassel Khartabil’s efforts. Helping preserve this landmark cost him his freedom; when I heard re:3D was supporting the project with a large-scale print I was excited at the thought of us helping continue where he left off.”

The Pylon Printing Process

The piece that Creative Commons decided to bring to life for the Summit was the impressive Tetrapylon, one of four massive quad-column structures which mark the route of a road or central place in the city. These large structures were destroyed by ISIS in January of this year, as reported by The New York Times.

Creative Commons was looking for a machine capable of producing a version of one Tetrapylon which did testament to its immense real-life scale, which is how Gigabot entered the equation. We reconstructed a scaled-down Tetrapylon standing seven and a half feet tall and weighing in at over 200 pounds (90+ kg).

Using digital 3D models of the Tetrapylon provided by the #NEWPALMYRA team, Mike created printable files from the models. As he explained, “3D printing requires error-free ‘watertight’ models to create clean prints.” To accomplish this, he “ran the columns through several repair algorithms until they were good to go, redesigned the base to be better fit for 3D printing, and chopped up the model into smaller pieces that would fit [Gigabot’s] build volume.”

We broke the Tetrapylon into 25 separate pieces, clocking in around 800 hours of print time total. The biggest challenge for re:3D – as many of our bot owners can likely relate to – was working with this massive number of print hours. “The parts were so large that the print time estimates were through the roof,” said Jeric Bautista, Product Engineer at re:3D. Mike added, “This was the largest print that re:3D has taken on to date.”

As for the sheer size of the print, Mike remarked that, “The fact that we had to design in safety measures because of the weight of the object was new to me. If one of those columns were pushed out, whoever was standing next to it could have had a very bad day.” For safety purposes, Mike designed channels into the print to run rods down each column, locked into place with 4×4 wooden blocks.

Coupled with the challenge of the overall size of the object was the detail variation within the print. While some parts of the structure are large and uniform – like the columns – other parts are so fine to the point that dual extrusion printing was required. The print resolution throughout the Tetrapylon ranges between ultra-detailed 200 microns and very large layers of 600 microns.

Jeric explained, “The completion of this project hinged on our R&D efforts to enable high-flow printing on Gigabot that drastically reduced printing times, as well as reliable dual extrusion printing to create highly detailed parts.”

Steve Johnson, lead Machinist and Programmer at re:3D, was in charge of creating a new hot end for the job. He explained his task of manufacturing one with a “longer heating area that would allow us to extrude faster because of the size of the print and the short time frame we had to complete it in.” He designed and machined four hot ends to be used for the project.

The tackling and subsequent success of this challenge reverberated throughout our engineering team.

Gigabot owners will be happy to hear Jeric’s take on things. “I want to go bigger and faster,” he said. “Going back to R&D – we were able to multiply our material output 5-10x for this project, but of course we won’t stop there.” He added, “I’d like to see how our ‘big printing’ R&D initiatives will put us in an even better place to tackle projects at larger scales.”

Crossing these technical challenges was one aspect of what made this project so rewarding. “Not only did we jump over multiple technical hurdles to get the printing done, but it was awesome to see everything literally come together before our eyes,” Jeric said. “And that was just on the 3D printing side, which was the last piece of an already long-running initiative.”

Lasting Impact

The initiative was over a decade in the making and required the cooperation of many different parties, making the success even sweeter. Working in conjunction with #NEWPALMYRA and Creative Commons on this project was an incredible honor for us.

“My favorite part of this project was how collaborative it was,” Jeric commented. “It required folks contributing from so many different spheres to make it all come together at Creative Commons Global Summit.” He went on, “There’s also something to be said about the power of open information and distributed manufacturing to preserve history and culture.”

The final reveal in Toronto was a culmination of countless hours of work by multiple different parties – the print’s completion hinged on a truly collaborative effort.

“It was so moving to see the New Palmyra unveiling at CC Summit and seeing everyone’s reactions, knowing the weight of what the project meant to all of them,” said Jeric. “It really brought things full circle, and was a great example of what is possible with open source projects.”

Of his experience, Mike said, “I was honored to have the opportunity to contribute to this project! I think this is one of the first of hopefully many preservation efforts for other cultural landmarks.”

The #NEWPALMYRA undertaking sets the stage – and the bar – for similar projects. As Mike remarked, “Museums like the MET and Smithsonian have already recognized the value of preserving their own collections of cultural artifacts via 3D scanning and 3D printing. Now let’s continue the same in large-scale.”

One can’t help but see the impact this project will have on future cultural preservation efforts from both intended destruction and natural degradation over time.

“My hope is that cultural heritage sites are preserved with 3D scanning as quickly as possible,” said Mike. “Having a digital back-up may even help to deter ISIS’ demolition in the future, since the symbolic value is lessened once a backup exists. We can even preserve the feeling of being at these sites with VR, and I hope this happens as well.”

As Jeric put it – “Full scale New Palmyra exhibits, anyone?”

Morgan Hamel

Blog Post Author

Testing Fiberlogy HD PLA

Below are our notes that reflect our new open source filament testing. ASTM test samples are being created and in the upcoming months you can anticipate a summary on our website about our adventures in 3D printing material science. 
img_5763

MATERIAL TESTED: HD PLA

Manufacturer: Fiberlogy

Filament Diameter: 2.850 mm Normative, 2.851 Real Ave Diameter, +/- 0.02mm

Color Tested: Red

Date Tested: 11/15/2016

img_5773

OBSERVATIONS

Ease of use: Working with this filament was very enjoyable. It printed easily, was consistent and predictable. No breakage was noticed. The PLA appeared to be of a high quality.

Appearance: The filament displayed a pleasing red tone with an incredible sheen!

Size consistency: Awesome, less than 0.1mm within the roll, the filament measured 2.851mm

Color consistency: Great, consistent throughout the coil.

img_5766

SETTINGS

Print temperature: 200-220 C (suggested)/210C was used: nozzle / 60C : bed

Printer Used: Gigabot

Speed: 60 mm/s

Layer Height: 0.3mm

Infill: 15%

Type(s) of print surface used: PRINTnZ

List of test files printed: re:3D’s test files 1, 2, 3 and 4 (Logo, Vase, Moai and Benchy Torture Test).

img_5764

FINDINGS

Odor: None

Bed adhesion (1: terrible – 5: fabulous!)

  • 5- Great adhesion was achieved with no temperature manipulation.

Stringing (1: lots – 5: none!)

  • 5 –No stringing was observed with our settings.

Shrinkage (1: lots – 5: none!)

  • 5- The filament extruded and cooled with no shrinkage.

Interlayer adhesion (1: terrible – 5: fabulous!)

  • 5- Perfect!
img_5768

NOTES:

  • We were first contacted by the Fiberlogy team last fall, who offered to send us a spool of their filament to evaluate on Gigabot. We recognize that the community is fortunate to have several PLA vendors to select from, however as not all PLA is created equal, and were eager to vet a European supplier for our customers accross the pond. Fiberlogy HD PLA boasts that it is a high quality and dependable PLA that has the added benefit of increasing strength when annealed.
  • Seeing that we offer a limited color selection in our store that ships from North America, we are always eager to test additional PLA sources.
  • This material appears to yield consistent, quality prints.
  • Filament size consistency was excellent and no breakage was evident in the 1 kg roll we examined, suggesting it was well mixed.
  • The packaging and spool design was futuristic, intentional, and of high quality.
  • No curling was observed in any of the 4 prints created.
  • We used the mid point of the temperature range that the manufacture provided (200-220C). No guidance was given for settings aside from temperature, so we used the standard Simplify3D profile on wiki.re3d.org.
  • The unboxing experience was outstanding and highly professional.
    • A batch number was provided for traceability.
    • Manufacturer recommended settings were easily referenced on sticker located on the packaging.

RECCOMENDATIONS:

  • After printing the four objects in our protocol, I support Fiberology’s claims that they produce high quality PLA and would recommend it to our customers.
  • Upon review, we would also recommend that we include this filament in our ASTM test sample research.
  • Per the guidance on their website , I did attempt to anneal the PLA in my oven at home, however without empirical testing against similar objects printing in ABS, I can not testify to the strength claims Fiberlogy asserts for annealed HD PLA.

Want to chat?

Join our forum where we have initiated a thread about our experience at:

https://re3d.zendesk.com/hc/en-us/community/posts/255640066-Testing-Fiberology-HD-PLA

img_5765

~Happy Printing!

Samantha snabes

Blog Post Author

Material Testing & Heat Treating Natureworks PLA 3D850

The notes below reflect our new open-source filament testing protocol. After evaluating the printability of Coex PLA Prime/PLA 3D850 on Gigabot, I decided to experiment with a heat treatment process.  

Manufacturer:  Coex    

Filament Name:  PLA Prime

Color Tested:  Natural

Date Received: 6/10/2016

Date Tested: 6/16/2016

Ease of use:   Excellent

Appearance:  Clearer than regular PLA

Size consistency: Great

Color consistency: Great

Odor: None

Manufacturer’s recommendations

  • Speed: none given mm/s
  • Temperature: has a higher MFI so should be able to print slightly cooler than regular PLA C
  • Infill %: any
  • Layer Height: tested at 0.3175mm
  • Printer Used: GB # 004
  • Print temperature used: 200 C (nozzle) /55C (bed)
  • Speed used: 60 mm/s
  • Layer Height:0.3175 mm
  • Infill: 15%
  • Odor: none
  • Type(s) of print surface used: Print n Z

FINDINGS

Bed adhesion (1: terrible-5: fabulous!)

   5

Stringing (1: lots -5: none!)

   4

Shrinkage (1: lots-5: none!)

   4: None!

Interlayer adhesion (1: terrible-5: fabulous!)

   4: Perfect!

The technical datasheet for the pellets that the filament is derived from can be found here.

I suspect that most, if not all the temperature resistant PLA uses the 3D850 as its base. There is very little information out there for recommended heat treat methods.

Here are a couple pictures from a recent experiment I did with Natureworks PLA 3D850 that claims increased crystallization with heat treat. I used a wall oven to heat treat the parts at 200F but please note that I did not verify with a second thermometer.

The three parts on the top row are not heat treated and the three on the bottom row are heat treated at 200F for 15 minutes. I placed the parts into a cold oven and let the oven heat to temp and maintained temp for 15 minutes then removed the parts to air cool. The color change and warping happened while the parts were in the oven not after they were removed.The top two parts were made with one perimeter (0.48mm width). The center two are two perimeters and the bottom two have three perimeters. Interestingly enough the part with two perimeters warped the least. I also heat treated a couple objects with more structural integrity and found little to no warping (small 5″ Moai statue and the re3D logo placard).

I think the next steps are to control the rate of heating to see if the amount of warping can be reduced. Would love to hear other’s experience with heat treating the PLA 3D850.

Further information about annealing PLA is here: http://www.4spepro.org/view.php?article=005392-2014-03-28
 
Quesions or Comments?
  • Share your thoughts on the materials section of our forum:
    • https://re3d.zendesk.com/hc/en-us/community/posts/206087383-Natureworks-3D850
 
Happy Printing!

Matthew Fiedler

Blog Post Author

Making a 3D Printed Bicycle Prototype

Last summer, Patrick Fiedler developed a 3D printed bicycle prototype for his summer internship.  In his own words, he describes his design process:

Have you ever wondered how 3D printing, renewable resources, and transportation all fit together? Although there many possible combinations, one instance is the 3D printed bicycle project that I worked on last summer. I had the wonderful opportunity to intern at re:3D in Houston, Texas and got the chance to work on this awesome project with the intention of answering this question: Is it possible to 3D print a working bicycle? I set out to do just that. With the large format possibilities of the Gigabot and wide range of filaments compatible with the Gigabot’s re3D hot end, I had the means to get started answering this question. The following is a brief review of my project that I wanted to share with the 3D printing community.

First, I deconstructed a MGX bicycle I found laying around. I analyzed its components and assembly mechanics thoroughly. I had to decide what could possibly be replaced with customized 3D printed components. The most likely option was the frame. With the customizability that comes with any 3D printed piece, I could easily use the modular nature of bicycle parts to attach them to my frame and roll from there (hopefully literally).

I set out to choose a good filament for frame construction. Thankfully, I had already been making ASTM tensile test samples for research re:3D was doing with Dr. Scott Fish at the University of Texas at Austin. Some of the most common filaments: ABS and PET tend to be brittle so it would not be ideal for a bicycle that experiences many dynamic forces and needs the ductility to flex as well as strength. I settled on Taulman 910 filament which combined the durability/elongation of nylon and the strength of co-polymers.

I printed a couple tubes with Taulman’s 645 Nylon filament which seemed pretty strong and had the ability to bend by hand without cracking. However, I realized that a 3D printed tube is much more expensive than metal, and there might be a better material to do the job. I need look no further than outside my bedroom window where a grove of bamboo plants grew flourishing in the humid hot Houston summer. Bamboo grows so fast and is so strong that it would make a perfect renewable tube for the bicycle. I set to work chopping down some plants and then trying various forms of heat treatment from a blow torch, to the oven. A few burnt ends and one smoky kitchen later, I had (somewhat) dry tubes to work with. For those intending to work with bamboo, I suggest either letting them air dry in a dry place out of the sun or at very low temps in an oven with no part of the bamboo touching the oven sides.

To connect these tubes, I used the Taulman 910 to create modular connector pieces. The pieces were custom printed with receiving holes for the diameter of the bamboo pieces I had cut earlier. The nice thing about 3D printing these parts is that you can conform to the exact geometry of your bicycle dimensions and the tubes you decide on using. Using the Simplify 3D program, I was able to examine my layers to make sure the path of my support structure would work out alright. The connector piece shown here is the bottom bracket where the pedal cranks, down tube, seat tube, and chainstays connect.

Interfacing with the rest of the components was the next challenge. The bicycle wheels clamped onto fork shaped dropouts which were easy enough to print. The real fun was going to be putting the crank arm bearings and the headset on. I decided to try a press fit approach for the crank bearings. The 910 was ductile enough to press those bearing right in there. Nothing to block rotation. In addition, I found out that you can machine 910 prints. The headset nuts have threads on the internal diameter that needed to thread onto the frame. I threw some of my 3D printed tubes on the lathe, turned them down, and added some threads. It worked much better than expected. Just remember to make your wall thickness large enough so that you don’t machine into the infill.

The bamboo tubes, the 3D printed tubes and connector pieces all slid together nicely with only a minor fit problem. I forgot support structure on one of my rear dropouts, thus I heated it in some hot water to make it malleable enough to bend back into the proper shape. Everything was adhered together with a two part epoxy and held in place by my bungee cord fixture.

The end product looks much like a real bicycle and may have had the chance to ride like one. A few technical problems kept this prototype from being fully functional. There was some interference along the chain path to prevent usage of some of the gears. Also, the 3D printed tube that runs through the headset above the front fork failed under the large moment that is created by the front fork acting as a lever arm. The rest of the frame, however, was very strong and was able to support weight.

At the end of my time in Houston, I was very surprised at how far the bicycle was able to come along thanks to the structural properties of the Taulman 910 as well as the large format printing capabilities of the Gigabot. If I were to do it again, I would use as much bamboo as possible so it could be renewable. I would also focus on how little plastic material would be needed to make strong connectors, possibly experimenting with more renewable filaments such as PET despite its limitations. Although it wasn’t completely functional, I am confident that yes, it is possible to create a working 3D printed bicycle. One aspect I did like about the modular design was its ability to conform to the exact dimensions needed. All that would be needed would be to change a couple of angles and bamboo tubes lengths, and you would have the geometry for any human rider. You could have a bicycle custom fit to you without needing to settle on a typical configuration. In addition, I liked how easy it was to put together. Anyone with a 3D printer, a bamboo conducive climate, and a nearby bicycle parts repository (like the Austin Yellow Bike Project) Keep your eyes open as I have seen others who are working on their own 3D printed bicycles as well.

All in all, this project was a large amount of fun and made for an amazing summer with the Gigabot 3D printer!

Happy Printing!

Patrick Fiedler

Blog Post Author

Want to continue the research? Apply for an internship at re3d.org/careers!

Testing MakeShaper PLA

Below are our notes that reflect our new open source filament testing. ASTM test samples are being created and in the upcoming months you can anticipate a summary on our website about our adventures in 3D printing material science. 

Material Tested: MakeShaper PLA

Manufacturer: MakeShaper PLA

Filament Diameter: 3.00 mm

Color Tested: Orange

Date Tested: 4/01/2016

OBSERVATIONS

Ease of use: Working with this filament was very enjoyable. It printed easily, was consistent and predictable. No breakage was noticed. The PLA appeared to be of a high quality.

Appearance: The filament exhibited a pleasing orange tone that even the greatest orange pantone haters on our team found appealing. A slight sheen presented when printed.

Size consistency: Awesome, less than 0.1mm within the roll, however the filament measured 2.87mm, not 3mm

Color consistency: Great, consistent throughout the coil.

SETTINGS

Print temperature: 190-215 C (suggested)/202C was used: nozzle / 60C : bed

Printer Used: Gigabot

Speed: 60 mm/s

Layer Height: 0.3mm

Infill: 15%

Type(s) of print surface used: PRINTnZ

List of test files printed: re:3D’s test files 1, 2, and 3 (logo, vase, and Benchy Torture Test). After April’s UX meeting, it was decided to also print a Moai as a 4th print.

You view watch a video summarizing our testing here:

FINDINGS

Odor: None

Bed adhesion (1: terrible – 5: fabulous!)

  • 5- Great adhesion was achieved with no temperature manipulation.

Stringing (1: lots – 5: none!)

  • 5 –No stringing was observed with our settings.

Shrinkage (1: lots – 5: none!)

  • 5- The filament extruded and cooled with no shrinkage.

Interlayer adhesion (1: terrible – 5: fabulous!)

  • 5- Perfect!
IMG_2556

NOTES:

  • The community is fortunate to have several PLA vendors to select from, however we’ve heard cautionary tales from many of our customers that all PLA is not created equal. MakeShaper PLA boasts that it is a high quality and dependable PLA.
  • Seeing that we offer a limited color selection in our store, we are always eager to test additional PLA sources in order refer customers to other reputable consumer retailers.
  • This material appears to yield consistent, quality prints.
  • Filament size consistency was excellent and no breakage was evident in the 1 kg roll we examined, suggesting it was well mixed.
  • No curling was observed in any of the 4 prints created.
  • We used the mid point of the temperature range that the manufacture provided (190-225C). No guidance was given for settings aside from temperature, so we used the standard Simplify3D profile on wiki.re3d.org.
  • The unboxing experience was well done and the recommendation sheet was professional.
    • A batch number was provided for traceability.
    • Manufacturer recommended settings were easily referenced on the enclosed documentation.

RECCOMENDATIONS:

  • After printing 4 objects in our protocol, I support MakeShaper’s claims that they produce high quality PLA and would recommend it to our customers.
  • Upon review, we would also recommend that we include this filament in our ASTM test sample research.
IMG_2553

Want to chat? Join our forum where we have initiated a thread about our experience!

https://re3d.zendesk.com/hc/en-us/community/posts/206511376-Testing-MakeShaper-PLA

~Happy Printing!

Samantha snabes

Blog Post Author

Filament Testing – Scorpion Flexible Nylon by Black Magic 3D

Below are our notes that respect our new open source filament testing. ASTM test samples are being created and in the upcoming months you can anticipate a summary on our website that reflects our adventures in 3D printing material science. 

Material Tested: Scorpion Flexible Nylon

Manufacturer: Black Magic 3D

Filament Diameter: – 2.85mm

Color Tested: Natural

Date Tested: 4/06/2016

IMG_2511

OBSERVATIONS

Ease of use: Those new to 3D printing may want to budget extra time when printing with Scorpion as it takes a little manipulation to perfect the temperature & retraction settings.

Appearance: The natural filament was clean and consistent. Prints matched filament color & opacity.

Size consistency: Awesome, less than 0.1mm within the roll.

Color consistency: Great, consistent throughout the coil.

IMG_2507

SETTINGS

Print temperature: 230-235 C (suggested): nozzle / 60C : bed

Printer Used: Gigabot

Speed: 50 mm/s

Layer Height: 0.3mm

Infill: 15%

Type(s) of print surface used: PRINTnZ with 3M Blue Painter’s Tape and 2 coats of Elmer’s Glue Stick

List of test files printed: re:3D’s test files 1, 2, and 3 (logo, vase, and Benchy Torture Test)

You view watch a video summarizing our testing below:

FINDINGS

Odor: None

Bed adhesion (1: terrible – 5: fabulous!)

  • 4- Great adhesion could be achieved, but required two coats of PVA glue stick, painter’s tape, and the highest heat setting suggested for the bed and nozzle.

Stringing (1: lots – 5: none!)

  • 4 -Stringing was observed across lettering, however doubling the retraction settings eliminated the problem.

Shrinkage (1: lots – 5: none!)

  • 4- Some curling was observed on corners of logo after removal. It is suggested that the print be allowed to cool down on the bed before taking it off.

Interlayer adhesion (1: terrible – 5: fabulous!)

  • 5- Perfect!
IMG_2508

NOTES:

  • A flexible nylon offers a lot of possibility to the 3D printing community
    • This filament appears to overcome concerns that both flexible and nylon materials are difficult to use.
    • With the right settings and adhesion hygiene, this material appears to yield consistent, quality prints.
  • NOTE: this filament required 2 coats of Elmer glue stick on Blue Painter’s tape applied over a heated bed, using the max range of bed and nozzle heat settings
  • Filament size consistency was excellent.
  • Curling was observed with only 1 coat of glue stick and was also seen after print removal when the bed was still warm.
    • It is recommended that the bed be allowed to cool before removal to mitigate curling after print completion.
  • The best testing outcomes were observed at the highest temperatures settings (235C -nozzle, 60C- bed) and using the speed (50mm/s) that the manufacture provided. No guidance was given for retraction, which we found we needed to double or standard setting in order to eliminate stringing across lettering.
  • The unboxing experience was well done and the recommendation sheet was very useful. 
    • No date stamp for production was listed, however a batch number was provided for traceability.
    • Manufacturer recommended settings were easily referenced on the enclosed documentation.
IMG_2510

RECCOMENDATIONS:

  • This filament is extremely impressive and more than exceeded expectations due to past expereinces working with nylons and flexible materials.
  • Upon review, we would highly recommend that larger, more complex prints be created to further investigate the potential this exotic, and much needed material provides.
IMG_2368

Want to chat? Join our forum where we have initiated a thread about our experience!

https://re3d.zendesk.com/hc/en-us/community/posts/206375086-Testing-Scorpion-Flexible-Nylon-on-Gigabot

~Happy Printing!

Samantha snabes

Blog Post Author

Filament Testing – 3D Fuel Advanced PLA

Below are our notes that respect our new open source filament testing. ASTM test samples are being created and in the upcoming months you can anticipate a summary on our website that reflects our adventures in 3D printing material science. 

Material Tested: 3D FUEL/APLA

Manufacturer: 3D Fuel

Filament Diameter: – 2.85mm

Color Tested: Bright green

Date Tested: 2/29/2016

IMG_2143

OBSERVATIONS

Ease of use:  Extremely printable with excellent adhesion.

Appearance:  The green filament was vibrant with a smooth texture. Prints yielded a slightly “shiny” surface.

Size consistency:  Average, within .1mm within roll.

Color consistency: Great, consistent throughout roll.

IMG_2140

SETTINGS

Print temperature: 210 C (nozzle) / 55C (bed)

Printer Used: Gigabot

Speed: 45 mm/s

Layer Height: 0.3mm

Infill: 30%

Type(s) of print surface used: PRINTnZ

List of test files printed: re:3D’s test files 1, 2, and 3 (logo, vase, airplane gear piece)

 You can watch a video  summarizing our testing:

FINDINGS

Odor: None

Bed adhesion (1: terrible – 5: fabulous!)

  • 5 (only the settings listed above were tested, but the manufacturer’s recommendations seemed to be accurate)

Stringing (1: lots -5: none!)

  • 5 – None!

Shrinkage (1:lots-5: none!)

  • 5-None!

Interlayer adhesion (1:terrible-5:fabulous!)

  • 5- Perfect!
IMG_2154

NOTES:

  • The promise of a more heat resistant PLA is super enticing to the 3D printing community.
    • After testing, the landing gear was exposed to high temperature heat via a hair dryer and showed little warping.
      • Further controlled testing would need to be implemented to investigate this claim, but it does initially appear to be stronger and more heat resistant than traditional PLA.
  • NOTE: this filament was tested 4 months after receipt, however, for many users a 4 month shelf life is necessary.
    • Testing fresh filament is expected to yield similar or even better results.
  • Filament size consistency was about on par with most filament.
  • No delamination or curling was observed.
  • All testing was conducted at the midpoint of the temperature and speed range that the manufacture provided. It’s likely that the outcome would have been even better had the ranges had been explored in more detail.
  • The unboxing experience was well done and the recommendation sheet was highly professional.
  • We appreciated the Made in America reference, and date stamp of quality control on the box & insert.
  • Manufacturer recommended settings were easily referenced on the enclosed documentation.

RECCOMENDATIONS:

  • This filament is extremely impressive and more than exceeded it’s claims.
  • Upon review, we would highly recommend that this filament be submitted to ASTM testing by evaluating coupons at multiple temperature and infill settings.

Want to chat? Join our forum where we have initiated a thread about our experience!

https://re3d.zendesk.com/hc/en-us/community/posts/205198503-TESTING3D-FUEL-APLA

~Happy Printing!

Samantha snabes

Blog Post Author

Filament Testing: Printing with Algae!

Below are our notes that respect our new open source filament testing. ASTM test samples are being created and in the upcoming months you can anticipate a summary on our website that reflects our adventures in 3D printing material science. 

Material Tested: 3D Fuel/Algae-Fuel

Manufacturer: Algix3D

Diameter : – 2.86mm

Color Tested: Slightly green/brownish

Date Tested: 2/28/2016

IMG_2133

OBSERVATIONS

Ease of use: A little tricky due to the brittle nature of the filament, however, once you get started you are good to go!

Appearance: Aesthetic, reflects sustainability, “rough texture”, definitely not smooth!

Size consistency:  Average, within .1mm within roll.

Color consistency: Great, consistent throughout roll.

IMG_2134

SETTINGS

Print temperature: 175 C (nozzle) /55C (bed)

Printer Used: Gigabot

Speed: 30mm/s

Layer Height: 0.3mm

Infill: 35%

Odor: Earthy, smells like algae

Type(s) of print surface used: Print n Z

List of test files printed: re:3D’s test files 1, 2, and 3 (logo, vase, airplane gear piece)

 You can watch a video  summarizing our testing:

FINDINGS

Bed adhesion (1:terrible-5:fabulous!)

  • 4 (could have been optimized by adjusting cooling/ temperature)

Stringing (1: lots -5: none!)

  • 4 (could have been optimized by adjusting speed/ temperature)
    • Only noticed slight stringing in vase

Shrinkage (1:lots-5: none!)

  • 5-None!

interlayer adhesion (1:terrible-5:fabulous!)

  • 5- Perfect!
IMG_2155

NOTES:

  • A renewable filament that reduces the environmental footprint of production is highly appealing to the 3D printing community.
  • The biggest limitation is the brittle nature of the filament, making initial setup a little tricky. NOTE: this filament was tested 4 months after receipt, however, for many users a 4 month shelf life is ideal.
  • Filament size consistency was about on par with most filament.
  • Little delamination and no curling was observed.
  • All testing was conducted at the lowest temperature and speed range that the manufacture provided. It’s likely that the outcome would have been even better had the mid to high range temperature ranges had been explored.
  • The unboxing experience was well done and the recommendation sheet was professional.
  • We appreciated the made in America reference, and date stamp of quality control on the box and insert.
  • Manufacturer recommended settings were easily referenced on the enclosed insert

RECCOMENDATIONS:

Not all users may appreciate the aroma, however if you are looking for a more sustainable 3D printing alternative and doesn’t require a smooth surface, this materials may be for you!

Want to chat? Join our forum where we have initiated a thread about our experience!

https://re3d.zendesk.com/hc/en-us/community/posts/206091996-TESTING-3D-FUEL-ALGAE-FUEL

~Happy Printing!

Samantha snabes

Blog Post Author

Materials Testing: PLA++, PLA, & n-vent

With some new filament in the office, I took the opportunity on a recent visit to Houston to do some materials testing, also known as breaking things, which happens to be my specialty.

My main goal was to test out a new filament called PLA++ by Breathe-3DP and compare it to the regular PLA we use. As they describe it, the second “+” is for functionality – where normal PLA snaps, their PLA++ stays strong. I wanted to see that for myself.

To spice things up a bit, I threw some n-vent into the mix, which ended up adding a nice third dimension to the spectrum of strength we saw.

I printed out a handful of the ASTM Tensile Test Specimen, dubbed the “dogbone” in the office, and got to breaking things. The PLA++ was first on the chopping block.

You can see in the video that I’m able to get the dogbone flexed into a nice St. Louis Gateway Arch shape – it had a good amount of give to it. I could feel the material bend under my fingers; in the video you see the edges in the center start to turn a slight white color as the print flexes. Only once I move my thumbs to the outside of each end and force the two together does the center finally give.

Even once it does finally break, only the top of the print has actually split – the bottom is still attached. It takes me ripping the two apart to separate the two halves. You can see in the video how much the print has curved due to my bending it, and it retains that bend even after it is broken.

The flexible nature of the PLA++ becomes more apparent when compared to the standard PLA test. PLA, our choice filament around the office, is known for its ease of printing, but also its brittleness.

I’m able to flex the PLA dogbone a fair amount – further than I expected, but not as far as the PLA++ – but its reaction to this flexion is explosive and violent. You can see pieces rocket off once the print reaches its breaking point, loud enough to make one of our engineers in the room jump and whip around to see what new trouble I was getting myself into.

Last up was the wild card, Taulman’s n-vent. What seemed promising to me was its ease of printing yet also its toughness and resistance to high temperatures.

The n-vent wouldn’t quit. I bent it one way, then the other way, then back the first way, flexing it beyond where the PLA++ made it. When it finally gives up the fight, it’s a slow, unceremonious break. With the outer edge finally split, I’m able to flex the two ends until they touch, and even then the dogbone wouldn’t break in two.

You may notice a hand model swap at different points throughout the video – our lead engineer jumped in for a piece of the action – and the n-vent put up just as much of a fight for him. He bent the two halves back and forth several times before forcefully ripping them apart.

In the close-ups at the end of the video you can see the stringy infill of the n-vent print, the internal structure which kept the two ends hanging onto each other so well. In contrast, the standard black PLA shows a clean break – unsurprisingly – after the gunshot-like force by which it broke. The PLA++ shows an edge somewhere between the two – not stringy like the n-vent, but with a rougher edge than the standard PLA, due to the slower, bendy break it experienced.

In the end, the n-vent won out in overall toughness, with the PLA++ a close runner-up; though the PLA++ has a leg up in the “ease of printing” category. The standard PLA continues to be a favorite around the office and strong recommendation from our engineers to our users due to the fact that it prints so well and easily. For design and prototyping it does the trick – it’s only once you venture into working prototypes that require some strength or temperature resistance that you may run into issues with it.

In conclusion, each filament has different strengths that lend it well to different applications – it’s all about choosing the right one for your particular project.

Morgan Hamel

Blog Post Author