How To Make a 3D Printed Concrete Stamp

A section of concrete stamped with the phrase "Macklin Manor. Est 1989"

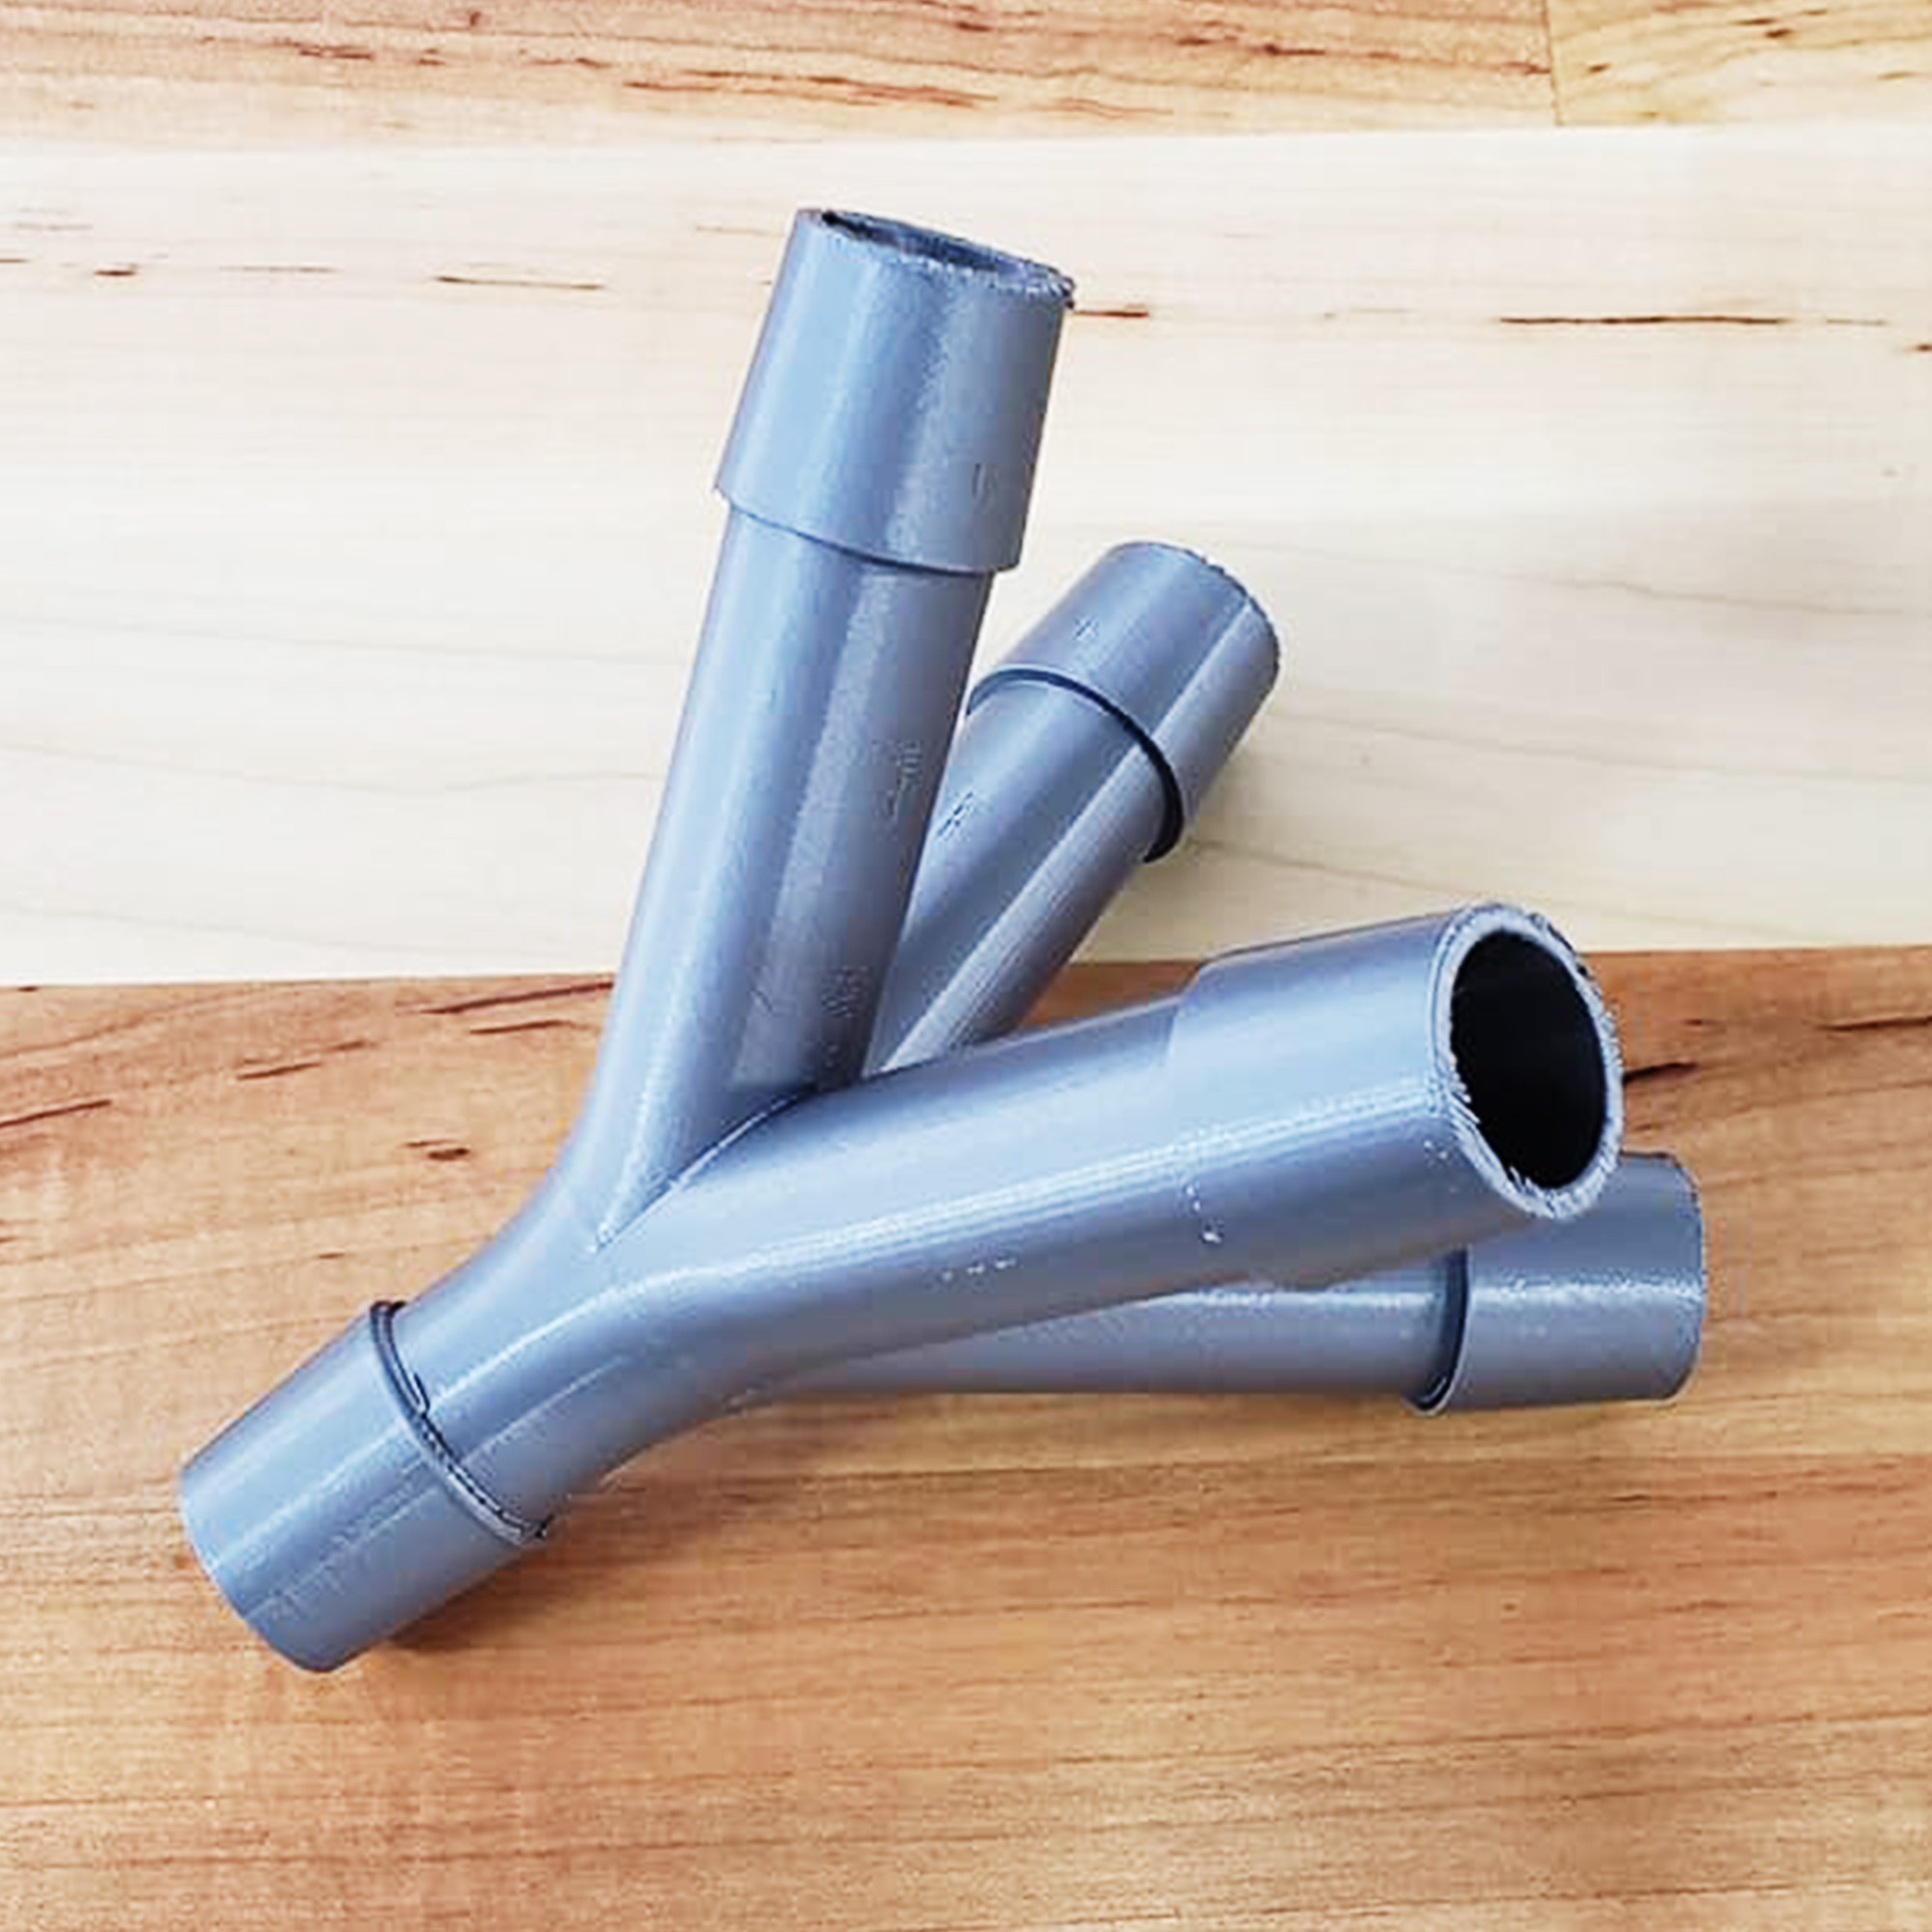
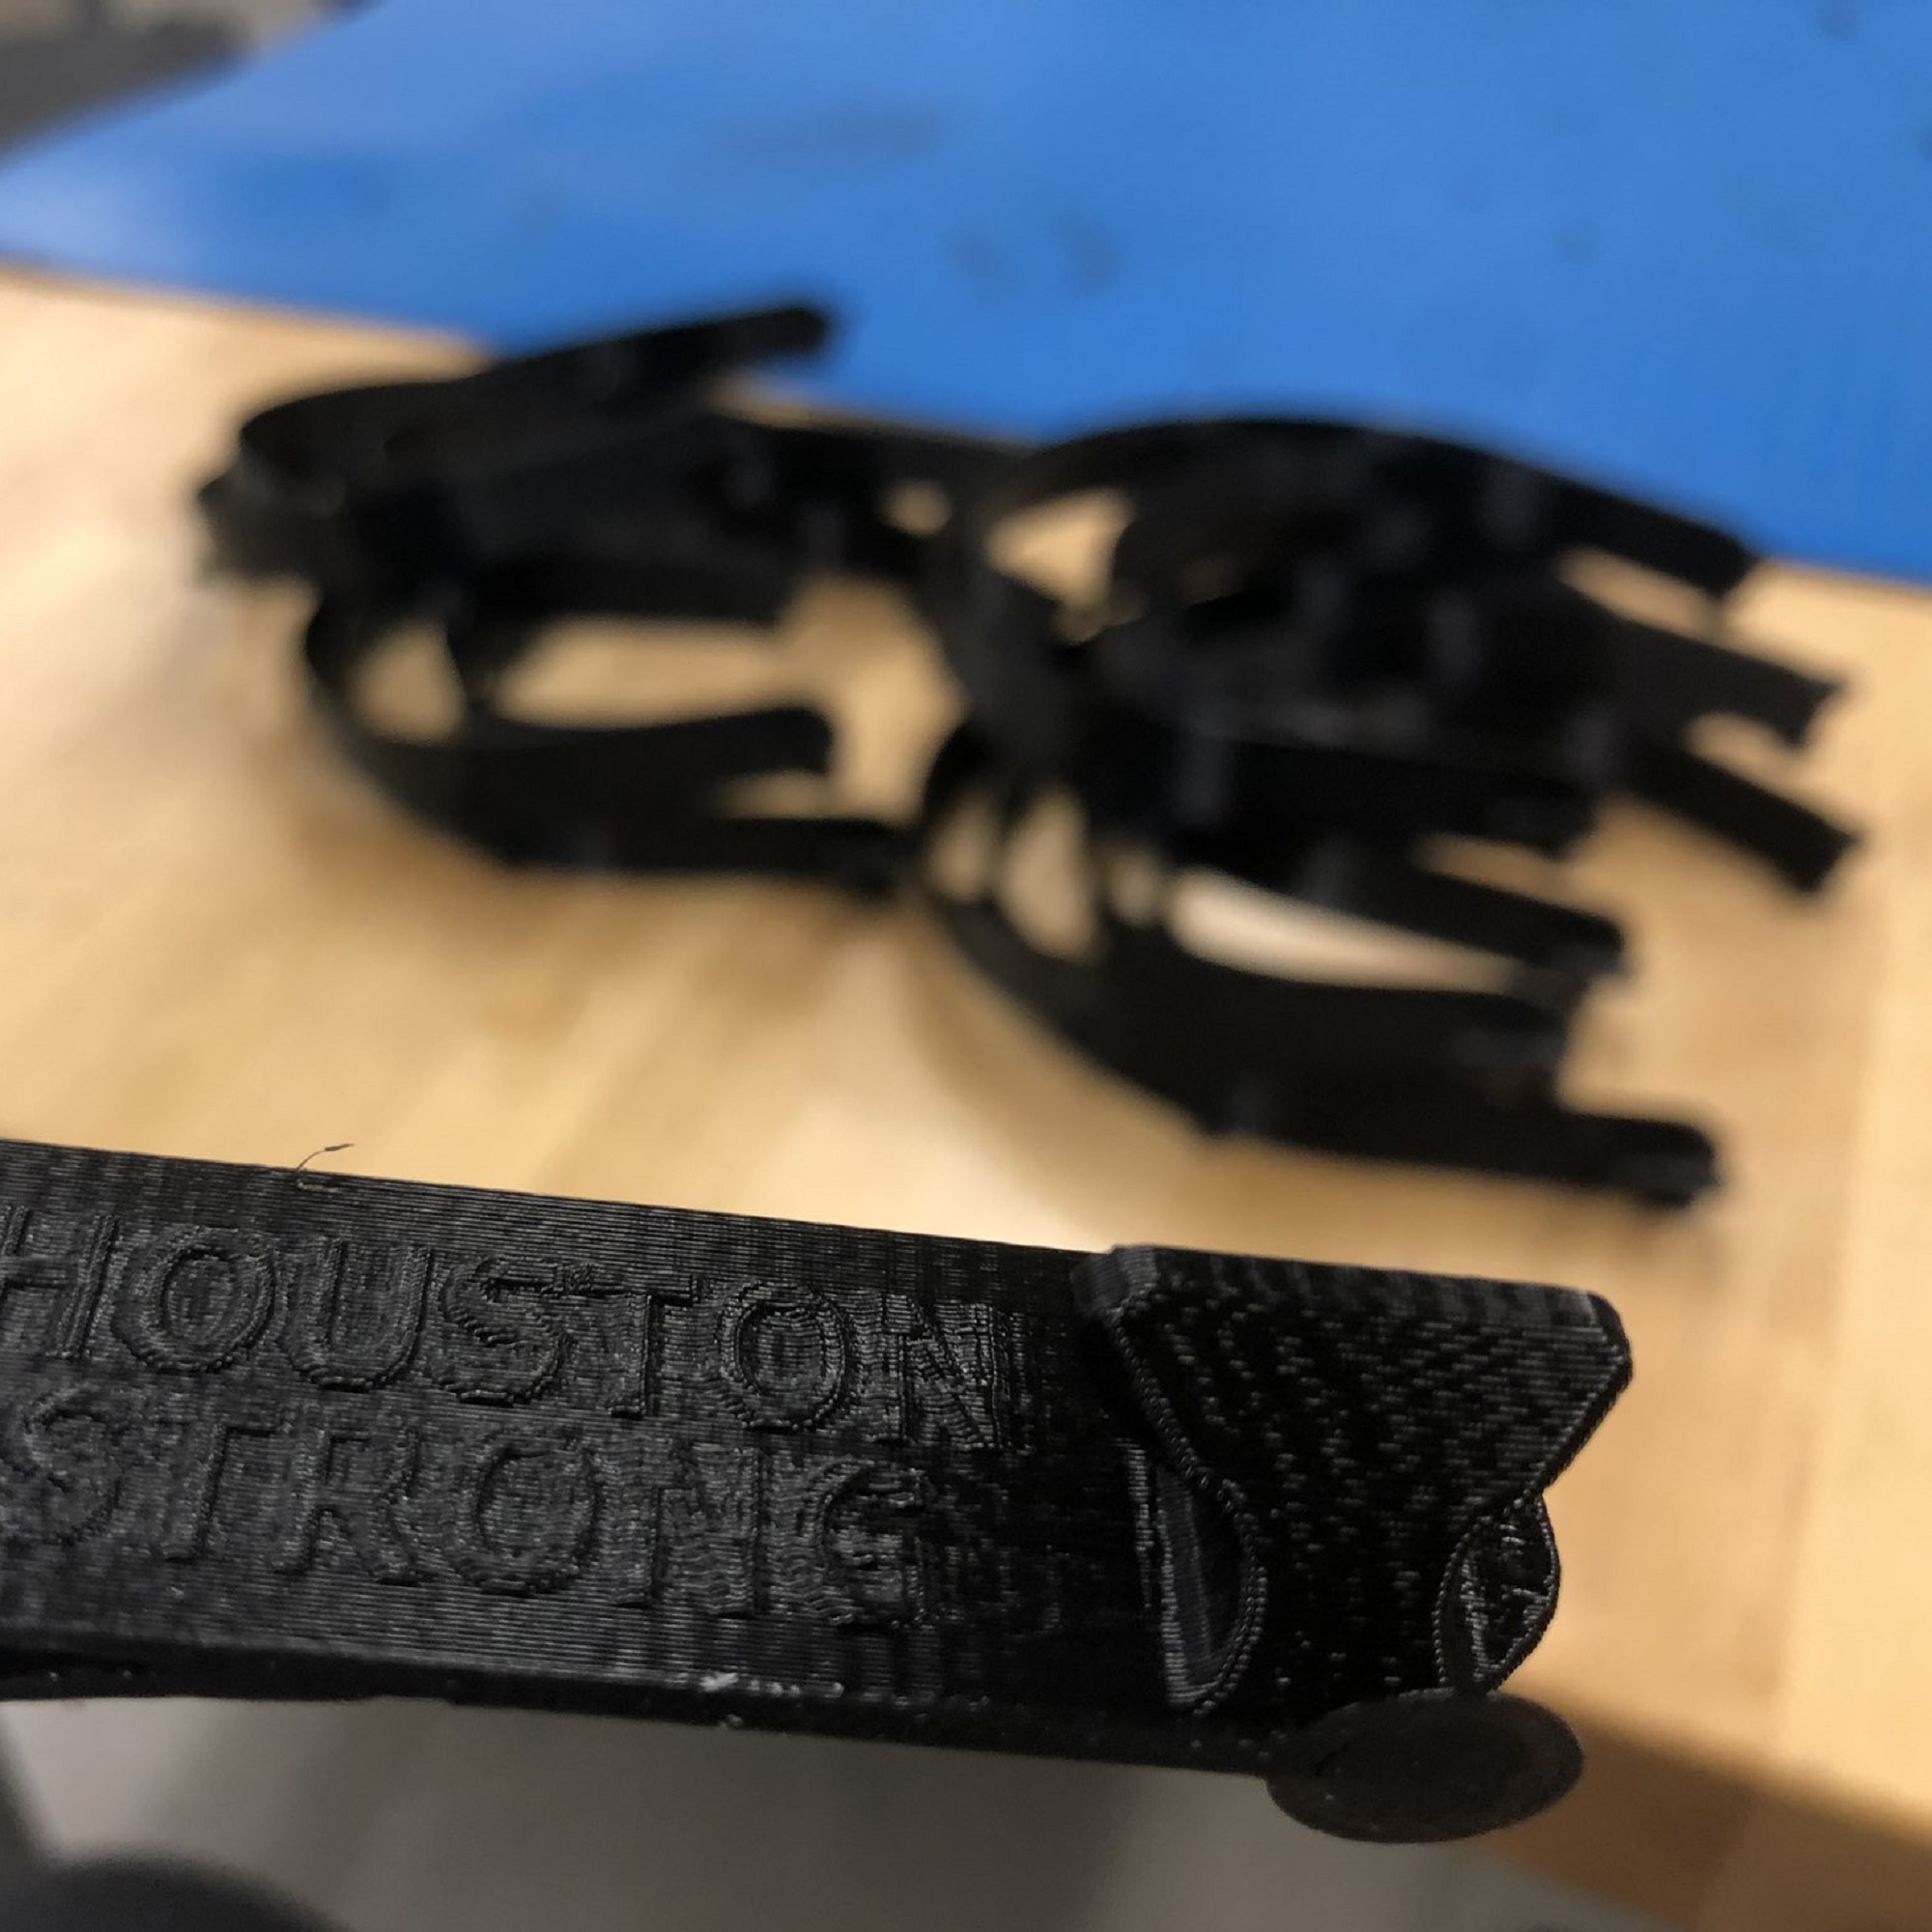
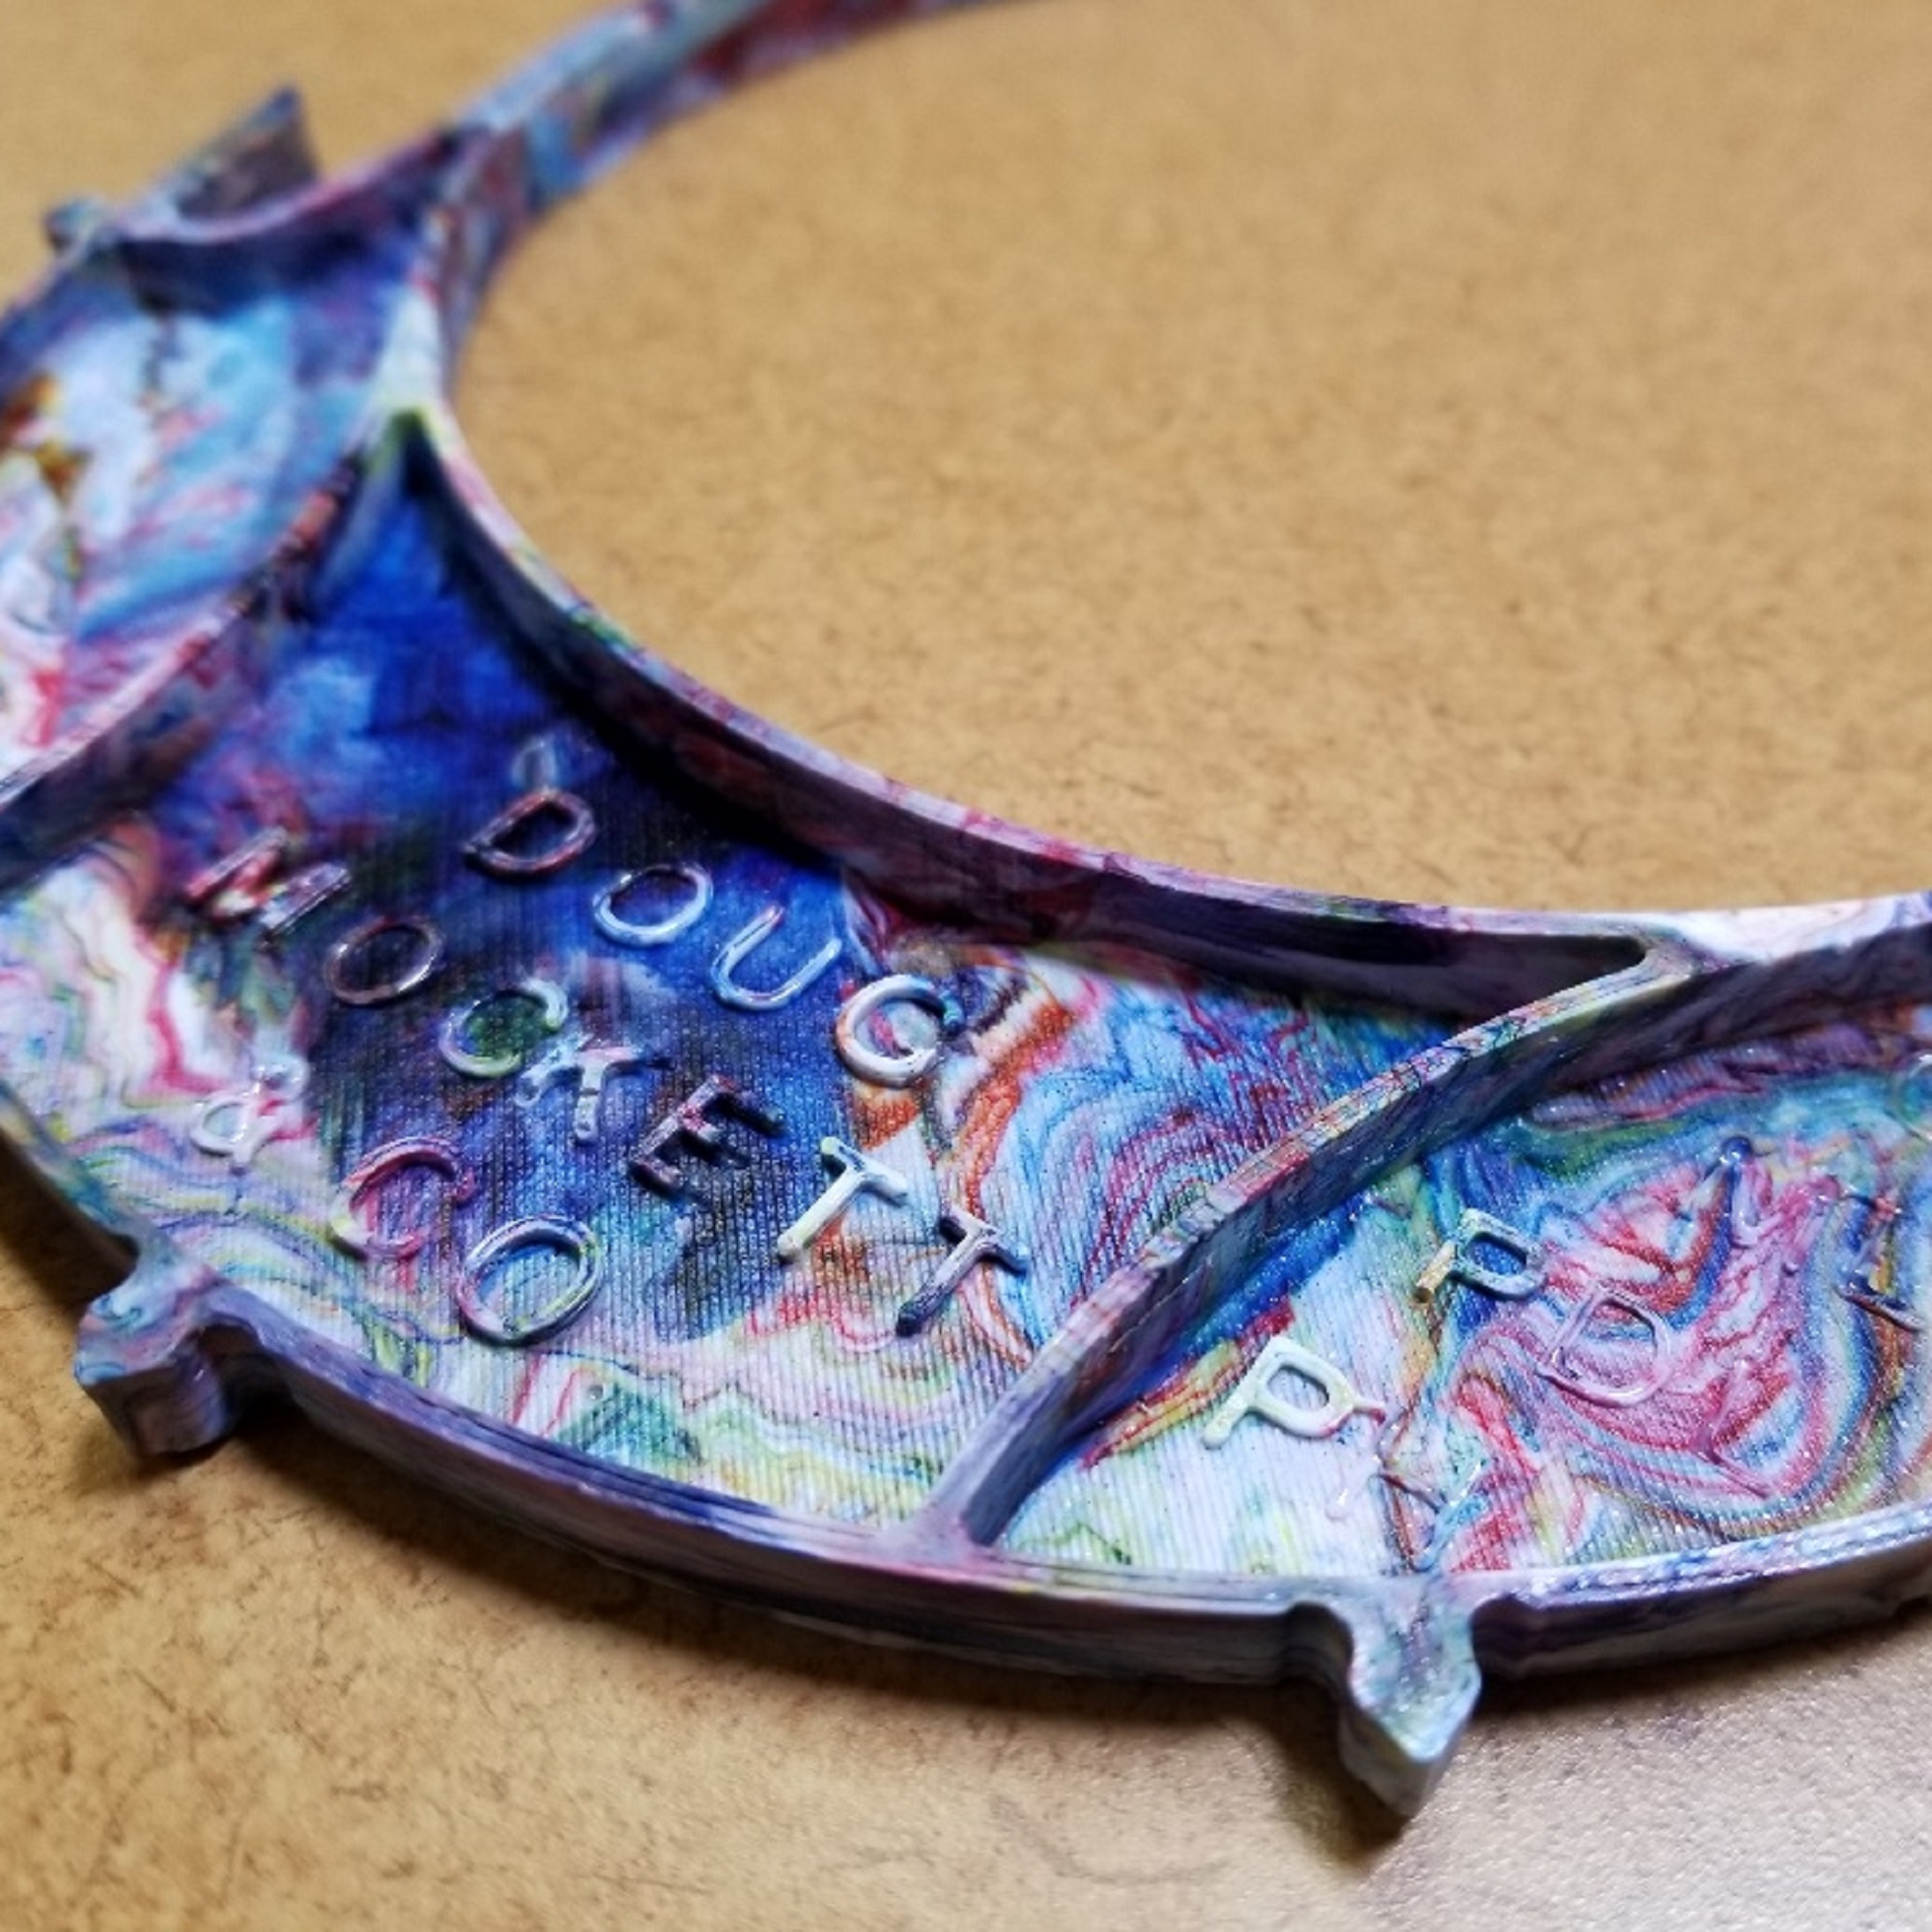
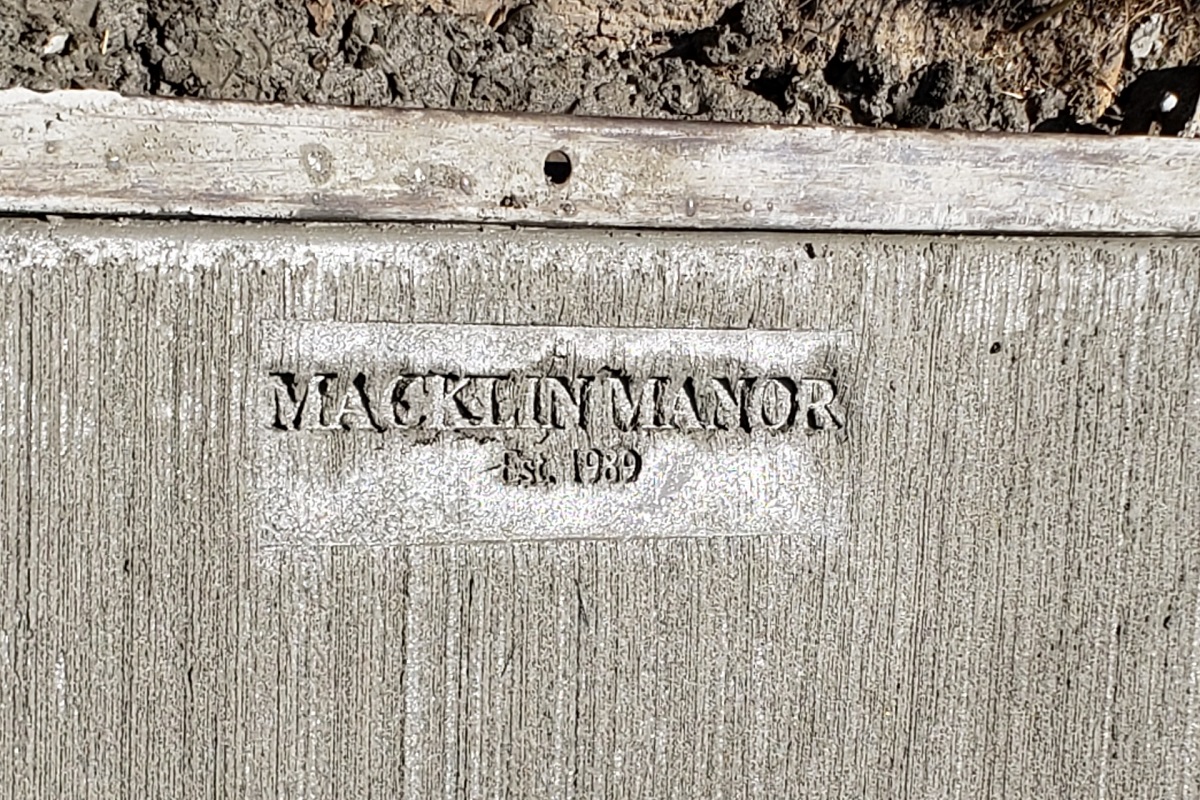
Pressed into the concrete outside the newly remodeled Holy Trinity Missionary Baptist Church in Youngstown, Ohio is a distinctive embossment, “Macklin Manor, Est: 1989.” The notation was added to honor the church’s long-serving pastor, Reverend Lewis Macklin II, a much-beloved community leader in Youngstown. What isn’t obvious about that marker however, is that the concrete stamp that made it was 3D printed.

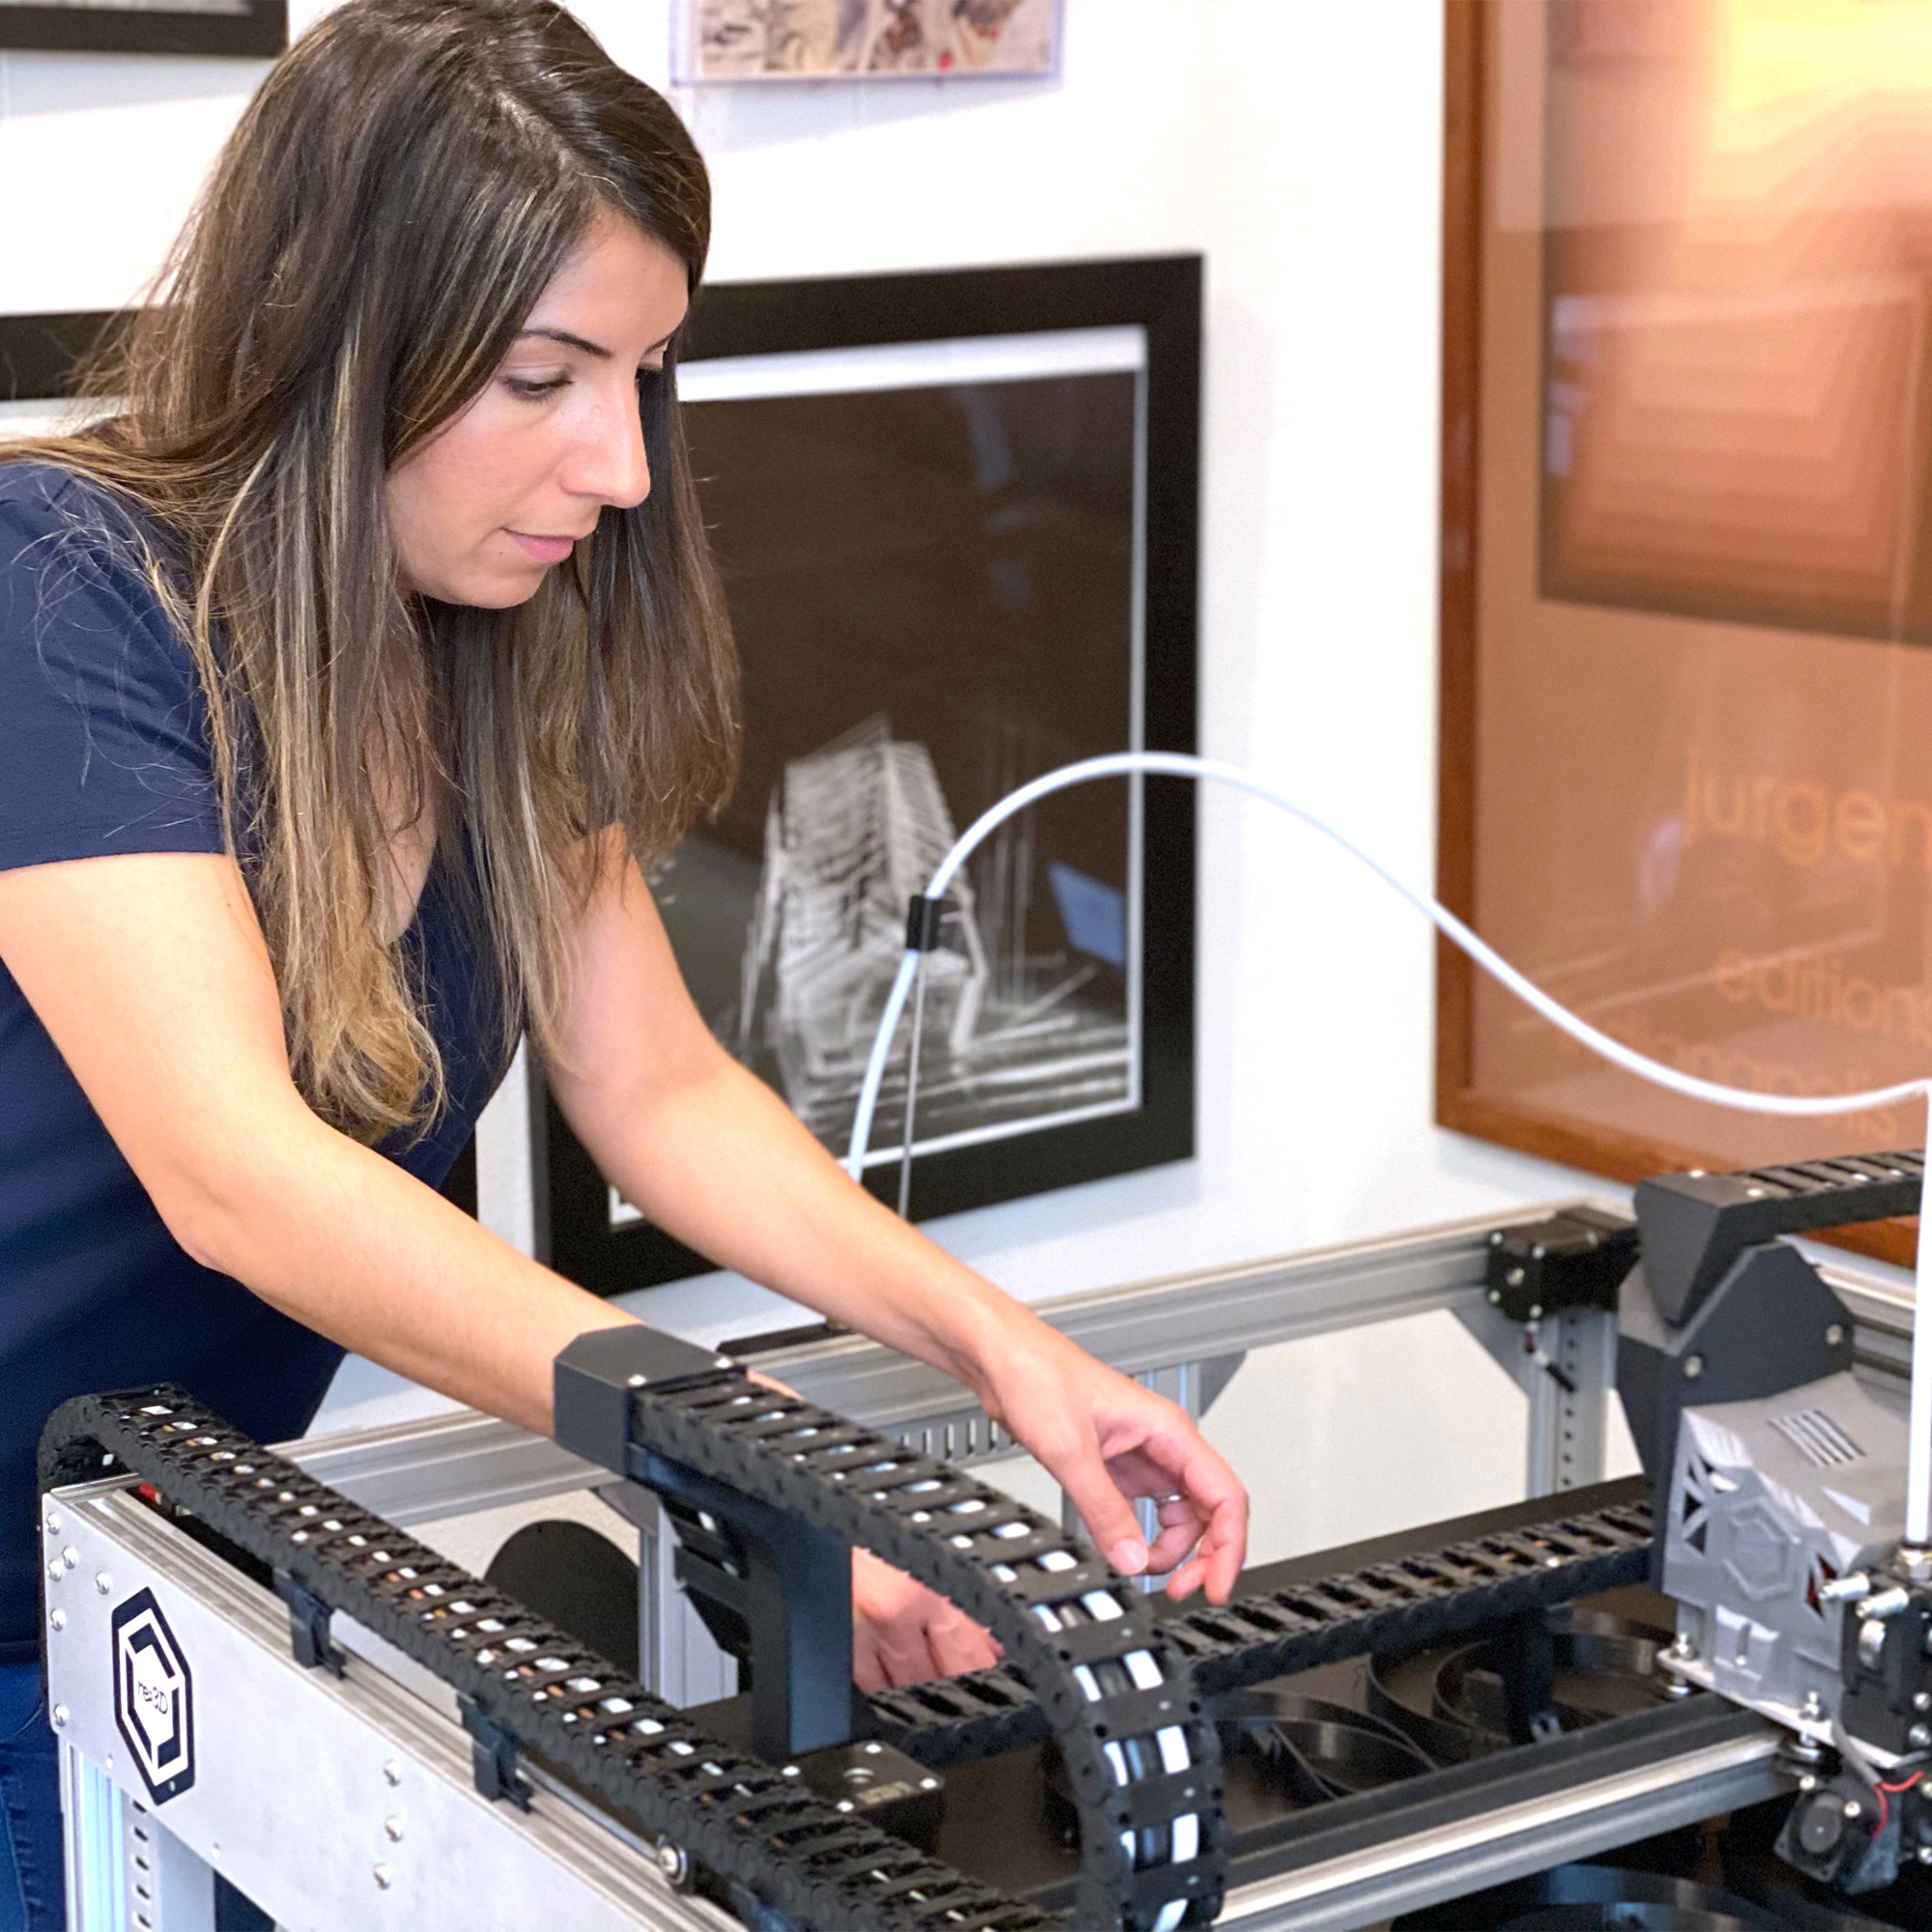
Concrete stamping has been around since the 1950s, and the earliest stamps were made of sheet metal or even wood. Modern concrete stamps are made from molded polyurethane and have patterns that can make concrete look like brick, tile, or stone. Custom stamps are traditionally used to add company logos, building numbers, etc., but the lead time to create one is upwards of one to two months. What do you do if you need a concrete stamp and only have a few days before the cement trucks arrive? You call someone with a really big 3D printer, and in Youngstown, for Holy Trinity Church, that person was Pam Szmara.

We recently spoke to Pam Szmara with Pamton 3D Printing about the Macklin Manor project, and she shared this how-to, modified from Formlabs instructions, for how you can make your own custom concrete stamp.

Here's Pamton 3D's advice:

We recently completed a project that required us to design and 3D print a stamp capable of personalizing a concrete stone at Macklin Manor in Youngstown, Ohio. We enjoyed the project and are excited to have the capability to make small or large personalized concrete stamps for our clients’ residential and commercial projects.

So, how do you do it? How can you use additive manufacturing technology to help you personalize or preserve the history of your buildings, projects, or events?

Here’s a quick rundown of the process.

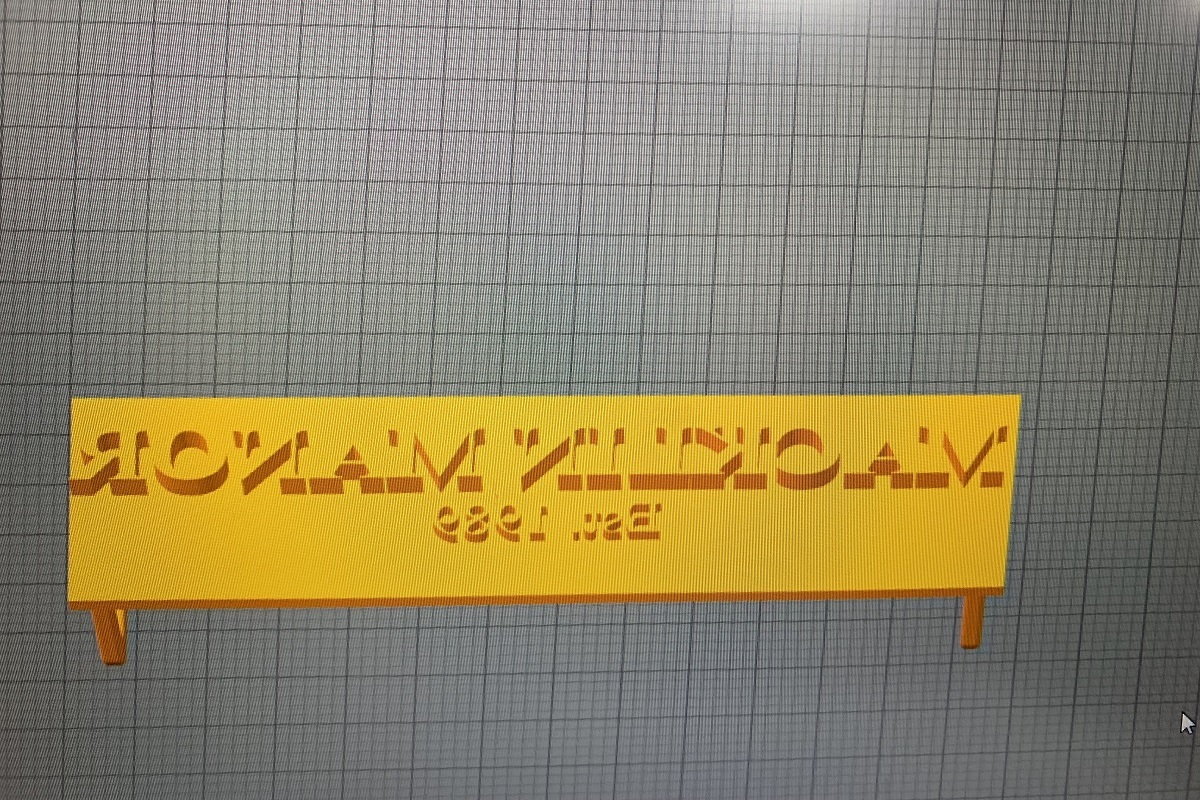
1. Draw your stamp digitally using a vector file format. You can use a software program like Adobe Illustrator or a free program like Inkscape to do this. When you have the design complete, save it as a Scalable Vector Graphic (.SVG) file, which can be imported into a CAD software to make the 3D model. Alternatively, sketch the drawing directly in the CAD software.

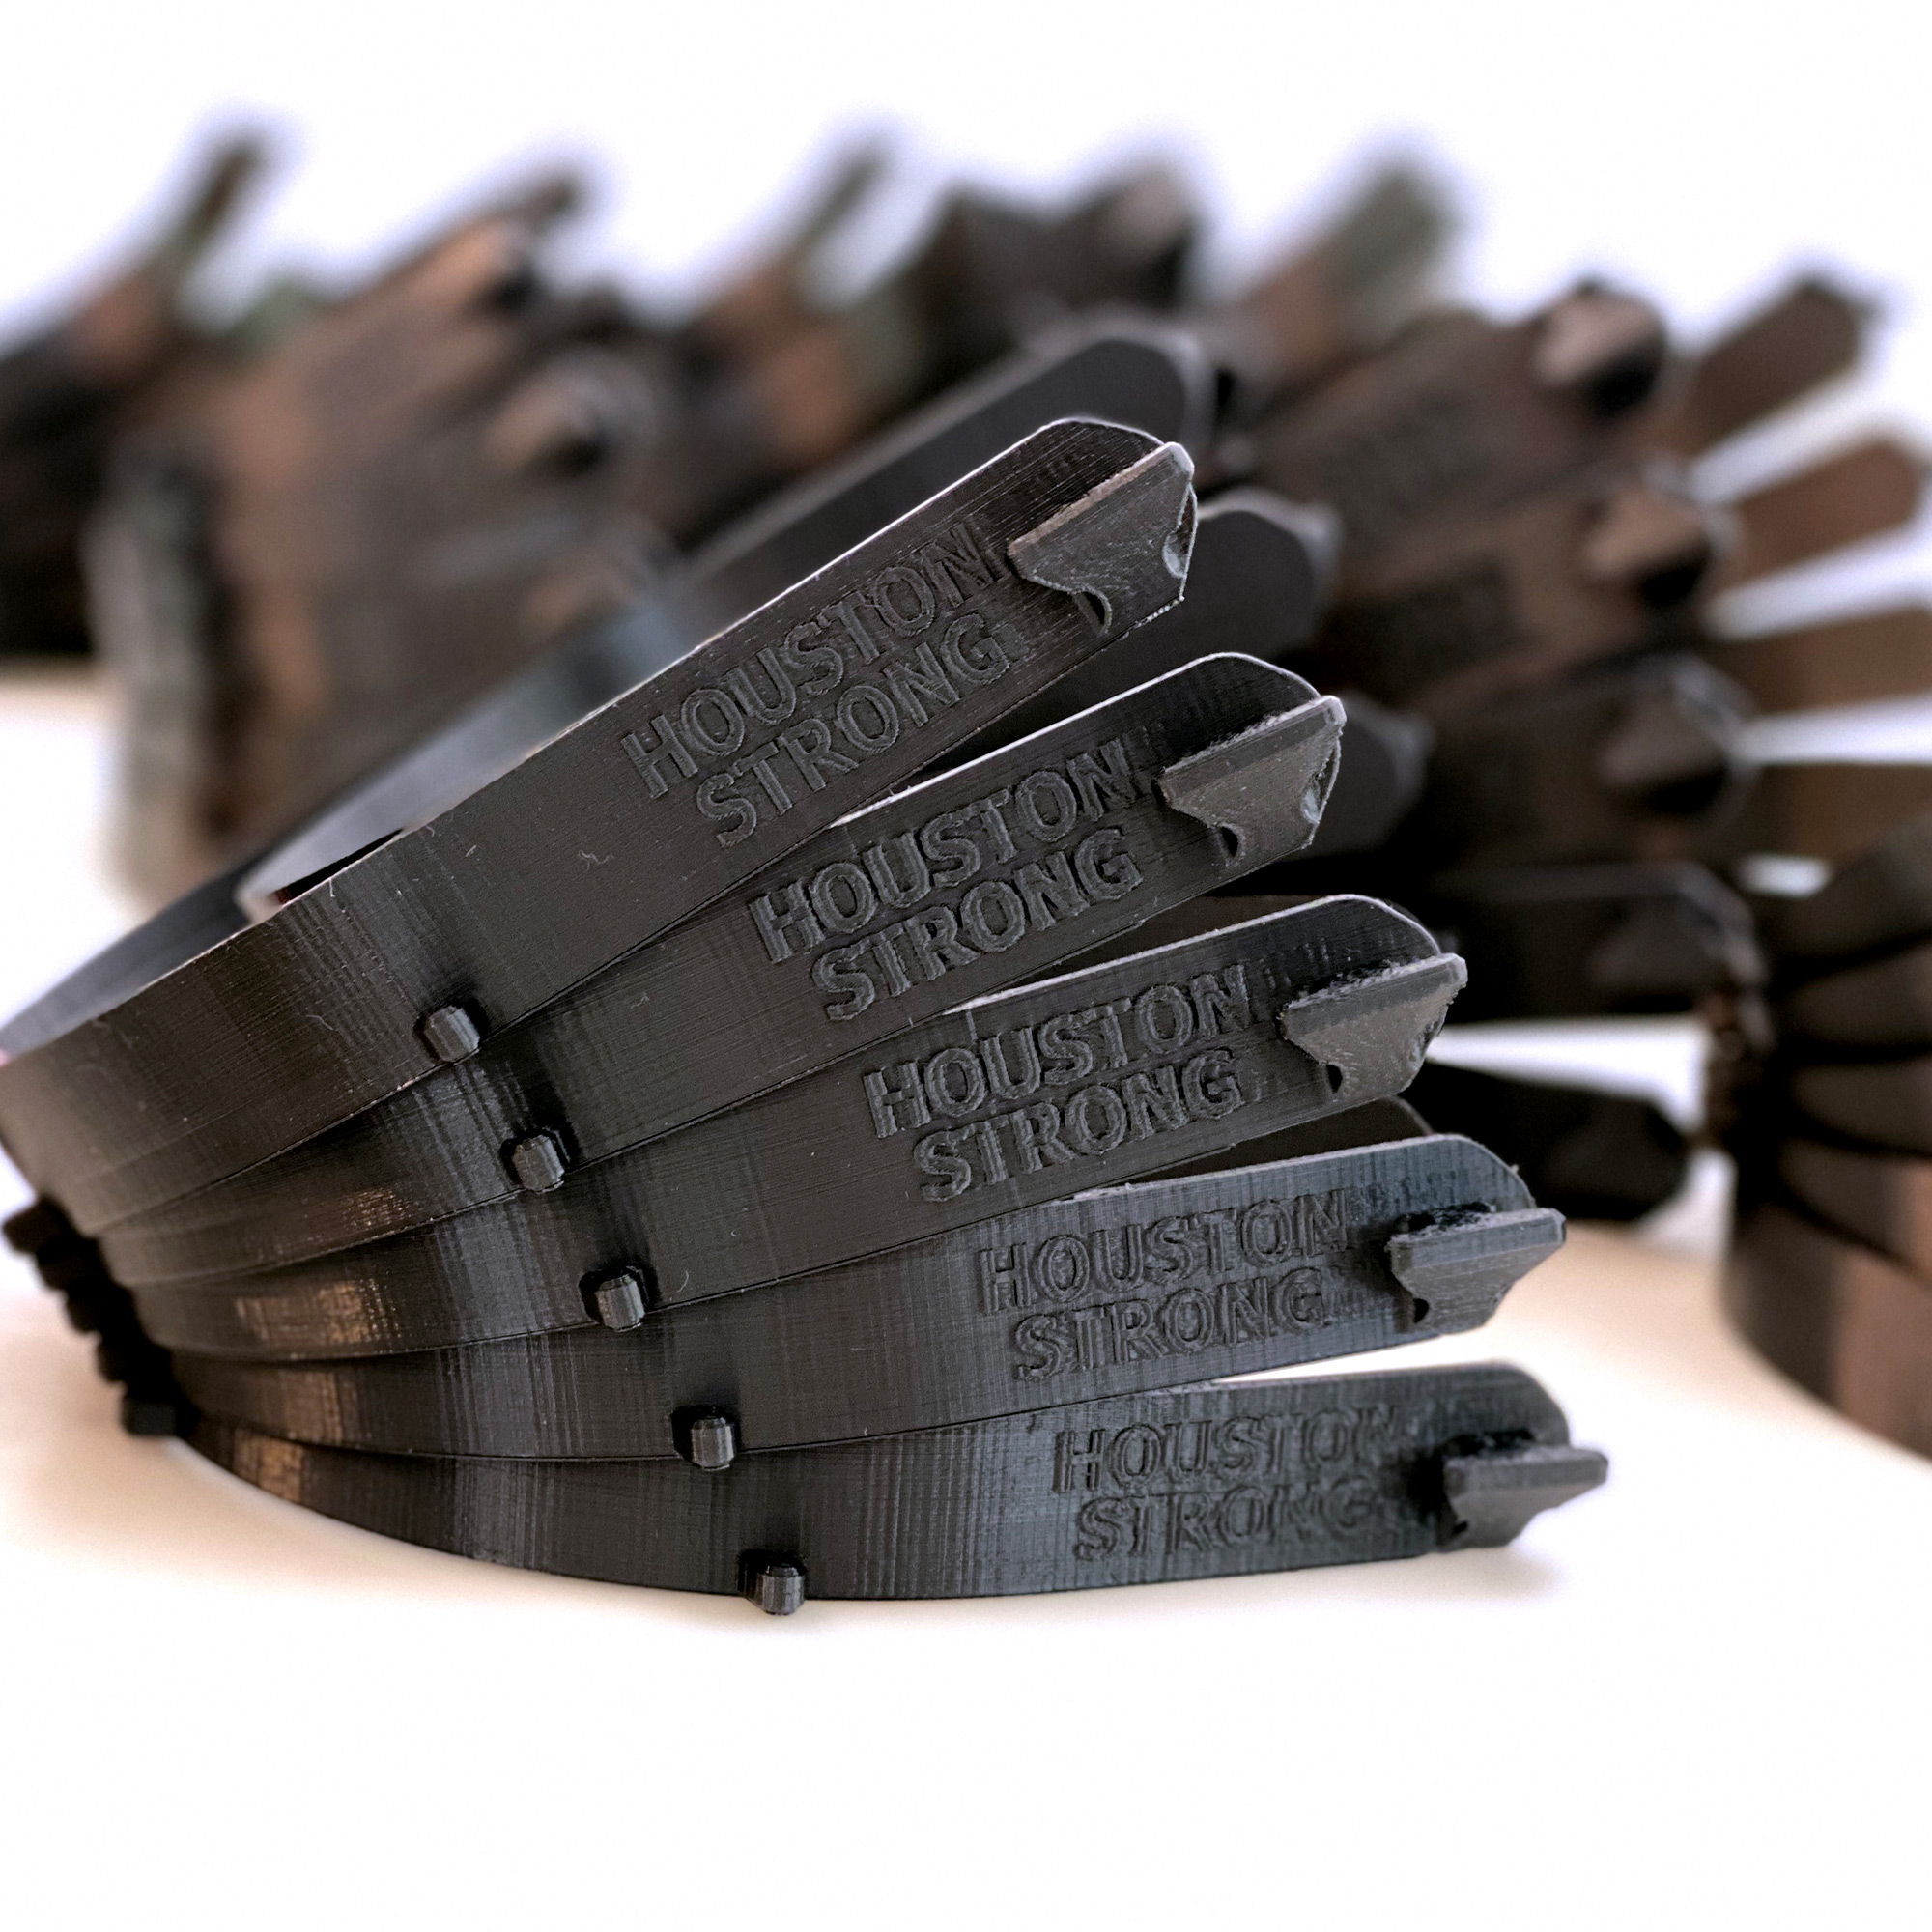
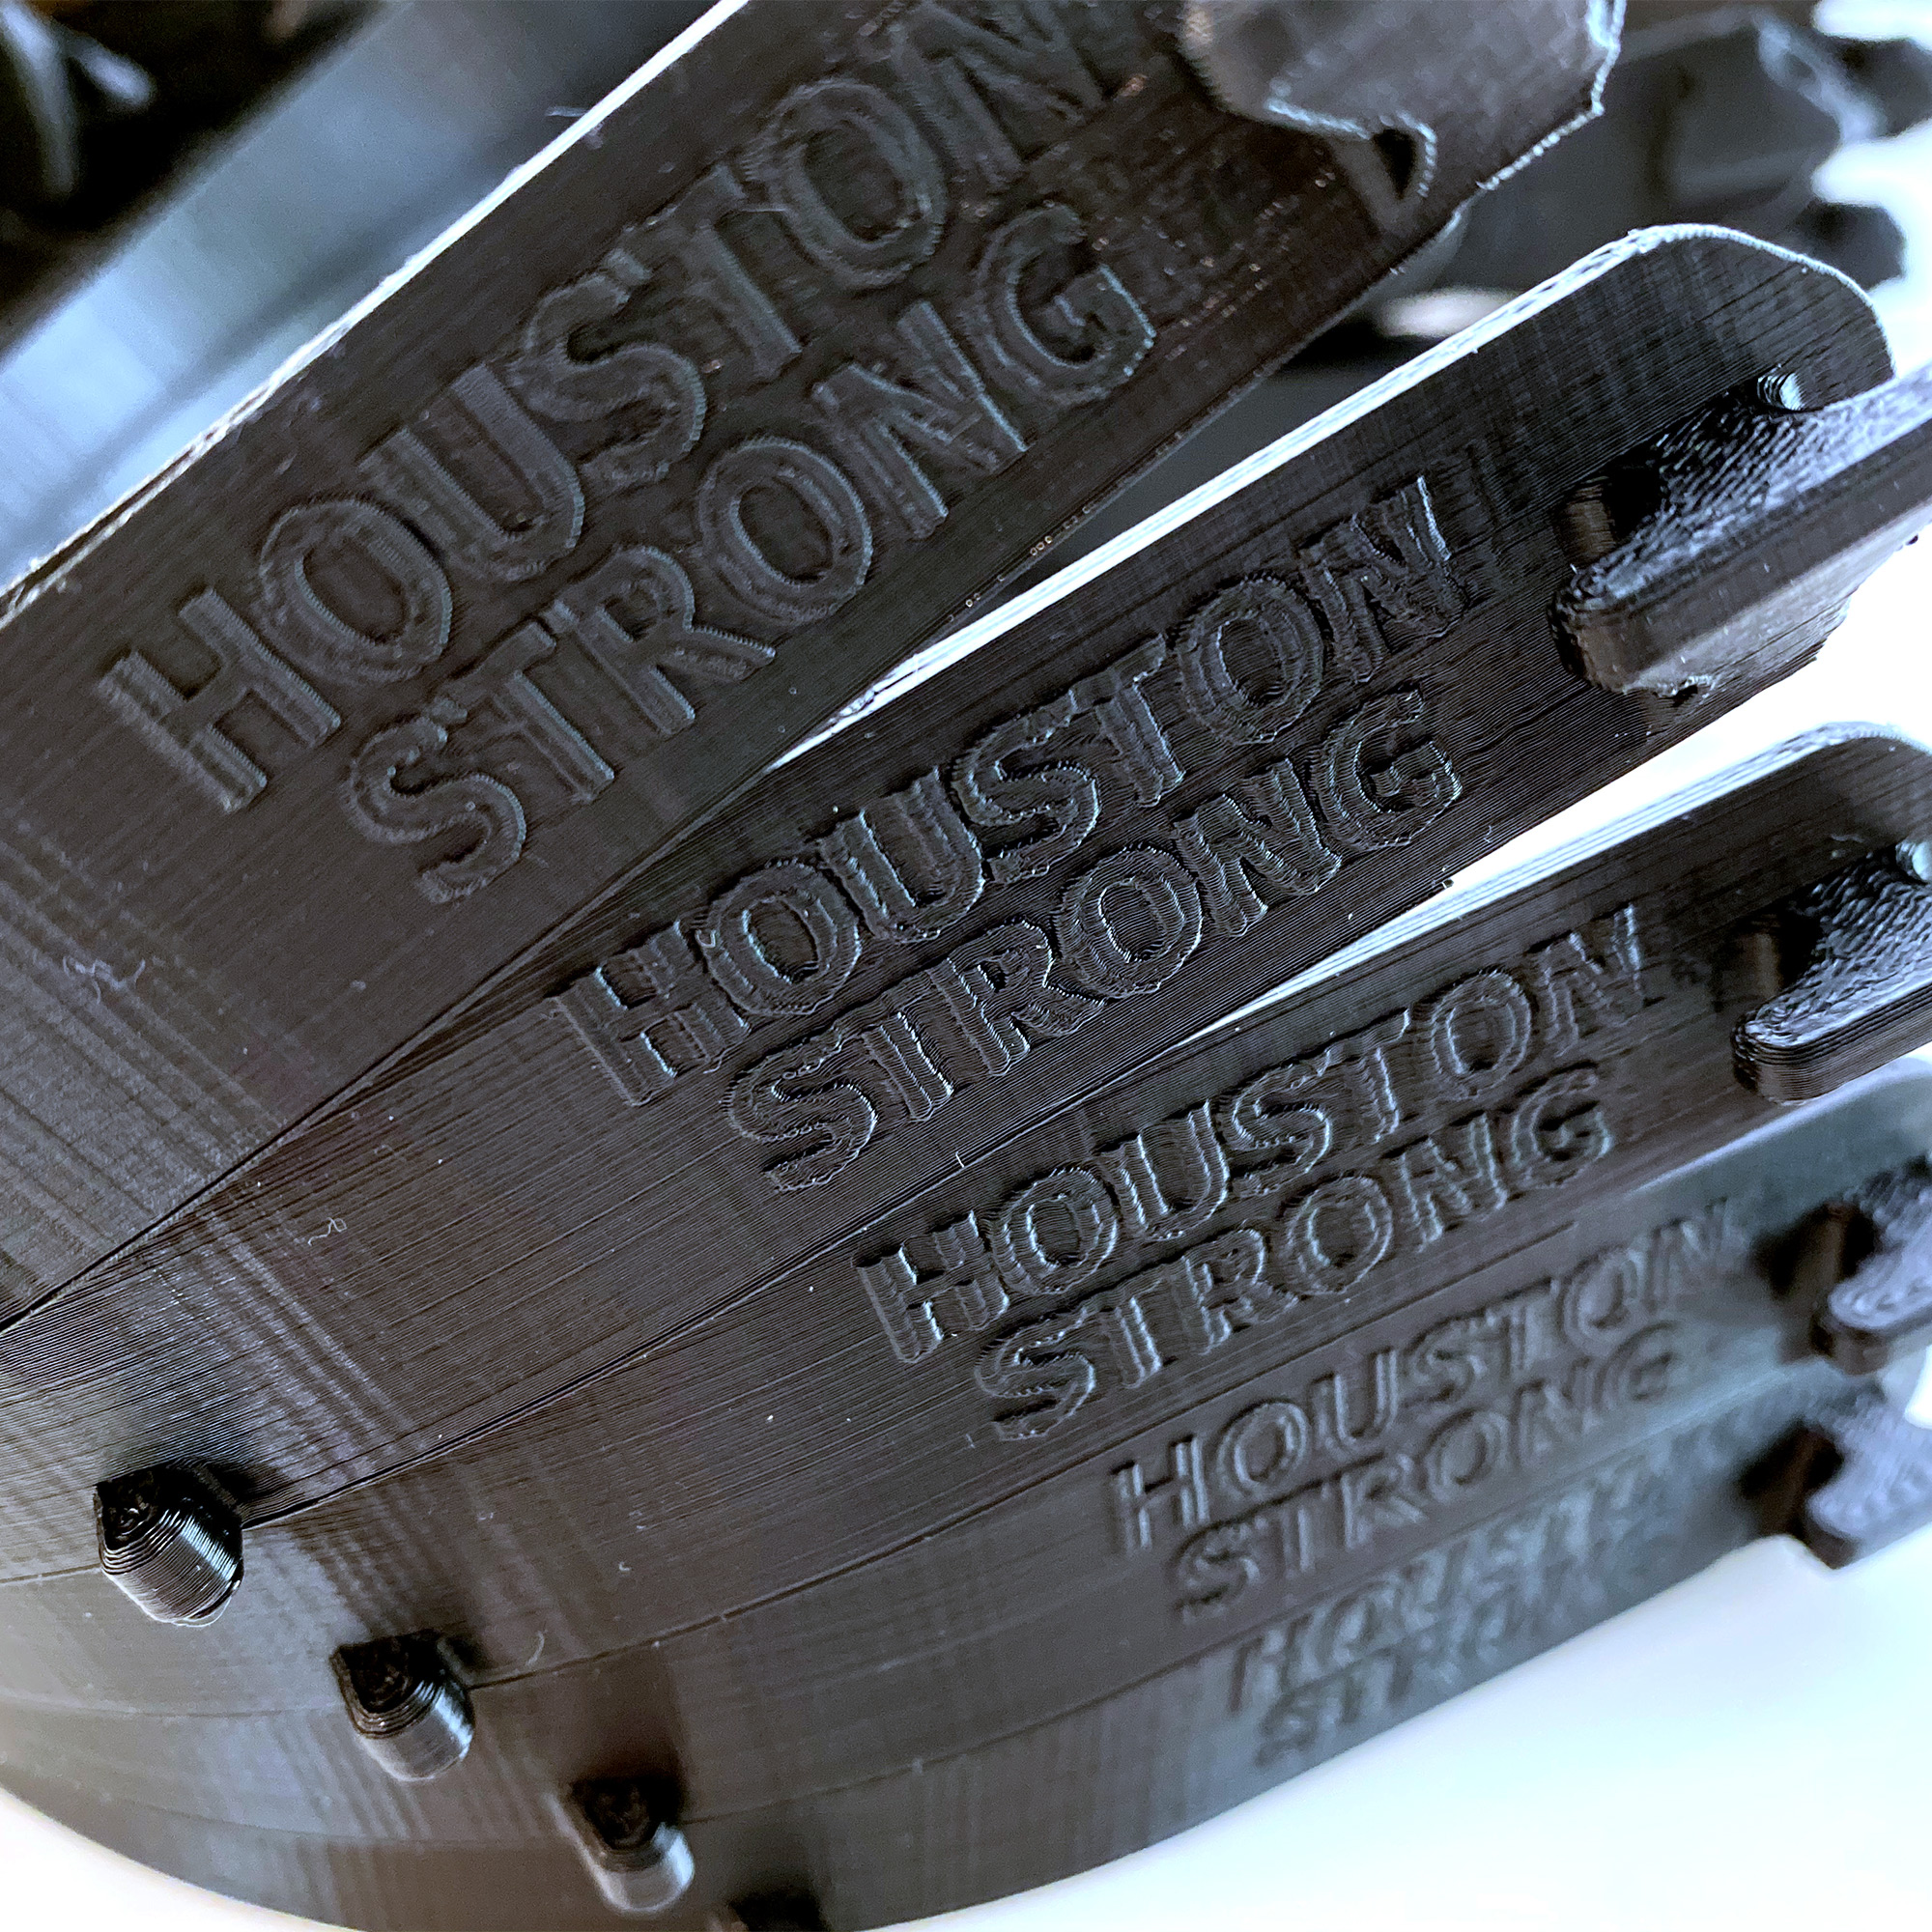
– The final design must be mirrored so that the stamp itself is the reverse of what will appear on a stamped surface.
– Use large, widely-spaced lettering and thick details so that the features read well in concrete.

2. Convert the vector design into a 3D model. Using 3D modeling software like Fusion 360, Onshape or Tinkercad, convert your two-dimensional .SVG file from a curve to a mesh. Then, extrude the mesh to make a 3d shape.

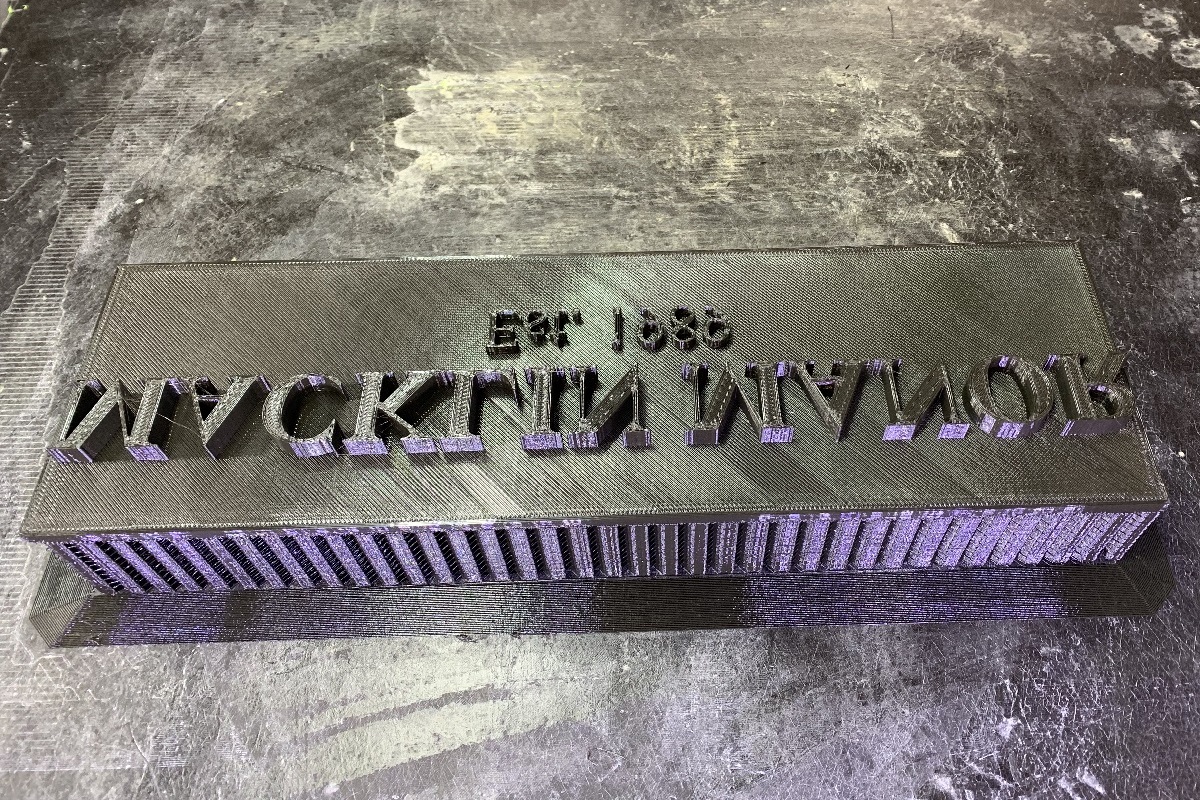
3. Add a backing plate. Add a rectangular backing plate to the shape. This will give you a flat, sturdy surface to stand on as you press the design into the concrete. We recommend the design fill up 80% of the rectangle.

"...it will take half a day or more to print your stamp, so crack open a beer and relax."
Pam Szmara

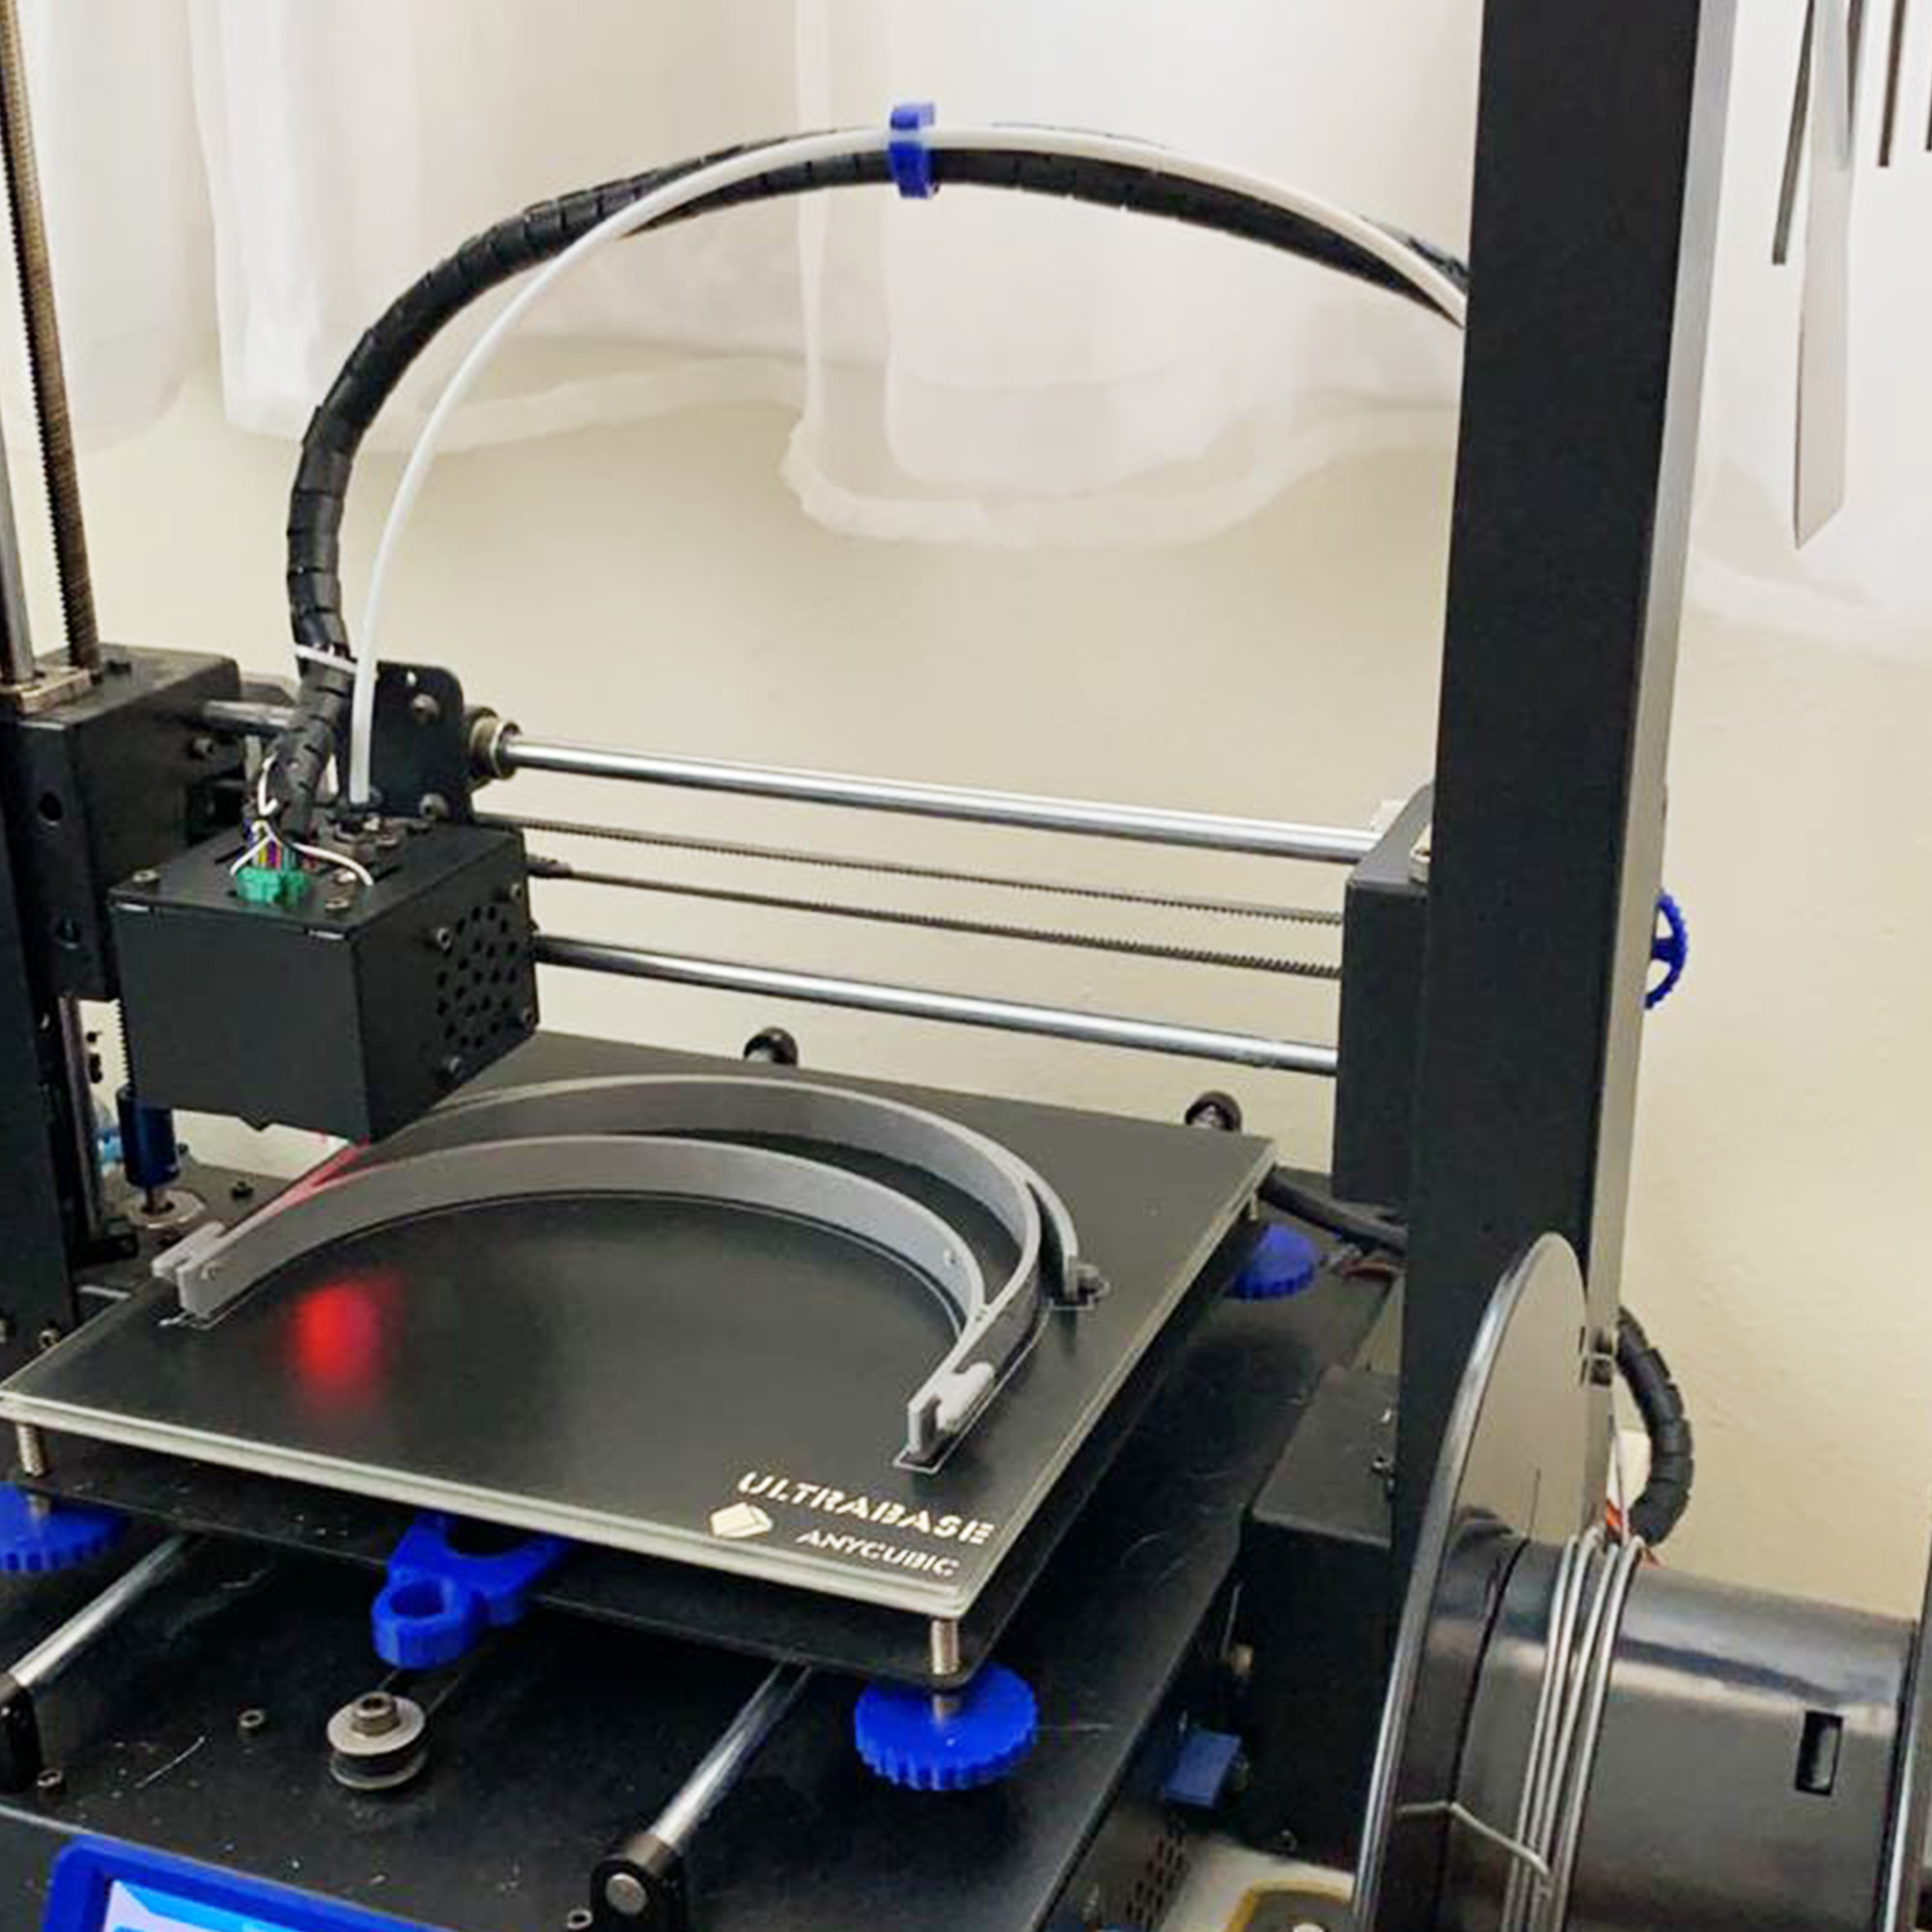
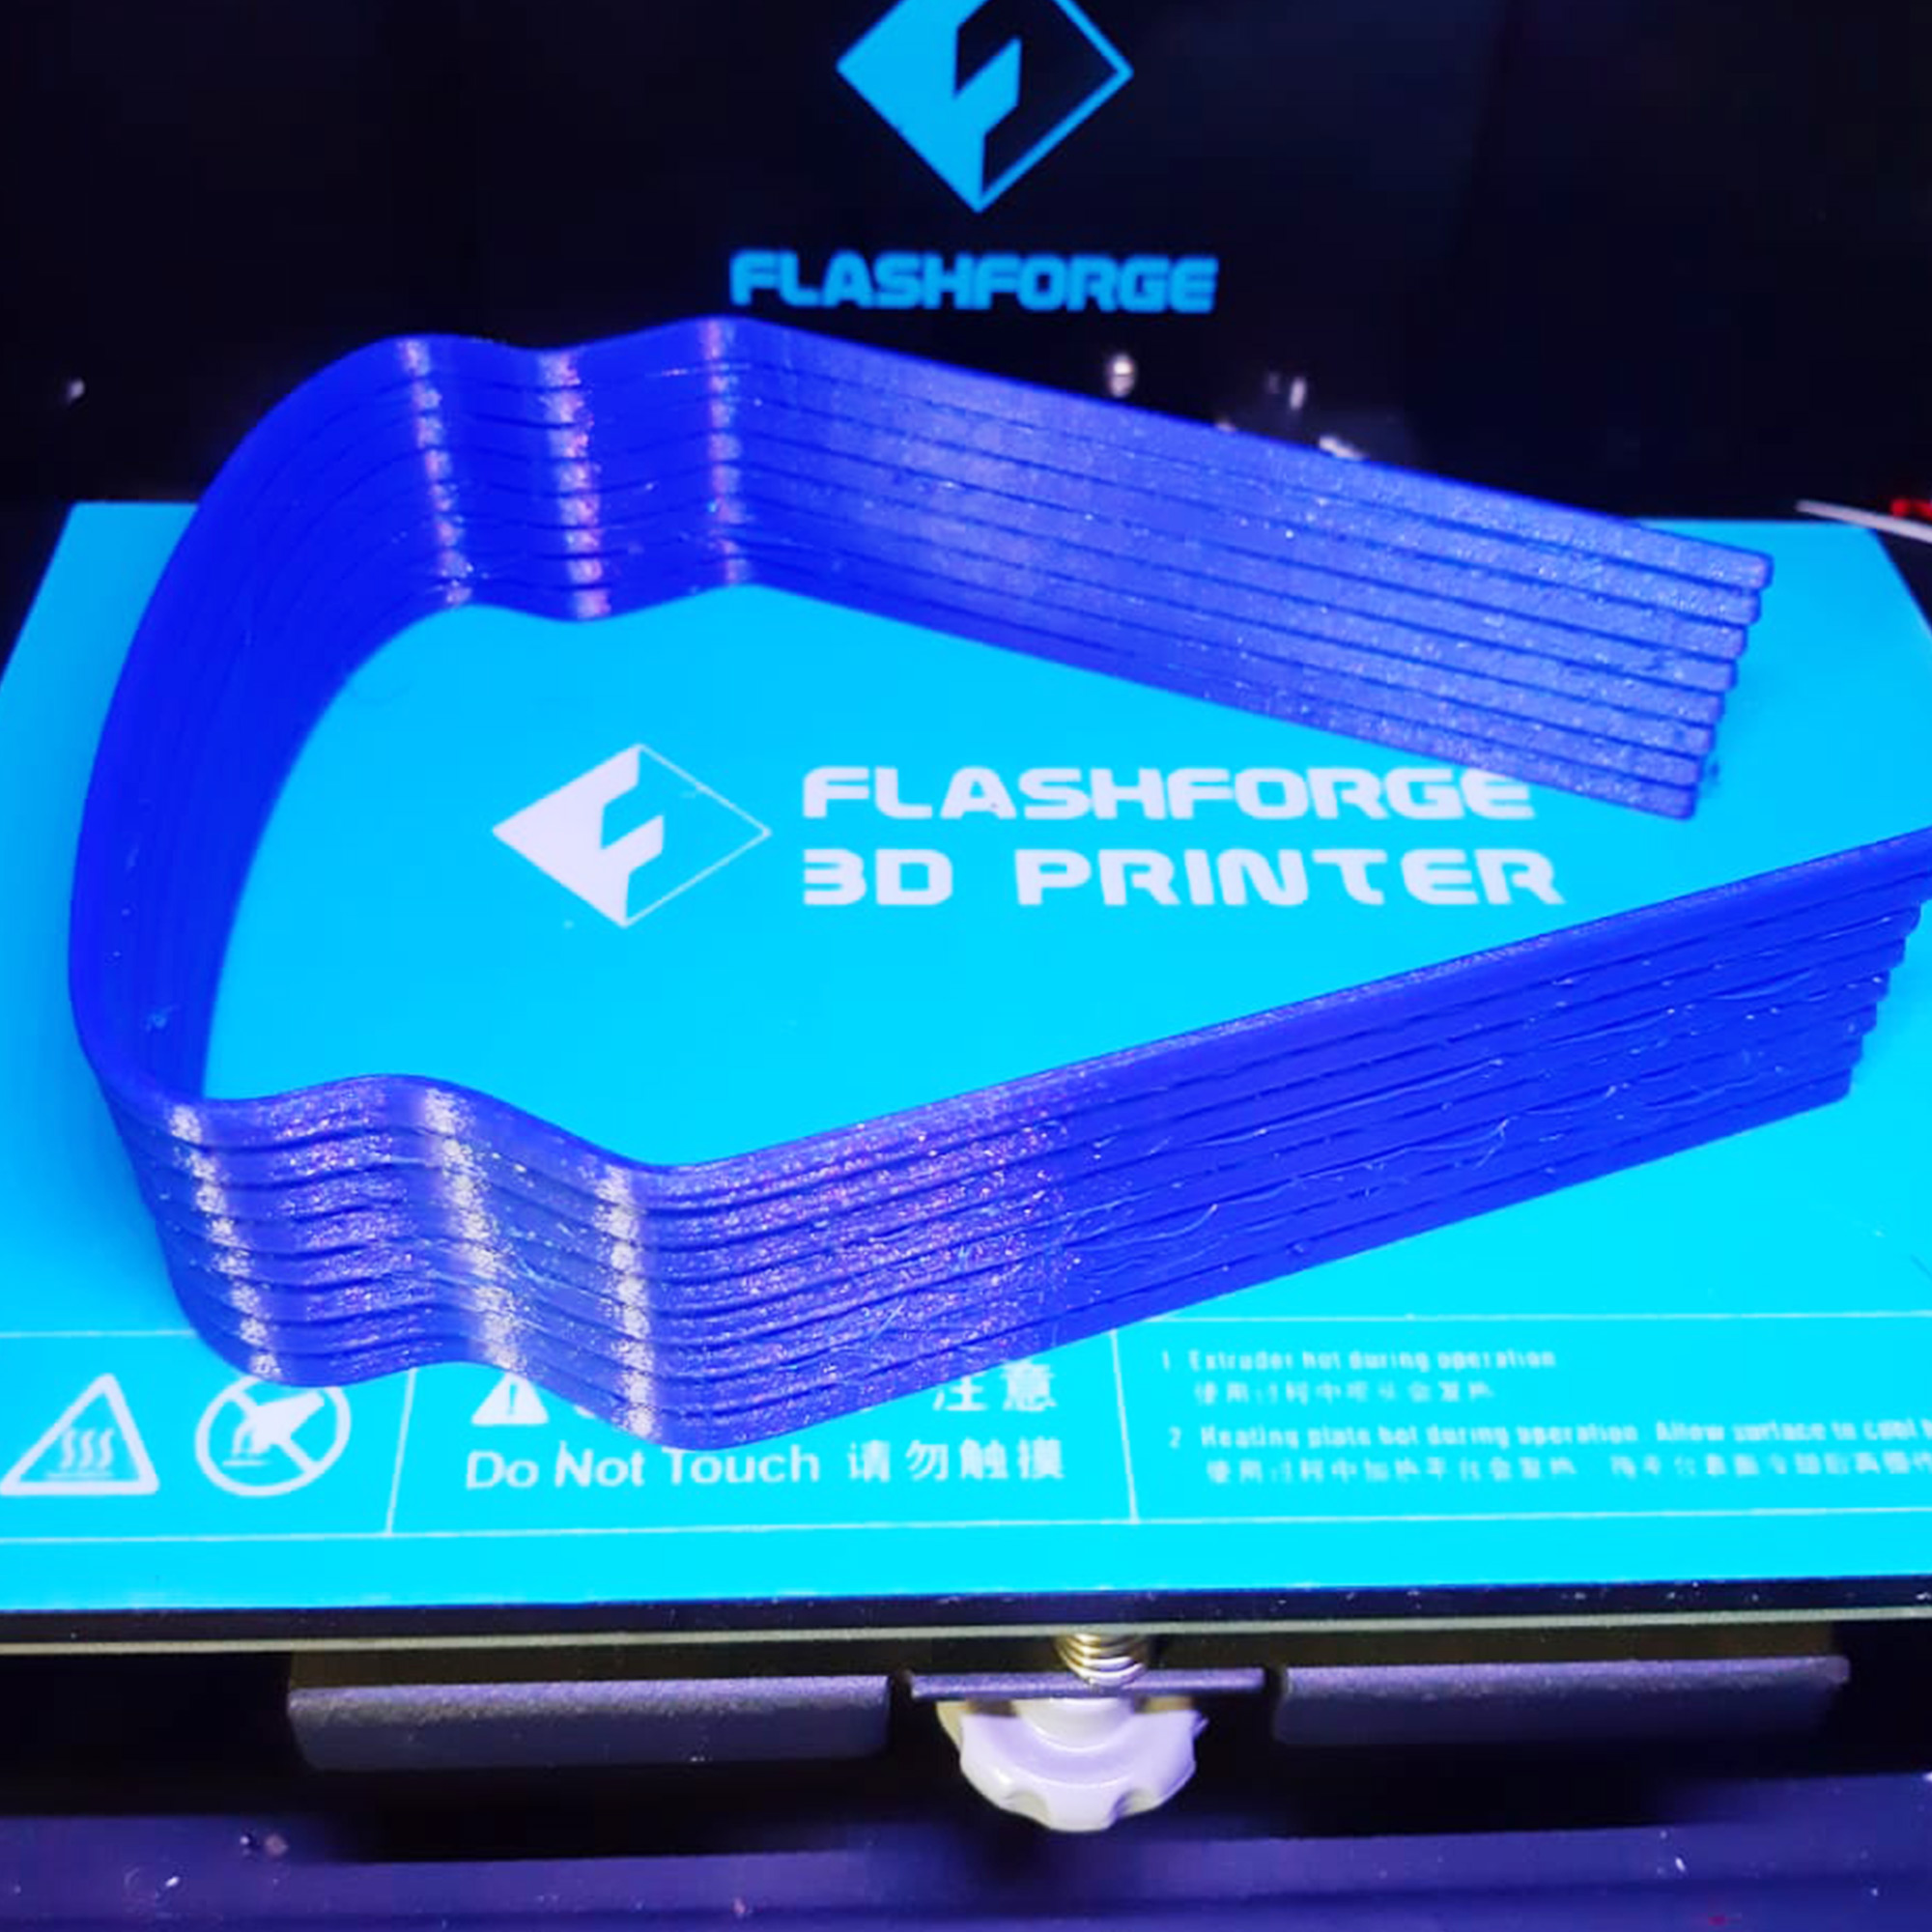
4. Optional: Add a stamp handle. A handle will help you easier position and remove the concrete stamp, however it will make your stamp require support material when you print it, so this is why it’s optional. The handle should be a C-shape attached to the opposite side of the backing plate from your design. Make the handle thick and robust, so it won’t snap when it has to resist the suction of the concrete.

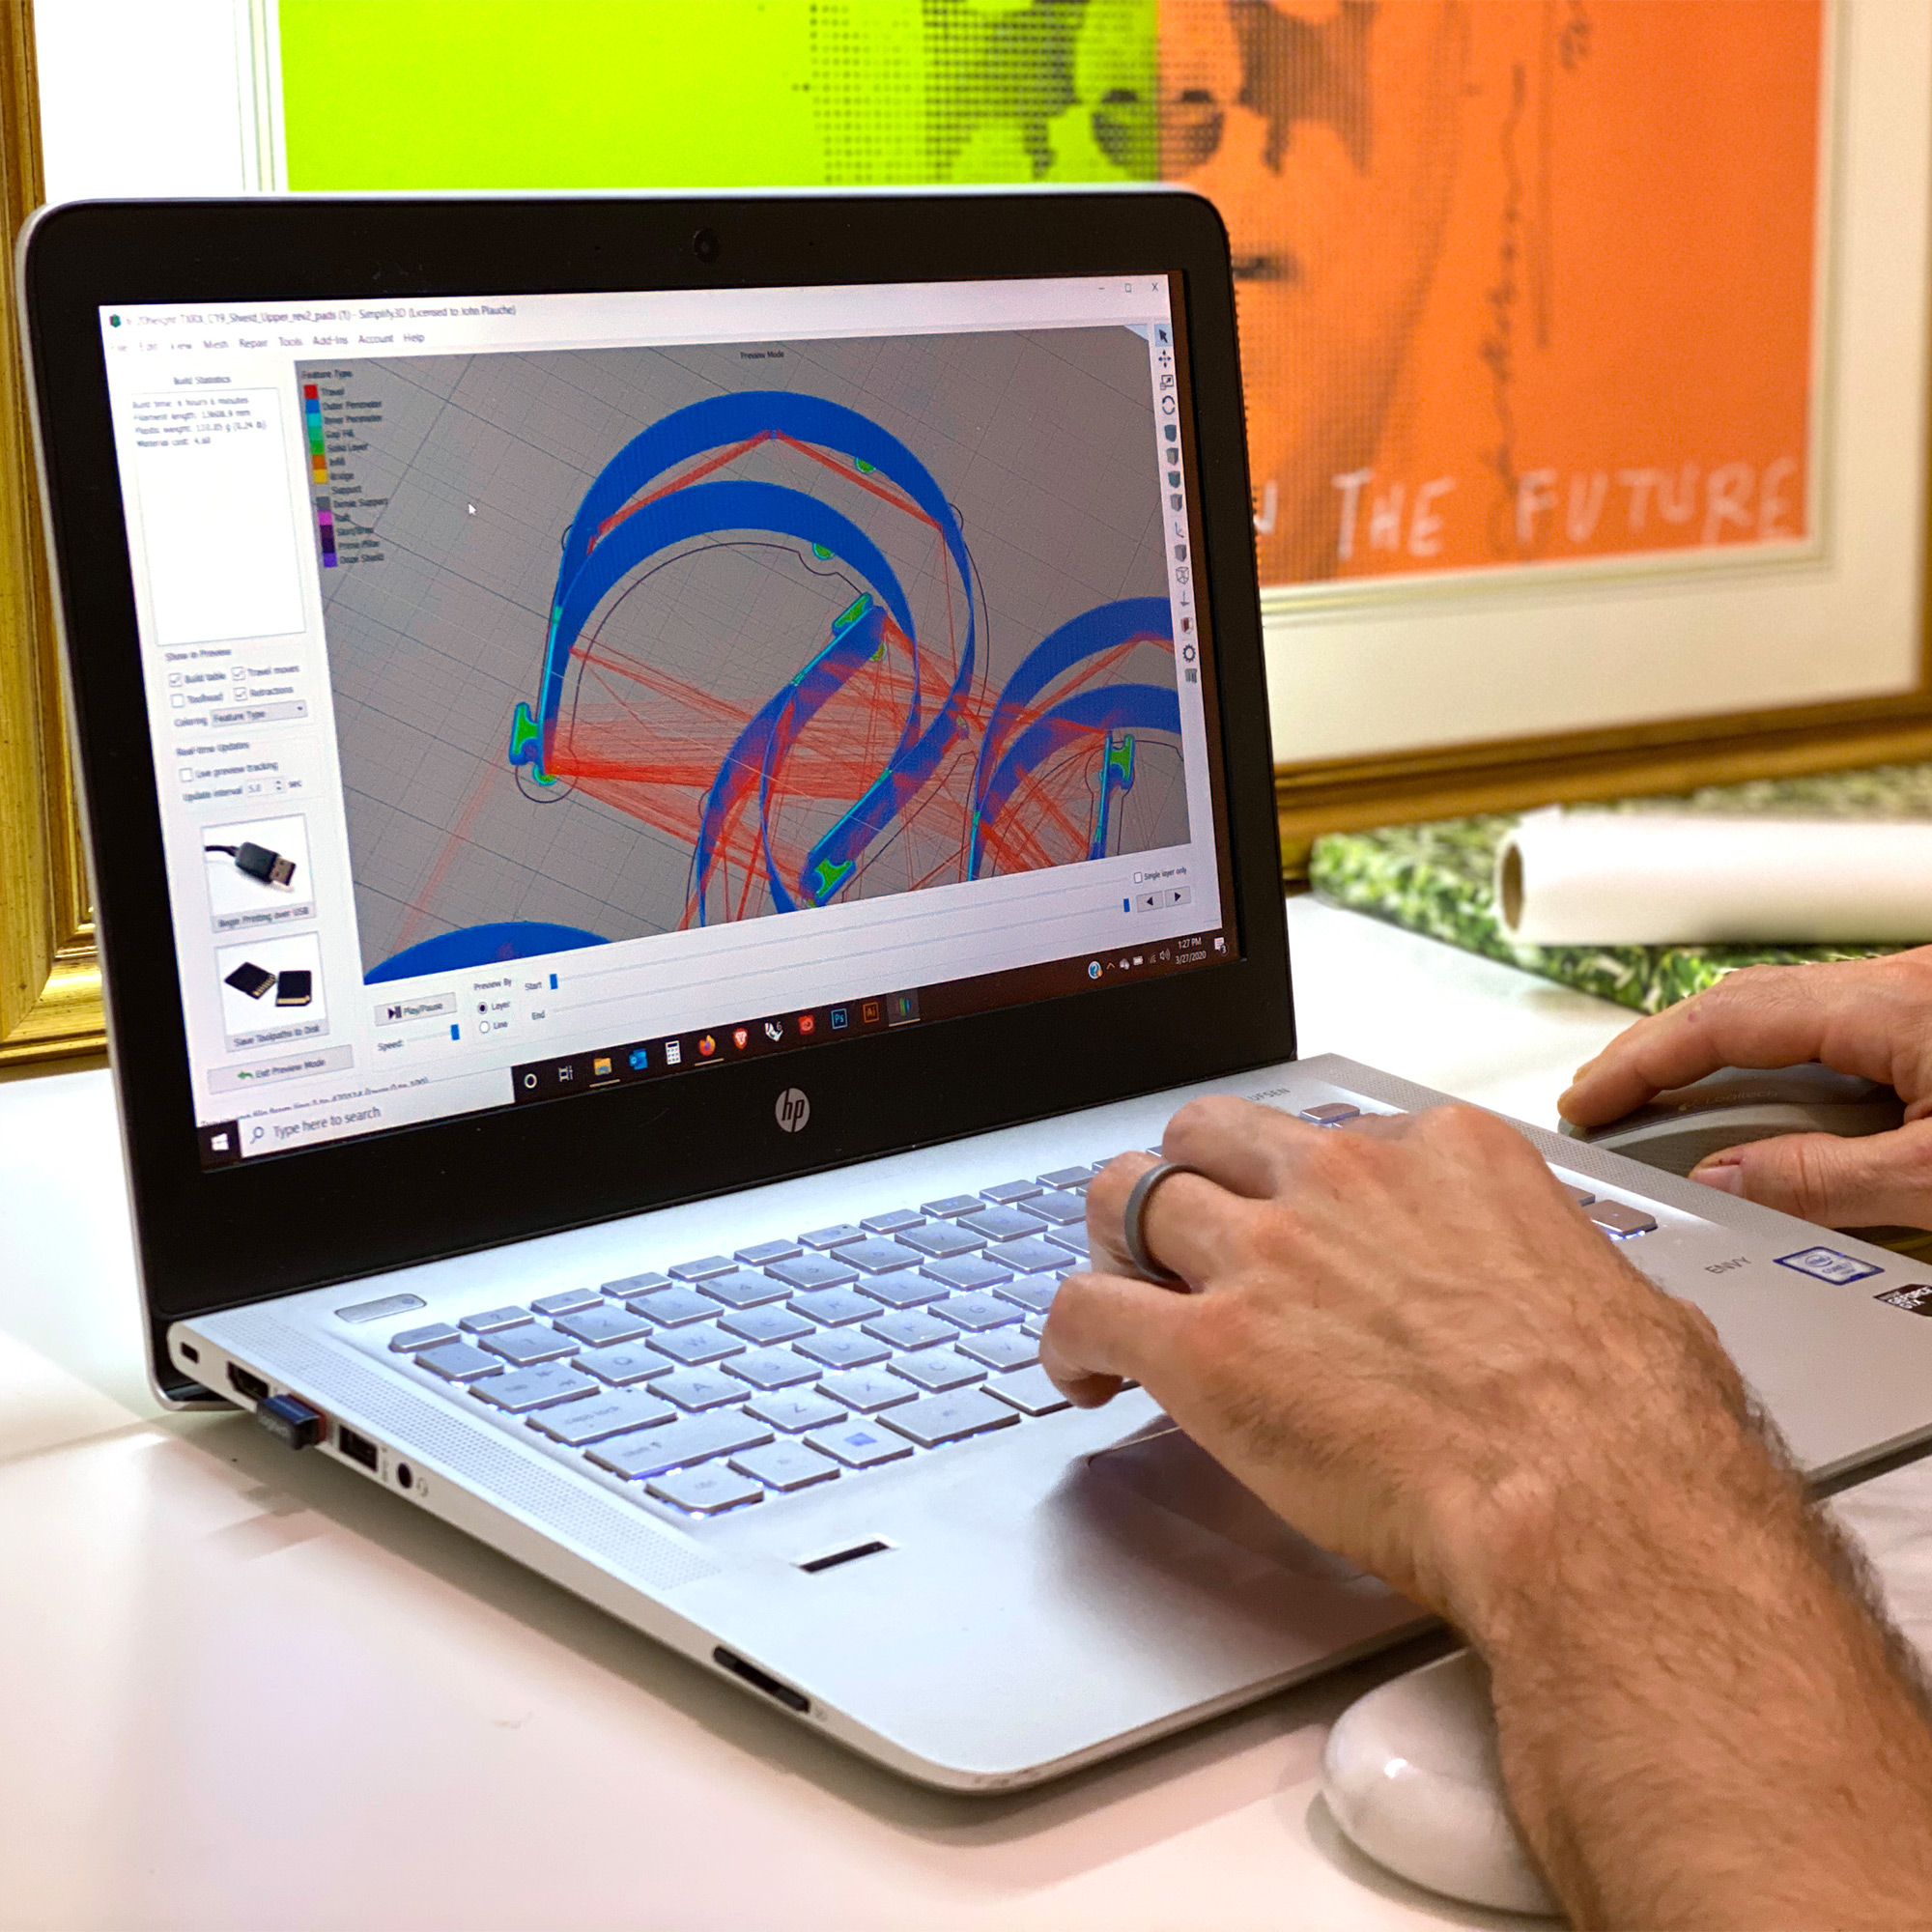
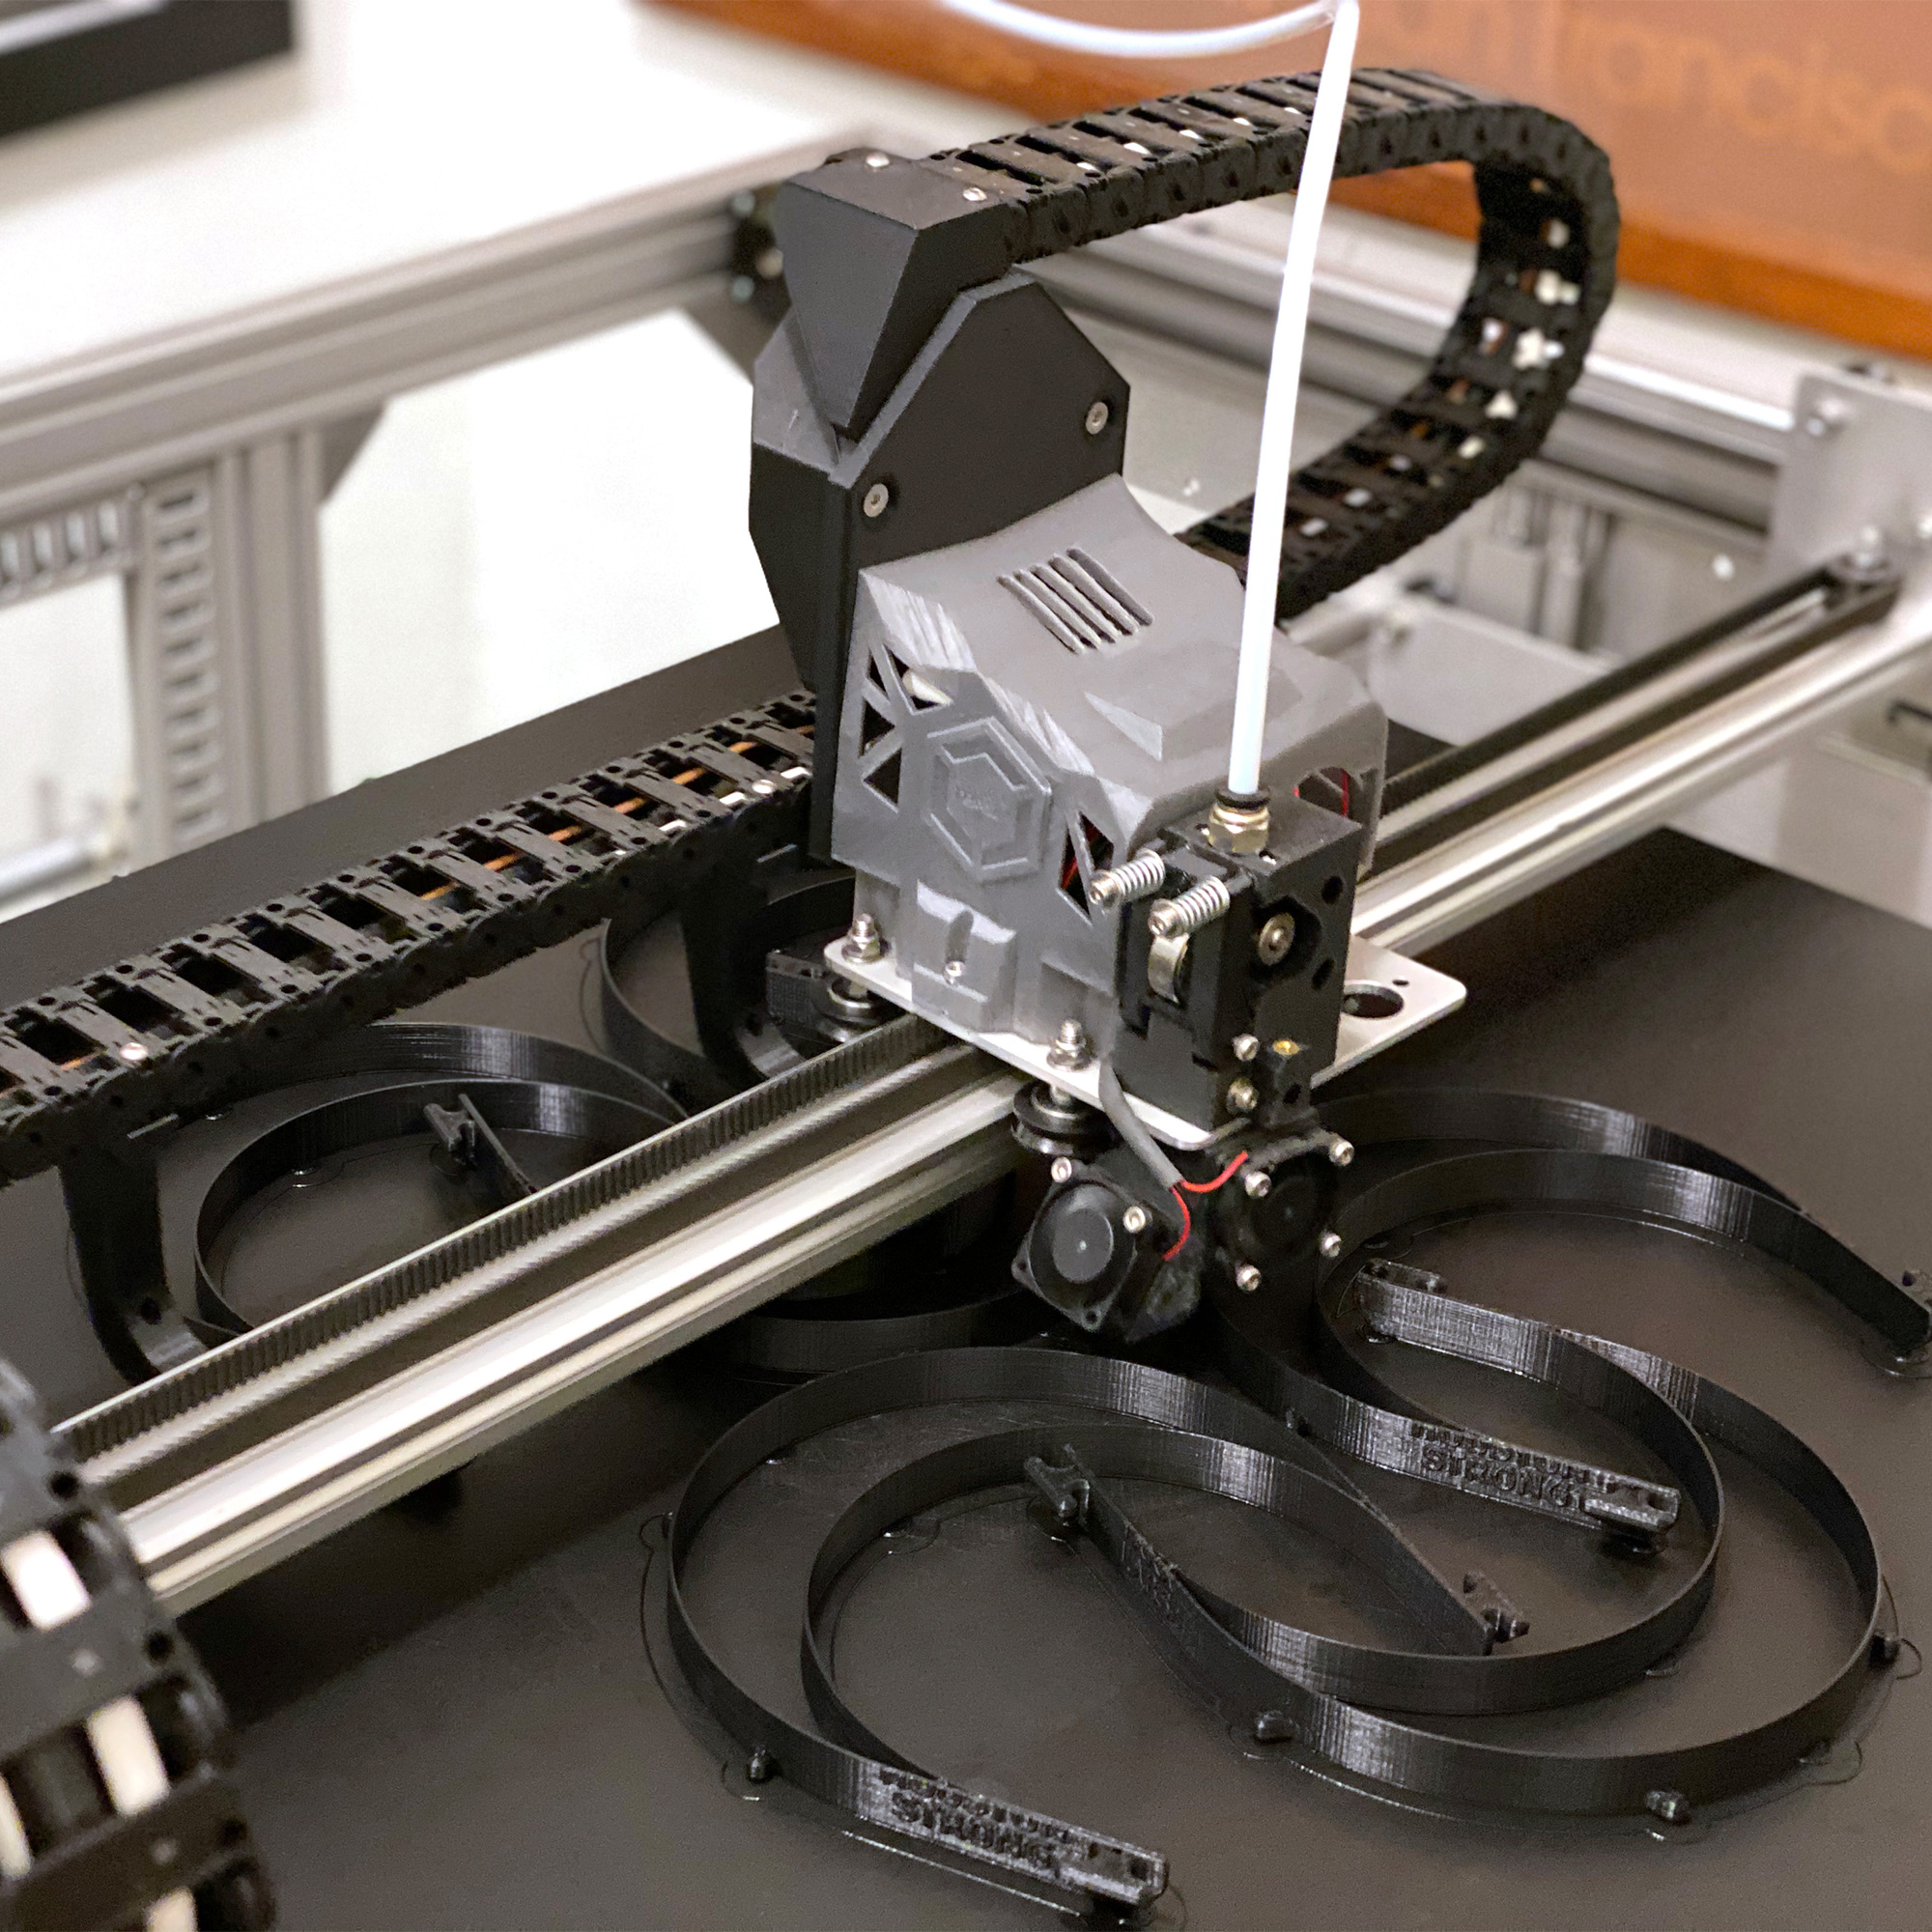
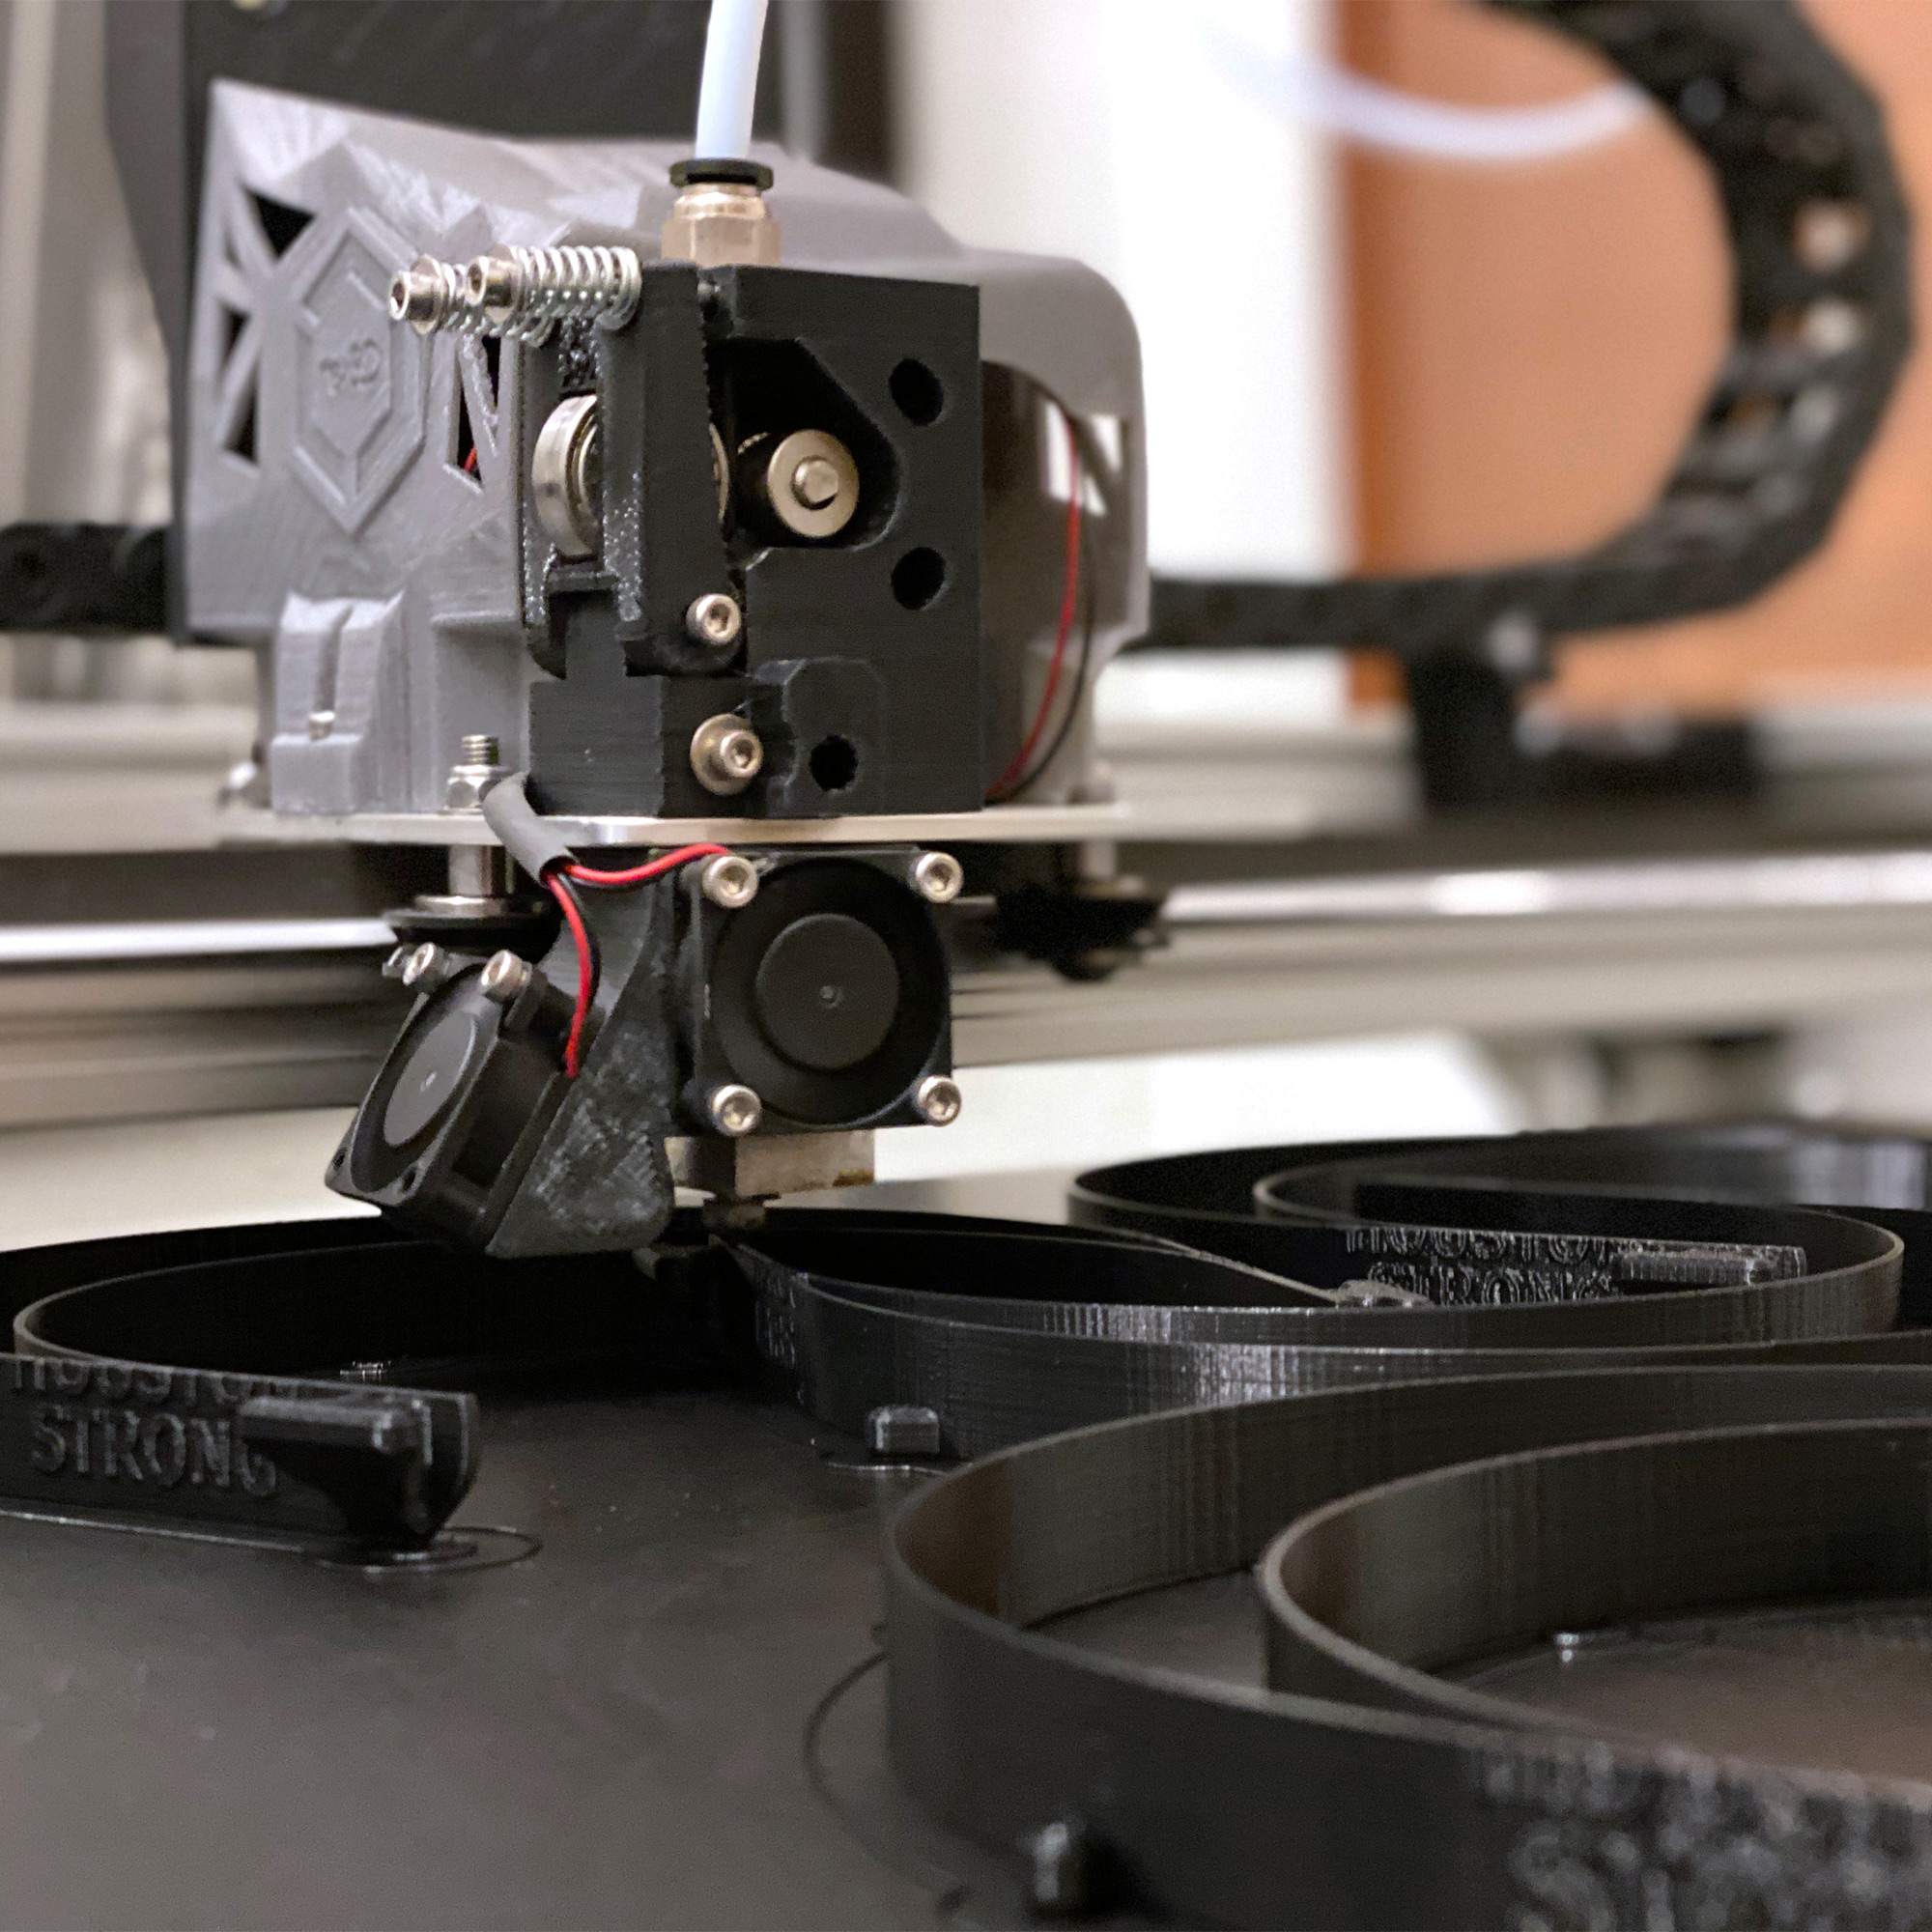
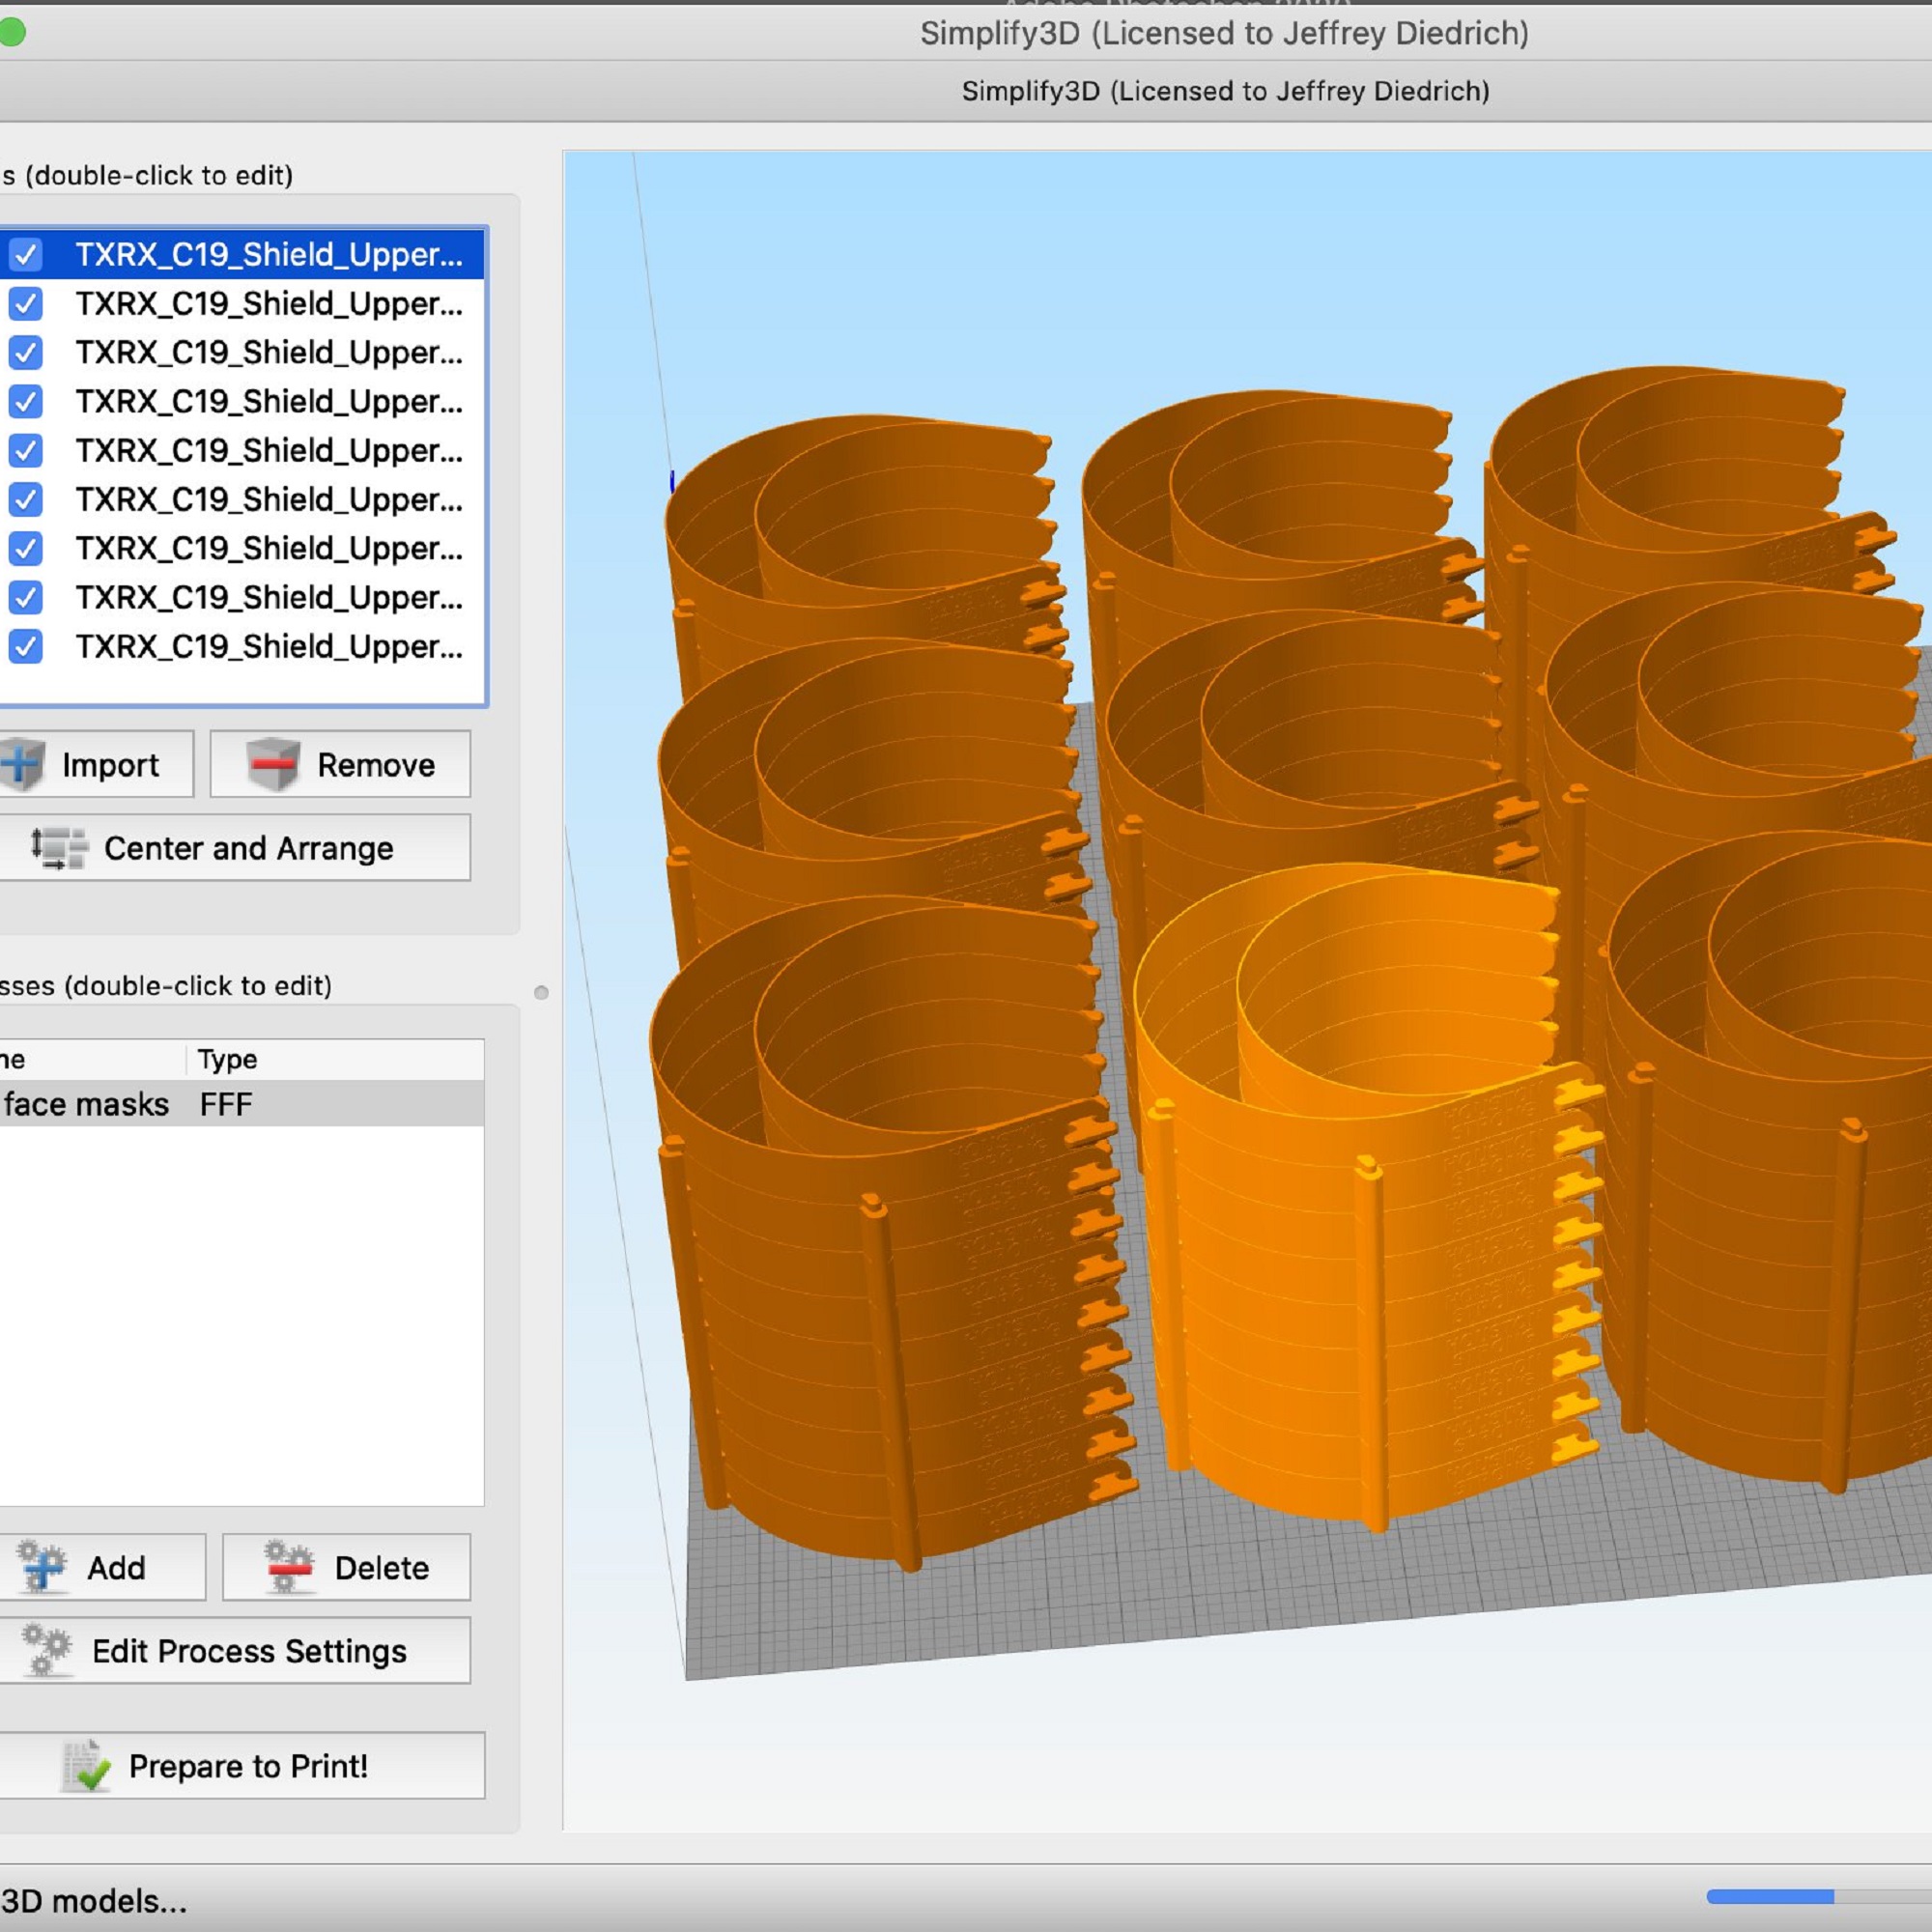
5. Export the file as an .STL file and slice your print. For the Macklin Manor project, we used a good quality PETG to print the stamp. You can also use a TPU filament like Ninjaflex Cheetah, to make the stamp flexible, but that does have a higher material cost. Whatever you go with, position the STL to print with the handles down, and the design facing up. Slicing at a standard resolution (0.3mm layer height or similar) is perfect for a concrete stamp.

A Simplify 3D slice of the Macklin Manor concrete stamp 3D model.

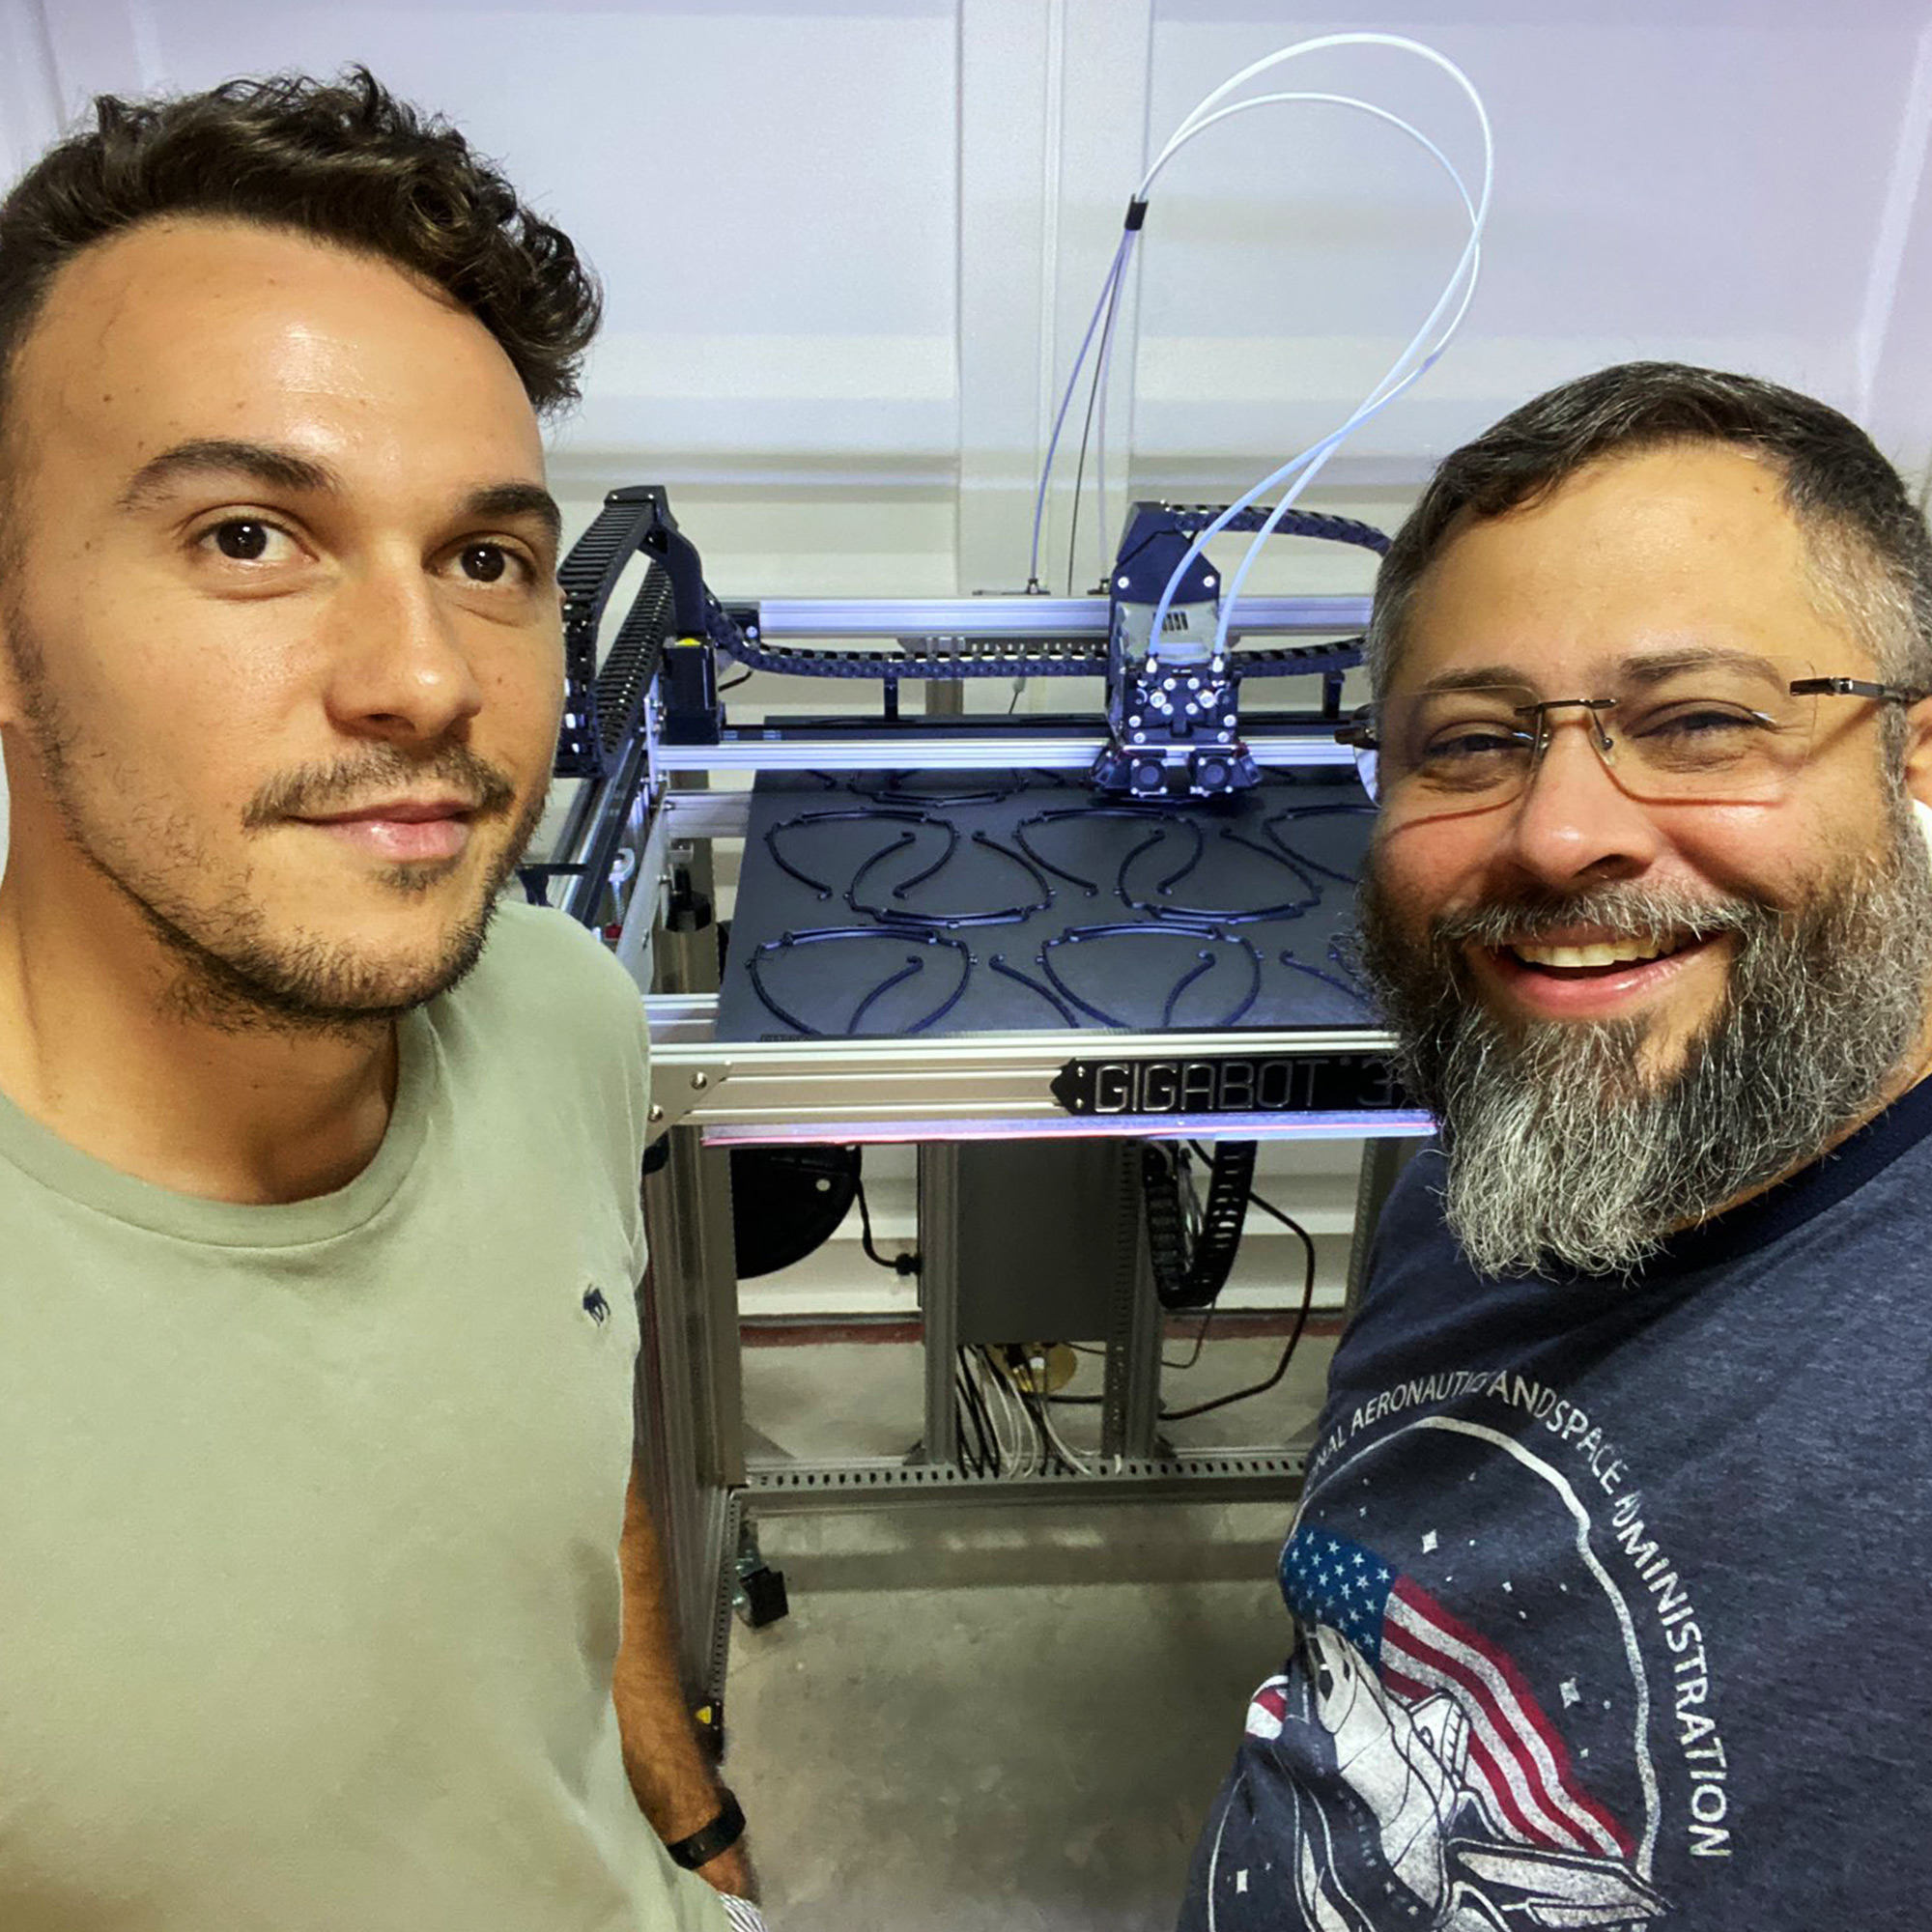
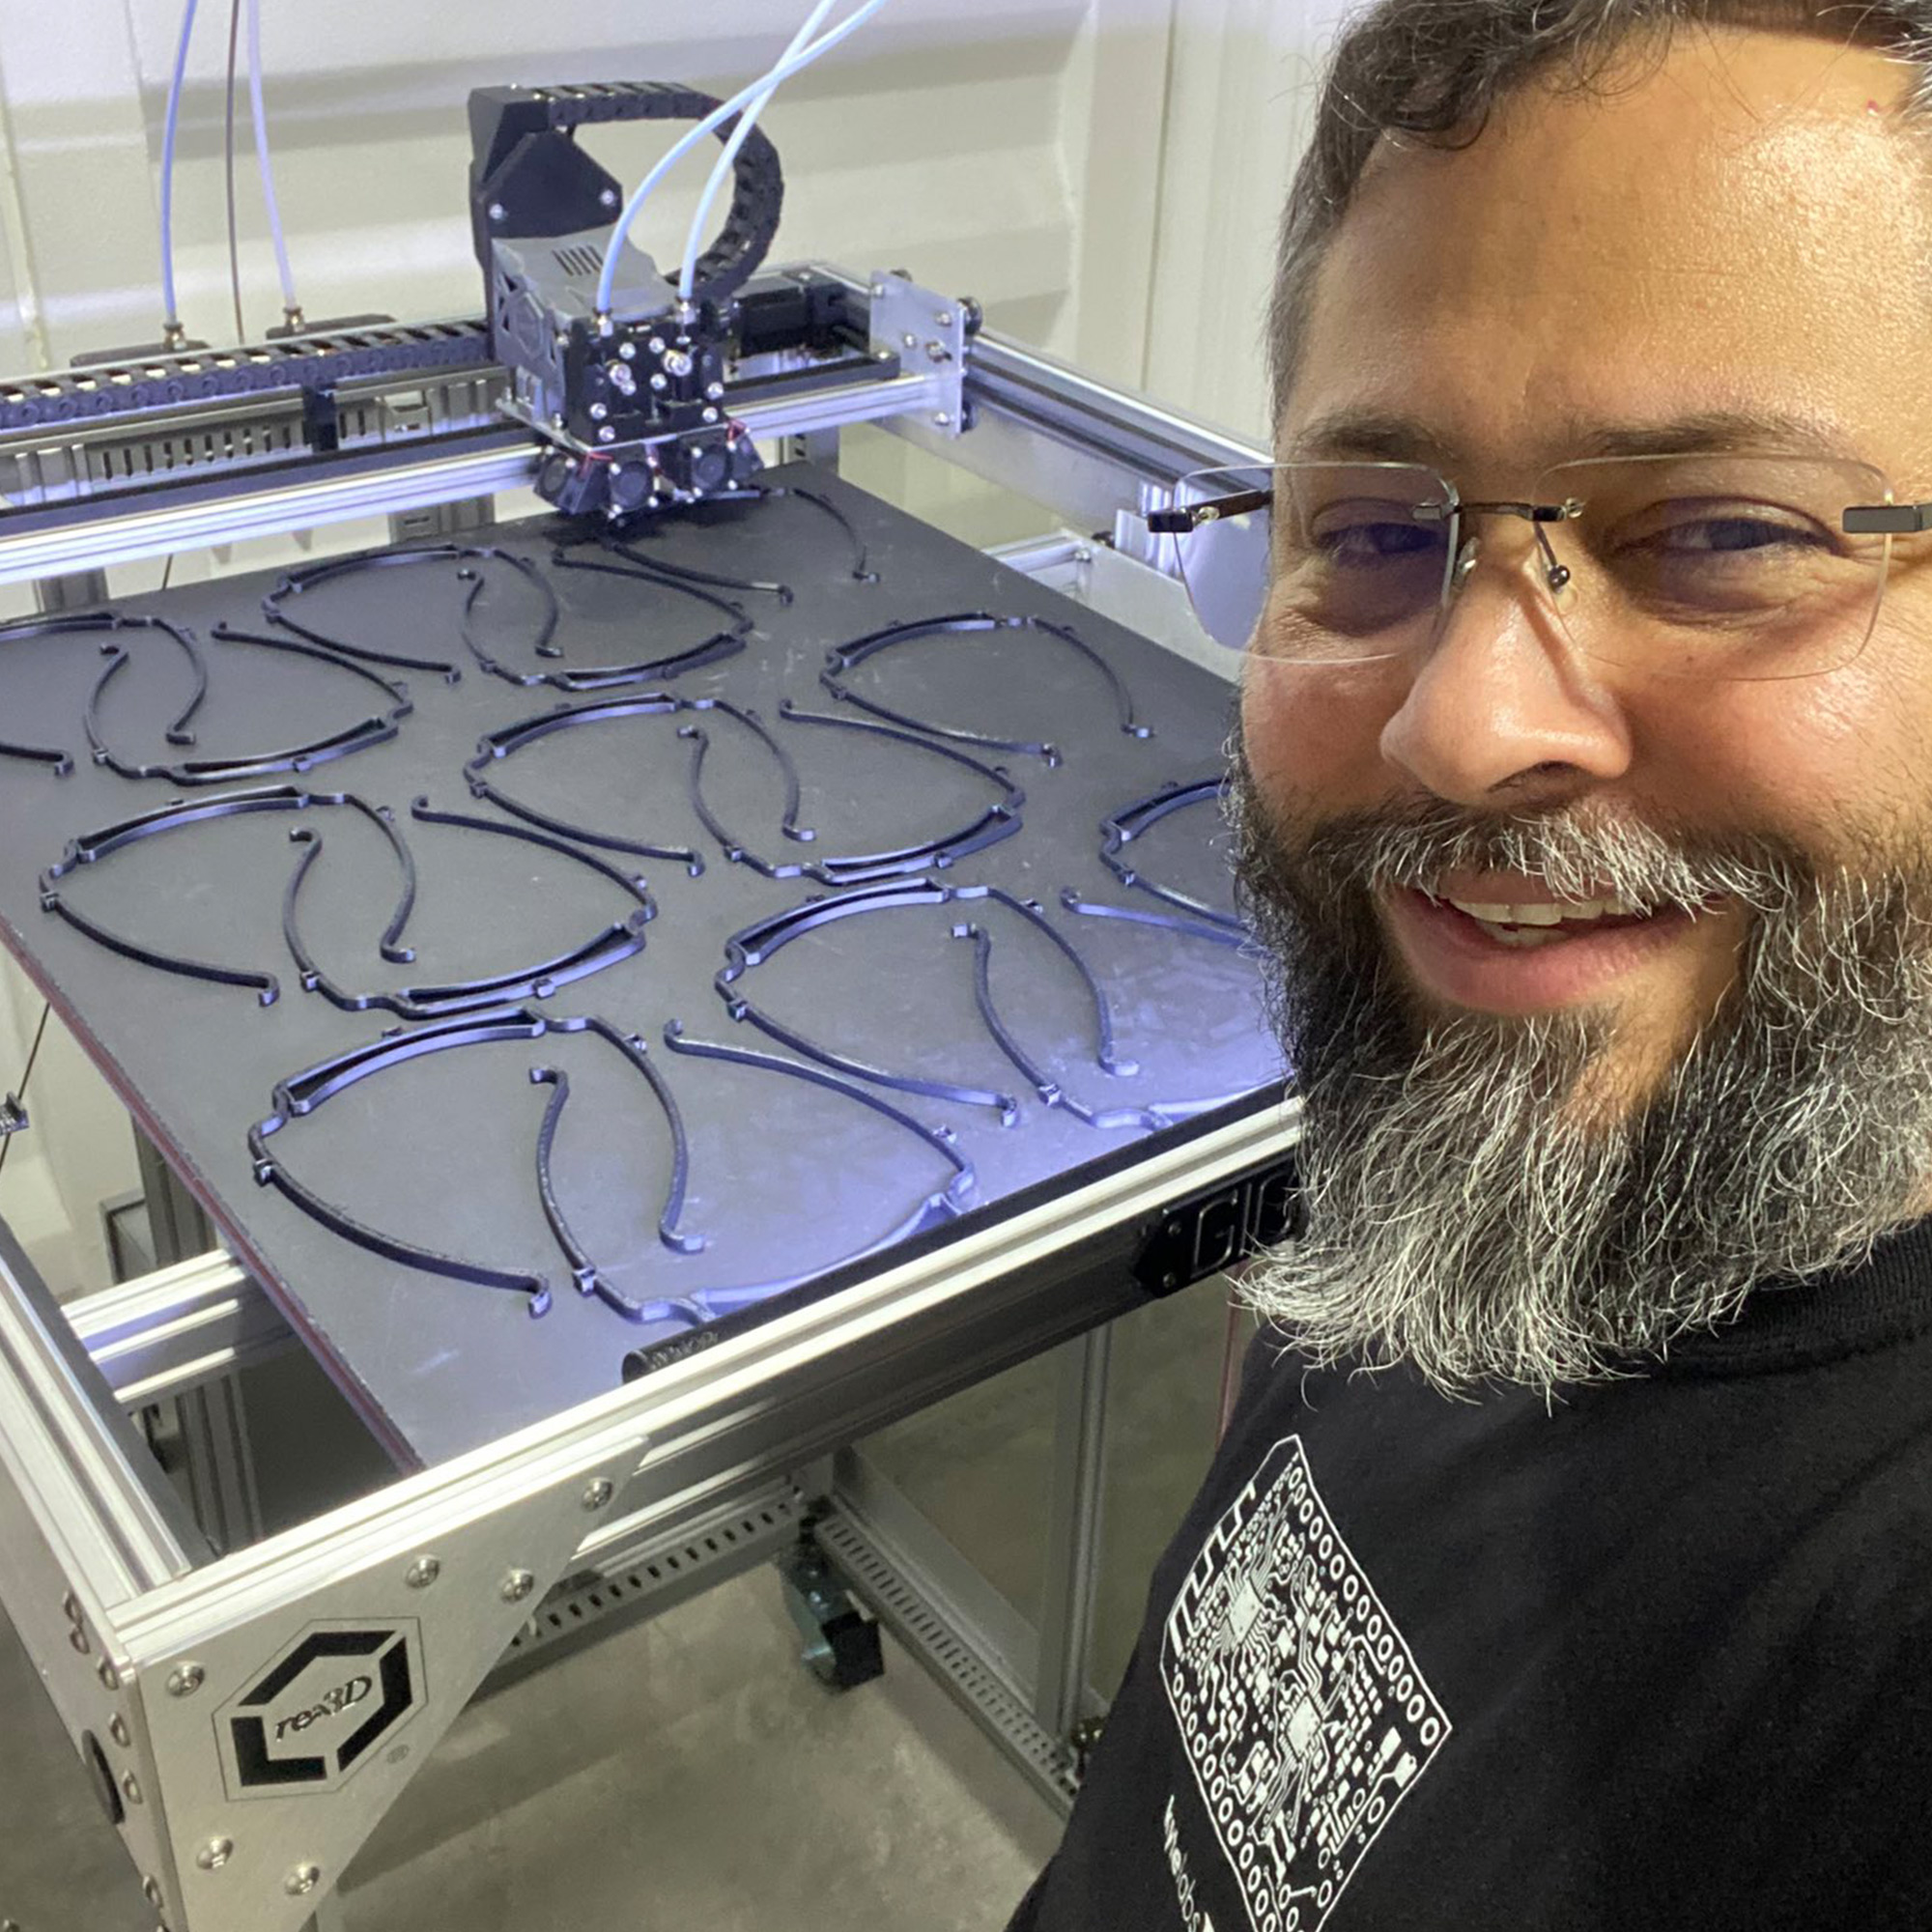
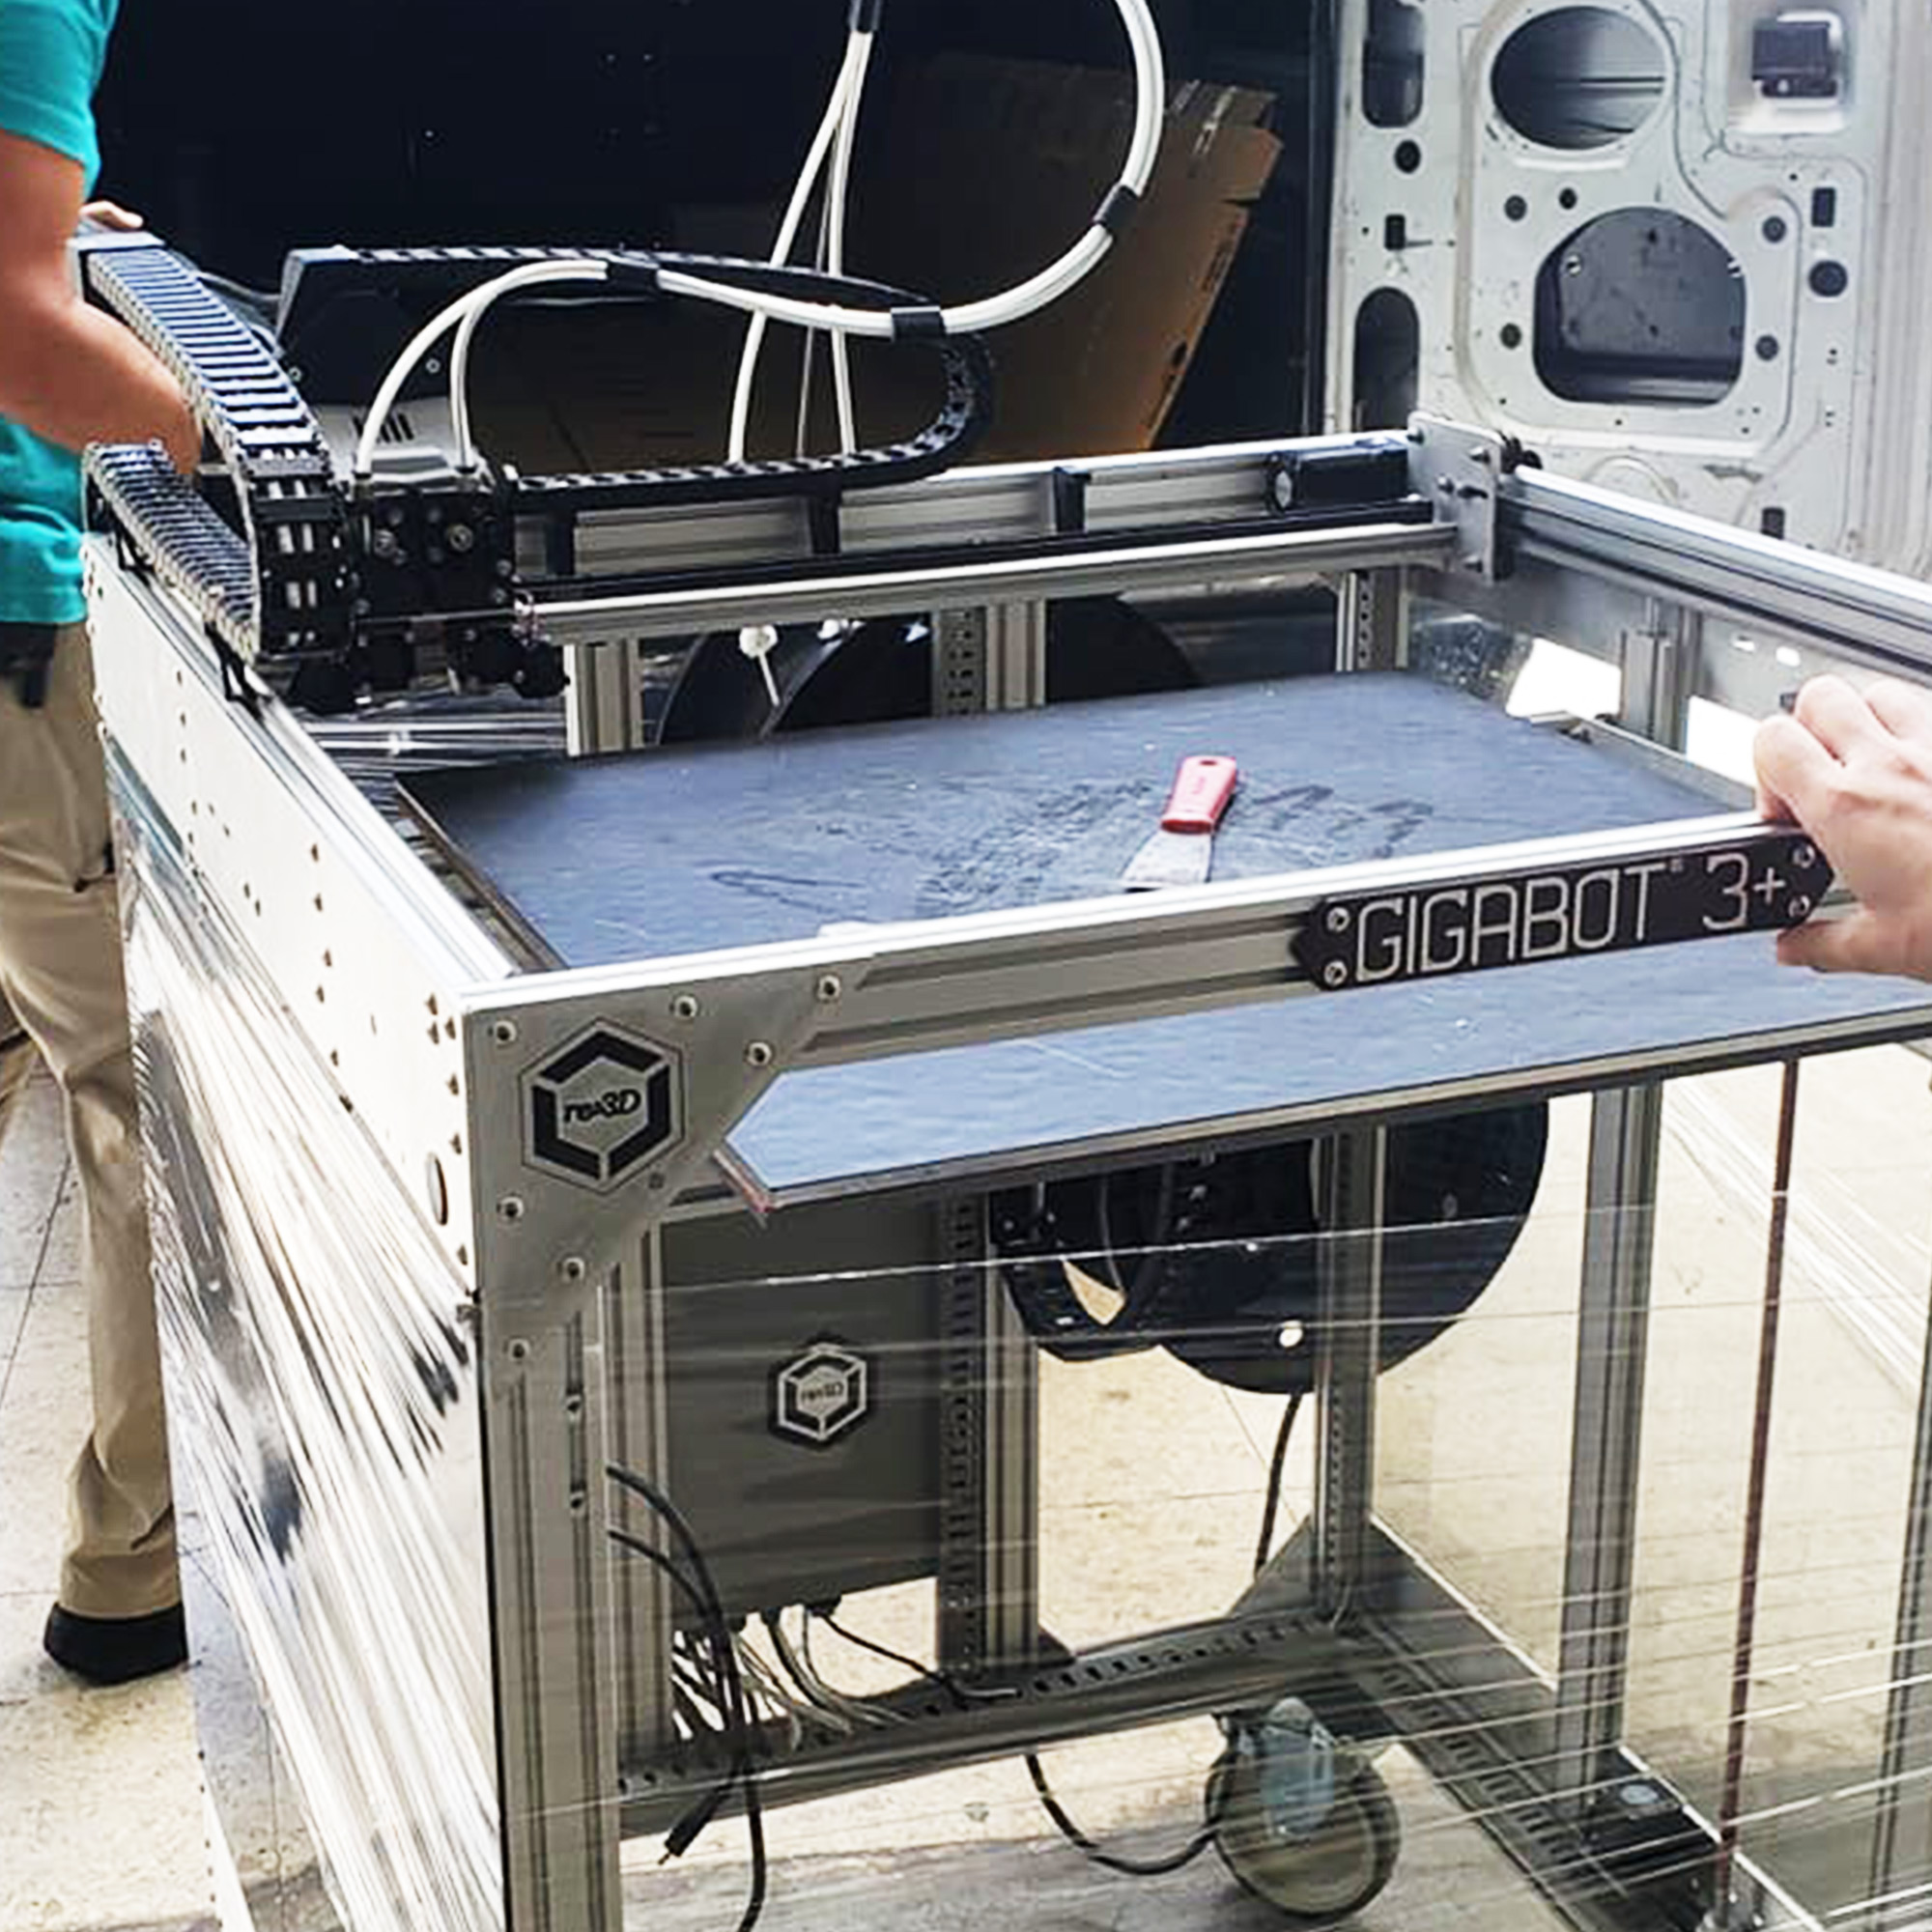
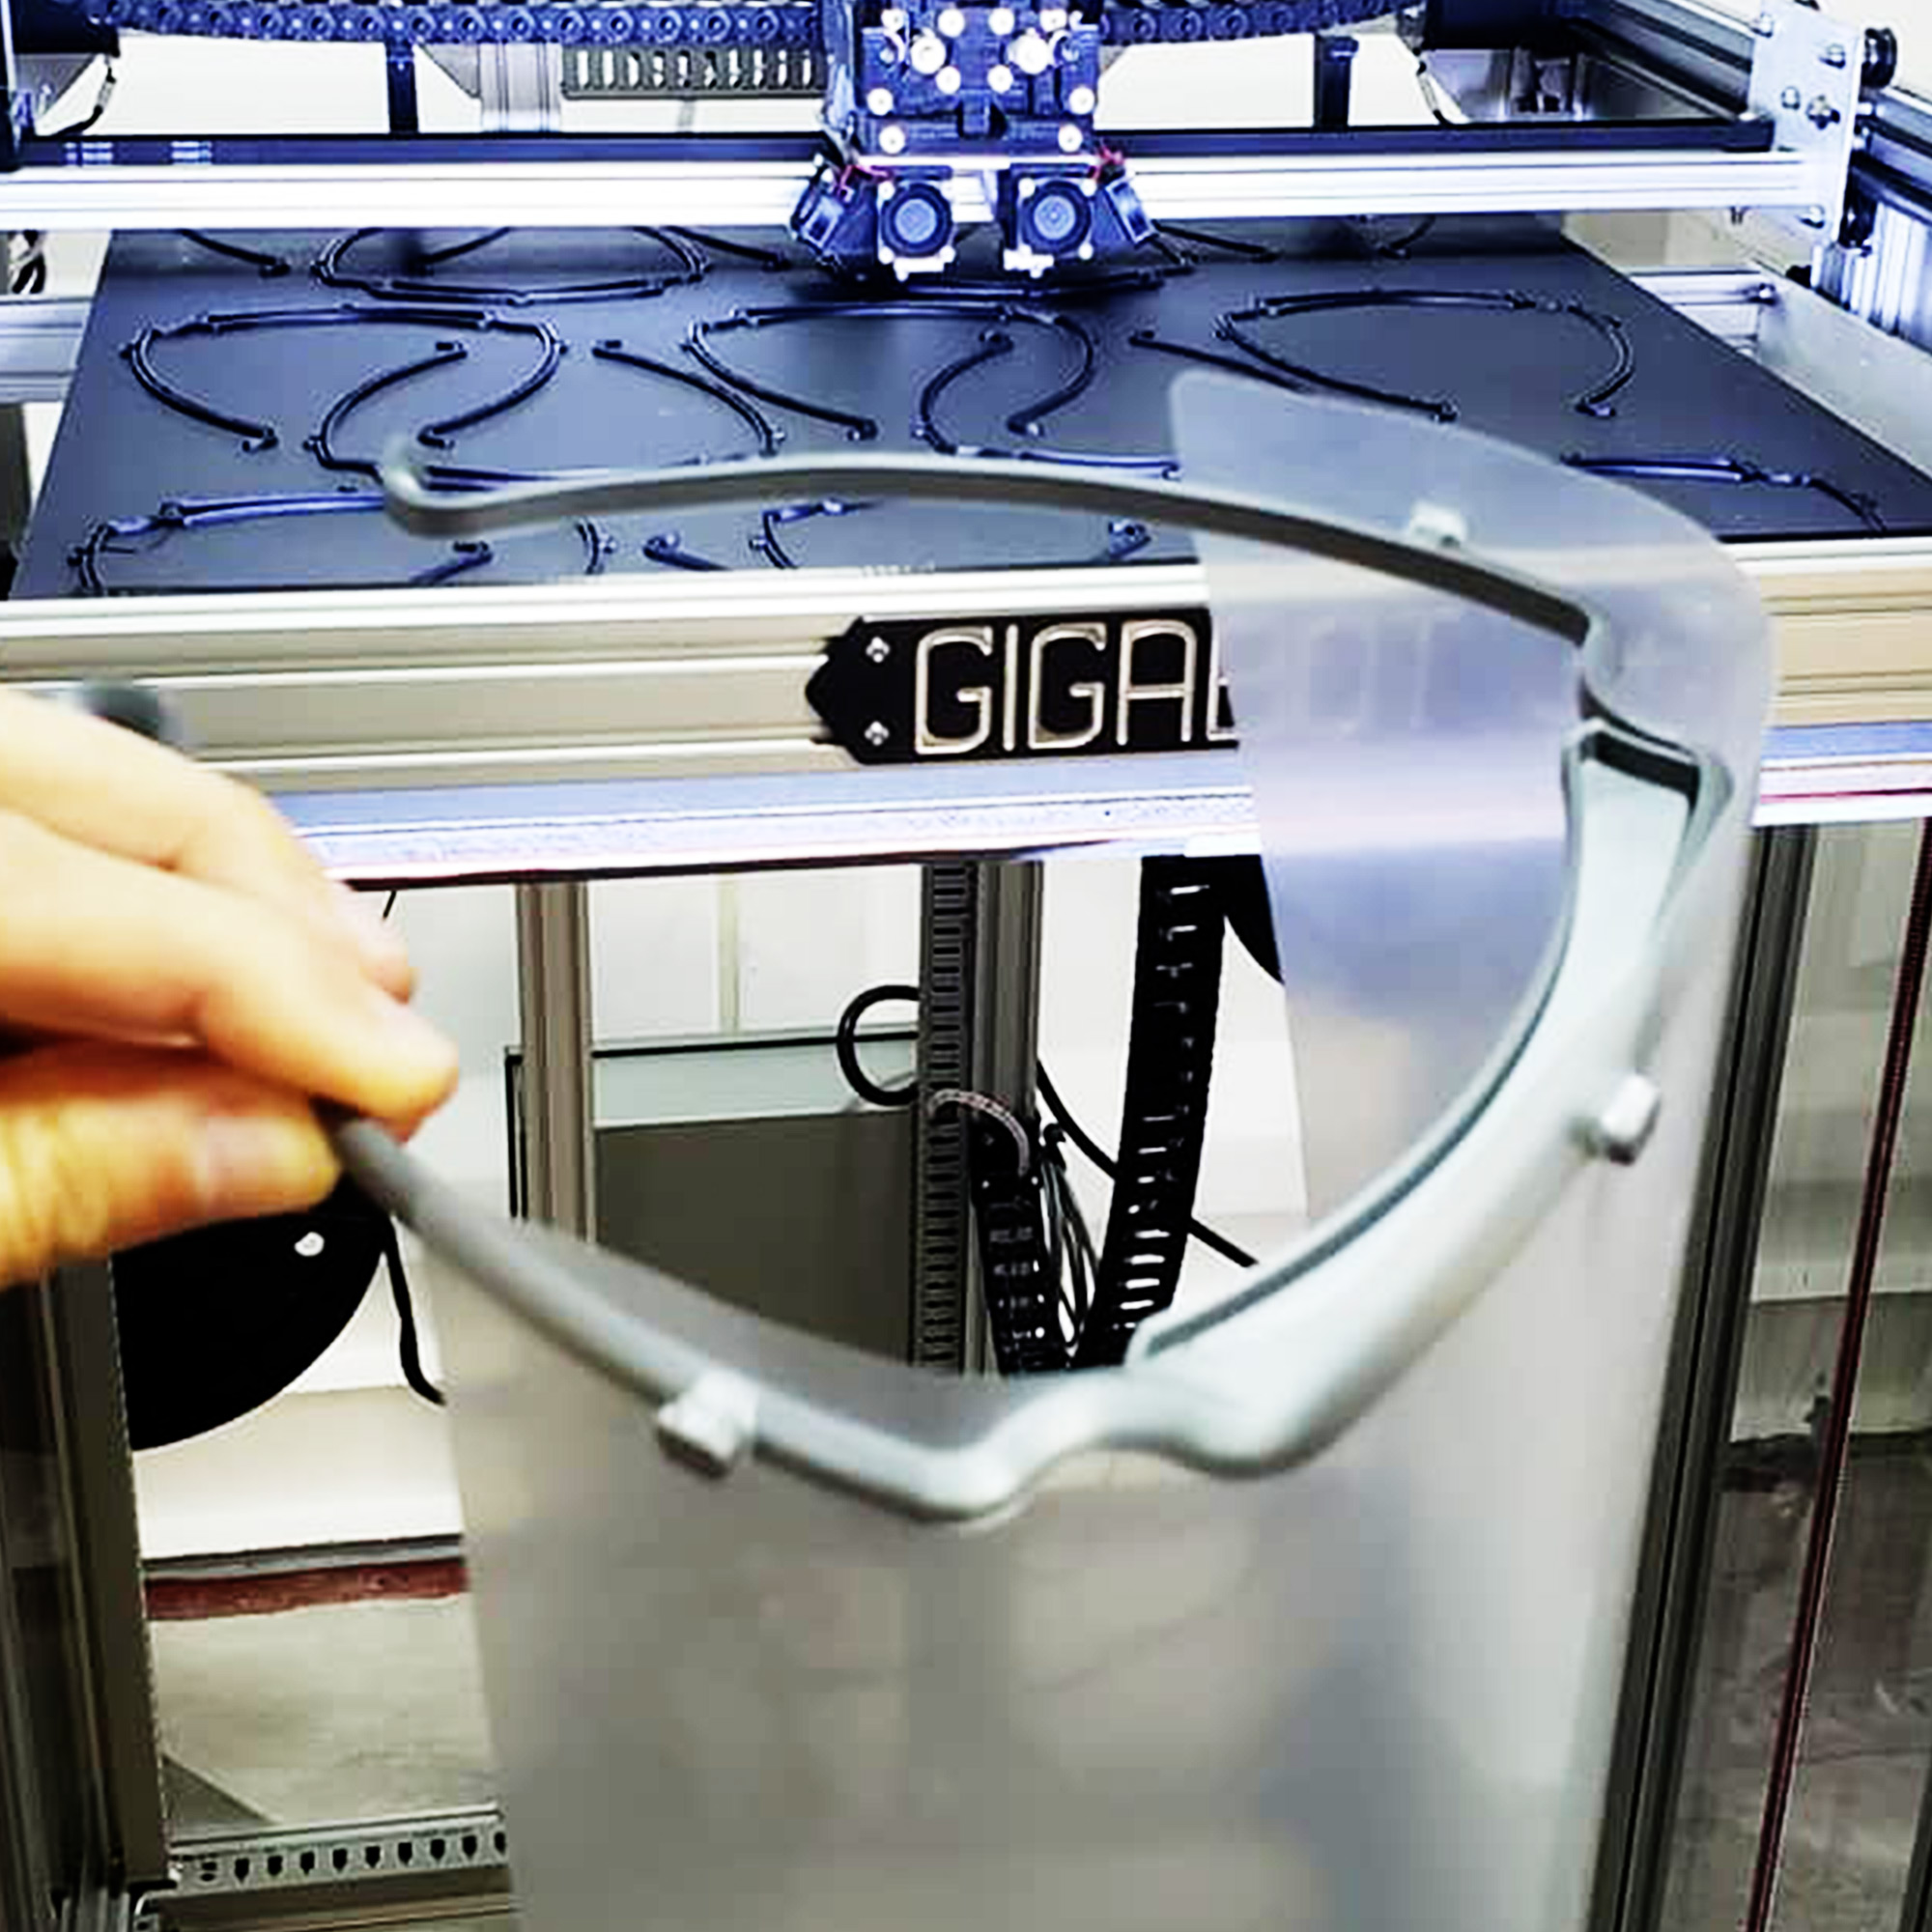
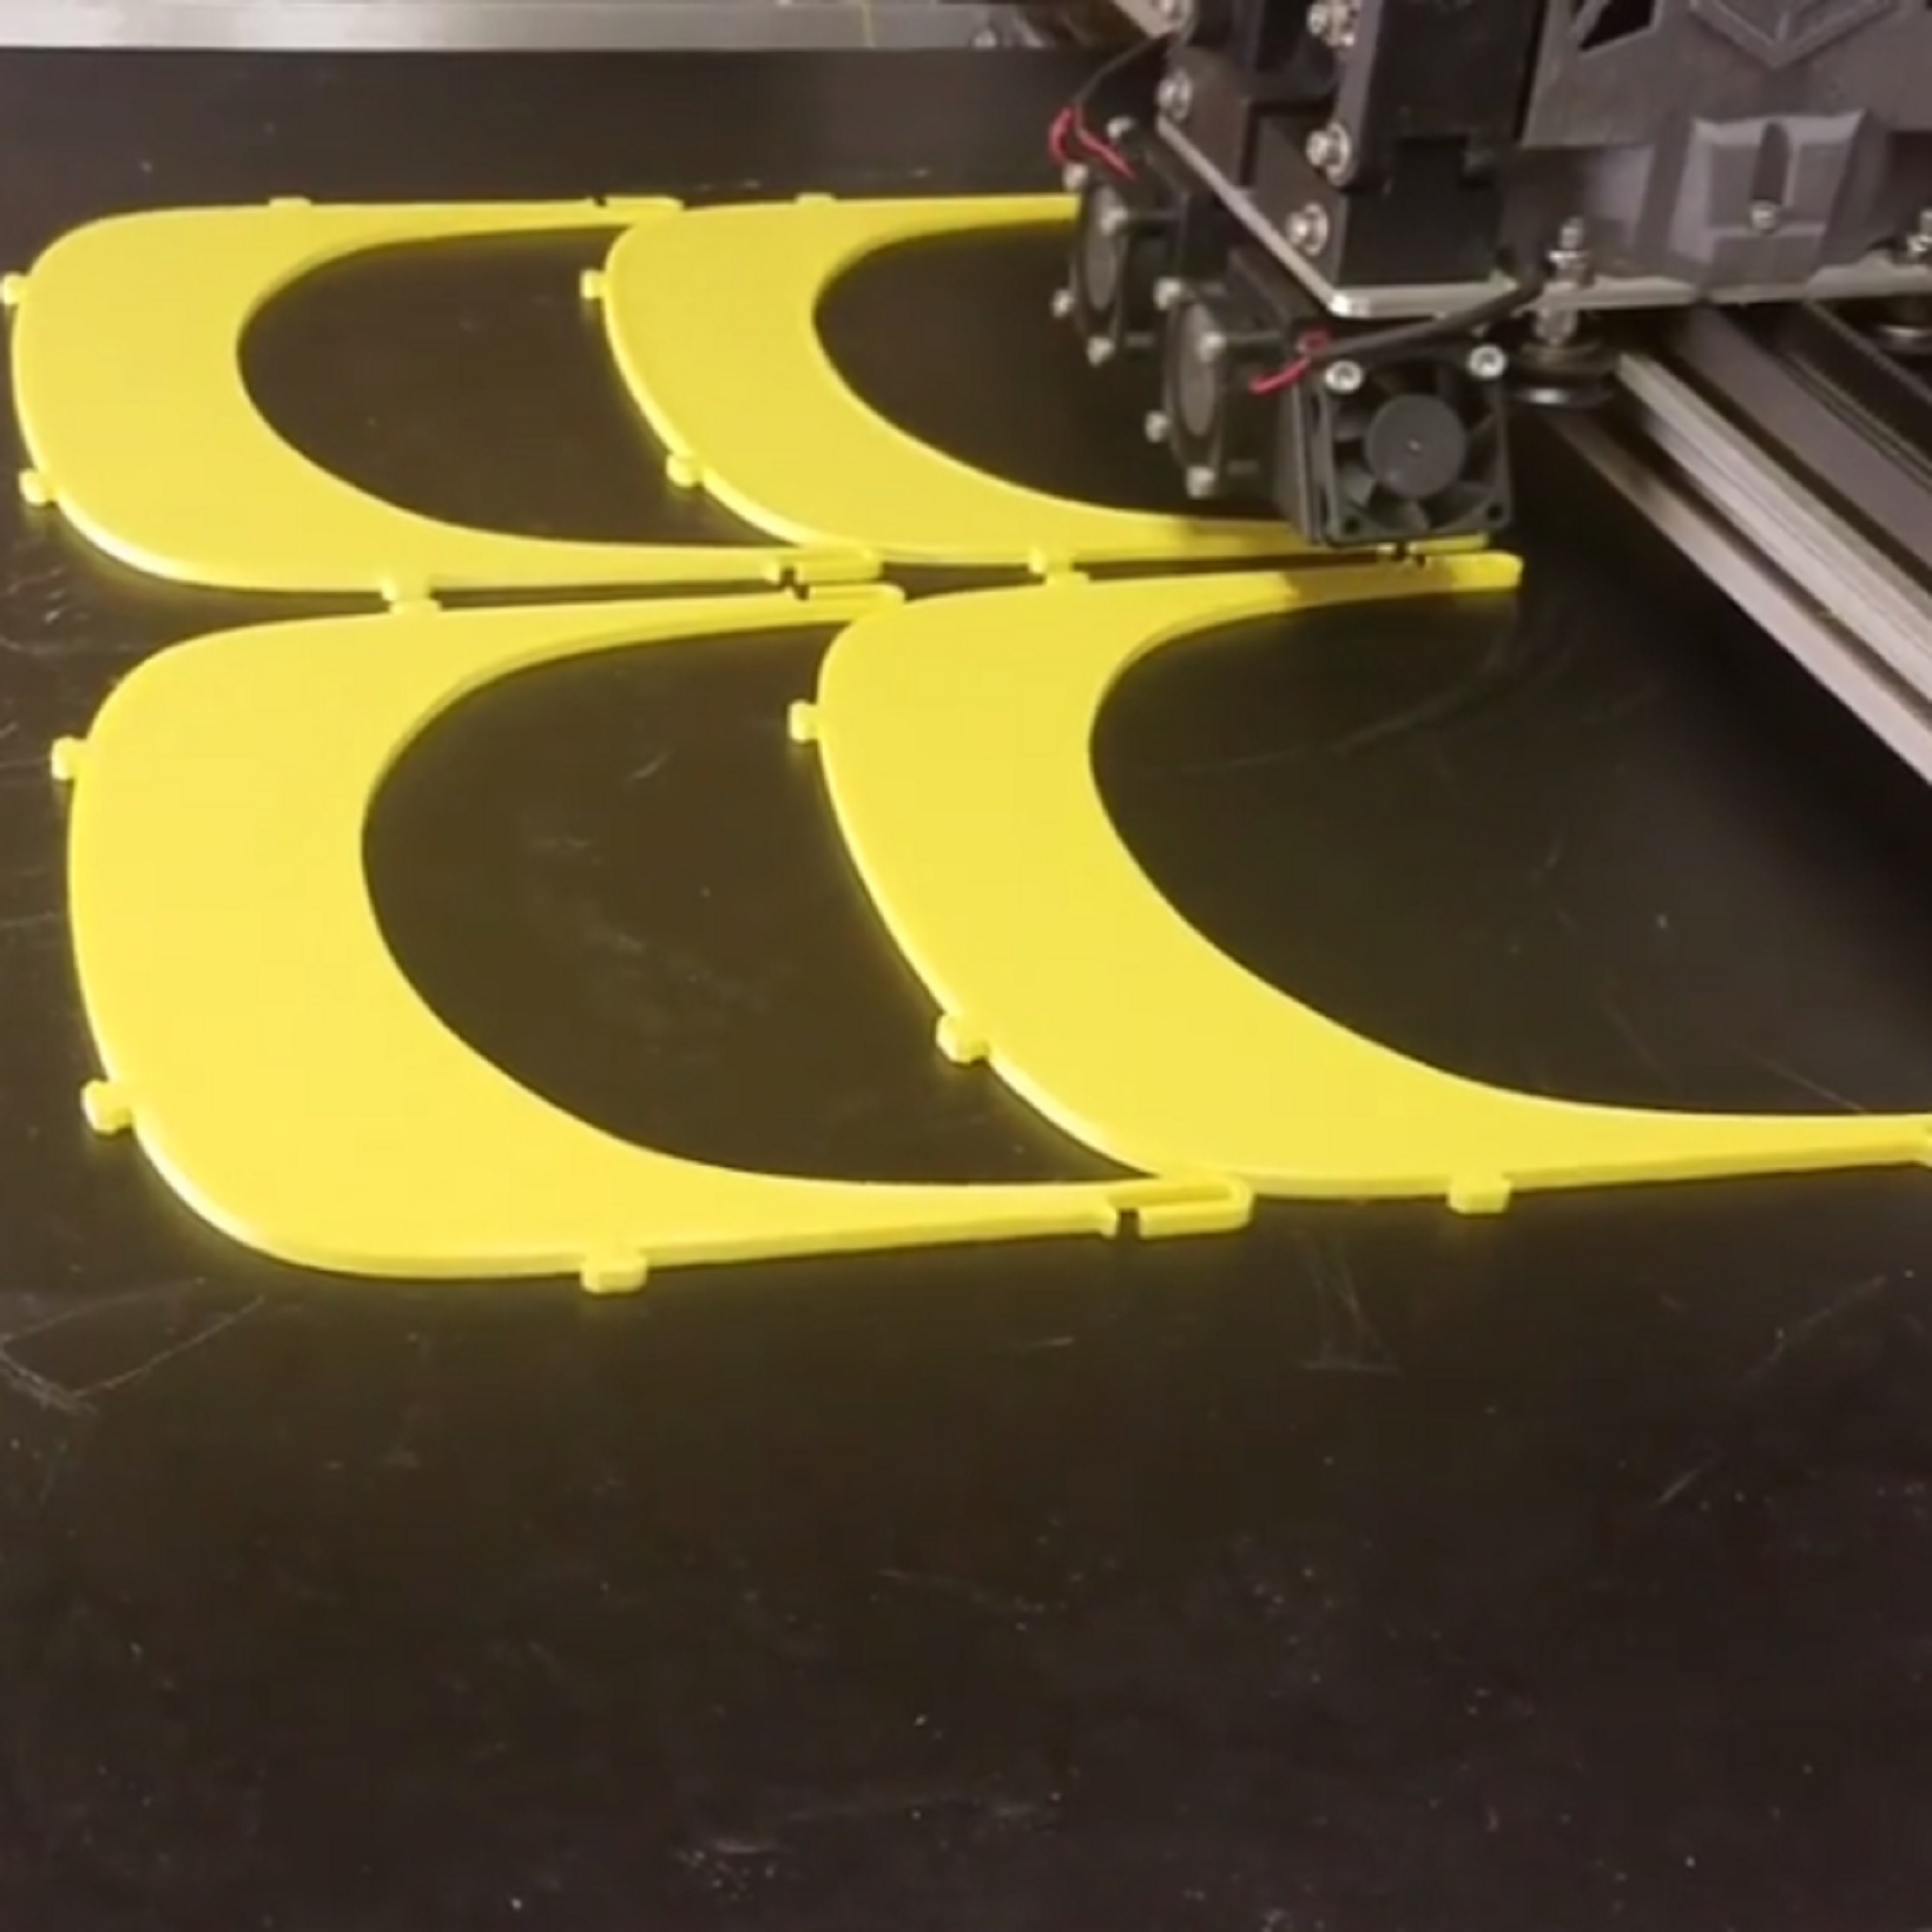
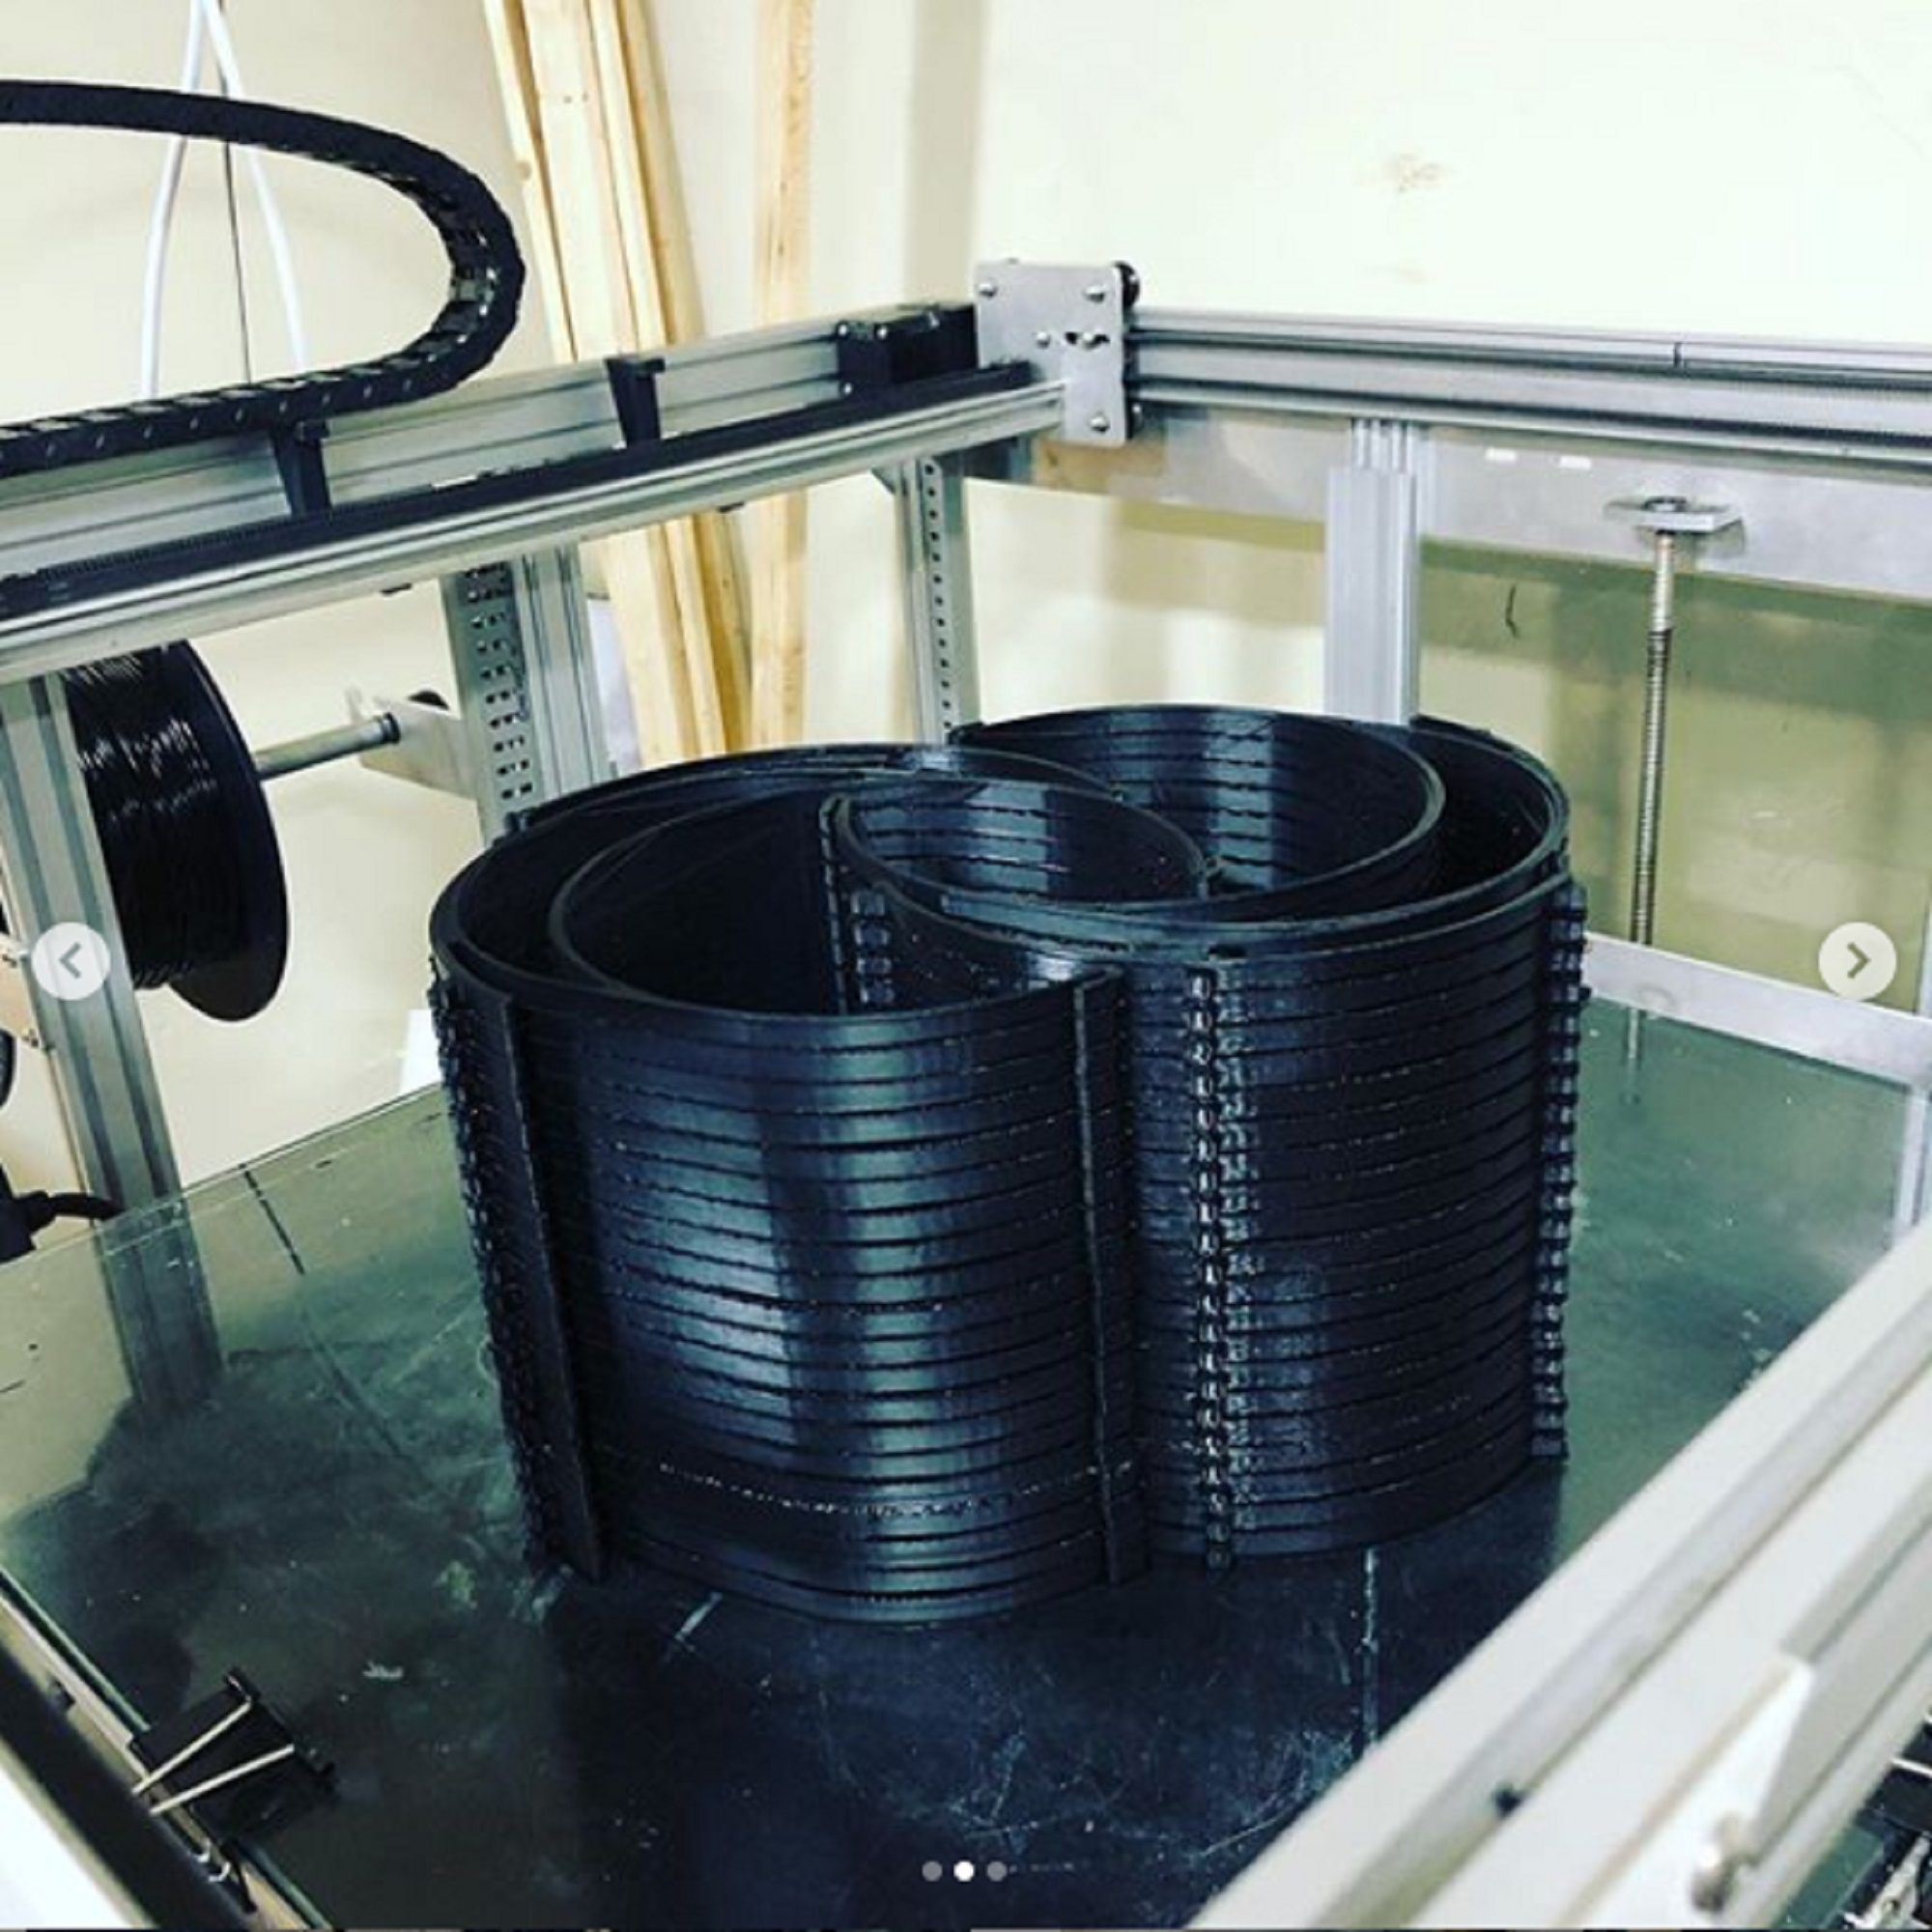
6. Start the presses. It’s go time. Print your stamp on a large format 3D printer, like the re:3D Gigabot 3+ we use at Pamton 3D. Depending on the size of your stamp, it will take half a day or more to print your stamp, so crack open a beer and relax.

The 3D printed stamp on a Gigabot 3D printer

7. Start stamping. Now’s the time you’ve been waiting for. When pressing it into concrete, stand on the stamp if necessary, and if you mess up, pull it out, hose it off, and try again! You can use your new concrete stamp for whatever you want. You’ll be able to make your mark on all kinds of business or personal projects. 

Not wanting to make it yourself? Next time you need a custom stamp for your concrete project, we’re ready to help. Get in touch with Pamton 3D for a free quote or to talk about your 3D printing needs (but maybe give us a bit more than a couple days’ notice!)

Not in Ohio like Pamton 3D? re:3D Design and Contract printing services ship worldwide, and we’re always available to provide you 3D printers, 3D prints or 3D models to meet your needs.

"Macklin Manor. Est 1989"

Charlotte craff

Blog Post Author

Global Gigabot Community Rises to the Challenge of COVID-19

As we all face our new normal and adjust to the realities of life during a pandemic, our 3D printing friends and colleagues around the world have stepped up to provide much needed personal protective equipment, filling the supply gap for everyone on the front lines. This isn’t just for doctors and nurses, it’s also for the police, EMTs, grocers, gas station attendants, and every other essential worker who suit up to keep our societies’ services going during this crisis.

More close to home, we couldn’t be more honored to count many of these selfless volunteers as our customers. re:3D’s social mission to democratize manufacturing and 3D print with purpose tends to attract like minded individuals and businesses whose first instincts are to be the problem solvers for their communities.  Featured below are our friends’ efforts in their own words.

Engine-4, Tredé, Parallel18 & Daniel Varela

Bayamón, Puerto Rico

Tell us about the design you are printing.

After learning about a need for PPE, we started printing a derivative of the 3DVerkstan visor design for face shields that could accept pre-cut shields that had been donated. We chose that design because it was the fastest to print. It was nice to see along the way that it got NIH endorsement. Our expanding print farm of Gigabots & Prusa printers is located at Engine-4, and includes local Gigabots that Parallel 18, Daniel Varela, and Atlantic University (once it clears customs!) loaned to help bolster production.
Design Inspiration: https://3dverkstan.se/protective-visor/

PR Variant: Link to .stl file direct download

What material are you printing with?

We are currently printing with PLA.

Who are you printing this design for?

We are donating face shields to health professionals across PR. So far we have donated 1400. We’re also helping a doctor with 3D printed splitters. Just today we got a tightly fitted design and are doing further testing.

This fabulous group of makers who combined forces can be found online:

@engine4cws @trede.pr @p18startups

https://engine-4.com/

http://tredeprinting.com/

https://parallel18.com/

Bill Albertini

New York City, New York, USA

Tell us about the design you are printing.

When I heard about a potential shortfall in PPE supplies at New York area hospitals, my first reaction was to research mask/respirator models but soon realized they were not an ideal candidate for FDM printing. Face shields are also in short supply and there were a couple of designs that looked promising. I downloaded and tested several candidates before I found a design on March 26th by Swedish 3DVerkstan which they had just released in the wild, I soon I discovered that Weill Cornell and several other institutions had adopted this model because of its simplicity and ease of assembly. It consists of two components, a 3D printed head strap and a clear plastic shield which can be easily fabricated using letter size acetate sheet .005 or thicker and a standard 3 hole punch.

Download Site: https://www.youmagine.com/designs/modified-protective-visor-by-3dverkstan
Design Site:https://3dverkstan.se/protective-visor/

What material are you printing with?

I am currently printing with PLA but I am going to switch over to PETG as soon as I can set up better ventilation. This is an old fashioned New York loft work/live situation.

Who are you printing this design for?

Most of this first batch was donated to DIY Shield Project through connections with nycmakesppe.com, and they have been pretty much distributing to (public) hospitals with severe shortages like Elmhurst and Lincoln. I am also giving 50 kits directly to someone I know at Montefiore Hospital in the Bronx. I have also been in contact with Jenny Sabin who is running a site for Weill Cornell https://www.sabinlab.com/operation-ppe

Bill Albertini can be found online:

@bill_albertini

billalbertini.com

Efes Bronze | Serdar Erol

Yalova City, Turkey

Tell us about the design you are printing.

It is a simple face shield design that can save lives. The design came from 3BOYUTLUDESTEK.ORG platform. There are thousands of volunteers in this platform with 3D printers. “Sizi seviyoruz” is located on the shield and means that we love and thank you to all struggling with COVID-19.

What material are you printing with?

PLA

Who are you printing this design for?

All sanitarians, policemen, and some other officials that have to contact each other everyday.

Where can people sign up to assist with this effort?

WWW.3BOYUTLUDESTEK.ORG

Efes Bronze can be found online:

@efesbronze

Metabolic Foundation | Christie Mettes & Tony Sevold

Aruba

Tell us about the design you are printing.

We started working with the design from Prusa, which looked like it was carefully researched and tested and approved and it worked well, so we printed about 400 of those in total. We’ve recently moved on to the 3DVerkstan design, which takes half the time to print so it helps us increase our production. In addition to these, we’ve also designed a copy of some safety glasses they use at the hospital, which print even quicker and use less material.

What material are you printing with?

We’re printing mainly with PLA because that’s what we have, and it’s easy to work with. We’ve also used a bit of PETG and some ABS because that’s what we had, and it should work fine according to the Prusa and 3DVerkstan websites.

Who are you printing this design for?

We’re printing for the two main hospitals on the island, Horacio Oduber Hospital, and ImSan (Instituto Medico San Nicolas), as well as the department of health who are doing the testing (DVG, Directie Volksgezondheid), the psychiatric hospital organization (Respaldo), the union of family doctors and dentists, as well as individual health workers including nurses and family doctors who ask us specifically.

Where can people sign up to assist with this effort?

If you’re in Aruba, and have a 3D printer or can sew, you should sign up. Best way is to email us at lab@brenchies.com, or WhatsApp us at +297 630 2475

Metabolic Foundation can be found online:

https://www.facebook.com/brenchieslab/

https://www.instagram.com/brenchies/

Plodes® Studio | John Paul Plauché & Roya Plauché  

Baytown, TX, USA

Tell us about the design you are printing.

We are printing a head banding component of a protective face shield. It is based on a design by Prusa, and had been approved by the Czech Ministry of Health for use to help fill the void of PPE (Personal Protective Equipment). The version we are printing is a redesign by TXRX Labs and part of a volunteer effort that they had organized to help with our own local need for PPE during this worldwide COVID-19 pandemic. We are excited to see local additive manufacturing step up to a shared worldwide call, where intellectual property and design ego take a back seat to provide real time evolving, useful, and needed objects for humanity.

What material are you printing with?

We are printing with PLA from re:3D, always our first choice for on hand reliable material. We are printing 24×7 on our original (but upgraded a little) Gigabot #21! Each part is around 1hr and we are doing at least 6 units at a time.

Who are you printing this design for?

These prints are for our Houston area doctors, nurses, and staff on the front lines of the COVD-19 pandemic in hospitals and stations that are in need of PPE or anticipate a need in the coming days/weeks. Our parts are delivered to TXRX labs in Houston and are assembled with laser cut shields and elastic bands to complete the product and are distributed from there.

Where are you located?

We are located in Baytown, TX in our home office. My wife (Roya Plauché) and I (John Plauché) make up plodes® studio. We are a Texas based multidisciplinary design firm that draws from a coalescence of art, product, and architectural design. Our products are varied, authentic, minimal, and distilled with rigorous process to a balanced purity. Currently our best sellers are fire pits, so check them out and make a backyard escape for yourself while we are in this ‘Great Stay’. Help flatten the curve and please stay home as much as possible! 

Where can people sign up to assist with this effort?

We could use local area volunteers to pickup parts from us and drop to TxRX labs when we get 50-100 units at a time. Please email info@plodes.com with subject “TXRX pickup”. And please everyone visit TXRx’s go fund me at https://www.gofundme.com/f/txrx-manufactures-protective-medical-equipment and give what you can!

plodes® studio can be found online:

http://www.plodes.com/shop

@plodesstudio

CM Welding & Machine | Corey Mays

Midland, TX, USA

Tell us about the design you are printing.

We were printing a prototype ventilator splitter designed by Texas Tech and UT Permian Basin to allow up to 4 patients to use one ventilator. The first run has been sent for testing and we are waiting to hear back on that part. In the meantime we started reaching out to local medical personnel and some of the rural areas to see what needs they might have. We found the biggest need was for face shields. We chose a simple open source design and have been printing these 24/7 to fill these needs.

What material are you printing with?

For the ventilator splitter I chose PETG material and we are printing the face shield headgear out of PLA.

Who are you printing this design for?

Any medical personnel in need of face shields. 

Where can people sign up to assist with this effort?

I encourage anyone with a 3D printer to contact your local medical personnel or local universities of schools to help fill immediate needs there. Also, go to www.matterhackers.com and sign up for the COVID-19 response team. They will send out requests and files.

What has it been like for you working on this project?

It’s been exciting to be able to work on this project. As a manufacturer and mechanical designer I’m a problem solver by nature so being able to have the capability to help has been really fun and exciting! The Gigabot has been absolutely rock solid through this project. The larger print bed allows us more freedom to run different part arrangements so that we do not have to have someone here 24/7 to watch the machine. With the face shield head gear, we start a run of 6 in the morning and that run is ready to be pulled off by 5 pm. We then start a run of 8 that is ready when we come back in the following morning. I don’t think it has been off in almost 2 weeks and still going strong!

CM Welding & Machine can be found online:

Facebook: CM Welding & Machine

Pamton 3D | Pamela Szmara

Youngstown, OH, USA

Tell us about the design you are printing.

The headband design is PRUSA stl file. It is an existing design.

What material are you printing with?

We are using PETG from Village Plastics in Barberton, Ohio.

Who are you printing this design for?

We have supplied masks to Hospice of NY, the Ravenna Fire Dept in Ohio, and doctors at the Cleveland Clinic. 

Pamton 3D can be found online:

http://www.pamton3d.com/

The Kinkaid School | Jeff Diedrich

Houston, TX, USA

Tell us about the design you are printing.

The design is from TX/RX, a non-profit makerspace here in Houston. My first prints were based on a single design where I could fit 9 on the bed. Then Patrick Ferrell @PBFerrell told me about a stacked design with 9 high which meant I could do 81 at a time. This was a 110 hour print.

What material are you printing with?

PLA

Who are you printing this design for?

These are being printed for TX/RX

What has working on this project been like for you?

I am fortunate to work at a school with a Gigabot, and our head of school, Dr. Ed Trusty, was more than happy to allow me to use the school’s equipment and material to give back to the community.

Jeff Diedrich can be found online:

@misterdiedrich

Qrint Studio | Qumar Mirza

Toronto, Canada

Tell us about the design you are printing.

The designs we printed are our own design for non-medical grade face shields for local business and restaurants. Due to this reason, we made it so it could have a minimal cost.

What material are you printing with?

We printed with PETG.

Who are you printing this design for?

A local community non-profit.

What has working on this project been like for you?

We started just to help the community, but we end up applying for a health certificate so we could produce medical grade face shields.

Qrint Studio can be found online:

https://www.facebook.com/qrinting/

@qrintstudio

Doug Mockett & Co | Paul de Leon

Manhattan Beach, CA, USA

Tell us about the design you are printing.

We started printing designs a friend of mine sent to me – all from Thingiverse. After printing for a few days, I realized our two Gigabots weren’t going to be able to catch up with the demand, so Carlos and I played with the settings and got the print time down to 28 mins per visor for open visors, 35 mins for closed top visors (some hospitals preferred closed visors) which still wasn’t enough. I saw a post by a company from another country which did in house casting. That was clever so I thought we should do the same. I contacted our local silicon and plastic supplier for molding instructions and to buy materials to make silicon molds. I designed a closed visor that could work with molding and casting. I printed a few versions using our Gigabot 3+  and used that print to create a silicon mold.

We are also printing ear savers (mask extenders). These seem to be quite popular.

What material are you printing with?

PLA

Who are you printing this design for?

Local hospitals and nursing homes:

  • Torrance Memorial Hospital, CEDARS SINAI & Providence Little Company of Mary (earsavers), Long Beach Memorial Rehab, and other local clinics.
  • Delano Hospital, VA Palo Alto and other smaller clinics in other states

What has working on this project been like for you?

It has been a privilege and an amazing team experience to be able to create something to help in this time of need. It means a lot to our team to be a part of this project and donate to healthcare providers.

Doug Mockett & Co can be found online:

@dougmockett

https://www.facebook.com/dougmockett/

https://www.youtube.com/user/dougmockett

https://twitter.com/dougmockett

https://www.pinterest.cl/dougmockett/

Compendium Federal Technology LLC | Stuart Langford

Lexington Park, MD, USA

Tell us about the design you are printing.

Originally, we were going to make frames and donate them to Makers Unite in Baltimore, MD. At the time, they were asking us to use the Prusa v.RC2 face shield design.  In the meantime our CEO was communicating with local first responders, and Medstar Saint Mary’s communicated that they were running low on face shields. We used the Prusa v.RC2 face shield, but we made some minor changes so they would print faster. The straps are our design. We tried several designs including the strapless, but we received the best feedback from the modified Prusa v.RC2.

What material are you printing with?

PLA for the frame. NinjaFlex TPU 85 for the straps. The clear screens are made from clear acetate or PVC sheets.

Who are you printing this design for?

Medstar Saint Mary’s Hospital, Charlotte Hall VA Clinic, several nursing homes and private practices.

What has working on this project been like for you?

It has been busy, but rewarding. I wasn’t the only person contributing. My CEO John OConnell did the leg work, and my coworker Cedrick La Marca assisted with the CAD designs and resin printing. In addition to the face shields, we also printed spare ventilator parts for Saint Mary’s Hospital. Everything was donated free of charge.

Our story was featured on WJLA-TV Washington DC ABC affiliate.

Compendium Federal Technology LLC can be found online:

https://www.facebook.com/compendiumfederaltechnology.llc/

Are you a re:3D Gigabot customer working on COVID-19 efforts? We’d be happy to add your work to this blog. Email us: info@re3d.org 

Charlotte craff

Blog Post Author

Saying ‘I Do!’ To 3D Printing For A Wedding

It’s that lovely time of year again where love is all amongst us as weddings are galore! More than a handful of our teammates have utilized the power of 3D printing with Gigabot to create wedding decor that reduces costs while optimizing creative expression & personalization… so we thought we’d share their applications in hopes to inspire 3D printing for your special day.

4 Ways To Utilize 3D Printing For A Wedding (& Why You Should)

3D Printed Wall Decor Lighting Up The Dance Floor 

Jeric 3D printed and assembled an LED sign for his sister’s wedding. The printed parts took 14 hours in total to make using a combination of PLA & PETG – PETG for the front, translucent part of the sign and PLA for everything else. He used super glue and hot glue to hold everything together. He also installed LEDs throughout the inside – the LEDs are RGB and have a transmitter connected, so they can use a remote to control the color and light-up patterns. Check out the photos from the full build process in this album.

Why use 3D printing?

“3D printing gave me amazing flexibility in the design, but also let me quickly build a functional 3D design.”
Jeric Bautista

The 3D Printed Icing On Top of the Cake: 3D Printed Wedding Toppers

Alessandra designed & 3D printed ‘Mr&Mrs’ wedding cake toppers and table decorations for Samantha Snabes’ sister’s wedding. They took about 1 hour to design and model for each print and the wedding cake topper took approximately 1 hour to print while the table decoration took about 43 hours to print using silver PLA. The prints were then spraypainted with gold. 

Why use 3D printing?

"Weddings are expensive but custom wedding items are extremely expensive. With 3D printing, you can literally shape your dreams without having to go bankrupt. Time-wise, I was able to get a specific picture from the customer's Pinterest and generate a 3D model under 1 hour. Even if one of the models takes 43 hours to print, you can leave Gigabot in charge while you go home, watch series and take a nap, so you virtually save those 43 hours of possible manual work.”
Alessandra Montano
3D Printed Wedding Cake Topper

A Trove of Treasures In A 3D Printed Chest: 3D Printing Gifts

Mike B. 3D printed a Zelda treasure chest for a Zelda themed wedding. The chest had a slot at the top to drop in gift cards. He also 3D scans newlyweds when he goes to weddings and ships them print-outs of themselves a few months later. For the Zelda treasure chest, he used hinges from the hardware store, a bit of Bondo to give a wood texture, acrylic paint, and a clear coat. The design took 2 hours, and Mike kept changing it to look more authentic to the game. The portraits were printed in white PLA and scanned with a Structure Sensor. Scans were cleaned up a bit in MeshMixer.

Why use 3D printing?

"For many fabricated items, the materials inform the design but with 3D printing, you can make virtually anything if you can model it. A treasure chest would traditionally be made with wood and metal. You can mimic lots of different fabrication methods all with the same two tools, a CAD program, and a Gigabot. The Zelda treasure chest needed to look cartoony so in this case, it was actually easier to prime/paint than a metal/wood fabrication would have been. 3D printing is indispensable for prop design! For the scans, someone would have had to sculpt them; this was more of a portrait captured at the moment which I think is special.”
Mike Battaglia

3D Printed Accessories: A Life-Sized Diamond Isn’t Tough

Tammie 3D printed a diamond to be a light within a large diamond ring to further accessorize the wedding. She used natural PLA and it took 1.5 to 2 hours to complete the print using Gigabot and didn’t do any post-processing work on the prints.

Why use 3D printing?

“I would have never found a diamond this large to display for the day! Thankfully for the size of Gigabot and the versatility of 3D printing, it was made possible.”
Tammie Vargas

There you have it! Four special 3D printing applications for very special days. We’d love to know – what have you printed for weddings & special occasions? Don’t hesitate to share on our forum! Until then…happy printing ever after 🙂

Cat George

Blog Post Author

The Power of Printing With PETG

We’re excited to now sell PETG at re:3D! Why do you ask? I sat down with Co-Founder and Head of Technology, Matthew Fiedler, for some Q&A on the power of 3D printing with PETG. Read below, check out some video footage of how we are using PETG at re:3D and tune into our inaugural Meet with a 3D Printing Engineer live session next week no matter where in the world you are to chat with our 3D printing engineers live and bring any questions you may have.

Why is re:3D releasing and deciding to sell PETG now?

“Polyethylene terephthalate Glycol is an interesting material for FFF AM because of the enhanced material properties compared to the most common filament, PLA. PETG exhibits high layer to layer bonding strength, slightly elevated Tg of 80C over PLA which has a Tg of around 55C. PETG also allows better light transmission which can be a great benefit for parts that require visible light to pass through them.”

What do people use it for?

“PETG is most commonly known as the plastic used in water bottle and soft drinks containers. In 3D printing, it makes an excellent breakaway support material for parts printed in PLA. The opposite is also true where you can use PLA as breakaway support material for parts made in PETG.”

What are some unique advantages of PETG?

“Parts printed in PETG are also slightly more flexible than those made from PLA.“

What have engineers done with it at re:3D to date?

“We show several videos on our YouTube channel how well it works as support and raft material (like this video). In pellet form, we use PETG with Gigabot X to produce skateboards, decorative interior design pieces and a basket for coffee pickers in Puerto Rico. (You can watch Gigabot X 3D printing a vase with PETG here.)”

What are some of your favorite prints or examples of 3D printing with PETG?

“My two favorite are Gigabot X produced interior design vase because of the stunning visual and light qualities of PETG and the coffee harvest basket for the coffee farm in Puerto Rico.” 

Any additional context or pre-emptive answers to questions people may ask about materials?

“You can purchase 5lb and 15lb spools of PETG in our online store. You can print PETG on your Gigabot with a nozzle temp of 235C and bed temp of 60C. A thin coating of Elmer’s X-treme glue stick on the PRINTinZ surface will provide excellent adhesion. You can use the same print speed and layer heights as PLA. We have created a special Simplify3D profile for using PETG and PLA together. You can download it from Zendesk here.”

Have more questions for Matthew on 3D printing wit PETG? Tune into Meet with a 3D Printing Engineer next week via Facebook for a live session with him. Also, if you’re as excited as we are about 3D printing with PETG – watch videos on our YouTube and buy PETG online at shop.re3D.org!

PET 3D Printing Filament materials

Buy PETG online at shop.re3D.org!

Cat George

Blog Post Author