The Force is Strong with This Maker: Mike Ogrinz & His Life-Size 3D Printed Grogu

Mike Ogrinz is a maker through and through, deeply embedded in the re:3D community since backing the original Gigabot on Kickstarter in 2013. He originally purchased the Gigabot to 3D print the parts for his life-size replica of Robby the Robot. Over the years, Mike upgraded his Gigabot 2 to have a heated bed and dual-extruder capabilities. This has given Mike the ability to use the Gigabot for numerous projects, including making re:3D a life-size 3D printed Grogu (Baby Yoda) in exchange for our Series II All-Metal Body Extruder. You can read Mike’s blog post about how Grogu was created below, originally posted on his website, ogrinz.com.

I’ve had my Gigabot 3D printer for almost a decade now (wow) and every now and then the company behind it (re3D) have asked “Would you print something out for our in-house museum?” They’ve even offered to pay for the filament, shipping, etc. At one point, I *almost* sent them one of the spare heads from my Robby the Robot project, but the thought of all that sanding, priming, and painting scared me off.

Then a few months ago Jennifer from re3D reached out again. She asked if I’d be interested in making something, and even offered me some credit in their store. Well, I did have my eye on a set up fully-machined dual aluminum extruders as an upgrade for my Gigabot…. So I asked, “What would I have to make you in exchange for those parts?”

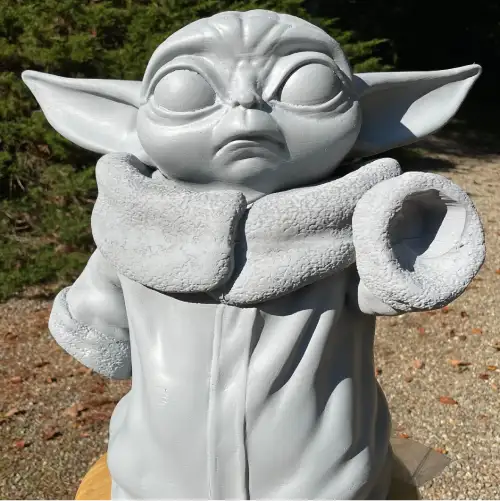
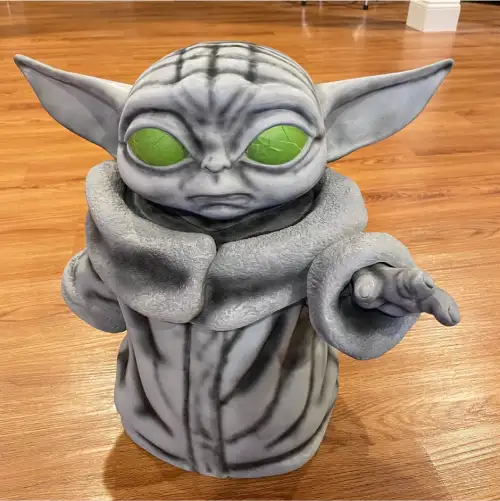
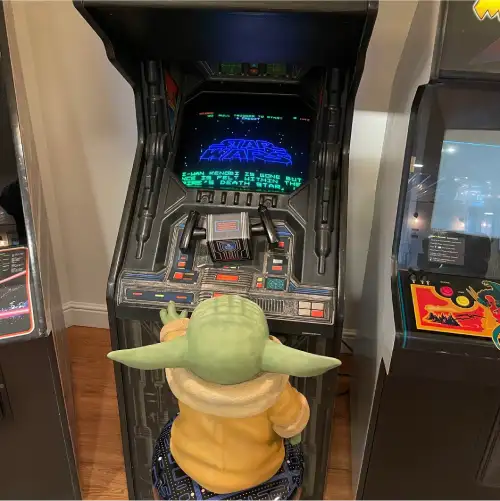
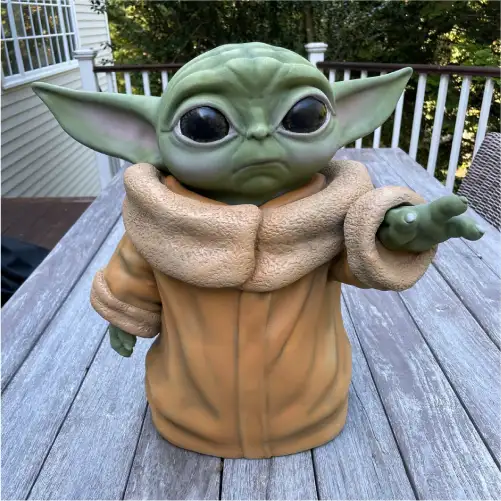
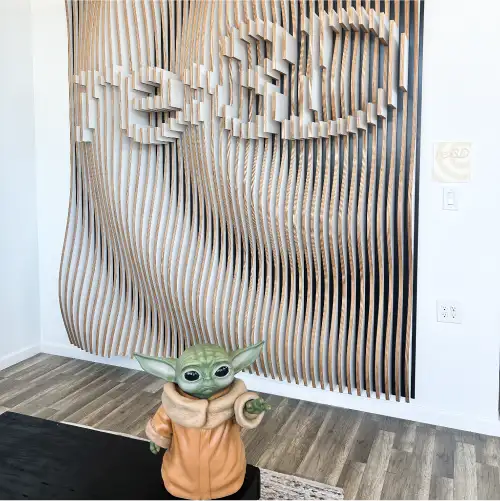
Jennifer almost immediately answered “Baby Yoda!” and the deal was struck. I figured with the filament cost probably coming in around $100, I was getting the better end of the deal. But of course, there was a lot of finish work required. And since Grogu has so many organic surfaces and details, it had to all be done by hand. I had to completely finish the replica too, which meant learning how to use an airbrush (well, it meant buying and airbrush and then learning how to use it). But I am extremely happy with how it came out. Now if I only could find the time to install those metal extruder mechanisms…

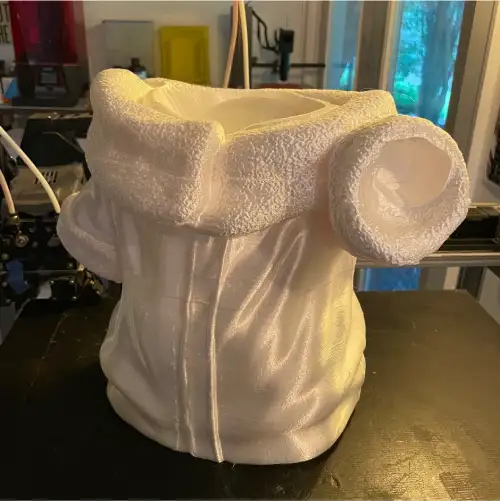
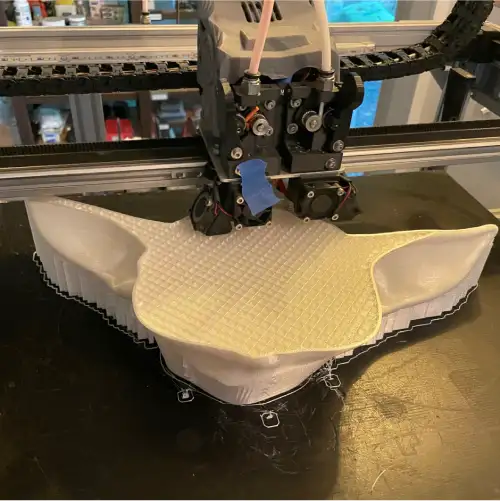
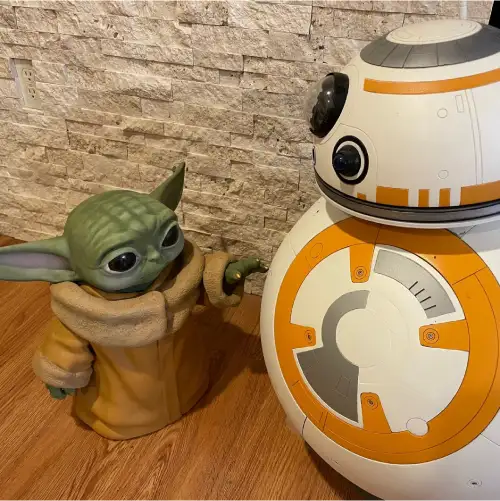
The 3D printed Grogu took 134 hours to print and used three rolls of PLA Silk filament.

The original Grogu file came from MarVin_Miniatures on Thingiverse. You can also follow them on Facebook, @MarVinMinis.

To learn more about Mike’s other projects click here. You can also check out Mike’s YouTube Channel, Ogrinz Labs, where he posts educational and informational videos on his awesome builds.

Jennifer Dennington

Blog Post Author

Saying ‘I Do!’ To 3D Printing For A Wedding

It’s that lovely time of year again where love is all amongst us as weddings are galore! More than a handful of our teammates have utilized the power of 3D printing with Gigabot to create wedding decor that reduces costs while optimizing creative expression & personalization… so we thought we’d share their applications in hopes to inspire 3D printing for your special day.

4 Ways To Utilize 3D Printing For A Wedding (& Why You Should)

3D Printed Wall Decor Lighting Up The Dance Floor 

Jeric 3D printed and assembled an LED sign for his sister’s wedding. The printed parts took 14 hours in total to make using a combination of PLA & PETG – PETG for the front, translucent part of the sign and PLA for everything else. He used super glue and hot glue to hold everything together. He also installed LEDs throughout the inside – the LEDs are RGB and have a transmitter connected, so they can use a remote to control the color and light-up patterns. Check out the photos from the full build process in this album.

Why use 3D printing?

“3D printing gave me amazing flexibility in the design, but also let me quickly build a functional 3D design.”
Jeric Bautista

The 3D Printed Icing On Top of the Cake: 3D Printed Wedding Toppers

Alessandra designed & 3D printed ‘Mr&Mrs’ wedding cake toppers and table decorations for Samantha Snabes’ sister’s wedding. They took about 1 hour to design and model for each print and the wedding cake topper took approximately 1 hour to print while the table decoration took about 43 hours to print using silver PLA. The prints were then spraypainted with gold. 

Why use 3D printing?

"Weddings are expensive but custom wedding items are extremely expensive. With 3D printing, you can literally shape your dreams without having to go bankrupt. Time-wise, I was able to get a specific picture from the customer's Pinterest and generate a 3D model under 1 hour. Even if one of the models takes 43 hours to print, you can leave Gigabot in charge while you go home, watch series and take a nap, so you virtually save those 43 hours of possible manual work.”
Alessandra Montano
3D Printed Wedding Cake Topper

A Trove of Treasures In A 3D Printed Chest: 3D Printing Gifts

Mike B. 3D printed a Zelda treasure chest for a Zelda themed wedding. The chest had a slot at the top to drop in gift cards. He also 3D scans newlyweds when he goes to weddings and ships them print-outs of themselves a few months later. For the Zelda treasure chest, he used hinges from the hardware store, a bit of Bondo to give a wood texture, acrylic paint, and a clear coat. The design took 2 hours, and Mike kept changing it to look more authentic to the game. The portraits were printed in white PLA and scanned with a Structure Sensor. Scans were cleaned up a bit in MeshMixer.

Why use 3D printing?

"For many fabricated items, the materials inform the design but with 3D printing, you can make virtually anything if you can model it. A treasure chest would traditionally be made with wood and metal. You can mimic lots of different fabrication methods all with the same two tools, a CAD program, and a Gigabot. The Zelda treasure chest needed to look cartoony so in this case, it was actually easier to prime/paint than a metal/wood fabrication would have been. 3D printing is indispensable for prop design! For the scans, someone would have had to sculpt them; this was more of a portrait captured at the moment which I think is special.”
Mike Battaglia

3D Printed Accessories: A Life-Sized Diamond Isn’t Tough

Tammie 3D printed a diamond to be a light within a large diamond ring to further accessorize the wedding. She used natural PLA and it took 1.5 to 2 hours to complete the print using Gigabot and didn’t do any post-processing work on the prints.

Why use 3D printing?

“I would have never found a diamond this large to display for the day! Thankfully for the size of Gigabot and the versatility of 3D printing, it was made possible.”
Tammie Vargas

There you have it! Four special 3D printing applications for very special days. We’d love to know – what have you printed for weddings & special occasions? Don’t hesitate to share on our forum! Until then…happy printing ever after 🙂

Cat George

Blog Post Author