Saying ‘I Do!’ To 3D Printing For A Wedding

It’s that lovely time of year again where love is all amongst us as weddings are galore! More than a handful of our teammates have utilized the power of 3D printing with Gigabot to create wedding decor that reduces costs while optimizing creative expression & personalization… so we thought we’d share their applications in hopes to inspire 3D printing for your special day.

4 Ways To Utilize 3D Printing For A Wedding (& Why You Should)

3D Printed Wall Decor Lighting Up The Dance Floor 

Jeric 3D printed and assembled an LED sign for his sister’s wedding. The printed parts took 14 hours in total to make using a combination of PLA & PETG – PETG for the front, translucent part of the sign and PLA for everything else. He used super glue and hot glue to hold everything together. He also installed LEDs throughout the inside – the LEDs are RGB and have a transmitter connected, so they can use a remote to control the color and light-up patterns. Check out the photos from the full build process in this album.

Why use 3D printing?

“3D printing gave me amazing flexibility in the design, but also let me quickly build a functional 3D design.”
Jeric Bautista

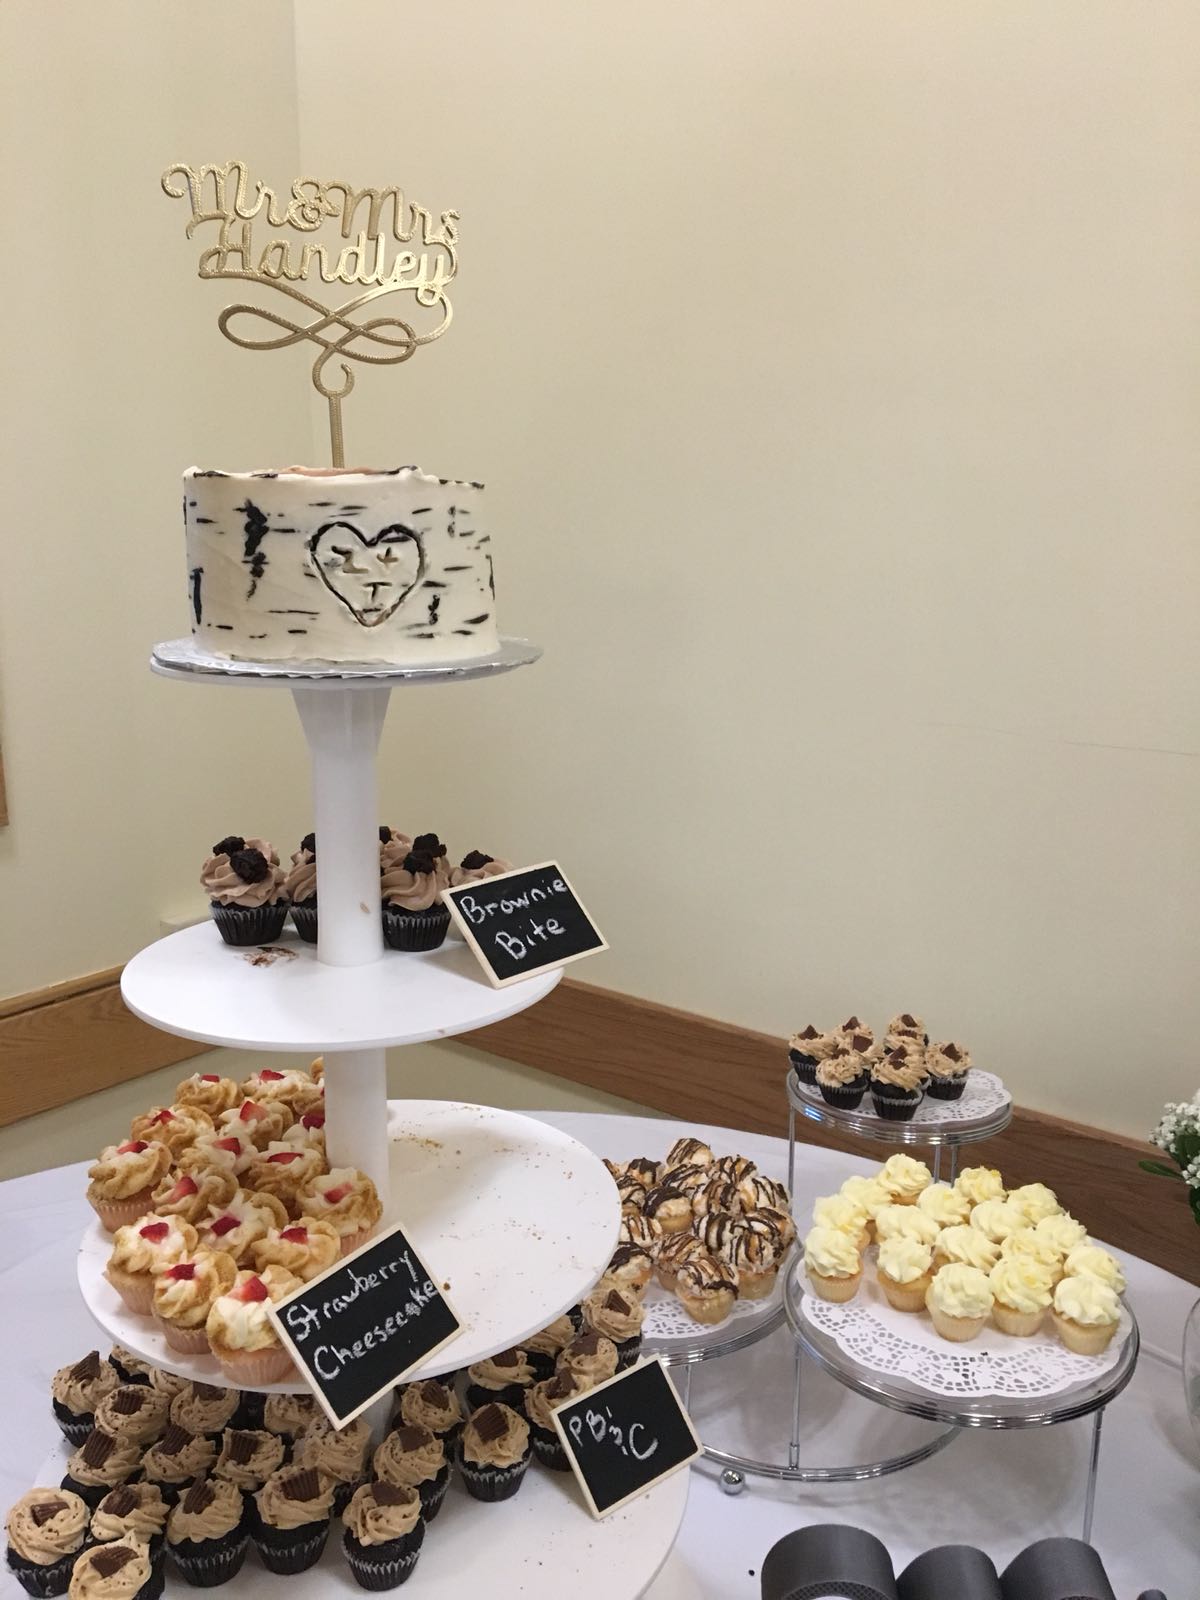
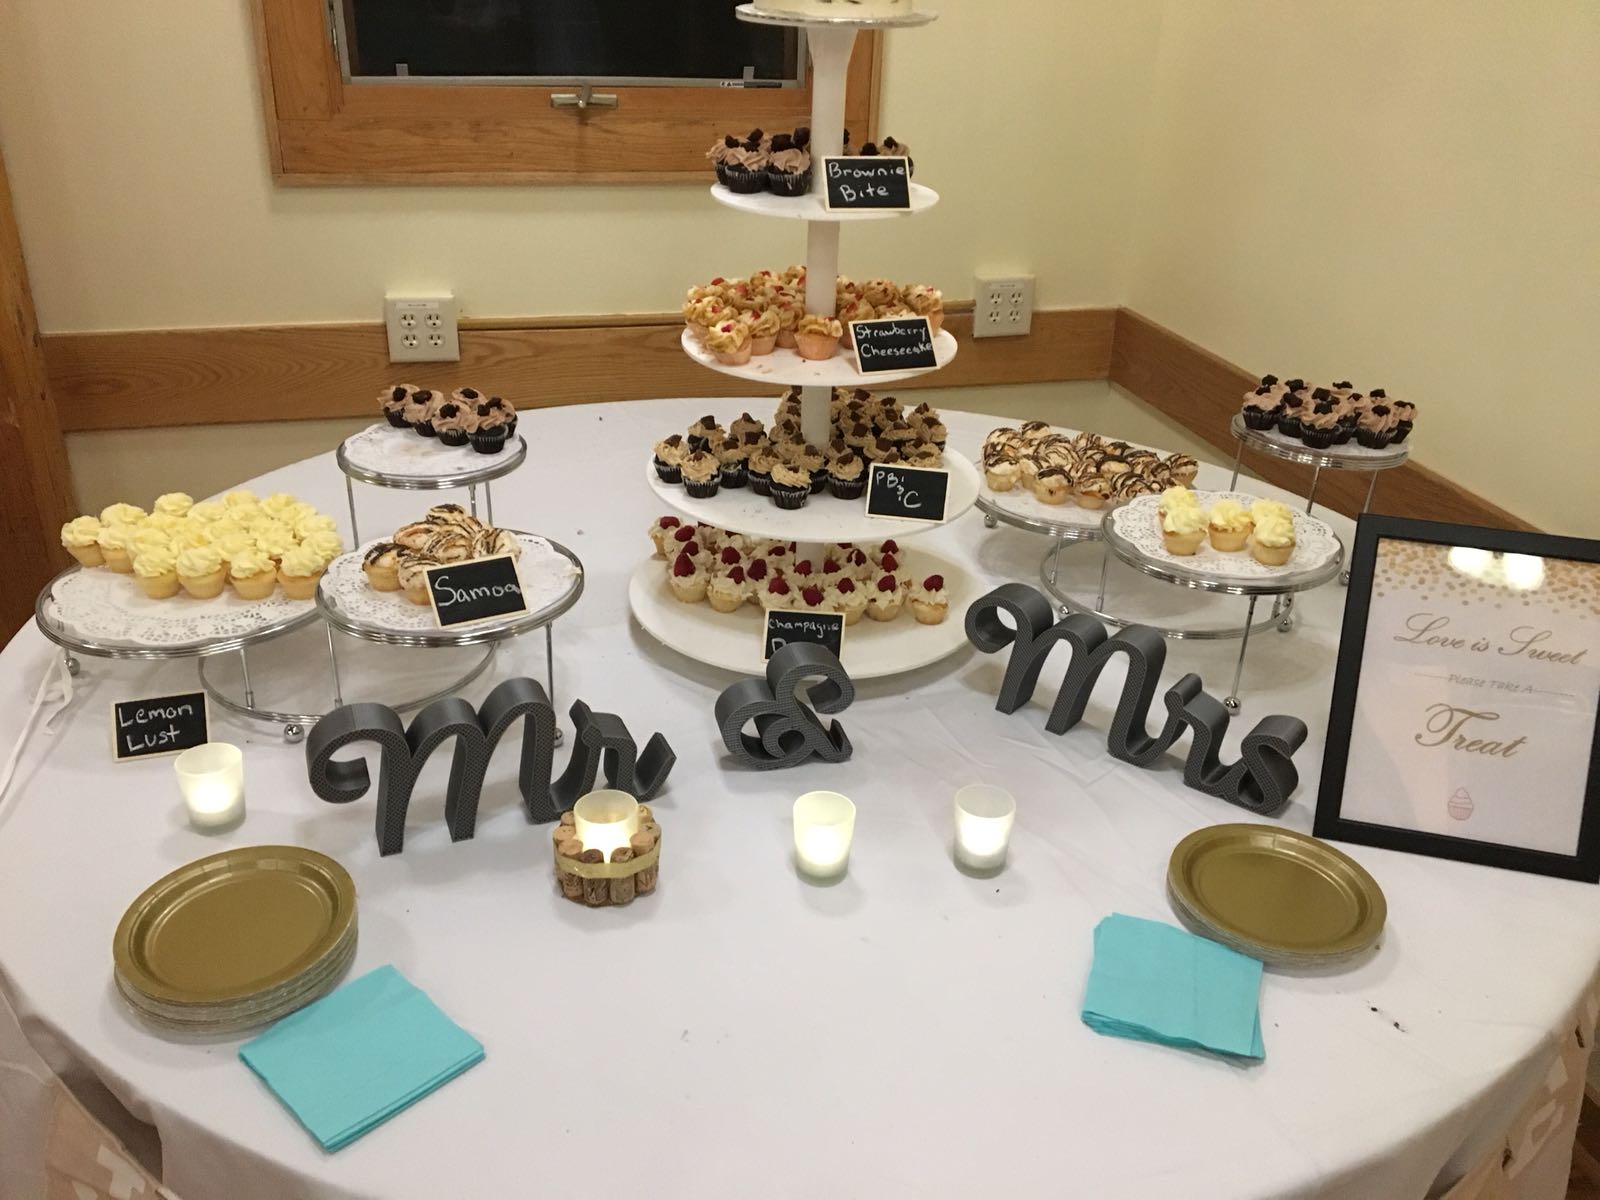
The 3D Printed Icing On Top of the Cake: 3D Printed Wedding Toppers

Alessandra designed & 3D printed ‘Mr&Mrs’ wedding cake toppers and table decorations for Samantha Snabes’ sister’s wedding. They took about 1 hour to design and model for each print and the wedding cake topper took approximately 1 hour to print while the table decoration took about 43 hours to print using silver PLA. The prints were then spraypainted with gold. 

Why use 3D printing?

"Weddings are expensive but custom wedding items are extremely expensive. With 3D printing, you can literally shape your dreams without having to go bankrupt. Time-wise, I was able to get a specific picture from the customer's Pinterest and generate a 3D model under 1 hour. Even if one of the models takes 43 hours to print, you can leave Gigabot in charge while you go home, watch series and take a nap, so you virtually save those 43 hours of possible manual work.”
Alessandra Montano
3D Printed Wedding Cake Topper

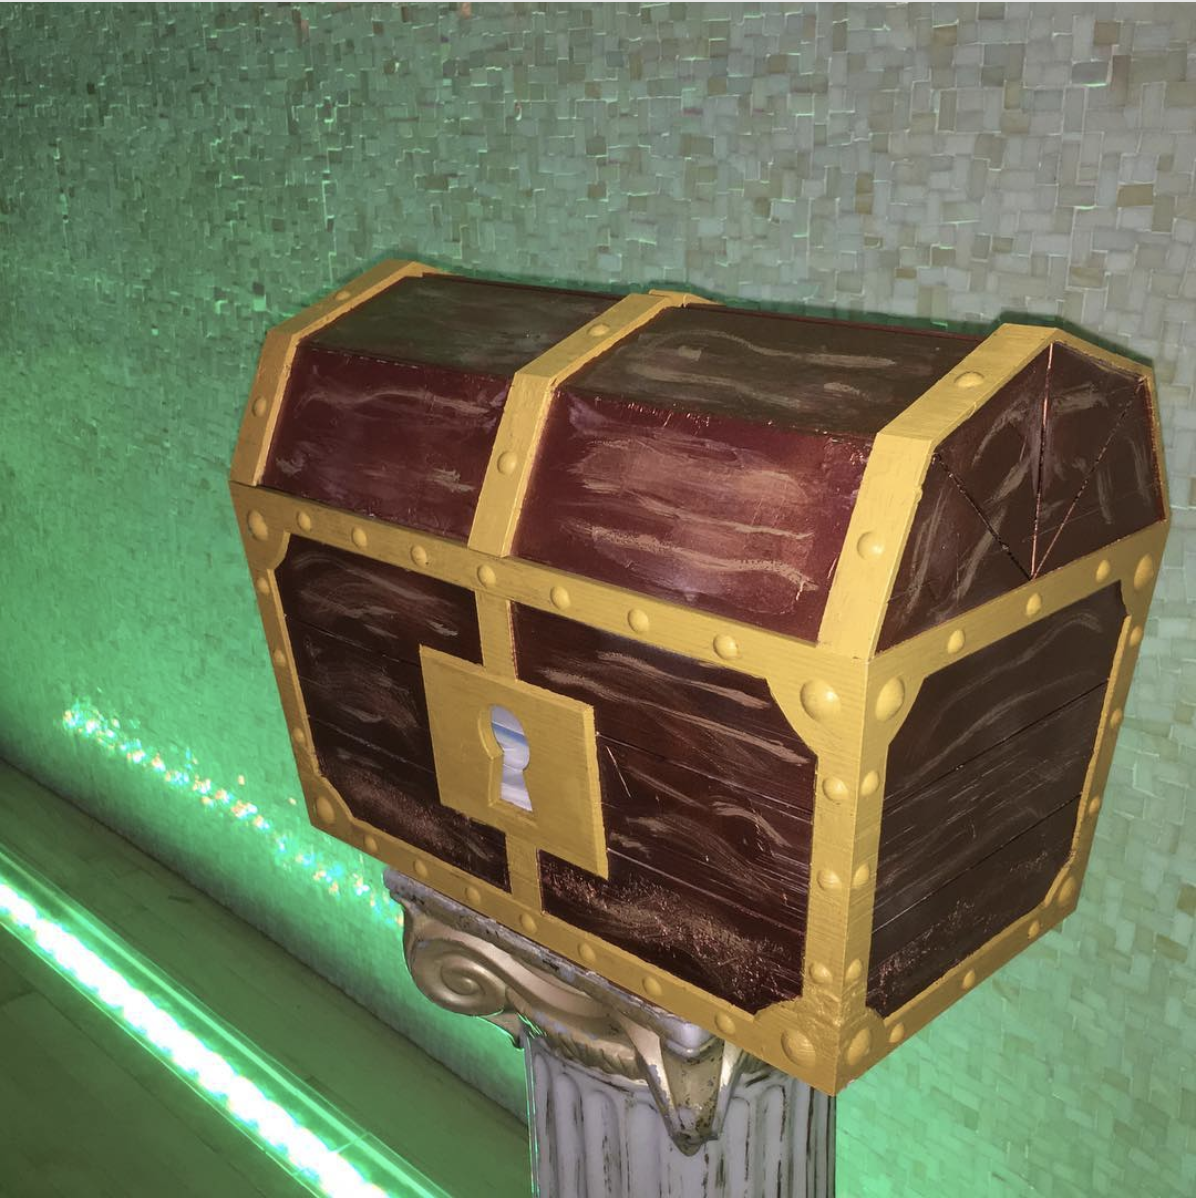
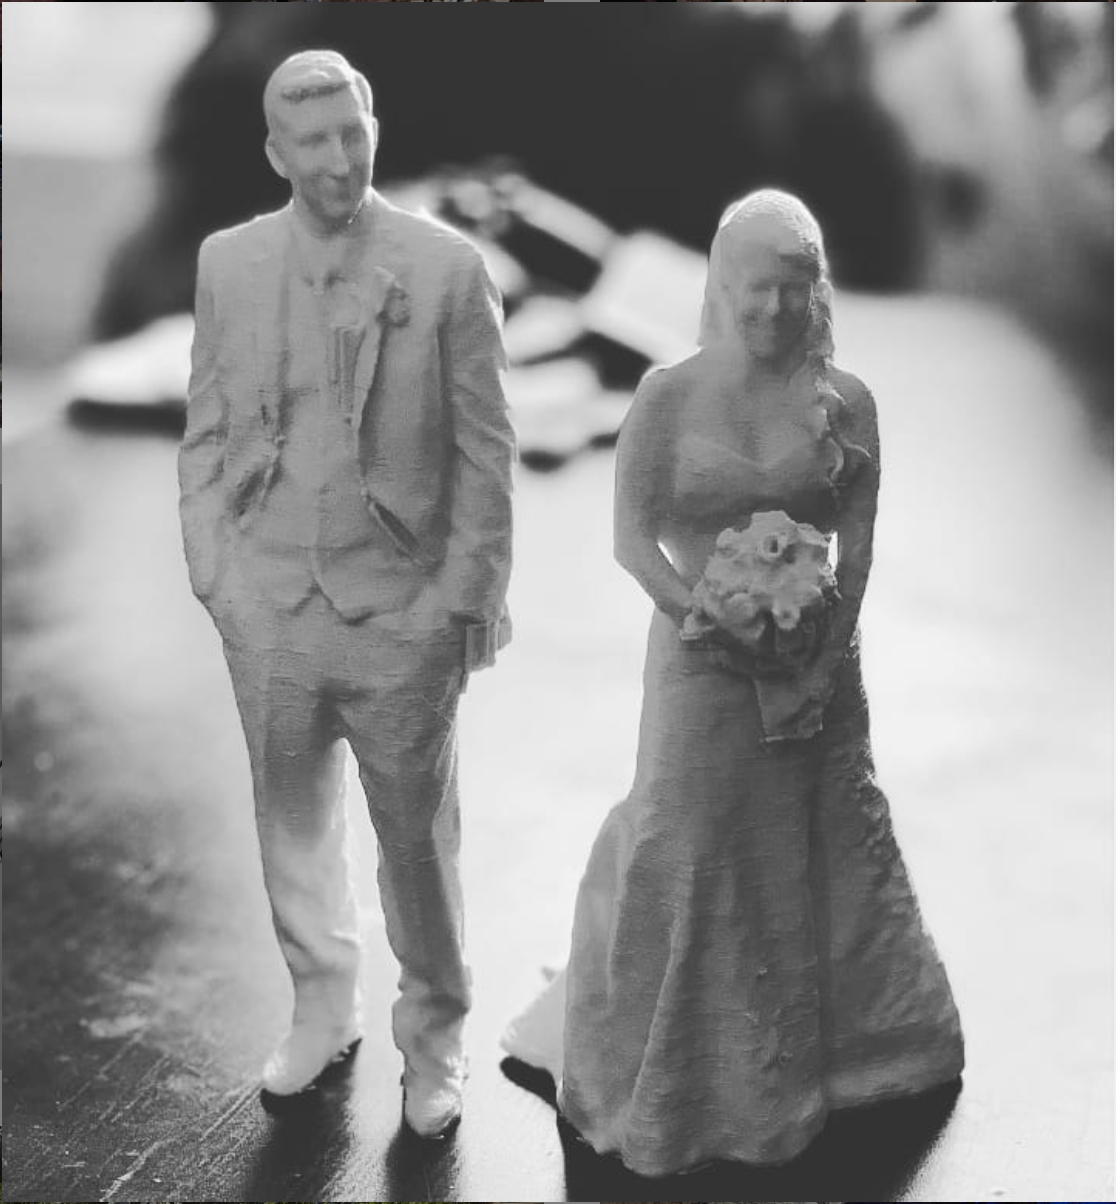
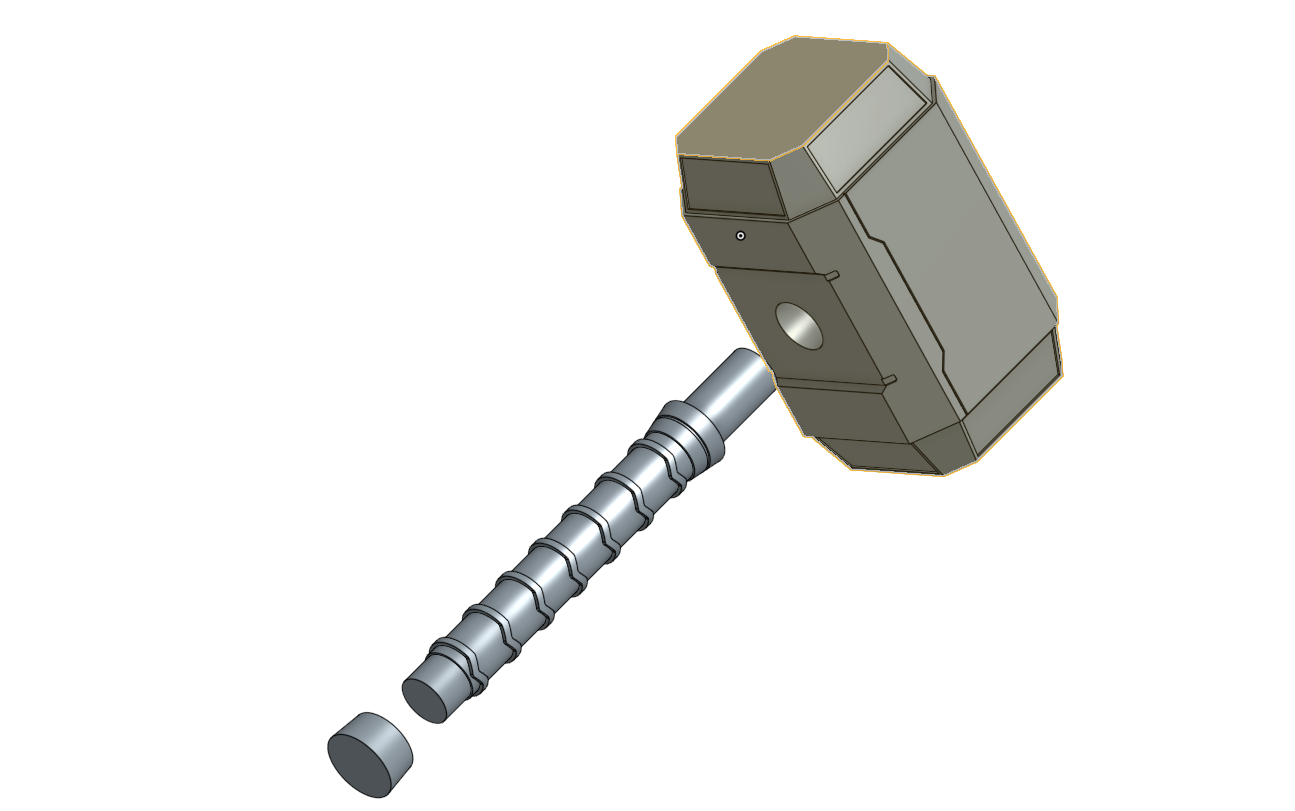
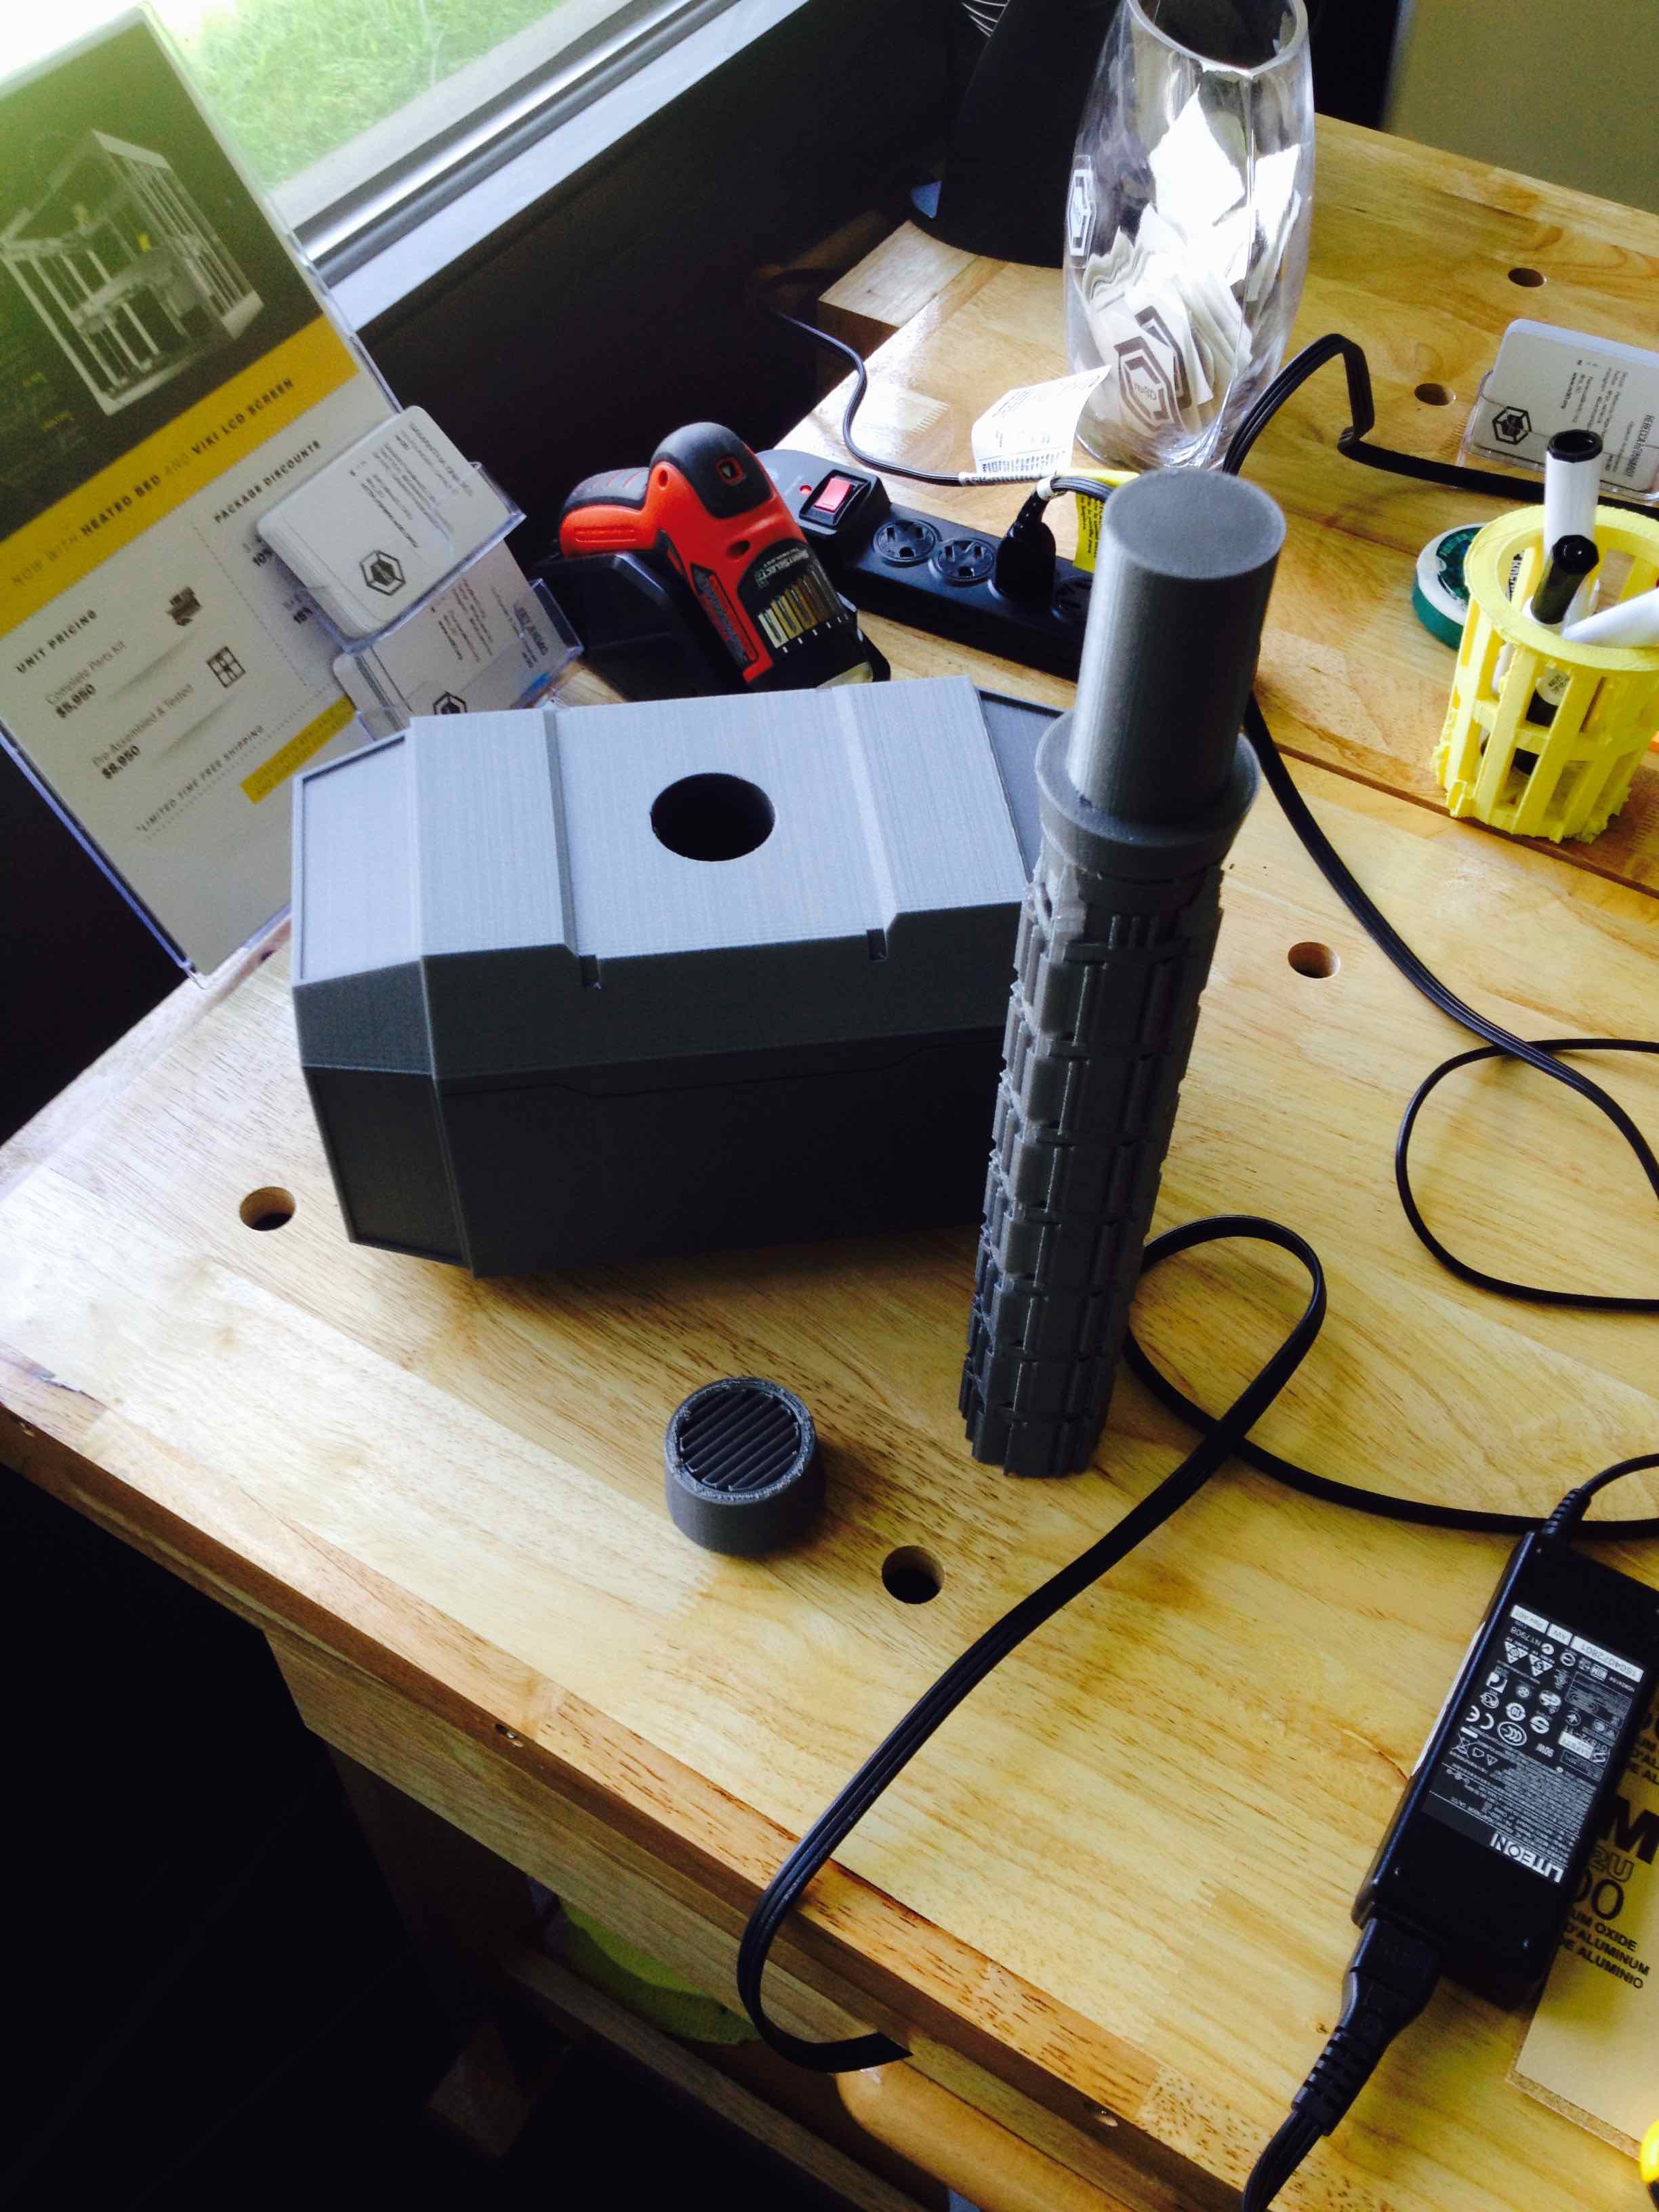
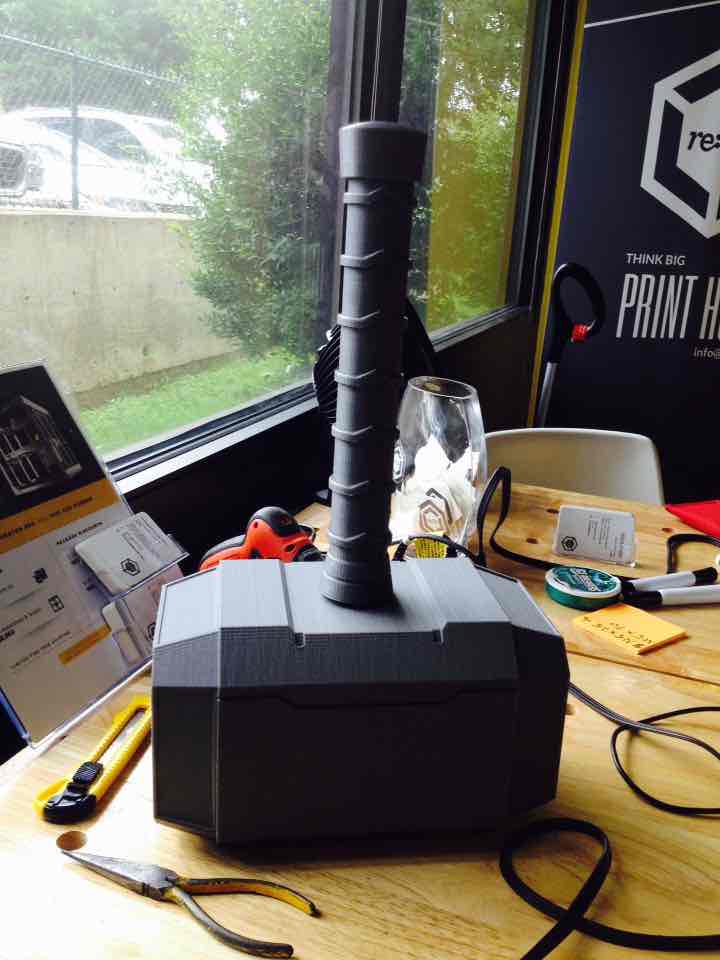
A Trove of Treasures In A 3D Printed Chest: 3D Printing Gifts

Mike B. 3D printed a Zelda treasure chest for a Zelda themed wedding. The chest had a slot at the top to drop in gift cards. He also 3D scans newlyweds when he goes to weddings and ships them print-outs of themselves a few months later. For the Zelda treasure chest, he used hinges from the hardware store, a bit of Bondo to give a wood texture, acrylic paint, and a clear coat. The design took 2 hours, and Mike kept changing it to look more authentic to the game. The portraits were printed in white PLA and scanned with a Structure Sensor. Scans were cleaned up a bit in MeshMixer.

Why use 3D printing?

"For many fabricated items, the materials inform the design but with 3D printing, you can make virtually anything if you can model it. A treasure chest would traditionally be made with wood and metal. You can mimic lots of different fabrication methods all with the same two tools, a CAD program, and a Gigabot. The Zelda treasure chest needed to look cartoony so in this case, it was actually easier to prime/paint than a metal/wood fabrication would have been. 3D printing is indispensable for prop design! For the scans, someone would have had to sculpt them; this was more of a portrait captured at the moment which I think is special.”
Mike Battaglia

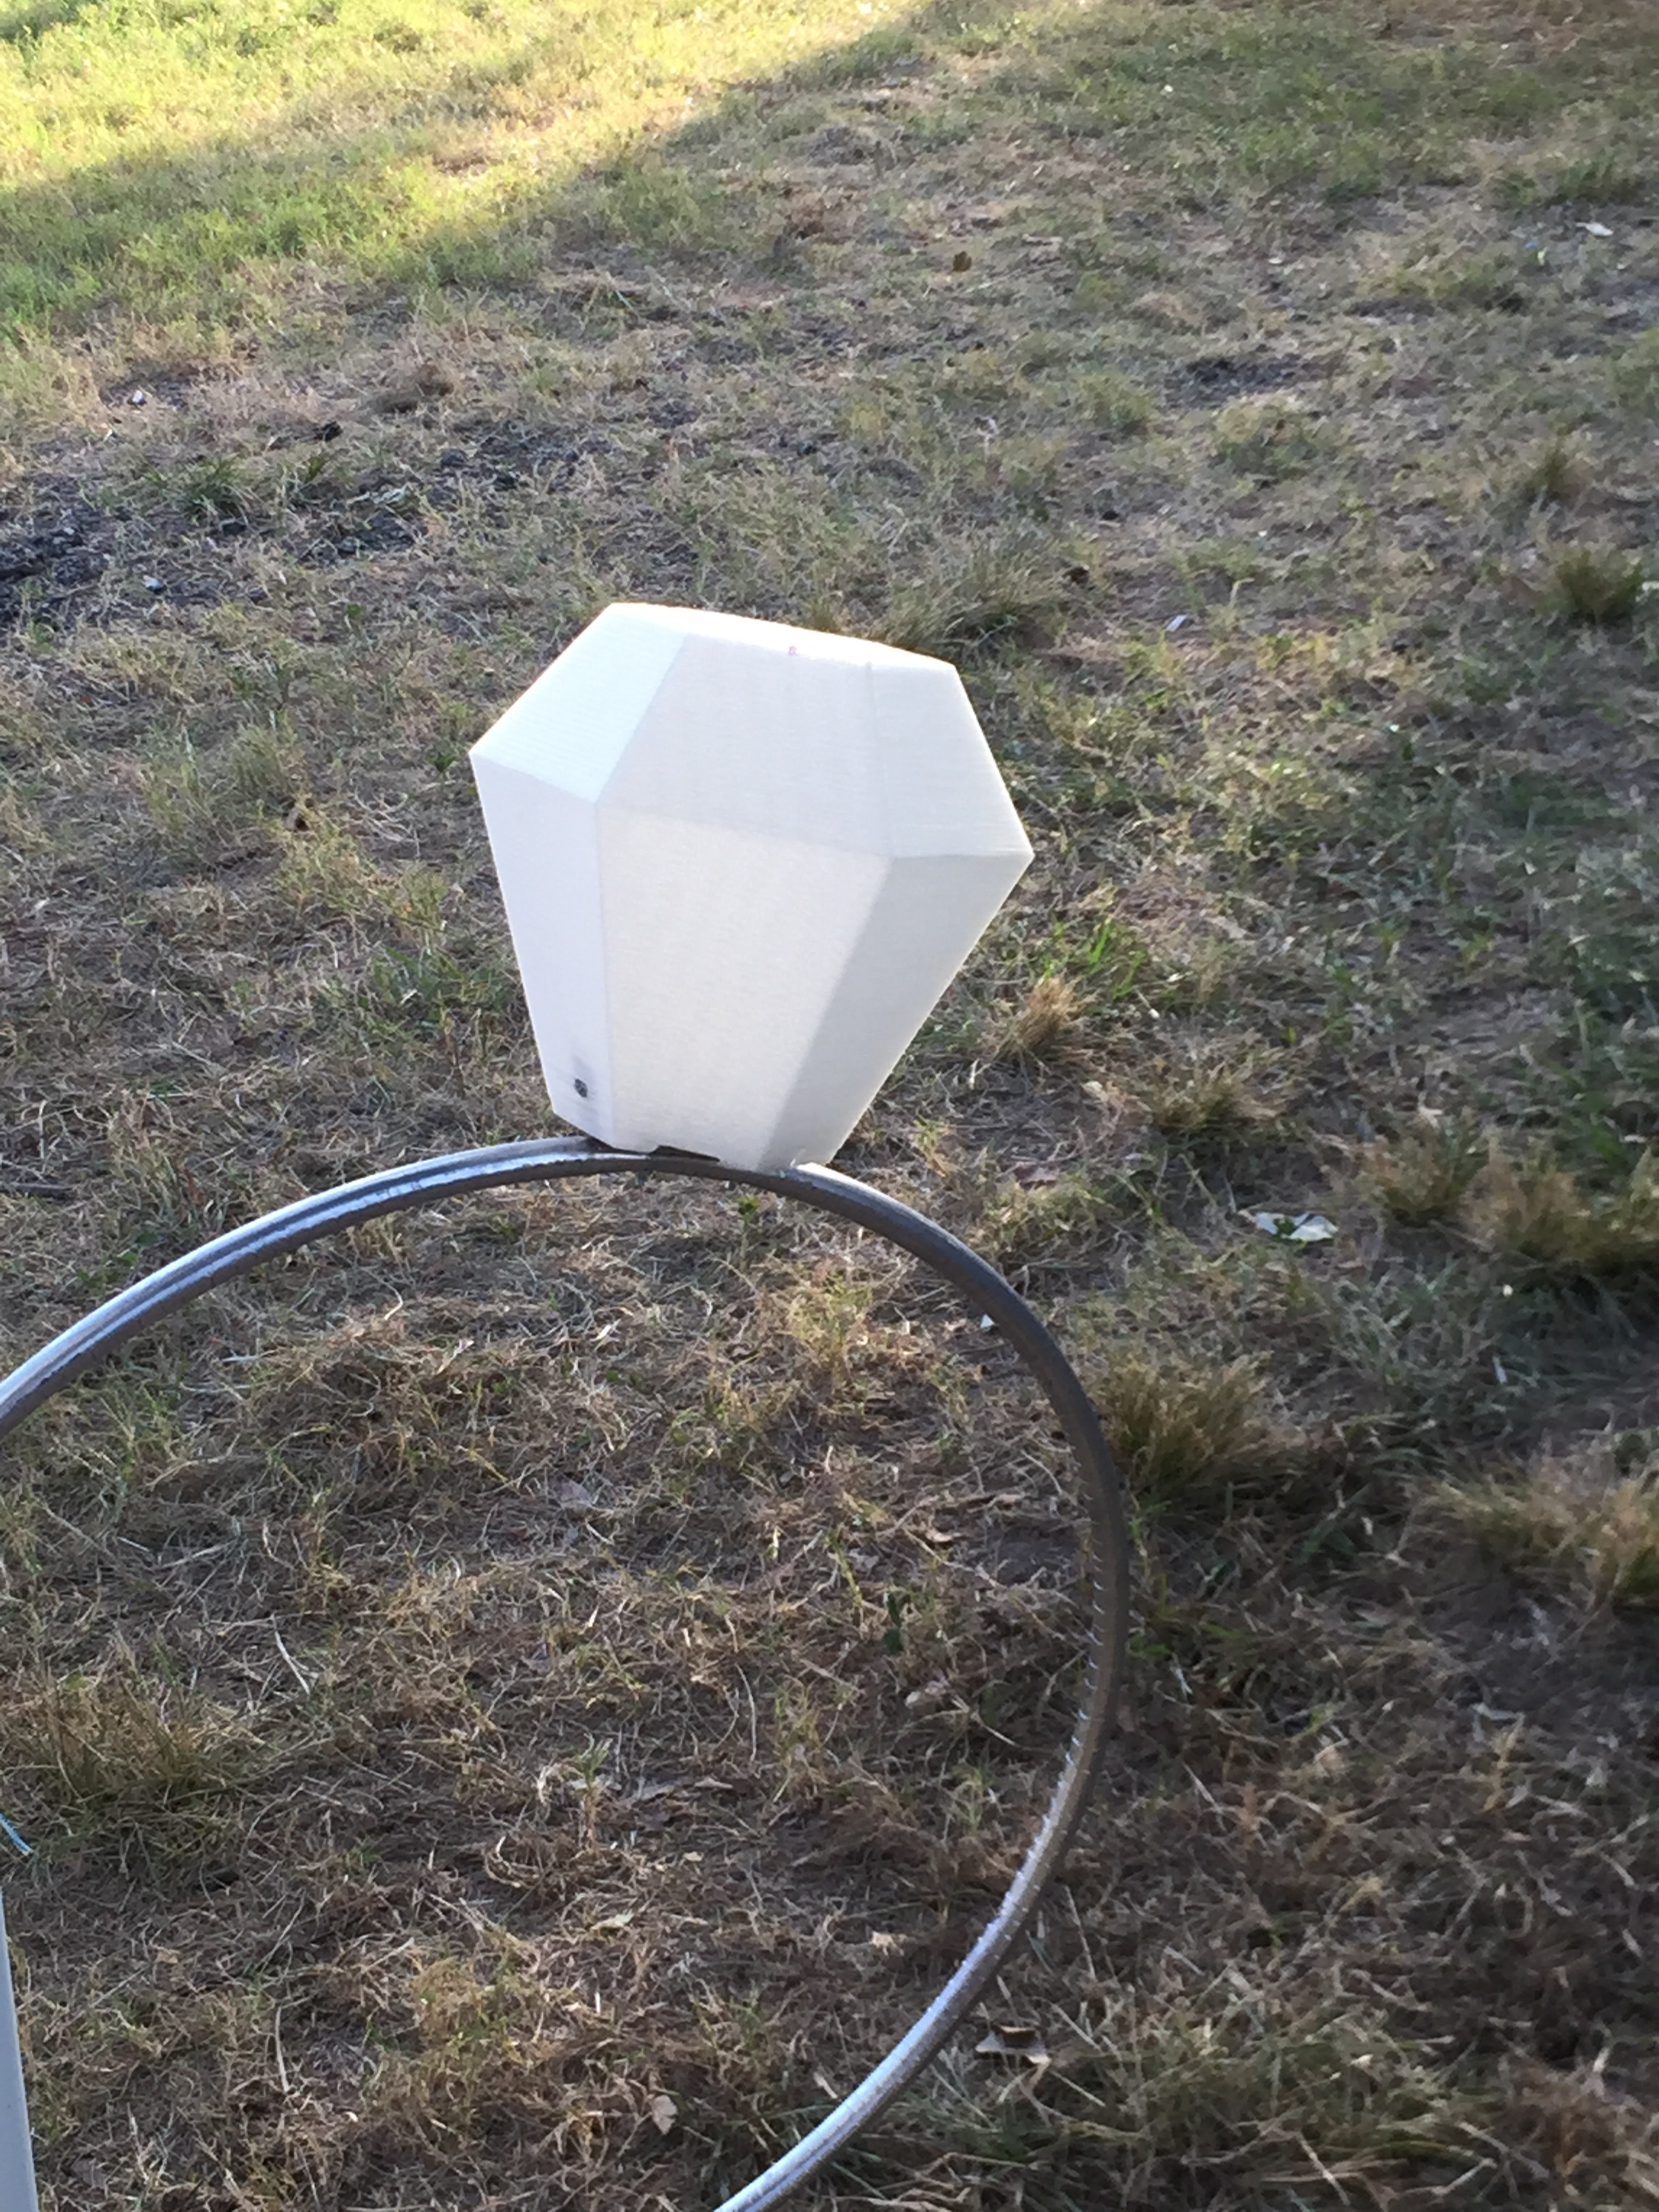
3D Printed Accessories: A Life-Sized Diamond Isn’t Tough

Tammie 3D printed a diamond to be a light within a large diamond ring to further accessorize the wedding. She used natural PLA and it took 1.5 to 2 hours to complete the print using Gigabot and didn’t do any post-processing work on the prints.

Why use 3D printing?

“I would have never found a diamond this large to display for the day! Thankfully for the size of Gigabot and the versatility of 3D printing, it was made possible.”
Tammie Vargas

There you have it! Four special 3D printing applications for very special days. We’d love to know – what have you printed for weddings & special occasions? Don’t hesitate to share on our forum! Until then…happy printing ever after 🙂

Cat George

Blog Post Author

3D Printing & Superpowers: Creating a Thor’s Hammer Mjolnir

Jacob Lehmann is exploring 3D printing & cosplay during his summer internship.  In his own words, he describes his design process for printing Thor’s Hammer Mjolnir

Are you tired of those pesky frost giants always ruining your day? Well fear no more! With The Thunder God’s Hammer Mjolnir, you will be able to make frost giant toast and butter them to perfection with a few extra bludgeons! Forged in the heart of a dying star or on a 3D printer (I forget which) this Hammer will always be able to tenderize your enemies with shocking ease, but only if you are worthy!

3D modeling in cosplay is great way to create large lightweight and durable props. Because 3D printing can create a shell on the outside and a mesh layer on the inside, the final product ends up being lightweight. This is great for cosplayers that want to carry around weapons that are bigger than their body all day at a convention. This also applies to full bodies of armor. 3D printing can also make higher quality props due to the ability to leverage better in precision of designs and symmetry than hand carvings or paper mache.

The Gigabot, due to its very large bed, is much better suited to printing cosplay props than a regular desktop 3D printer. Larger pieces means that there is less assembly at the end and an overall uniformity to the final model.

When I began the project I decided to make the hammer modular, meaning that it is comprised of multiple pieces that would be assembled at the end. I did this because it allows me to go back and change pieces if I want to and not have to reprint the entire hammer. This is also a good experiment for some of my later projects that will be larger than the 8 cubic feet build volume of the Gigabot. I wanted to practice with different designs as well as different methods of assembly.

My project helps to build upon and intersect with the techniques used by the artistic and inclusive cosplay community. It allows me to document the possibilities of 3D printing and provide alternative methods for creating props and wearables.

I modeled Thor’s Hammer on a Beta CAD software called Onshape. Overall it took me about 8-10 hours to complete the model with various iterations sucking up most of the time. Here are a few of the early models:

Both of these had some obvious flaws that I decided I didn’t like for the final product and I ended up sticking to the Marvel Cinematic Universe Version. The second picture shown above is one of the models where I did a lot of mirroring to save time on making the model and ended up doing a really intricate half of the model. When I mirrored the base it ended up being too long. Here is my final model:

This file was then moved over to another software called Simplify3D where it was formatted for printing.  All three pieces were printed on the same print on the Austin Office Gigabot and took about 18 hours to print from start to finish. I decided to print it in PLA because it is a lightweight, sturdy, and relatively cheap material. Here is what it looks like once it is printed with the supports and after I took off the support and assembled it using gorilla glue.

Then I began the post-processing to add color. I started by coating it with a layer of white acrylic paint but it took a long time and I wasn’t too happy with the result as it seemed kind of patchy and the acrylic did not stick to the PLA all that well.

Photo7

Then I decided to use a white primer spray paint to go over and cover the rest to make it more easily painted and used a chrome spray paint to paint the handle and give the ridges a metallic sheen.

Photo9

This picture is slightly out of order because I ran into a problem at the end and had to repaint the handle. After the handle was chrome painted, I painted the “leather” with a burnt umbre brown acrylic paint.

Photo11

Then I finished painting the hammer with some personal touches added.

After going through the effort of glueing the pieces together, I decided it might be easier to print & post-process in one piece. 

Screenshot-2015-07-26-19.58.17
IMG_1069

Jacob Lehmann

Blog Post Author

@JacobELehmann