3D Printing A Superman Hood Emblem

Intern Jacob Lehmann shares on his recent DIY solution to personalize his aging Beetle.

My 3D printed Superman Hood Emblem

By: Jacob Lehmann

I work at re:3D and my job is to figure out and test cool and unique ways to use our 3d printers. I have 2003 VW beetle (and I love it) but some of the aesthetics have been worn and aged poorly over the years. So I had the idea to custom print a rear hood ornament. My amazing bosses thought this was a great idea and helped me to design and realize this idea.

It was hard to pick what exactly I wanted to make for my car. After running through tons of ideas I finally decided that because of the deep sienna blue of my vehicle that a superman logo would look amazing on it. This is a picture of my car after I peeled off the old rusty and broken VW emblem.

First I designed the hood emblem in a free Cad software called Onshape. You can access the tool at this link: https://www.onshape.com/ if you are interested. 

After slicing the file for printing, we put it on the Gigabot and watched it come to life!

And then we tested it on my car.  After looking at it closely, I decided I wasn’t happy with the size and printed a second to fill up the space better.

testingprint

Before we started we knew that the final solution wasn’t going to be in PLA.  In the Texas summer sun, thermoplastics such as PLA warp when left in a car, let alone on the boiling hood. Although this material is perfect for 3d printing because it melts at roughly 190+ Celsius, that very feature makes it hard to use outdoors, inside of engines, or pretty much anywhere that gets hot.

Thankfully our friends at Deep in the Heart Art Foundry (who own some of our Gigabots and use them in their lost wax casting) were more than happy to help us cast an alternative. We originally wanted to cast the piece in bronze and patina it, but they suggested that it would look better and be much lighter to cast it in Stainless steel. You can check out some of their amazing works of art here http://www.deepintheheart.net/. Here is the piece once we got it back (with a little bit of polishing).

unpolished

And after I finished polishing and sanding the piece.

polished

Here is the finished stainless steel piece next to the smaller PLA prototype.

Now all that was left to do was mount it on my vehicle. After cleaning the surface of my rear hood and the backside of the piece with some alcohol, and removing all the dust and grime, I placed some 3m double-sided tape on my car. NOTE: my bosses were concerned for my and other driver’s safety and have since purchased industrial epoxy.

3mtape

And finally, the beautiful hood emblem is complete and placed on my car. Now I can drive around fighting DC supervillains as much as I want.

final

Happy printing!

Jacob Lehmann

Blog Post Author

@jacobelehmann

How I 3D Printed RWBY’s Crescent Rose

For a long time, my best friend Mason has been bugging me to watch Rooster Teeth’s animated show RWBY. Don’t get me wrong, I love anime, but I was already watching too many shows, and kept putting it off. Then, one day, re:3D’s cosplay enthusiast Rebecca asked if there was some way we could print the Crescent Rose (the instantly recognizable, 6ft tall scythe from RWBY). I immediately said yes, which made me finally binge-watch volumes 1 and 2 of RWBY on Netflix. Much to Mason’s delight, I loved it! I was super excited to make the scythe, not just because of my inner fangirl, but for the creative challenge of creating a 6 foot tall 3 foot wide scythe!
Rebecca and I debated for many hours about how to go about the design for the scythe. As you all might know, the Crescent Rose has the ability to transform into a more compact gun. We discussed the viability of this option ,and ultimately decided that because of the plastic we would be using and the laws of physics, that we should pursue making the best possible scythe-version of the Crescent Rose, and not worry about it transforming.

So, I threw myself into research. I spent many hours pausing the show and sketching, as well as staring at various other interpretations of the scythe on google images. I finally decided on a plan of action, and started modeling the scythe in Onshape, a beta CAD software.

When using a 3d printer, it’s important to keep in mind how your piece is going to be printed. 3D printers start to print from a base layer up, and use supports for overhanging parts. Therefore, I modeled most of the scythe to be easily printed from a flat bottom. Although I could have modeled the piece completely true to the show, I gave up some minor design features so that my prints would be faster and use as little supports as needed. The Gigabot, because of its large print size of 8 cubic feet, allowed me to make the individual pieces much larger and easily create a life sized model of the scythe.

I made the model into 11 different pieces that could be assembled after they were pulled off the printer. I then printed these pieces using PLA on a Gigabot. I used different infills and layers for different pieces, 2-3 layers depending on how much strength I was going to need from that piece and ranged 5-20% infill depending on if I need the piece to be light or not. I usually heat the plastic at around 195-200 degrees Fahrenheit.

When assembling plastic pieces, together keep in mind in order in which you want to paint your piece, and the different bond strength of the glues or tapes you are using. For the Crescent Rose, I mainly used just basic Gorilla Glue super glue. For more stress intensive pieces, I used Gorilla Glue epoxy and clear caulk to give joints a more uniform look.  

After we had finished printing all the pieces, the next step was to remove all the support material. Then, I sanded down and fixed the smaller print errors such as place where there is a slight over-extrusion on corners or small print-shifts. Finally, I started painting! A timelapse of the process is available below.

I used a basic white primer spray paint that sticks to plastic. This created a good base layer on the models that I could paint other layers of spray paints and acrylic on top of. For the majority of the scythe, I used red and chrome spray paints and then used black and red acrylics and a paint brush to finish detailing.

My Crescent Rose actually ended up being a little too big, finishing at 6’10” tall and 4’4” wide. I had the outstanding luck to get to bring my scythe to the Rooster Teeth offices and, who should happen to walk by but the voice of Ruby, the very character who wields the Crescent Rose– Lindsey Jones!

Everything was not all roses and sunshine though. I had some large problems throughout the course of making this scythe. Some pieces ended up being more fragile than I would have wanted, and broke a few times. The overall size and shape of the scythe creates its own unique problem. Even though the material is fairly lightweight, the scythe acts as a natural lever where the fulcrum is where the staff meets the blade, causing a large amount of pressure and tension right at the joint. My solution to this problem was more gorilla glue and wooden and metal rods drilled into the plastic and hammered through to help support the weight.

Another huge problem that occurred during the print of one of the pieces completely failed on us. The head of the Gigabot extruder got clogged 48 hours into the 55 hour print. Fortunately, when a print fails, the print usually has a flat layer at the point of failure. I was able to measure the print, and edit my model accordingly so, so I could print only what was missing. The end result looks just like a filament swap mid-print. I credit the ease of this fix to the great usability of OnShape.

Finally, the last and probably worst problem I ran into was the Texas Summer Sun… This is a problem that is unique to people in the south who use 3D printers. Even though the plastic melts at roughly 200 degrees fahrenheit, your print will warp if left in your car or your backyard too long. This happened on the largest piece of the scythe and caused my really nice print fix to be extremely noticeable. I had to reheat my piece and to try and warp it back to a usable condition– with limited success. I decided at the end that the condition of the piece after I re-warped it was good enough to merit not reprinting 55 hours worth of plastic.

In order to save you some work modeling, I posted the files on Onshape so that you can print RWBY’s Crescent Rose too!

I’m unveiling the files at RTX at the re:3D booth prior to our Panel today (Aug 8th) on 3D printing & cosplay. You can check out the panel at 1pm at the JW Marriott, Room 303.

You can find me on twitter @jacobelehmann to discuss the process in more detail.

Below are the sources I used to help me create my model.

  • http://i.ytimg.com/vi/rST5VxiZ_gE/maxresdefault.jpg
  • http://goo.gl/9XzVMq
  • http://goo.gl/SsO63J
  • https://en.wikipedia.org/wiki/RWBY
  • http://goo.gl/r6x12t

Thanks for reading!

Jacob e lehmann

Blog Post Author

3D Printing Musical Instruments: The Ukulele

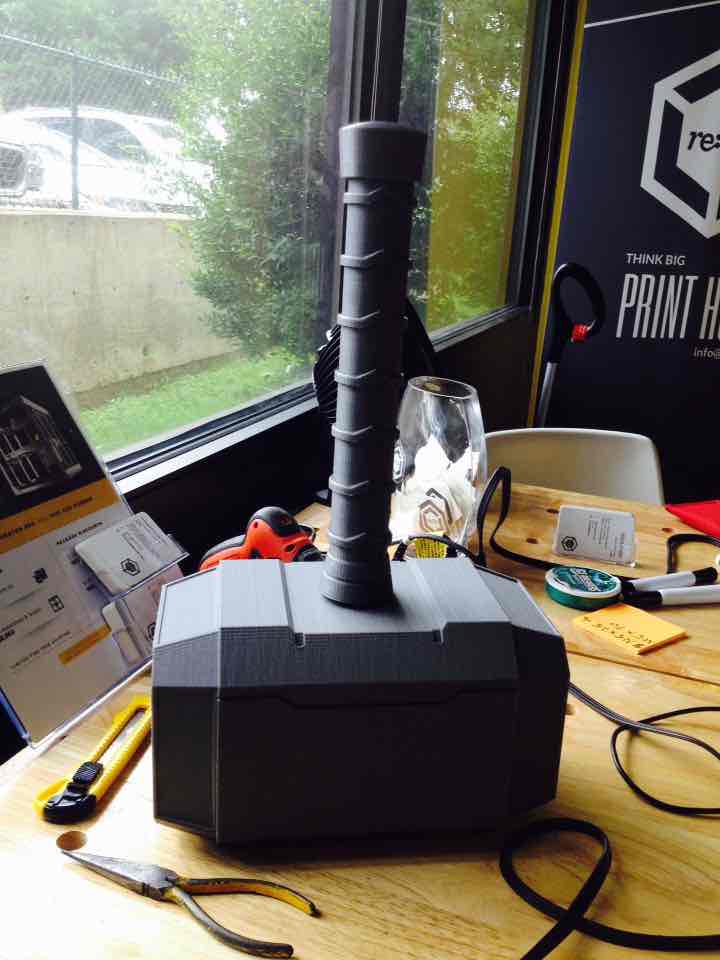
Pranathi Peri is developing a set of 3D printed, playable musical instruments for her summer internship. In her own words, she describes her design process:

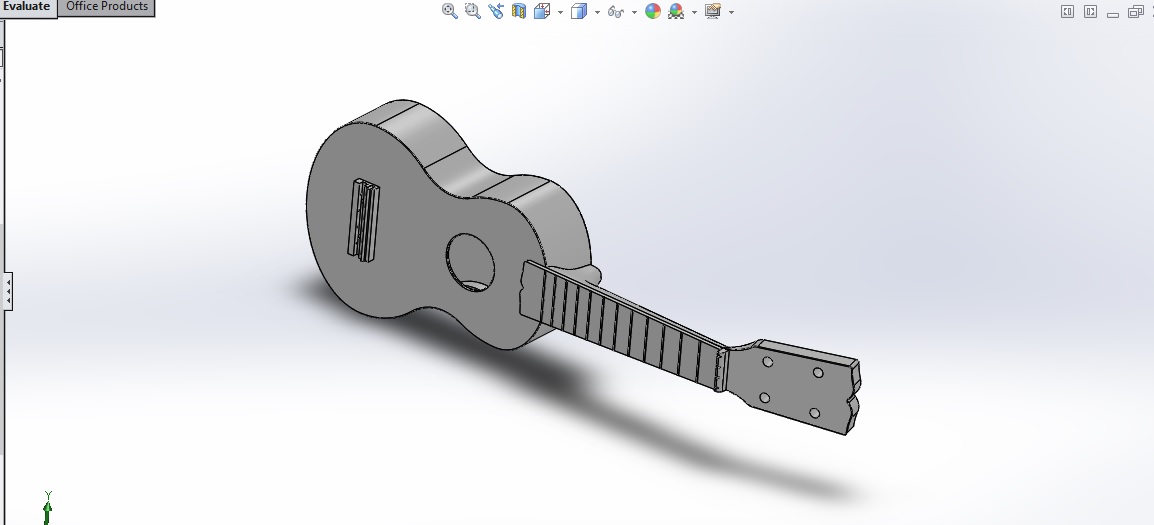
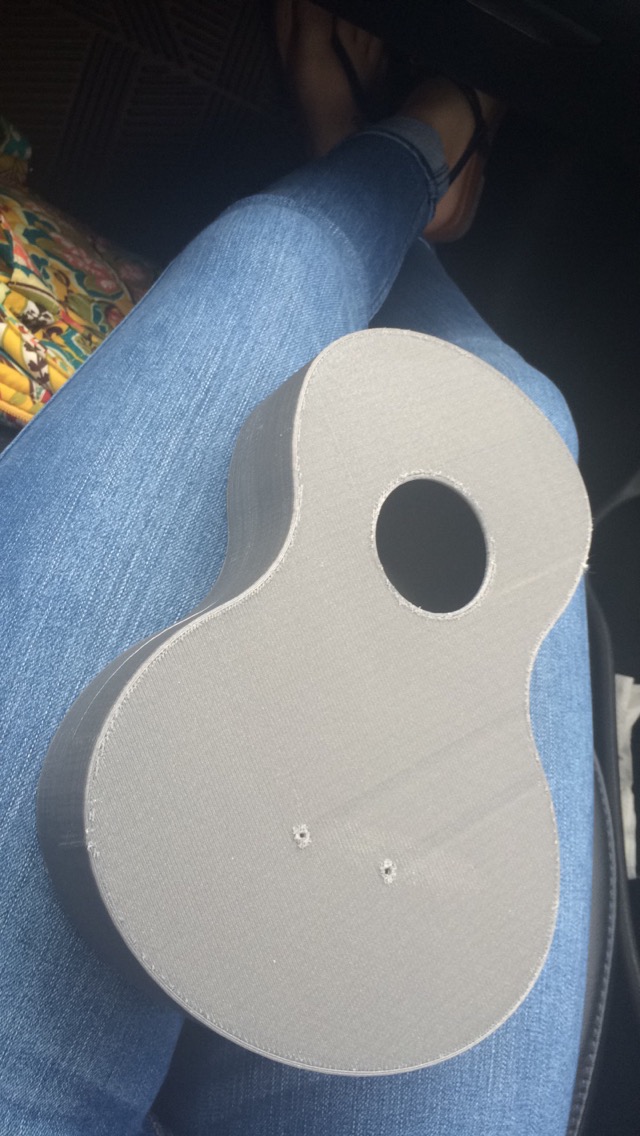
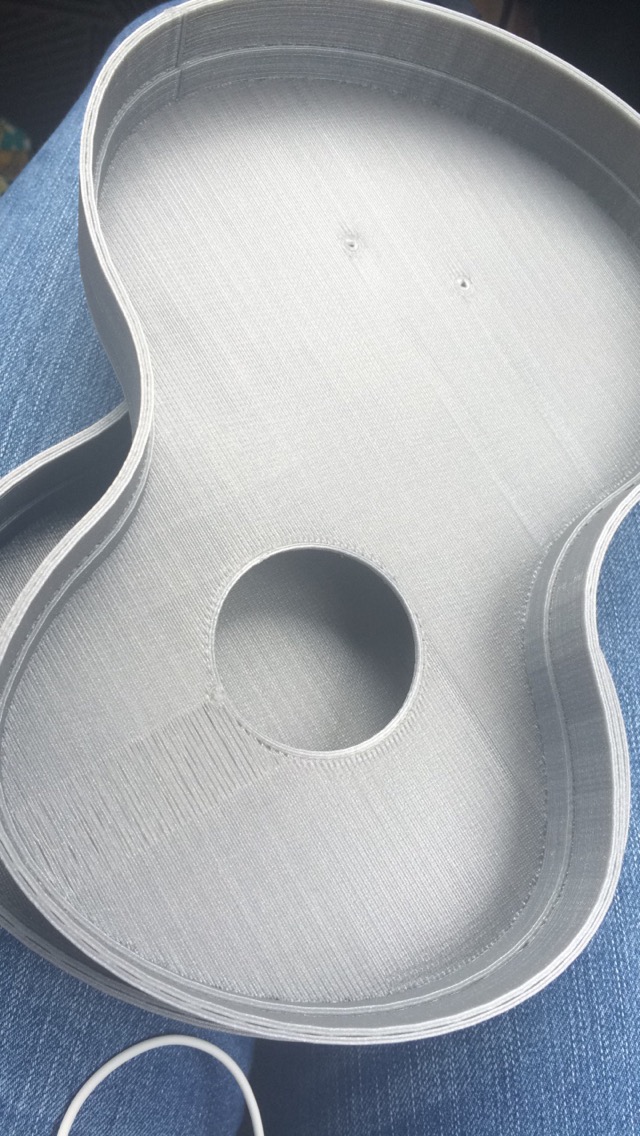
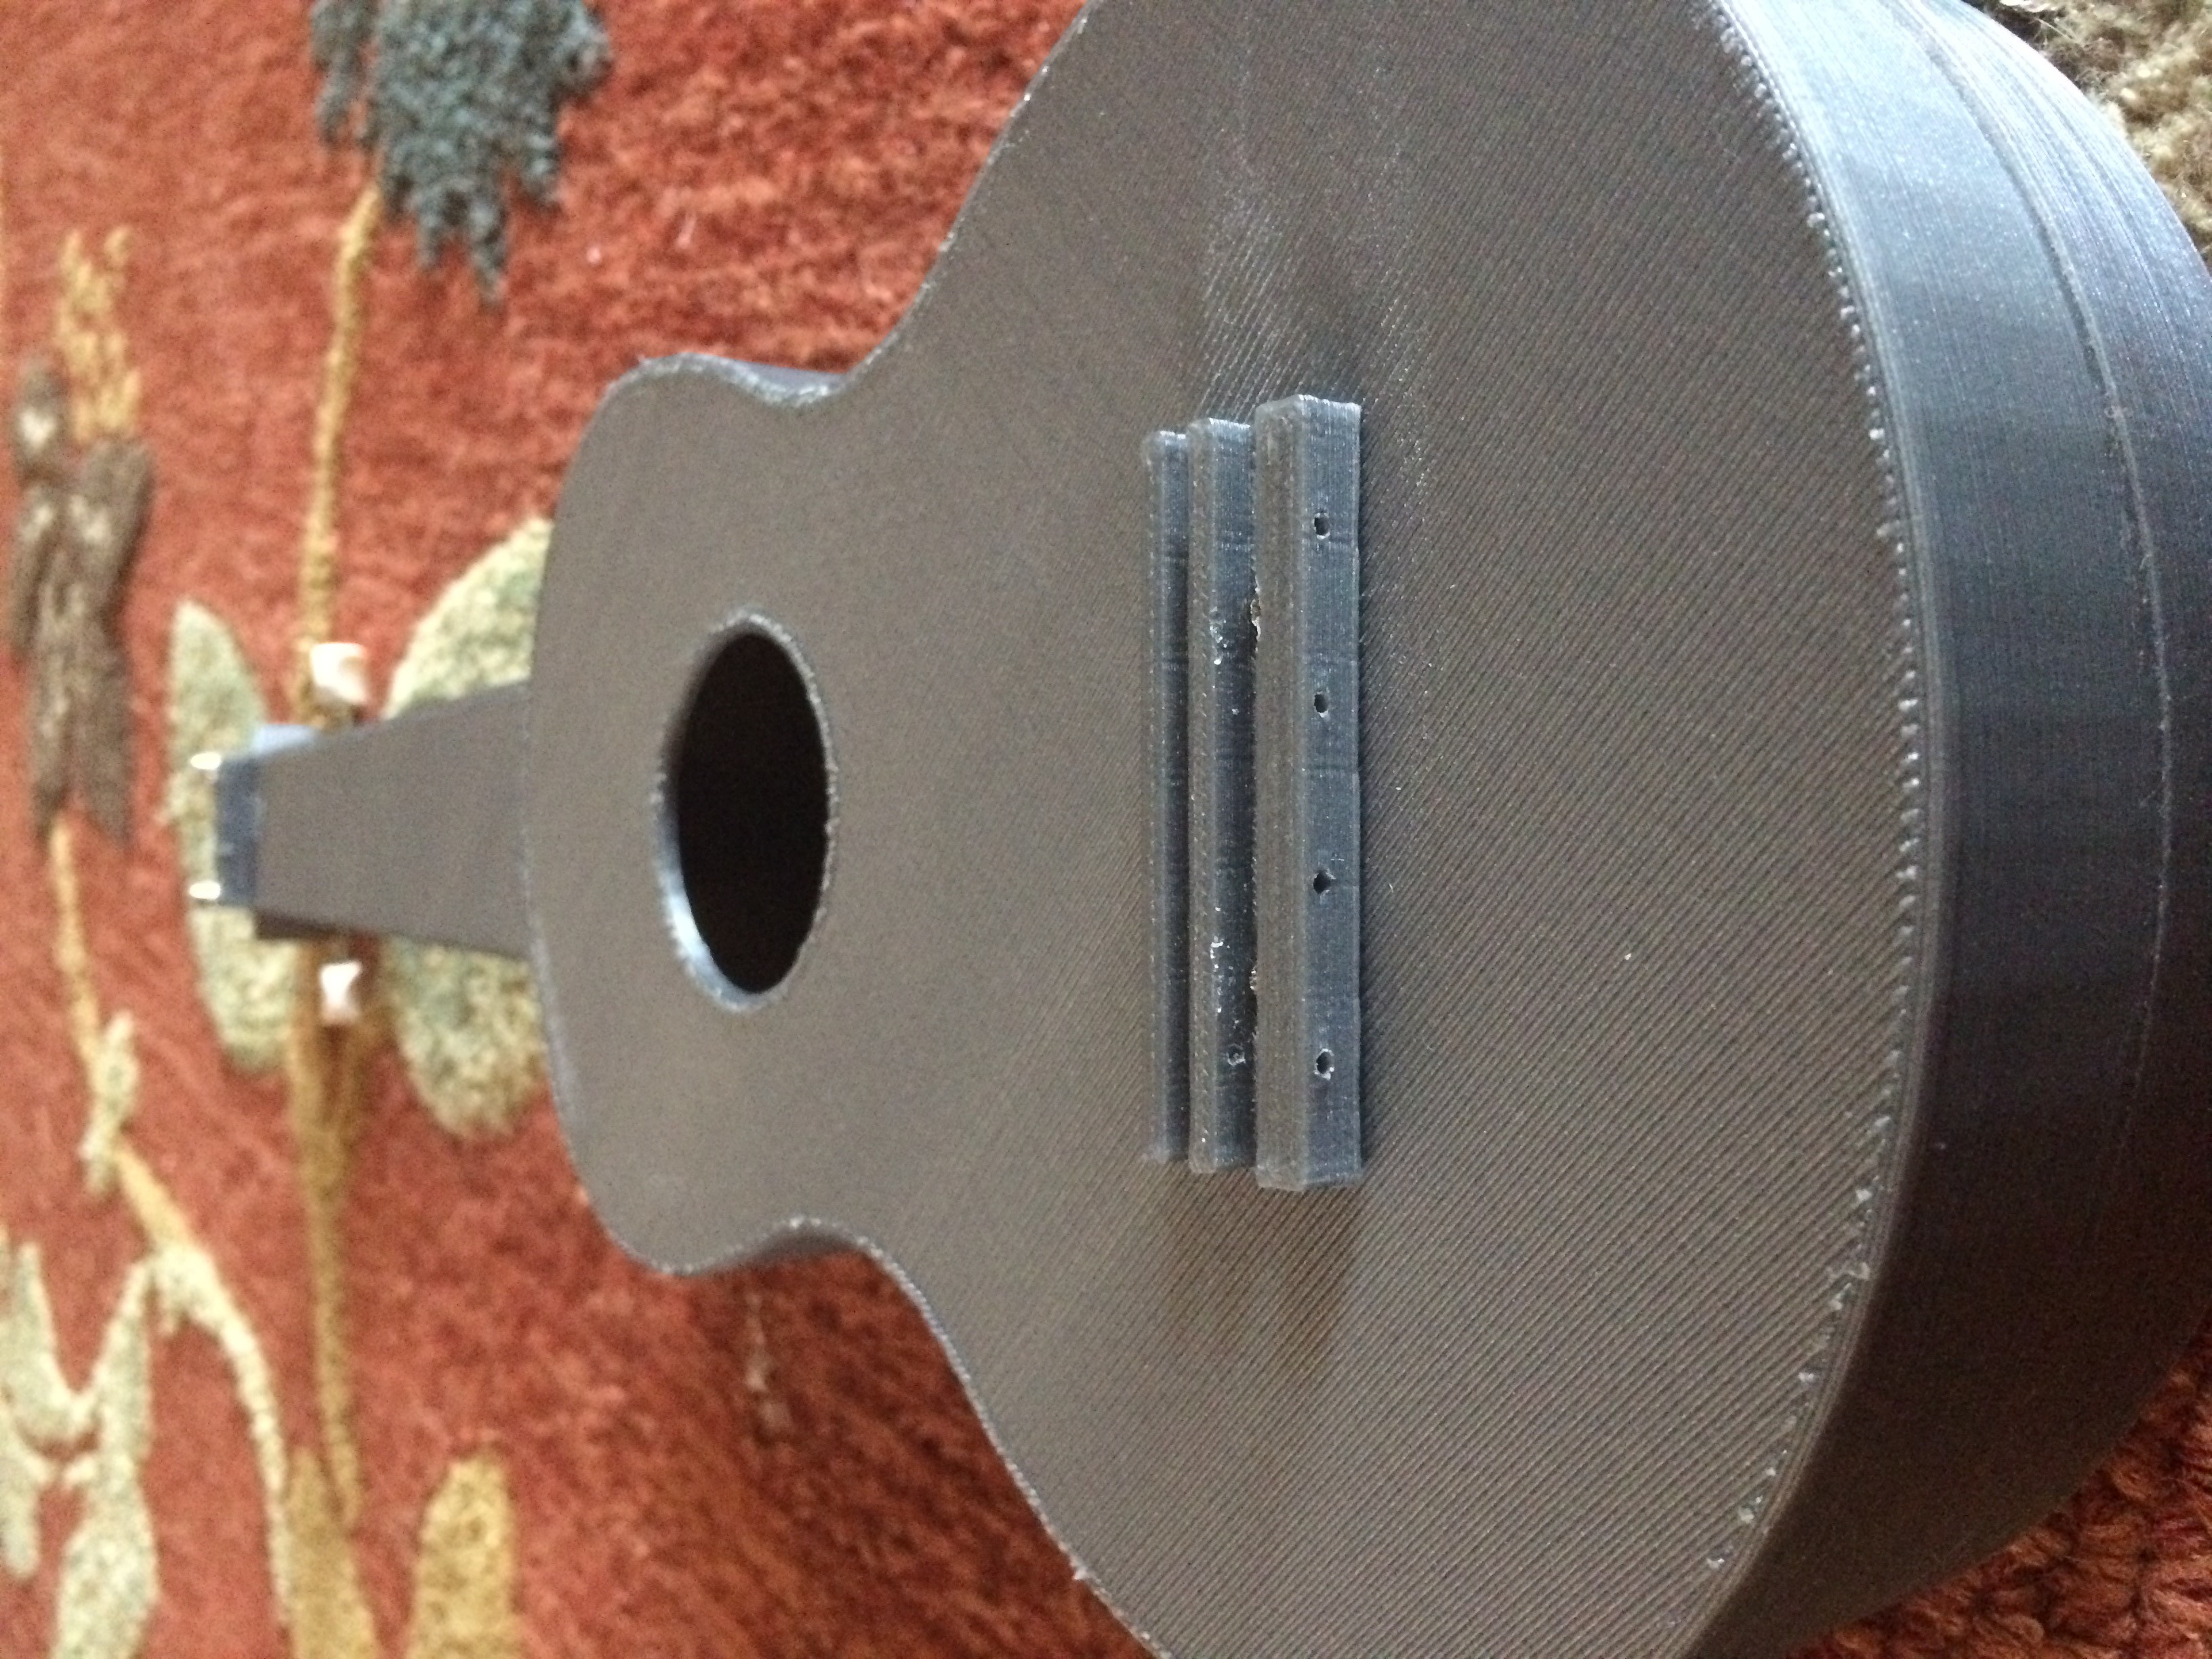
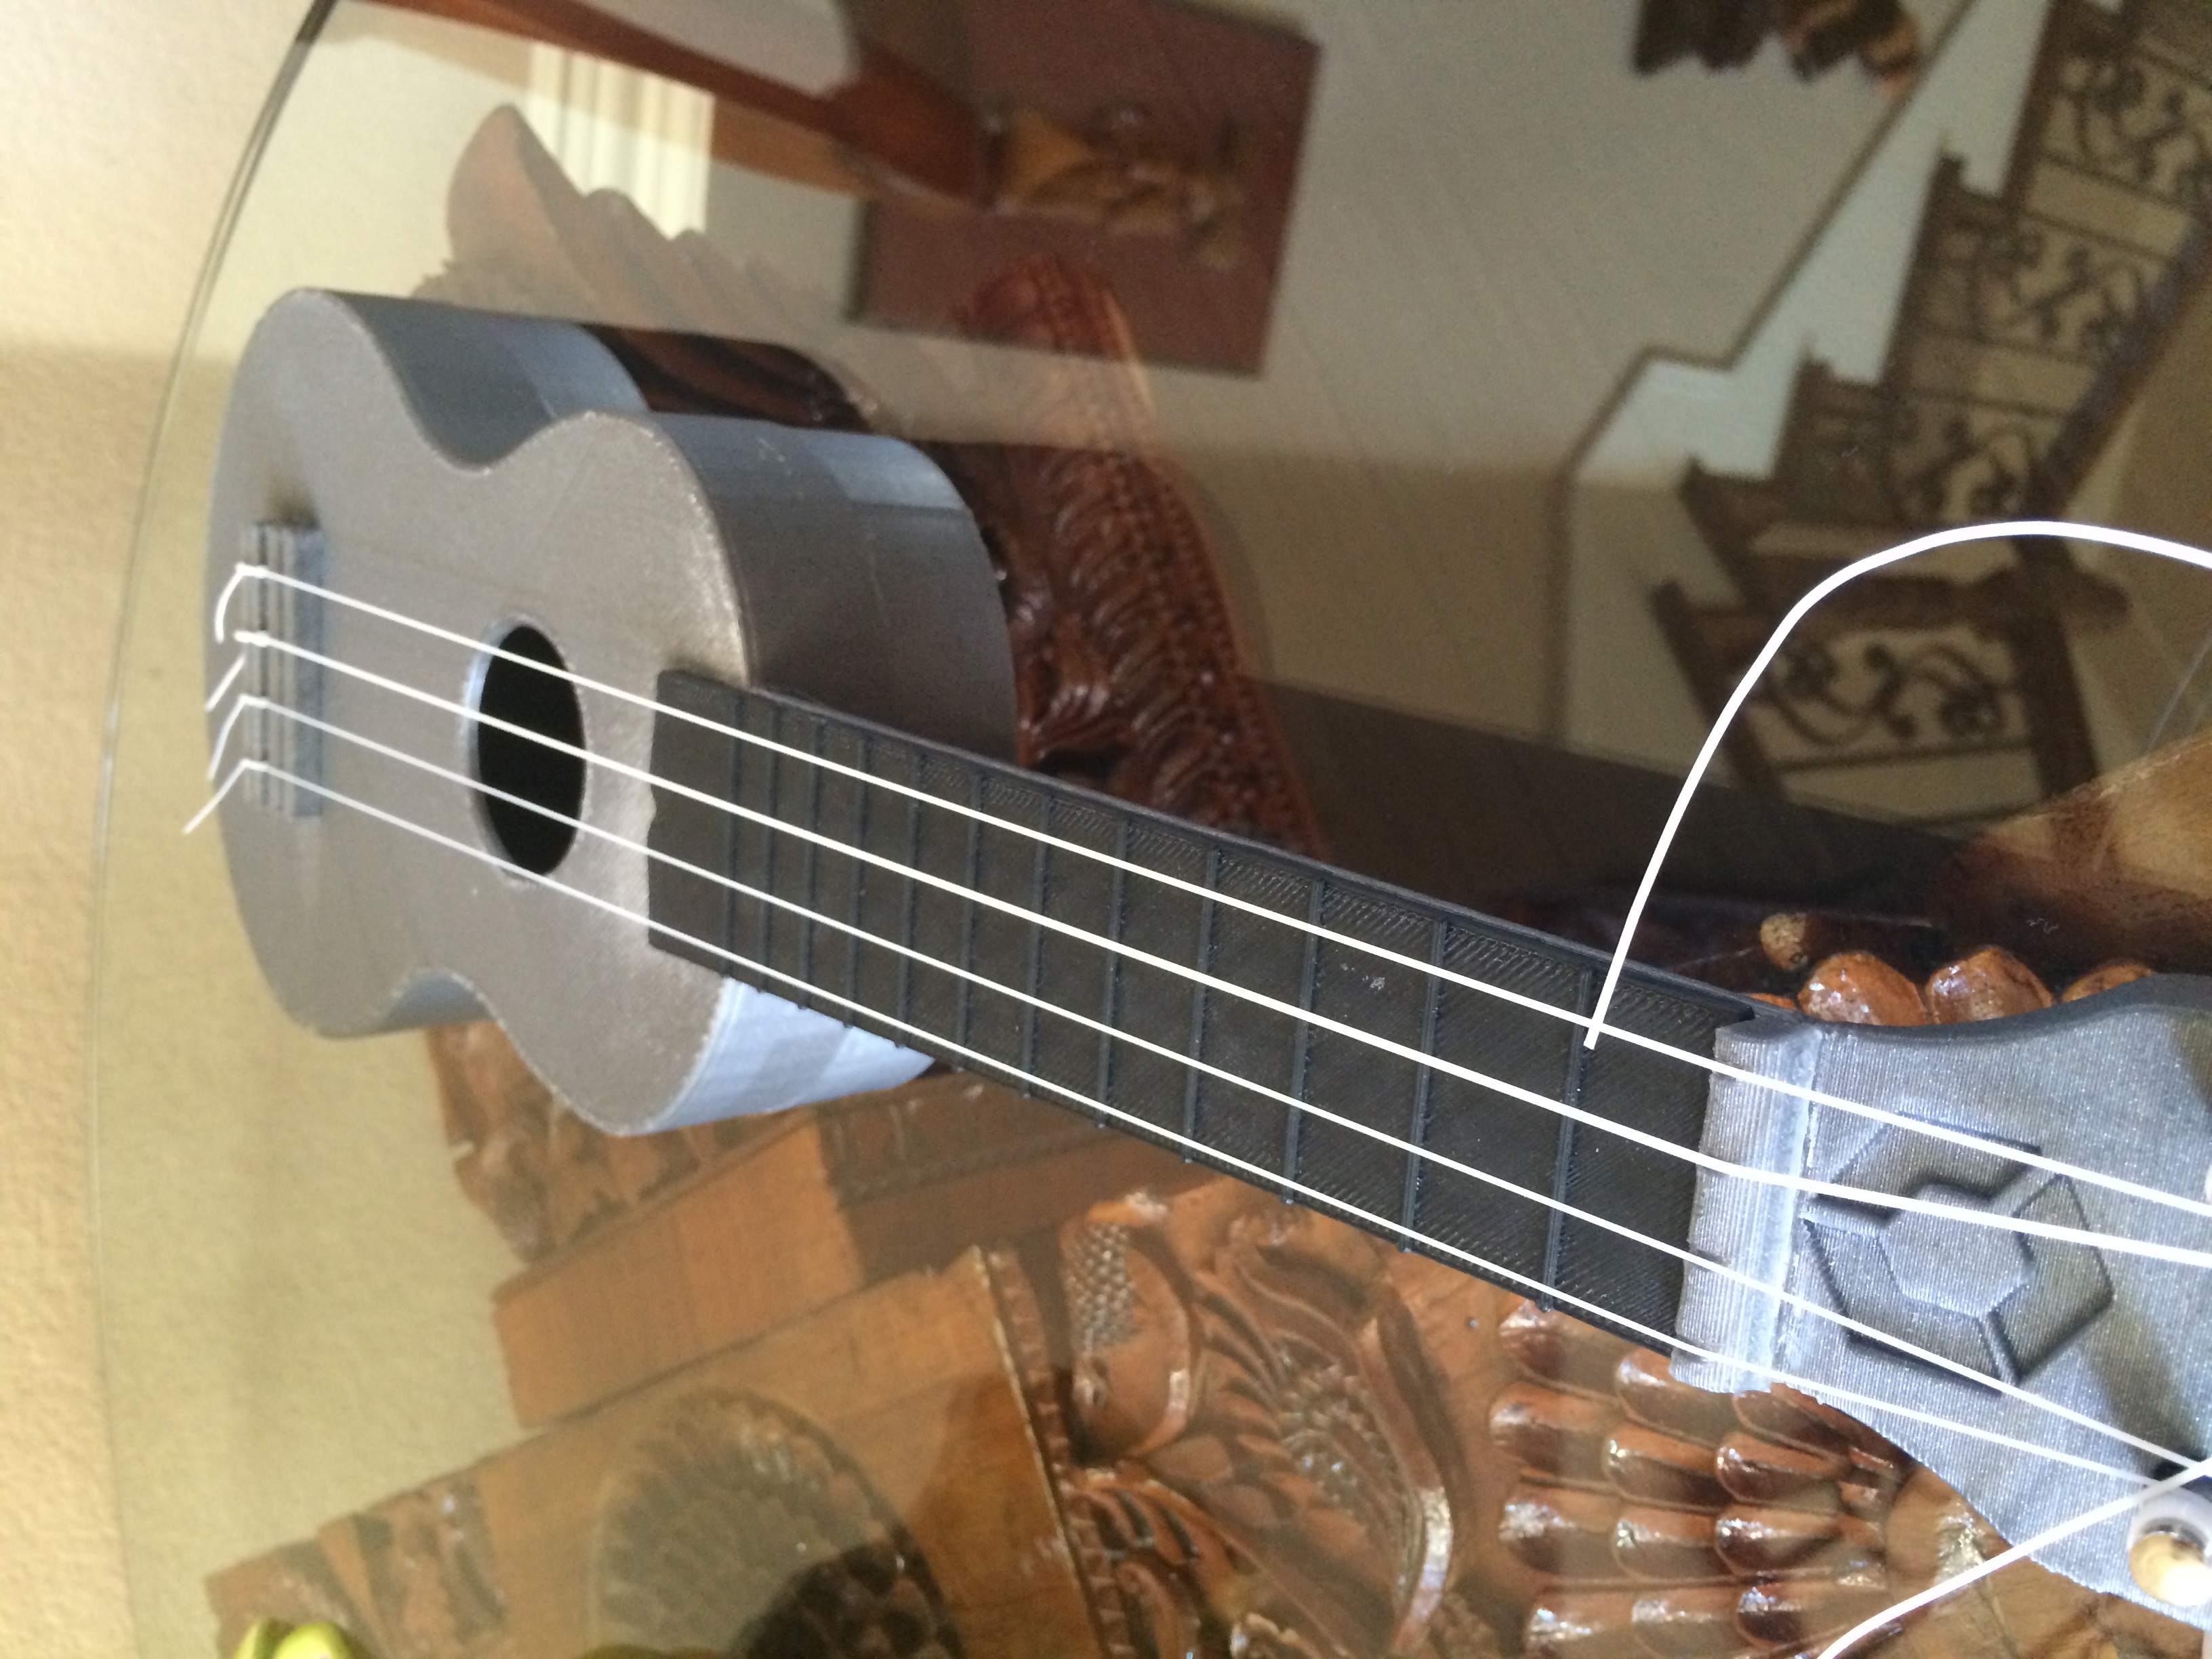
Have you ever wanted to 3D print your own ukulele? Well now uke can! For the second instrument of my 3D printing internship, I decided to design and print a ukulele. After all, who didn’t trawl the internet looking for the best acoustic guitars under 300, and then end up with a ukele anyway because it was cheaper? They have such a charming aesthetic, and it’s that student living nostalgia that I wanted to try and tap back into. It also dramatically simplifies the process of choosing an acoustic guitar for your child, you can just print one instead now. Although, we have to admit, perhaps it won’t have the same charm.

The history of the good ol’ uke goes way back. During the late 1800s they were first introduced as instruments in Hawaii, where its name literally meant “jumping flea.” Well-known songs like I’m Yours, by Jason Mraz, Riptide, by Vance Joy, and Imagine, by John Lennon have familiar ukulele riffs which have contributed to the popularization of the instrument, yet these bands use the ukulele in maybe one to two of their songs, and then proceed to abandon it.

I know what you’re thinking; why would I want to design such an uncommonly played instrument?

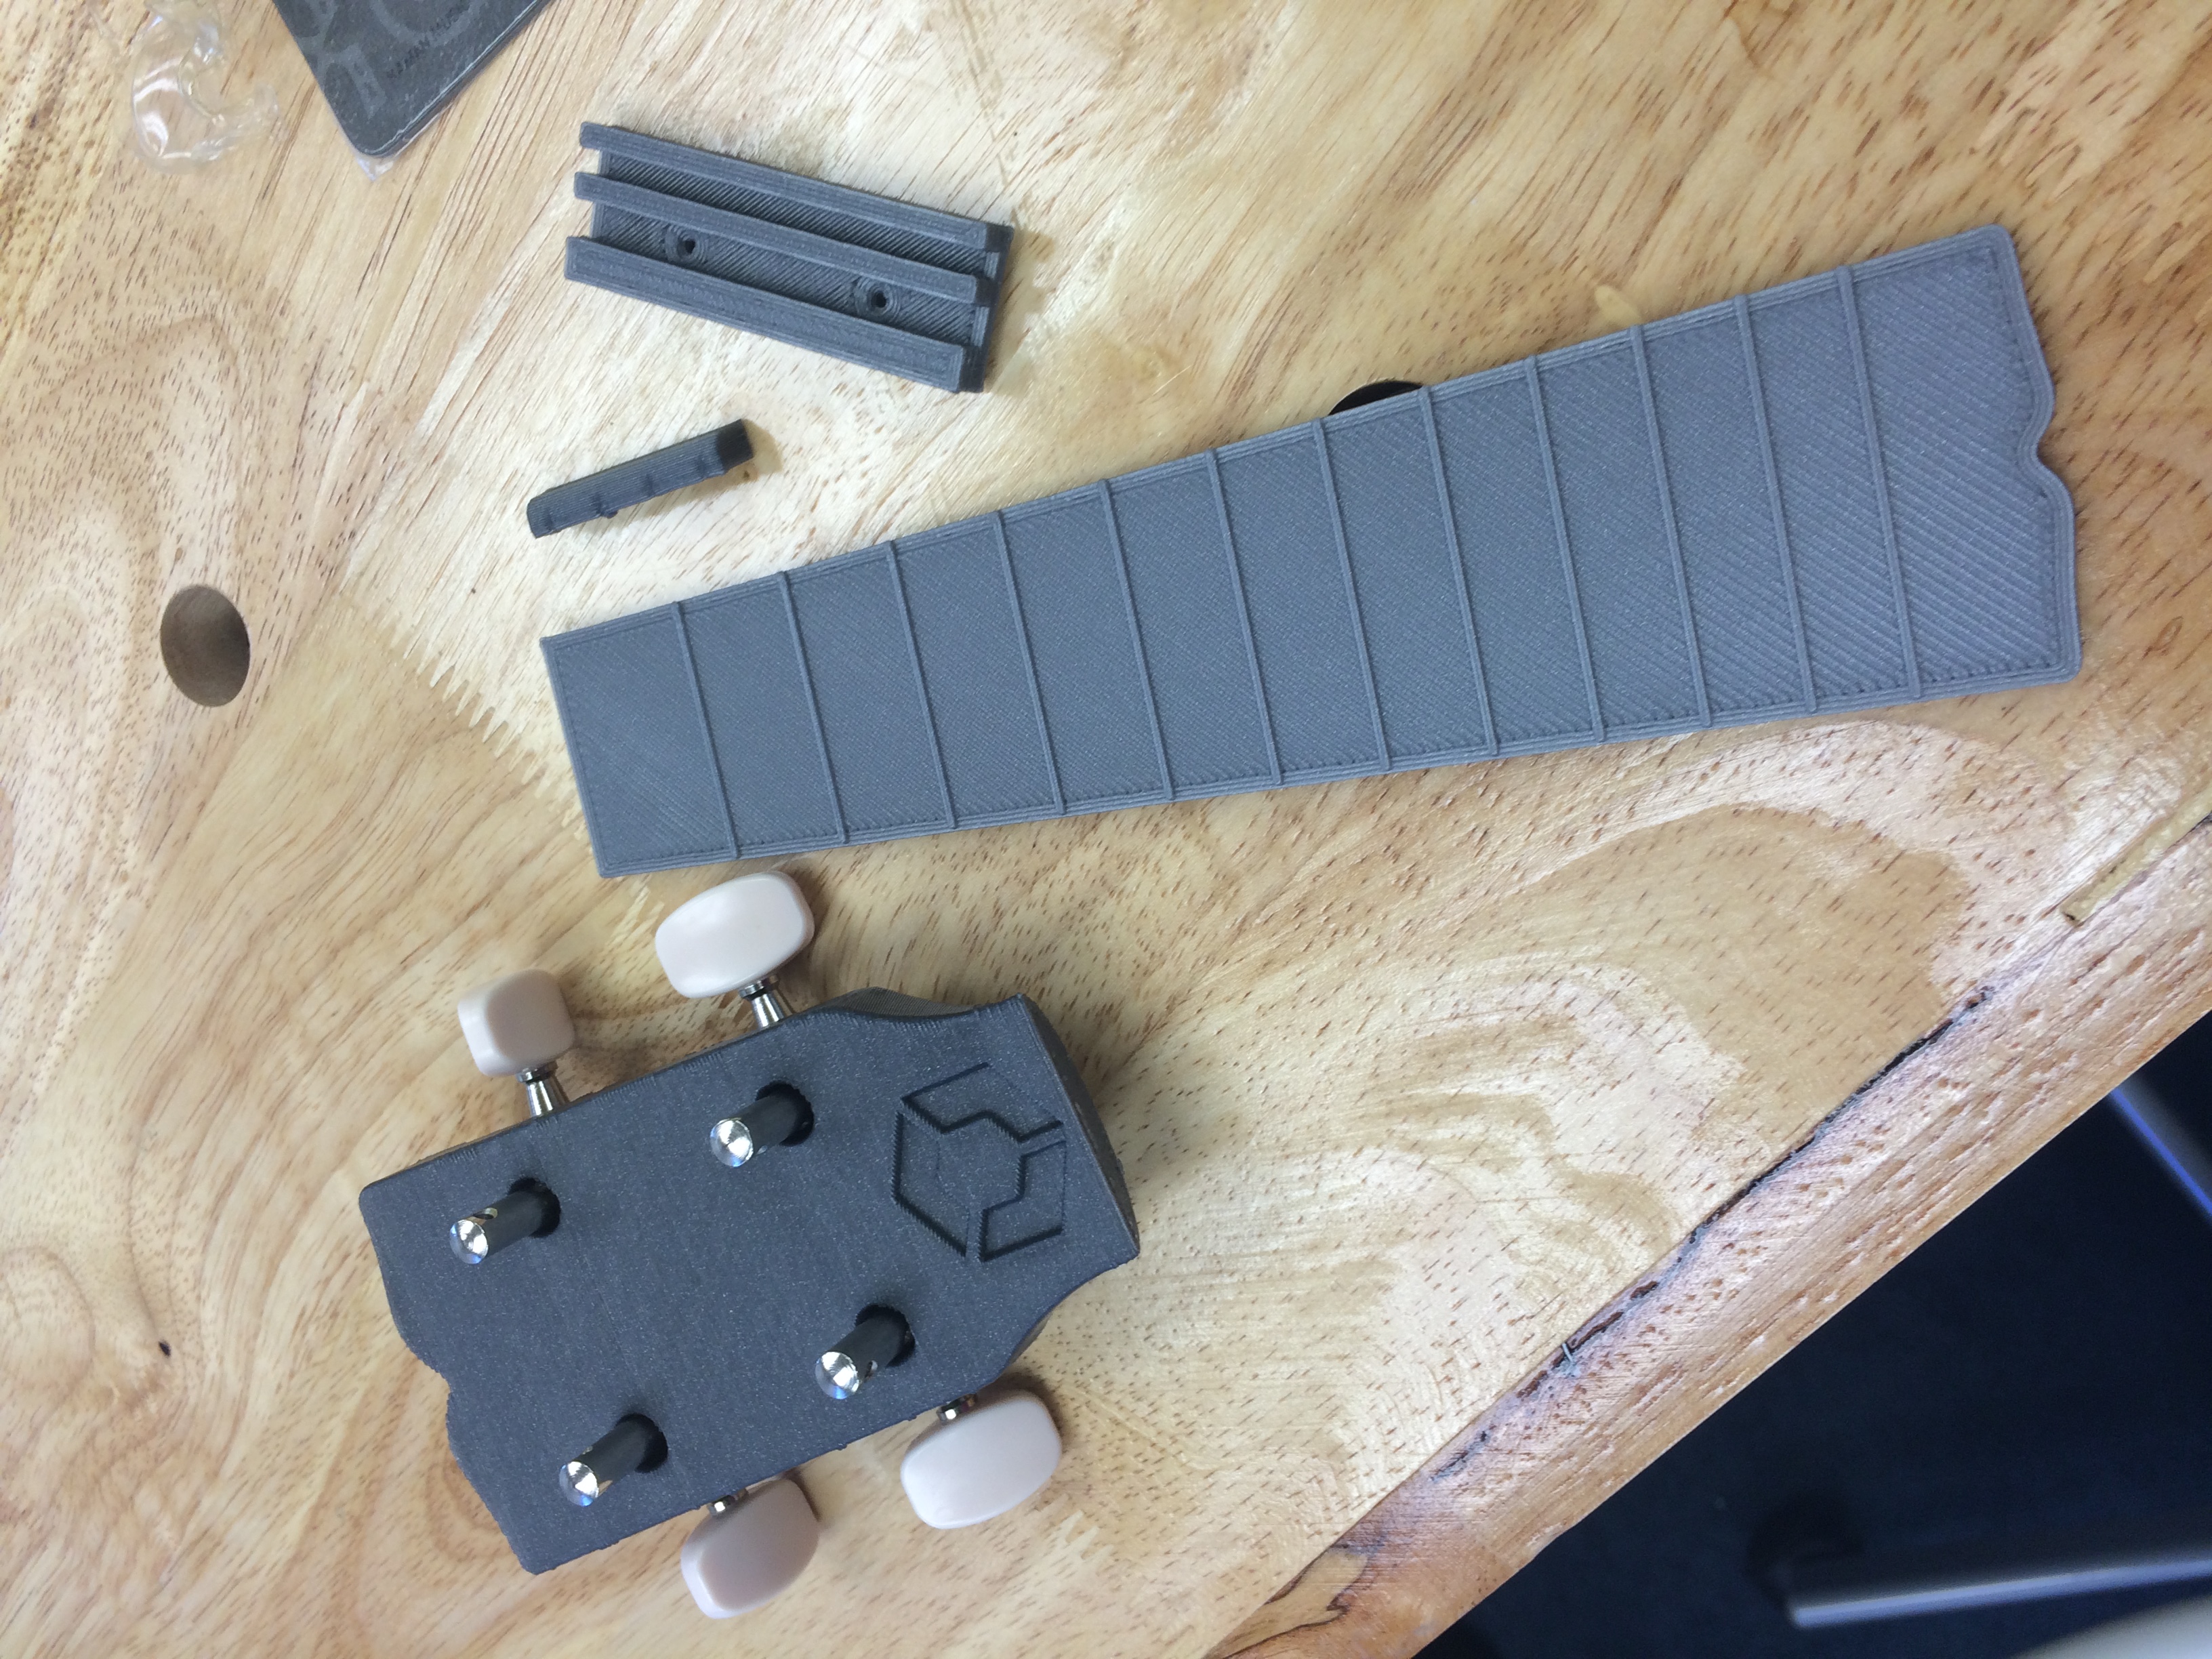
Although the ukulele is not a widely sought-after instrument like the electric guitar, and piano, I decided to design and print it because it combines the aspects of many popular, commercialized instruments. For example, the ukulele is compact, like the violin, but is not as susceptible to external factors that may may warp the acoustics. It retains the same resonance as the acoustic guitar like the Yamaha FGX800c, but within a smaller body. It has strings that can be tuned, just like a piano, but rather than 236 strings, each with their own unique thickness and reverberation, it has 4 which are tuned to C, E, G, and A . For these reasons, and many more, I figured that a ukulele would be relatively easy to design and print, while still containing key aspects of various other basic instruments.

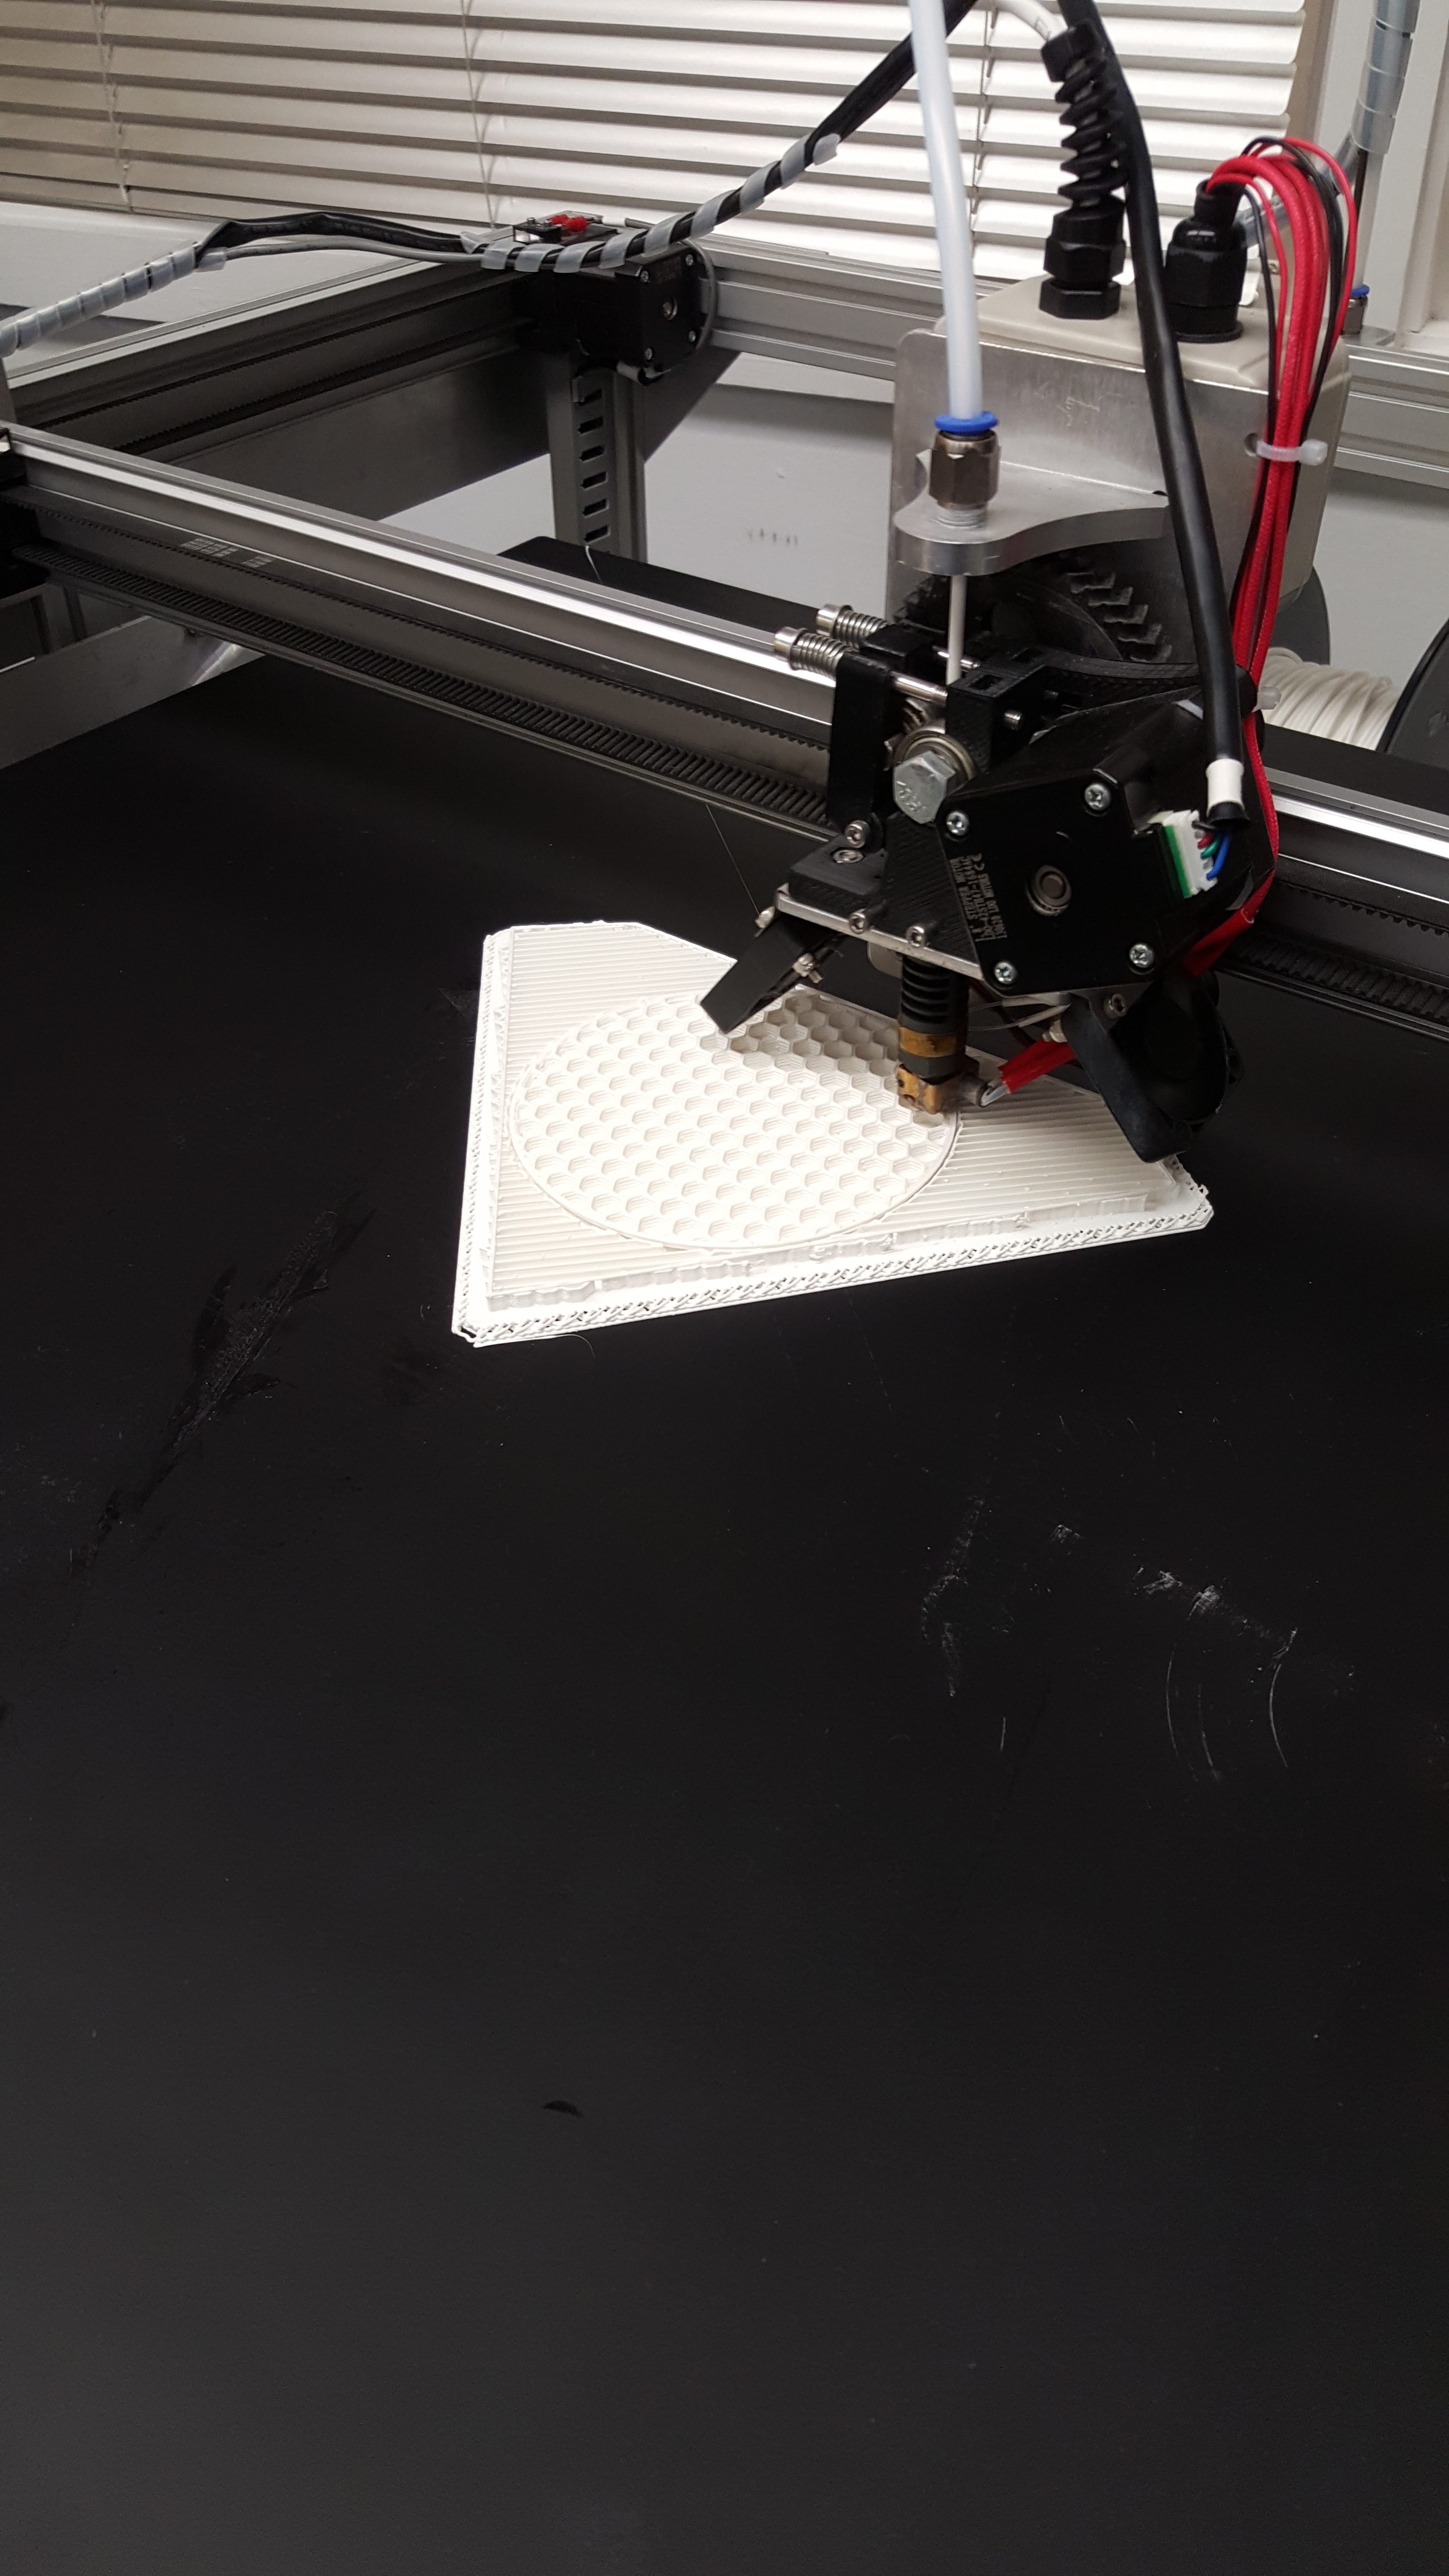
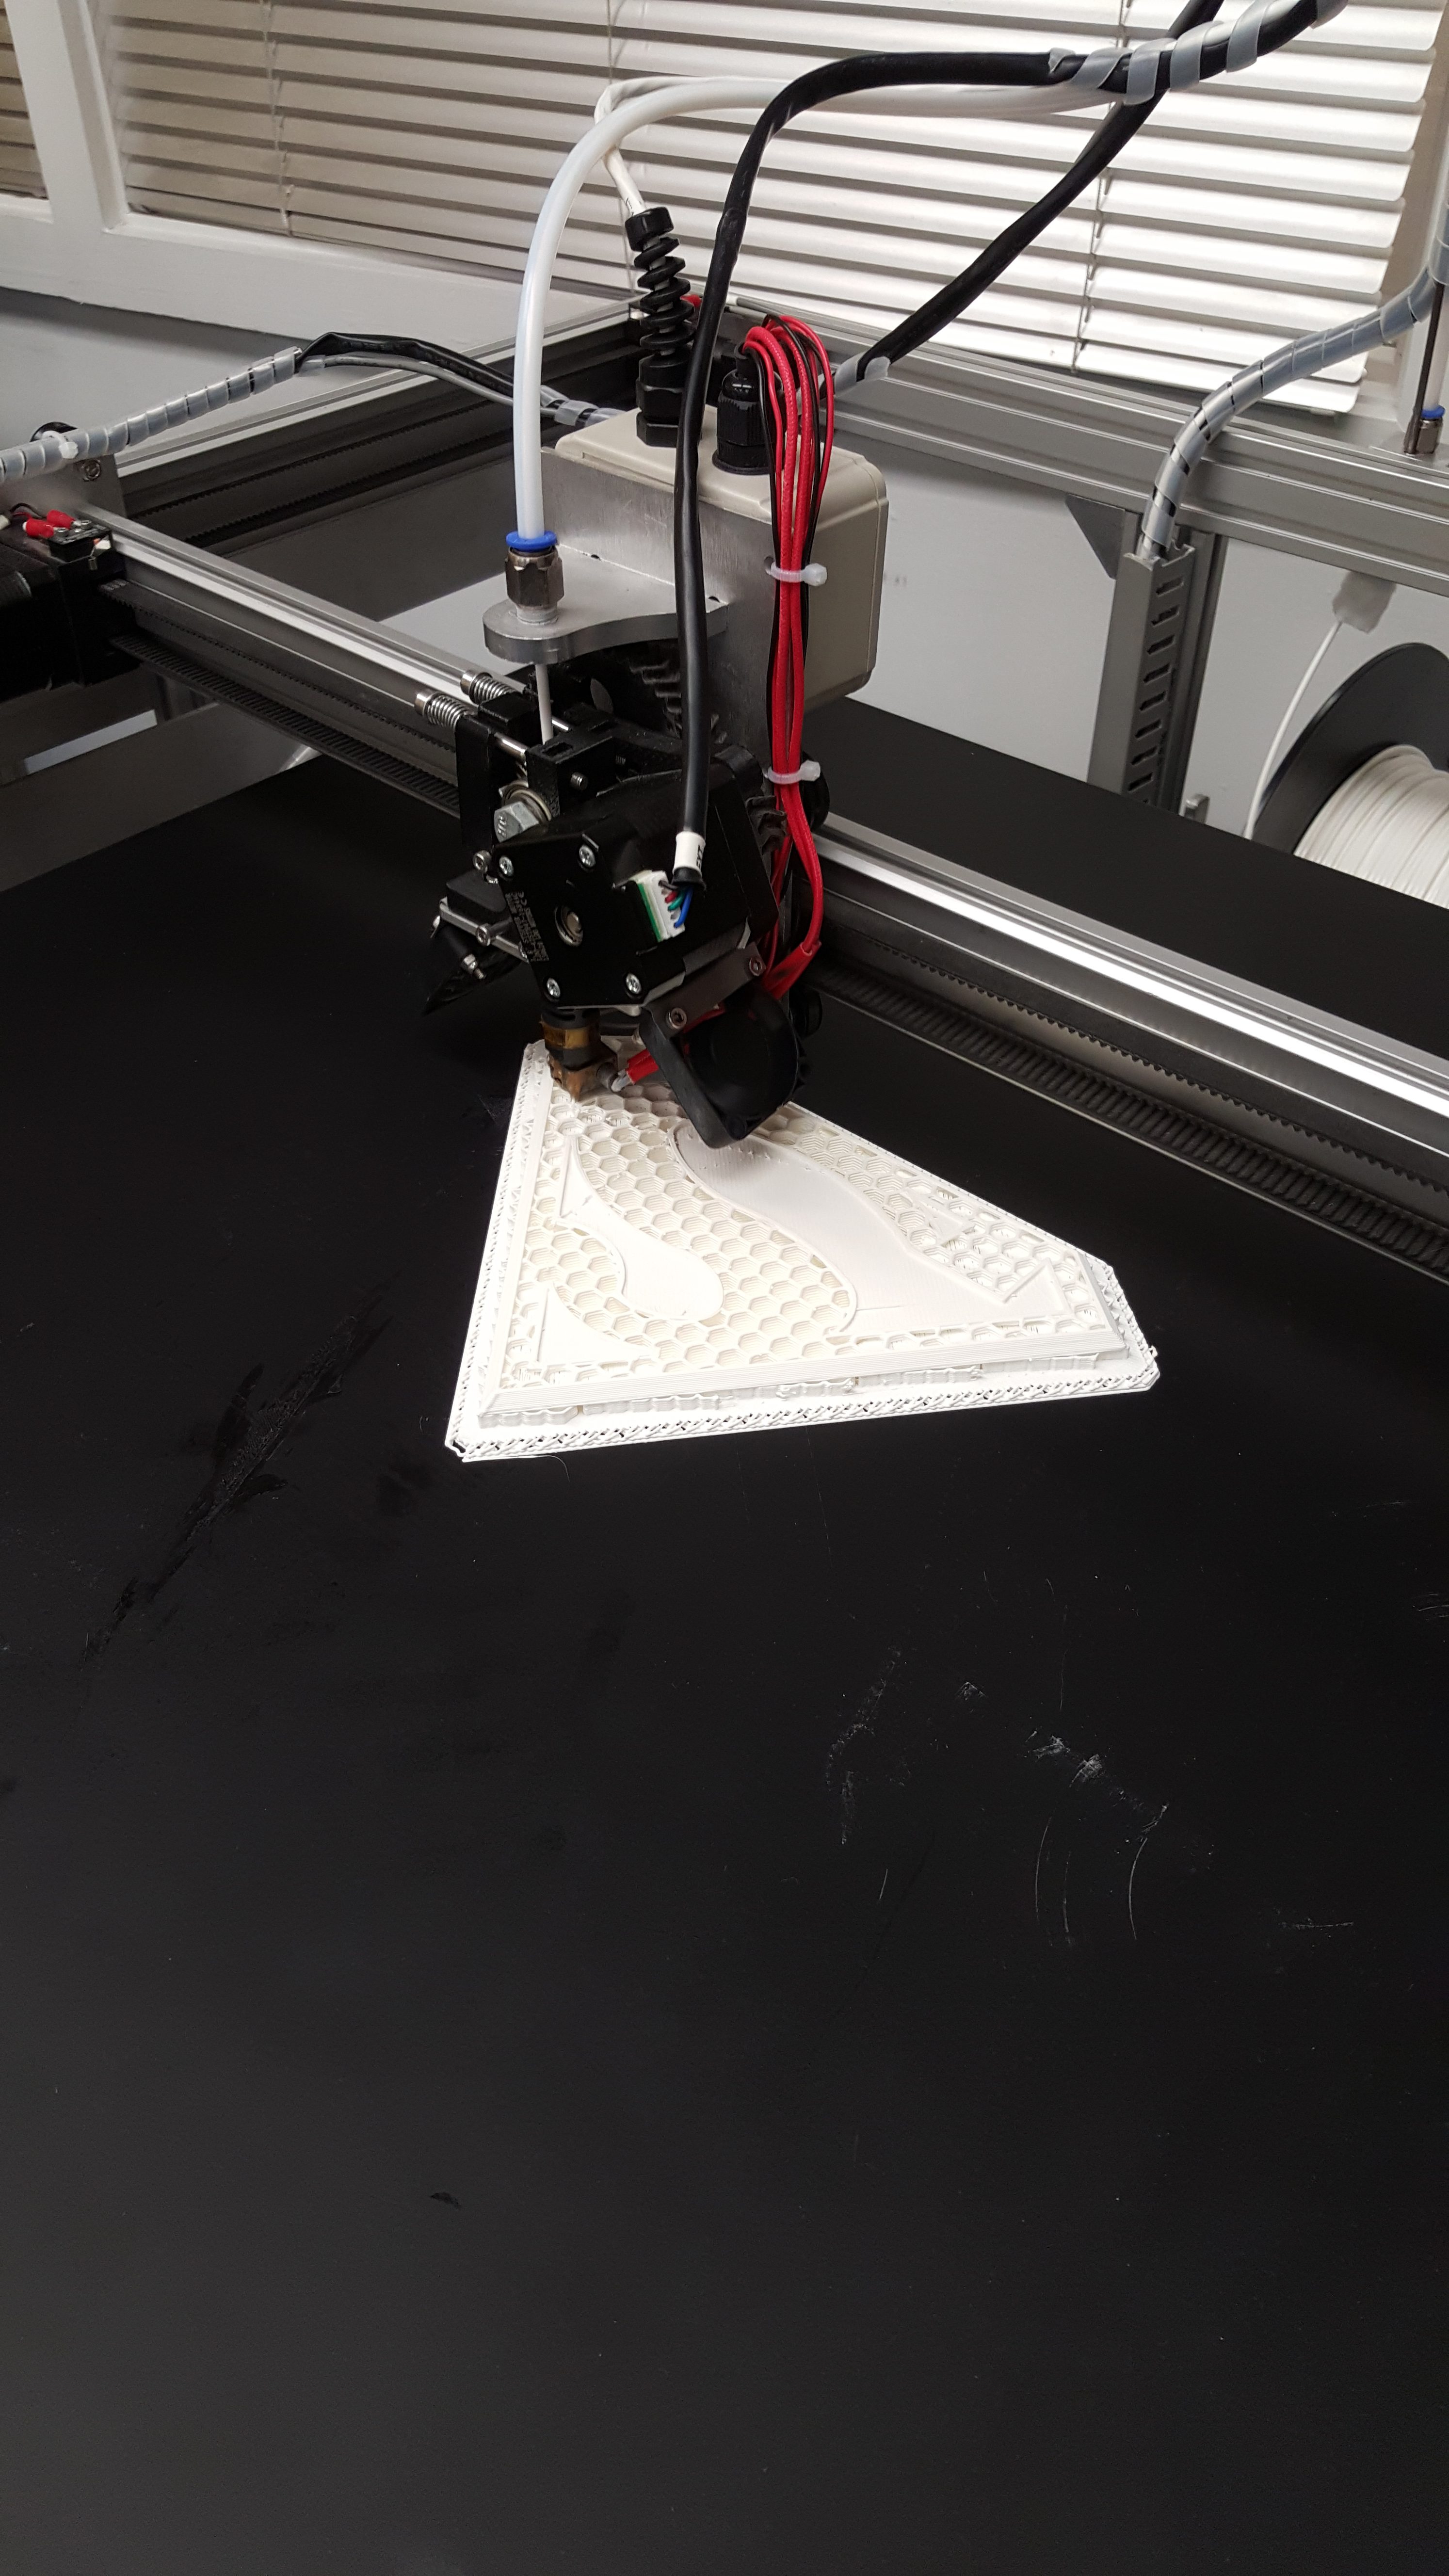
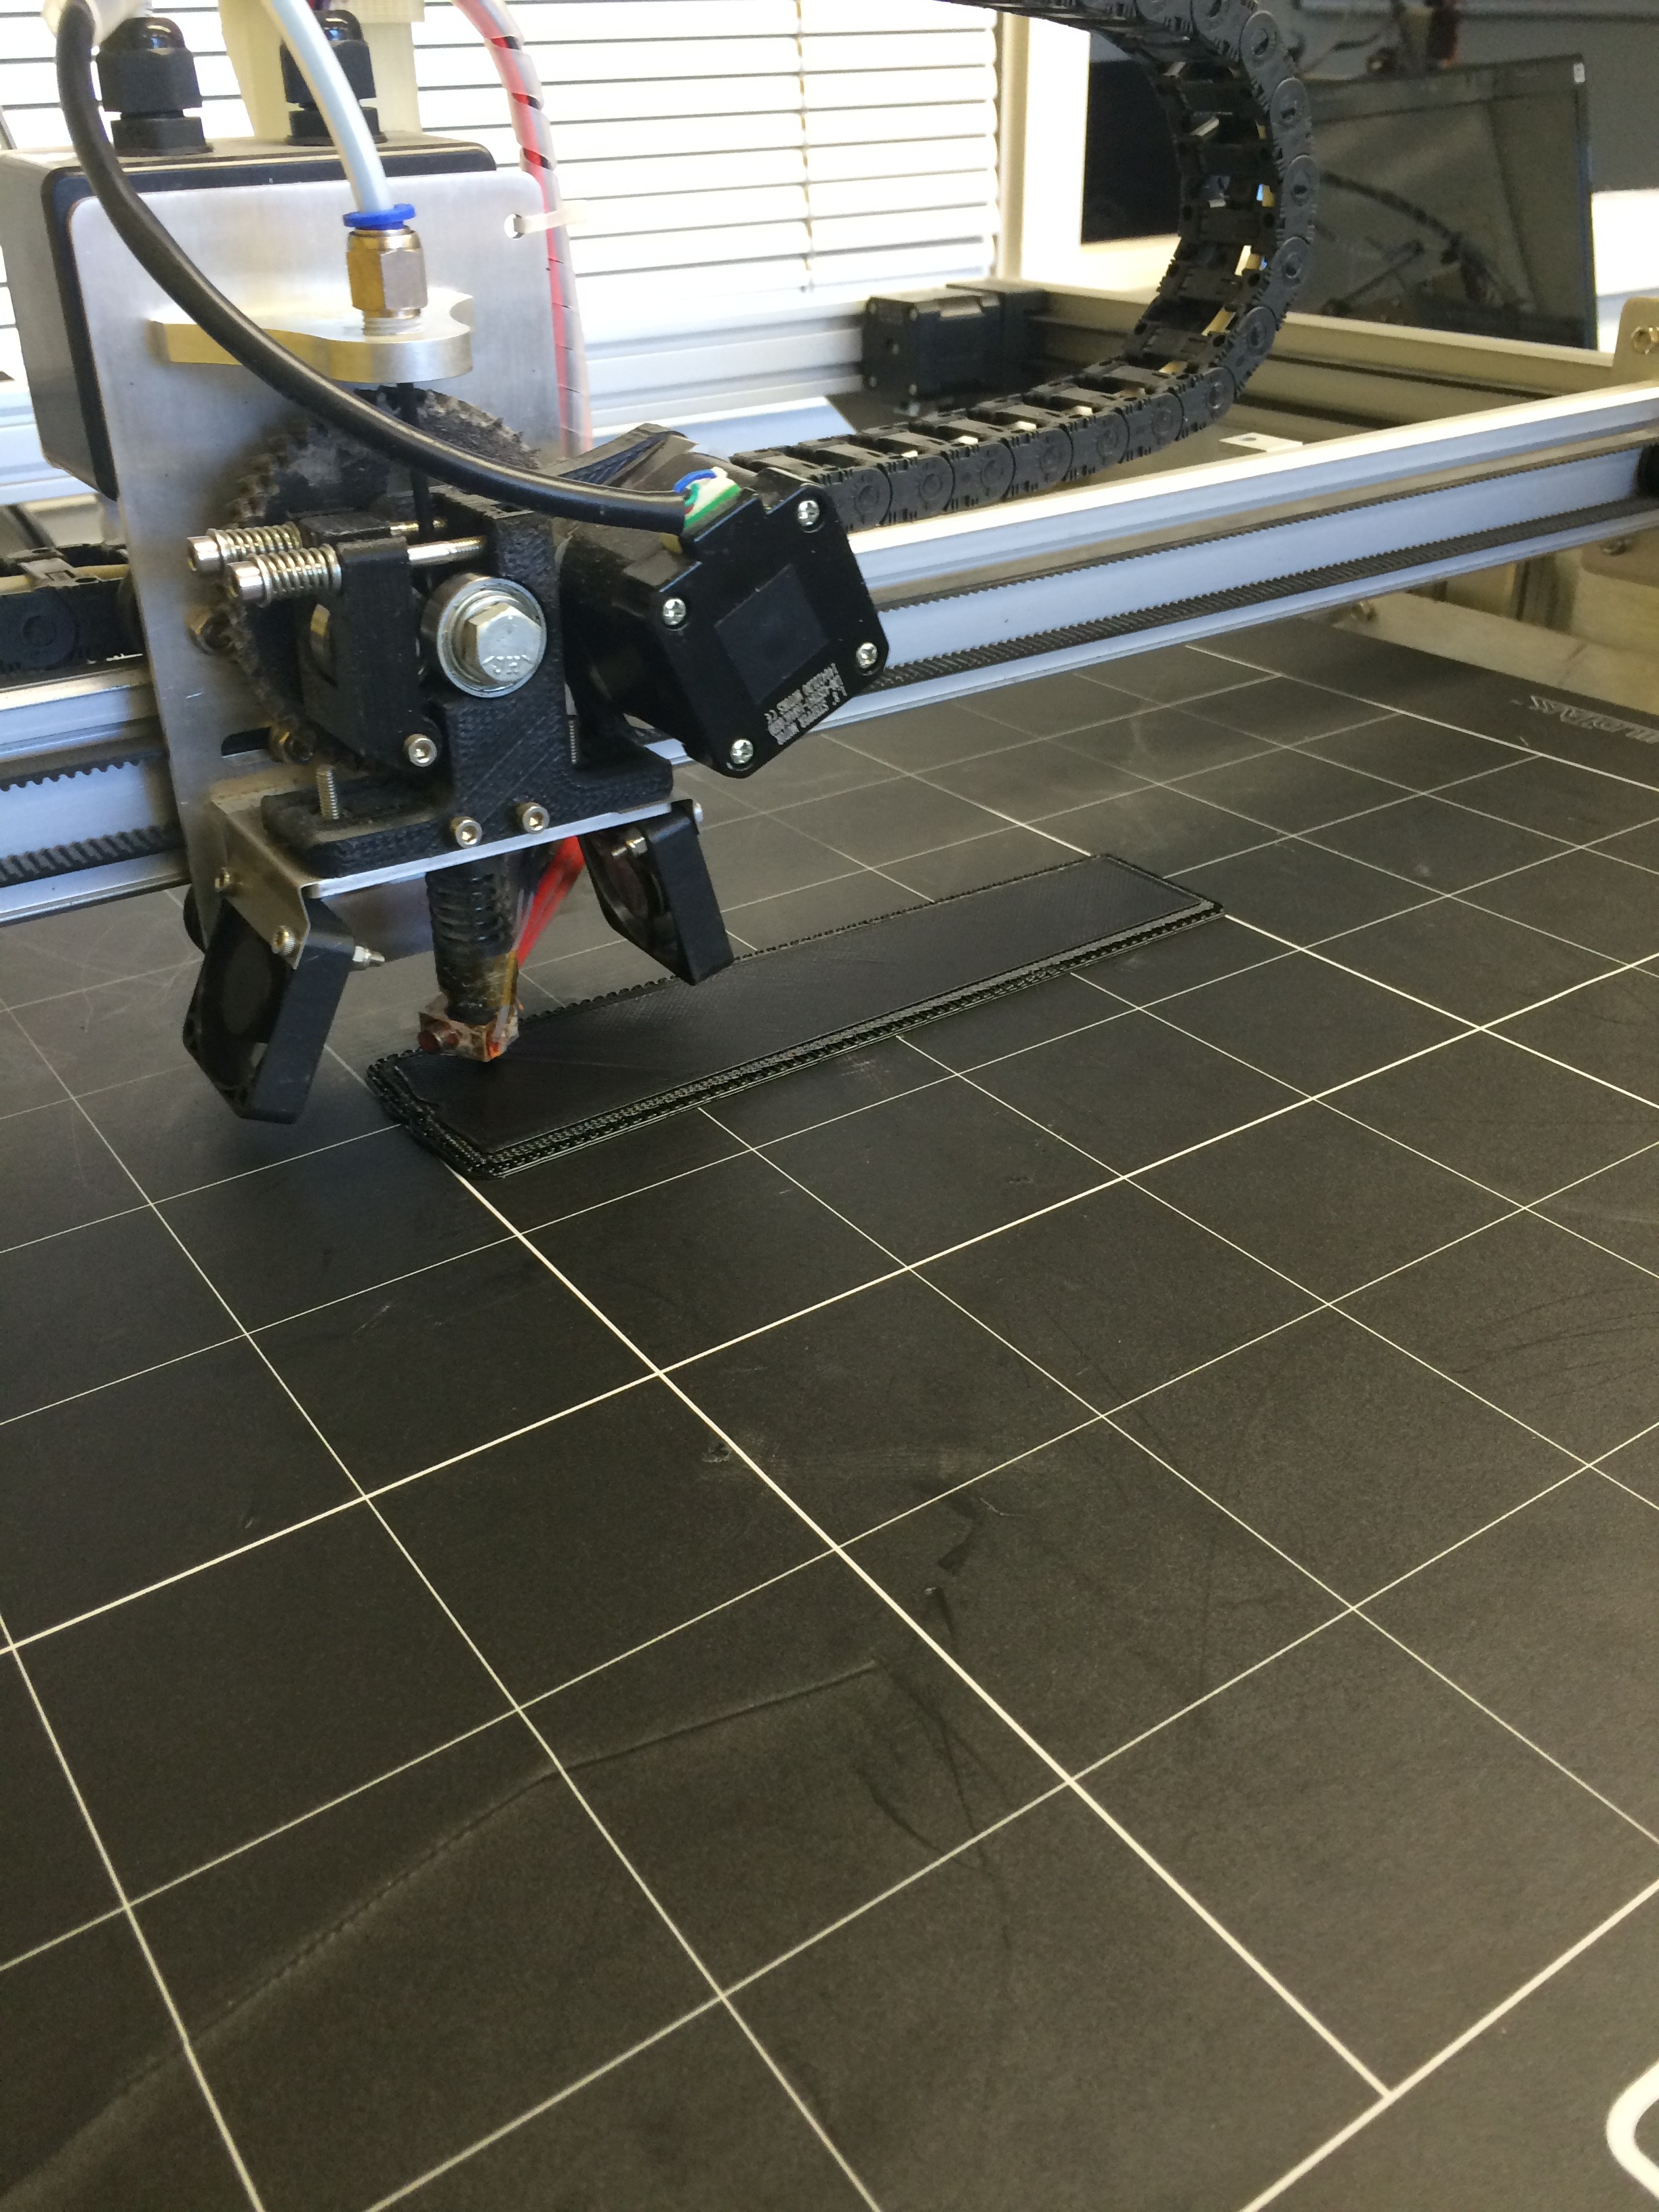
During the process of actually printing the ukulele, I learned many things about designing the instrument itself. One of which being, SAVE YOUR SOLIDWORKS MODELS EVERY 5 MINUTES. There is nothing more traumatic than losing a solidworks file which you had just finished after 1 solid week of work.

However, the portion of this project in which my learning fared most, was the printing, and post-processing of the instrument. Failed prints were rather frequent in the first stages of printing. During our first attempt at printing the body, we decided to orient the body to stand at a 45 degree angle, in order to print it all in one piece. Little did I know that what would be printed would look something like a bird’s nest. Because of some issues with the fan near hot-end of the bot, the print shifted, and proceeded to print midair. Although printing the body in one piece was possible, we decided to go the easier route of printing it in two separate, flat pieces.

Fast-forwarding to when the ukulele was half-assembled, I stumbled upon some valuable learning experiences. In case you didn’t already know this, GORILLA GLUE SUPER GLUE STICKS VERY WELL. Always use gloves when handling super glue. (I may or may not have learned that the hard way.)

The fretboard took several prints, but I had already expected this when I was designing the ukulele. In order to get the placement, and height of the frets just right, it would require some trial and error. This is why I made the neck and frets separate pieces in my model. The first fretboard I printed was way too thick, causing the strings to collide with the higher-up frets. This ended up producing not-so-pleasant vibrations. The fret placement was also a little bit off, causing all the notes to be disturbingly sharp.

The second fretboard was more successful, not only because the black filament made the ukulele look more sassy, but because the fretboard was skinnier, (eliminating the unpleasant vibrations) the frets were taller, (facilitating the playability) and the fret placement was shifted, but wasn’t shifted down quite far enough.

Which leads us to the third fretboard–perfection. That wrapped up project uke once and for all–or so I thought.

My crowning achievement was playing a funky ukuleke riff for the first time. Then I did something very, very, VERY stupid. I left the 100% completed ukulele in the car for no more than 45 minutes, and by the time I came back, the ukulele had completely warped. Because the body of the ukulele was so thin, it had actually folded in on itself, and left the bridge, shattered.

warpeduke1

This didn’t upset me though; I thought of it as a way to make improvements to ukulele 2.0, that I had missed in the original. For example, I could combine the frets and neck, to eliminate the number of parts I had to super-glue together. I also had the chance to make an awesome video for the re:3D What NOT to do 101 When 3D Printing You Tube Channel!

However, after exploring this option, I realized with support material the model is still best split with the fretboard separate so I re-printed it just in time for an interview!

IMG_0082

Over-all, printing this ukulele definitely gave me more insight into the musical world. Not only did it open up a new door of opportunity for gigabot, but it also taught me the process of trial and error, and that things rarely ever work out the first time. Another interesting thing I learned about the acoustics of the instrument, was that the PLA filament body actually had a stronger, and more vibrant resonance, as opposed to the wooden ukulele.

I hope to use this new knowledge to lead me into my next project–an electric guitar!

References:

Pranathi Peri

Blog Post Author

@PranathiPeri

3D Printing & Superpowers: Creating a Thor’s Hammer Mjolnir

Jacob Lehmann is exploring 3D printing & cosplay during his summer internship.  In his own words, he describes his design process for printing Thor’s Hammer Mjolnir

Are you tired of those pesky frost giants always ruining your day? Well fear no more! With The Thunder God’s Hammer Mjolnir, you will be able to make frost giant toast and butter them to perfection with a few extra bludgeons! Forged in the heart of a dying star or on a 3D printer (I forget which) this Hammer will always be able to tenderize your enemies with shocking ease, but only if you are worthy!

3D modeling in cosplay is great way to create large lightweight and durable props. Because 3D printing can create a shell on the outside and a mesh layer on the inside, the final product ends up being lightweight. This is great for cosplayers that want to carry around weapons that are bigger than their body all day at a convention. This also applies to full bodies of armor. 3D printing can also make higher quality props due to the ability to leverage better in precision of designs and symmetry than hand carvings or paper mache.

The Gigabot, due to its very large bed, is much better suited to printing cosplay props than a regular desktop 3D printer. Larger pieces means that there is less assembly at the end and an overall uniformity to the final model.

When I began the project I decided to make the hammer modular, meaning that it is comprised of multiple pieces that would be assembled at the end. I did this because it allows me to go back and change pieces if I want to and not have to reprint the entire hammer. This is also a good experiment for some of my later projects that will be larger than the 8 cubic feet build volume of the Gigabot. I wanted to practice with different designs as well as different methods of assembly.

My project helps to build upon and intersect with the techniques used by the artistic and inclusive cosplay community. It allows me to document the possibilities of 3D printing and provide alternative methods for creating props and wearables.

I modeled Thor’s Hammer on a Beta CAD software called Onshape. Overall it took me about 8-10 hours to complete the model with various iterations sucking up most of the time. Here are a few of the early models:

Both of these had some obvious flaws that I decided I didn’t like for the final product and I ended up sticking to the Marvel Cinematic Universe Version. The second picture shown above is one of the models where I did a lot of mirroring to save time on making the model and ended up doing a really intricate half of the model. When I mirrored the base it ended up being too long. Here is my final model:

This file was then moved over to another software called Simplify3D where it was formatted for printing.  All three pieces were printed on the same print on the Austin Office Gigabot and took about 18 hours to print from start to finish. I decided to print it in PLA because it is a lightweight, sturdy, and relatively cheap material. Here is what it looks like once it is printed with the supports and after I took off the support and assembled it using gorilla glue.

Then I began the post-processing to add color. I started by coating it with a layer of white acrylic paint but it took a long time and I wasn’t too happy with the result as it seemed kind of patchy and the acrylic did not stick to the PLA all that well.

Photo7

Then I decided to use a white primer spray paint to go over and cover the rest to make it more easily painted and used a chrome spray paint to paint the handle and give the ridges a metallic sheen.

Photo9

This picture is slightly out of order because I ran into a problem at the end and had to repaint the handle. After the handle was chrome painted, I painted the “leather” with a burnt umbre brown acrylic paint.

Photo11

Then I finished painting the hammer with some personal touches added.

After going through the effort of glueing the pieces together, I decided it might be easier to print & post-process in one piece. 

Screenshot-2015-07-26-19.58.17
IMG_1069

Jacob Lehmann

Blog Post Author

@JacobELehmann

2015 re:3D Summer Internships are Live!

Yep, the rumors are true! The next round of re:3D internship openings are live!

The summer we will have a full cadre of interns spanning design, hardware, marketing, and software.  Positions range from fulfilling creative to outright crazy projects and we can’t wait to get started with our newest batch of teammates when the program kicks off June 1st.

Think you’re up for the challenge? Check out all of the positions at: www.re3d.org/careers/ and submit your application here by May 10th!

2014 Summer Design Intern Alberto showing off his Gigabot inspired monocle.

Questions? Contact: info@re3d.org