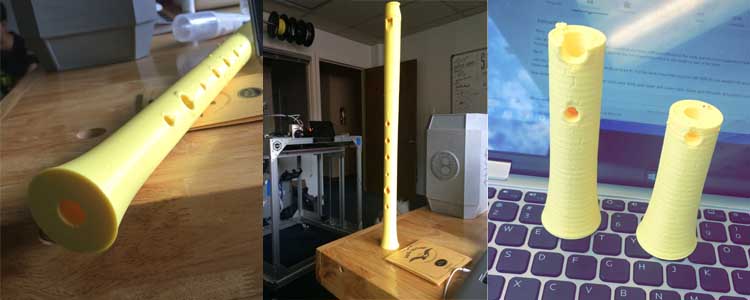
Pranathi Peri is developing a set of 3D printed, playable musical instruments for her summer internship. In her own words, she describes her design process:
Have you ever wanted to 3D print your own ukulele? Well now uke can! For the second instrument of my 3D printing internship, I decided to design and print a ukulele. After all, who didn’t trawl the internet looking for the best acoustic guitars under 300, and then end up with a ukele anyway because it was cheaper? They have such a charming aesthetic, and it’s that student living nostalgia that I wanted to try and tap back into. It also dramatically simplifies the process of choosing an acoustic guitar for your child, you can just print one instead now. Although, we have to admit, perhaps it won’t have the same charm.
The history of the good ol’ uke goes way back. During the late 1800s they were first introduced as instruments in Hawaii, where its name literally meant “jumping flea.” Well-known songs like I’m Yours, by Jason Mraz, Riptide, by Vance Joy, and Imagine, by John Lennon have familiar ukulele riffs which have contributed to the popularization of the instrument, yet these bands use the ukulele in maybe one to two of their songs, and then proceed to abandon it.
I know what you’re thinking; why would I want to design such an uncommonly played instrument?
Although the ukulele is not a widely sought-after instrument like the electric guitar, and piano, I decided to design and print it because it combines the aspects of many popular, commercialized instruments. For example, the ukulele is compact, like the violin, but is not as susceptible to external factors that may may warp the acoustics. It retains the same resonance as the acoustic guitar like the Yamaha FGX800c, but within a smaller body. It has strings that can be tuned, just like a piano, but rather than 236 strings, each with their own unique thickness and reverberation, it has 4 which are tuned to C, E, G, and A . For these reasons, and many more, I figured that a ukulele would be relatively easy to design and print, while still containing key aspects of various other basic instruments.
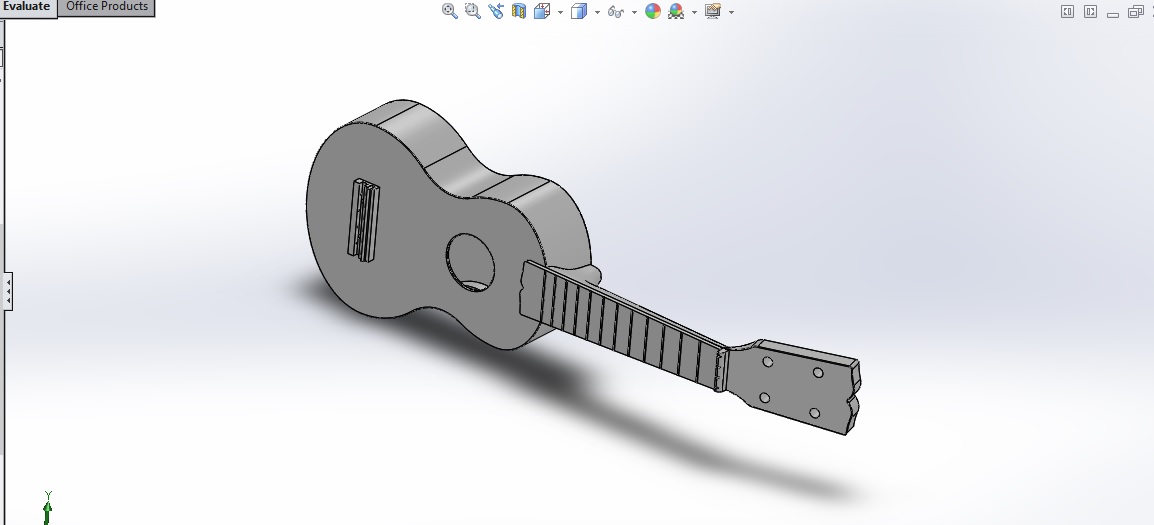
During the process of actually printing the ukulele, I learned many things about designing the instrument itself. One of which being, SAVE YOUR SOLIDWORKS MODELS EVERY 5 MINUTES. There is nothing more traumatic than losing a solidworks file which you had just finished after 1 solid week of work.
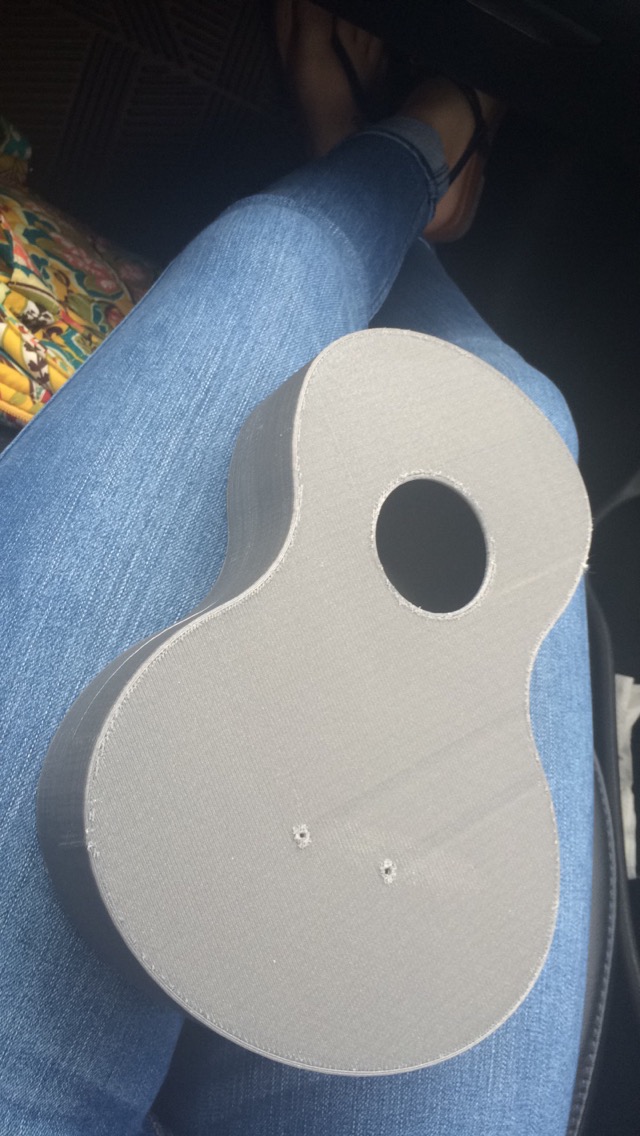
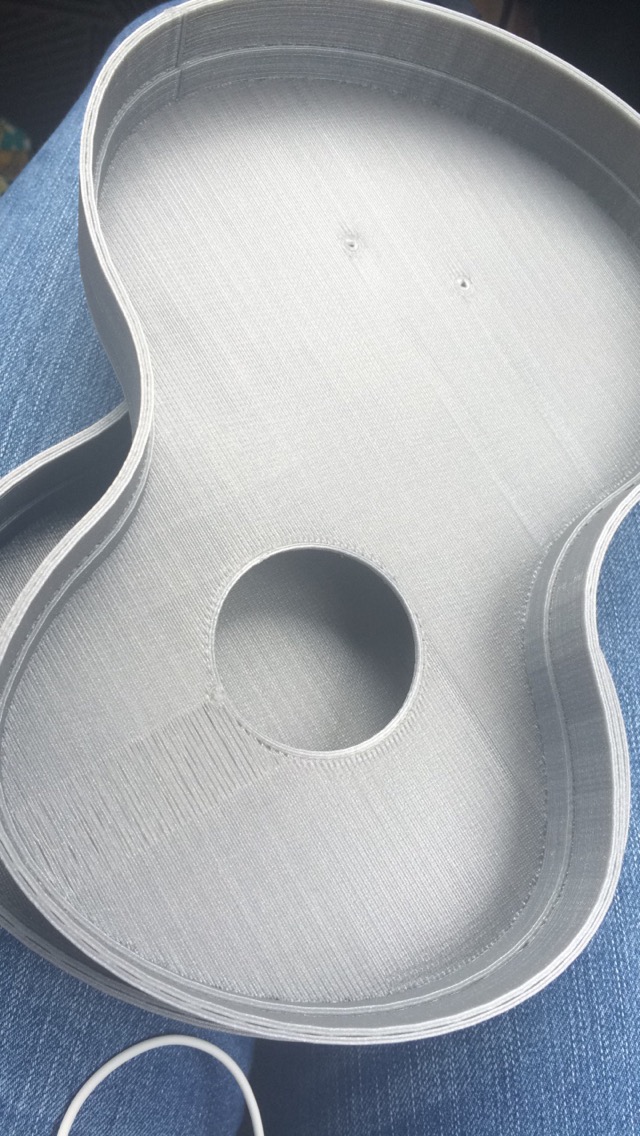
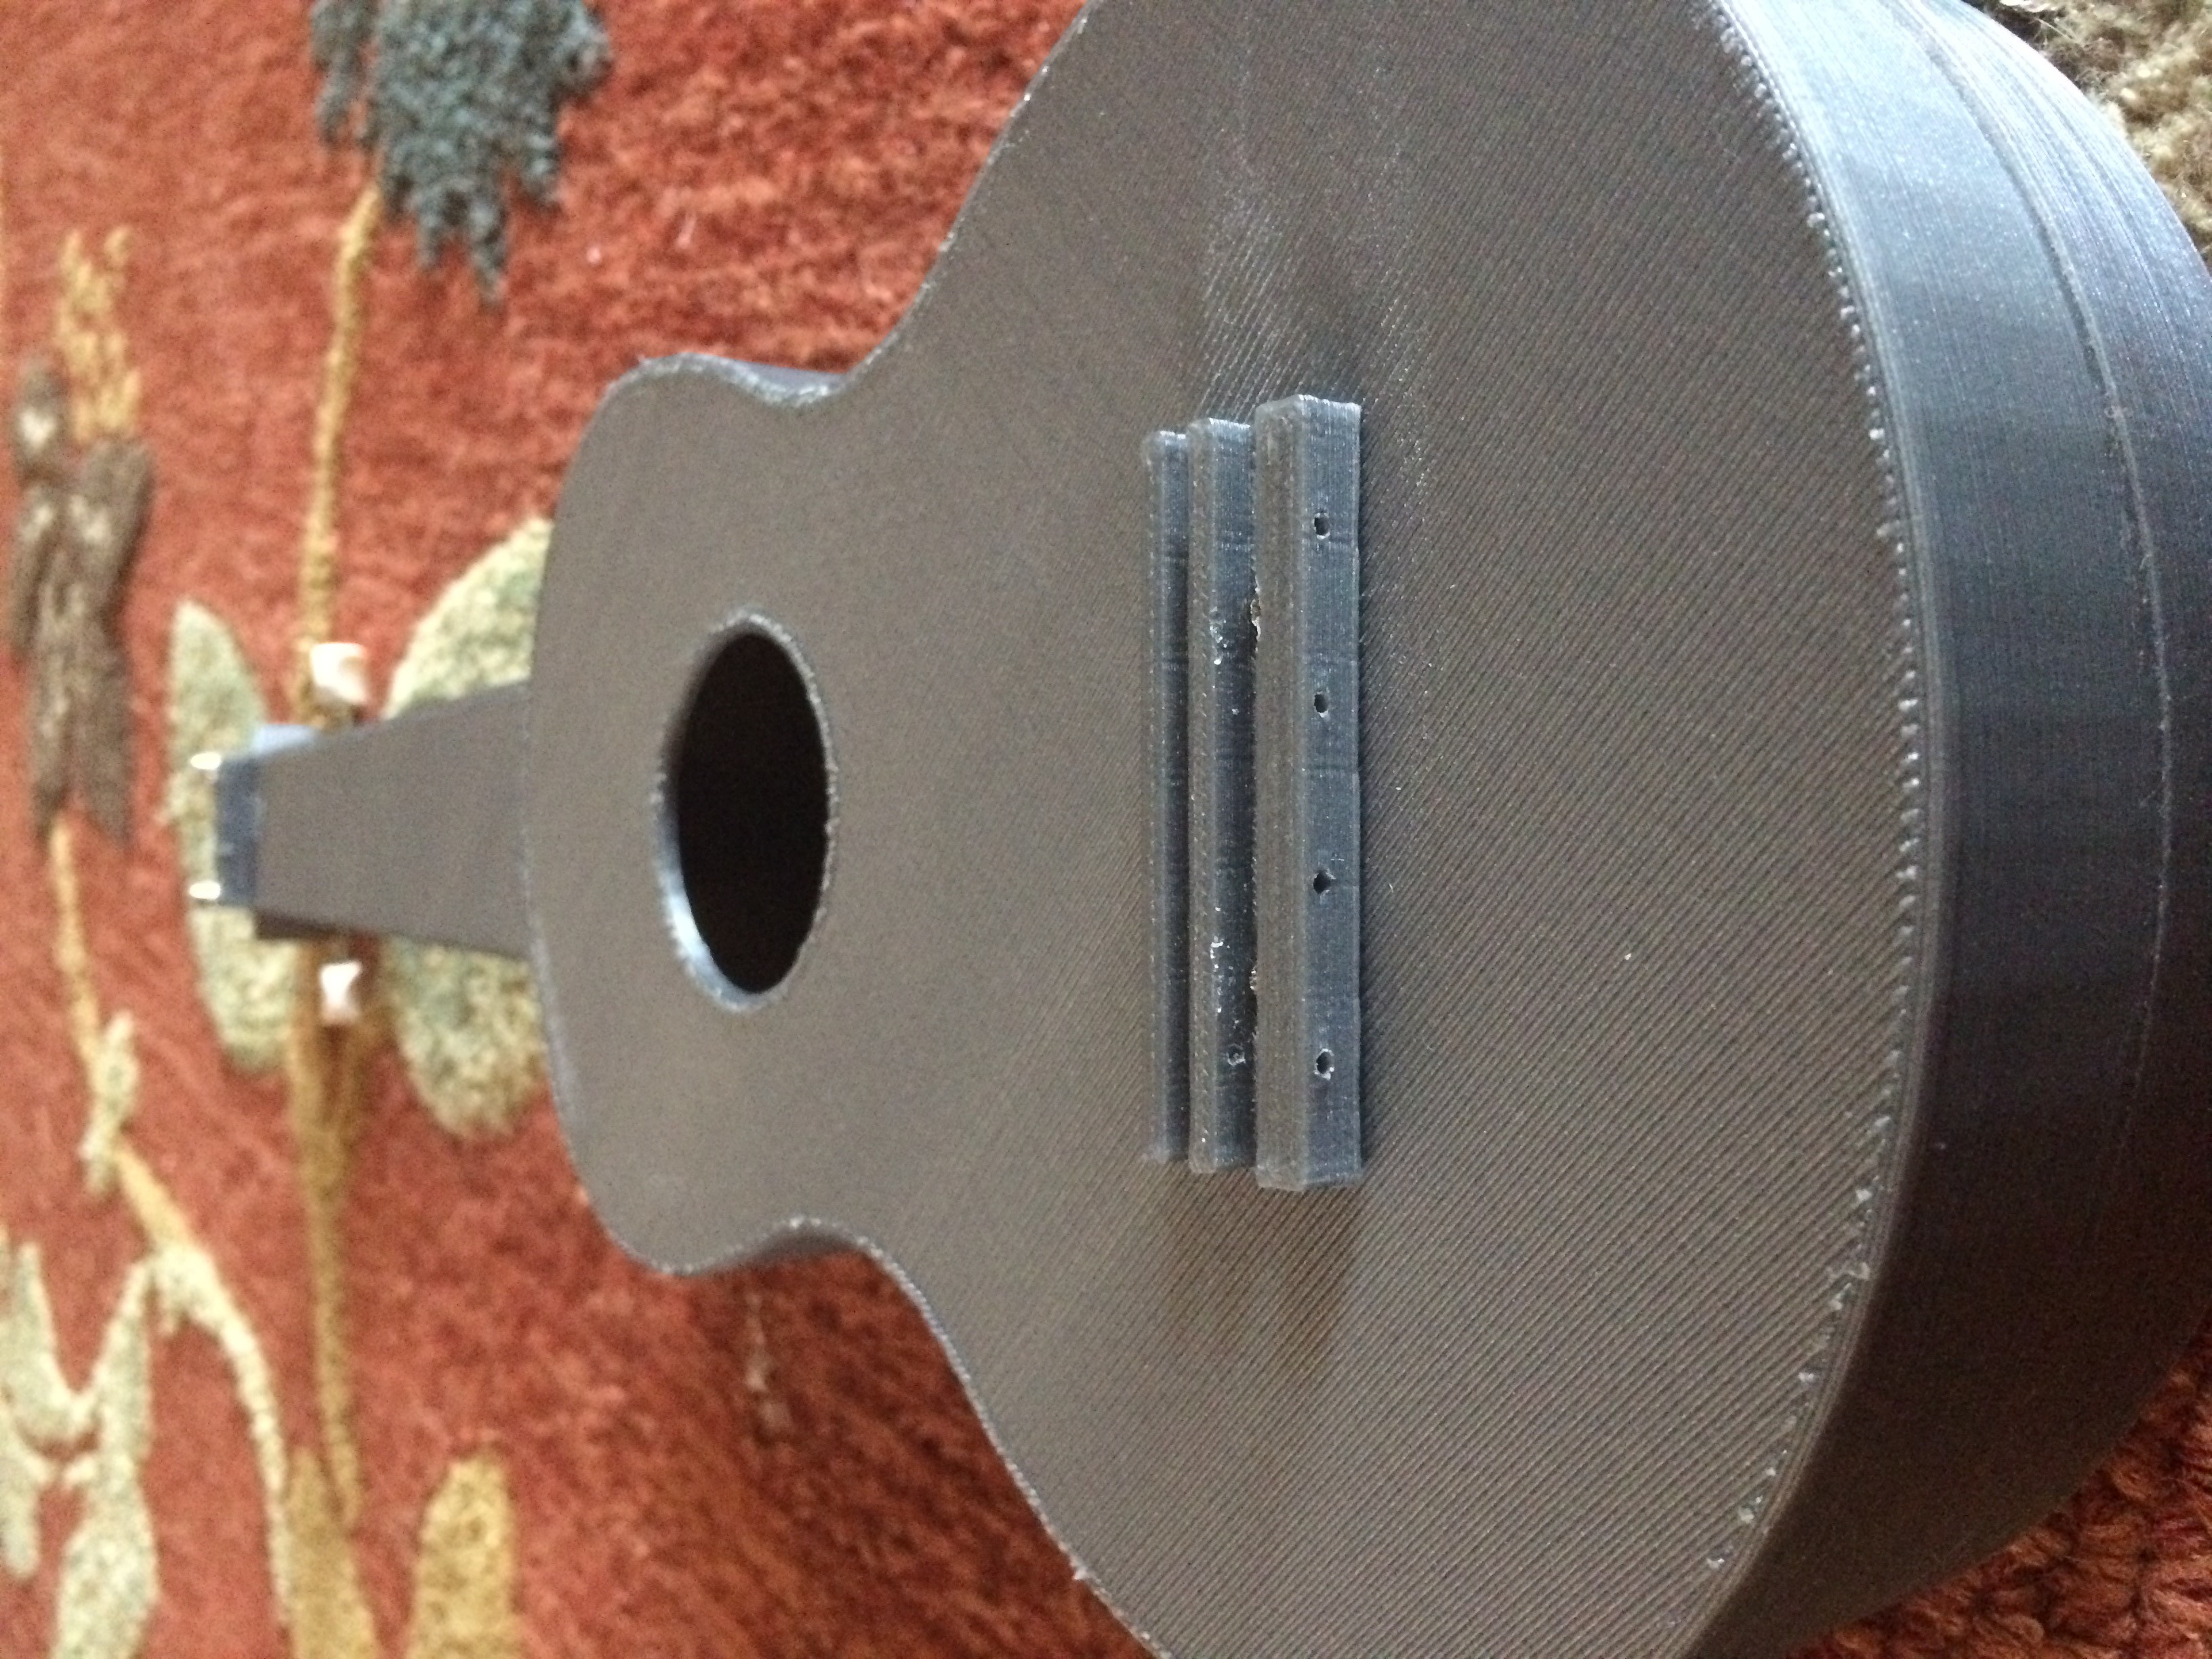
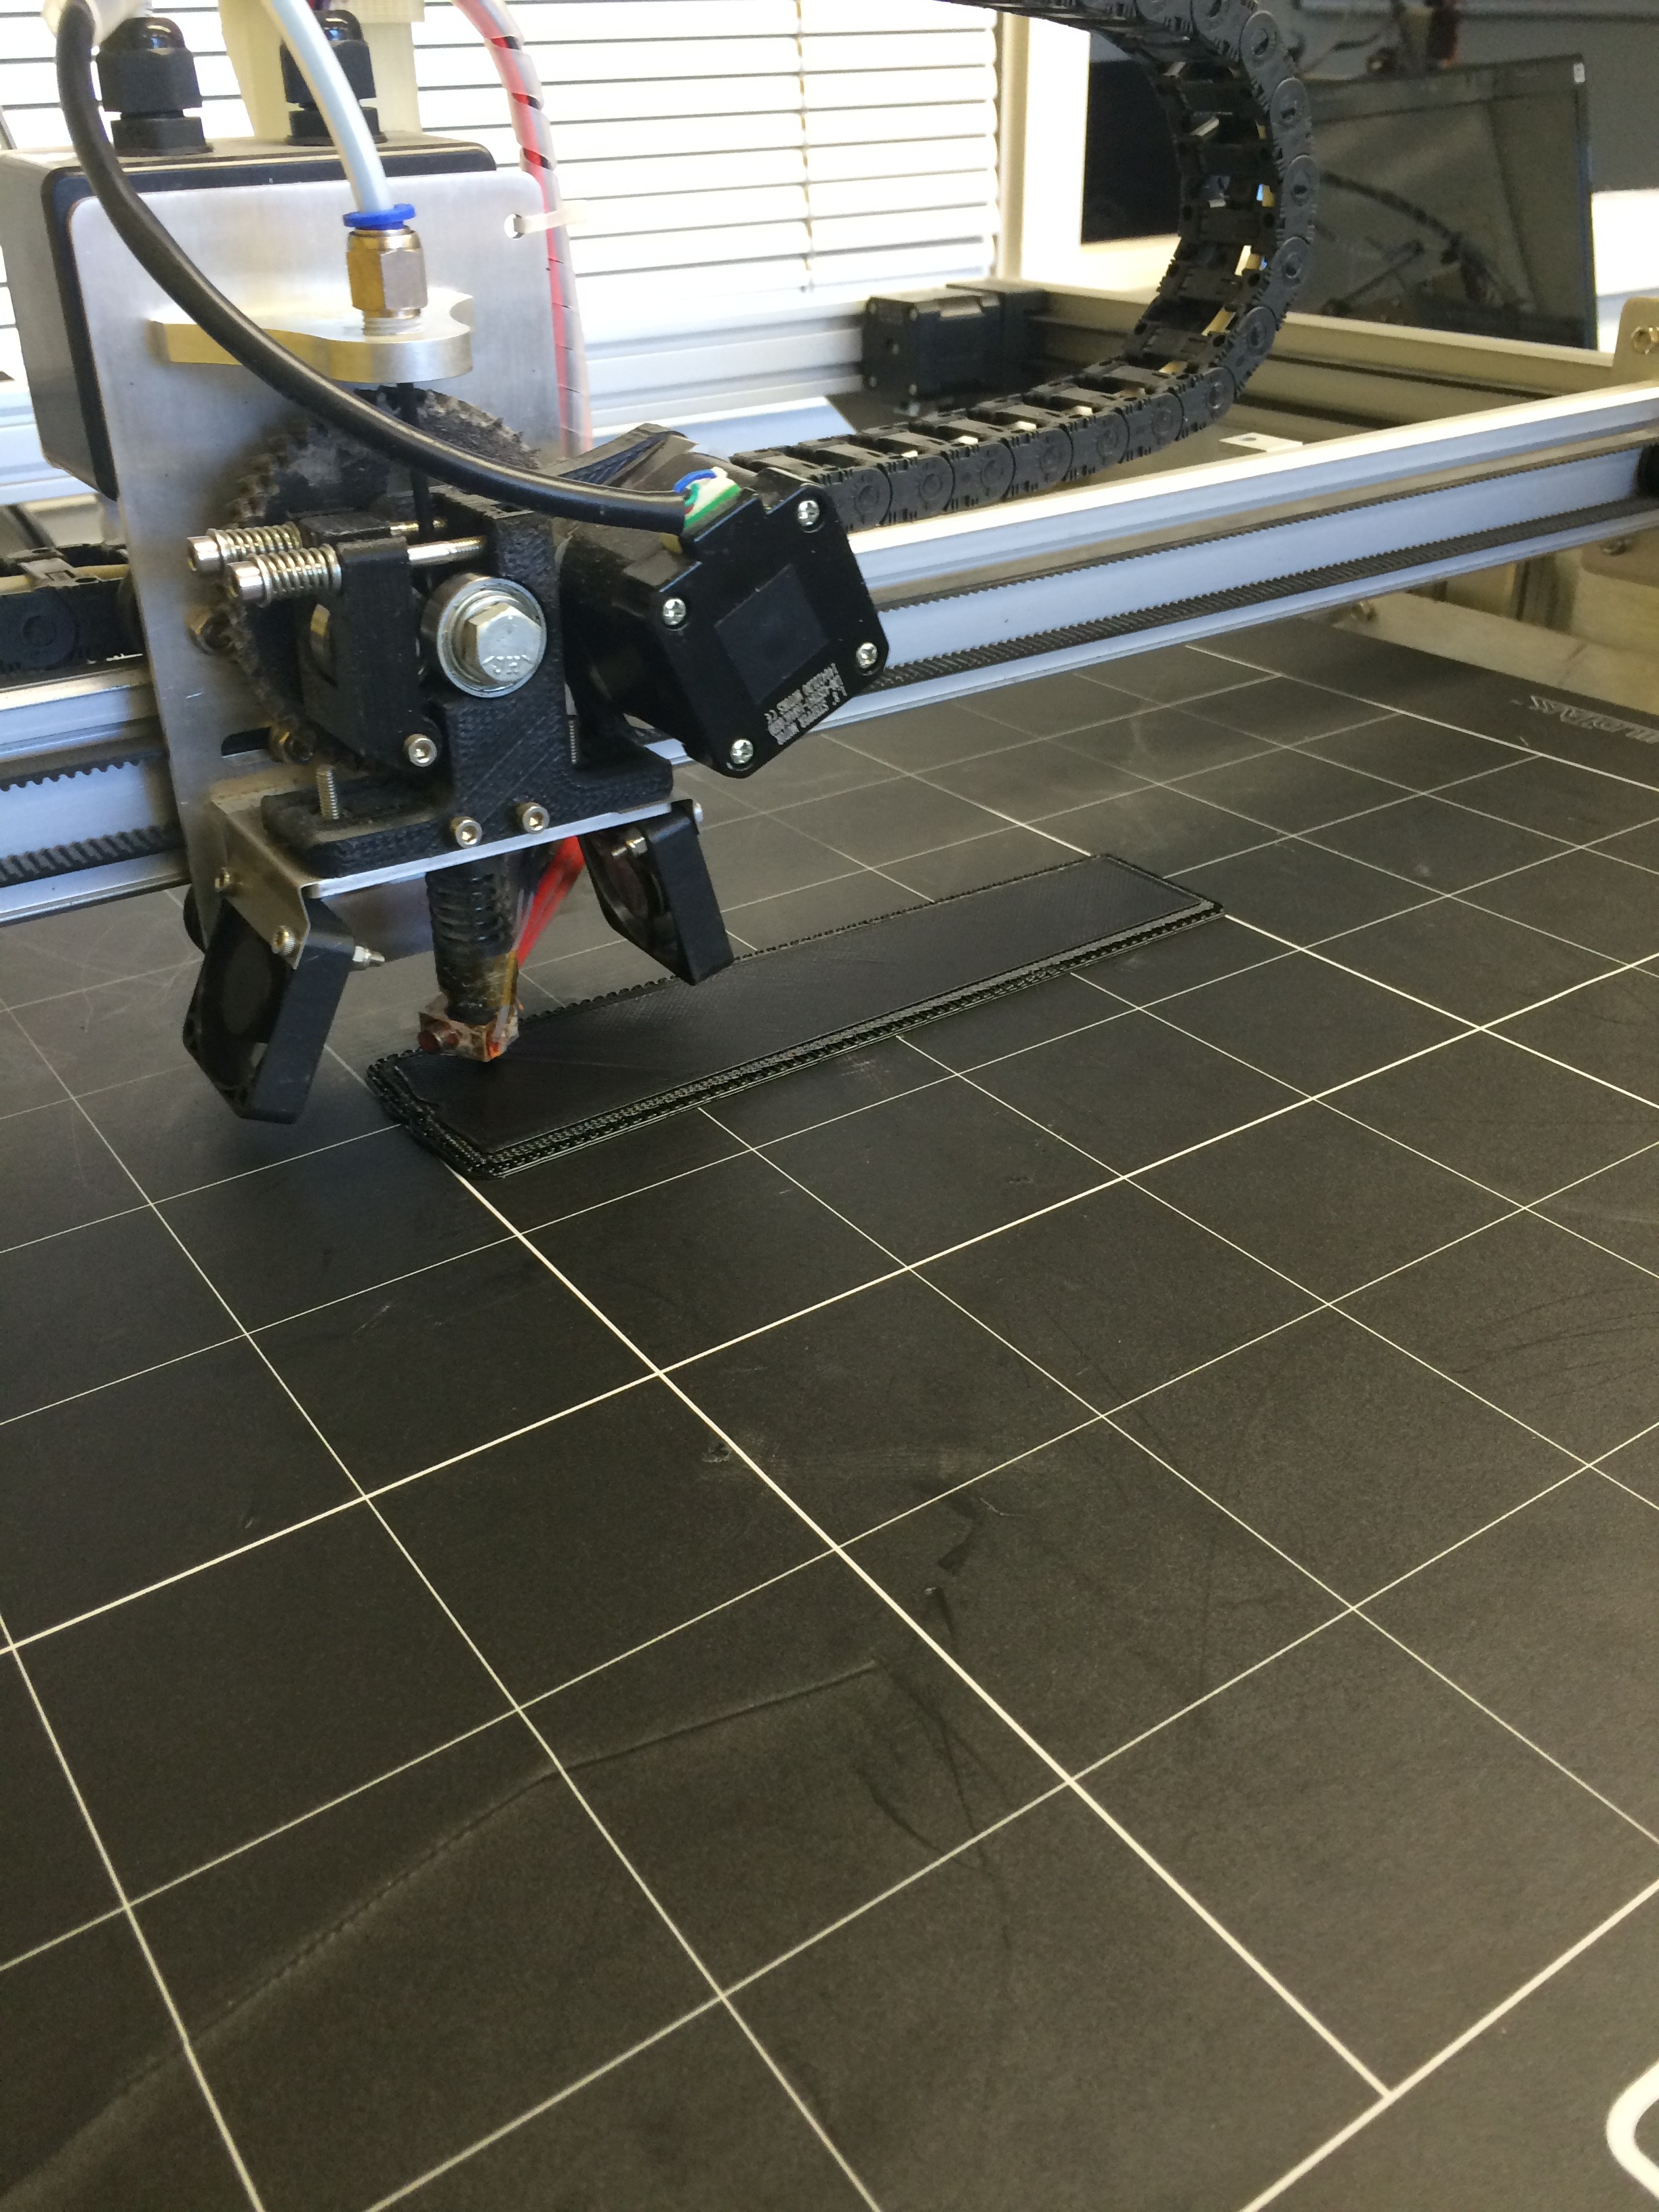
However, the portion of this project in which my learning fared most, was the printing, and post-processing of the instrument. Failed prints were rather frequent in the first stages of printing. During our first attempt at printing the body, we decided to orient the body to stand at a 45 degree angle, in order to print it all in one piece. Little did I know that what would be printed would look something like a bird’s nest. Because of some issues with the fan near hot-end of the bot, the print shifted, and proceeded to print midair. Although printing the body in one piece was possible, we decided to go the easier route of printing it in two separate, flat pieces.
Fast-forwarding to when the ukulele was half-assembled, I stumbled upon some valuable learning experiences. In case you didn’t already know this, GORILLA GLUE SUPER GLUE STICKS VERY WELL. Always use gloves when handling super glue. (I may or may not have learned that the hard way.)
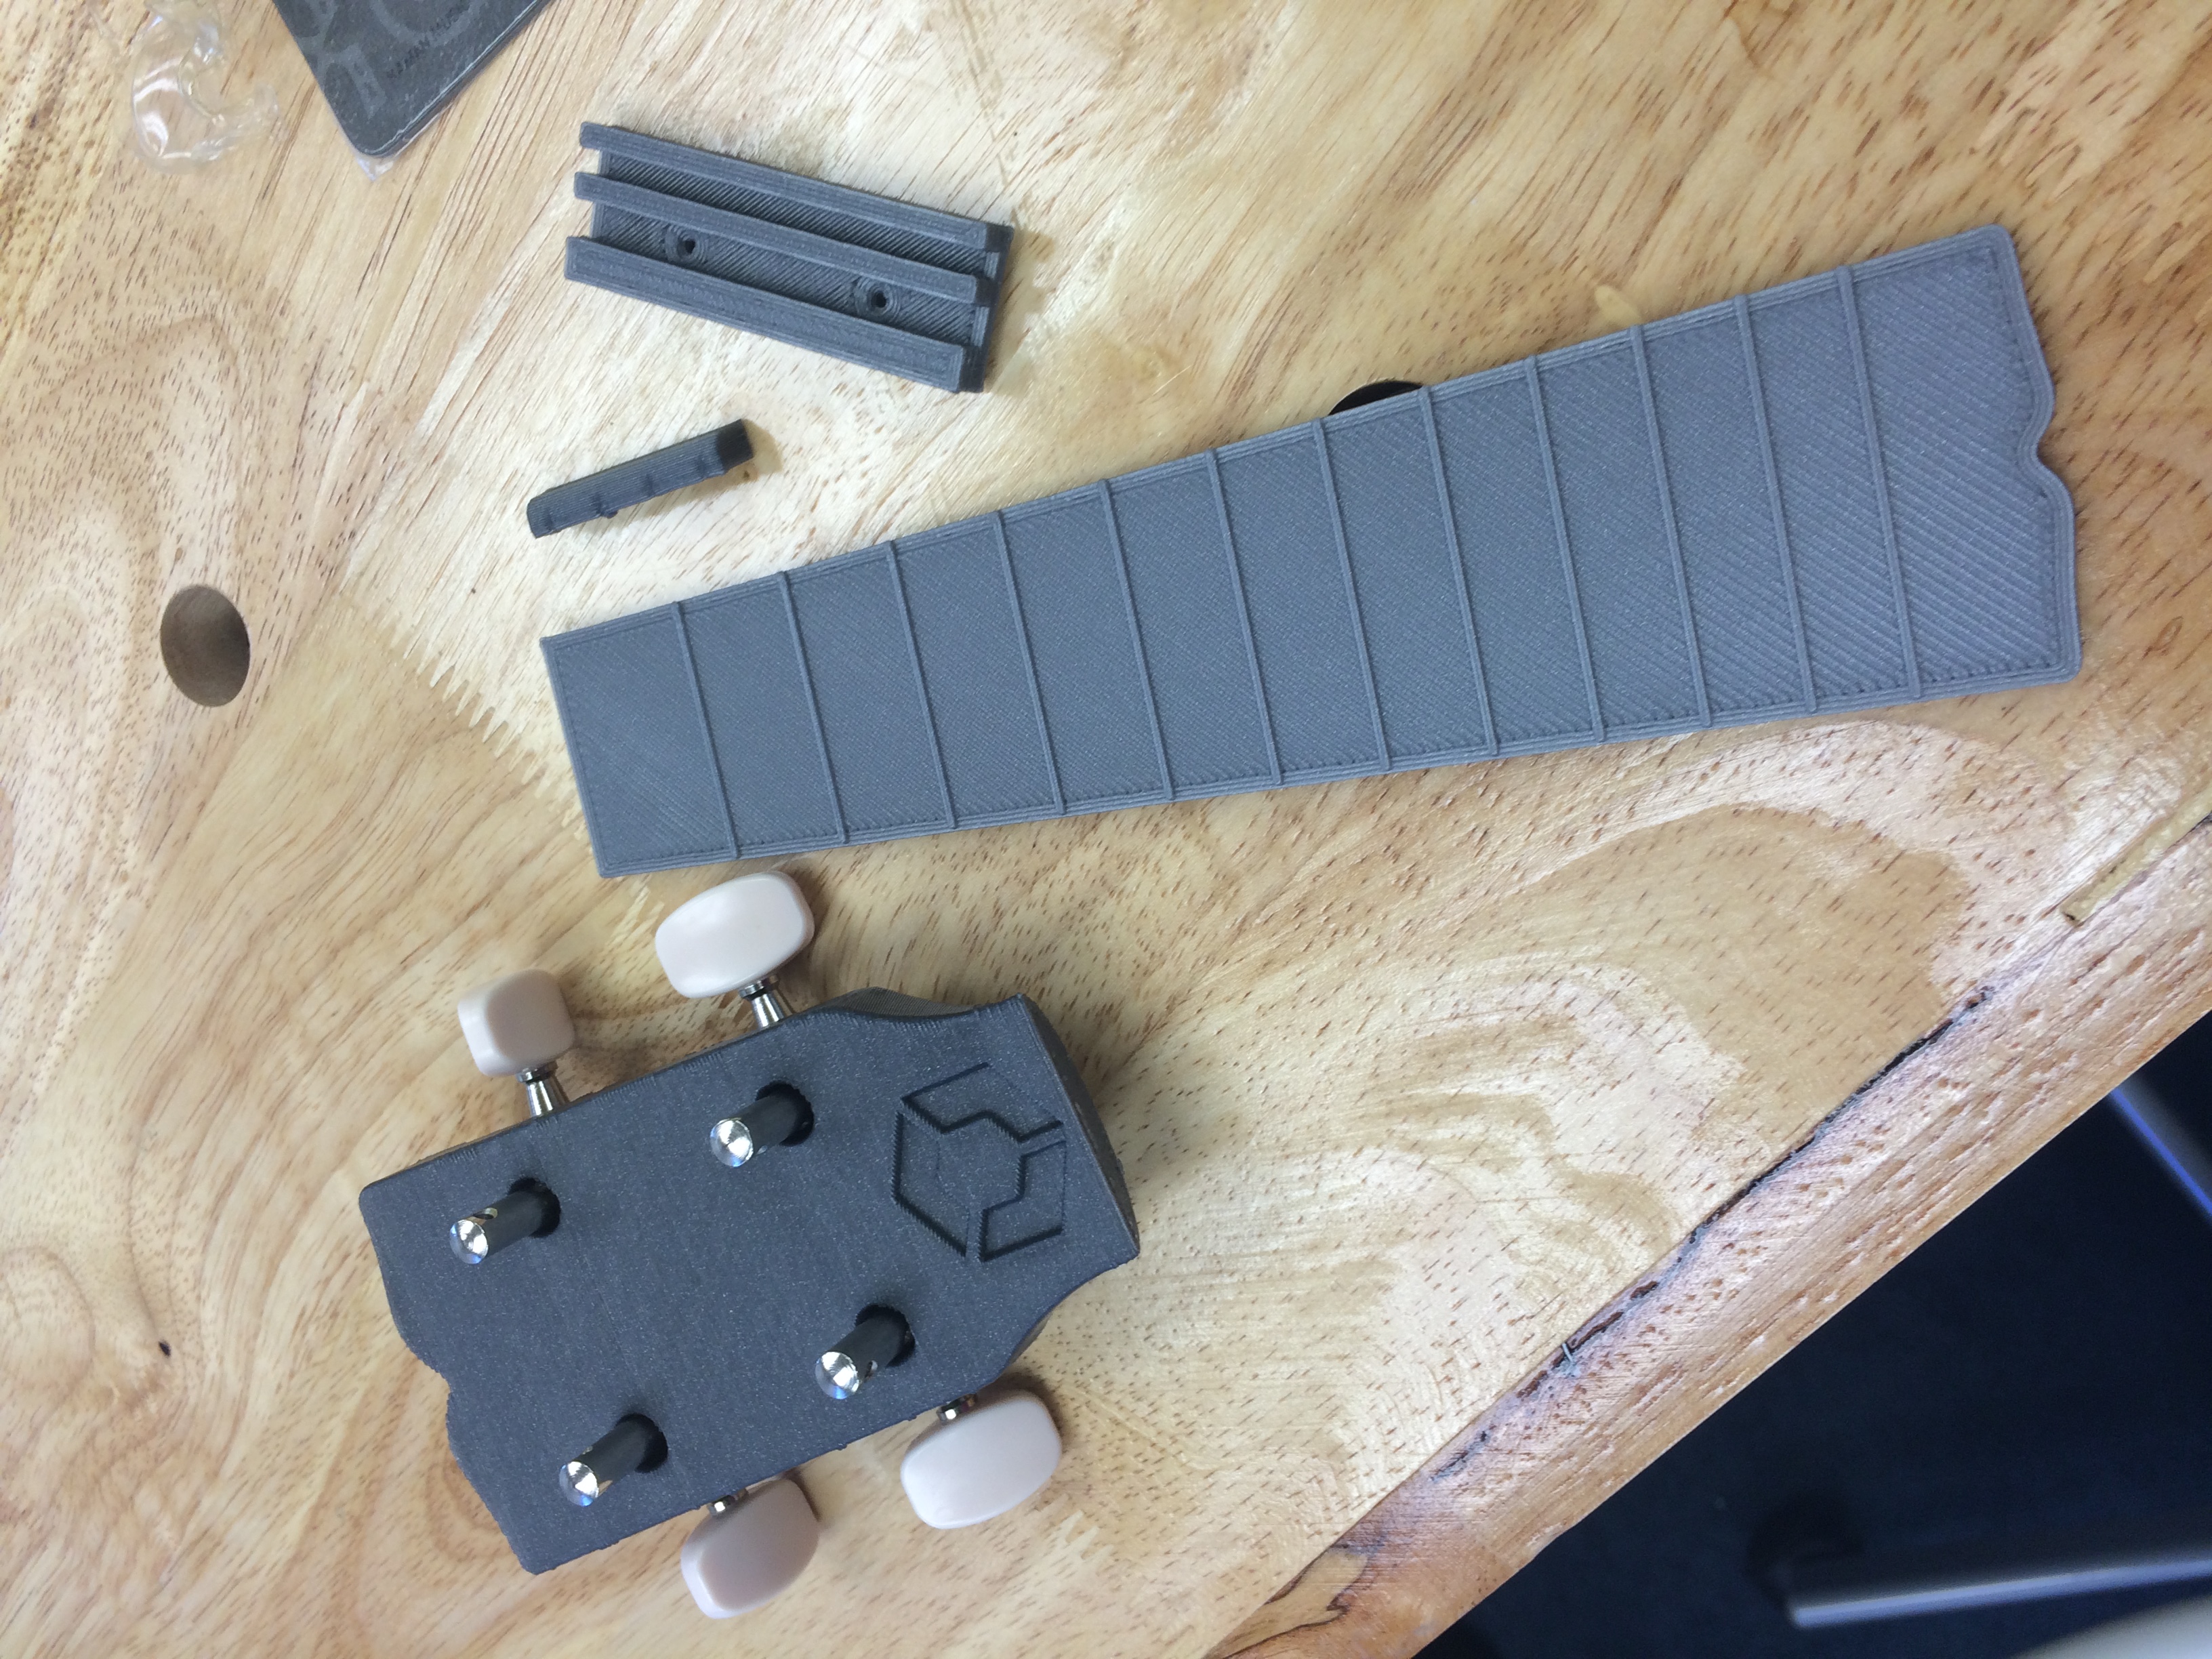

The fretboard took several prints, but I had already expected this when I was designing the ukulele. In order to get the placement, and height of the frets just right, it would require some trial and error. This is why I made the neck and frets separate pieces in my model. The first fretboard I printed was way too thick, causing the strings to collide with the higher-up frets. This ended up producing not-so-pleasant vibrations. The fret placement was also a little bit off, causing all the notes to be disturbingly sharp.
The second fretboard was more successful, not only because the black filament made the ukulele look more sassy, but because the fretboard was skinnier, (eliminating the unpleasant vibrations) the frets were taller, (facilitating the playability) and the fret placement was shifted, but wasn’t shifted down quite far enough.
Which leads us to the third fretboard–perfection. That wrapped up project uke once and for all–or so I thought.
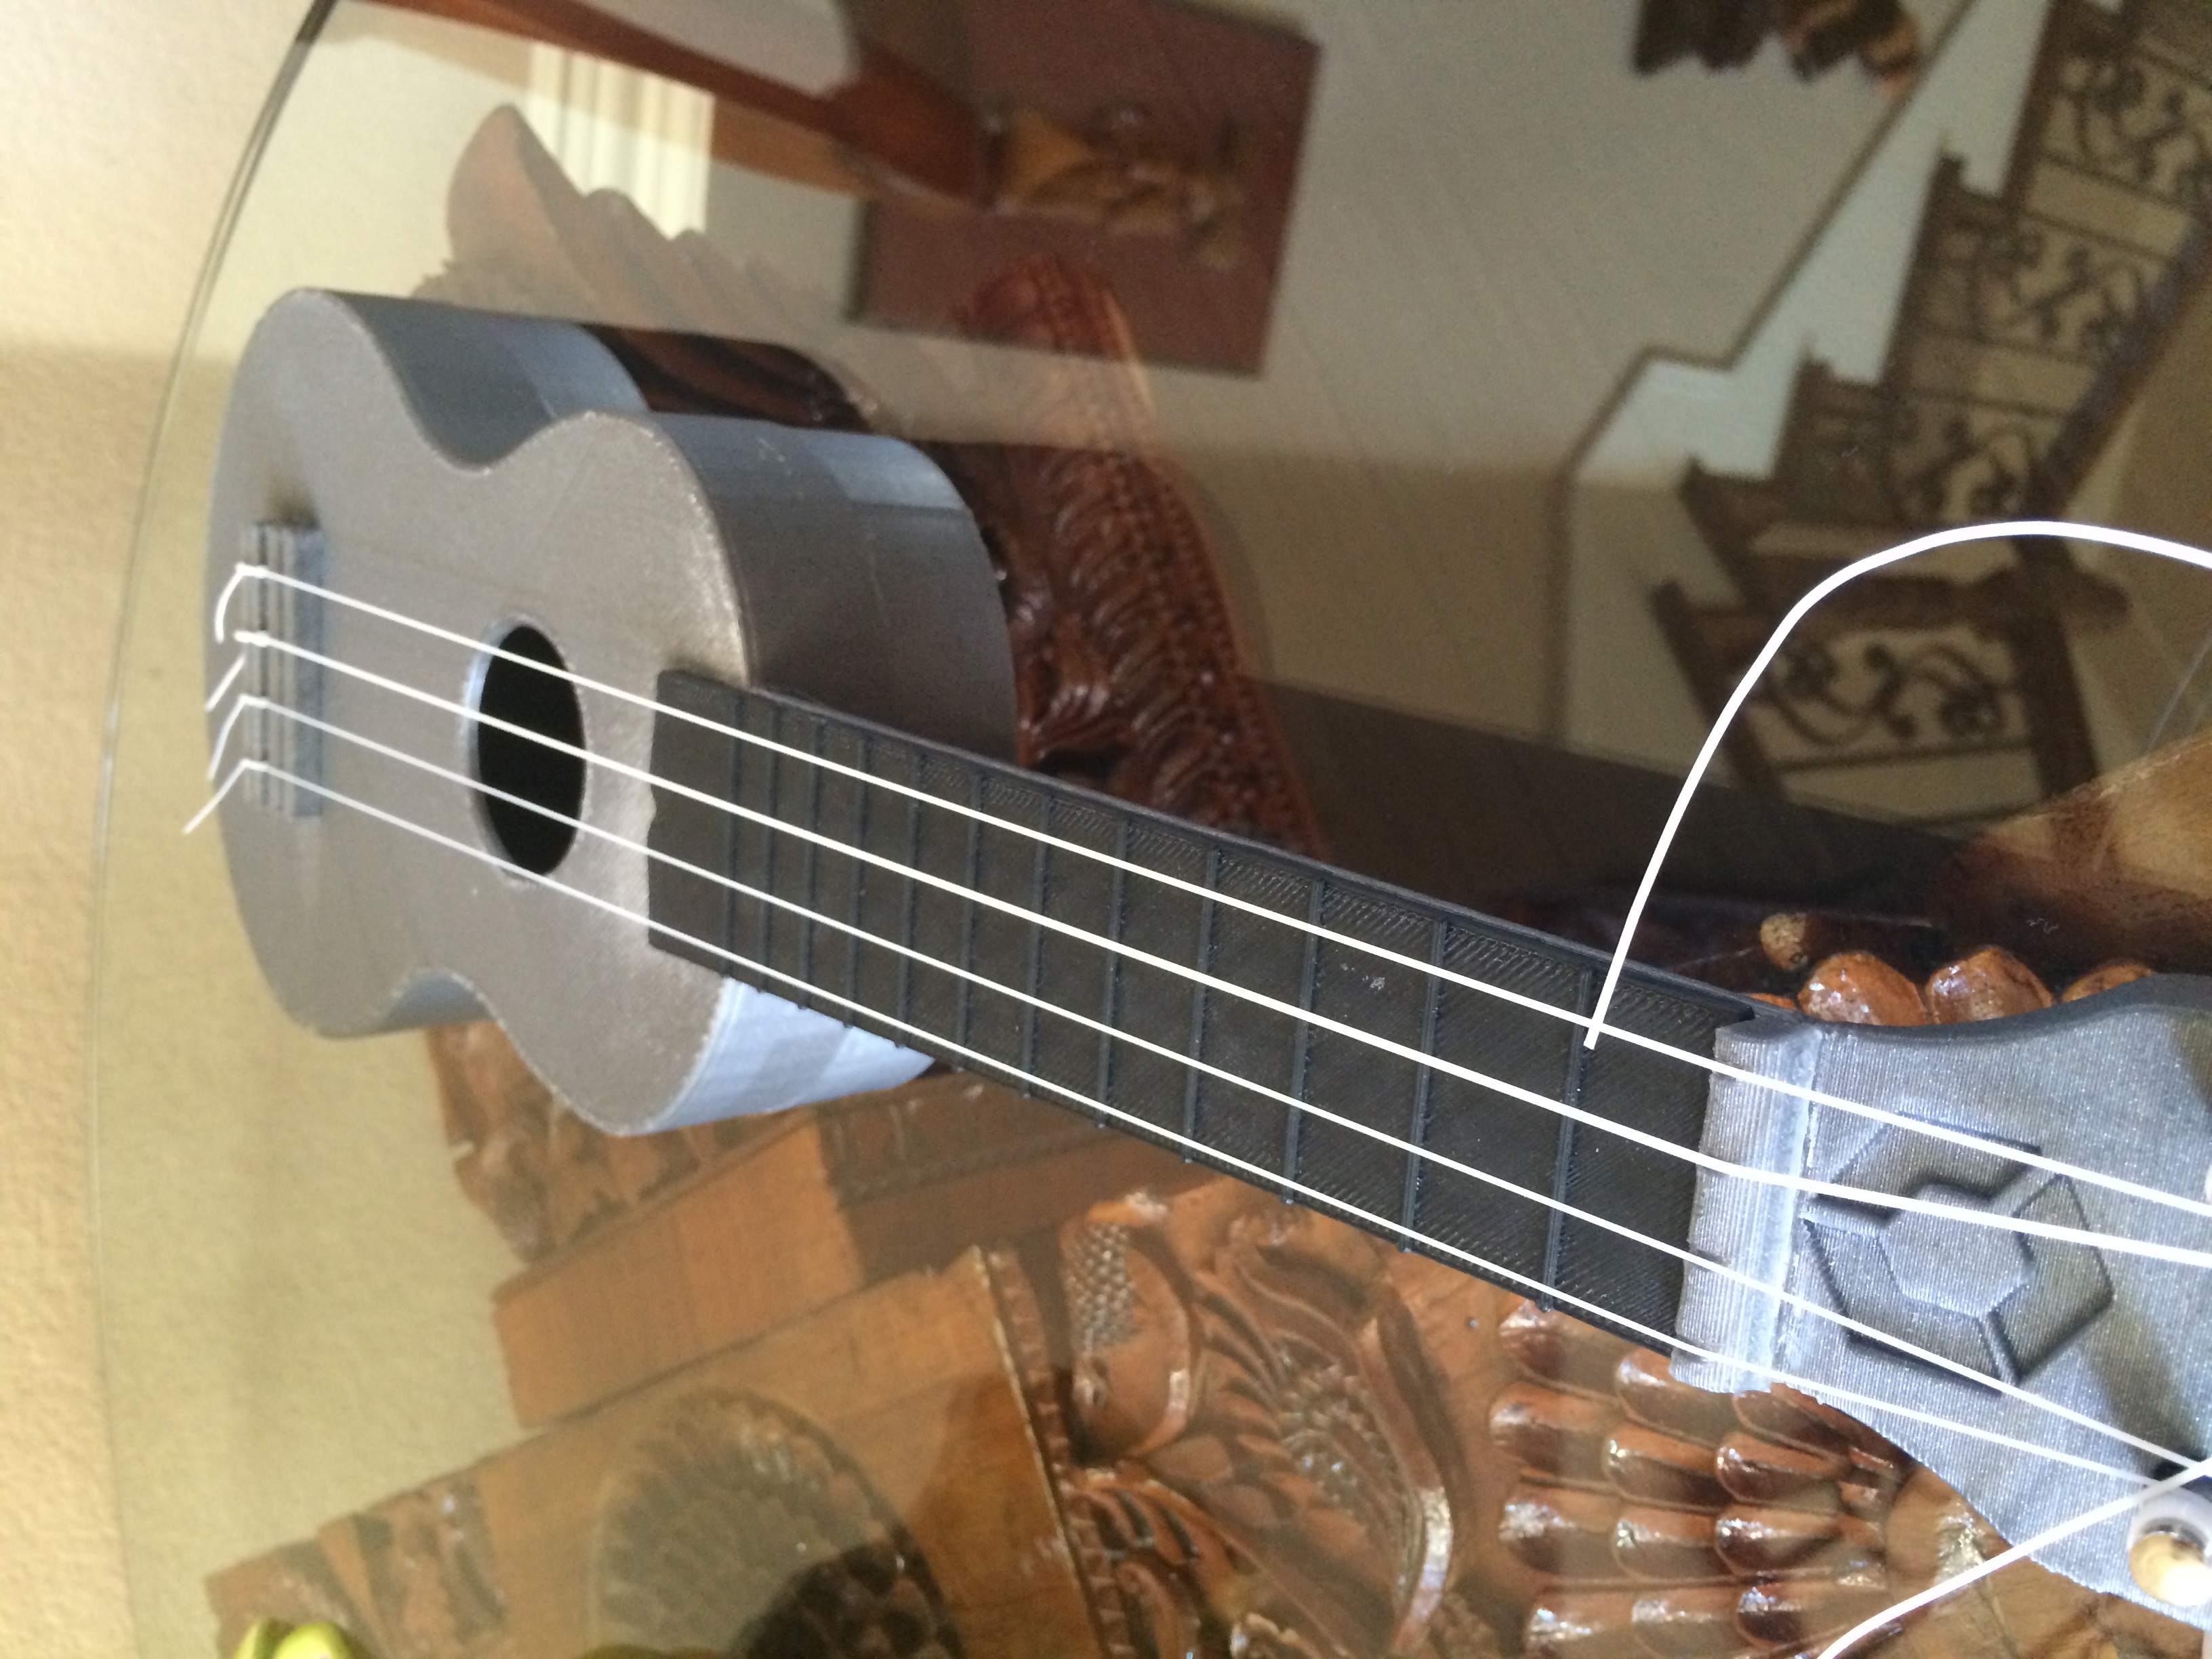
My crowning achievement was playing a funky ukuleke riff for the first time. Then I did something very, very, VERY stupid. I left the 100% completed ukulele in the car for no more than 45 minutes, and by the time I came back, the ukulele had completely warped. Because the body of the ukulele was so thin, it had actually folded in on itself, and left the bridge, shattered.

This didn’t upset me though; I thought of it as a way to make improvements to ukulele 2.0, that I had missed in the original. For example, I could combine the frets and neck, to eliminate the number of parts I had to super-glue together. I also had the chance to make an awesome video for the re:3D What NOT to do 101 When 3D Printing You Tube Channel!
However, after exploring this option, I realized with support material the model is still best split with the fretboard separate so I re-printed it just in time for an interview!

Over-all, printing this ukulele definitely gave me more insight into the musical world. Not only did it open up a new door of opportunity for gigabot, but it also taught me the process of trial and error, and that things rarely ever work out the first time. Another interesting thing I learned about the acoustics of the instrument, was that the PLA filament body actually had a stronger, and more vibrant resonance, as opposed to the wooden ukulele.
I hope to use this new knowledge to lead me into my next project–an electric guitar!
References:
- http://www.encyclopedia.com/topic/ukulele.aspx
- http://www.hiloguitars.com/AboutUkuleles.html
- Inspiration: http://www.thingiverse.com/thing:268090
Pranathi Peri
Blog Post Author
@PranathiPeri