3D printing large objects is a very rewarding experience; it is also an introduction to a magnified set of challenges that a user will face when designing and realizing his or her prints. To keep things simple, we’ll review some of the pros and cons of large-scale printing in a list format.
Pros:
Human Scale
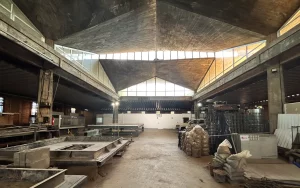
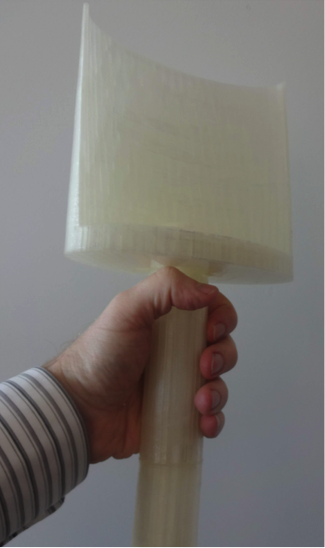
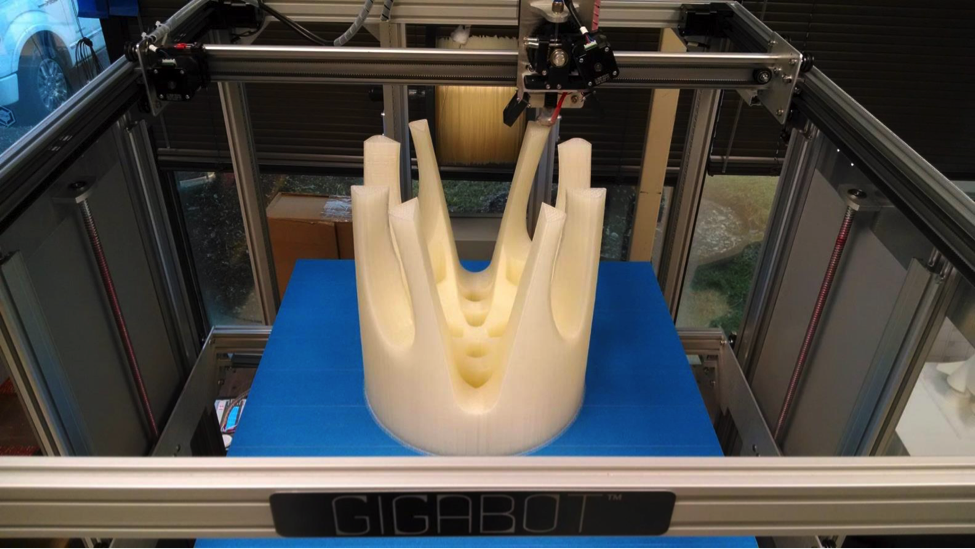
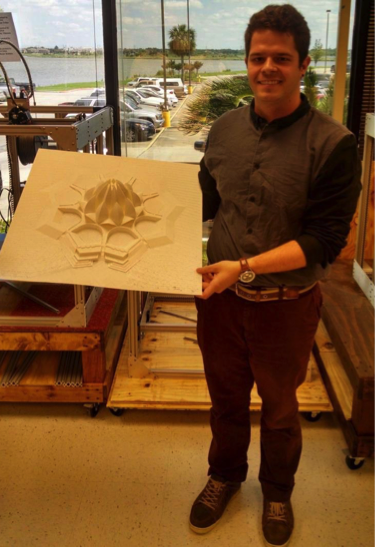
The driving force behind Gigabot being so large was printing objects at a Human Scale. But what exactly does that mean? In our view, Human Scale means items that are sized to be useful and helpful in everyday life. An example of this is a compostable toilet, which has been one of the prints that we’ve always considered to be of utmost importance. At this scale, furniture, as seen below, can be printed. Tables, lamps, and even low cost-prosthetics all fit into the idea of Human Scale Prints.
Practical Functionality
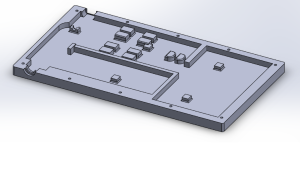
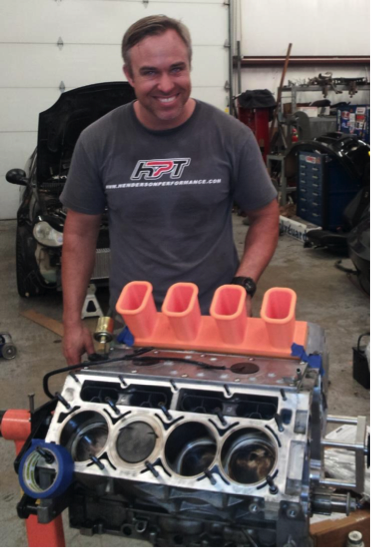
In addition to the Human Scale benefit of large format 3D printing, Practical Functionality is also a key aspect. For example, to scale models of engine parts, hand-held devices, toys, newly designed mechanical components, and so many more items are useful for sales and visualization purposes. When the model is smaller than the real-world equivalent however, it is difficult to fully appreciate tolerances, and nuances in design. With a large volume for printing, items that are full sized can be fabricated and used for fit-checks, actual function, and testing purposes.


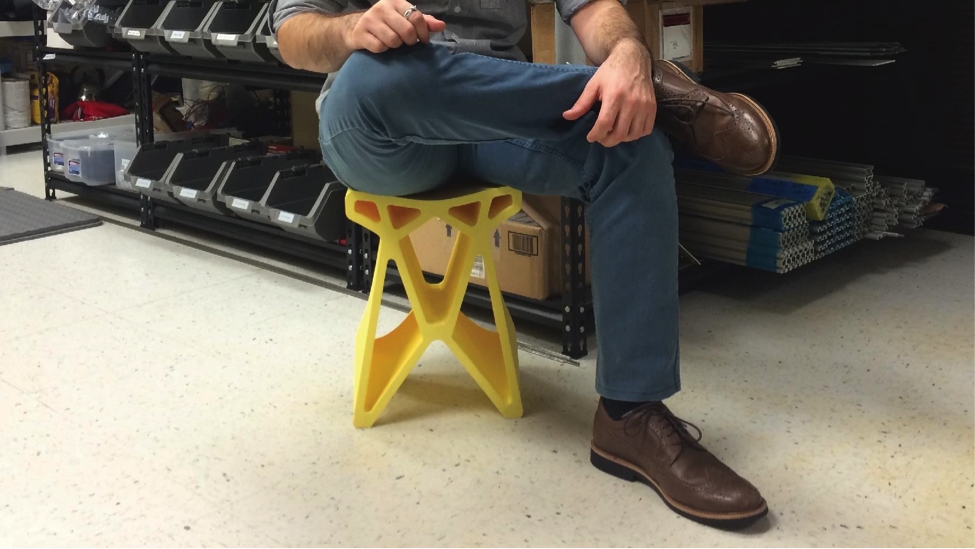
Strength
With larger prints that are a single object, greater strength can be achieved. This is due to the perimeters encapsulating the entire object and passing loads throughout without disruptions in the path. The Infill that is inside also assists in taking the load and spreading it through the entire print and thus reducing stress concentrations. This allows prints to be very strong in compression, and to a lesser extent, tension. Depending on the infill percentages used on a print, the forces necessary to cause damage may be well in excess of what an average adult could exert.
No Assembly Required
There are many instances where 3D printed objects are glued, melted, or mechanically held together to form larger pieces. One of the wonderful characteristics of having the ability to print in large format is that pre- and post-processes such as those can be eliminated. When printing smaller pieces for an item that will be assembled, there may need to be design work to add pegs and keys assist pieces in locking together. On the backend, using adhesives and other methods are time consuming and not always simple. The ability to fabricate a large object in one go helps to simplify the manufacturing process and save time.
Expanded Creativity and Capability
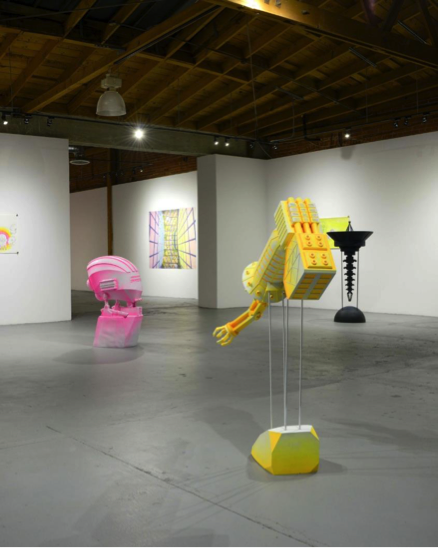
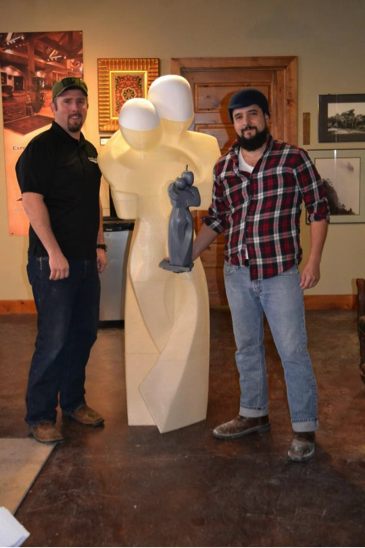
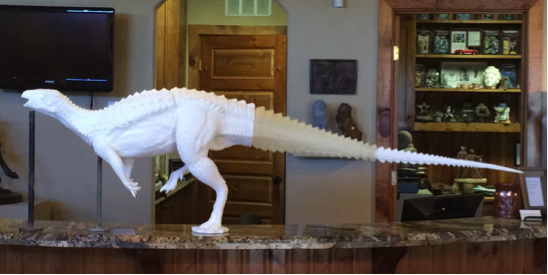
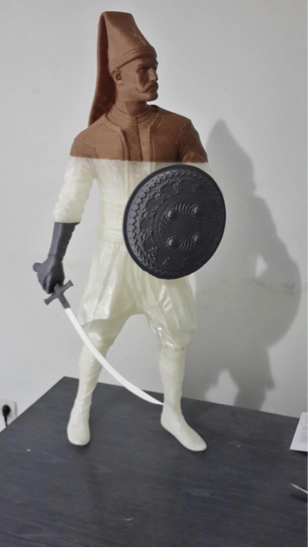
Art is on area where 3D printing shines when scale in involved. So many more beautiful details can be expressed or replicated in a piece that is large. For example, there have been several artists who have made pieces over 20 feet long by incorporating 3D printing into their skillset. Sculptures of dinosaurs with incredible skin detail have been cast by a lost wax process after using 3D printed pieces as the base of the work. (A process, I like to call Lost Plastic instead!) Full size busts of persons have been printed as well as spaceship simulators and functional robots. The possibilities for creating new items is endless!
Cons(iderations)

Importance of Bed Leveling
Keeping the bed of a 3D printer level is one of the most important aspects of getting a piece to be made well. Without proper leveling, corners may warp, objects may not stick to bed, and objects may have poor surface quality. This is true for any size printer, but it becomes more important when a larger surface is used. Imagine a 5 degree angle from one point of a bed plate to the other. If the bed plate was 15 inches long, the difference in height on the other side of the bed plate would be 1.31 inches. If the bed plate was 30 inches long, that vertical differential is now double at 2.62 inches which is much more dramatic. It demonstrates the importance of minimizing any angles and ensuring that the bed plate is as flat as possible
Learning New Slicing Profiles
One of the most complicated parts of 3D printing is learning about all the settings that are involved with making an object. I’ve listed several here, although there are many more that can be adjusted for any print. Learning how to adjust these setting for new sizes takes a little bit of practice and can make all the difference between a nice print and a great print.
Number of Solid Bottom and Top Layers
With smaller prints the number of Solid Bottom and Top Layers is typically two or three, depending on the infill percentage. Usually a decent number is about 15% which gives a nice structure inside the print and means that the solid layers will not sag very much when being printed on the infill. With larger prints, however, infills can at times be down to 1-2% leaving up to an inch between supporting infill. The first solid layer will usually droop between these sections and the next layers may not have good finishes. Increasing the number of solid layers will allow the print to have a much nicer finish as the bottom layers support the ones after them.
Number of Perimeters
The number of perimeters typically also increase with an increase in print size. Having this number go up allows a print to be stronger and more rigid. It also allows for more surface area for the higher layers to print on. Where there are steep angles, this helps to provide a betters surface finish.
Infill Density
As mentioned before, infill density typically decreases when print size increases. This help in several ways: it reduces the final weight of the print, reduces the amount of material used, and reduces the print time. It is also not necessary to have such a high infill when the number of perimeters and solid layers has gone up, as much those characteristics help to strengthen the piece.
Layer Height
Layer height is one of the settings that is changed when trying to affect the surface finish. However, it can also be used to decrease print times. Doing so will lower the print quality, but not by a noticeable amount. Typically most printing is set at a default layer height of 300 microns which produces smooth surface finishes, but the layers can be seen. Most folks don’t mind this finish as it is a nice compromise between time and quality. However, for rough prototyping, or surface finishes that will be post-process, the layer height can be increased to save time.
Support Criteria
Since overhangs may be much more pronounced in larger models, there will be new instances where support may be needed where it was not needed in a smaller model. Luckily, most slicing software is smart enough to calculate where support is necessary, so this does not impact the user much, but it is an aspect to take into consideration when looking at material usage and print times.
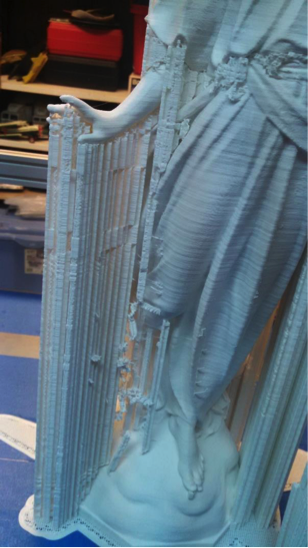

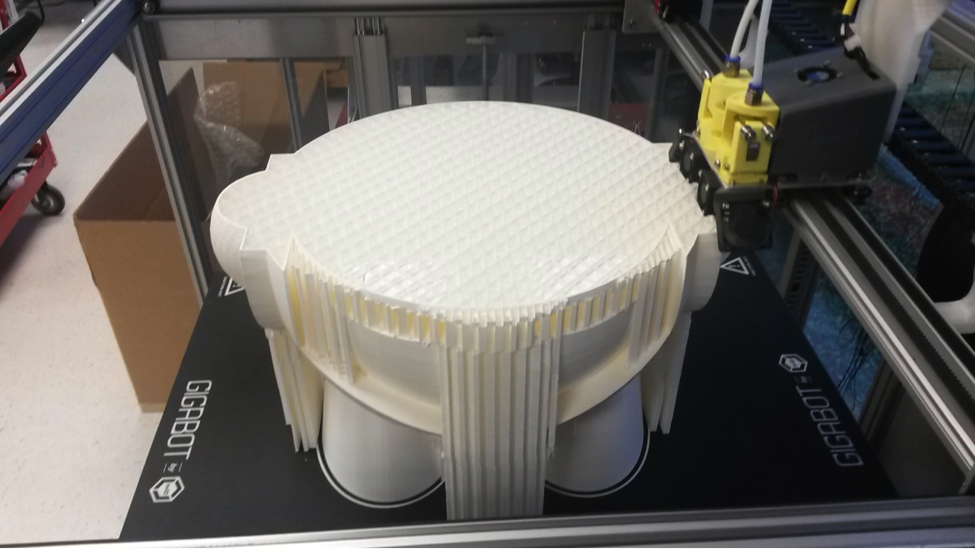
Much more Support
As mentioned previously, there may be instances may be necessary on larger models where it may not have been necessary on the same smaller model. For this reason, much more support is typically seen on larger models. Not only for features, but also due to the size of the print itself. A very tall print with many overhangs would require significant support structure to make sure it prints well. This will also impact the post-processing time as there will be more material to clean off.
Longer Print Times
Imagine a 1 inch cube took about 10 minutes to print. Using the same settings, if that cube was made to be 2 inches, it would take (at a minimum) 8 times longer to print! The time that the nozzle would have to travel each side would double and the number of layers needed would double which would can be expressed mathematically as 2 x 2 x 2 = 8. Of course, settings can be changed to decrease infill, change layer heights, change the number of perimeters and solid, layers to help make these difference smaller, but the curve would follow the trend that as a print gets bigger, the longer it will take to complete. User are typically exposed to prints that are a few hours long on smaller printers, but on lager ones, print times can span days! That’s a major difference!
Potential of Running out of Filament
A lot of spools come in 1 lb or 1 kg quantities. This is sufficient for small prints, but can be consumed on the first few layers of a larger print! The largest spools we stock at re:3D are 15 lbs. These massive amounts of filament allow us to print very large items without much thought with regards to running out of filament. It still does happen however, and it is one of the things that must be considered when starting a multi-day print. Since our software does allow for filament change-out, it is not a big ordeal to swap filament mid-print, but it does slow down the production process, and it needs to be planned for. As prints go into ever-longer territory, the potential for running out of filament is one of the manufacturing spaces that must be considered.

We’ve explored some of the benefits and considerations of 3D printing large objects. While the list is by no means exhaustive, it does provide an insight into some the areas where new learning is required and it definitely showcases the great possibilities that are unlocked by an expanded creative volume. Hopefully this provides some insight on what is involved with large prints and we’d be happy to hear your feedback and answer any questions.
Catch you on the next layer!
~Type 1 Ernie: re:3D Ops Man
Ernie Prado
Blog Post Author