Below are our notes that reflect our new open source filament testing. ASTM test samples are being created and in the upcoming months you can anticipate a summary on our website about our adventures in 3D printing material science.
Material Tested: MakeShaper PLA
Manufacturer: MakeShaper PLA
Filament Diameter: 3.00 mm
Color Tested: Orange
Date Tested: 4/01/2016


OBSERVATIONS
Ease of use: Working with this filament was very enjoyable. It printed easily, was consistent and predictable. No breakage was noticed. The PLA appeared to be of a high quality.
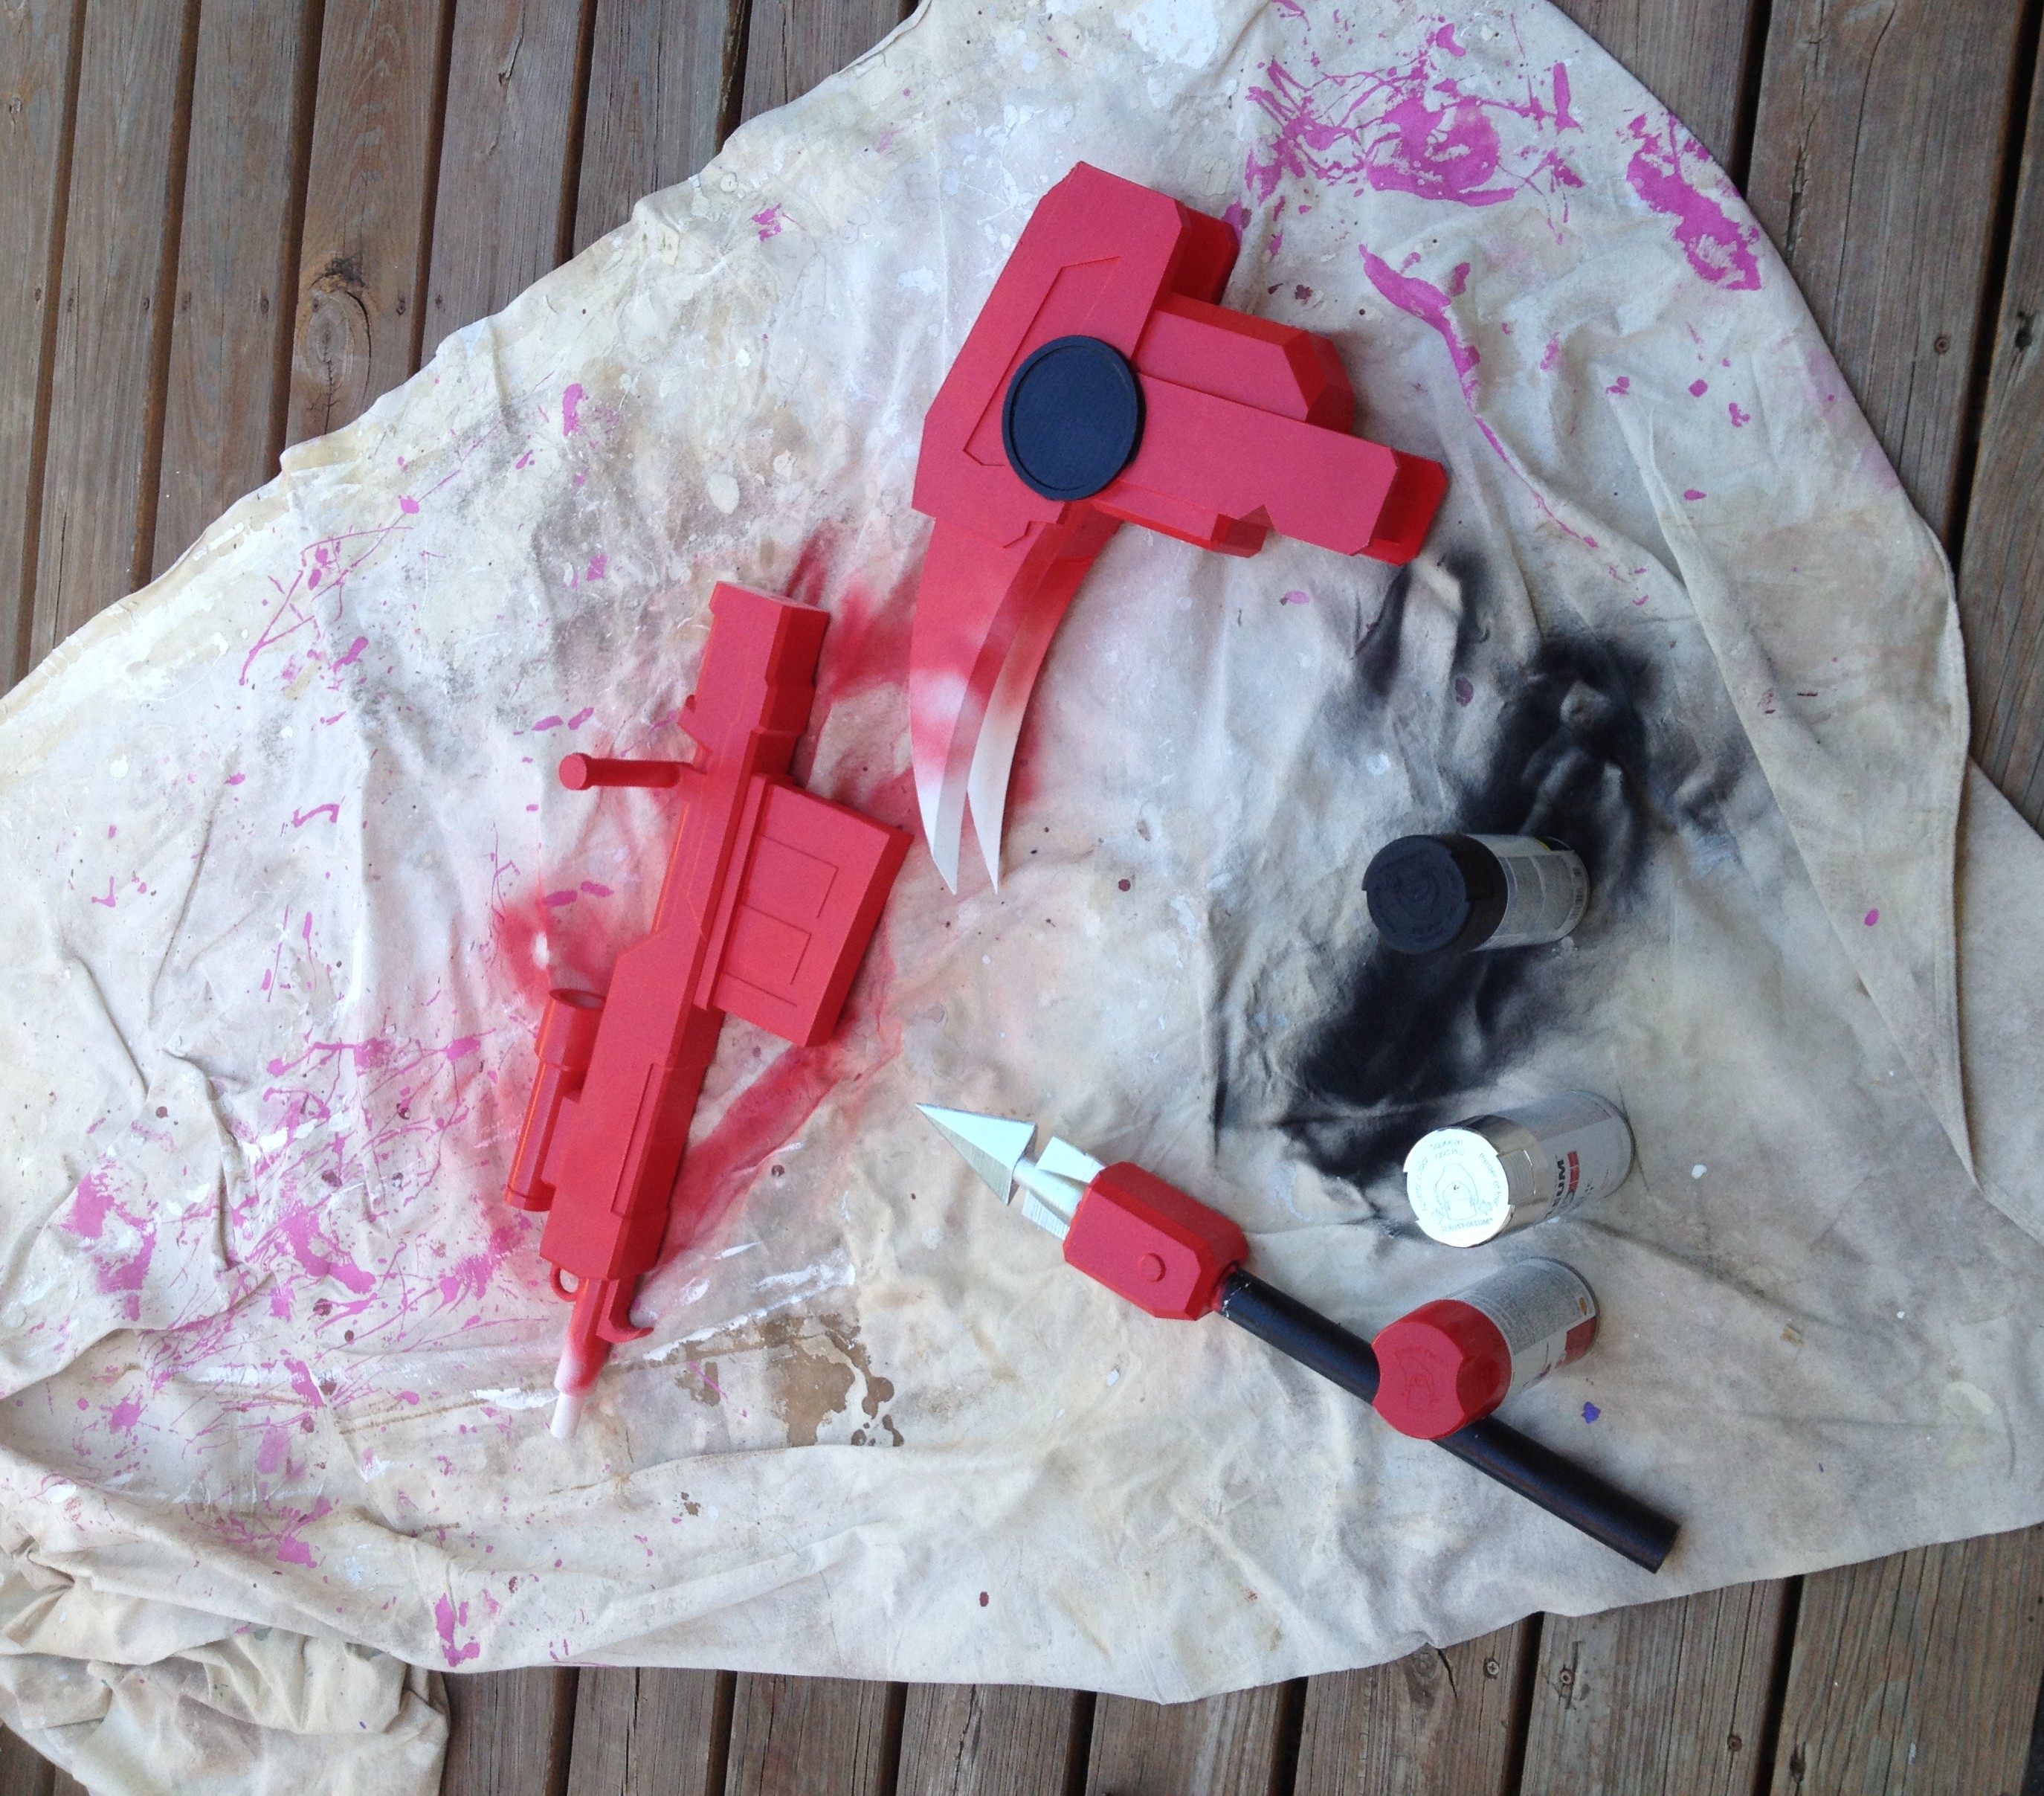
Appearance: The filament exhibited a pleasing orange tone that even the greatest orange pantone haters on our team found appealing. A slight sheen presented when printed.
Size consistency: Awesome, less than 0.1mm within the roll, however the filament measured 2.87mm, not 3mm
Color consistency: Great, consistent throughout the coil.
SETTINGS
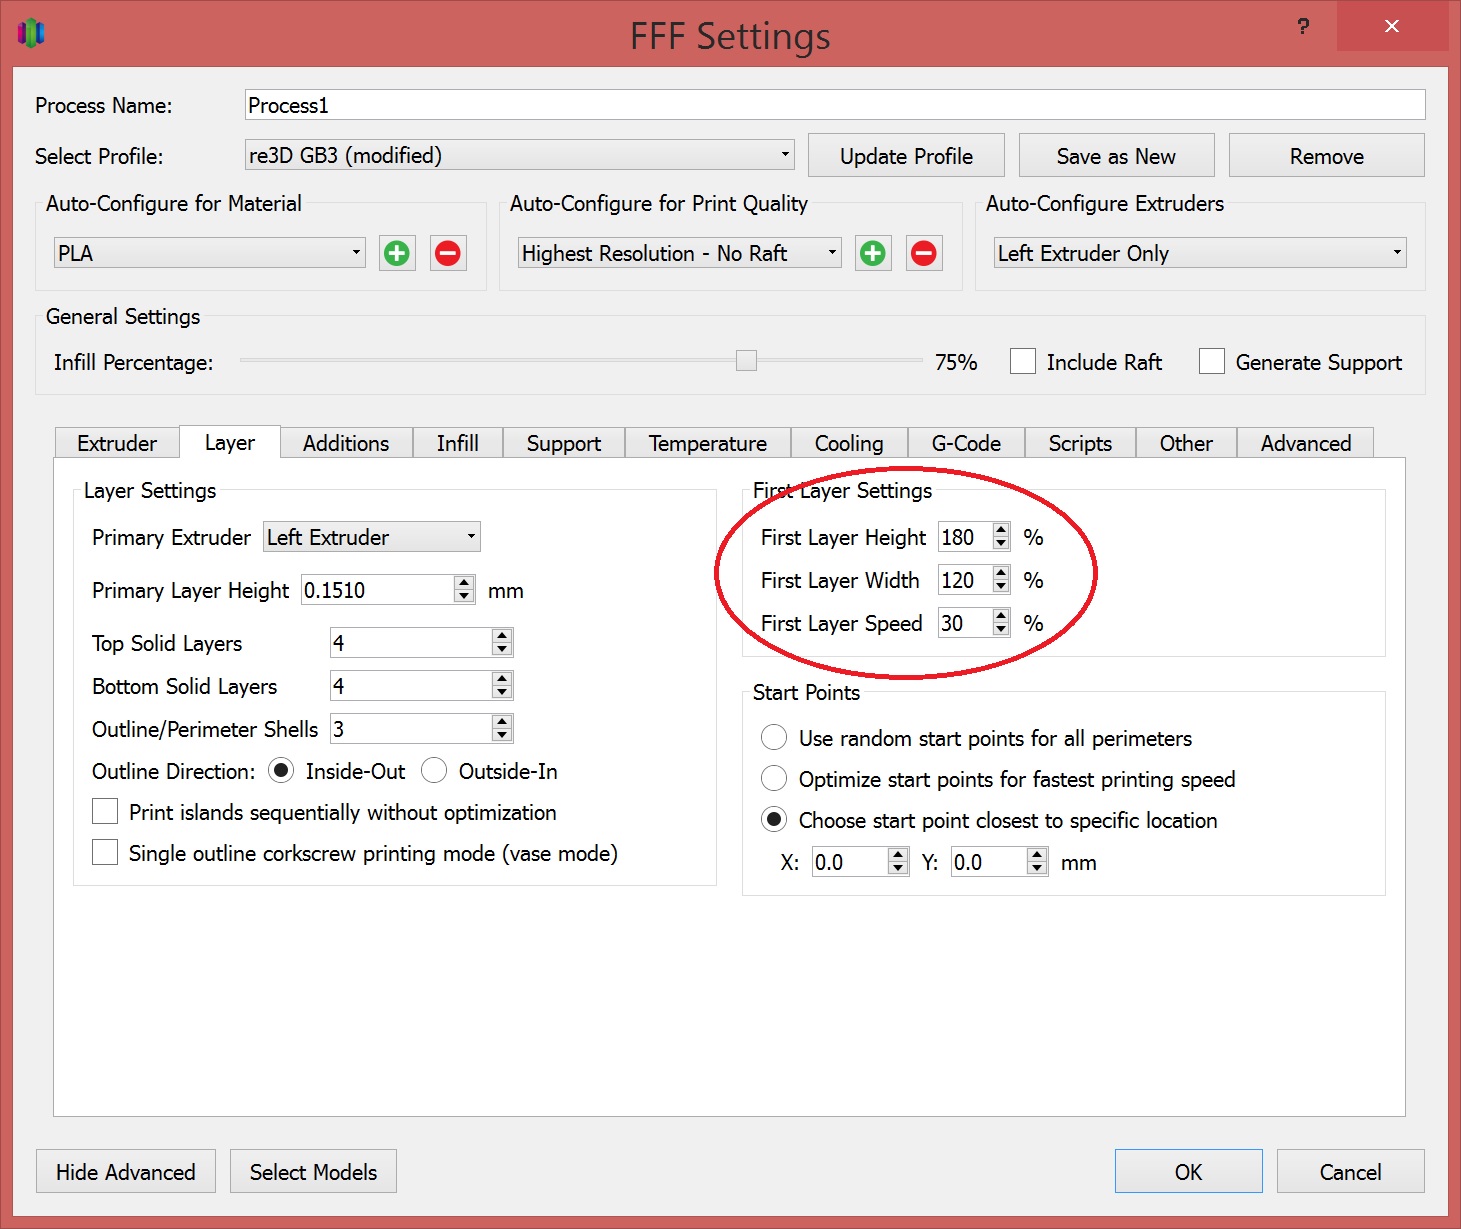
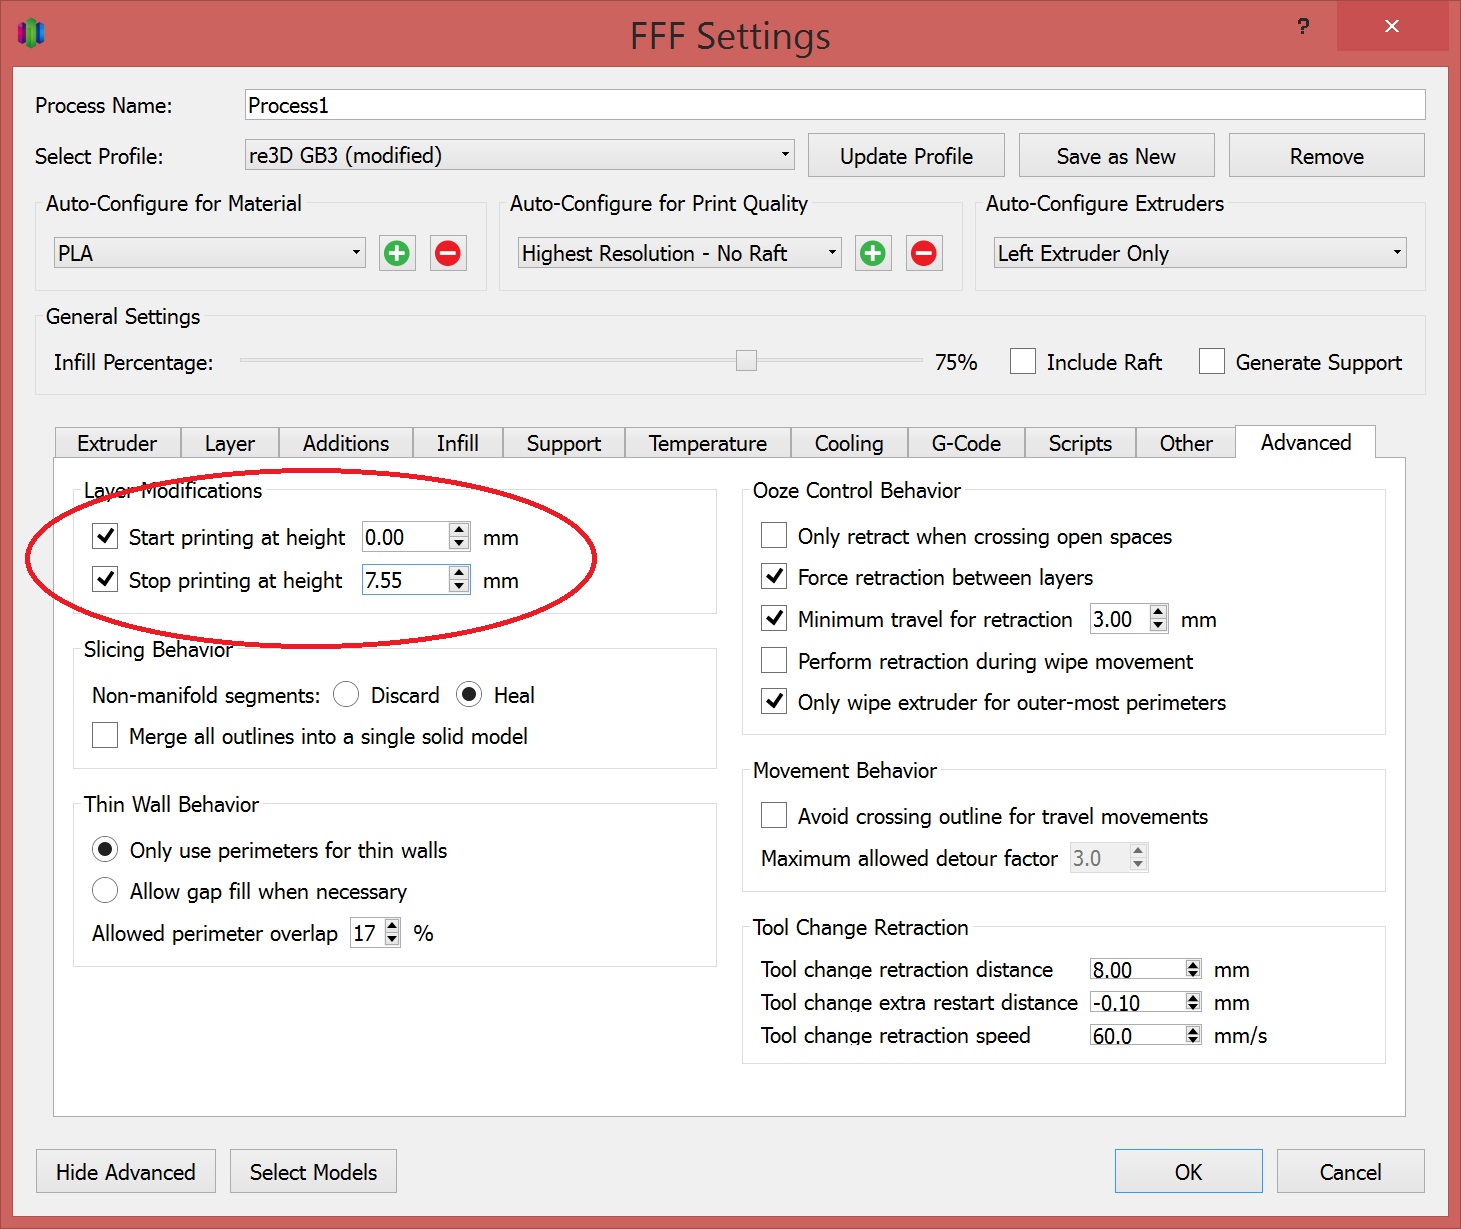
Print temperature: 190-215 C (suggested)/202C was used: nozzle / 60C : bed
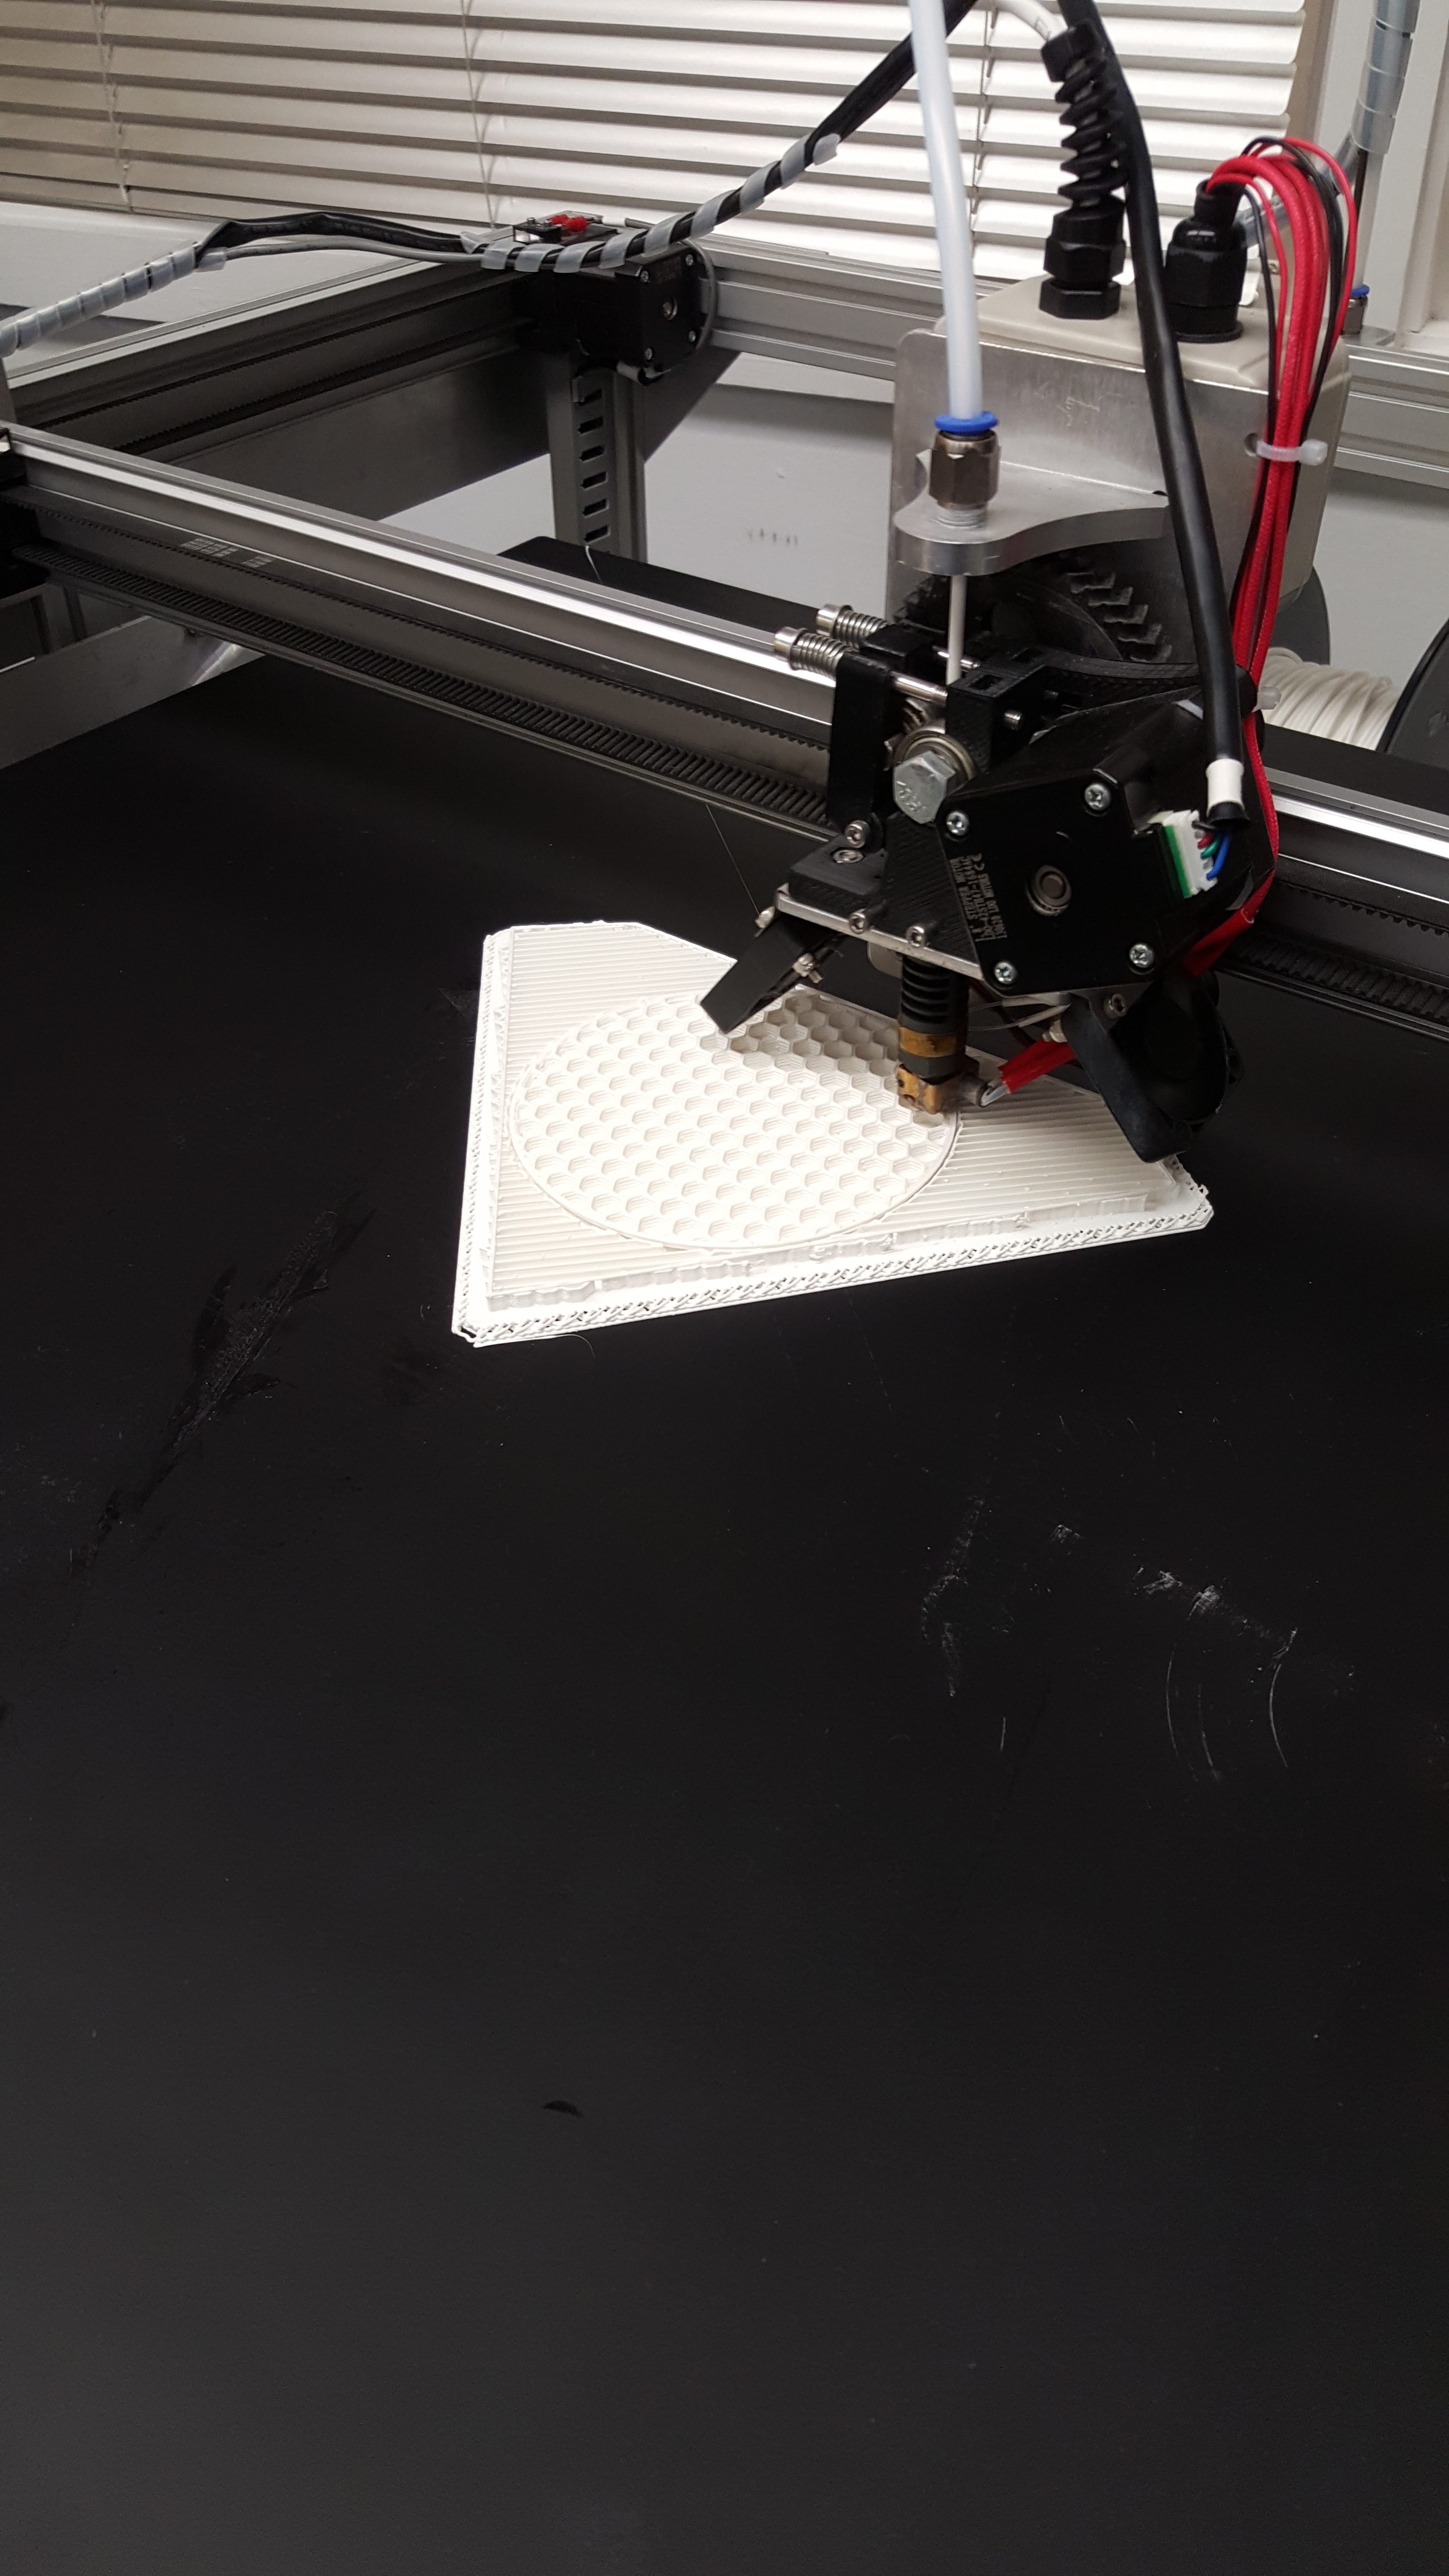
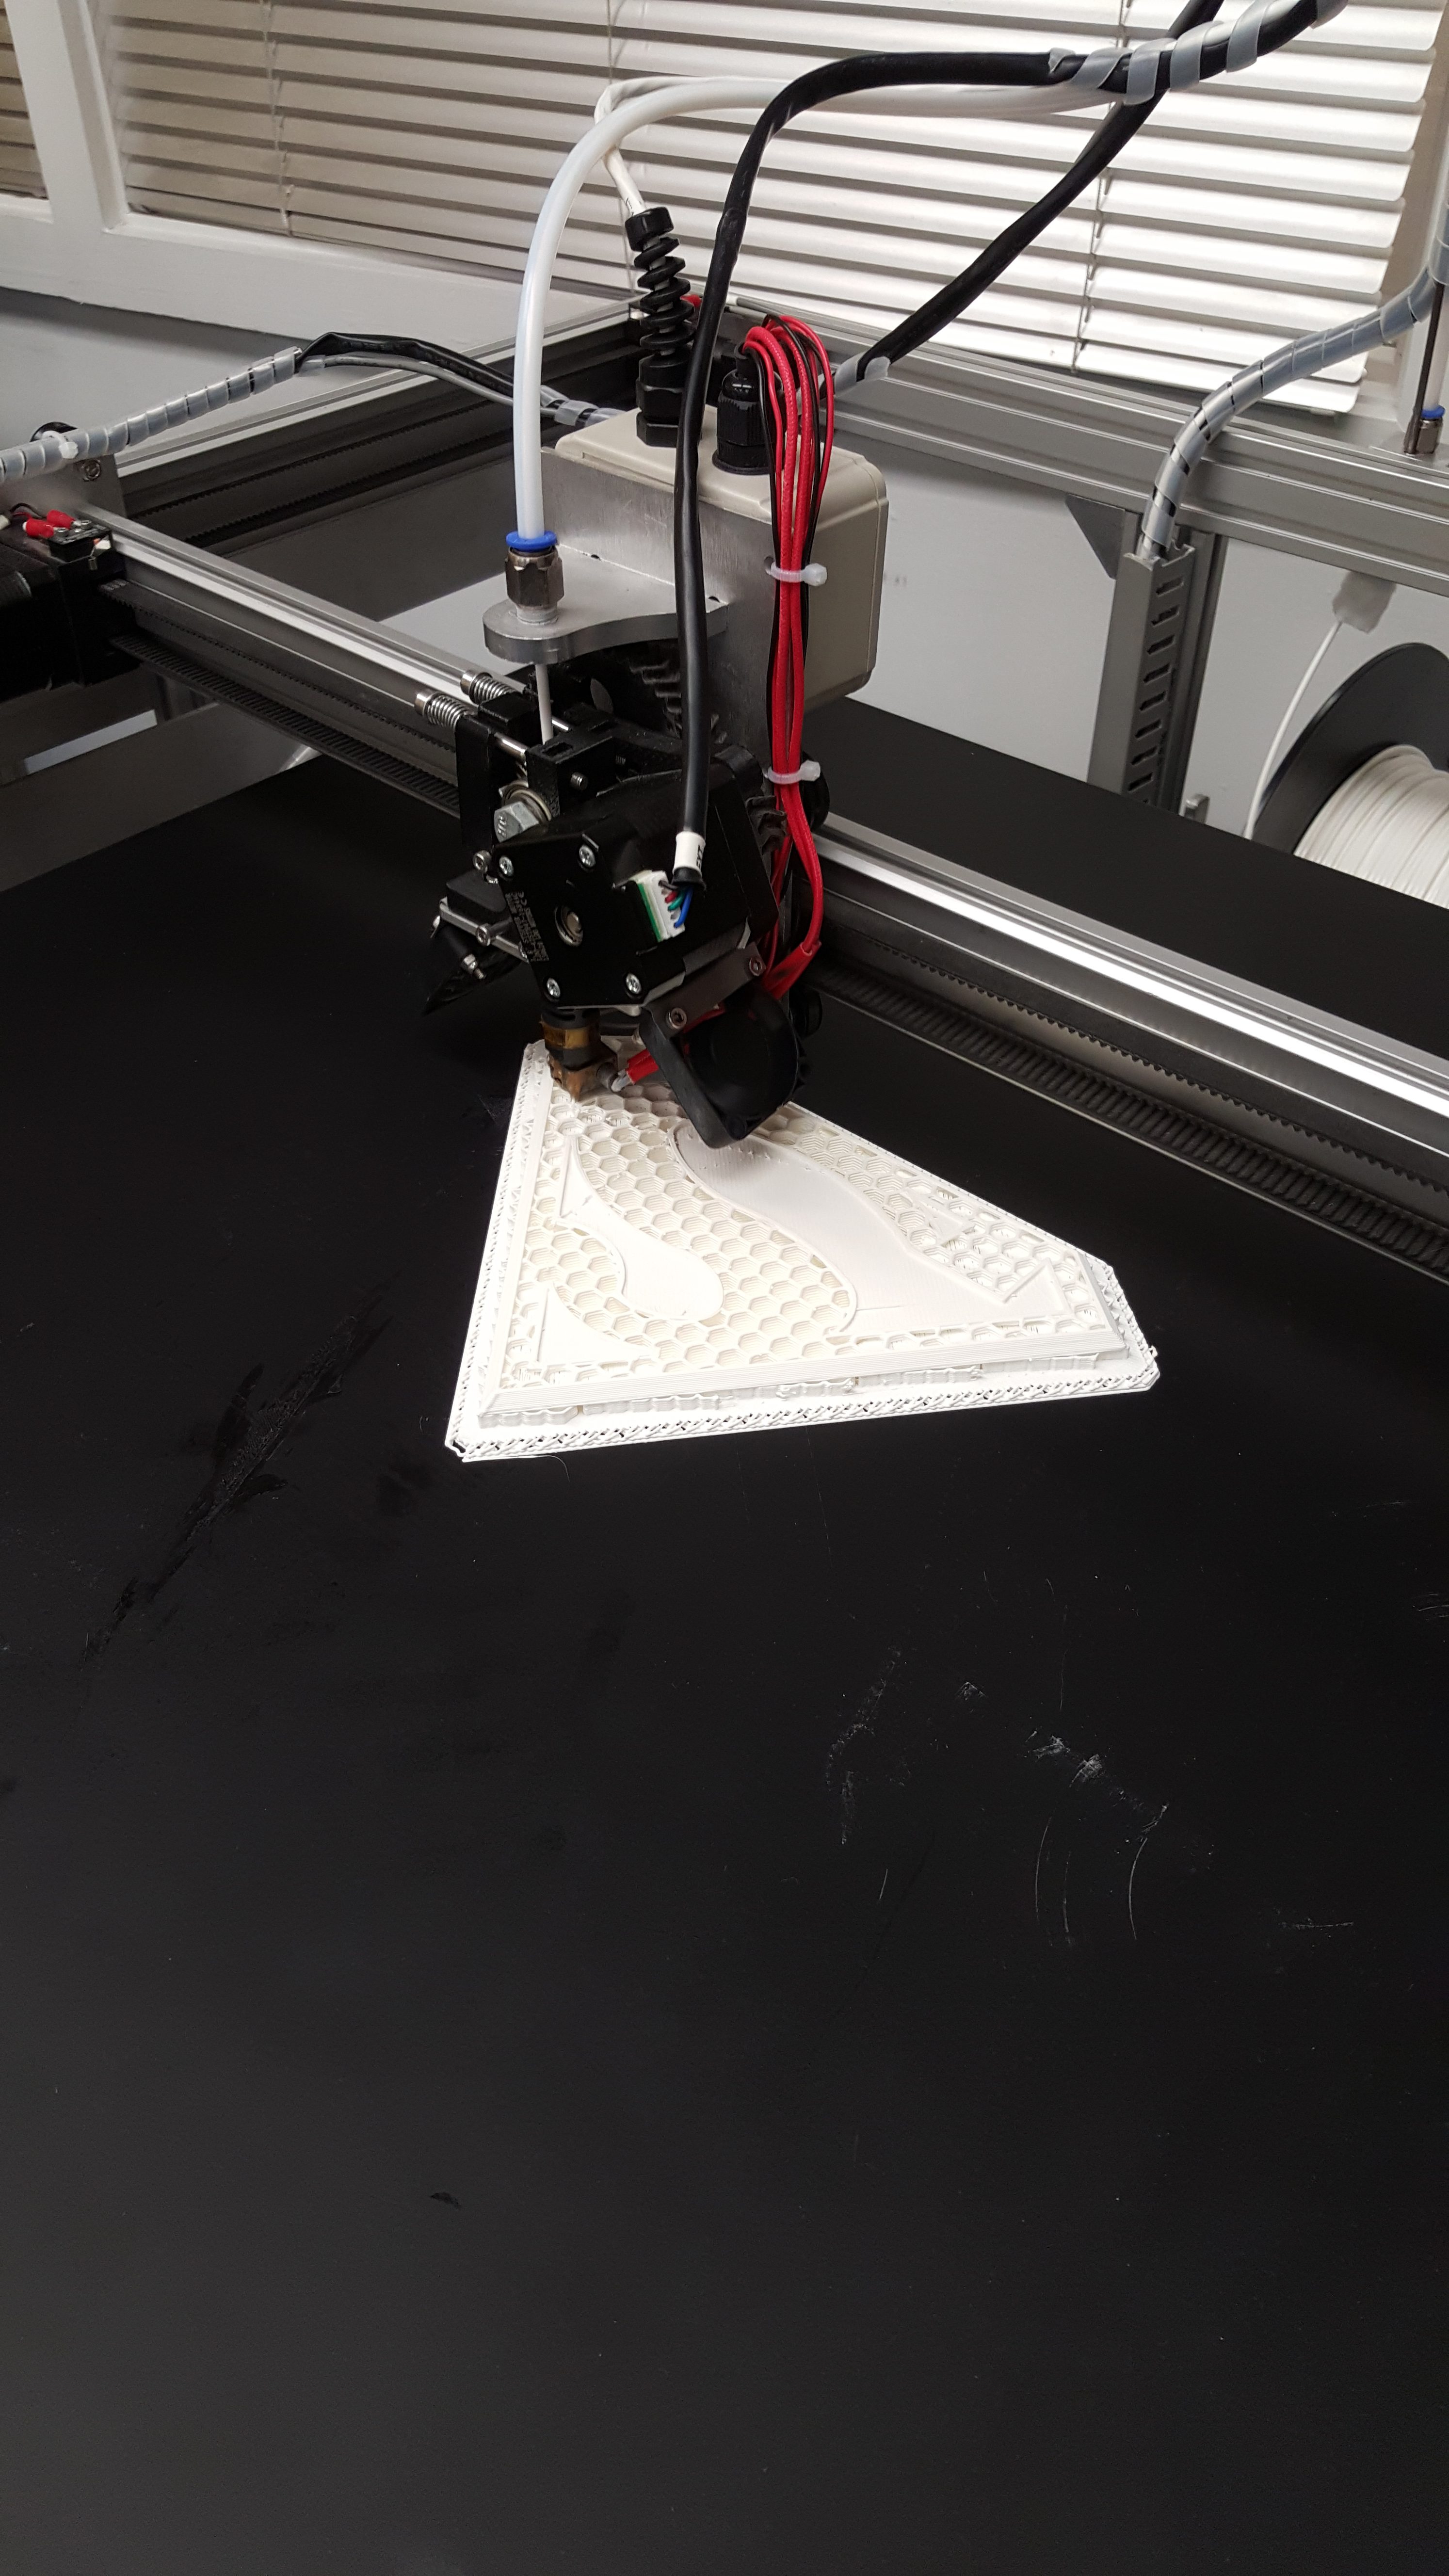
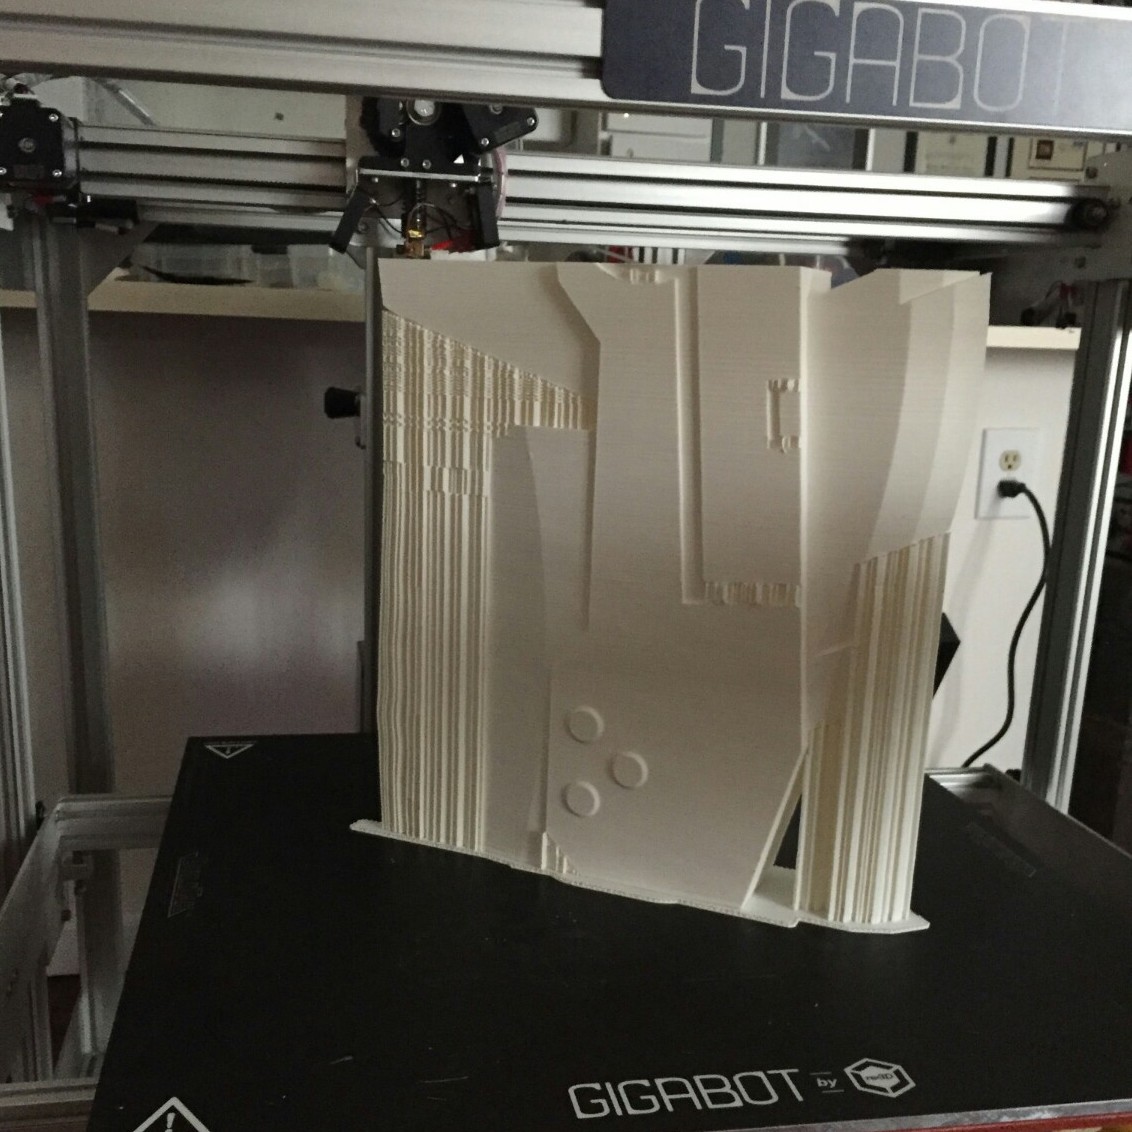
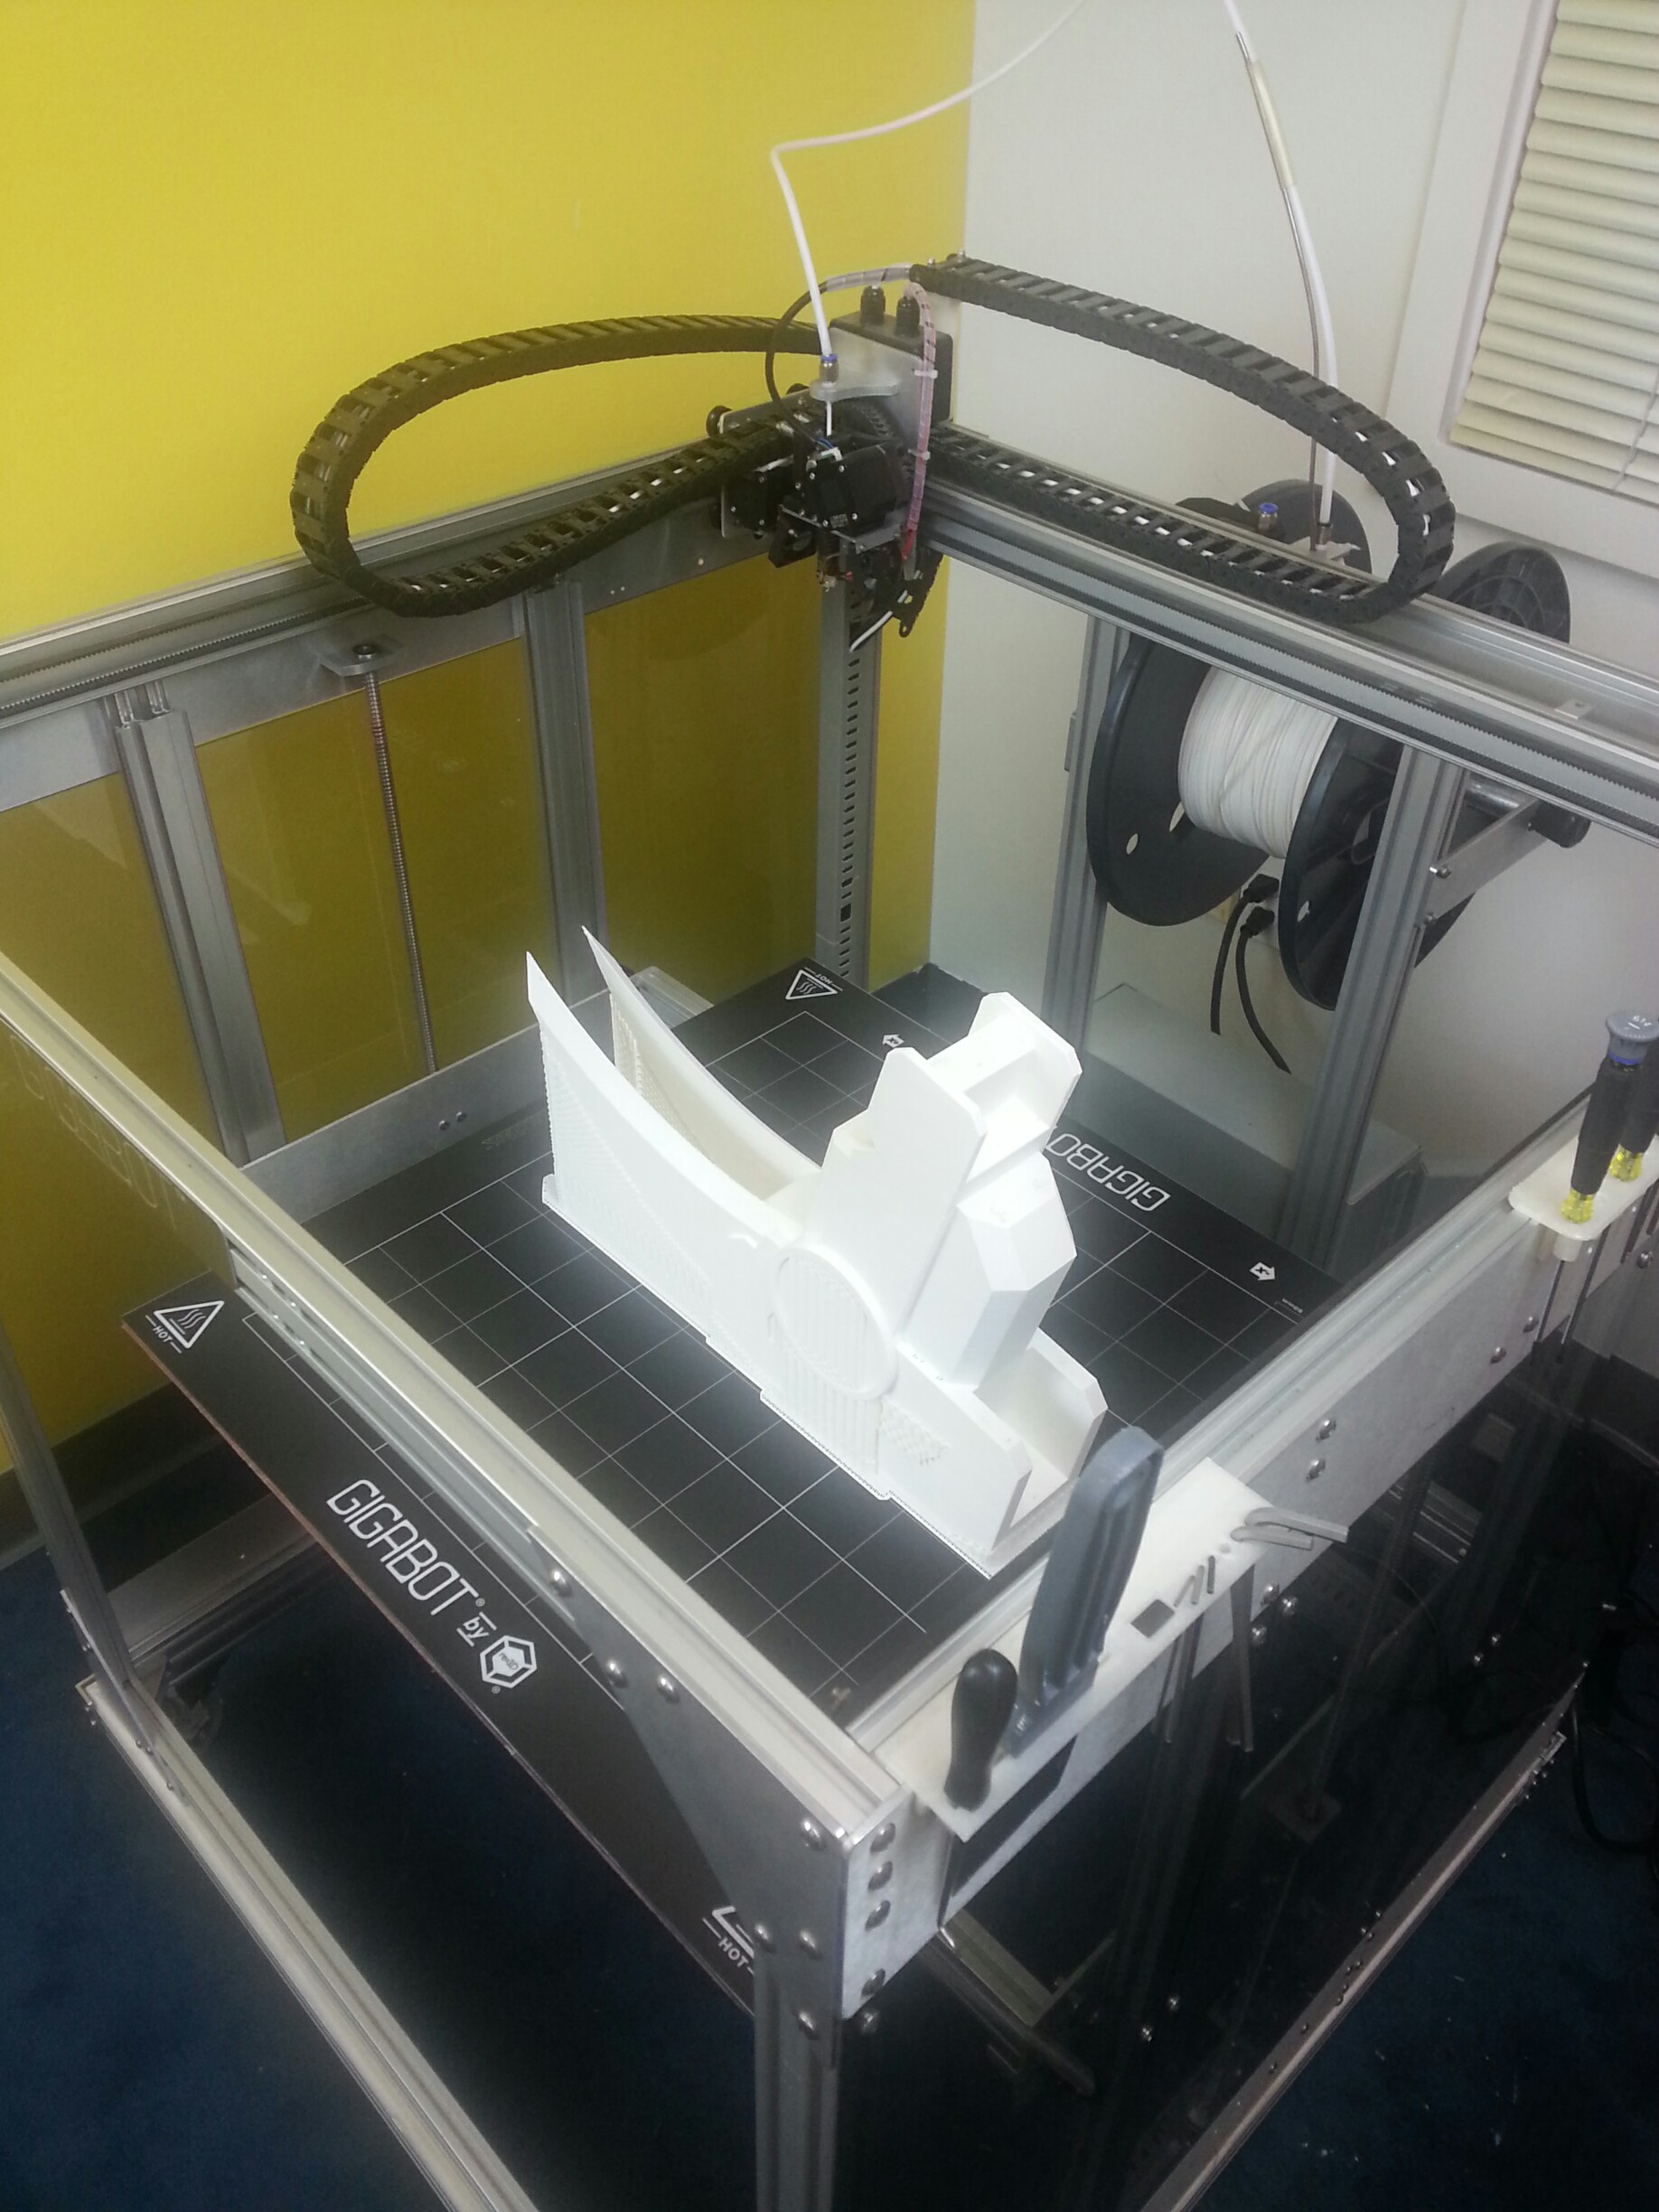
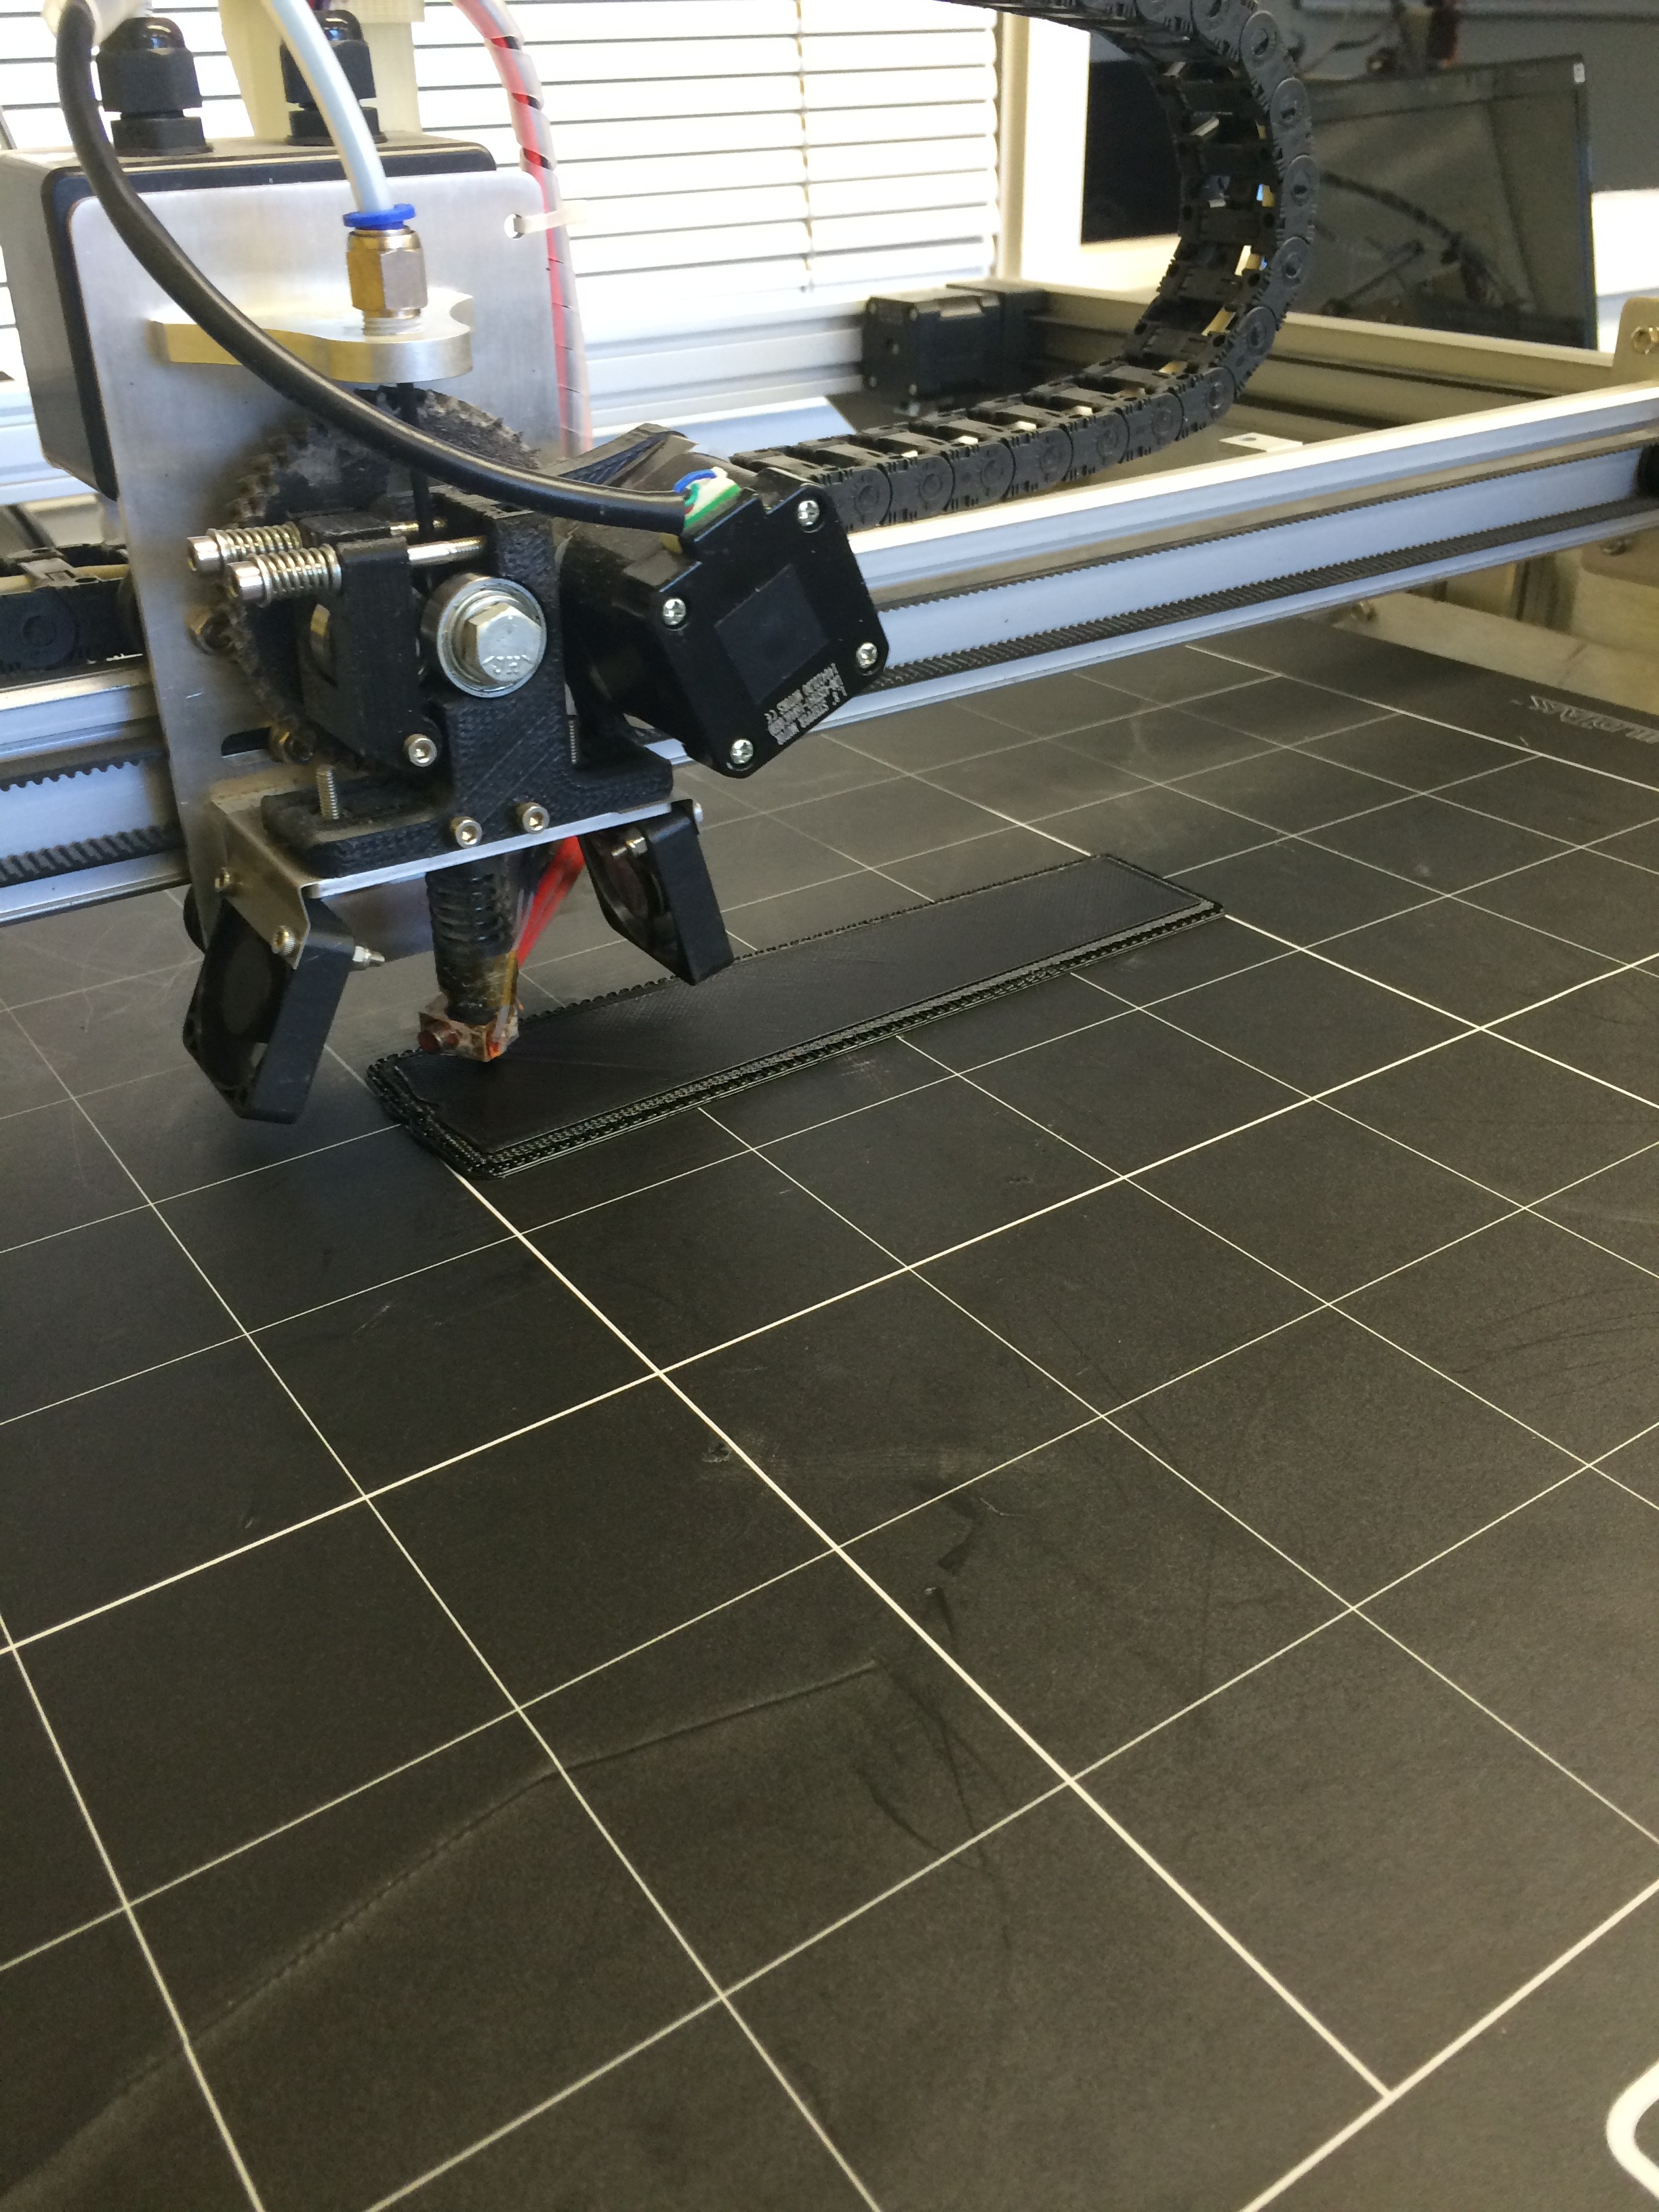
Printer Used: Gigabot
Speed: 60 mm/s
Layer Height: 0.3mm
Infill: 15%
Type(s) of print surface used: PRINTnZ
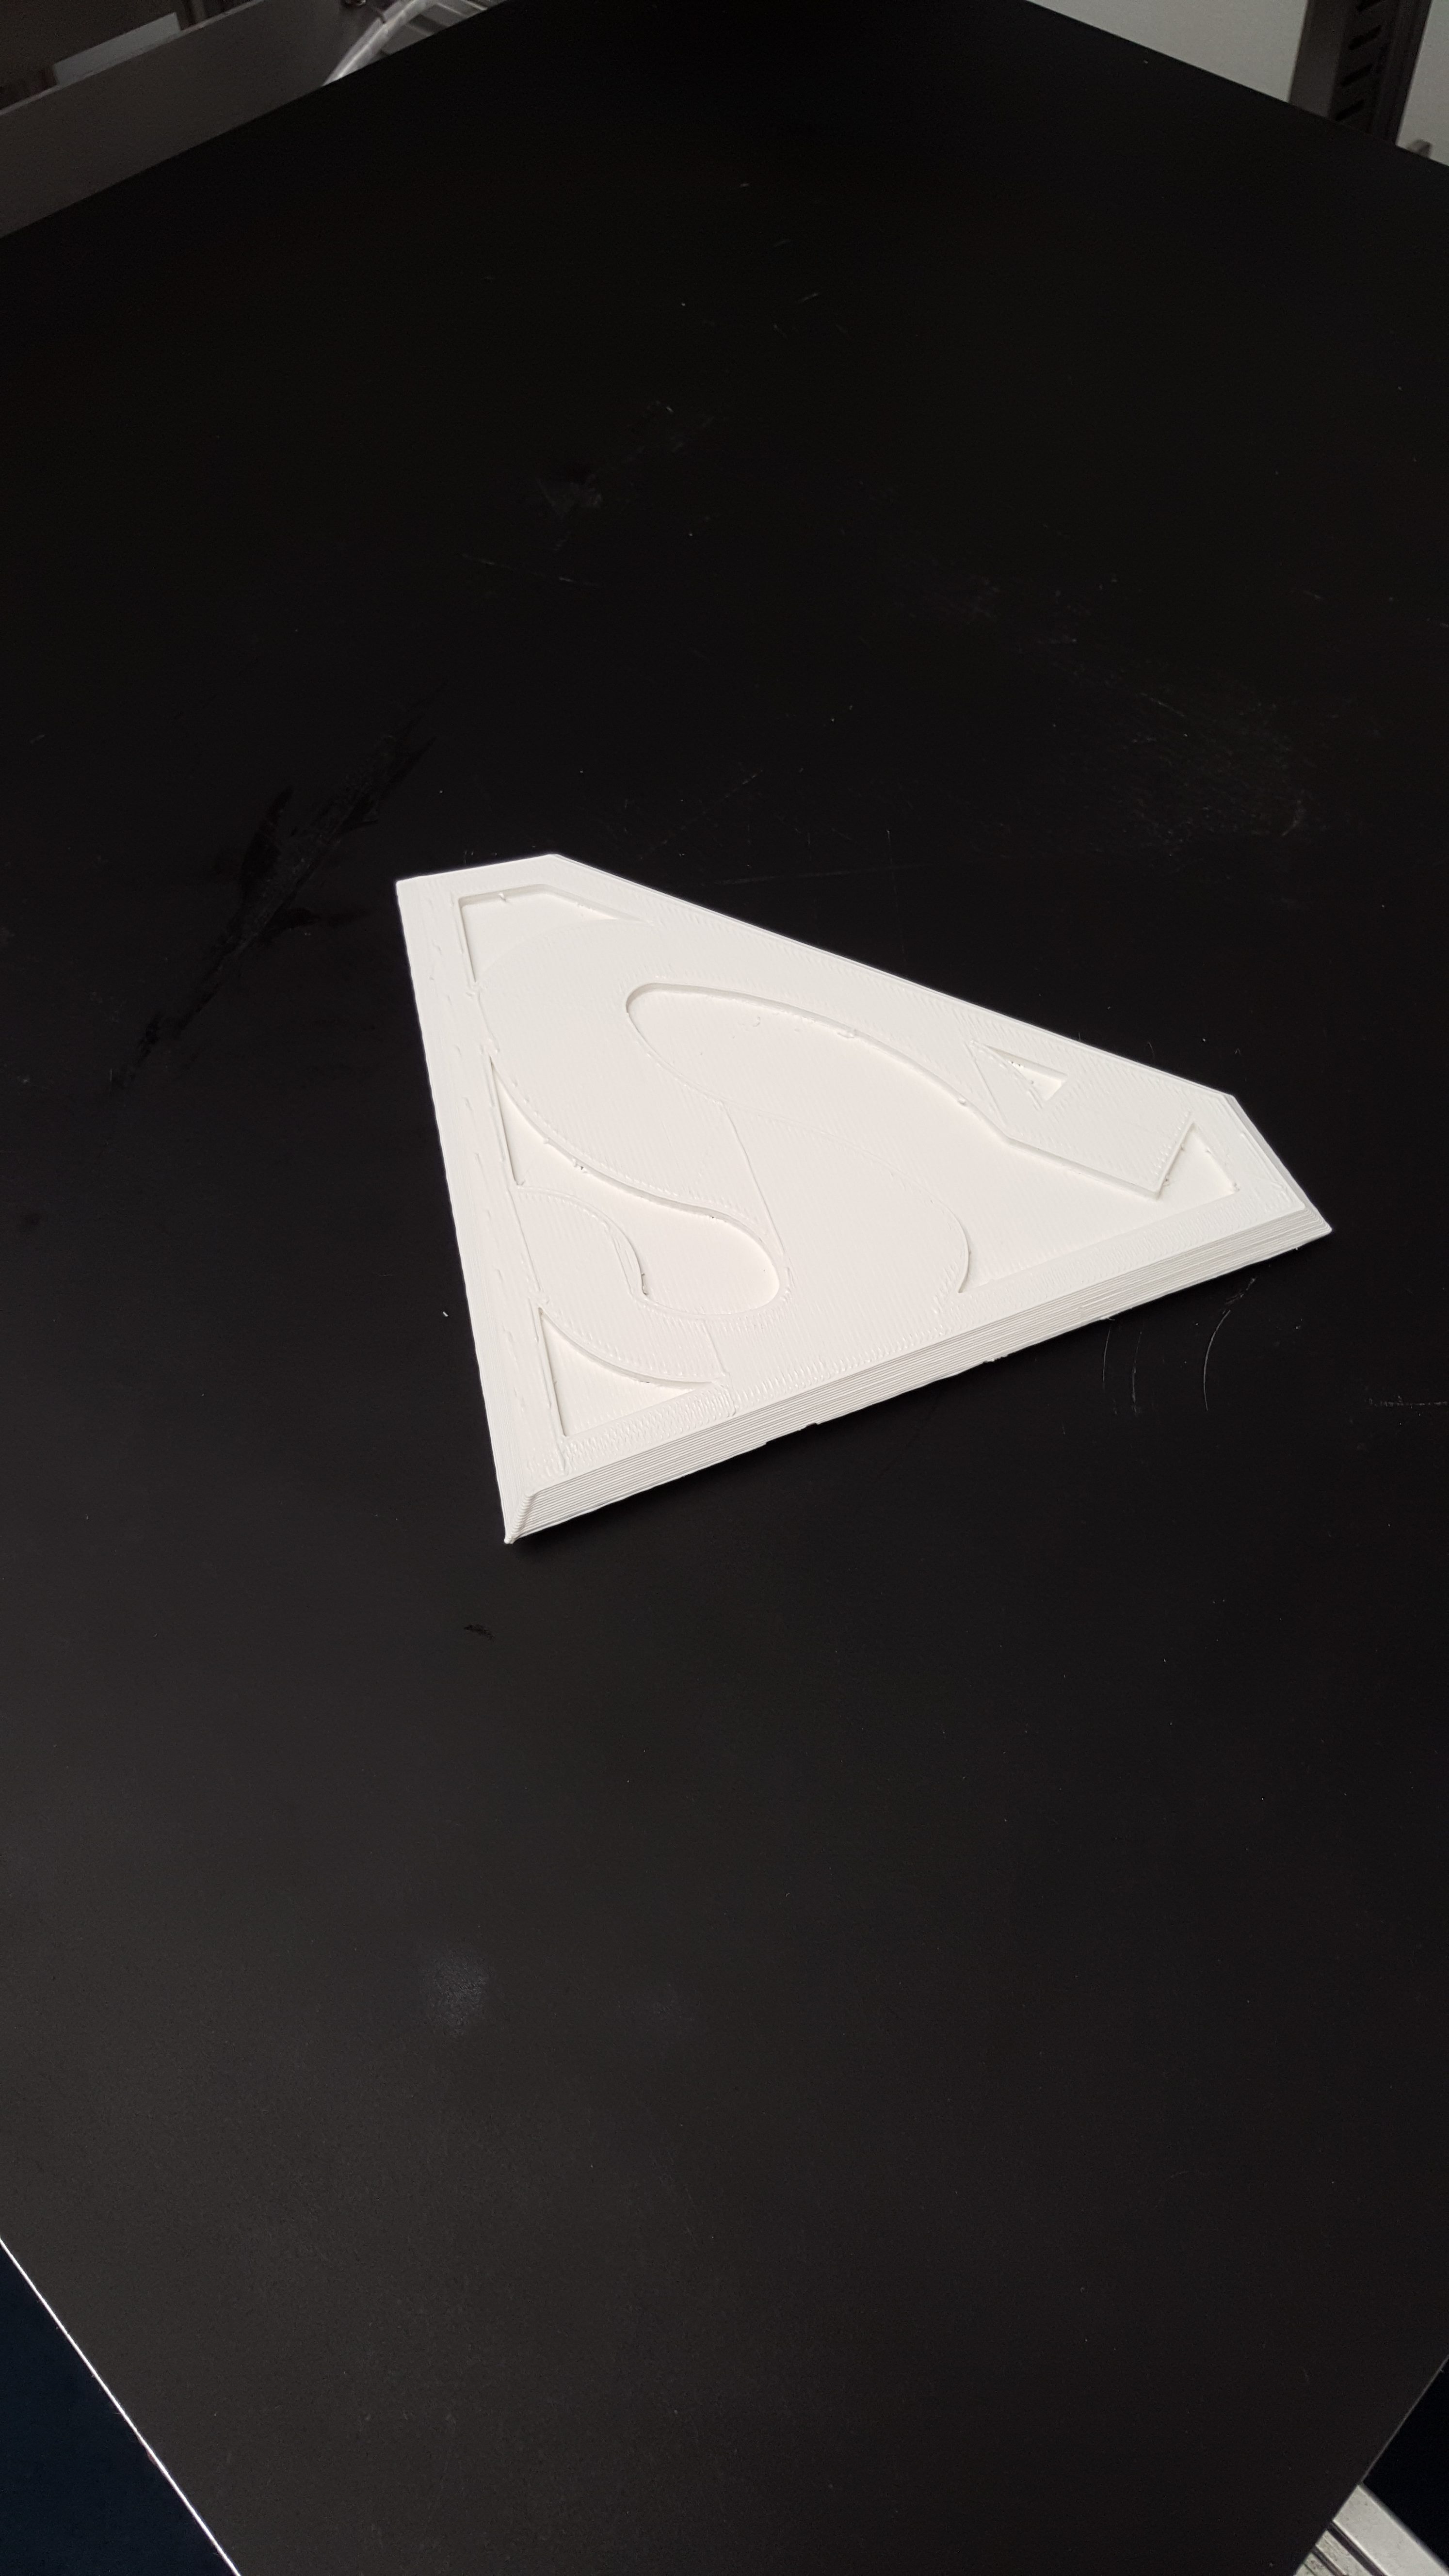
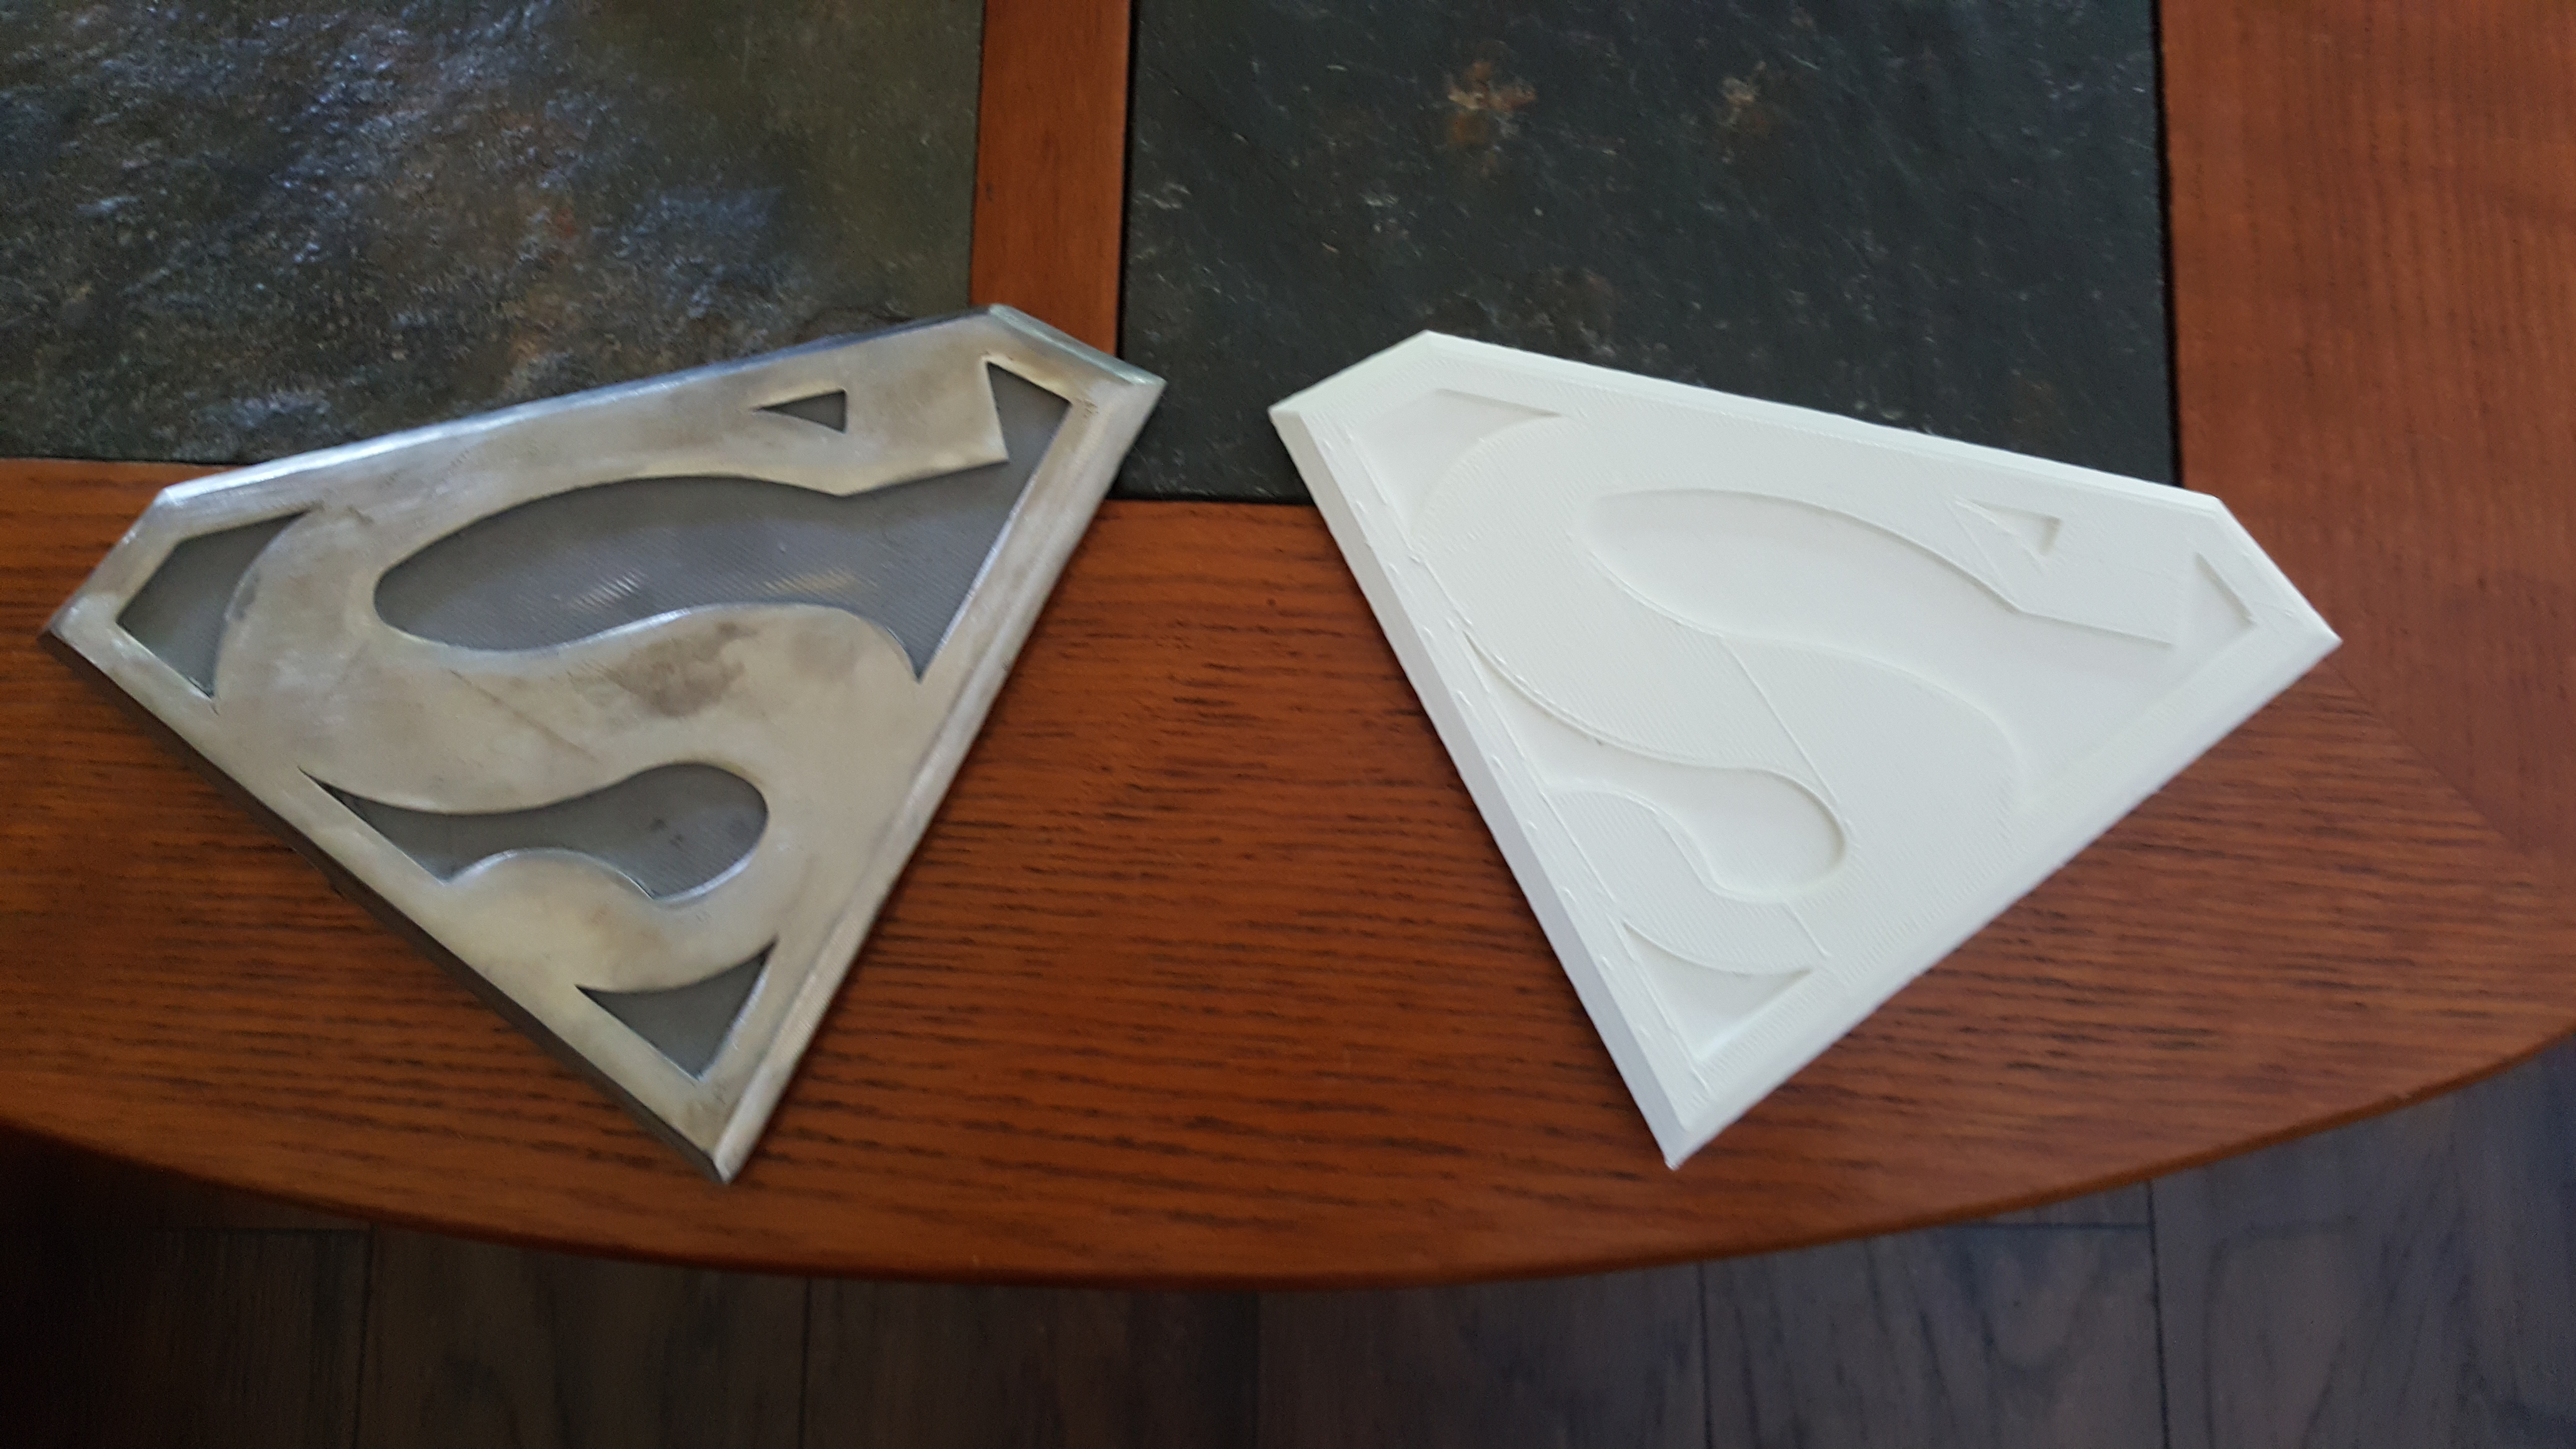
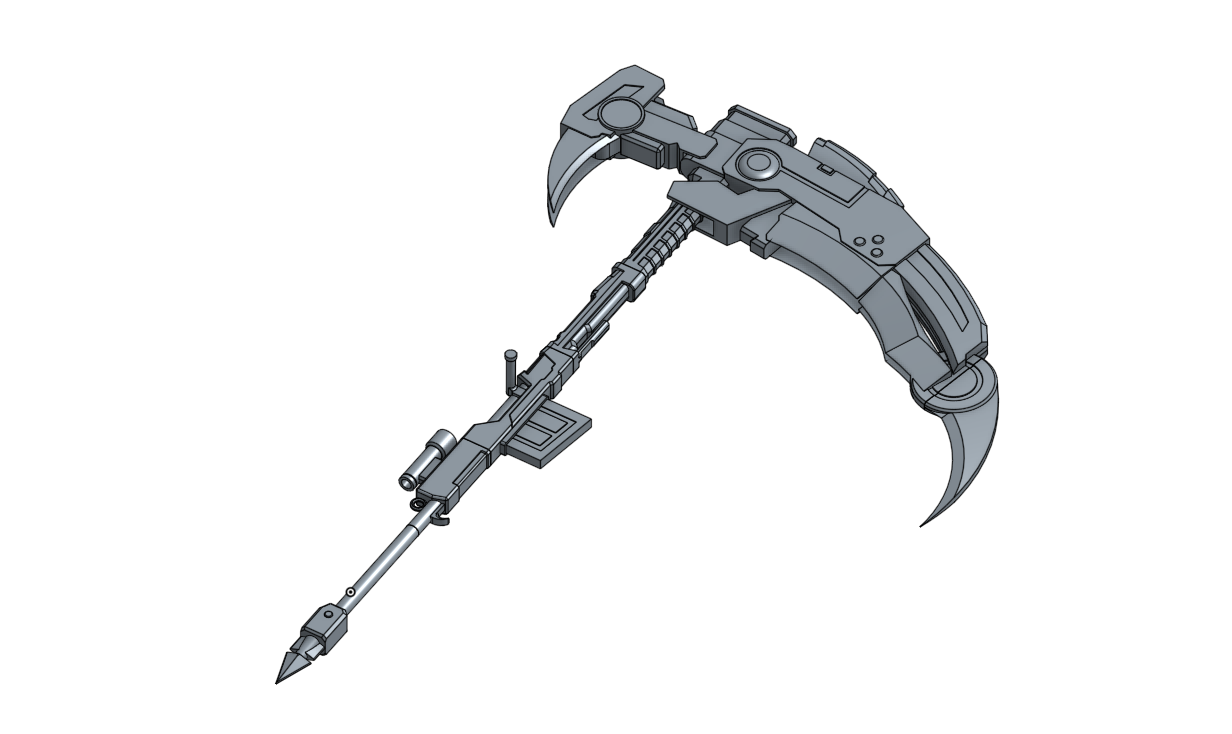
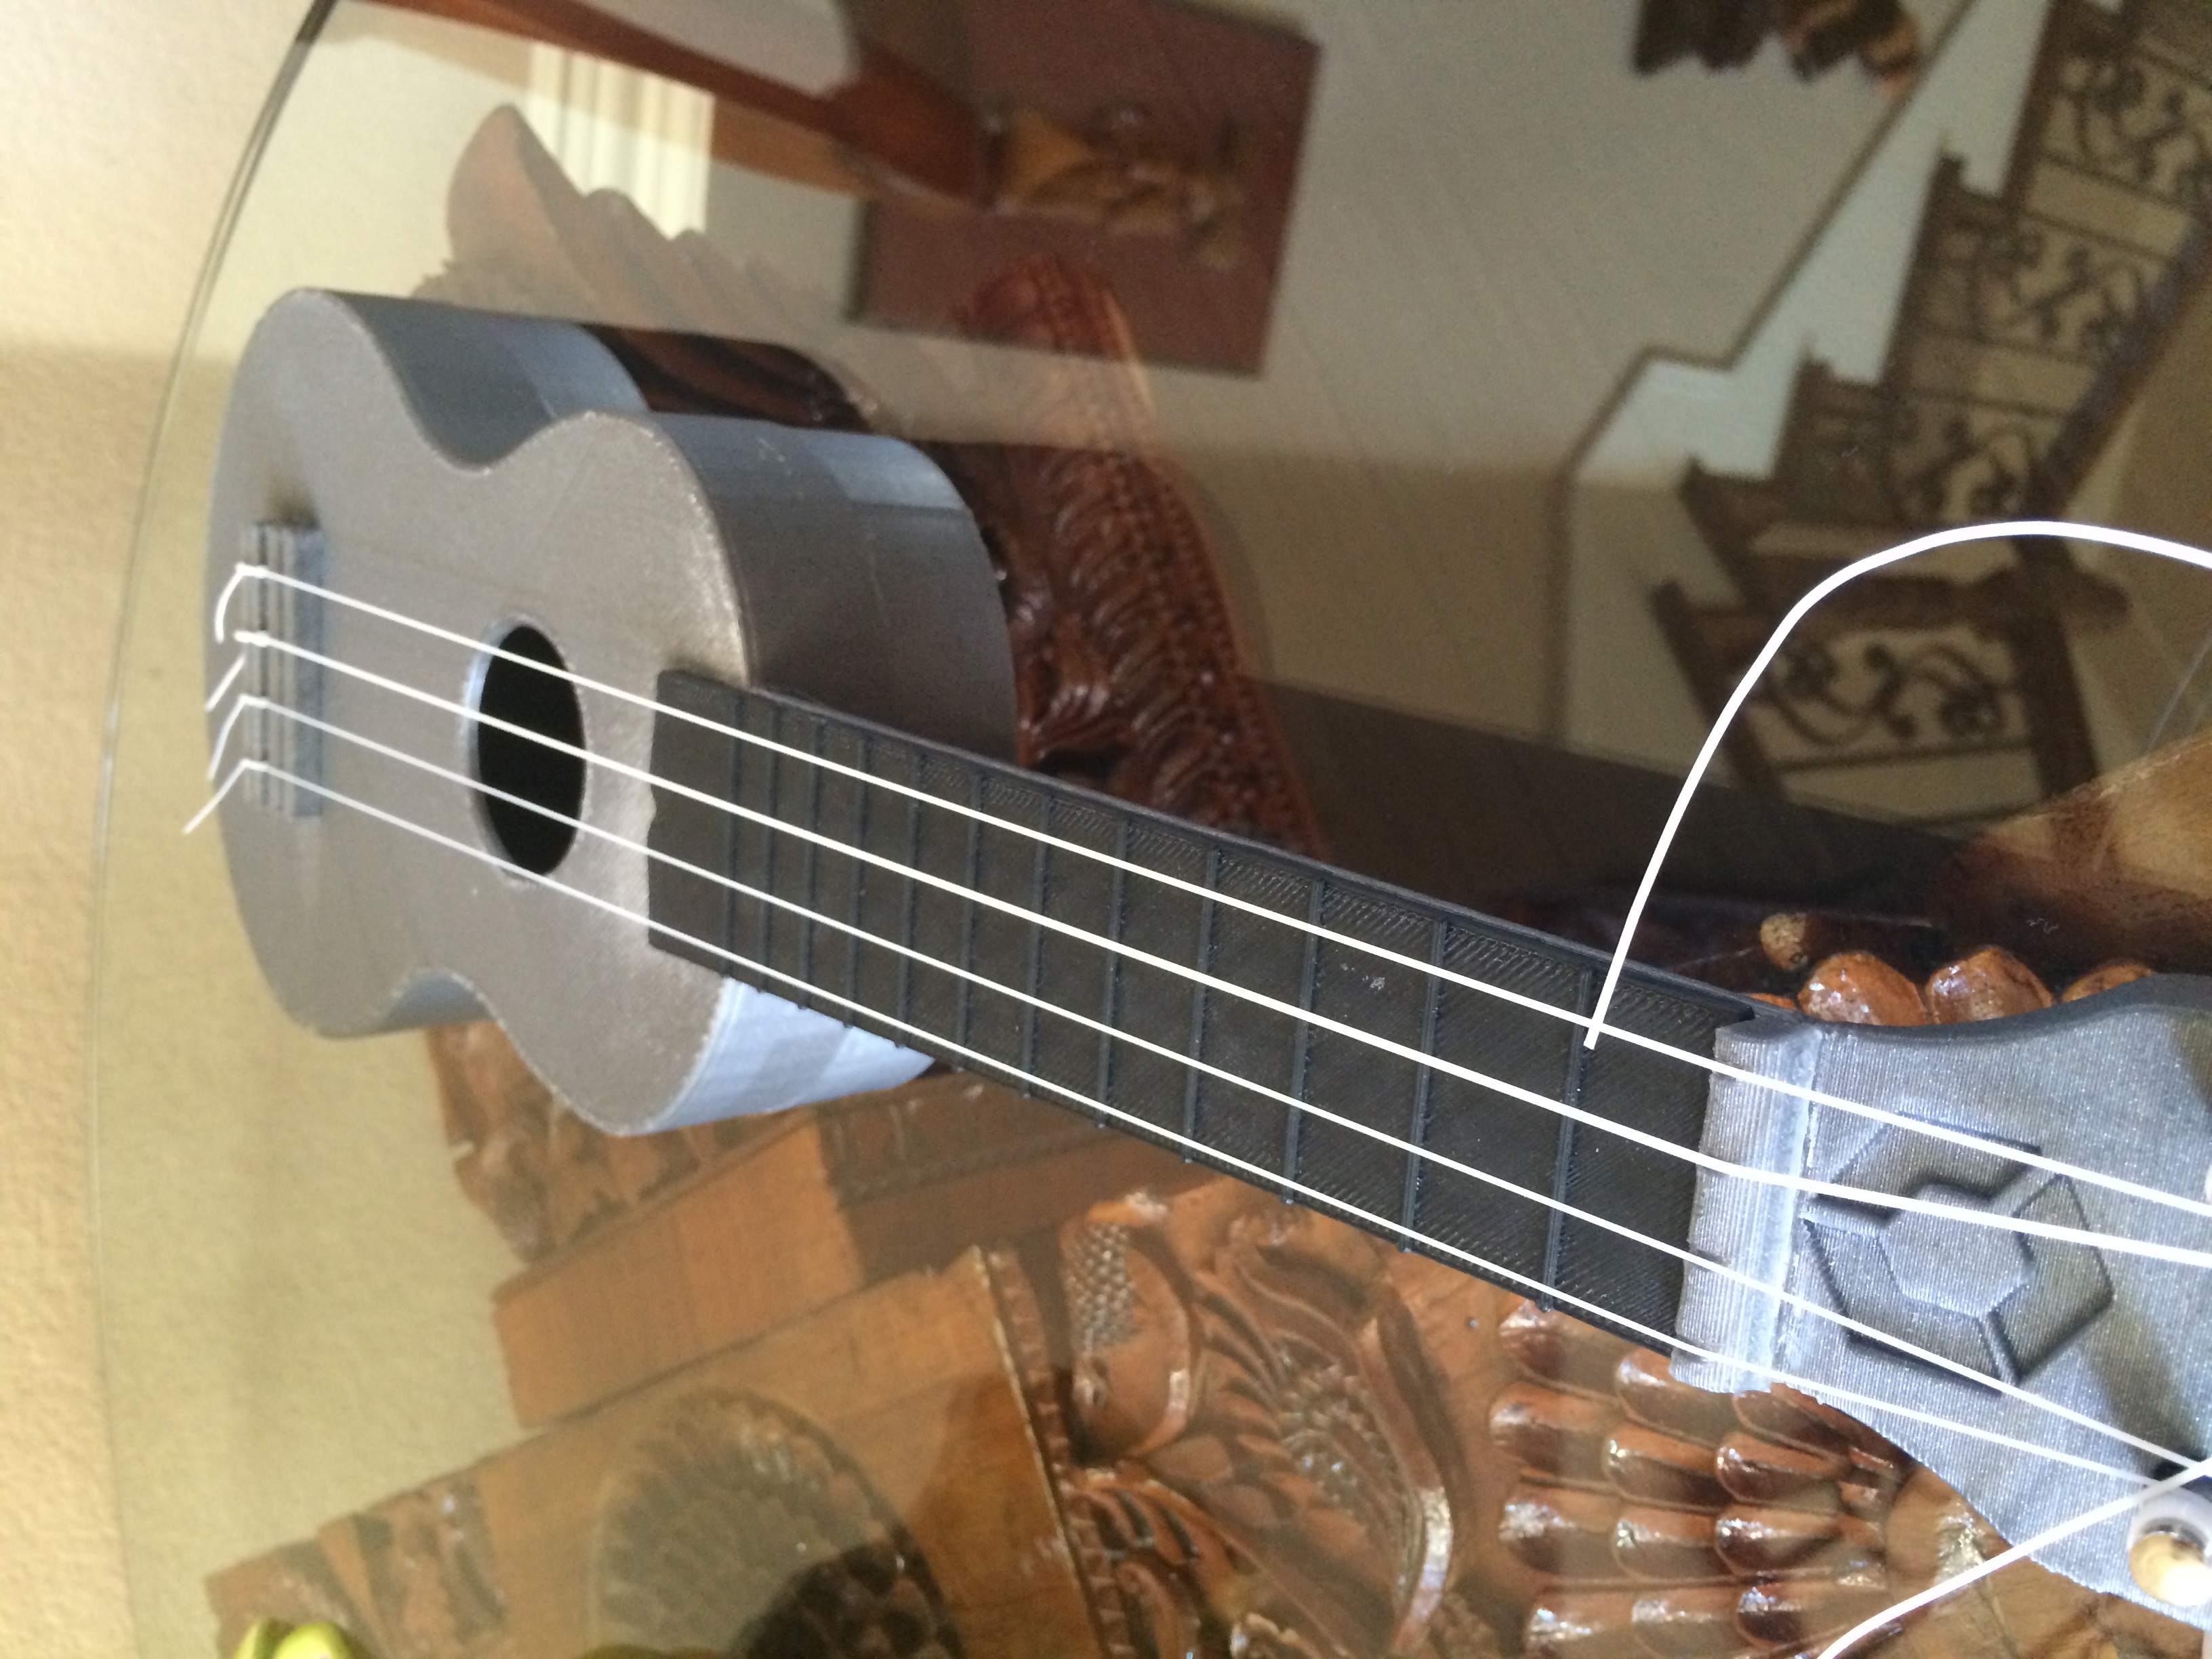
List of test files printed: re:3D’s test files 1, 2, and 3 (logo, vase, and Benchy Torture Test). After April’s UX meeting, it was decided to also print a Moai as a 4th print.
You view watch a video summarizing our testing here:
FINDINGS
Odor: None
Bed adhesion (1: terrible – 5: fabulous!)
- 5- Great adhesion was achieved with no temperature manipulation.
Stringing (1: lots – 5: none!)
- 5 –No stringing was observed with our settings.
Shrinkage (1: lots – 5: none!)
- 5- The filament extruded and cooled with no shrinkage.
Interlayer adhesion (1: terrible – 5: fabulous!)
- 5- Perfect!

NOTES:
- The community is fortunate to have several PLA vendors to select from, however we’ve heard cautionary tales from many of our customers that all PLA is not created equal. MakeShaper PLA boasts that it is a high quality and dependable PLA.
- Seeing that we offer a limited color selection in our store, we are always eager to test additional PLA sources in order refer customers to other reputable consumer retailers.
- This material appears to yield consistent, quality prints.
- Filament size consistency was excellent and no breakage was evident in the 1 kg roll we examined, suggesting it was well mixed.
- No curling was observed in any of the 4 prints created.
- We used the mid point of the temperature range that the manufacture provided (190-225C). No guidance was given for settings aside from temperature, so we used the standard Simplify3D profile on wiki.re3d.org.
- The unboxing experience was well done and the recommendation sheet was professional.
- A batch number was provided for traceability.
- Manufacturer recommended settings were easily referenced on the enclosed documentation.
RECCOMENDATIONS:
- After printing 4 objects in our protocol, I support MakeShaper’s claims that they produce high quality PLA and would recommend it to our customers.
- Upon review, we would also recommend that we include this filament in our ASTM test sample research.

Want to chat? Join our forum where we have initiated a thread about our experience!
https://re3d.zendesk.com/hc/en-us/community/posts/206511376-Testing-MakeShaper-PLA
~Happy Printing!
Samantha snabes
Blog Post Author