With the development of our Gigabot X pellet printer came our engineers’ need to trial it in different applications and settings. We settled on Sandra Farms – the coffee farm at the center of our latest story about chocolate cigar molds – as a case study to determine the practicality of using recycled plastic to create real-world, functional objects.
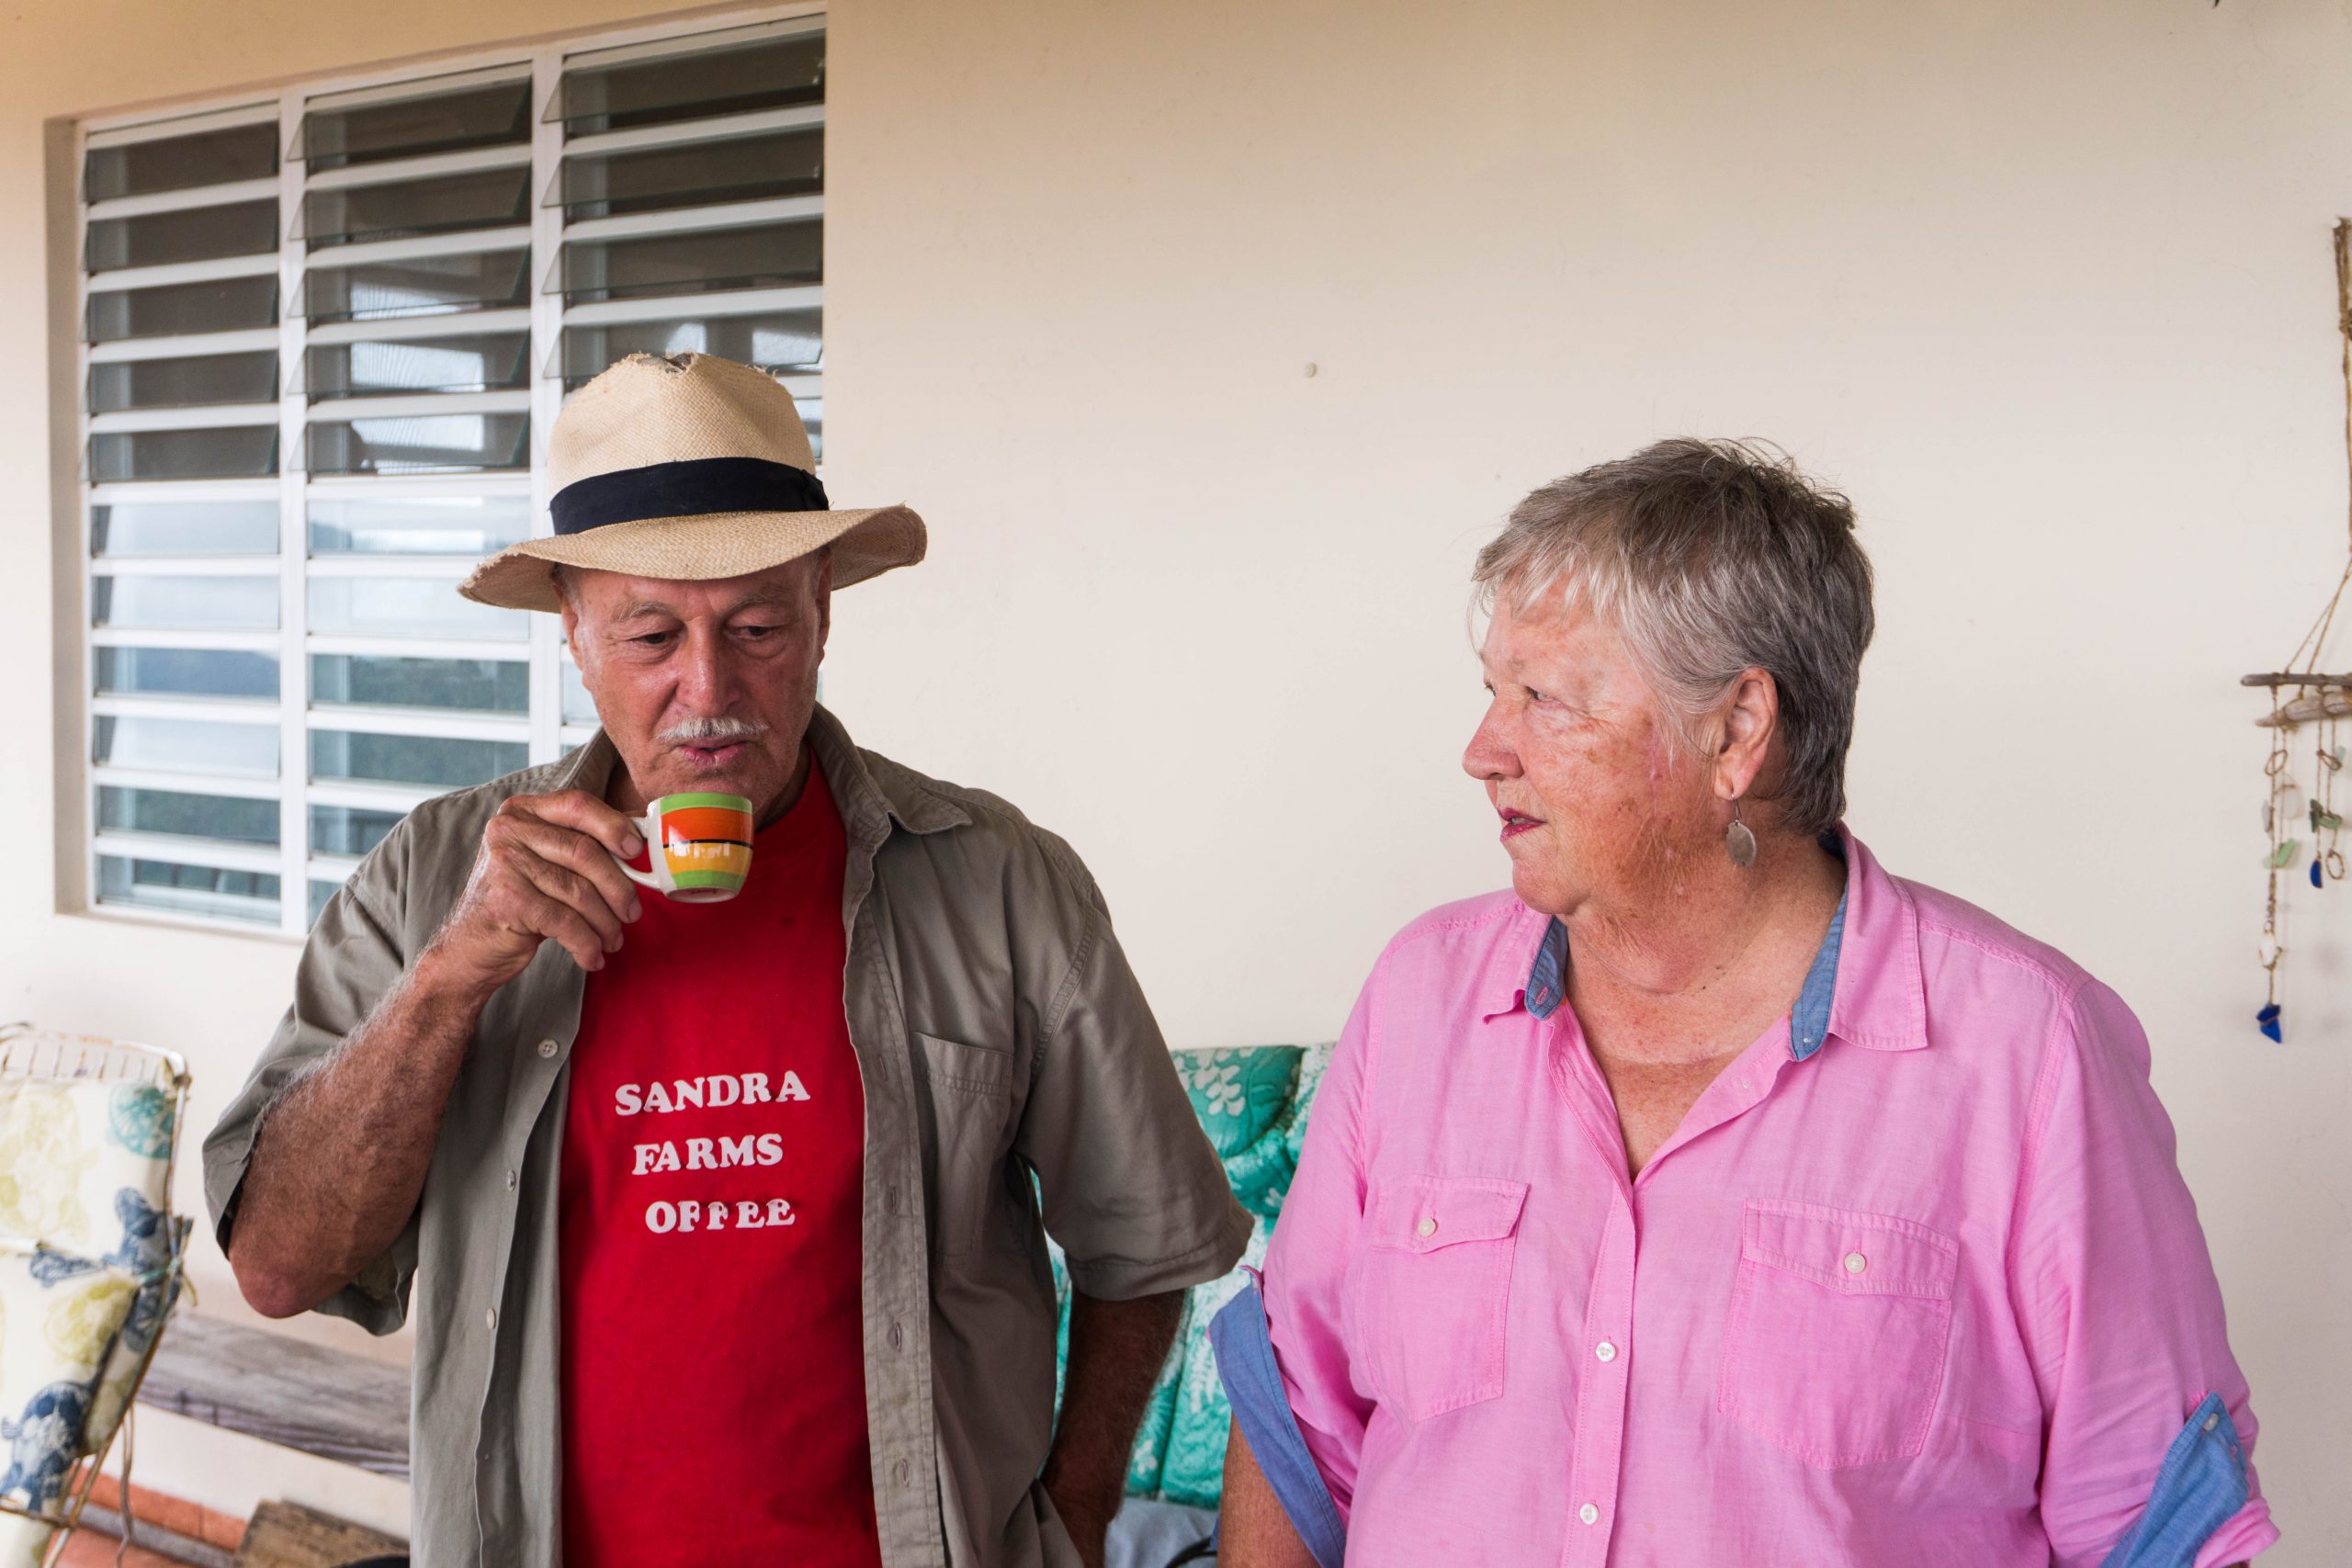
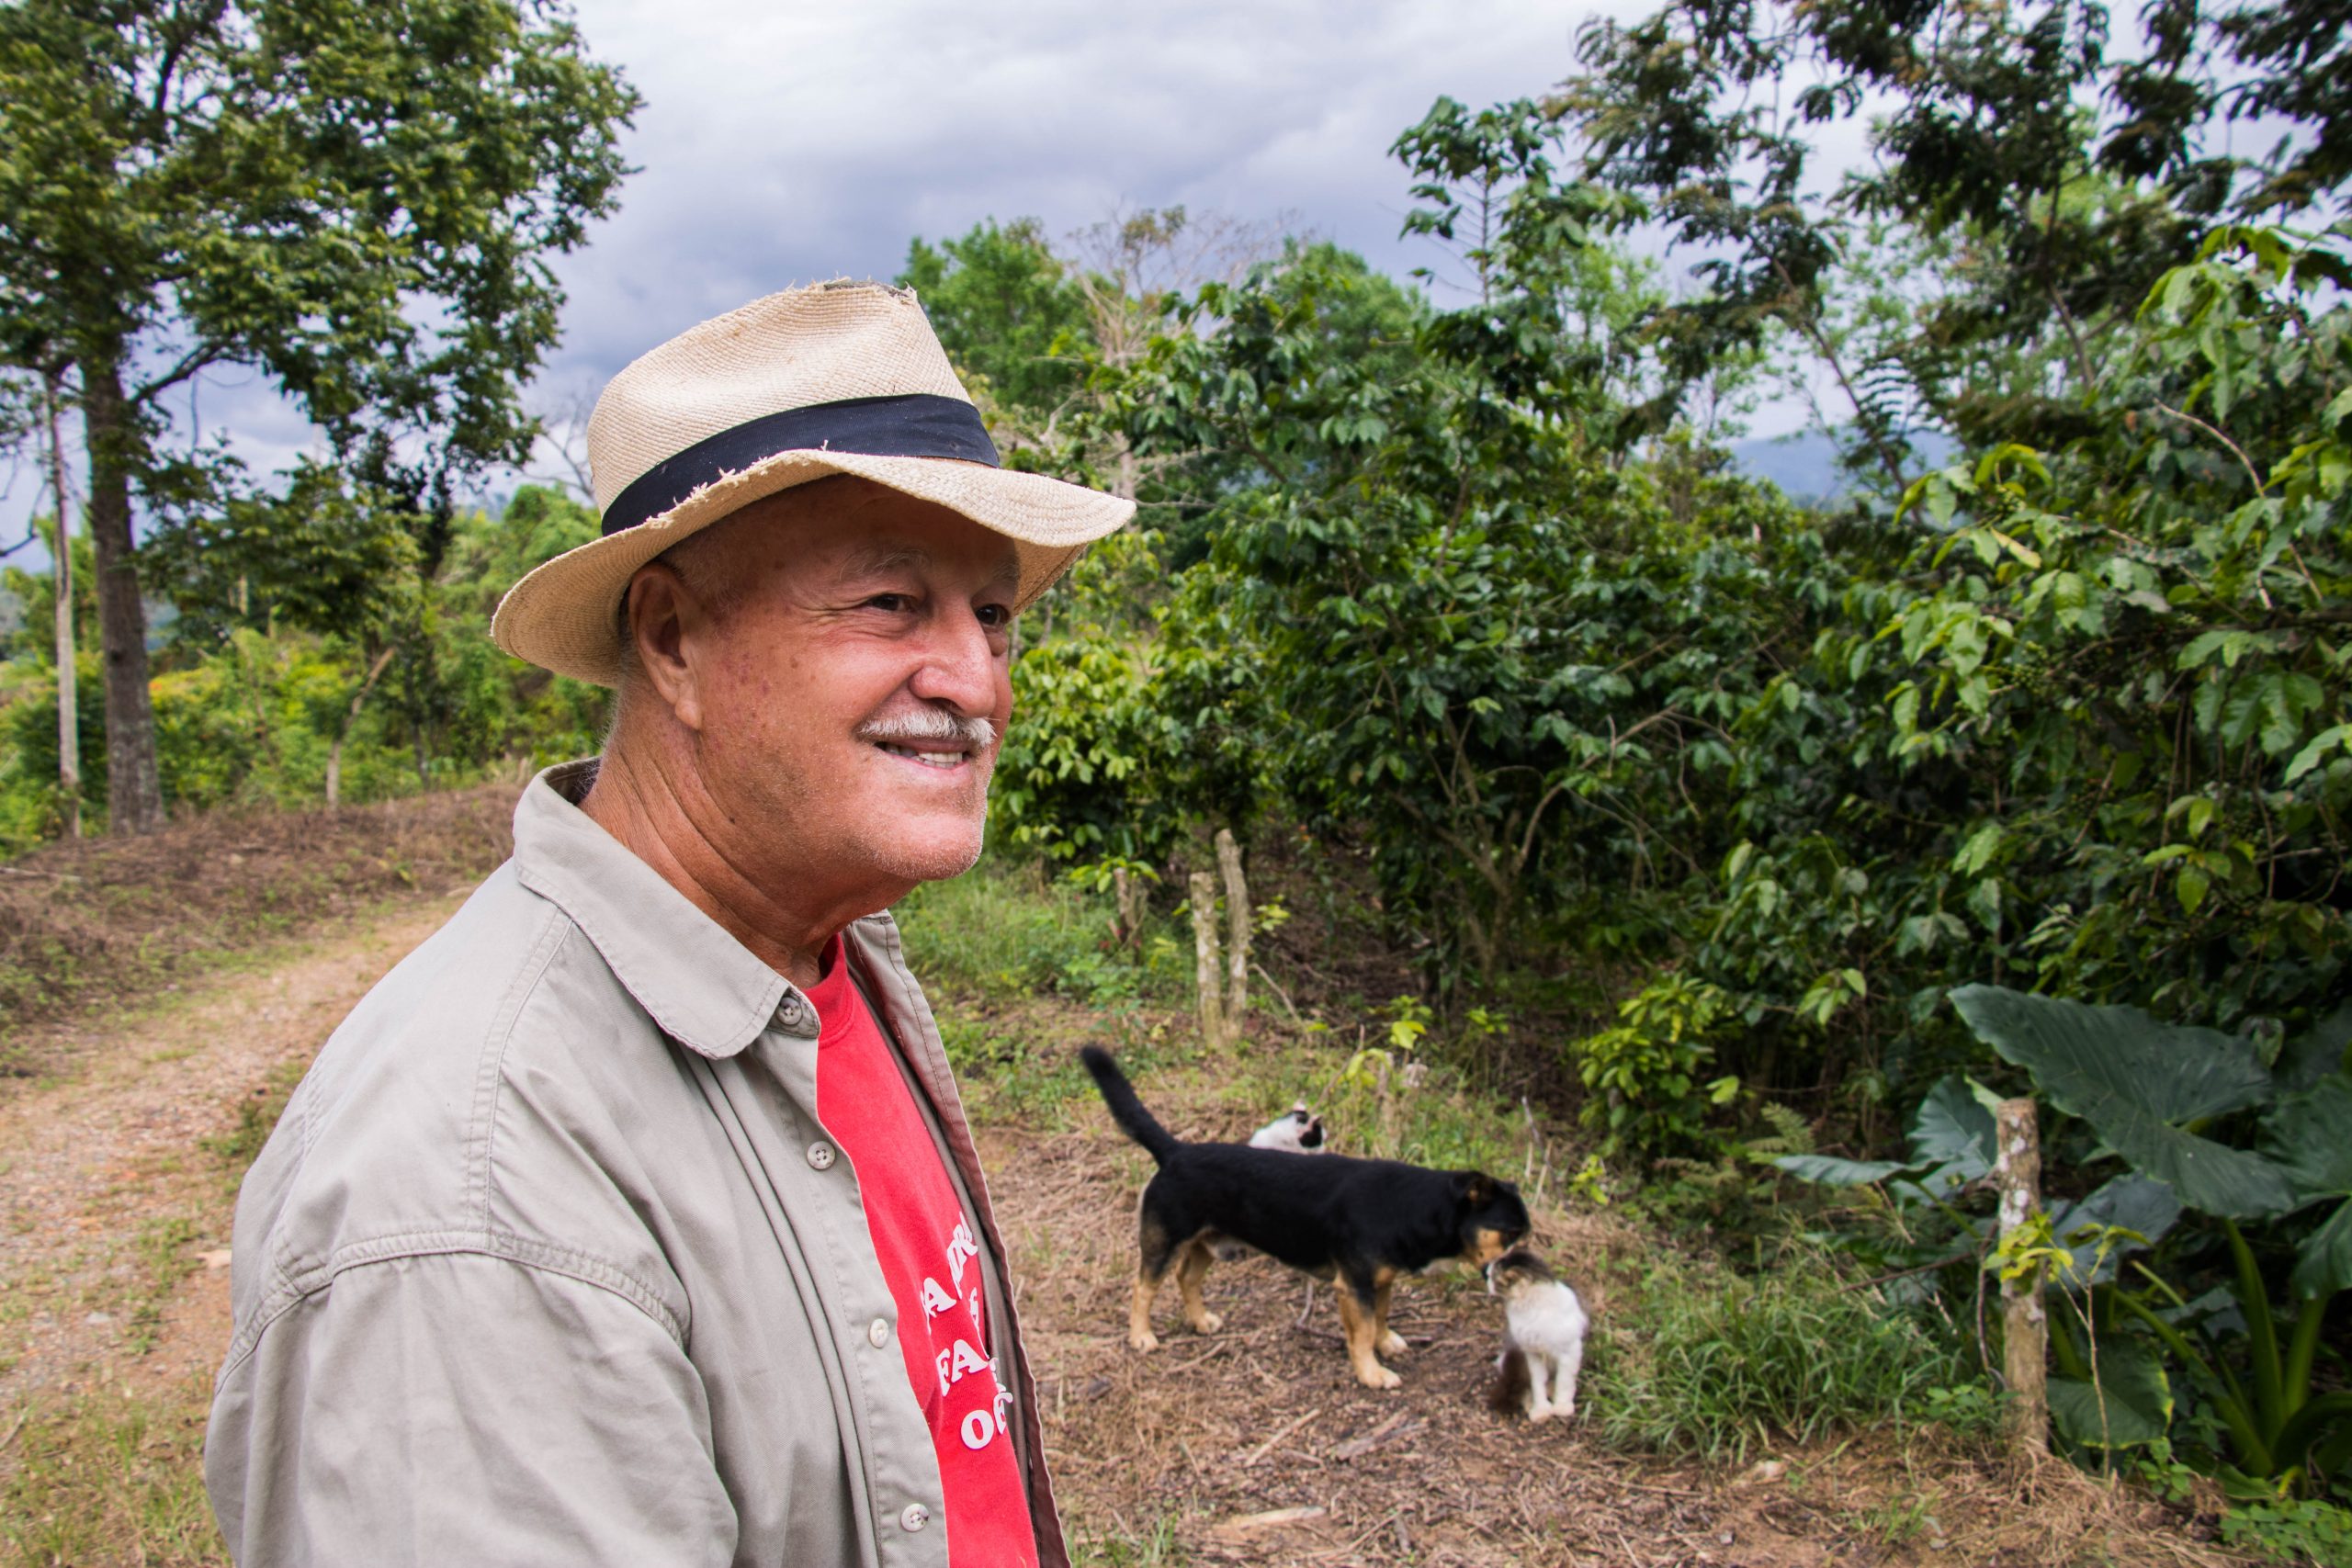
“Good coffee is picked by hand.” Israel Gonzalez is a second-generation coffee farmer who started Sandra Farms in the early 90’s. He explains that coffee pickers around the world are historically underpaid, typically placed at the bottom of the coffee farming ladder.
Sandra Farms is trying to break this mold.
“The main focus here is trying to use Sandra Farms as a model. We want to support an agricultural, agrarian way of life in Puerto Rico.” Domenico Celli came to the farm as part of a graduate school project with a focus on implementing sustainability practices, and several years later finds himself still working with them and more attached to their mission of specialty agriculture. “The people that we have in mind are the farm workers and families and communities here in some of the most rural and remote areas of Puerto Rico that have traditionally been dependent on agriculture as their main source of income, and culturally, their way of life.”
Sandra Farms is trying to set an example for other farms, paying their pickers two to three times the average in Puerto Rico. Says Celli, “That is because above all, we are committed to making this a viable way of life for these people and their families.”
The basket opportunity
In working with Gonzalez and Celli on their chocolate cigar mold concept, a potential case study opportunity for Gigabot X presented itself.
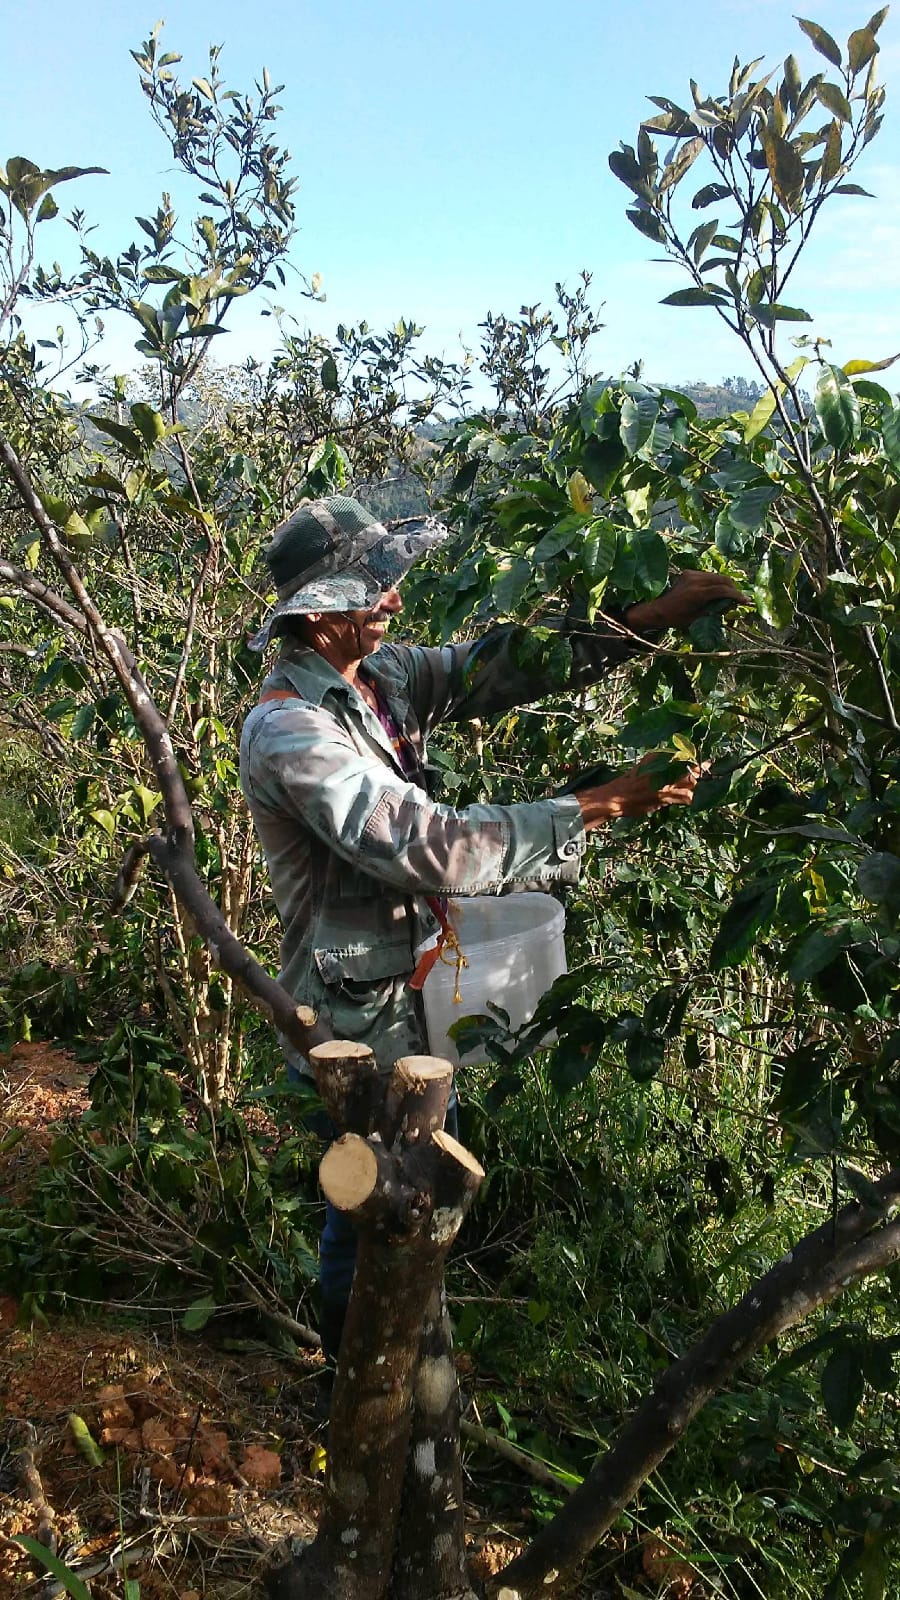
“Most agricultural workers in Puerto Rico traditionally are the forgotten people here, and that’s reinforced through what they use to pick coffee with,” explains Celli, “which is mostly just fertilizer bags, or really uncomfortable, five-gallon buckets that are not at all made for coffee picking.”
“The five-gallon plastic bucket…” Gonzalez shows one off that has been strung with a simple rope handle. “It’s functional, it works, cheap – but not ideal, not ergonomic.”
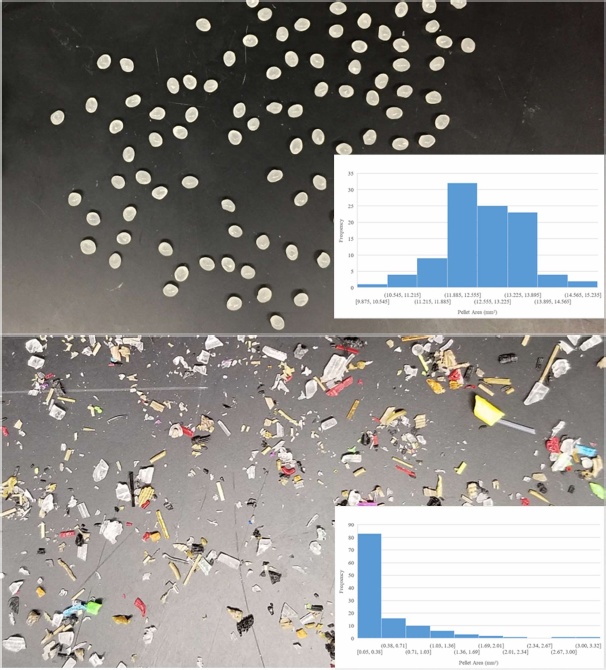
Our local team in Puerto Rico took the opportunity to investigate 3D printed solutions that could provide a superior substitute for the farm’s pickers, with the ultimate goal of using Gigabot X to print a design using recycled plastic.
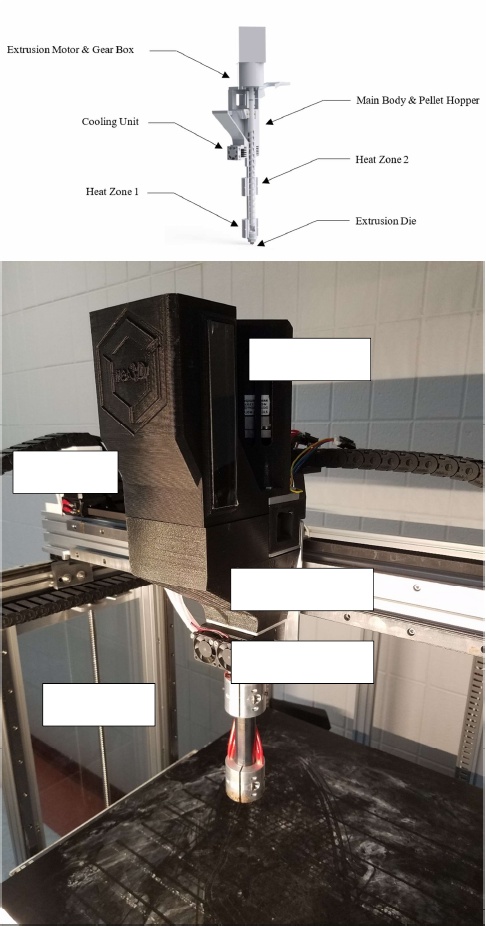
The choice of an application in Puerto Rico was no accident. Gigabot X has the ability to print from pelletized plastic as well as recycled plastic regrind; our team saw immense potential for a machine that could create a closed-loop system on an island, using waste as input material to create functional objects that may be expensive to import.
“Unfortunately, our recycling systems here in Puerto Rico are very outdated, not very efficient, and in reality, not much – if anything at all – is recycled,” says Celli. “A much better alternative would be able to actually have a way to repurpose and use that waste, and know that it’s going to some sort of practical application.”
The design process
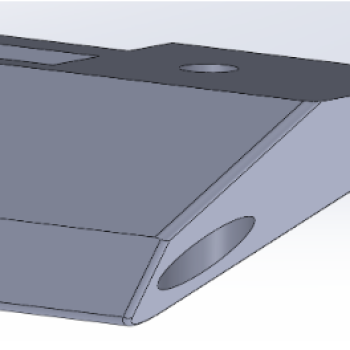
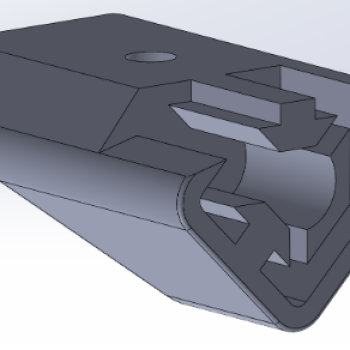
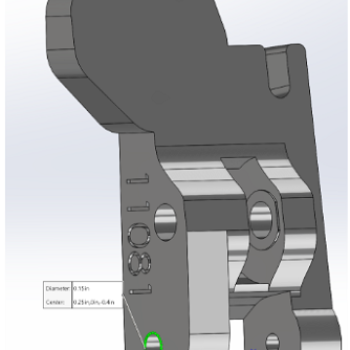
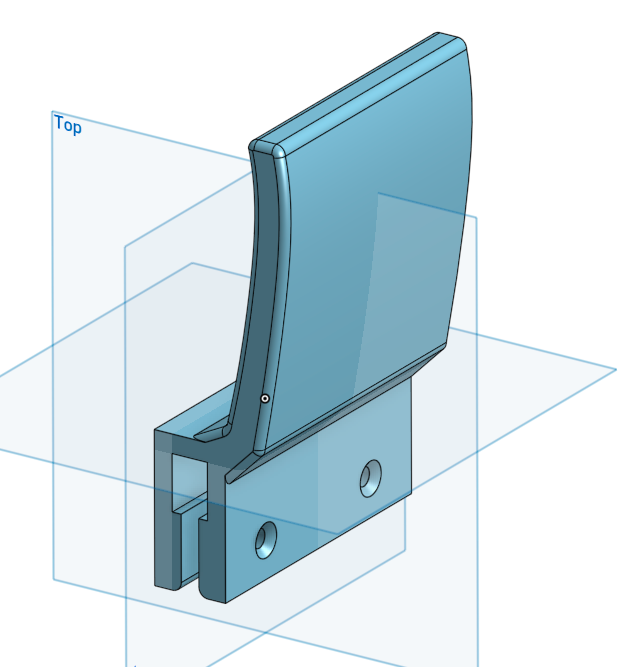
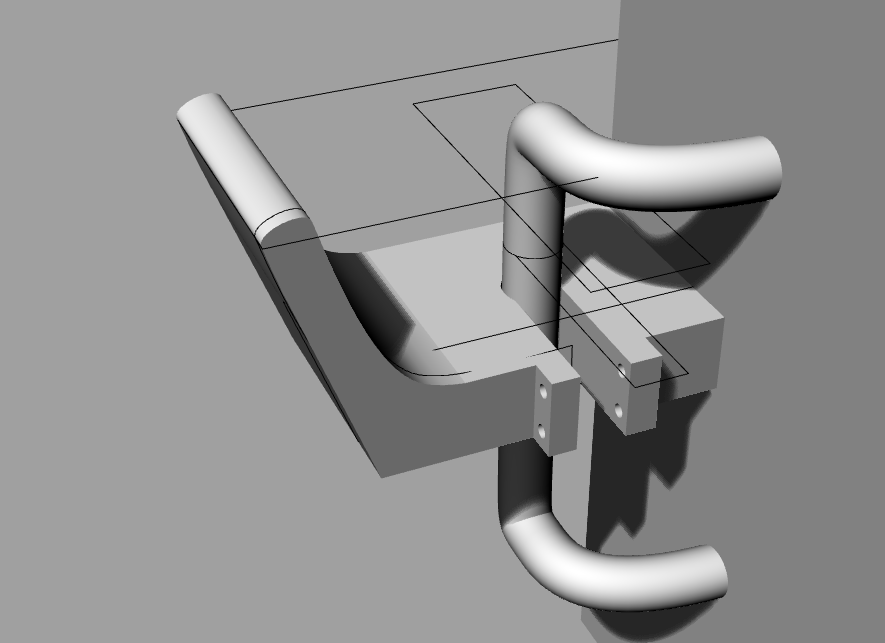
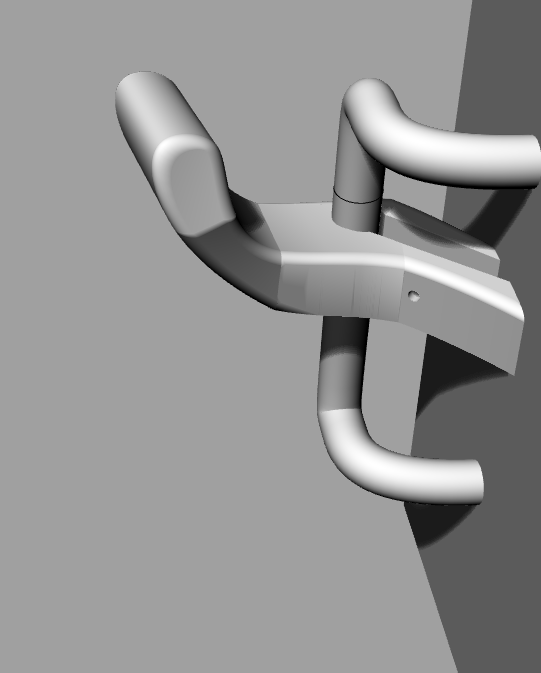
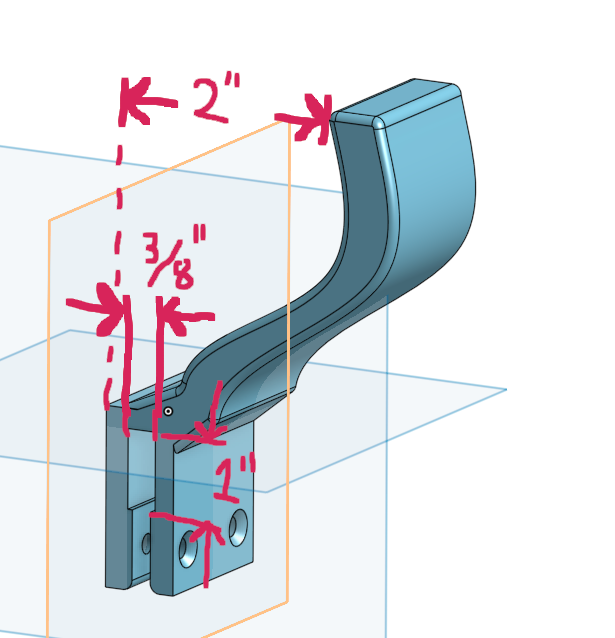
Our San Juan-based designer Alessandra Montaño began the process with a CAD sketch. “The design process was very interactive,” she recounts.
Over the course of the project, she visited the farm four times, working with Gonzalez in person and talking directly with workers trialing the design in the fields. “I did one prototype, sent it to them, they made some changes like widening the design, changing the height of the basket…”

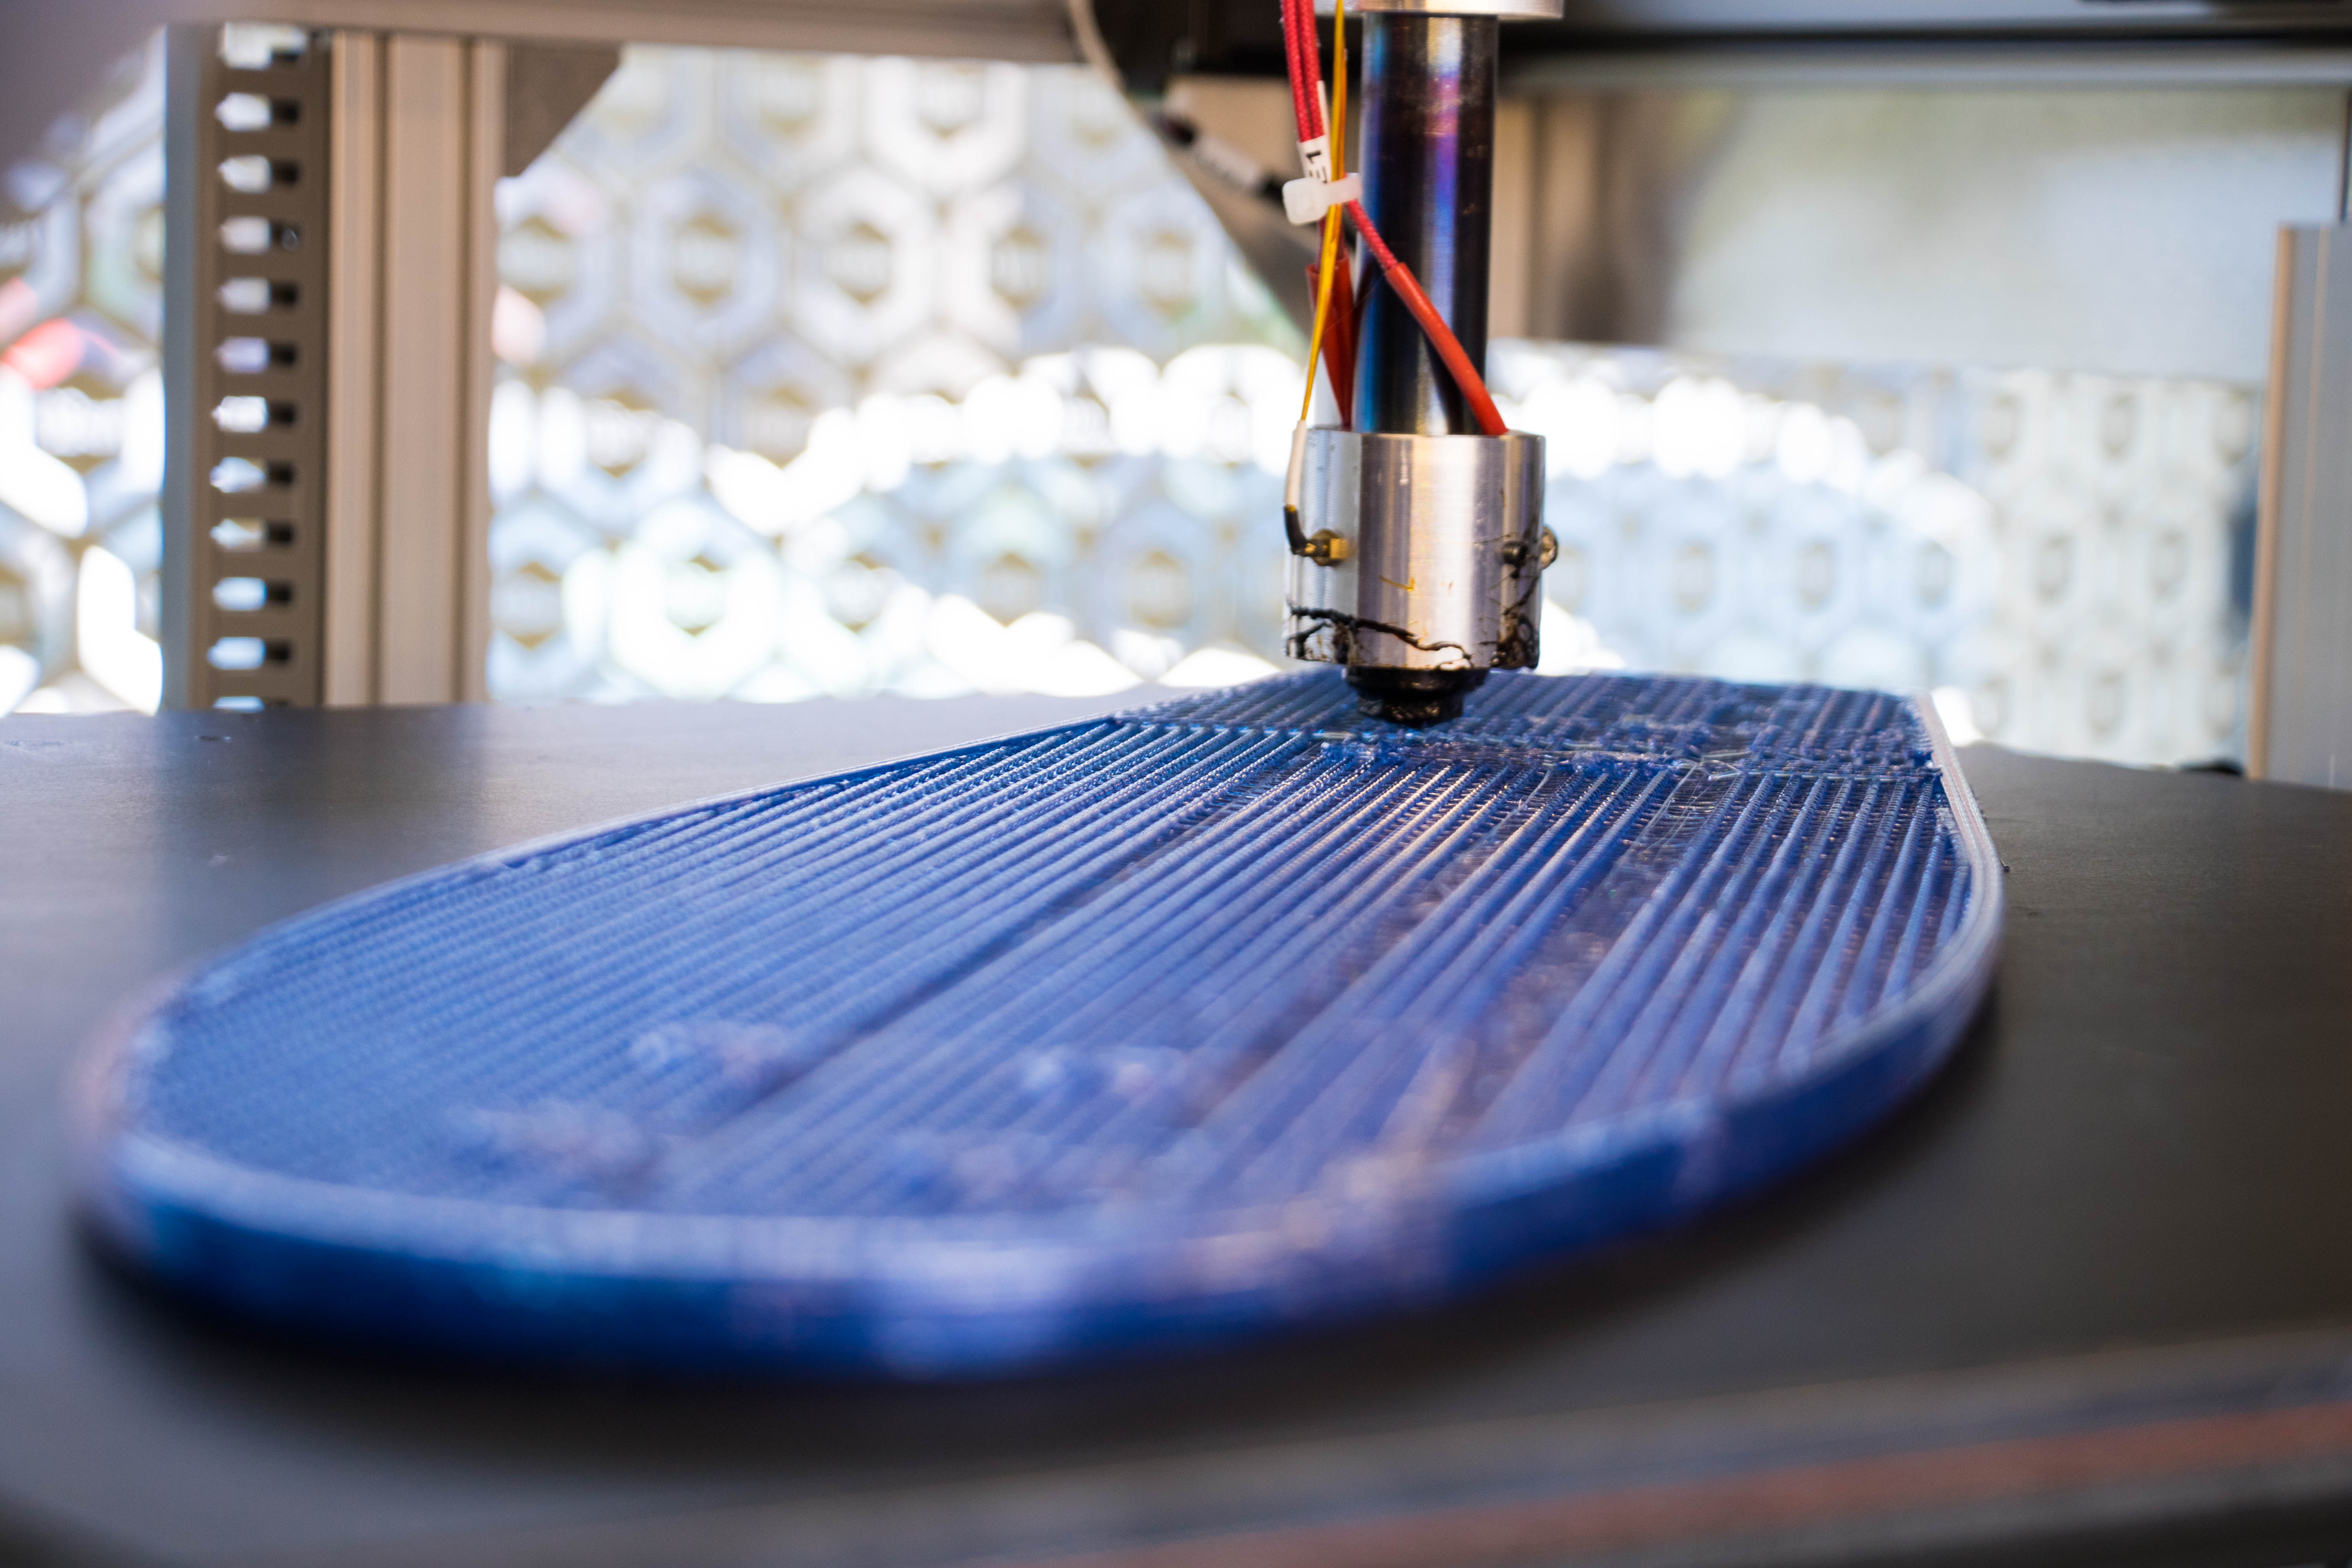
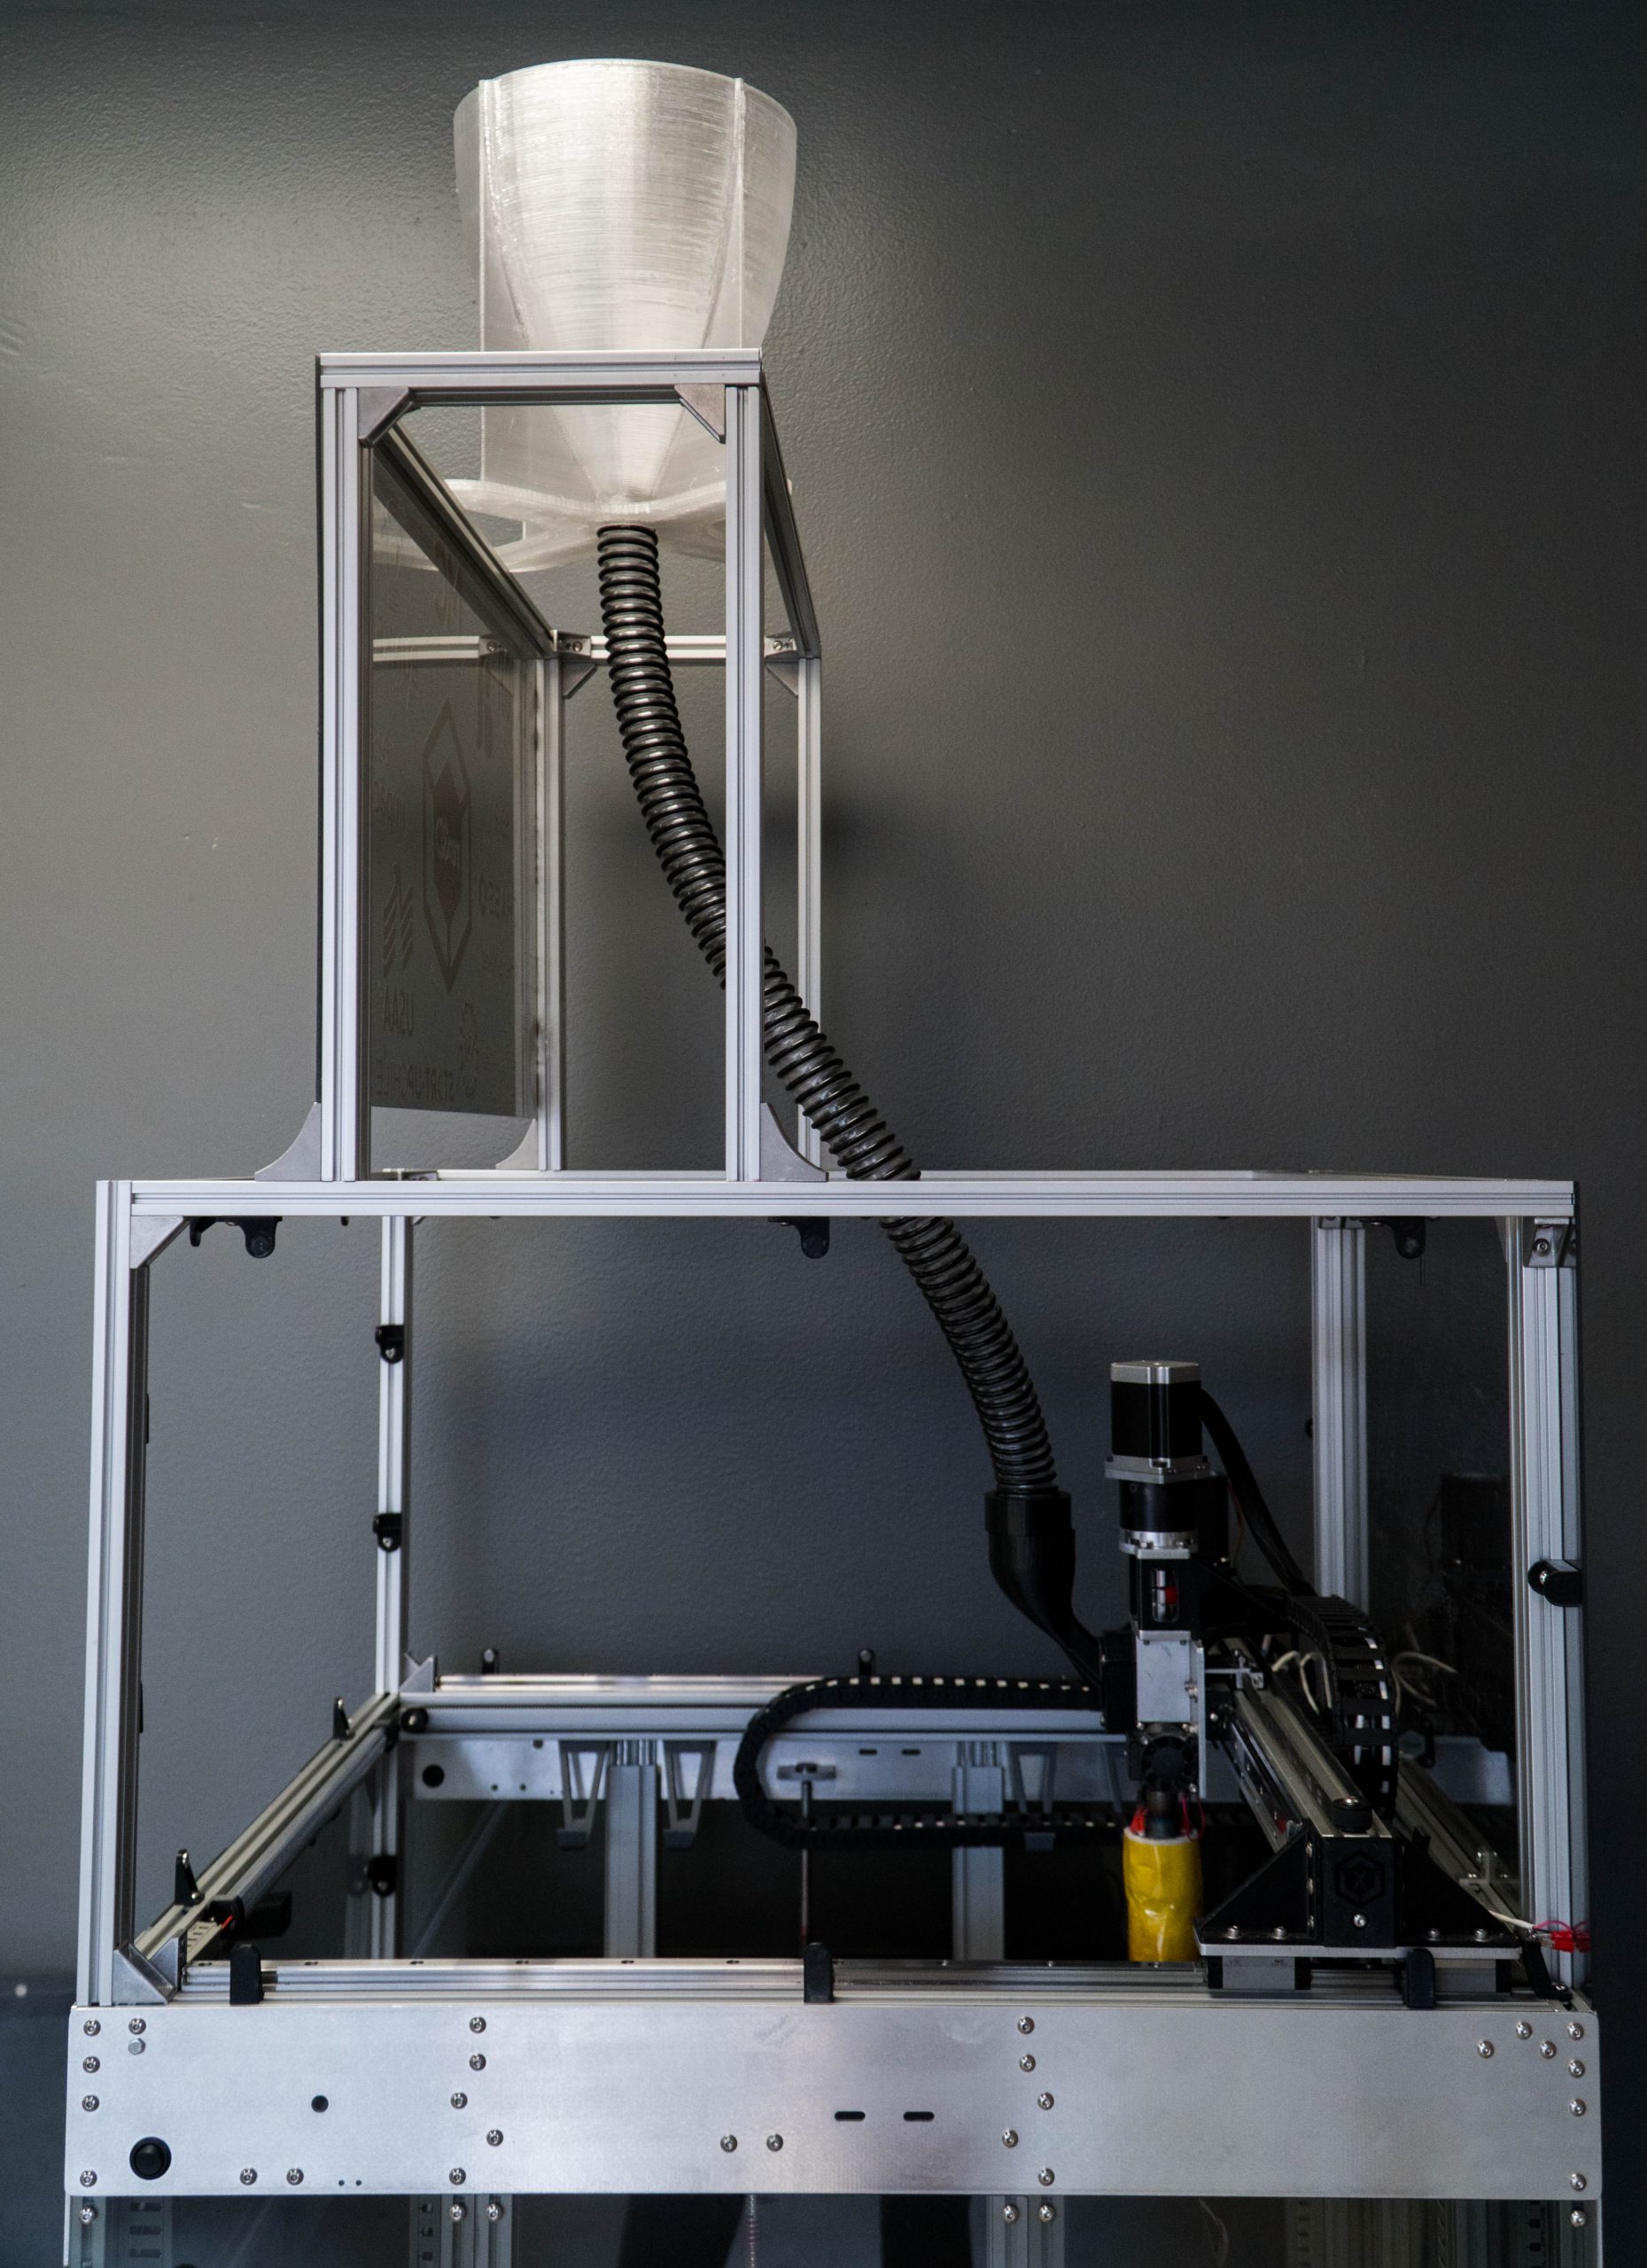
re:3D Mechanical Engineer Helen Little describes the trial and error process of testing, and the balance of modifying the basket design for the specific application while understanding the unique nature of a pellet printer. “We wanted to focus on quick production and cheaper cost-per-unit, so we chose to use a larger nozzle,” Little explains. “But there are many issues that come with that: a lot of oozing, lower quality prints…So we had to do a lot of optimization of print settings to get a higher-quality print.”
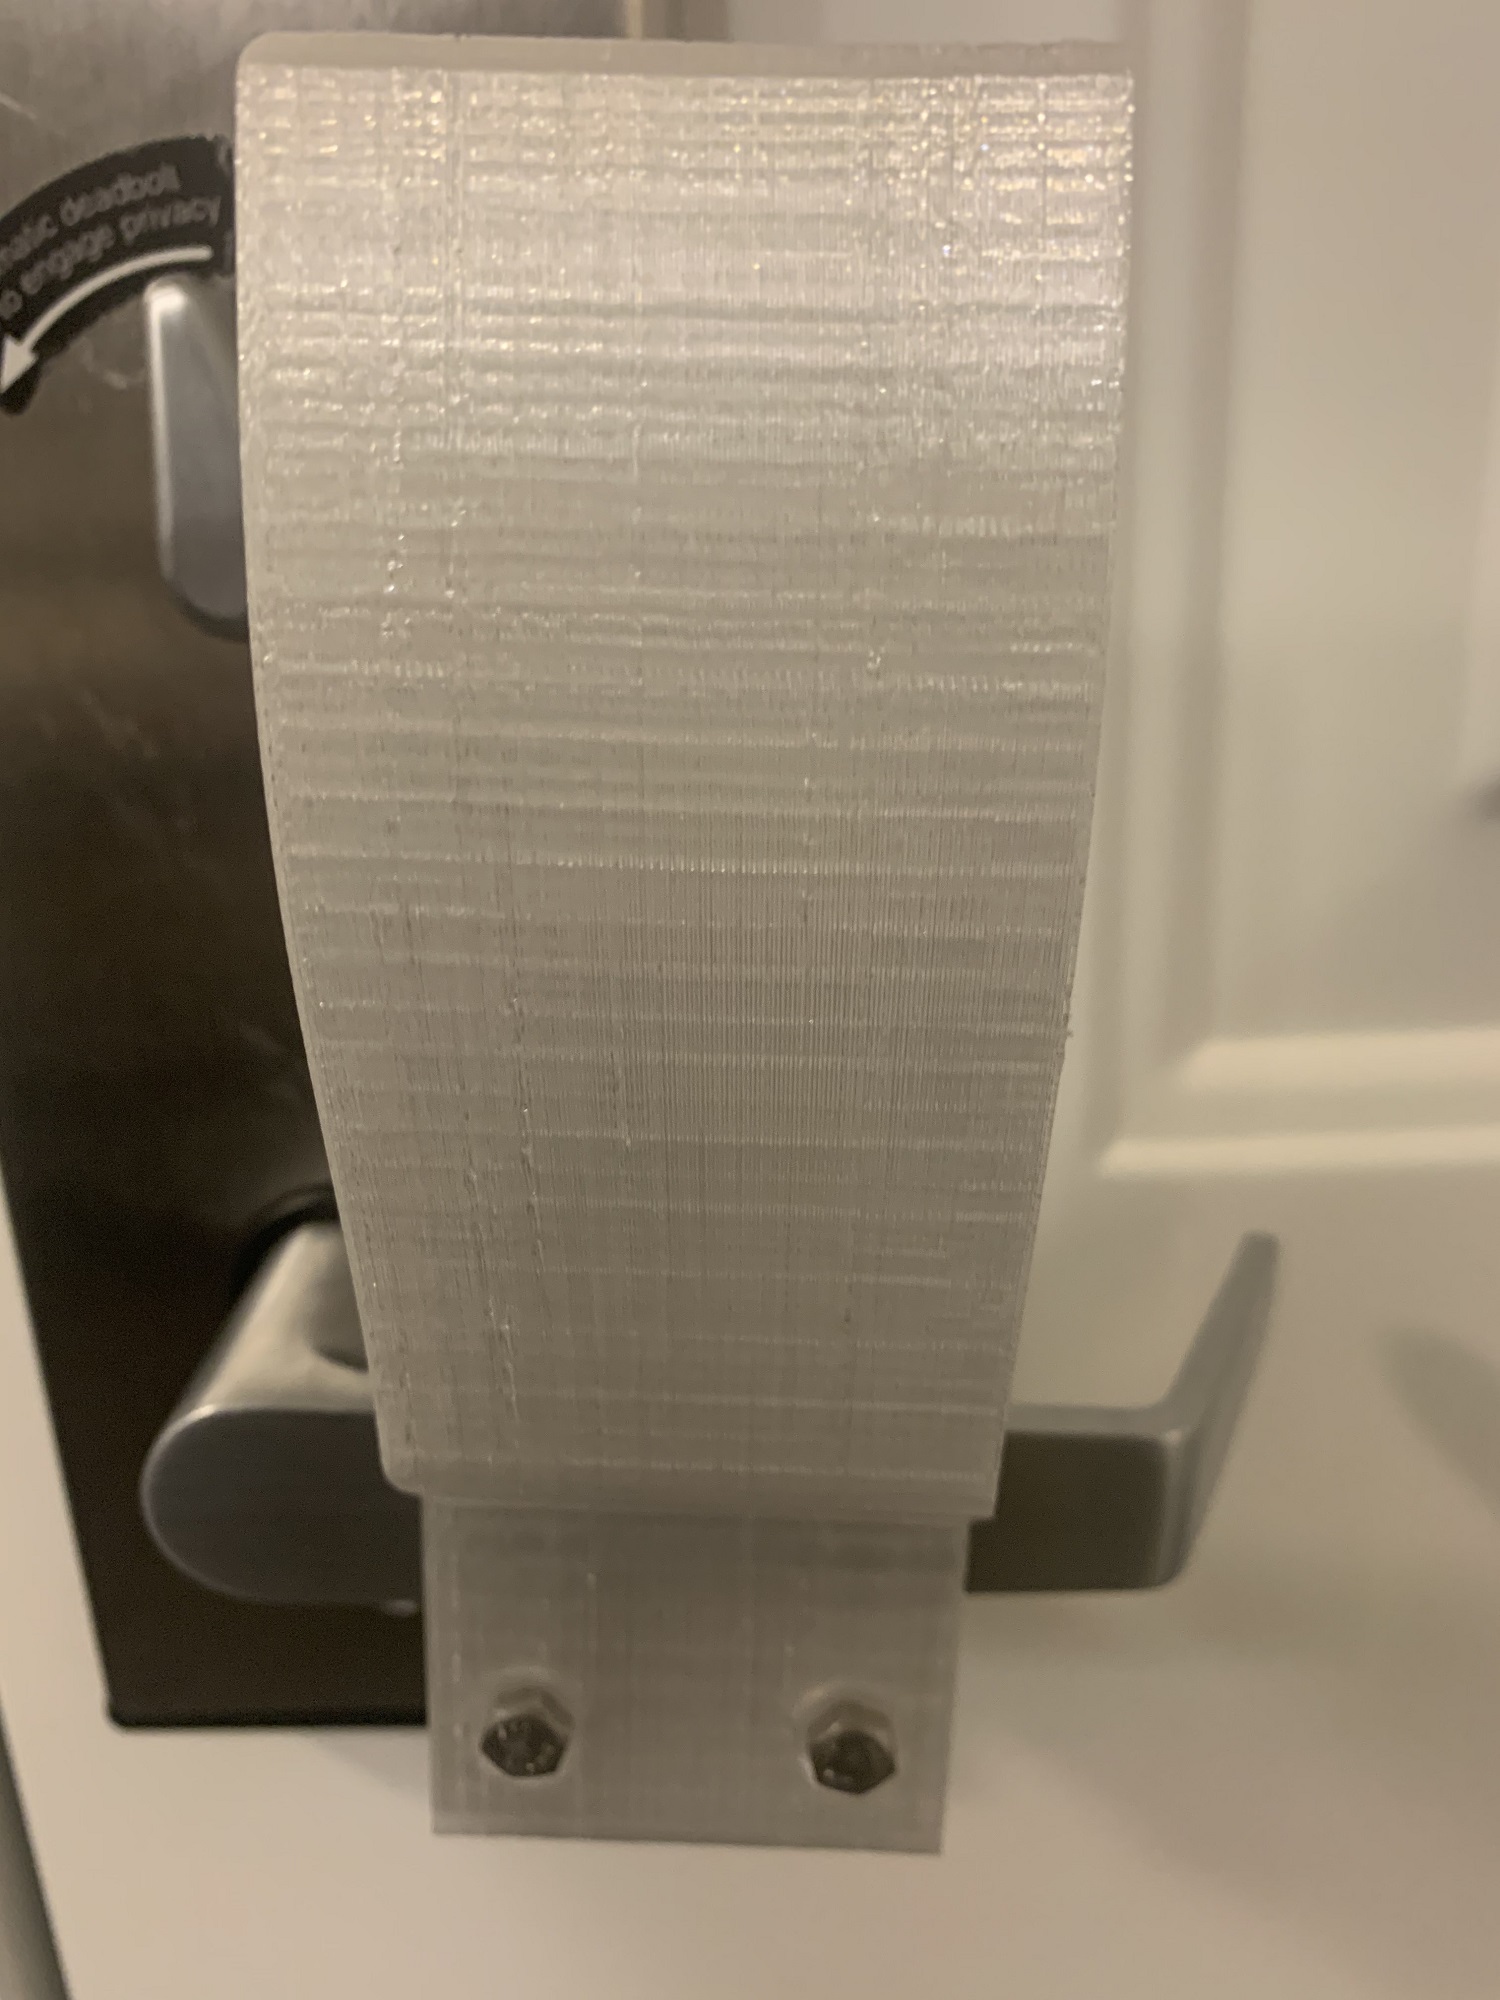
Little decided to experiment with printing in vase mode, which involves extruding in a continuous stream rather than a lot of stopping points where the nozzle has the opportunity to ooze plastic. “For that, we had to actually redesign the part itself so that the perimeter was only one layer thick,” she says.
Together, Little and Montaño incorporated user feedback from Sandra Farms into incremental tweaks to the design and new prototypes. They increased the basket depth to allow for a larger haul to be carried at one time, refined the shape to better hug the wearer’s waist, and added a brim to which a picker could attach shoulder straps.
“The way that a part is designed and printed has a huge effect on how long it takes to print, how much material it is, and at the end of the day, the bottom line for the cost,” explains Little. “I think it’s really important to get these real-world case studies and get that user feedback so that we can assess how viable of a solution this is for them and how much we can help improve over the current solution they’re using, using Gigabot X, 3D printing, and recycled materials.”
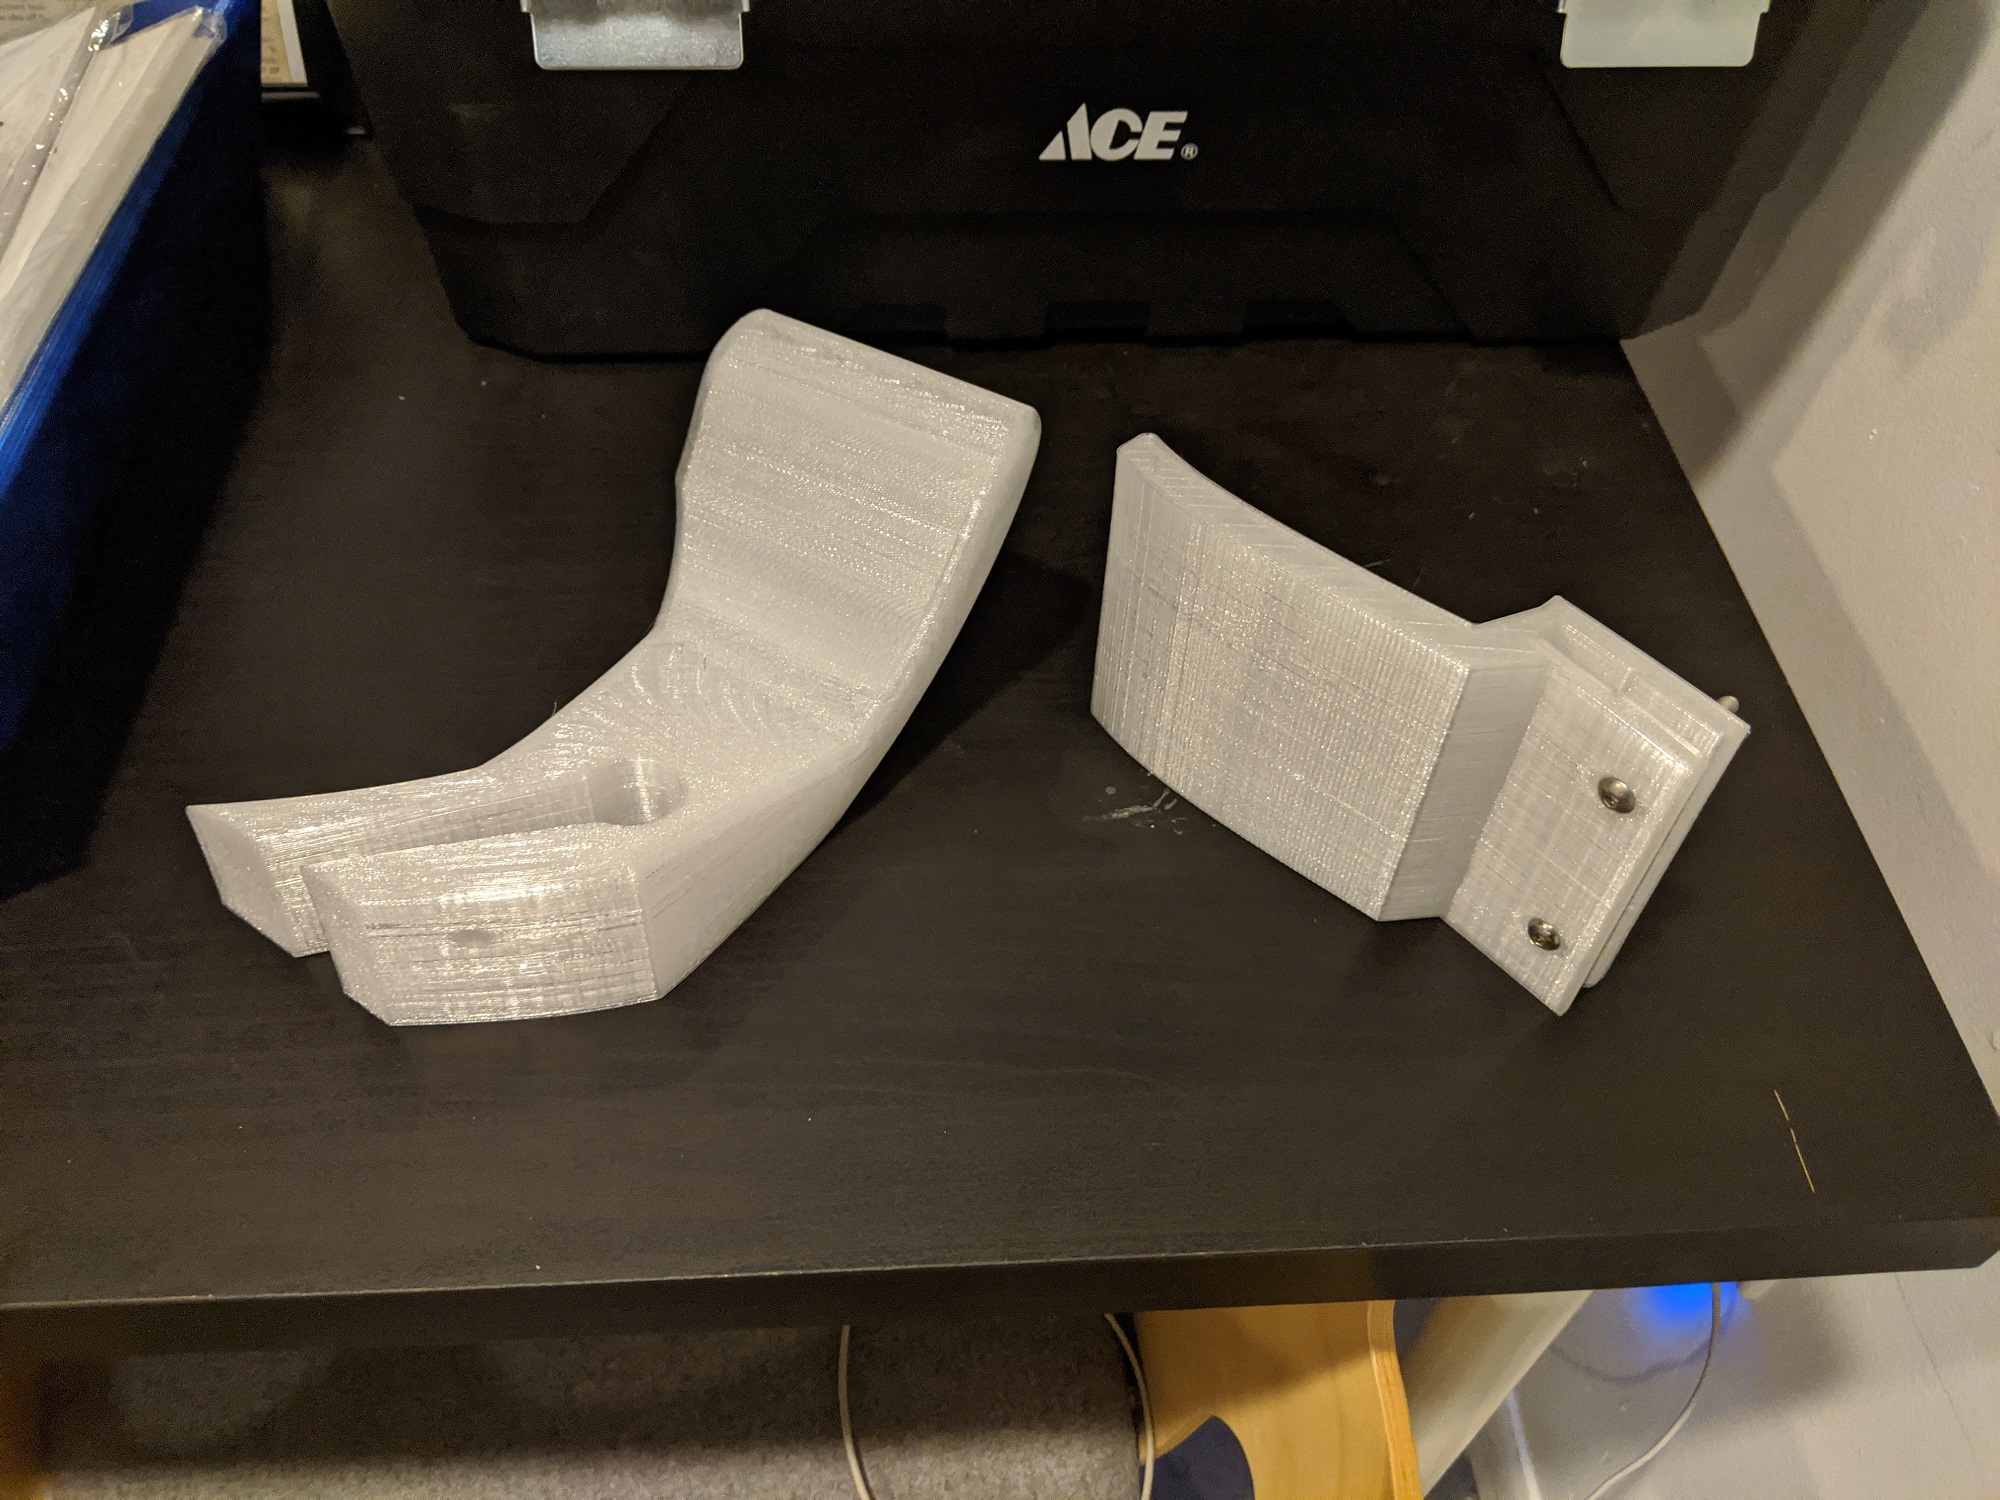
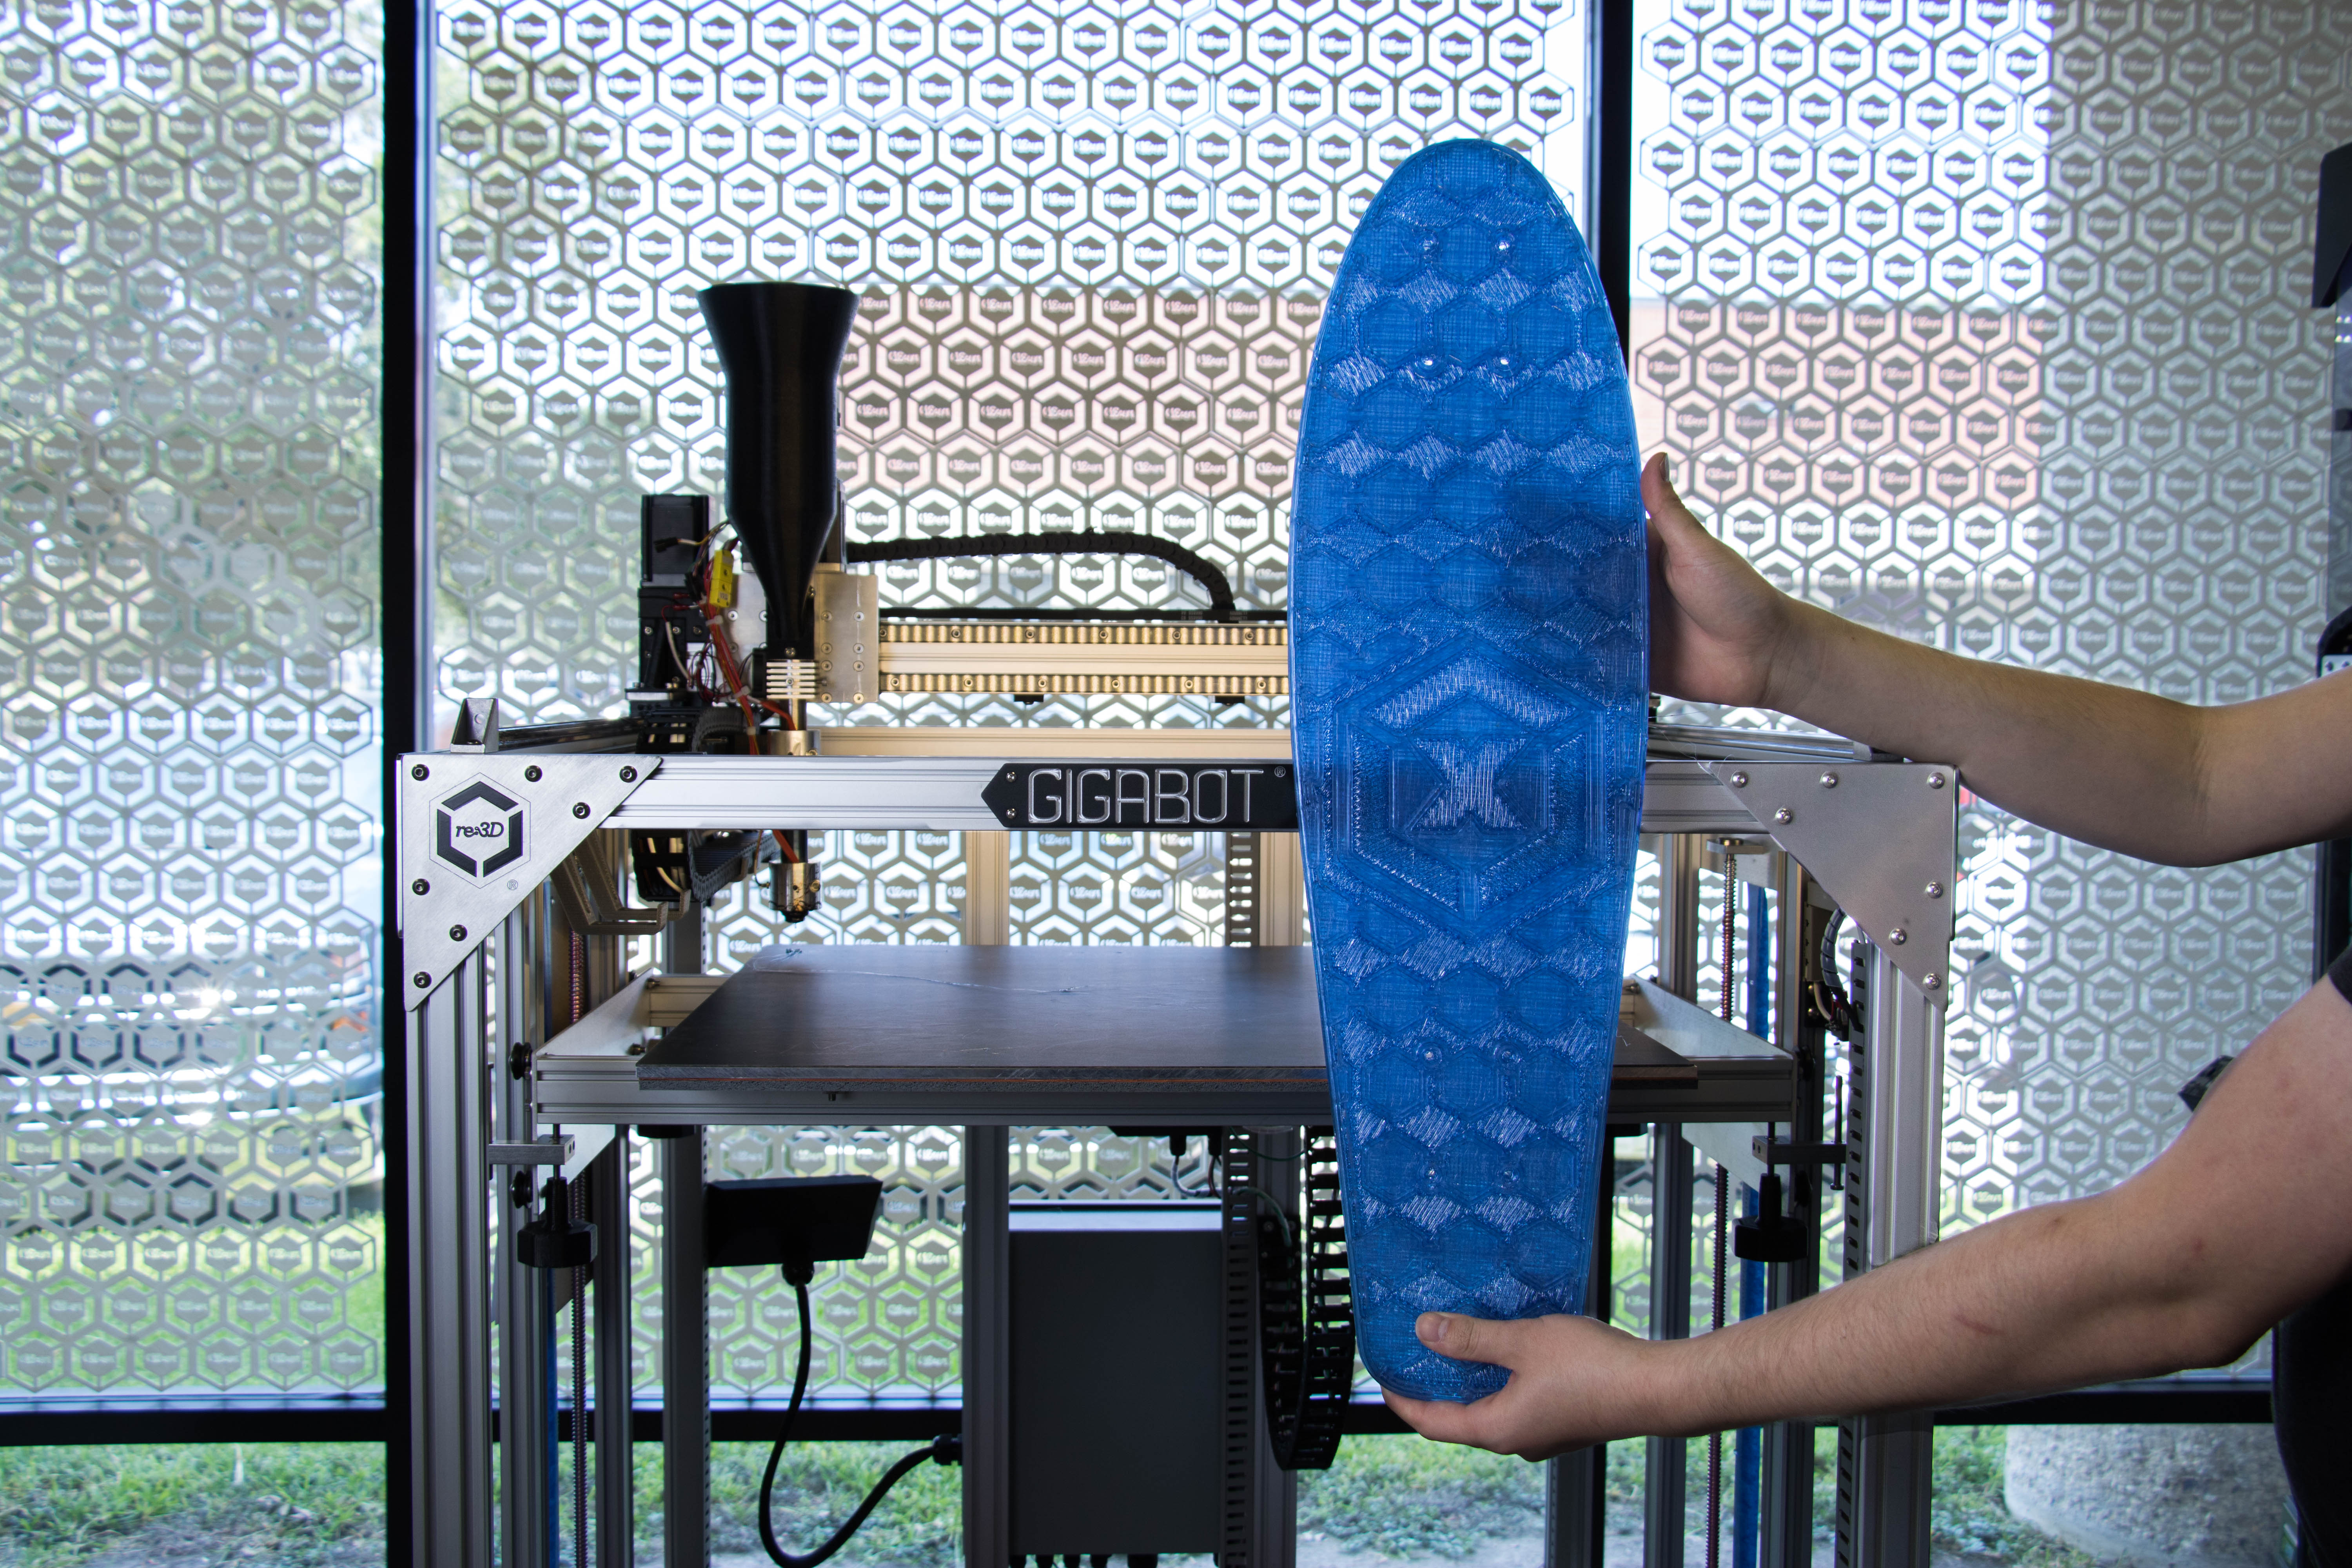
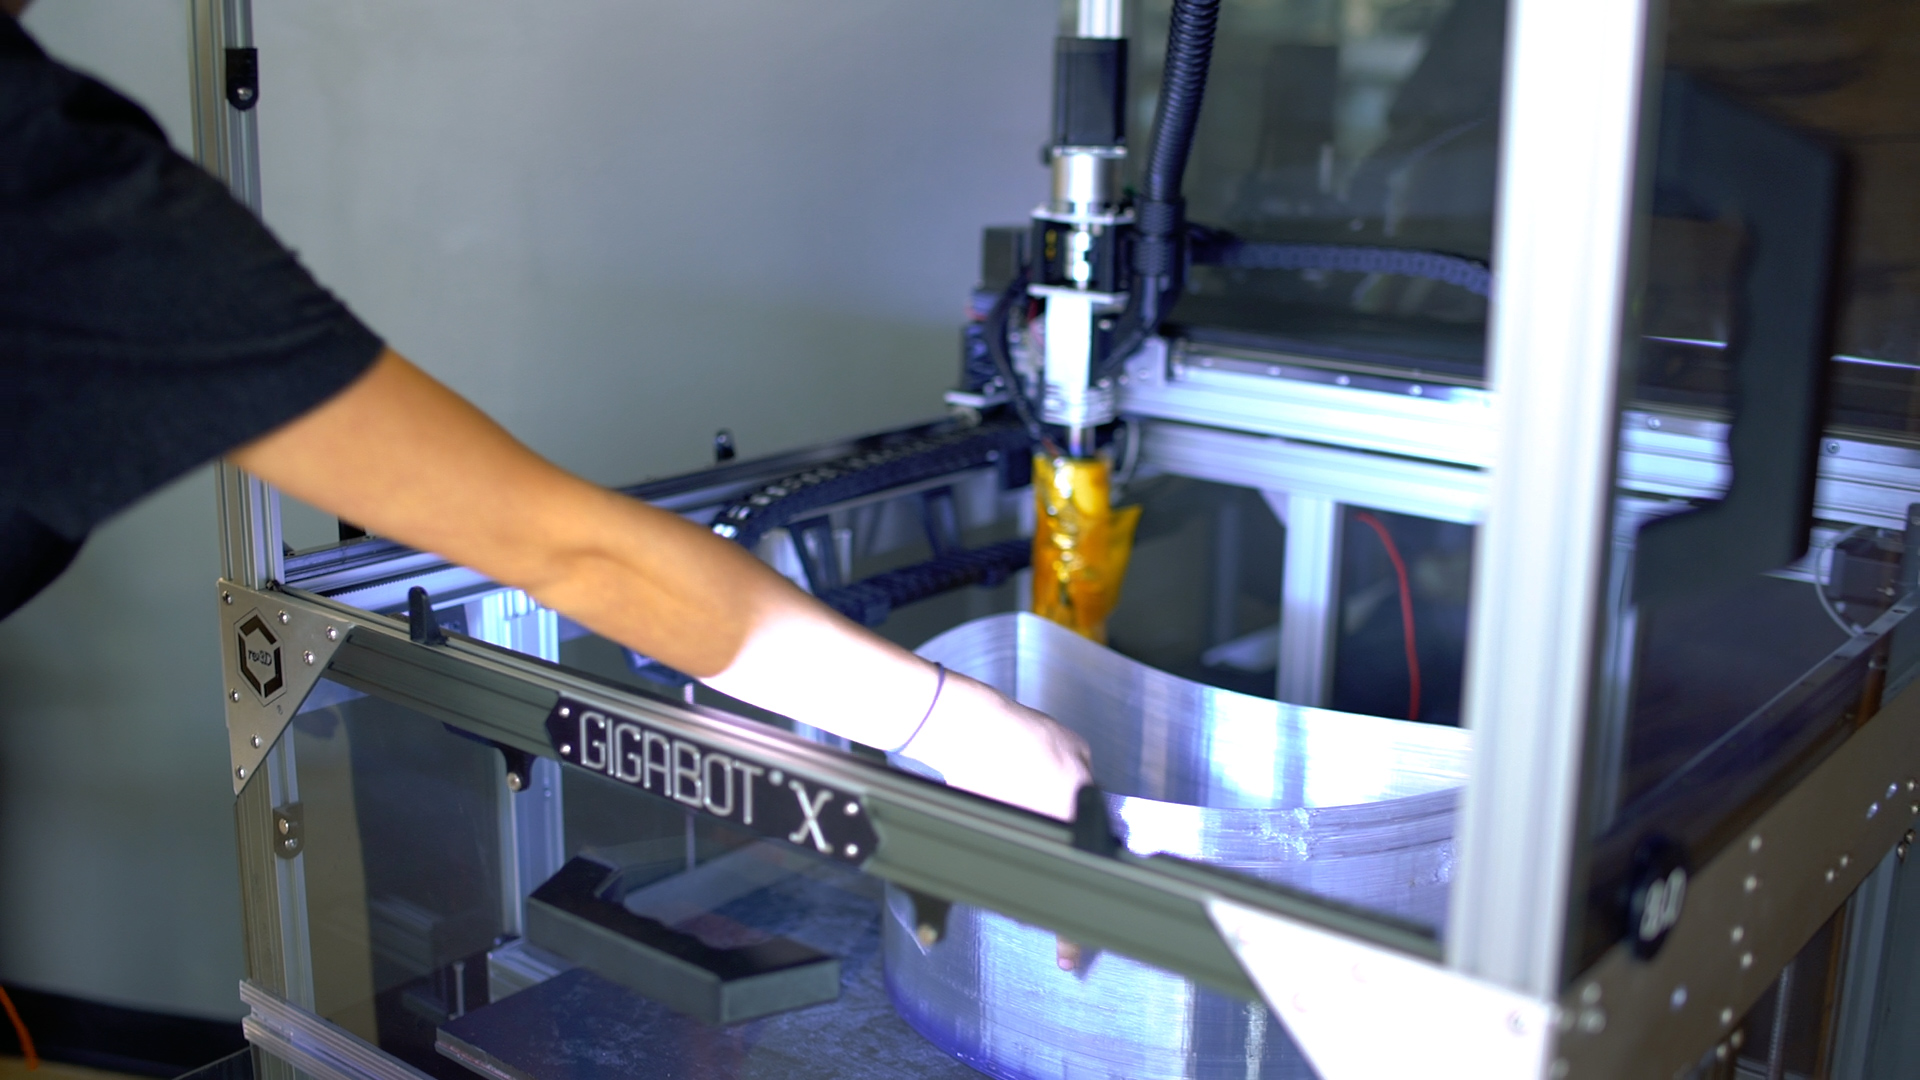
By the culmination of the testing process there had been twelve iterations of the basket, with the final design clocking in at around three and a half hours of print time.
Putting it to the test in the field
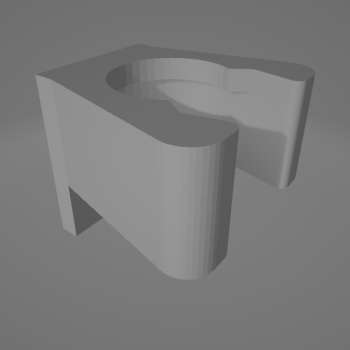
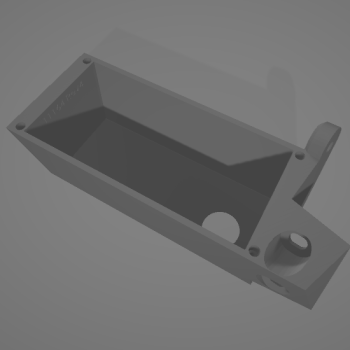
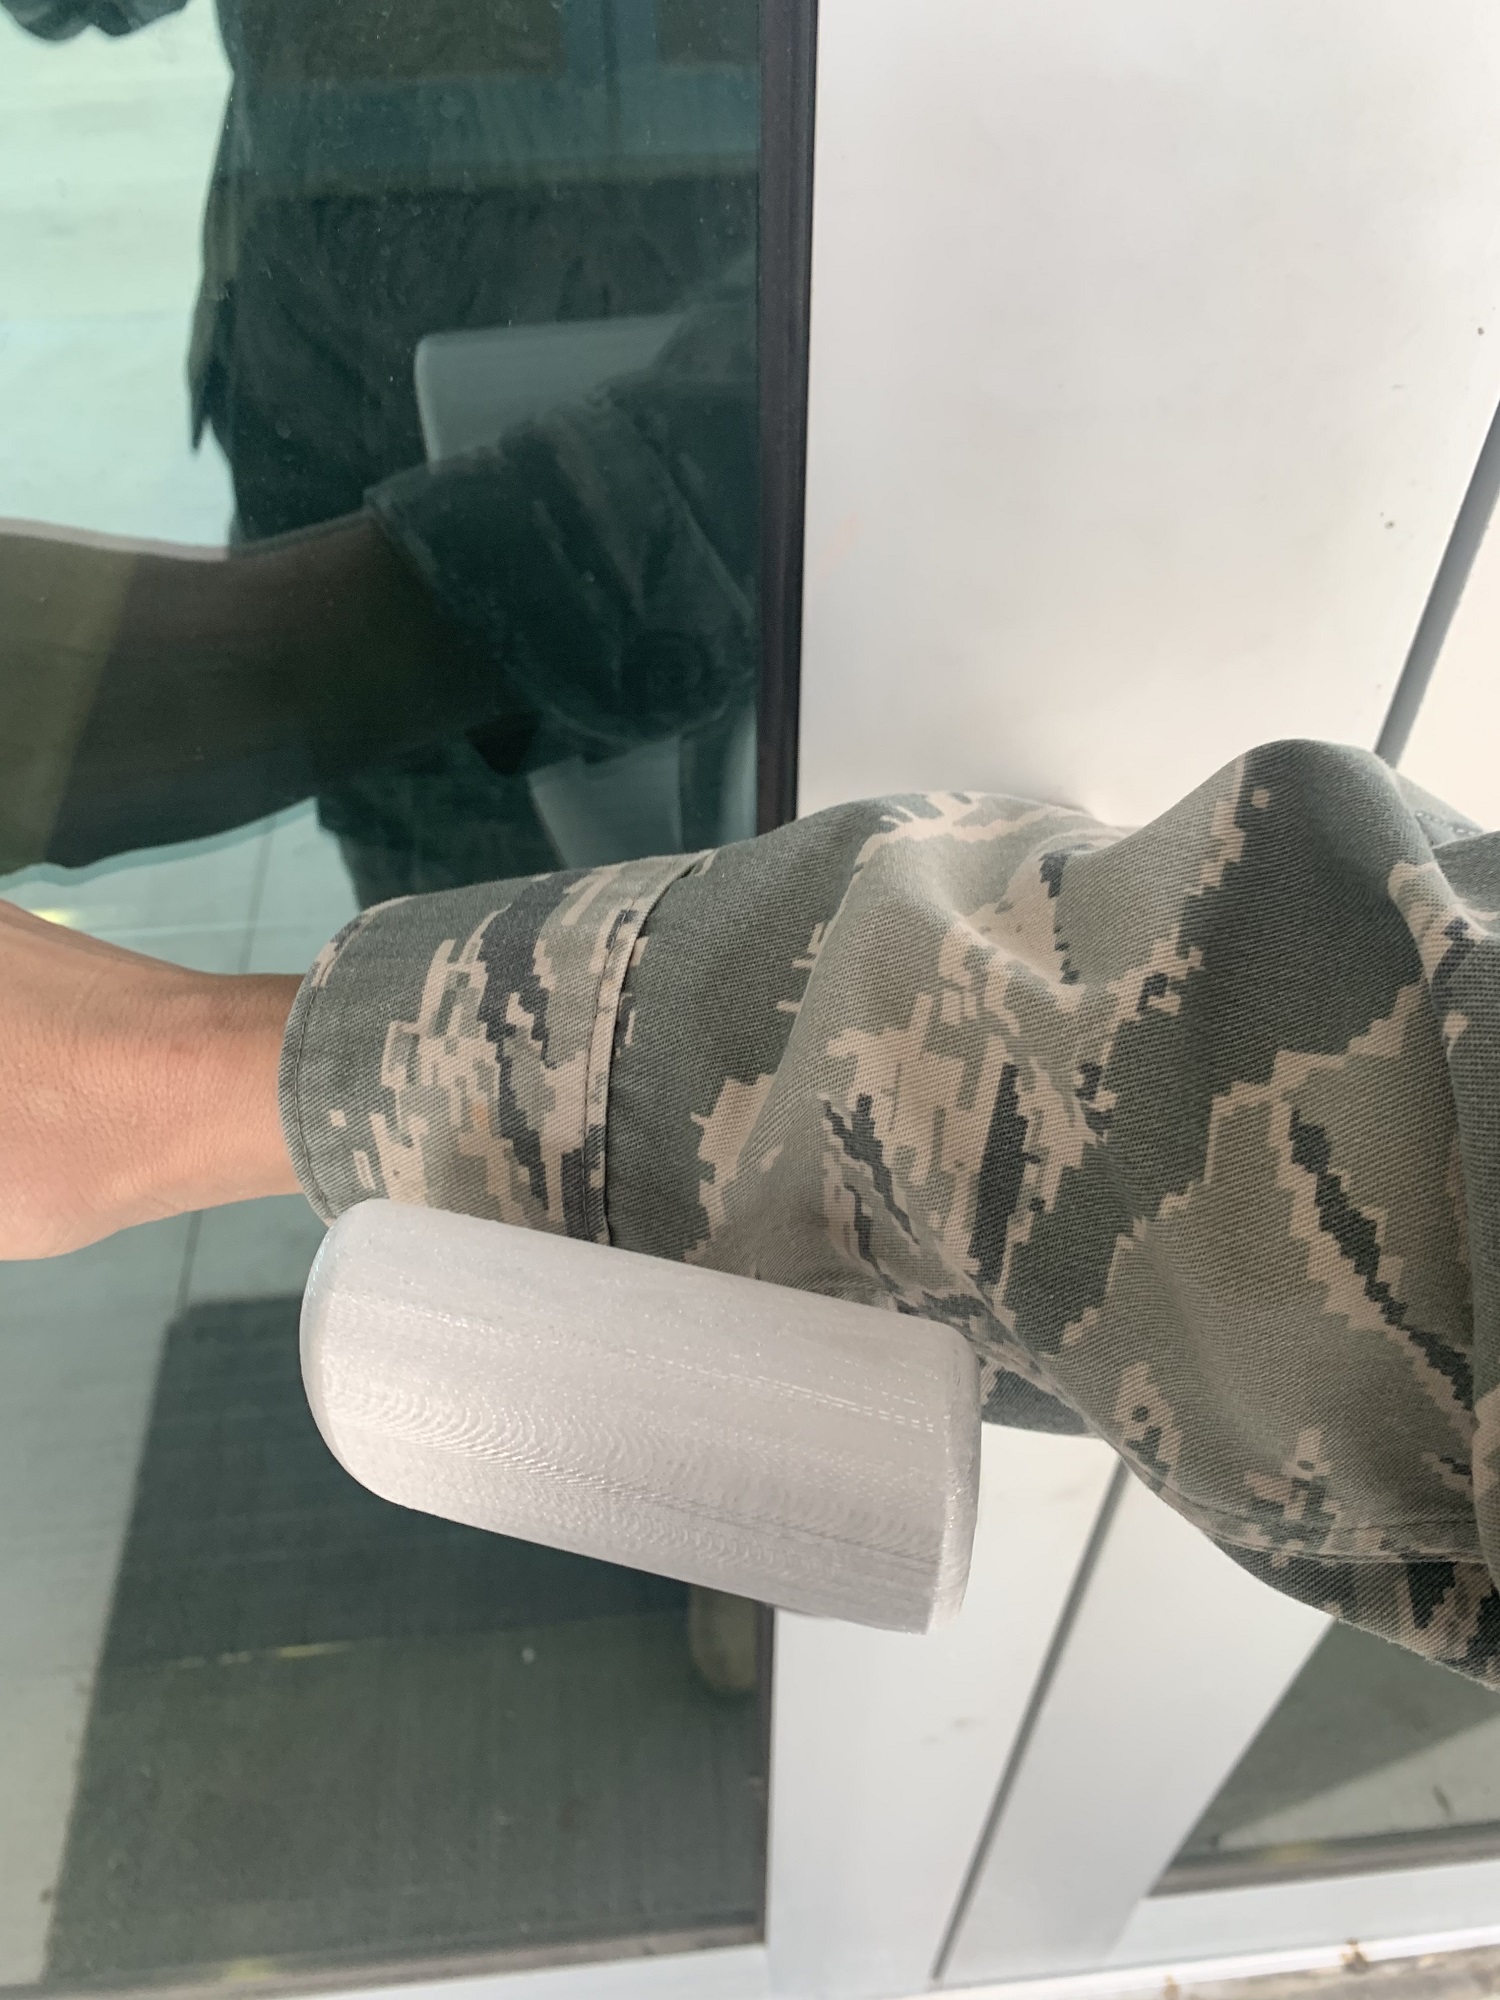
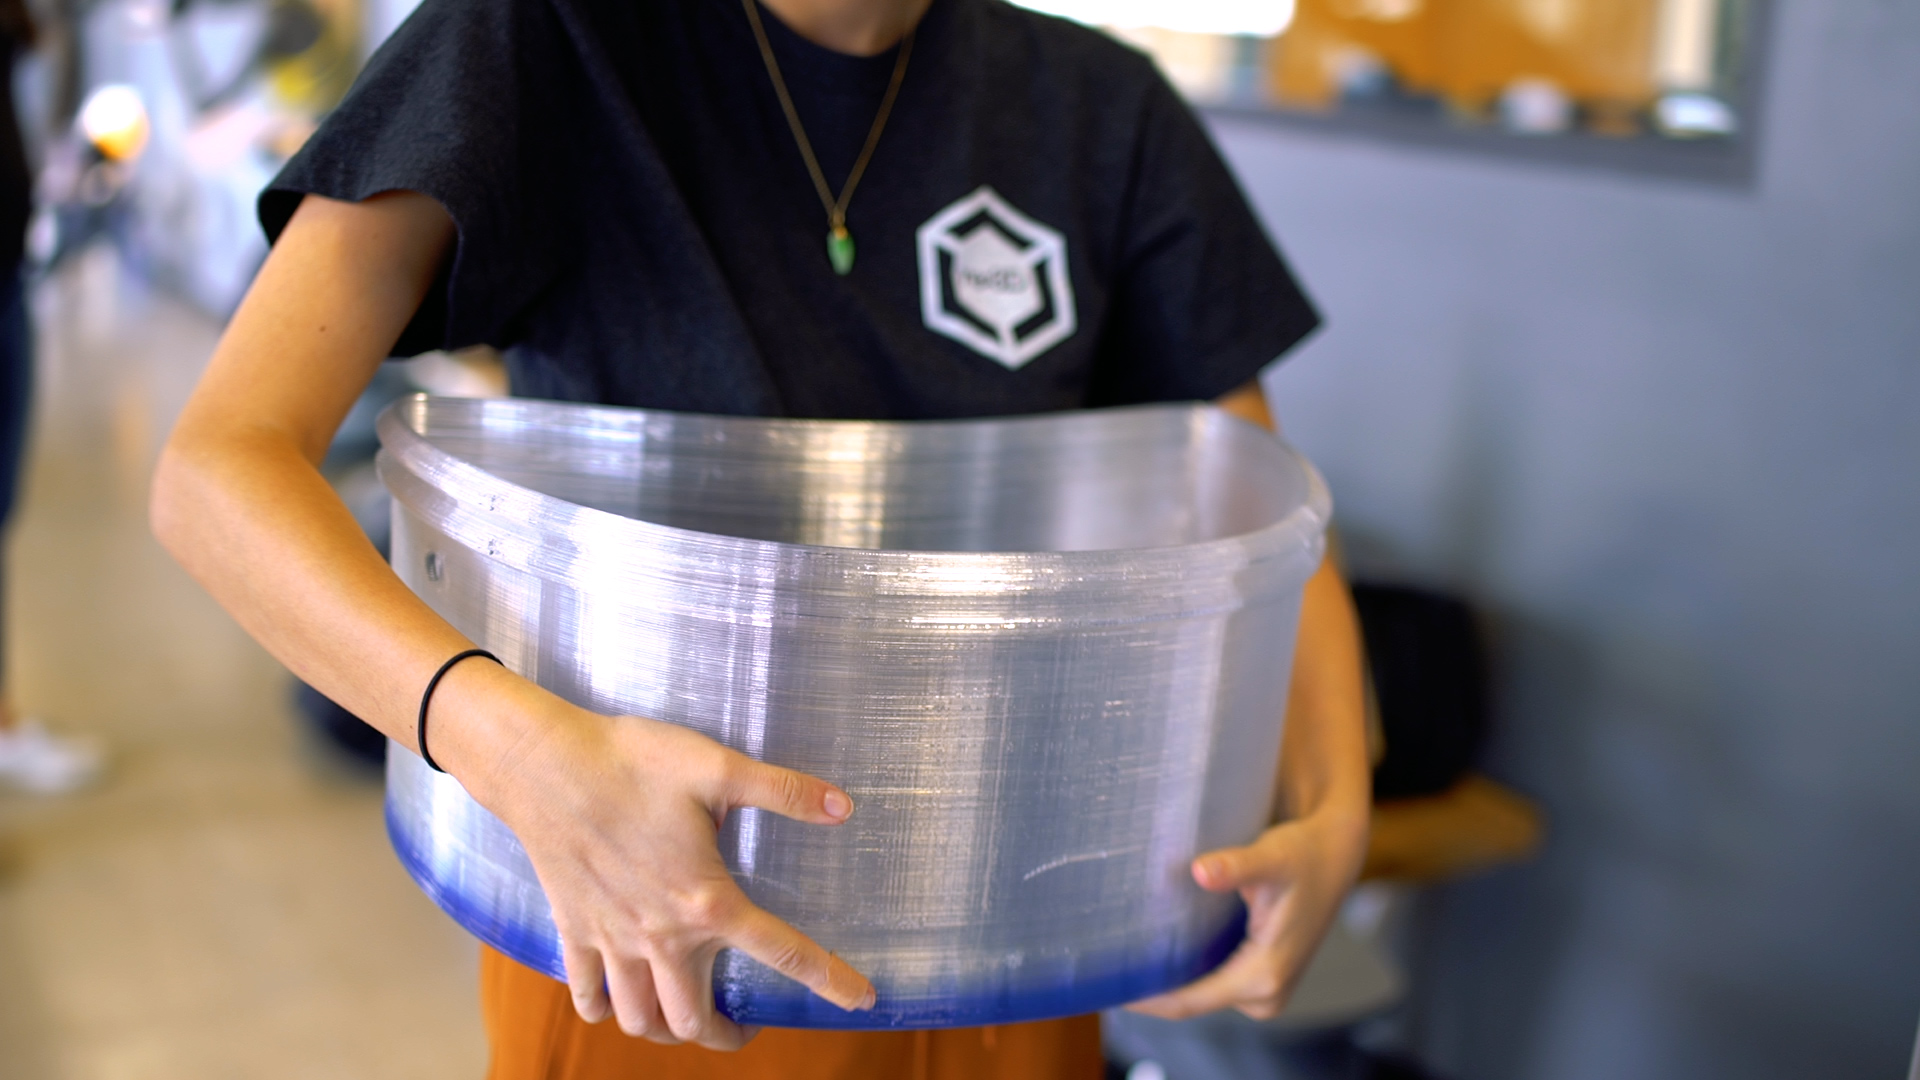
The crescent moon design on which they settled curves around the front of the waist, with a wide profile so a picker’s hands don’t have to travel far to drop in coffee cherries. It’s manageable enough to strap over one’s shoulders and carry through the field, yet sturdy enough to haul over fifteen pounds of coffee.
“We had wondered whether they could take the beating on the job, at the farm. ‘Can the bottom hold?’” Gonzalez initially pondered. “Yeah, they do,” he smiles. “Very well.”
Explains Celli, “The way that we designed them with re:3D was so that the opening would be wide so that a picker going through the field on uneven terrain is able to quickly pick coffee and kind of dump it into the bucket without it falling.”
He recounts the difficulties that came with the old-school fertilizer sack picking method. “It’s hard to keep it open with one hand, put coffee into it in the other, and then be efficient in a day where you’re trying to optimize how quickly you can get through the fields.” Seasonal coffee pickers, Celli explains, are paid by the pound. A vessel that allows for faster picking and movement through a field – not to mention fewer coffee cherries dropped – equals more money in a picker’s pocket.
The comfort of having the basket contour to the hip is an obvious added bonus, Celli continues, allowing workers to pick more comfortably and later into the day.
There were more unforeseen positives of the custom basket design which Gonzalez and Celli didn’t fully comprehend before embarking on the project with re:3D.
“The reaction of such joy and excitement from the coffee pickers seeing these baskets that were actually made for them and thoughtfully designed to be comfortable for them was amazing to see,” recounts Celli.
The impact on the pickers’ morale was an unexpected and uplifting side effect of the project for both Celli and Gonzalez. They seemed unaccustomed and touched to be the focus of a project with a specific goal of creating a product to make their job easier and more comfortable.
The joy in the fields was visibly apparent, with pickers jockeying to get a chance with the new baskets: a promising sign for both the basket project and Sandra Farms’ own internal case study of running a sustainable, ethical farm prioritizing workers’ livelihoods.
In the meantime, both Gigabot X research and Sandra Farms’ exploration into sustainability continues.
This project was made possible thanks to the support of the Puerto Rico Science, Technology & Research Trust and the National Science Foundation, who helped fund our research into Gigabot X.
Morgan Hamel
Blog Post Author