Pitching for a Circular Economy: Part 2- Why We Presented our Big Idea to Bunker Labs Austin

Sharing our Vision to 3D Print from Reclaimed Plastic in Texas

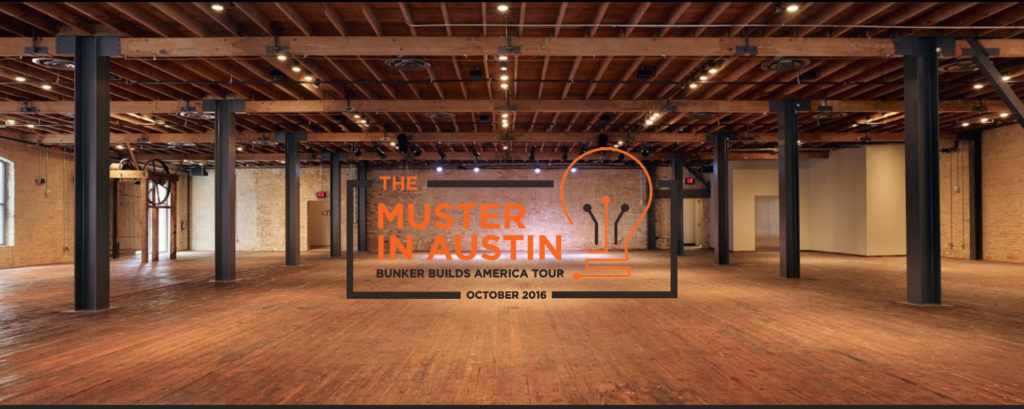
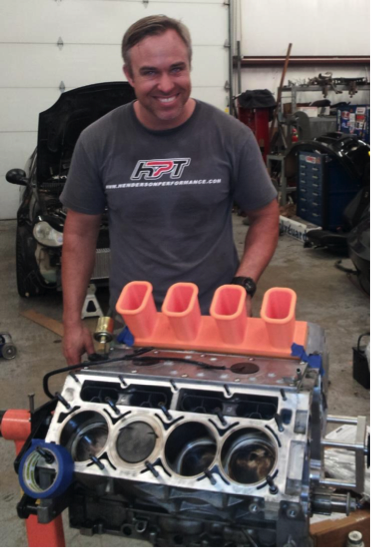
After reflecting on Aruba at Atech2016, Matthew and  I were convinced that our vision to 3D print from reclaimed plastic, albeit premature, was a passion we were compelled to continue sharing. We also felt it was imperative that in addition to casting our vision overseas, it was just as important that we pitch the opportunity to join our cause to our colleagues in Texas.  For this reason, I took a break from travel to join Mike Strong, Gigabot and Todd at the 2016 Austin Bunker Muster, a short walk…err roll….down the street from our Austin office.

We arrived a little sweaty, but stoked to assist our friends at Austin Bunker Labs in setting up for their annual fundraising event. Mike & Todd volunteered to help with setup & lighting while I paced around the block, practicing for the pitch competition that evening. The Muster in Austin was a unique event that brought together participants and partners for a day-long event of veteran entrepreneurs pitching their businesses, an Idea Lab for speakers, and a marketplace to buy products from veteran-owned small businesses. As a veteran employer & owned company, our entire team was humbled to support the festivities.

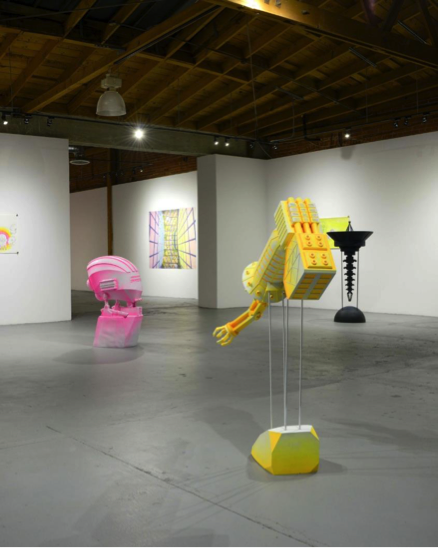
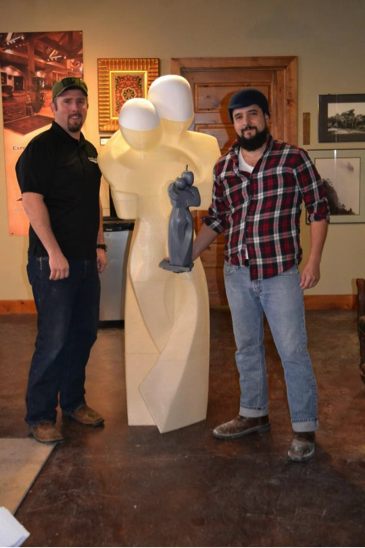
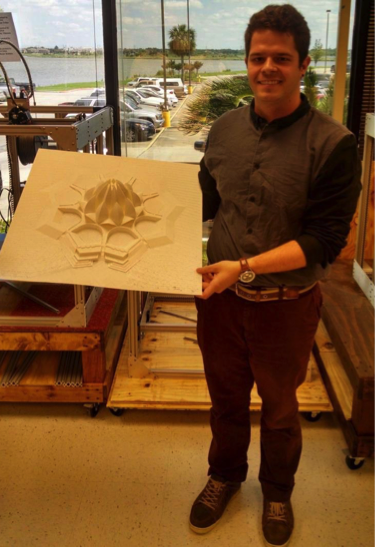
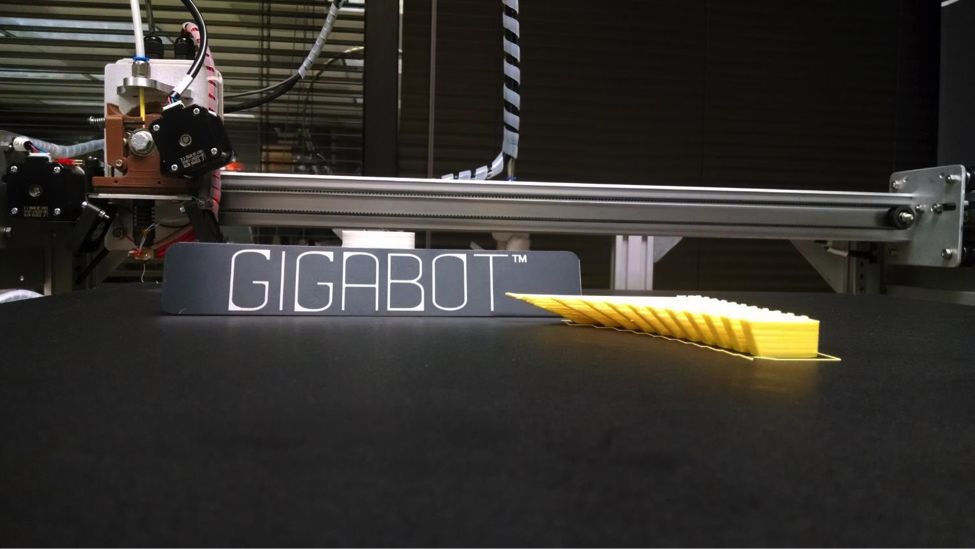
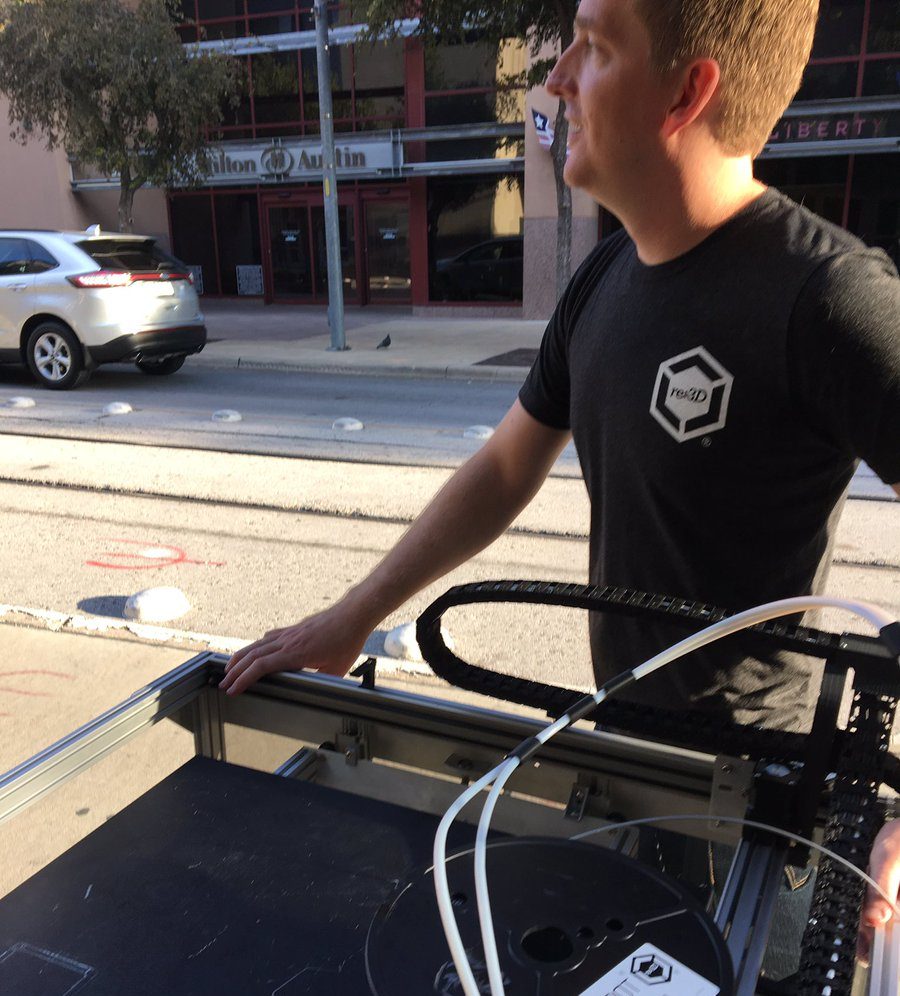
The day flew by as we listened to talks, demoed Gigabot, and chatted with old friends such as Marcus from Vthreat.  We also made new relationships, including JP Morgan Chase, re:3D’s new banker!

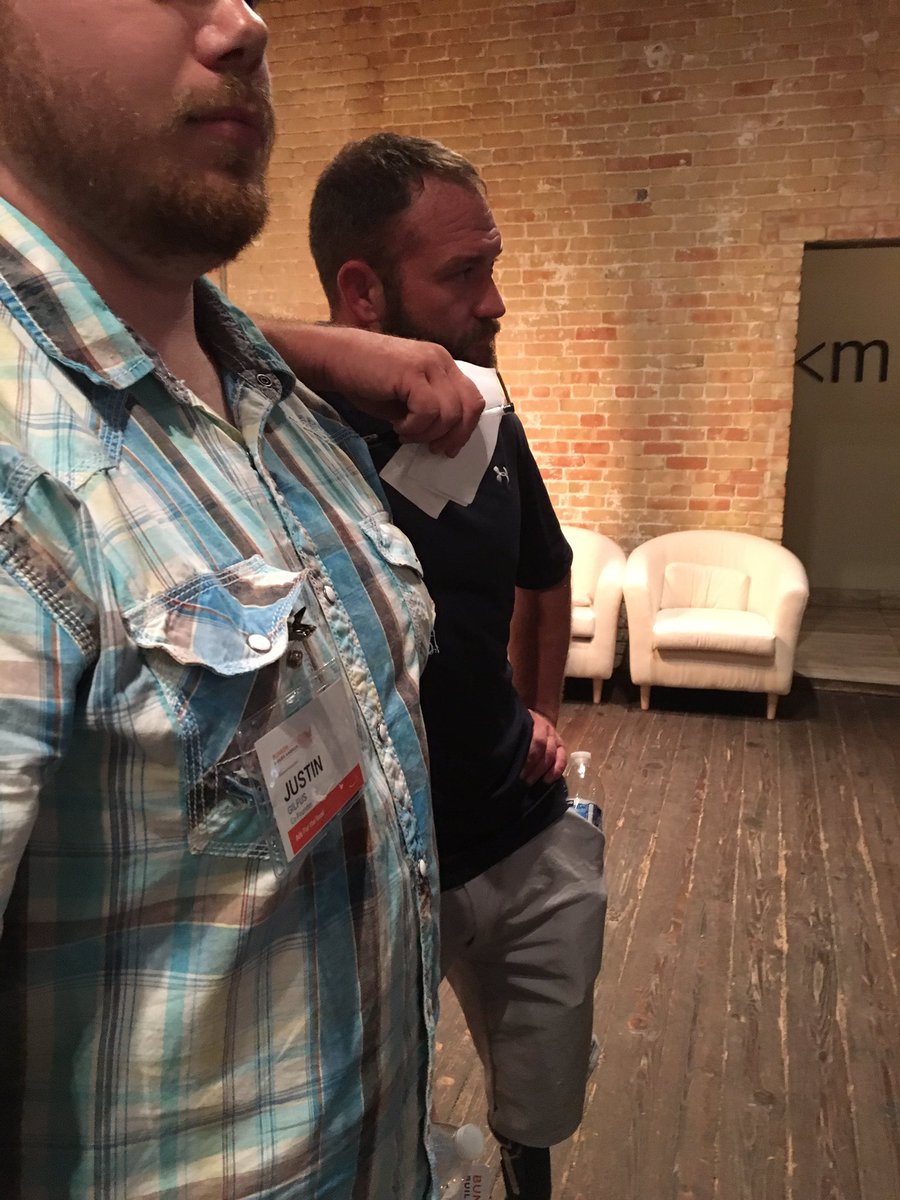
As the evening drew a close, I found myself incredibly nervous as we prepared to pitch against 20 peers. Unlike past competitions, this time we took the stage in front of friends, not strangers. These contestants were heroes we revered, who had sacrificed time & limbs for opportunity. Taking the stage with them was perhaps the greatest honored of my life. Normalized with stage-fright and determined to support our buddies, we celebrated each other and our companies’ successes to date.

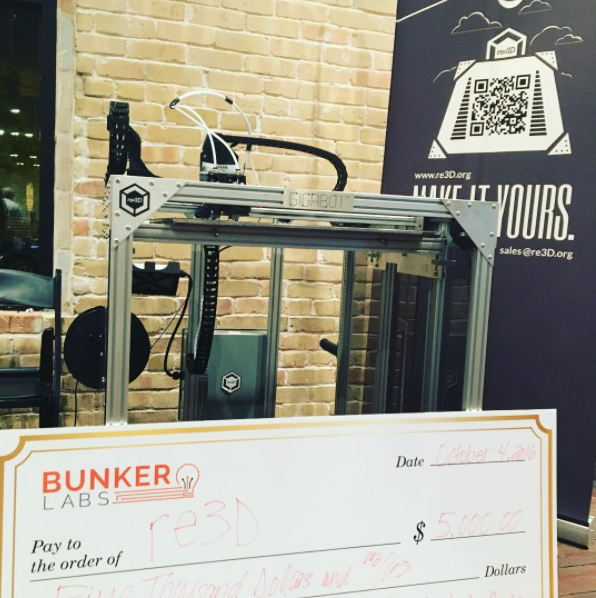
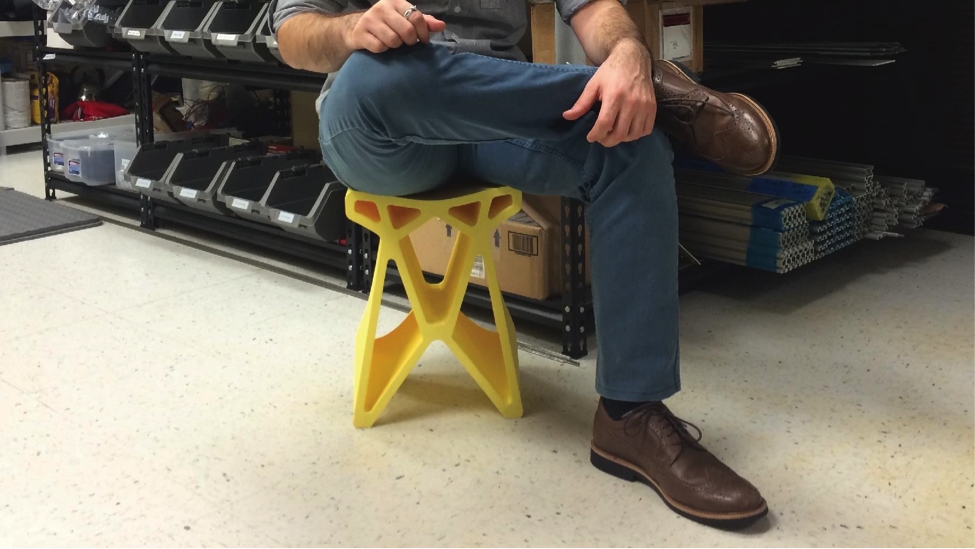
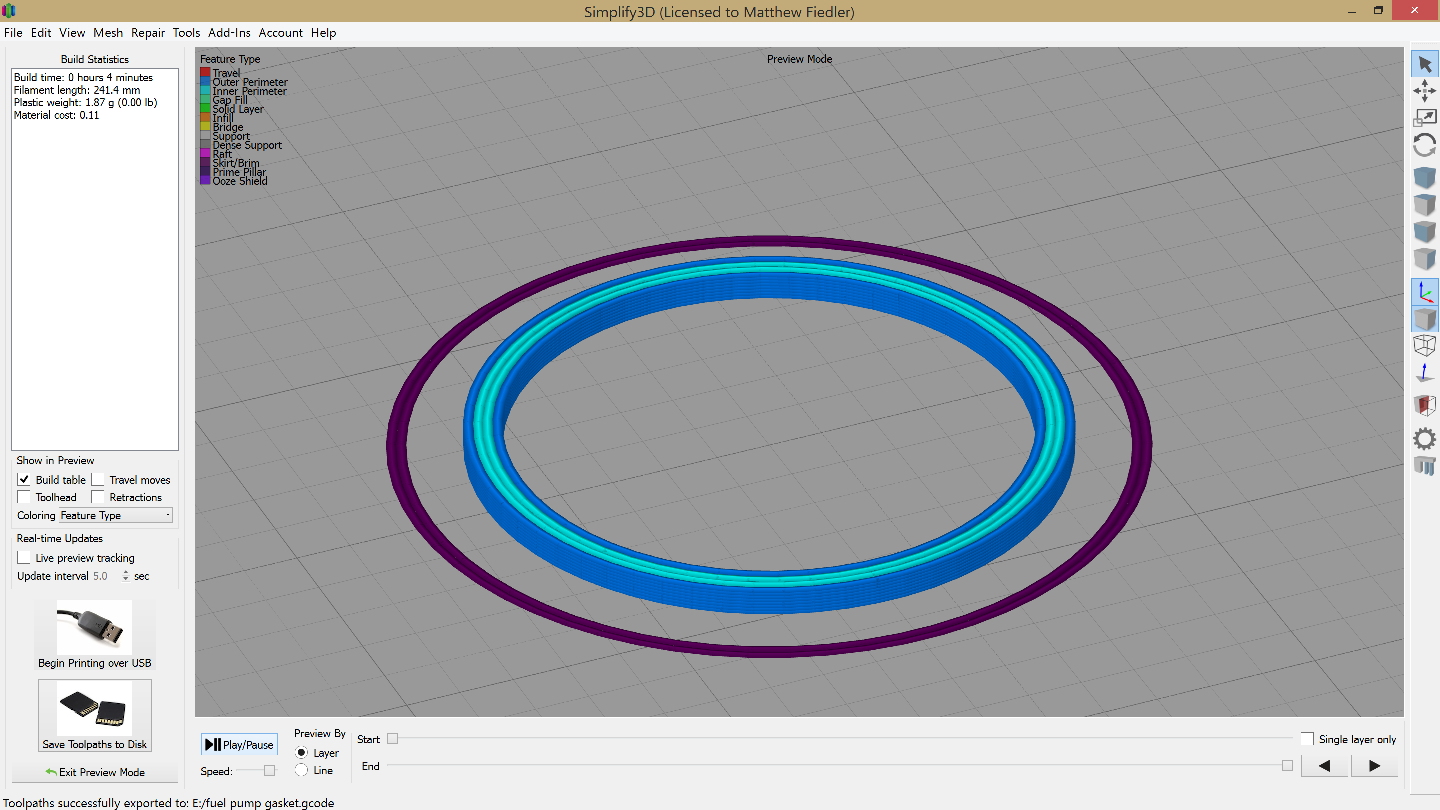
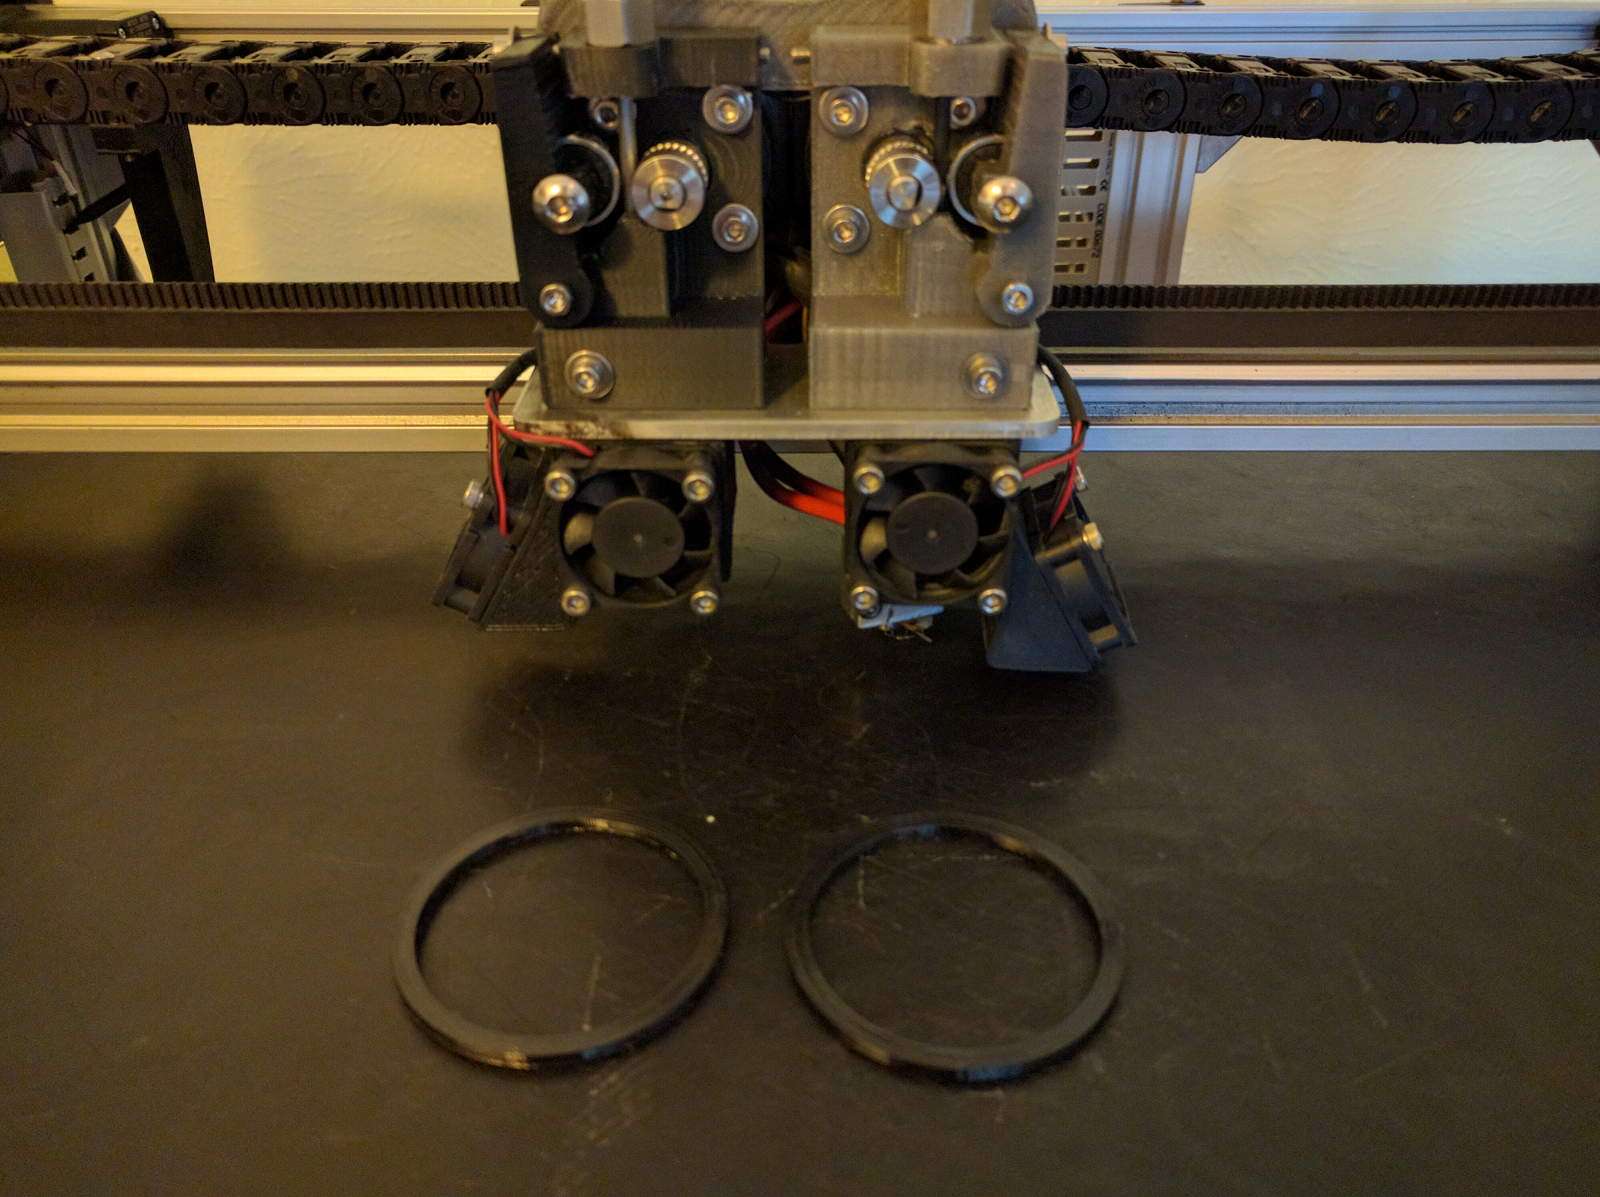
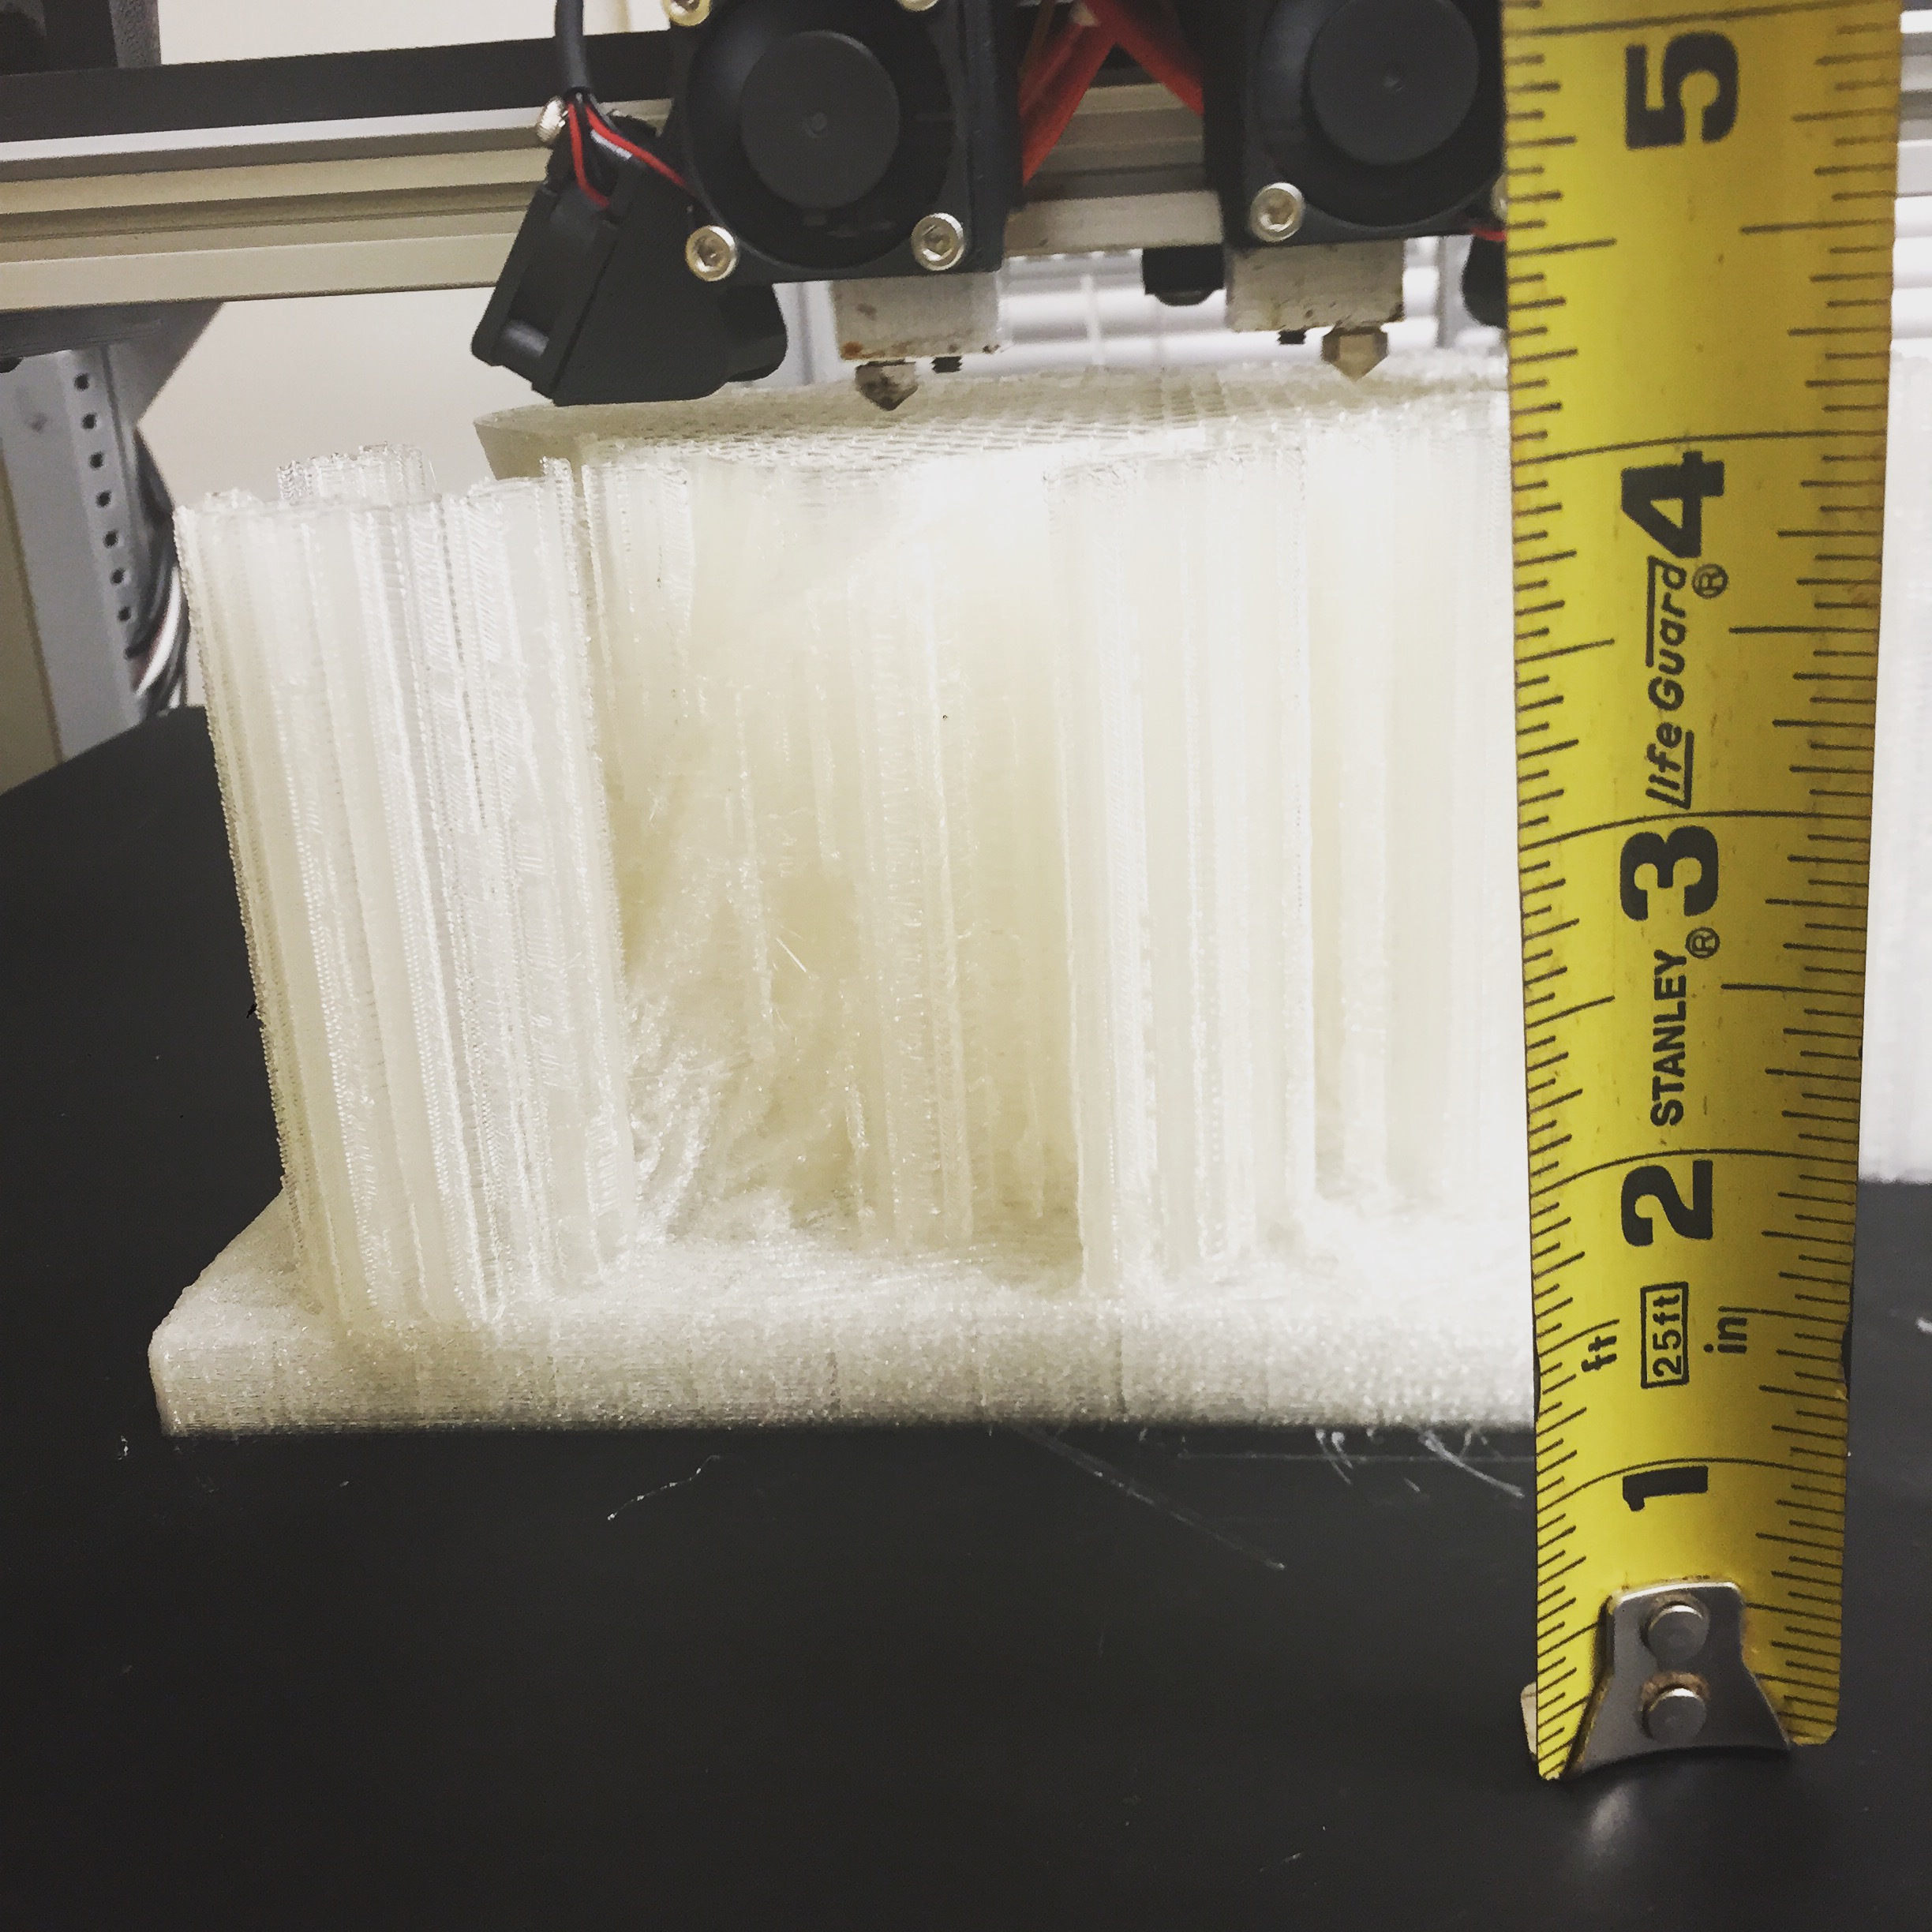
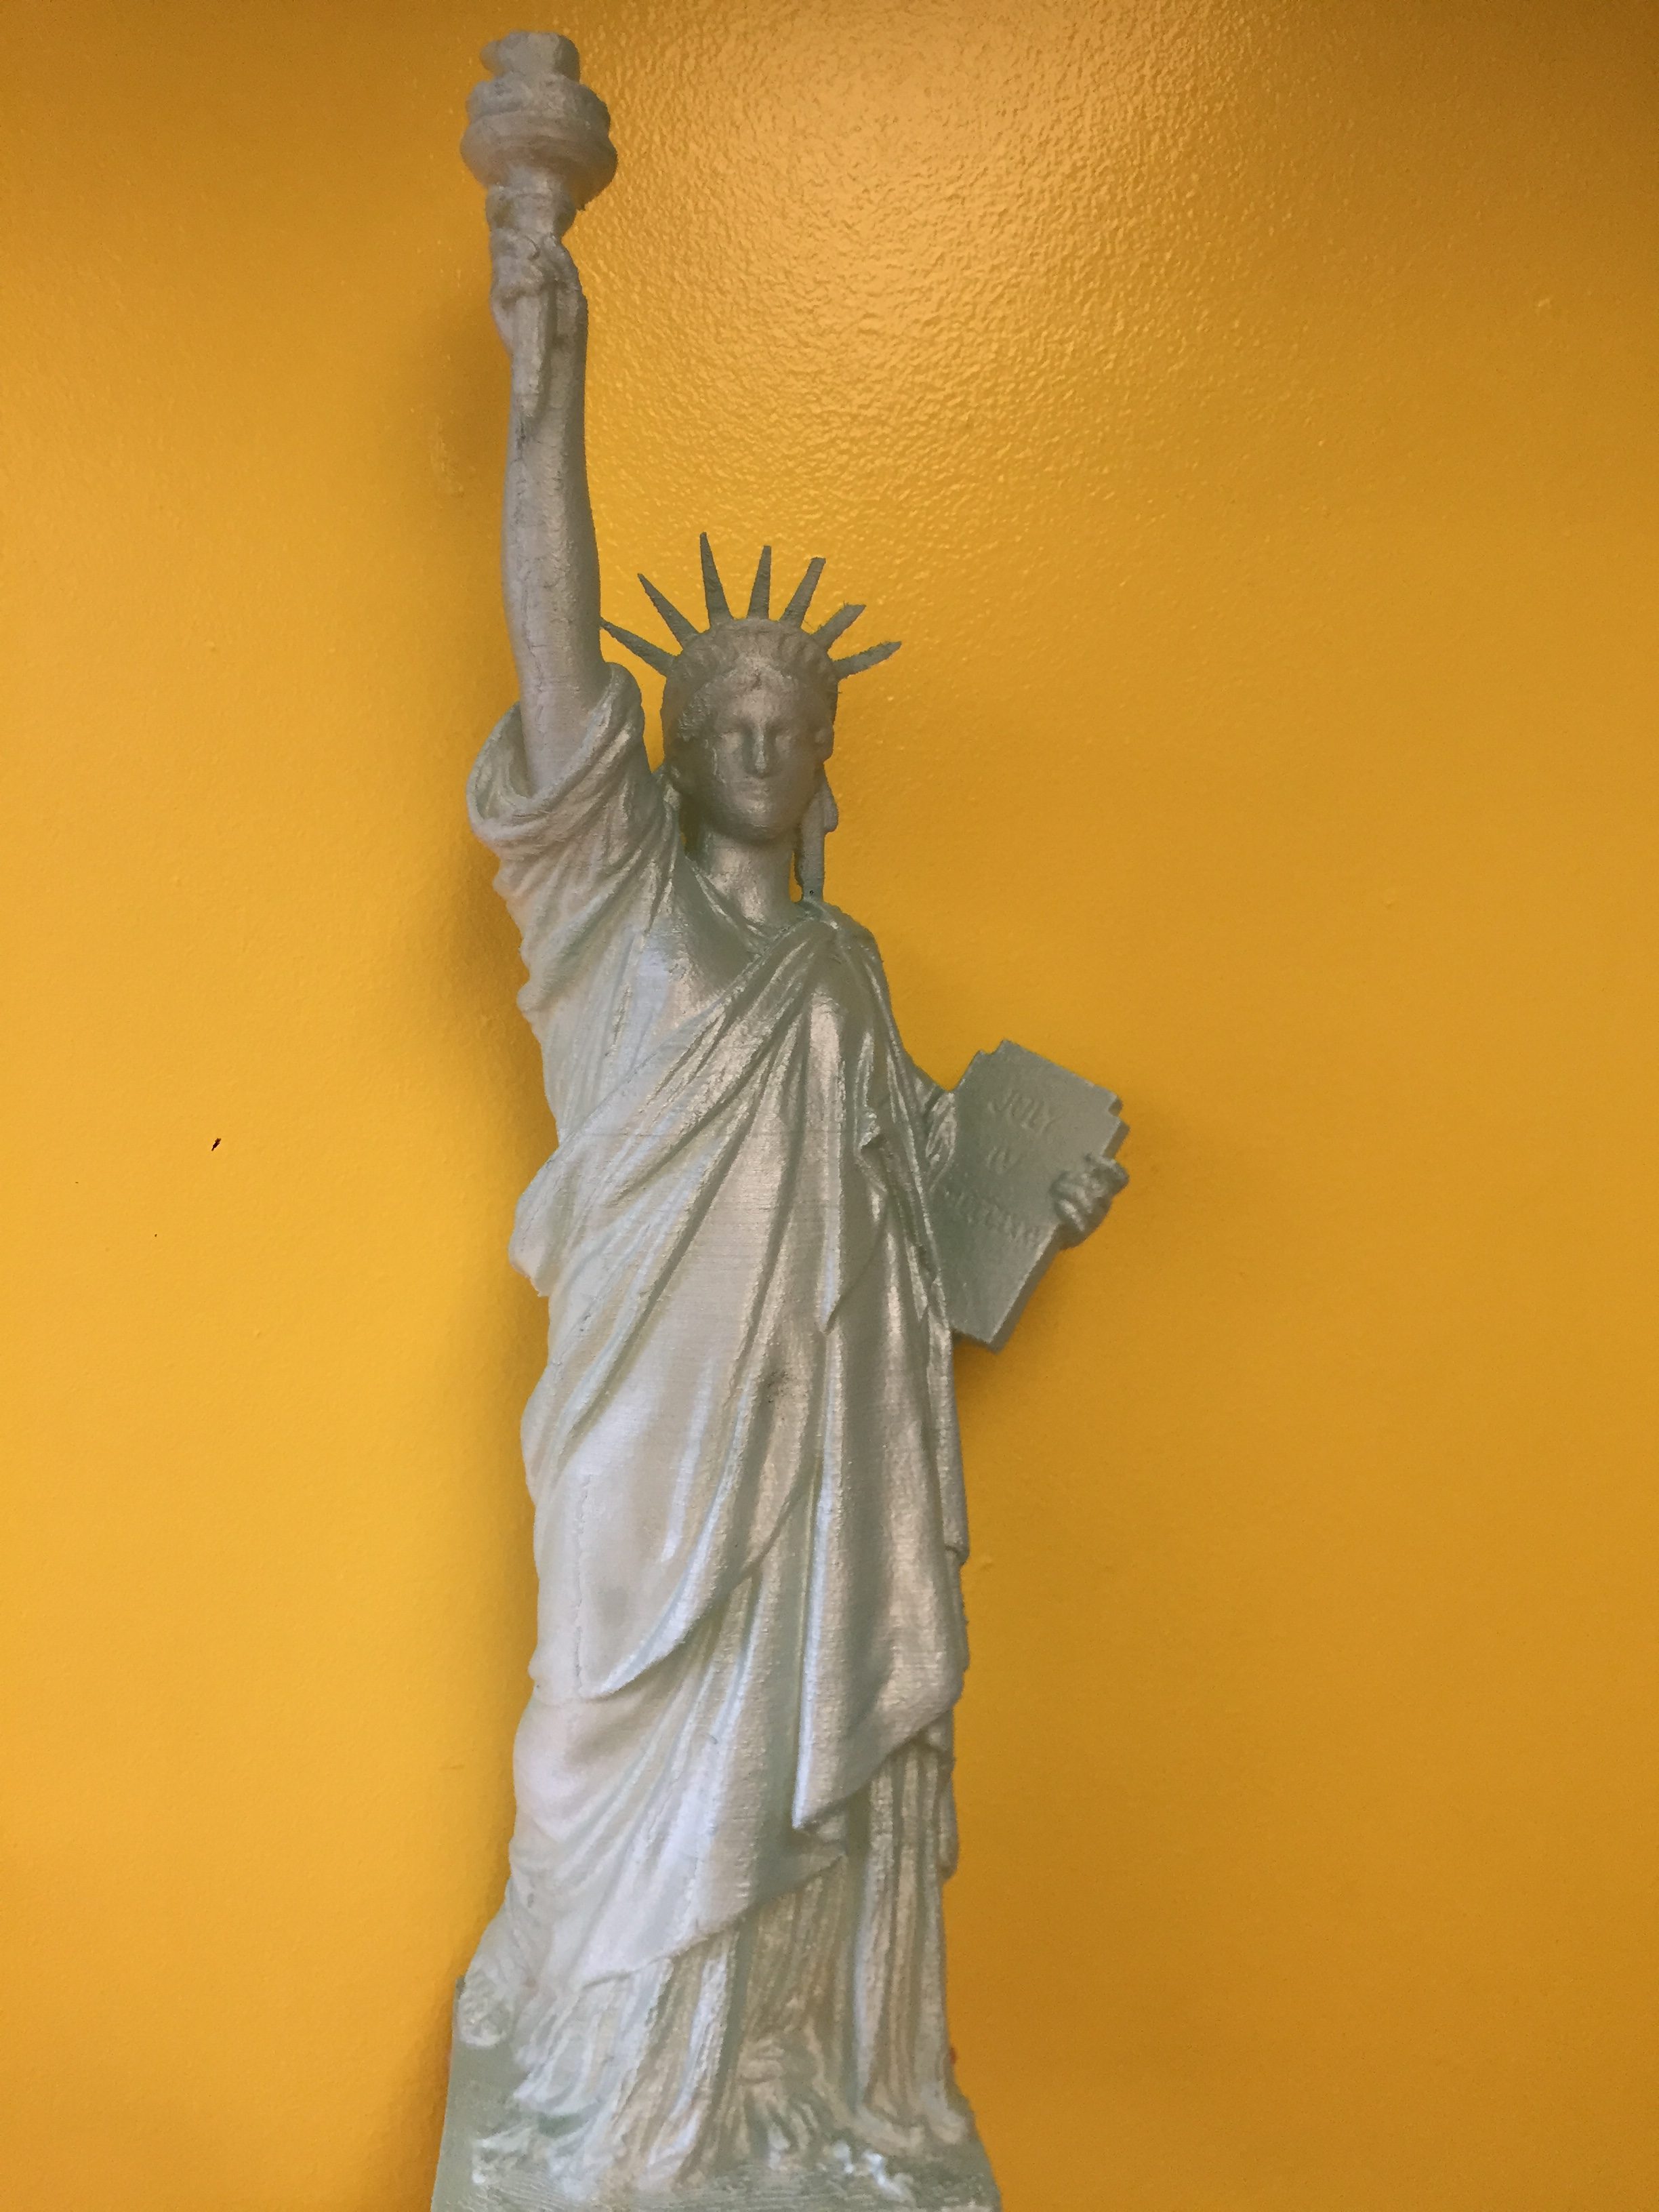
During the event, I struggled to convey our strategy for repurposing post-manufacturing waste into 3D printers in less than 90 seconds. Further adding to the anxiety was the realization that without winning, we would not have the resources to begin explore 3D printing from recyclables in Q1 2017.  It was only by leveraging the encouragement from friends like Travis from Stump Armour we presented our desire to 3D print from trash. With so many outstanding competitors, we were stunned to learned the community had honored us with $5K to make our idea a reality!

Where do we go next?

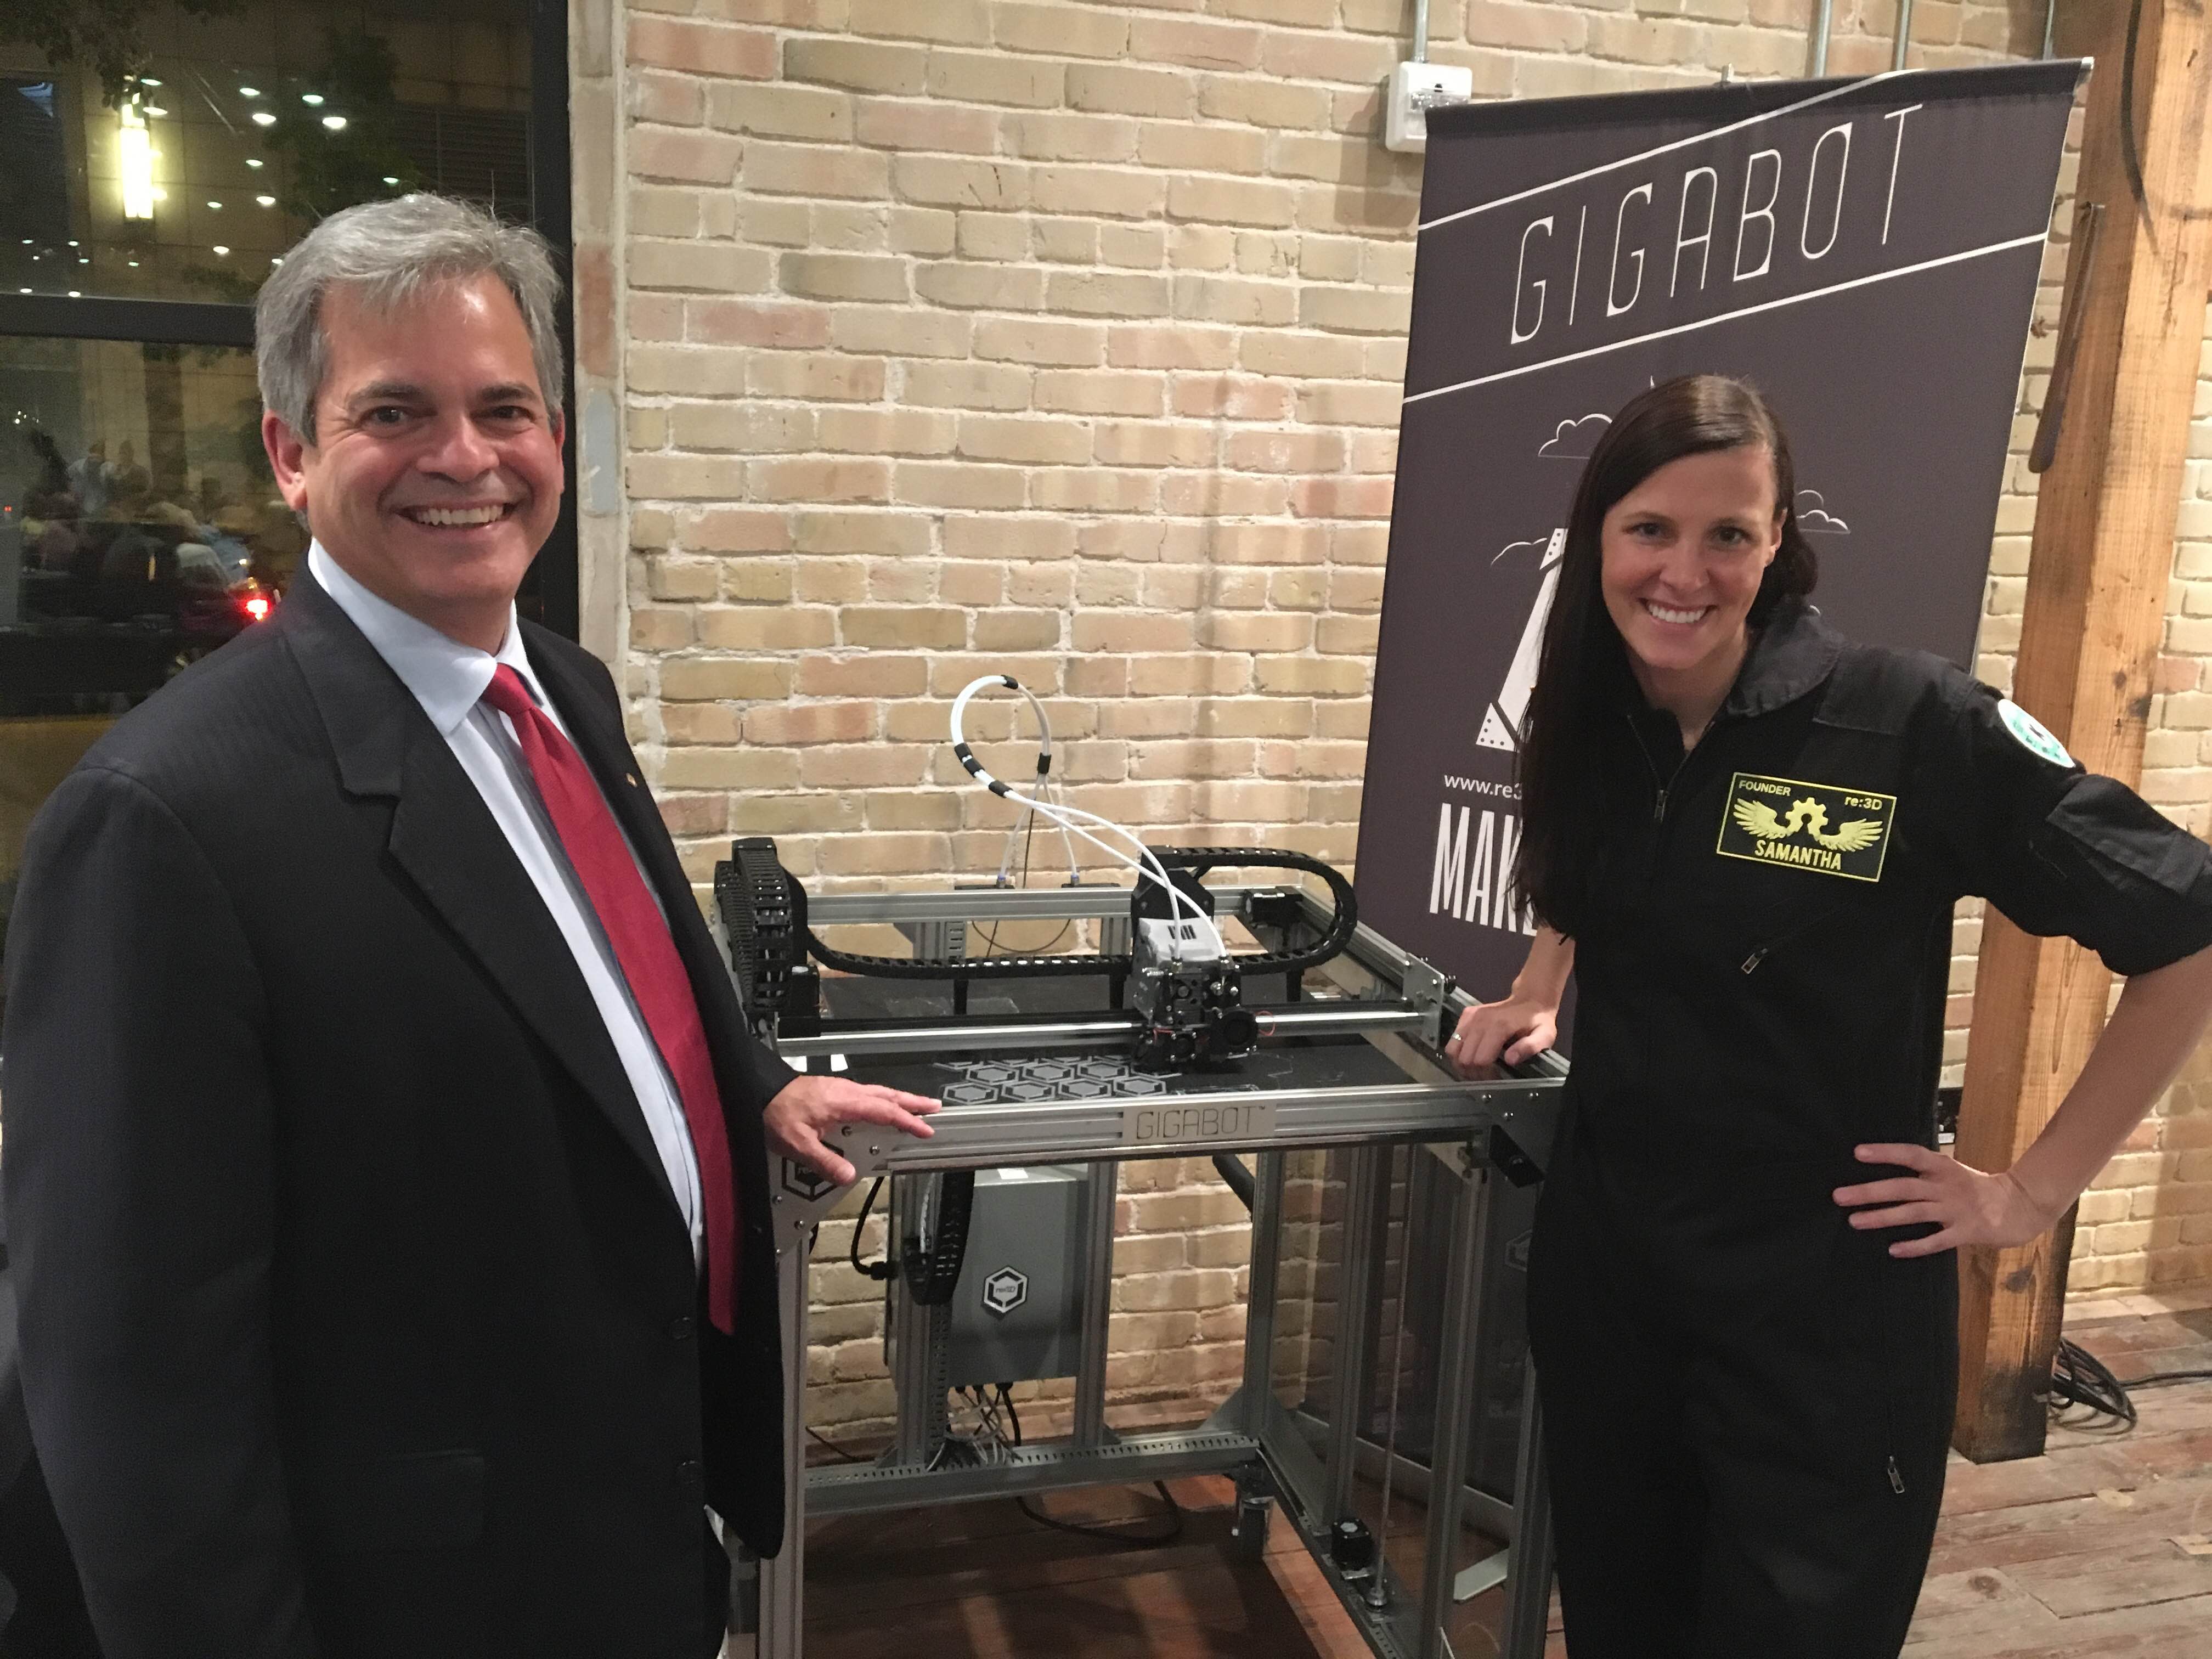
With $5K in hand we re:3D received much-needed affirmation that 3D printing from recyclables was not only something inherently right, but offered benefit for our neighbors. Taking a selfie with Austin Mayor Steve Adler gave us certainty that Austin & the Bunker community could incubate our audacious idea!

~Happy Printing!

Samantha snabes

Blog Post Author

Testing Fiberlogy HD PLA

Below are our notes that reflect our new open source filament testing. ASTM test samples are being created and in the upcoming months you can anticipate a summary on our website about our adventures in 3D printing material science. 
img_5763

MATERIAL TESTED: HD PLA

Manufacturer: Fiberlogy

Filament Diameter: 2.850 mm Normative, 2.851 Real Ave Diameter, +/- 0.02mm

Color Tested: Red

Date Tested: 11/15/2016

img_5773

OBSERVATIONS

Ease of use: Working with this filament was very enjoyable. It printed easily, was consistent and predictable. No breakage was noticed. The PLA appeared to be of a high quality.

Appearance: The filament displayed a pleasing red tone with an incredible sheen!

Size consistency: Awesome, less than 0.1mm within the roll, the filament measured 2.851mm

Color consistency: Great, consistent throughout the coil.

img_5766

SETTINGS

Print temperature: 200-220 C (suggested)/210C was used: nozzle / 60C : bed

Printer Used: Gigabot

Speed: 60 mm/s

Layer Height: 0.3mm

Infill: 15%

Type(s) of print surface used: PRINTnZ

List of test files printed: re:3D’s test files 1, 2, 3 and 4 (Logo, Vase, Moai and Benchy Torture Test).

img_5764

FINDINGS

Odor: None

Bed adhesion (1: terrible – 5: fabulous!)

  • 5- Great adhesion was achieved with no temperature manipulation.

Stringing (1: lots – 5: none!)

  • 5 –No stringing was observed with our settings.

Shrinkage (1: lots – 5: none!)

  • 5- The filament extruded and cooled with no shrinkage.

Interlayer adhesion (1: terrible – 5: fabulous!)

  • 5- Perfect!
img_5768

NOTES:

  • We were first contacted by the Fiberlogy team last fall, who offered to send us a spool of their filament to evaluate on Gigabot. We recognize that the community is fortunate to have several PLA vendors to select from, however as not all PLA is created equal, and were eager to vet a European supplier for our customers accross the pond. Fiberlogy HD PLA boasts that it is a high quality and dependable PLA that has the added benefit of increasing strength when annealed.
  • Seeing that we offer a limited color selection in our store that ships from North America, we are always eager to test additional PLA sources.
  • This material appears to yield consistent, quality prints.
  • Filament size consistency was excellent and no breakage was evident in the 1 kg roll we examined, suggesting it was well mixed.
  • The packaging and spool design was futuristic, intentional, and of high quality.
  • No curling was observed in any of the 4 prints created.
  • We used the mid point of the temperature range that the manufacture provided (200-220C). No guidance was given for settings aside from temperature, so we used the standard Simplify3D profile on wiki.re3d.org.
  • The unboxing experience was outstanding and highly professional.
    • A batch number was provided for traceability.
    • Manufacturer recommended settings were easily referenced on sticker located on the packaging.

RECCOMENDATIONS:

  • After printing the four objects in our protocol, I support Fiberology’s claims that they produce high quality PLA and would recommend it to our customers.
  • Upon review, we would also recommend that we include this filament in our ASTM test sample research.
  • Per the guidance on their website , I did attempt to anneal the PLA in my oven at home, however without empirical testing against similar objects printing in ABS, I can not testify to the strength claims Fiberlogy asserts for annealed HD PLA.

Want to chat?

Join our forum where we have initiated a thread about our experience at:

https://re3d.zendesk.com/hc/en-us/community/posts/255640066-Testing-Fiberology-HD-PLA

img_5765

~Happy Printing!

Samantha snabes

Blog Post Author

On Beer and 3D Printing: Tap Handle Musings Part 1

If you have been following our social media accounts or exploits online, chances are you’ve witnessed multiple references to craft beer & roadtrips. We’ve also been guilty for using a #beerforscale next to our human scale 3D prints.

Chief Hacker shows off his super-sized 3D printed GE engine downloaded from Thingiverse using a Shiner Bock for scale.

As we’ve connected with makers across the globe, we’ve encountered a disproportionate number of other 3D printing enthusiasts who share a passion for home brews. Over stouts & porters (and an occasional hefewiezen), we began to muse with tap masters worldwide on the synergies between the additive manufacturing and brewing cultures, which revealed multiple overlaps.

Below are some similarities we’ve witnessed between our industries:

  • Brewers are makerpros too
    • Many of the tap masters we chatted with shared that their career started out as a hobby. A bucket and oversized pot quickly was upgraded to a small still, which serviced crowdsourced recipe requests for friends and friends-of-friends. Like so many of us now running 3D printing companies, successful breweries are an amalgamation of passion, friends, curiosity and a little hardware hacking.
  • Both movements are changing policy
    • As state and federal law restrict scaling microbreweries, many beer enthusiasts such as Raise Your Pint in Mississippi suddenly found themselves immersed in state politics as they lobbied for deregulation. 3D printing startups sympathize as we struggle to make sense of lack of industry specific export codes, open source policies, debate around the ethical use of 3D printers and the slow realization that the government is unprepared for exporting personal factories worldwide. An artifact of explosive growth, participants in both the craft beer & the 3D movement have accidentally found themselves immersed in policy & regulatory discussions.
  • 3D printing and brewing is as much an art as a science
    • While both of our industries are ultimately contingent on chemistry, whether it be polymers or yeast, little academic rigor has been applied to craft brewing or FFF 3D printing. We therefore depend on instinct and basic scientific probing to ensure consistency & quality.
img_3436
  • We’re building factories
    • Whether you’re making a bottle of beer or a Gigabot, once you commit to commercialization (even in limited quantities), you’re forced to stand up shipping, compliance, and production. Within a few months, a small-scale factory emerges, with an impressive infrastructure investment (usually from the founder’s pockets).
  • We need significant capital outlay, that often is accomplished without a VC
    • With the exception of growth stage breweries (e.g. Laganitas), most microbreweries are intentionally small. As non-traditional business owners we chatted with borrowed from their 401K’s, installed the best investment apps uk, and got loans from families to bring their dream to reality. Not surprisingly, most founders we encountered were in their 30’s, 40’ or even 50’s, having accrued a nest egg to overcome the risk and initial expenditures. Breweries, like 3D printing start-ups tend to gravitate to non-dilutive options for initial funding and seemed more concerned with making a sustainable business than posturing for quick acquisition.
img_0634-3
  • Our cultures represent a lifestyle & community is core to our mission
    • Let’s face it.  No one wants to drink alone. Concurrently most hobbyists are only as successful as the last 3D print they shared publicly. Start-ups in both domains have calendars full of events to engage enthusiasts of all levels, because the heart of what we do includes sharing and dialogue. Yoga and trivia nights are no stranger to local breweries. Similarly most 3D printing start-ups host regular meet-up and grass roots efforts to provide education, good WiFi and a place to swap ideas.
img_1640
  • Tap handles make a perfect 3D printing project for budding breweries
    • Stay tuned for Part 2 of our Beer & 3D printing series!

Samantha snabes

Blog Post Author

IMTS 2016 – My Top Picks

Below is Gigamachinist Steve Johnson’s blog on IMTS 2016:

IMTS 2016 - My Top Picks

A few months ago, IKO International, asked re:3D if we would like to showcase Open Gigabot at their booth at International Manufacturing Technology Show (IMTS) 2016 in Chicago. It would feature their linear rail system incorporated into our printer design, and would allow us to showcase our 3D printers among some of the world’s top manufacturing companies. Naturally, re:3D was thrilled to accept the opportunity to display at our first IMTS.

I have been running the machine shop at re:3D for just over a year, so my experience with 3D printing is still rather shallow, but my experience in manufacturing spans almost 25 years. And because I have a passion for mechanical design and manufacturing, IMTS is to me what Santa’s Workshop is to a 6 year old child. So when re:3D asked me to represent our team at IMTS, I was nervous and giddy all at once. Joining me to man our booth would be Jeric, an engineer from our team well versed in 3D printing. (and born around the time I entered the manufacturing industry) I was glad I would have his knowledge base to learn from and lean on during our time presenting Gigabot.

imts-1

With only 2 of us at the largest manufacturing show on this big blue marble we call home, it was very difficult to break loose from the re:3D display to visit other booths, and soak up some of the amazing displays being shown throughout the 1.37 million square feet of display space. We might slip out periodically, one at a time, to view a few booths close by, but for booths further away, we would need to arrive a  couple hours before the show opened to the public, so that we could freely view as much as time would allow.

imts-4

Over the course of 6 days presenting, we were able to meet hundreds of Gigabot admirers, and also meet several other companies who made a big impression on me in some way or another. These were my top 10 favorite booths from IMTS 2016, and why:

There are a lot of companies in the CAD/CAM market. Most, are simple CAM packages which aid the user in creating quick code for simple machine operations, and are reasonably inexpensive. A few, such as Autodesk, CATIA, Mastercam, and ProEngineer have gained a reputation as robust software packages capable of handling the most complex modern machine programming toolpaths in multi-axis environments. These companies also charge a premium price for their packages. And then there is BobCad. The best of both worlds. A high functioning CAD/CAM system at a price even a small business owner can easily manage.

Perhaps I am biased, as I use BobCAD version 28 in our shop at re:3D, to program the machines that make each part for every Gigabot 3D printer we sell. But there is no bias in saying that BobCAD has come a long way, and can compete with the big players in the CAD/CAM market at a price that makes the cost of other software packages seem bloated. And it is a standalone software. Create your solids, straight to code output in one software.

The folks at BobCAD had a relatively small booth in comparison to many of their competitors, but what it lacked in floor space, it made up for in content with a great staff of techs giving demos, and plenty of free swag. No nonsense high end results, and priced for everyone. Enough said.

imts-autodesk

Autodesk is well known in the manufacturing industry as a leader in design software. So it is probably no wonder that they made my top 10. However, I did not pick their booth on the merit of their software, but rather for the content of their presentation. The Autodesk booth was the first thing you saw as you entered the East building from the skybridge. A massive booth among other software companies, Autodesk designed their area as a presentation stage. And it drew in the crowds all week as they did presentation after presentation on every topic you can think of in regard to manufacturing. (The free beer and coffee may have helped as well) But the one presentation that drew me in the most was a speech and Q&A with none other than Titan Gilroy, owner of Titan American MFG. For me, Titan is a true American success story that exemplifies the spirit of manufacturing excellence, and the drive to constantly improve our process. The desire to continually learn and adapt to an ever changing industry. And Titan shares his motivation and knowledge with the world via Youtube, as well as other appearances such as this. Having Titan speak from their booth was, in my opinion, a wise choice to connect to a broad demographic of manufacturers, big to small, and young to old. I made sure to get a signed poster for our team as well.

imts-2

This one was a split decision. Even before heading to IMTS, I had heard that Mazak had something special on the horizon. And upon arrival, I quickly heard that DMG Mori was also following the same path. So a visit to each booth was a must.

I remember back in 1997 I attended a tool show in Houston where I was first exposed to 3D printing. The concept absolutely blew my mind. But as additive manufacturing began to gain more attention, I heard the rumbling and grumbling of people in my industry doubting its validity in the manufacturing environment. As time passed and the technology expanded, people on the manufacturing floor began to fear that 3D printing was progressing so much that they believed it would end the need for machinists, forcing us into an early retirement, and the end of a career field. So my visit to both the Mazak and DMG Mori booths was a calming to all the fears of the past, as I witnessed the first two machines to meld additive manufacturing with subtractive manufacturing. Each company presented a mill center capable of CNC milling combined with 3D metal printing. These two machines are not eliminating machinists, but instead, redefining machining, just as the CNC machine did to conventional manual machining. Barriers are being broken down, and new possibilities are being realized. Parts that were previously impossible to make are now a reality. Material requirements are being decreased. These two booths excited me about the future of our industry, and I left envisioning what will be possible tomorrow.

imts-8

This booth made my list, in spite of my previous bias. I had seen internet postings about this relatively new company, and their milling machines. I quickly formed an uneducated opinion that they were selling snake oil. So, when I visited their booth I was bound and determined to prove to myself that they were selling a toy, not a tool.

I could not have been more wrong. Yes, it hurts a bit to admit I prejudged Datron, but I also feel it is necessary to set the record straight. Here is a new company that took the basics of what a milling machine does, and threw the standard out the window to design something entirely new and fresh. From the 6hp spindle turning 60,000rpms at a feedrate of 866ipm, to the ethanol coolant mister, to the most innovative vacuum chuck I have seen yet, they did not fail to impress me. Add in a huge touch screen control that has no physical keyboard, and a camera based part zero system that makes setups almost instantaneous. Have they created the perfect mill? No. The machines still have a rather short Z stroke, and a very limited tool diameter capability. But what they have created is totally outside the box from traditional mill design. I do think their asking price on these machines is a bit high, but all things considered, I was pleasantly surprised with this company. Way to go Datron. I am now a big fan.

When we speak of 3D printing, it is often difficult for people to envision a legitimate use for it. And most people instantly think of the tiny desktop printers that make tiny knick knacks to display. We at re:3D envisioned something bigger. A machine capable of building real world useful items and accessible to the masses. And then there is Oak Ridge National Laboratories. They took that concept to a whole new level. Upon entering their booth my eyes caught not only a Jeep on a completely 3D printed chassis, but a Cobra as well. Both are fully functional full sized vehicles. This was real world implementation of fused filament printing at it’s finest. But then it got better as I saw the office right behind them… which was also 3D printed. Yes, a full sized printed office structure. When you talk about making a big first impression, this should be the litmus for said impression. I am really looking forward to what they do next.

For people involved in additive manufacturing, Stratasys is a household name. They have been making impressive machines for years. Although a bit pricey, they are a solid company with a quality product and great features. At their booth this year, we got a chance to see a new printer utilizing a 4th axis rotary as well as a multi-axis printhead. This platform allows them to print parts without the worry of support material or overhang, and, less importantly, is mesmerizing to watch. Gone is the concept of extruding layers in a single plane.

I am told that they had a printer there that was capable of printing infinite length prints as well. I wish I had seen that and could report on it as well, but I apparently had tunnel vision aimed in on the multi-axis platform the entire time we were in their booth. Sometimes you miss stuff. It is a huge show. Even without seeing that printer, I felt this booth deserved serious props for WOW factor.

This one makes the list, not only for the Fanuc booth itself, but also for the massive presence their product had in so many other booths, including the IKO booth we were showing Gigabot in. Yes, if you have been in manufacturing long, you know who Fanuc is. From CNC control systems to robotic arms and delta systems, Fanuc has their hand in everything. Our booth featured a delta style part sorter that used IKO bearings in its assembly. Numerous other booths featured Fanuc robot arms performing various tasks involved with their product. And then there was the Fanuc booth. We witnessed a completely automated production line of mills running swag parts. Robots loading mills for first op, unloading, flipping, and reloading for second op, and then unloading, washing, and delivering parts as a finished product. All aspects of the line were Fanuc products. A fantastic display of the large variety of products they offer. And, of course, I cannot fail to mention the one item that had people talking all week. A massive robotic arm that was holding a brand new Fanuc Yellow Corvette, and manipulating the car all over the back corner of their booth. Yeah, that was a pretty sweet display of dexterity and power.

A teamed up booth much like our own, the Solidcam booth was hosting MachMotion for this show. Solidcam is a machine programming software that runs native in Solidworks, and MachMotion is a control company who has their hands in many projects. For the Solidcam booth, they were showing a MachMotion mill control that ran Solidworks and Solidcam at the control, allowing on floor programming in a design environment. Solidcam was also giving away a pretty nice 4 wheel UTV at their booth, which they refused to draw my name for. But I won’t hold that against them. And MachMotion also had one of their control systems on an engraving machine in another booth that made me geek out for a bit. The MachMotion control allowed us to text the machine from any cellphone, at which point the machine would ask us what text we wanted to engrave. Reply with a line of text, and the machine would process our request by engraving our requested text on an aluminum thumb drive. Custom made swag is always the best swag.

imts-3

We cannot make this list without giving a shout out to the company who made it possible for us to attend IMTS in the first place. IKO welcomed us into their booth as a display of their linear rail system at work. We shared space with a couple other machines sporting IKO equipment. But the show winner for IKO… the machine that stole the limelight all week long… a simple claw machine built by a couple IKO engineers and salesmen, utilizing IKO ball screw systems. Loaded with IKO swag such as flashlights, notepads, and Rubik’s Cubes, the line to play the IKO claw machine stayed full all week. We may have gotten a bit jealous that it got more visibility than Gigabot, but in reality, we lined up a few times to play as well. Hey, it was fun.

For Inspiration and Recognition of Science and Technology – An organization founded by Dean Kamen, had a huge presence on the C hall, and brought in students from 38 states and several countries to be a part of IMTS. This organization also had several activities planned for the students, which helped inspire these young minds to move forward to become the designers and manufacturers who will shape our future. I have to list them as my number 1 pick, as this organization is building our future, and helping our next generation to dream bigger, and reach beyond the stars. Thank you for all that you do.

Happy Printing!

Steve Johnson

Blog Post Author

Improving Your Manufacturing Equipment with Gigabot

Below is Gigamachinist Steve Johnson’s second blog on 3D printing for re:3D’s Gigabot fabrication shop.

Improving Your Manufacturing Equipment with Gigabot

by Steve Johnson

Sometimes, you have a product that works, but there is a way to improve it to make it work better.

A few months back, we added a 4th axis rotary table to our mill at re:3D. It has allowed us to begin to capitalize on the full milling envelope of our machine, allowing us to mill as much as 8 times more parts per program cycle, and reduced the need for multiple operations on some parts.

We quickly found a weak spot in our rotary table though. The table was designed without any seals to prevent shavings from entering the gearbox. As a result, we have had to disassemble the rotary table twice now in order to clean out aluminum shavings that had bound up in the worm gear. We decided this time, that we needed to find a solution for this issue, to keep our mill up and running longer between needed maintenance.

Once we had the rotary table apart, we found the area where the shaving were getting into the gearbox. There is a groove in the back of the table section, and a boss on the rotary body that rides inside the groove. But the fit between the two, once assembled, is very loose, and will allow anything smaller than .1 of an inch to pass through. Obviously we needed some type of o-ring, or gasket in order to seal this gap, without creating unwanted friction.

A few quick measurements, and Matthew headed to the computer to create a short profile on Solidworks, that would fill the gap. Using Ninja semi-flex filament from www.ninjatech.com, we made a first print of that profile on Gigabot, and took it to the shop to test fit. It was a little tight, so back to the computer to adjust a couple dimensions, and another short profile print. Once we had the right fit, we revolved the profile into a full circle on Solidworks, and 15 minutes later, we had a custom made flexible gasket that seals the rotary table from chips without creating drag on the axis motor.

gasket4

We found a problem. We imagined a solution. And with Gigabot, we made it a reality today.

gasket5

Now we are back up and running so that we can manufacture the parts for YOUR new Gigabot.

Happy Printing!

Steve Johnson

Blog Post Author

The Pros & Cons(iderations) of Toilet-sized 3D Printing

3D printing large objects is a very rewarding experience; it is also an introduction to a magnified set of challenges that a user will face when designing and realizing his or her prints. To keep things simple, we’ll review some of the pros and cons of large-scale printing in a list format.

Pros:

Human Scale

The driving force behind Gigabot being so large was printing objects at a Human Scale. But what exactly does that mean? In our view, Human Scale means items that are sized to be useful and helpful in everyday life. An example of this is a compostable toilet, which has been one of the prints that we’ve always considered to be of utmost importance. At this scale, furniture, as seen below, can be printed. Tables, lamps, and even low cost-prosthetics all fit into the idea of Human Scale Prints.

Practical Functionality

In addition to the Human Scale benefit of large format 3D printing, Practical Functionality is also a key aspect. For example, to scale models of engine parts, hand-held devices, toys, newly designed mechanical components, and so many more items are useful for sales and visualization purposes. When the model is smaller than the real-world equivalent however, it is difficult to fully appreciate tolerances, and nuances in design. With a large volume for printing, items that are full sized can be fabricated and used for fit-checks, actual function, and testing purposes.

Strength

With larger prints that are a single object, greater strength can be achieved. This is due to the perimeters encapsulating the entire object and passing loads throughout without disruptions in the path. The Infill that is inside also assists in taking the load and spreading it through the entire print and thus reducing stress concentrations. This allows prints to be very strong in compression, and to a lesser extent, tension. Depending on the infill percentages used on a print, the forces necessary to cause damage may be well in excess of what an average adult could exert.

No Assembly Required

There are many instances where 3D printed objects are glued, melted, or mechanically held together to form larger pieces. One of the wonderful characteristics of having the ability to print in large format is that pre- and post-processes such as those can be eliminated. When printing smaller pieces for an item that will be assembled, there may need to be design work to add pegs and keys assist pieces in locking together. On the backend, using adhesives and other methods are time consuming and not always simple. The ability to fabricate a large object in one go helps to simplify the manufacturing process and save time.

Expanded Creativity and Capability

Art is on area where 3D printing shines when scale in involved. So many more beautiful details can be expressed or replicated in a piece that is large. For example, there have been several artists who have made pieces over 20 feet long by incorporating 3D printing into their skillset. Sculptures of dinosaurs with incredible skin detail have been cast by a lost wax process after using 3D printed pieces as the base of the work. (A process, I like to call Lost Plastic instead!) Full size busts of persons have been printed as well as spaceship simulators and functional robots. The possibilities for creating new items is endless!

Cons(iderations)

Importance of Bed Leveling

Keeping the bed of a 3D printer level is one of the most important aspects of getting a piece to be made well. Without proper leveling, corners may warp, objects may not stick to bed, and objects may have poor surface quality. This is true for any size printer, but it becomes more important when a larger surface is used. Imagine a 5 degree angle from one point of a bed plate to the other. If the bed plate was 15 inches long, the difference in height on the other side of the bed plate would be 1.31 inches. If the bed plate was 30 inches long, that vertical differential is now double at 2.62 inches which is much more dramatic. It demonstrates the importance of minimizing any angles and ensuring that the bed plate is as flat as possible

Learning New Slicing Profiles

One of the most complicated parts of 3D printing is learning about all the settings that are involved with making an object. I’ve listed several here, although there are many more that can be adjusted for any print. Learning how to adjust these setting for new sizes takes a little bit of practice and can make all the difference between a nice print and a great print.

Number of Solid Bottom and Top Layers

With smaller prints the number of Solid Bottom and Top Layers is typically two or three, depending on the infill percentage. Usually a decent number is about 15% which gives a nice structure inside the print and means that the solid layers will not sag very much when being printed on the infill. With larger prints, however, infills can at times be down to 1-2% leaving up to an inch between supporting infill. The first solid layer will usually droop between these sections and the next layers may not have good finishes. Increasing the number of solid layers will allow the print to have a much nicer finish as the bottom layers support the ones after them.

Number of Perimeters

The number of perimeters typically also increase with an increase in print size. Having this number go up allows a print to be stronger and more rigid. It also allows for more surface area for the higher layers to print on. Where there are steep angles, this helps to provide a betters surface finish.

Infill Density

As mentioned before, infill density typically decreases when print size increases. This help in several ways: it reduces the final weight of the print, reduces the amount of material used, and reduces the print time. It is also not necessary to have such a high infill when the number of perimeters and solid layers has gone up, as much those characteristics help to strengthen the piece.

Layer Height

Layer height is one of the settings that is changed when trying to affect the surface finish. However, it can also be used to decrease print times. Doing so will lower the print quality, but not by a noticeable amount. Typically most printing is set at a default layer height of 300 microns which produces smooth surface finishes, but the layers can be seen. Most folks don’t mind this finish as it is a nice compromise between time and quality. However, for rough prototyping, or surface finishes that will be post-process, the layer height can be increased to save time.

Support Criteria

Since overhangs may be much more pronounced in larger models, there will be new instances where support may be needed where it was not needed in a smaller model. Luckily, most slicing software is smart enough to calculate where support is necessary, so this does not impact the user much, but it is an aspect to take into consideration when looking at material usage and print times.

Much more Support

As mentioned previously, there may be instances may be necessary on larger models where it may not have been necessary on the same smaller model. For this reason, much more support is typically seen on larger models. Not only for features, but also due to the size of the print itself. A very tall print with many overhangs would require significant support structure to make sure it prints well. This will also impact the post-processing time as there will be more material to clean off.

Longer Print Times

Imagine a 1 inch cube took about 10 minutes to print. Using the same settings, if that cube was made to be 2 inches, it would take (at a minimum) 8 times longer to print! The time that the nozzle would have to travel each side would double and the number of layers needed would double which would can be expressed mathematically as 2 x 2 x 2 = 8. Of course, settings can be changed to decrease infill, change layer heights, change the number of perimeters and solid, layers to help make these difference smaller, but the curve would follow the trend that as a print gets bigger, the longer it will take to complete. User are typically exposed to prints that are a few hours long on smaller printers, but on lager ones, print times can span days! That’s a major difference!

Potential of Running out of Filament

A lot of spools come in 1 lb or 1 kg quantities. This is sufficient for small prints, but can be consumed on the first few layers of a larger print! The largest spools we stock at re:3D are 15 lbs. These massive amounts of filament allow us to print very large items without much thought with regards to running out of filament. It still does happen however, and it is one of the things that must be considered when starting a multi-day print. Since our software does allow for filament change-out, it is not a big ordeal to swap filament mid-print, but it does slow down the production process, and it needs to be planned for. As prints go into ever-longer territory, the potential for running out of filament is one of the manufacturing spaces that must be considered.

Ernie travels w/Gigabot to share his insights at SXSW, the Austin Mini Makerfaire and UBM Minnesota

We’ve explored some of the benefits and considerations of 3D printing large objects. While the list is by no means exhaustive, it does provide an insight into some the areas where new learning is required and it definitely showcases the great possibilities that are unlocked by an expanded creative volume. Hopefully this provides some insight on what is involved with large prints and we’d be happy to hear your feedback and answer any questions.

Catch you on the next layer!

~Type 1 Ernie: re:3D Ops Man

Ernie Prado

Blog Post Author

Material Testing & Heat Treating Natureworks PLA 3D850

The notes below reflect our new open-source filament testing protocol. After evaluating the printability of Coex PLA Prime/PLA 3D850 on Gigabot, I decided to experiment with a heat treatment process.  

Manufacturer:  Coex    

Filament Name:  PLA Prime

Color Tested:  Natural

Date Received: 6/10/2016

Date Tested: 6/16/2016

Ease of use:   Excellent

Appearance:  Clearer than regular PLA

Size consistency: Great

Color consistency: Great

Odor: None

Manufacturer’s recommendations

  • Speed: none given mm/s
  • Temperature: has a higher MFI so should be able to print slightly cooler than regular PLA C
  • Infill %: any
  • Layer Height: tested at 0.3175mm
  • Printer Used: GB # 004
  • Print temperature used: 200 C (nozzle) /55C (bed)
  • Speed used: 60 mm/s
  • Layer Height:0.3175 mm
  • Infill: 15%
  • Odor: none
  • Type(s) of print surface used: Print n Z

FINDINGS

Bed adhesion (1: terrible-5: fabulous!)

   5

Stringing (1: lots -5: none!)

   4

Shrinkage (1: lots-5: none!)

   4: None!

Interlayer adhesion (1: terrible-5: fabulous!)

   4: Perfect!

The technical datasheet for the pellets that the filament is derived from can be found here.

I suspect that most, if not all the temperature resistant PLA uses the 3D850 as its base. There is very little information out there for recommended heat treat methods.

Here are a couple pictures from a recent experiment I did with Natureworks PLA 3D850 that claims increased crystallization with heat treat. I used a wall oven to heat treat the parts at 200F but please note that I did not verify with a second thermometer.

The three parts on the top row are not heat treated and the three on the bottom row are heat treated at 200F for 15 minutes. I placed the parts into a cold oven and let the oven heat to temp and maintained temp for 15 minutes then removed the parts to air cool. The color change and warping happened while the parts were in the oven not after they were removed.The top two parts were made with one perimeter (0.48mm width). The center two are two perimeters and the bottom two have three perimeters. Interestingly enough the part with two perimeters warped the least. I also heat treated a couple objects with more structural integrity and found little to no warping (small 5″ Moai statue and the re3D logo placard).

I think the next steps are to control the rate of heating to see if the amount of warping can be reduced. Would love to hear other’s experience with heat treating the PLA 3D850.

Further information about annealing PLA is here: http://www.4spepro.org/view.php?article=005392-2014-03-28
 
Quesions or Comments?
  • Share your thoughts on the materials section of our forum:
    • https://re3d.zendesk.com/hc/en-us/community/posts/206087383-Natureworks-3D850
 
Happy Printing!

Matthew Fiedler

Blog Post Author

Designing a Transformer Toy

The great thing about designing a huge 3D printer is being able to support your friends & family bringing their ideas to life. Below, Nathan, the nephew of Chief Hacker describes how he designed this awesome transformer toy that was printed on Gigabot in one print job.

This transforming robot was based on transformers kids toys. I had played a lot with Transformers toys in the past and desired to make my own design. The concept of pieces held together by elastic was inspired by some transforming wood toys that I had seen on the internet. Before making this design I had experimented with making robots figures similar in concept out of cardboard and rubber bands.

~Happy Printing!

Nathan aka na gr

Blog Post Author

How My Gigabot Fixed the Power Wagon

One of the realities of owning an old car is that they tend to wear out with time. In my case I am the fortunate owner of a 1949 Dodge Power Wagon that was originally purchased new by my grandfather Leo.

It happened last week when I first started the engine that I smelled the unmistakable odor of leaking fuel. Upon a little investigation I found the fuel bowl gasket had given up it’s ghost and was no longer providing an effective seal between the fuel pump and the sediment bowl. After calling a few automotive parts stores it quickly became evident that parts for a 1949 Dodge were not kept in stock.
 
Lucky for me and my normally trusty Power Wagon I have a Gigabot 3D printer and a stock of TPU filament from Fenner drives (https://ninjatek.com/) that I hoped to use for manufacturing a suitable replacement fuel gasket. A quick investigation of the chemical resistance for the TPU filament showed an “A” resistance to gasoline and I quickly set off to create the CAD model for the simple gasket. A few minutes later I had the Model processed for 3D printing using Simplify3D and was pressing the Print button on Gigabot.

The gasket was printed in under five minutes and I felt a great sense of accomplishment as I installed the gasket and started the old truck. No more leaking fuel and just for safe measure in another five minutes I had made myself a spare!

~Happy Printing

Matthew Fiedler

Blog Post Author

A Beginner’s Guide to Scaling Your Favorite Print

Odds are if you have a Gigabot you've discovered that the only thing better than 3D printing your favorite open source model, is printing it as big as possible!  In honor of Independence Day, we've scaled an impressive scan of a Statue of Liberty to almost two feet tall, while highlighting a couple of tricks we've learned along the way:).

Step 1: Find Your File

Knowing I wanted to print something patriotic, I conducted a quick search for “statue of liberty” on Yeggi, which yielded multiple results spanning several 3D file sharing platforms.  The Statue Of Liberty Bronze Model by jerryfisher quickly caught my eye, and being a huge Sketchfab fan, I clicked on https://skfb.ly/CONx. The impressive scan of a bronze Statue of Liberty had been downloaded over 200 times and the creator has produced several other awesome files, giving me confidence the file was print worthy.  I was also pleased to see the file was available for sharing through redistribution through Creative Commons licensing.

Step 2: Optimize for Large Scale Success

Once I downloaded the file, I opened it in Simplify3D, our preferred visualization and slicing tool. While centering the file on the build plate and inspecting the print, I noticed the bottom of the design had a slight curve. As I desired a level base to better support the future large statue, I borrowed a trick from Chief Hacker’s cheatsheet.  By lowering the print slightly into the bedplate until the upper part of the coven curve hit the platform, I was able to “cut off” the curved portion of the bottom, rendering it flat after slicing.

Due to the multiple overhangs (including Lady Liberty’s arm), the design required signifiant support material. Based on experience, I recalled that support material over 12 inches could be a little unstable, but after consulting with Chief Hacker, I learned this could be overcome by adding a -45 degree support angle in the support tab of Simplify3D. By alternating the angle, the supports would have more structure and be less wobbly.  I also decided to add a process setting to decrease the speed when printing the crown in order to give the tips more time to cool after seeing some prior fails with similar geometry.

IMG_3109

With these minor manipulations, I was ready to slice and get started! Two filament swaps later I was loving the out-of-filament detection feature on Gigabot Generation 3.0 and diggin my very own Statue of Liberty. Admittedly, it took a little time to remove the extensive support material (and I broke half of a piece of the crown), but the end result was more than worth it!

IMG_3114

Step 3: Personalize Your Masterpiece

The only thing missing was Liberty’s iconic color, which I sourced after a couple of trips to local hardware stores. Sea Mist Rustoleum metallic spray paint did the trick and resulted in a great finish! We’ve had the most luck using spray paints intended for plastic when post-processing PLA, but find dry times between coats need to be extended (or at least when spray painting in the Texas humidity). Also, be sure to remove all the support material before applying a coat of paint as all support artifacts stand out when coated!

We love having our own Lady Liberty in our Austin office.  Huge thanks to Jerry Fisher for sharing this fabulous Statue Of Liberty Bronze Model licensed under CC Attribution!
Want to download the file? Check out https://skfb.ly/CONx

~Happy Printing!

Samantha snabes

Blog Post Author

@samanthasnabes