Everyday we see logos wherever we go. Whether it’s a billboard, flyer, or even a blimp, there’s a good chance it has a logo. One place logos are appearing even more is on 3D prints. 3D printing makes it possible to design and print a variety of objects with a logo stamped right on it. Although it sounds complicated to turn a logo into a 3D print, the process is easy!
You may have seen our previous tutorial on turning a logo into a 3D print, but over the years we’ve come up with even more tips to help your logo shine. In this updated tutorial, you’ll learn how to take a logo from an image to a 3D print. In this demonstration we’re going to use Rhinoceros 3D, but there many tools including SolidWorks, Tinkercad, Fusion 360, or Onshape that could achieve a similar result.
Before you begin, you will need a vector file of your logo (usually in .ai, .dxf, .svg, or .eps format). If you don’t have a vector file, you can convert your raster file (.jpg, .png, .bmp) using an editor like Adobe Illustrator or Super Vectorizer. Online converters exist as well that automatically take your raster image and turn it into a vector image. In the tips and tricks section later, we will show you a third way to convert a raster file directly in Rhinoceros 3D!
How to Make a 3D Logo
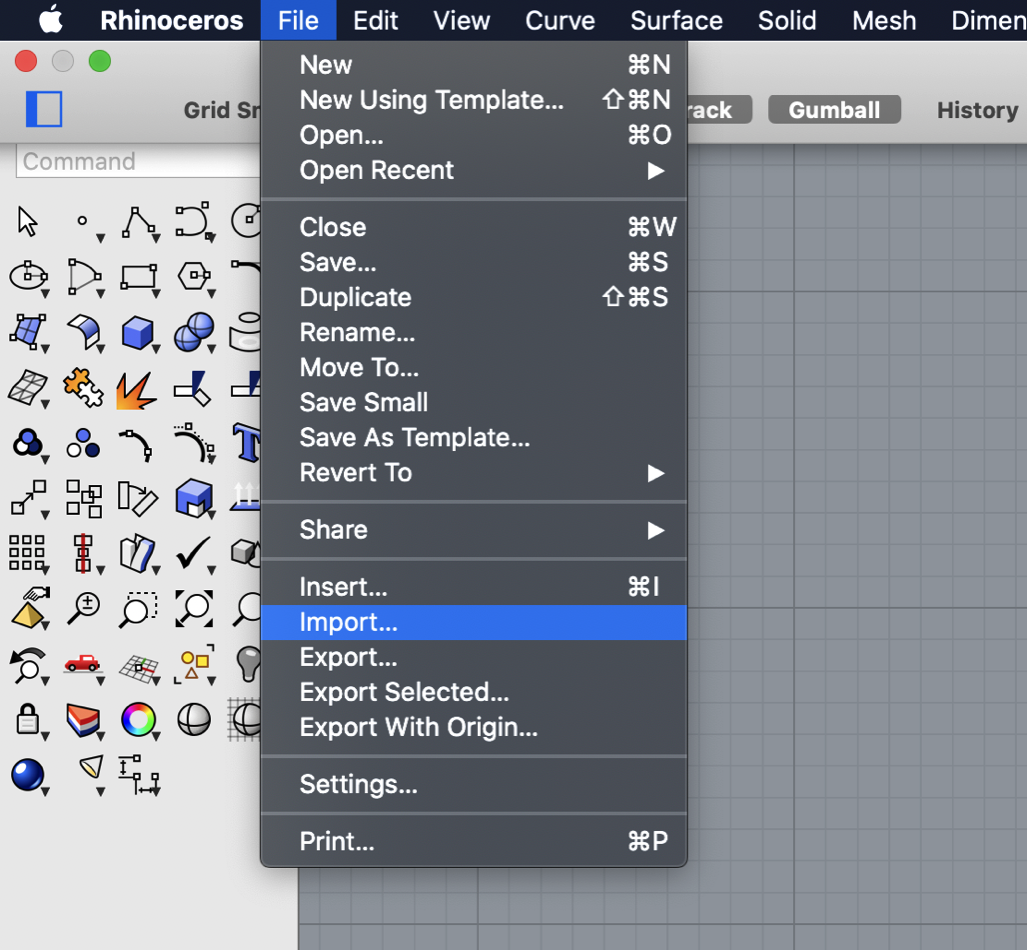
Once you have your vector file, start Rhino 3D (or your CAD software of choice) and import your vector file. If your logo is flipped or upside down, you can use a simple mirror command to reorient the logo. Sometimes a vector file will leave a border when imported. Be sure to delete these border lines too! What you should be left with is the logo design you want to use.
Next, choose a shape you want your logo to live in. This can be whatever you want, so don’t be afraid to get creative! In our example, we are housing our re:3D logo inside a circle. Once you have your shape finalized, extrude it outward. The extrusion length should be around half to two-thirds the height of your logo. We will use this shape later to make a platform for our logo.
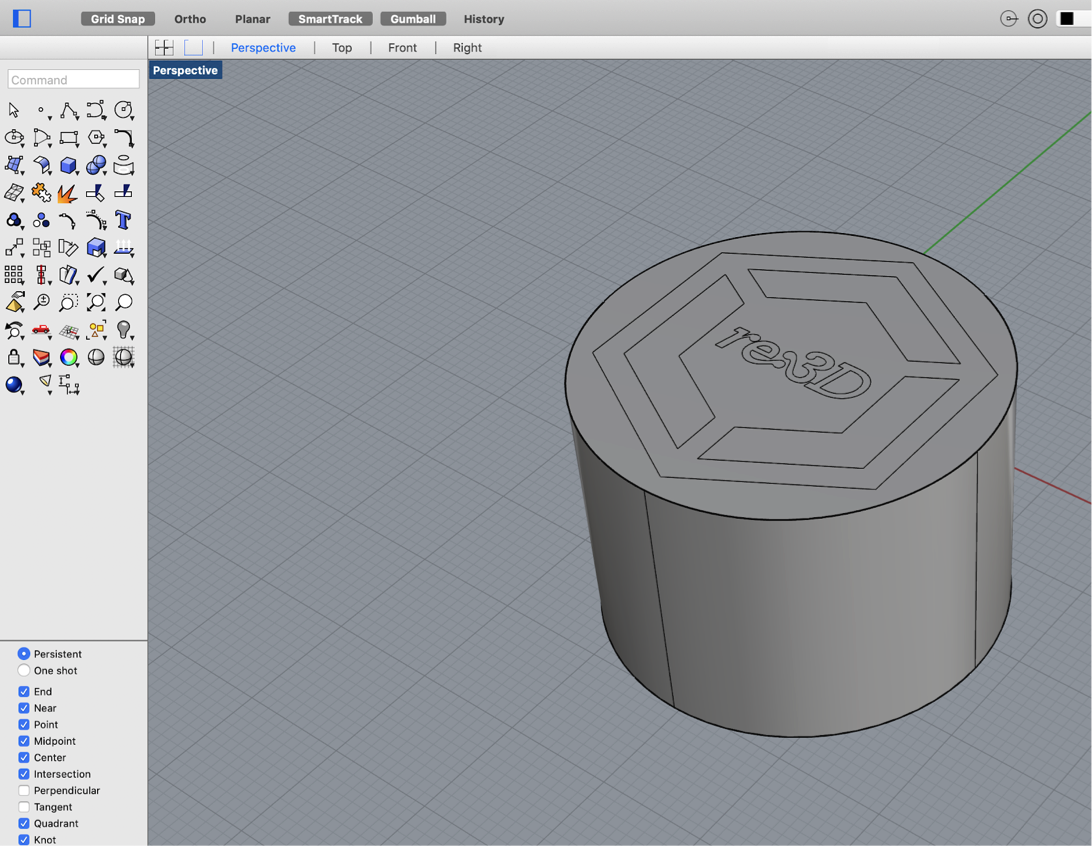
With your shape extruded, you now want to make your logo pop! You have a choice here, you can either extrude your logo outward or cut your logo inward. In our example, we extruded the re:3D logo out of the cylinder’s face. Be sure you don’t cut or extrude too far, or your logo will be hard to see on the final model. The example we have is a good distance for most logos if you’re unsure.
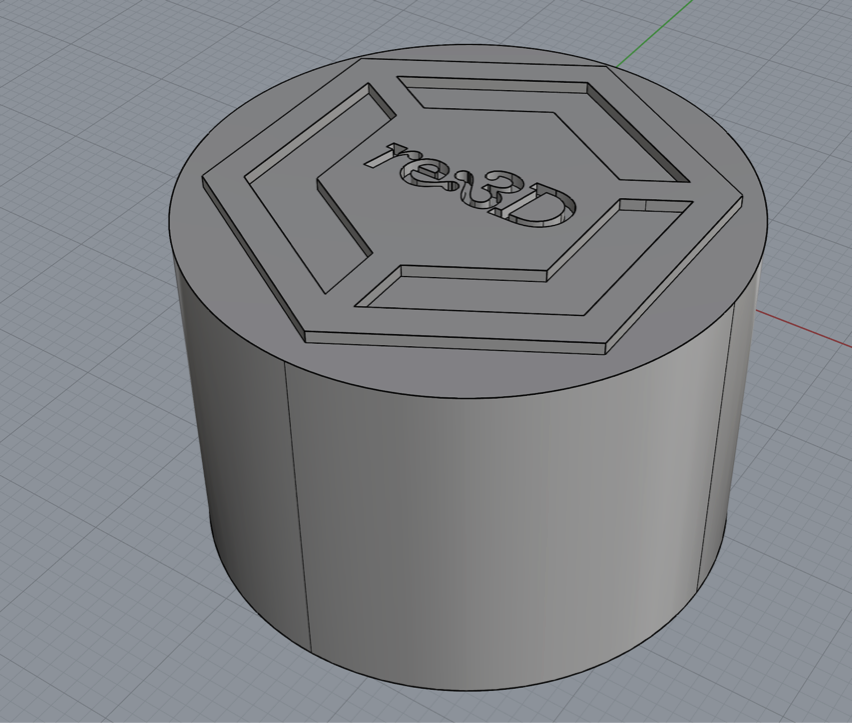
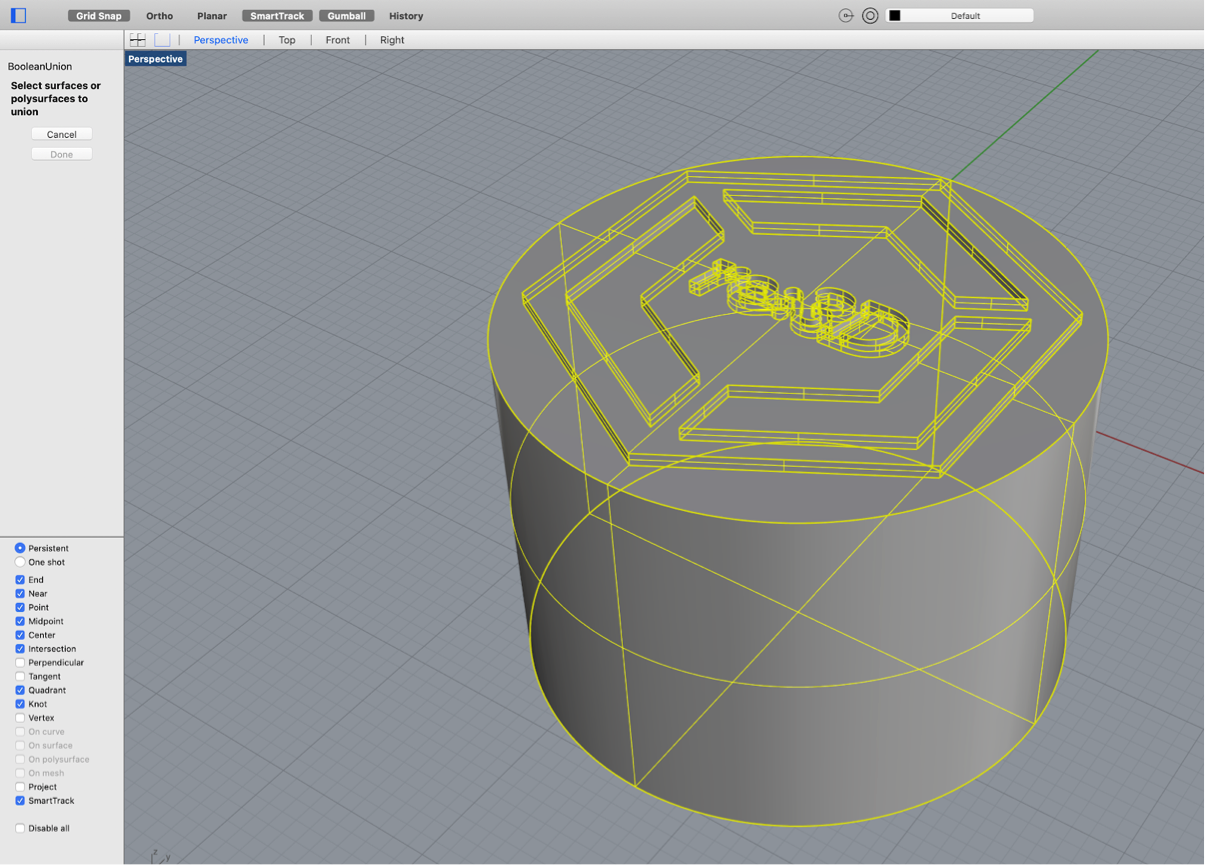
You now need to make your model solid. Although your logo may appear solid on screen, 3D slicing software will get confused if we don’t join together and solidify all the parts of our model. To join everything together, we perform either a boolean union or boolean difference to remove all the overlapping borders and make our model solid. This is important: if you extruded your logo from your shape, perform a boolean union. If you cut your logo into your shape, perform a boolean difference. Mixing these up could ruin the work you’ve put in so far!
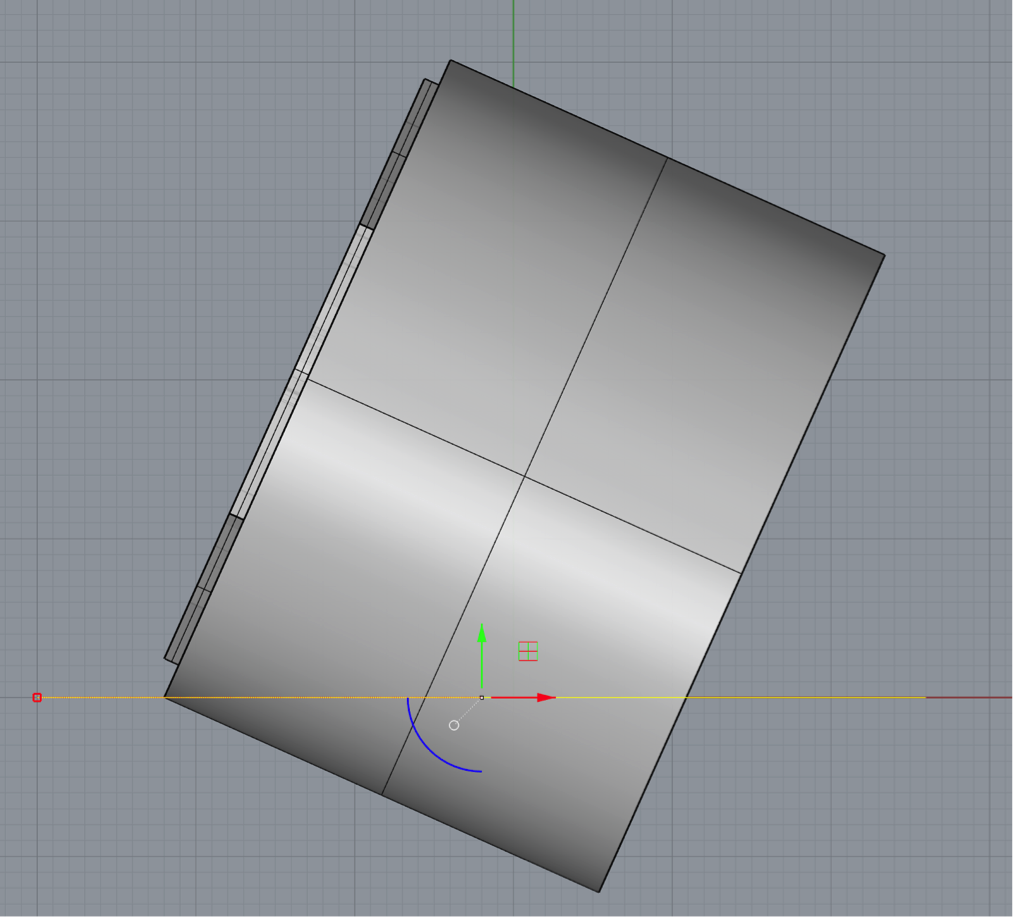
Next, you need to rotate our shape how you want it to sit on a table. Rotate the model so the logo is facing slightly upward. Not only does this make it easier to see your logo, it also helps eliminate overhangs once you print it. Once you’ve positioned your logo how you would like it, look at your logo from the side and draw a horizontal line. Use Rhino’s trim command to cut through your shape and the cap command to seal the hole. For some CAD software, this step may look different.
You now have the basic shape of your tabletop logo! From this point, you can get creative and slice more off your model using the same trim and cap method. Depending on the design of your logo, you can use design features to support your model. For example, we use the shape of the re:3D hexagon to support our final model. Once you’re satisfied with your logo design, export it as a .stl file, slice it in your slicing software, and print it!
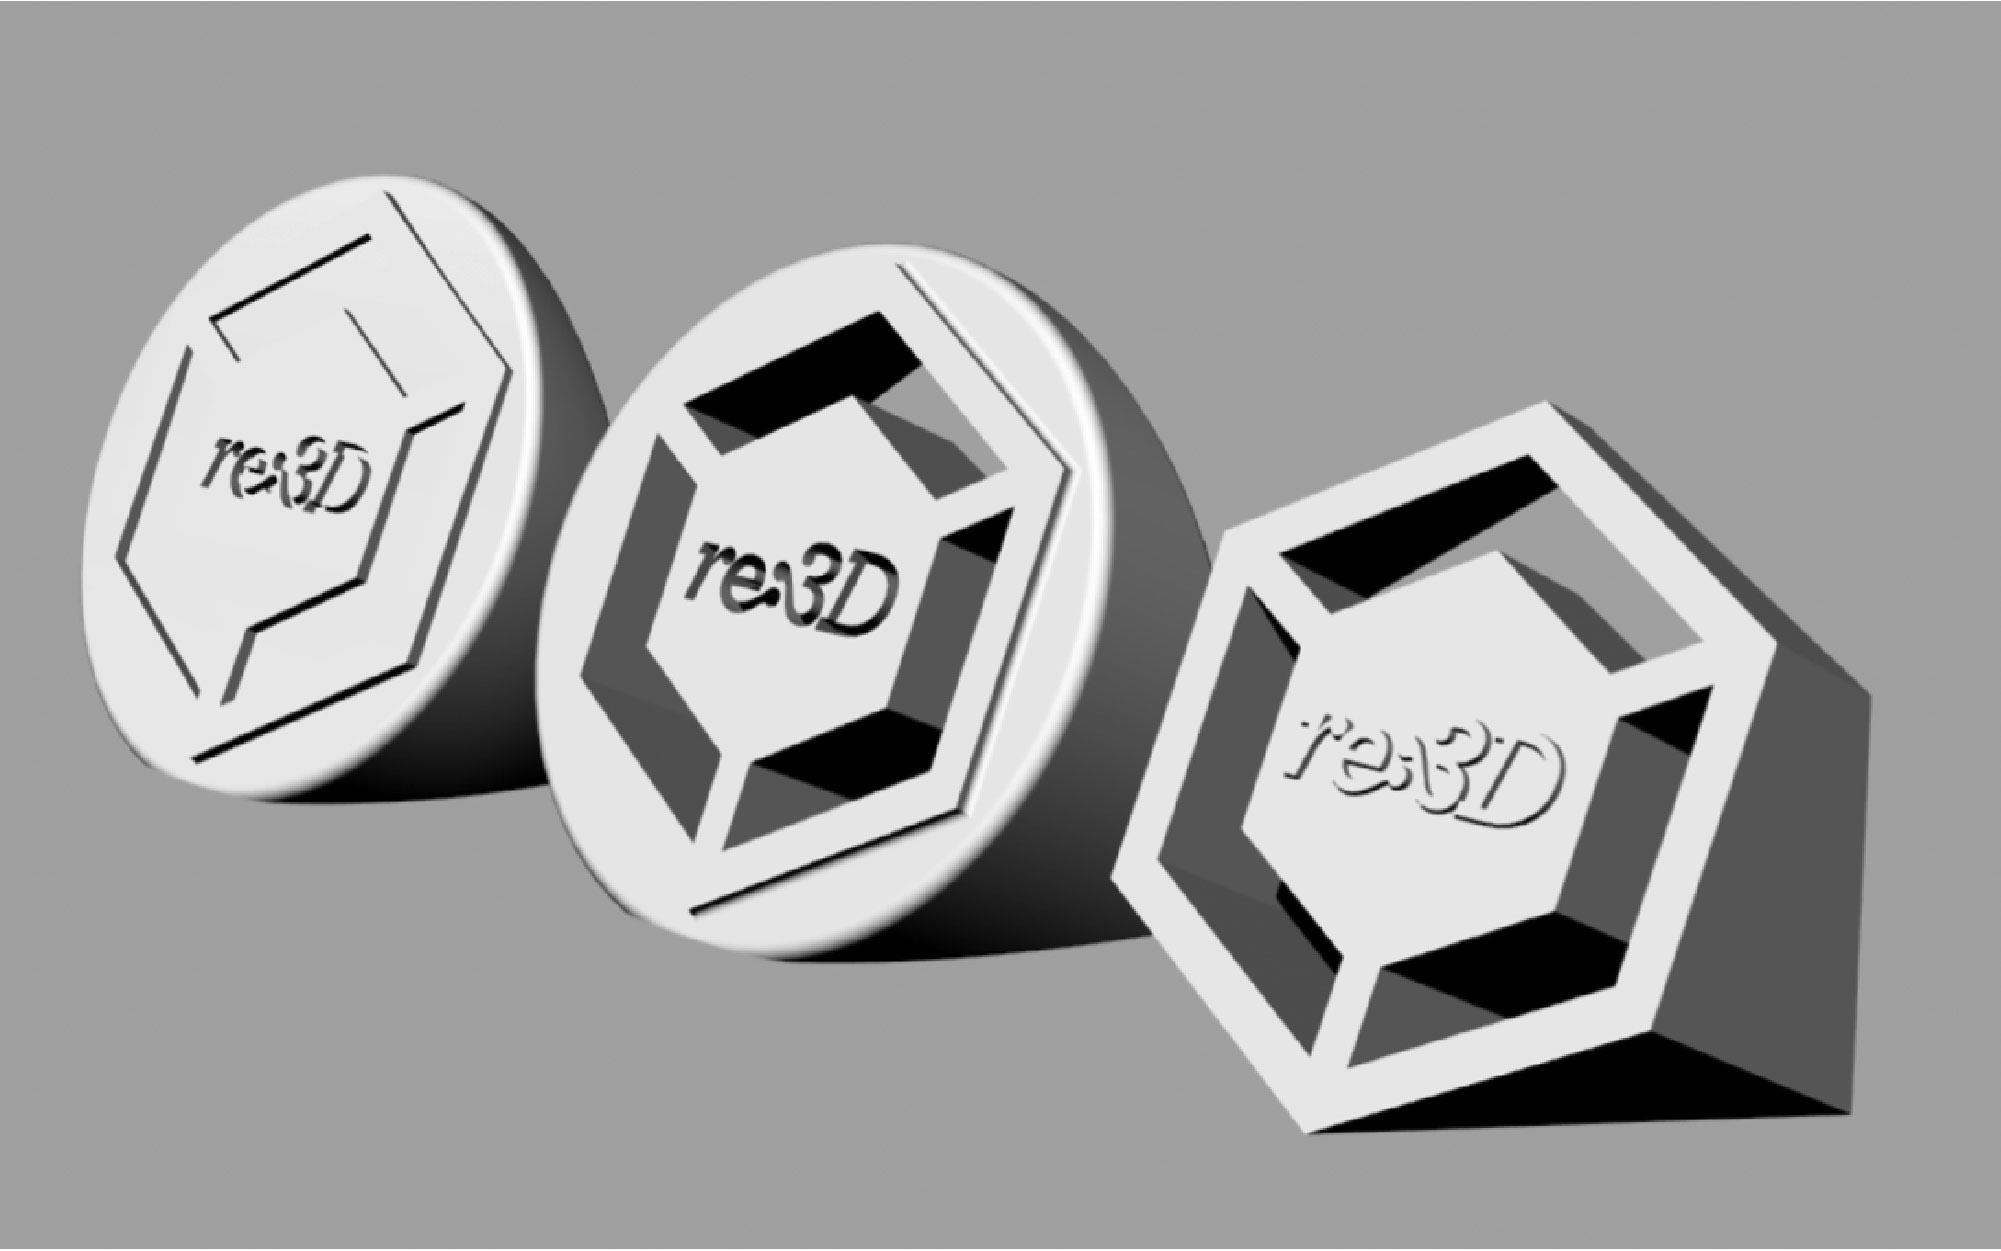
Here are a few tips and tricks we found when designing a logo print:
- If you don’t have a vector file, you can use your CAD software to fix this! In Rhinoceros, import your logo by going to View → Background Bitmap → Place. This inserts your image on the plane and lets you trace out your logo using a sketch!
- If you want your logo to sit up straight like a sign, extrude or cut your logo at an angle to eliminate any overhang issues.
A video of the process is also available below:
Still unsure about making your own 3D printed logo or looking for a more complicated design? Don’t worry, we can design and print your logo for you!
Happy Printing!
Mike battaglia & brian
Blog Post Author
