re:vealing re:3D’s Houston Headquarters

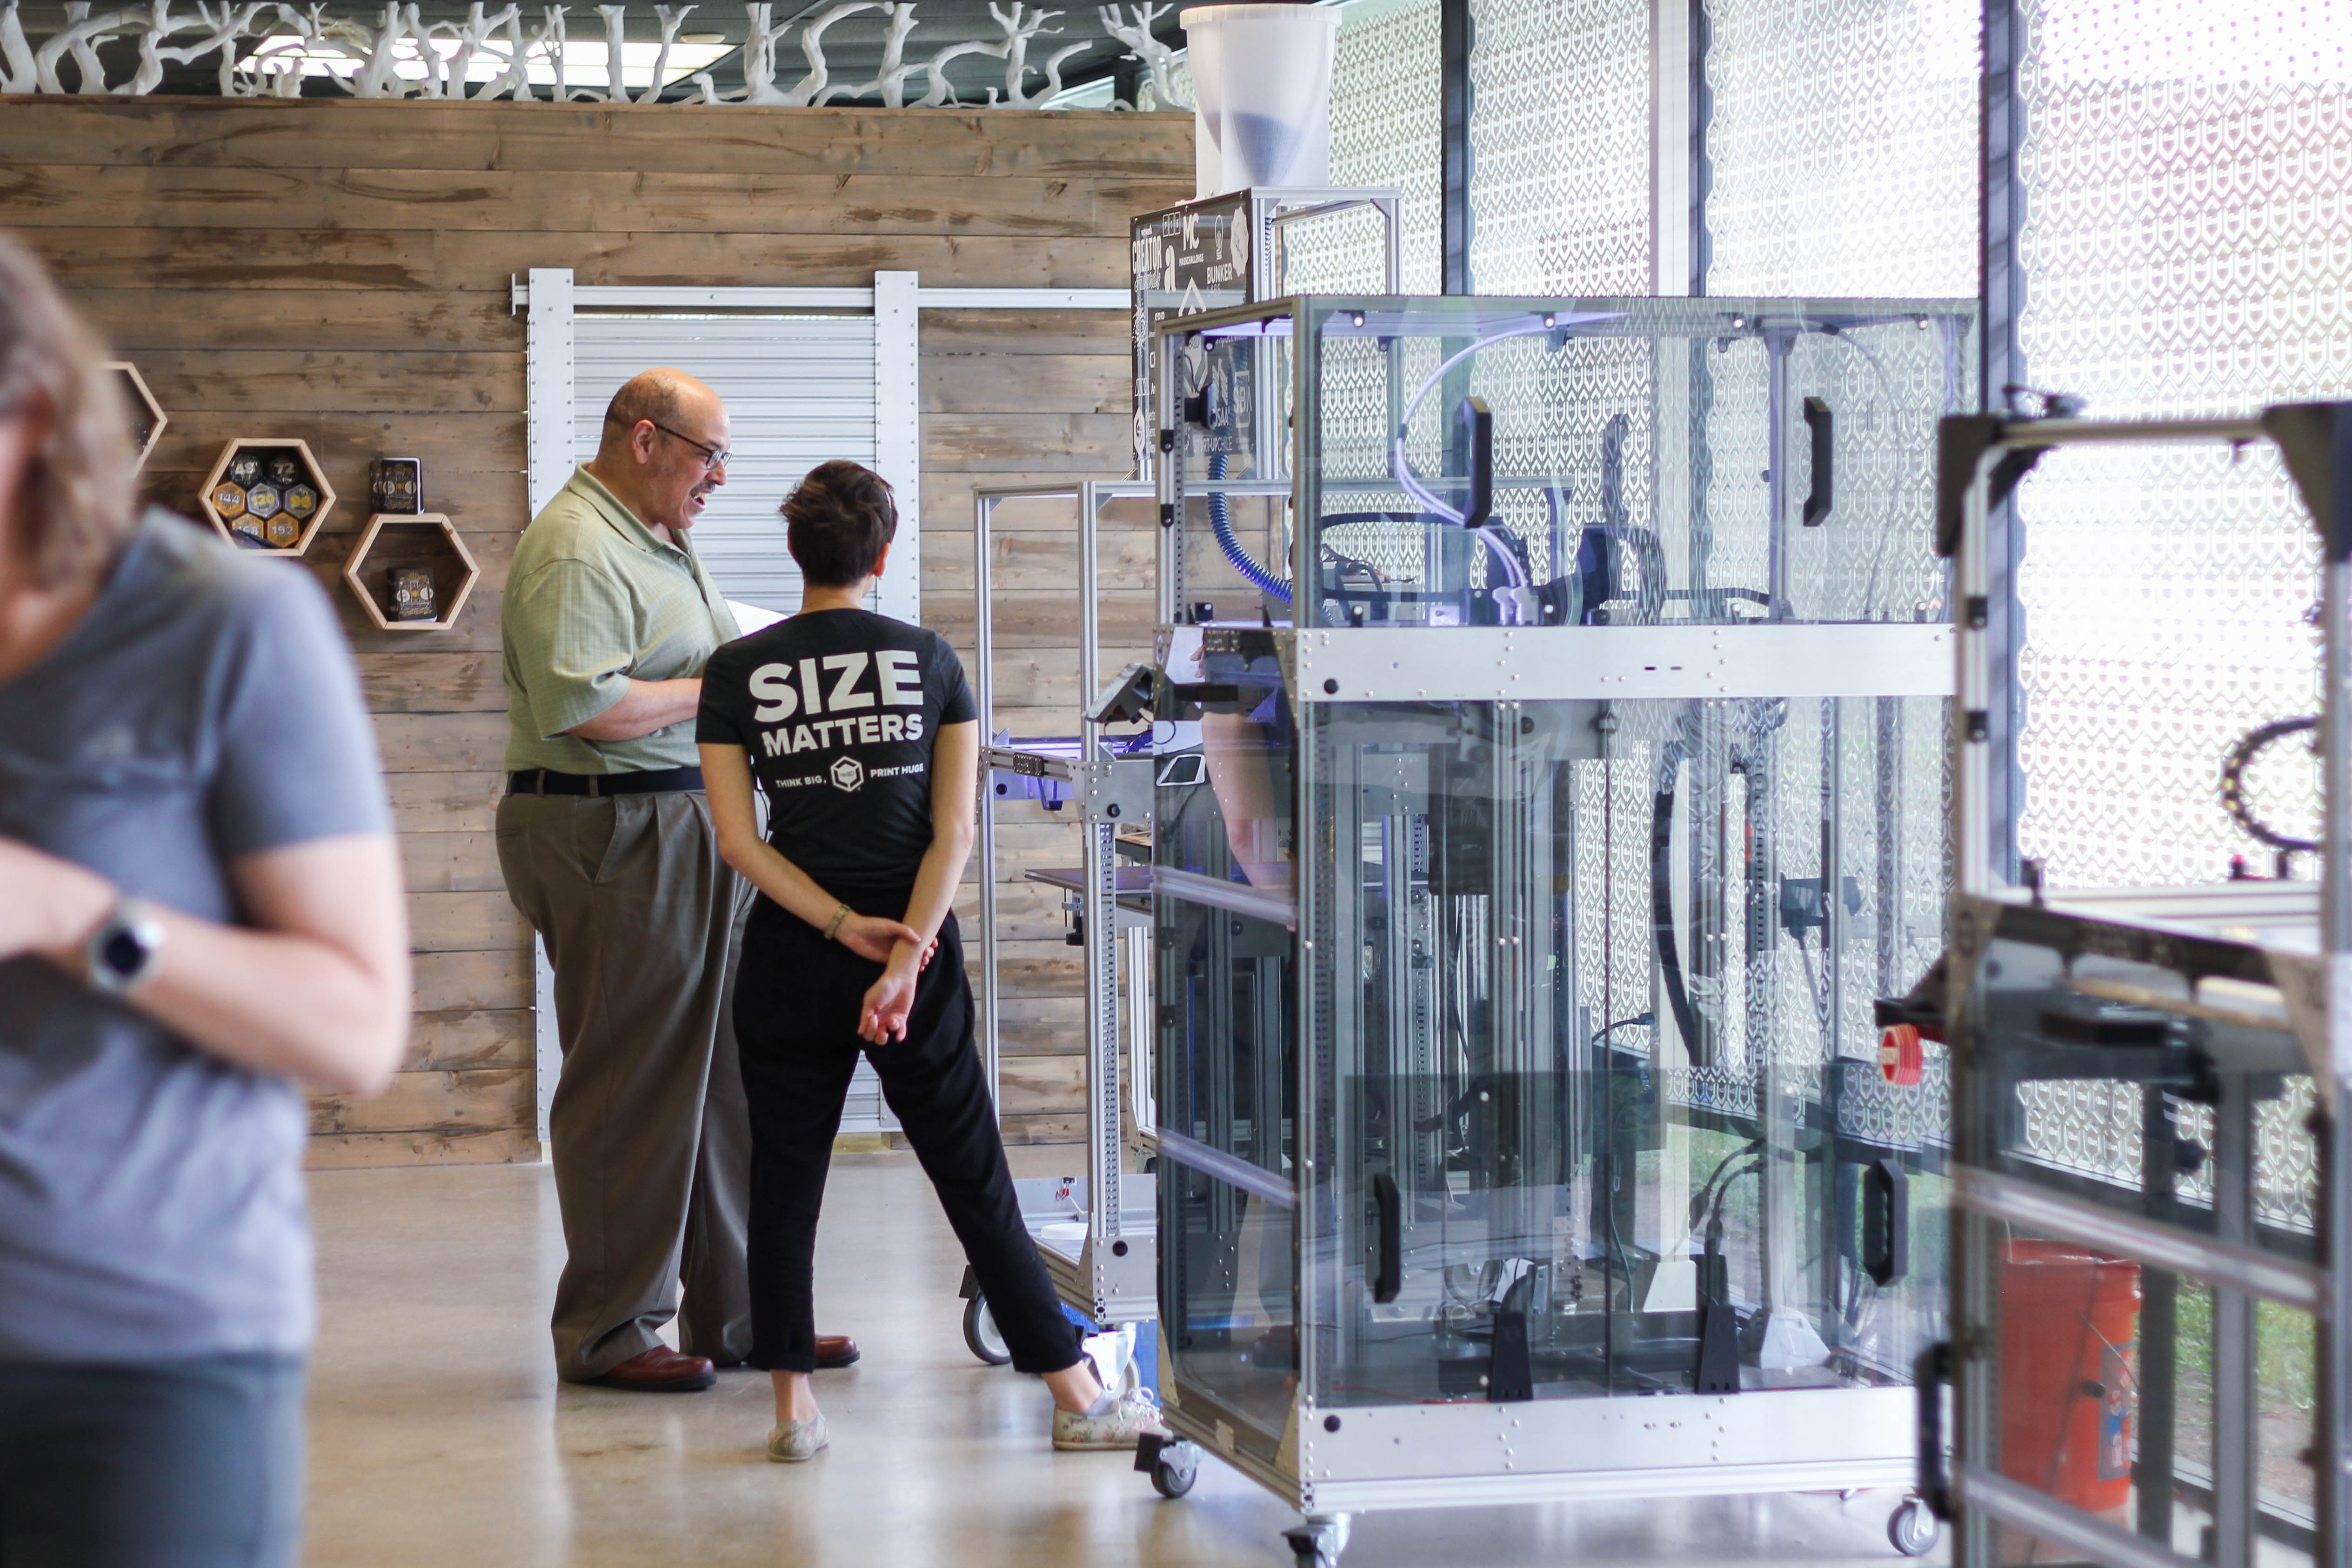
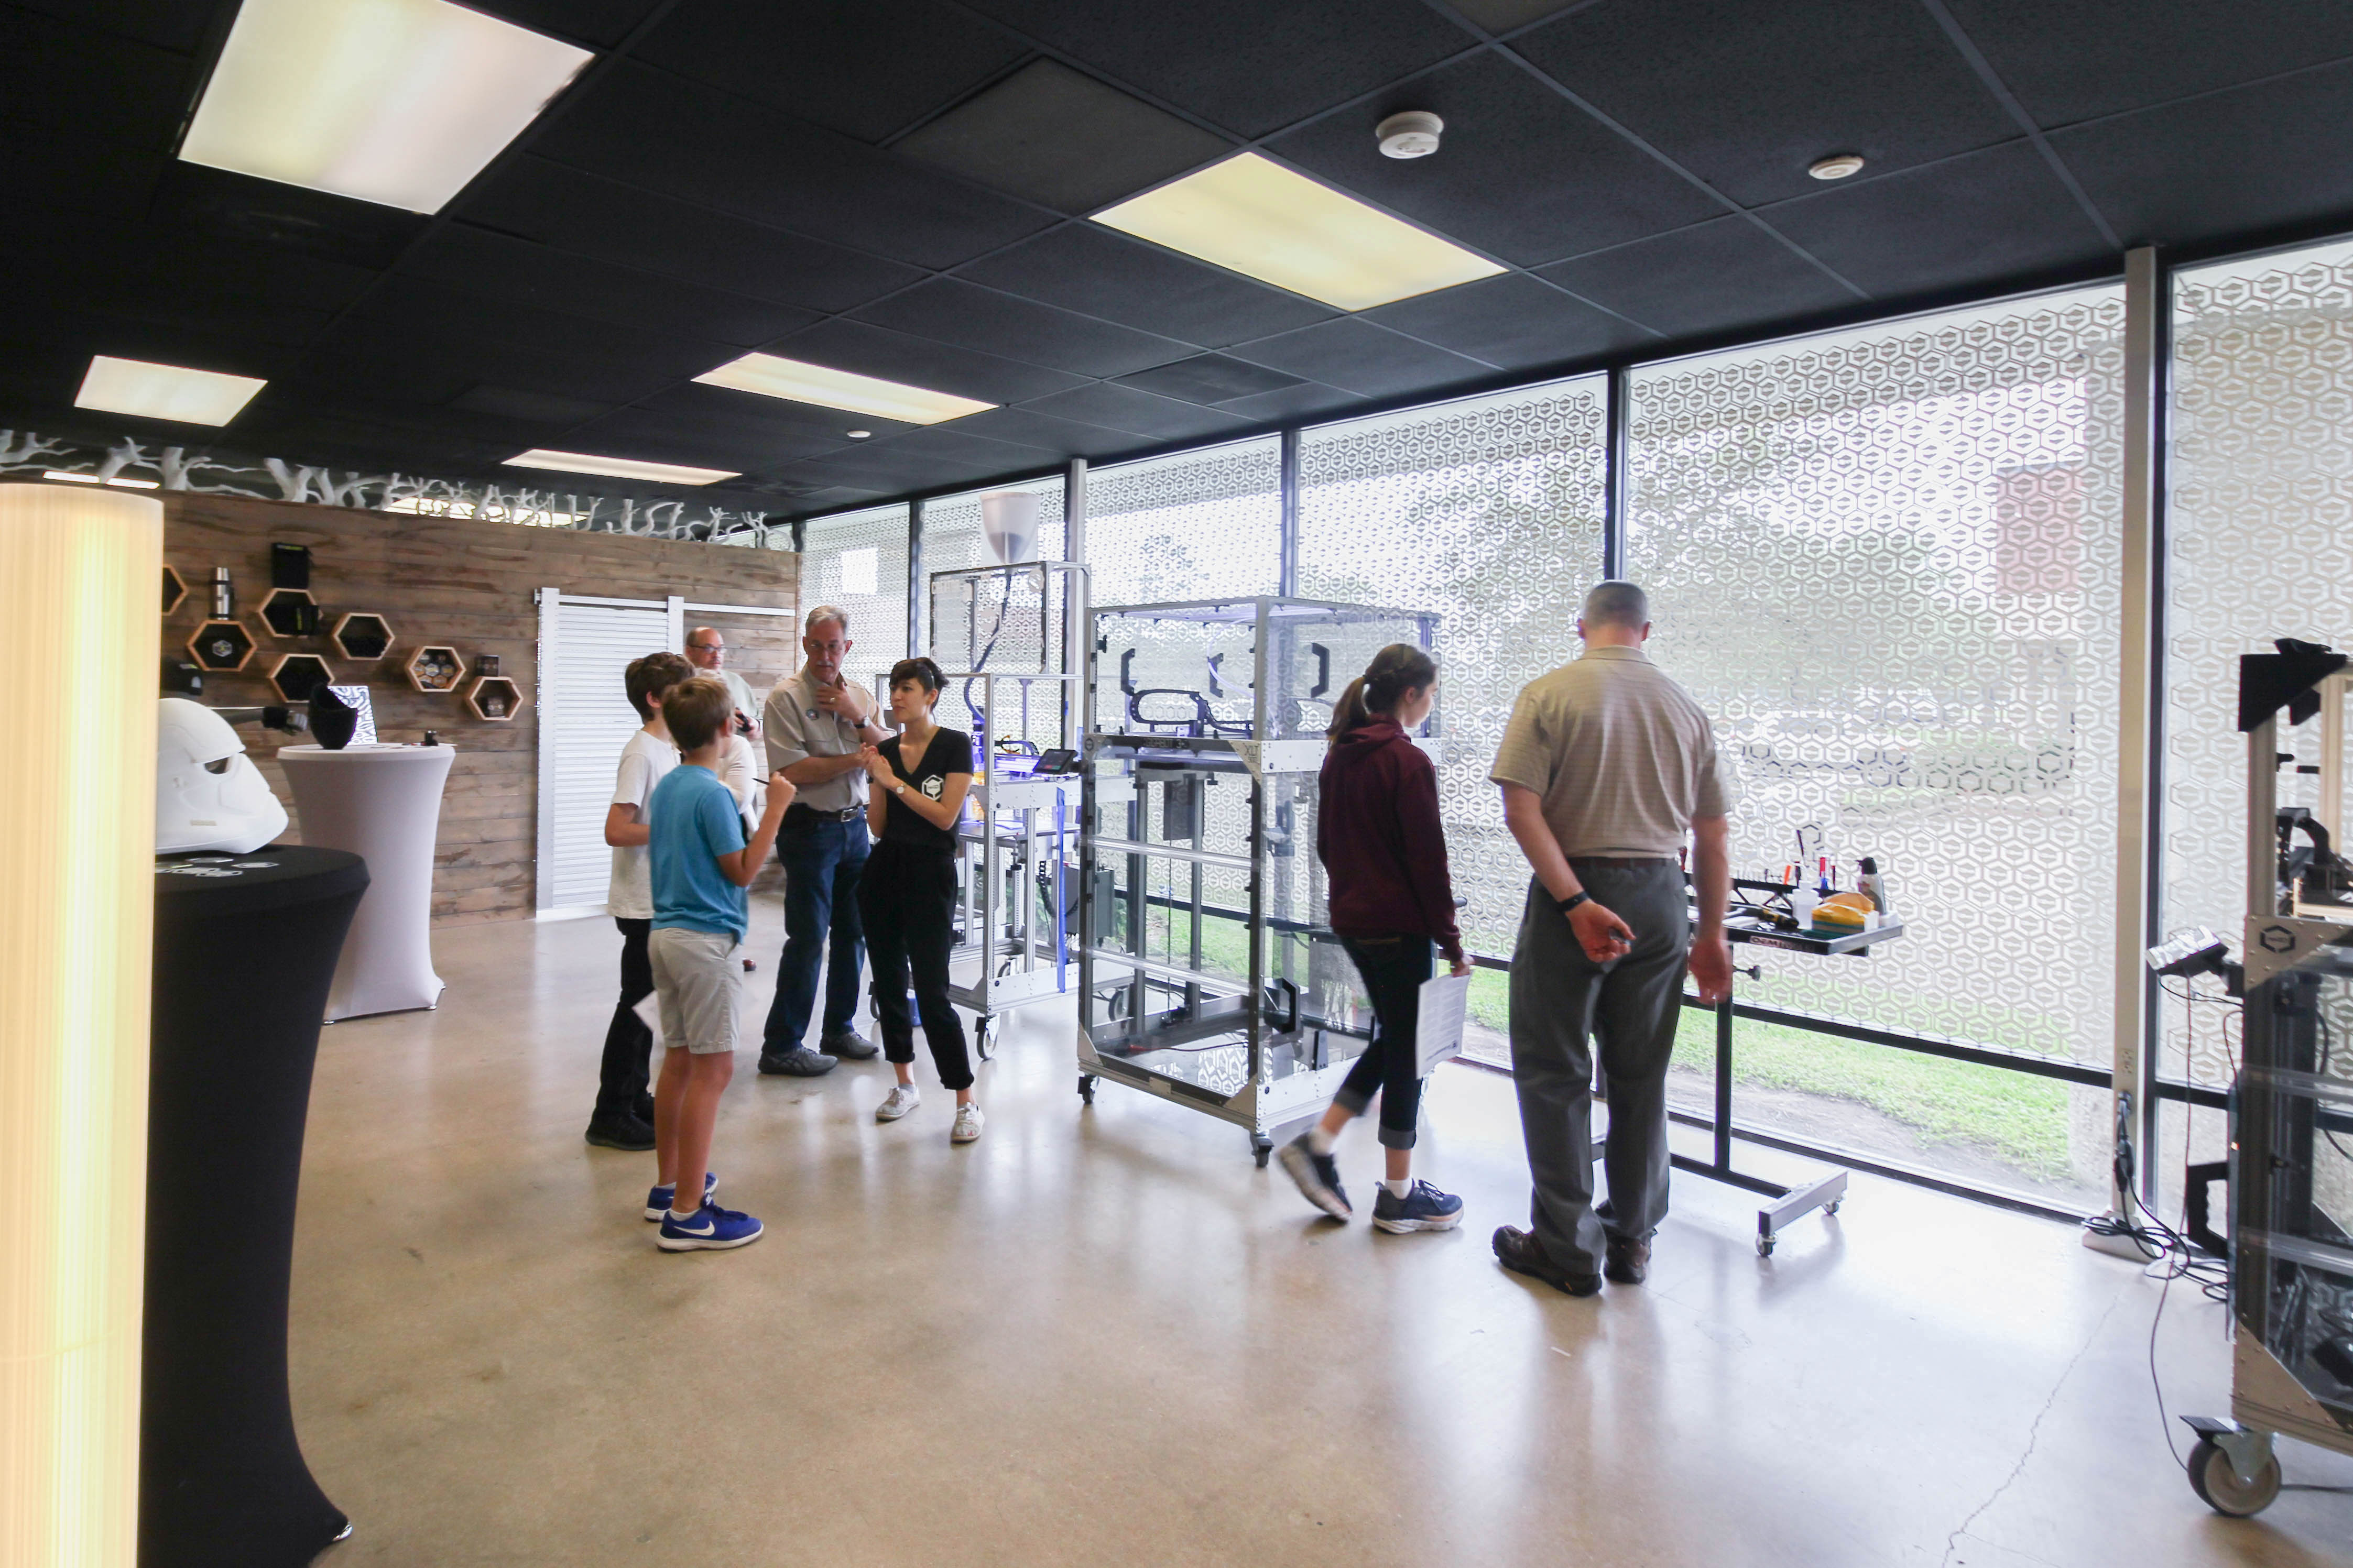
In early April, re:3D held two events celebrating the re:vealing of our community space and customer showroom at our Houston headquarters. Nicknamed Mission Control by the re:3D team, the Houston location has always been our home for manufacturing, operations and research. As we near our second anniversary in this 7000 square foot factory in Clear Lake, near the NASA Johnson Space Center campus, we’re excited to share that this space now houses a dedicated showroom recognizing the creativity, innovation, and entrepreneurship of those who harness the power of Gigabot, as well as a public gathering space which we and our greater community can use to host events, workshops, classes and meetups to explore all things 3D printing.

A silver mannequin of a boxing lady wearing a black hat and yellow tank top stands in front of a rustic wooden slat wall holding re:3D merchandise.

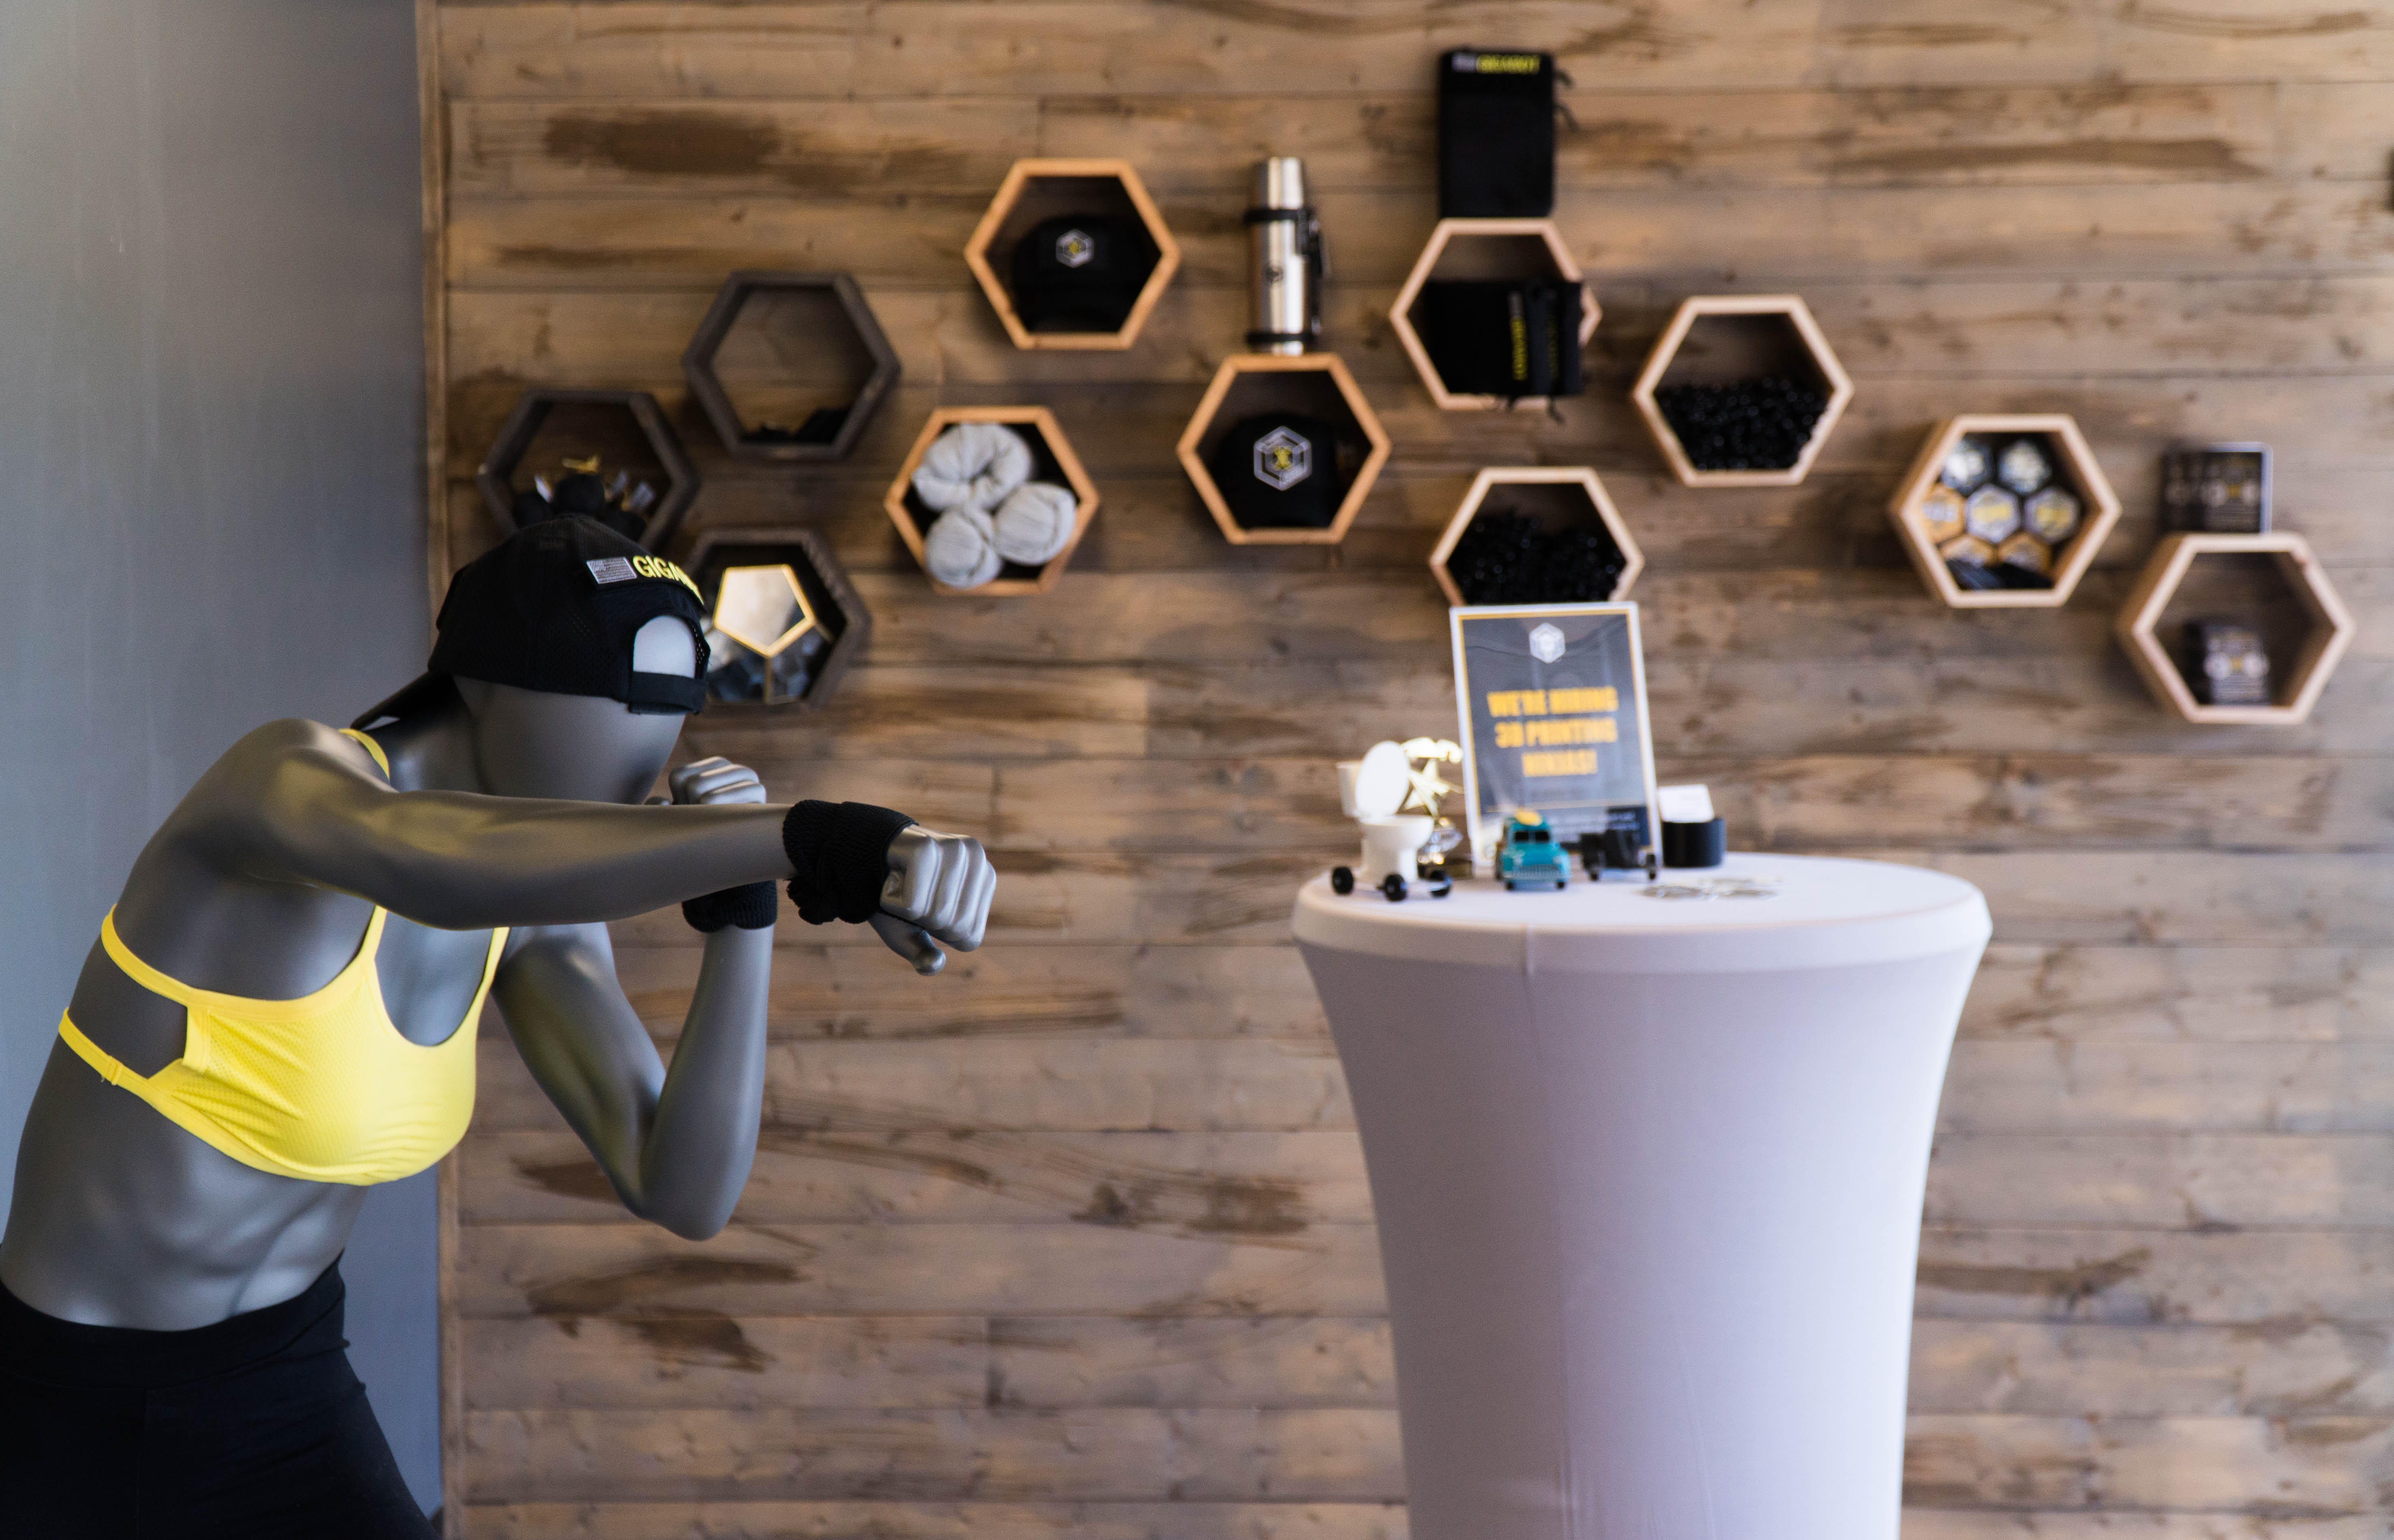
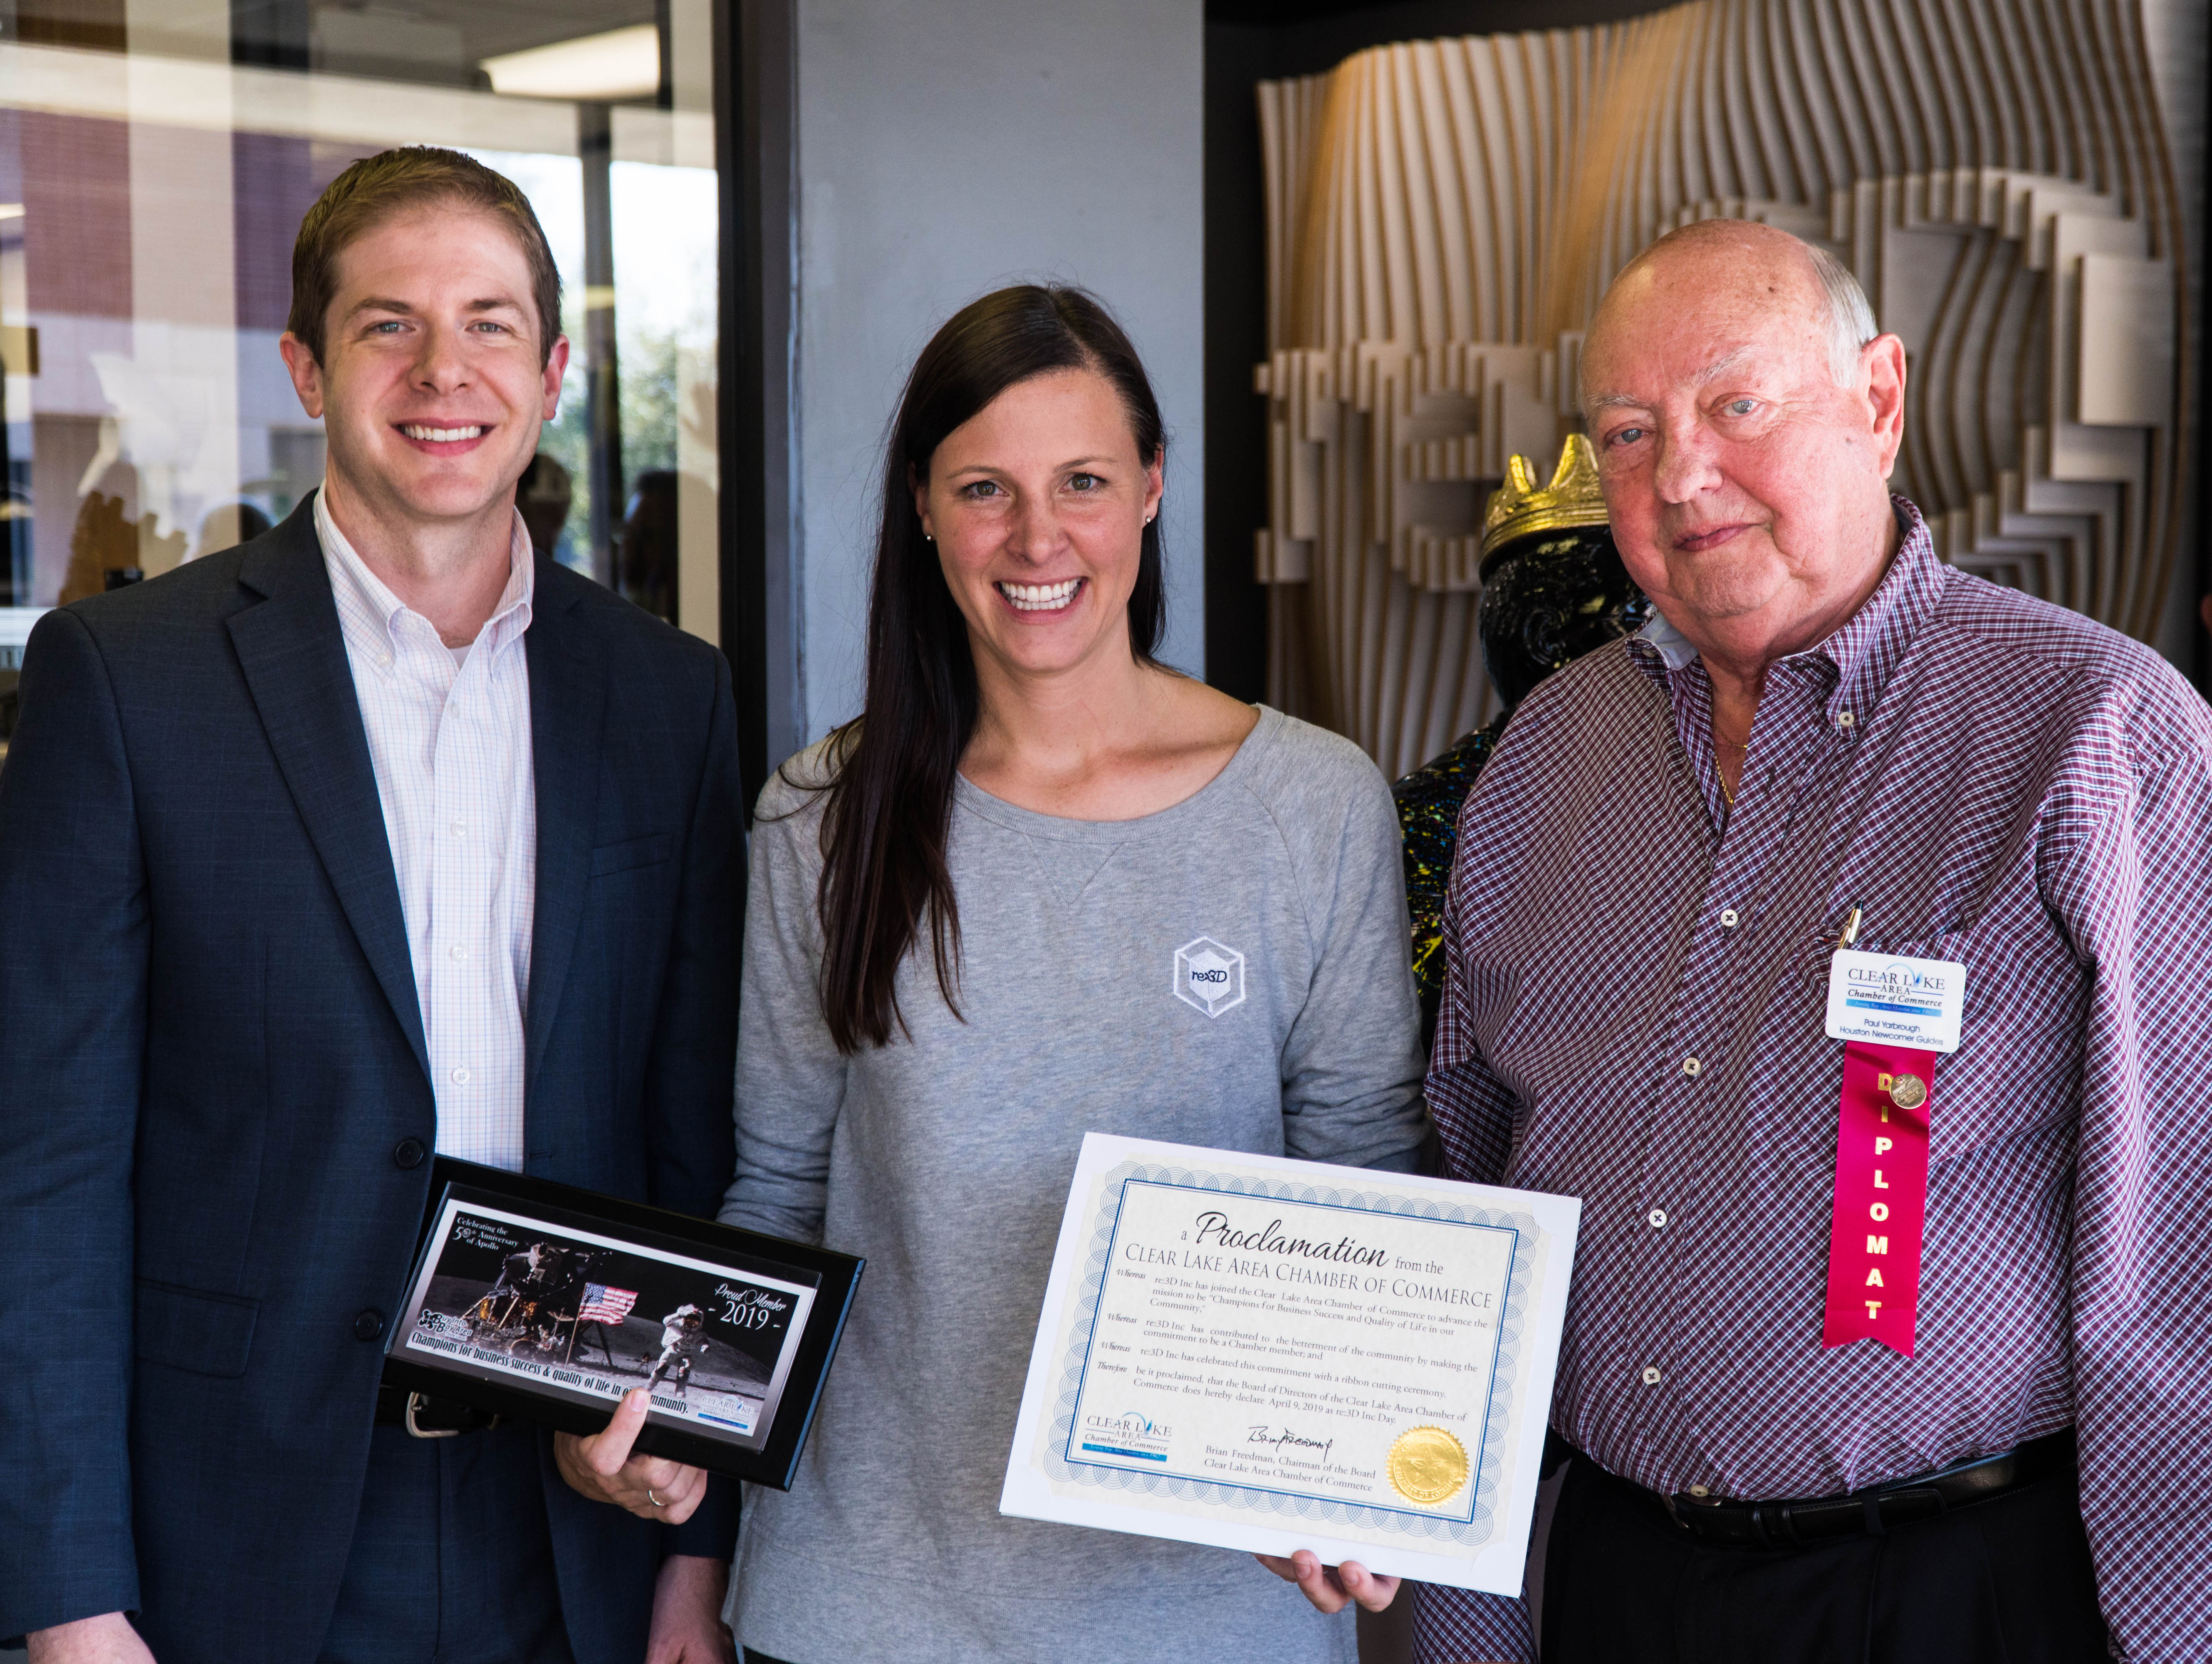
To get the ball rolling, The Clear Lake Area Chamber of Commerce hosted an official ribbon cutting & reception. We invited good friends from near and far (including a crew from Bunker Labs in Austin!), government officials, and Houston customers to celebrate with us and experience a party, re:3D style! Amidst the congenial hums of our Gigabots printing new creations, we toasted champagne and enjoyed tasty hors d’oeuvres provided by the team at  Hedrick’s Catering. Guests perused 3D prints designed by our global family of Gigabot users and got their first look at our new architectural wall panels conceived and produced by the innovative geniuses at Houston-based māk studio, also a re:3D customer. Clear Lake Area Board Chairman Brian Freedman presented re:3D Co-Founder and Catalyst Samantha Snabes a certificate and plaque, officially naming April 9, 2019 re:3D Day in Clear Lake!

photo credit: Morgan Hamel
Photo Credit: Morgan Hamel

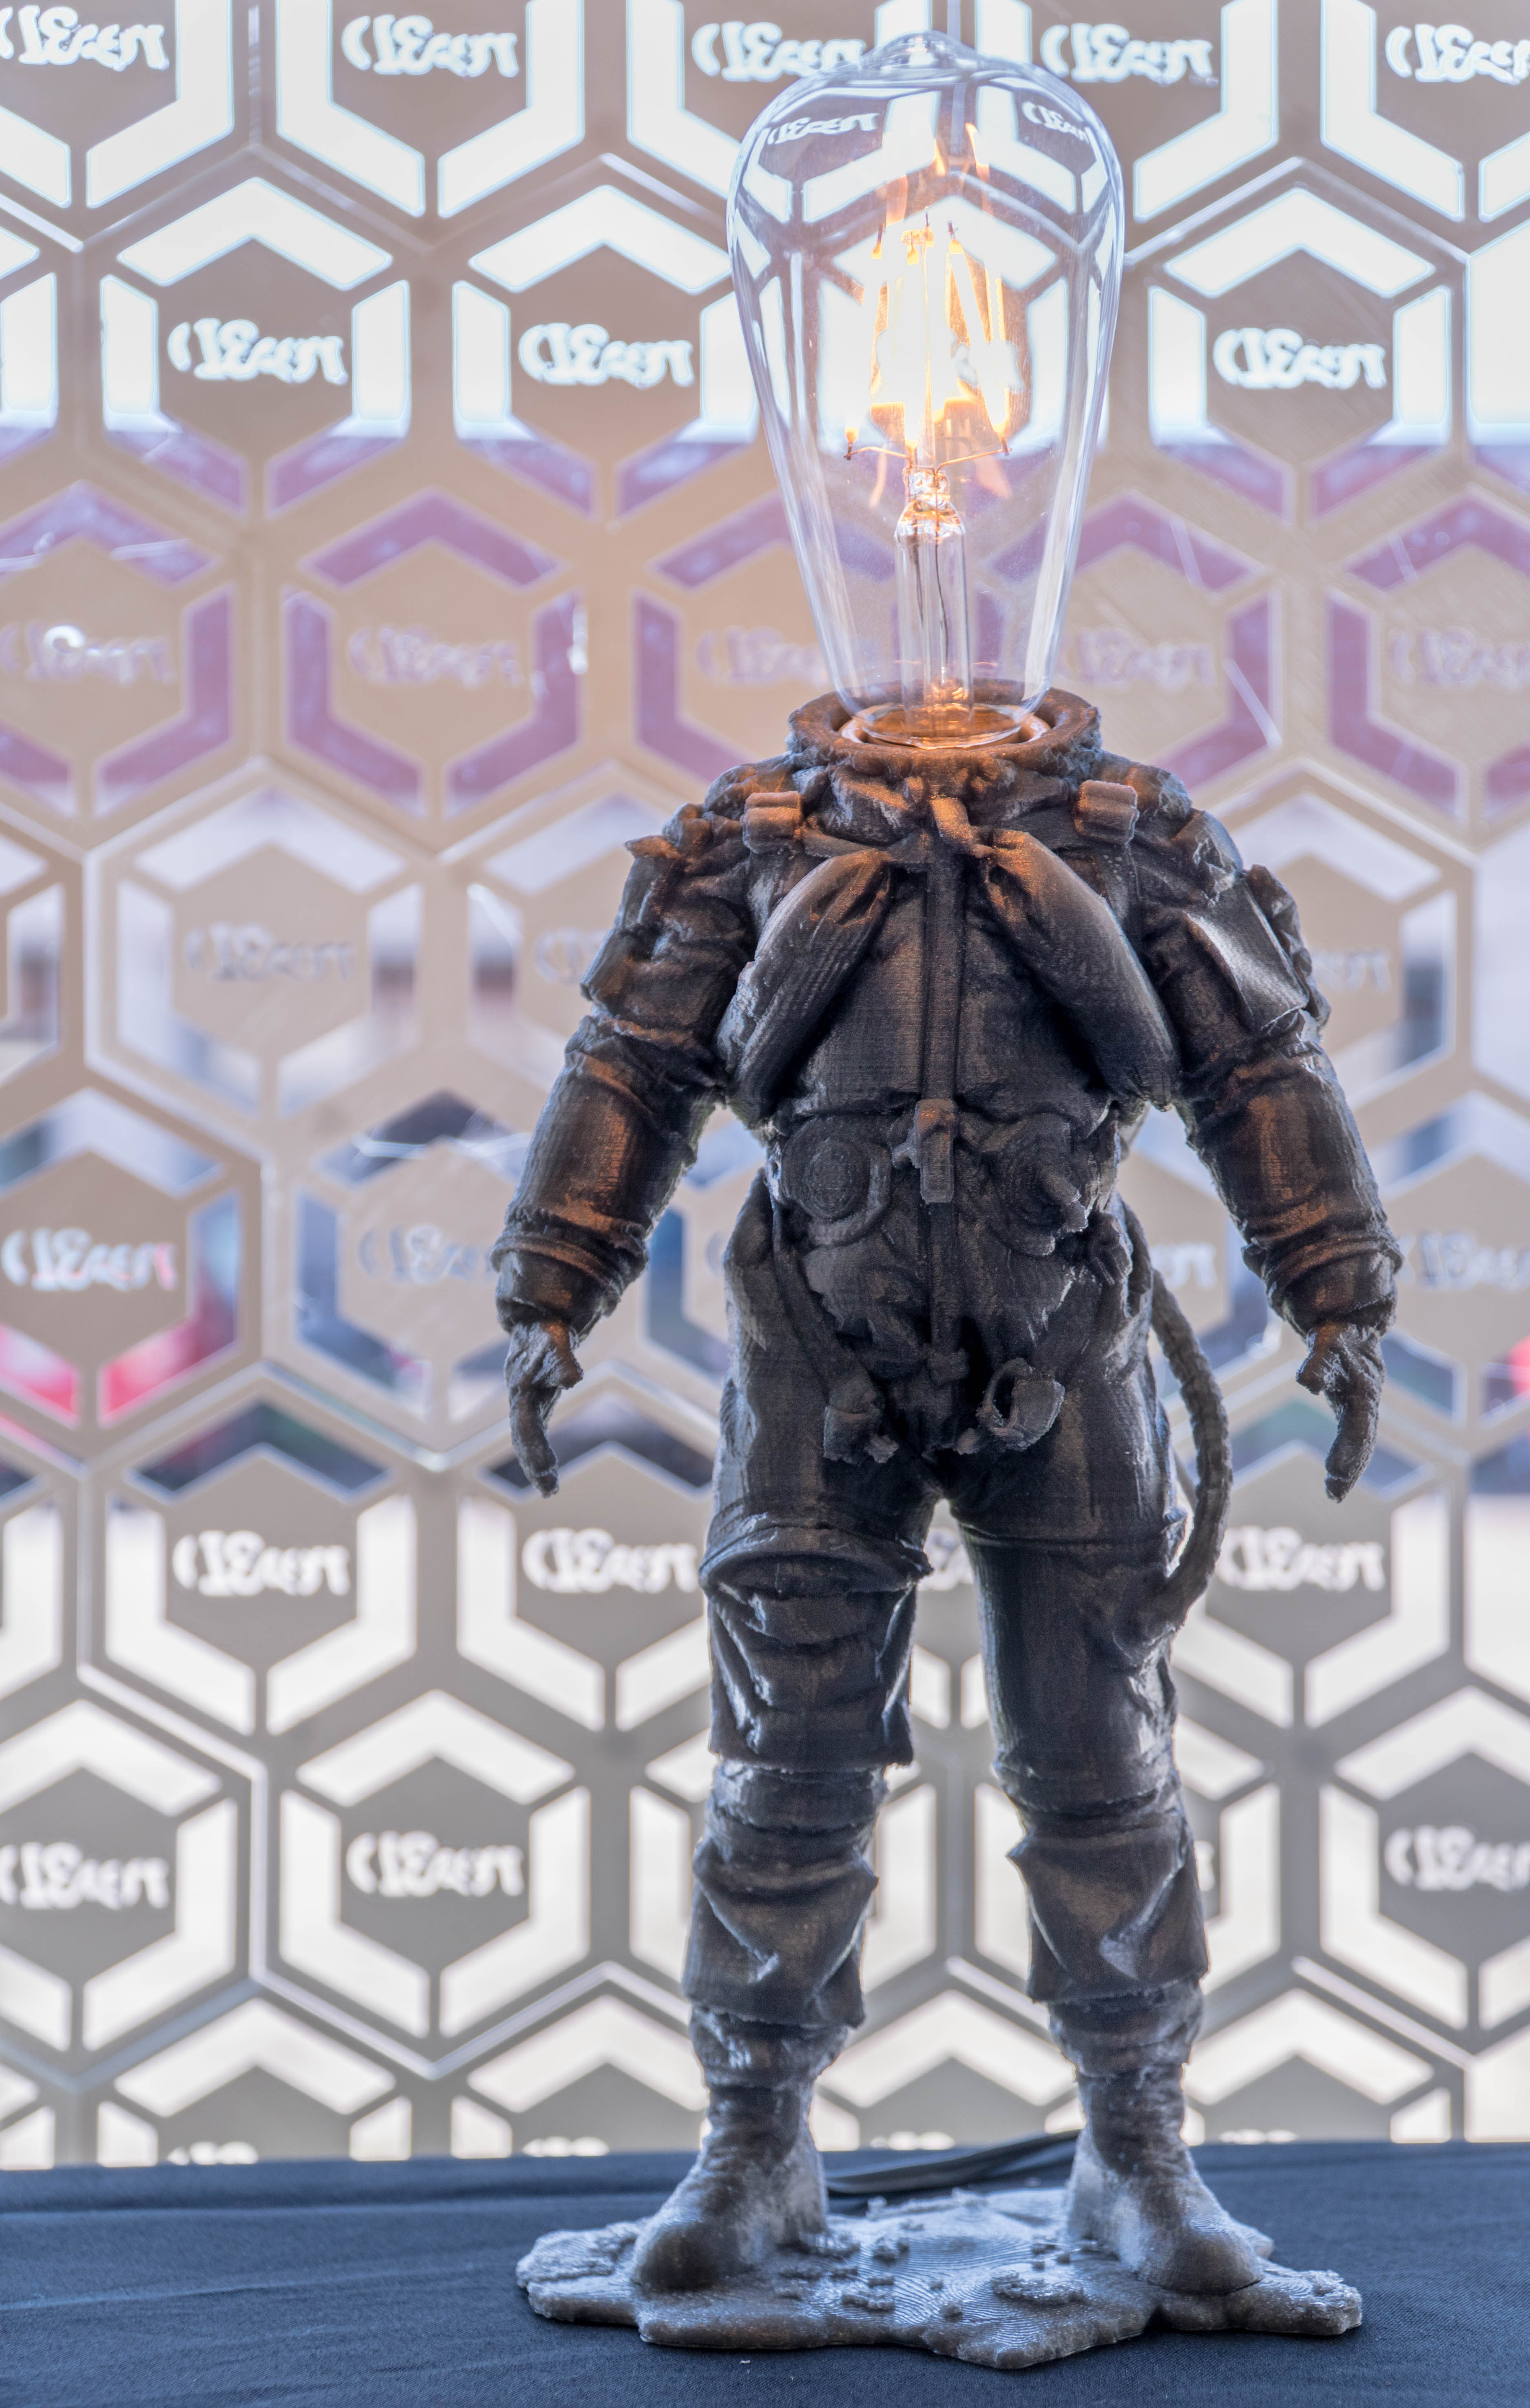
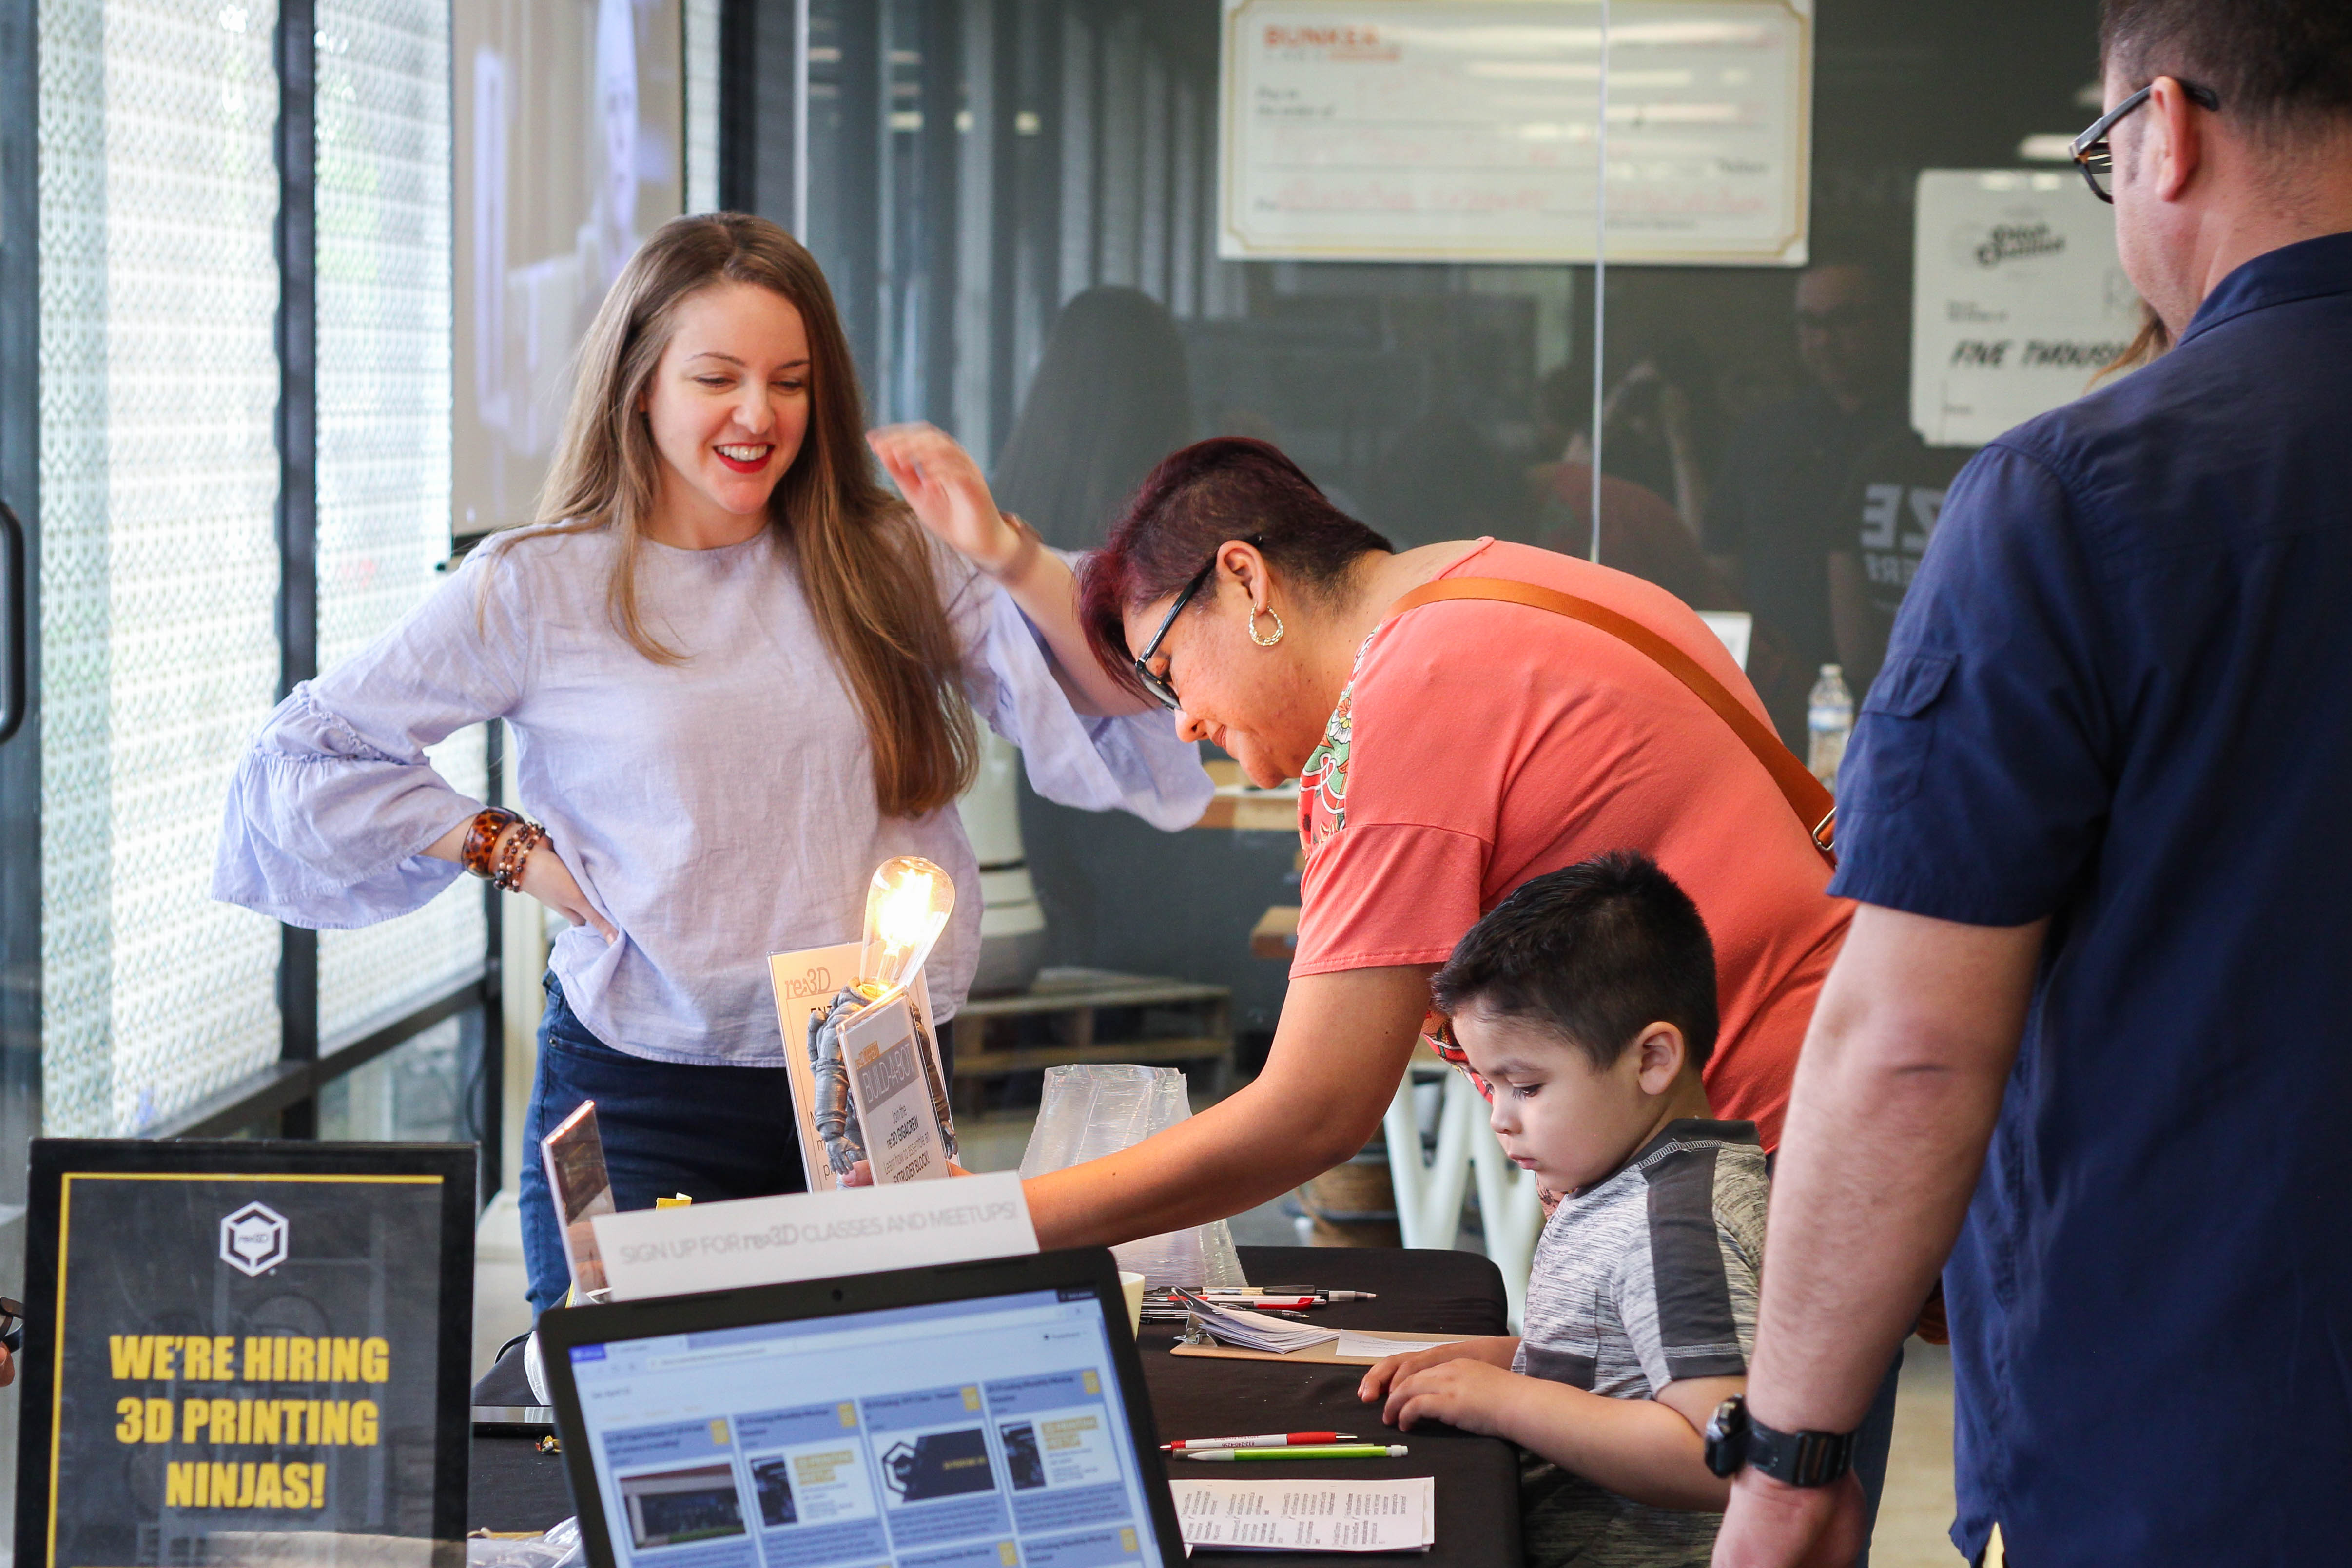
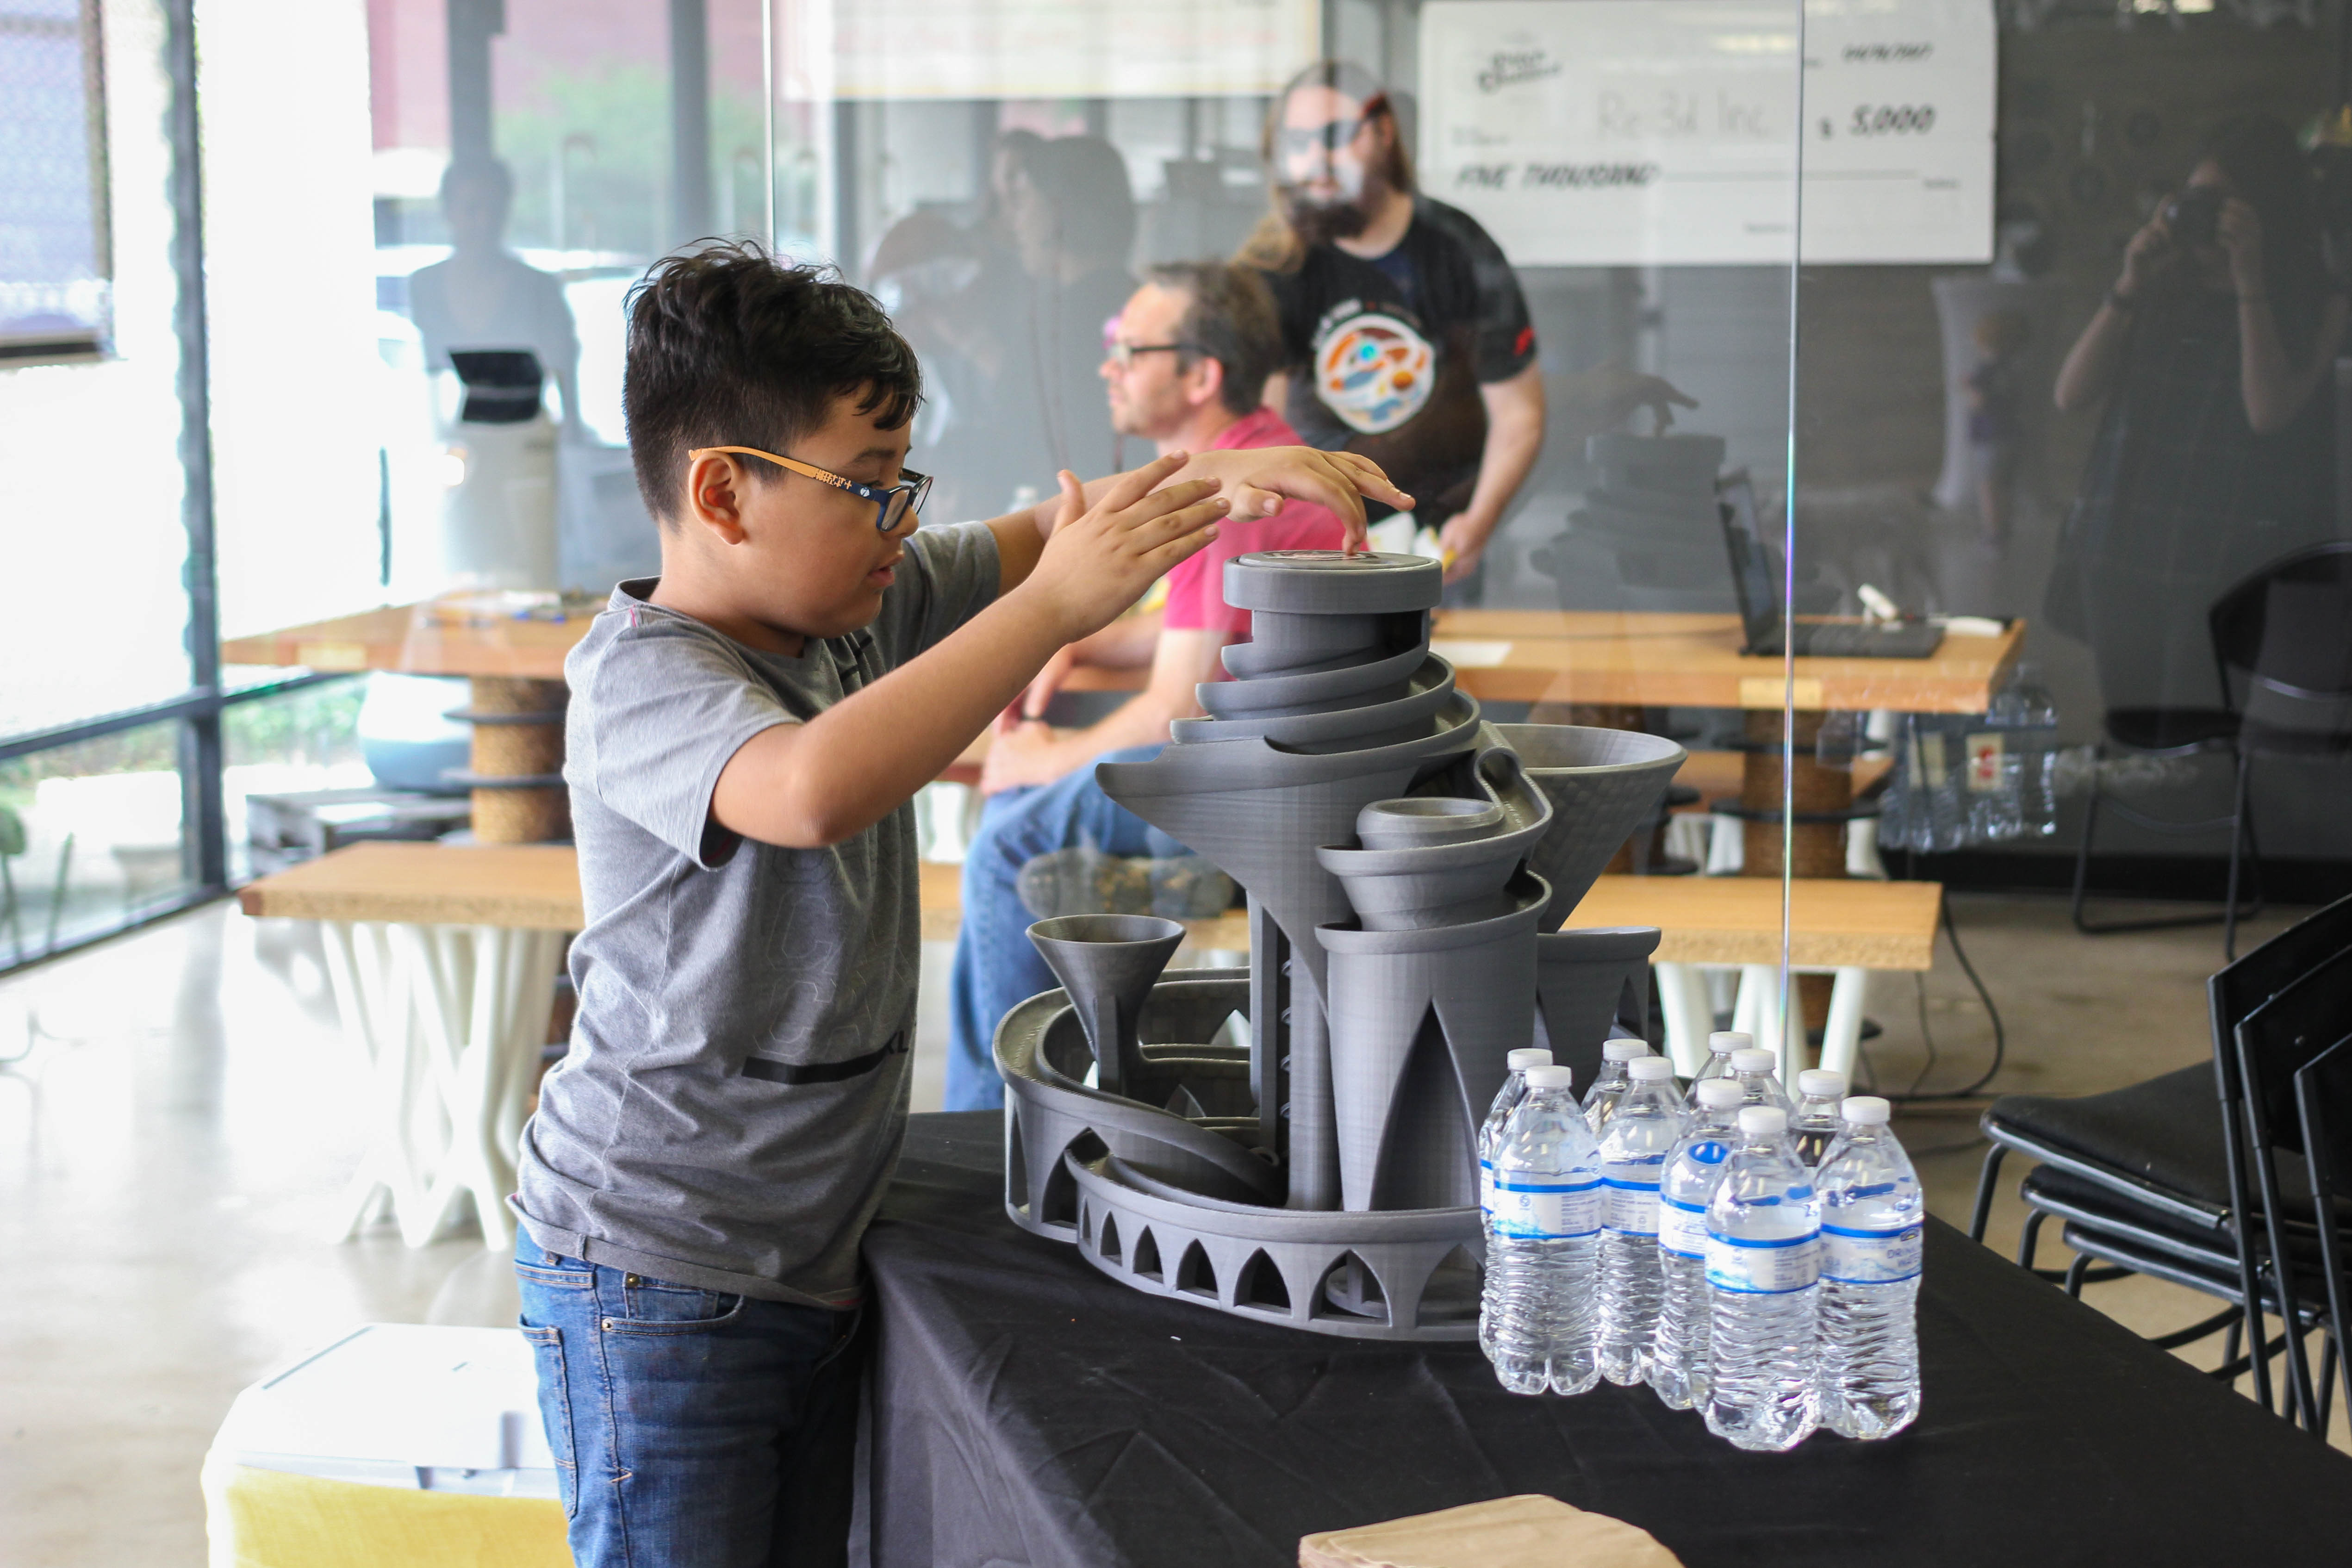
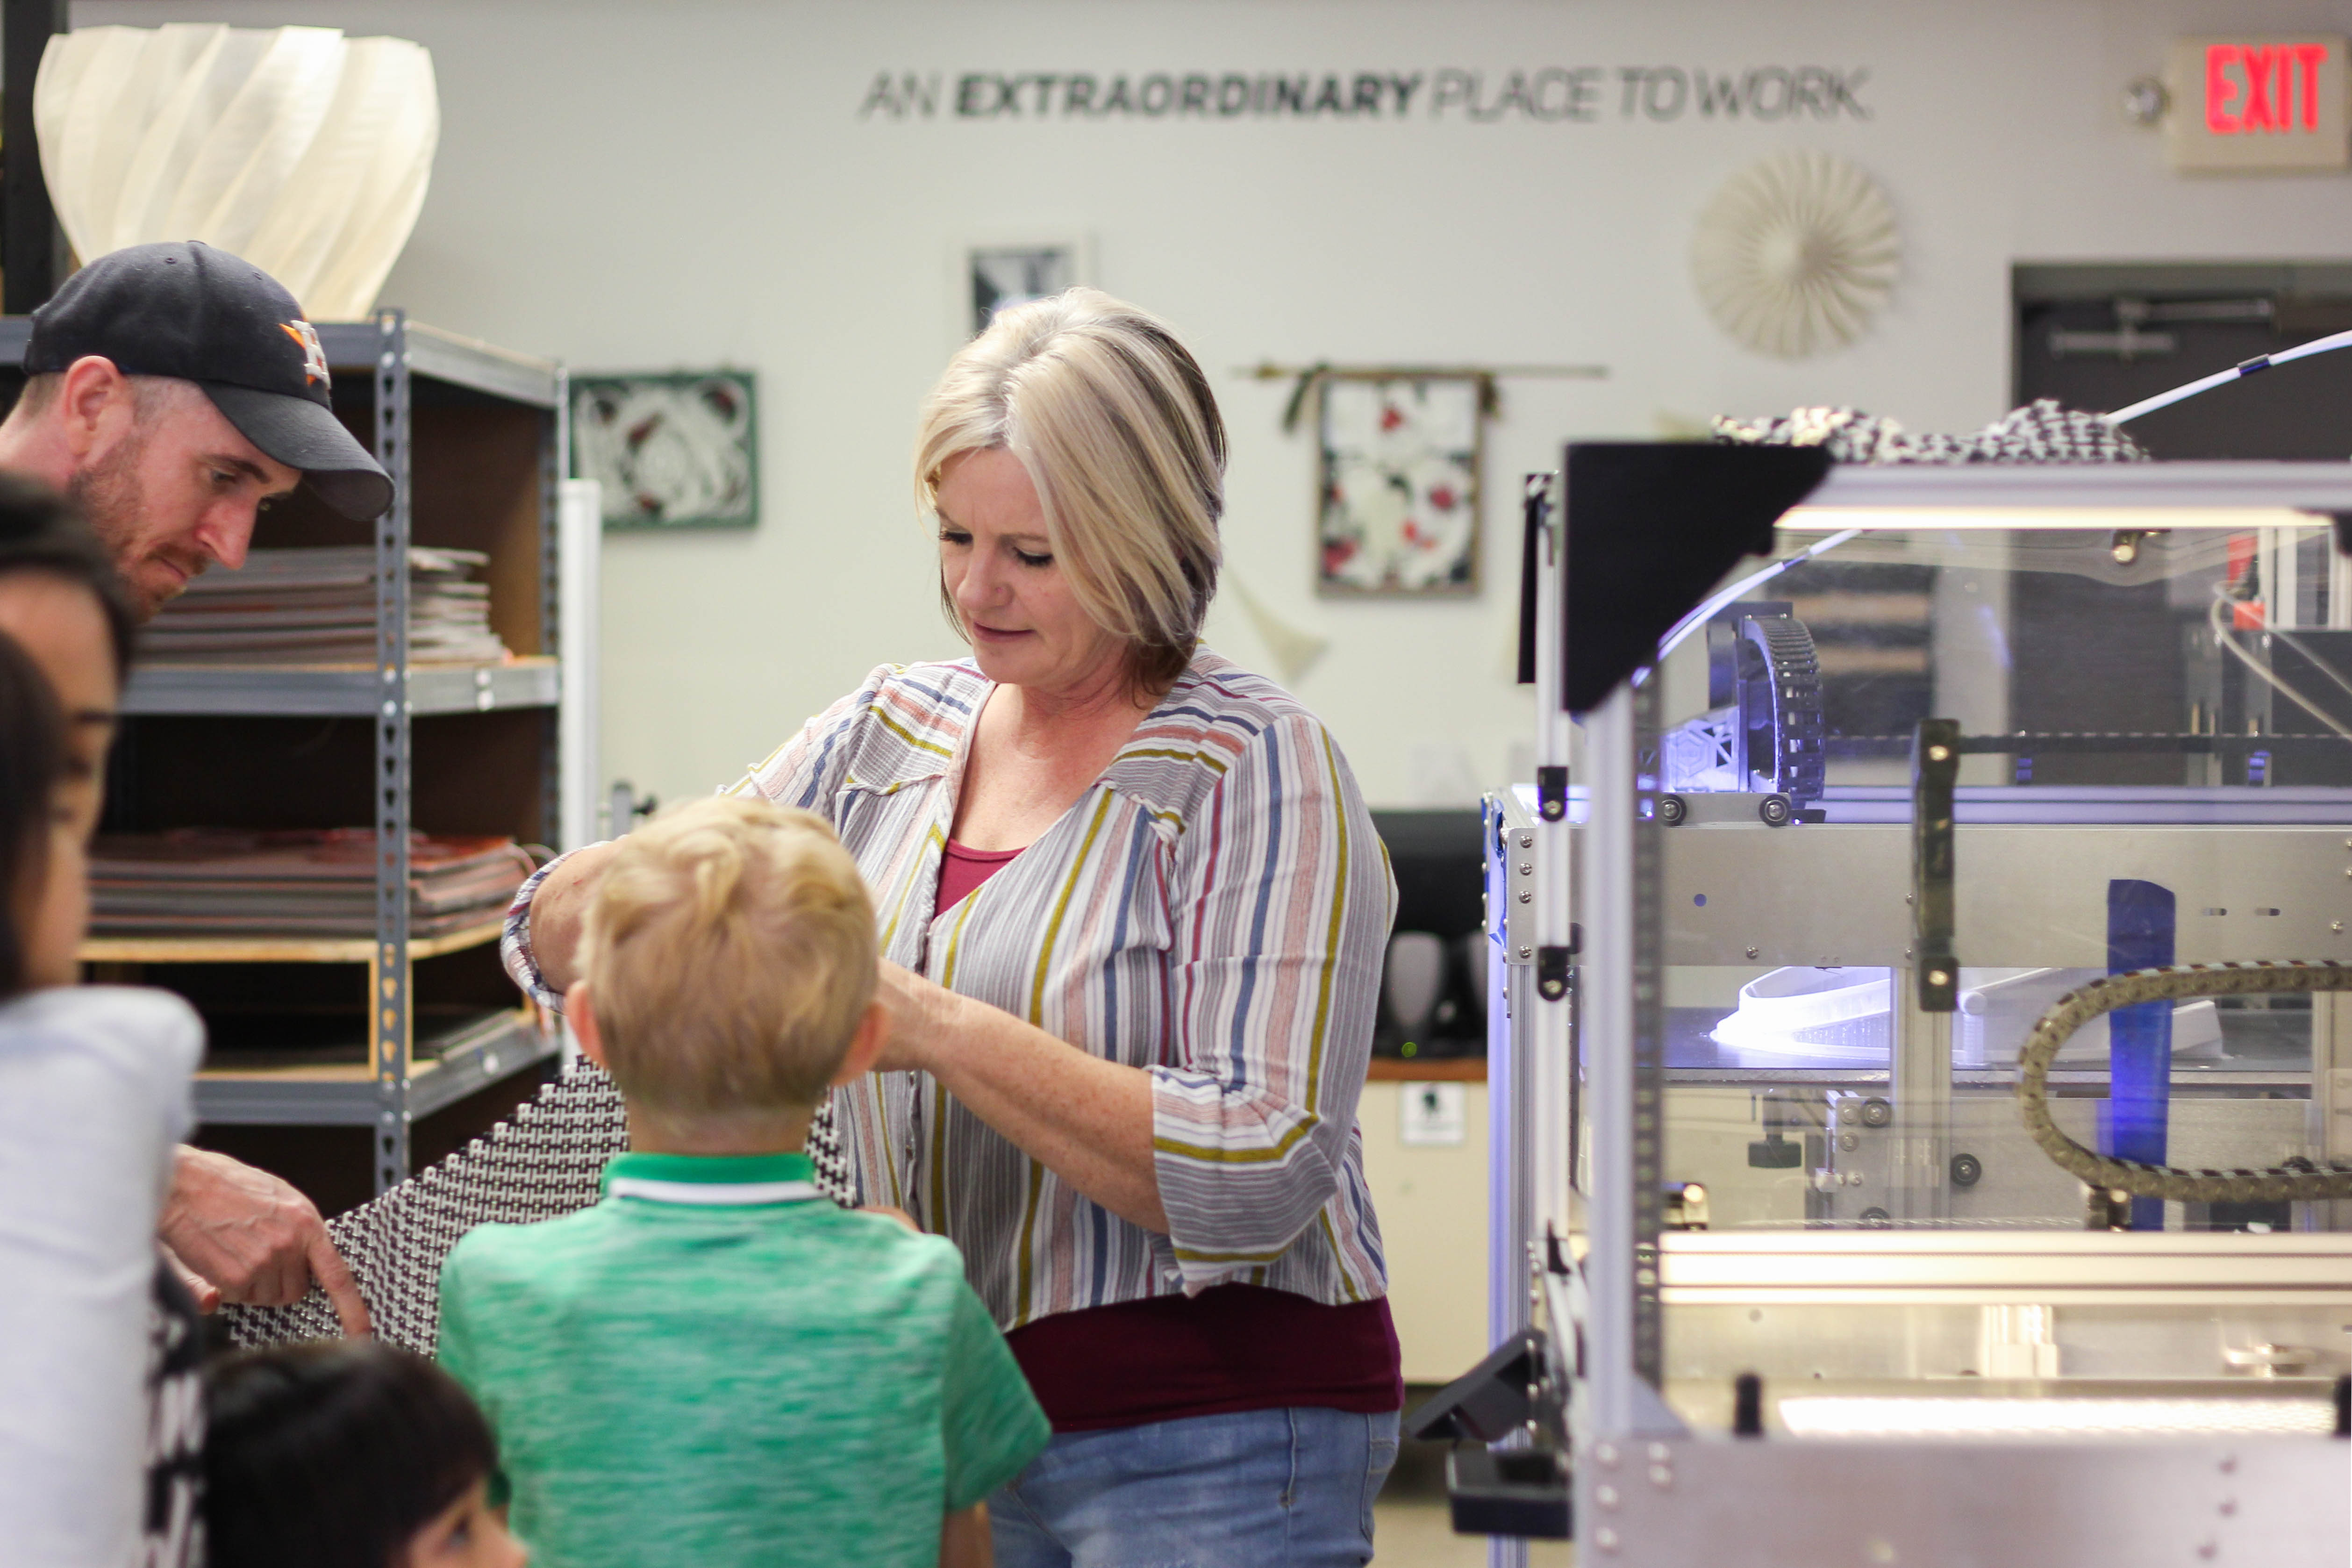
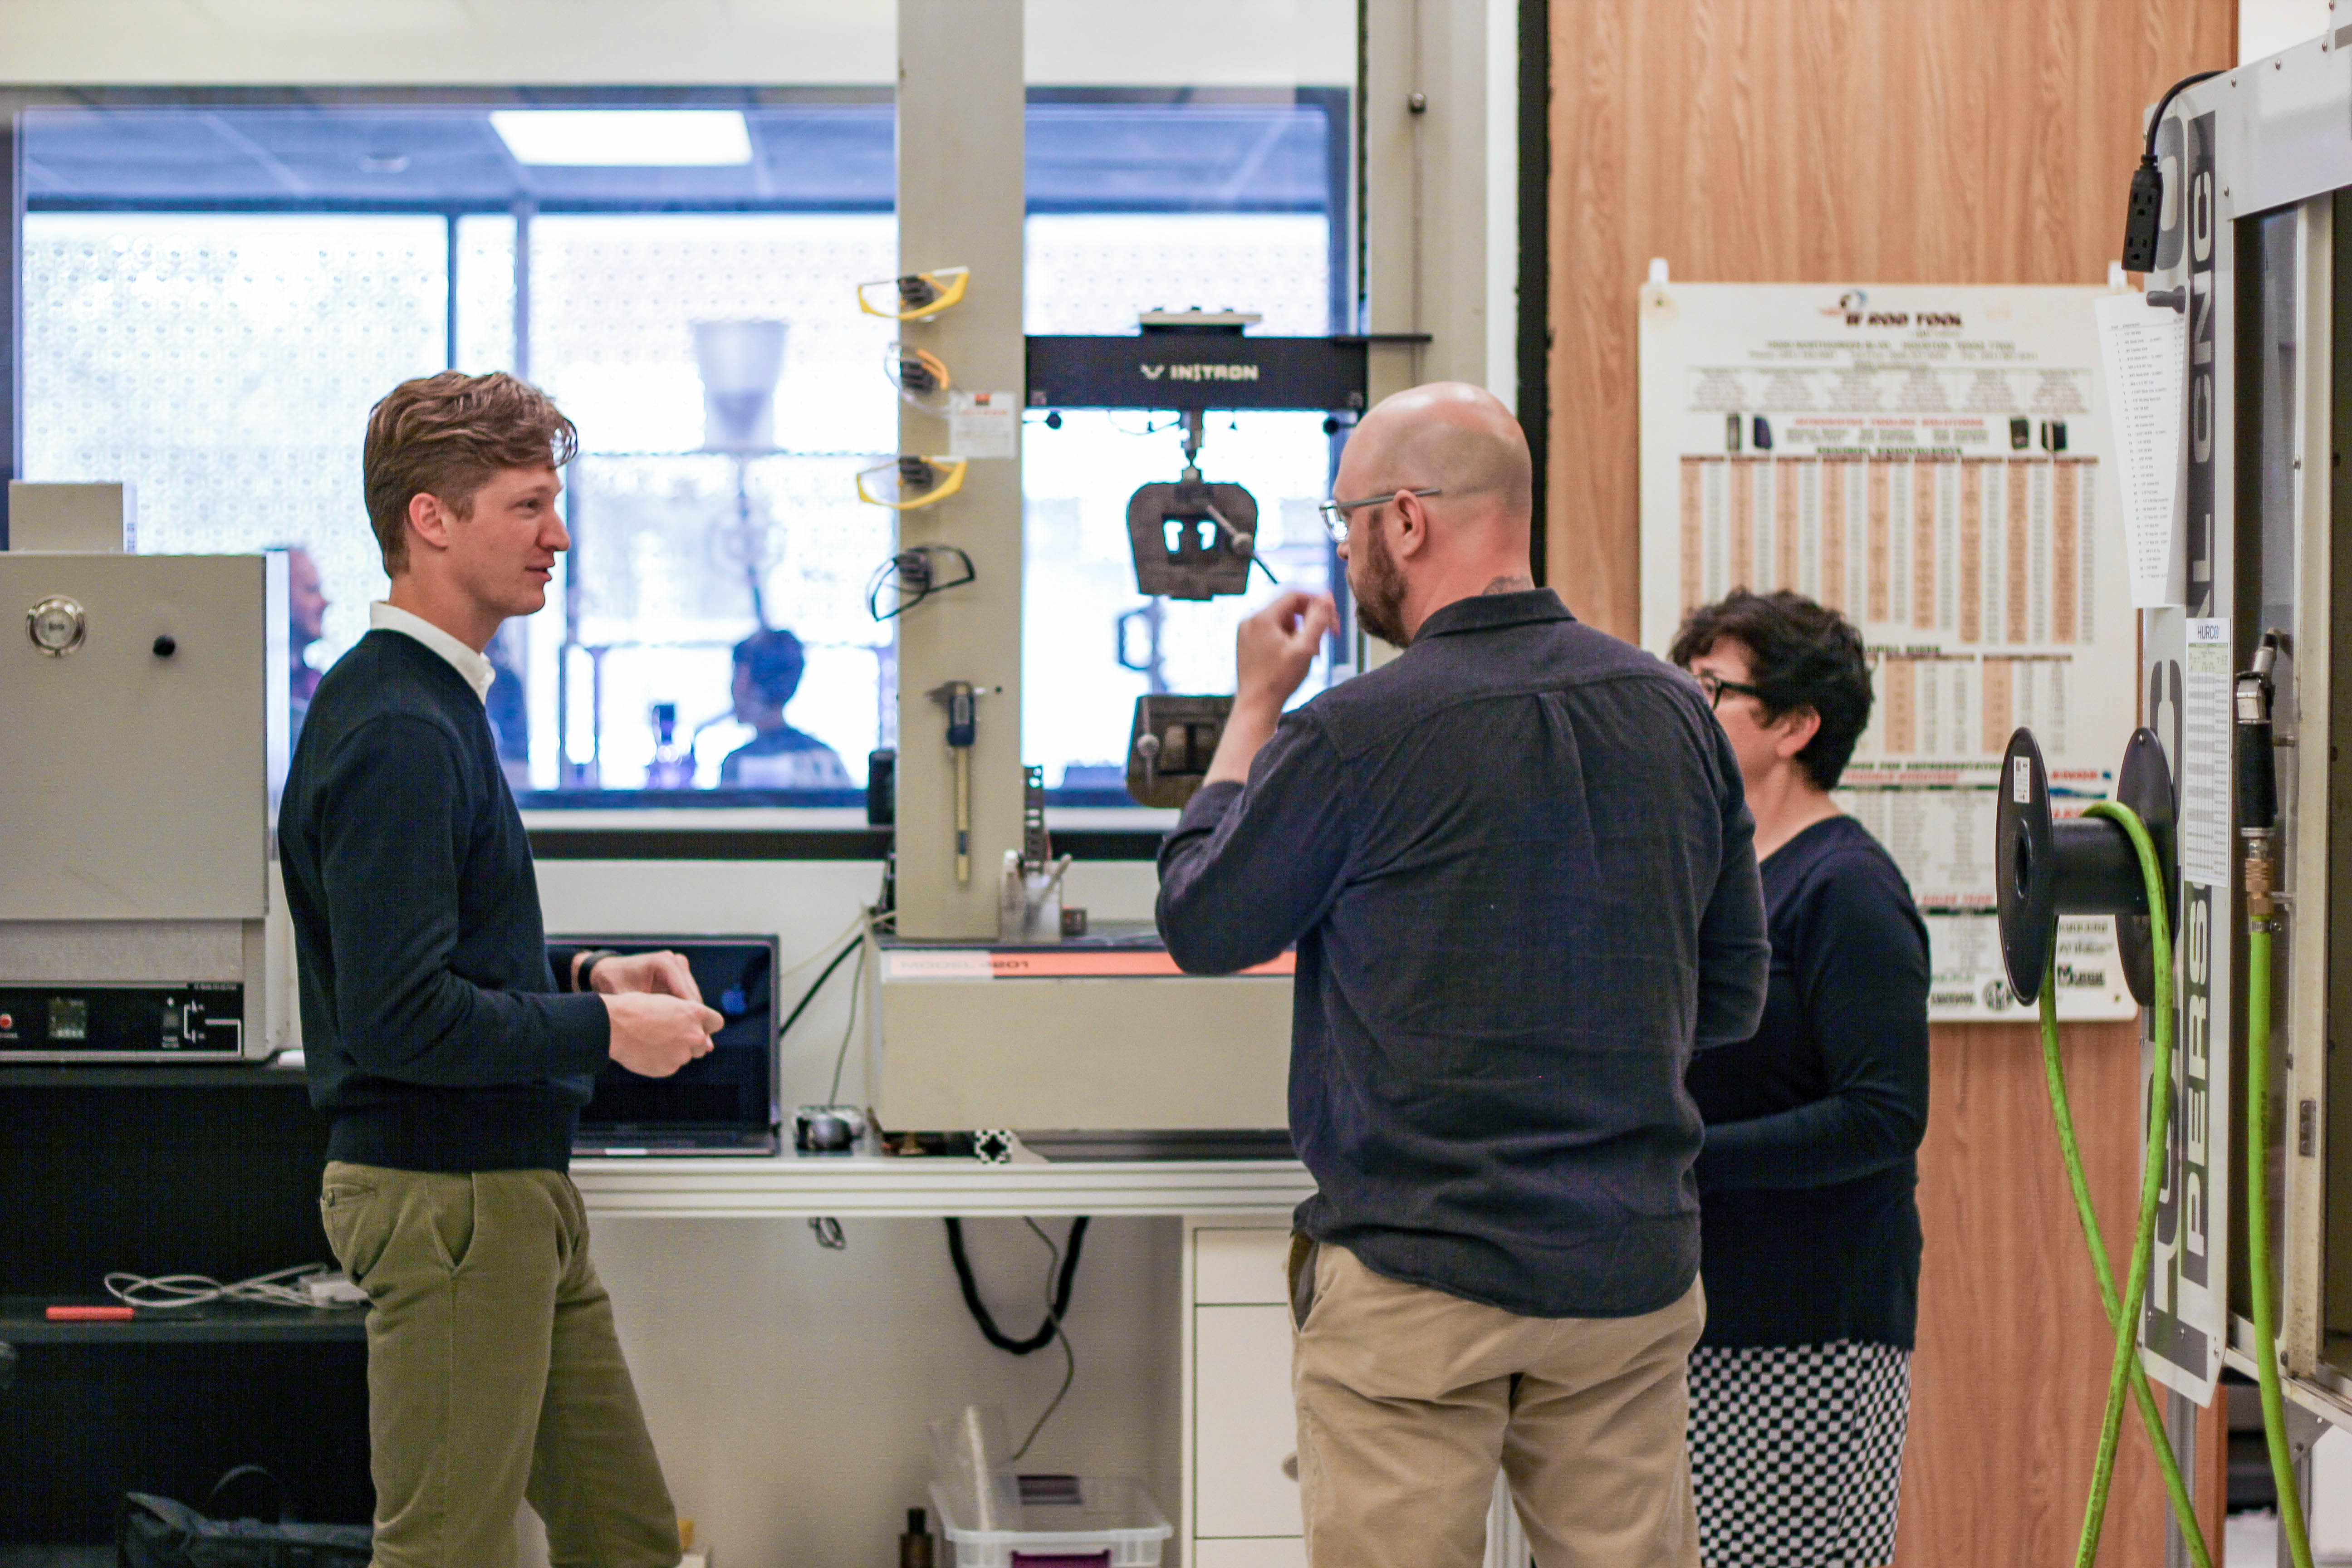
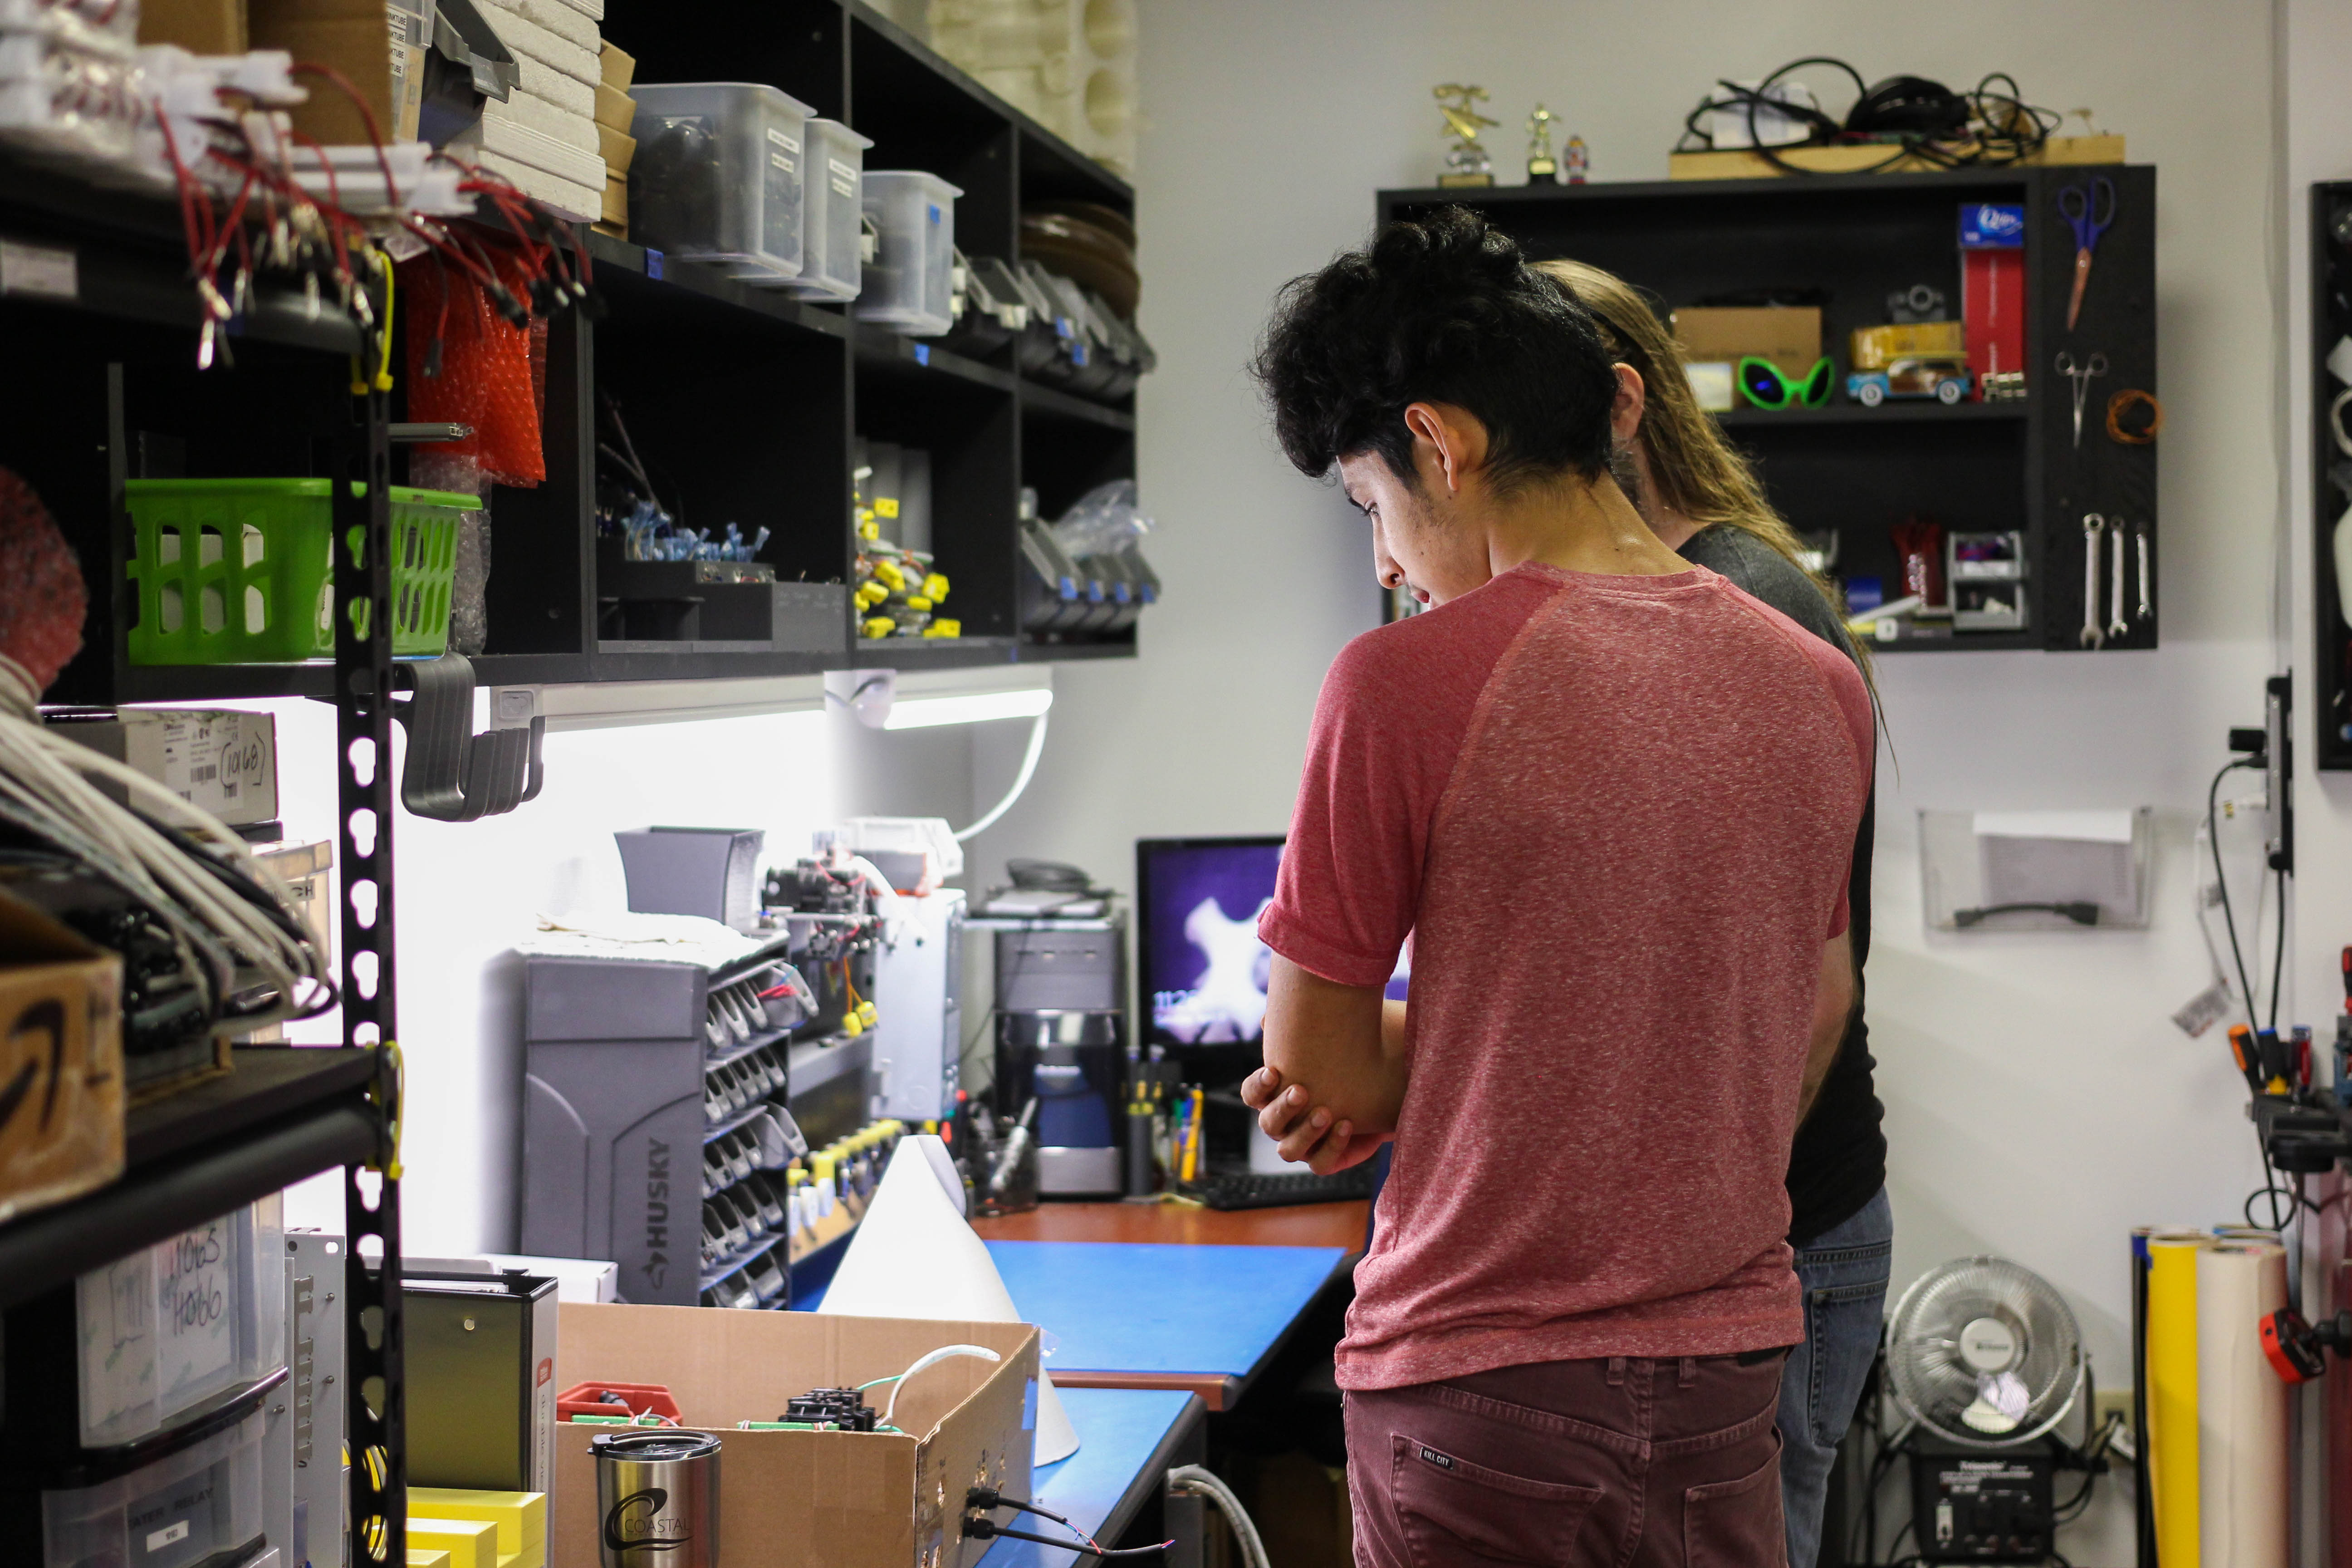
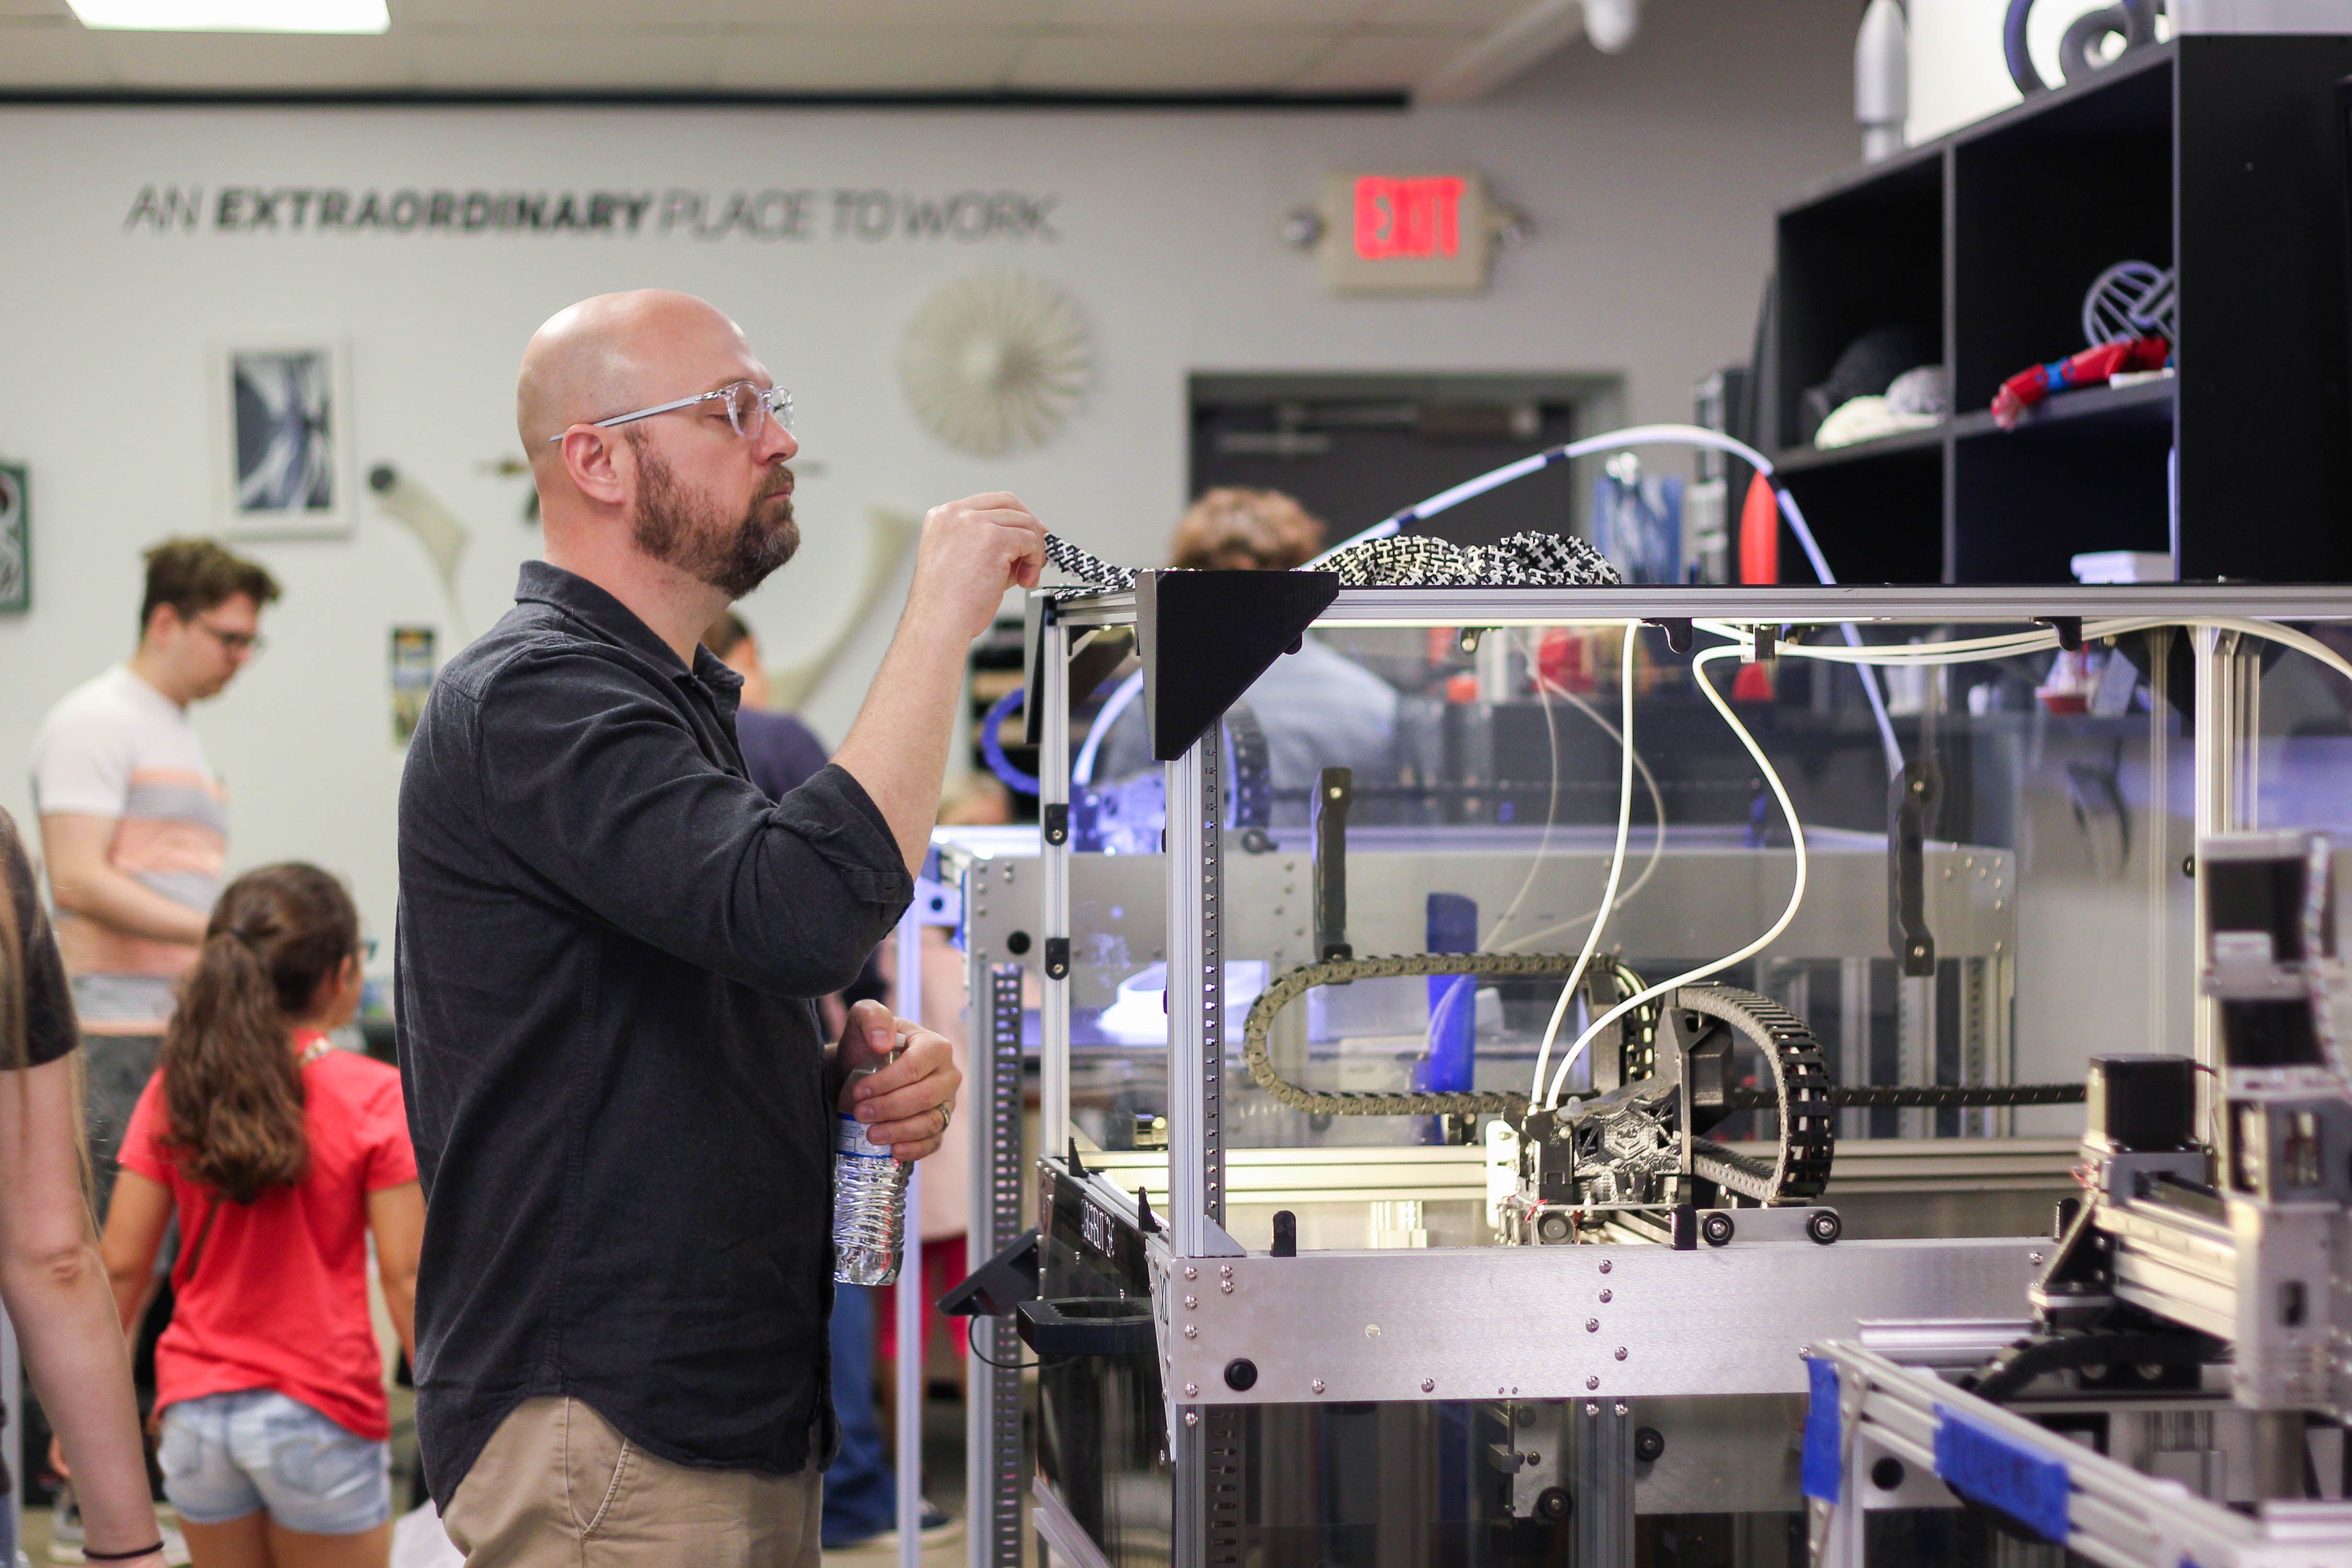
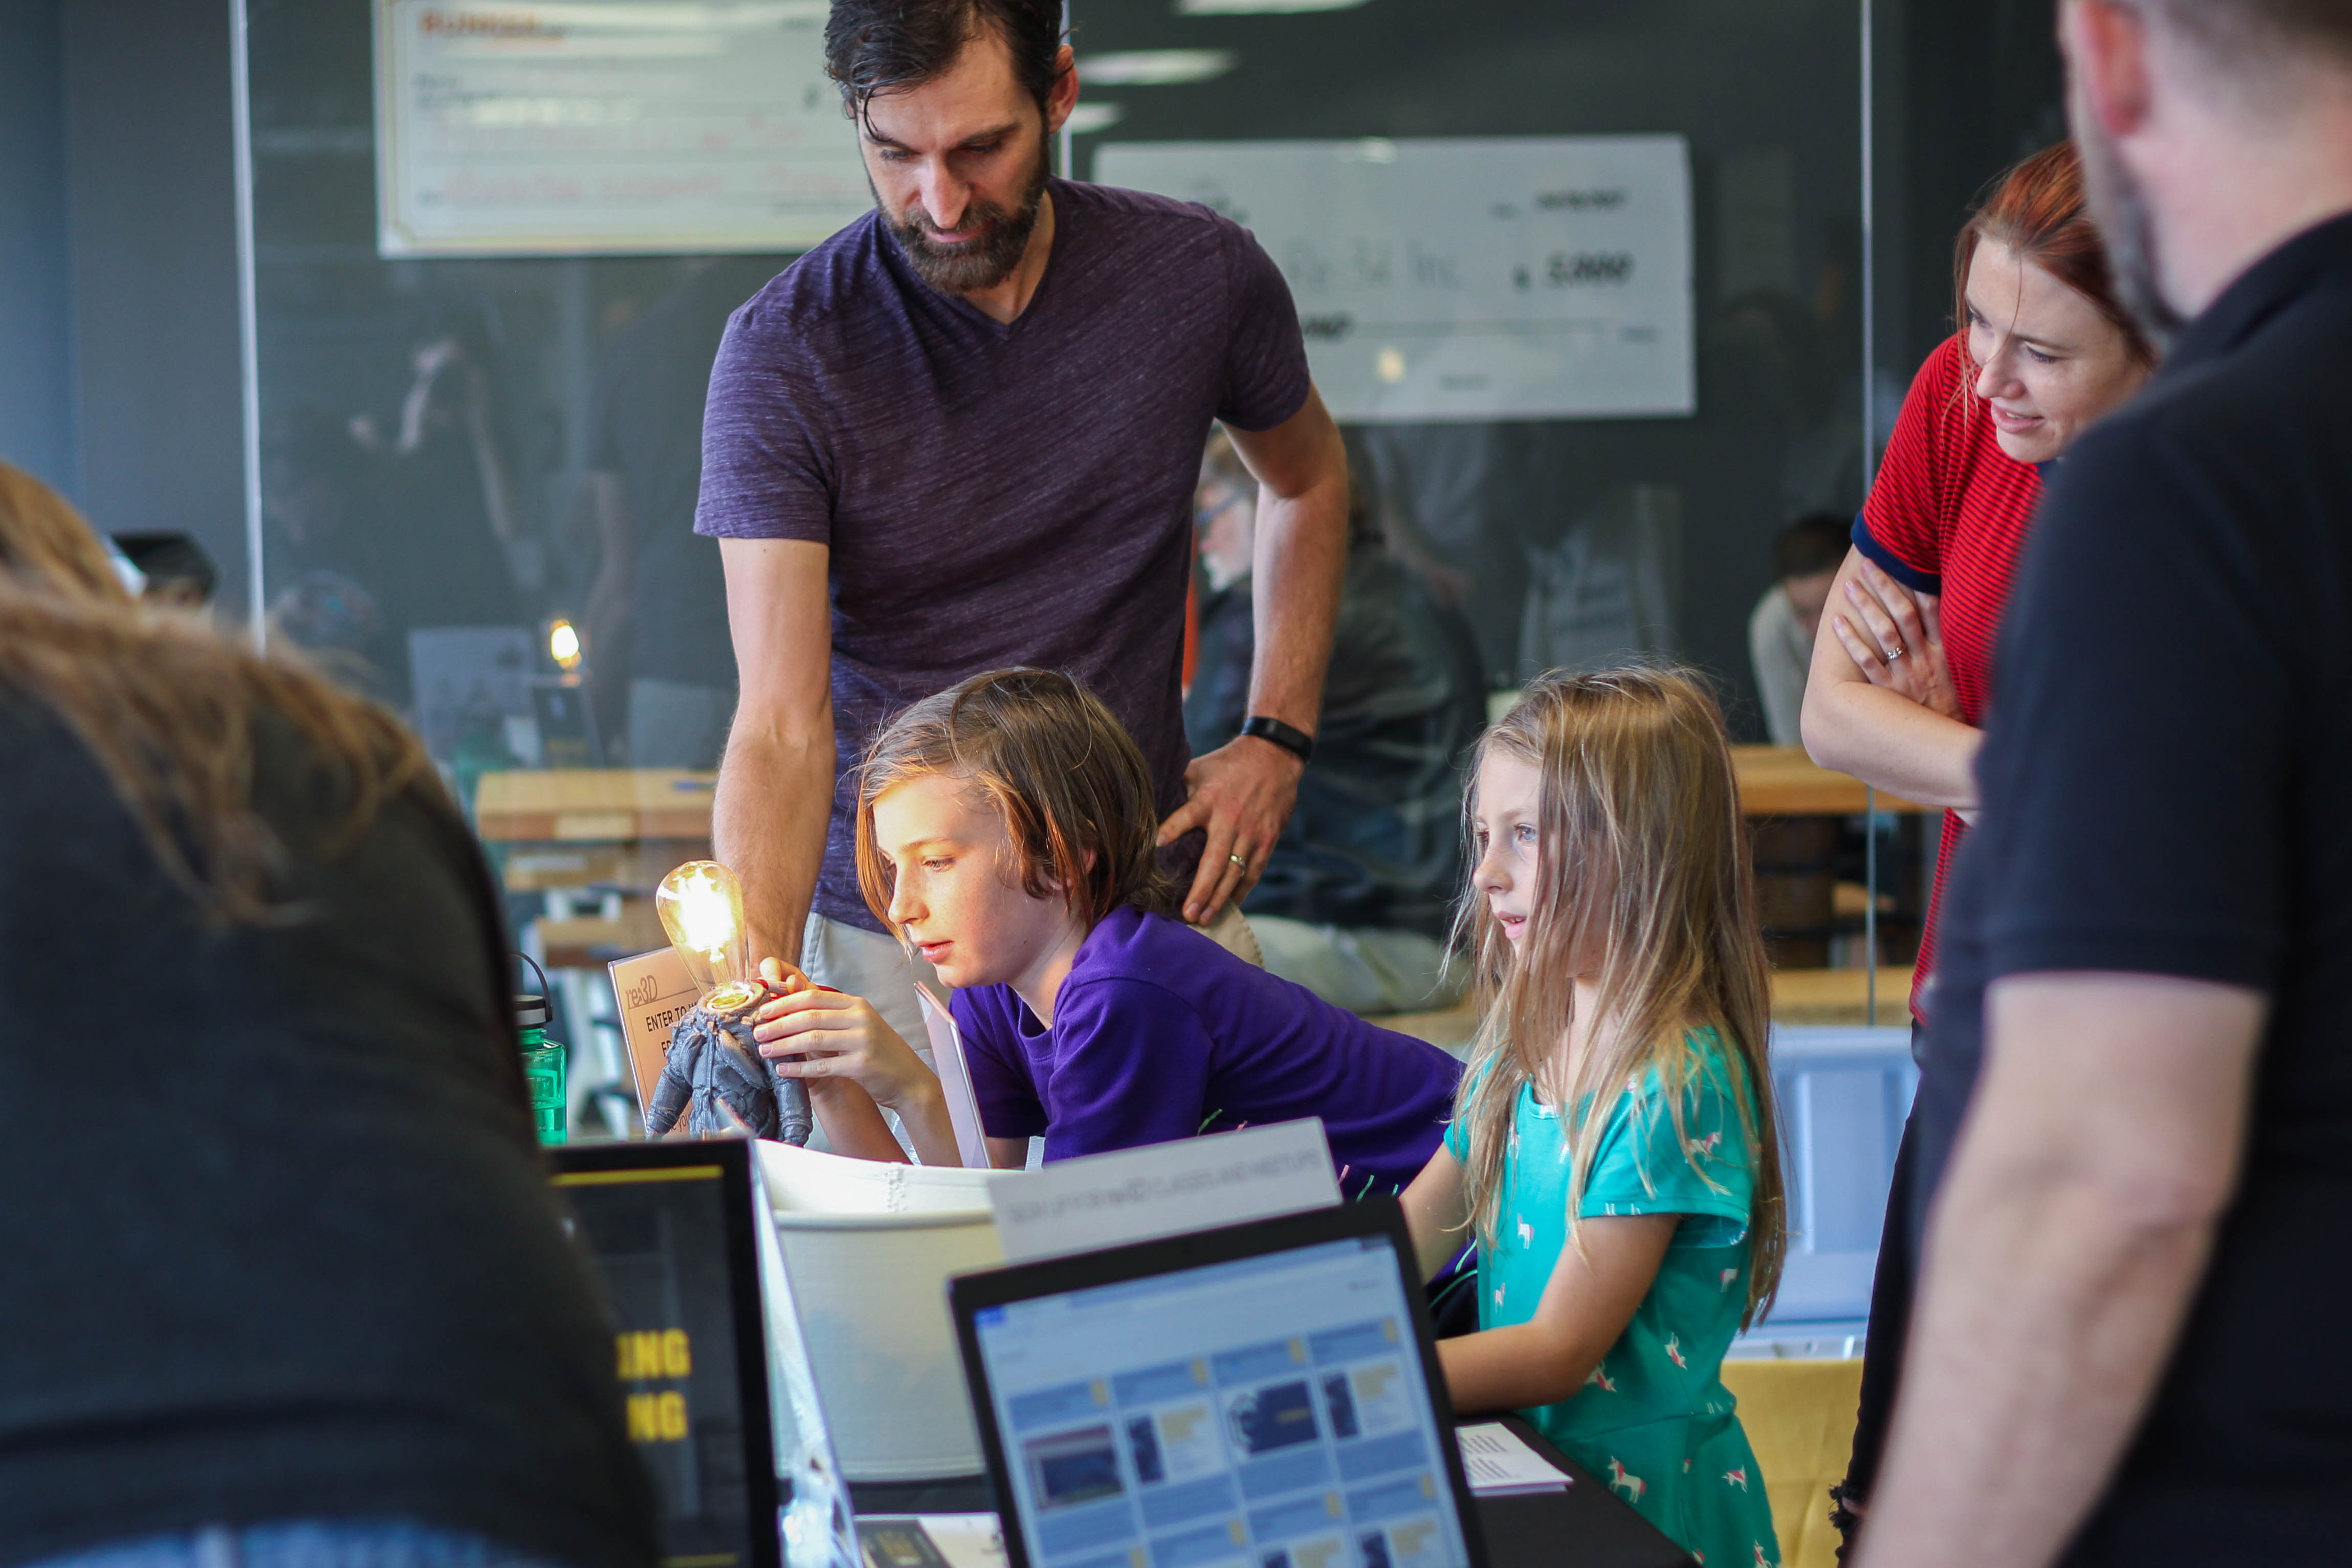
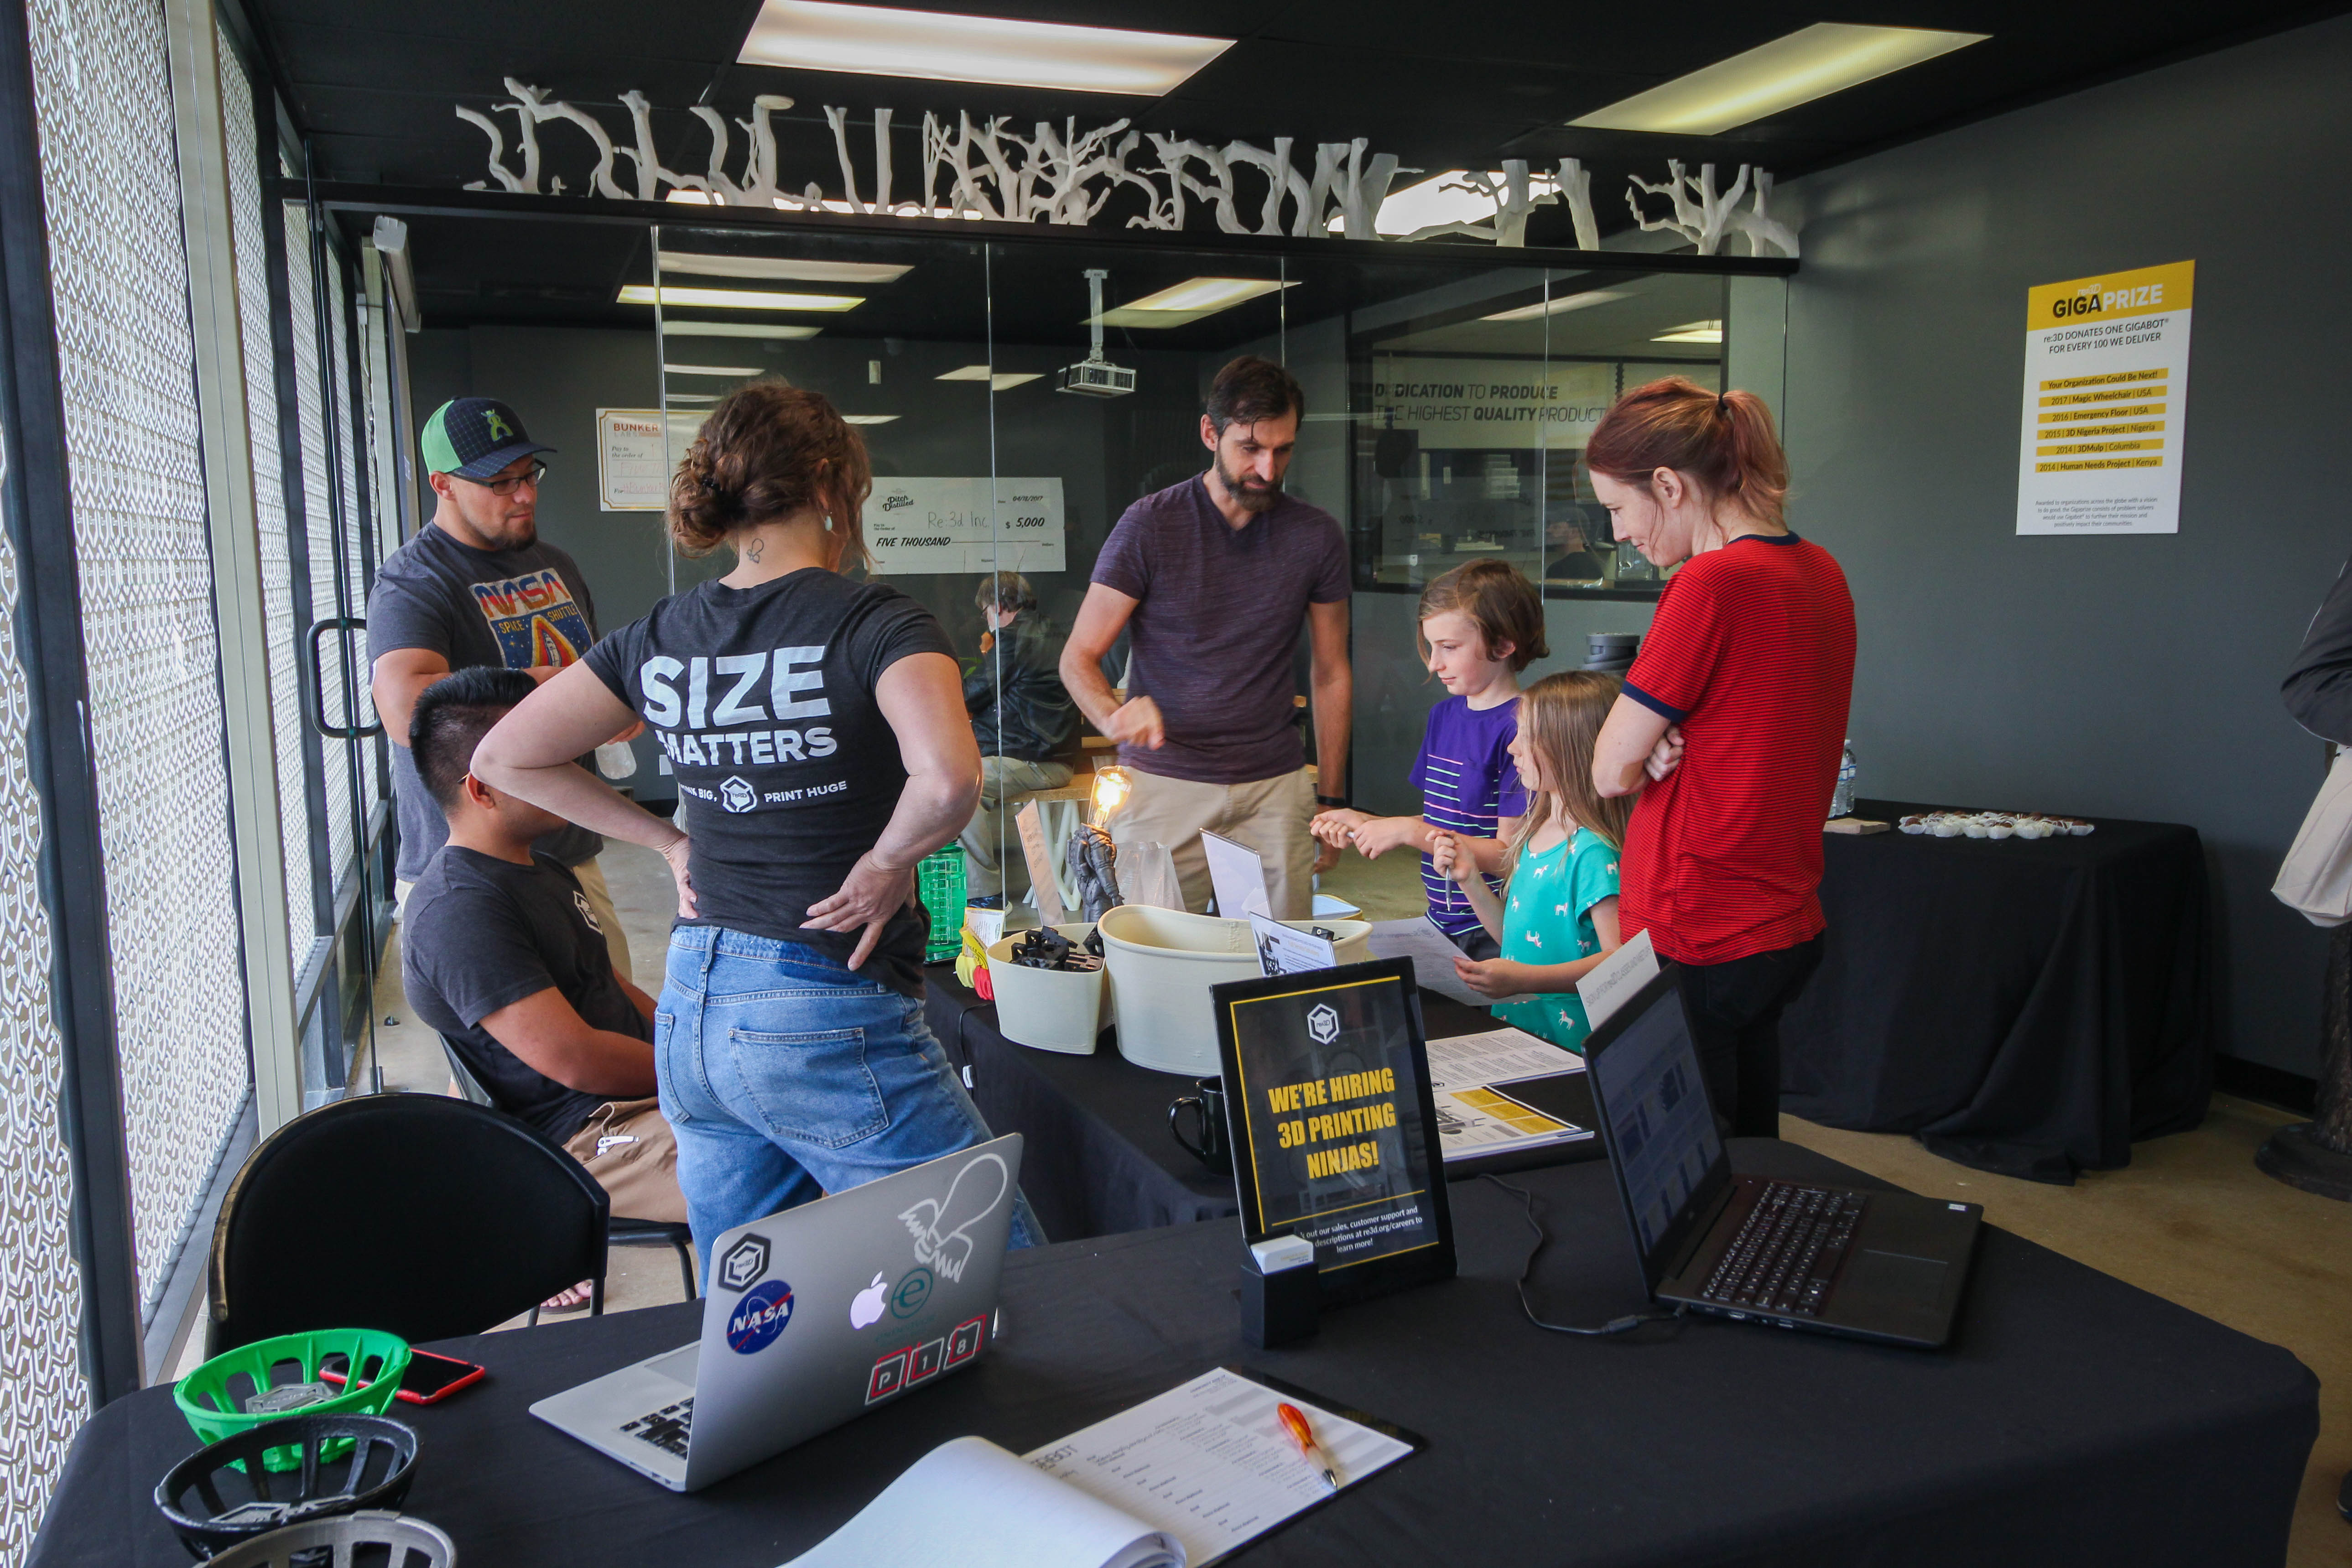
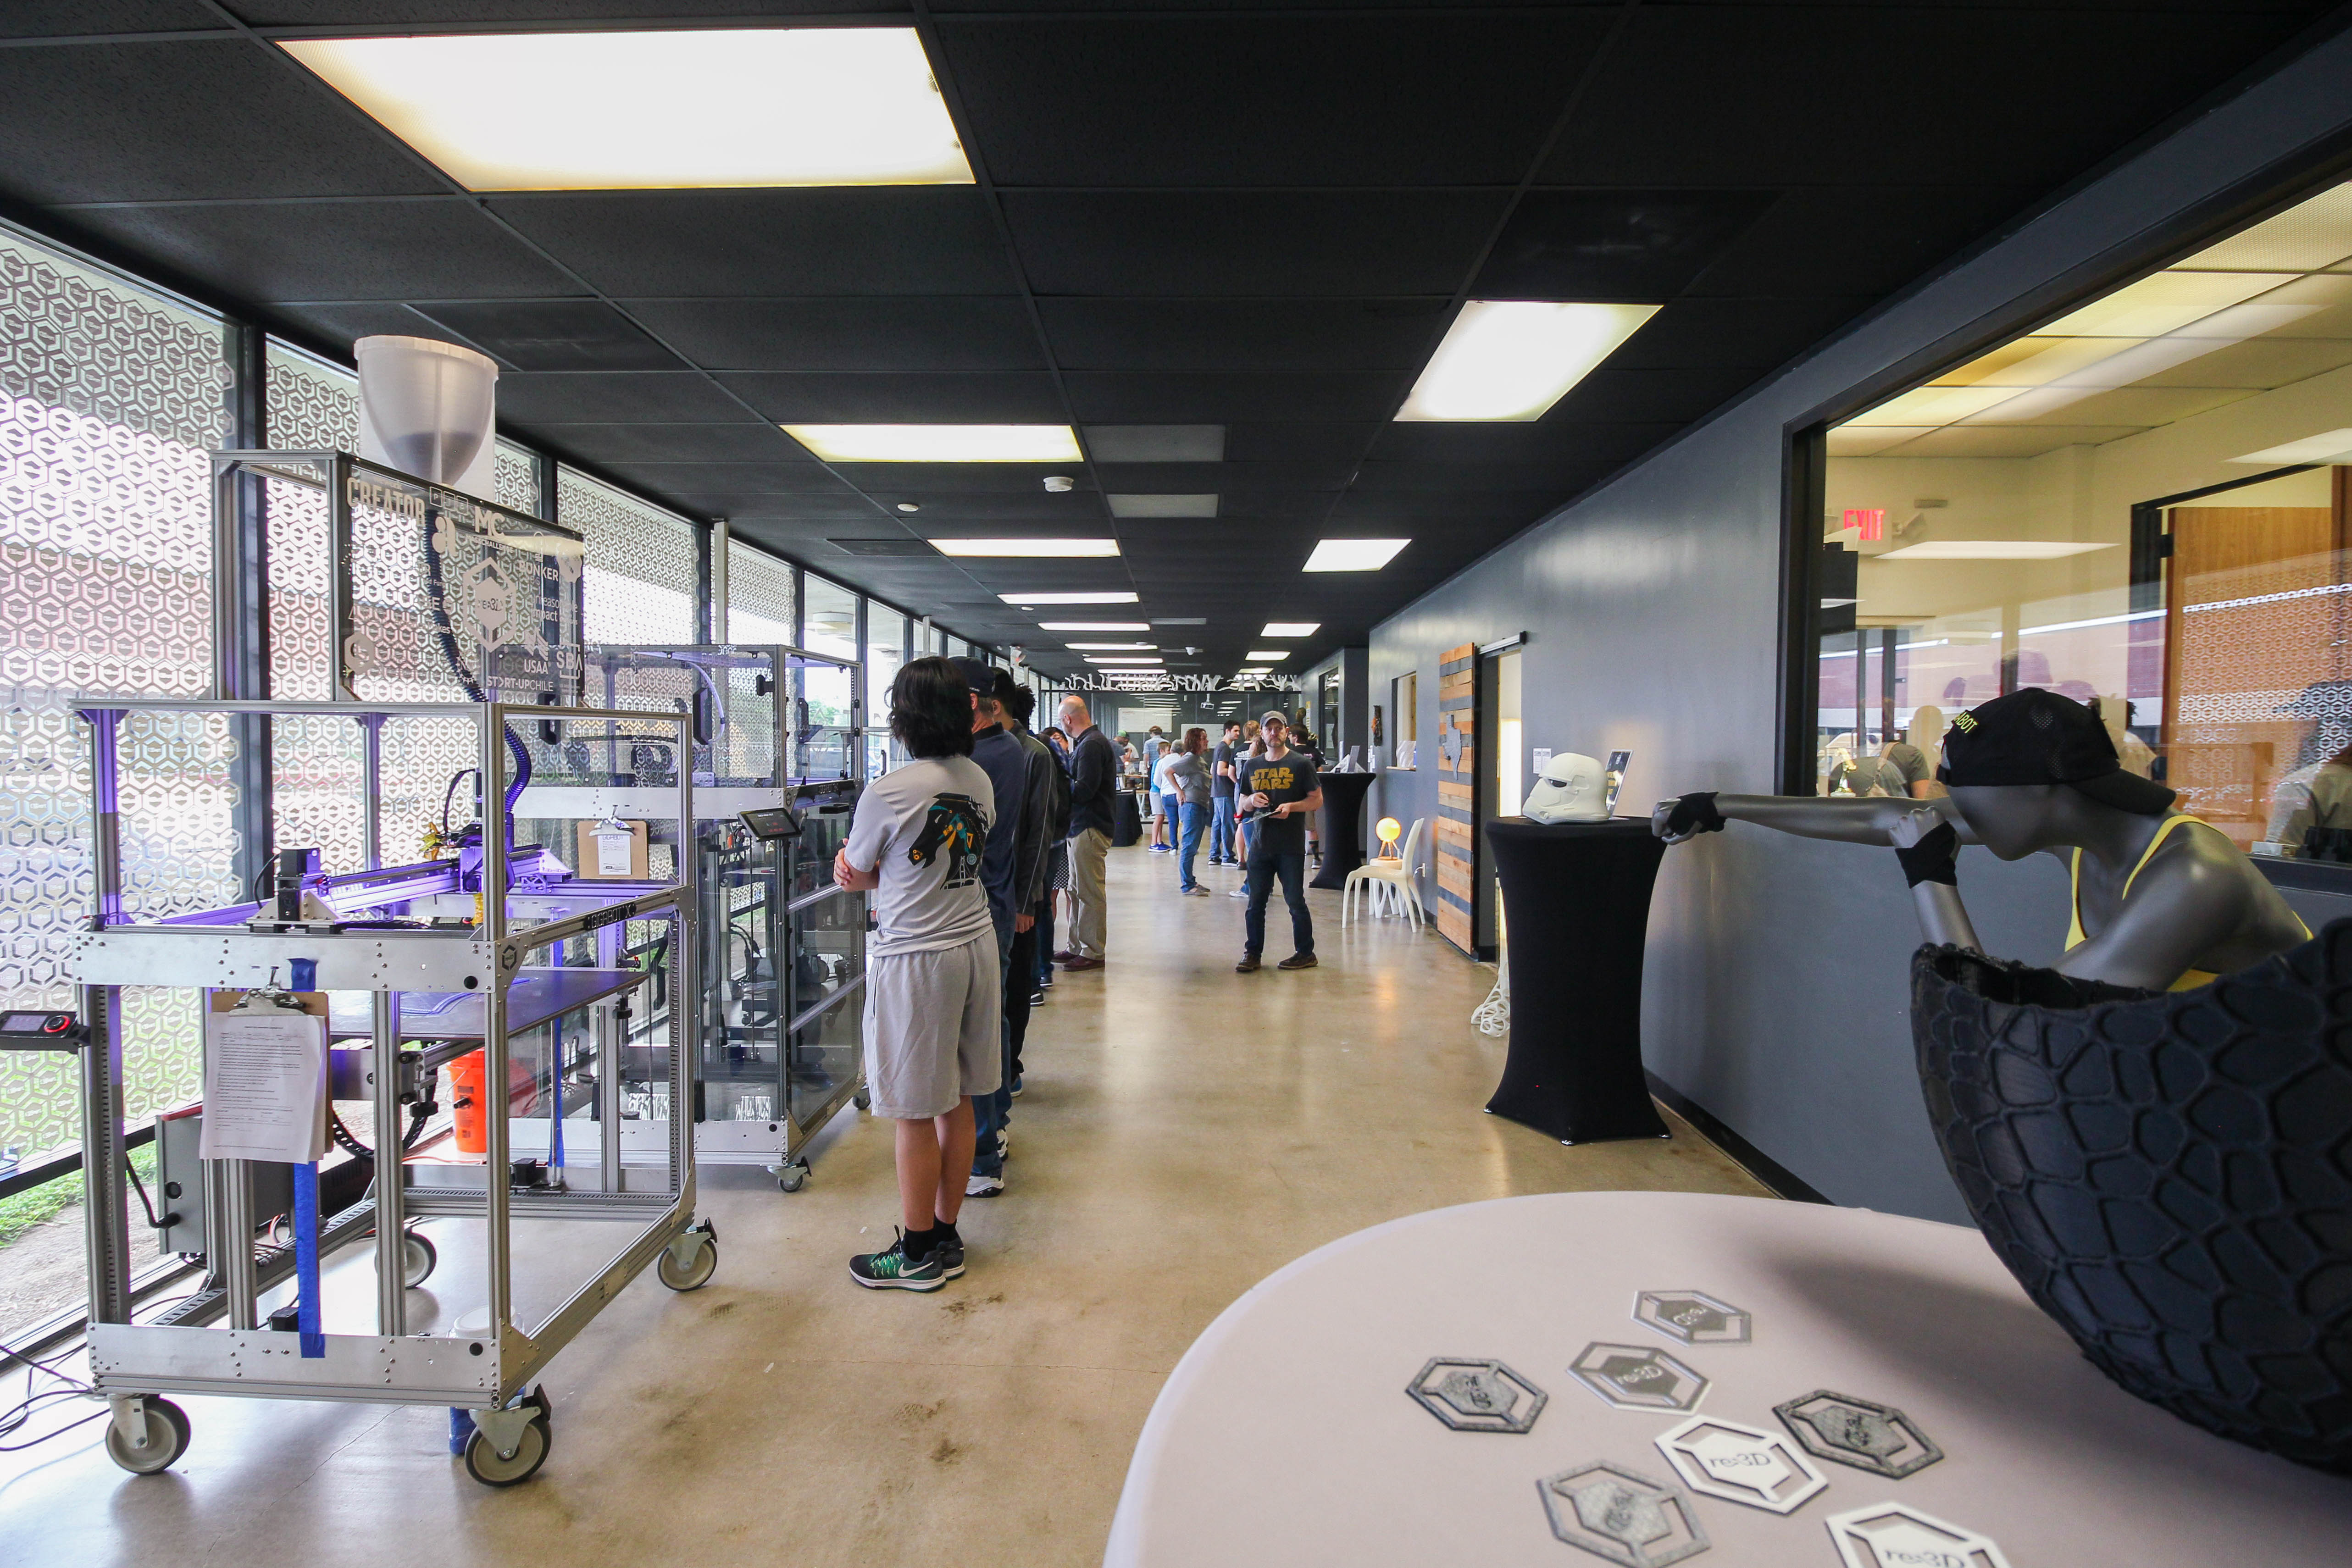
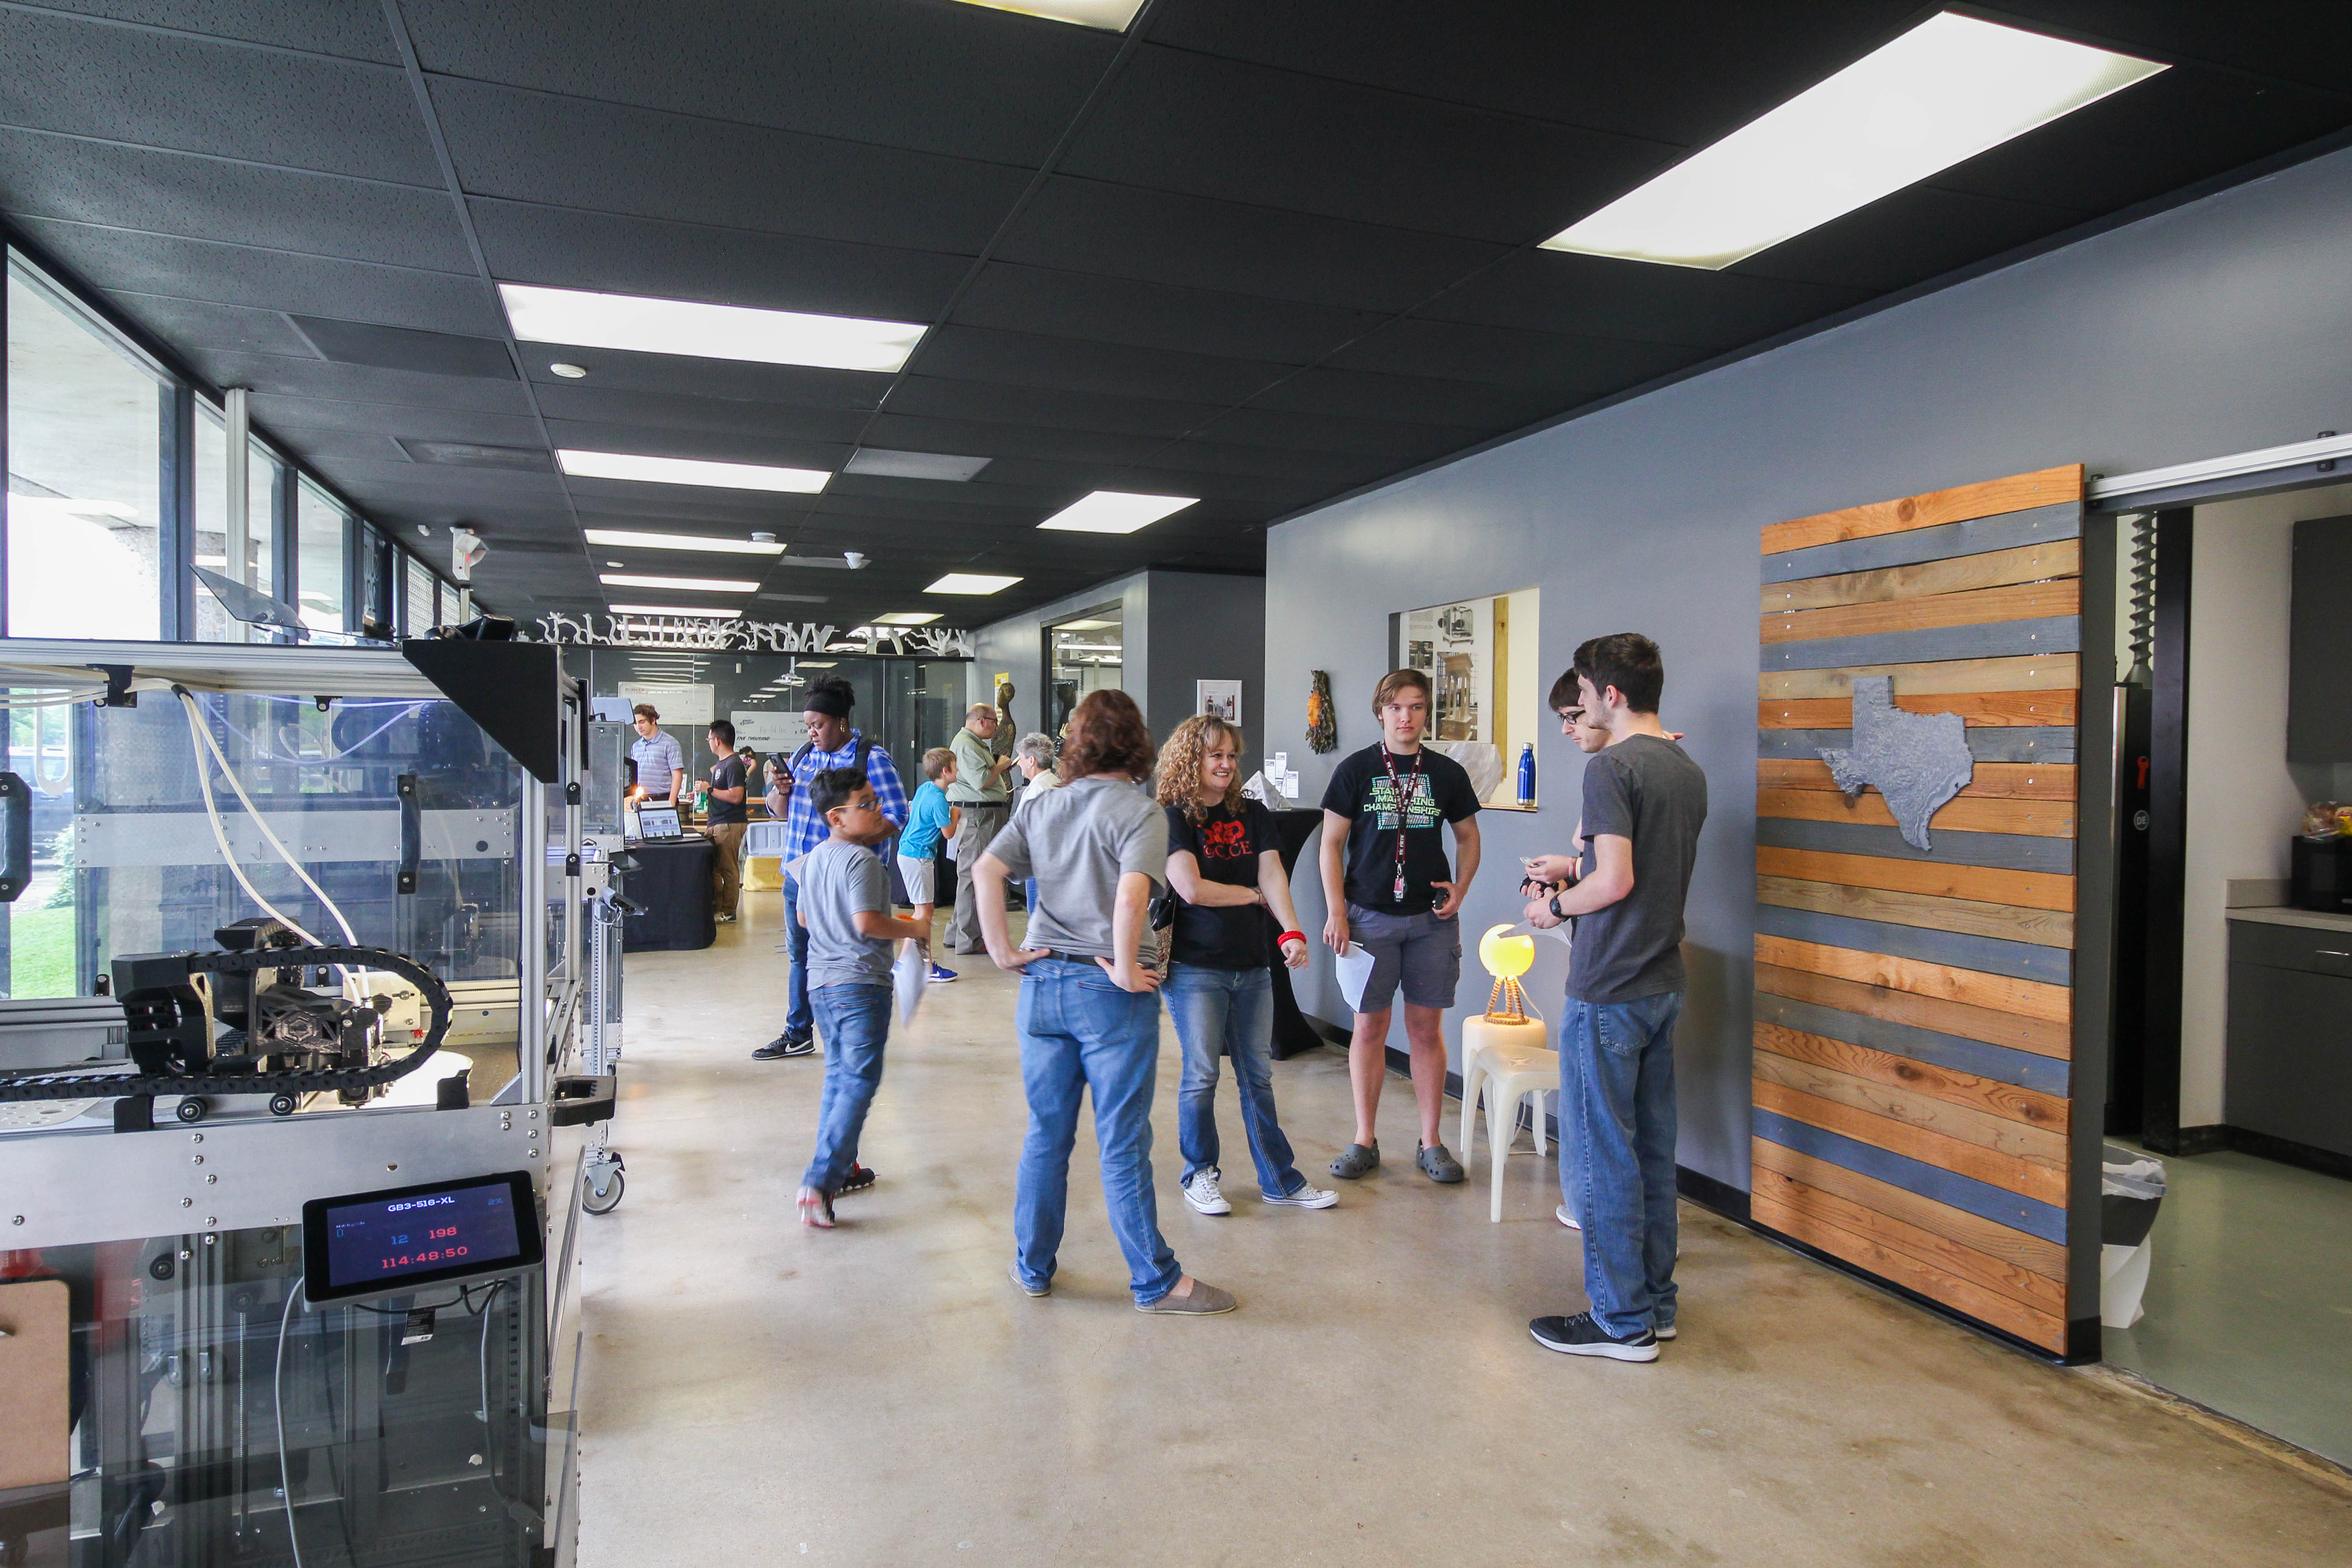
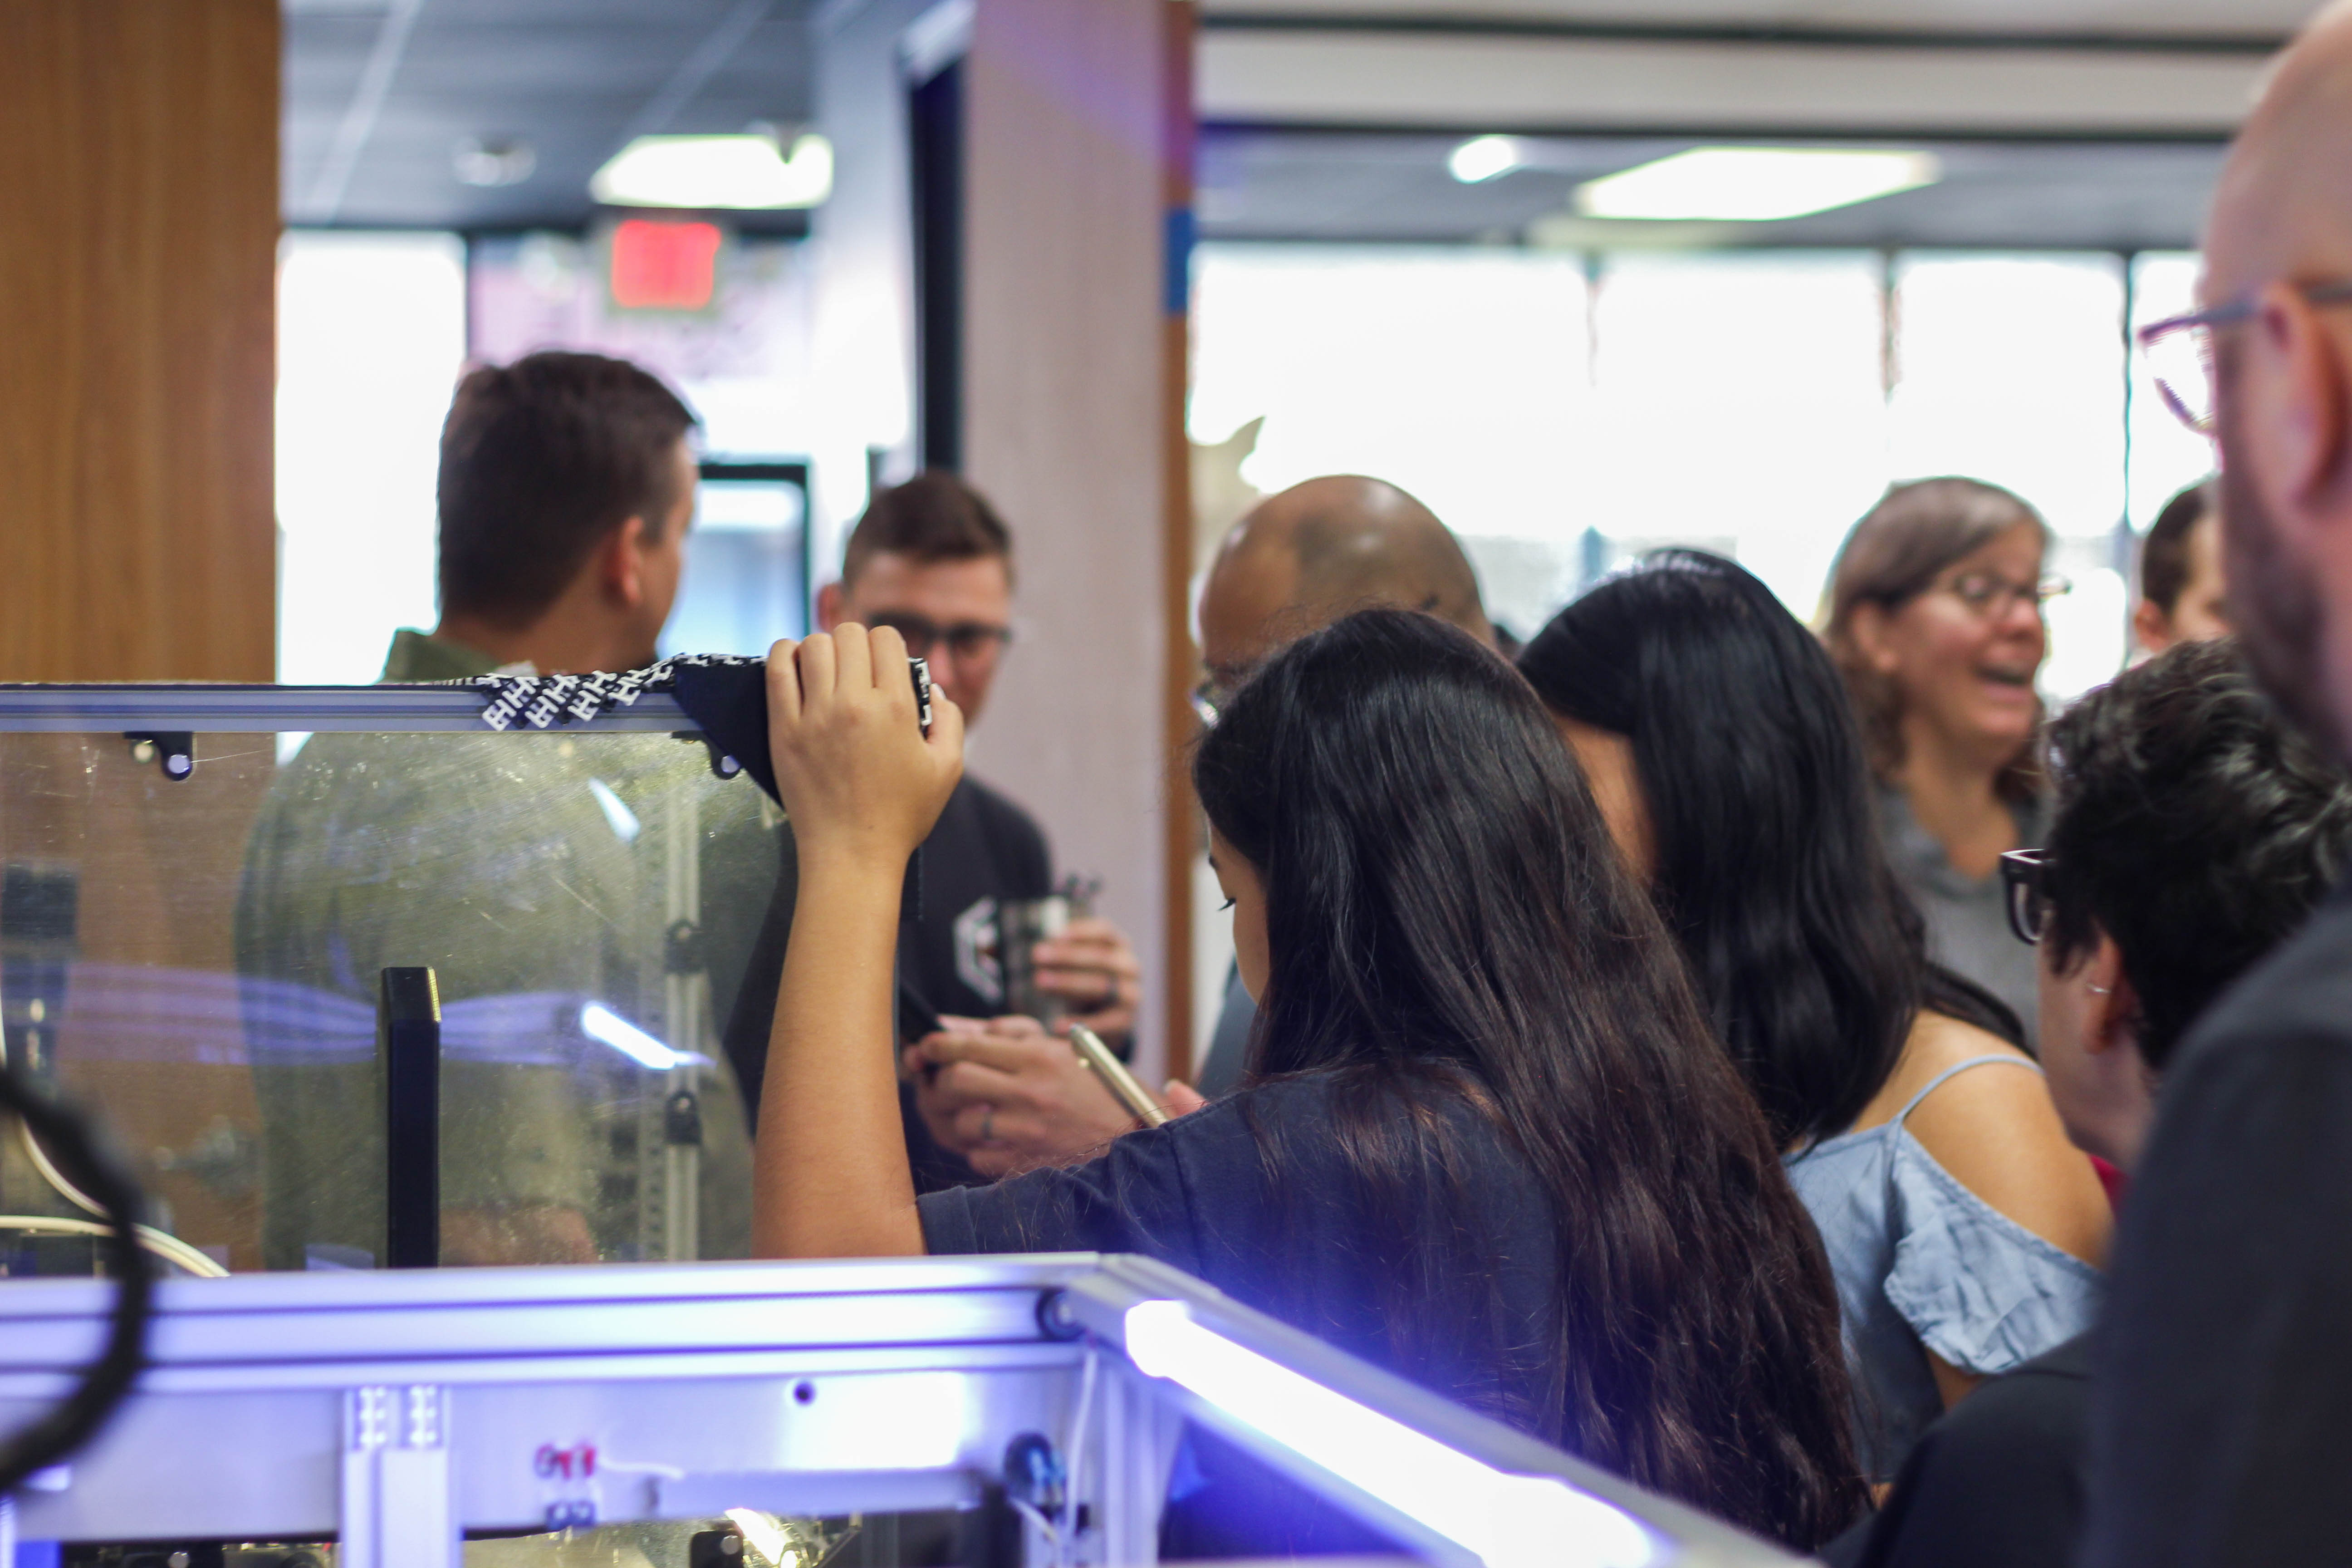
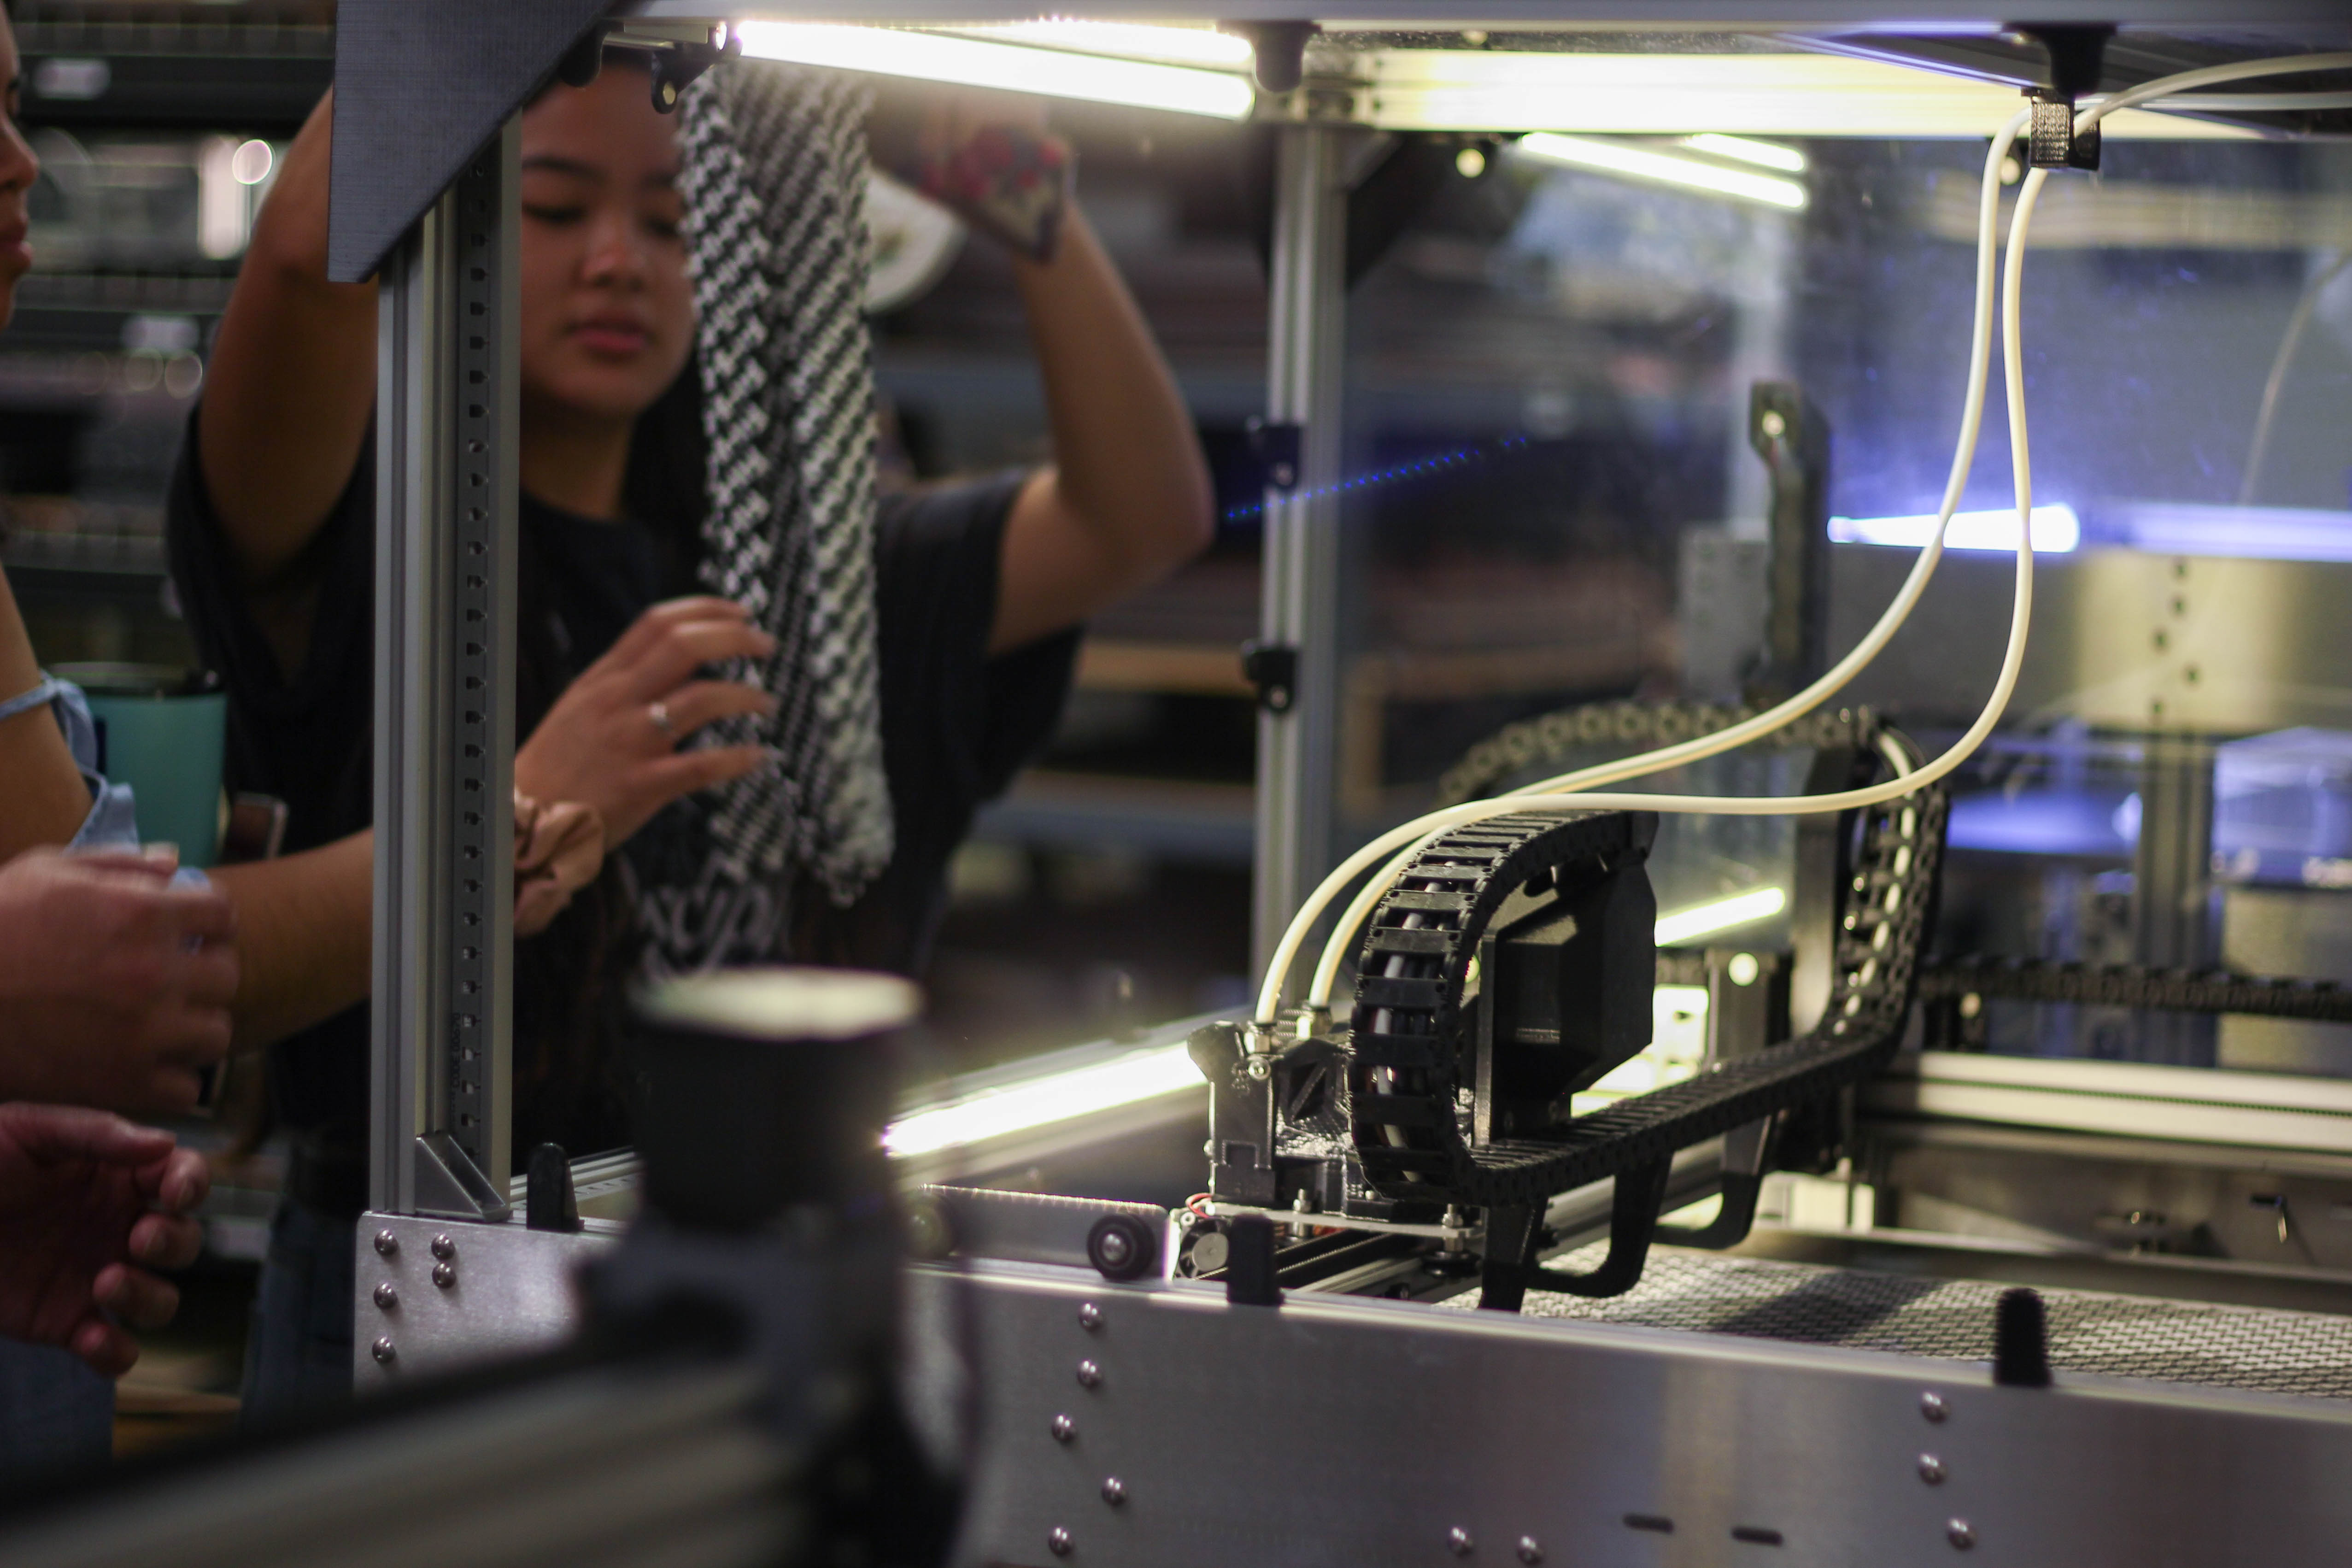
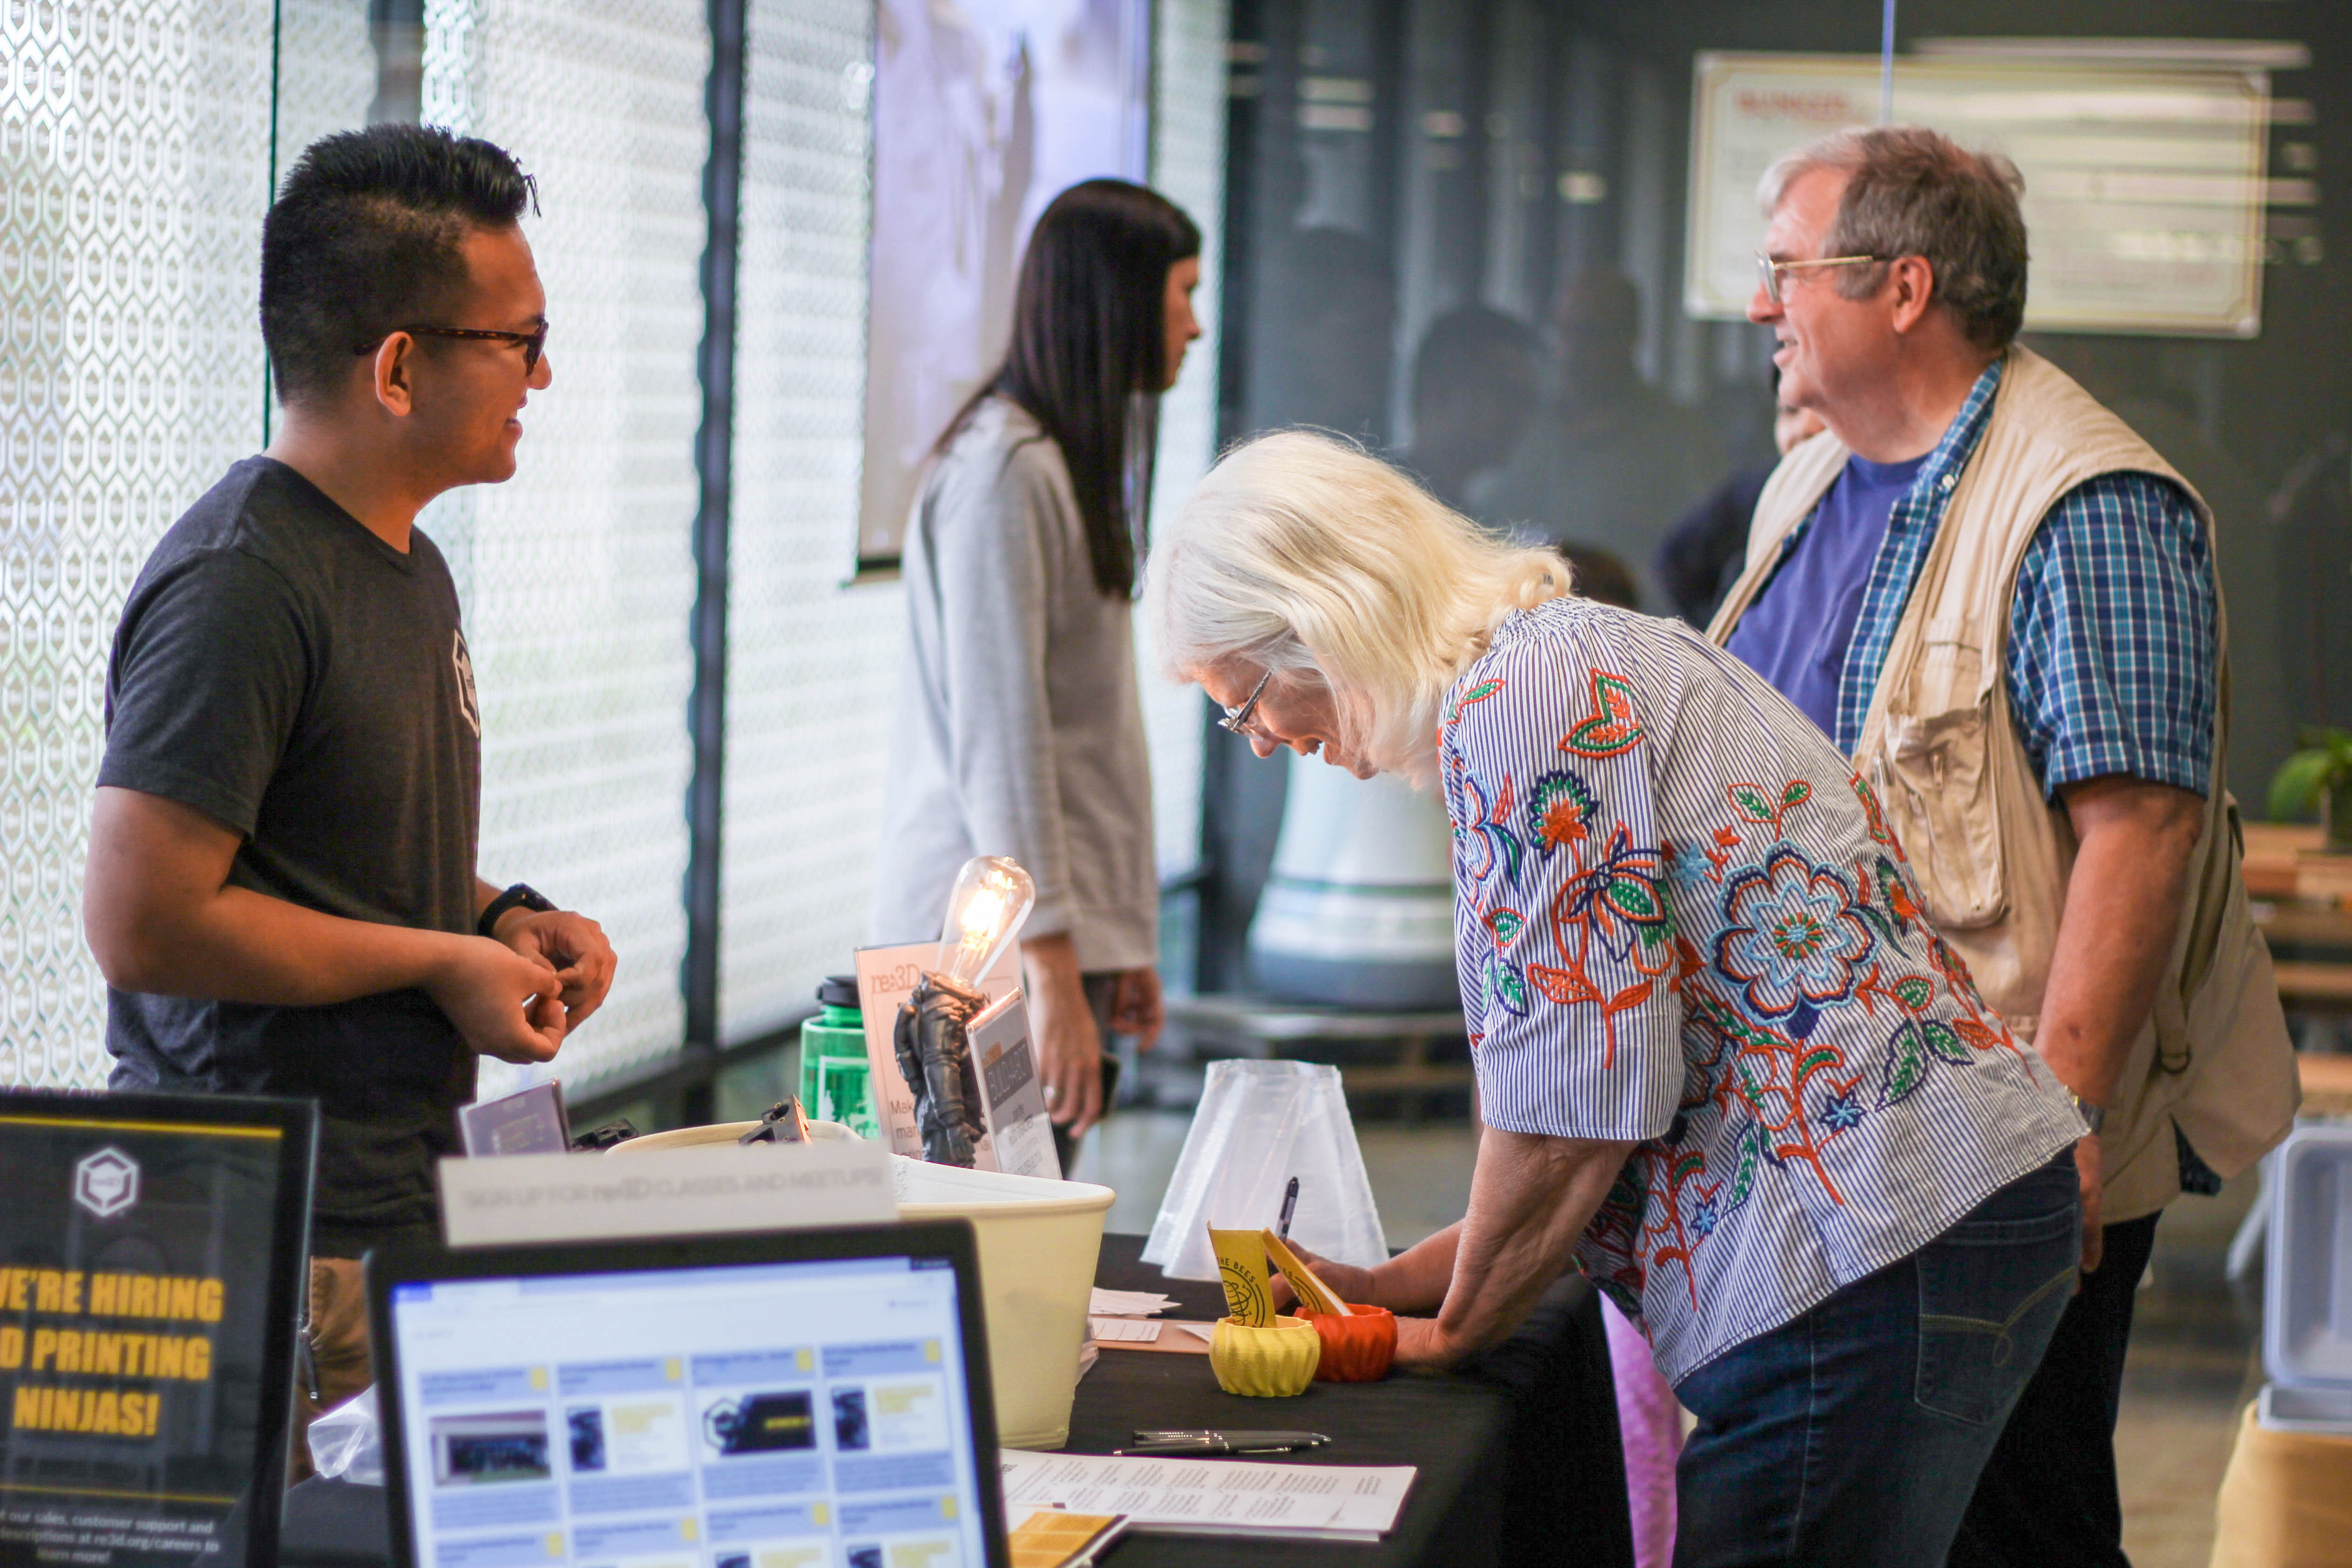
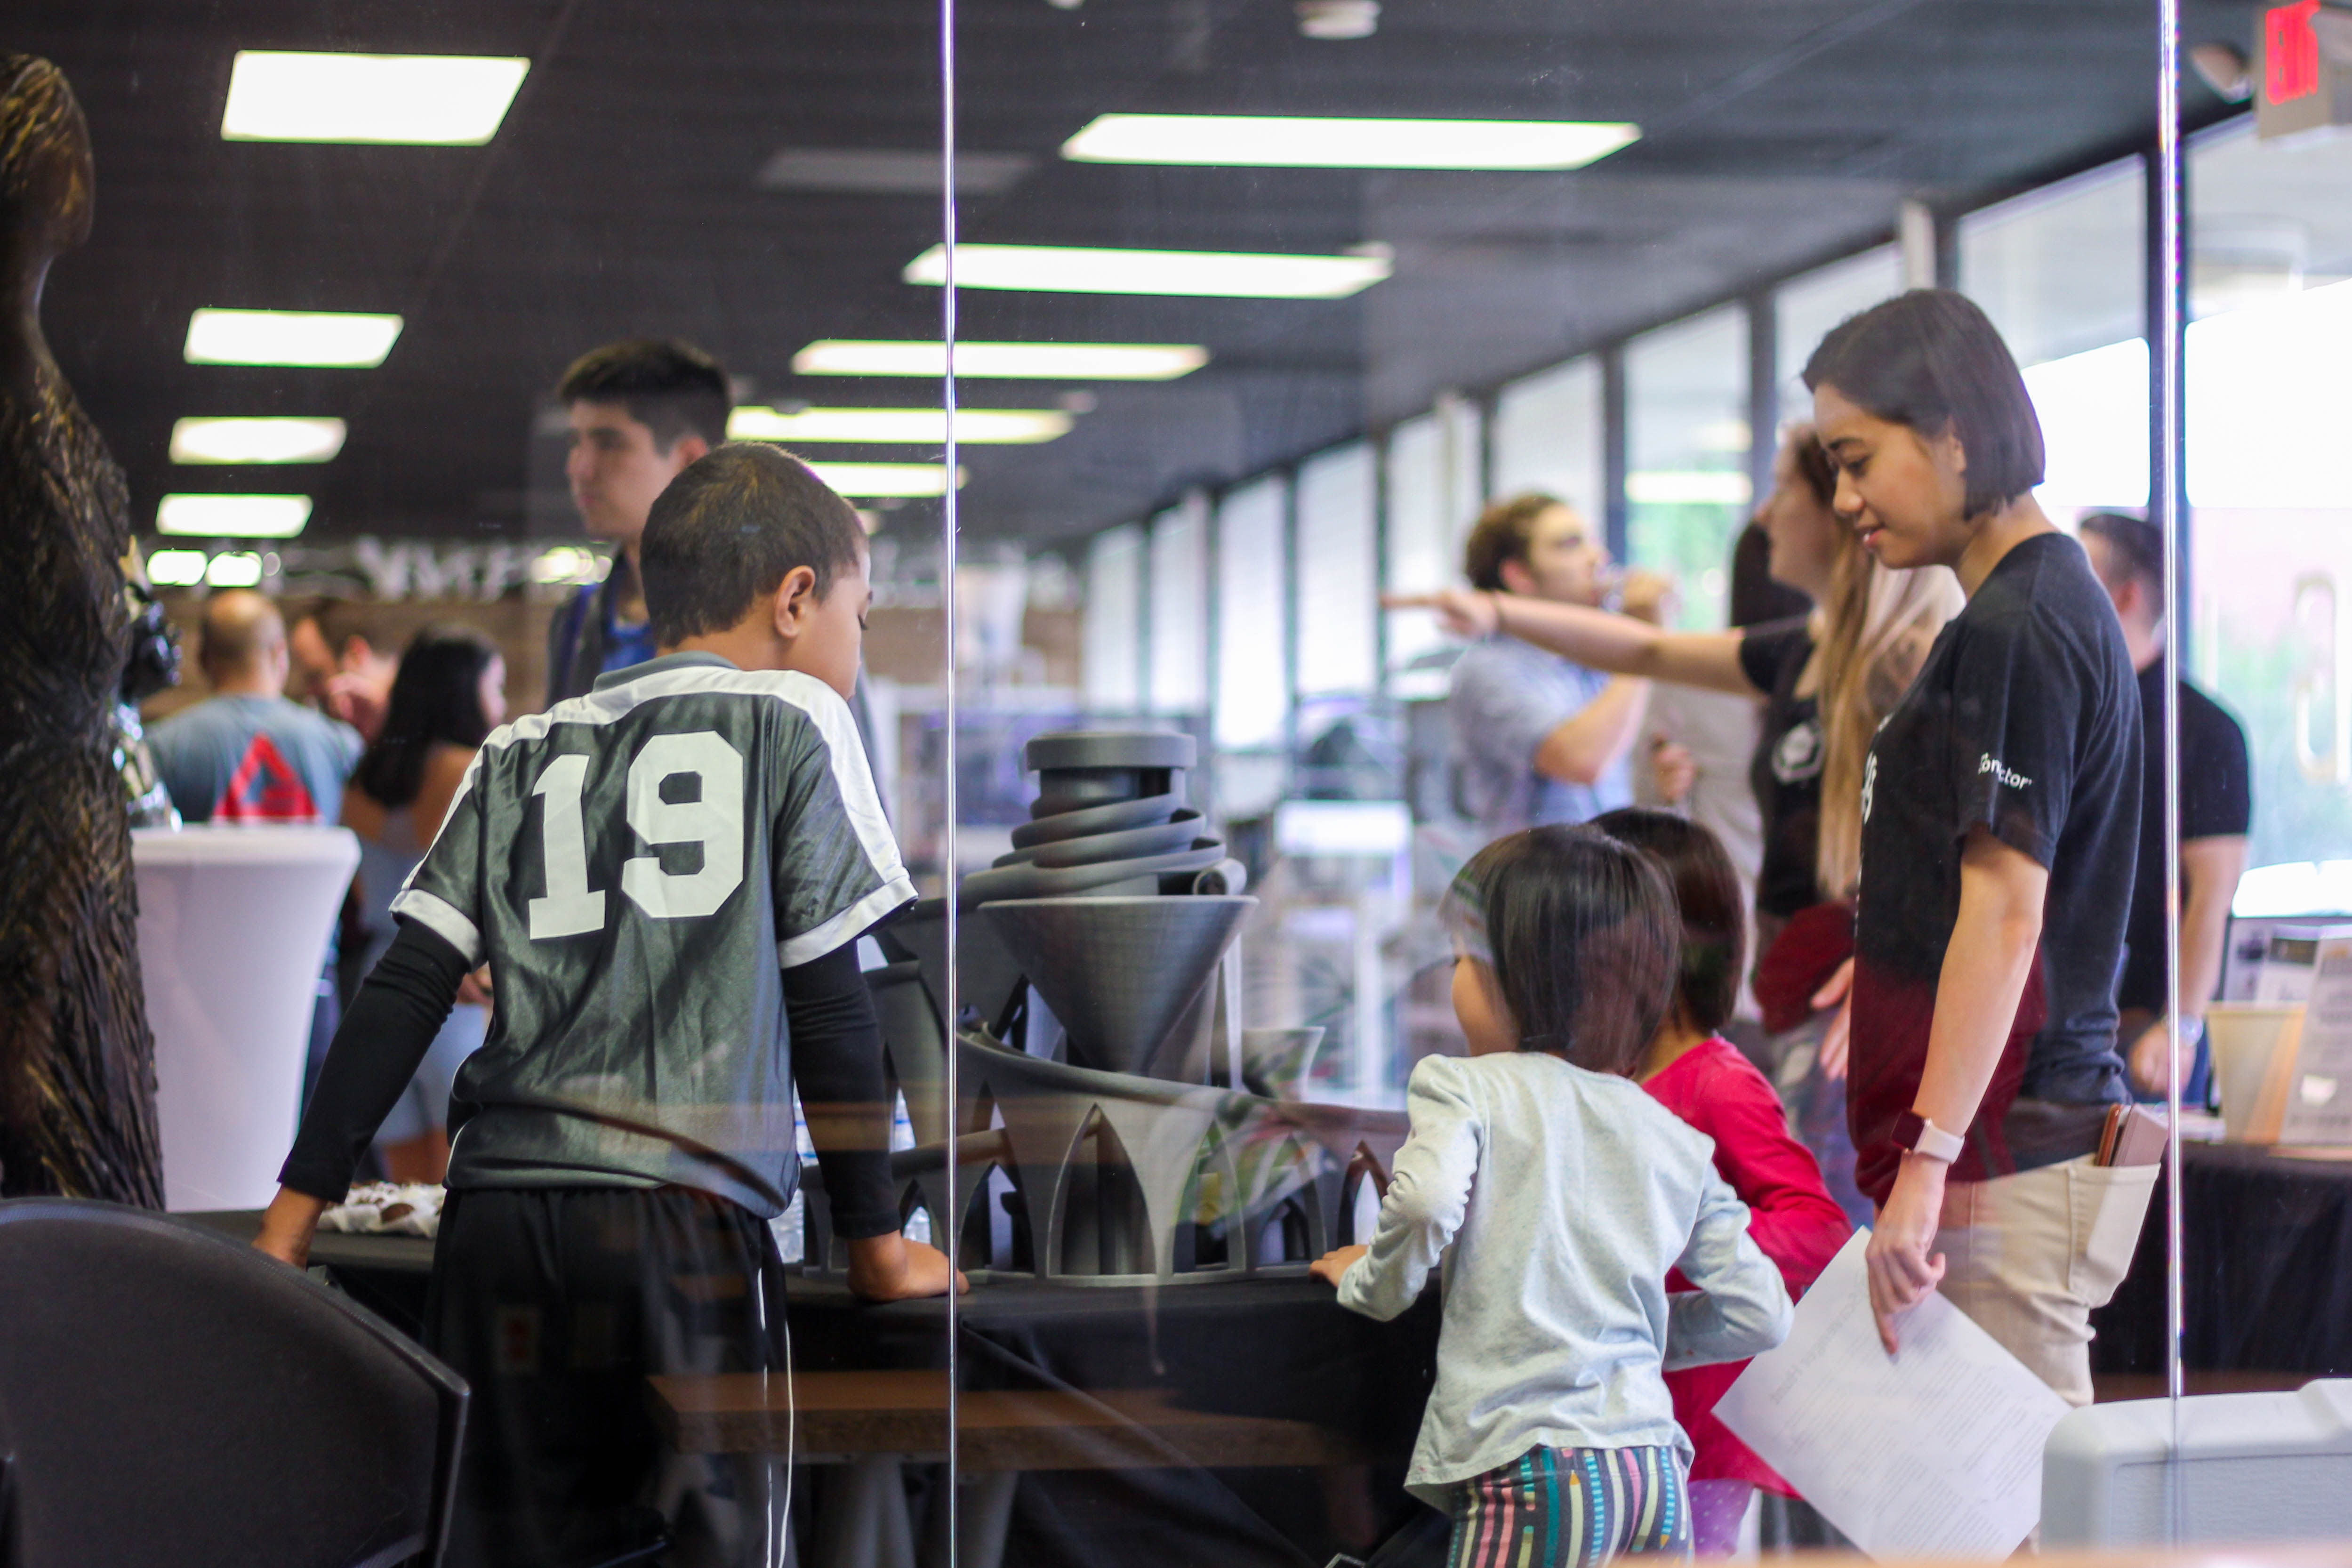
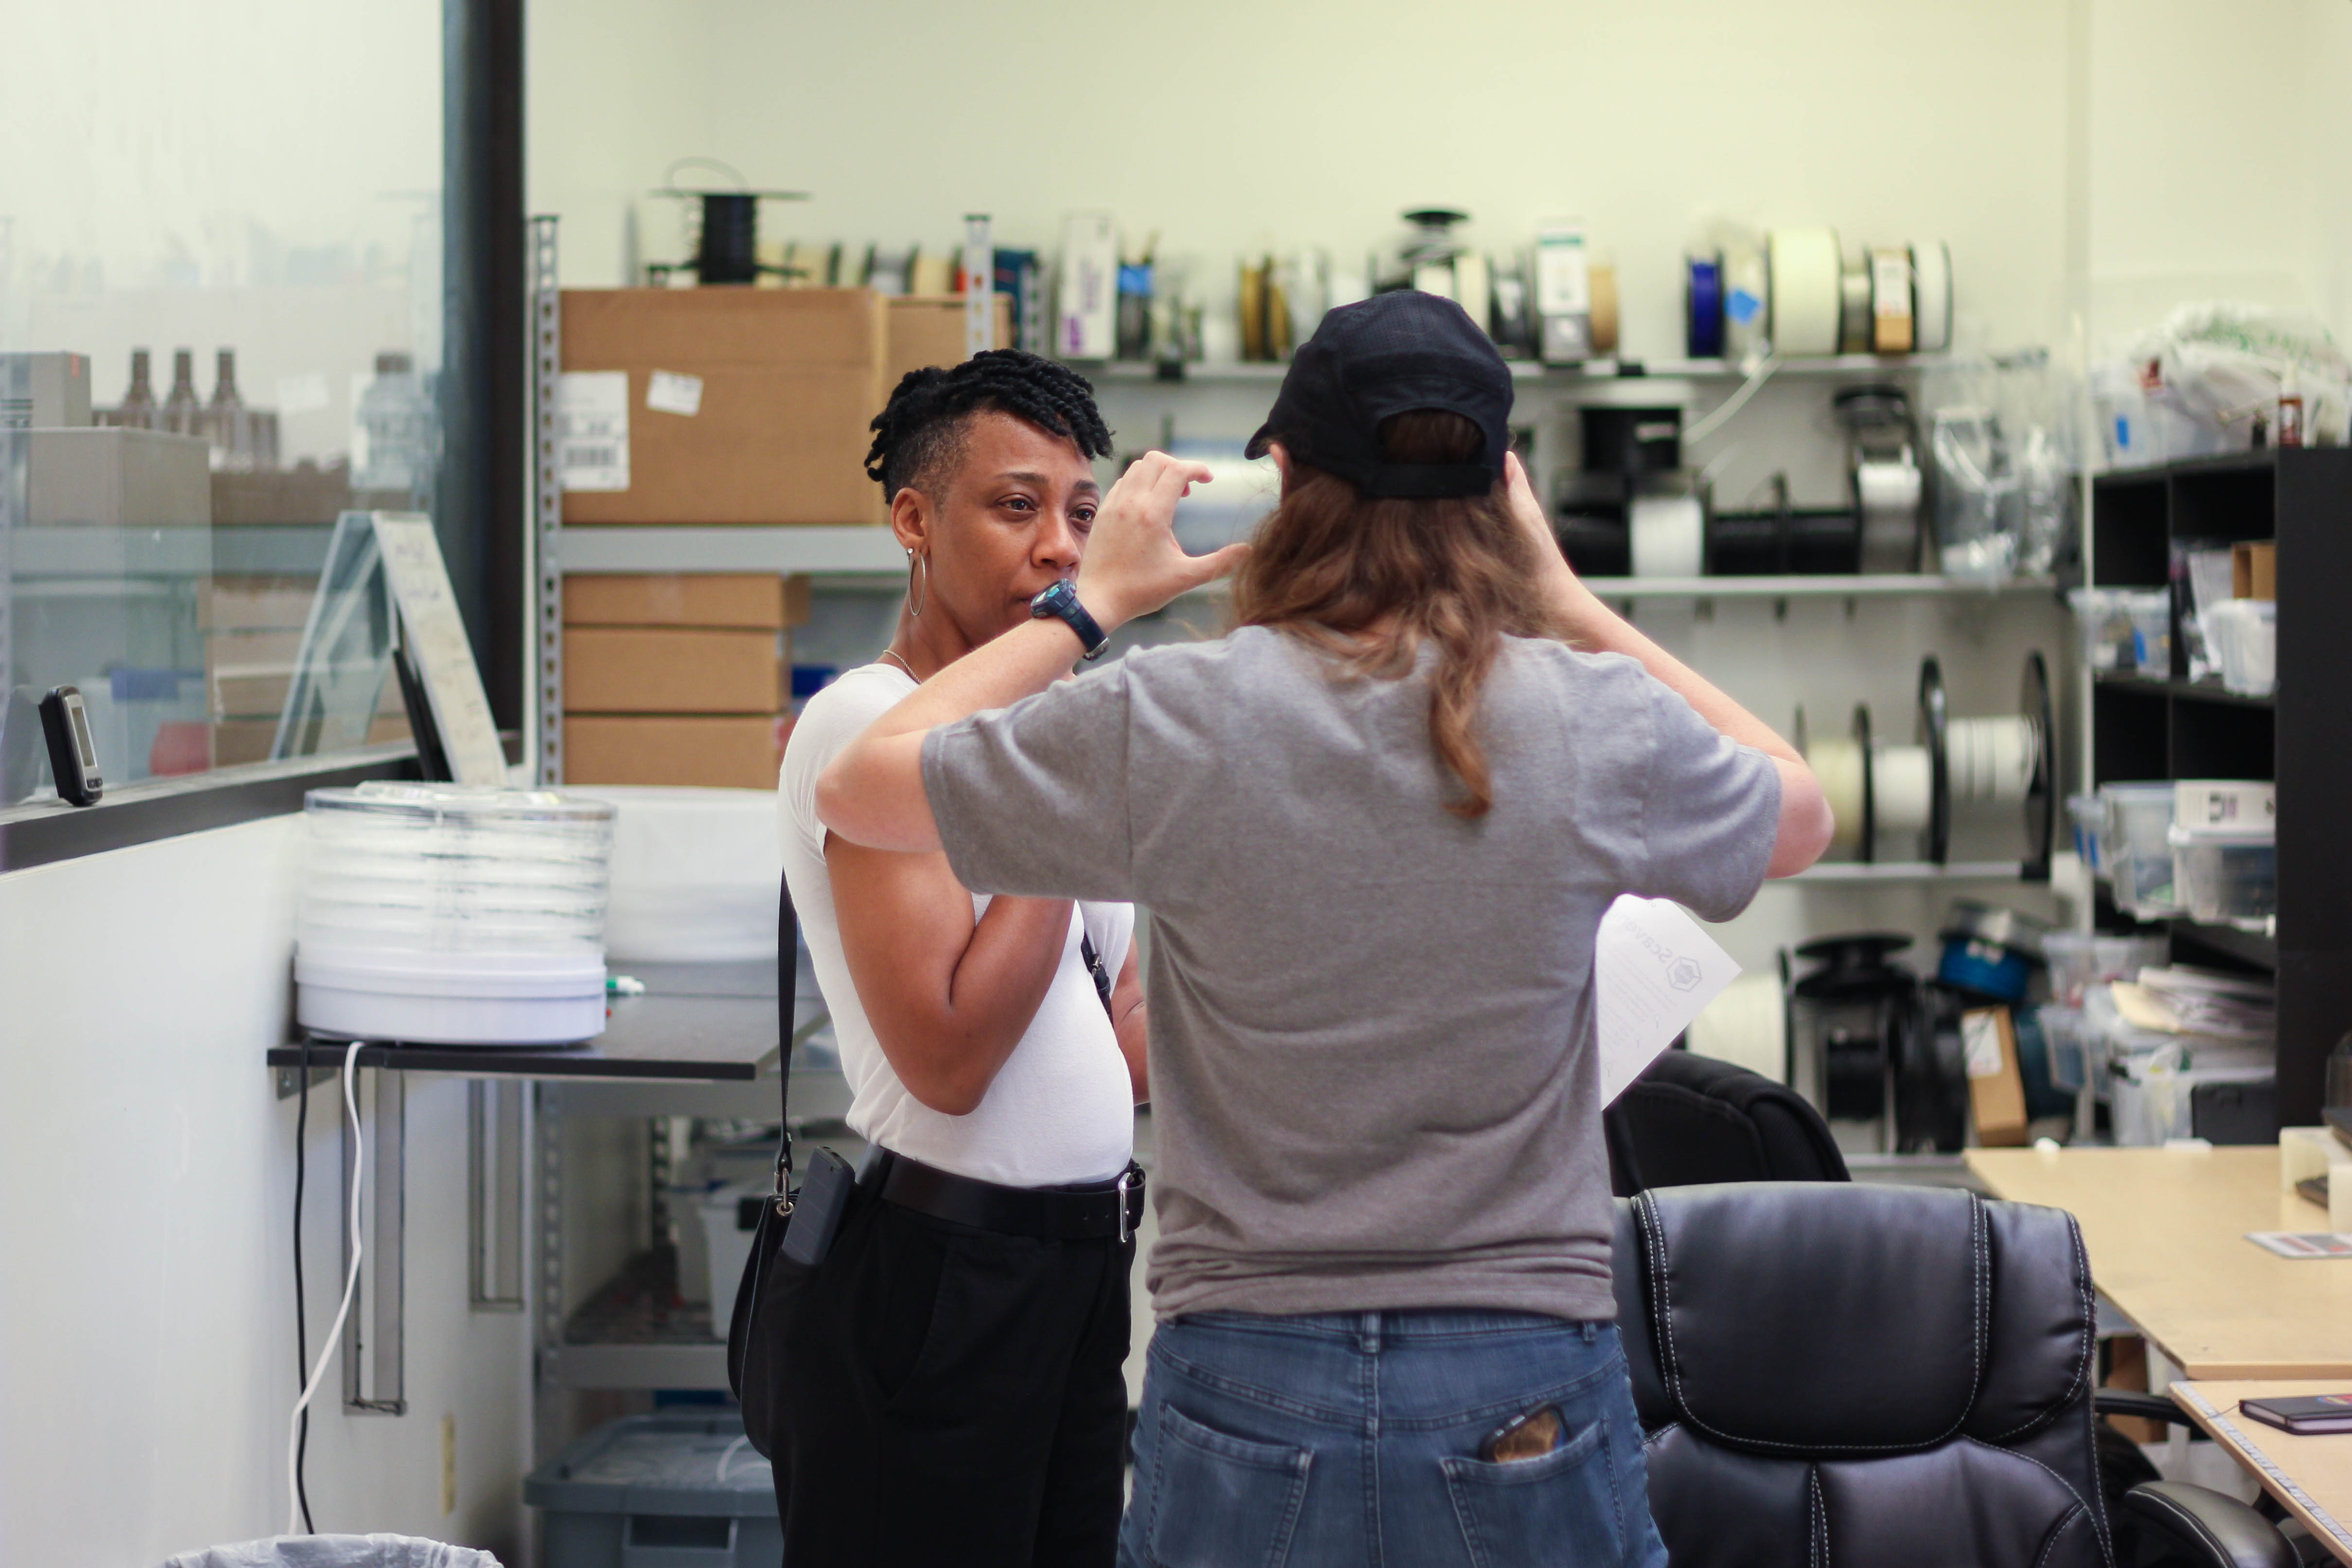
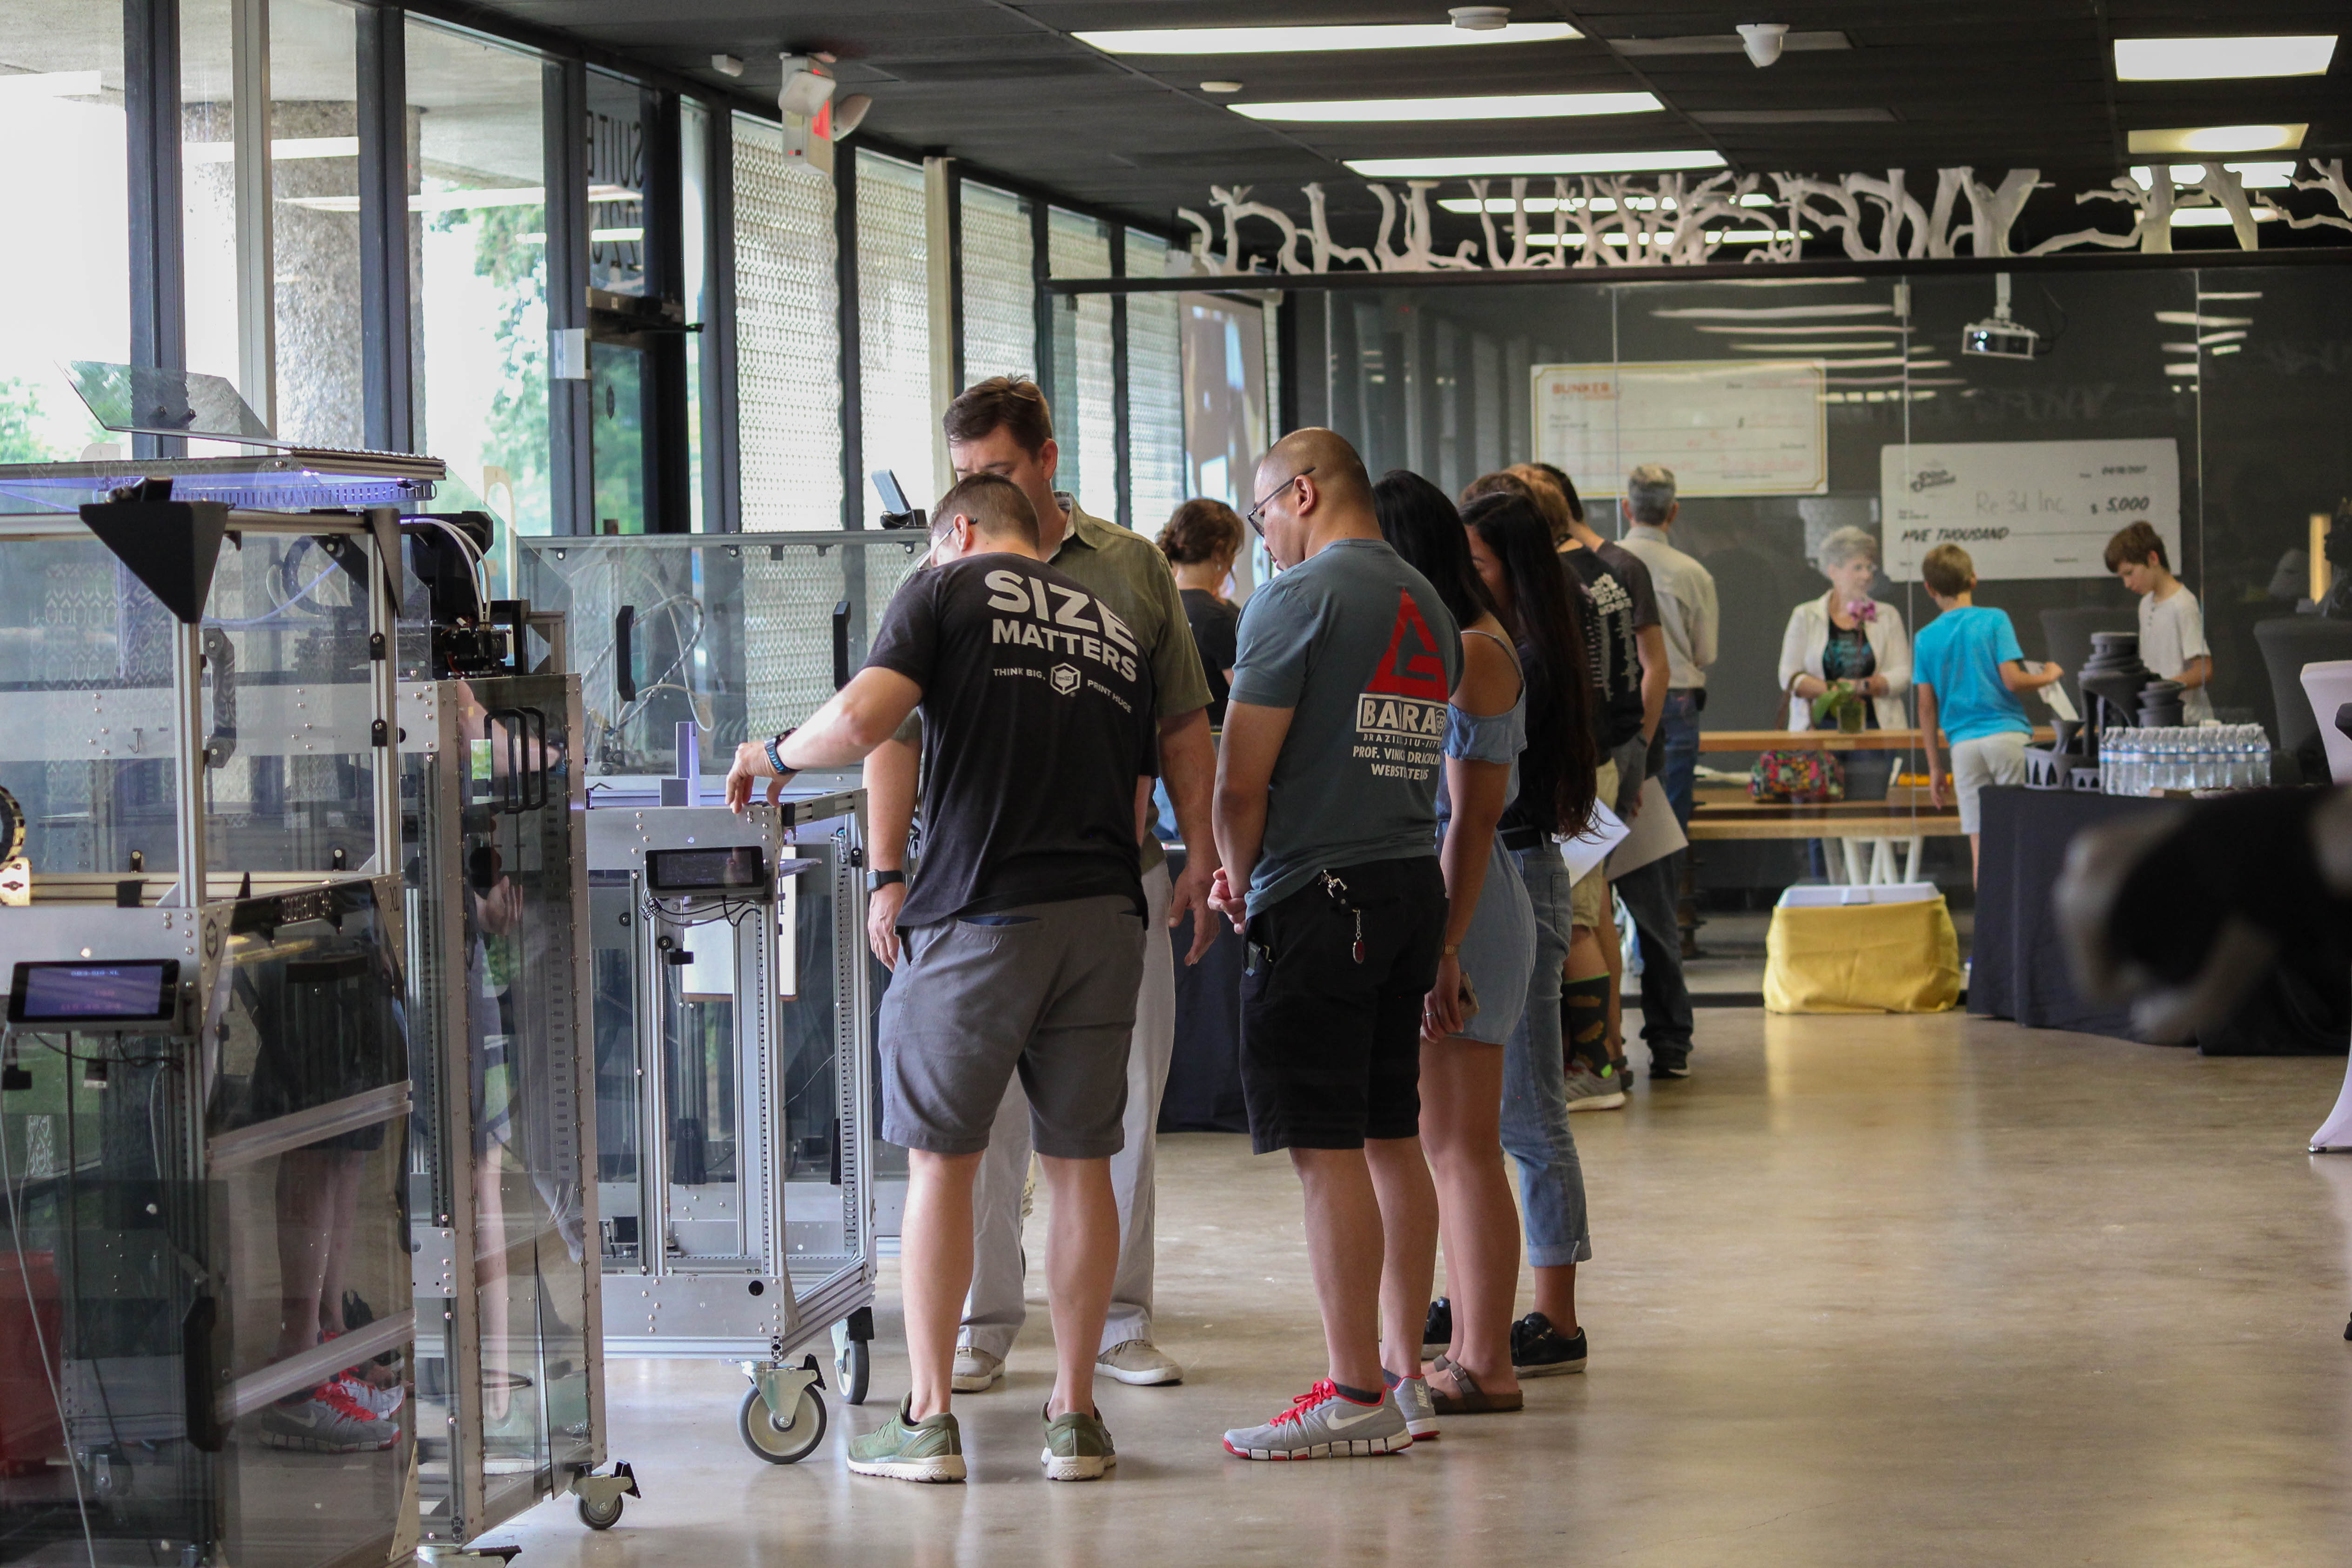
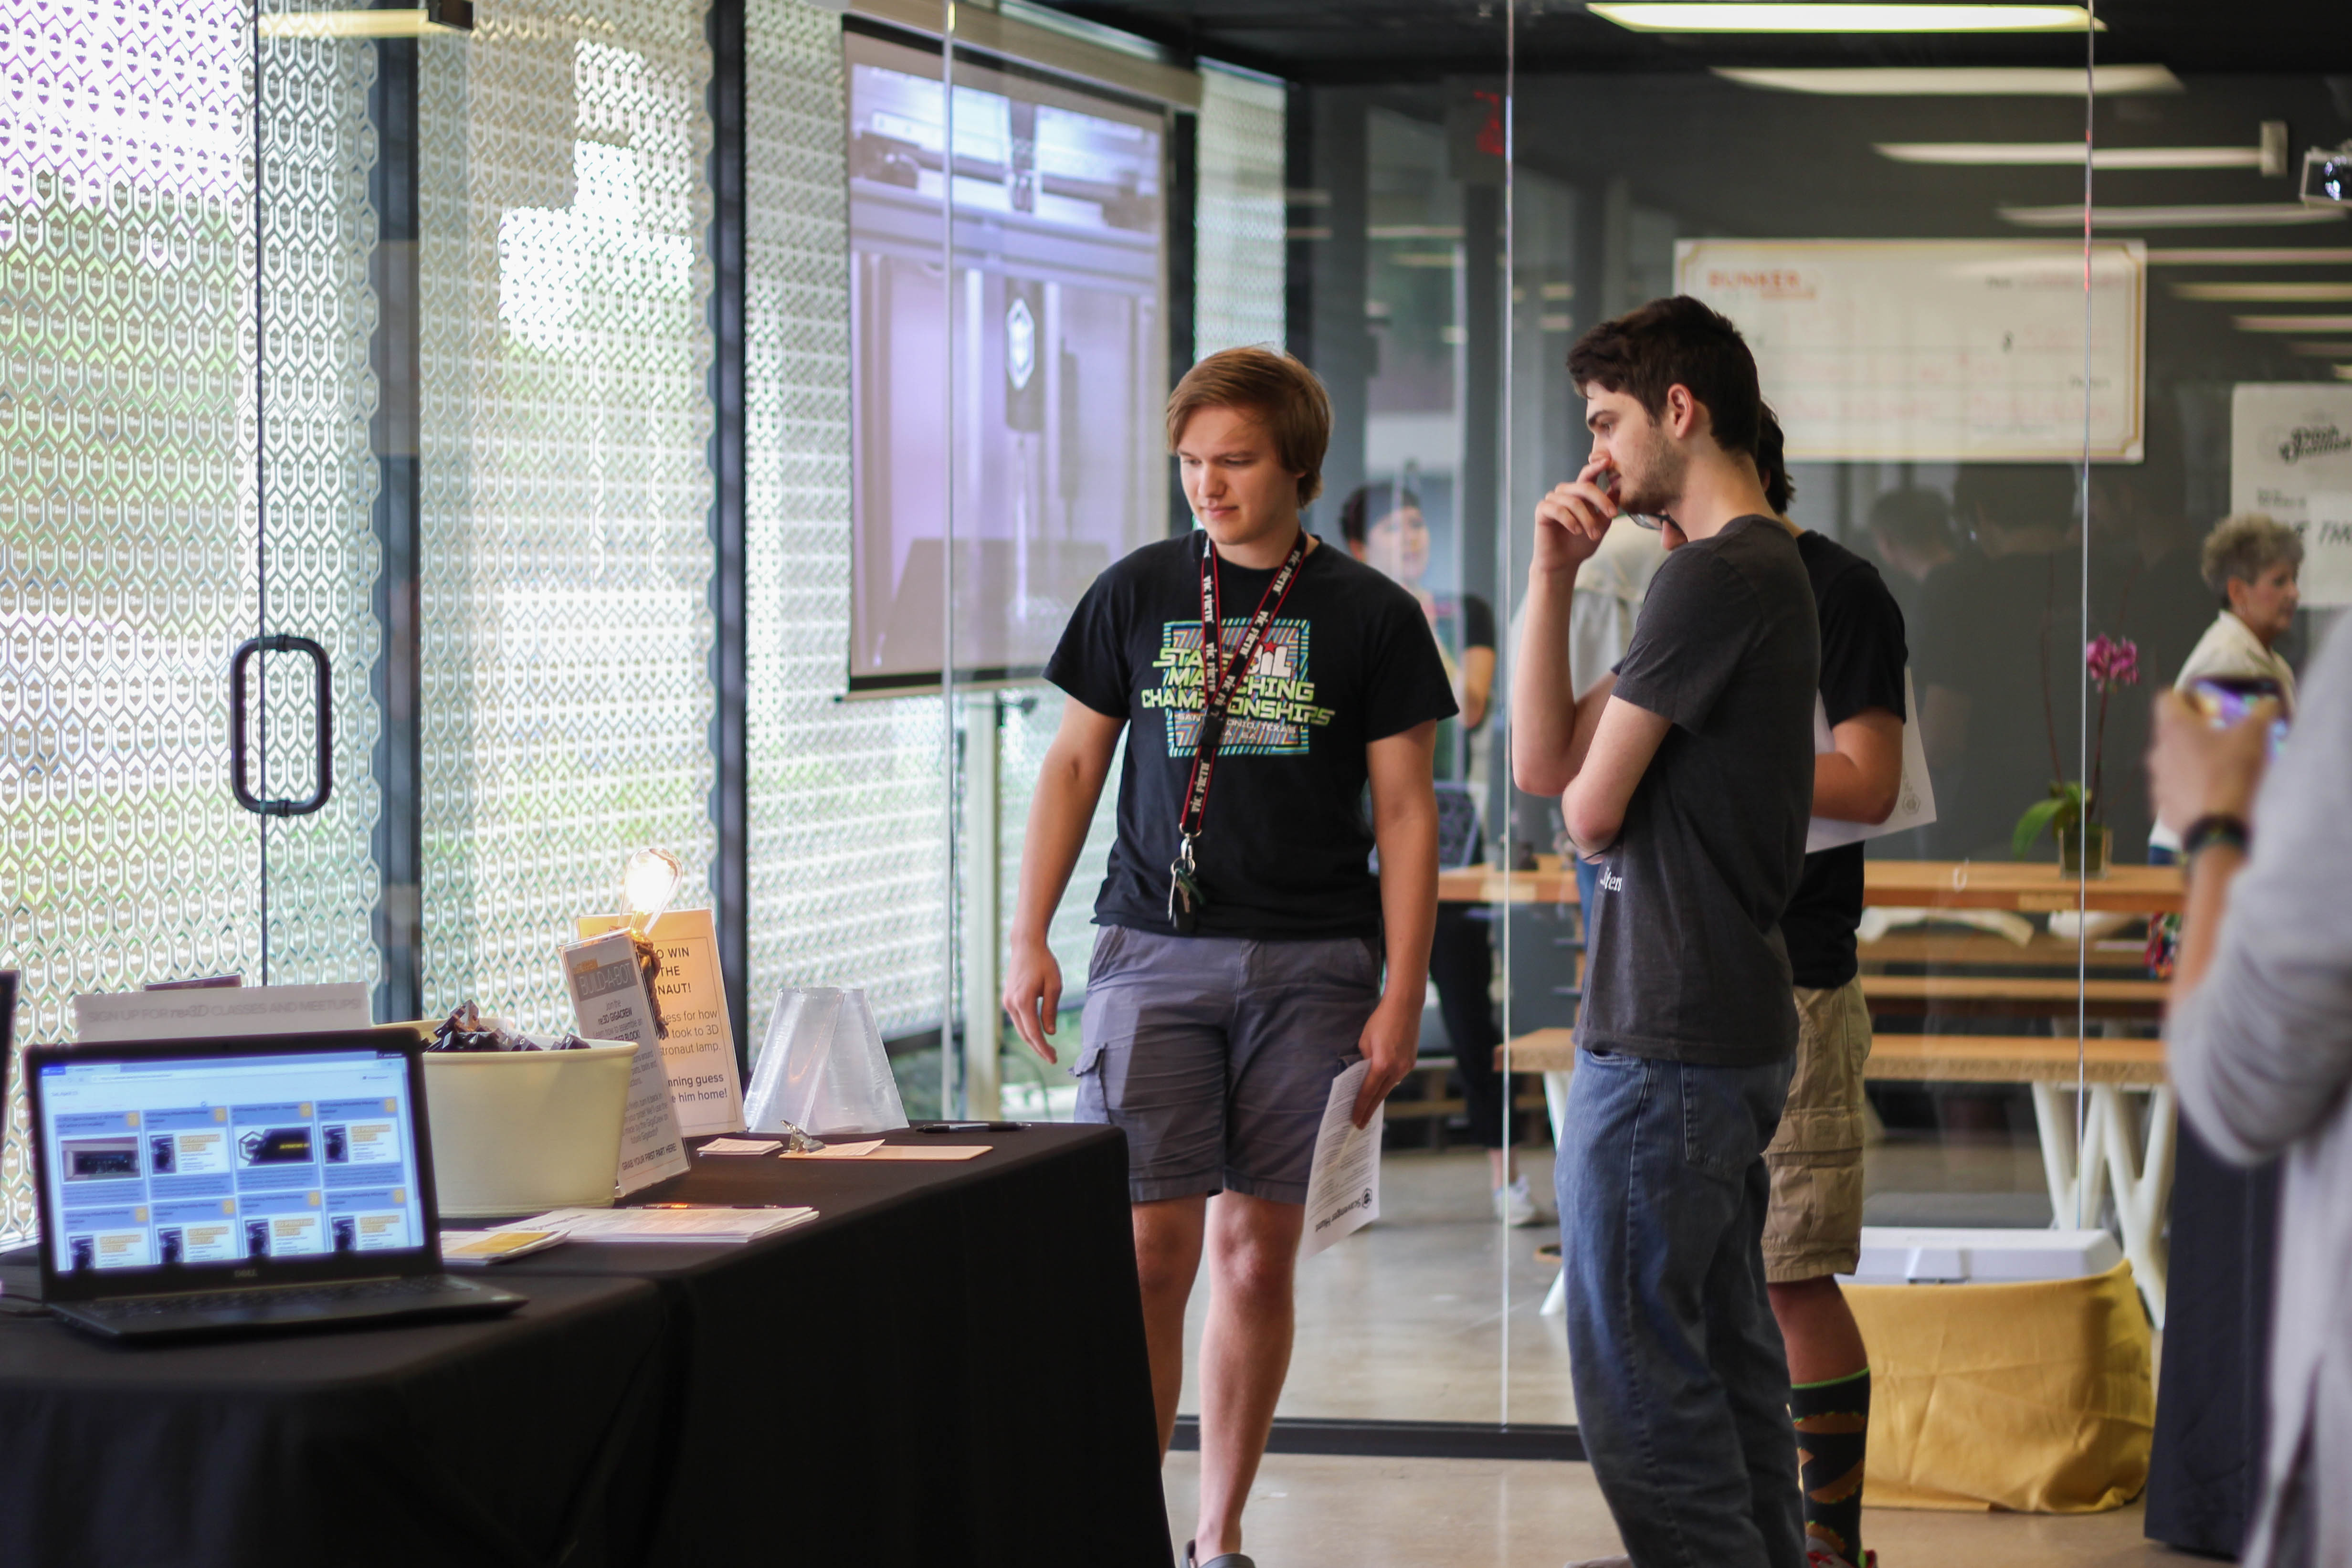
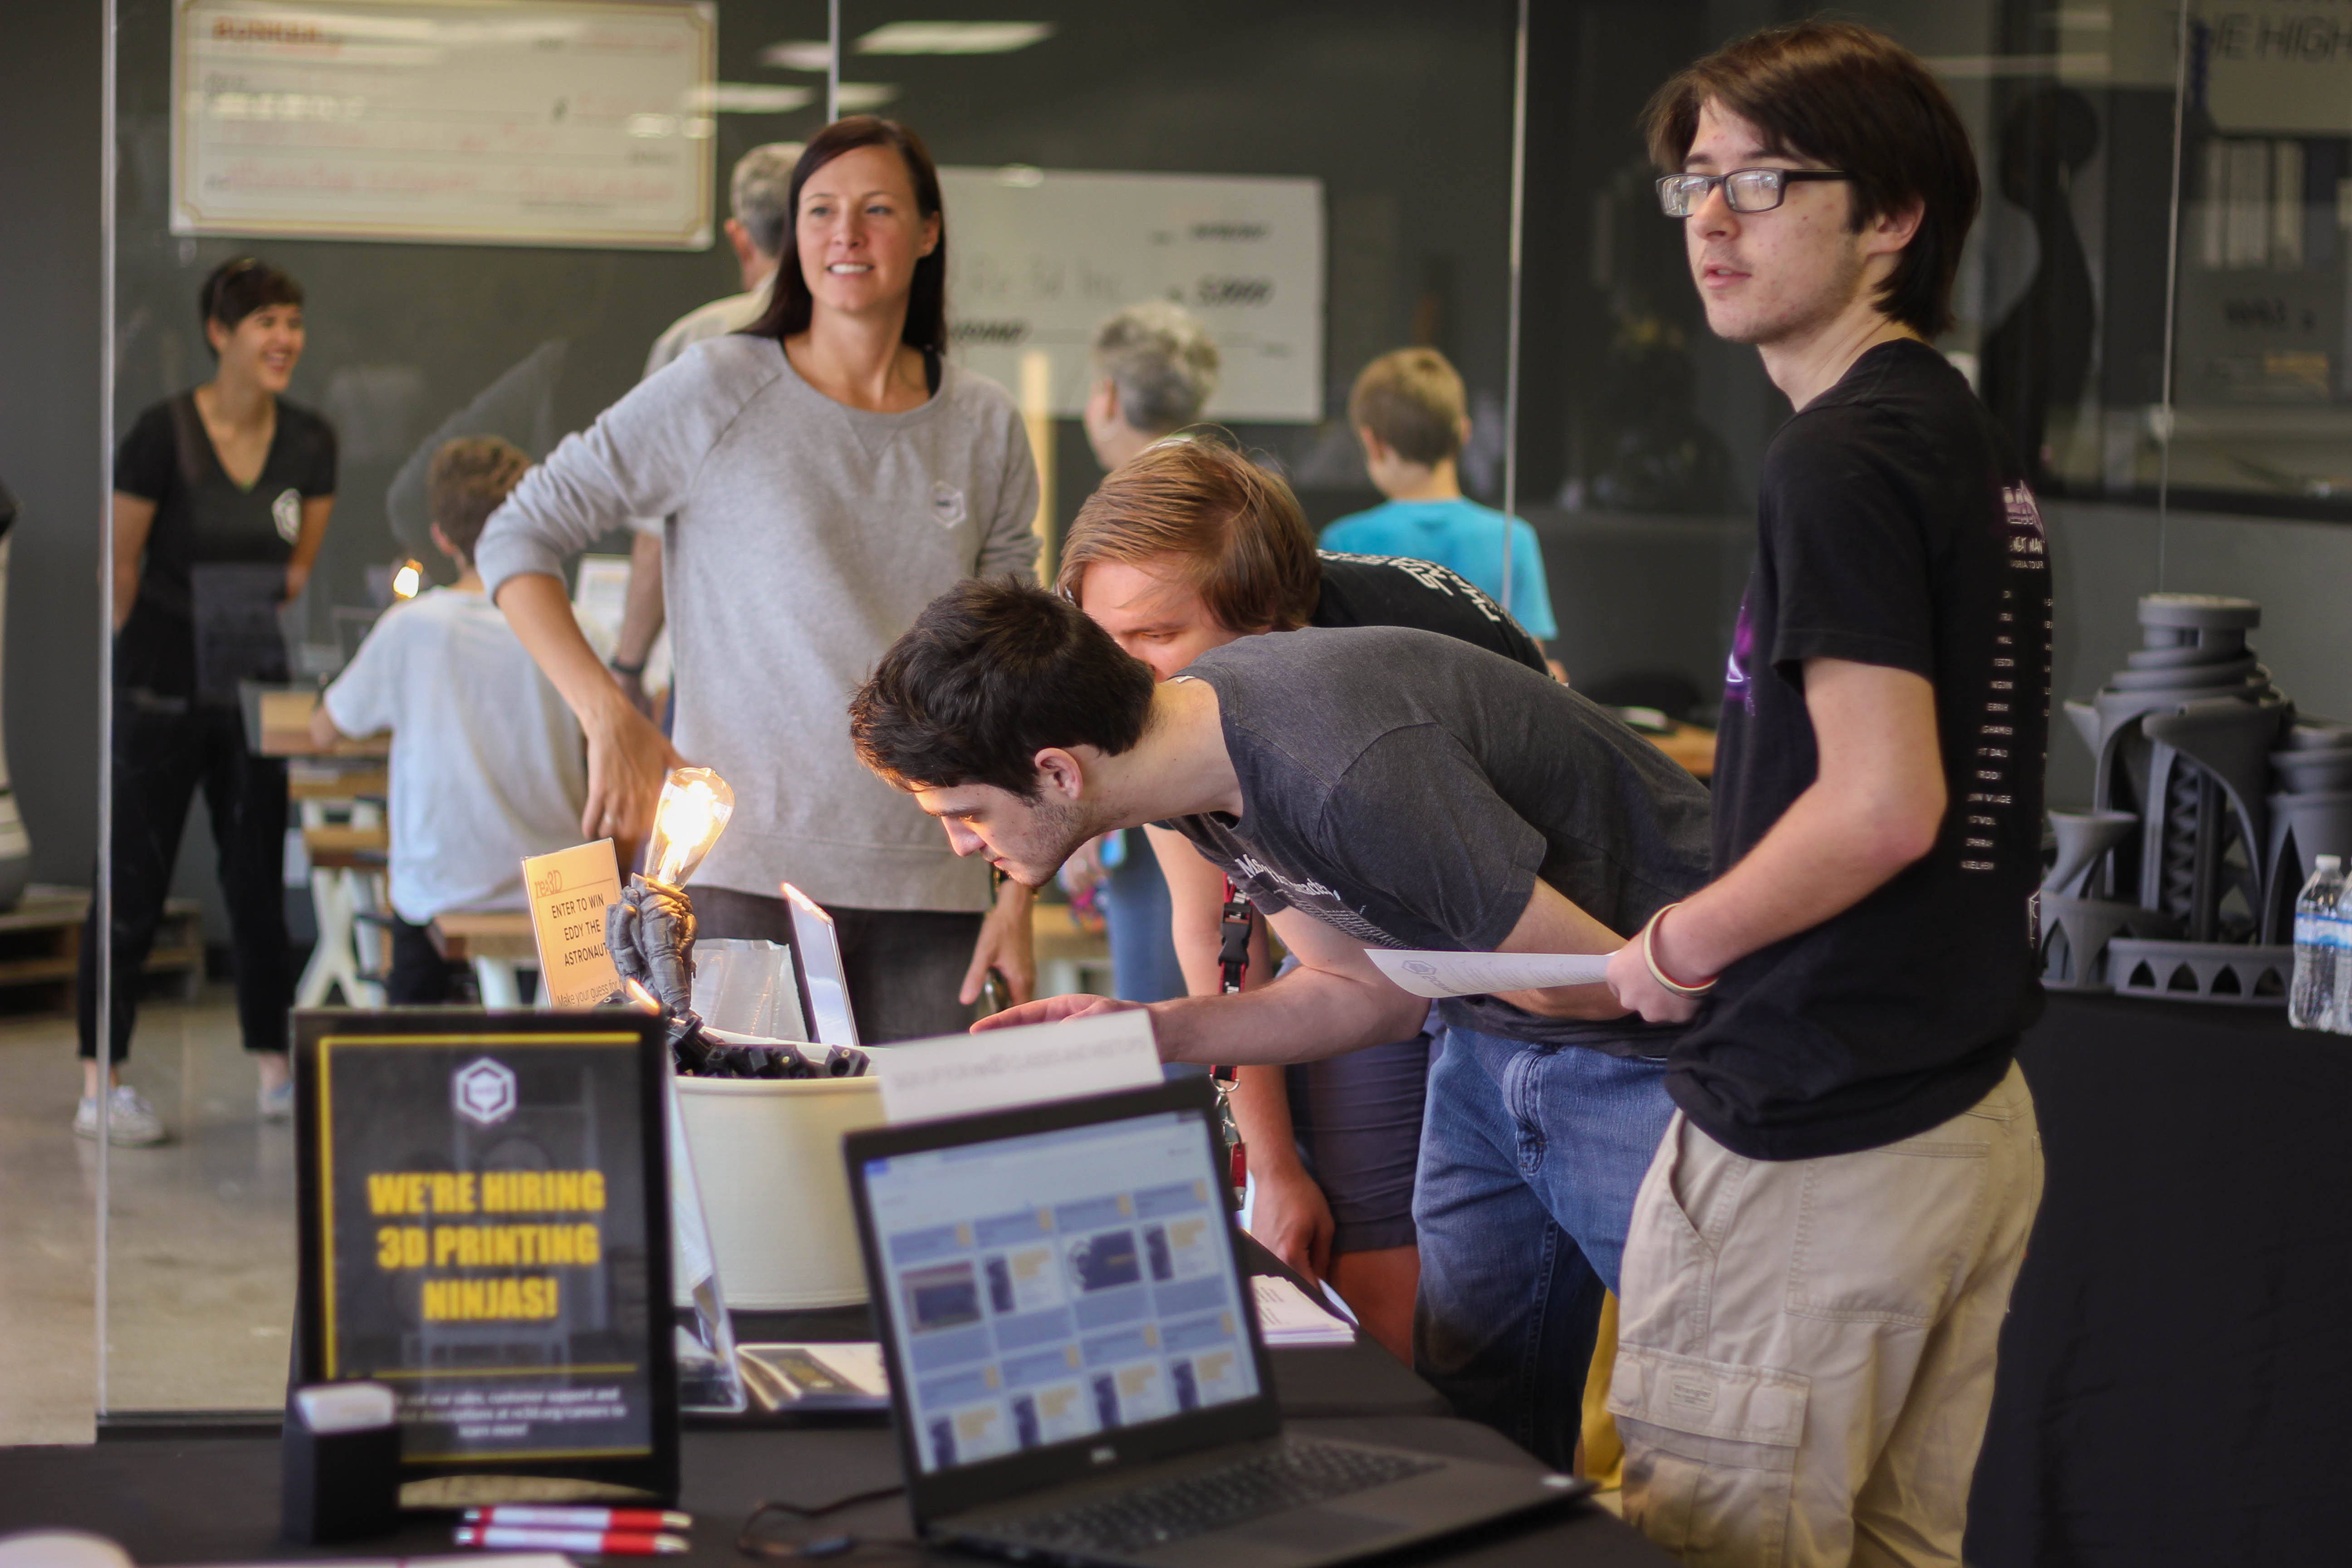
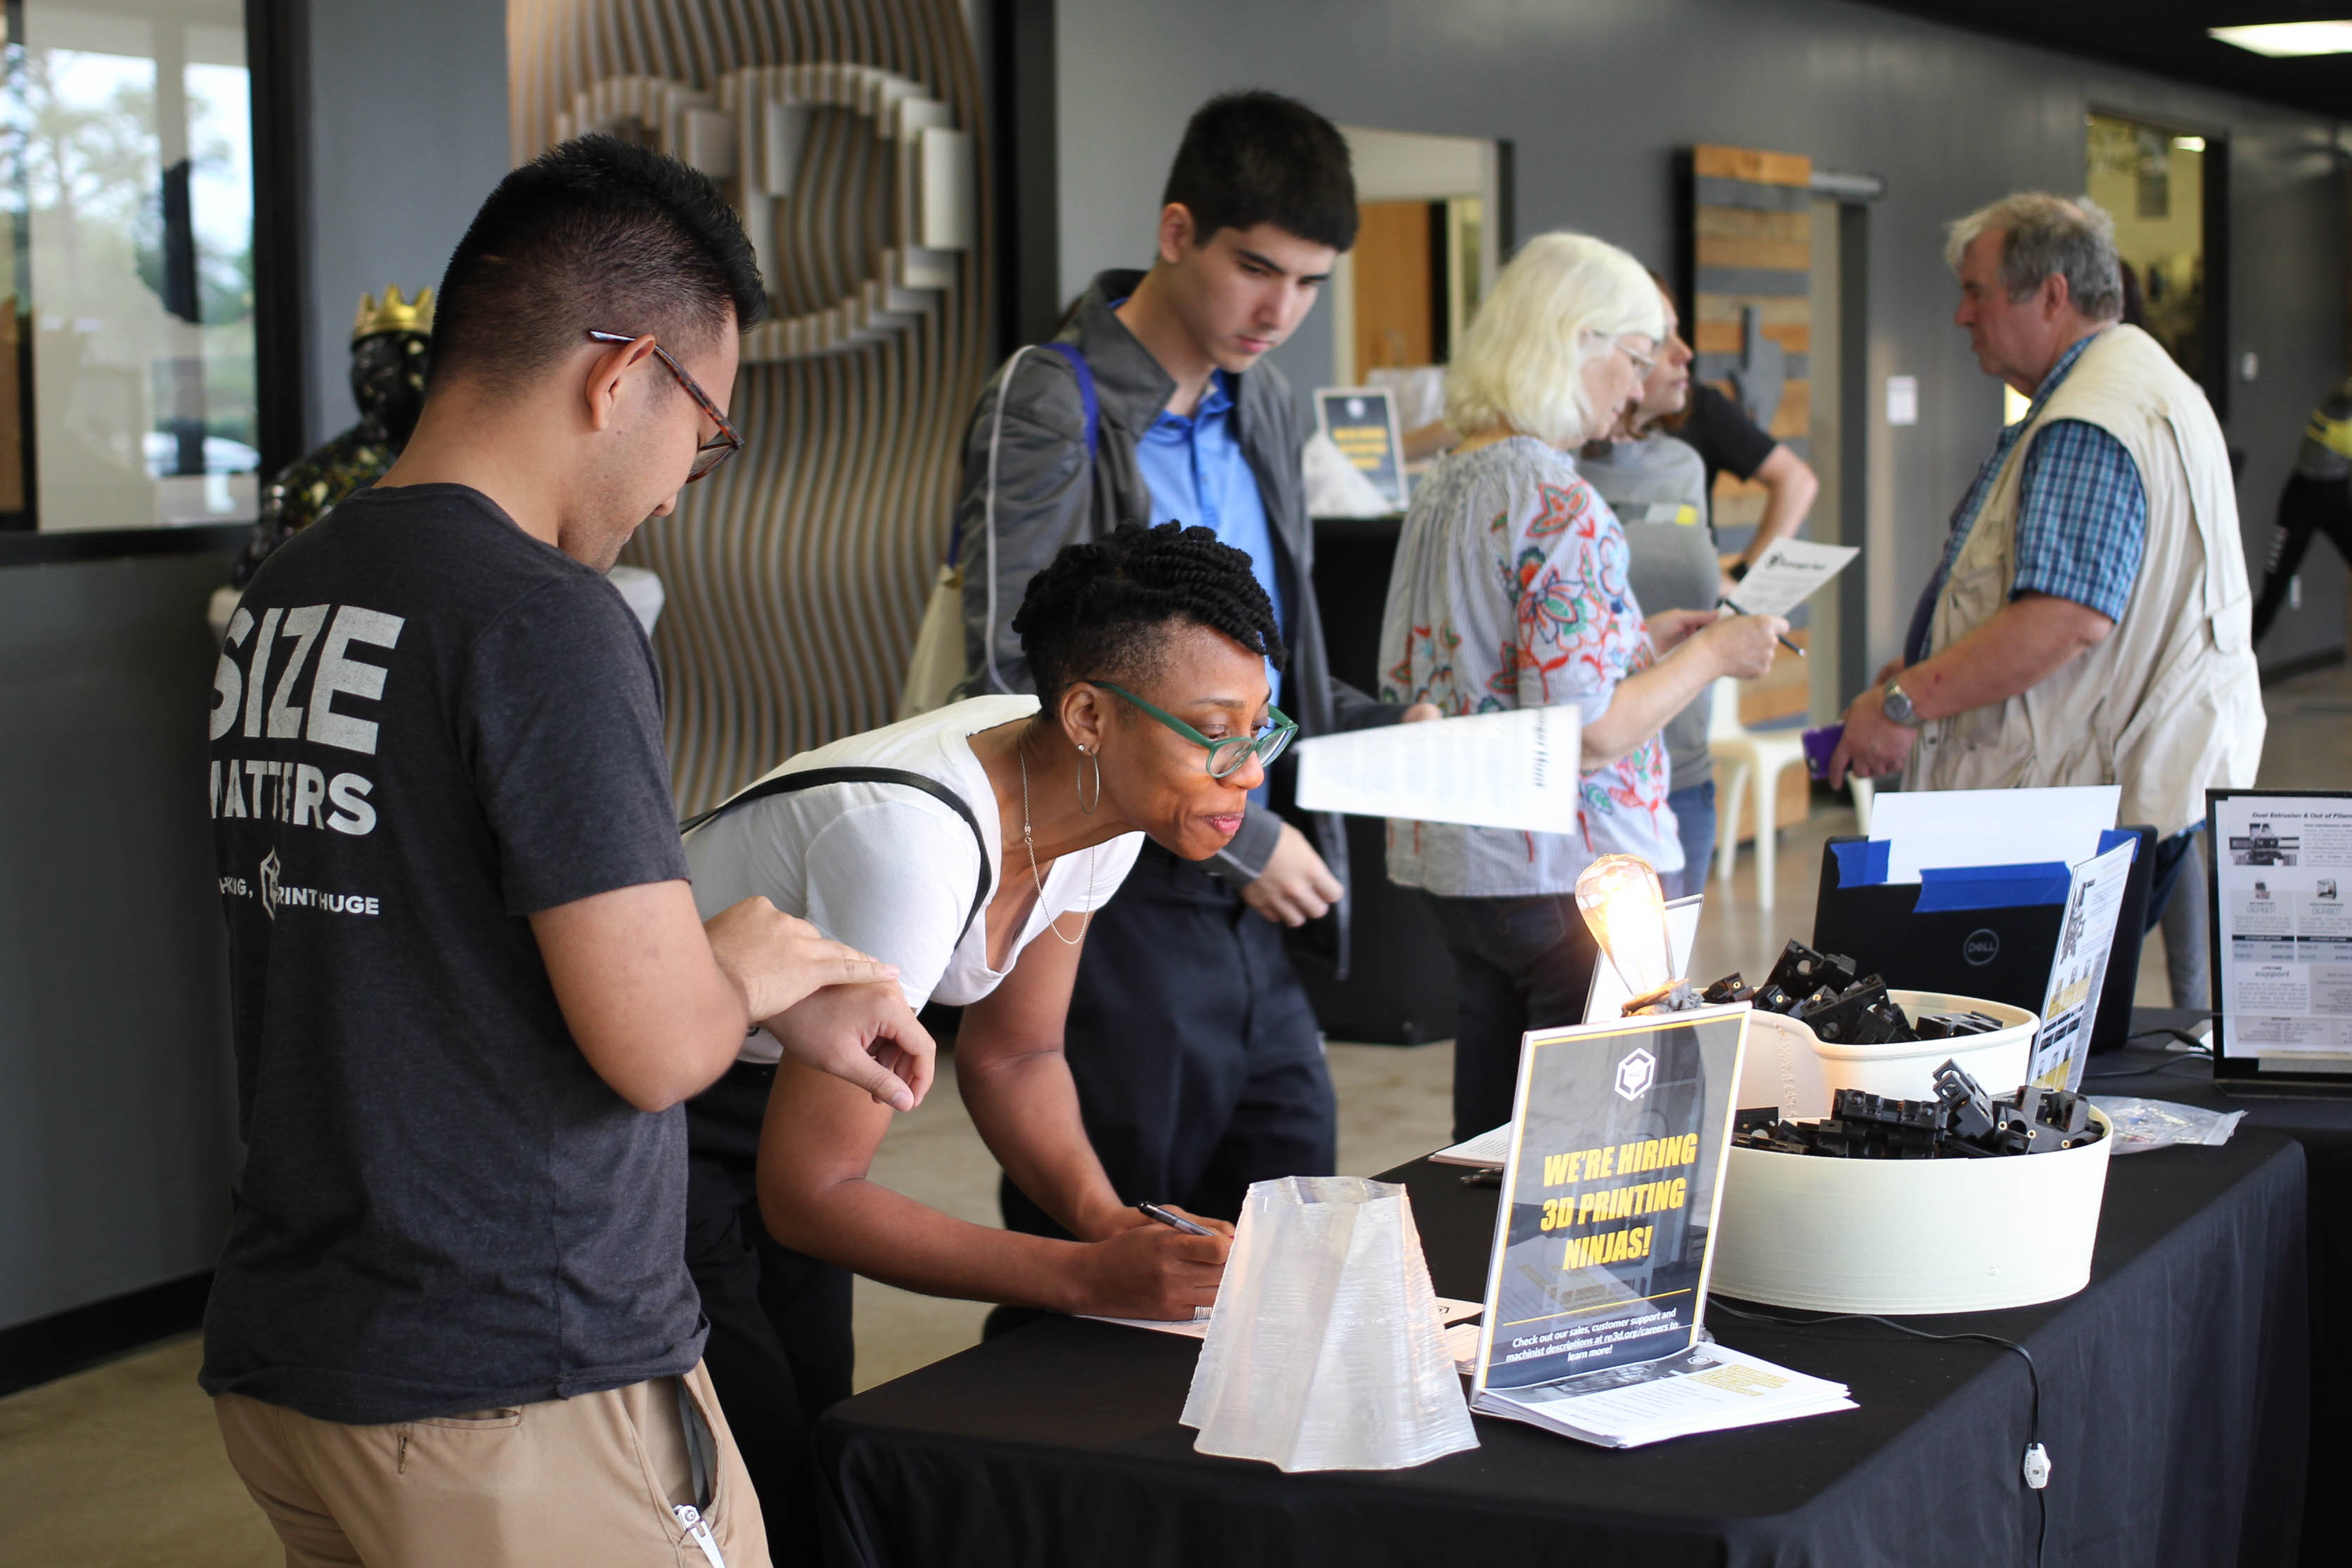
At the end of the same week, re:3D kicked off our expanded outreach initiatives by hosting a community open house, and we’re grateful to the Houston Chronicle for sharing our news and helping draw people to our events. 3D printing enthusiasts of all ages joined us for tours of the factory spaces, hands-on activities, contests and a preview of our upcoming meetups and classes. We held a guess-the-number-of-layers contest where the prize for the closest guess was our friendly Eddy the Astronaut lamp.

A 3D printed lamp shaped like the body of an astronaut with an Edison light bulb instead of a helmet
Photo Credit: Morgan Hamel

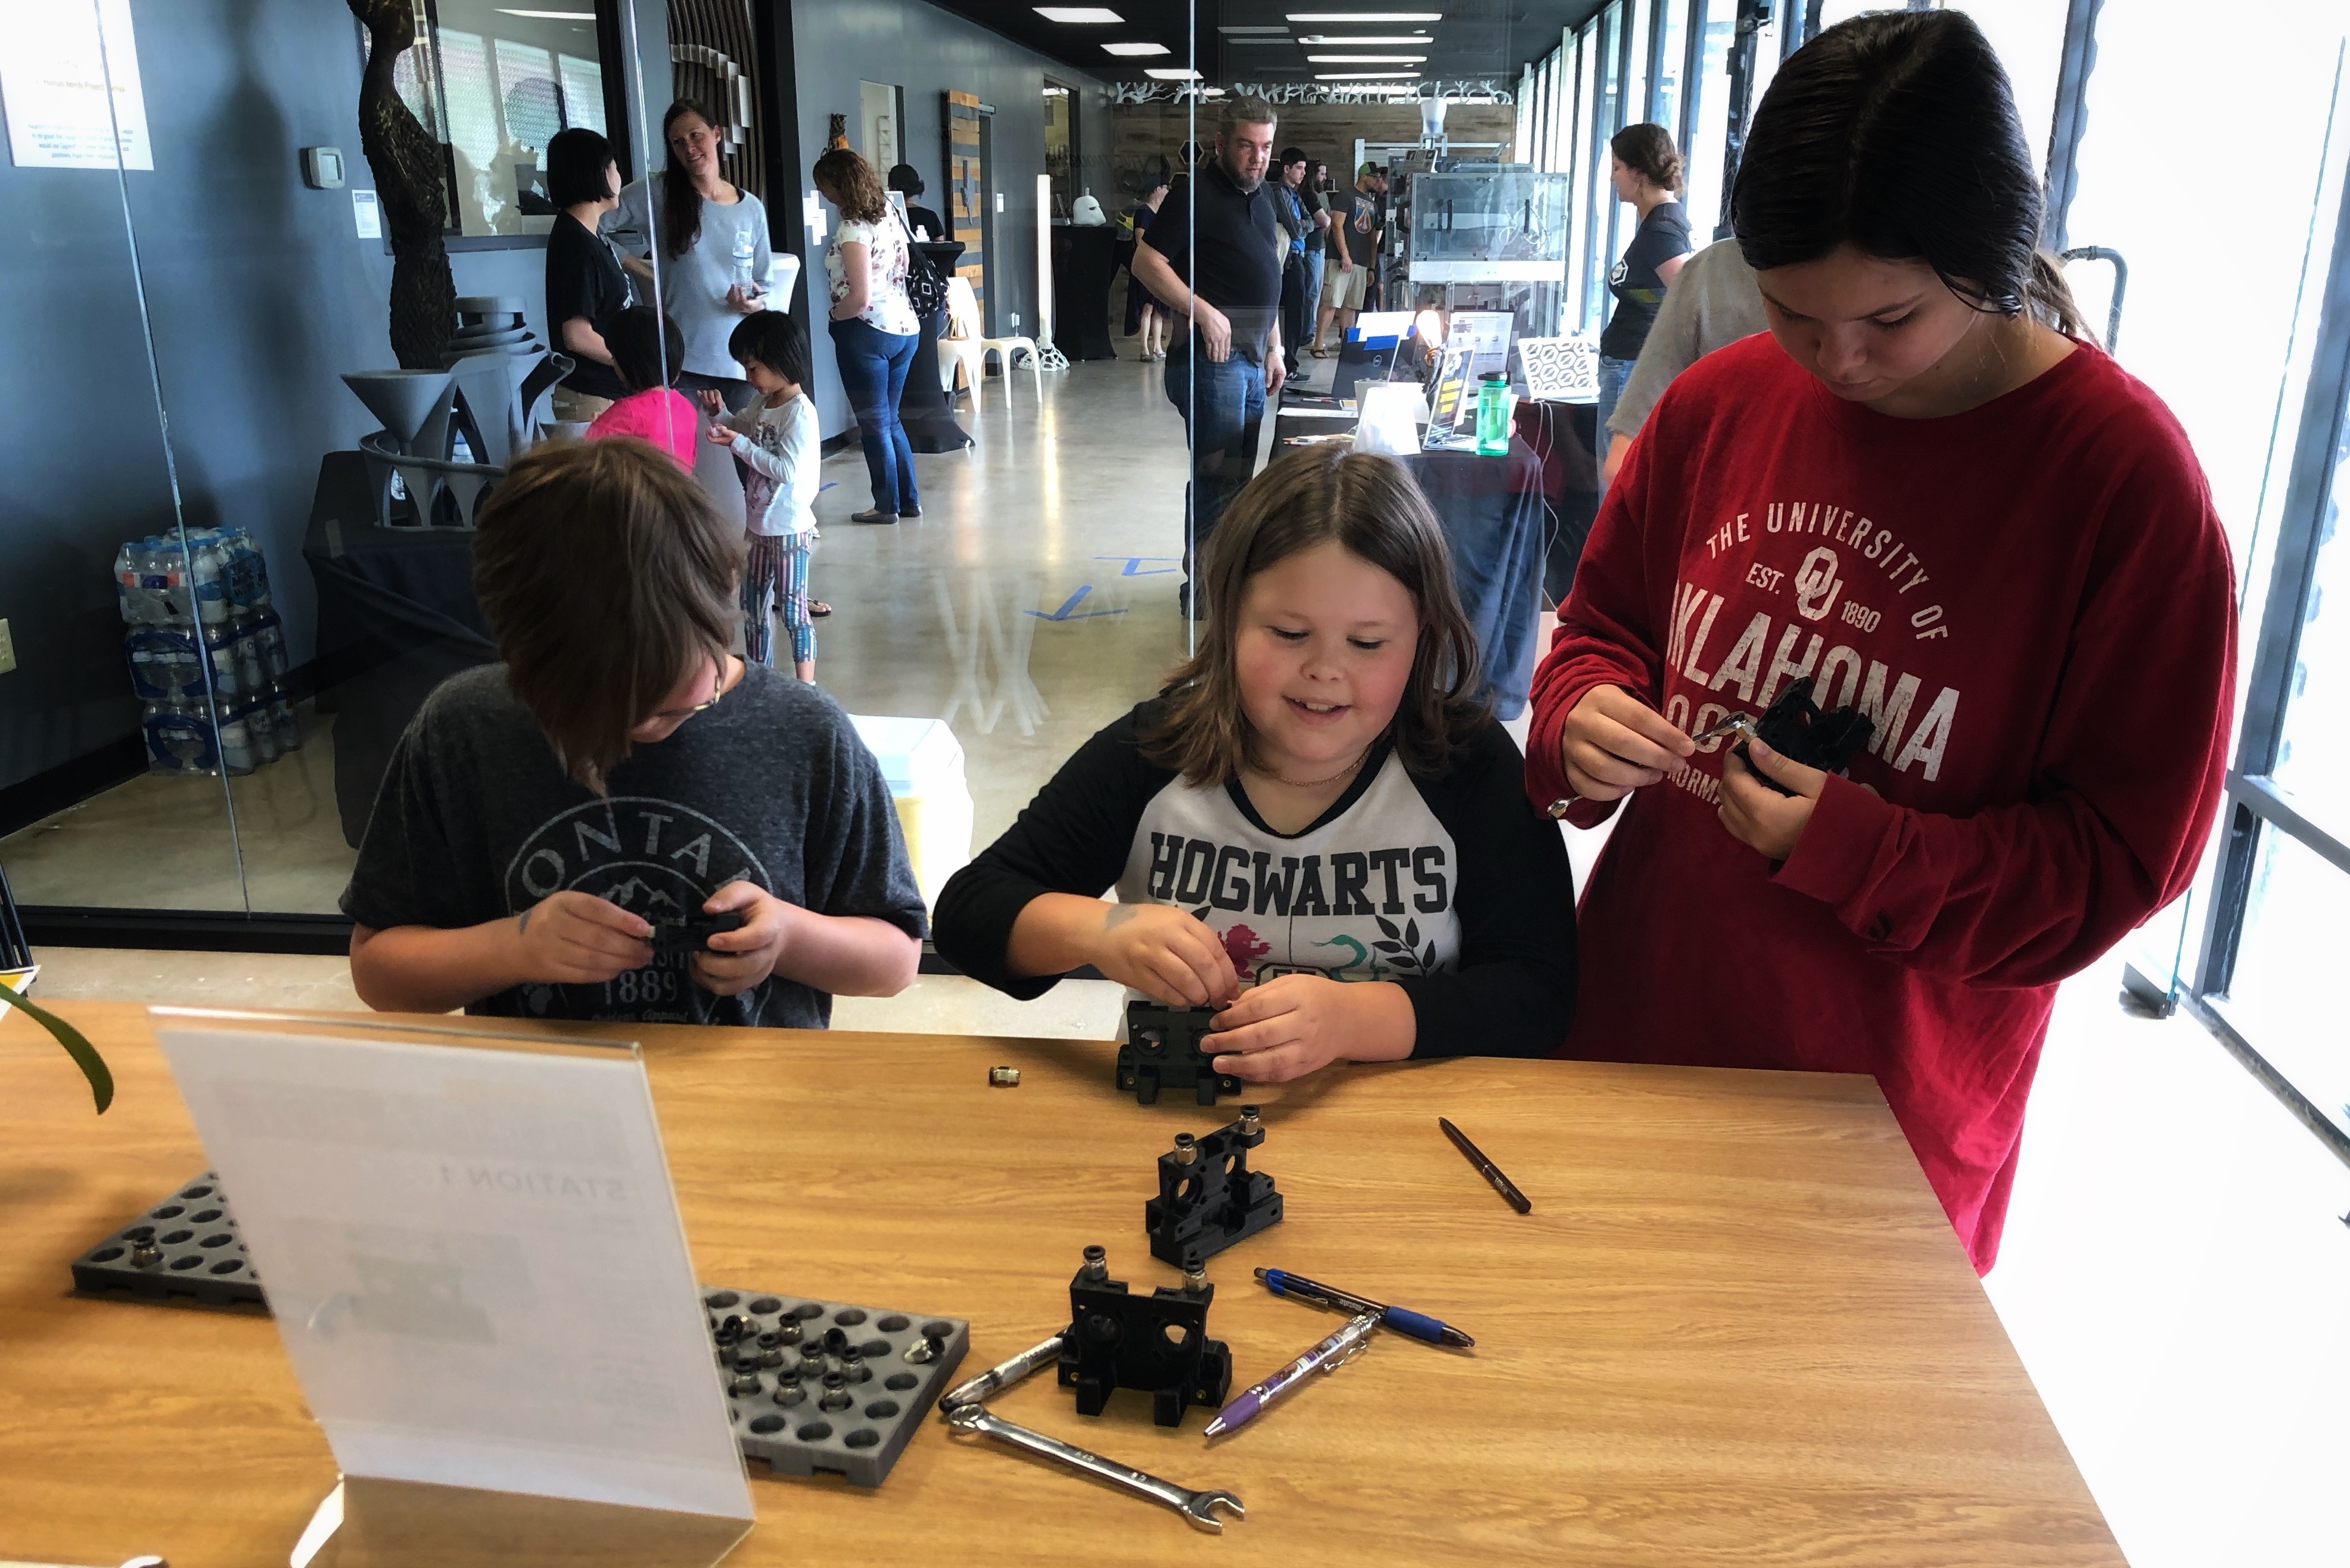
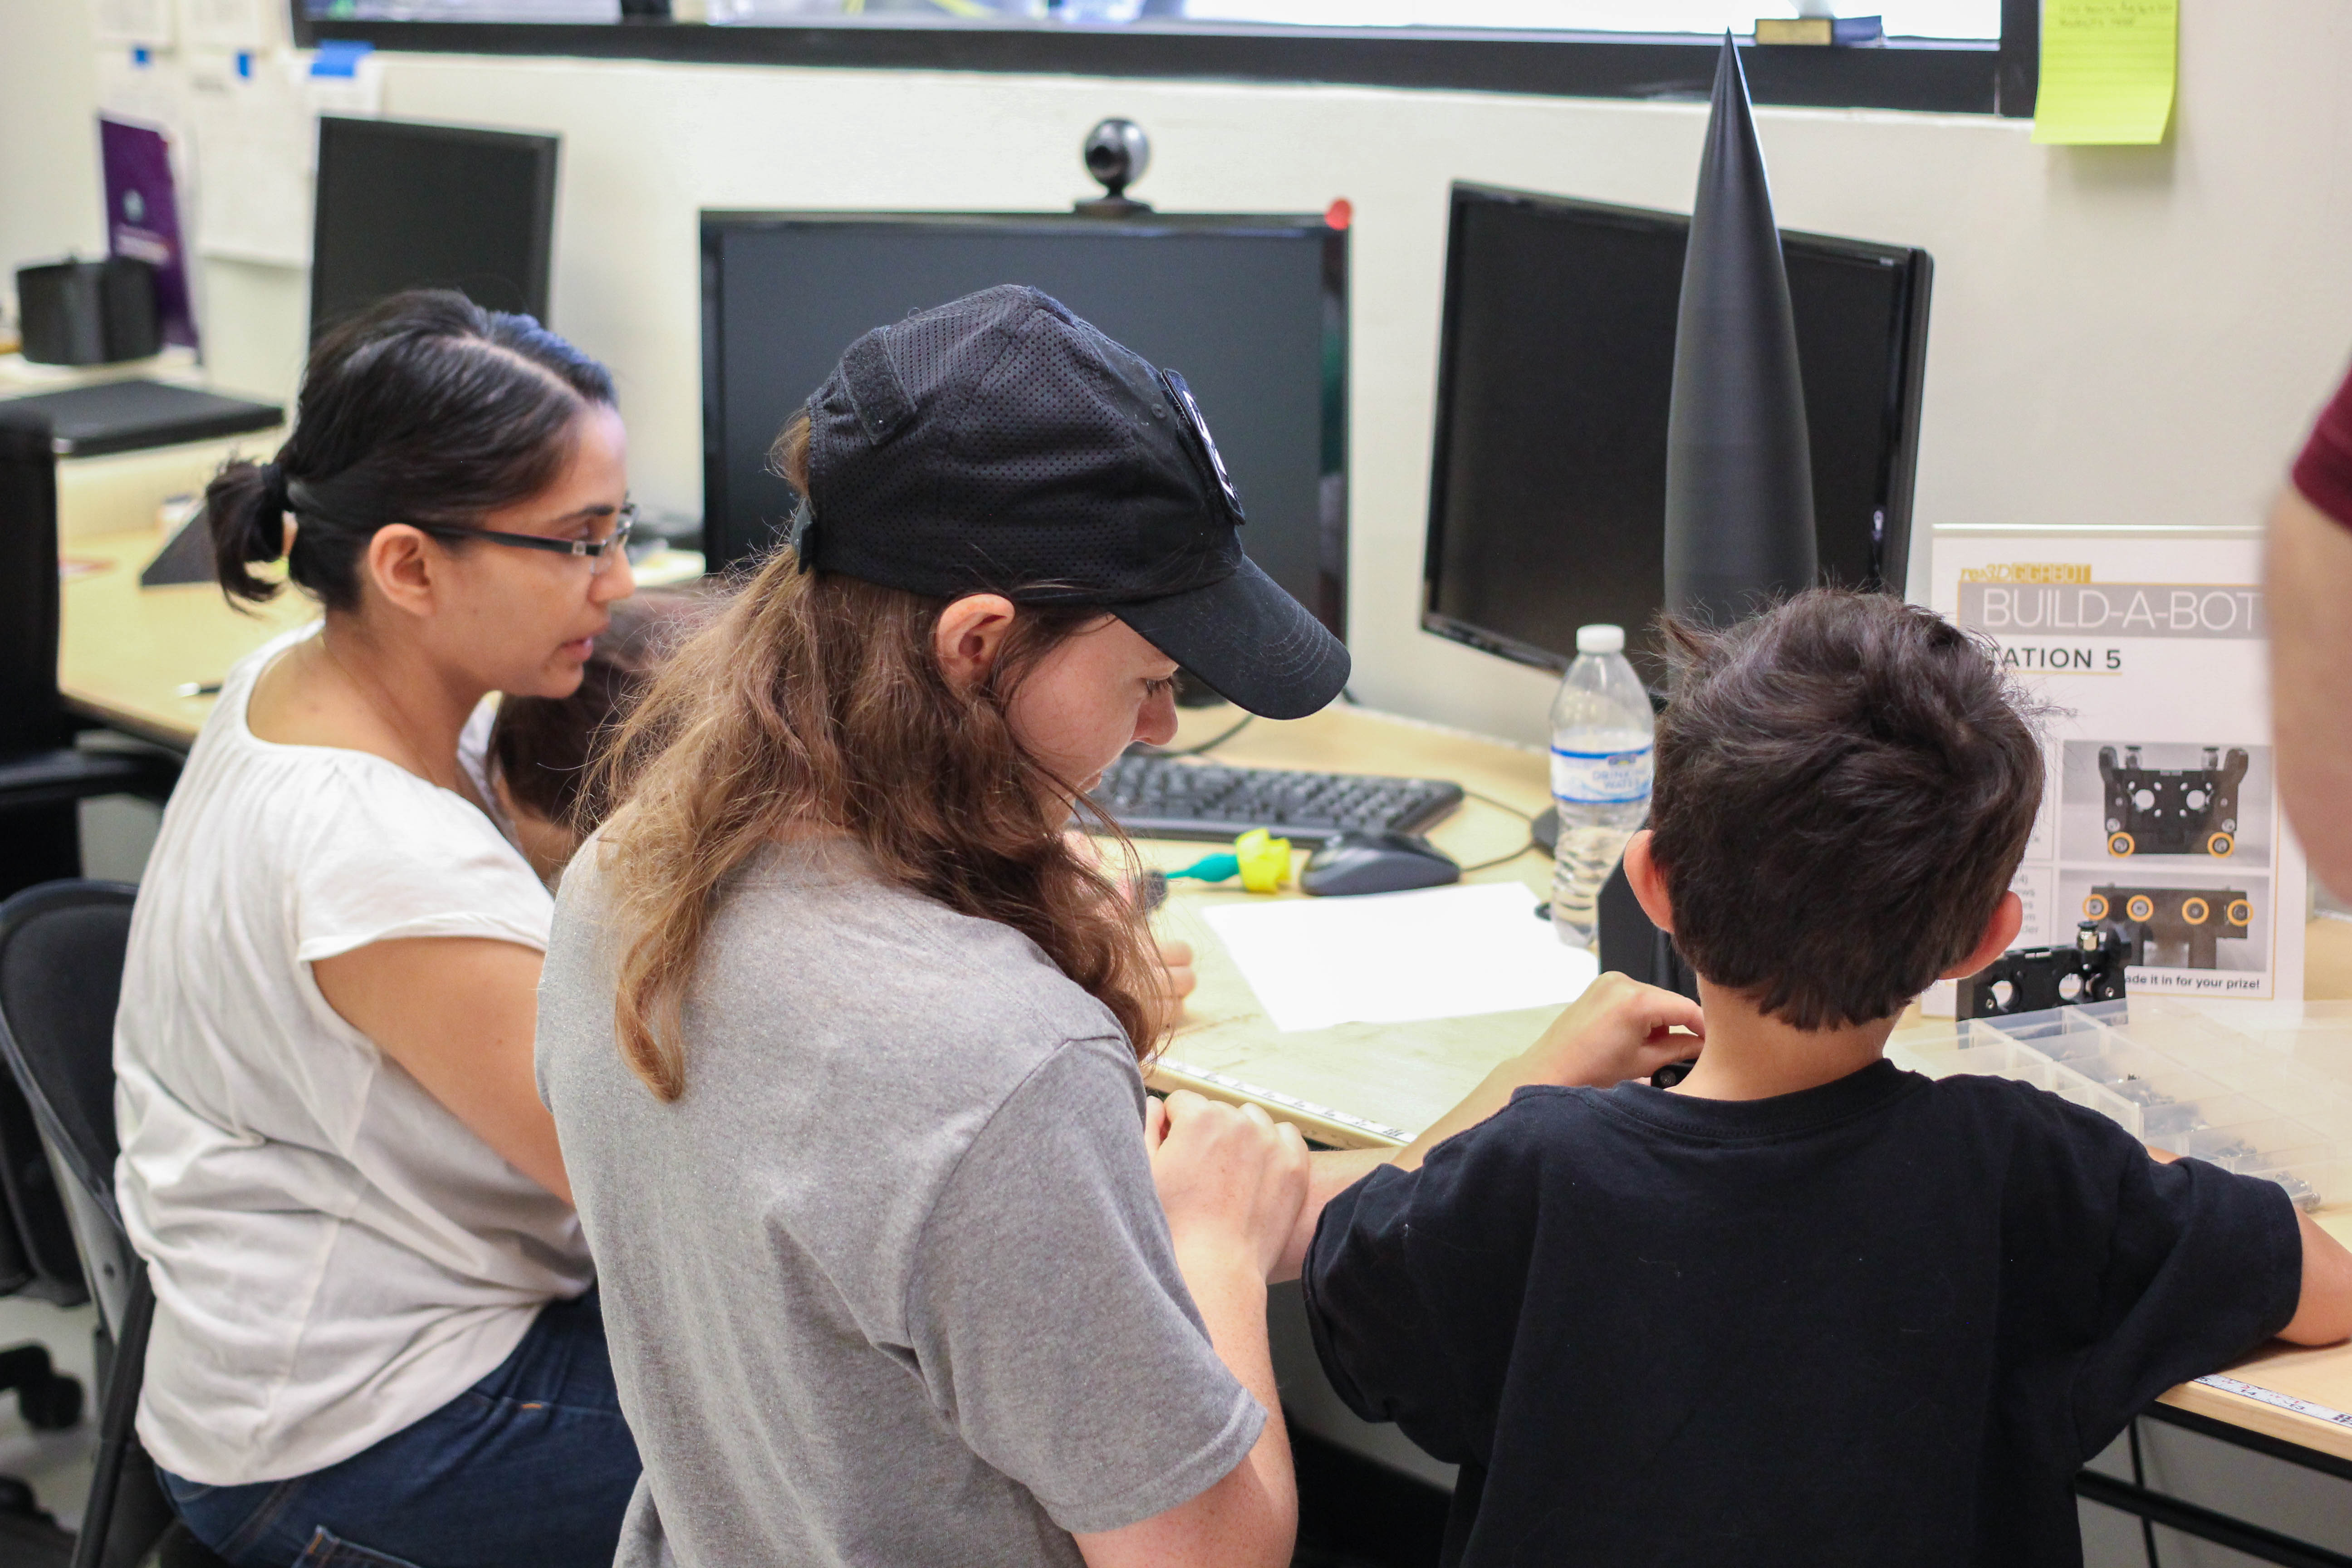
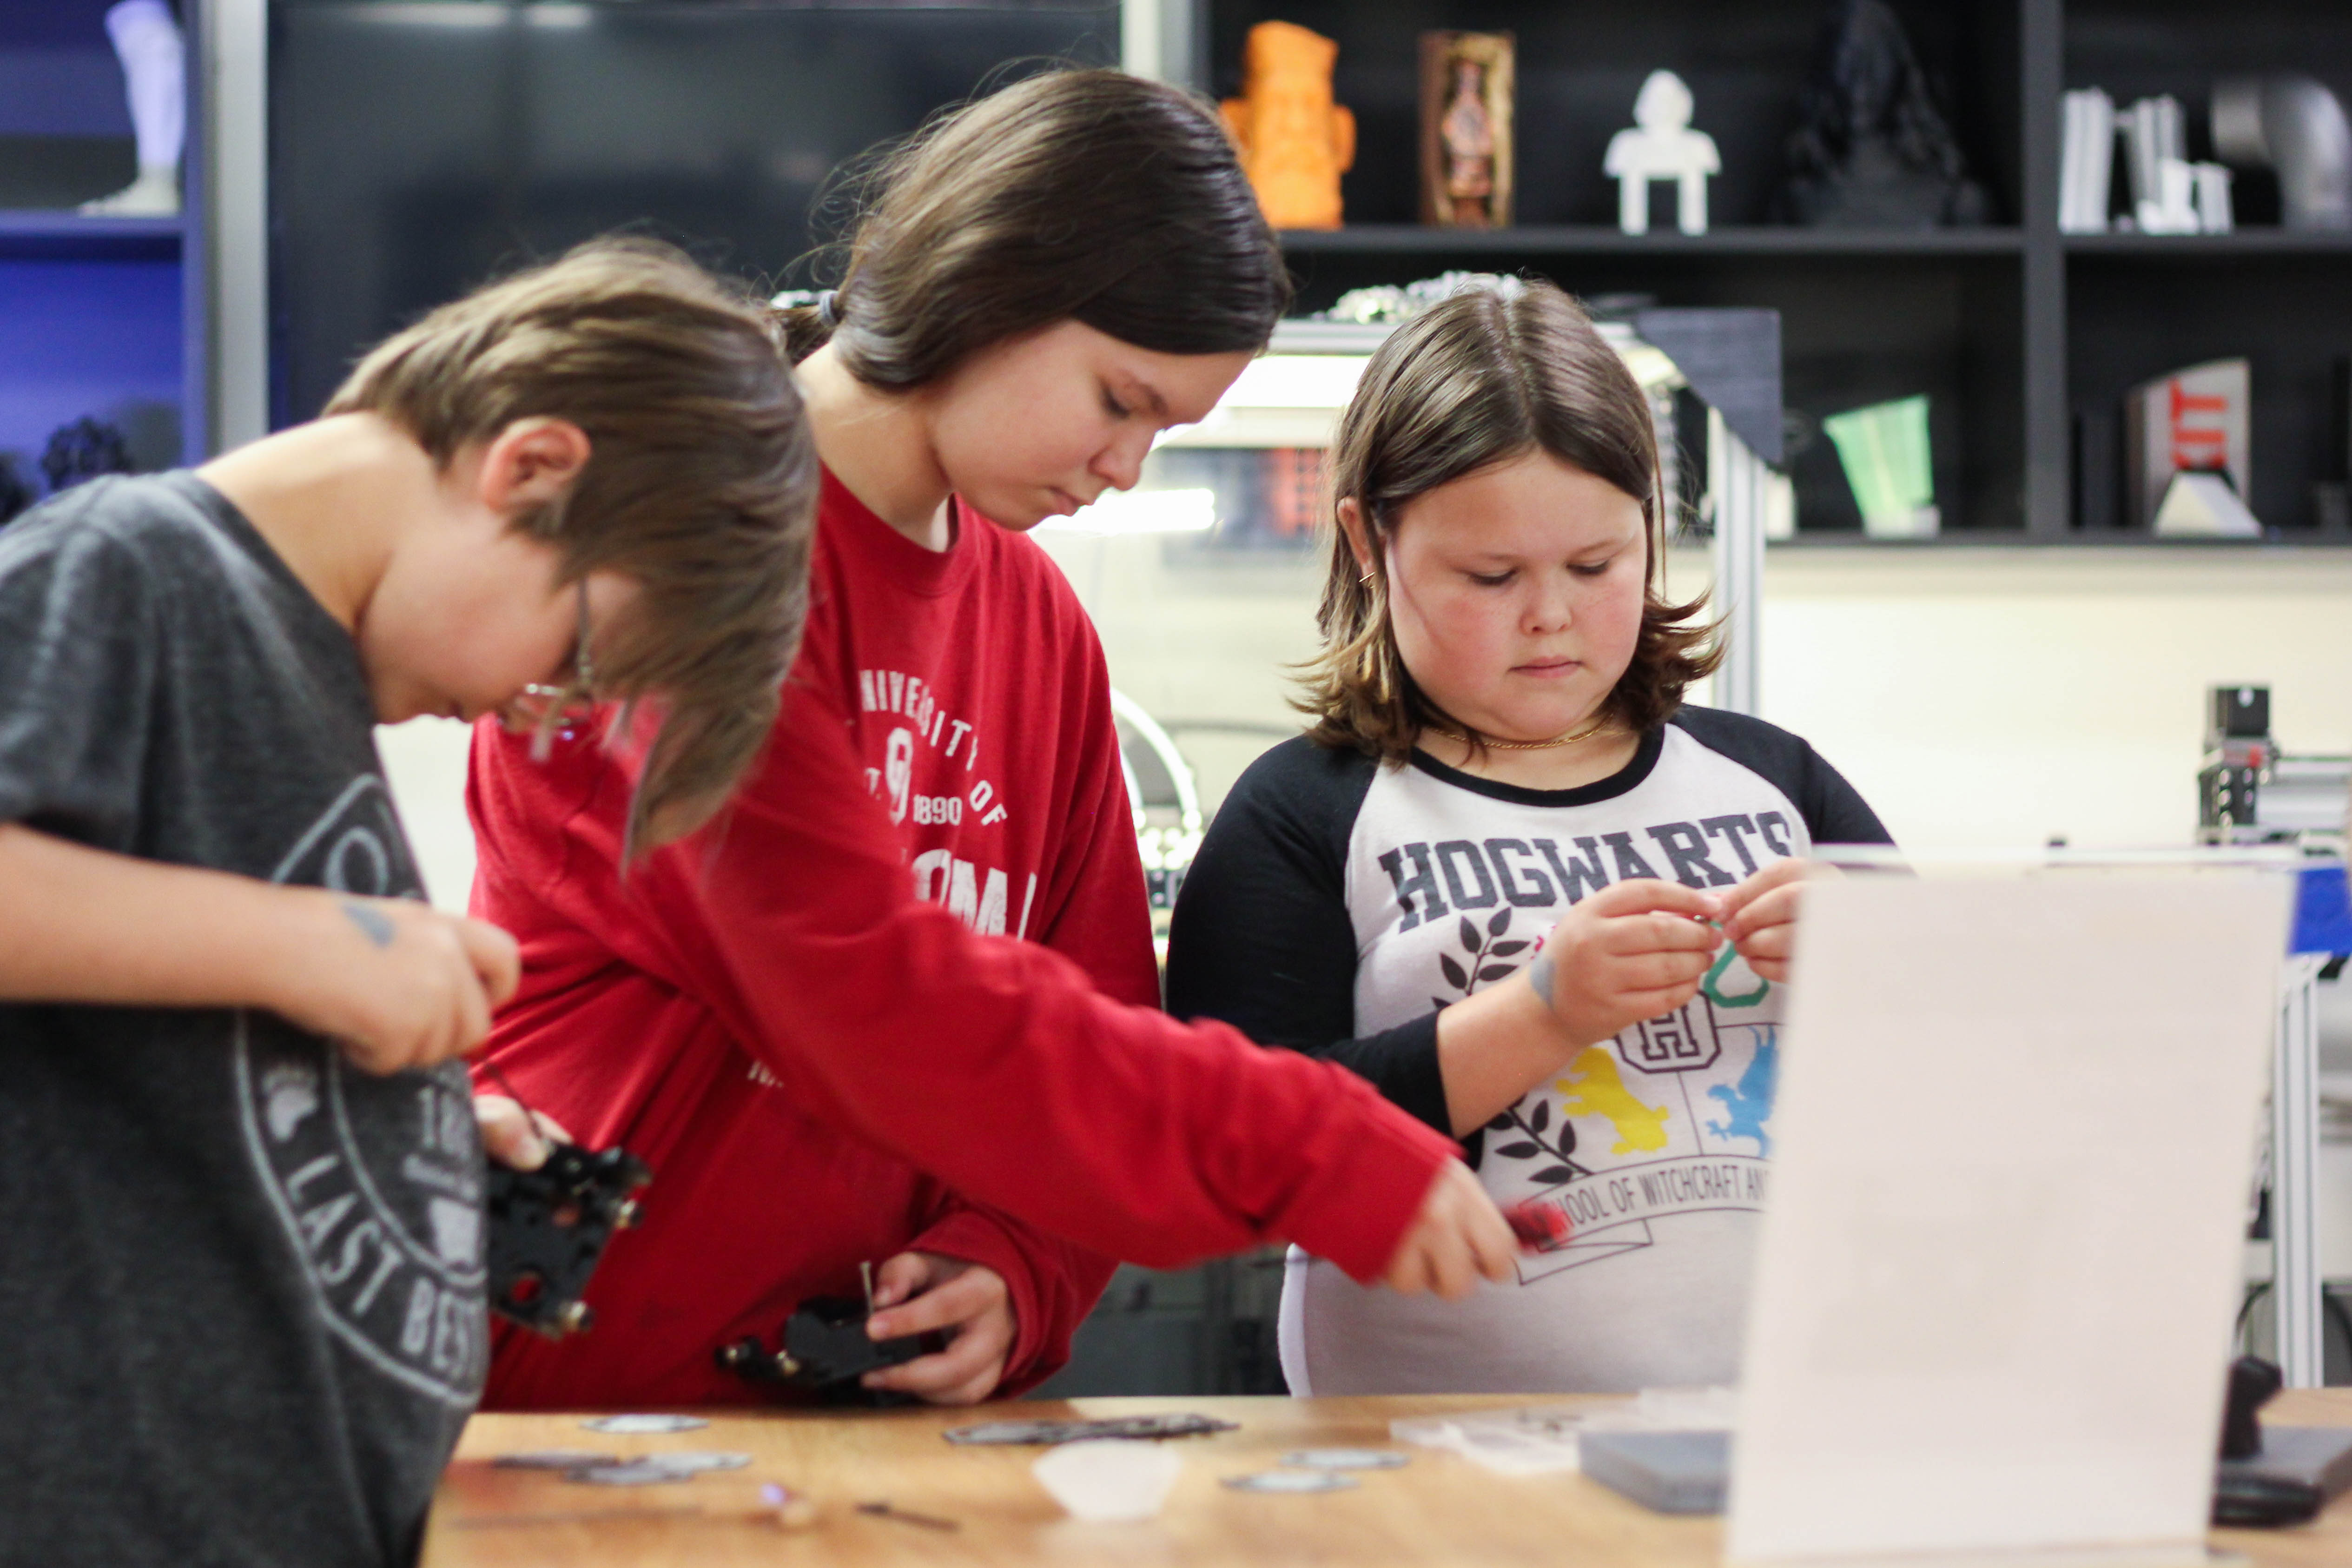
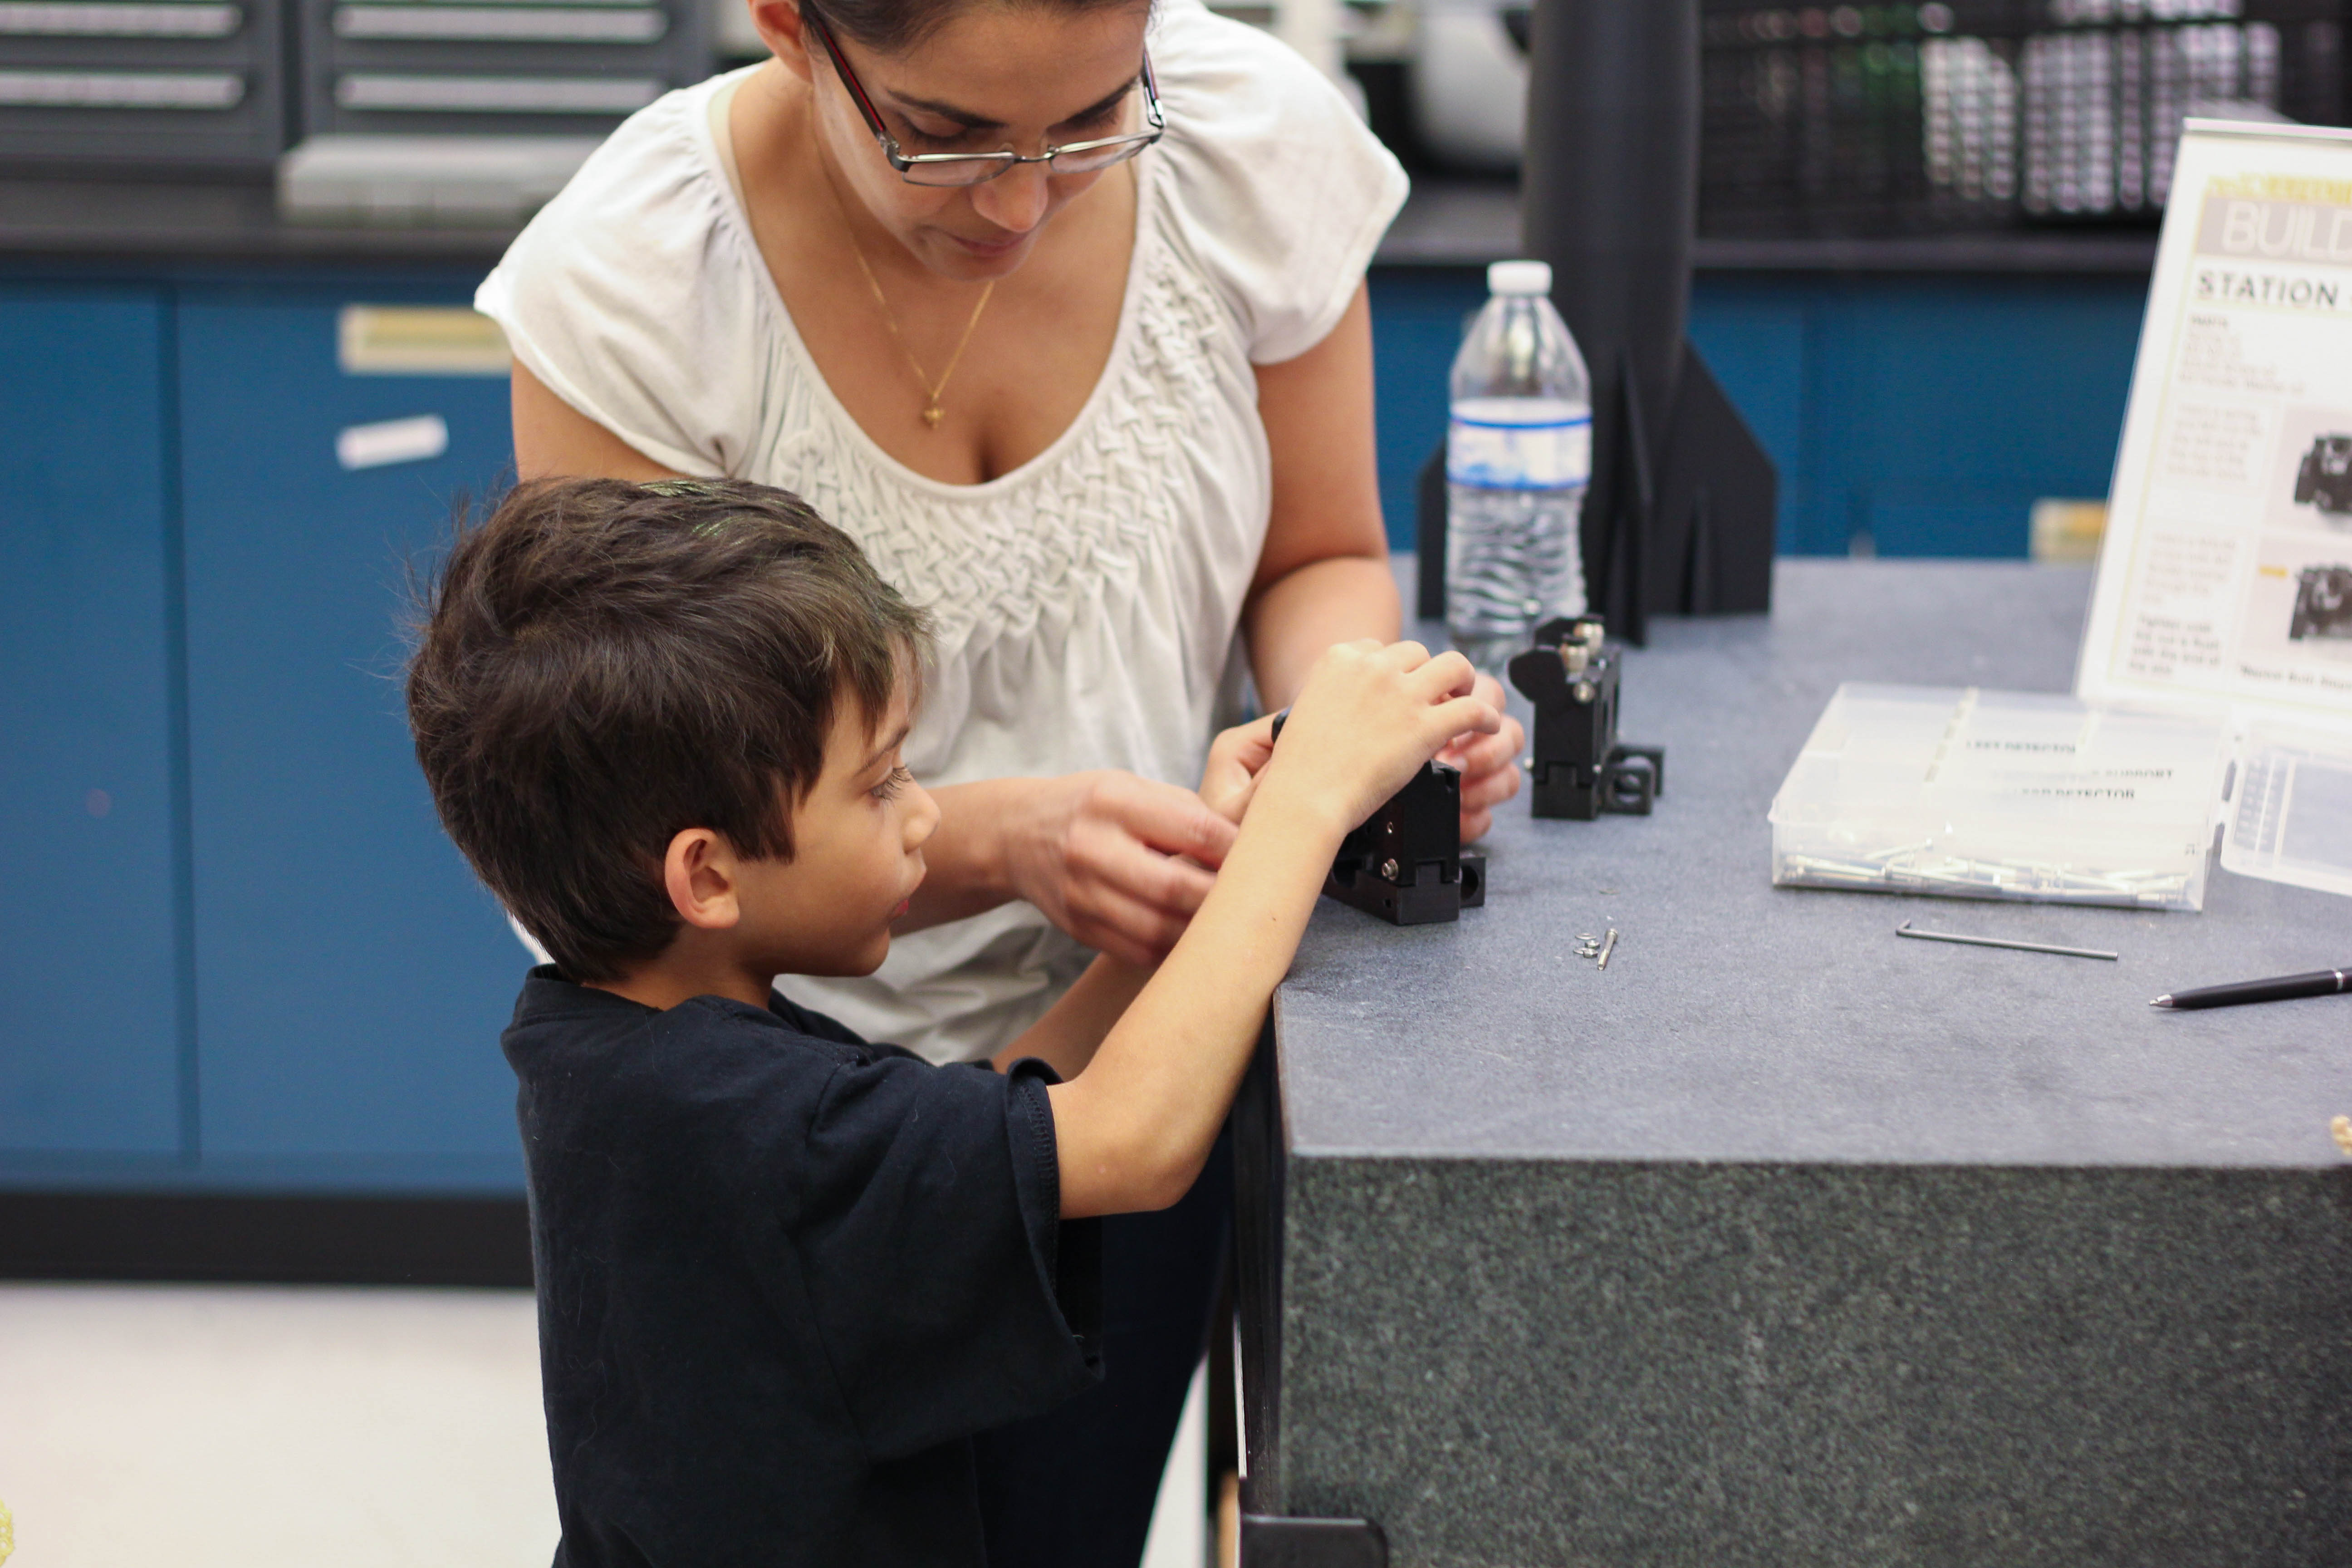
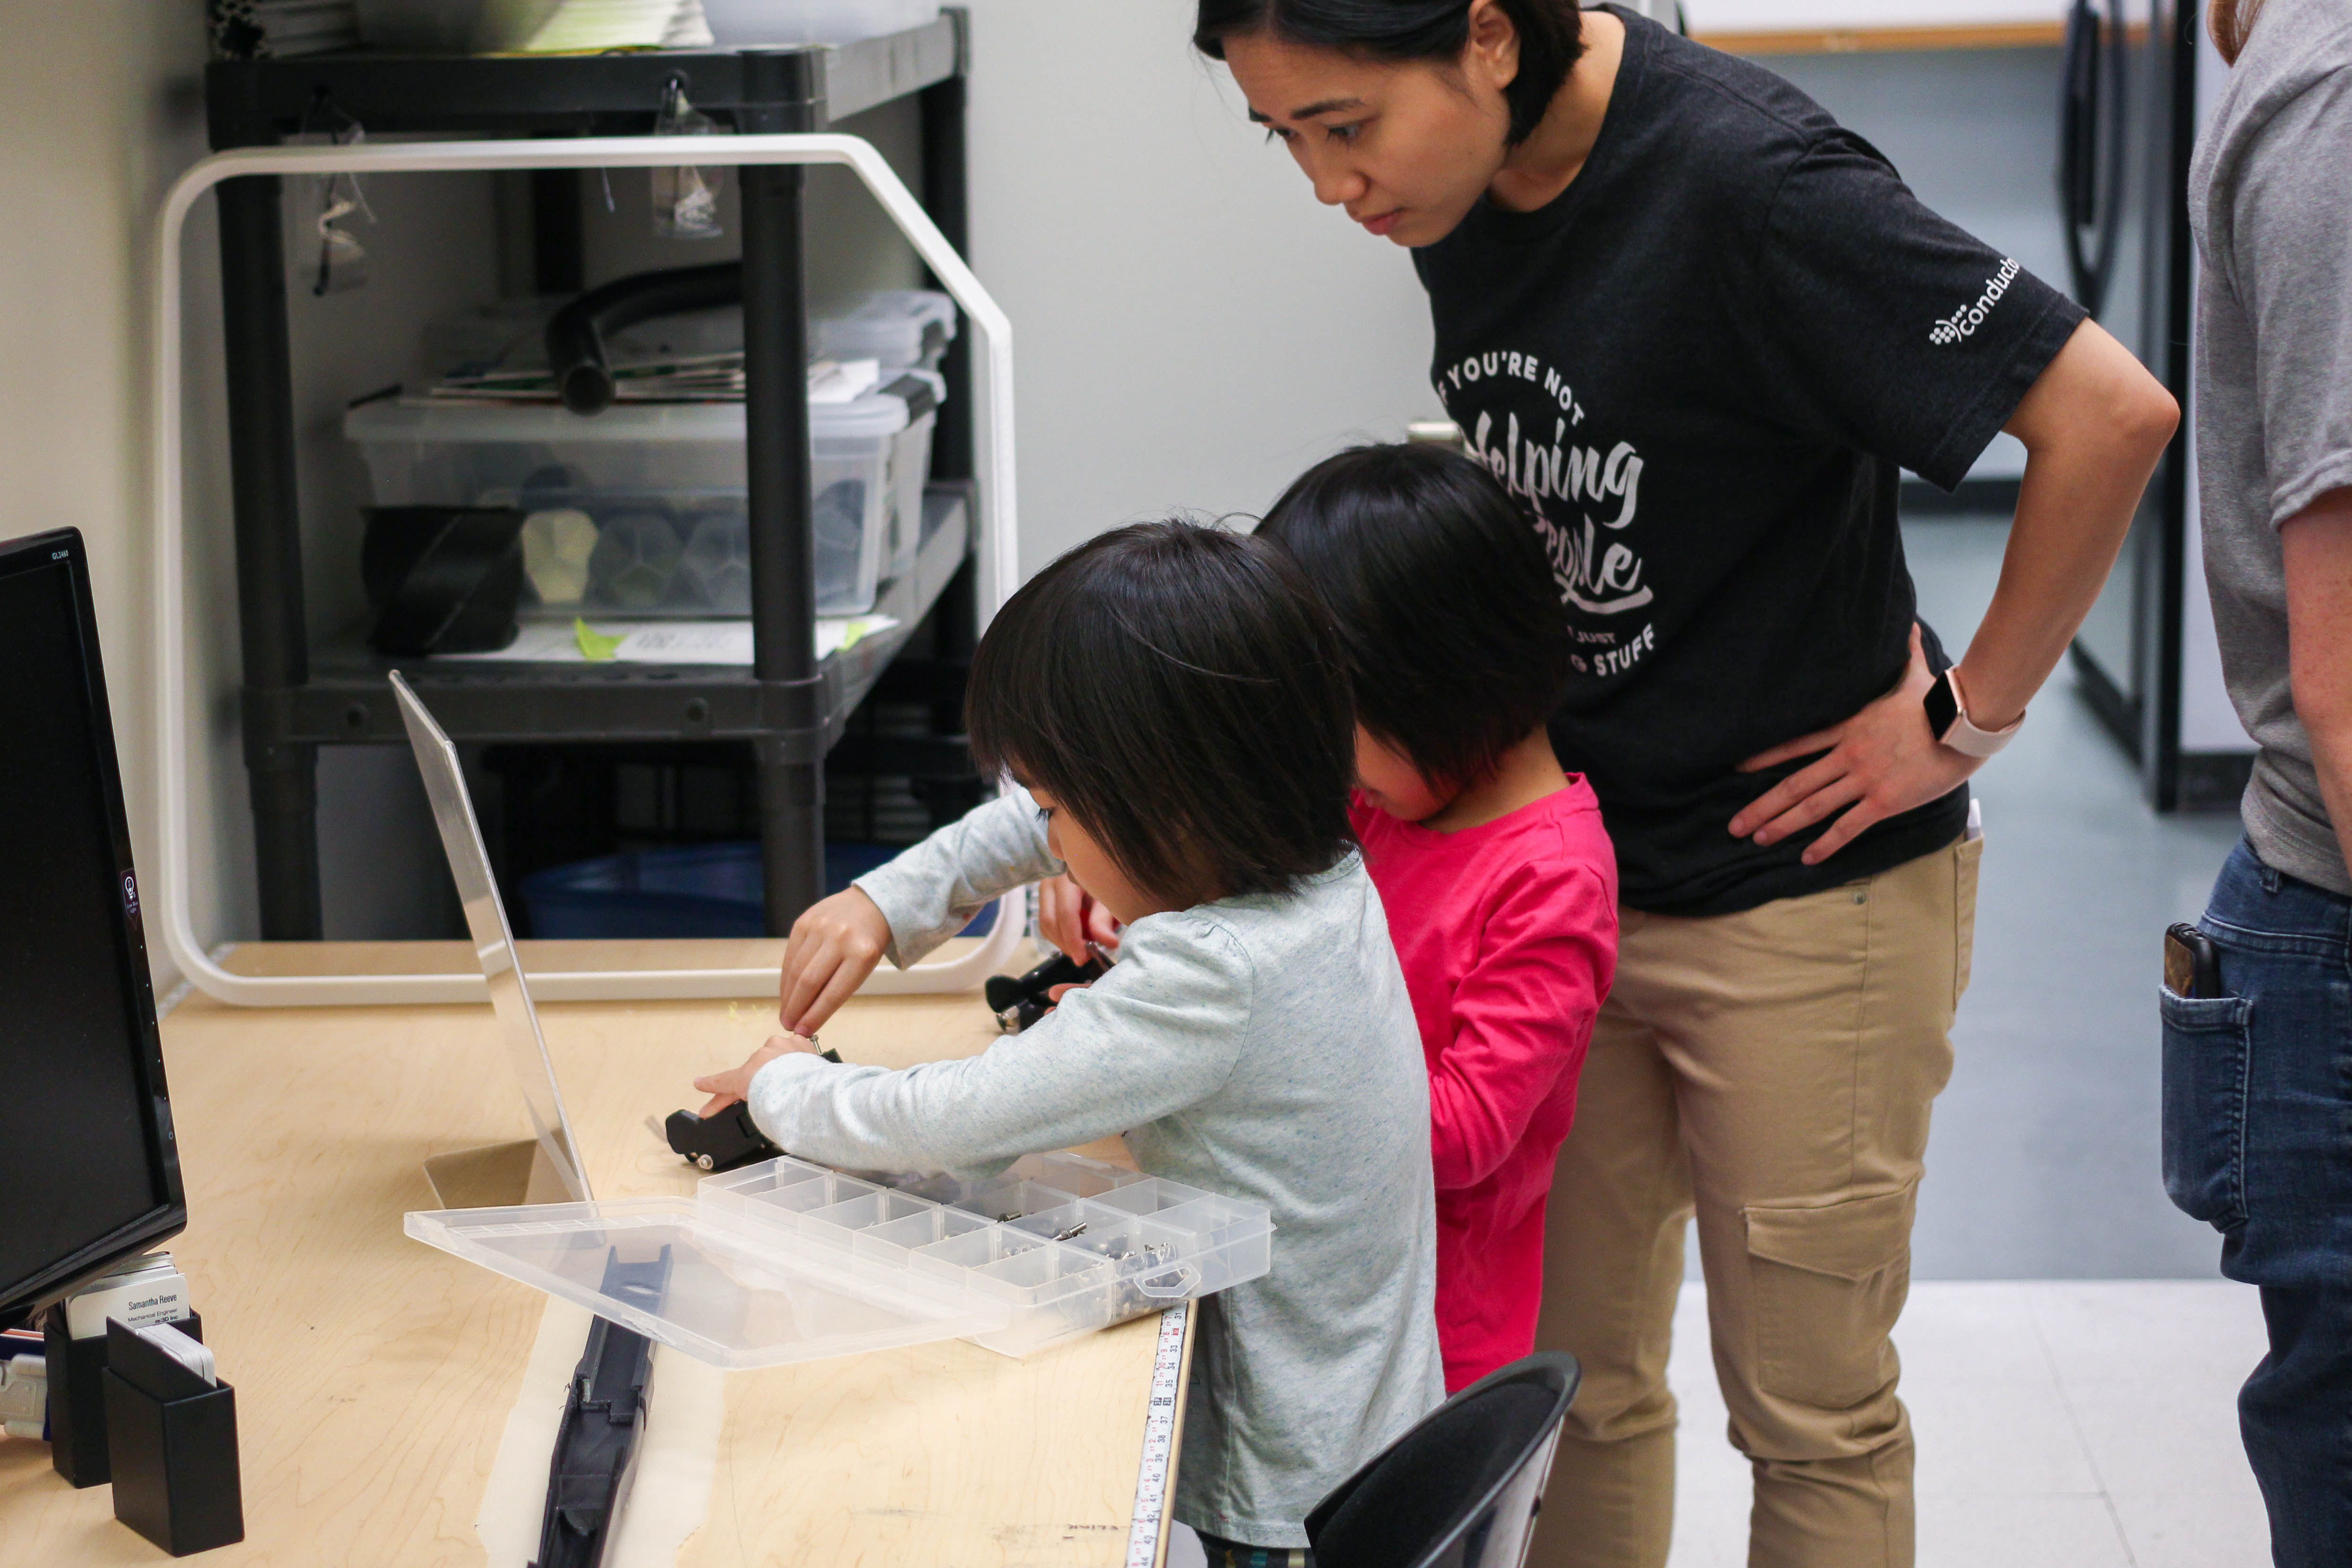
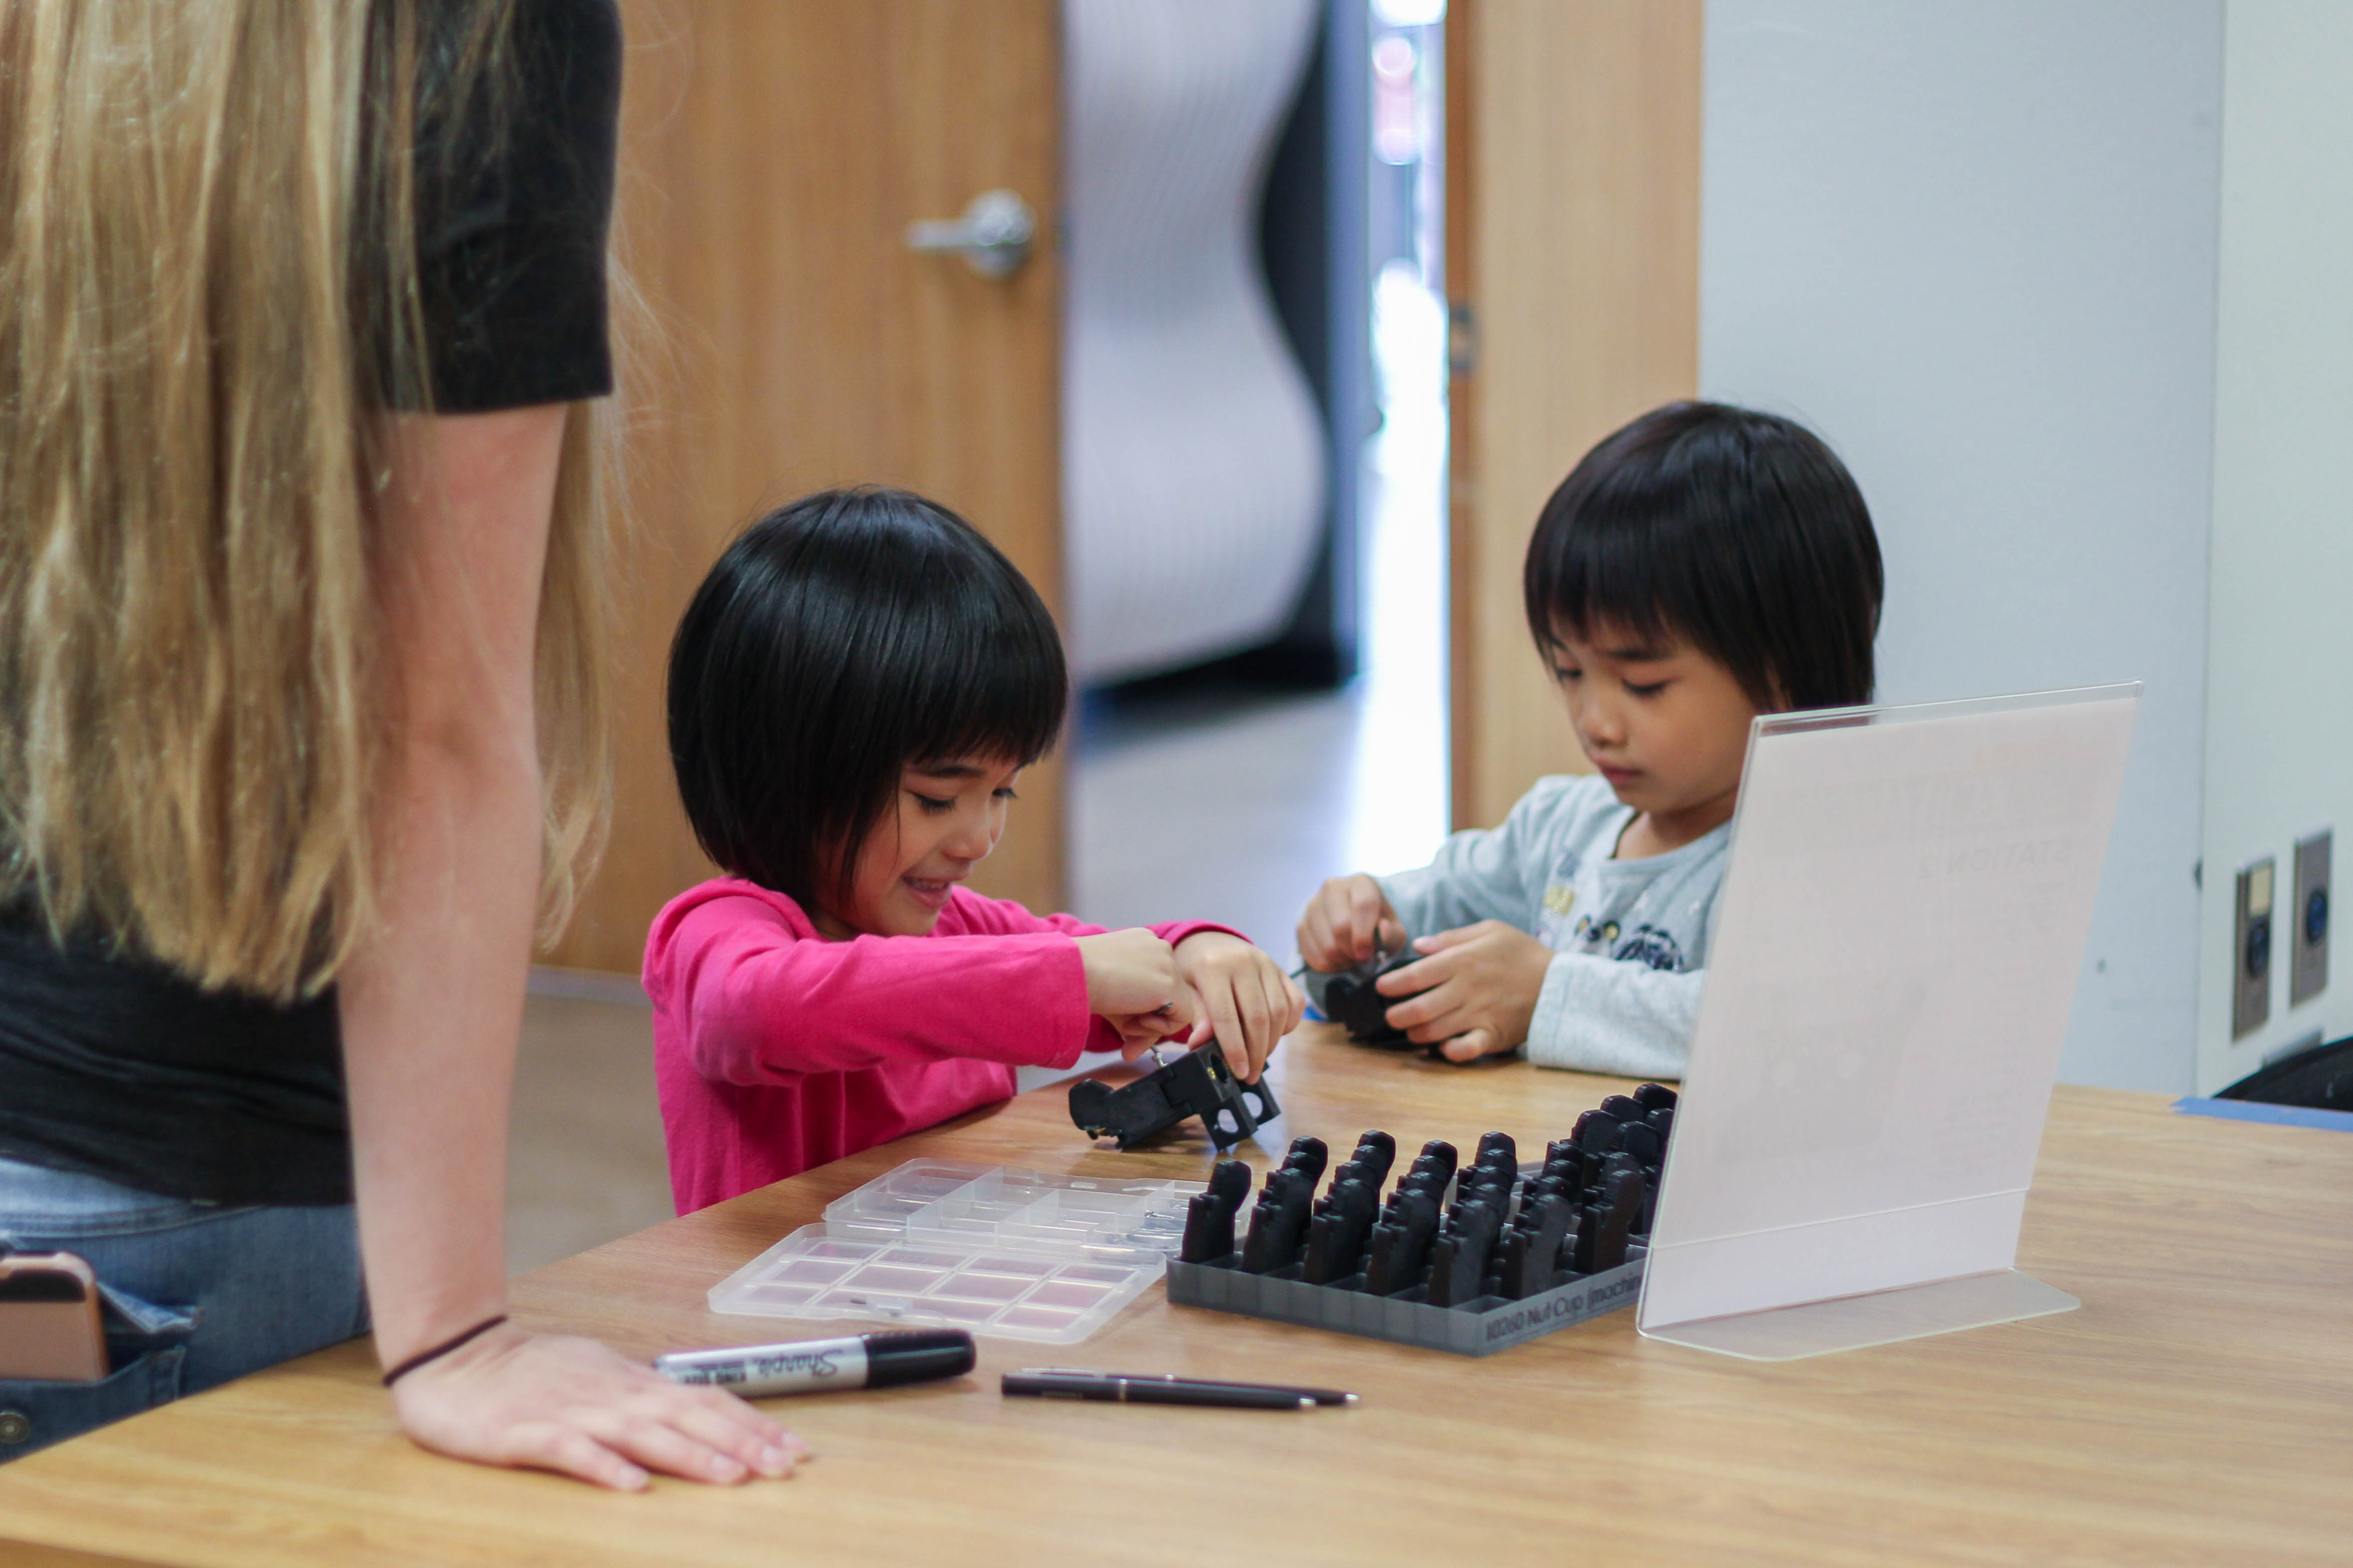
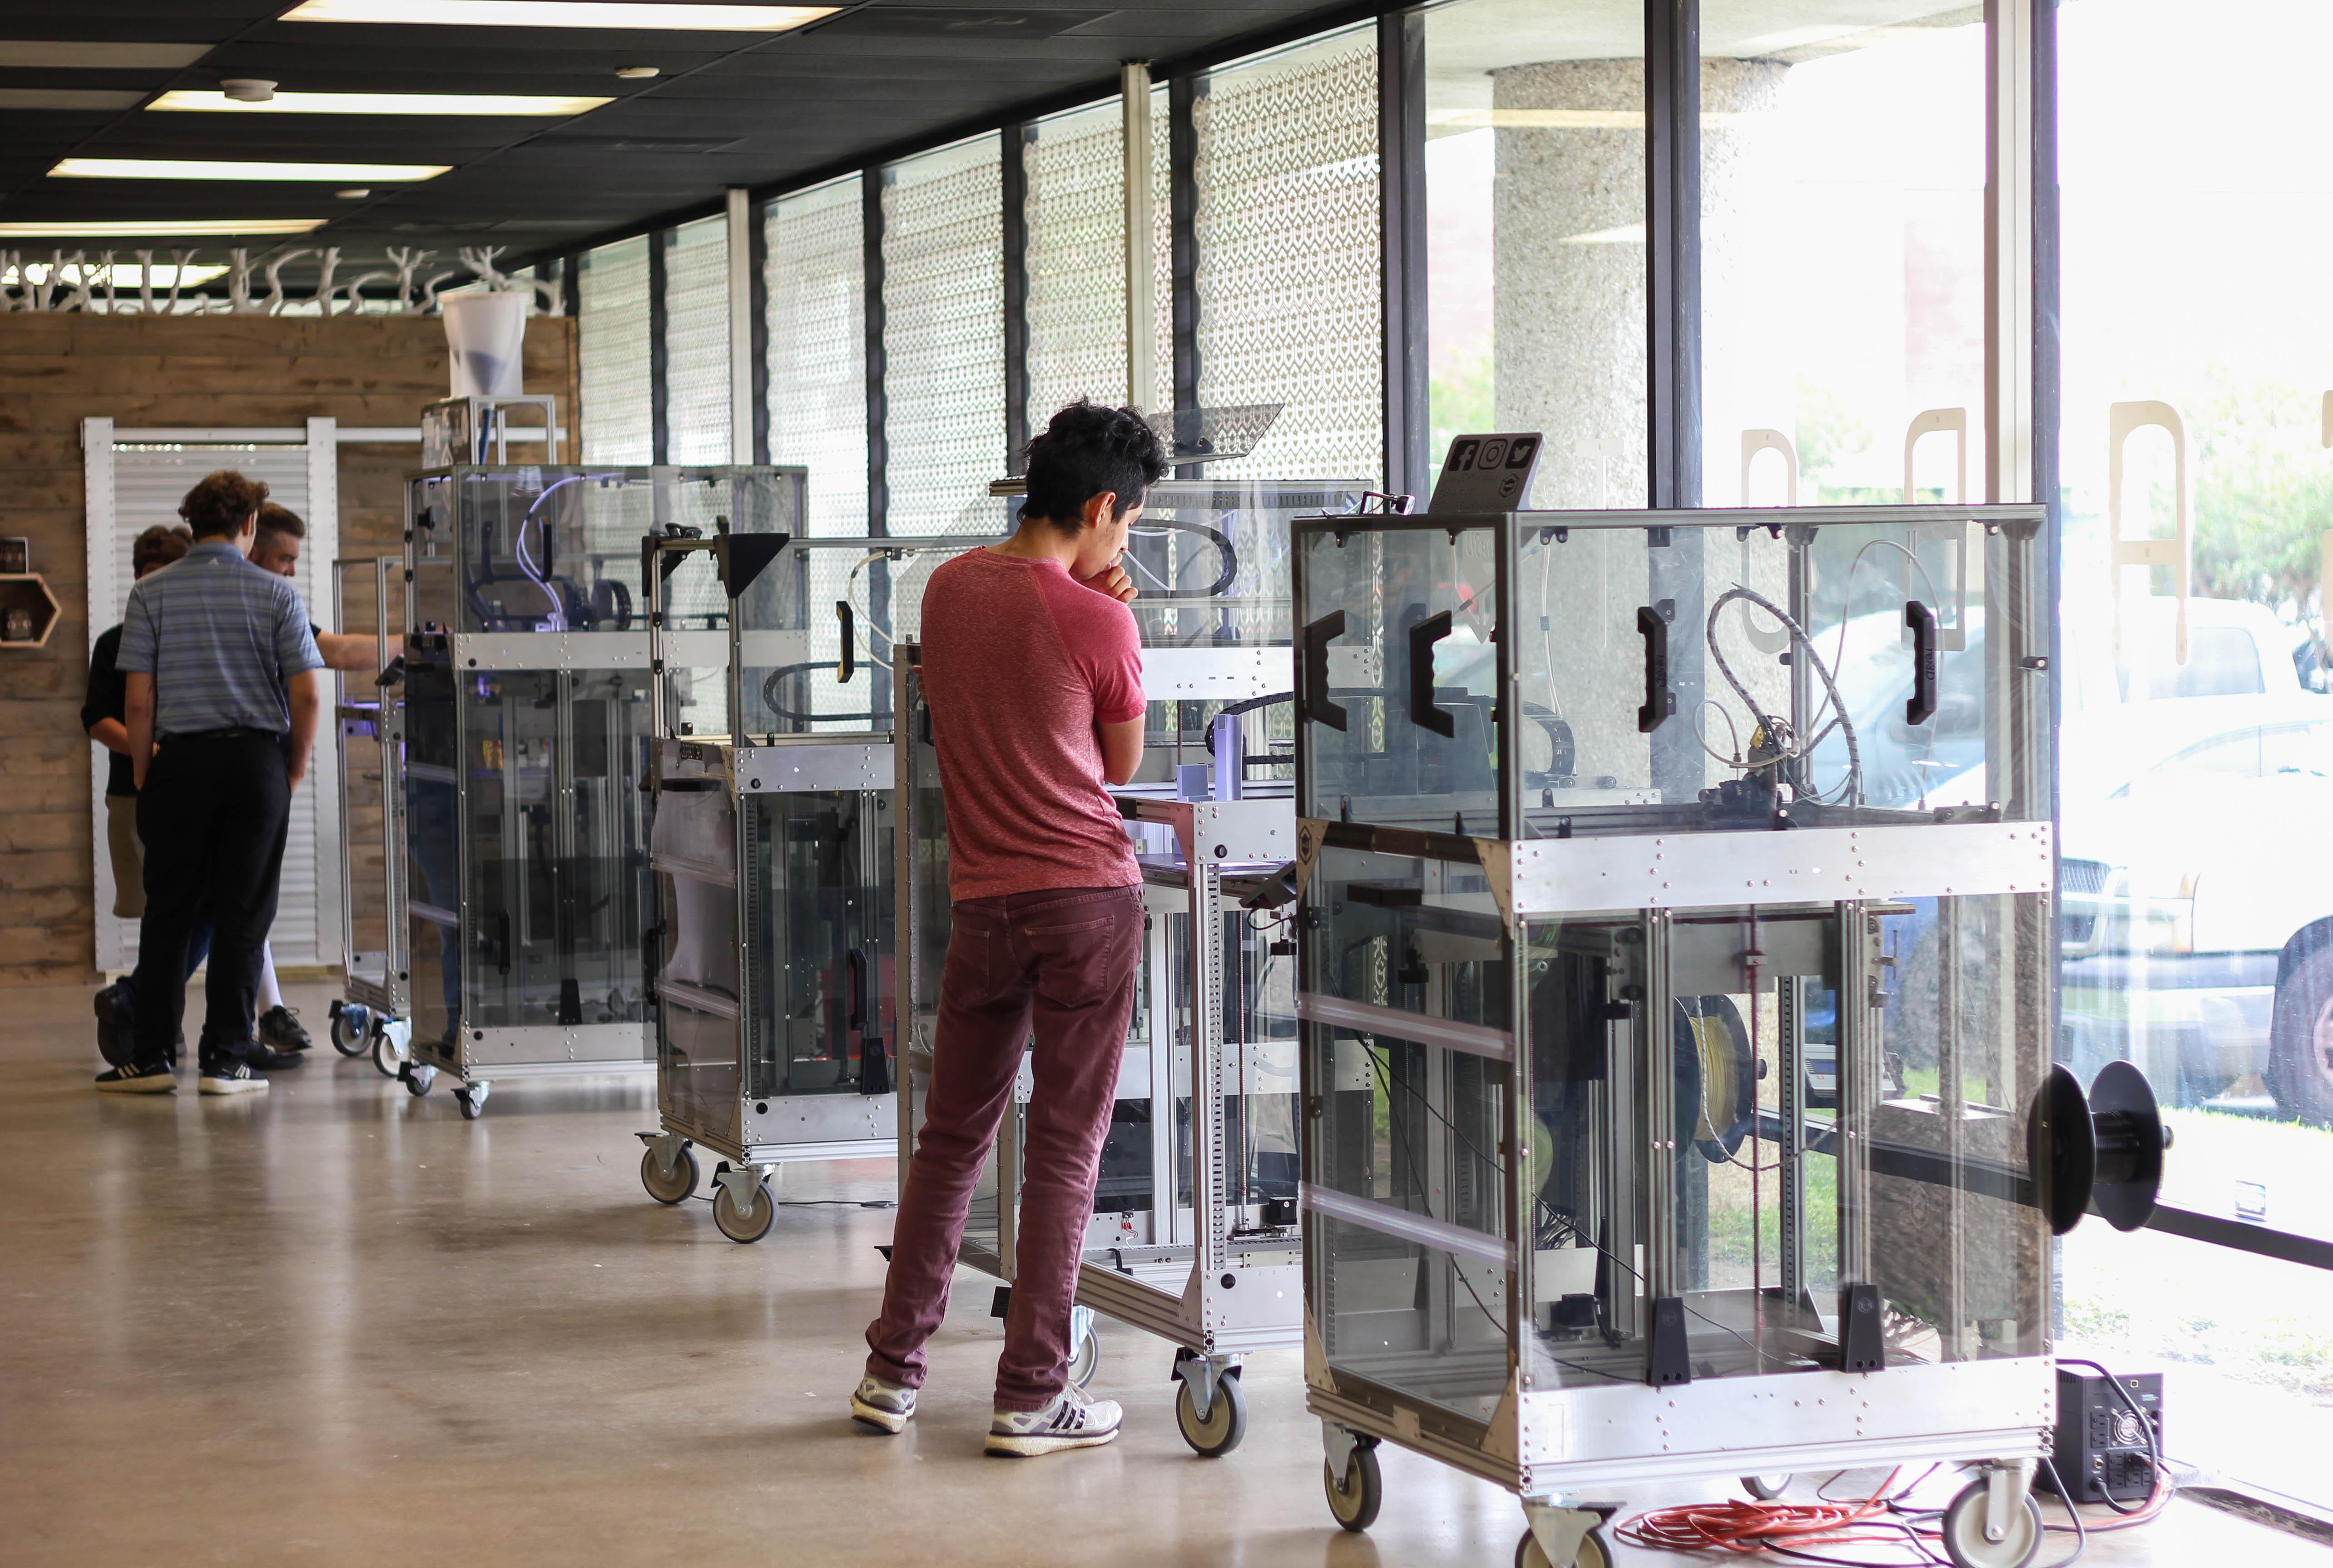
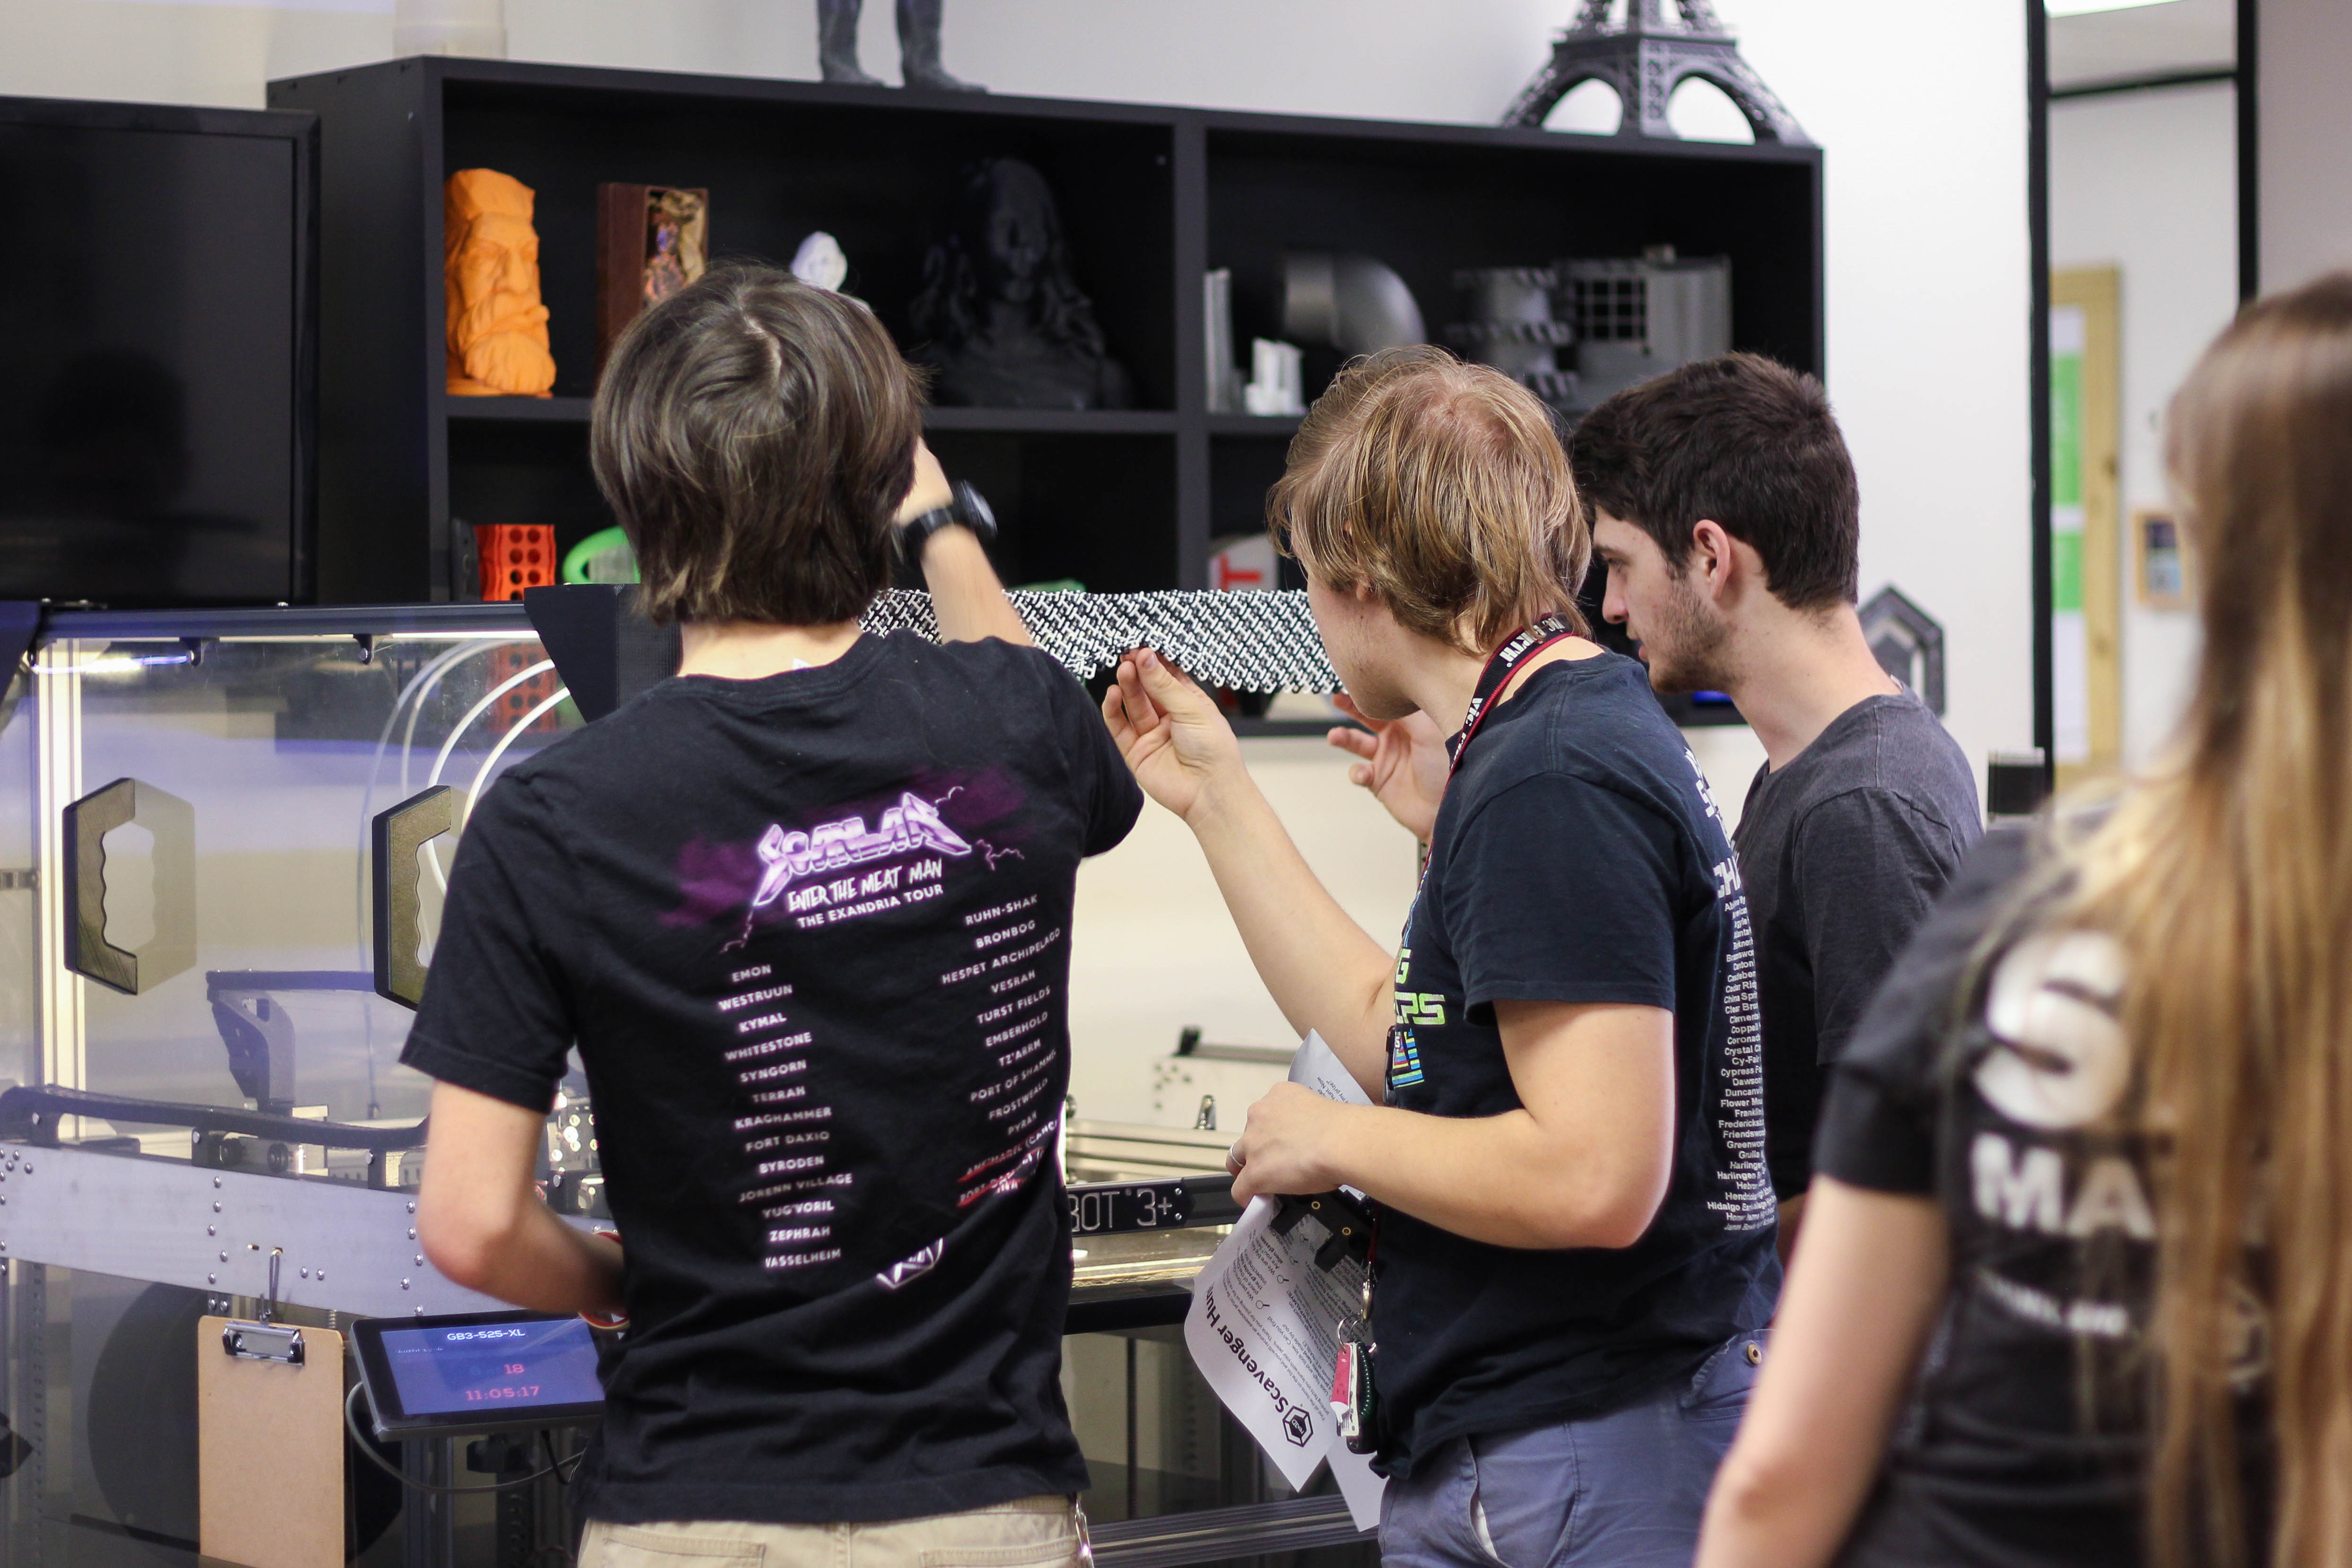
Engineers of the future (and engineers at heart!) joined our Gigacrew and learned how to build a section of our Gigabots. These handy makers put together at least forty of our new unibody extruder block assemblies, which we’ll soon be rolling out as an available upgrade on the Gigabot.

Intrepid explorers took on the challenge of our scavenger hunt wherein they discovered some of the unique 3D printed features we’ve added to the factory since moving in, including a stapler-shaped door handle, whimsical light switch plates and custom computer parts. Food, fun and curiosity abounded while we opened minds to the limitless possibilities of 3D printing, and we couldn’t be more excited to now have a dedicated space to dive deep and collaborate with our customers, innovators and the next generation of problem solvers endeavoring to Dream Big, Print HUGE!

To schedule a Houston HQ tour or workshop, email us at discover@re3d.org.

For more information about re:3D community events, check out our calendar.

Three kids sit at a table with tools and build part of a 3D printer. A crowd of people is in the background.
Photo Credit: Kate Somers

Charlotte craff

Blog Post Author

The Power of Printing With PETG

We’re excited to now sell PETG at re:3D! Why do you ask? I sat down with Co-Founder and Head of Technology, Matthew Fiedler, for some Q&A on the power of 3D printing with PETG. Read below, check out some video footage of how we are using PETG at re:3D and tune into our inaugural Meet with a 3D Printing Engineer live session next week no matter where in the world you are to chat with our 3D printing engineers live and bring any questions you may have.

Why is re:3D releasing and deciding to sell PETG now?

“Polyethylene terephthalate Glycol is an interesting material for FFF AM because of the enhanced material properties compared to the most common filament, PLA. PETG exhibits high layer to layer bonding strength, slightly elevated Tg of 80C over PLA which has a Tg of around 55C. PETG also allows better light transmission which can be a great benefit for parts that require visible light to pass through them.”

What do people use it for?

“PETG is most commonly known as the plastic used in water bottle and soft drinks containers. In 3D printing, it makes an excellent breakaway support material for parts printed in PLA. The opposite is also true where you can use PLA as breakaway support material for parts made in PETG.”

What are some unique advantages of PETG?

“Parts printed in PETG are also slightly more flexible than those made from PLA.“

What have engineers done with it at re:3D to date?

“We show several videos on our YouTube channel how well it works as support and raft material (like this video). In pellet form, we use PETG with Gigabot X to produce skateboards, decorative interior design pieces and a basket for coffee pickers in Puerto Rico. (You can watch Gigabot X 3D printing a vase with PETG here.)”

What are some of your favorite prints or examples of 3D printing with PETG?

“My two favorite are Gigabot X produced interior design vase because of the stunning visual and light qualities of PETG and the coffee harvest basket for the coffee farm in Puerto Rico.” 

Any additional context or pre-emptive answers to questions people may ask about materials?

“You can purchase 5lb and 15lb spools of PETG in our online store. You can print PETG on your Gigabot with a nozzle temp of 235C and bed temp of 60C. A thin coating of Elmer’s X-treme glue stick on the PRINTinZ surface will provide excellent adhesion. You can use the same print speed and layer heights as PLA. We have created a special Simplify3D profile for using PETG and PLA together. You can download it from Zendesk here.”

Have more questions for Matthew on 3D printing wit PETG? Tune into Meet with a 3D Printing Engineer next week via Facebook for a live session with him. Also, if you’re as excited as we are about 3D printing with PETG – watch videos on our YouTube and buy PETG online at shop.re3D.org!

PET 3D Printing Filament materials

Buy PETG online at shop.re3D.org!

Cat George

Blog Post Author

Skating on Water Bottles

This post is a follow-up to this one on the Gigabot X pellet printer. If you haven’t checked it out or watched the video, start there!

We know you’ve been dying to know what on Earth our Gigabot X pellet printer prototype was printing in the last update video, so we’re here to deliver!

Without further ado, the reveal.

The slick design was dreamt and drawn up by one of the students working on Gigabot X material validation at Michigan Tech University. Our team was really excited about the idea of printing the board using one of our favorite new materials we’ve been testing: recycled PET.

Giving water bottles a second lease on life as a fun, functional object? As Robert put it, “You know, we had to do it.”

We went through a few trials of the board, snapping a couple of the earlier prints due to the design being a little too thin or not printing it with enough infill. We thickened up the design and increased the infill percentage to make the board a little sturdier, leaving us with a roughly six and a half hour, five pound print.

After popping on some trucks and wheels, re:3D Engineer & Resident Skater Jeric Bautista took the board for a spin behind the Houston office.

Jeric gave the board his stamp of approval. “The skateboard was really fun to use,” he said. “It was smooth to ride and the PET made it nice and springy, which is similar to normal skateboards. Seeing firsthand the functionality of recycled plastic was definitely very cool.”
 
Keeping plastic bottles out of landfills by giving them a new life as functional objects? That’s something we can roll with.

Morgan Hamel

Blog Post Author

Gigabot X Update

Hot off the 3D printing press, it's a Gigabot X update!

It’s been about four months since we closed out a successful Kickstarter campaign for our pellet printer, Gigabot X, on April 23rd. Since we last touched base with you, our engineers have been hard at work making improvements to the design for our Kickstarter backer beta testers.
 
The main focus of the redesign has been the extruder, which has been completely overhauled over the last several months. There’s a new metal extruder body, improved wiring of heaters and the external motor driver, and a redesigned screw for more consistent extrusion.
Some previously 3D printed components within the extruder body were switched to metal for the purpose of durability. Originally printed for ease of testing modifications, our engineers found that some components weren’t lasting as long as they’d like to see due to the tremendous forces being generated within the hopper as the screw extrudes pellets. Now that the design of certain pieces is more final, we started machining certain components in metal to better deal with wear and tear.
 
The modular, 3D printed hopper has also seen significant changes. With the previous design, our R&D team found that the amount of pellets being pushed through by the screw was much higher than they expected – and wanted. They increased the size of the hopper to slow down the rate, which also provides the dual benefit of not having to replenish the pellets as often.

The first Gigabot X prototype took a trip up to Michigan and is currently residing at Michigan Tech University, where a group of students are performing material testing research as a collaboration supported by our NSF SBIR Phase I. Some of the materials they’ve been validating include PLA, PET, polypropylene, and ABS, in both recycled and virgin forms. One of our favorites we’ve been printing with is recycled PET, better known as the common disposable water bottle.

Michigan Tech has also done us the incredible service of creating improved Slic3r profiles for these materials. The profiles are working fantastically on the new Gigabot X in the Houston office, and we’re seeing improved quality of prints thanks to them. Backers will benefit from these profiles, which have improved the overall printing experience greatly.
 
Another thing our team is particularly excited about is that the MTU students were also able to 3D print with multiple sized pellets and have also been experimenting with printing directly with ground-up plastics with success. These results were then submitted to a peer-reviewed journal, and we would love to invite the community to check out the research in Materials. You can also share questions and comments with us on the Gigabot X forum by creating an account and logging in.
 
Testing of Gigabot X is still ongoing and small tweaks continue to be made, but things are moving along well. Over the next three to four months our team will be rounding out testing, cleaning up and finalizing the design and documentation of the machine, and getting the first bots ready for backers. Our team is really excited for the moment that we get to put this technology into the hands of our early adopters.
 
As re:3D R&D Intern Robert Oakley put it, “I’m really looking forward to seeing what people make with it… It’s really cool to see when people start figuring out how to use our printers to make cool objects that we haven’t thought of before.”
Stay tuned for an upcoming post about what Gigabot X was printing in the video above!

Morgan Hamel

Blog Post Author

re:3D Makes Top 16 of Inaugural MassChallenge Texas!

2018_mctx-top-startup-1

It’s with a huge amount of excitement, humility, and gratitude to announce that we have made it as one of the top 16 startups of the inaugural MassChallenge Texas! It’s been an incredible journey for our team to date to now be one of the top 16 startups from the 84 participating companies that hailed from 11 different countries across industries of high-tech, social impact, health, life sciences, general consumer products, and clean technology. We’ve been so inspired by the amazing entrepreneurs who make the magic happen of these 84 companies including companies like our fellow #HurricaneStrong Parallel 18 accelerator participants in Puerto Rico, Brands Of.

Other highlights from MassChallenge Texas to date have been receiving one of the People’s Choice Awards at the MassChallenge Texas Startup Showcase. Also, getting the ongoing mentorship and support from the MassChallenge team including getting to hire an amazing intern thanks to MassChallenge as well as receive incredible expertise and connections. These MassChallenge resources of knowledge and talent, exposure, and the inspiring fellow entrepreneurs part of this cohort make us so proud to be part of this community and are integral to where we are today.

Mike B. accepts re:3D’s People’s Choice Award at #MCTX Startup Showcase 2018

During our time at MassChallenge Texas since the program was announced in February, we’ve made huge strides including launching Gigabot X securing beta users around the world with a successful Kickstarter. Gigabot X is a large-scale 3D printer that can print from reclaimed plastic, and as of now is actively printing from FOUR different types of plastic waste. Also, we are geared up to launch the largest 3D printer to date in the re:3D family this fall – Terabot – that boasts a 36″ inch cubed build volume. We’ve also launched a full enclosure called the Gigabox Enclosure for our 3D printers as well as acquired PRINTinZ, one of the first 3rd party accessories that became commercially successful in the build surface market.  We’ve invested in building our applied R&D hub in Puerto Rico where we’ll continue to evolve the use of 3D printing technology in pursuit of a circular economy, decrease dependence on imports, and build a vibrant community of fellow problem solvers reimagining the ways in which we use technology to build a collective future, such as 3D printing hurricane relief and recovery efforts in Puerto Rico. We’ve continued to collect stories of impact from our customers in 50+ countries and across industries such as education, manufacturing, research, health science and beyond. And we’ve hired 6 new teammates and are still looking for 20+ more 3D printing enthusiasts to join the re:3D team (check out these positions…and tell your friends!).

All this is to say that since we joined MassChallenge Texas – thanks to the support of this global community and experienced mentorship– we’ve taken flight even faster on the trajectory of our vision.

So after giving a 10-minute pitch and 10-minute Q&A session to a panel of mentors and judges the other week, we have landed where we are humbly today as one of the top 16 startups of this MassChallenge Texas. As if we weren’t already in awe enough of our cohort of 84 companies that comprised the inaugural MassChallenge Texas, this final 16 also includes 3 veteran or military-owned companies along with us, Sempulse and Abraxas Technology (shoutout to you Bunker Labs for the support!). We also join the ranks of 12 Texas-based companies along with – Abraxas Technology, Aquasprouts, Cloud 9, EQO, GrubTubs, Popspots, Sempulse, Tiny House Coffee Roasters, ZPeg, Cloud Dentistry and Novothelium. As well as share industry knowledge and excitement with fellow finalists Partboyz Auto Parts, The Mentor Method, Pay Your Tuition, and Augmenta.

To be amongst these 84 companies and now these top 16, without a doubt, already makes us winners to be considered compatriots of companies at this caliber of innovation and impact who share our values of building companies intent on making this world better off than we found it. That said, today (August 1st) we pitched to another panel of judges in pursuit of a share of the $500,000 equity-free cash prizes to be awarded at the first MassChallenge Texas Awards Ceremony taking place on Wednesday, August 15 in Austin, Texas at Hyatt Regency Austin. At that event on the 15th, we’ll be bringing along Gigabot X to show everyone in person 3D printing from FOUR different types of waste and we’re hoping to earn funds (such as the People’s Choice Award!) to fuel an even faster production of these 3D printers that will use garbage to fuel solutions to big problems. Thank you, MassChallenge. #DreamBigPrintBigger 

Cat, Mike S., Samantha S. & Major Paddy after today’s pitch for the MassChallenge Texas finale!

About MassChallenge: MassChallenge is a global network of zero-equity startup accelerators. Headquartered in the United States with locations in BostonIsraelMexicoSwitzerlandTexas, and the UK, MassChallenge is committed to strengthening the global innovation ecosystem by supporting high-potential startups across all industries, from anywhere in the world. To date, more than 1,500 MassChallenge alumni have raised more than $3 billion in funding, generated more than $2 billion in revenue, and created more than 80,000 total jobs. Learn more about MassChallenge at http://www.masschallenge.org.

Cat George

Blog Post Author

New Feature: Linear Advance

Here at re:3D, we are results driven and want to provide the best possible product for our customers. Before the release of the new Gigabot Firmware 4.2.0, we wanted to put the new feature, Linear Advance, to the test. Referenced from the Marlin website, Linear Advance allows users to print more dimensionally accurate parts.  Under normal conditions, the extruder gear movement is a linear proportion to all other axes. However, the pressure buildup in the nozzle is not proportional to other axes and this leads to extra material being extruded at the end of each movement.

To solve this issue, linear advance changes the extrusion rate whenever the extruder slows down or speed up, creating an even extrusion line no matter the speed or change in direction. The K value has units of mm of filament compression needed per 1 mm/s extrusion speed [mm/(mm/s)]

The advantages of this feature are as follows:

  • Better dimensional precision.
  • Higher printing speeds are possible without any loss of print quality.
  • Visible and tangible print quality is increased even at lower printing speeds.
  • No need for high acceleration and jerk values to get sharp edges.

A total of 48 test specimens were printed at a different layer height, speed and K value. Each of the 25mm squares were printed individually to decrease the effects of other variables. A circular indentation was added to the middle of the model to increase the number of changes in travel direction, emphasizing the effects of Linear Advance. Shown in Figure 1, are a set of test pieces printed at 0.31 layer height, 120mm/s and a K value of 0.0, 0.05, 0.1, and 0.15 from left to right.

Each test specimen was measured with a caliper. In Table 1, the dimensions of all of the test squares are shown. The highlighted boxes show the test specimen that had the most accurate dimensional reading in its group. As linear advance decouples the extrusion motor from other axis, the print quality is visually and quantitatively improved. Shown in Figure 1, Linear Advance significantly reduces the extrusion of extra material on the outer edges at higher print speeds and larger layer heights. As print speed decreases, the addition of Linear Advance has less of an impact on the quality, however, it is still beneficial with a delta of 0.2 at 40mm/s and 0.15 layer height. These results showed to be consistent with expectations because as flow rate increases, the more buildup of pressure and potential for extra material to come out of the nozzle. With 8 test samples of 0.1 K value and 4 samples of 0.05 K value excelling in accuracy, a weighted average of K= 0.08 provides a good value to improve print quality across the board.

If you are interested in using this feature on your Gigabot, please visit the full feature list of the new Gigabot Firmware 4.2.0 here

Noah Pan

Blog Post Author

Gigabot 3+ Firmware 4.2.0

Introducing the new Gigabot Firmware 4.2.0. This new firmware release features the latest version of Marlin 1.1.8 and is packed with new features that will elevate the user’s experience with the Gigabot.

Notice: This Gigabot Firmware is only for users with the Azteeg X3 Pro (GB-371 and up)  with the dual limit switch kit. This version will not work for bots with single Y limit switches. 

Here are the links to purchase the upgrade kit, new Simplify3D profiles, and to Download the Firmware

Table of Contents:

A New Look

Dual Y Axis Homing Switch

Linear Advance

Ditto Printing

Filament Change Routine

Continuous Printing After Filament Change

Babystepping for Perfect 1st Layer

Other Links

A New Look

The changes in the new firmware can immediately be noticed on the main info screen of the Gigabot. The larger font makes it easier to read and navigate. (Figure 1.)

The contents and item order of the Prepare Menu have also changed to create an easier and more accessible experience. The preheat option is placed on the top so a target temperature can be set quickly. A new and improved Change Filament routine item is shown followed by the Move Axis menu plus three axis homing actions. (Figure 2.)

About Printer is the newest addition to the screen menu (Figure 3). This menu displays useful information about the printer, such as the model number, firmware upload date, prints completed/ failed, total print time and longest print job completed. This data can be used to keep track of a regular maintenance schedule for your Gigabot.

Dual Y Axis Homing Switch

A major feature of the new firmware is the support for dual Y-axis homing switches. This feature provides more consistent performance and a higher degree of dimensionally accurate printed parts out of the Gigabot.

Previously, a single homing switch existed on the left Y motor, resulting in a carriage that was not consistently parallel to the machine frame. During a filament change, it was possible for an accidental displacement of the carriage, losing positional accuracy (Figure 4).

With dual Y axis homing switches, the machine is guaranteed to be squared to the frame every time the machine is homed (Figure 5). This will provide more consistent performance and accuracy for all prints. Paired with the new filament change routine, the Gigabot will show precise repeatability.

Shown in Figure 6 is a print completed to torture test the dual homing switch feature. A line of gcode was inserted after each layer incrementation to move the extruder aside, disengage the stepper motors, rehome, and continue printing. The results show the consist carriage squaring that the dual homing switch provides. After over 1000 layers, the tower shows homogenous layer quality with no layer shifts.

Linear Advance

Do your prints ever look like the image in Figure 7? Linear Advance is a new feature that allows users to print more dimensionally accurate parts. Under normal conditions, the extruder gear moves linearly in proportion to all other axes. However, the pressure buildup in the nozzle is not proportional to other axes and this leads to extra material being extruded at the end of each movement.

To solve this issue, Linear Advance changes the extrusion rate whenever the extruder slows down or speeds up, creating an even extrusion line regardless of the speed or change in direction.

The advantages of this feature are listed on the Marlin website and are as follows:

  • Better dimensional precision due to reduced bleeding edges
  • Higher printing speeds are possible without any loss of print quality
  • Visible and tangible print quality is increased even at lower printing speeds
  • No need for high acceleration and jerk values to get sharp edges

re:3D performed an extensive test on this new feature to determine the optimal K value for different layer heights and printing speeds. Shown in Figure 8, is a set of test specimens printed with different K values. Figure 9. shows the improved dimensional accuracy from a specific K value.

A weighted average value of K= 0.08 was chosen, improving print quality for a number of different print settings.

Check the blog post for more information:

Ditto Printing

Duplicate nozzle printing (aka. Ditto Printing) allows the user to print with both nozzles at the same time. It can produce two identical parts with the only constraint that the X length of the object is smaller than the hotend offset (~55mm on the Gigabot). This feature is particularly useful when mass producing parts, cutting printing time in half which can be very beneficial. To enable this feature, download the new 4.3 Simplify Profile for Gigabot, choose PLA Duplicate Nozzle or PC-Max Duplicate Nozzle under the Auto-configure for Material tab and Duplicate Extruders under the Auto-Configure Extruders tab. In the slicer, place only one model on the build platform and start the print. The bot will produce two identical parts.

(Note that this feature works by mirroring the left extruder to the right. Only the left filament runout sensor will be active and the right will be inactive.)

re:3D uses this feature to increase the speed of printing in-house production parts (Figure 11,12).

This feature can also be used to infuse parts together! Like this crazy dual color infused Marvin or 3DBenchy boat shown in Figure 13 & 14.

Filament Change Routine

The new filament change routine provides a series of walk-through interfaces that guides the user through the entire process. The user first selects the extruder and material type that needs to be changed. (Figure 15)

Shown in Figure 16 are a series of walkthrough LCD screens. The Gigabot will first heat the desired nozzle, then automatically unload the filament. The LCD will then direct the user to unload the filament and insert new filament. The filament will automatically purge and ask the user if they want to purge more or continue printing. There are also added safety features that will unheat the nozzle if the machine has been idle for a minute.

Previously, filament changes were tedious with the cable chain obstructing the workspace. With the new firmware, the nozzle park position is on the right side, avoiding all obstructions and allowing for easier filament changes. (Figure 17.)

Please Note: For filament changes from high-temperature material to lower temperature materials (Ex. Polycarbonate to PLA), Please manually heat the nozzle up to the melting temperature of the higher temperature material, switch materials, then purge 200mm of filament and lower the temperature down for the second material. This will clear out the nozzle of any previous material to prevent jamming.

Continuous Printing After Filament Change

Continuous printing after filament change is a feature specifically designed for the long prints that the Gigabot produces. Often times, the Gigabot uses an entire spool of filament and upon filament runout, the machine pauses and waits for the user to change filament. Production time will dramatically increase if the user is unavailable.

With the new Continuous Printing feature, the user loads two spools of the same filament into both extruders. When the first spool runs out, the Gigabot will automatically unload the filament, load and prime the second nozzle, and continue printing. This feature is listed under Controls> Filament> Filament Runout (Figure 18). The user can choose between two filament runout features, pause for change or continuous printing. These options are also available during mid-print so the user can change settings as any given time.

For very long prints, once the second filament spool starts printing with the left nozzle, it is suggested to pause the print and load another spool of filament into the right nozzle.

Shown in Figure 19 & 20 are some of the largest prints that re3D has done. The print time could have been dramatically shortened with the use of continuous printing after filament runout.

Babystepping for Perfect 1st Layer

Babystepping allows the user to adjust the Z height at very small increments to achieve a higher quality first layer. To use this feature, double click the encoder during the first layer of your print until the LCD screen displays the Babystepping screen as shown in Figure 21. Scroll the knob to move the Z up or down (clockwise to move the nozzle away and counterclockwise to move the nozzle closer). Babystepping can also be activated through a M290 gcode. Look at that perfect first layer in Figure 22!

re:3D uses this feature to accommodate for the expansion of the heated bed during high temperature prints such as polycarbonate. A M290 Z0.25 moves the nozzle 0.25mm away from the bed and M290 Z-0.25 moves the nozzle 0.25mm towards the bed.

As seen in Figure 23, Babystepping can dramatically improve the first layer quality. At the start of this print, the nozzle was too far from the bed and the babystepping was adjusted to -0.217mm. After the adjustment, a perfect layer line was achieved.

Other Links

Please contact support if you have issue with the new Gigabot Firmware. For general questions, please post them in the forum. To view instructions, please go to the re3D wiki. For source code, please visit our Github page.

Notice: Please download the latest Simplify3D profile on our wiki to fully take advantage of all these great new features!

References:

  1. marlinfw.org/docs/features/lin_advance

Thanks and Acknowledgements:

Mike Stewart

The Marlin Team

Known Issues:

Machine Power Cycles when the user homes the machine and initialized change filament routine simultaneously

If using Ditto Printing, only the left filament sensor will trigger. The right sensor will be inactive. If the left filament sensor is triggered, the machine will eject filament from both extruders and only with the left extruder when printing resumes.

Noah Pan

Blog Post Author

3D Printing Contest: Fast Furniture Challenge

About The 3D Printing Fast Furniture Challenge:

re:3D had a #HurricaneStrong year in 2017 – our Houston team was hit by Harvey and our team in Puerto Rico withstood Hurricane Irma and Hurricane Maria. June 1st marks the official beginning of hurricane season in Puerto Rico and we want to open a global challenge to create a 3D printed solution to have “fast furniture” available if we undergo another hurricane.

Hurricane Maria destroyed over 70,000 homes in Puerto Rico – and the furniture in it. Our team in Puerto Rico had boots on the ground and was exploring using 3D printing for recovery efforts and one of the number one asks from the community was 3D printing solutions for destroyed furniture. So our teammate Alessandra set on a mission to create 3D printed furniture joints that could be made as quickly and cheaply as possible to then quickly assemble basic furniture that can withstand 150 pounds using pre-cut wood from Home Depot. Needless to say, this is not a simple task – but we believe in solving complex problems and as a community-driven organization, we’re opening up this up challenge to the global community in hopes of identifying a solution to be prepared for this year’s hurricane season. We know this product would be good for a womb chair. If you’re looking for such a product, this is a good womb chair replica for sale near you.

3D Printed Furniture Joints

3D Printing Fast Furniture Challenge

Goal

Create modular 3D printed joints in PLA that can effortlessly be assembled into a 36”x36” table with pre-cut wood from Home Depot under 1 hour.

Application: Open application for any person or groups worldwide.

Requirements

  • 3D joints must take less than 48 hours to print and cost under $20 to print.
  • Materials: pre-cut wood from Home Depot. No nails, screws or glue should be used for assembly
  • Furniture must be able to withstand 150 pounds
  • Easy assembly and disassembly
  • Watertight STL files submitted to info@re3d.org with a digital 24”x36” presentation board with visual content (renders, drawings, assembly steps…) explaining your design.

Contest Timeline

  • Applications Open: June 8th
  • Submit STL files and presentation board by August 8th
  • Semi-Finalists Selected For Printing Their Design
  • Winner announced August 29th

Awards

  • re:3D will identify the top 3 table joint designs to be printed on Gigabot and assembled using wood sourced from Home Depot. The design that can bear the most load after assembly will be deemed the winner.
  • Winner will get a price of $250 USD
  • Judging Criteria For Semi-Finalists
    • Creativity
    • Well organized, coherent presentation board
    • .stl quality: watertight, containing little to no errors.
    • Ability to 3D print joints without supports.
    • Estimated print time
  • Judging Criteria For The Winner
    • Assembled table using pre-cut wood will be able to withstand 150 pounds
    • Assembly difficulty
    • Print Cost
    • Print Time

What To Take Into Consideration

  • PLA is weak against tensile forces
  • 3D printing creates objects with layers which is also their weak point: 3D prints tend to break along the layers just as wood breaks along the fiber direction.
  • Different wood sizes won’t fit on the same basic pipe-like joints

Next Steps

Cat George

Blog Post Author

Introducing Gigabox

Introducing Gigabox, a full enclosure for your Gigabot 3D printer.

Gigabox is designed to elevate and stabilize the ambient printing temperature of your Gigabot, allowing for large-scale, high-quality printing in high-temperature materials like ABS, nylon, and polycarbonate. Your Gigabox enclosure also serves to protect your Gigabot from the dust and dirt so that it feels just at home on the factory floor as the office environment.

Constructed of transparent, shatter-resistant polycarbonate, Gigabox allows your bot to reach an internal temperature of up to 60°C. Three removable hood panels allow for easy access to the top of the machine, with polycarbonate printed holders at the base of the enclosure to store the hood side panels when not in use. The large front panel is fitted with plastic living hinges which allow it to fold down for convenient access to the interior. Polycarbonate printed handles allow for easy maneuvering of panels, and sixty-four neodymium magnets snap and hold them securely into place.

Gigabox can be installed onto the GB3+ as well as the previous-generation GB3. We recommend setting aside at least four to eight hours to complete the installation.

Order now in our online store or email sales@re3d.org for a quote.

Morgan Hamel

Blog Post Author