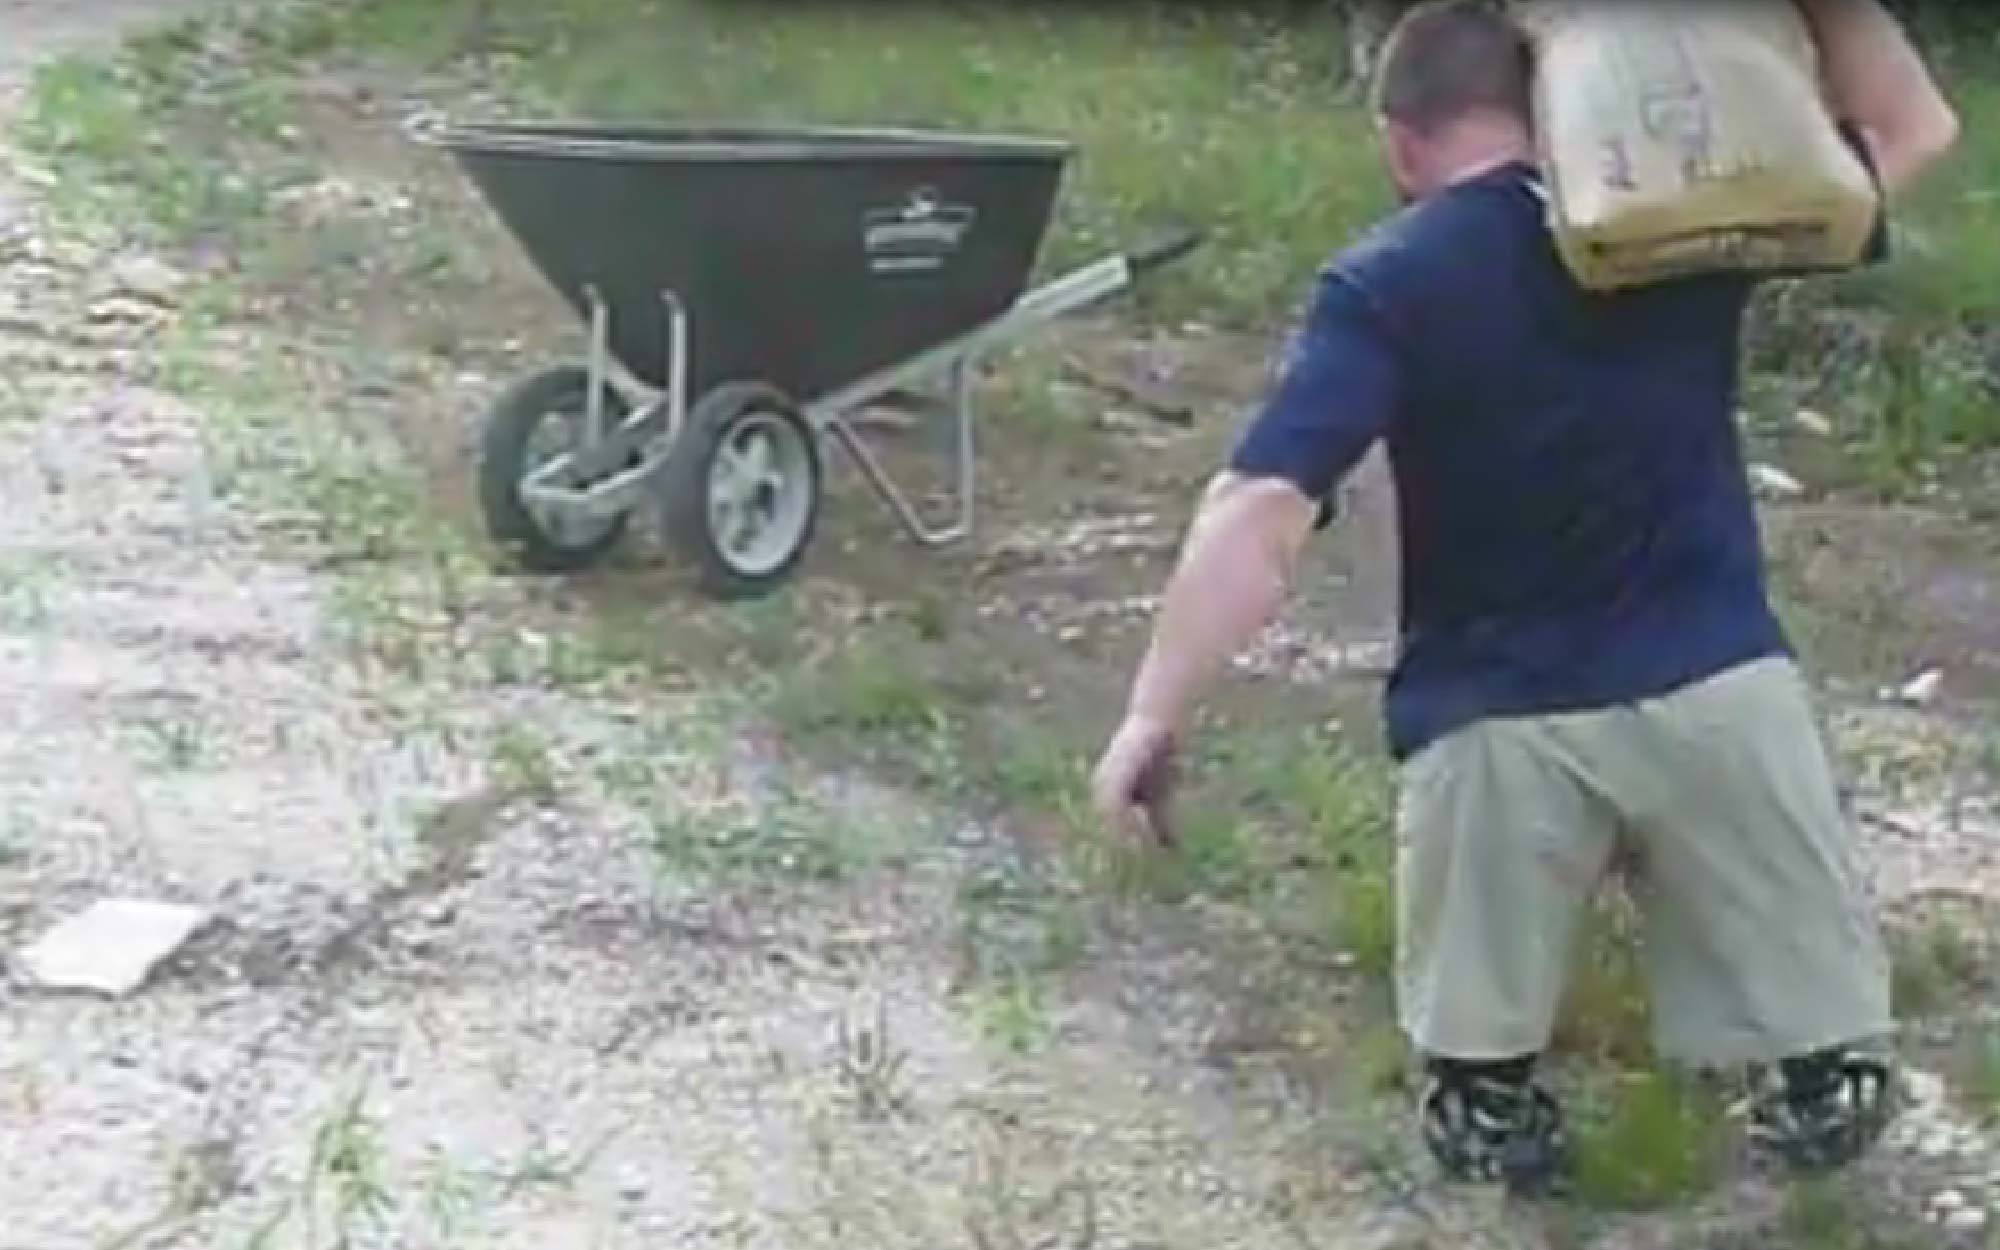
Meet Travis: A Texan, father, entrepreneur, warrior, and inventor.
re:3D first met Travis in Austin last winter as he was prototyping his second version of Stump Armour: an affordable, accessible device he pioneered in order to expand mobility options for bilateral amputees.
As a combat-wounded Marine, Travis is uniquely qualified to inspire solutions to increase maneuverability for other double amputees while reducing back strain that traditional prosthetics can create. By using himself as the test subject and leveraging business insights he acquired in the 100 Entrepreneurs Project and the Entrepreneurial Bootcamp for Veterans (EBV), Travis launched Stump Armour on indiegogo this week.
About Stump Armour
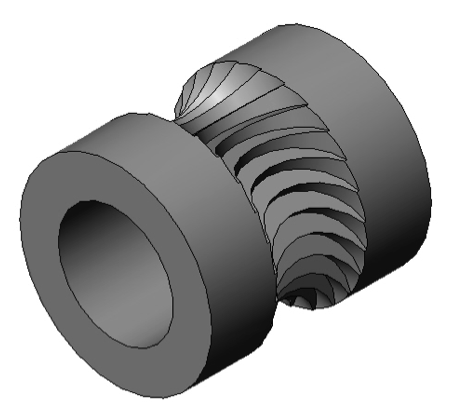
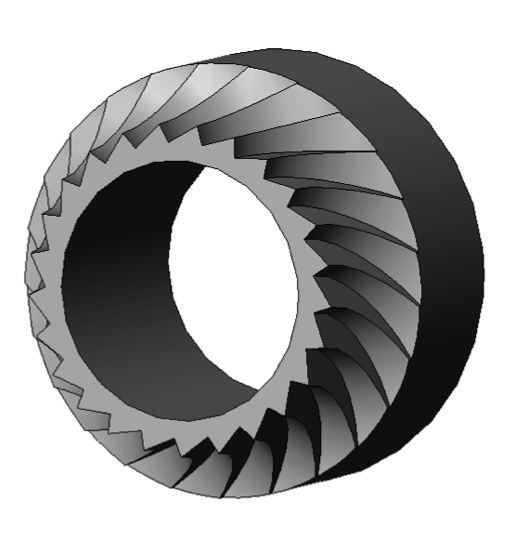
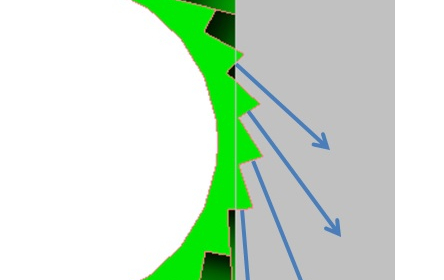
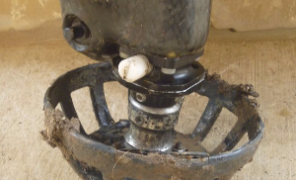
Stump Armour is a round design that connects to traditional sockets to allow for constant surface contact from any angle. Pressure can be directly applied to a terrain without changing position, allowing amputees to roll themselves up independently when preforming activities close to the ground. Since the round shape can grab from nearly any position, it works great on uneven/irregular surfaces, so the amputee doesn’t need to focus as much concentration on limb placement when compared to other devices. Travis doesn’t feel Stump Armour is intended to replace full leg or knee prosthetics. Rather, it’s meant to increase functionality with specific tasks.
Keeping Costs Low
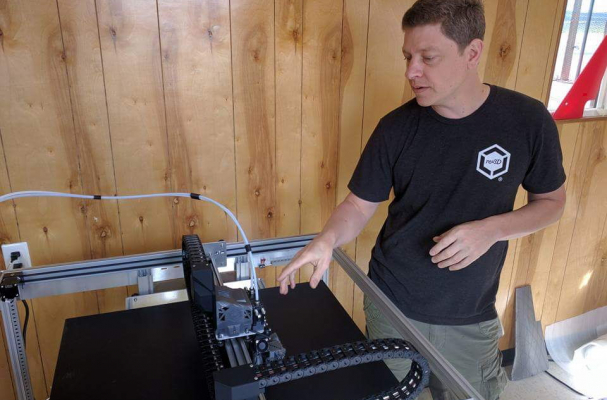
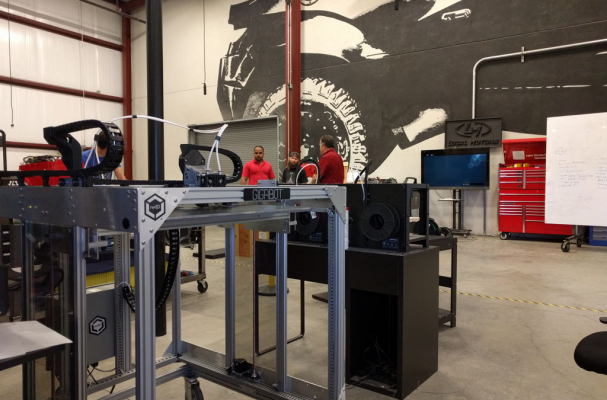
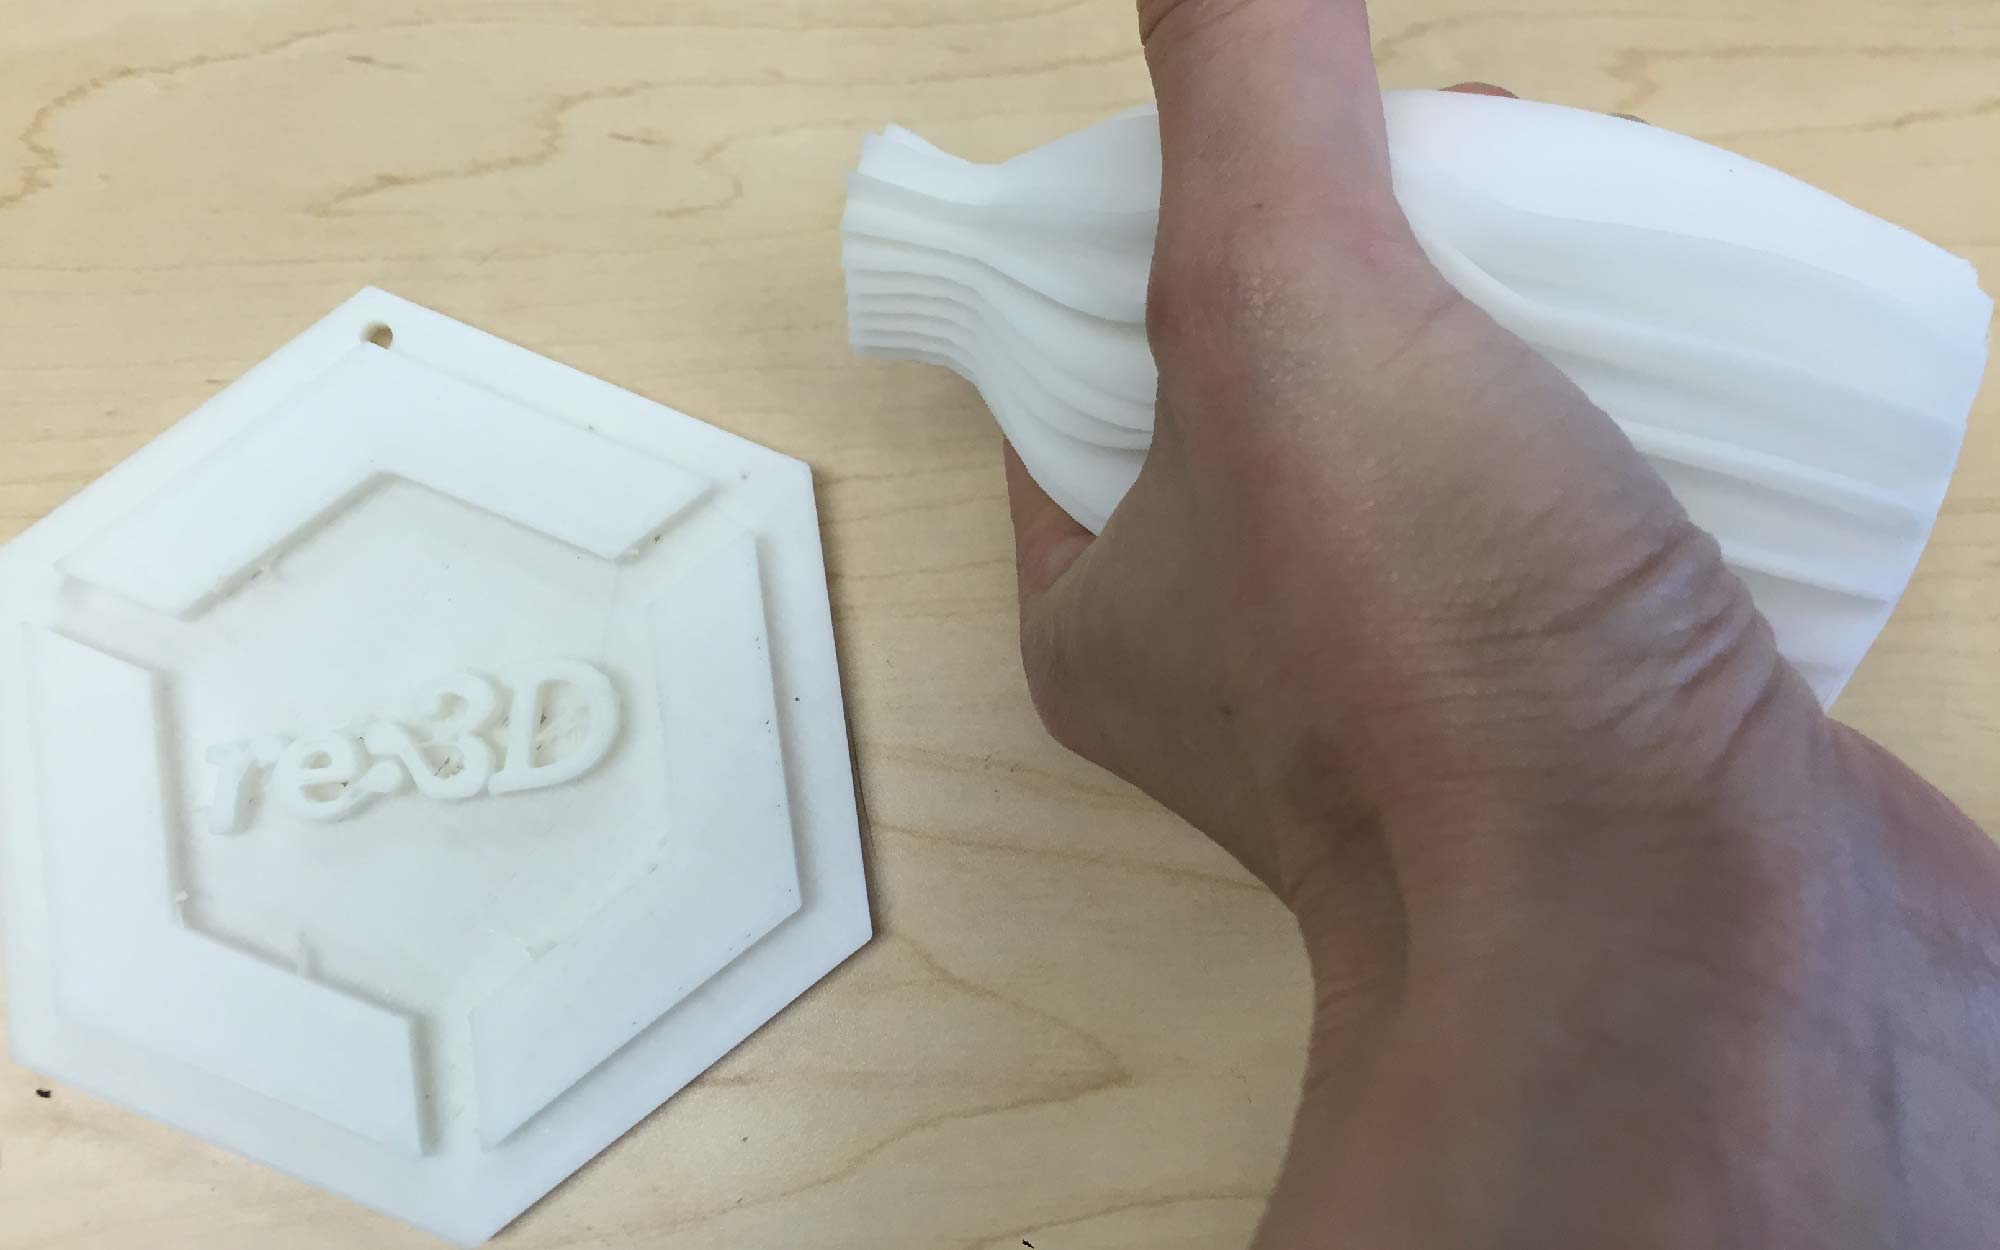
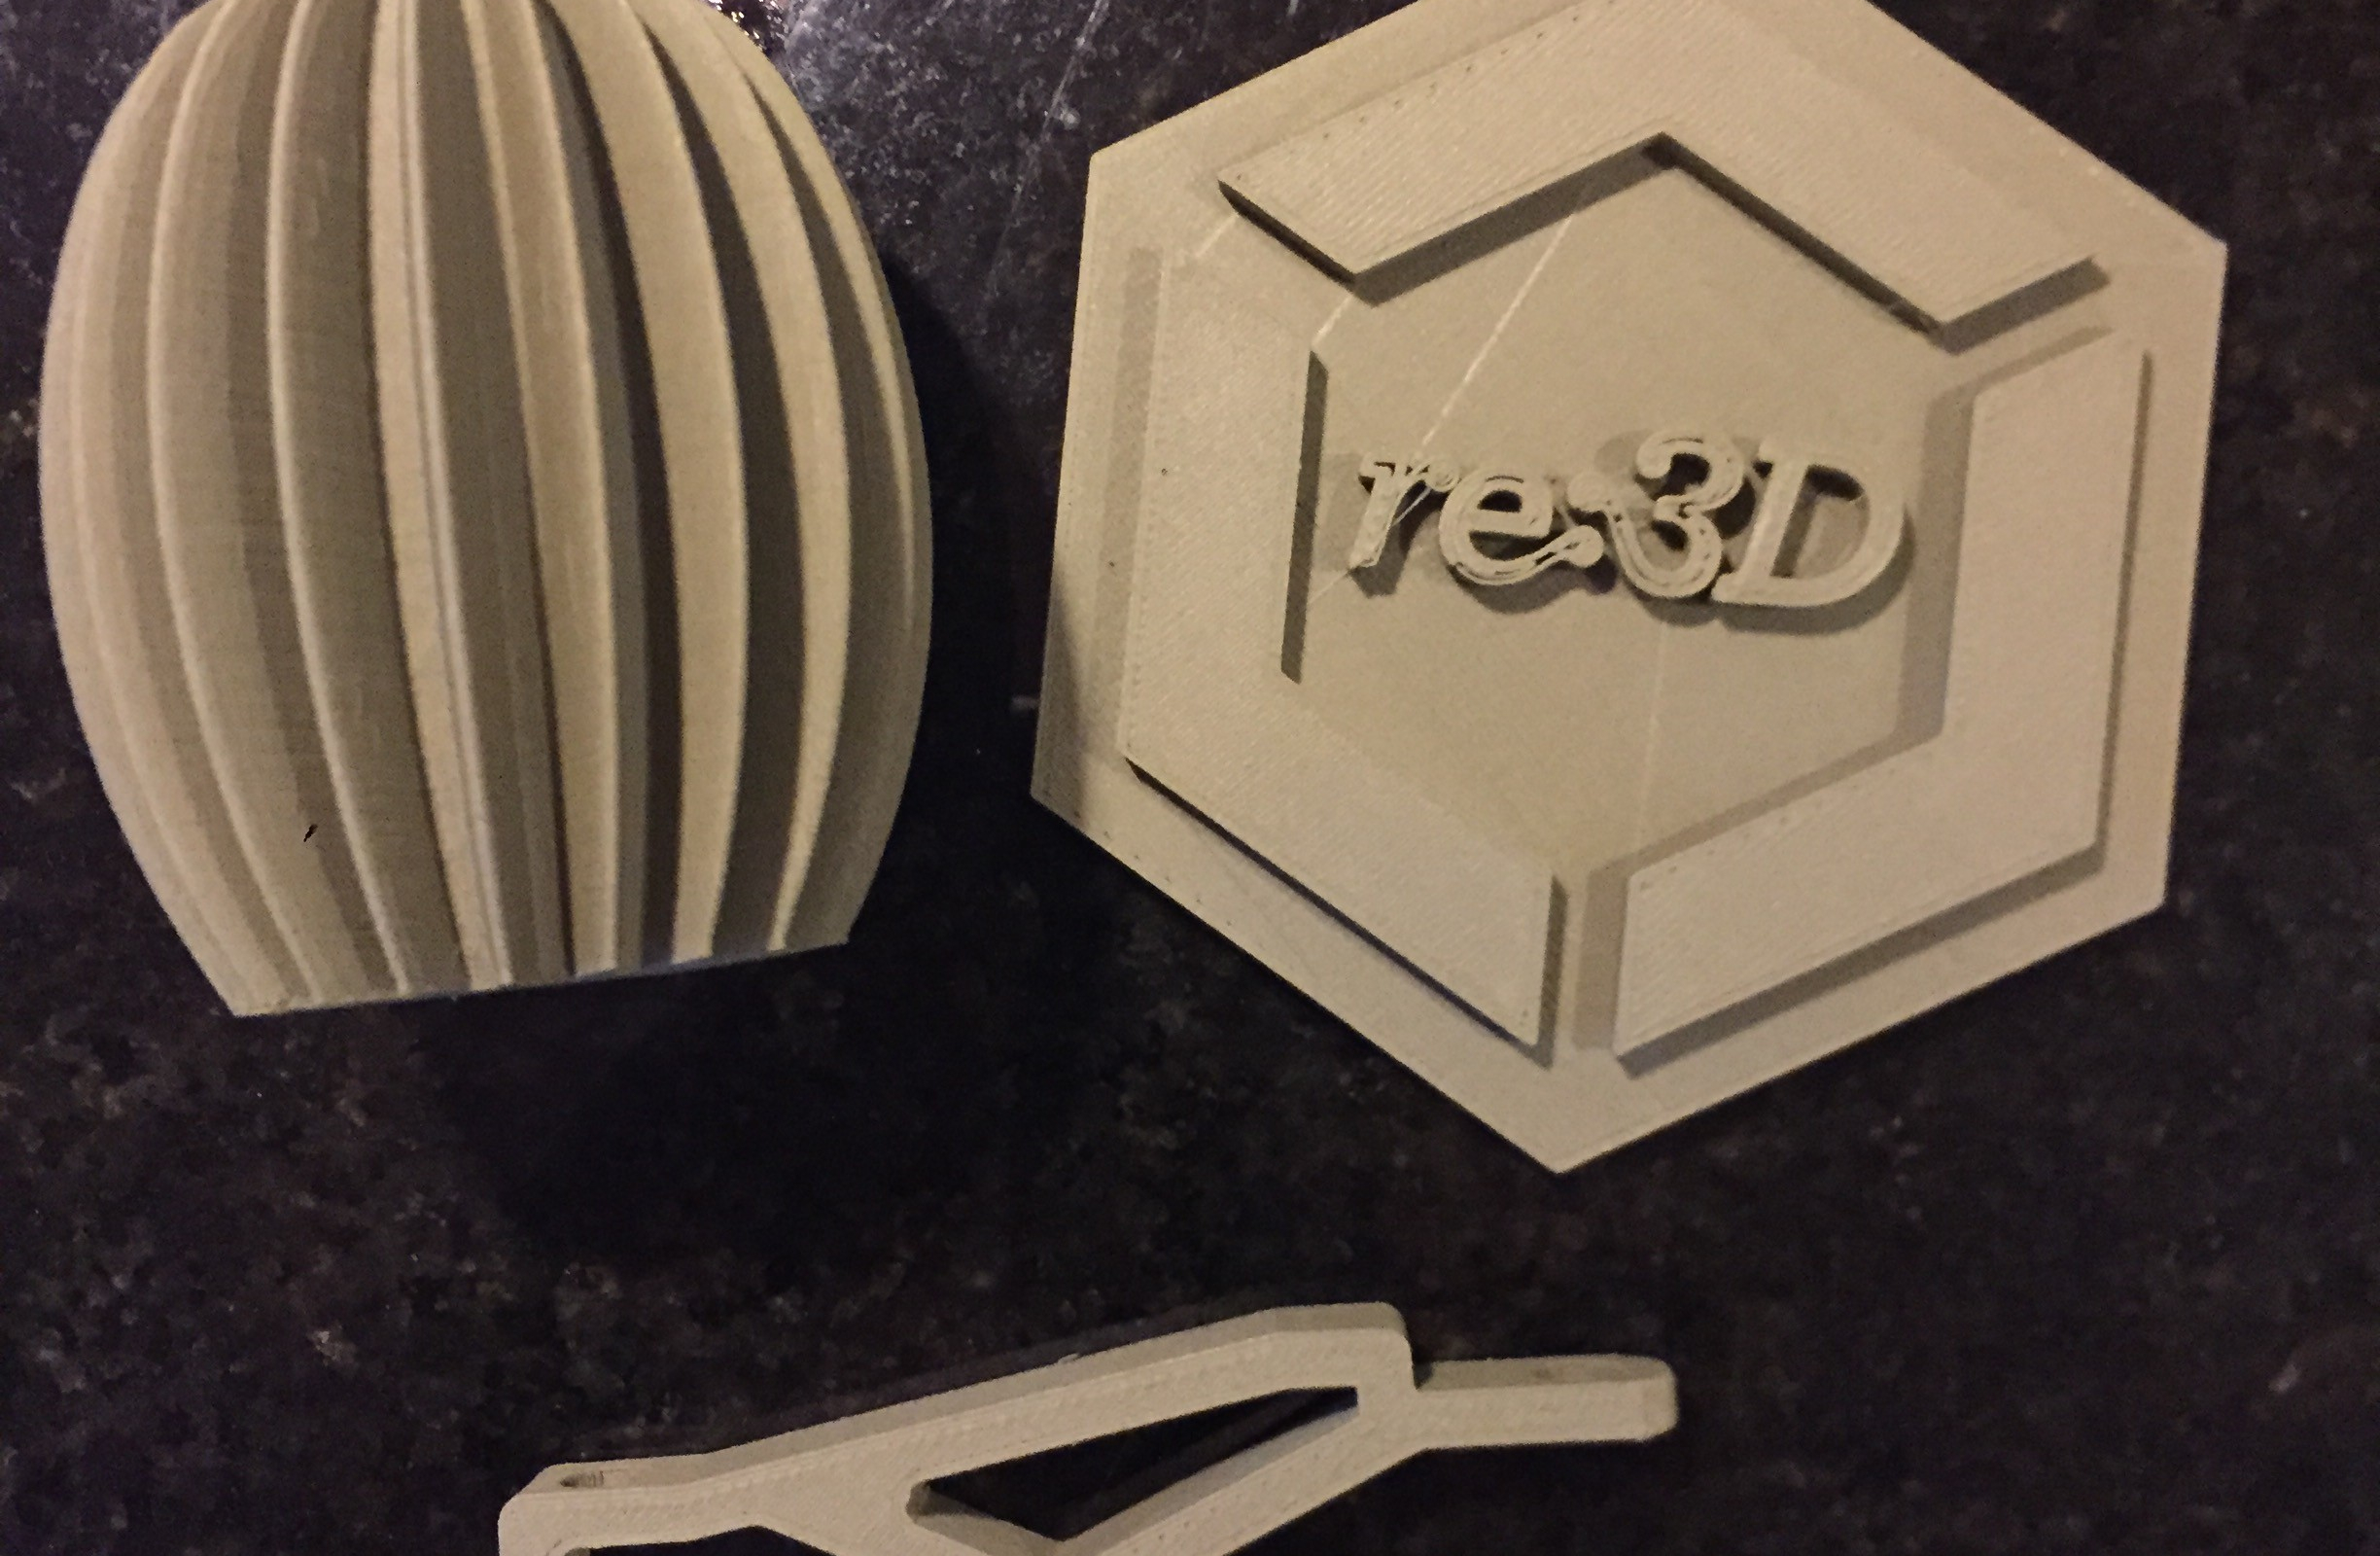
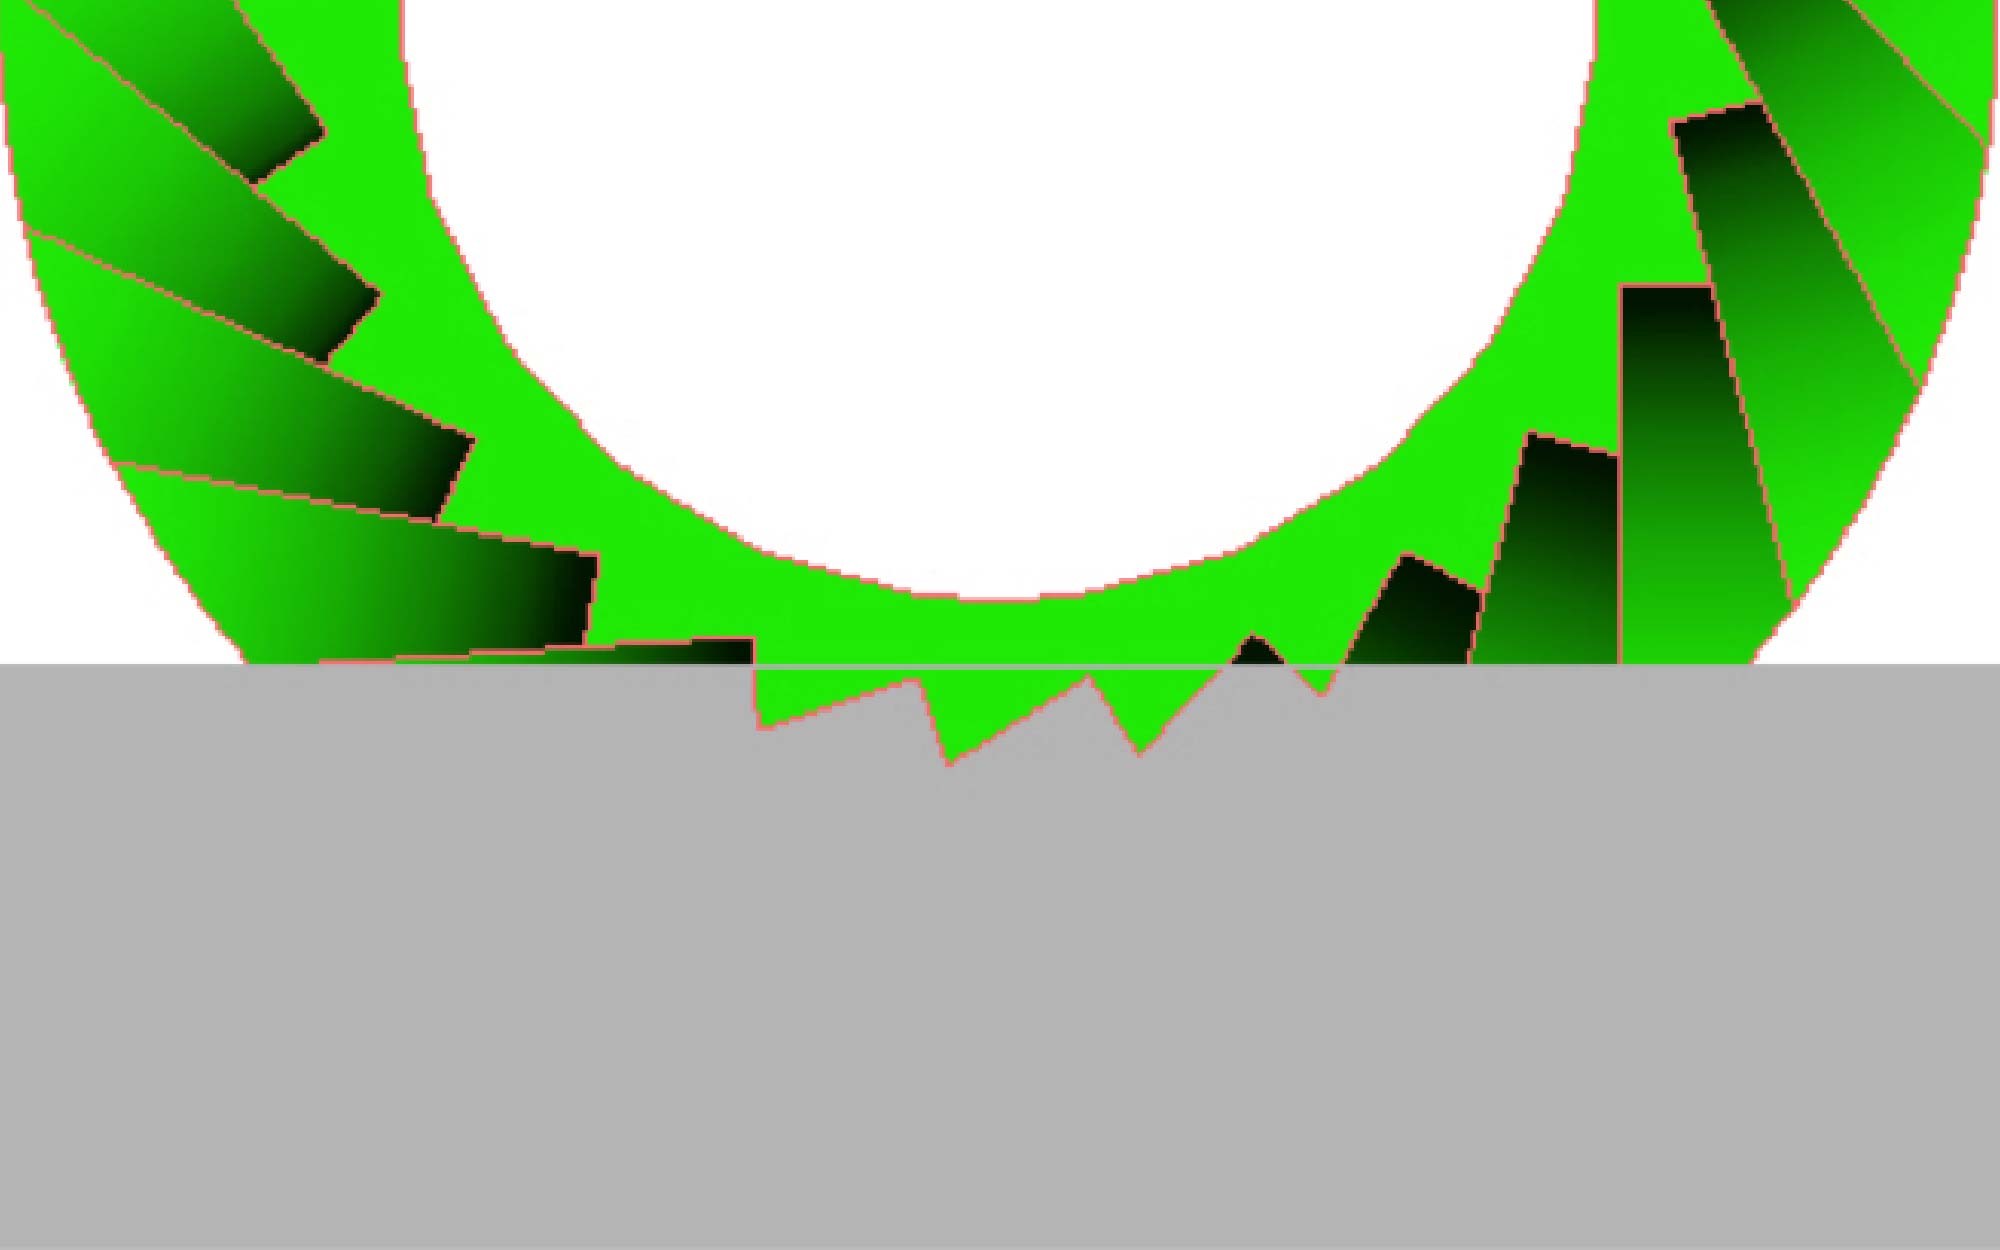
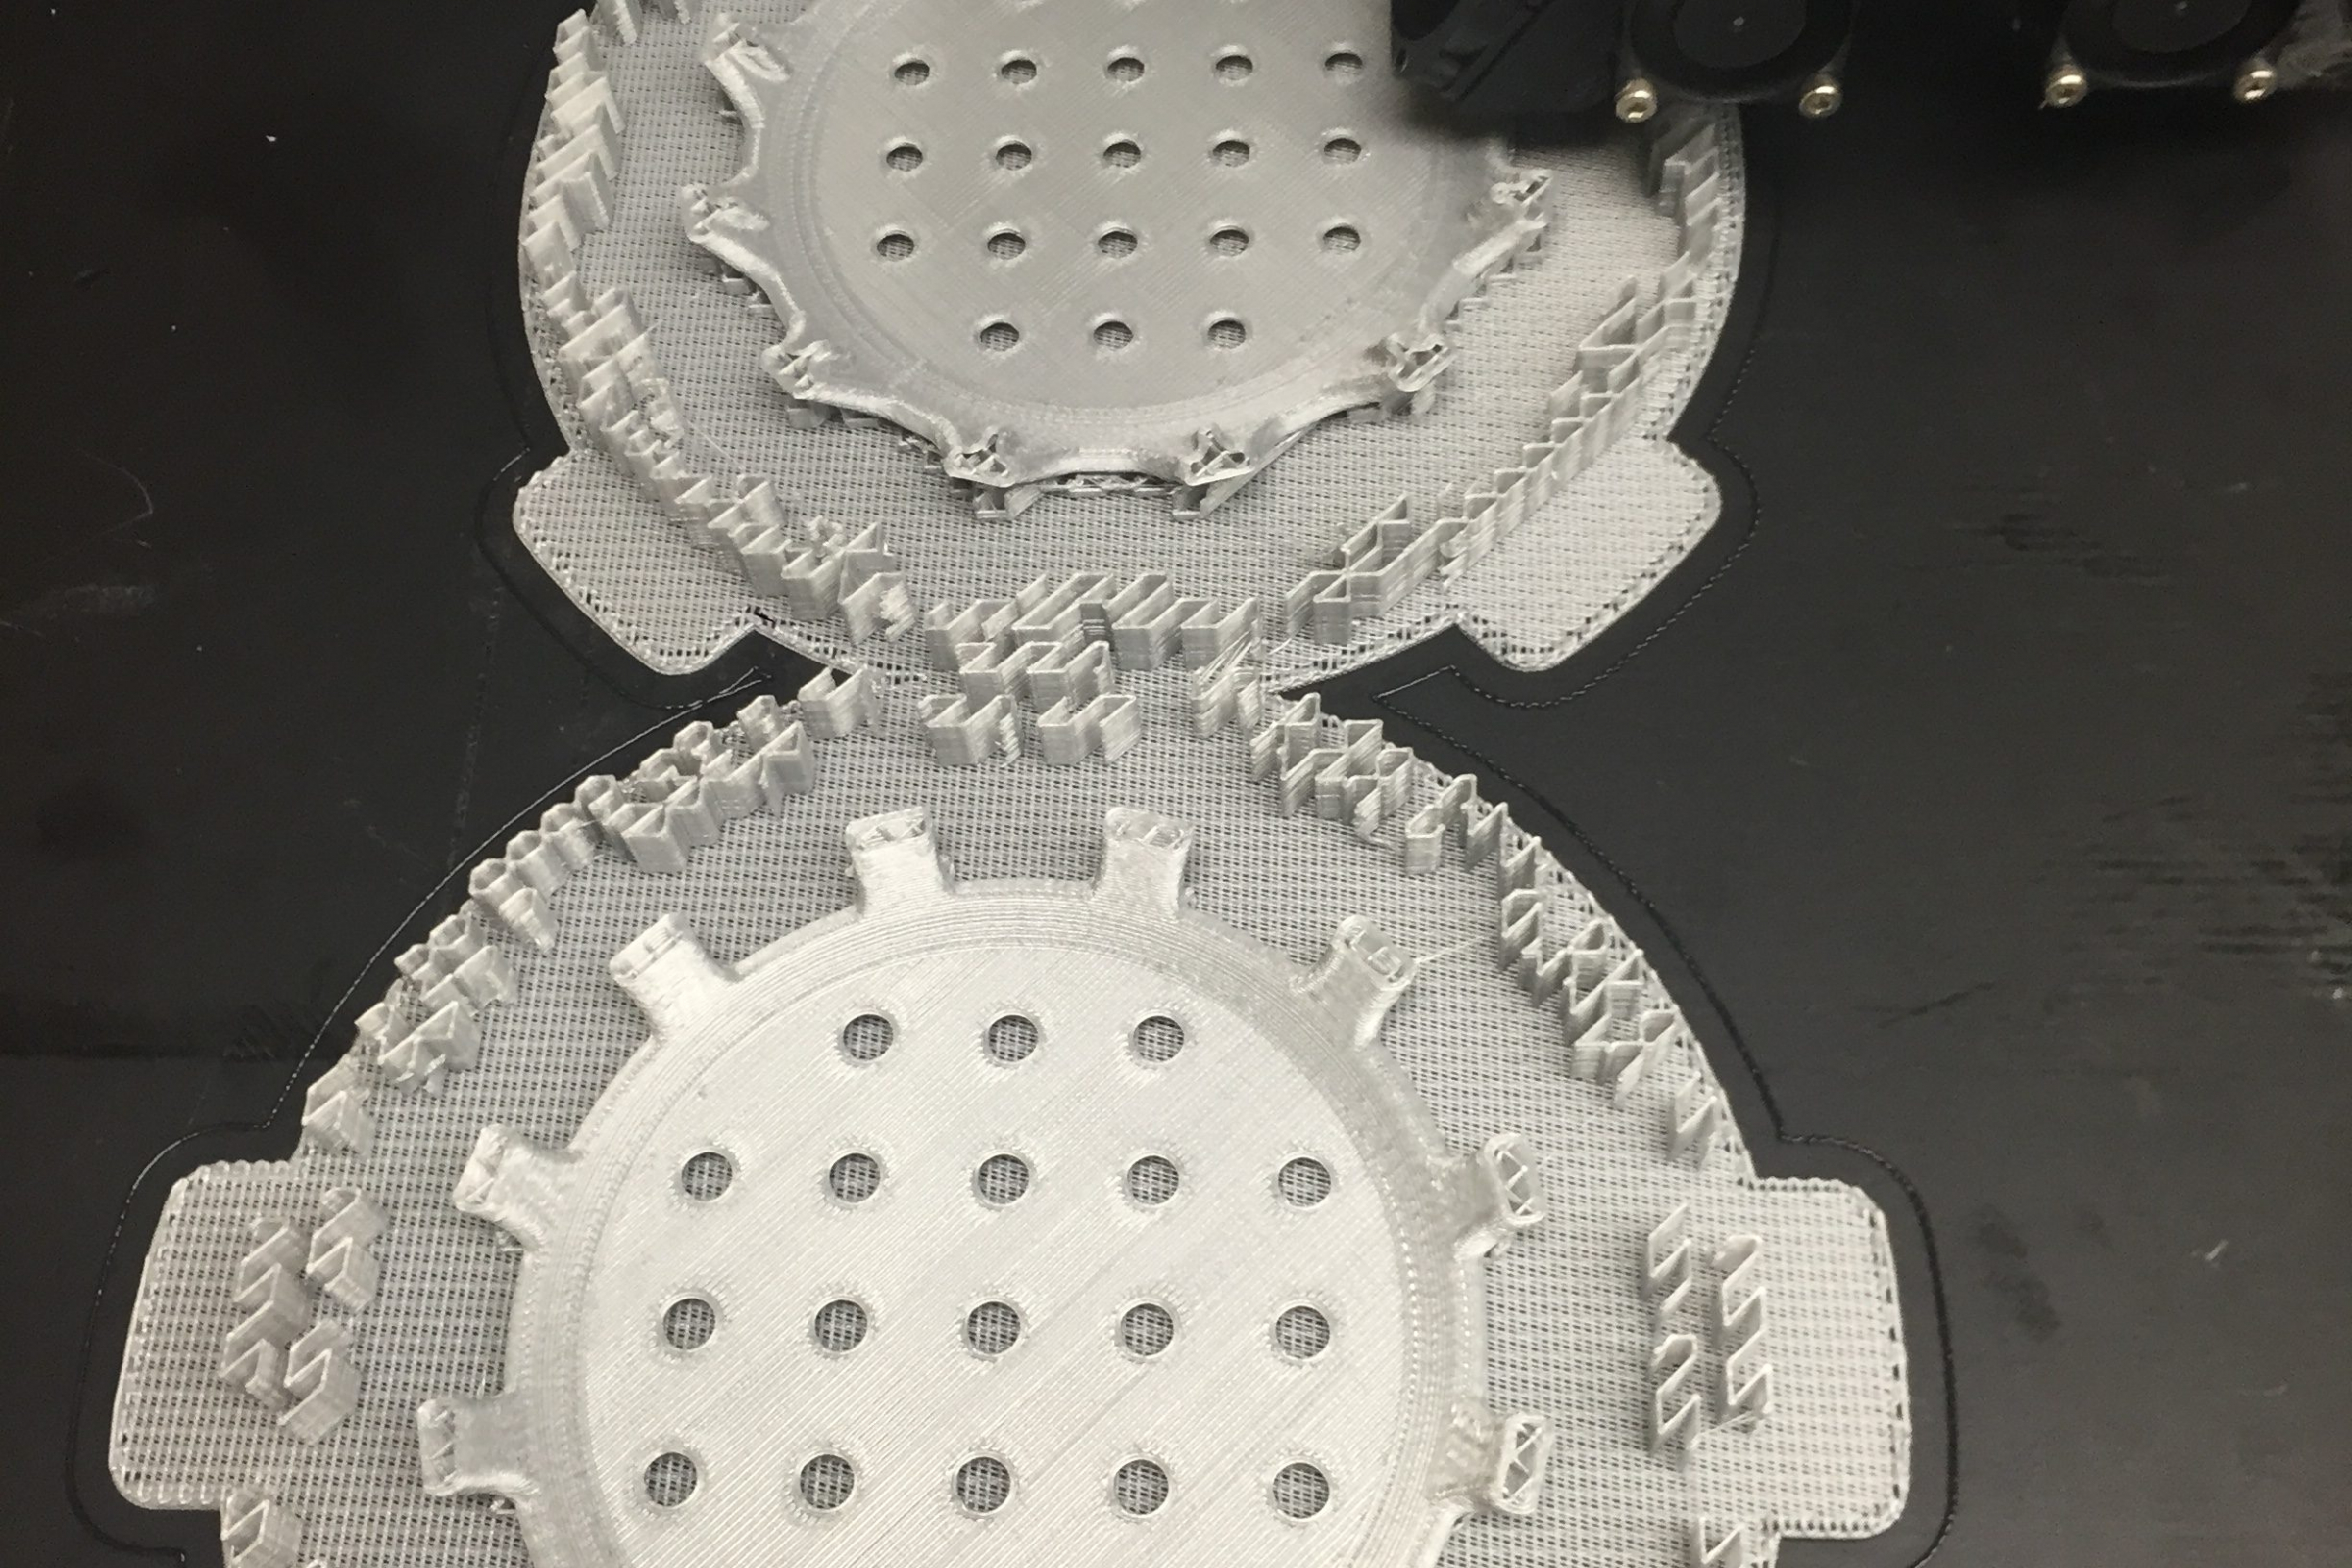
A key tenant of the Stump Armor’s mission is to make devices as affordable as possible worldwide. For this reason, Travis contracted Mike Battaglia & I last January to see if we could 3D print his vision for a Stump Armour’s Modification. Using Simplify3D we were able to generate a raft & support that could easily break off. The completed PLA prototypes printed great and we were excited to give them to Travis, who planned to use the prints to create a mold to scale Stump Armor globally.
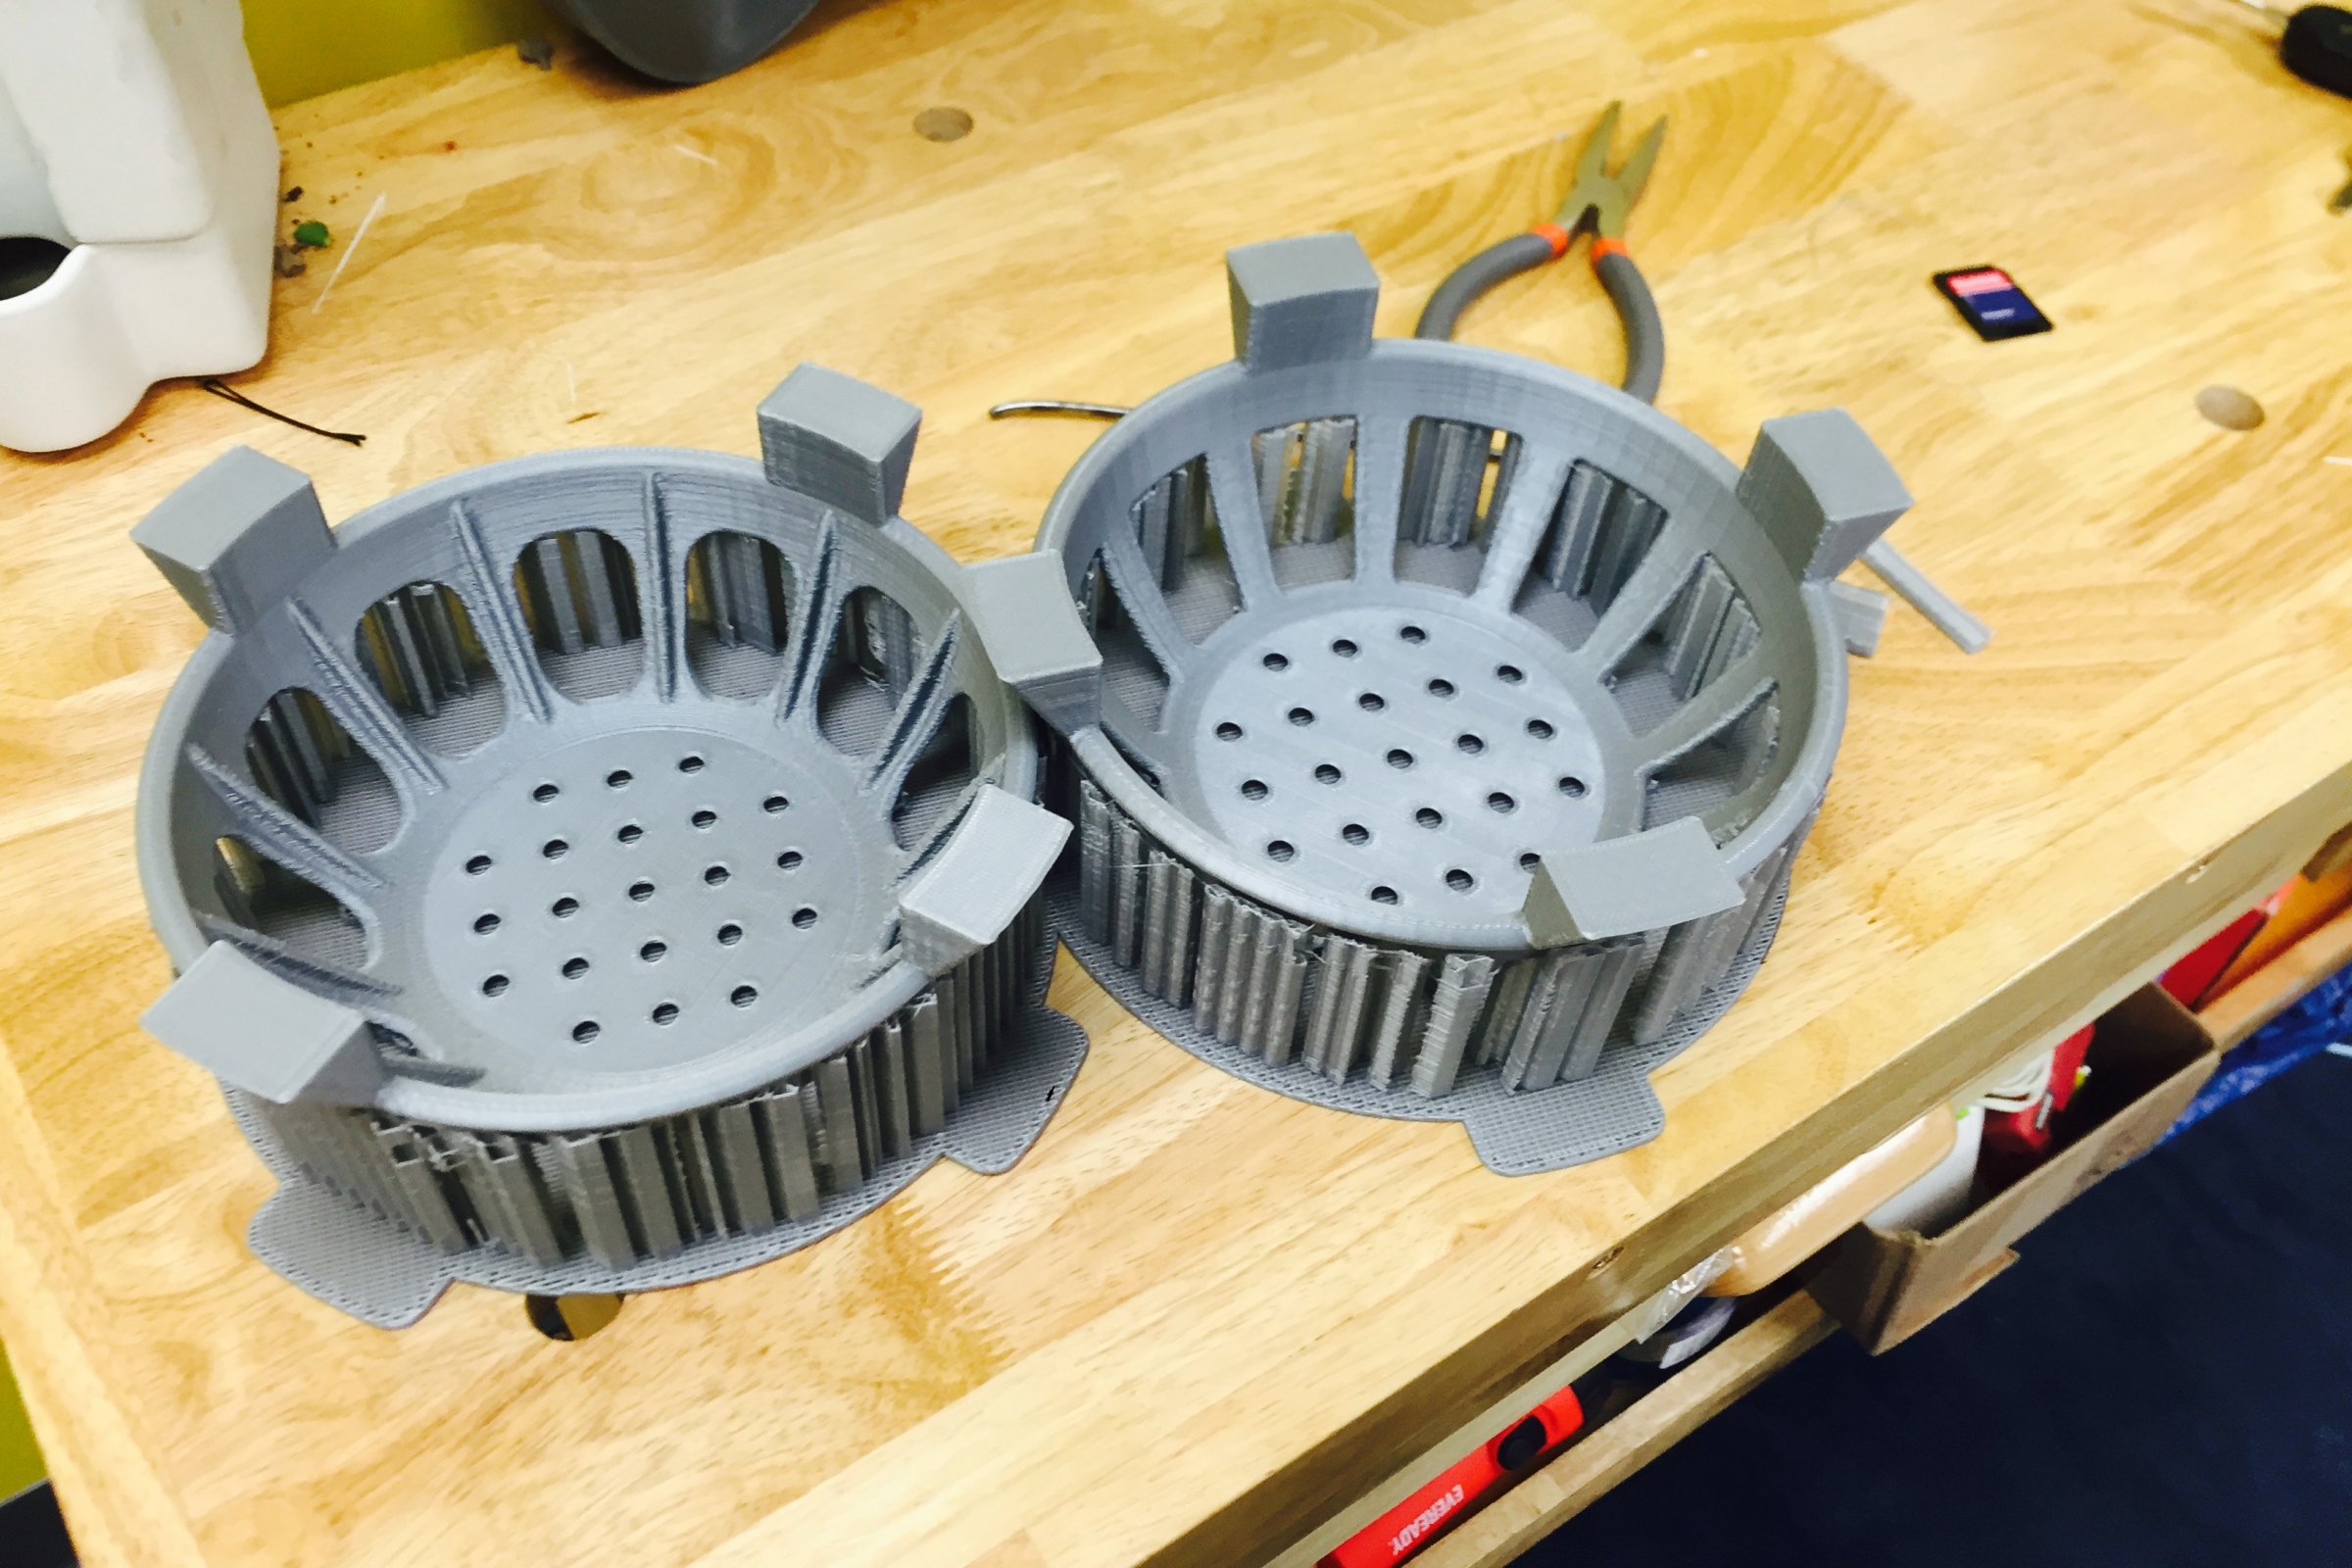
Prints in hand, Travis partnered with local foundries who guided him through the process of making his own custom mold to cast multiple sets of Stump Armour. This week we interviewed Travis to learn more about the process he used to create a mold from a print by working with Stevens Art. Below are the steps that he described:
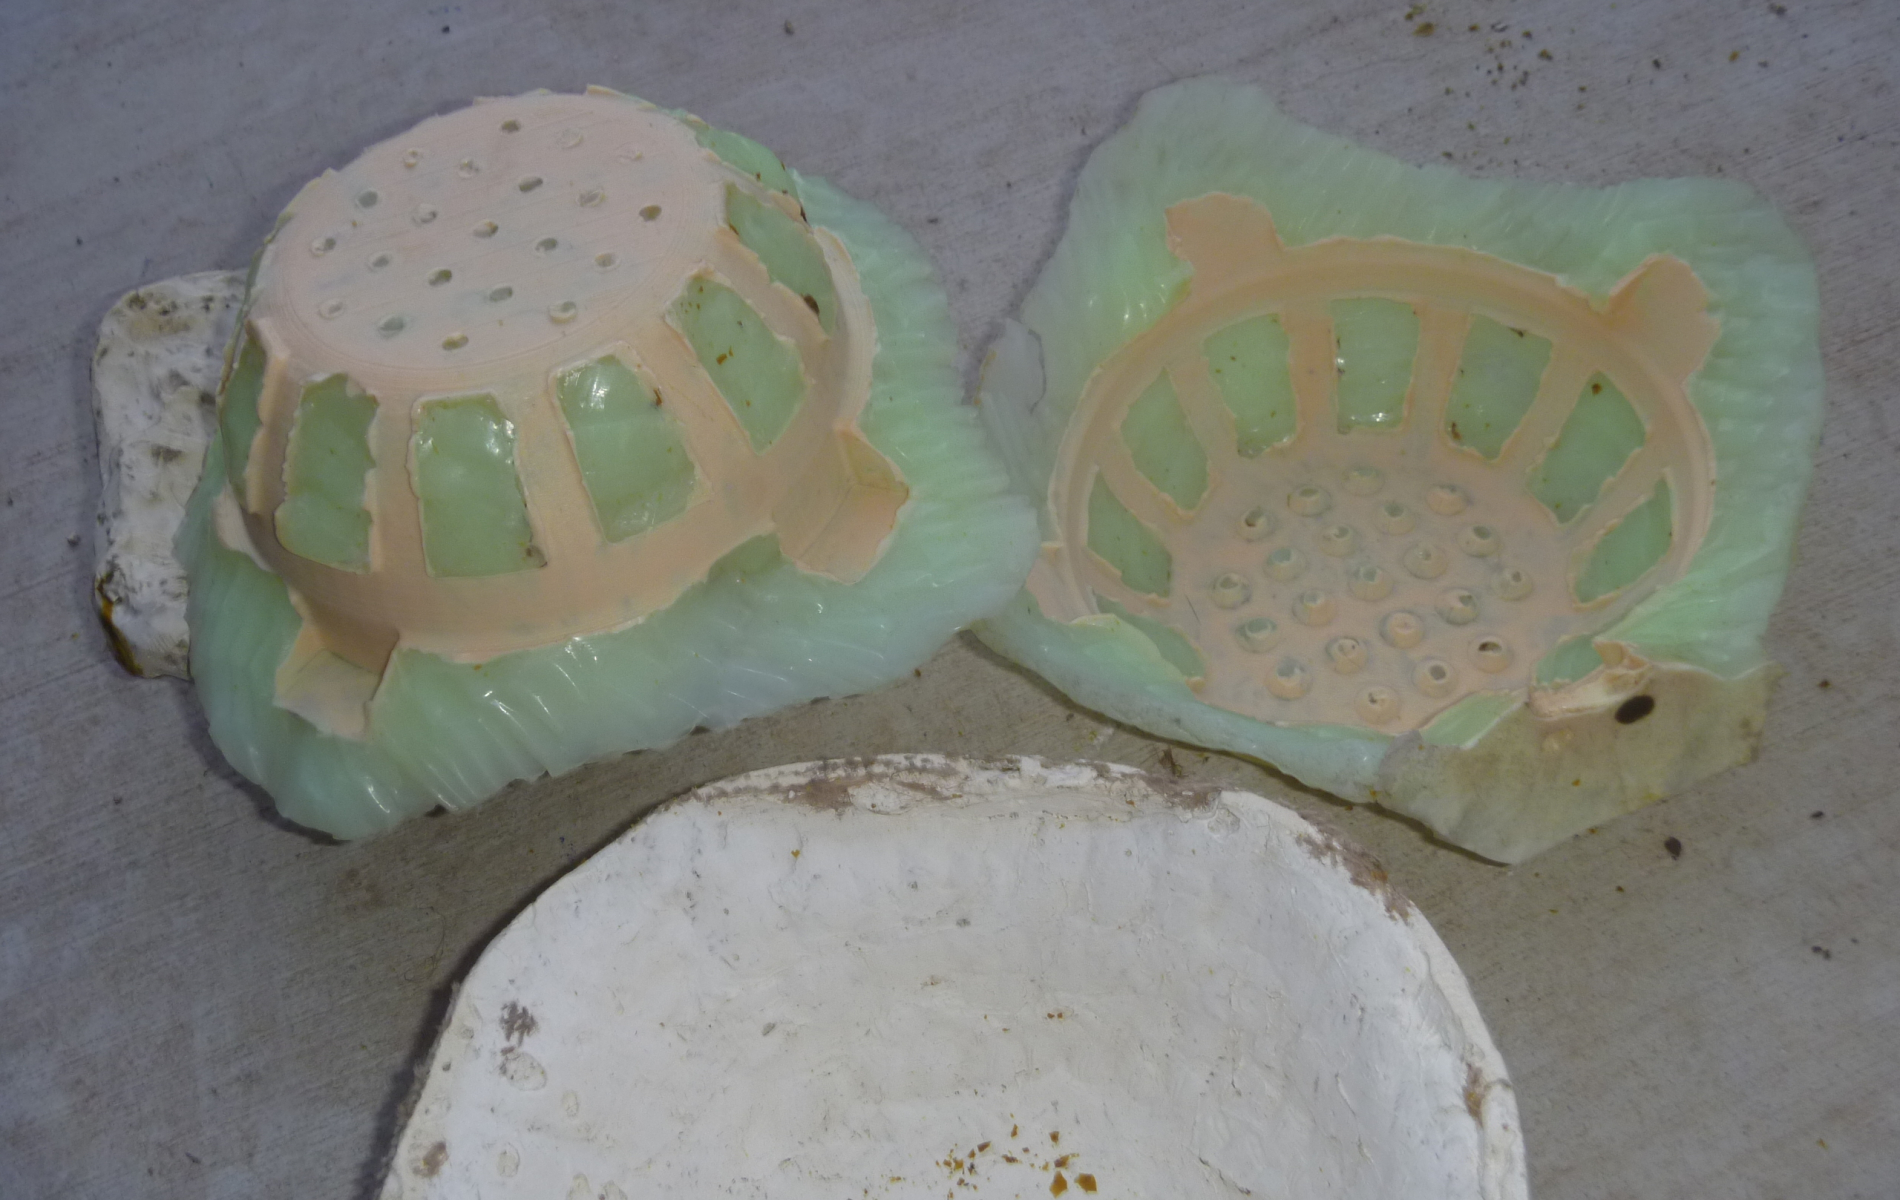
- From a 3d printed prototype made on Gigabot, a silicone rubber mold was created.
- The print was covered in an releasing agent that was then covered in silicone, leaving an inlet for wax to be poured in later.
- After the silicone cured, a 2 piece plaster shell was made.
- Once completed, the silicone was carefully cut with a razor along where the plaster shells come together so it would come apart into 2 pieces.
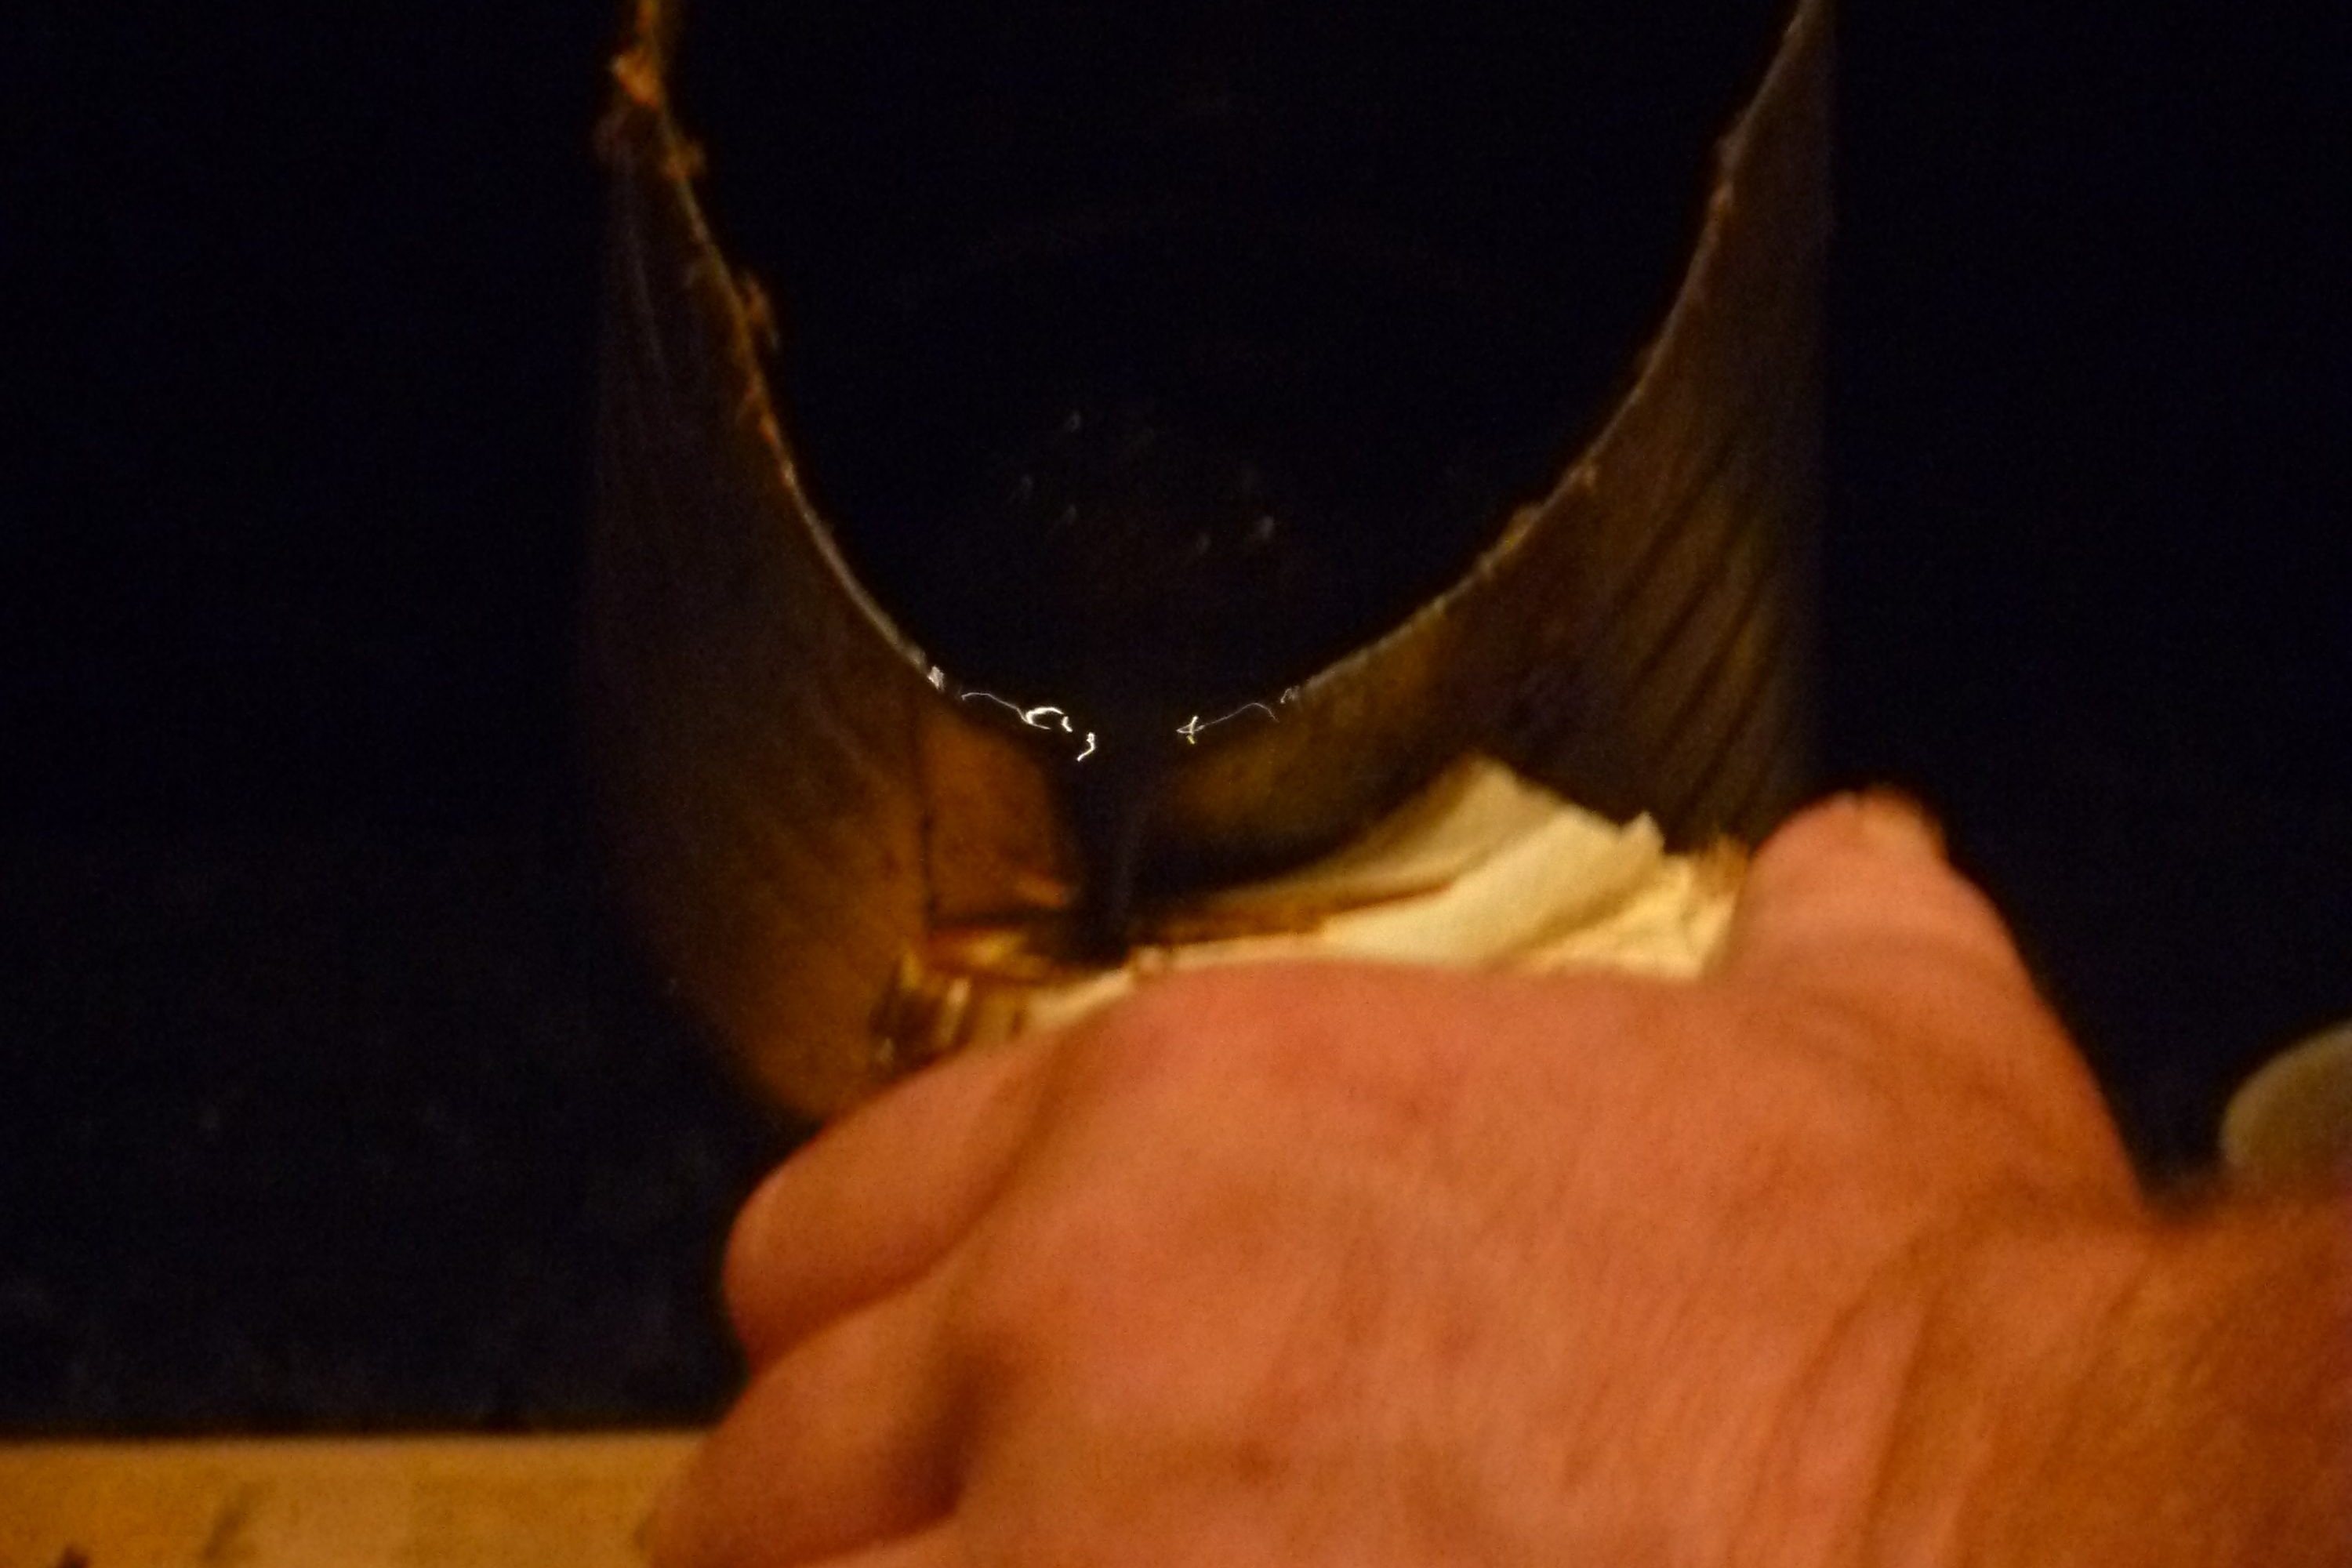
- The shells were clamped together and hot wax was then poured into the inlet.
- When the wax hardened, the wax casting of the original print was removed.
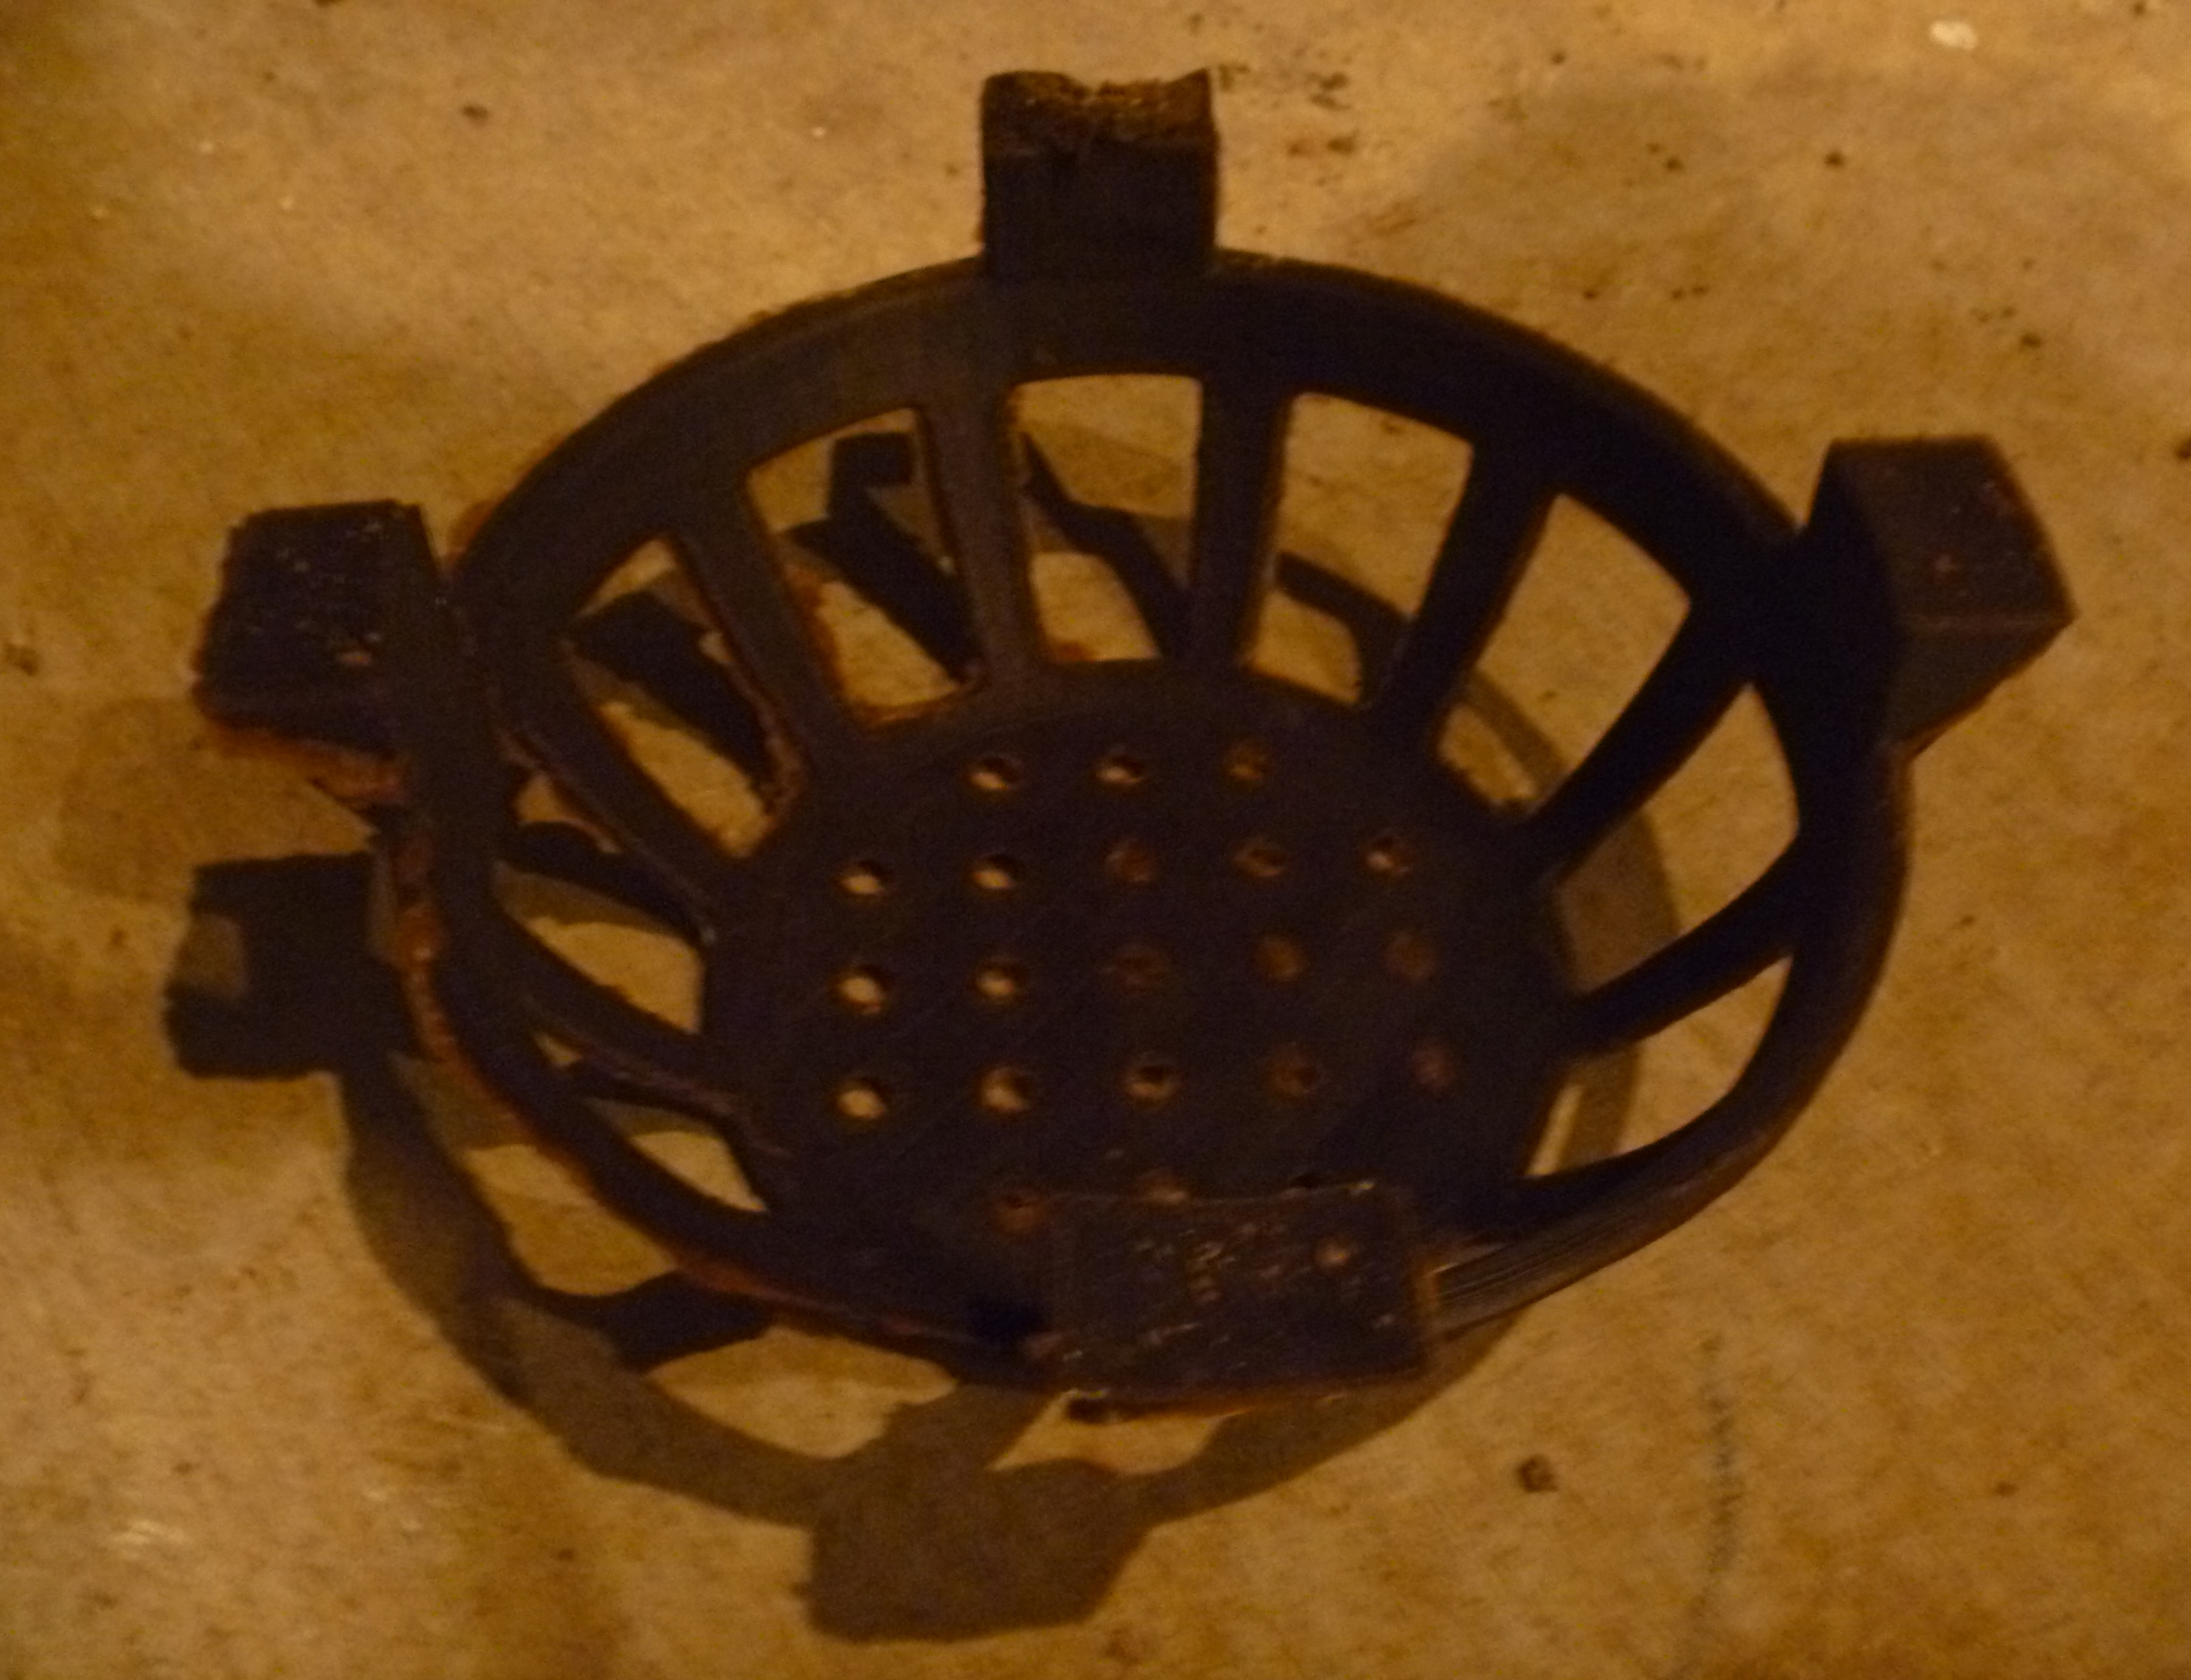
- The wax cast was then dipped in a a ceramic slurry and power coat until a hard shell formed.
- This shell was fired in an oven to harden the cast melt the wax out.
- Metal was poured in and the ceramic shell was broken off after it cooled.
- A metal replica of the original 3d print was then ready for finishing!
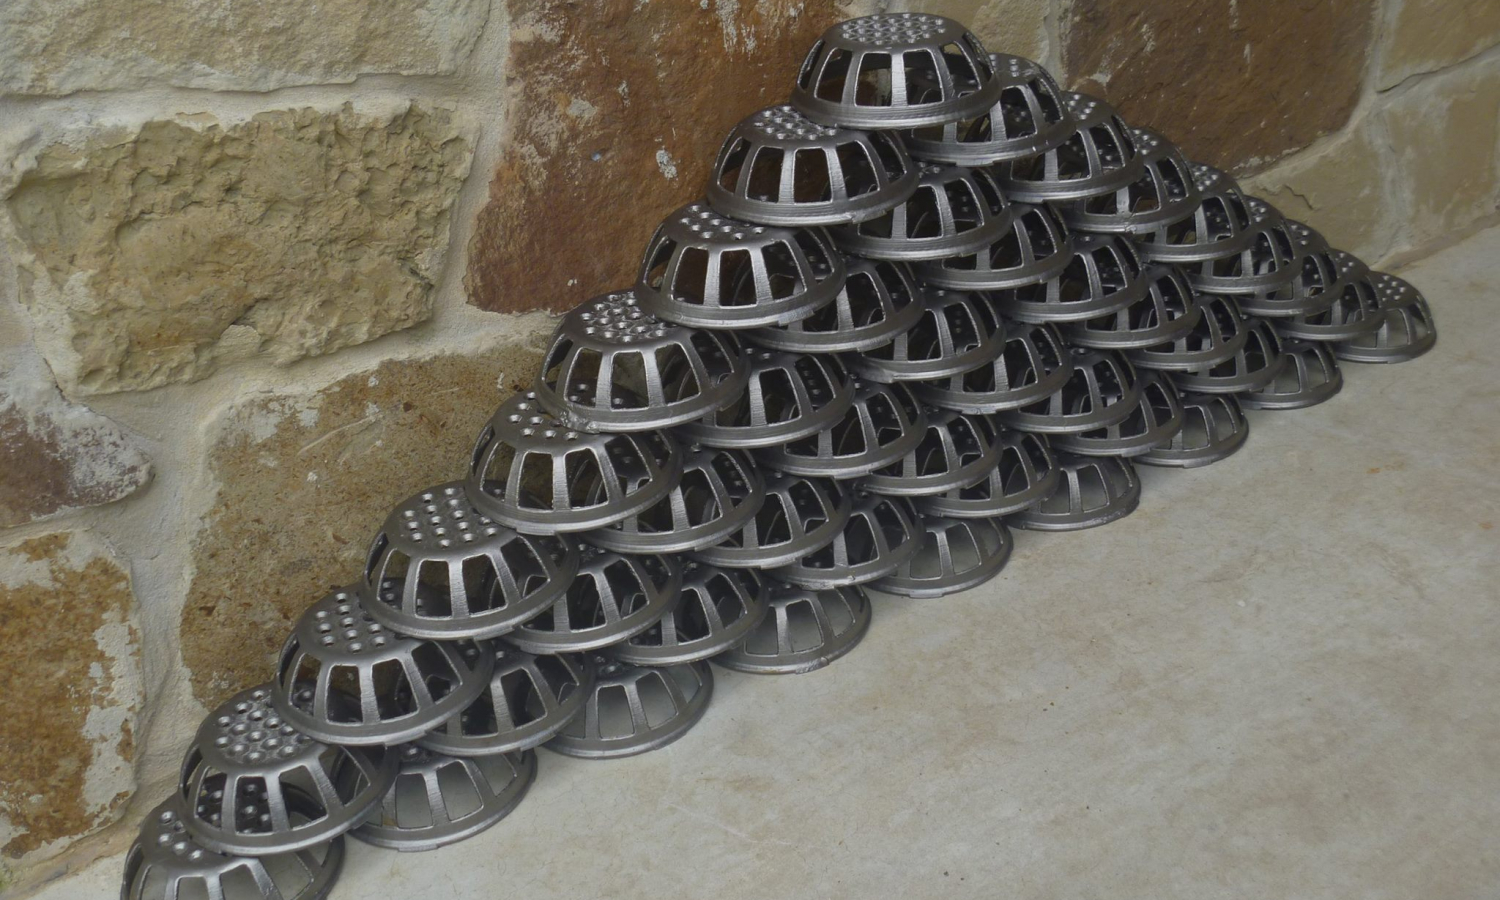
Using lost wax casting, Travis was able to do his first production run of Stump Armour, which is now available to other amputees on the Stump Armour indiegogo campaign. You can support Stump Armour’s next production run and Stump Armour donations at: https://www.indiegogo.com/projects/stump-armour#/ until July 1st.

- Email: info@stumparmour.com
- Web: http://www.stumparmour.com/
- YouTube: https://www.youtube.com/channel/UCsObkfi6W6x2B6dpZ89_CGg/videos?sort=dd&view=0&shelf_id=0
- Facebook: https://www.facebook.com/Greens-Machines-LLC-716439551739895/
- Google: https://plus.google.com/u/2/b/106145756742784523319/106145756742784523319/posts
- LinkedIn: https://www.linkedin.com/company/10602419trk=tyah&trkInfo=clickedVertical%3Acompany%2CclickedEntityId%3A10602419%2Cidx%3A2-1-2%2CtarId%3A1464716547152%2Ctas%3Agreens%20machines
Samantha snabes
Blog Post Author
