Over the last few months, our engineering team has made some iterative design changes to both our Gigabot 3+ and Gigabot X 3D Printers.
Parts modified are:
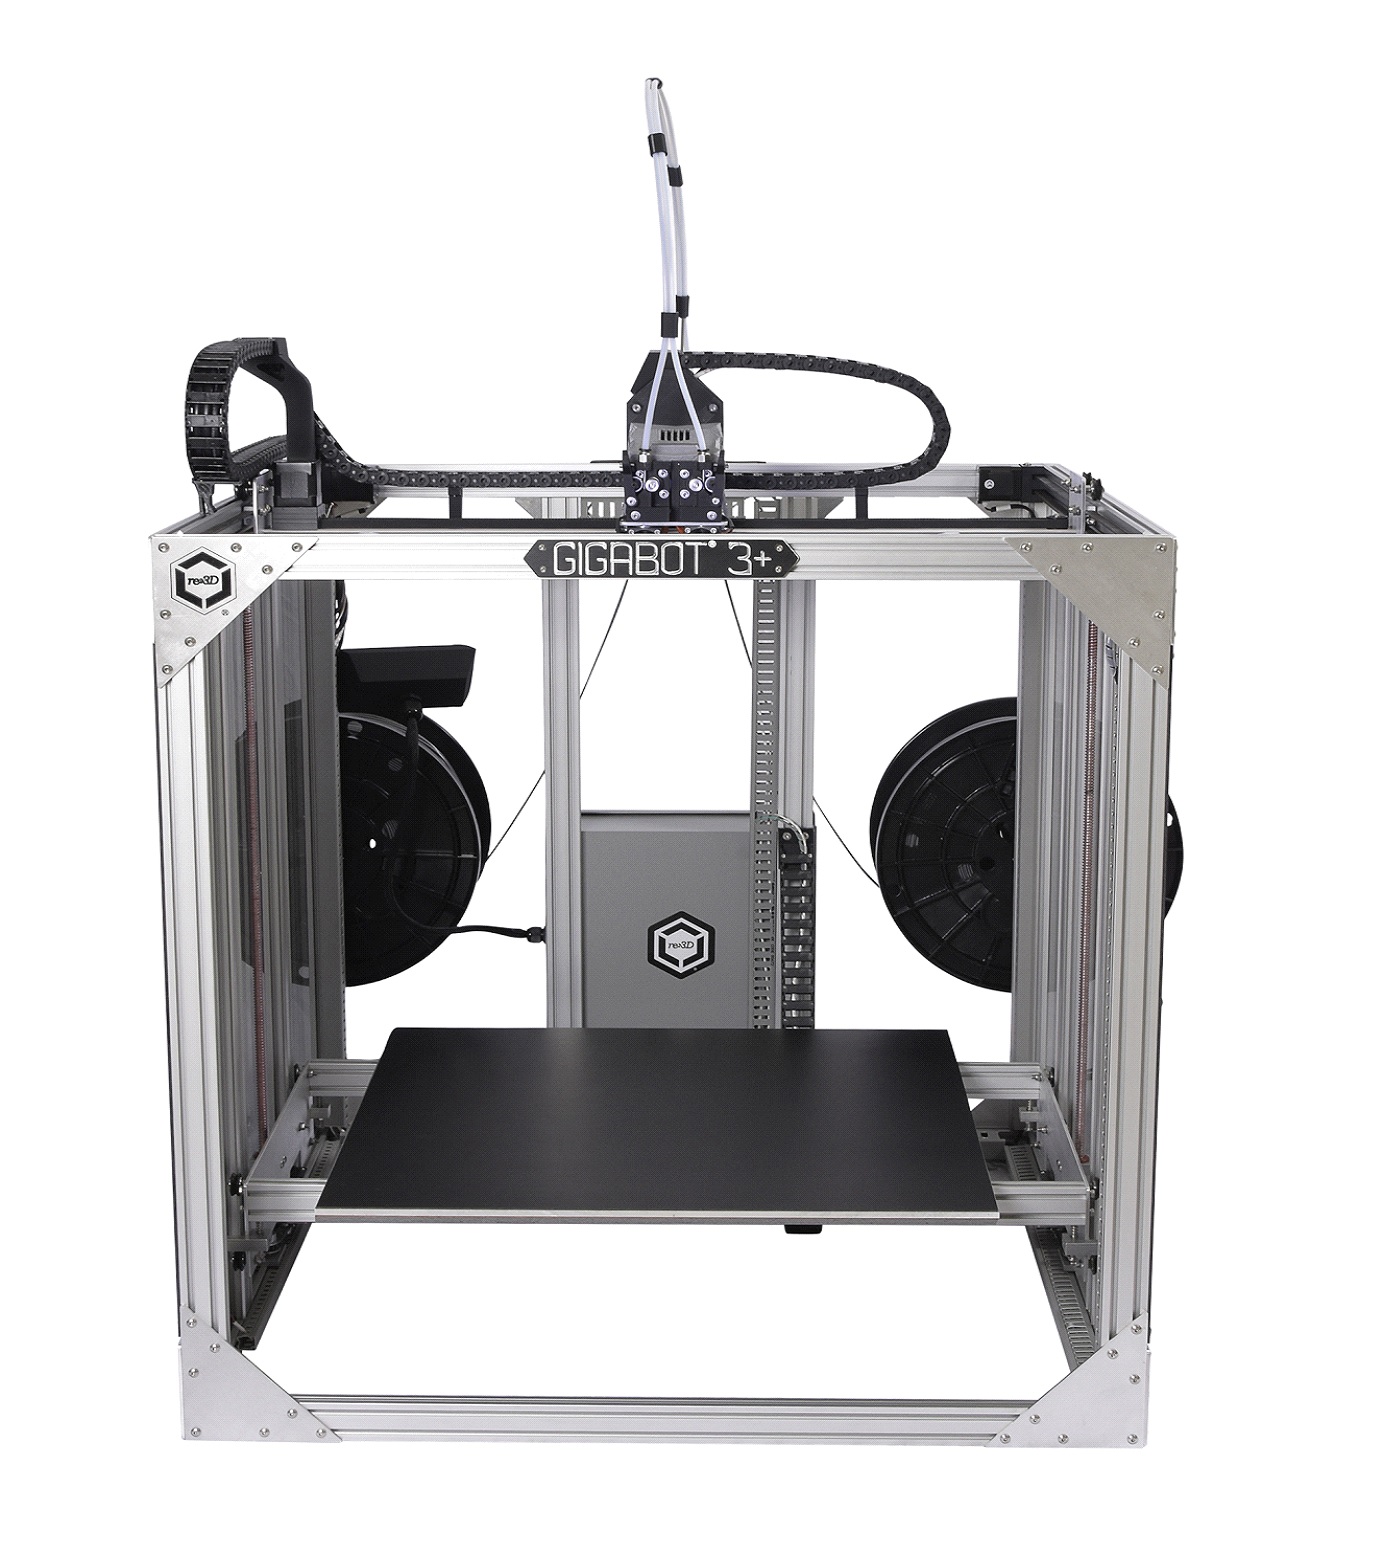
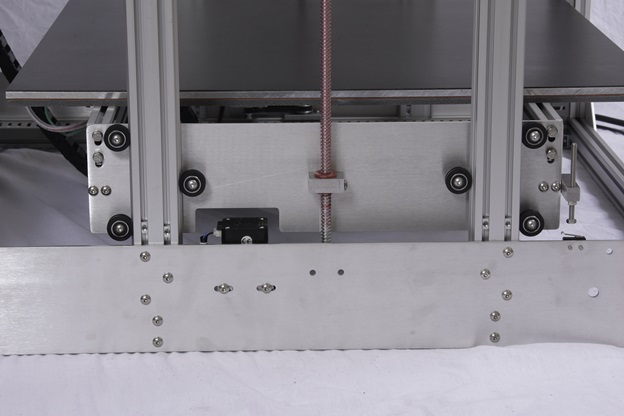
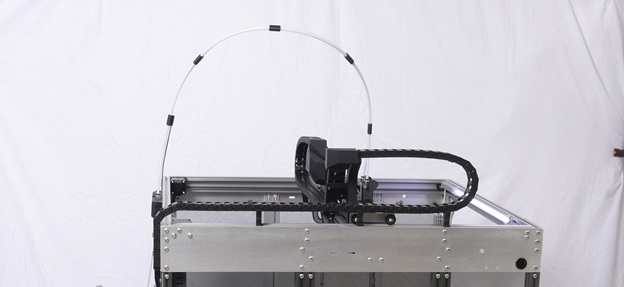
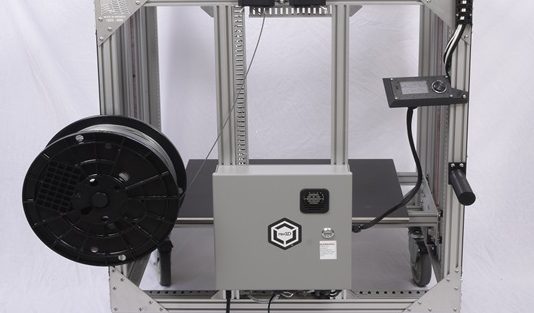
Gigabot 3+
- 10063 GB3+ Bed Side Plate
- Z-Axis Stepper Motors
- 11907 GB3+ Acme Flange Nut Cup
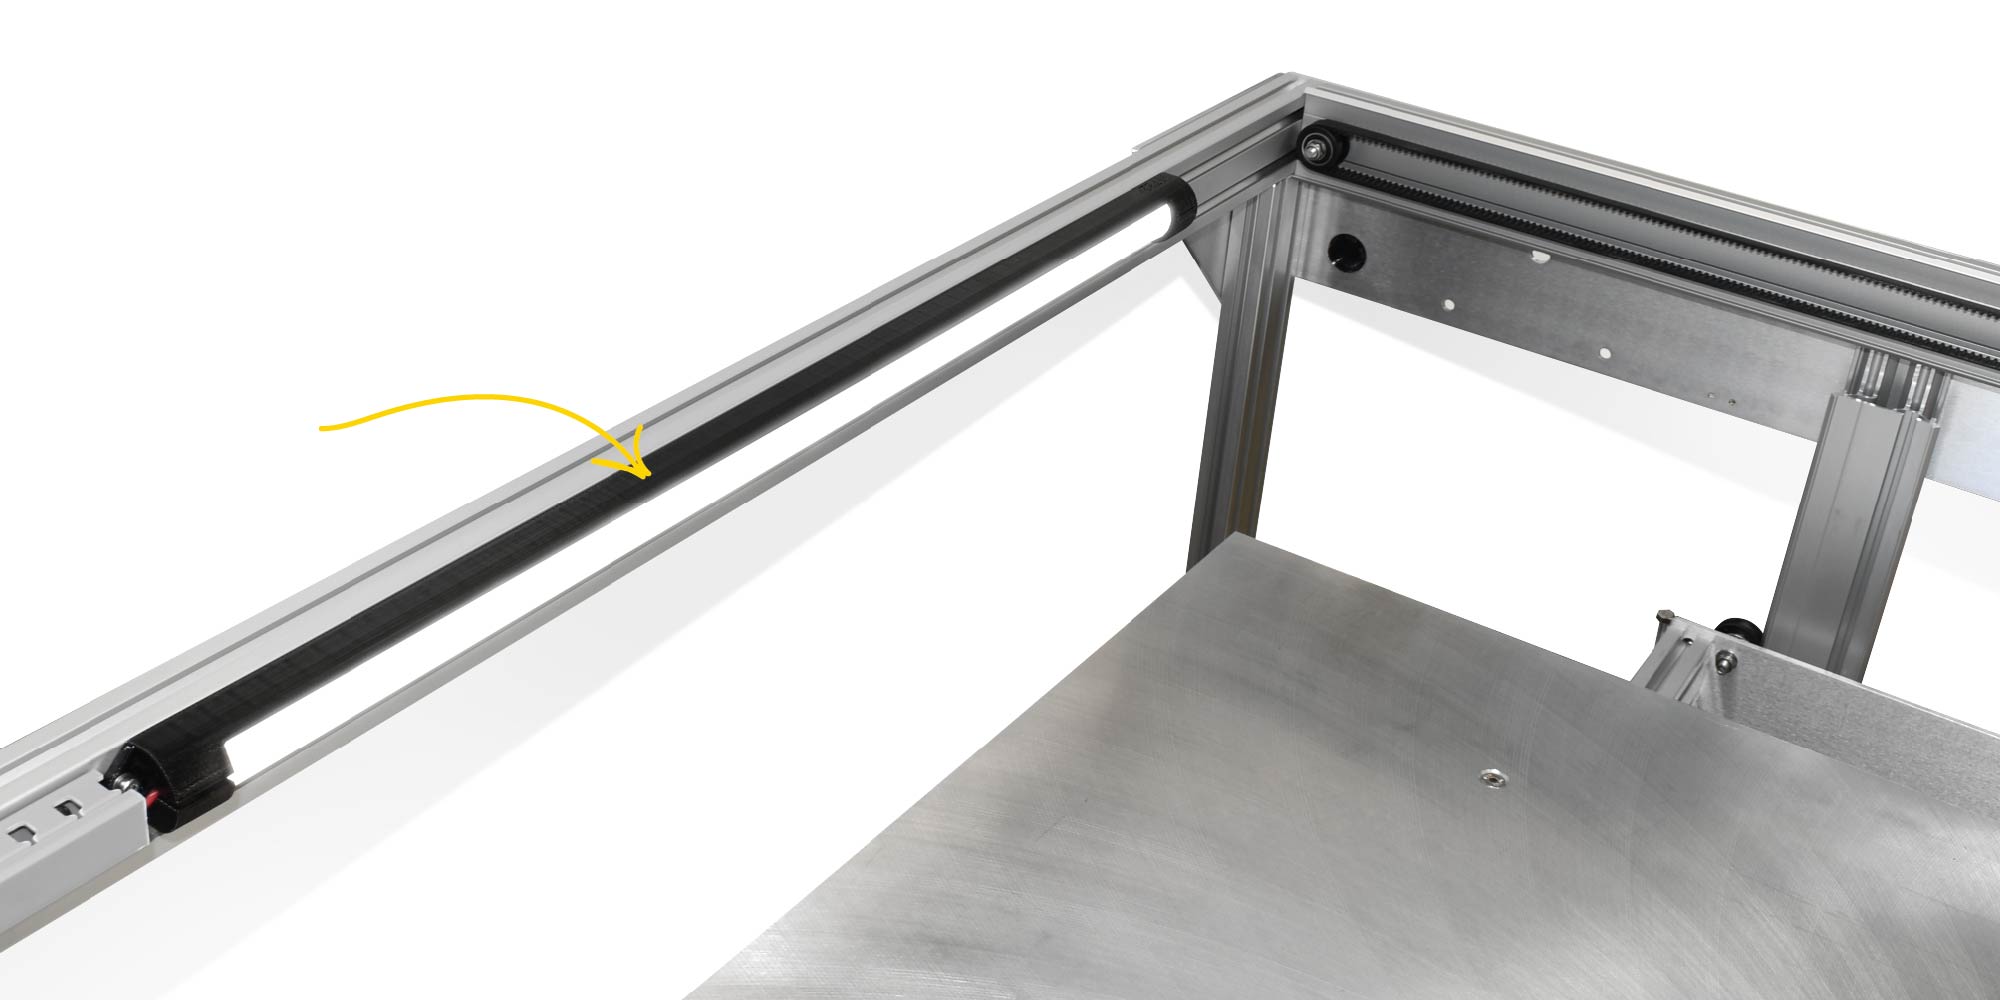
- 11093 GB3+ X/Y Upright
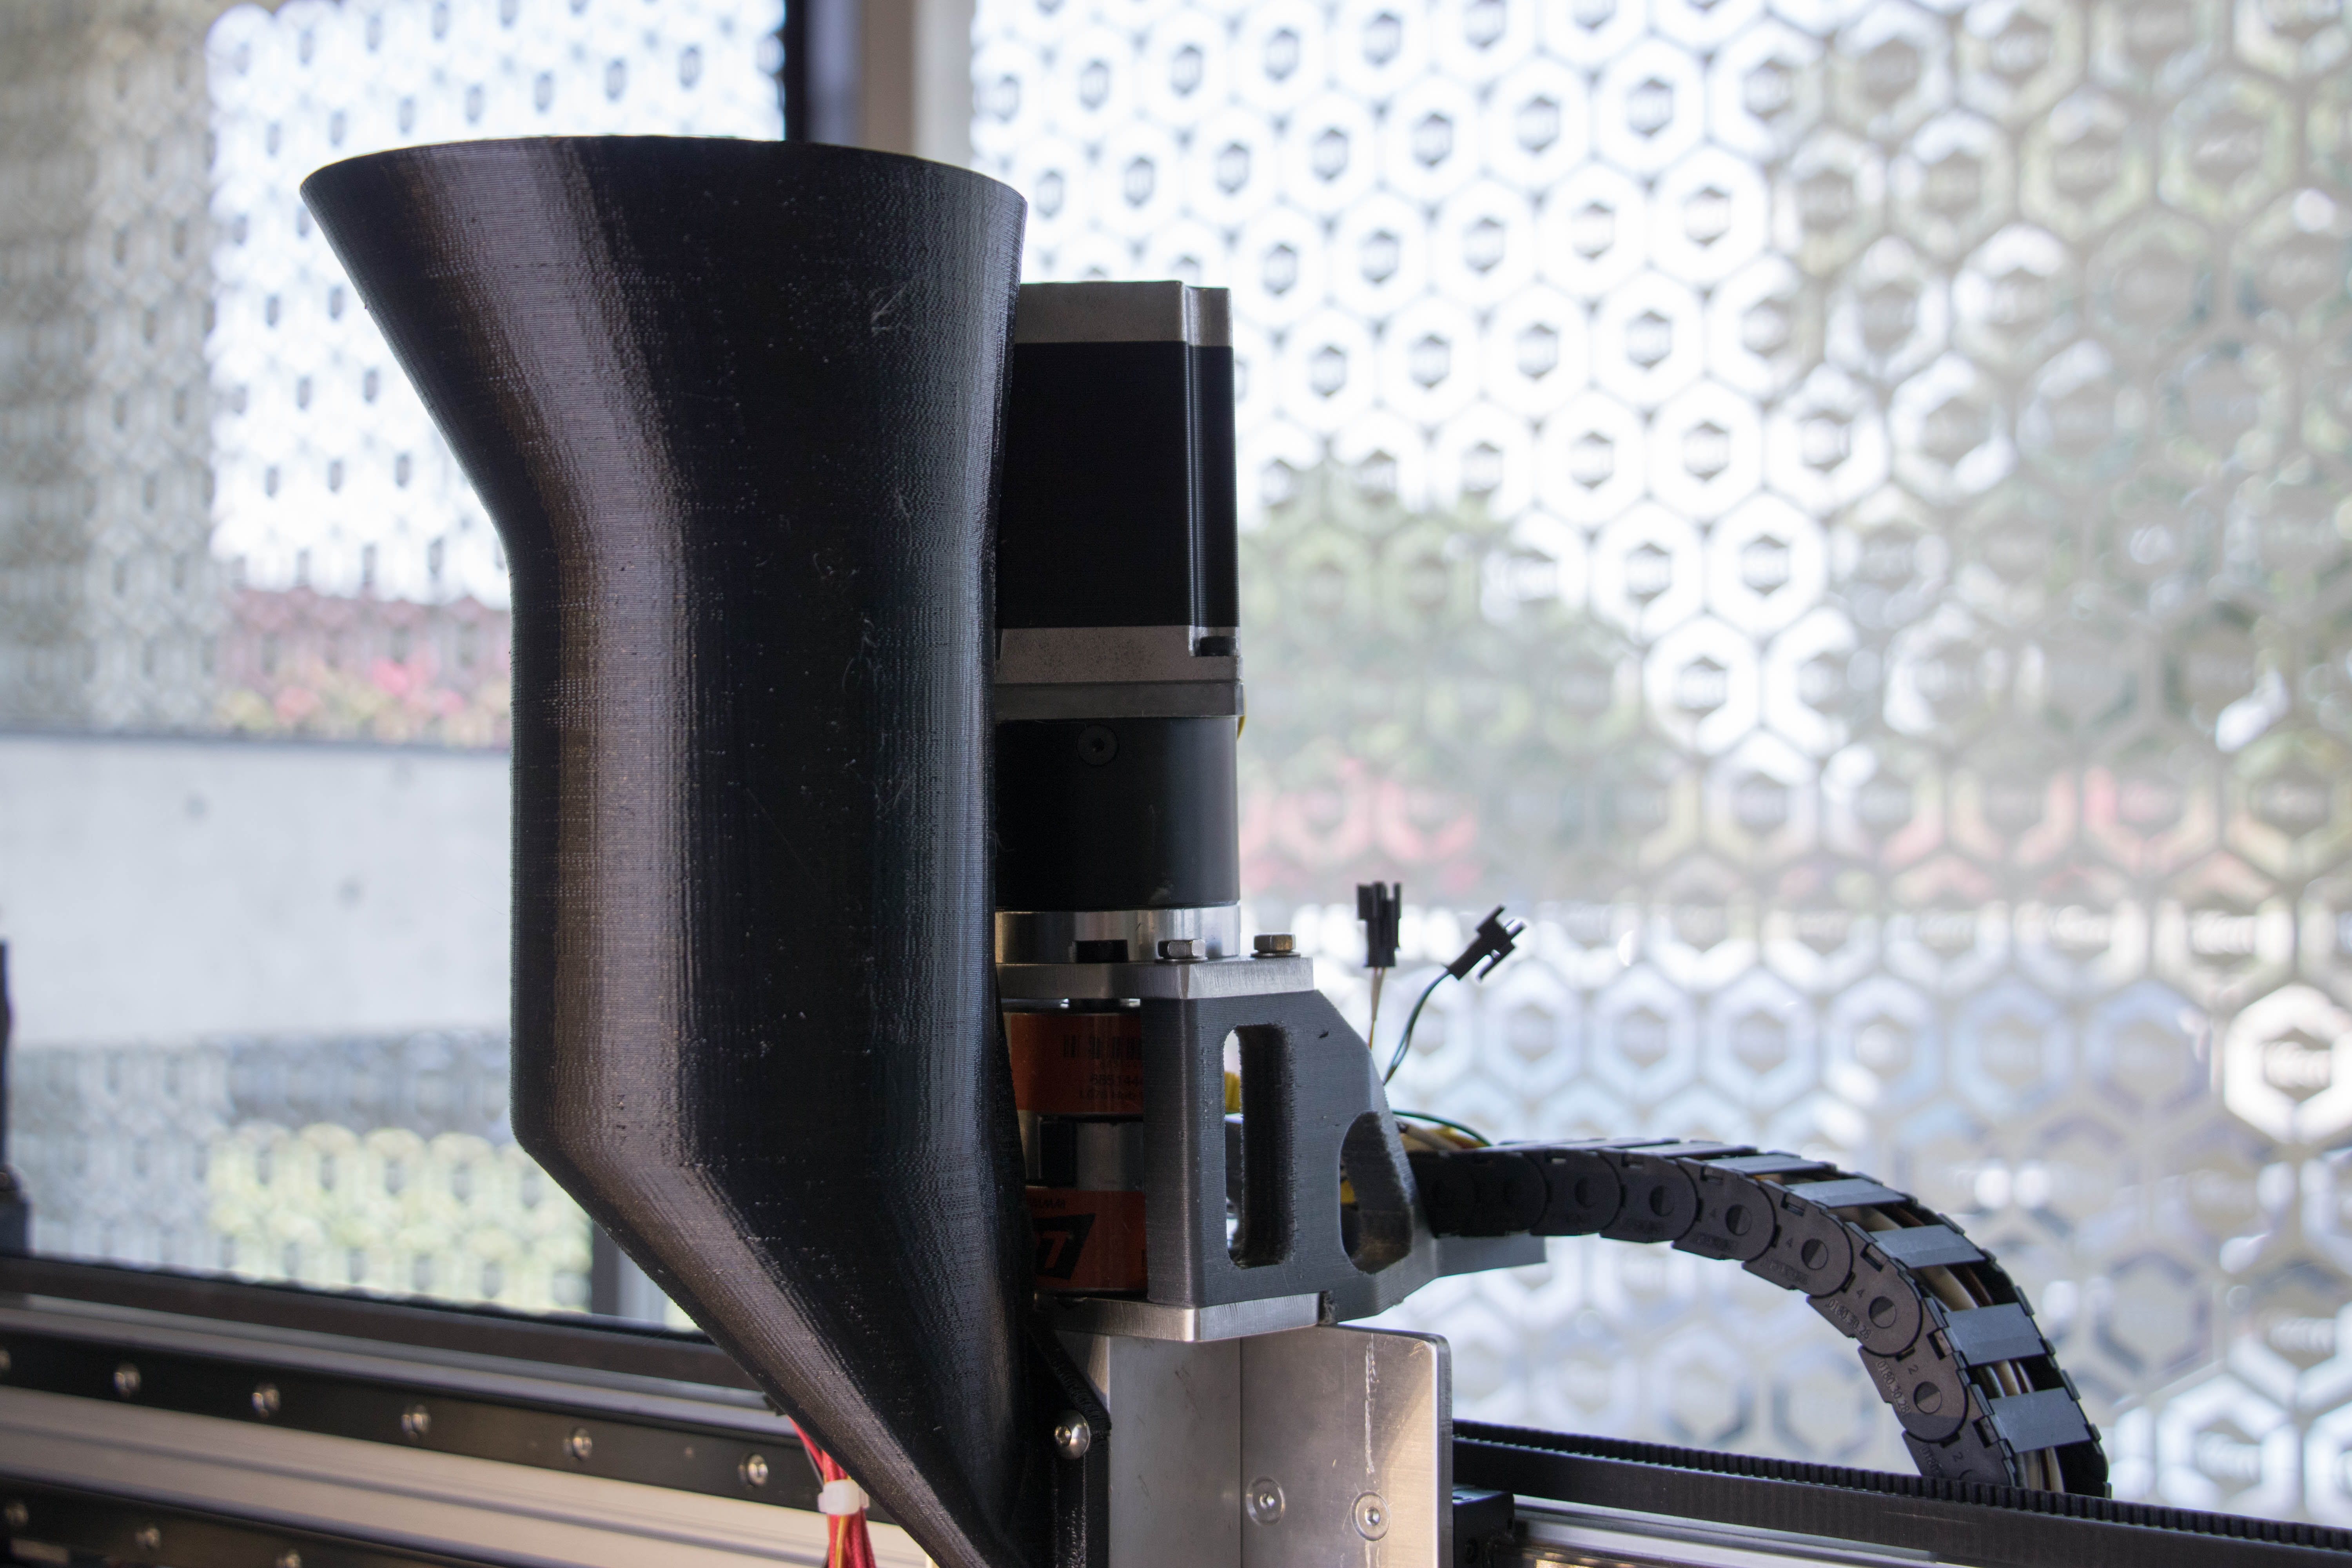
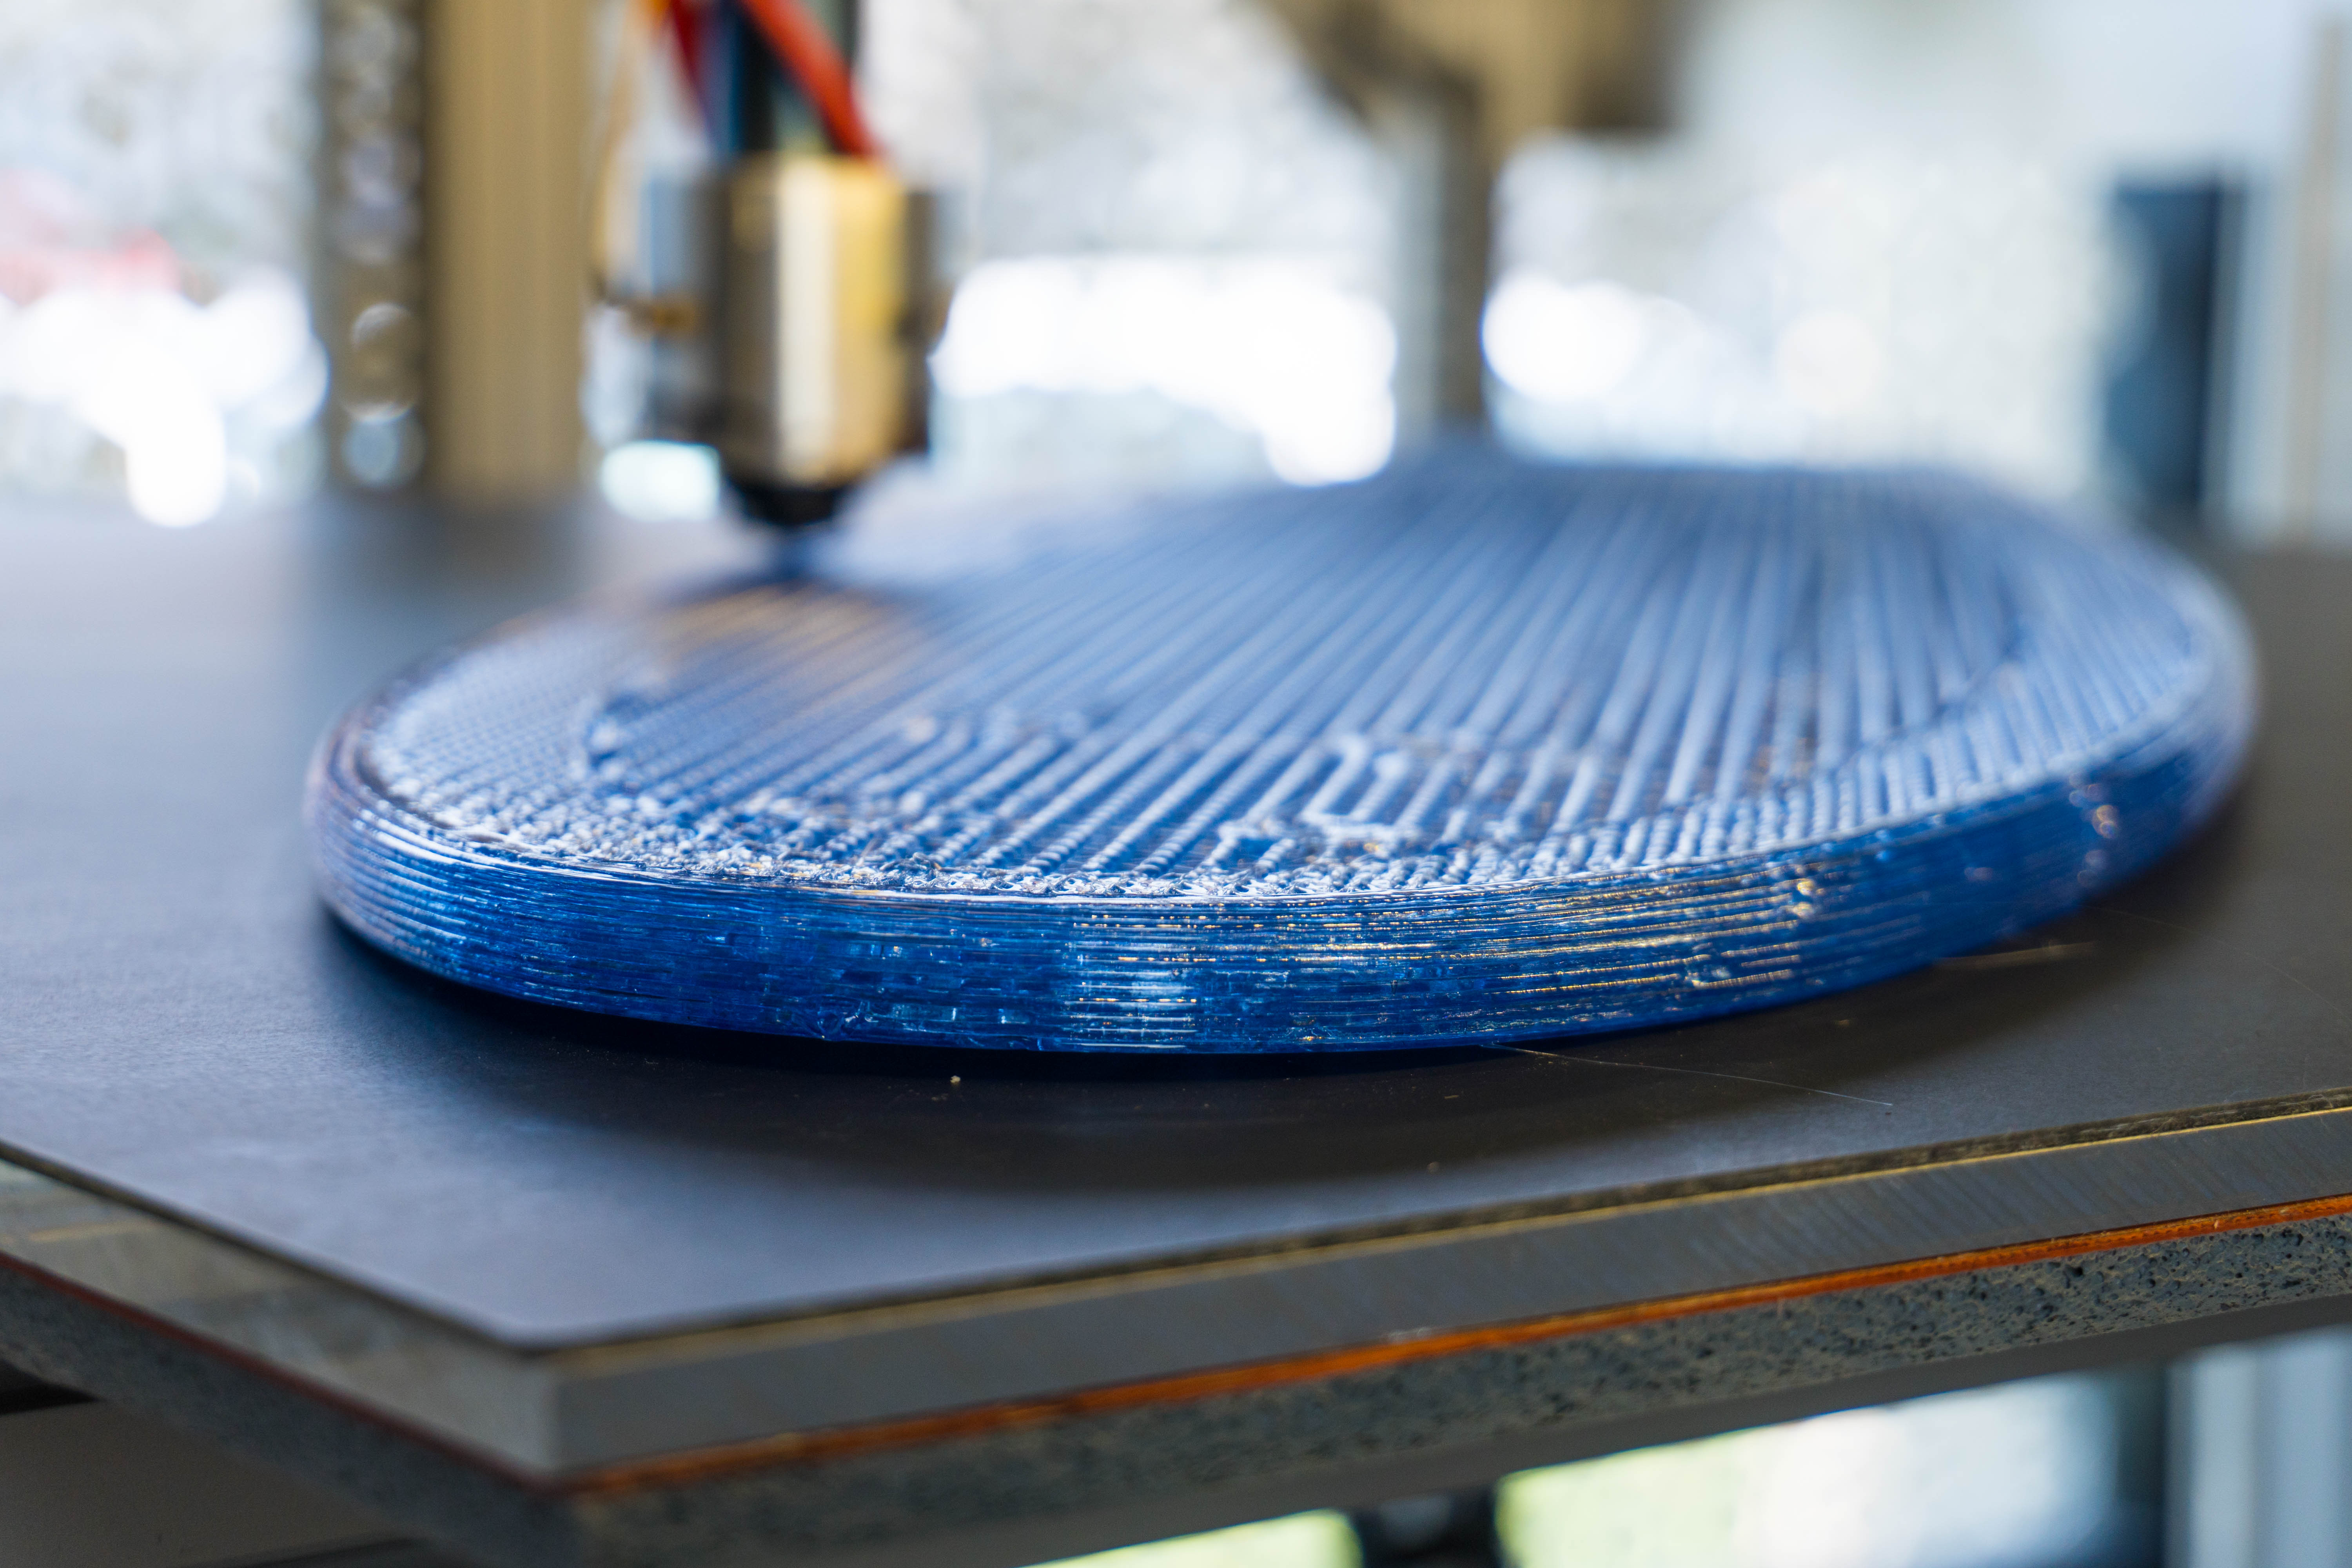
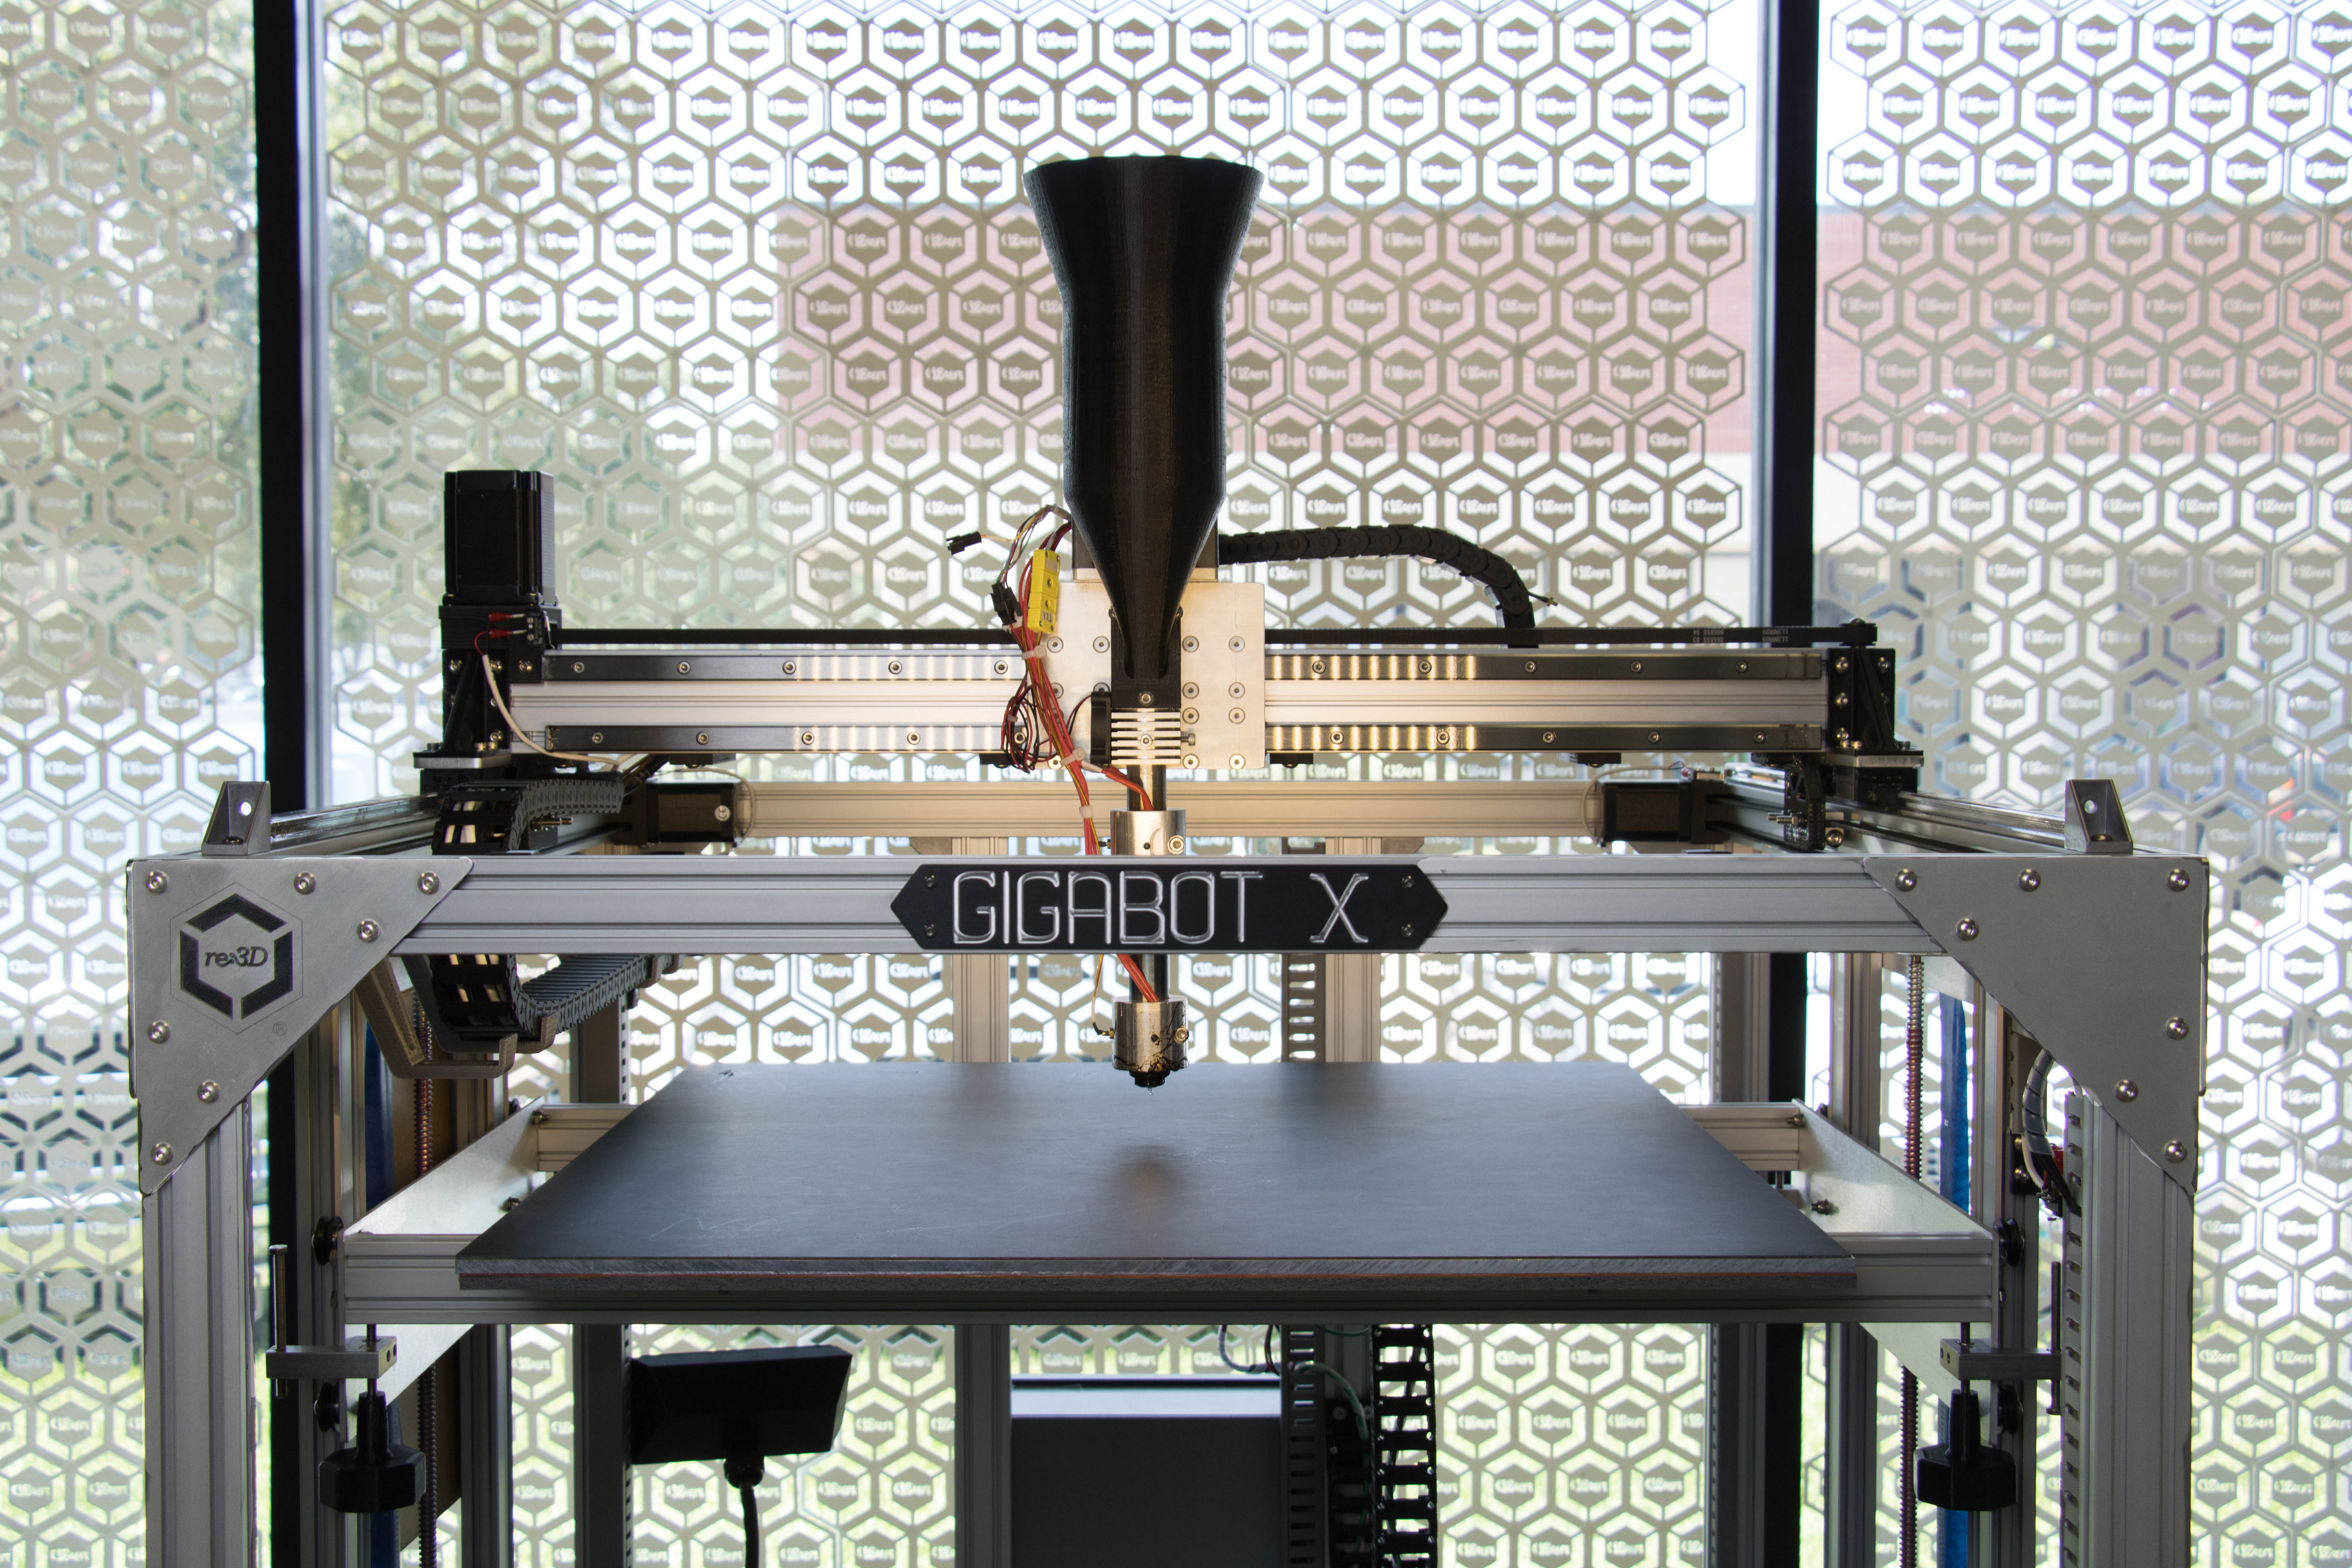
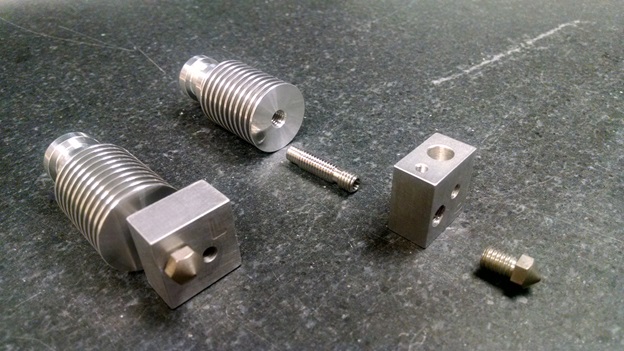
Gigabot X
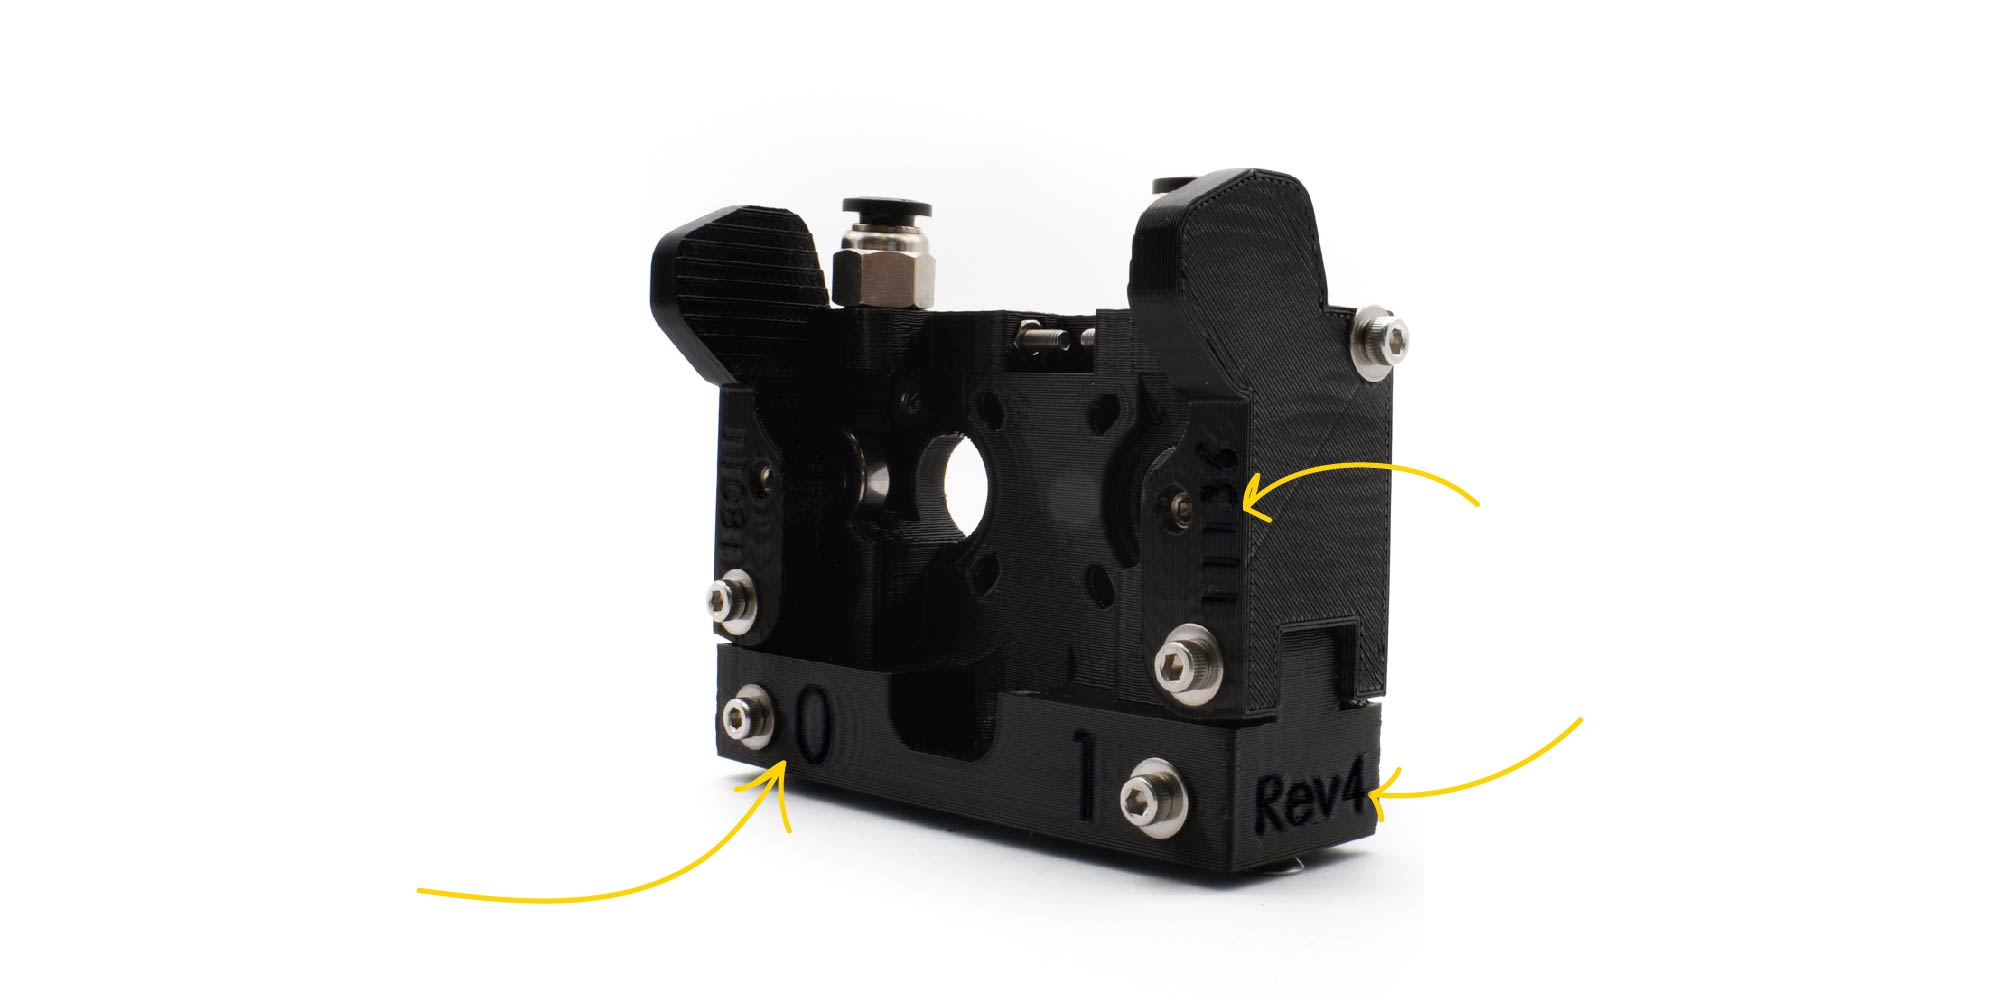
- 11377 GBX Stepper Driver
View the video below to find out how they’ve changed!