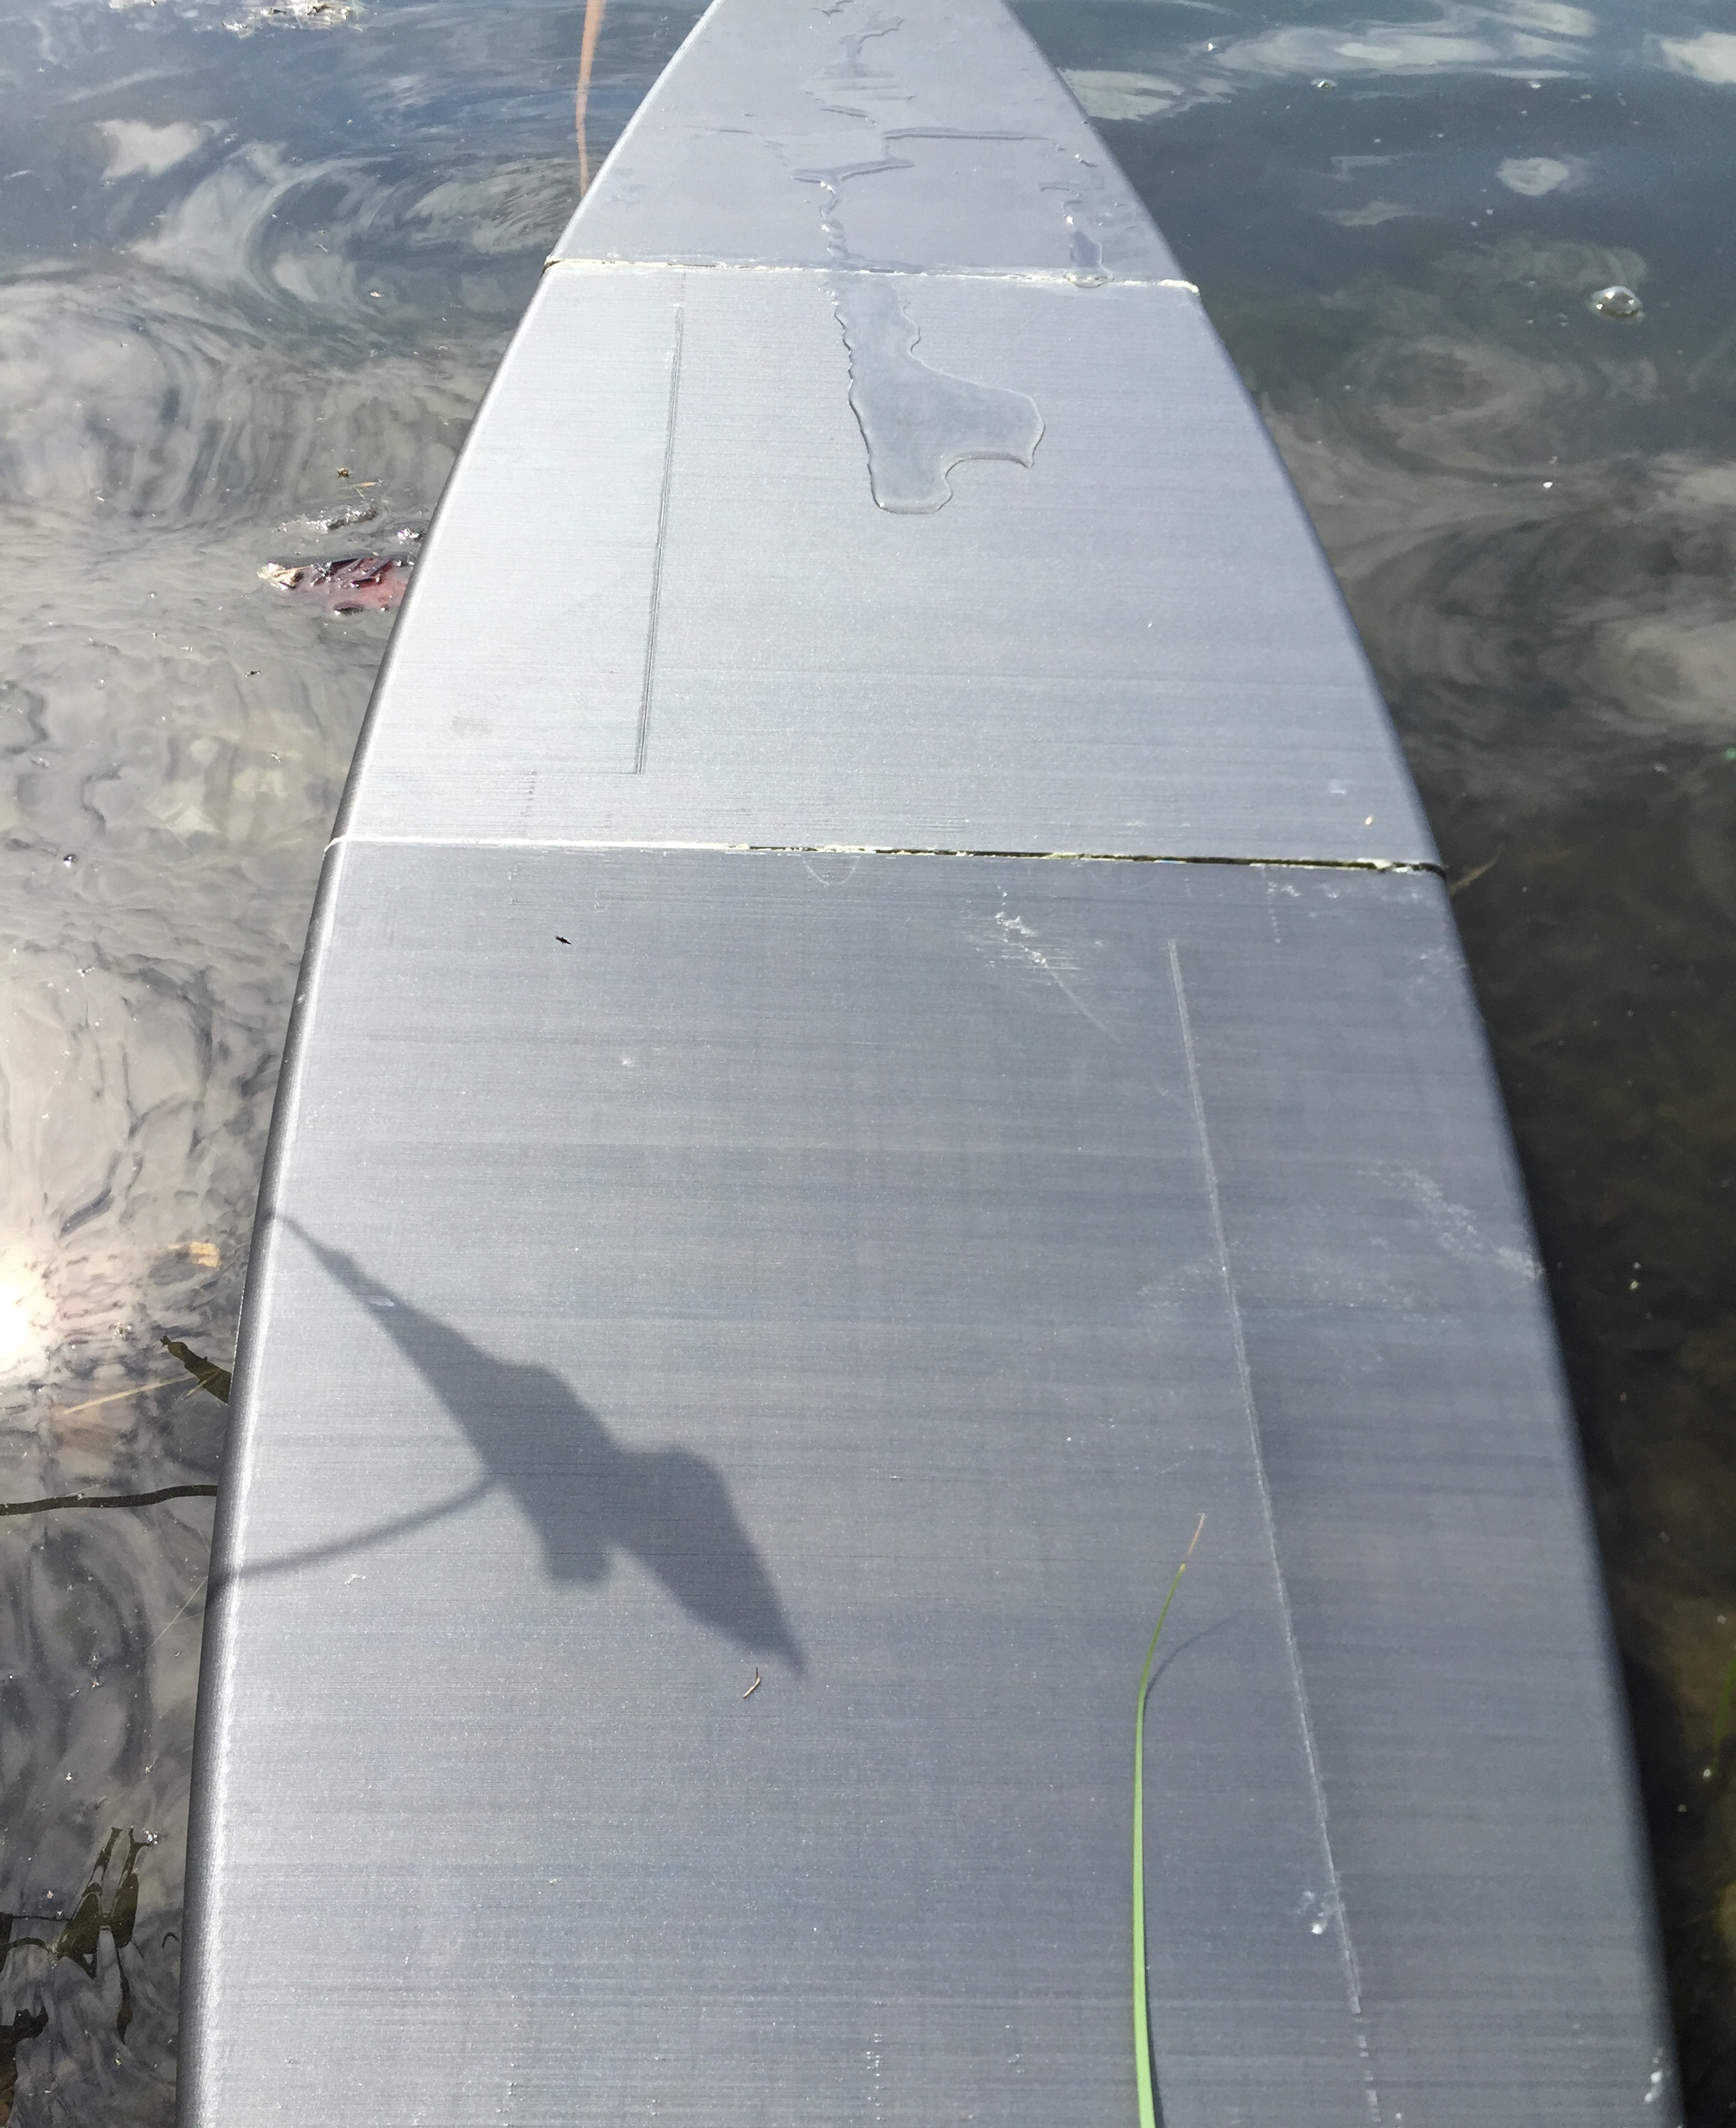
re: thinking Buoyancy – Hanging 10 on a 4pc PLA Surfboard

The Big Idea

Like most start-ups intent on exploring the intersection of tech and sheer awesomeness, the vision to 3D print a surfboard was cast over beer, at a co-working space (Capital Factory), subsequent to a lack of sleep. Disregard the fact the nobody physically present at our Q2 re:treat had actually surfed, we were still proudly penny-pinching, and had few Gigabots available for extended personal print marathons. Instead, Marketing Co-Leads Katy and I corroborated with our Gigabot Ambassadors Rebecca, Morgan and Todd to develop a list of “use cases” to demonstrate functional 3D printing to be executed by a cadre of summer interns. Buoyancy made the shortlist, and a surfboard was an obvious case study.
IMG_0446
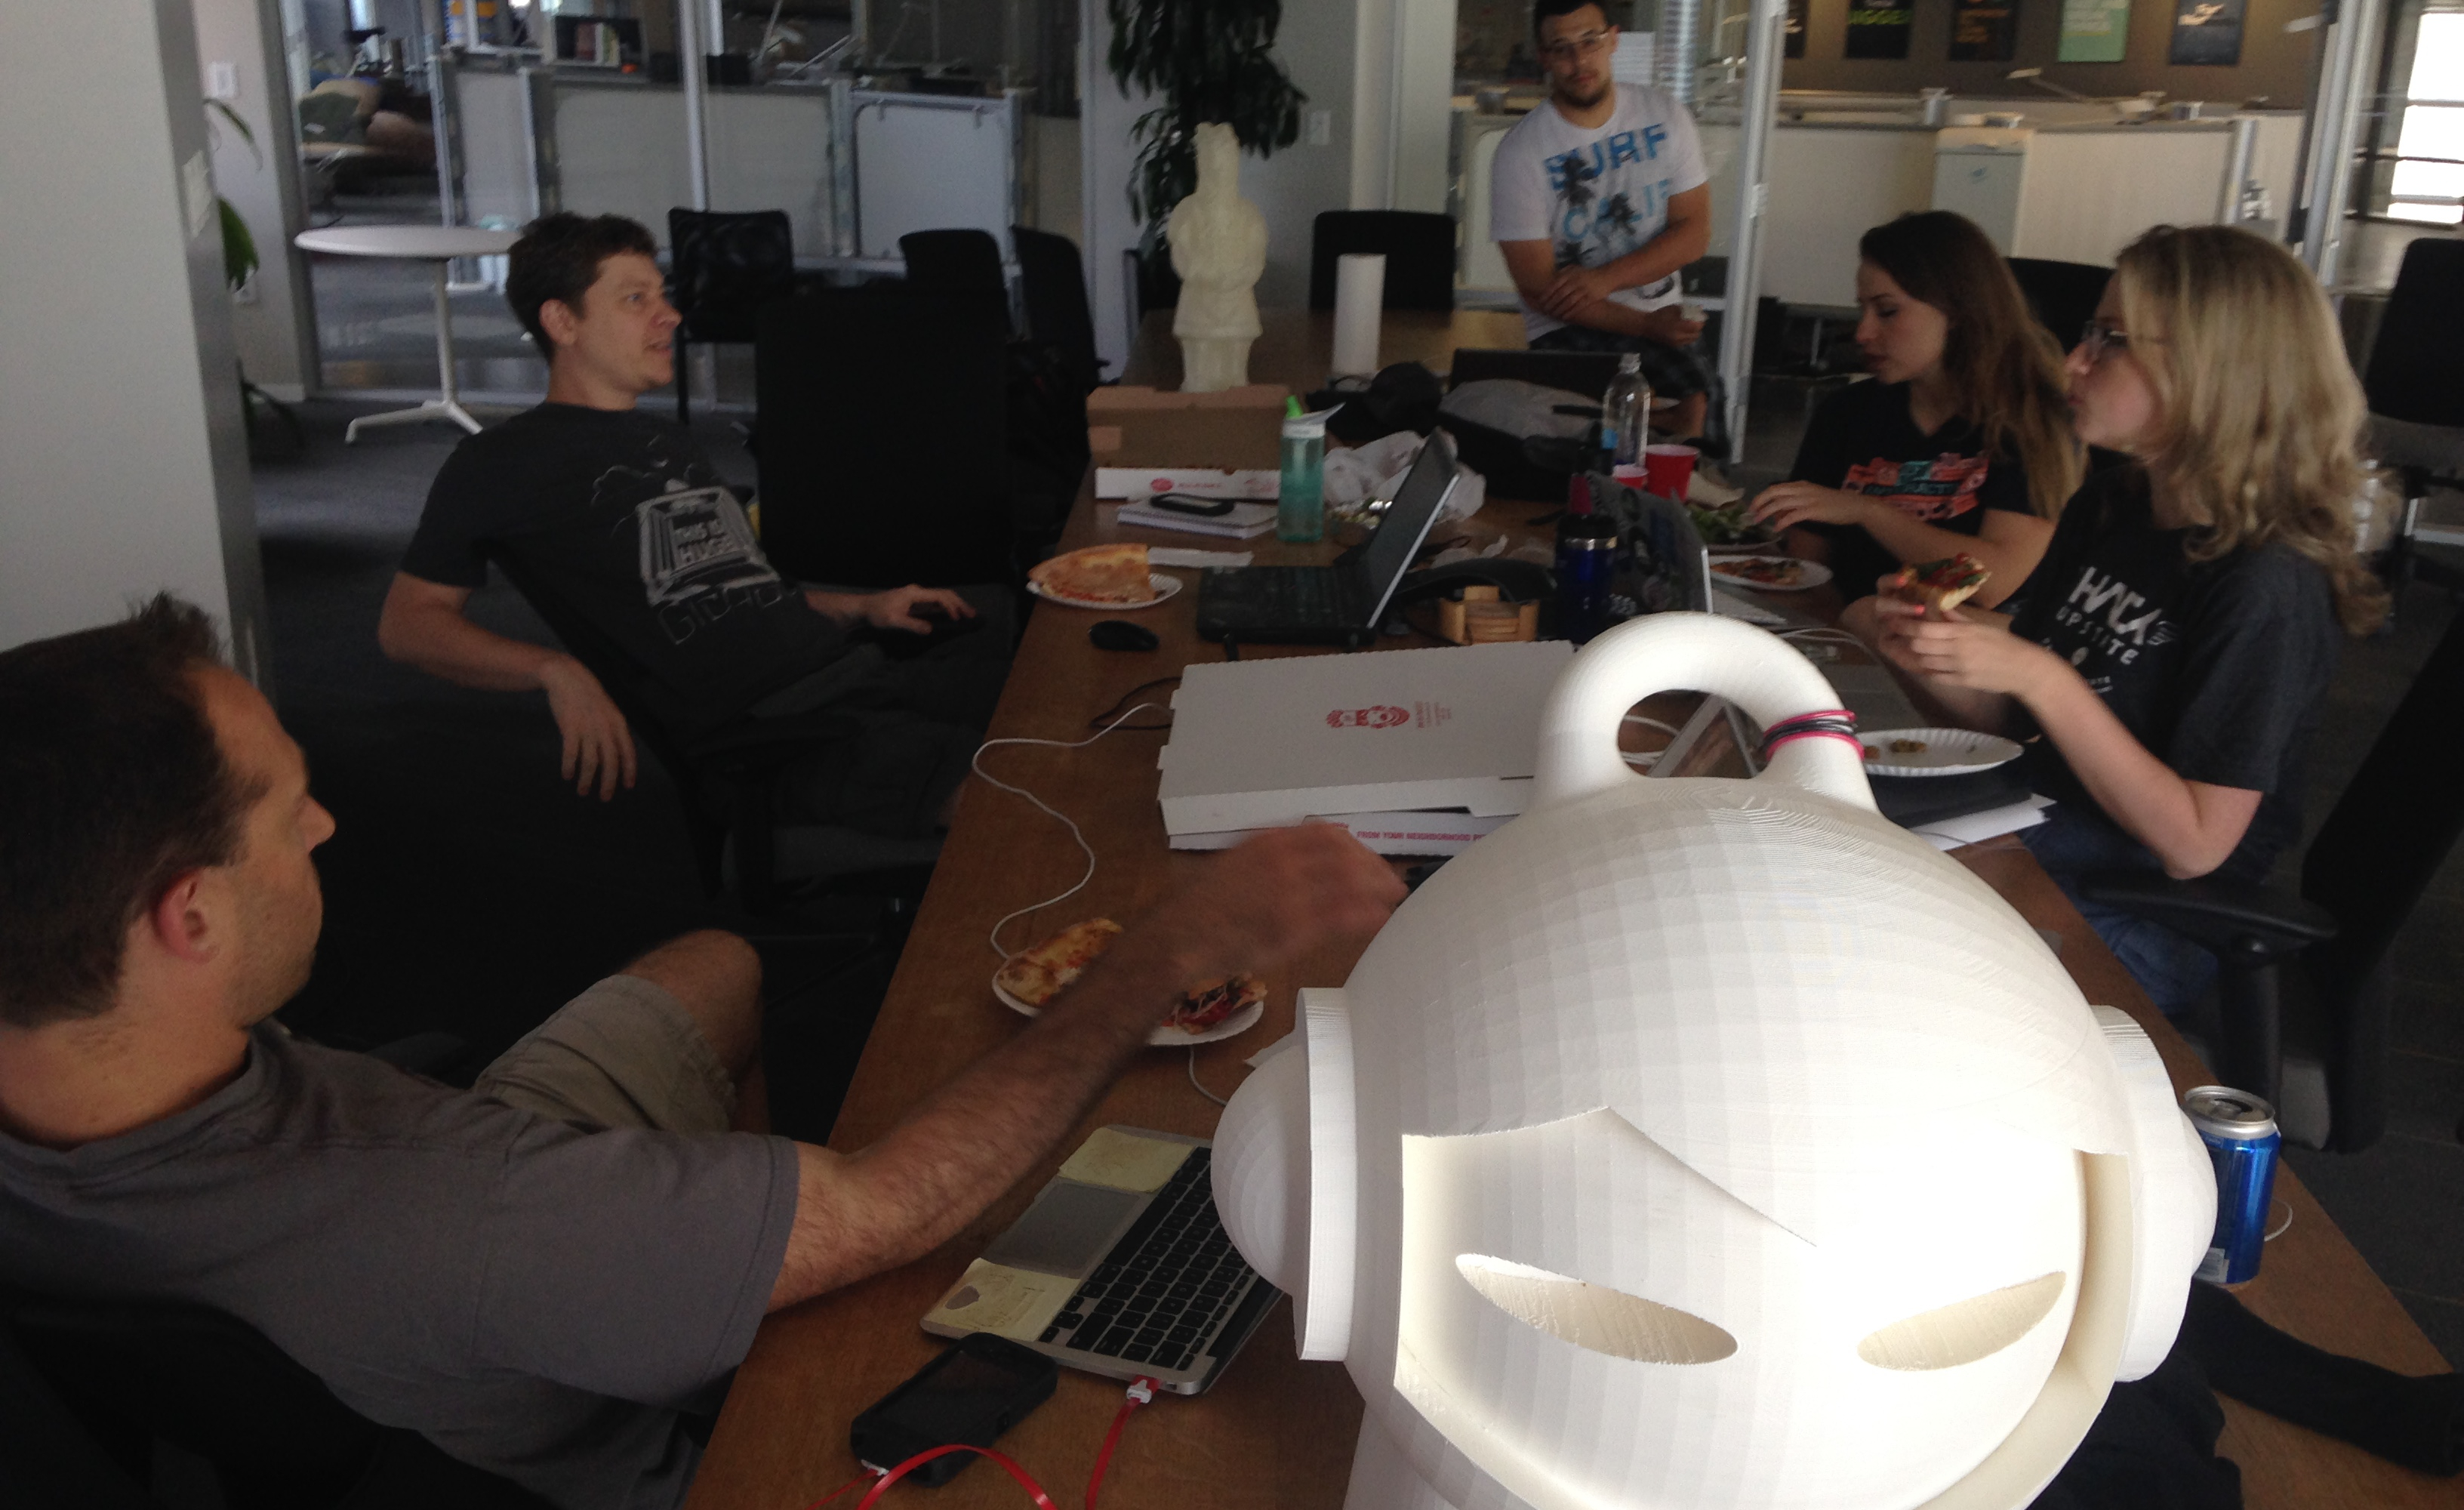
Q2 re:treat with @Marvin_3D

Our leadership team cultivated job descriptions, which Katy hosted under a tab she designed at re3d.org/careers. The response to our unpaid internship postings were higher than anticipated, and ultimately we selected Akshay as our 2015 Design Intern focused on 3D Printing a surfboard. Despite still being in High School, his confidence, professionalism and experience modeling through his high school FIRST Robotics team convinced me he was up for the challenge. He also had a glowing recommendation from his coach Norman.
IMG_0574
Brainstorming over Amy's Ice Cream w/Matthew, Annabelle & Akshay

The Design

Within just a couple weeks of on-boarding and conducting research on surfboard 3D printing, Akshay presented his concept. He had identified others who had been successful including a Father & Son, as well as professional 3D printed surfboard companies. Those that have gone before had done an amazing job curating surfboard designs that truly exhibit the benefits of 3D printing, whether it be enabling custom designs or geometries not easily produced in traditional manufacturing. However, due to the small volume of many affordable printers, we noticed multiple parts were required to later be stitched together like a jigsaw puzzle or they depended on expensive SLS printers to produce a monocoque body.
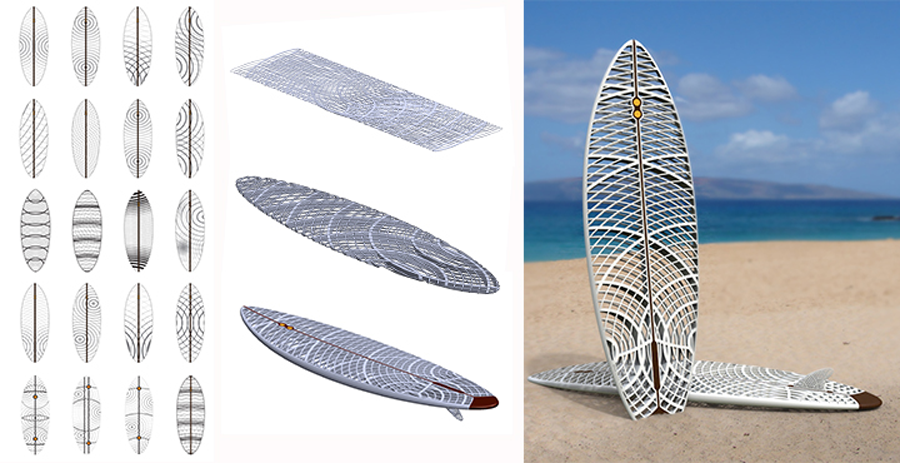
Endless Sinter SLS Surfboards
jigsurf
ABS Jigsaw Surfboard

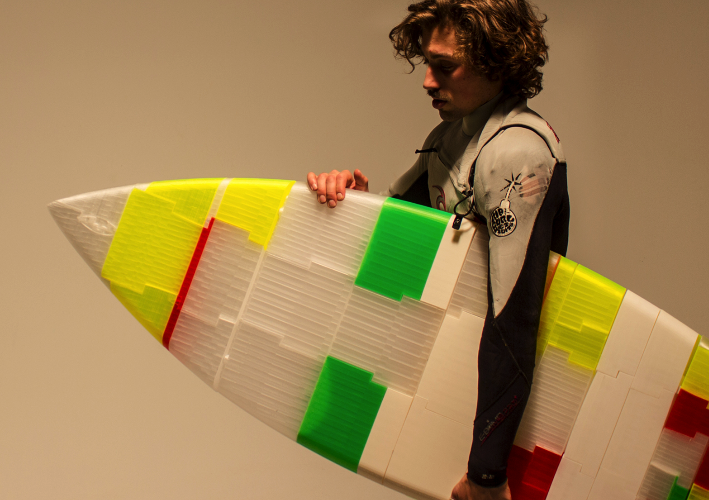
Knowing that we had the benefit of leveraging one of the largest affordable industrial printers at our disposal, we set out with Akshay to investigate if we could make a FFF (Fused Filament Fabrication) design in the fewest pieces possible. We also wanted to challenge notions of material strength. Akshay’ s research unveiled that our desktop 3D printing peers used ABS, a plastic despised by many for its stinky smell during printing, but stronger than it’s as readily accessible counterpart PLA. Being bootstrapped, we work from a small office, so we decided to use PLA to print our board to see if the sweet smelling, accessible filament could support the weight of a human in the ocean repeatedly, thus challenging the assumptions of PLA’s limited value in functional, life-sized 3D prints. You see, we didn’t choose PLA because we thought it SHOULD be the material of choice, rather we wondered if it  COULD be used in a functional application.

And if it worked (even limitedly), we wondered…..what other applications would you and other members of the open-source community cultivate that could expand on our buoyancy experiment?
IMG_0994
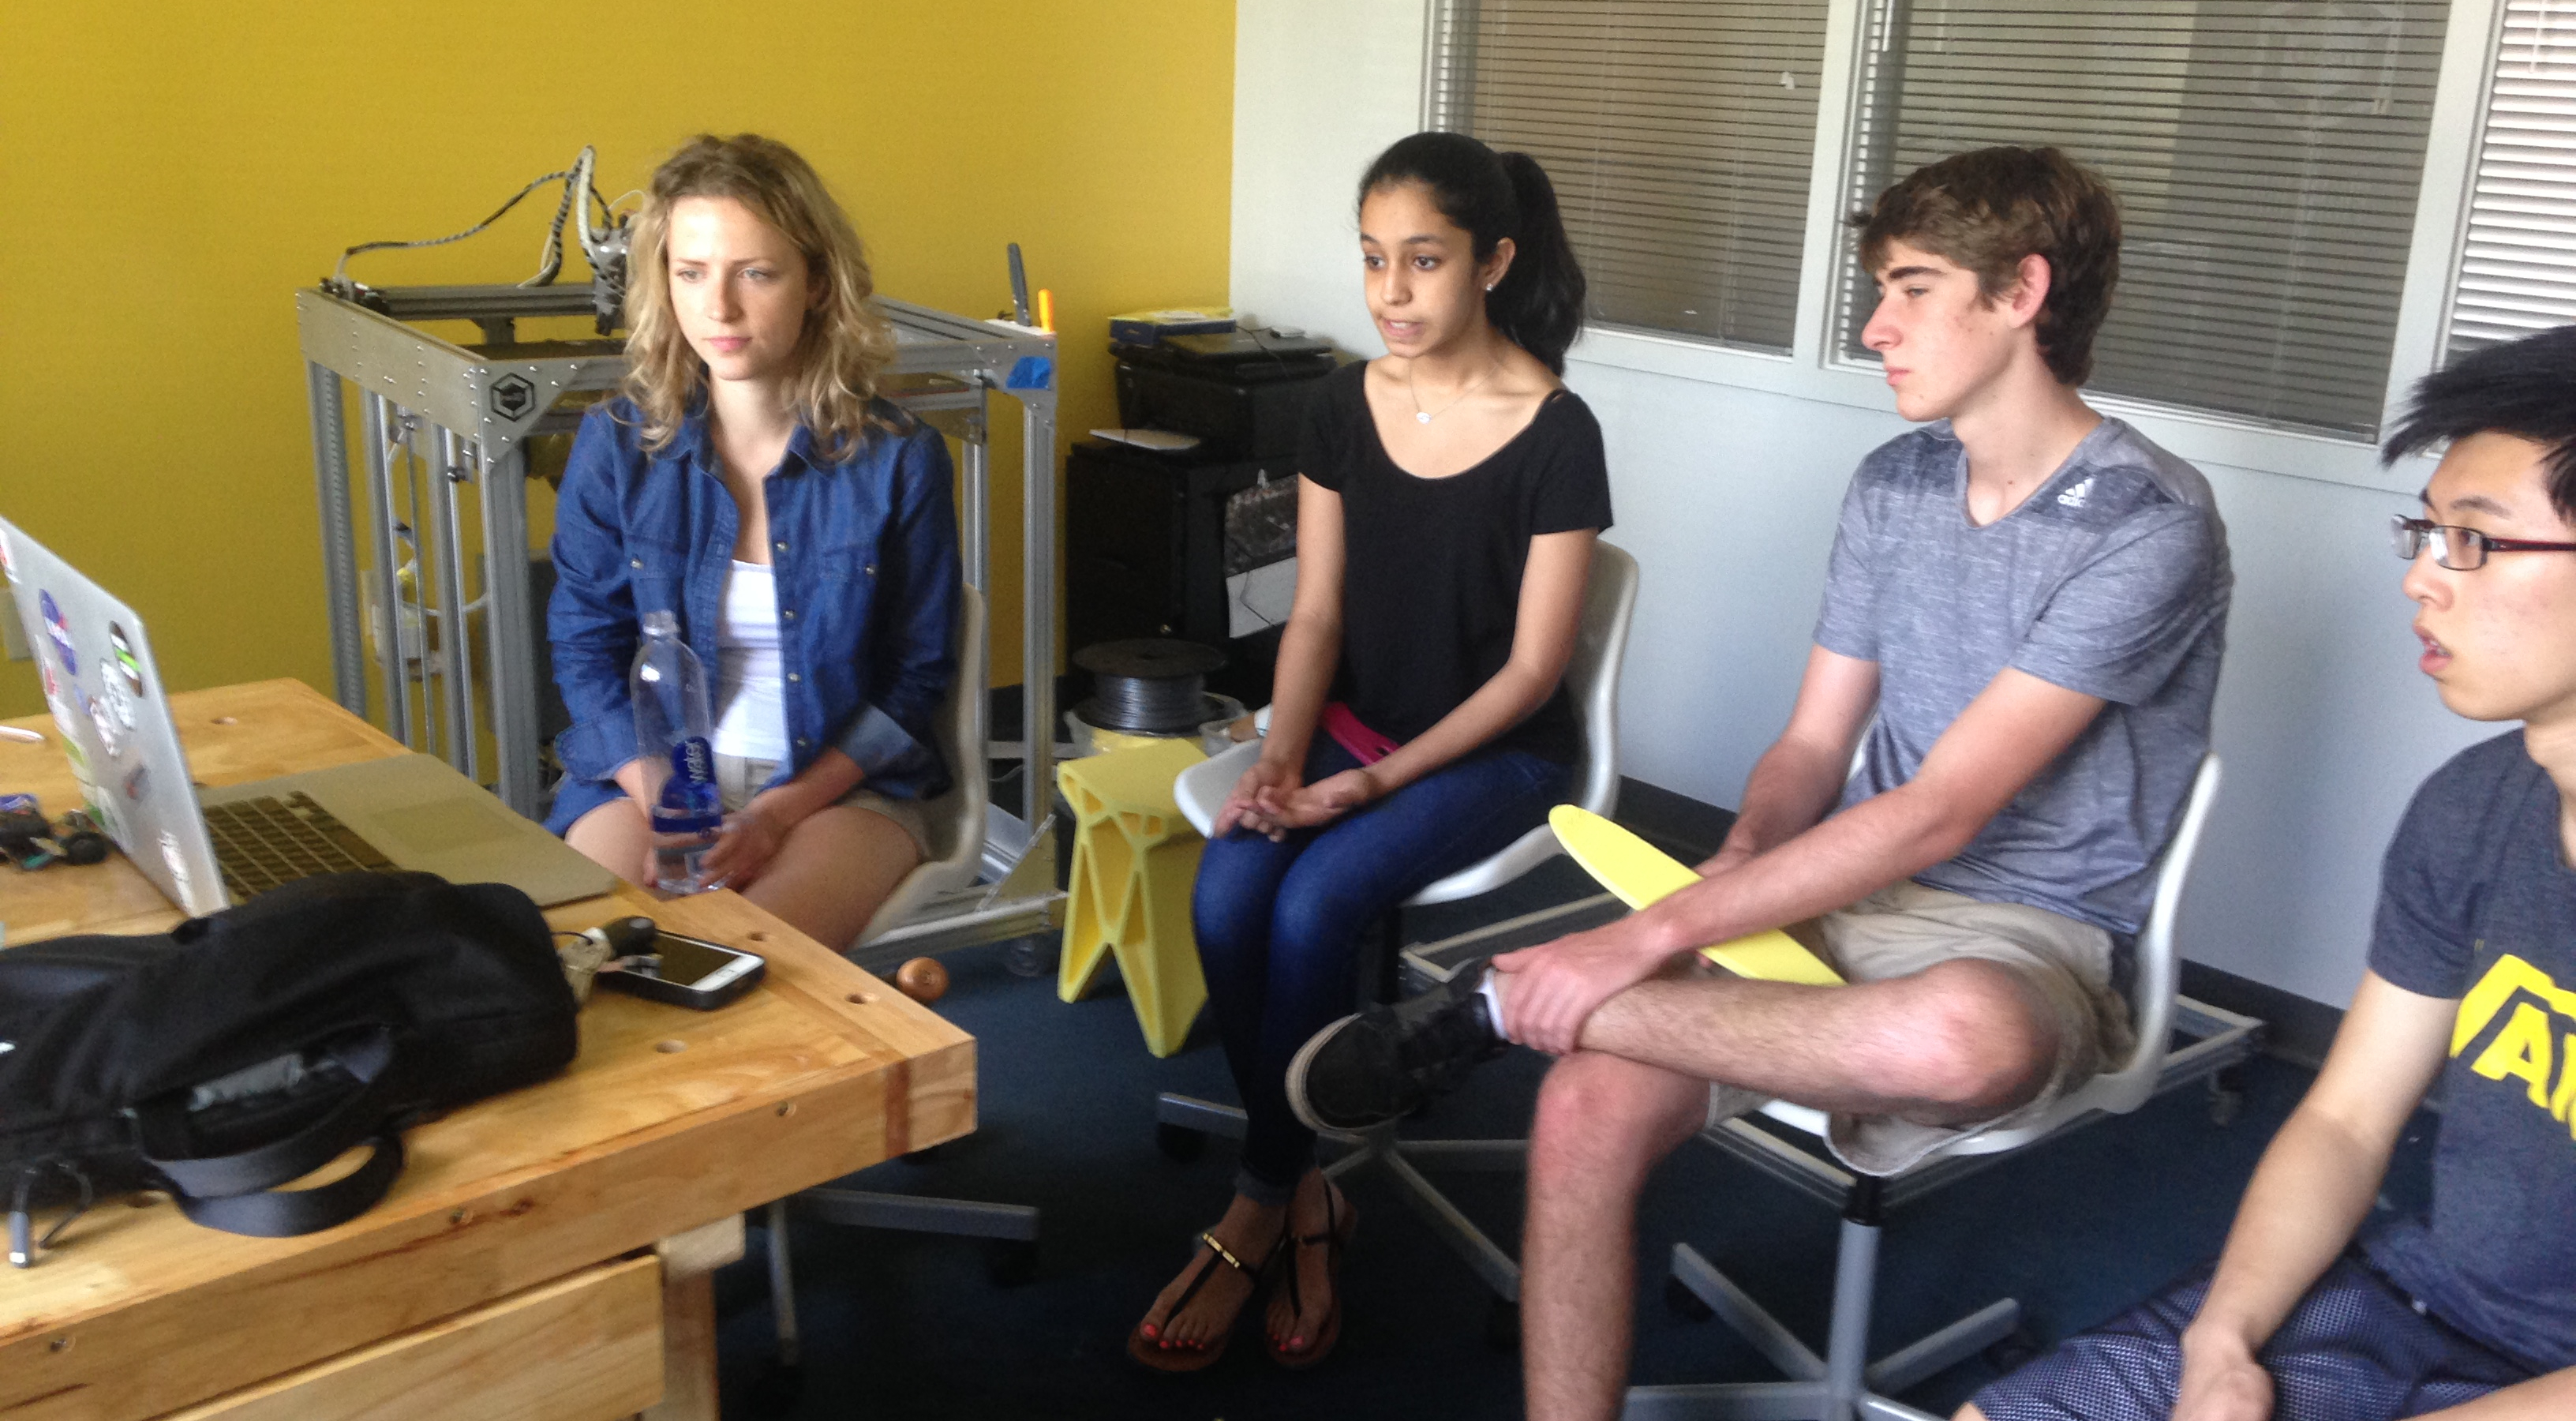
Akshay dialed into Katy's Design Tag

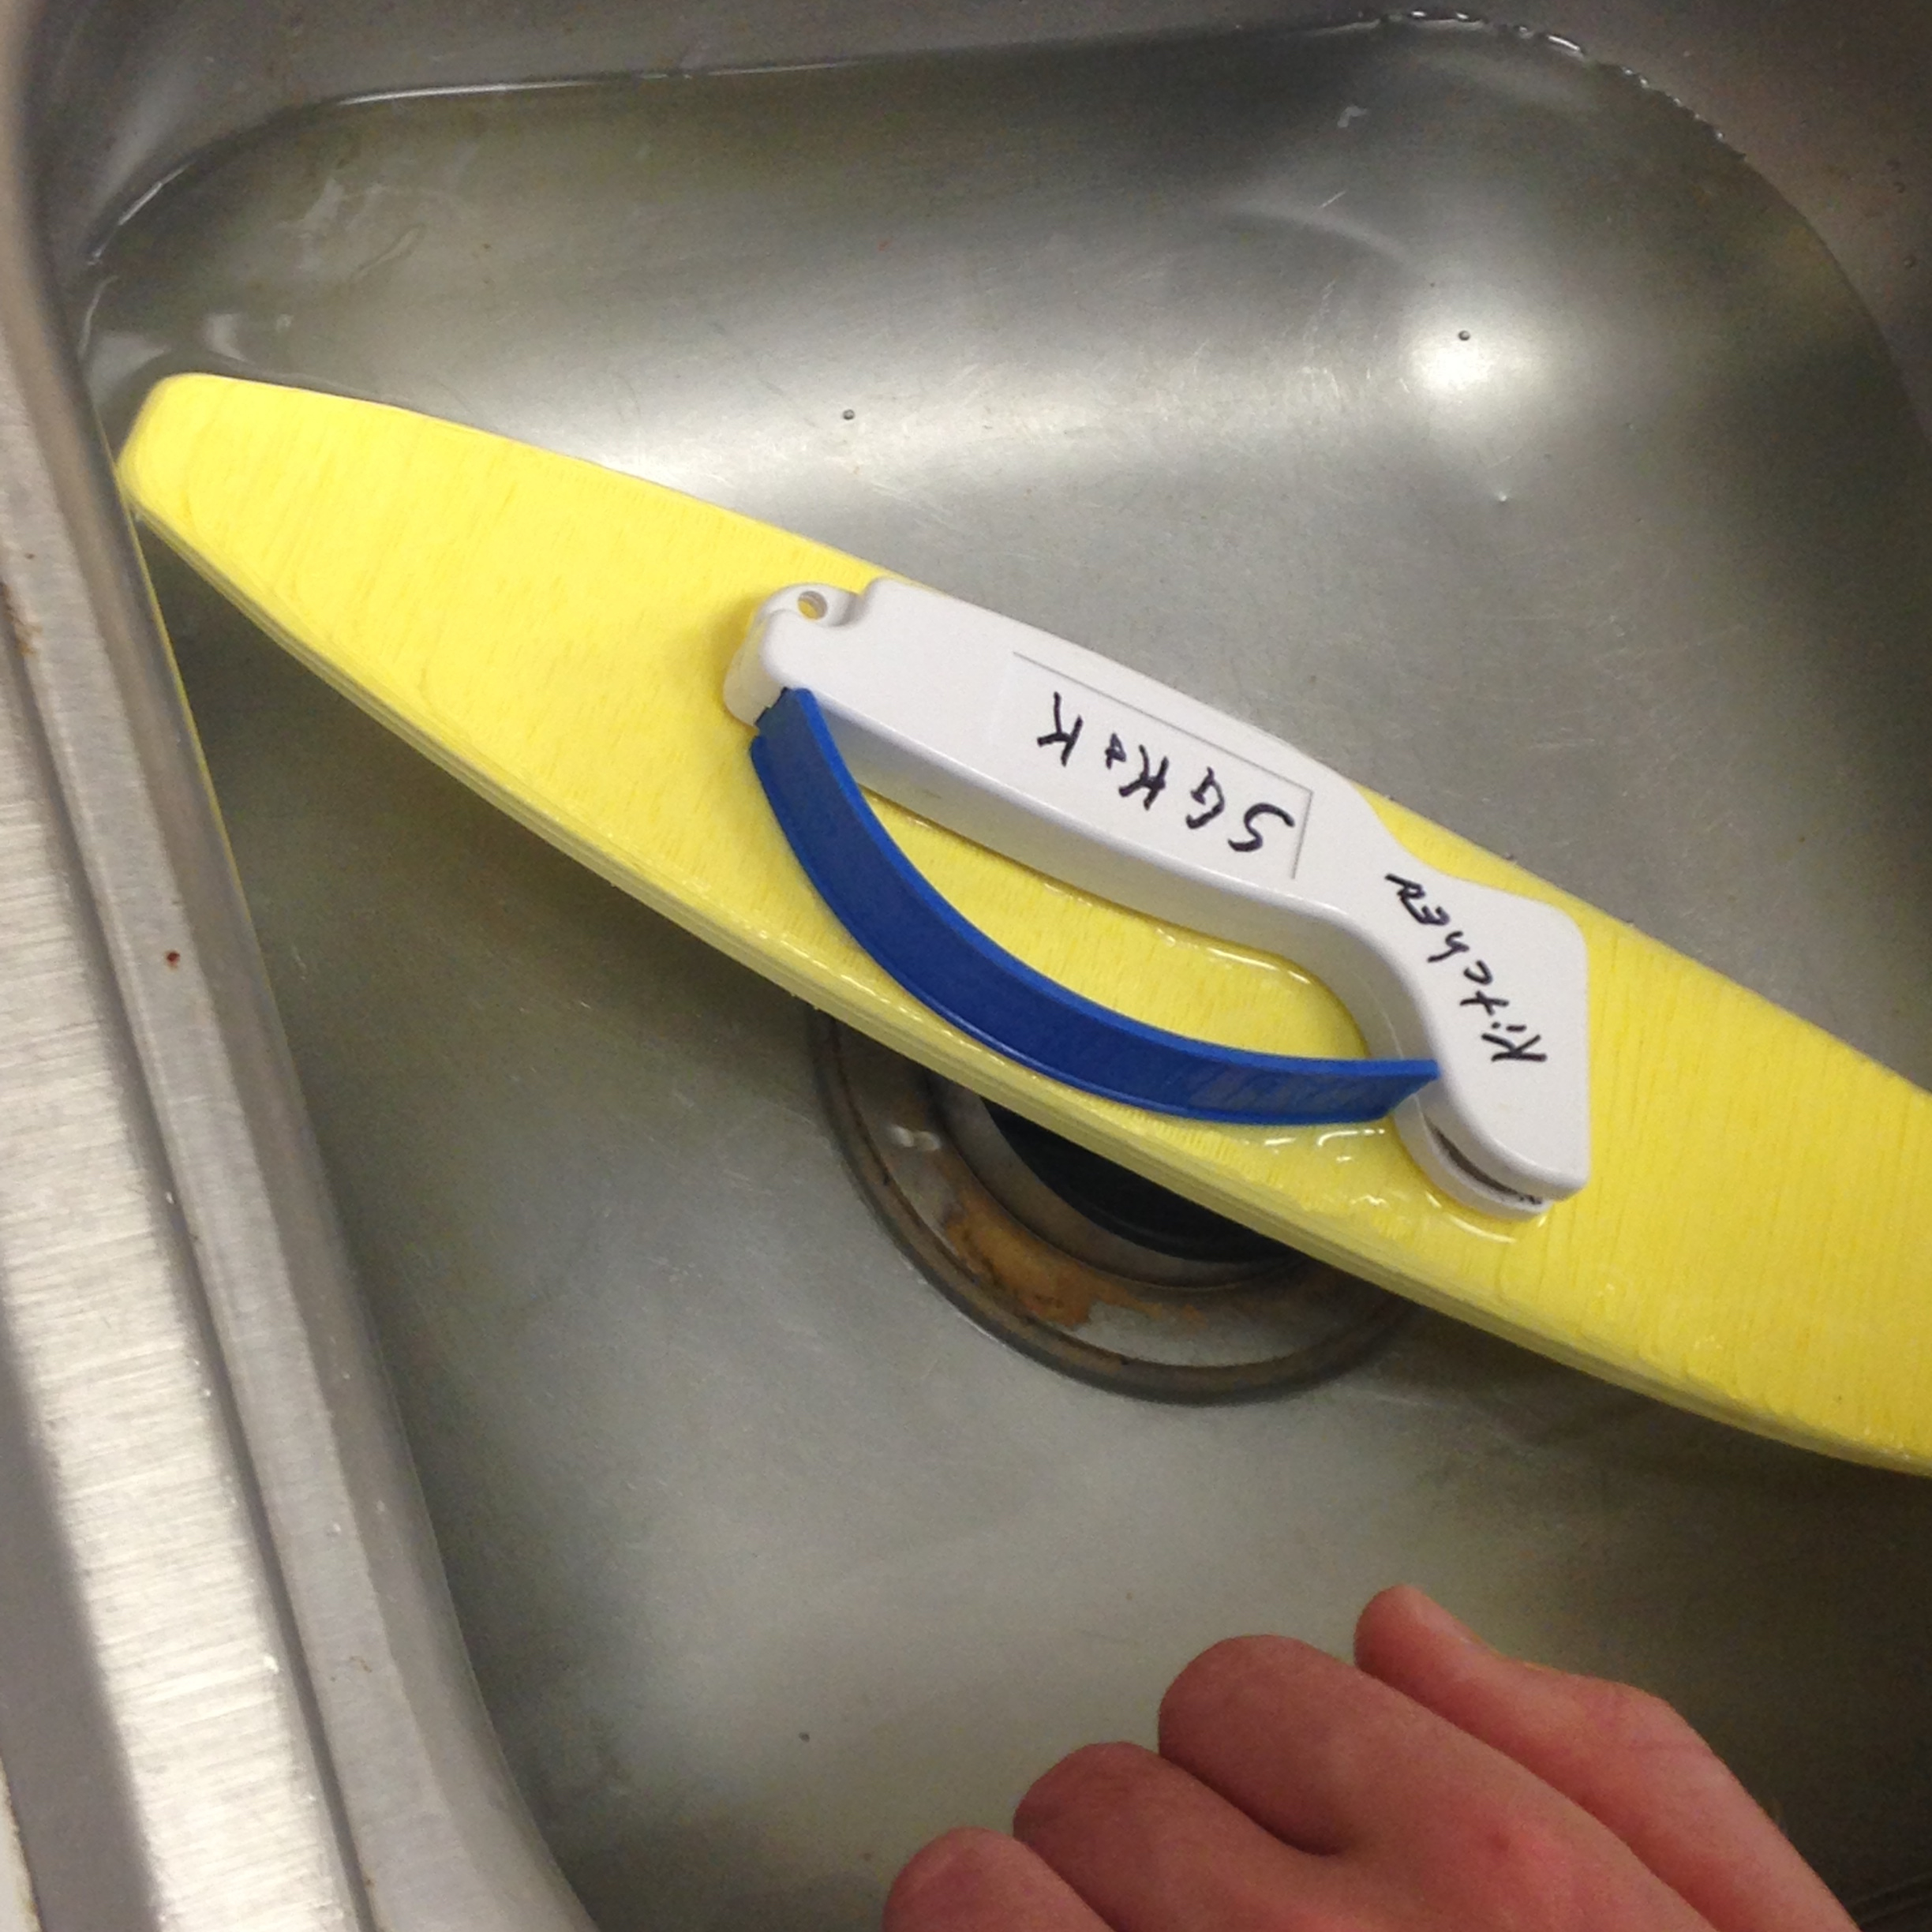
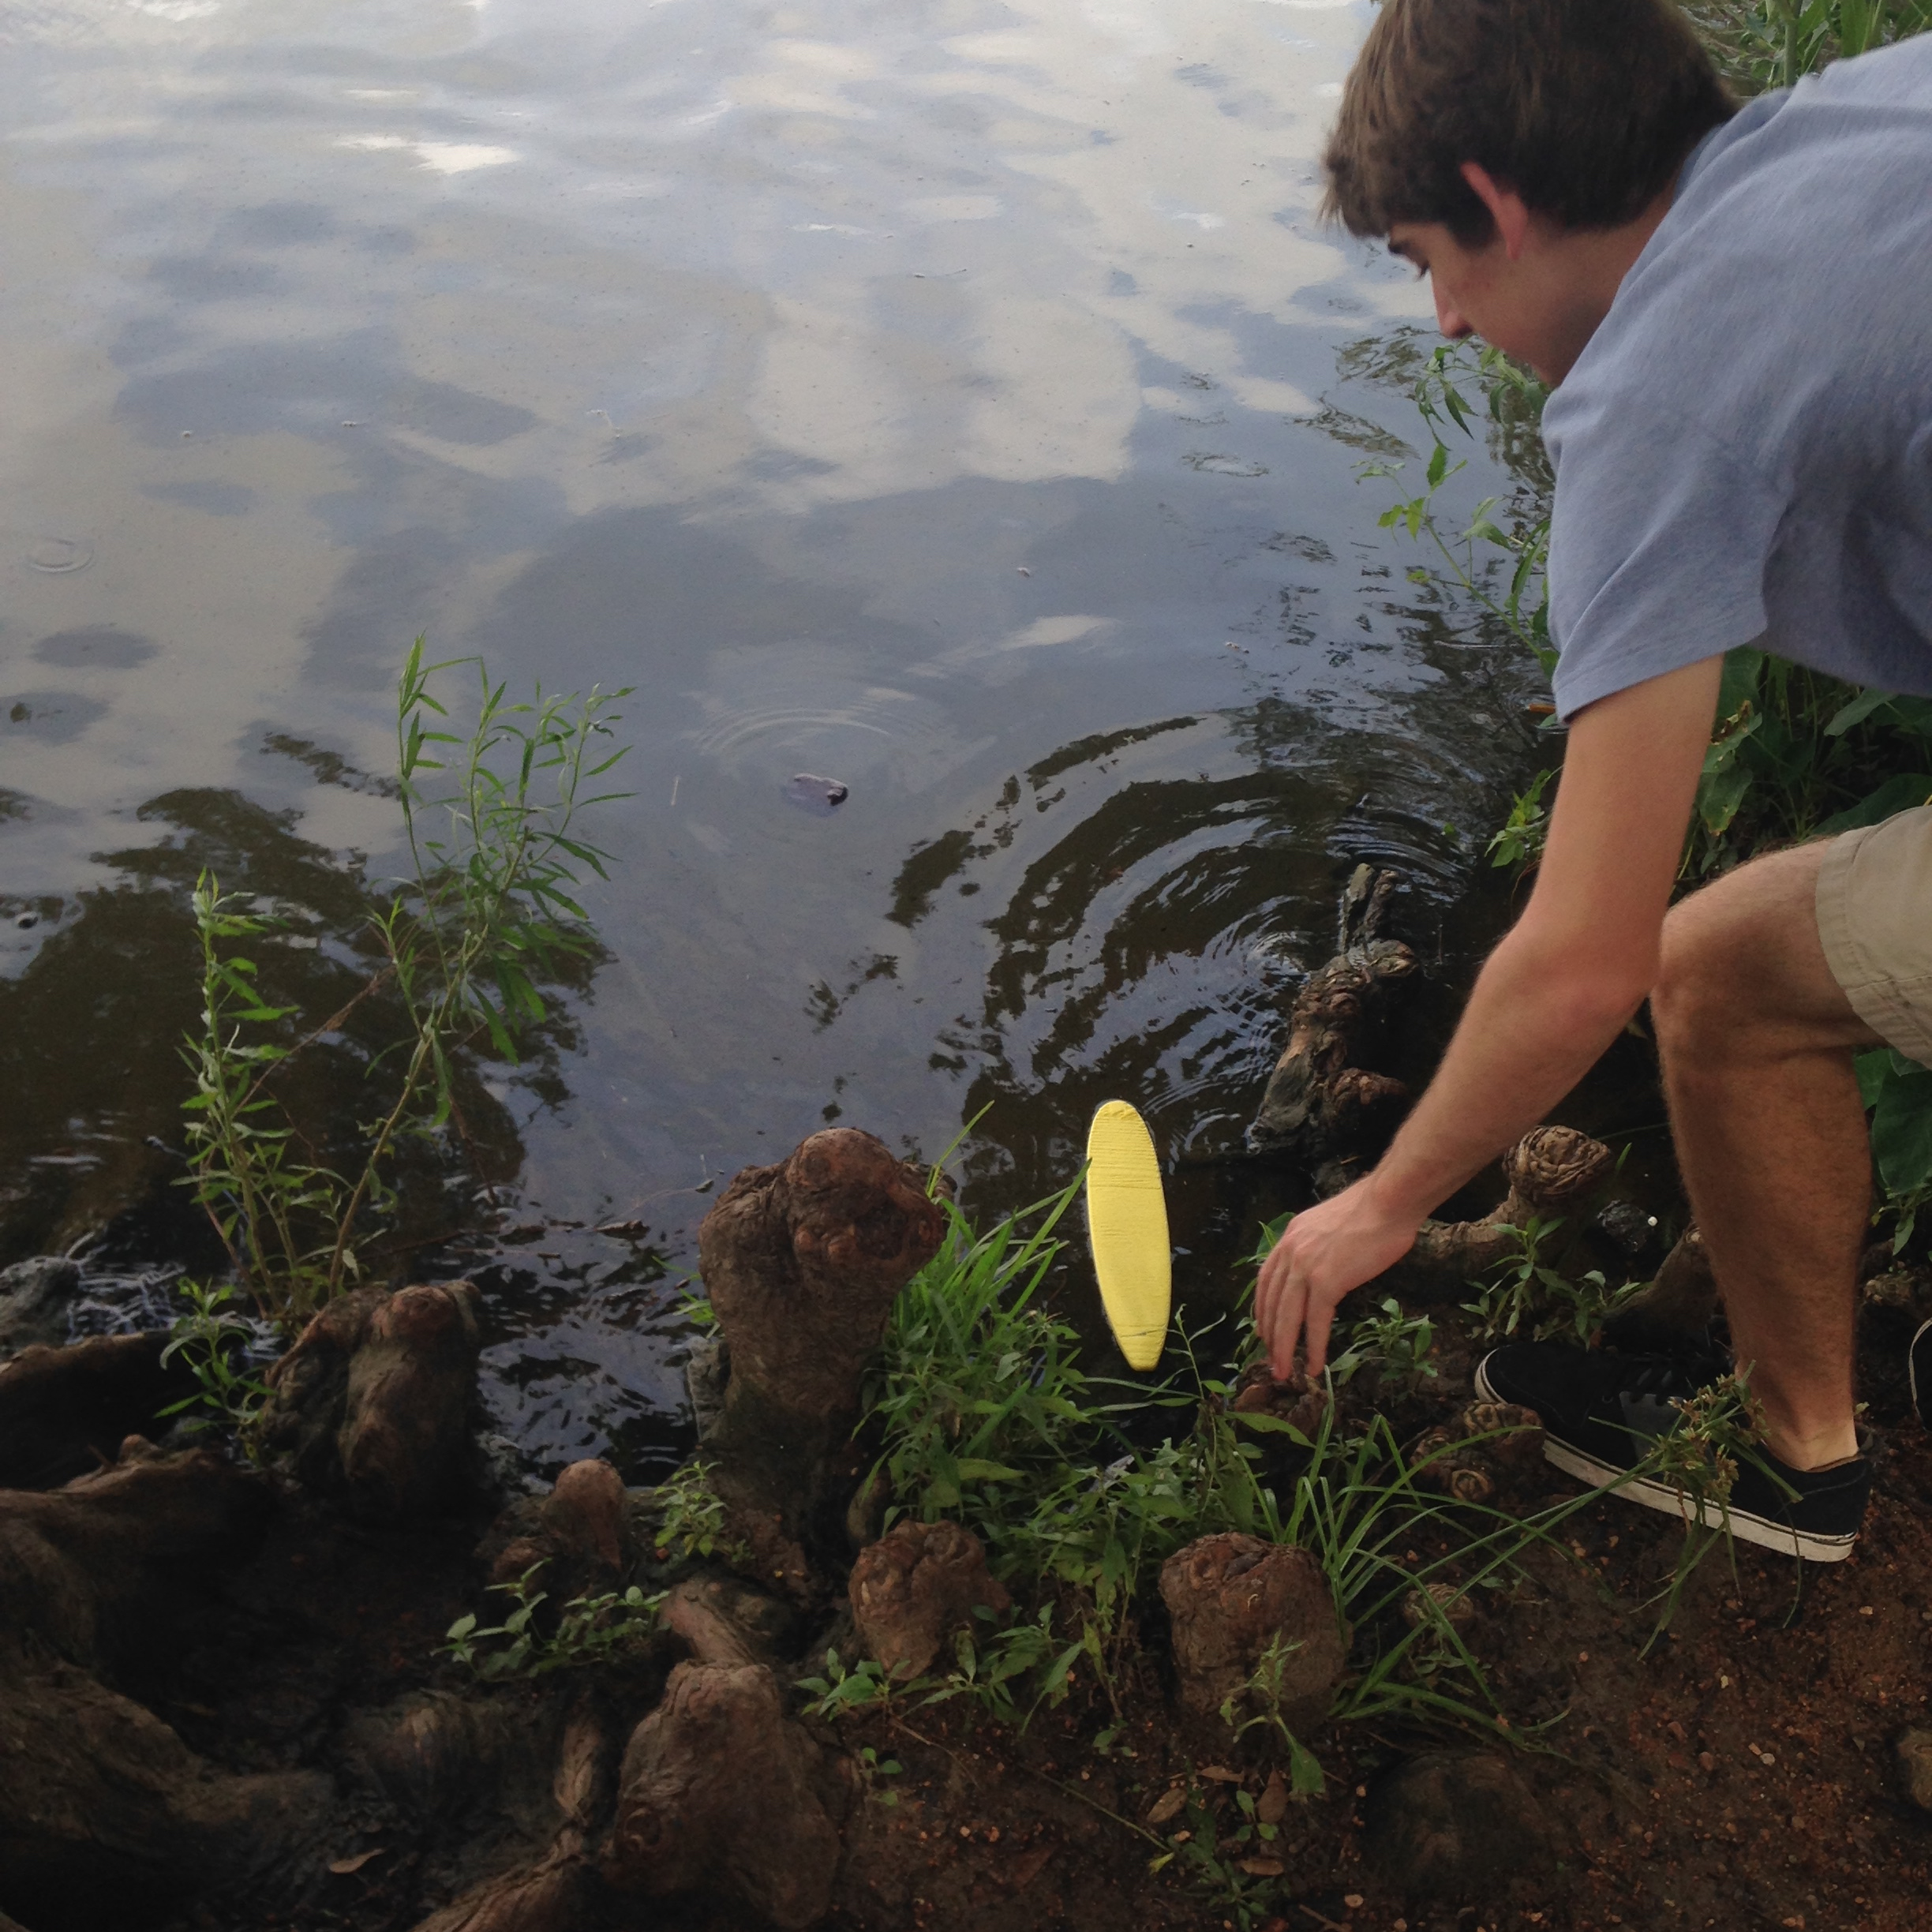
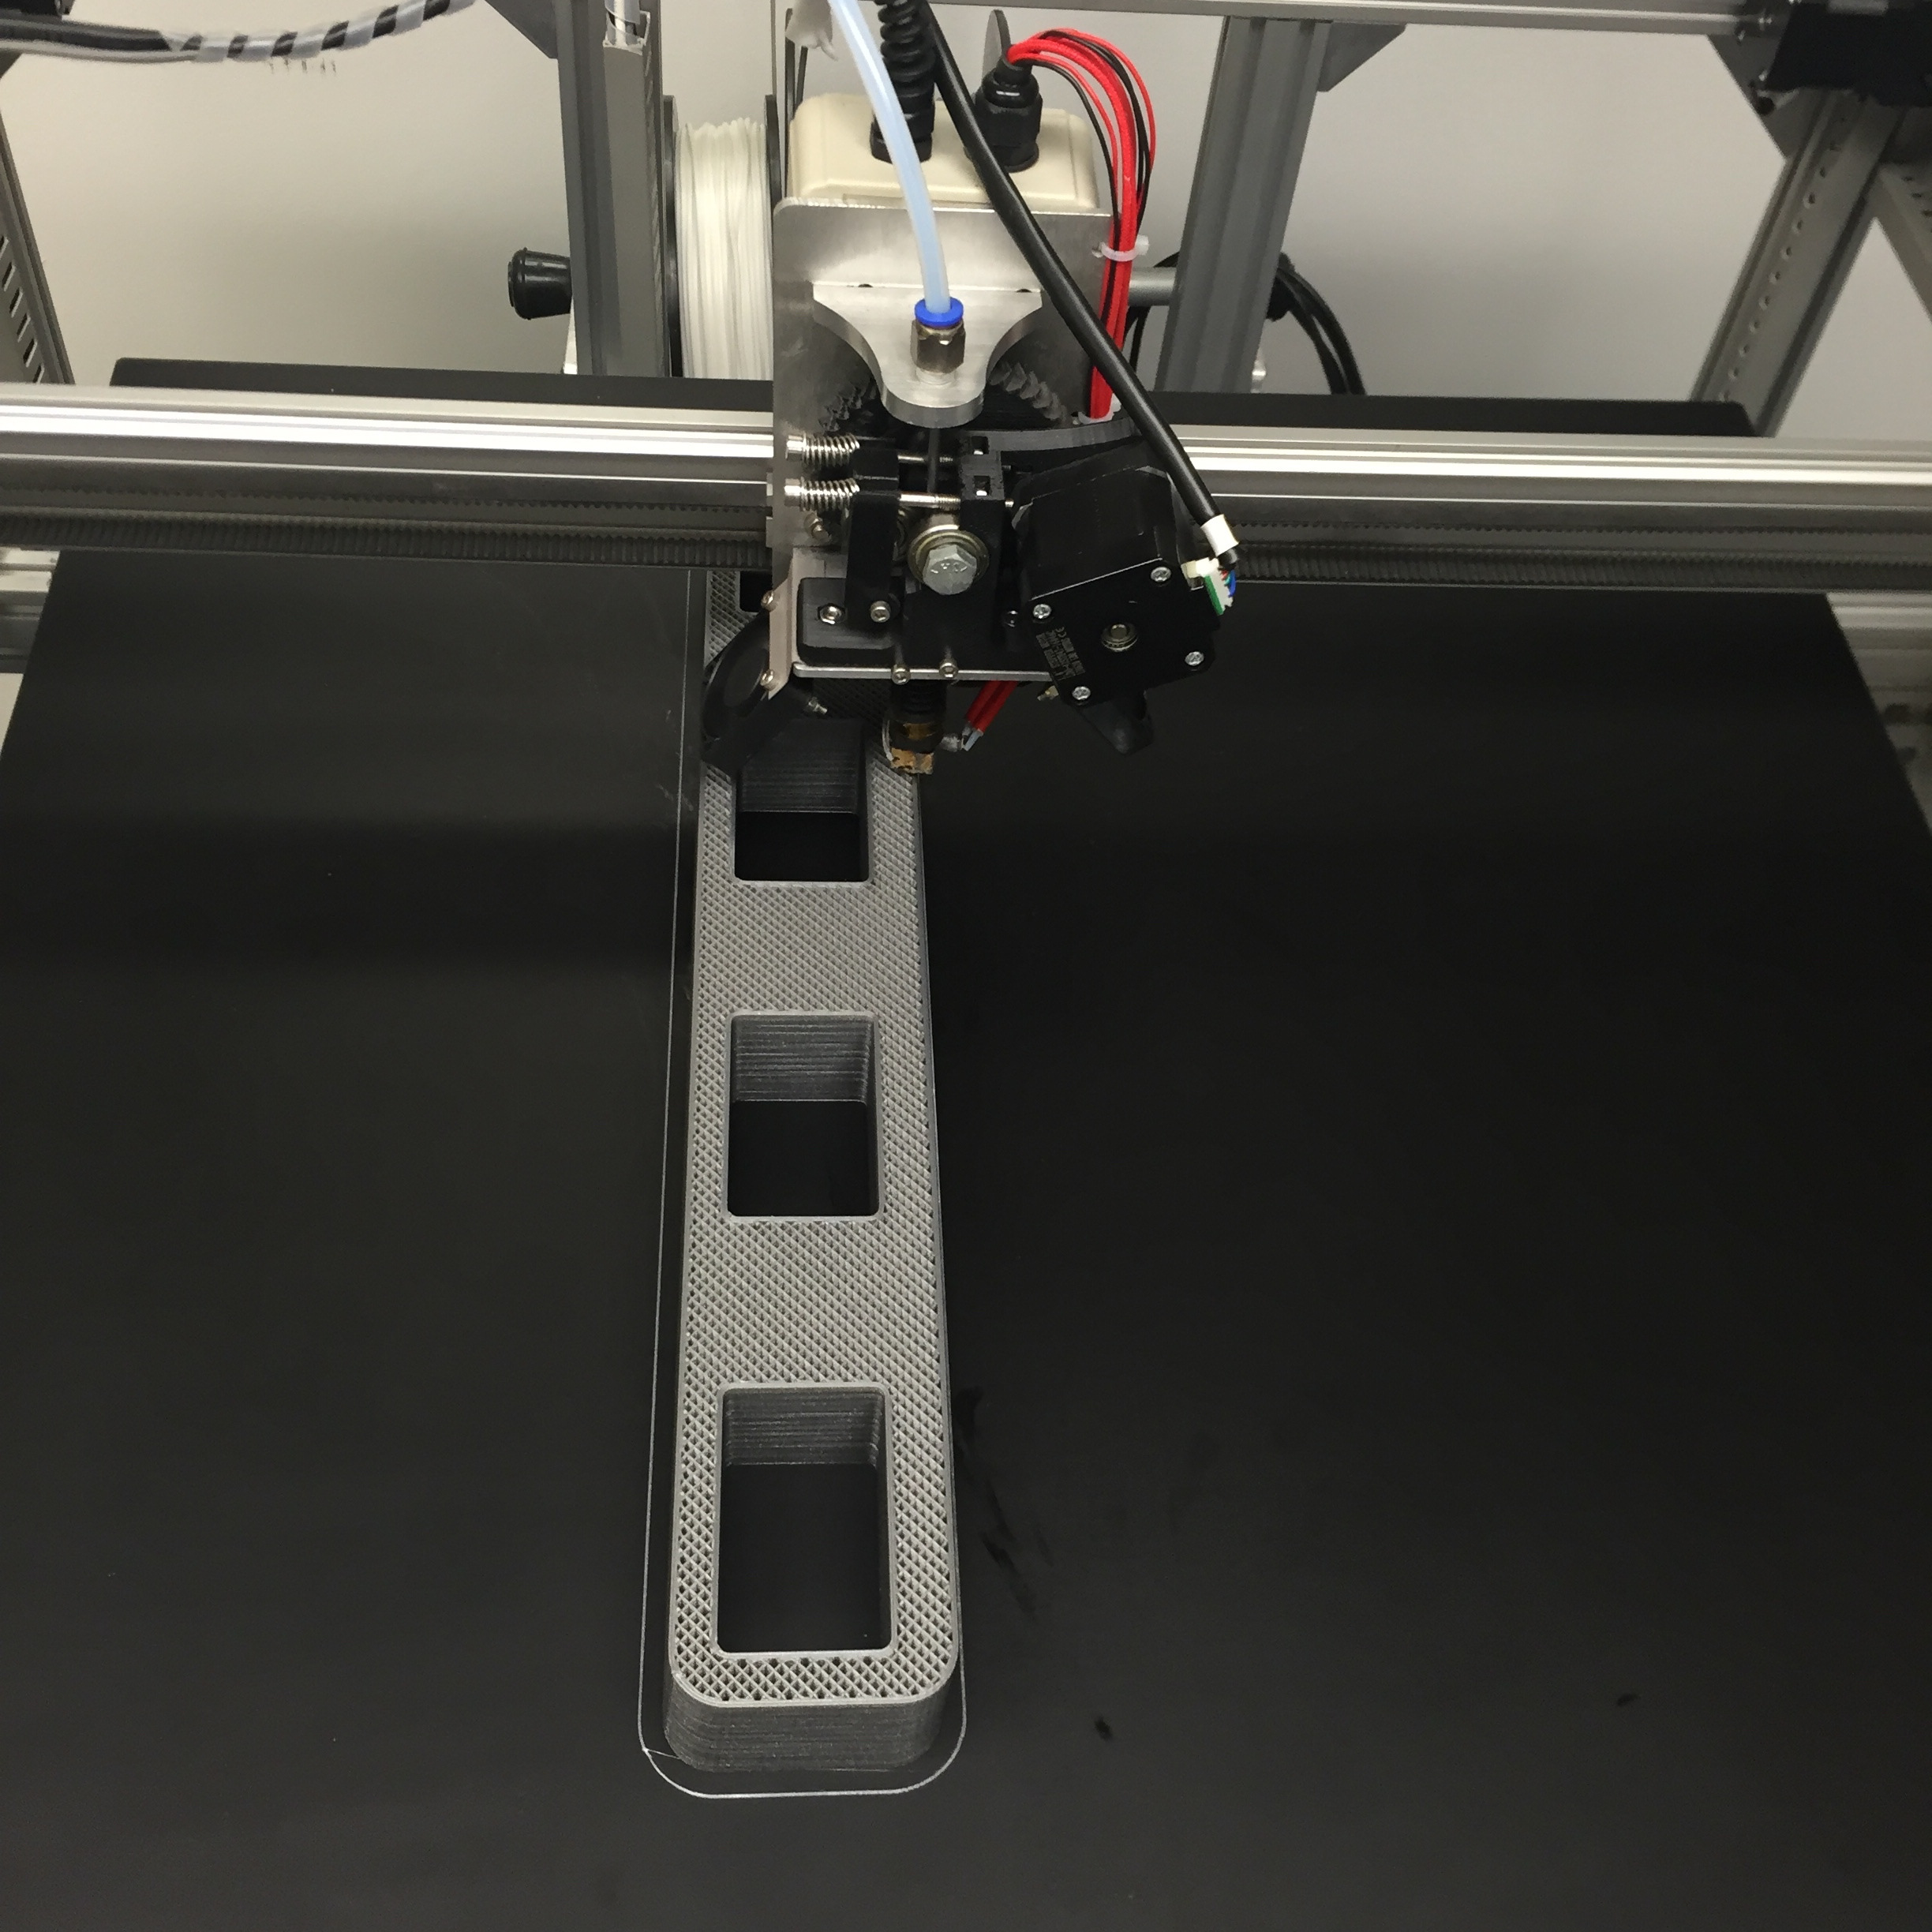
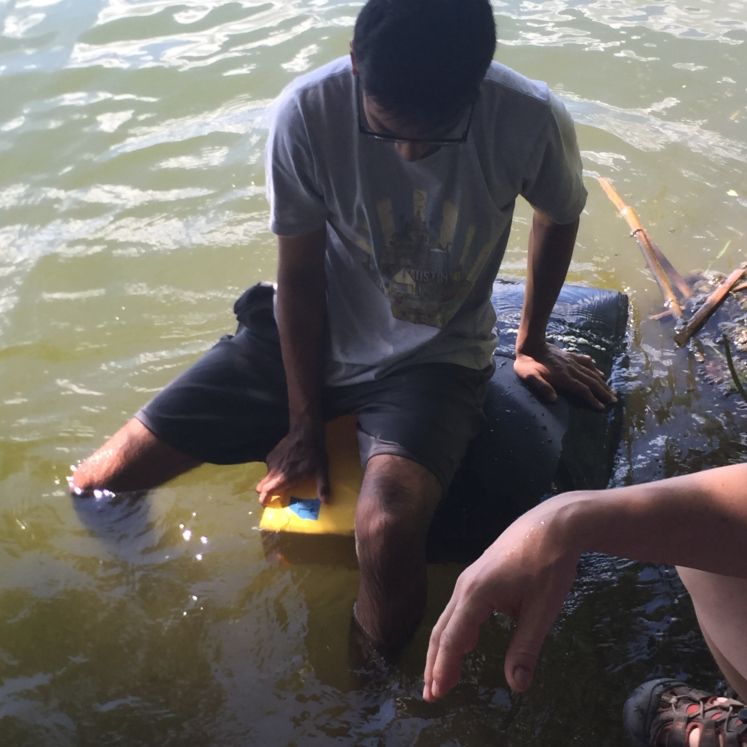
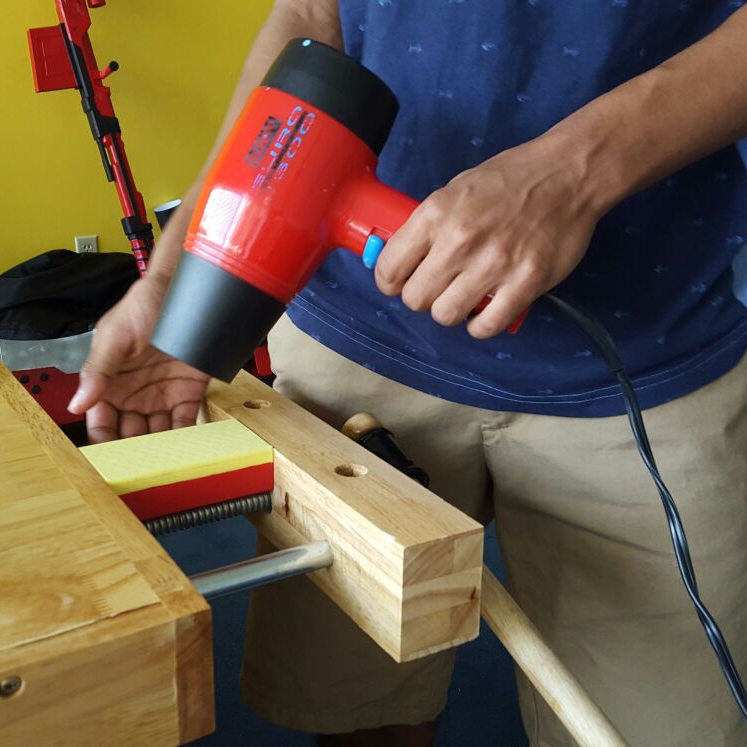
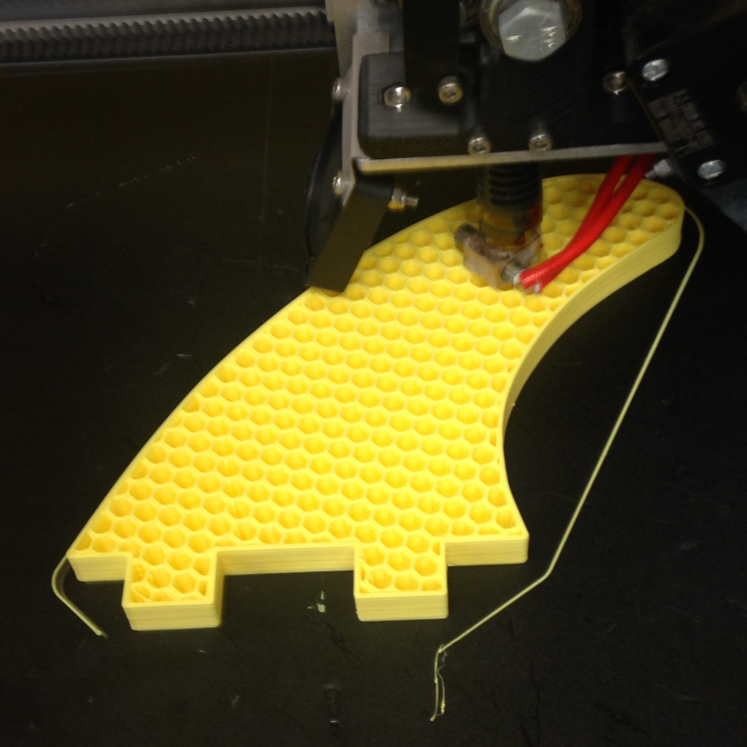
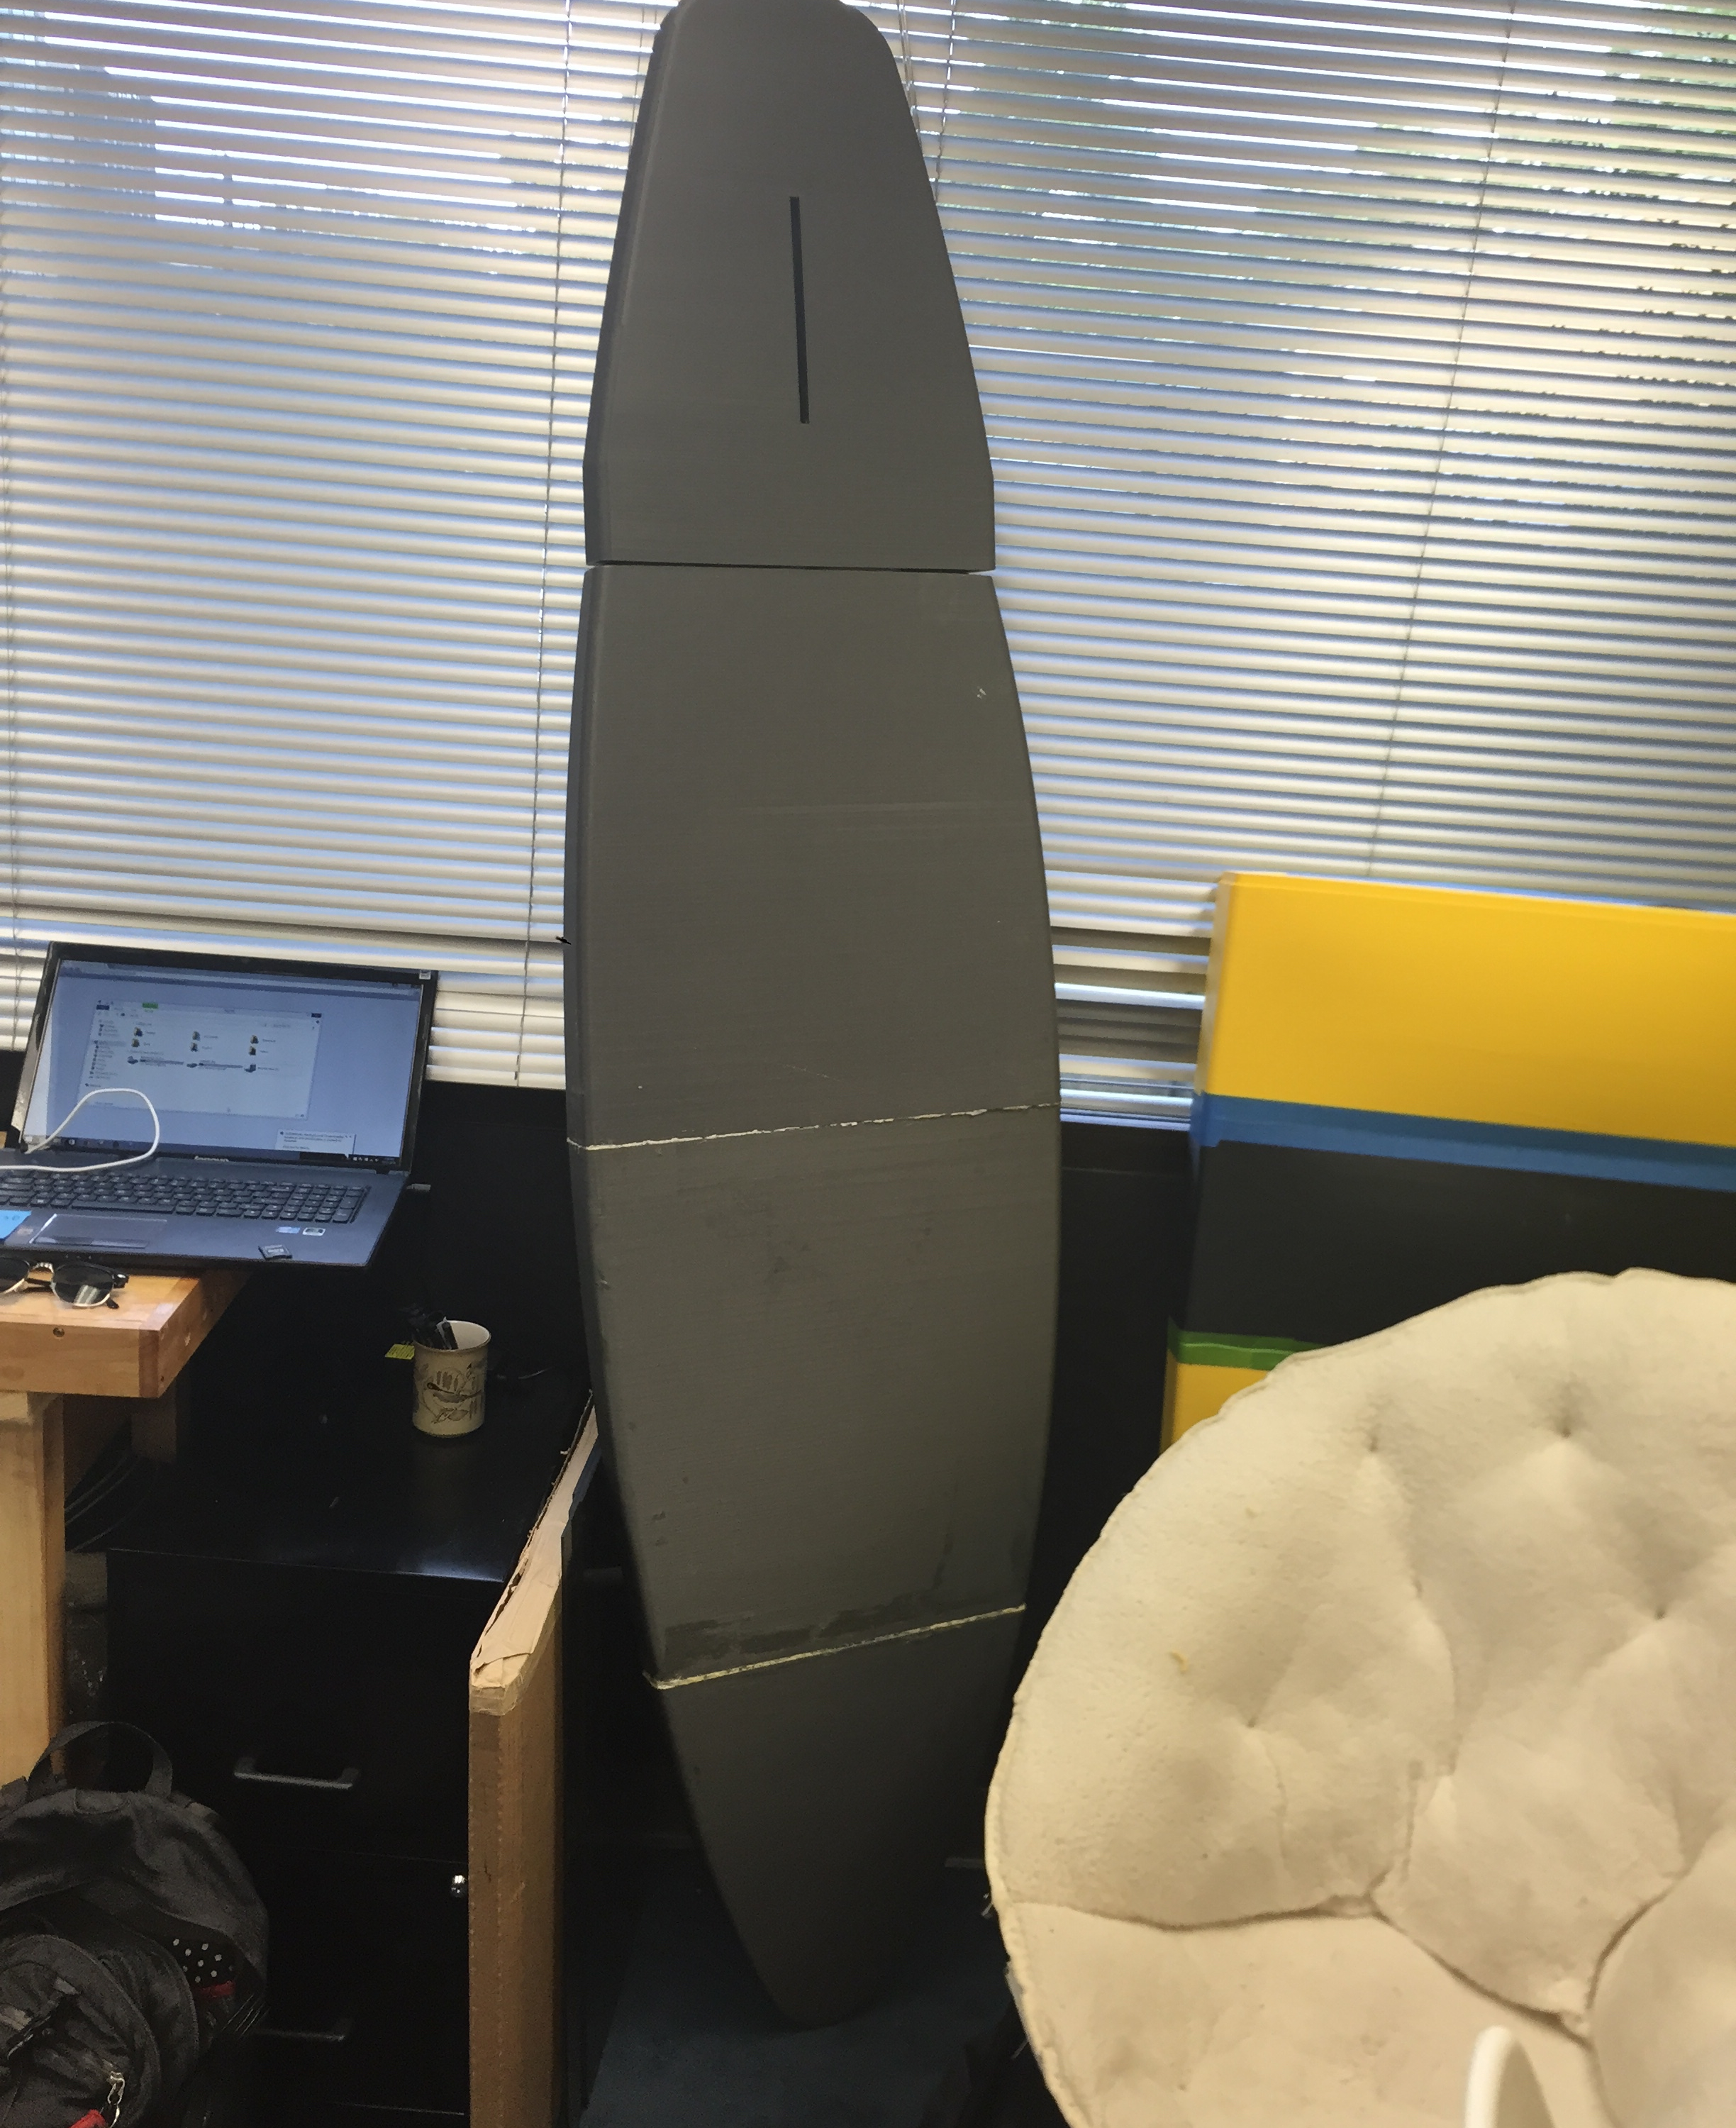
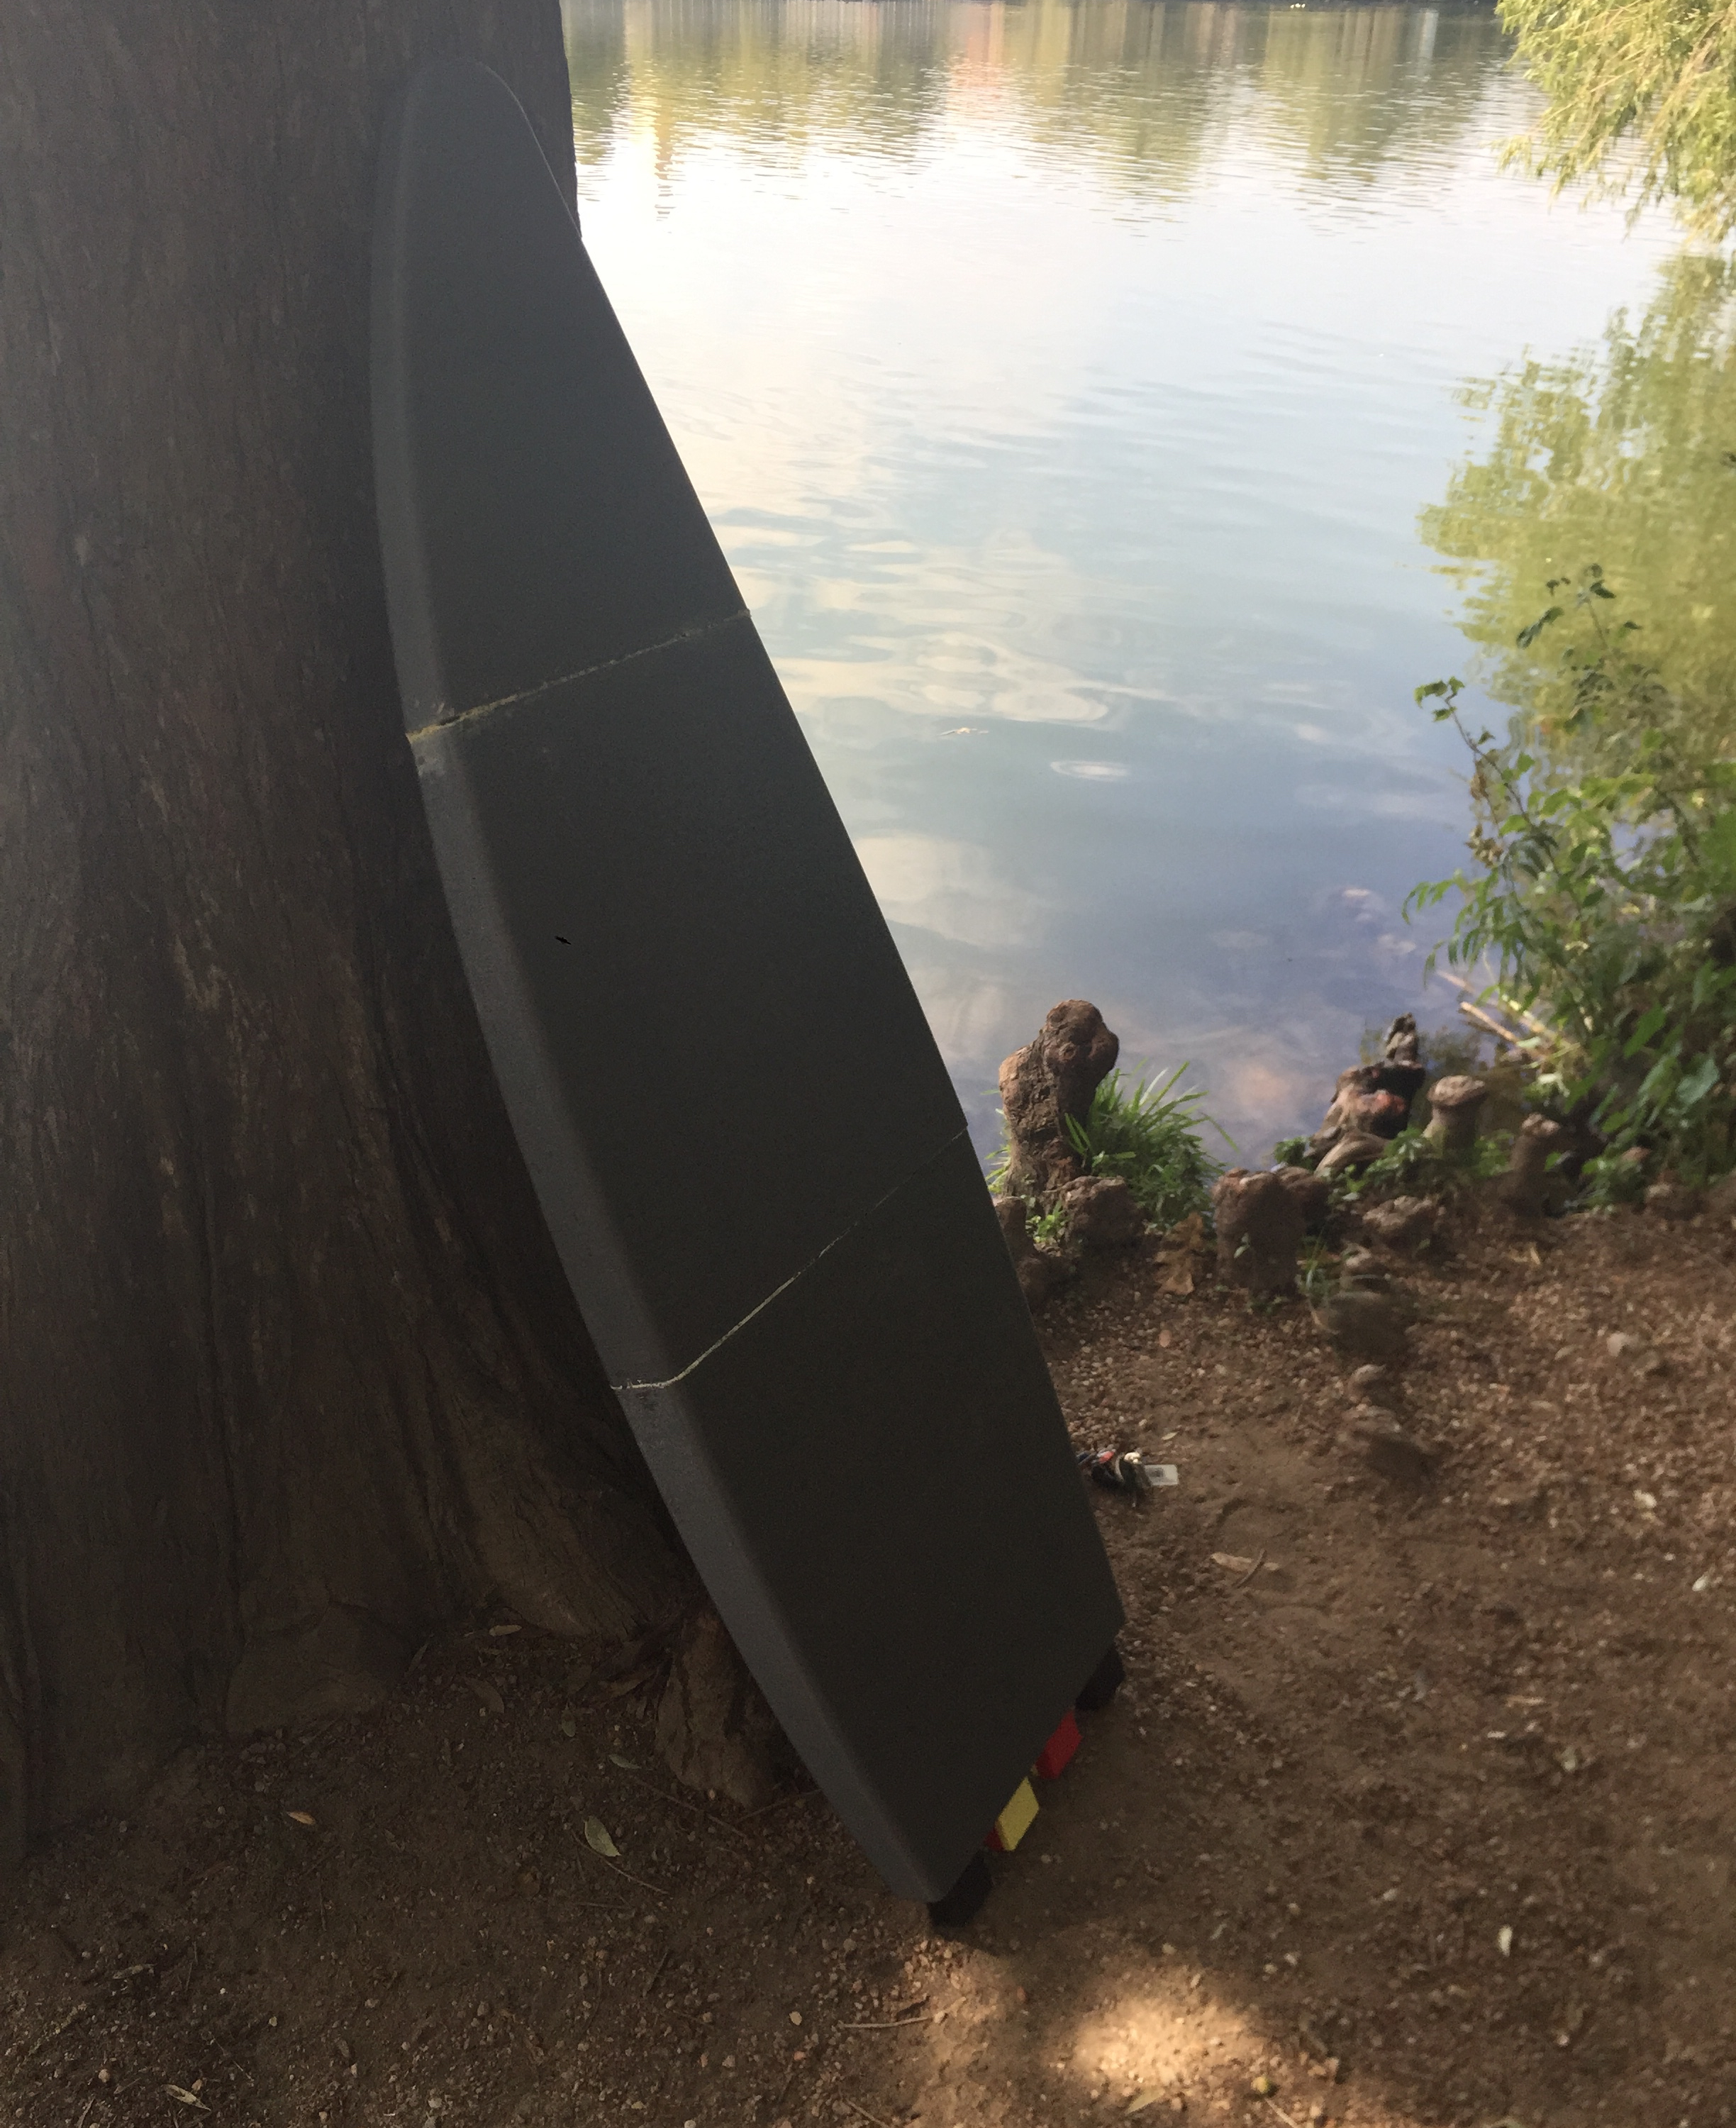
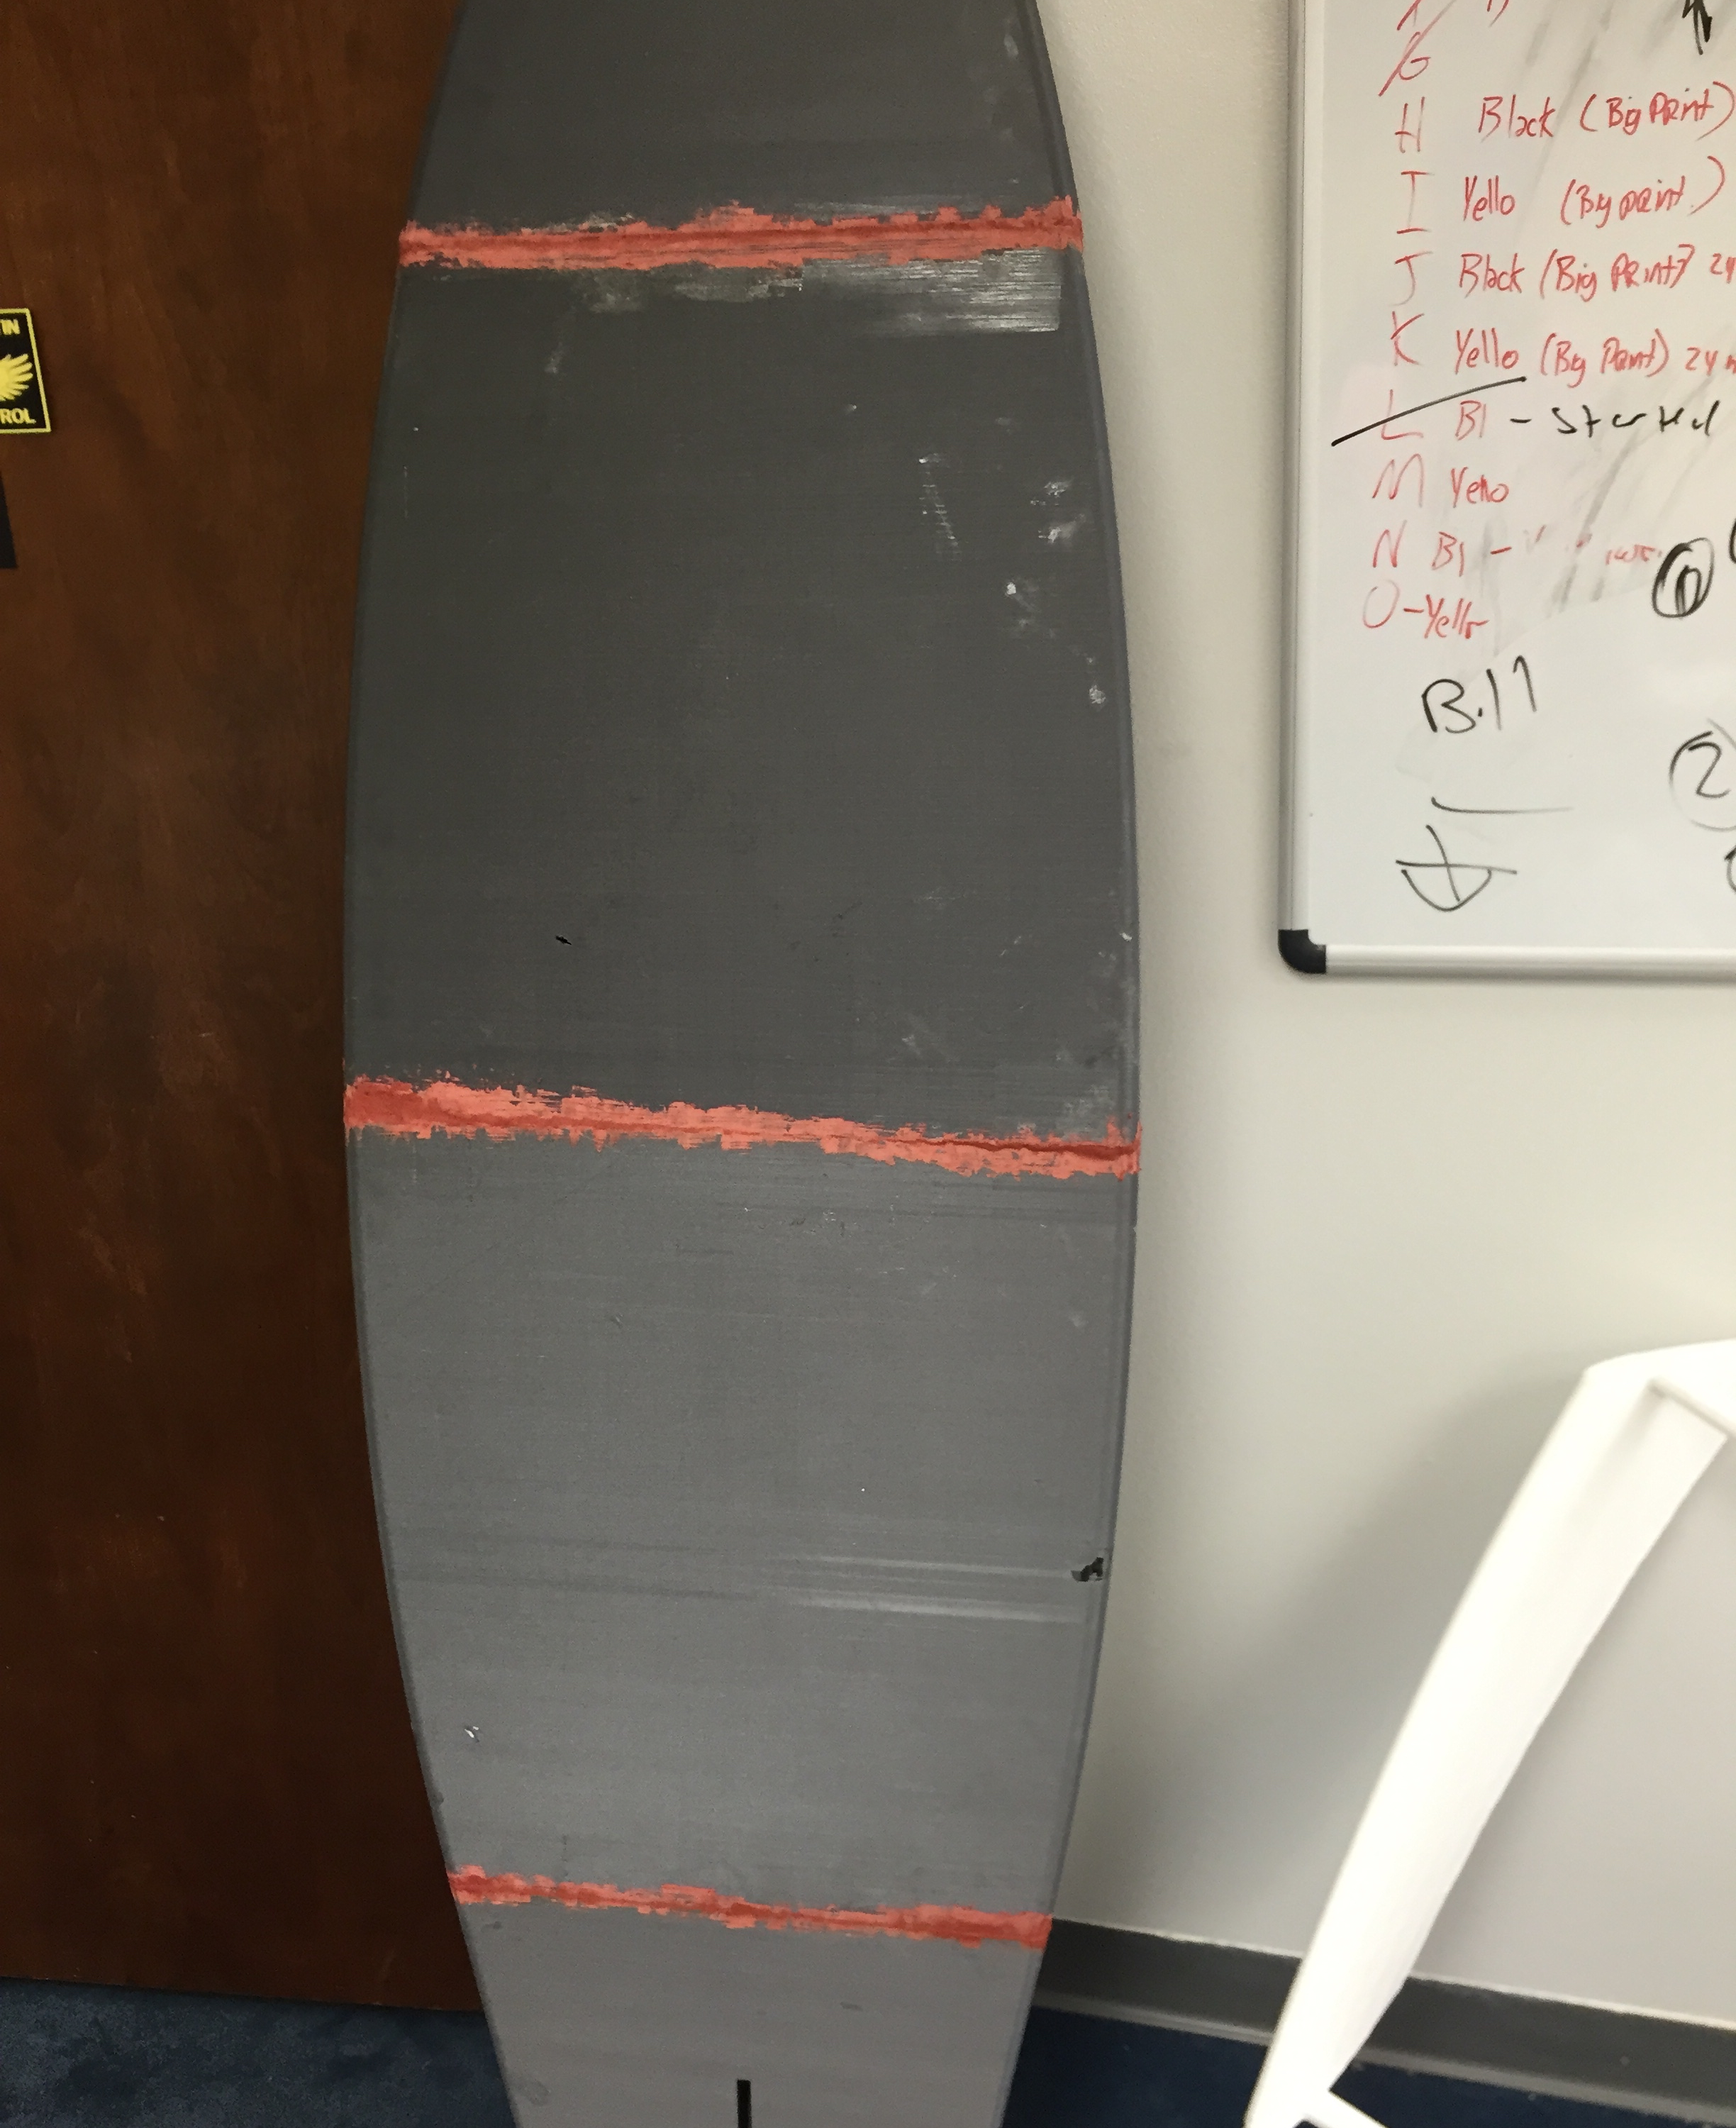
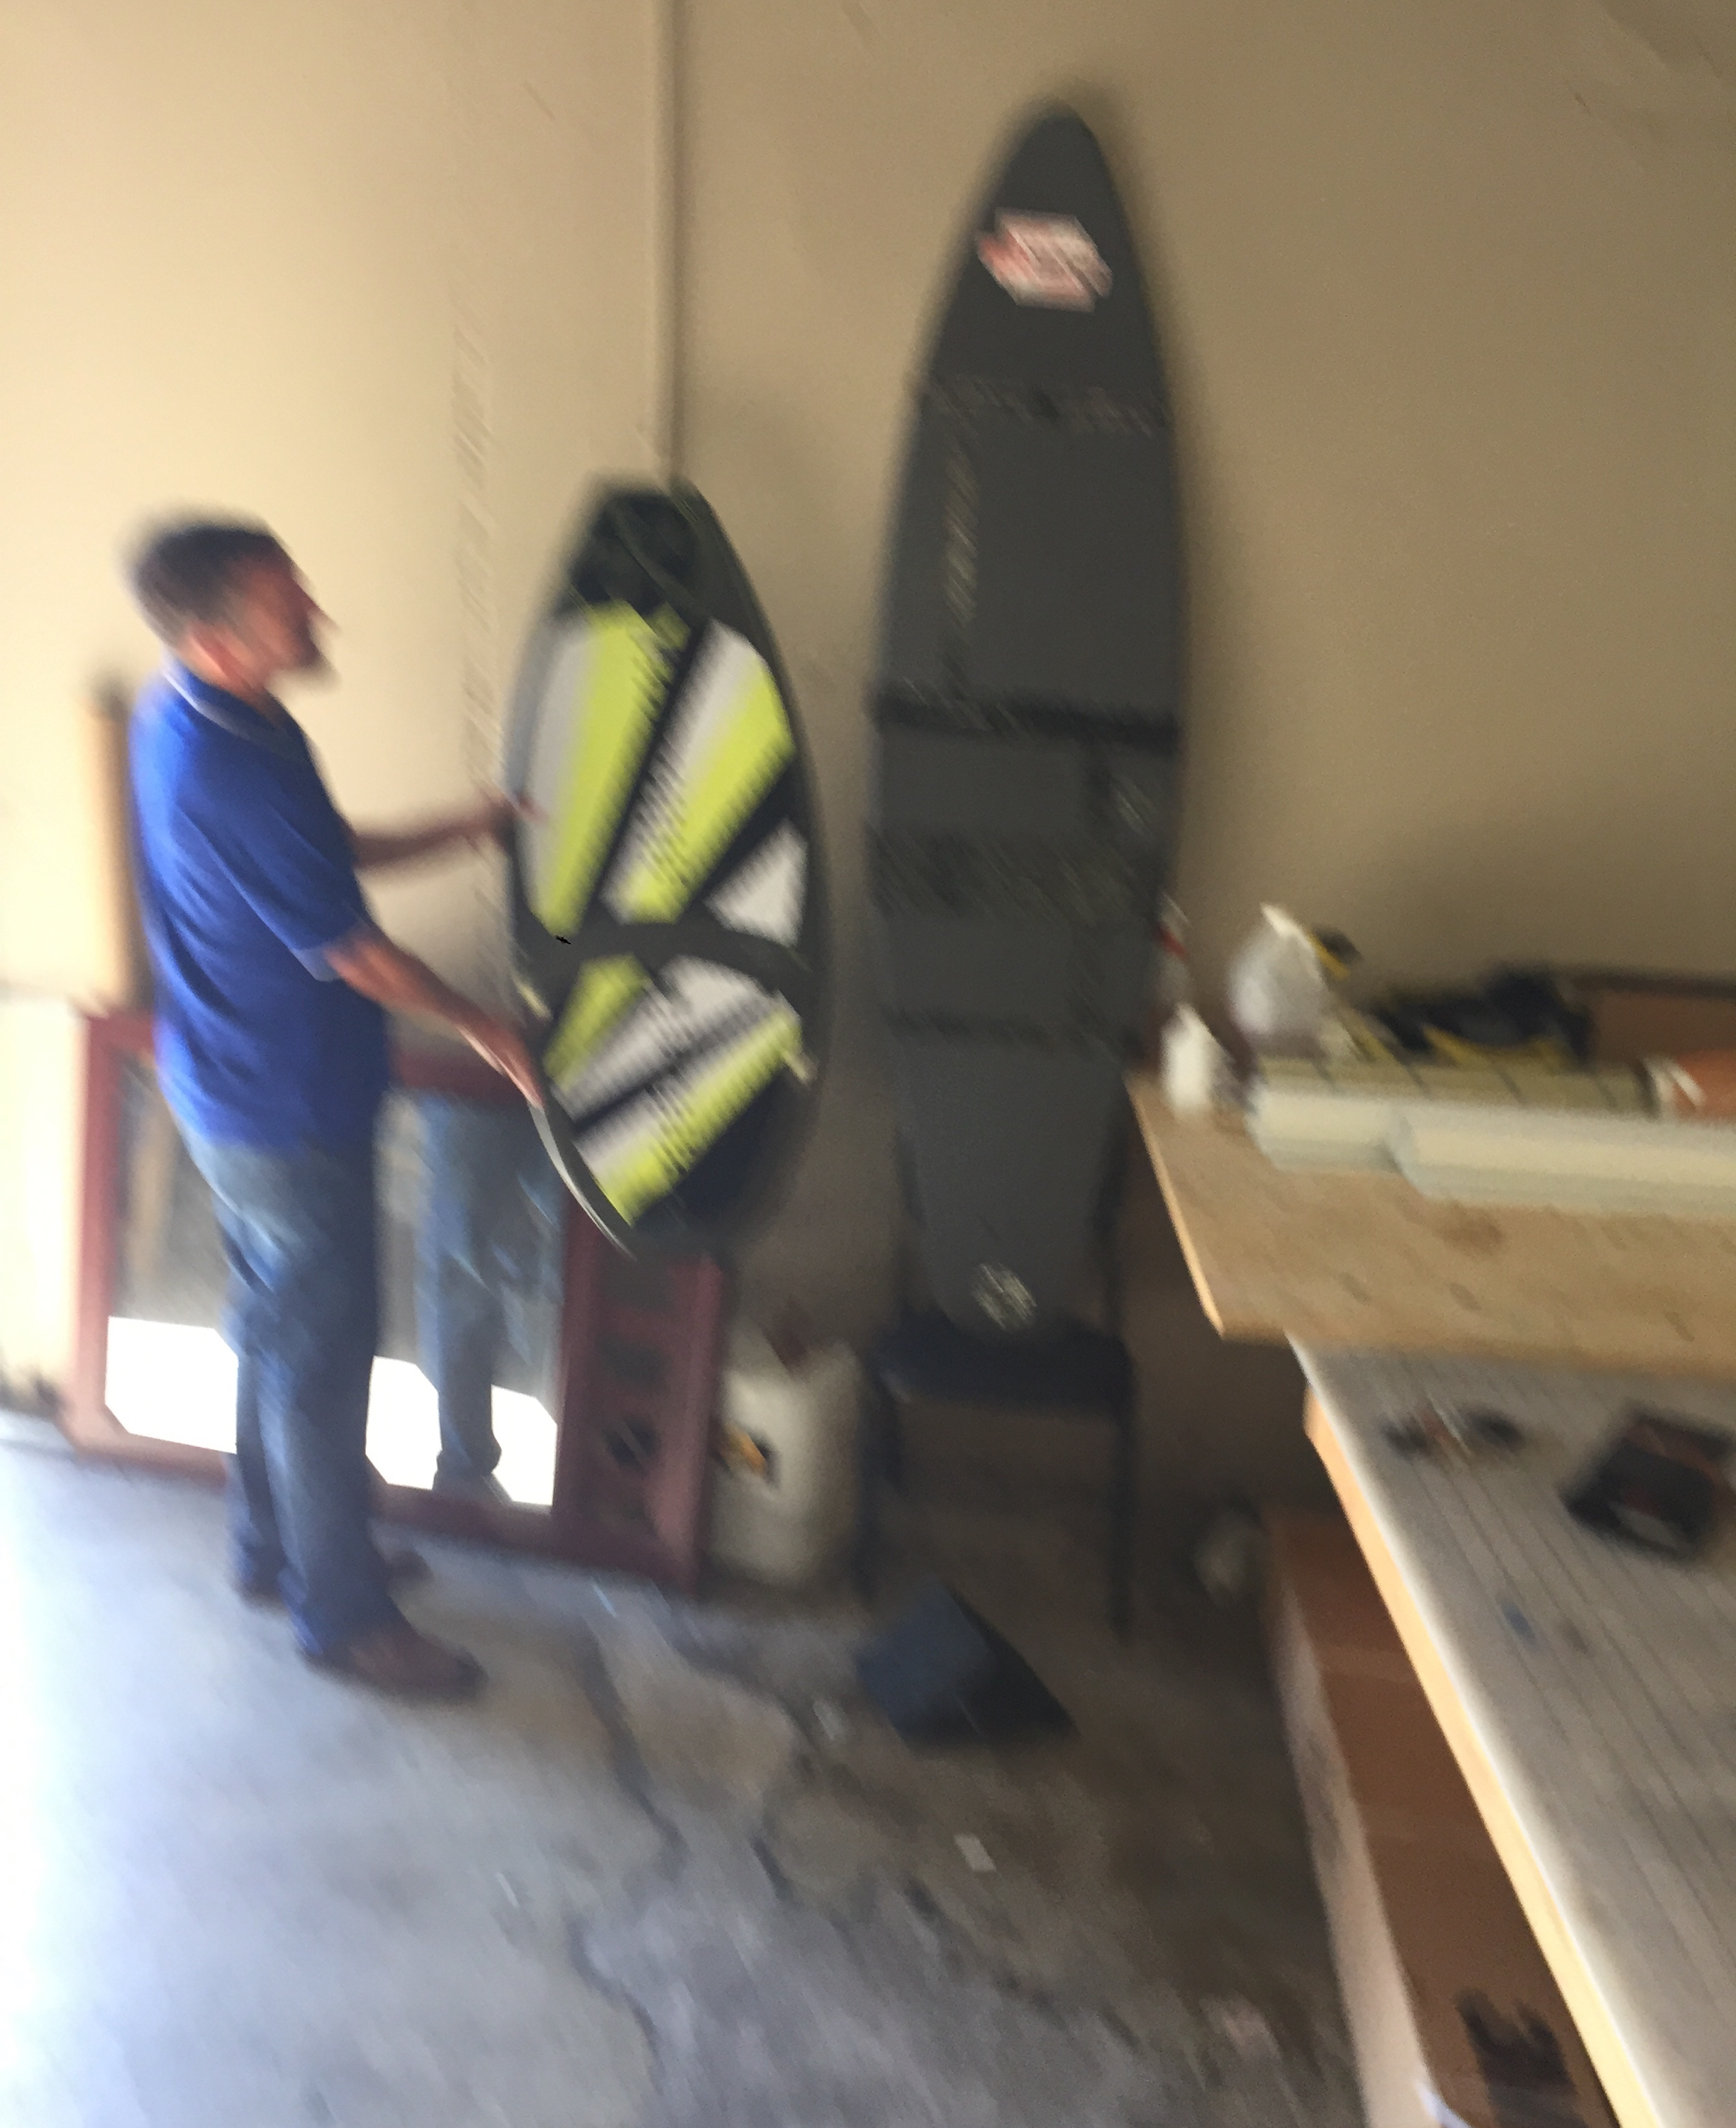
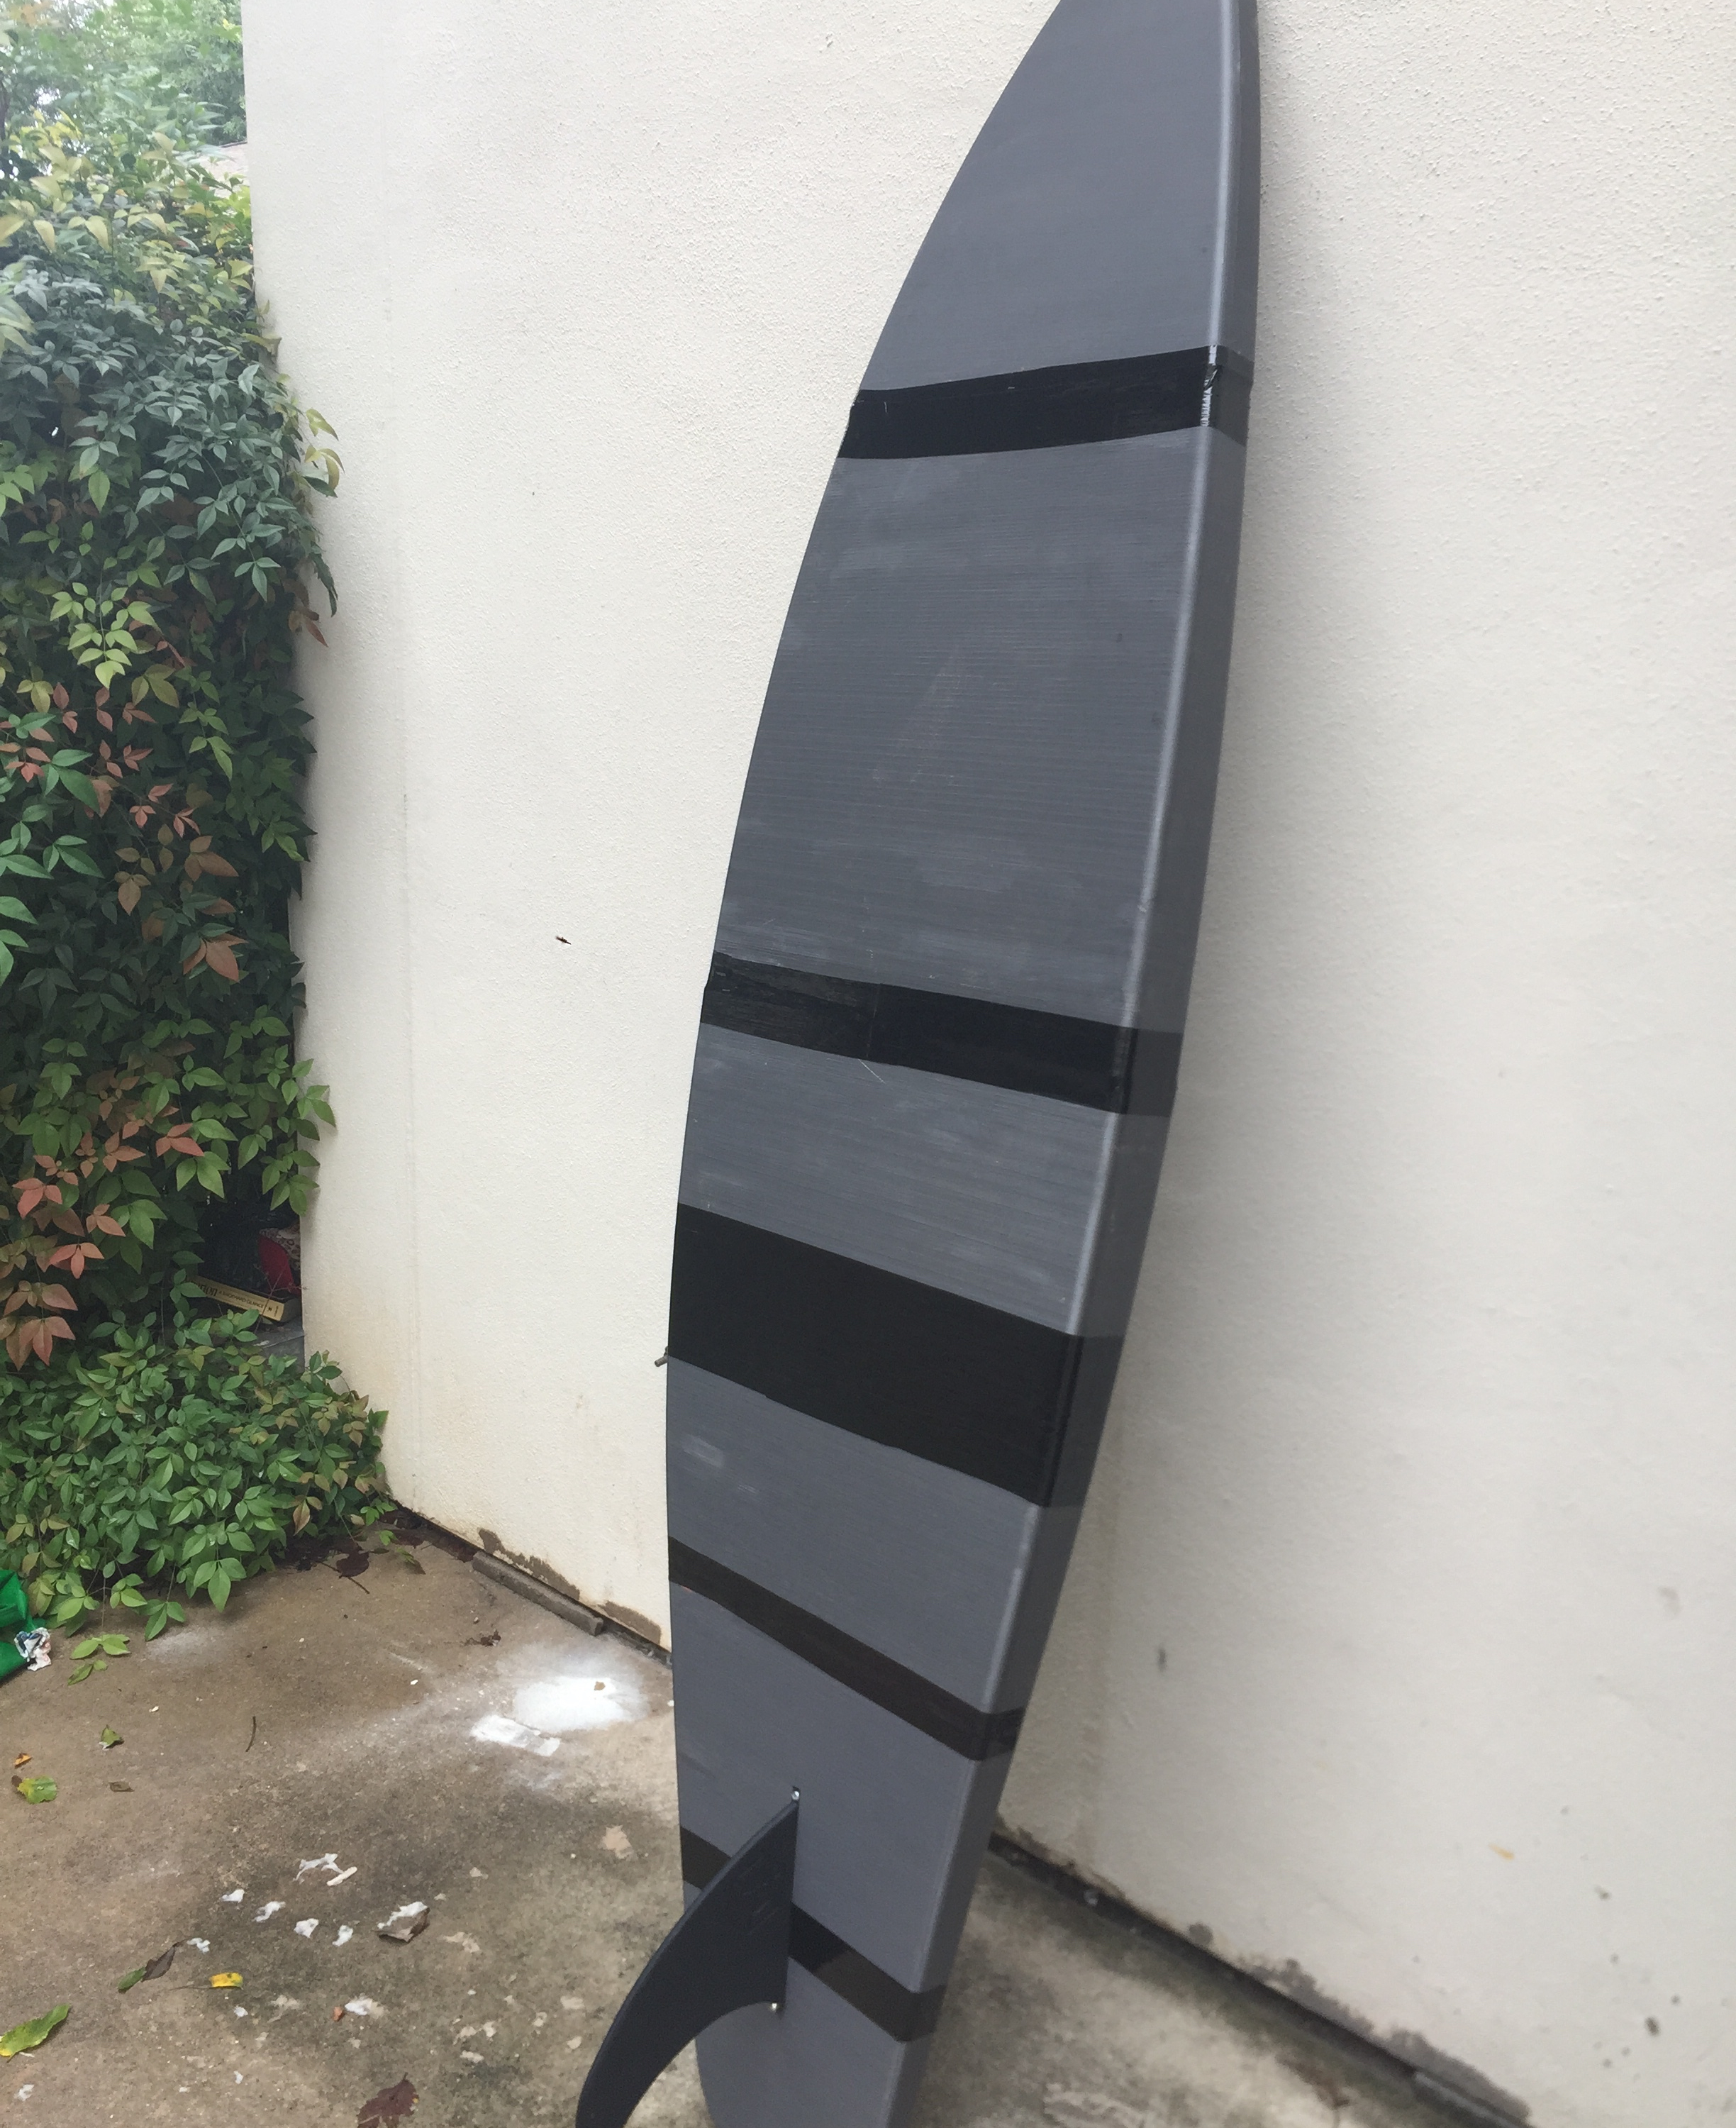
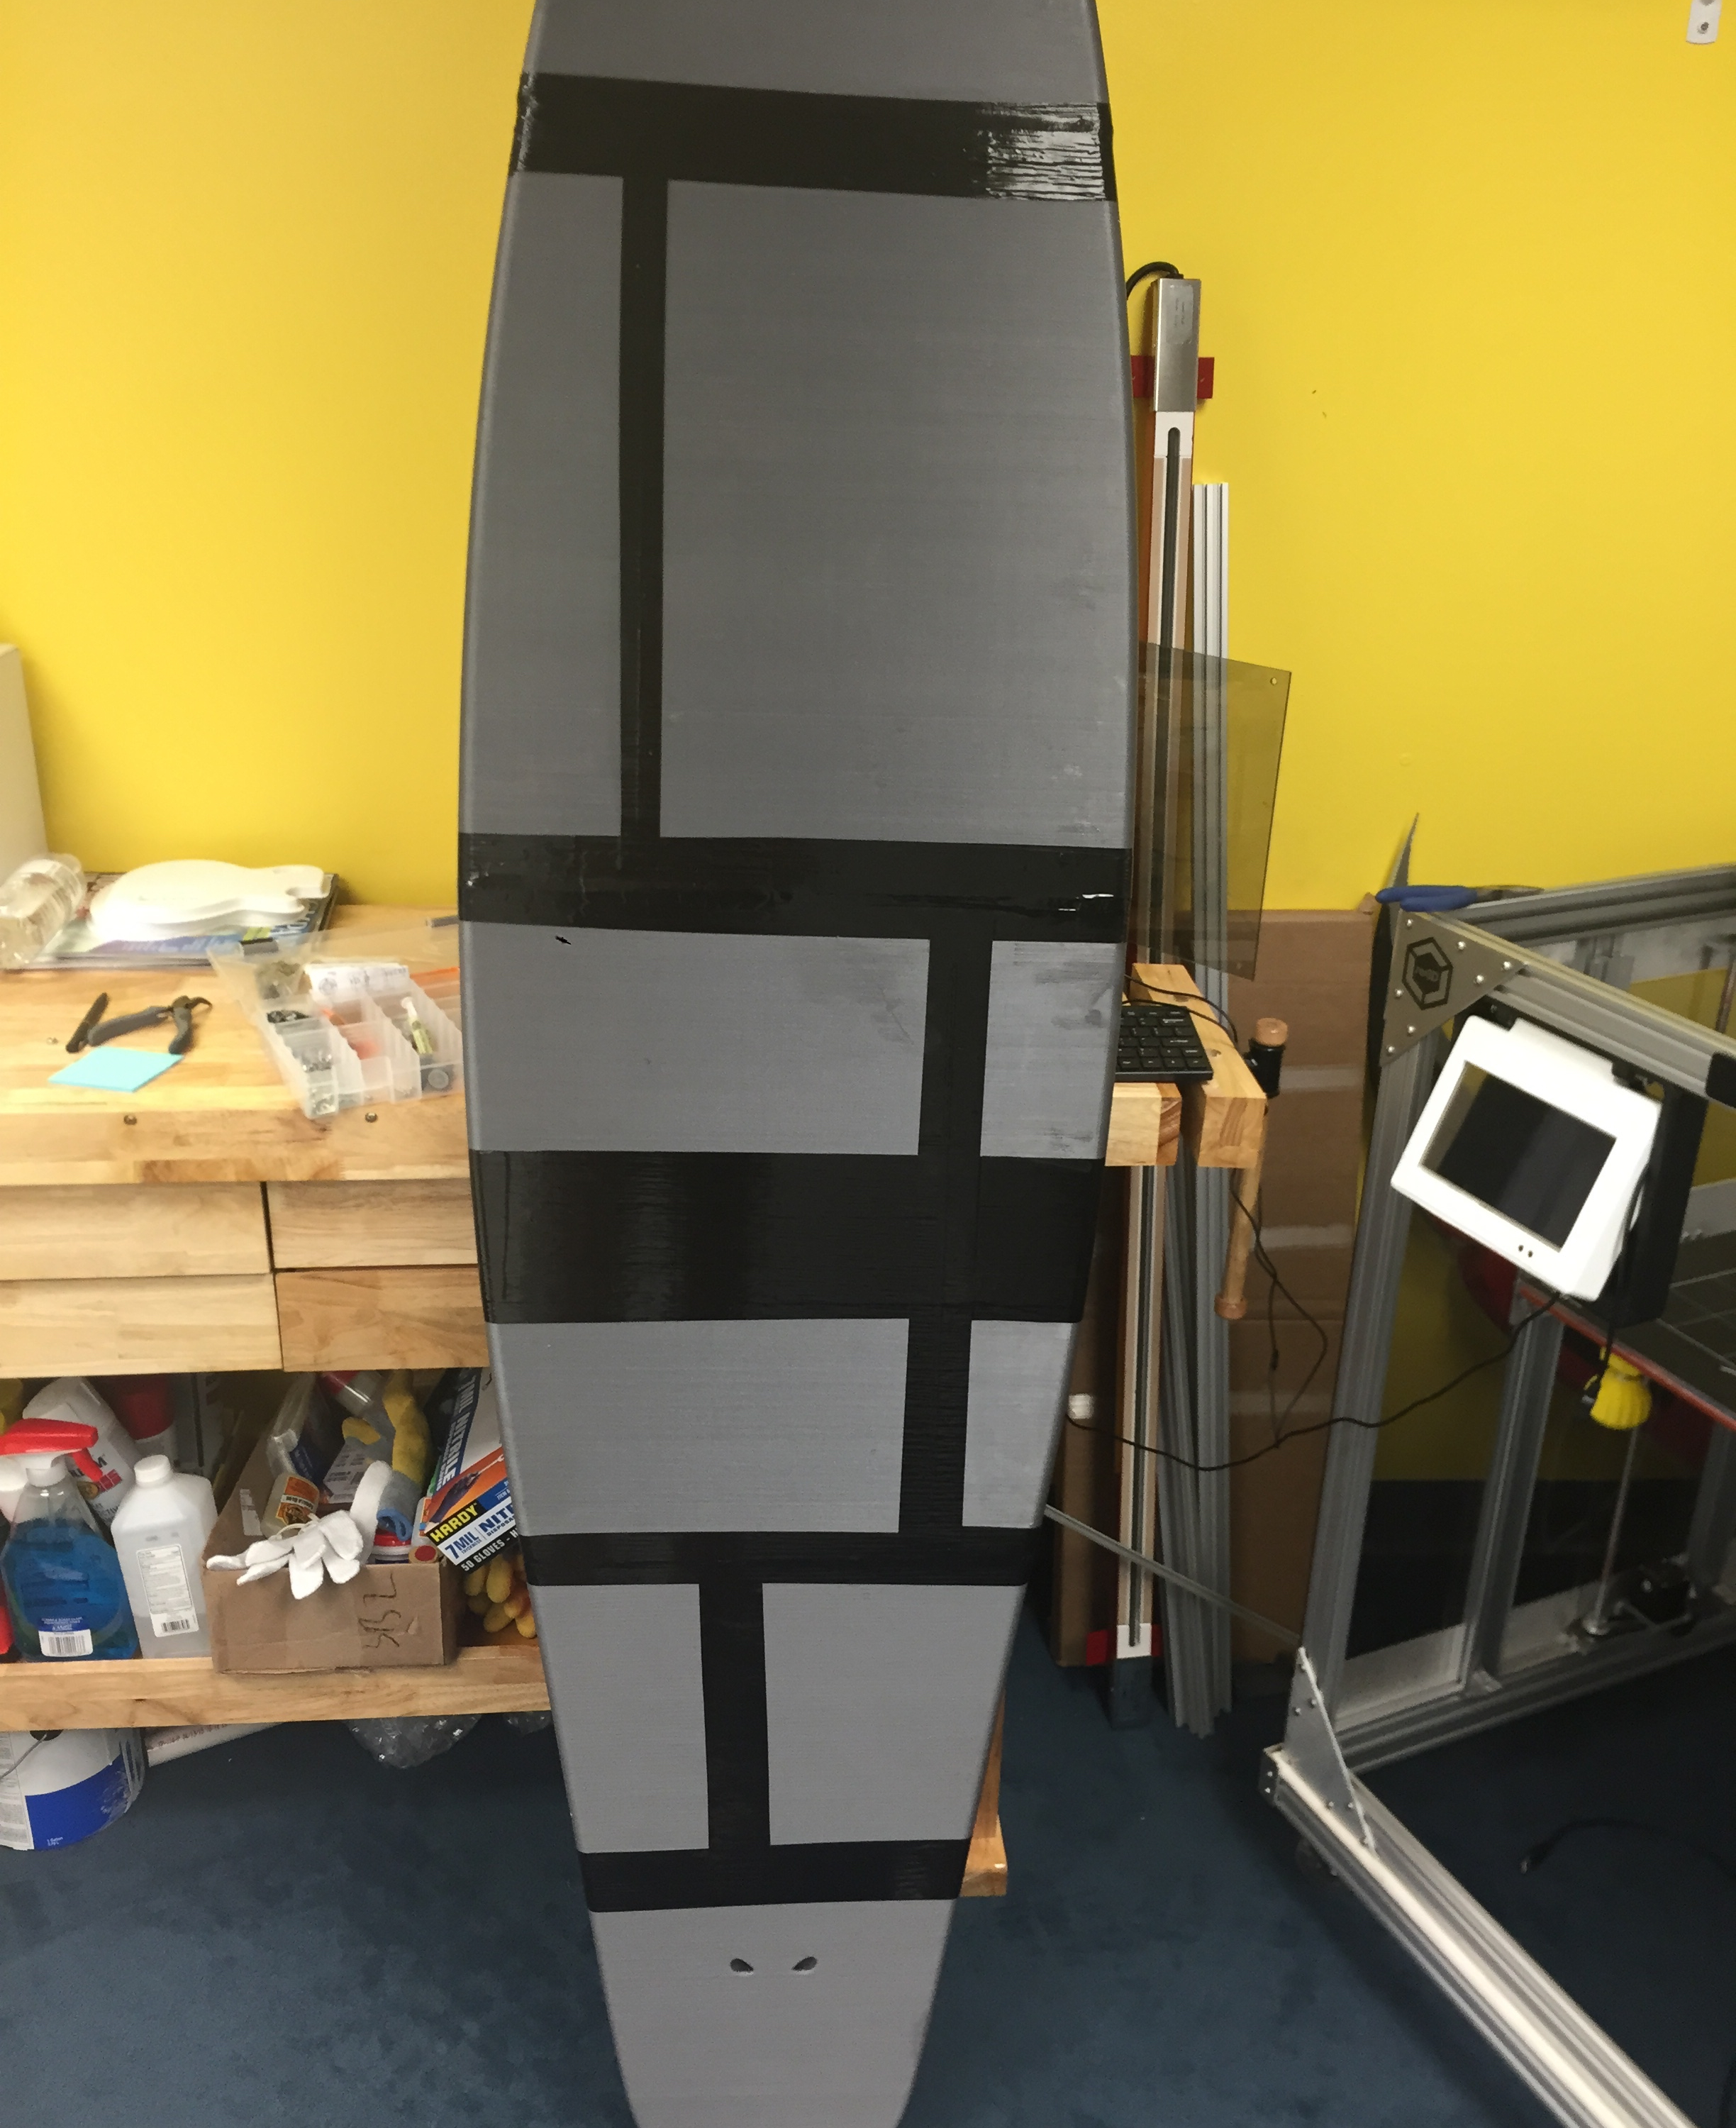
To develop the initial concept, Akshay paired up with our Summer Stand-up Paddleboard Design Intern Evan, who was also exploring the possibility of supporting a load on water.  During Katy’s Thursday Design meetings they evaluated each other’s models in Solidworks, discussed stress points, and analyzed the best way to join components. They also ran a series of experiments to deduce not only if PLA floated, but also if it could be water tight. While they initially pursued similar concepts involving a series of rods conjoining dense pieces, they later opted for separate methods. The stand-up paddleboard included a series of hollow segments, filled with Great Stuff, bound with Gorilla Glue, and fiber wrapped.  The surfboard, Akshay decided, would be four, 6% honeycomb-filled segments held together by a series of 50% infill 3D printed bricks. Like Evan, his instrument of choice for sealant included copious amounts of Gorilla Glue.

This was our first foray into a “formalized” summer intern program and the weeks flew by. We learned a ton about setting deadlines, procurement delays, accounting for R&D or marketing inventory in our budgeting & bookkeeping, and how to better mitigate bottlenecks in Gigabot availability for multiple, multi-day crazy prints.

As June turned to July, the scaled-models and sketches transformed to full-scale experiments. Katy’s design meetings became increasingly important as the group collected feedback from the team and data from real-world tests which influenced model adjustments.

Fin Design

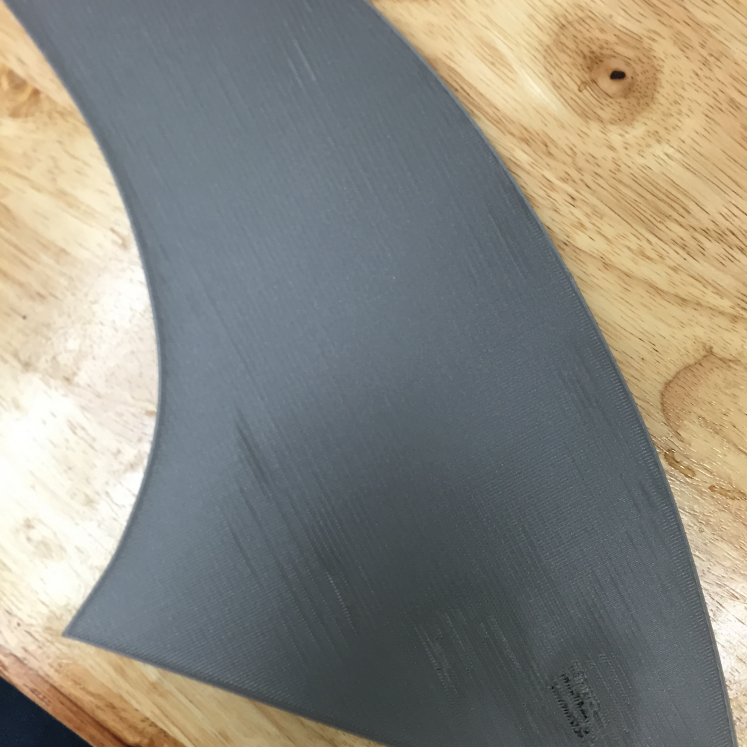
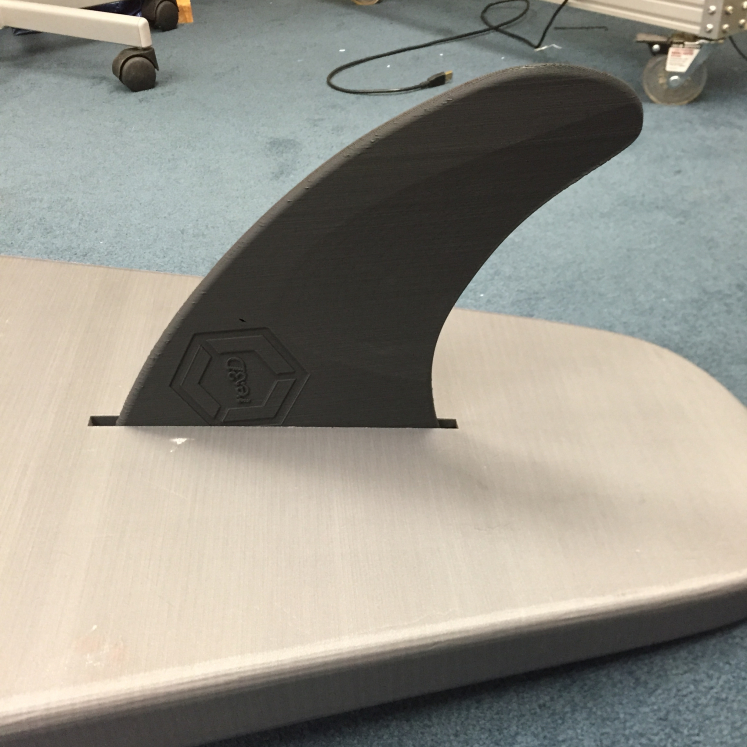
Throughout the summer, the surfboard fin underwent as significant an evolution as our scaling team using input from experts, the open source community, and our own failures. Askhay’s first design included two tabs to be glued into the frame, which floated and appeared to have the infill & form required to be successful based on our initial tests. However, after delving into the minutia of surfboard design, Akshay discovered that most fins are supported via a T-slot in the surfboard body. For this reason, he later designed a fin to be inserted into a groove. Unfortunately, we later learned we needed screws holes on either side to mount into the T- nuts. Mike responded to the challenge and mocked the final design, which included the re:3D logo as well as fixtures for the screws to mount into Akshay’s conceived T-nut slot. Mike also suggested that the fin be printed in black to complement Akshay’s silver board.

Final Construction

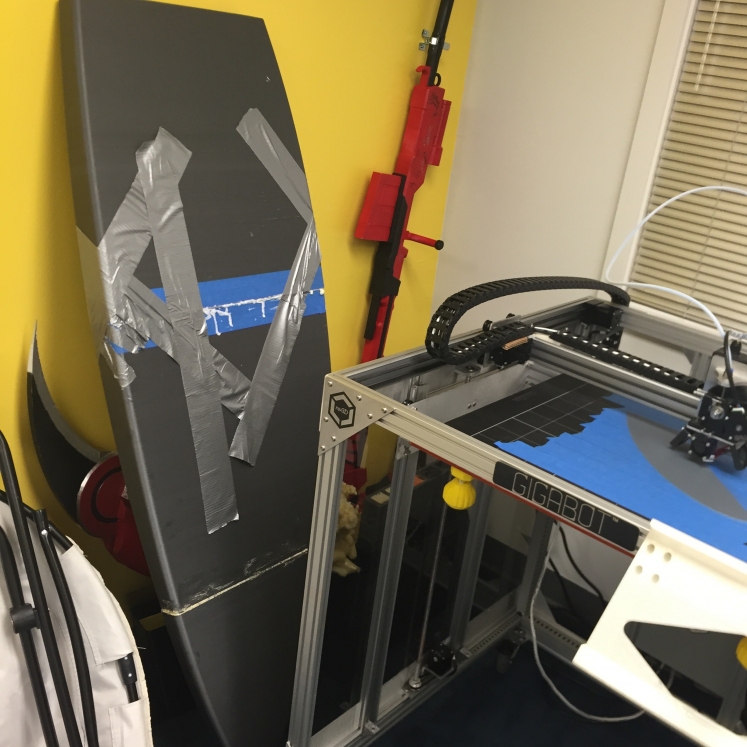
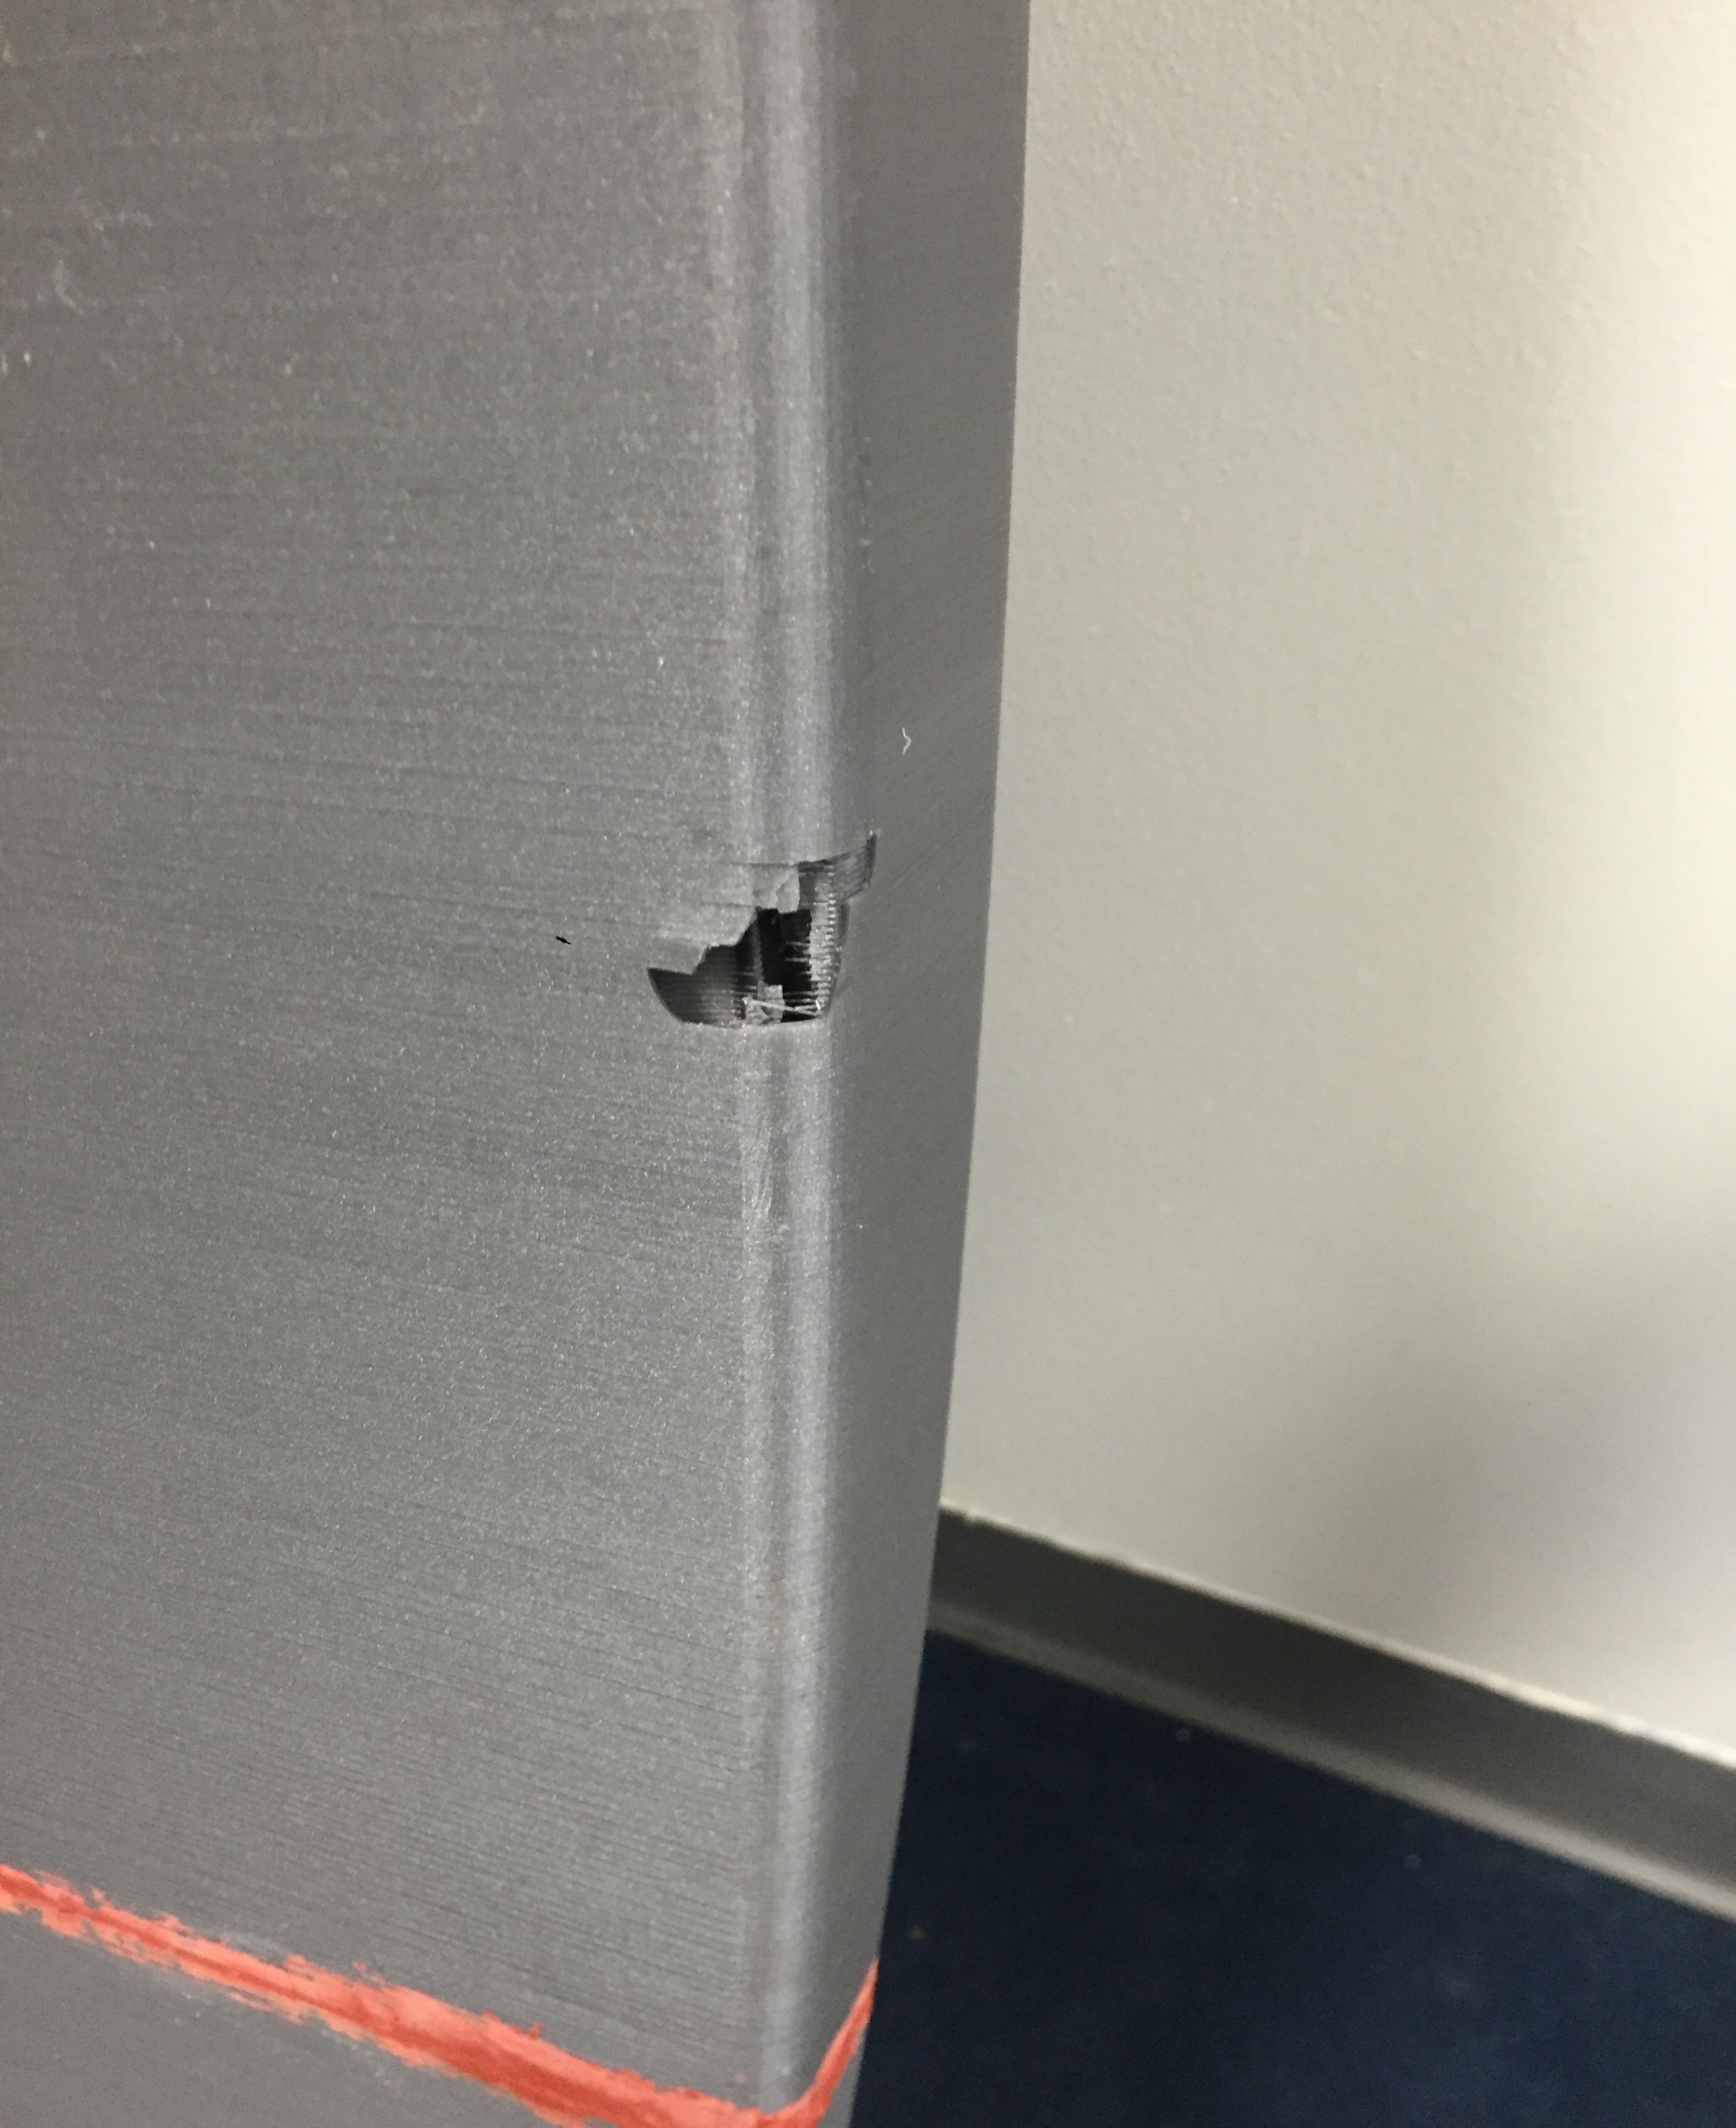
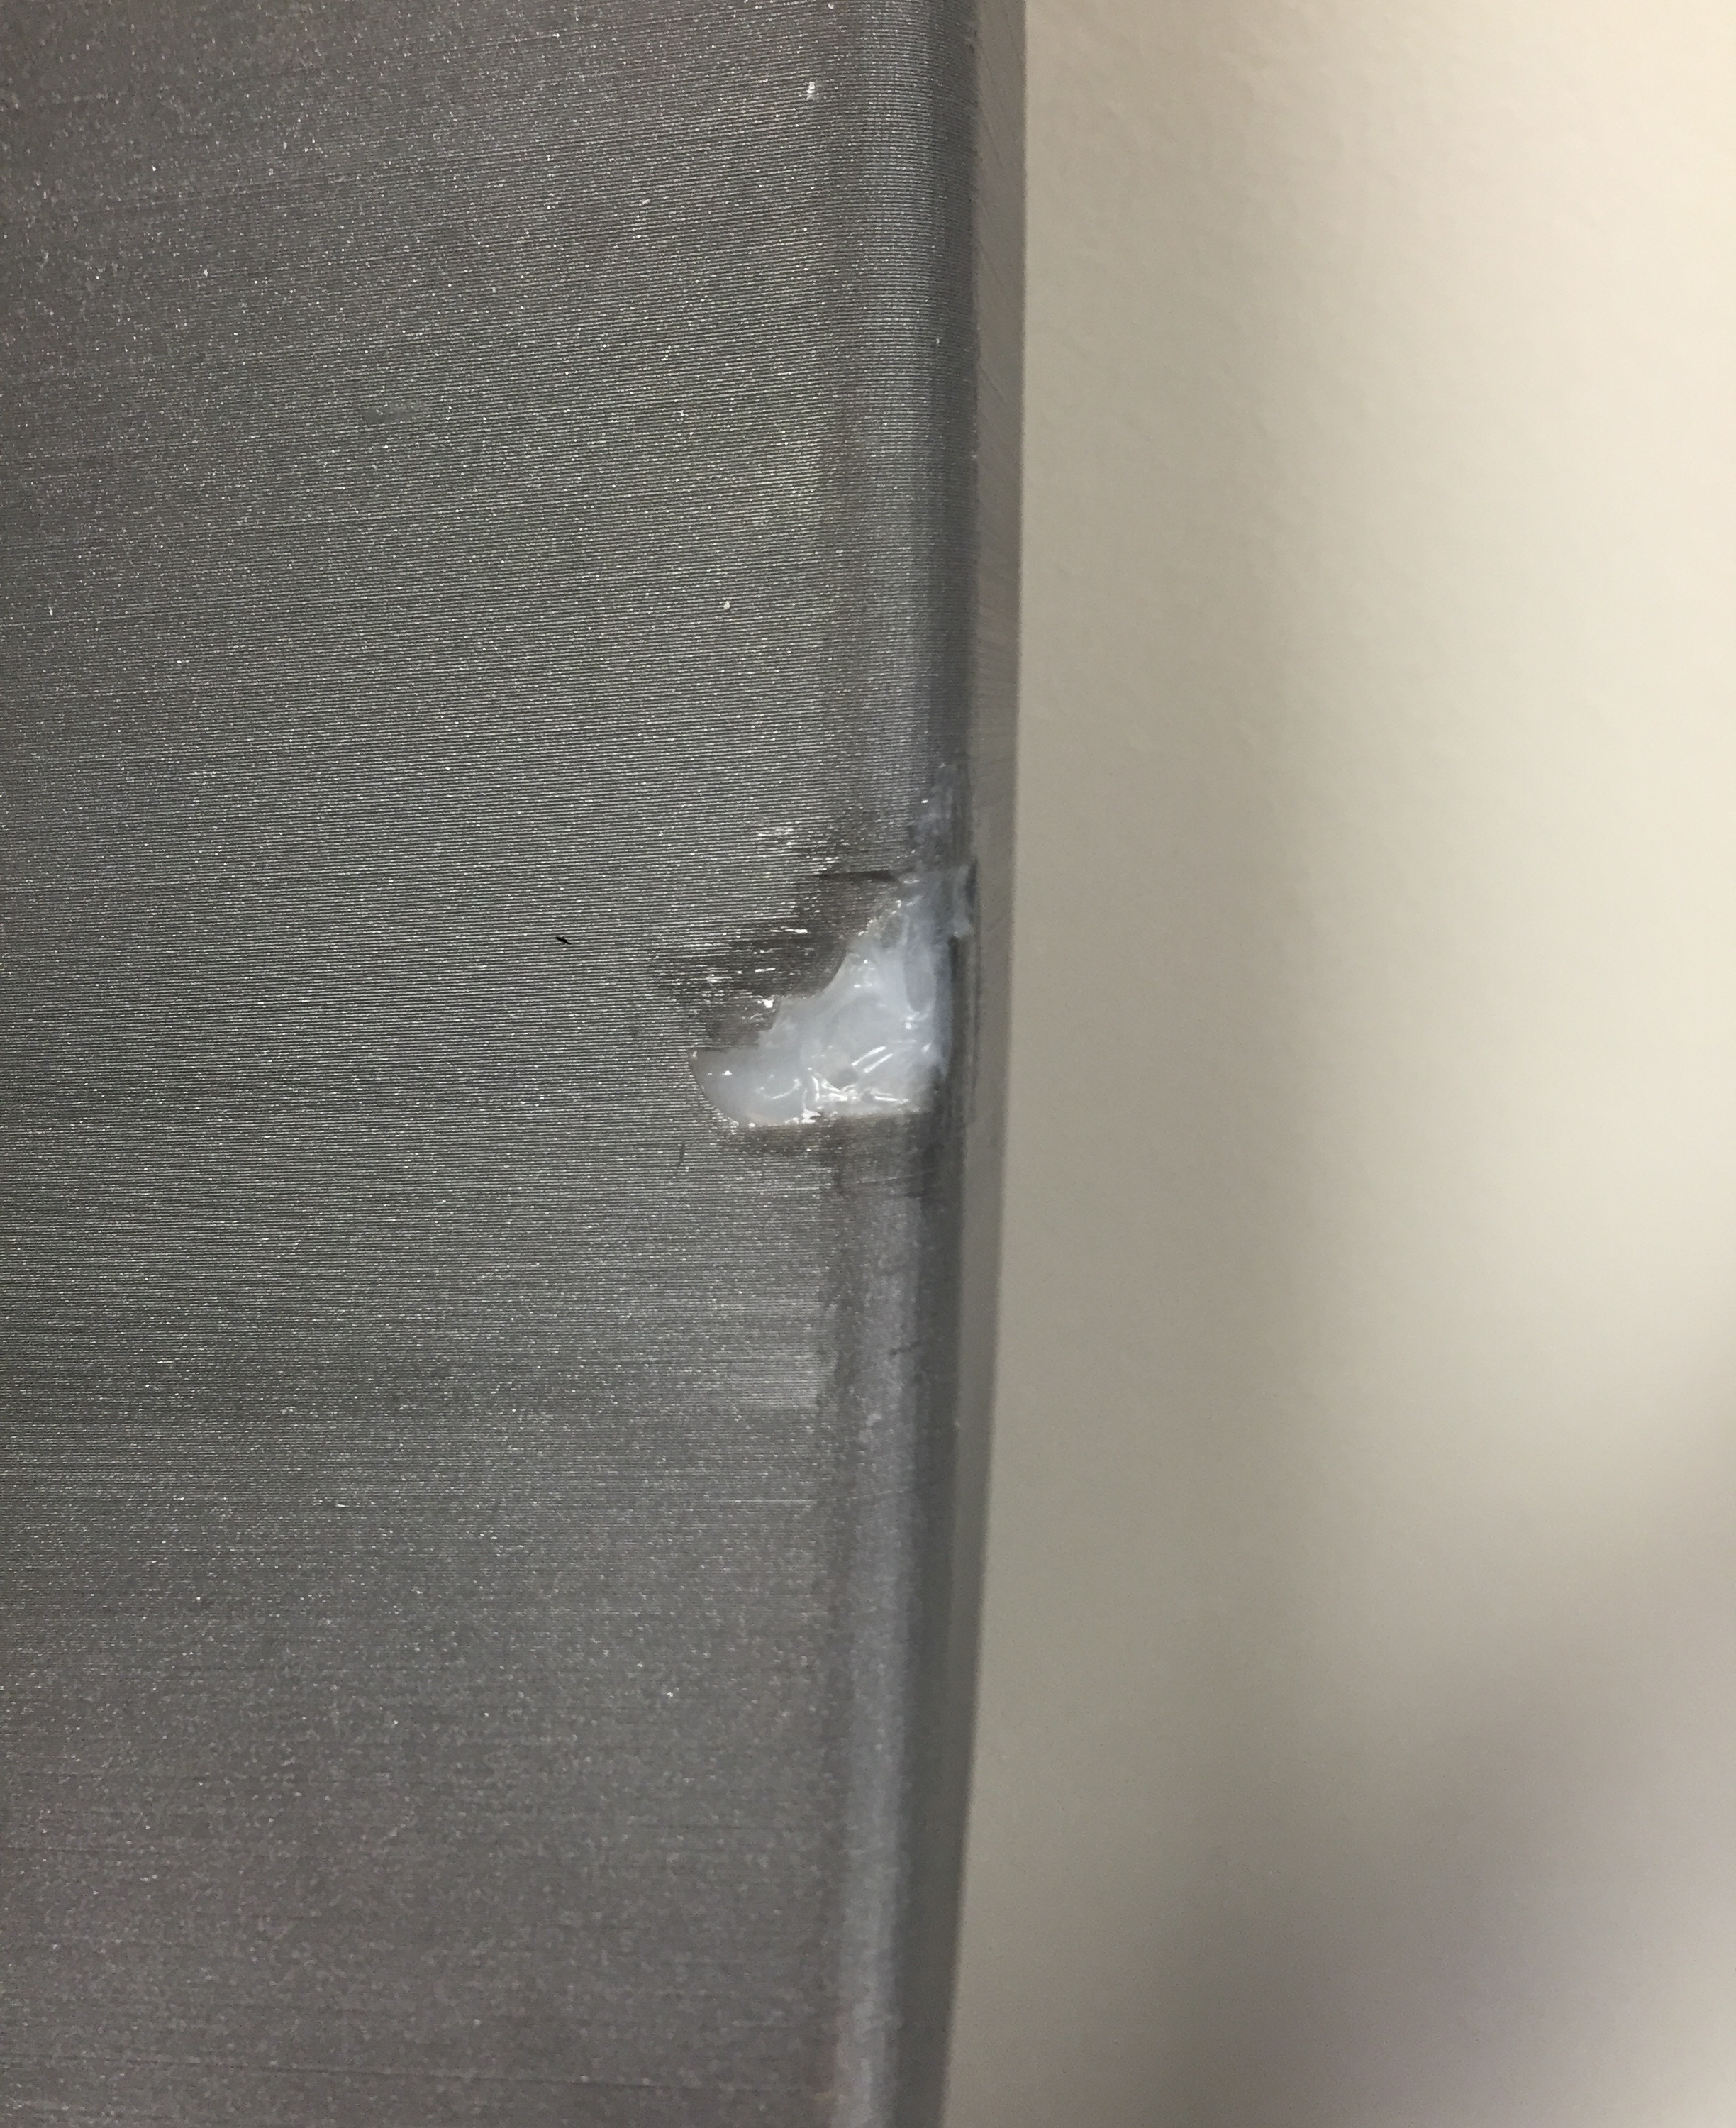
By the time the 1.5 long week print was ready for the final piece, July had morphed into August and Akshay had to return to high school.  A couple of weeks into September we attempted to resume the project and he modeled the 4th piece using feedback I relayed remotely. Despite my best efforts, the measurements provided were a little off and the 4th piece wouldn’t align. Both Jeric and Mike supported a redesign and during a long weekend, Mike ultimately generated the final component to Akshay’s vision as well as some much needed “deckholes” our research revealed was required for a surfboard leash, which we purchased from SUP ATX as we figured the extra length on stand-up paddleboard leashes offered might be needed later. With the body complete, we encountered a new set of challenges. During a commute between our Houston and Austin offices, our almost finished 3d printed surfboard took a tumble on our high-strength 3D printed bicycle designed by Patrick, leaving a rather impressive hole. Determined to make it work, I filled the  crevice with silicon prior to using Bondo to level the uneven Gorilla Glue texture.

Jeric did a stellar job capturing a time-lapse of the final piece!

The Test

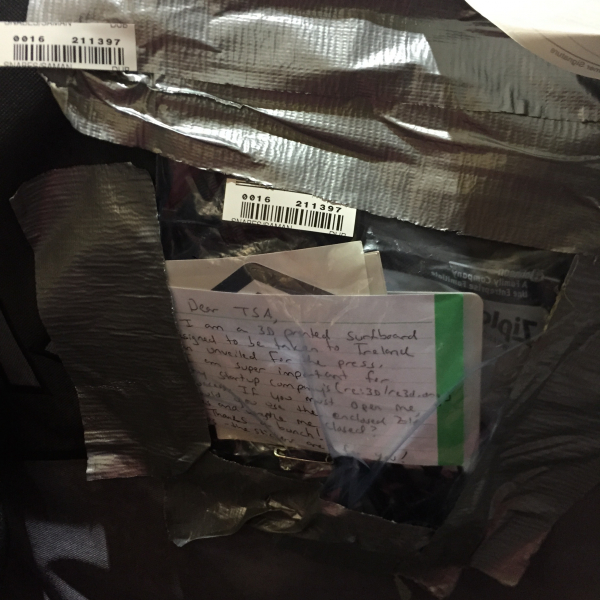
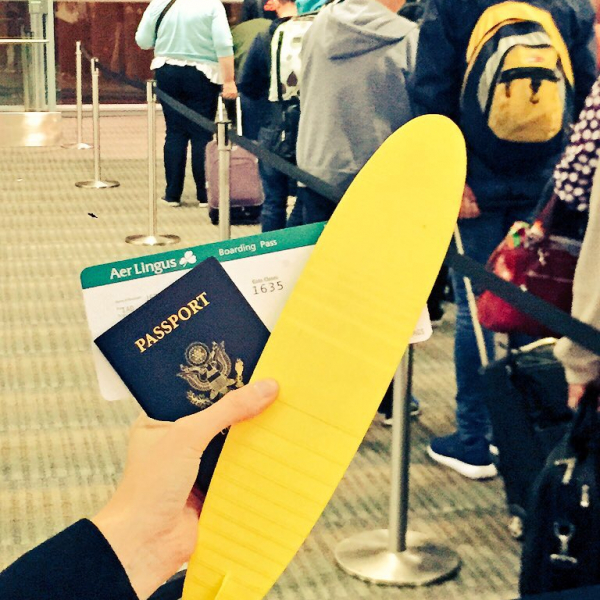
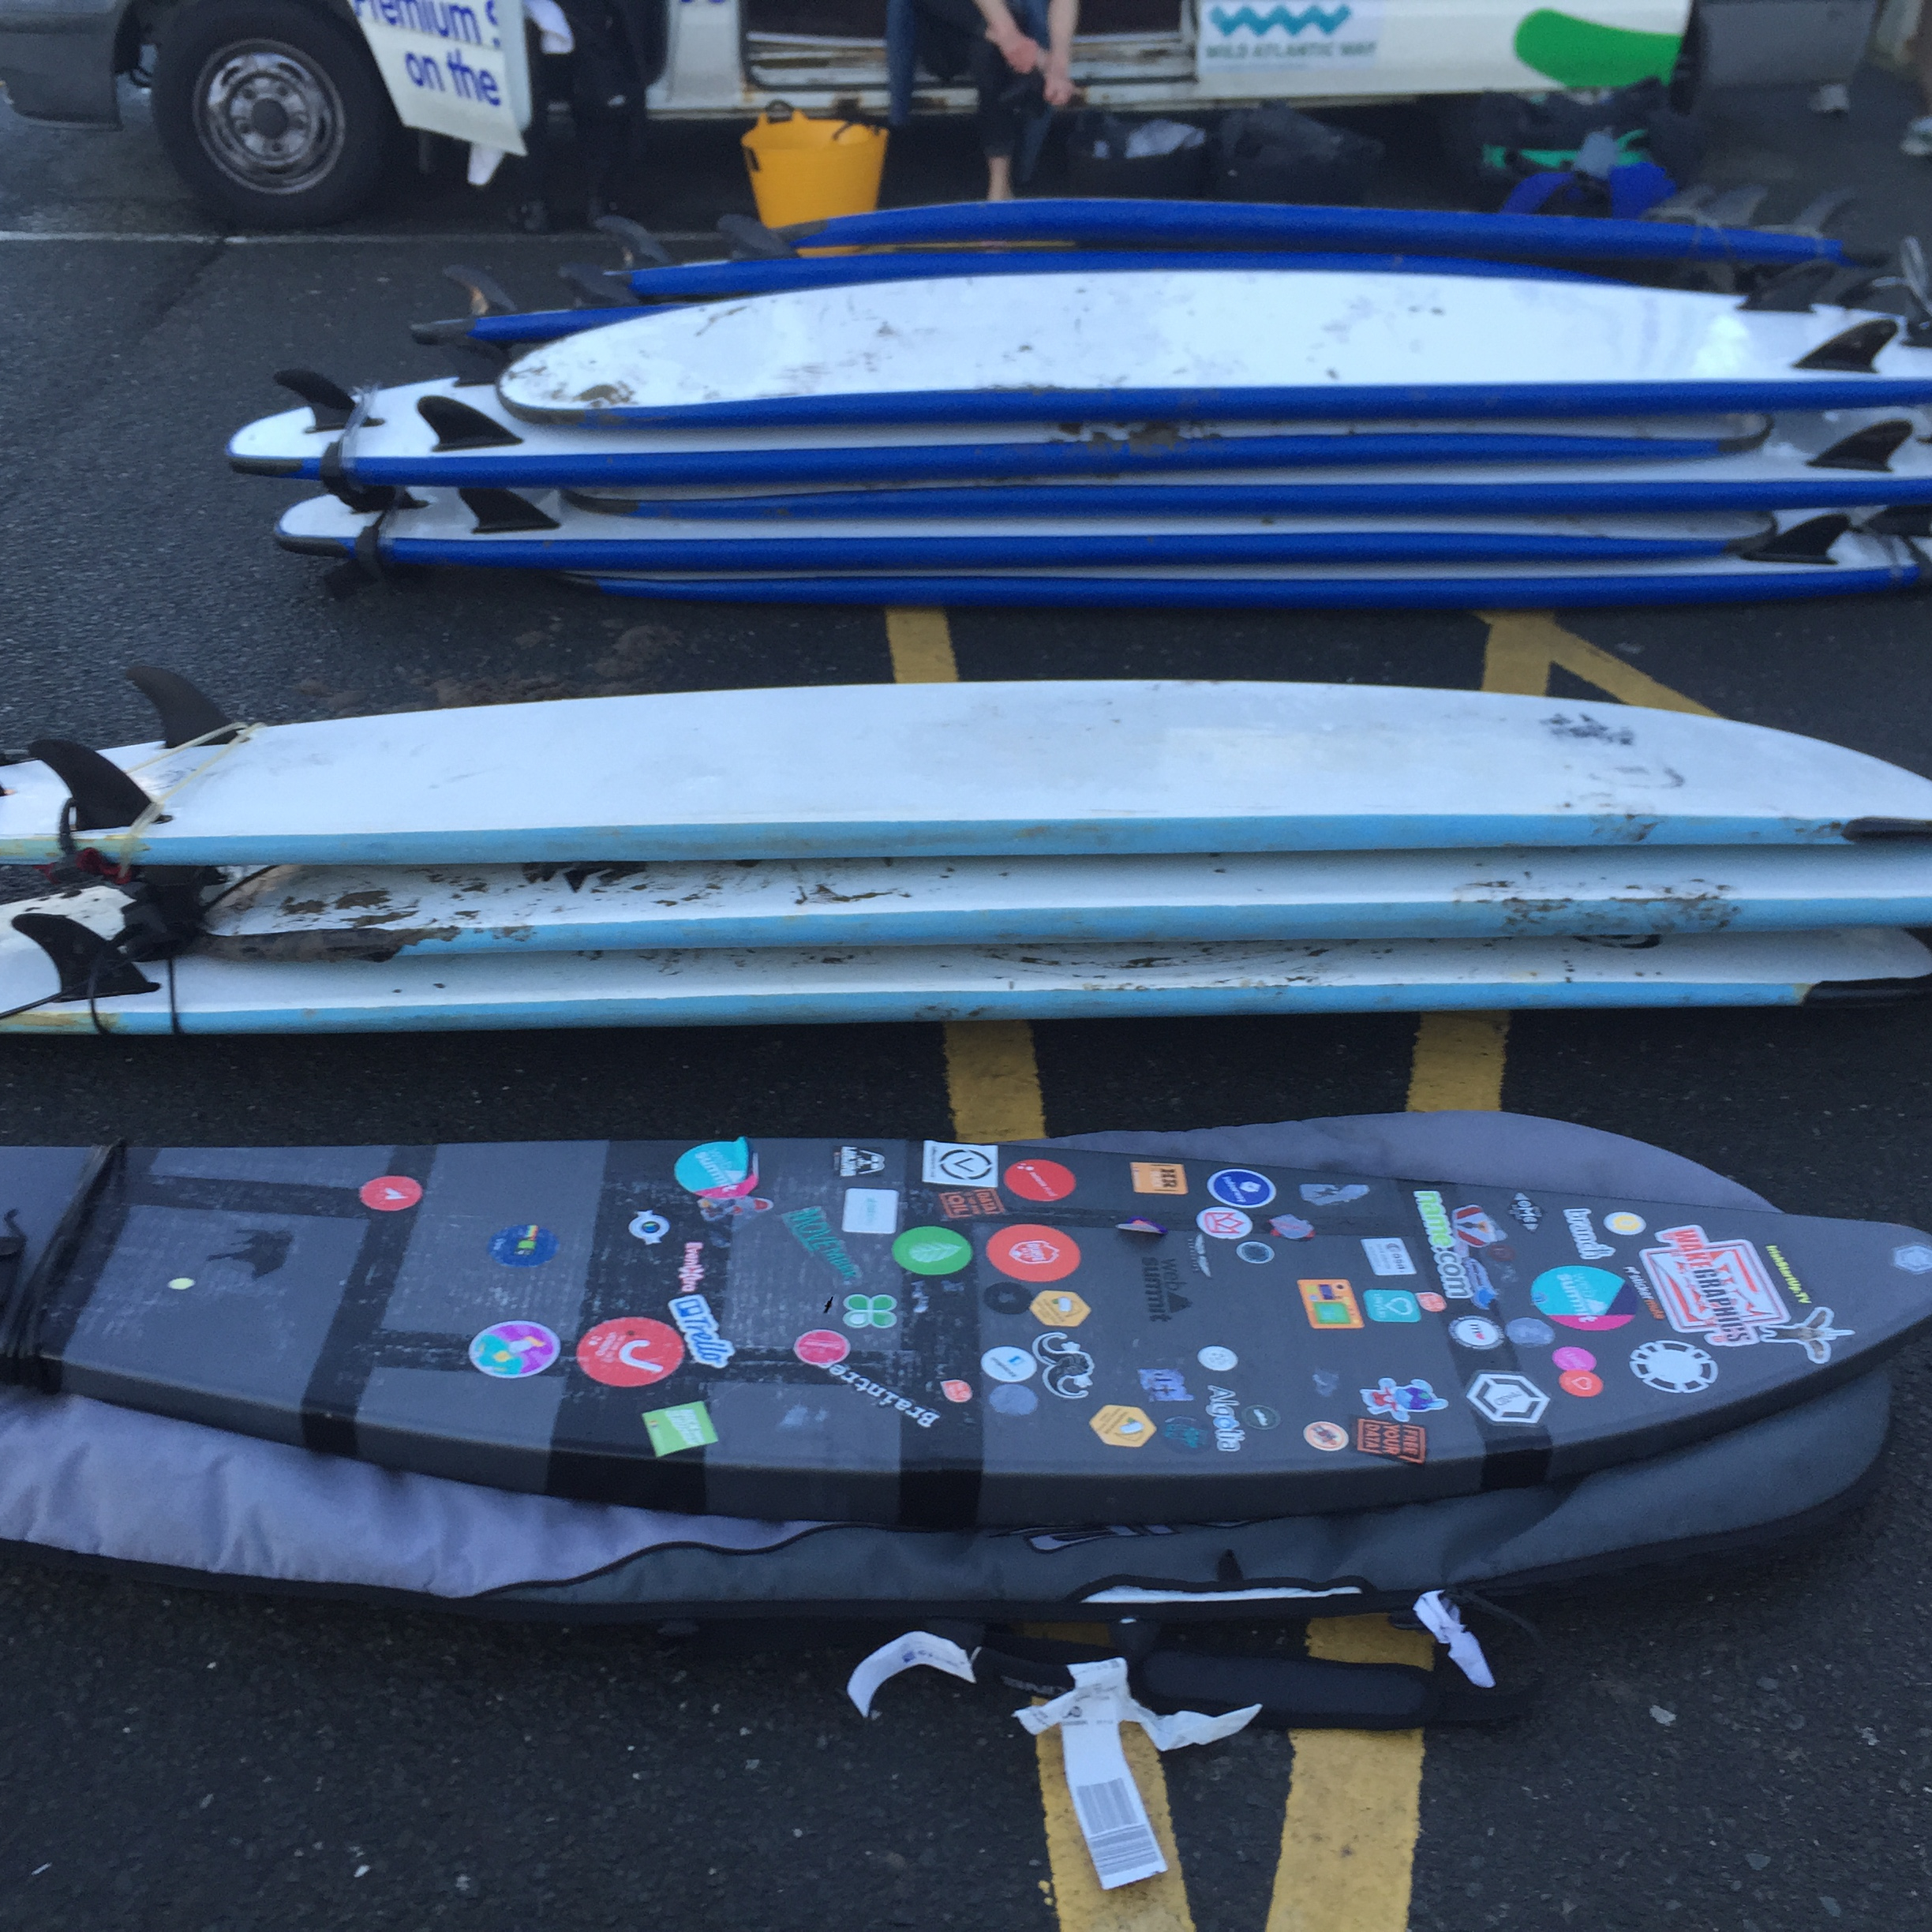
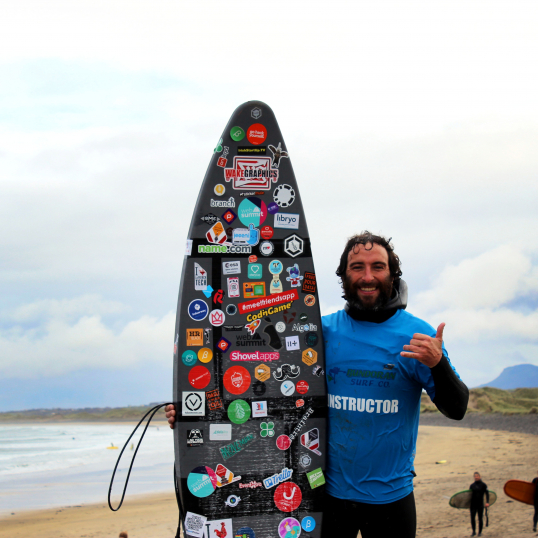
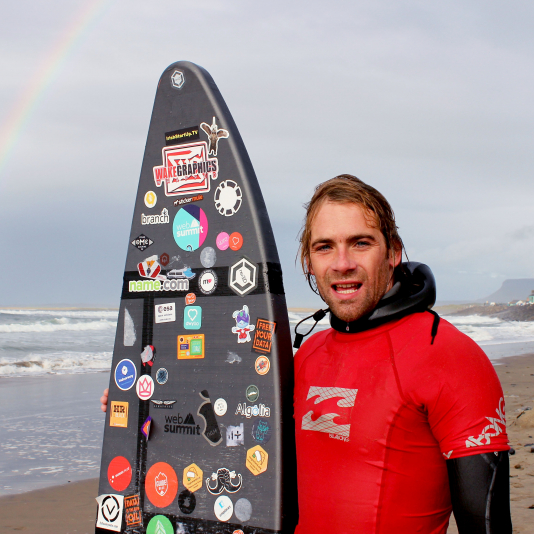
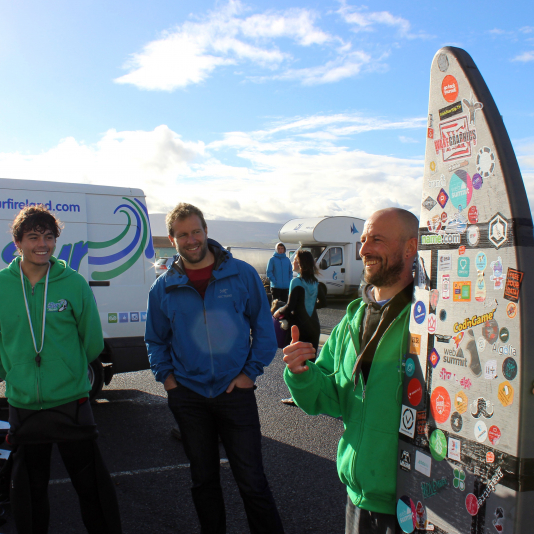
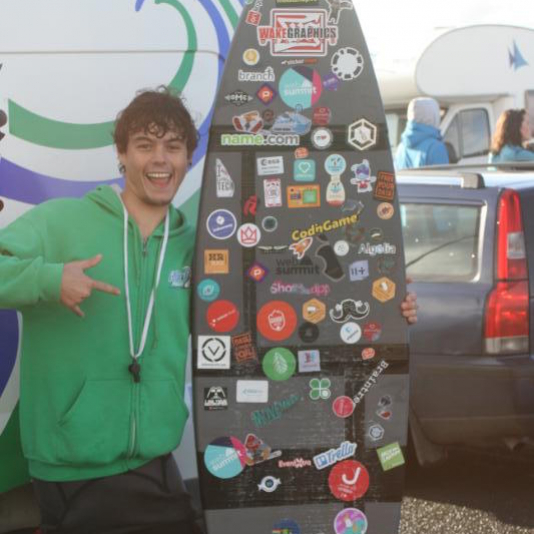
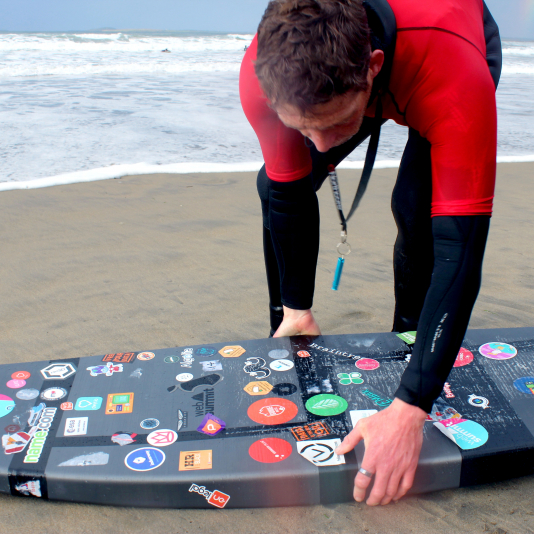
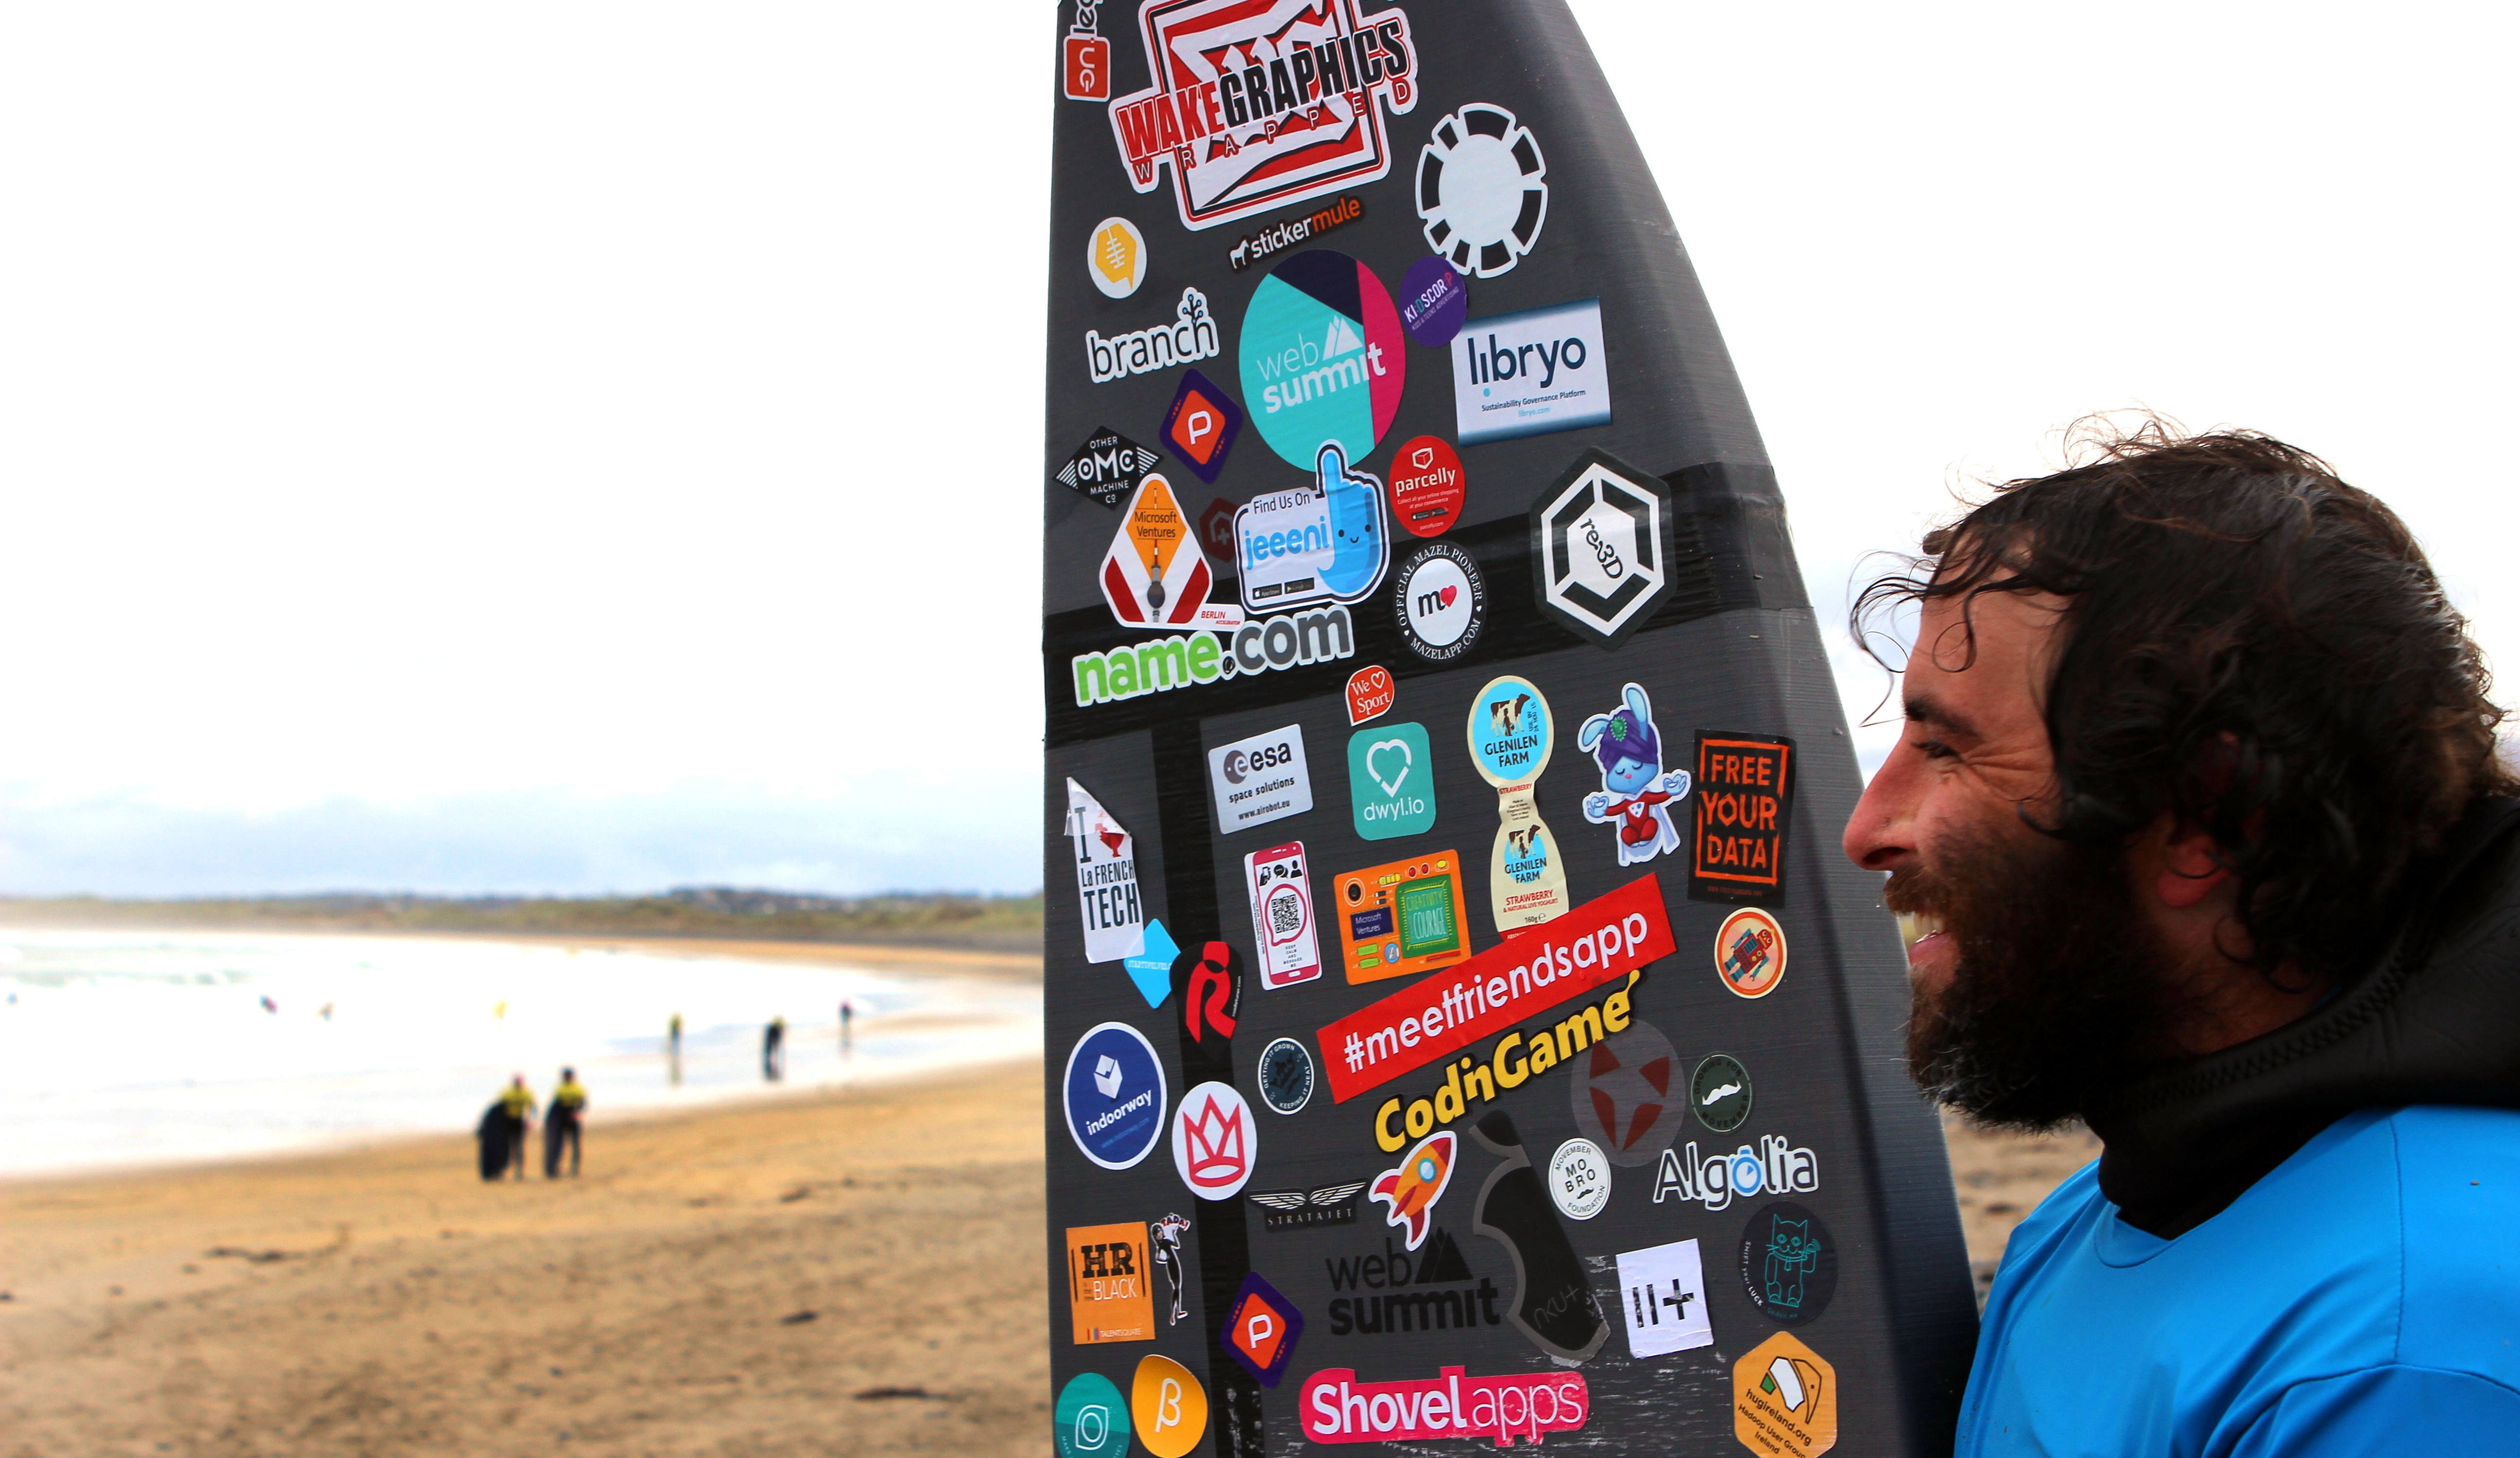
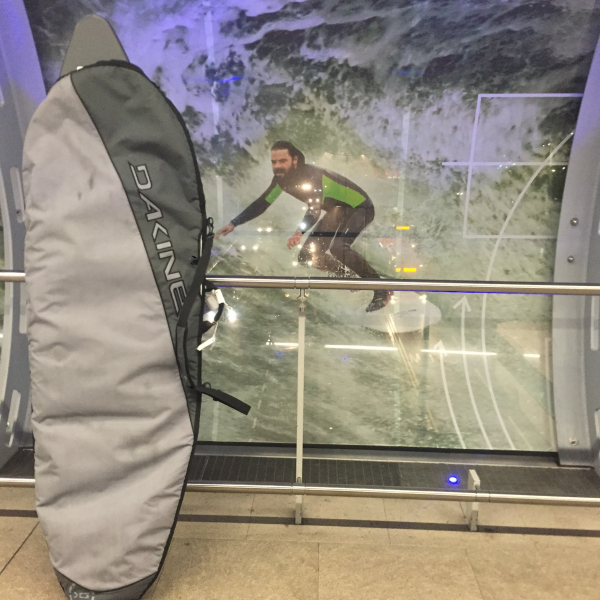
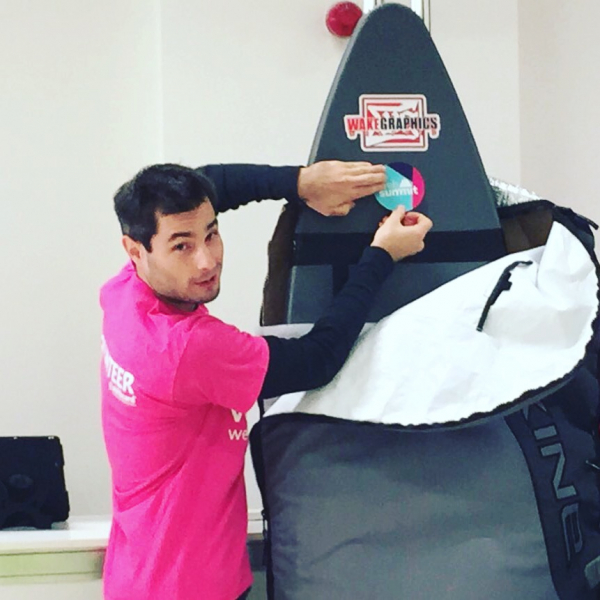
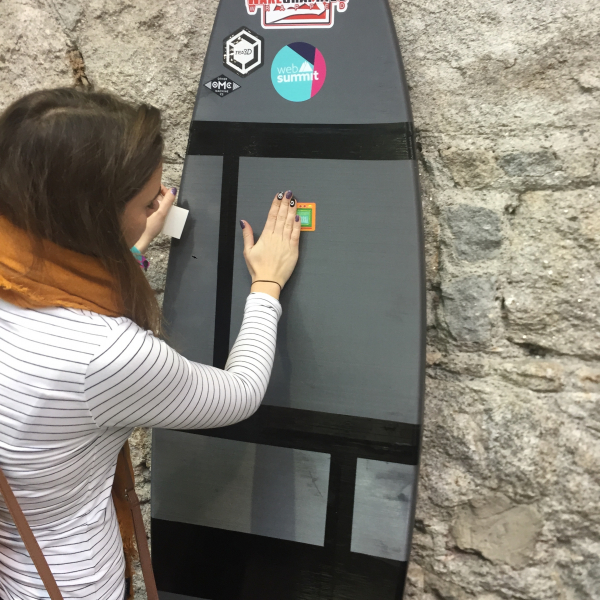
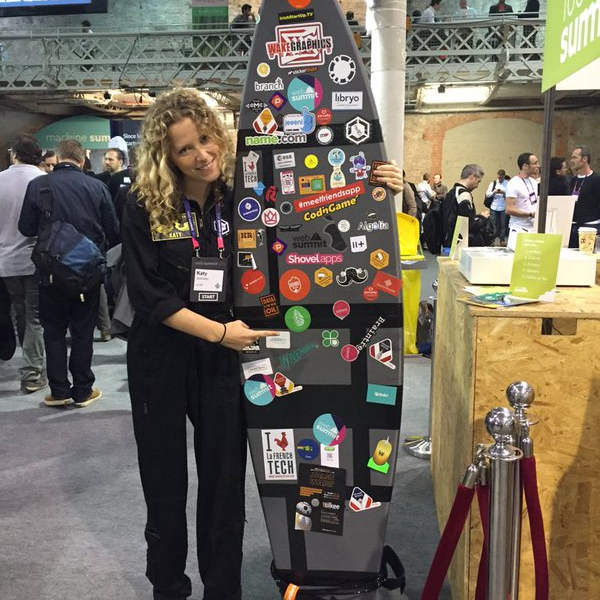
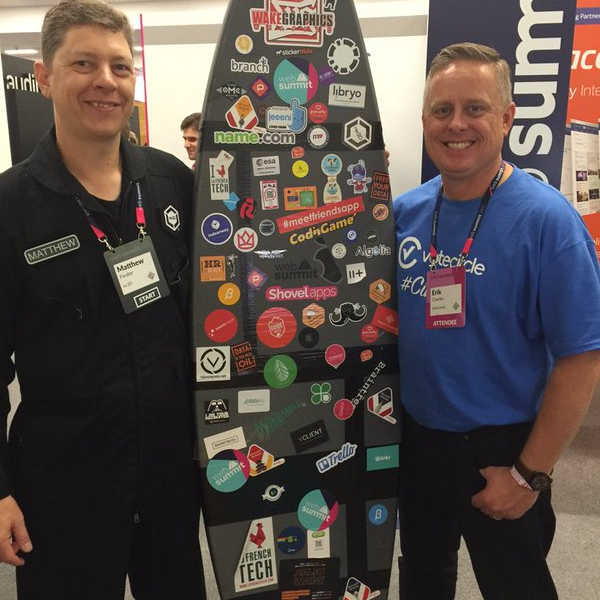
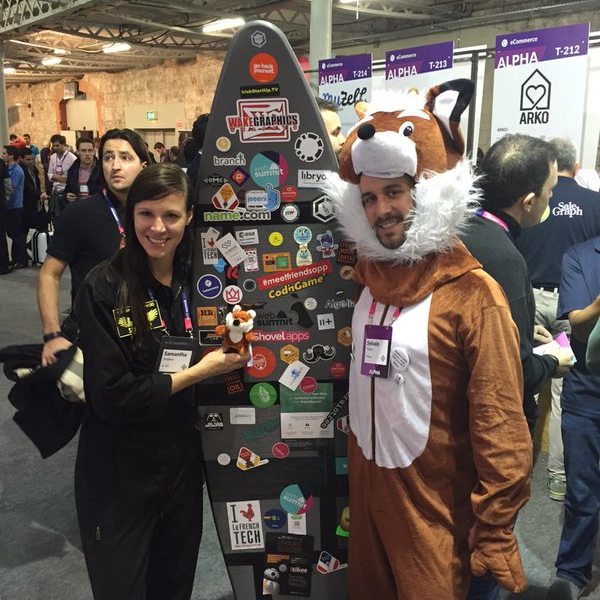
While touring an untested BETA experiment 7000 miles might sound crazy, for our team it made perfect sense. We had won 2nd place at Websummit last year for pitching our vision to 3D print from trash and 1st at their US event, Collision which granted us free passes for our team to return to Ireland. It therefore seemed natural to transport a untested ambitious print across the sea in front of thousands of media & startups in the name of challenging assumptions around 3D printing.  Upon reflection on the flight to Ireland, it became evident that our success to date and win at Collision, was truly a testament to community support. For this reason, we decided it would be an honor to recruit as many stickers as possible from Web Summit attendees willing to affix their brand to our untested experiment. We humbly collected 150+ logos, including StickerMule, a popular vendor.
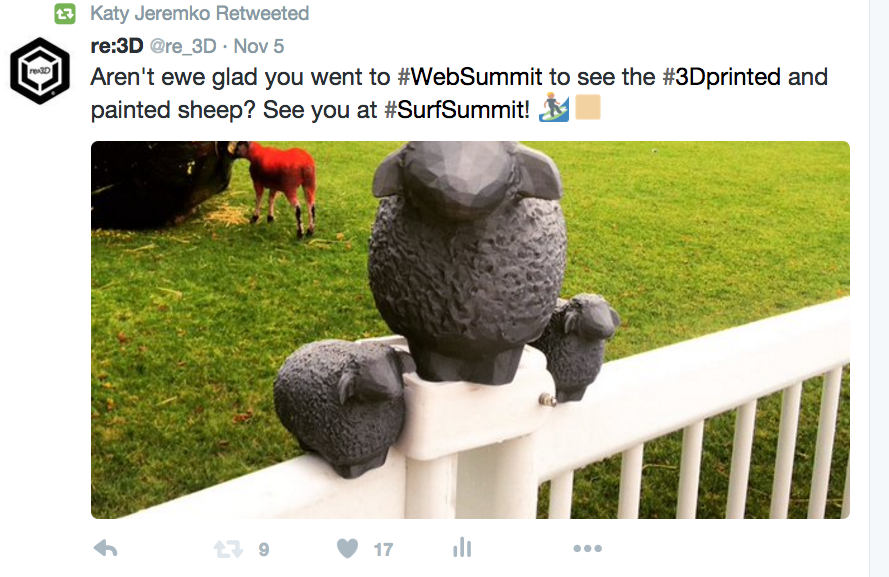
Shaun the Sheep

If you followed us or Web Summit/Surf Summit on social media in the past month, you might be a little confused by the multiple references to sheep, Shaun, Gigabot, Irish shepherdesses, and surfing sheep.

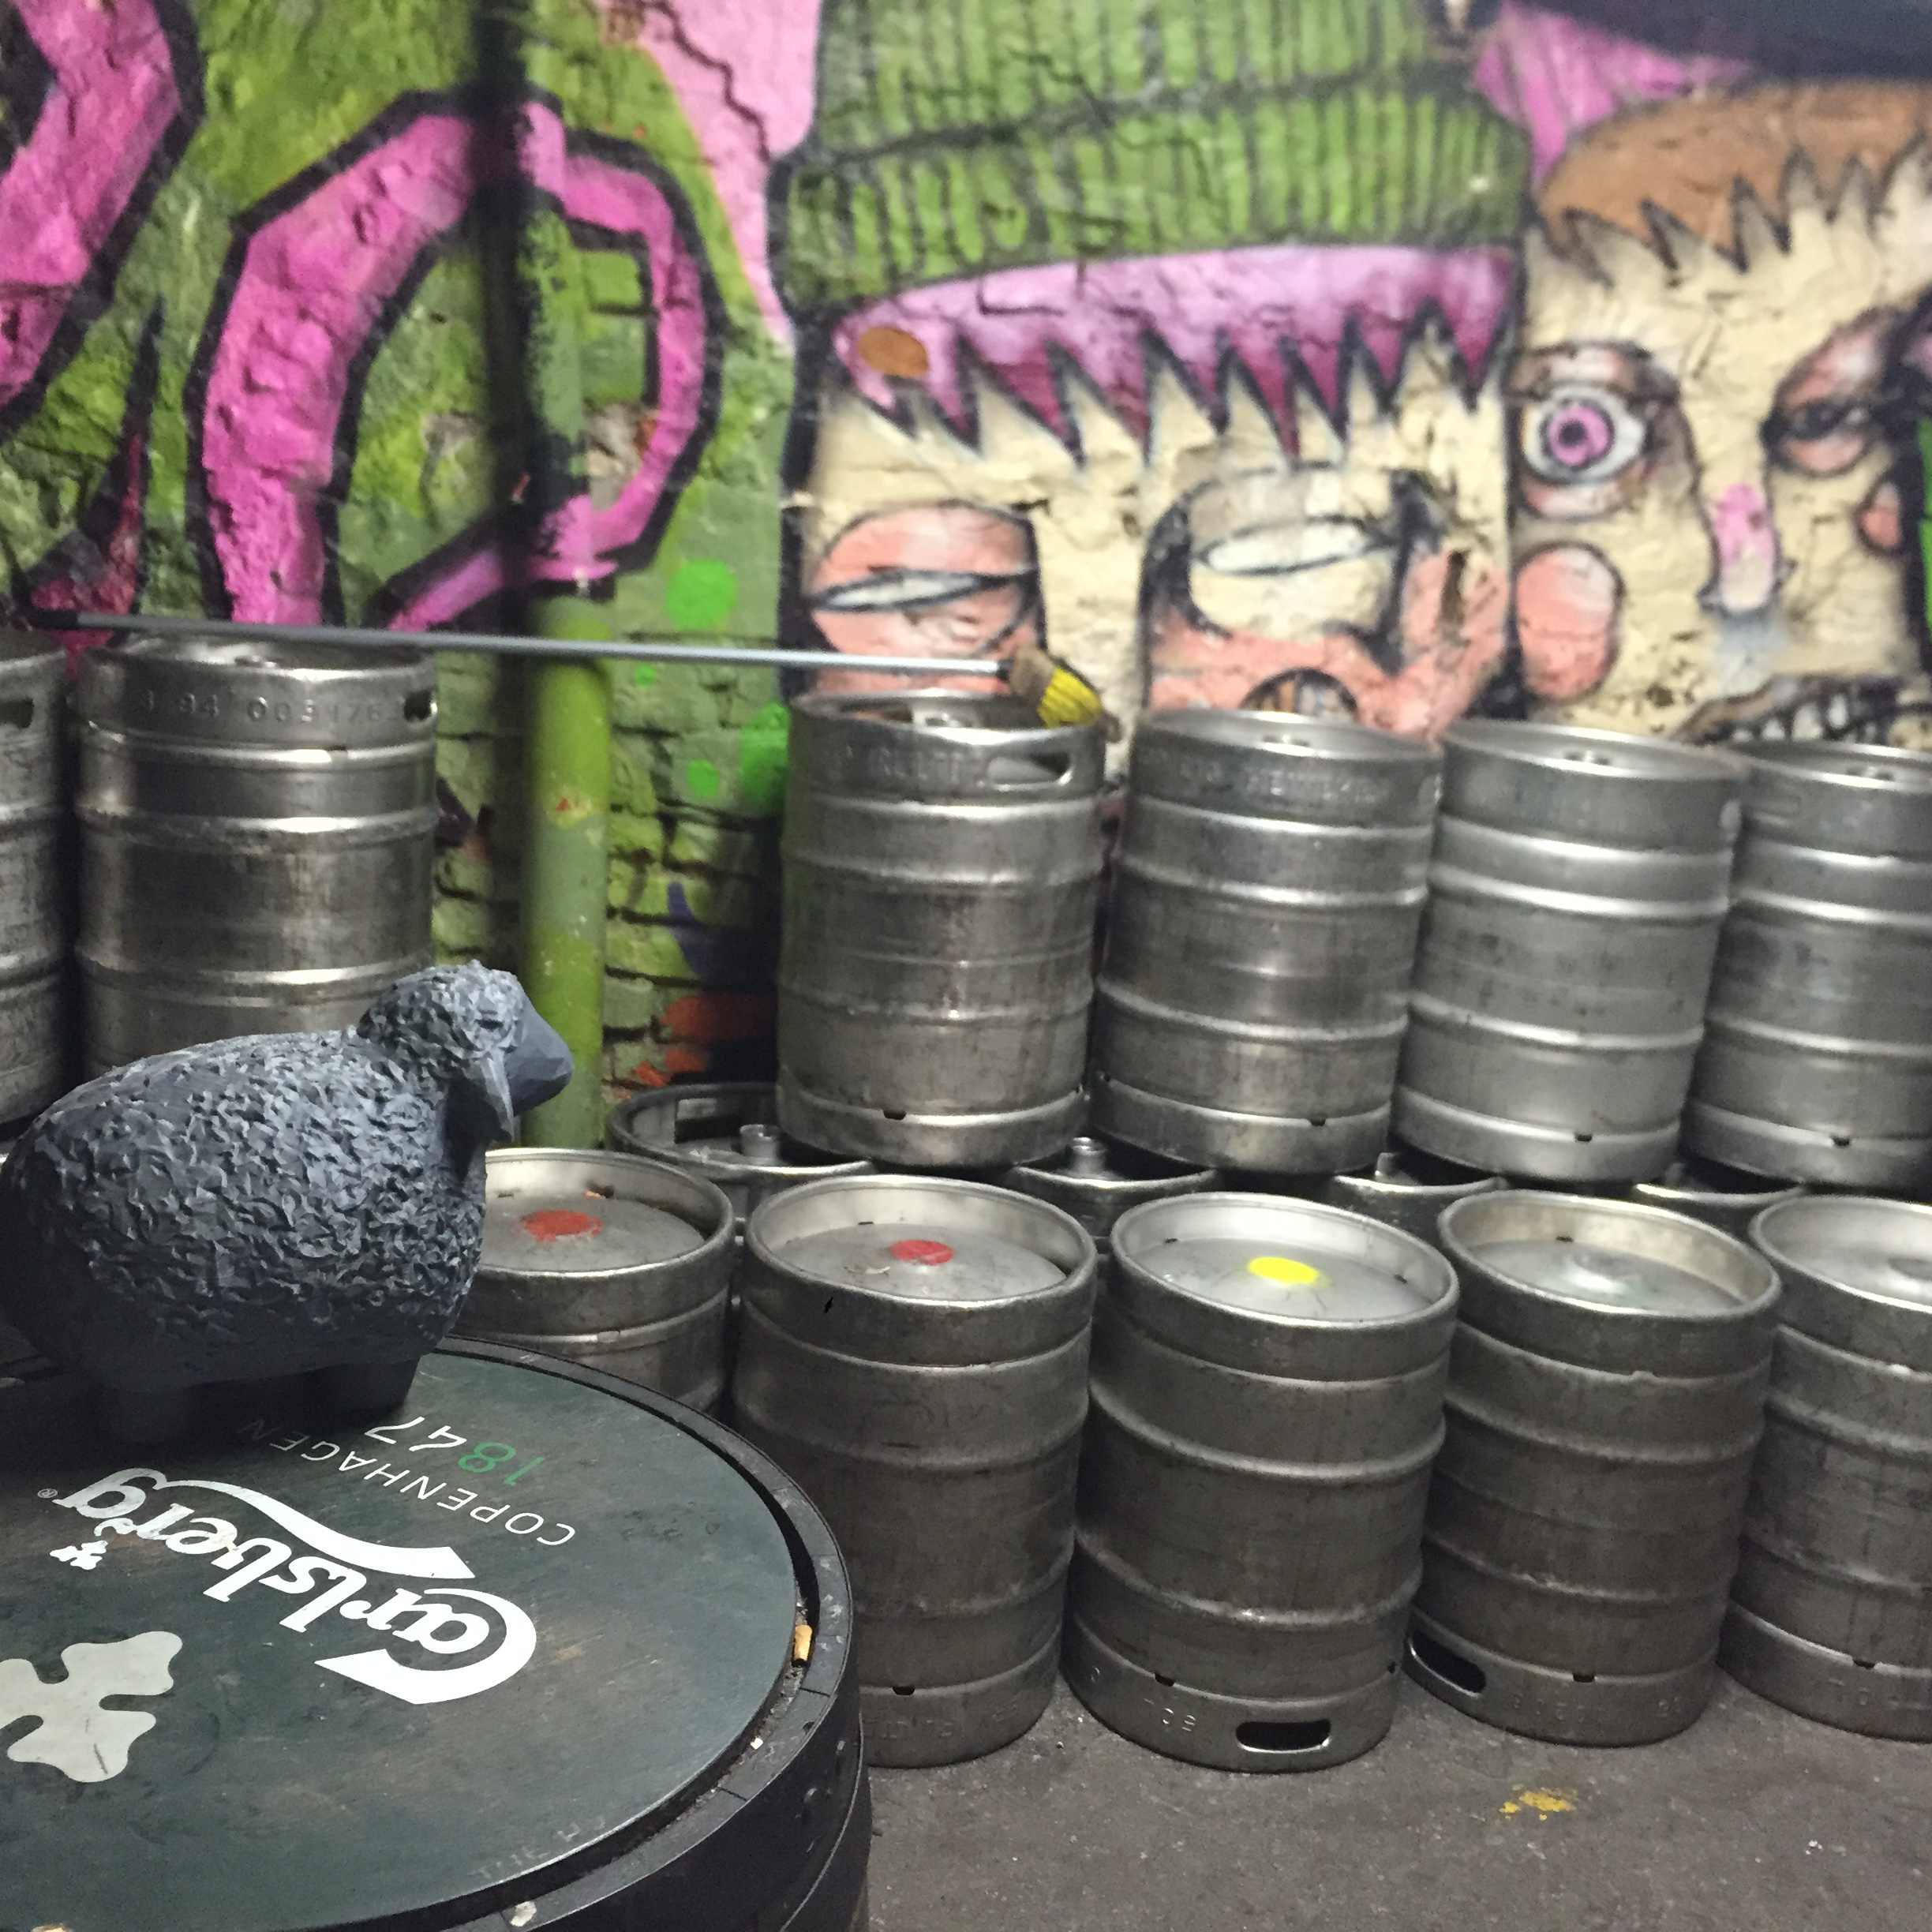
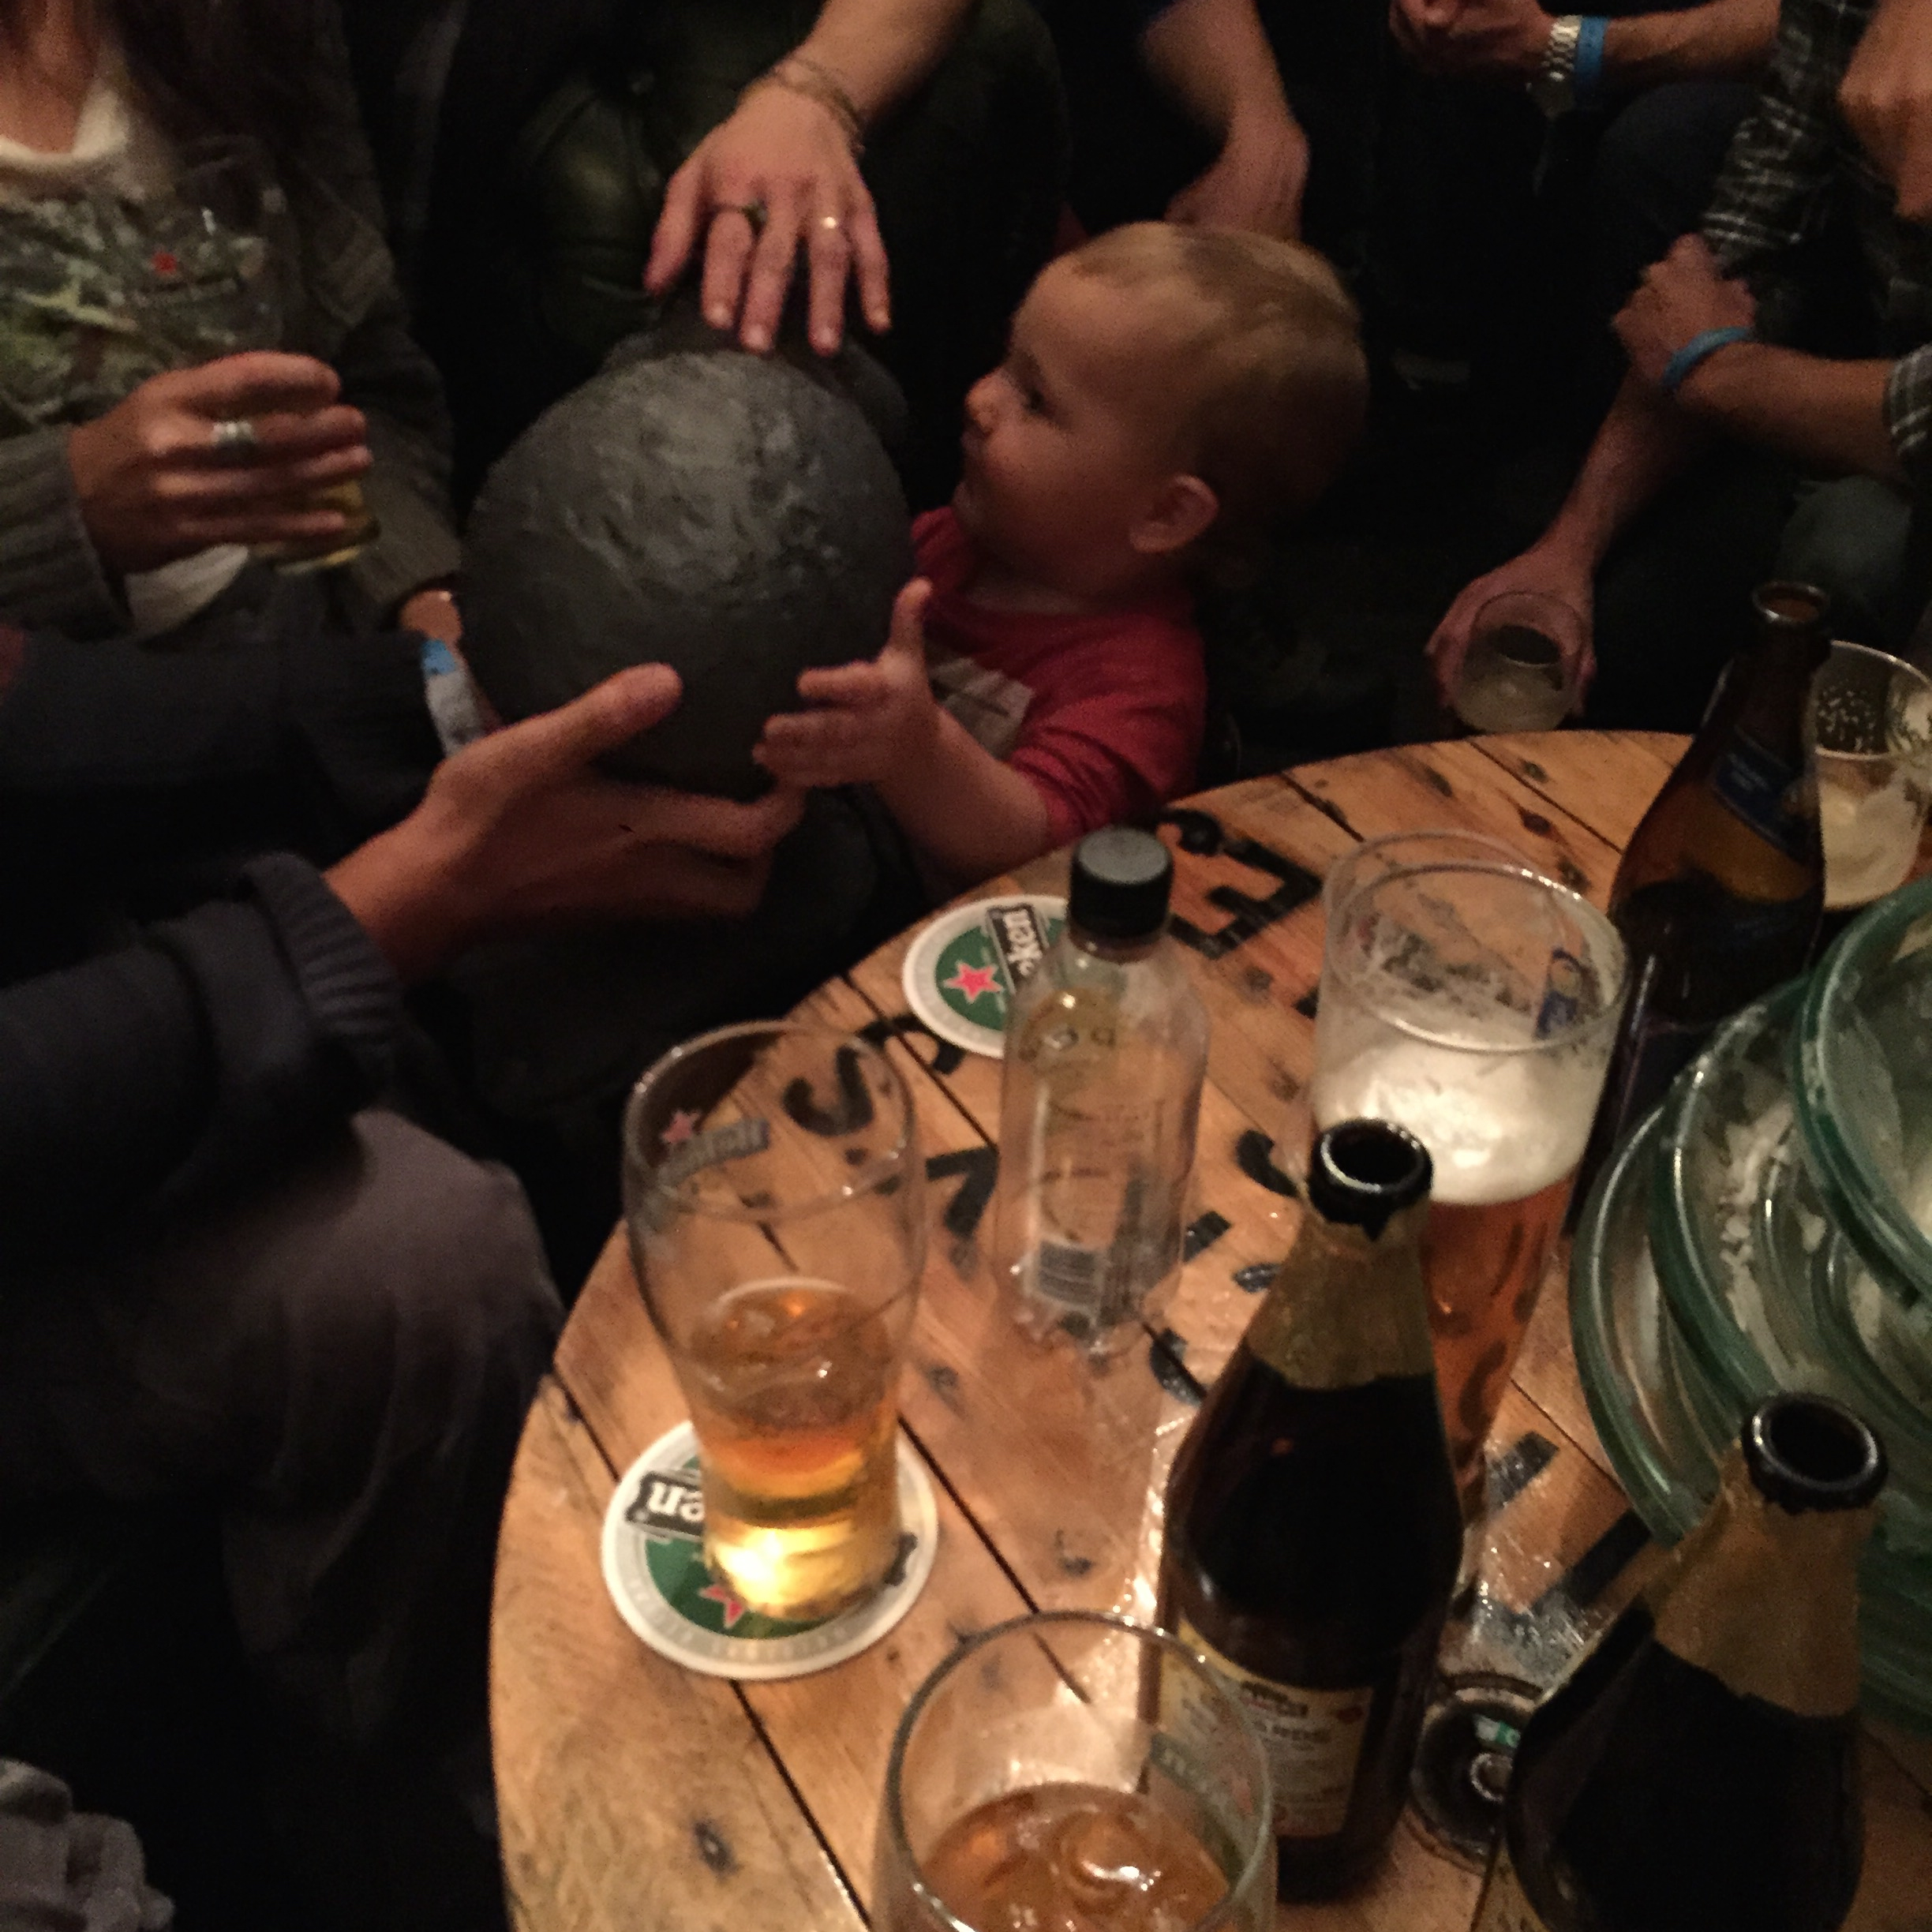
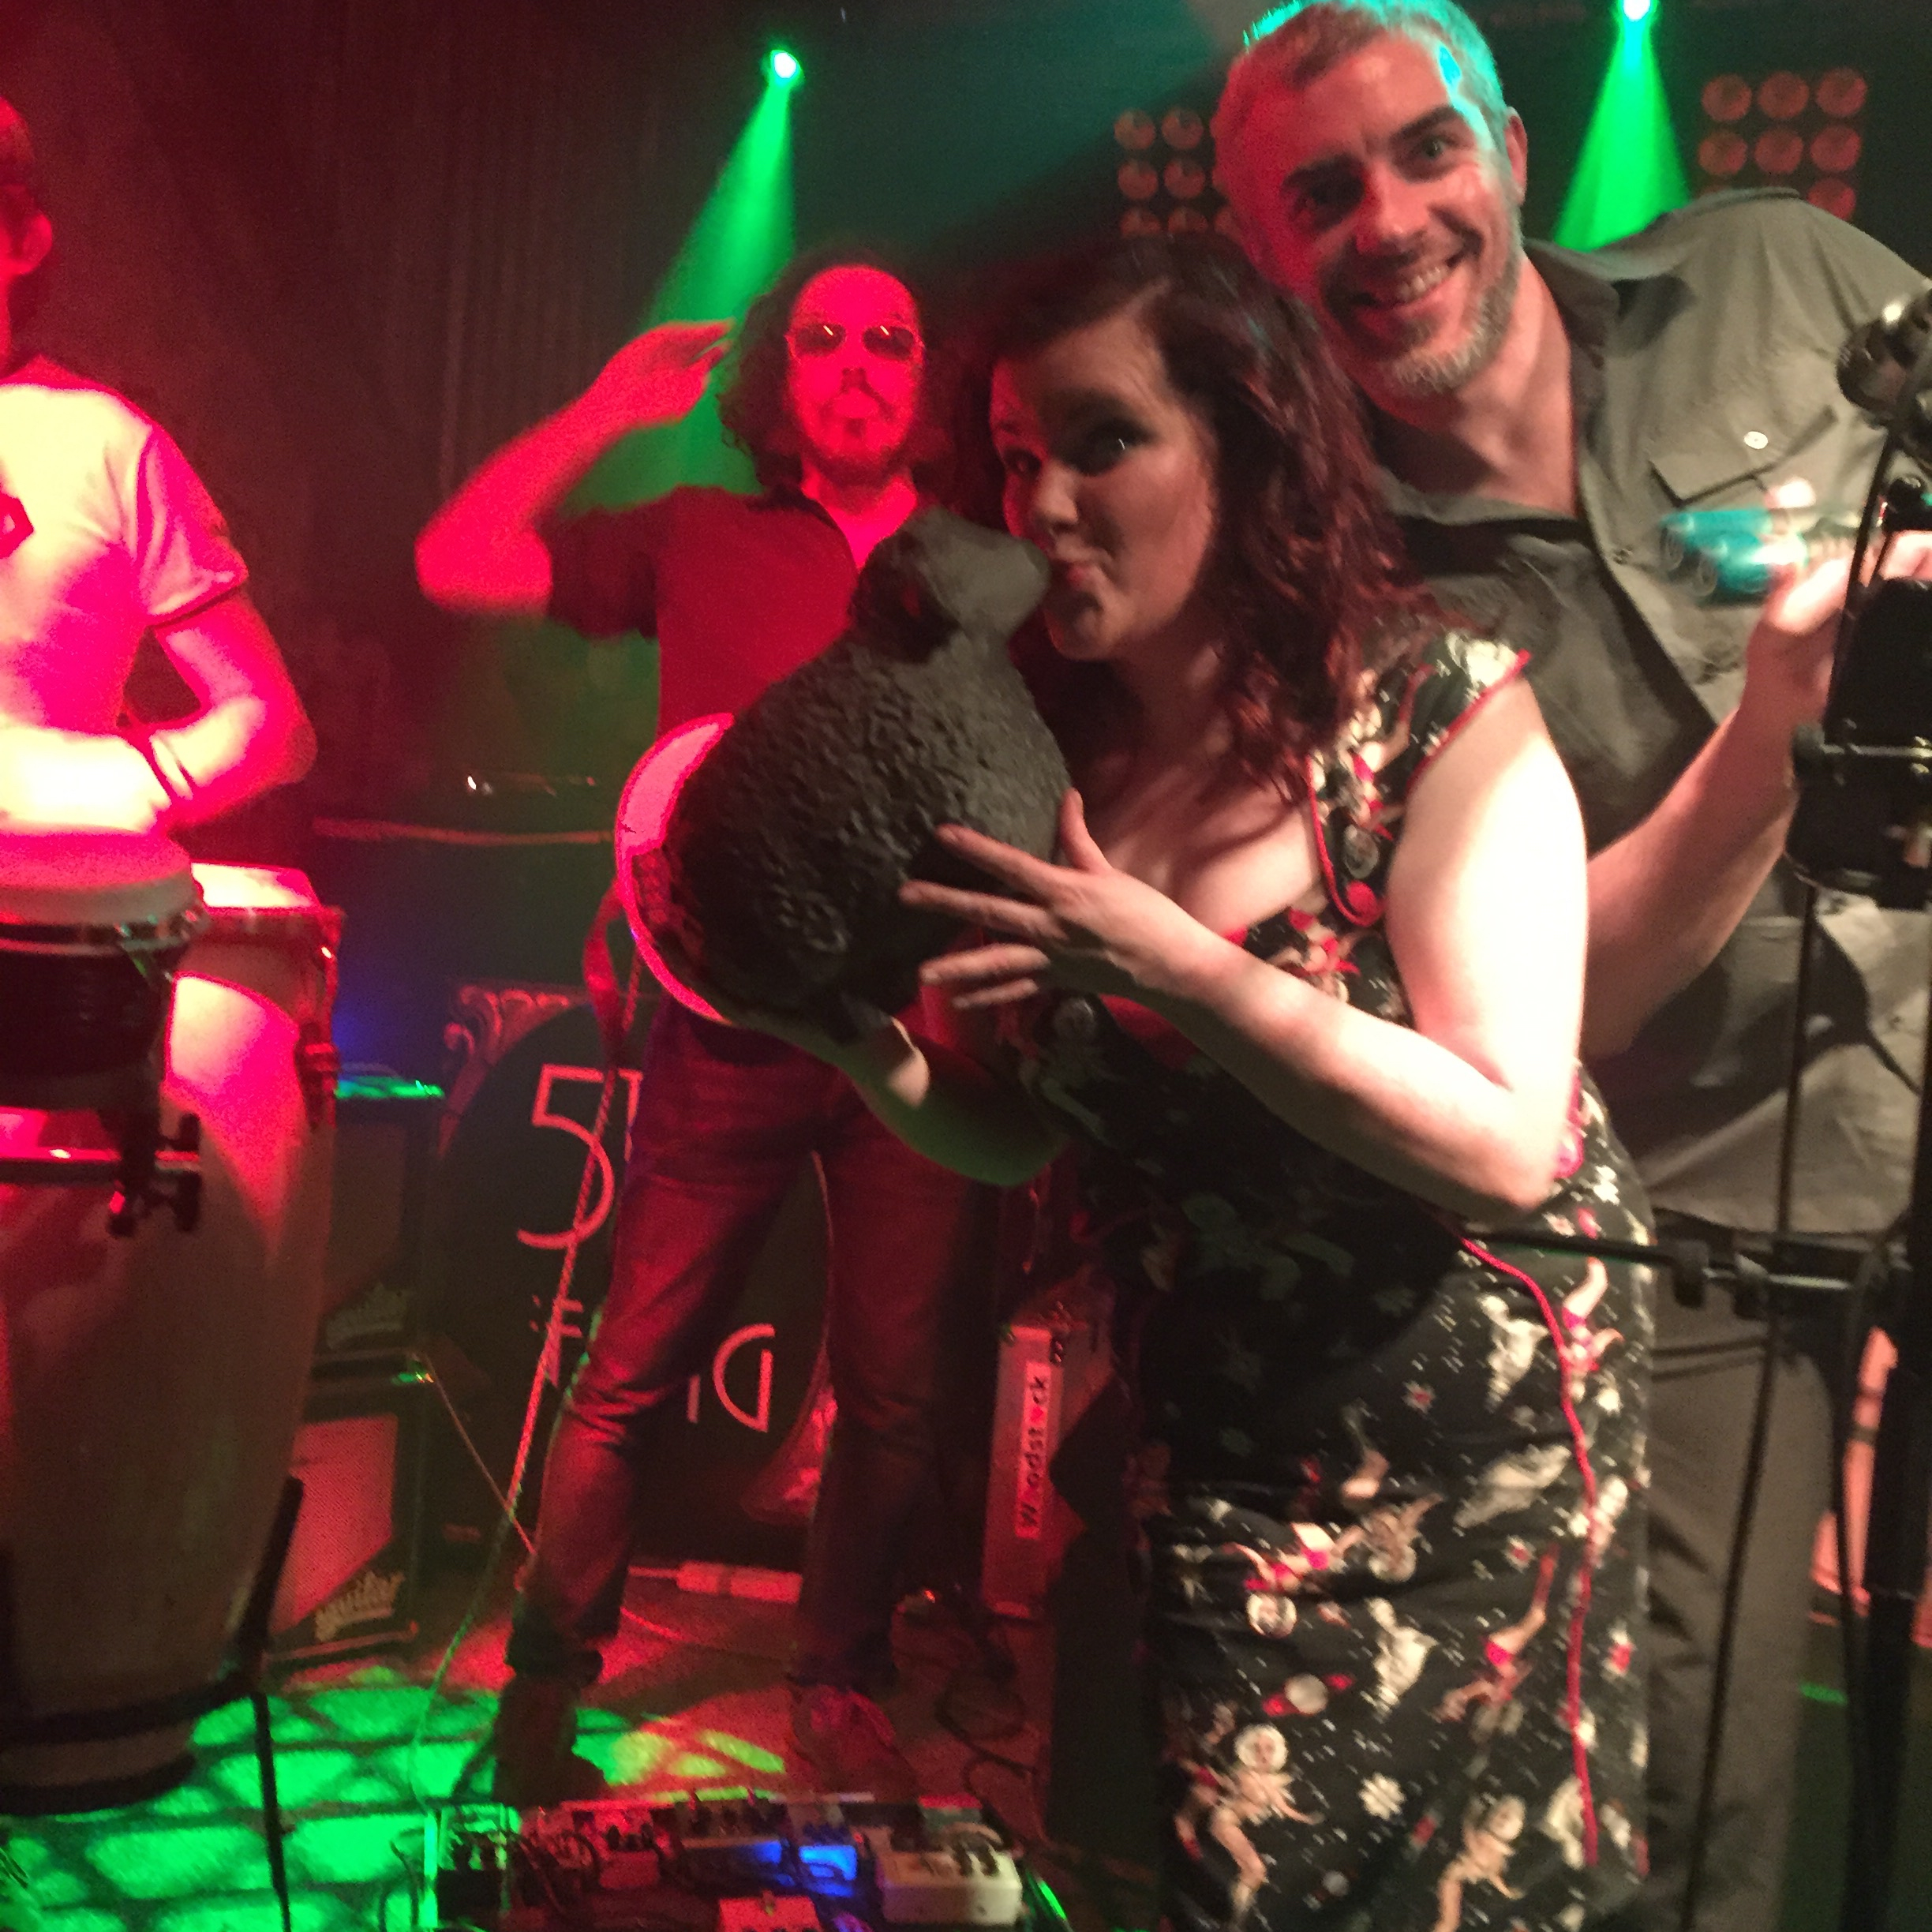
The idea to 3D Print Shaun the Sheep was conceived by a female Sheppard & blanket maker named Suzanna of Zwartbles Ireland. Suzanna maintains an active community via social media (@ZwartblesIE) and during our flight over suggested #Gigabot could #3dprint a #sheep in #ireland. The initial Tweet inspired a lively conversation and I found myself Googling open-source sheep stls while flying past Iceland. When Katy & I landed, Matthew suggested this Wooly Sheep by pmoews  to test out on Gigabot, which had been created using a 123D Catch, now ReCap Pro, scan of a garden ornament. Three days of continuous sheep printing and ewe puns soon began. Katy christened the first small-scale sheep as Dolly before making a larger 14 hour sheep. The downside of running large prints is that Gigabot has to work throughout the night. The 3rd shift security team had the pleasure of watching our biggest sheep complete and informed us one morning that they had named him Shaun. It wasn’t until later the next day that we learned Shaun referred to a popular show titled Shaun the Sheep. Shaun quickly garnered a small fan club, and we decided to take him to Sligo, Ireland for Surf Summit as the prize for the 1st surfer to successfully catch a wave on the surfboard.
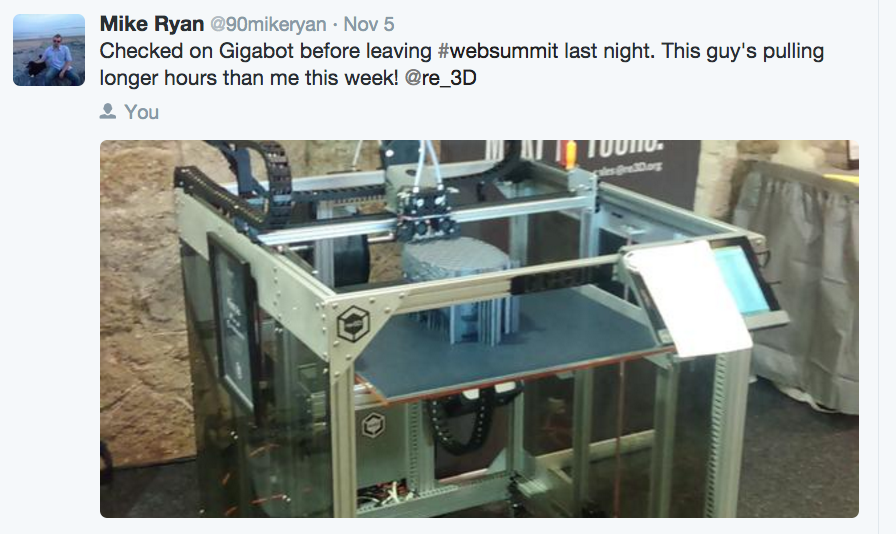
Surf Summit: The Moment of Truth

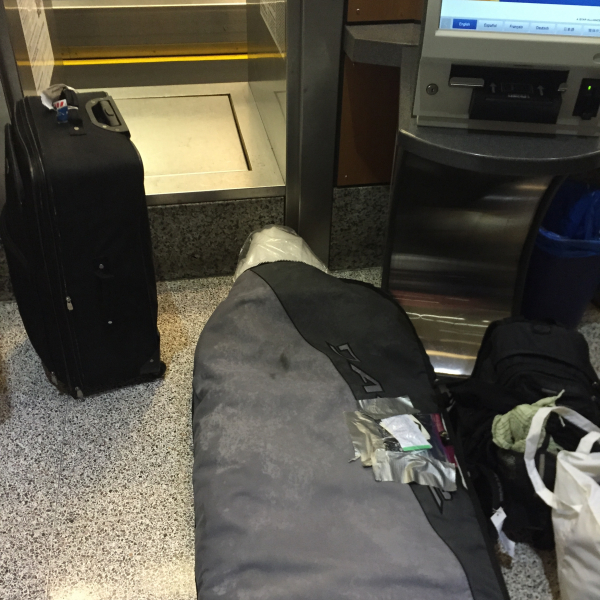
As soon as Web Summit concluded, we crated Gigabot for the return to Texas, them scrambled to pack our bags, the surfboard, and sheep for the bus ride to Sligo, the host of Surf Summit. Surf Summit is an incredible post-summit event to cultivate friendships while experiencing the Irish countryside. As the video reveals, it was a breathtaking experience- our only regret being Matthew couldn’t attend in leu of a customer he committed to visiting in the UK. As complete surf novices, Surf Summit provided the perfect proving group for the surfboard test as several surf pros were in attendance to share their experience & wet suits!
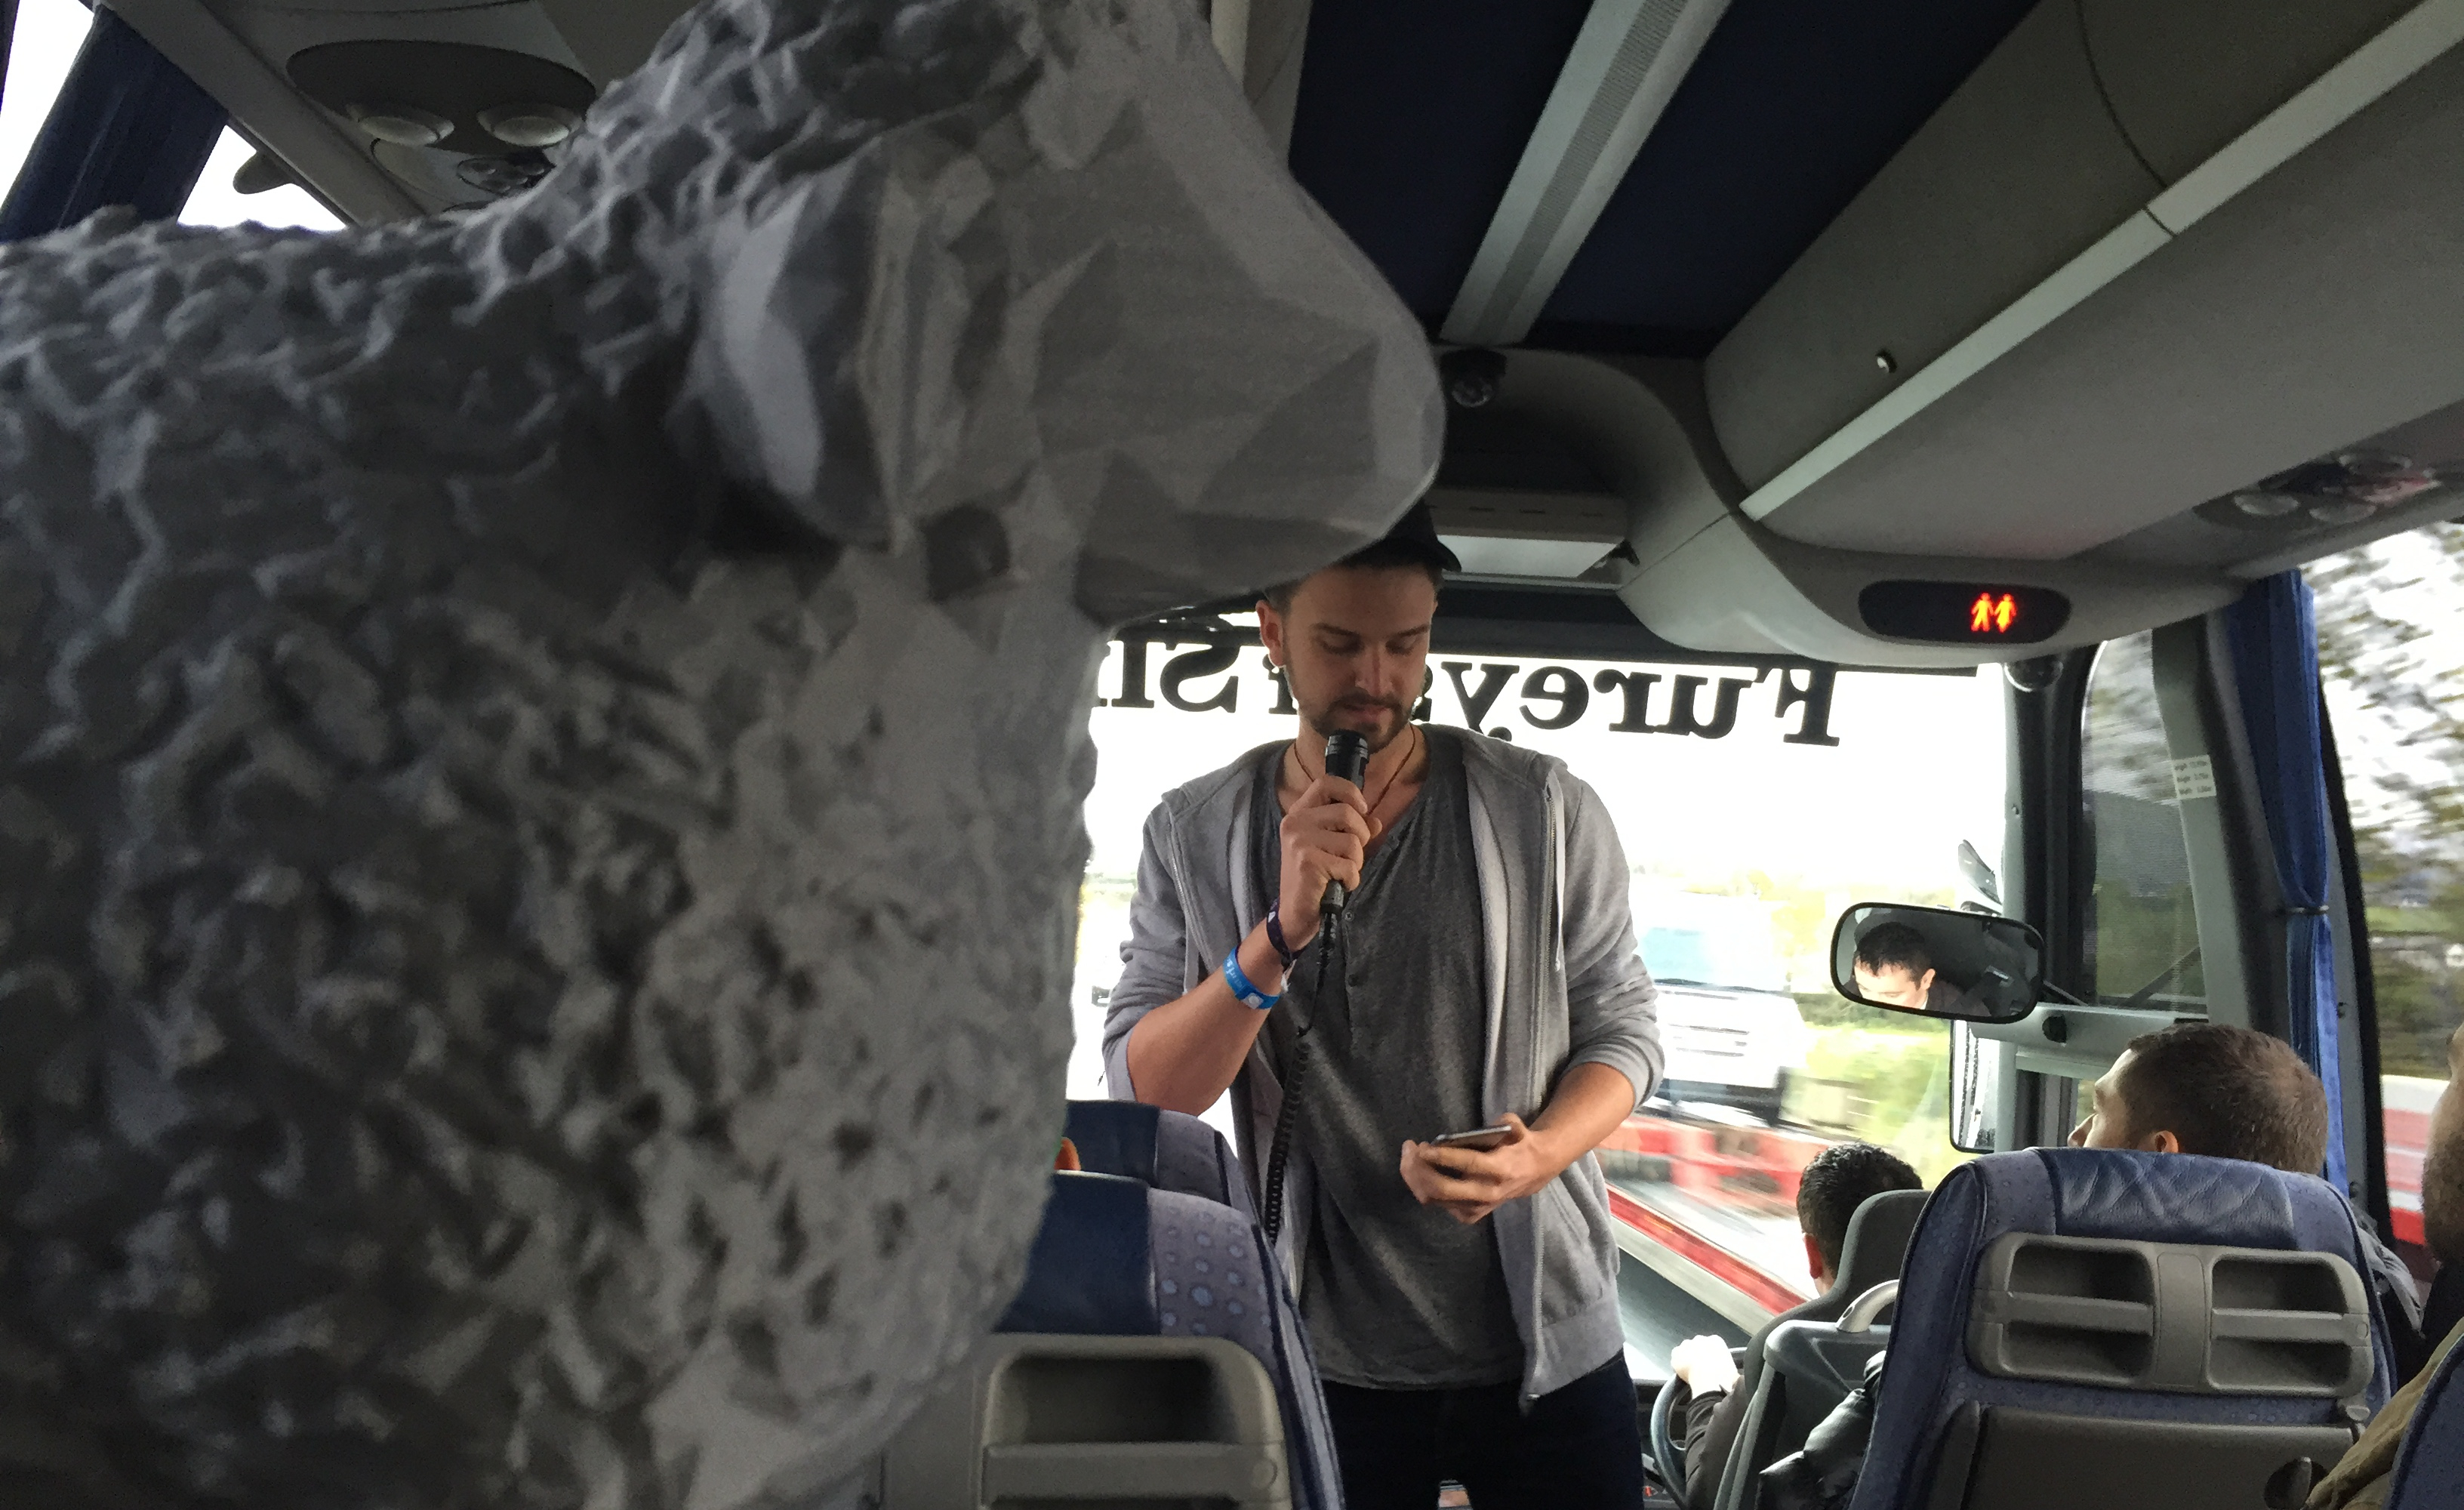
IMG_1139
Shaun, Katy, the surfboard & I board the bus

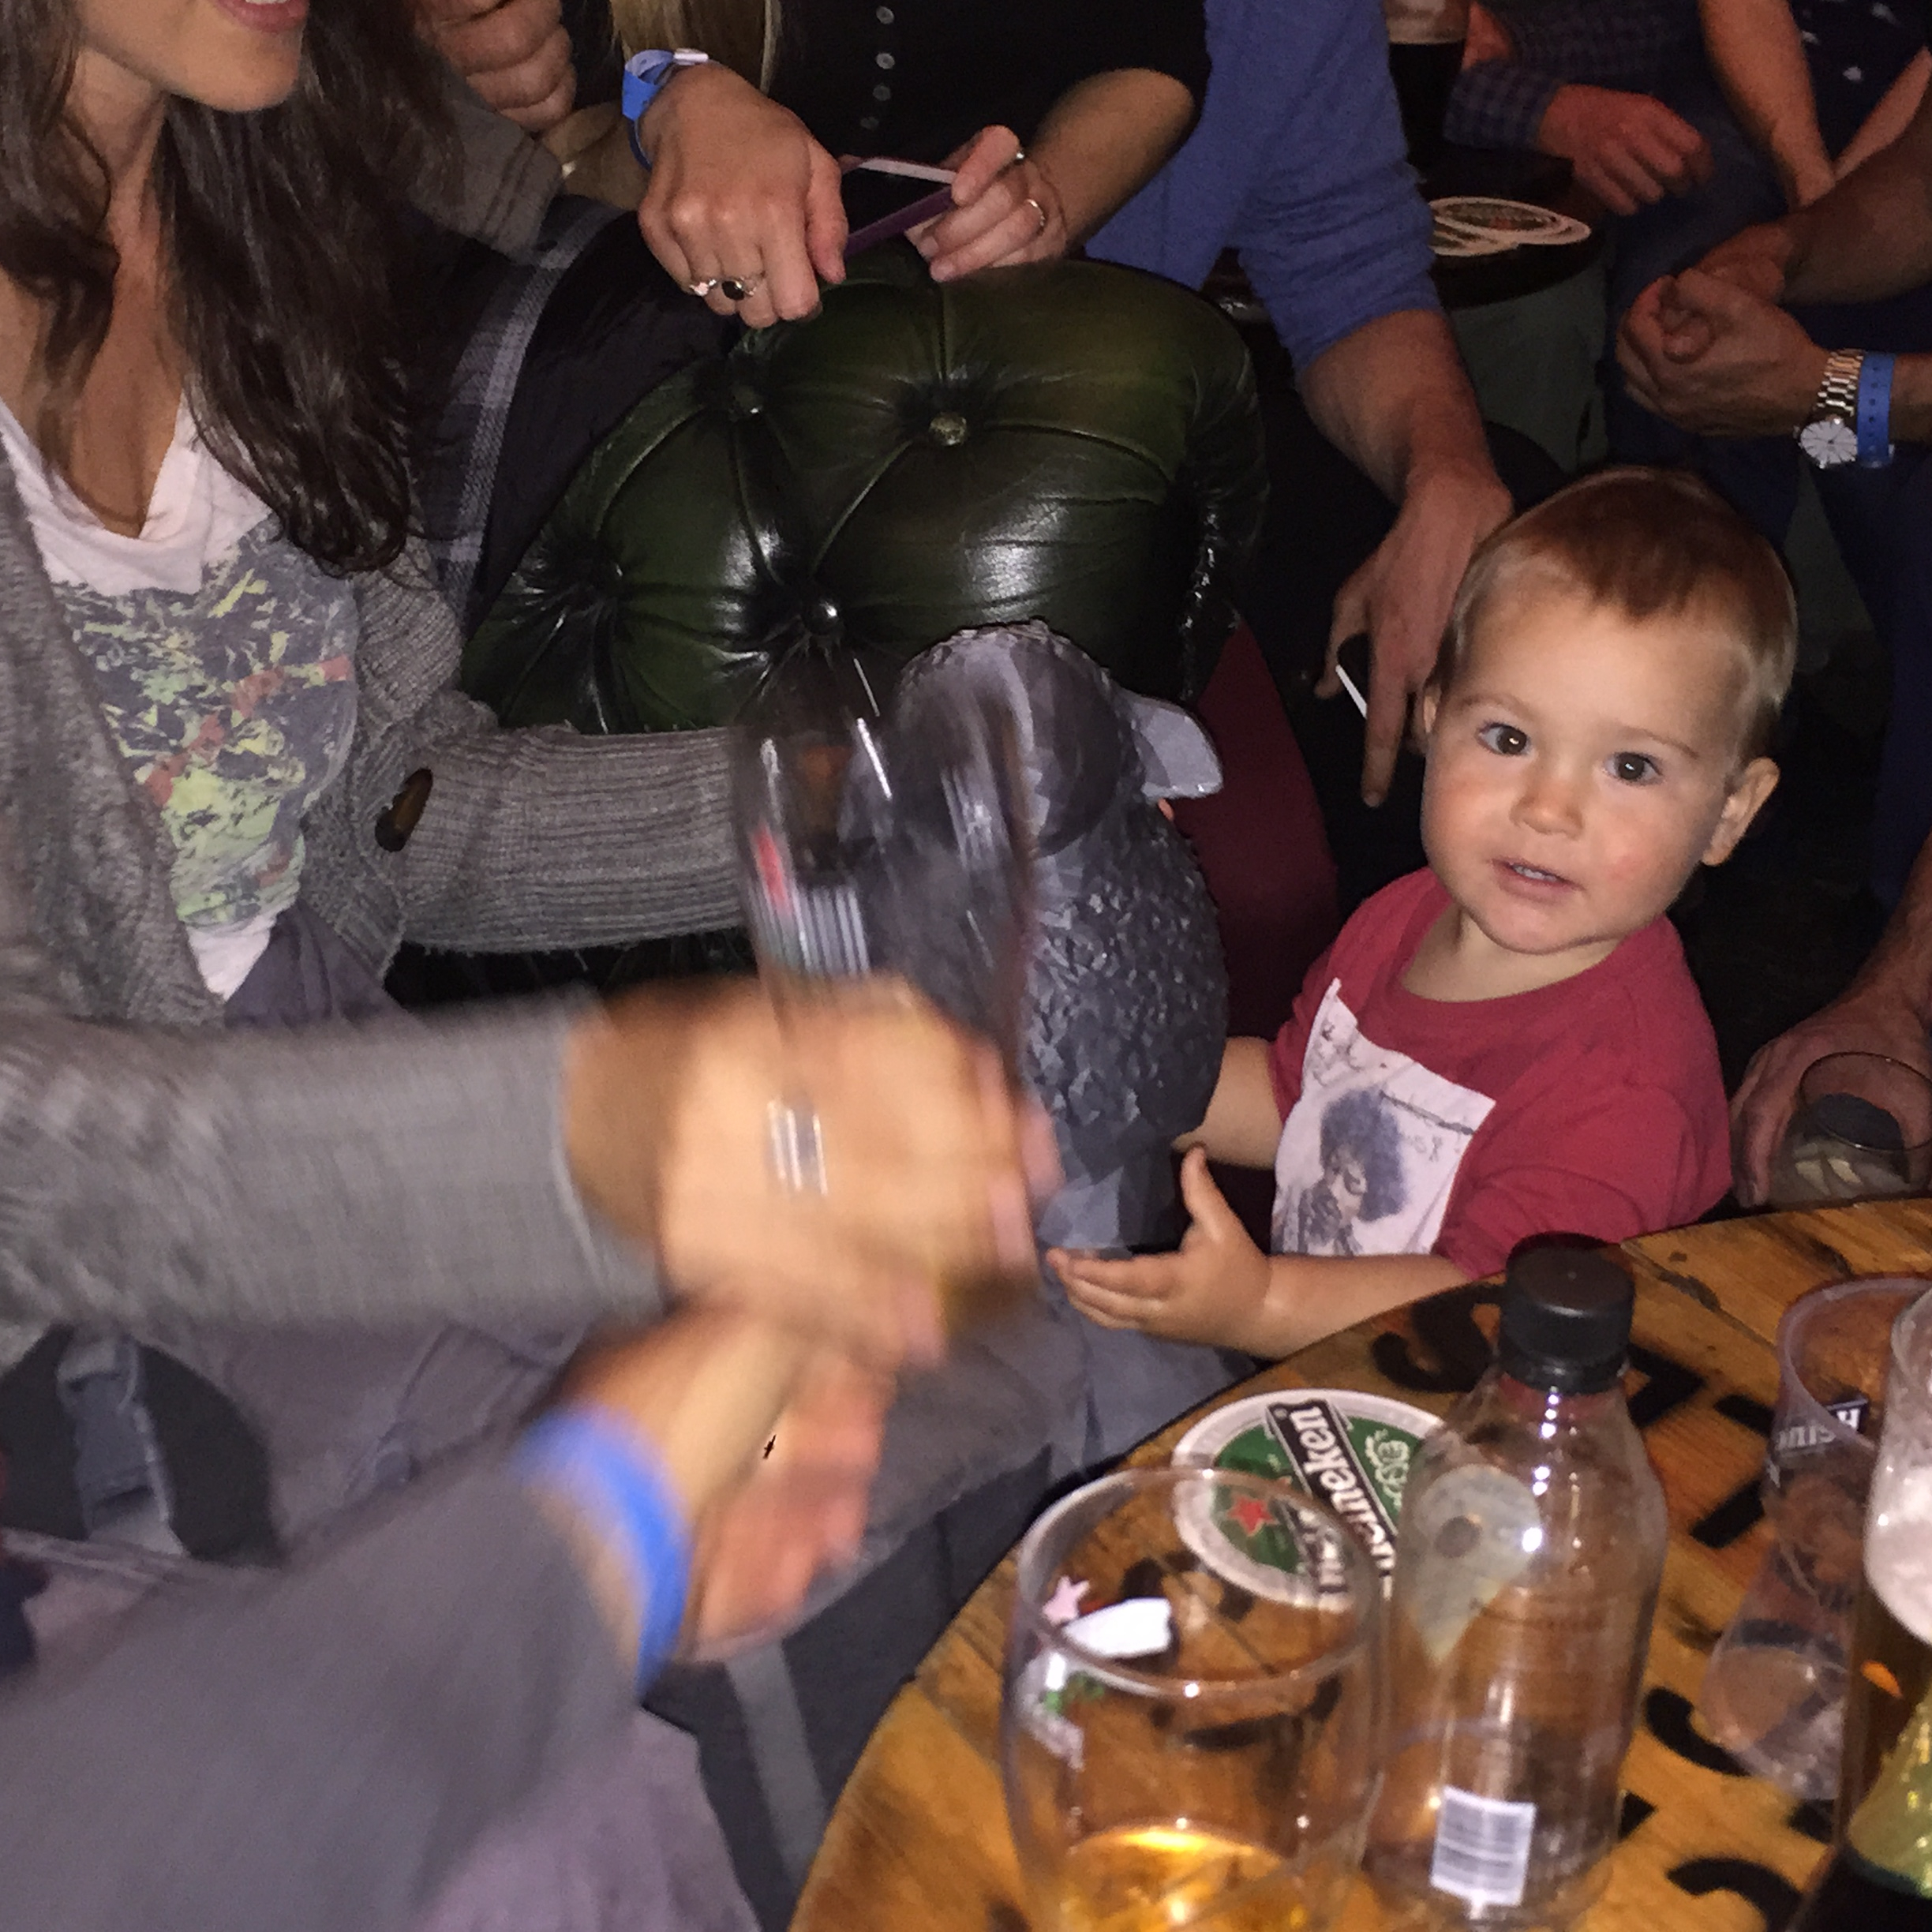
Prior to surfing, we attended the kickoff festivities and allowed Shaun to circulate with the attendees before (he hoped) he would be gifted to a deserving surfer.

Session 1

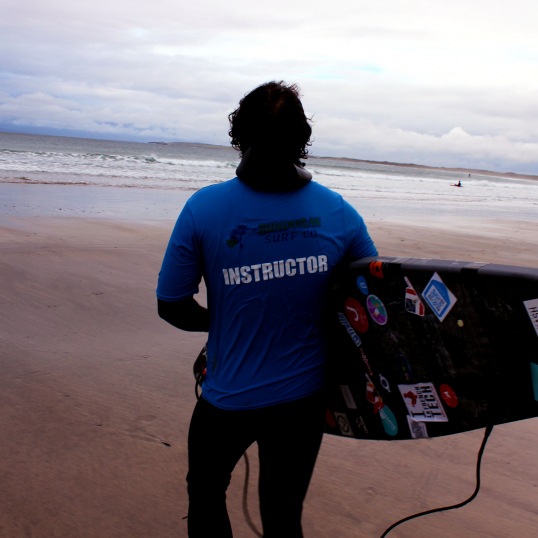
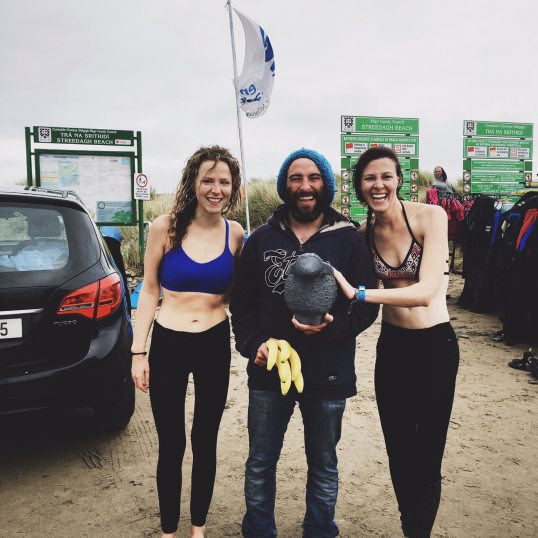
The next morning we loaded the board, attached the fin, crossed our fingers for good luck and took off to Streedagh Beach. Upon arrival, we were greeted by a team of instructors from Surf World Bundoran, who helped us wax the board and taught birthday girl Katy & I to surf for our first time. The experience was unforgettable.

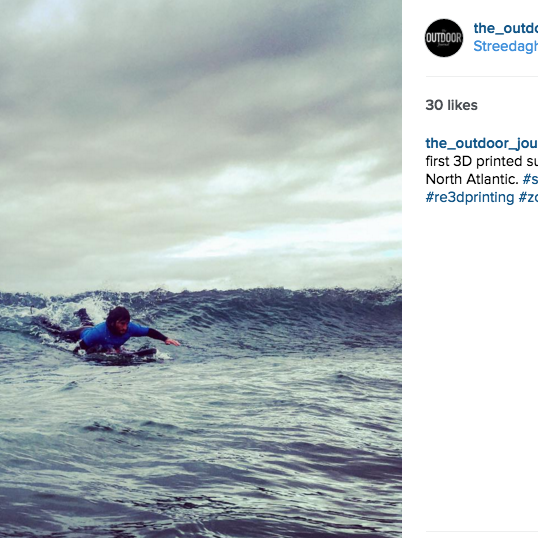
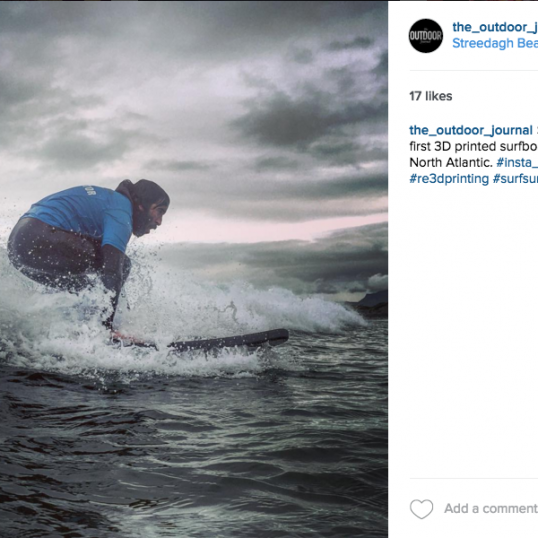
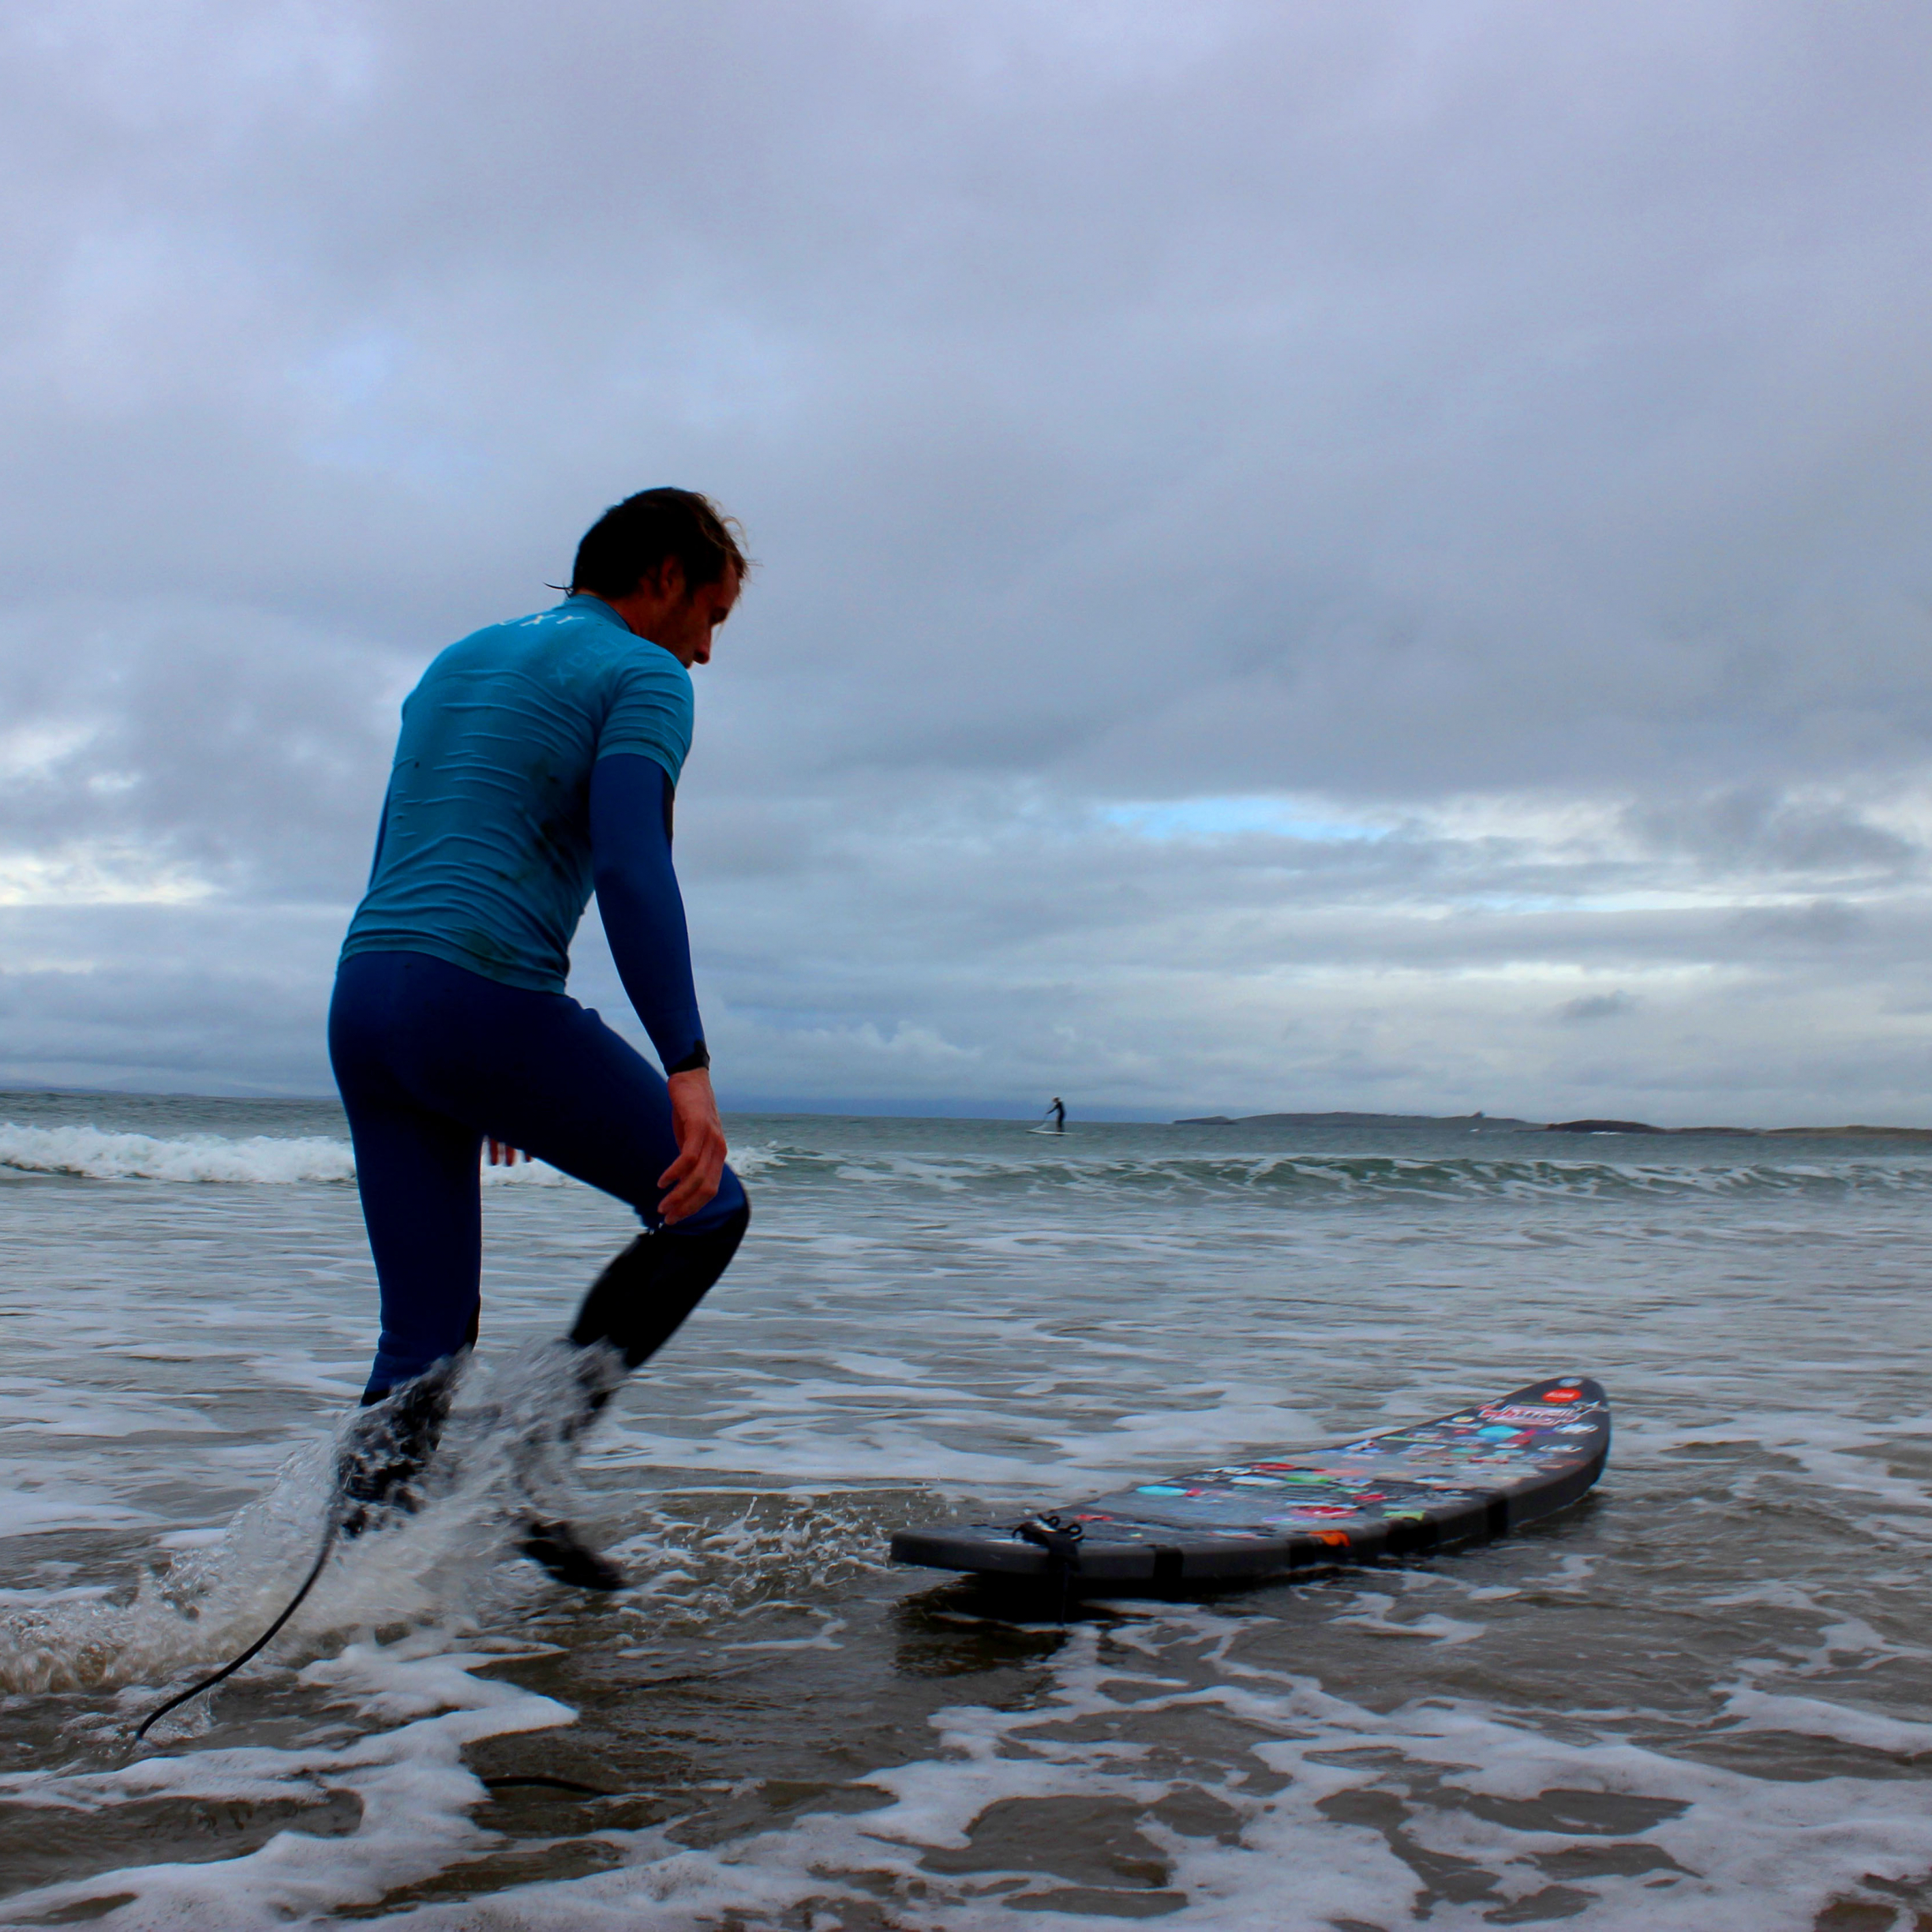
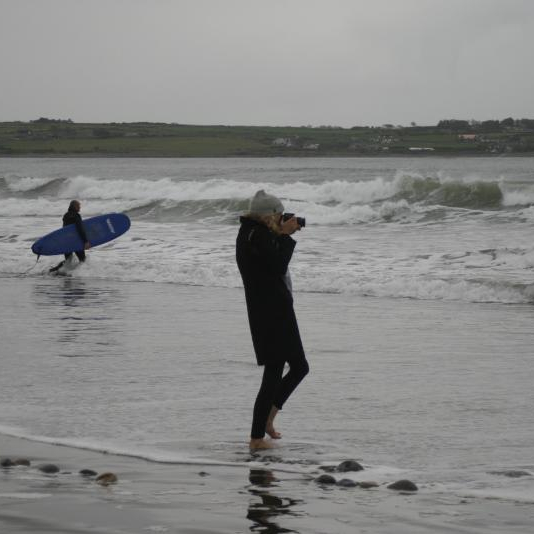
As our lesson concluded, SurfWorld Instructor Tony volunteered to take our stickered print out on the water. We grabbed our cameras and huddled with our new start-up friends from The Outdoor Journal to capture a mini photo shoot before take-off. The tension was palpable and we all lingered a moment discussing the project, for fear that the board was soon break or worse, sink, taking with it the evidence of so many peers who had supported the endeavor.

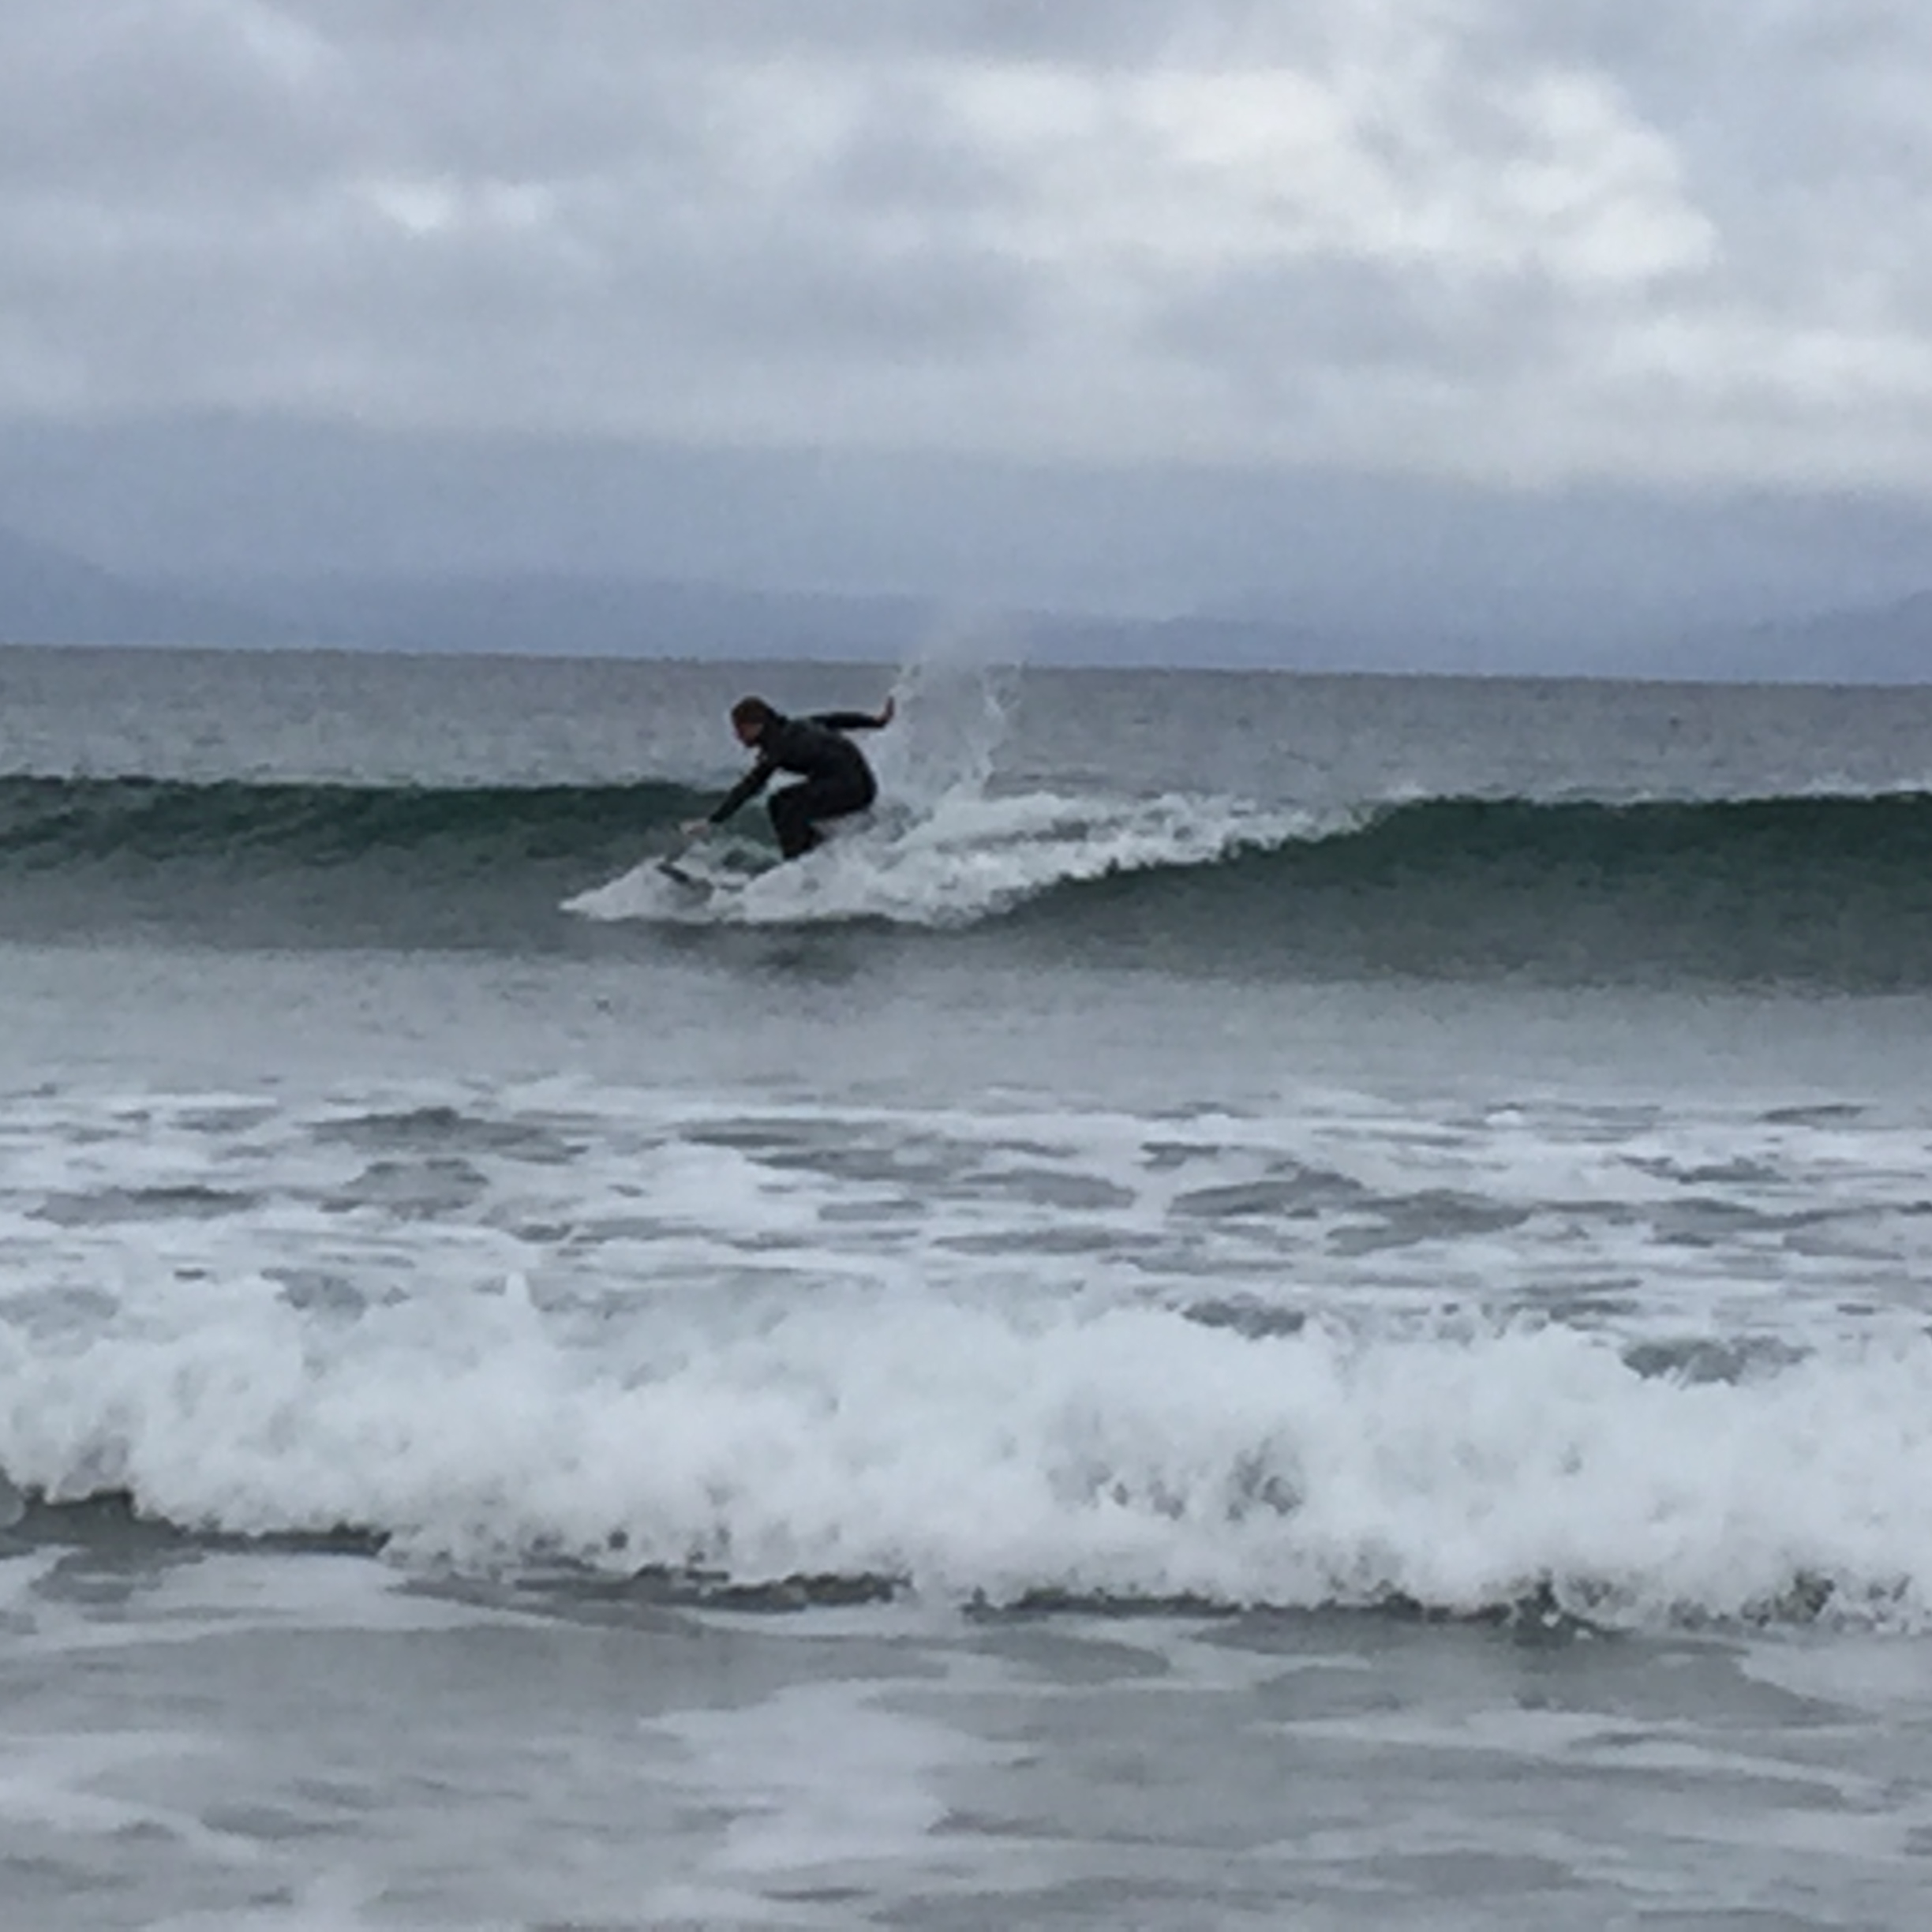
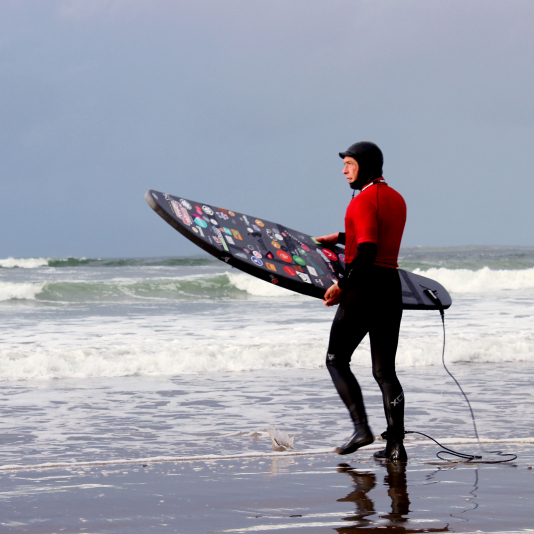
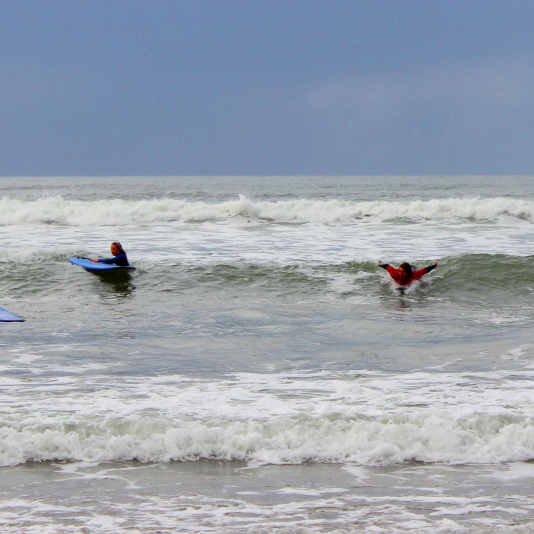
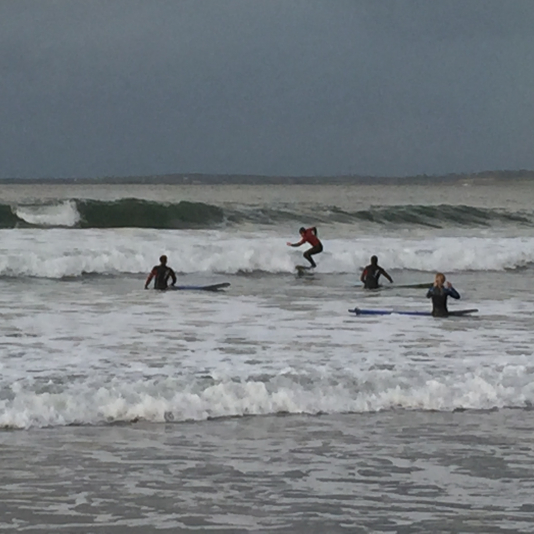
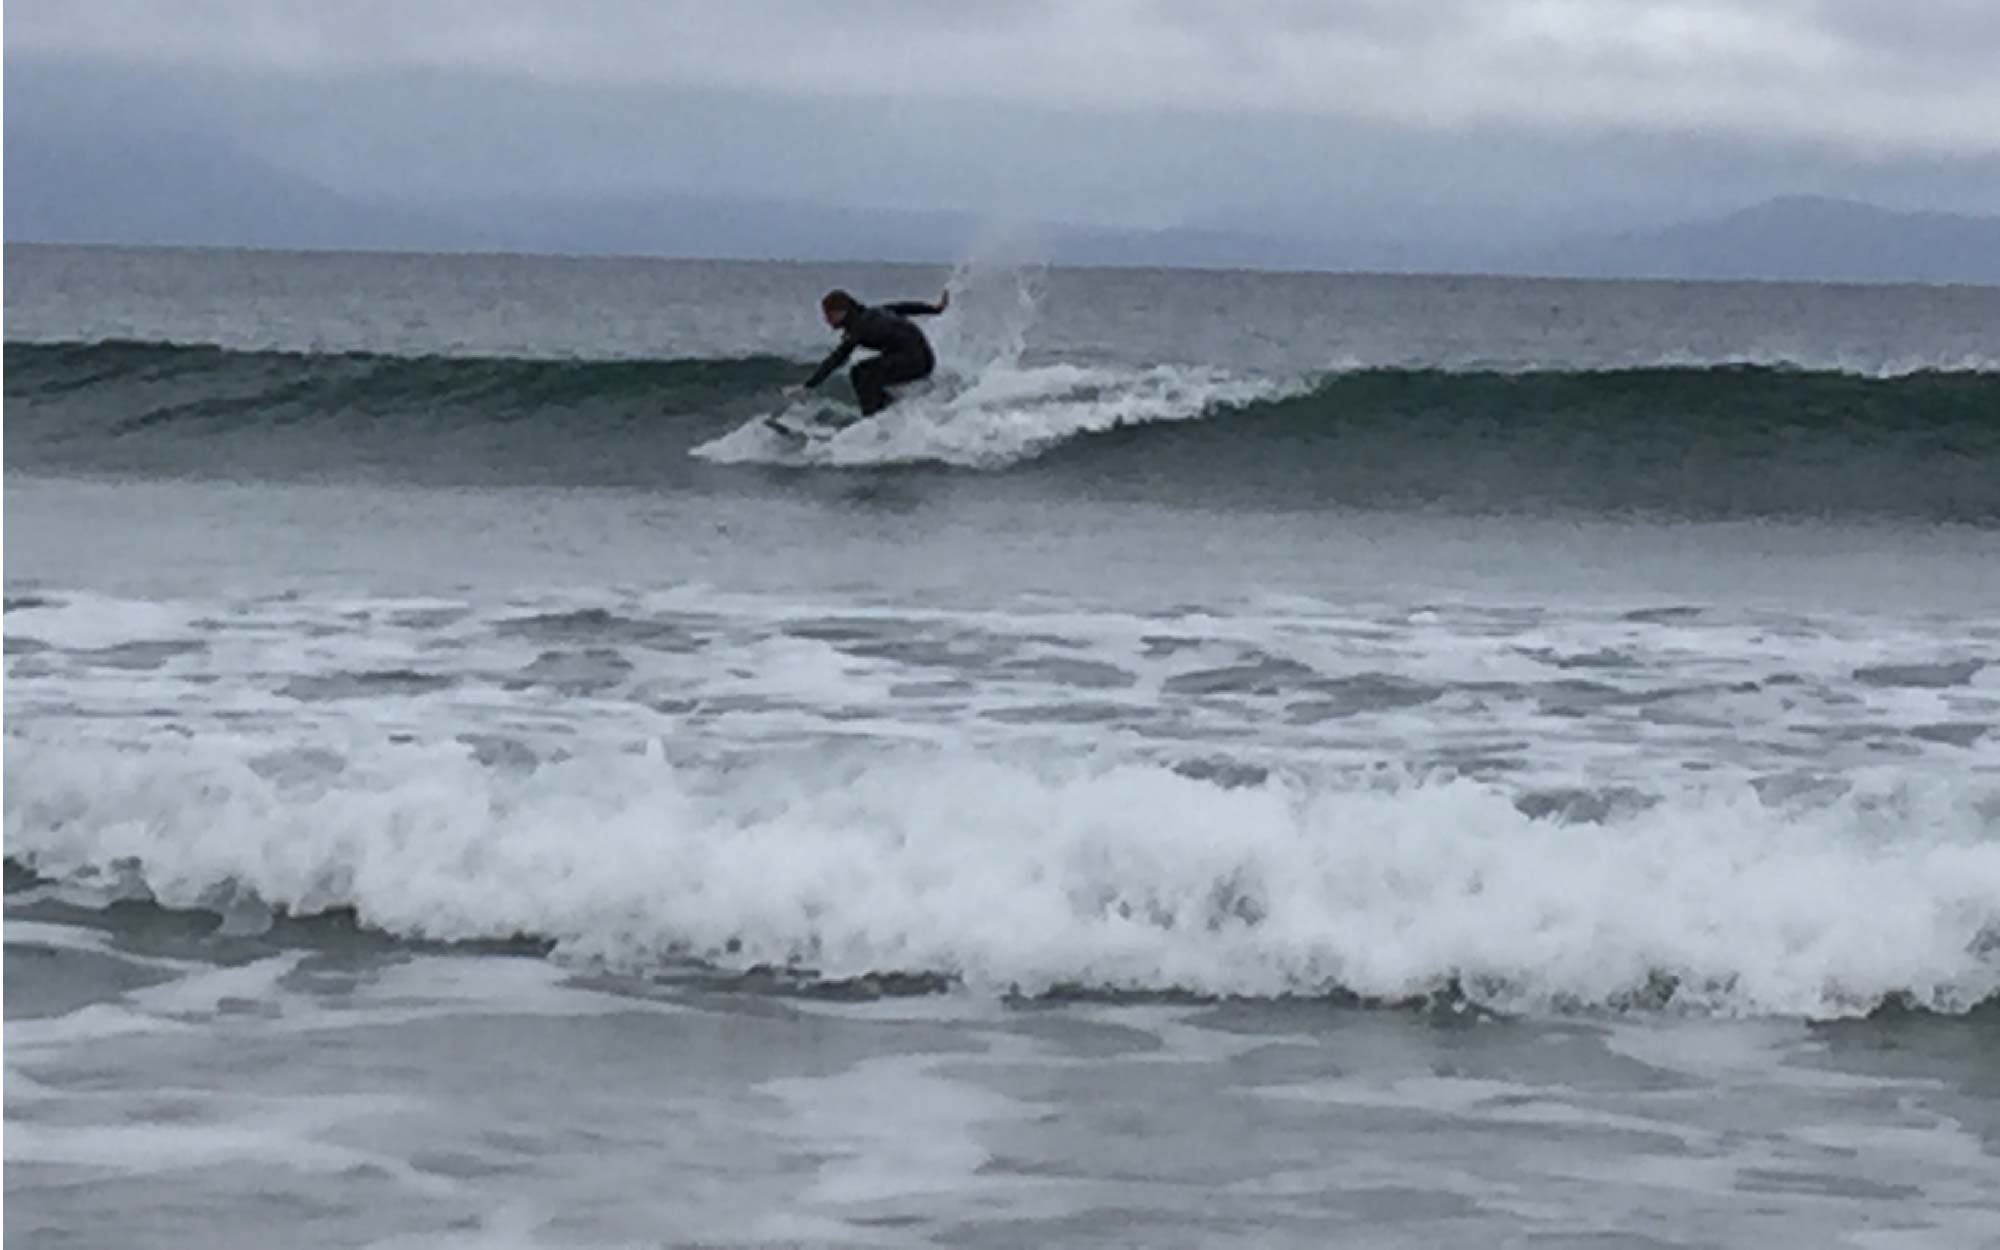
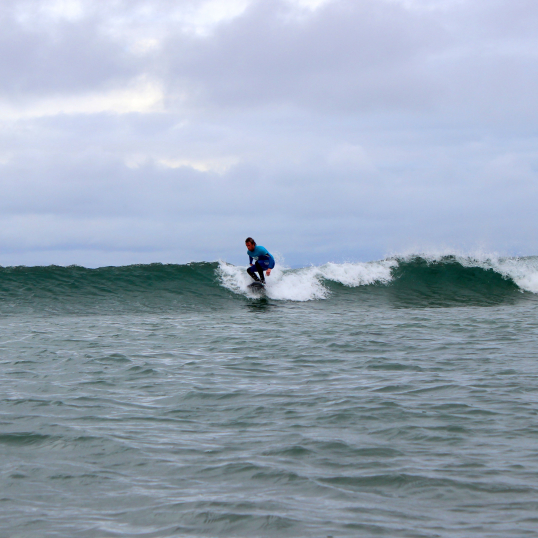
Tony proceeded with caution, first testing the buoyancy in shallow waters near the beach, then gradually paddling out further. After a few minutes, he headed out to see if he could catch a break. It wasn’t long before a series of rolling waves emerged and, as luck would have it, he was able to ride one in!

After Tony broke the seal, two other brave instructors also offered to take the surfboard out, despite loosing a fin!

Session 2

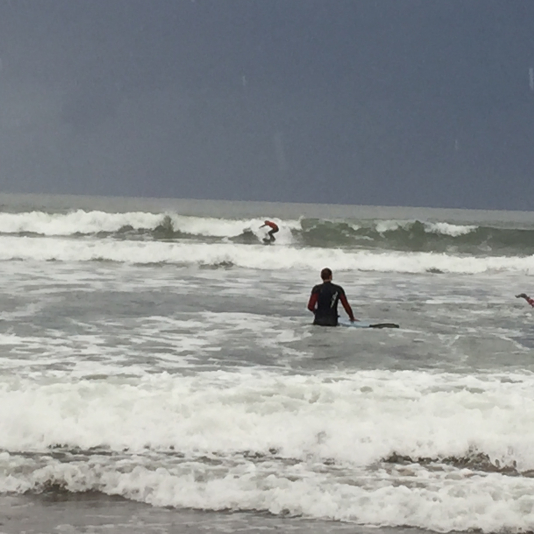
Wanting to optimize our wave catching, we headed back to the hotel, then caught a cab to Strandhill beach to join another surf instruction course after lunch. There we met the crew at iSurfIreland who agreed to try her out and broke personal records in distance traveled (which complicated picture taking)! Four surfers tested the board, and gave us valuable improvement ideas.

Feedback

In total 7 instructors braved the board. The advice we received was pretty consistent:

  • The current board is too thick
    • In the future it should be thinner and consideration should be given to reducing weight
  • The curve is not ideal
    • The board should bow more at the top
  • We could have better leveraged the benefit of 3D printing
    • The current design mirrors current manufacturing aesthetics and could have been sexier
    • Surfers appreciate custom features (holds for cameras, grips, personalized lettering)
  • The absence of a durable fin made it hard to maneuver
    • I should have printed the fin flat so it couldn’t delaminate, and/or used honeycomb for more density
  • A three or multiple fin design would be ideal
    • Ours had only a single fin
  • Stickers made the board more slick, albeit cool!
  • Everyone seems optimistic that 3D printed has great potential in watersports, especially wakeboards and body boards
IMG_0592
Photo by Katy Jeremko

One Month Later

Currently the surfboard resides in our Austin office. What began as an idea, transformed into a internship, that took us 7000mi and introduced us to new friends around the world. As we reflect on the people we met through Akshay, sheep printing, sticker collecting, and trial by water we are struck by the creativity & vision that the community shared. We hope this is the first of many use cases that will expand our perspective on what is possible through affordable, life – size 3D printing. We welcome your ideas on where we go from here!

Happy Printing,

Samantha snabes

Blog Post Author
~Special Thanks to: our Intern Akshay, Coach Norman, Mike Battaglia, Jeric Bautista, the makers of Gorilla Glue, SUP ATX, WakeBoard Graphics Austin, Sail & Ski Austin, to the ENTIRE Web Summit/ Surf Summit Staff, all the StartUps that shared their stickers, The Outdoor Journal, The city of Sligo, IDA Ireland for the rad T shirts, isurfIreland, Surf World, and our staff who all had a hand in this crazy adventure!

~~We're still catching up on post-summit sleep. It's possible I missed a credit or left a typo. Feel free to submit additional pictures, corrections, comments, or questions to @samanthasnabes

Improving print quality by reducing triangle count

This is a tutorial on how to reduce the amount of triangles in a file for print quality using Autodesk Meshmixer.

While test-printing a large design at a much scaled-down size, I noticed an issue with print quality and wanted to share my experience remedying it, for those of you who have seen something similar happen in a print.
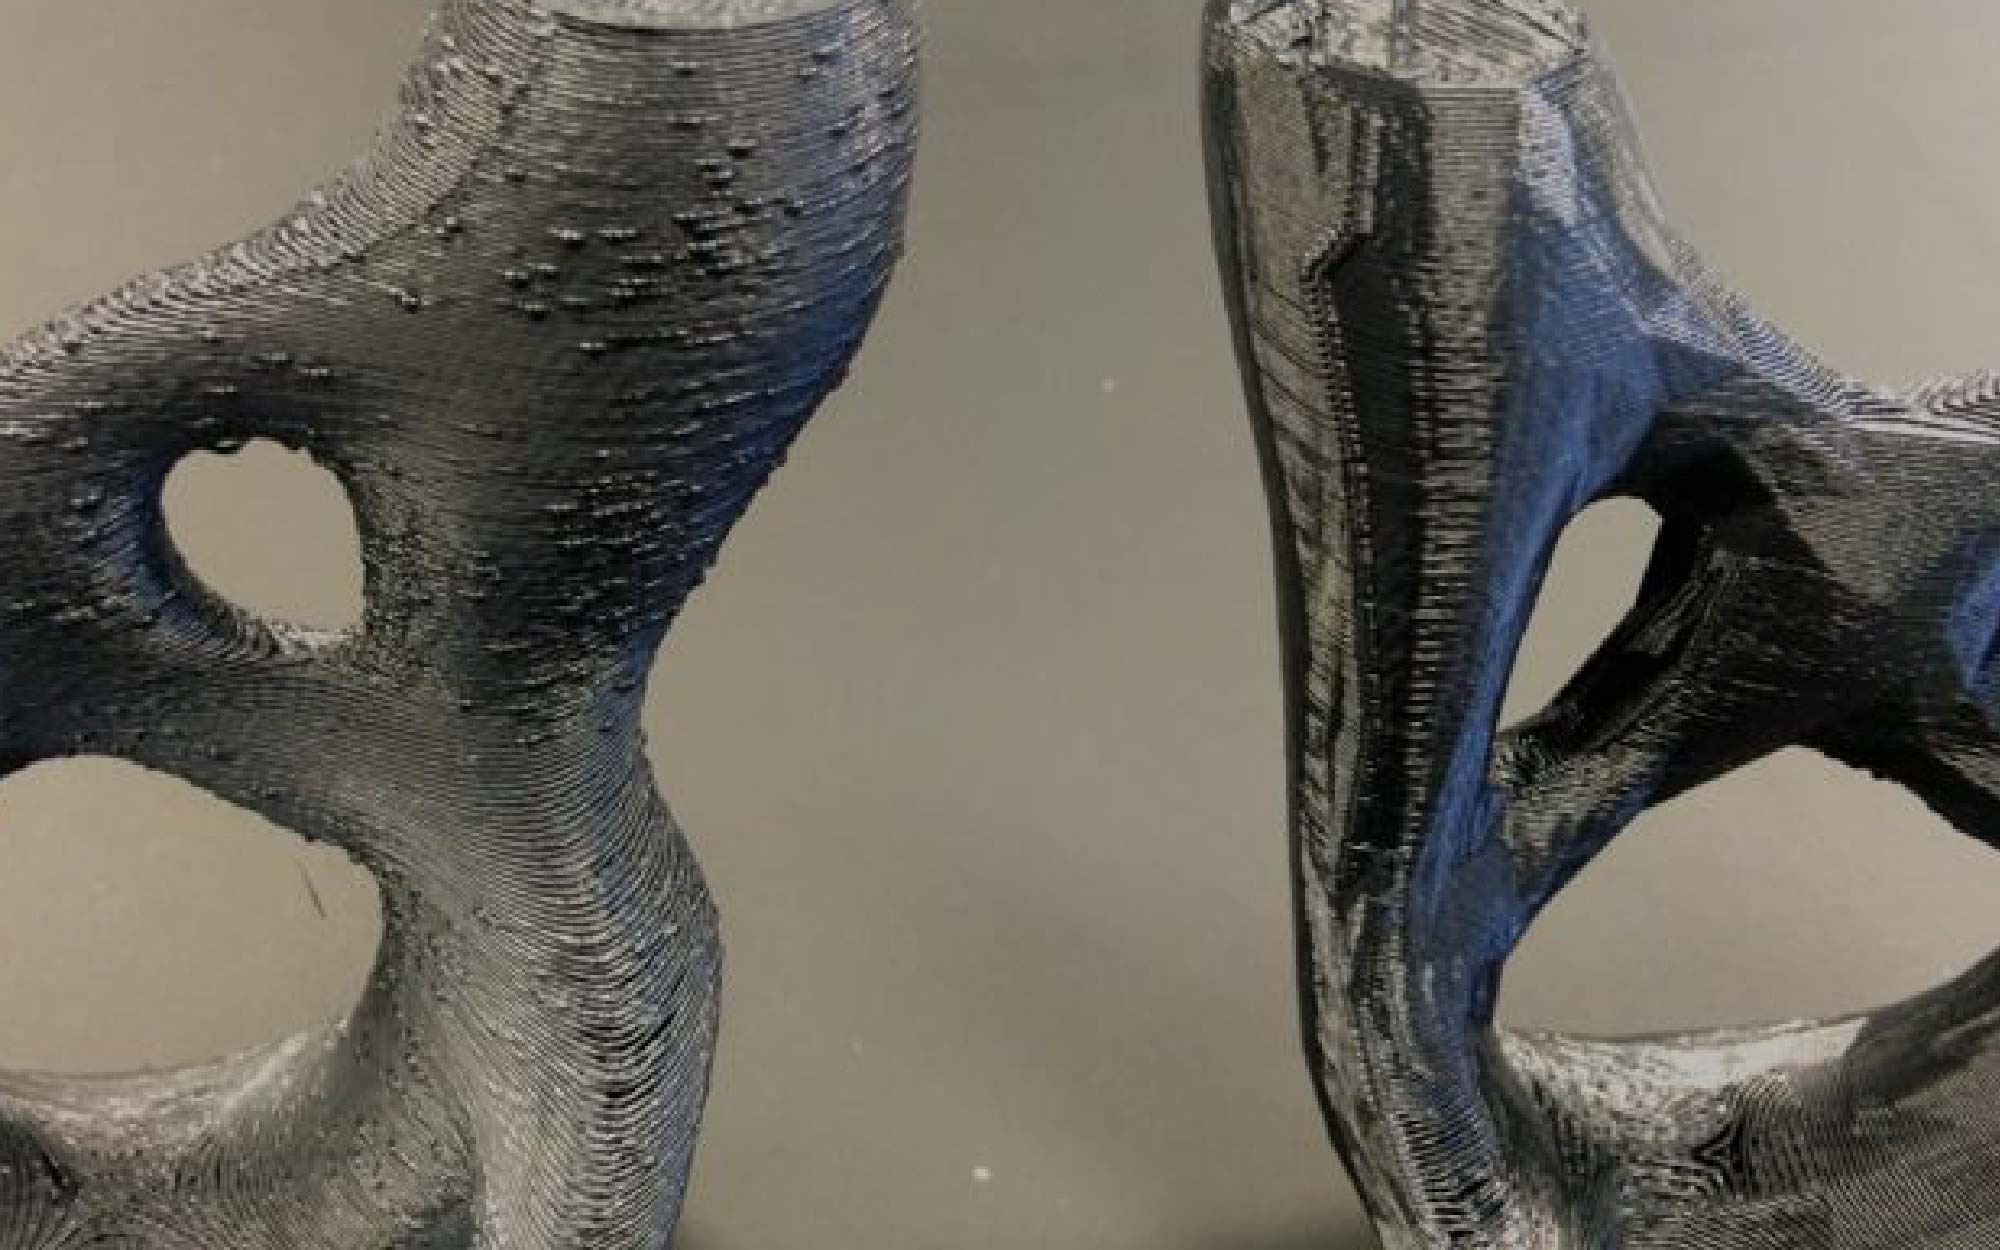
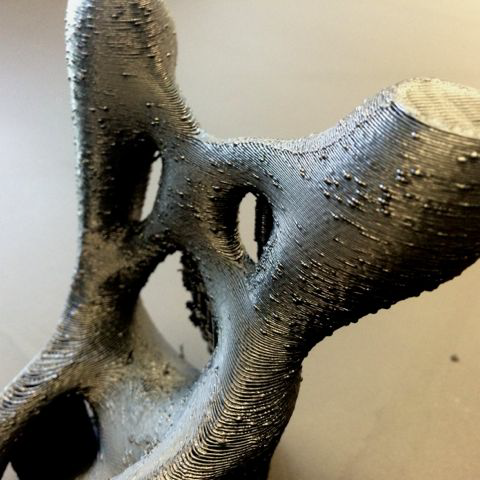
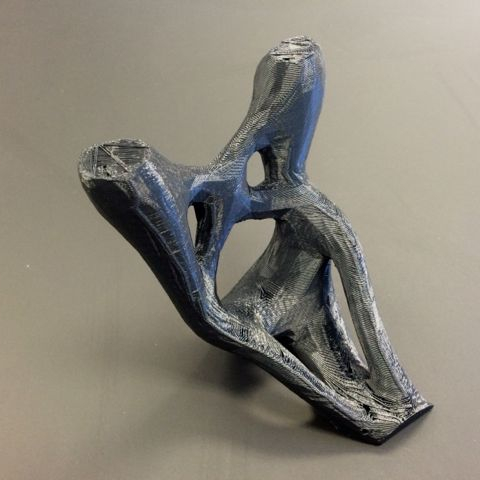
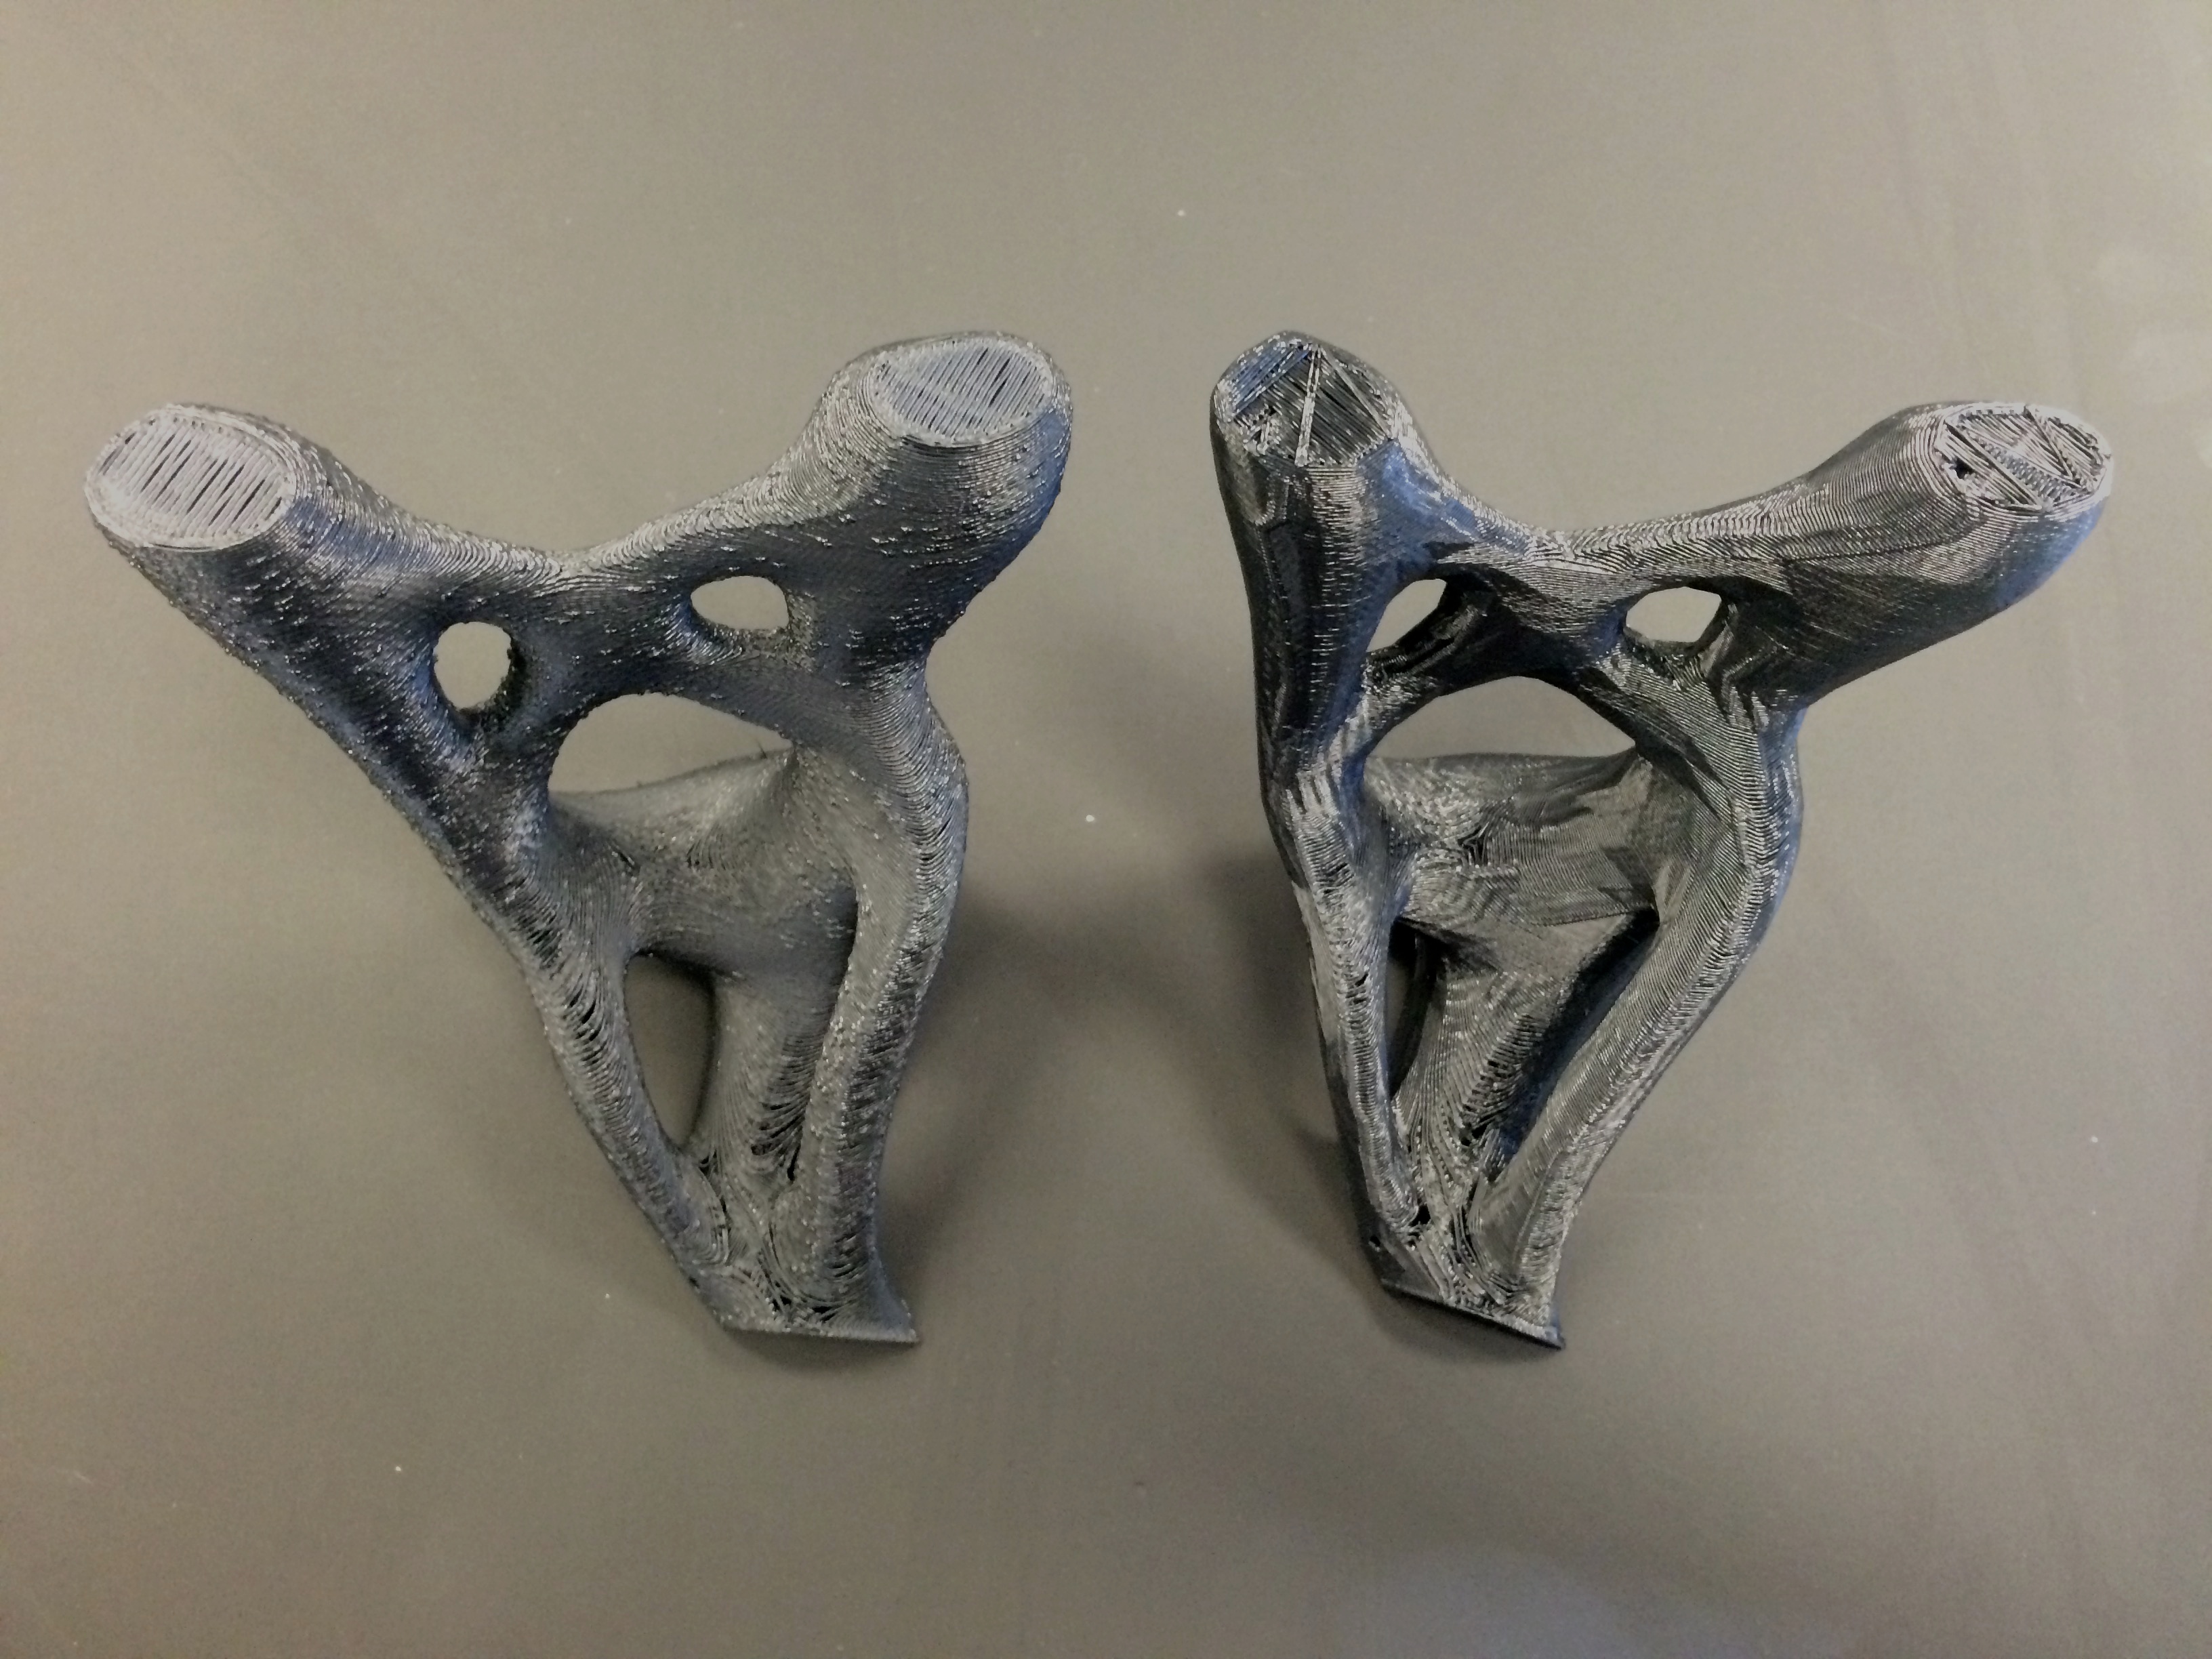
Below is a picture of the first print of this scaled-down object.  You can see tiny globs of filament dotting the surface of the print.  What is causing this?

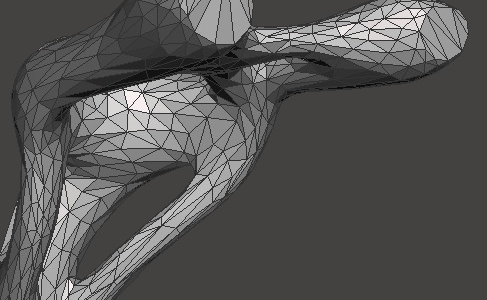
First it helps to know what is behind an STL file.  An STL file breaks the surface of 3D object into many little triangles to form the surface geometry — this is done automatically when you convert a CAD file into an STL file.  Here’s what that looks like.

pic 3

The more triangles in a part, the smoother the curves of the surface will be, but also the larger the file size, the longer the slicing time, and the longer the build time.  Conversely, fewer triangles in a part means it will slice and print faster, but the curves will look more faceted.

Here’s what happened in this particular instance.  We took a very large file — 443.13mm x 503.32mm x 434.38mm — and scaled it down to 25% of the original.  The original large file had 103,970 triangles, and all these triangles remained even as the size scaled down.  This meant that we now had the same amount of triangles for a part one quarter the size.  The little globs of filament you see on the surface of the print were the result of the printer processing all of these triangles, pausing just long enough at certain vertices to allow a little extra filament to ooze out and form a small blob.

So I tried a test.

Using Autodesk Meshmixer (it’s free), I reduced the amount of triangles in the print to see if that would fix the blobbing problem.  You can read a tutorial by Hubs about reducing triangle count in prints; here’s the basic process:

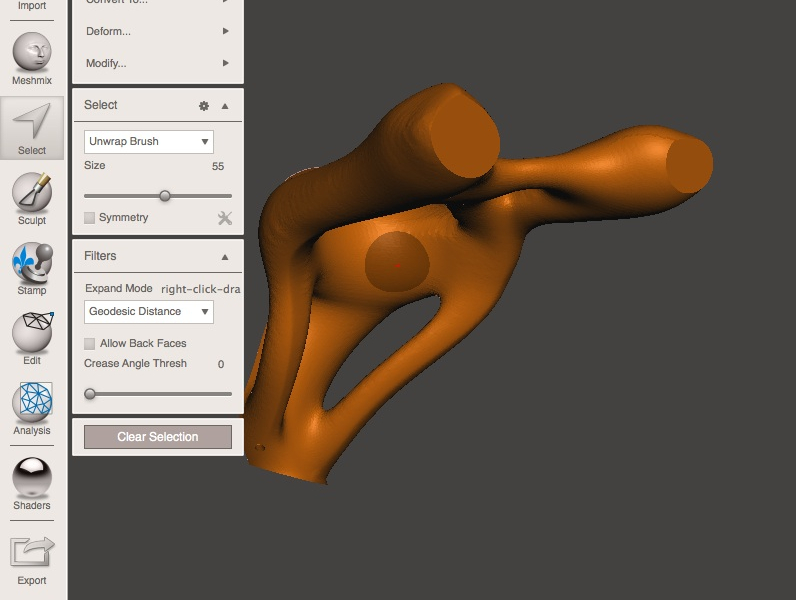
Import your file into Meshmixer, click Select, and double-click your object to select it.

pic 4

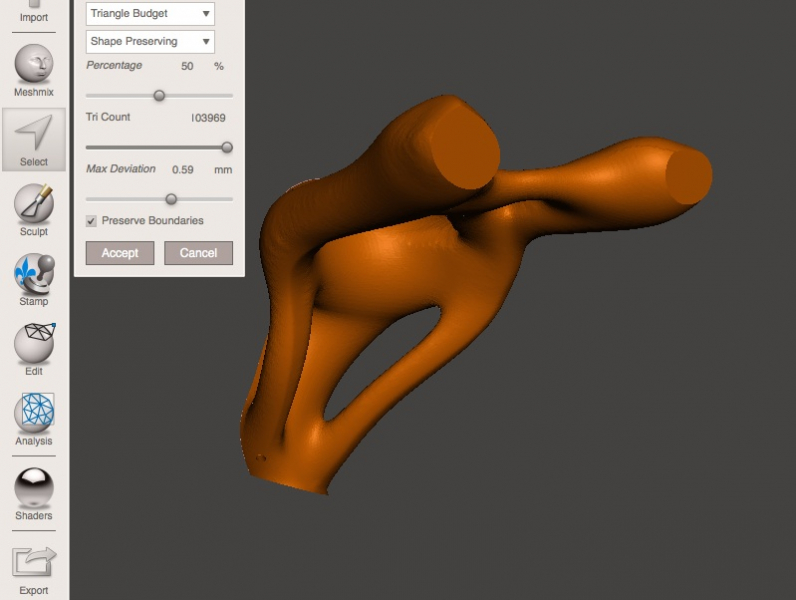
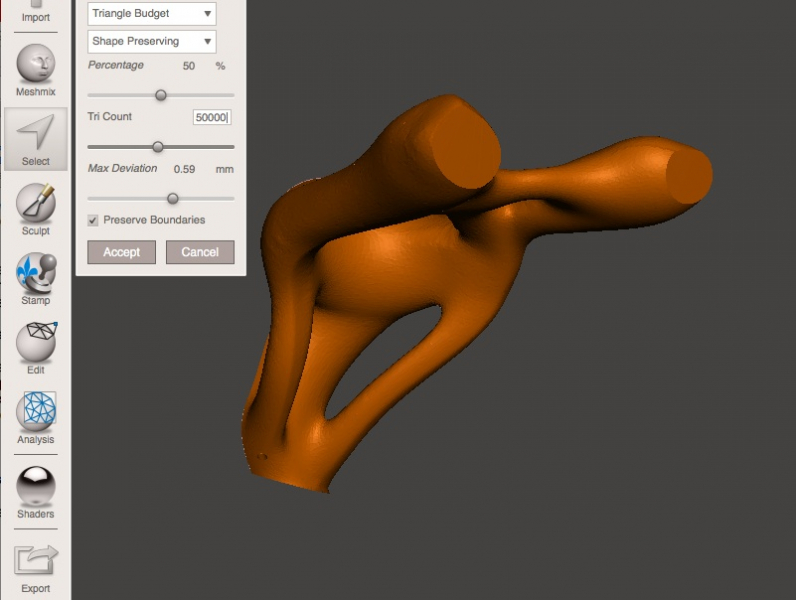
Click the drop-down menu next to Percentage and select Triangle Budget.  You can now either slide the Tri Count slider up and down, or double-click the number and input a specific number.

pic 2.5

Cut the amount of triangles by more than half, down to 50,000, and you can hardly see a degradation of surface smoothness.  You could do this and improve the blobbiness without sacrificing the smooth curves of the object.

pic 6

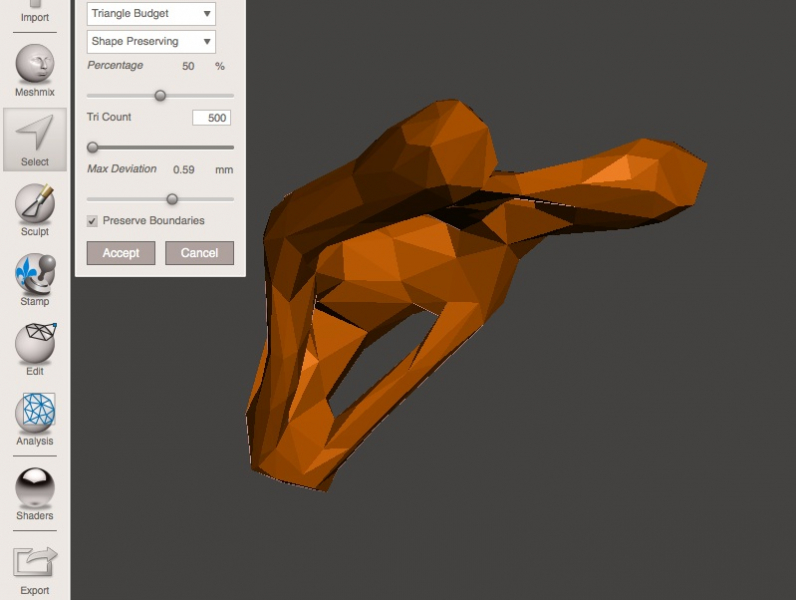
To show the extreme end of the spectrum, look what happens when we drop the triangle budget down to 500.  You can still make out the basic shape of the object, but its smooth curves have been lost underneath a sharply-faceted surface.  This is because there are less triangles, so we now see the polygons rather than the smooth mesh they normally form.

pic 8

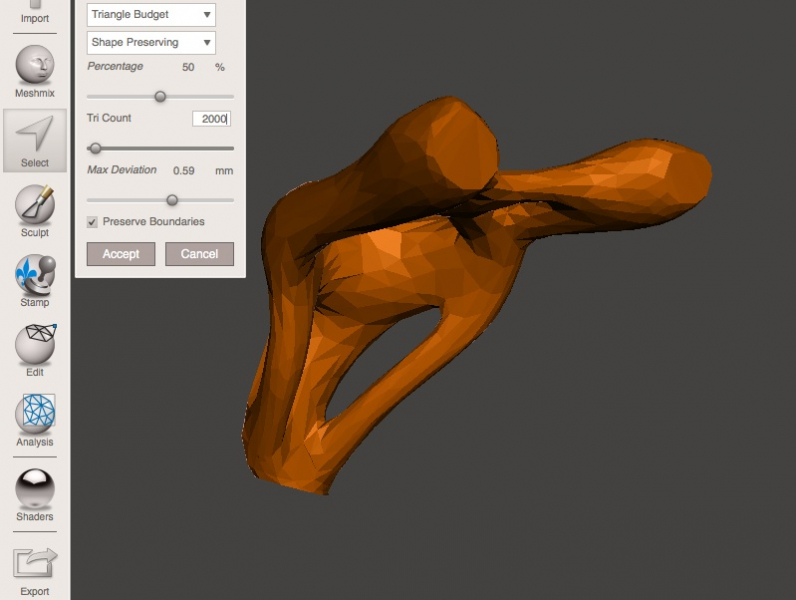
I wanted to show something more on the extreme end of the spectrum, so I set the triangle budget to 2,000 and exported the STL file.

pic 9

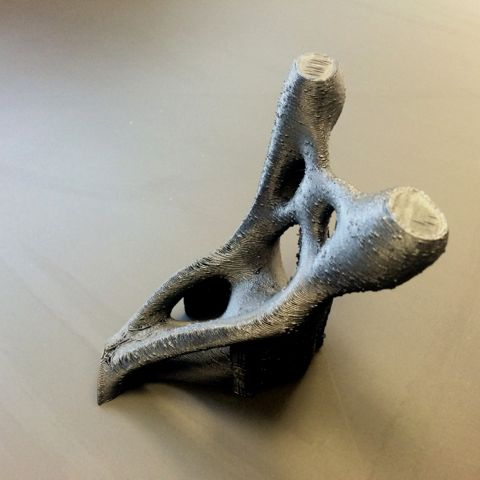
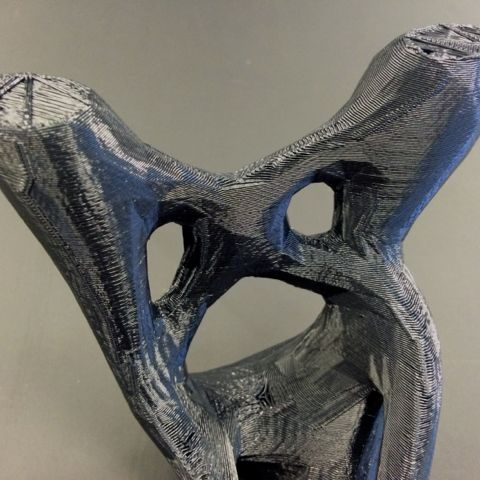
Here’s how the final print turned out — no more filament blobs.  You can see the faceted surface, almost as though it’s a chiseled sculpture before being sanded.  We kind of like the geometric look!  But remember, we did this to demonstrate the two extremes: if your goal was to maintain the smooth curves of the original design, you could have reduced the amount of triangles significantly without swinging this far to the other end of the spectrum.  

If you ever see filament blobs like this, try out the above steps to reduce the number of triangles in your print to improve the quality.  Or, play around in Meshmixer just for the fun of it — maybe you like this geometric style as much as we do.

Happy printing!

Morgan Hamel

Blog Post Author
re:turning to Web Summit!

Yep, that’s right- we’re returning to Ireland!

This time we’re showing up in full force with Katy, Matthew, Samantha, Gigabot and some exclusive 3D printed content!

Why Ireland?

It all began with Web Summit 2015 when our co-founder Lara identified the opportunity and we were invited to apply.

After being selected last year, Samantha had the pleasure of attending sans Gigabot as a female technologist representing the BETA program. While we didn’t win a pot ‘o gold, the experience left us richer in experience & relationships.

wevolver

While exhibiting we met, WEVOLVER, which resulted in a collaborative effort to leverage their platform & community. They also sponsored this year’s Great Big Gigabot Giveaway.

In addition to making some new friends, throughout the week Samantha had the chance to pitch to thousand in the BETA PITCH category and was blown away to win 2nd place!

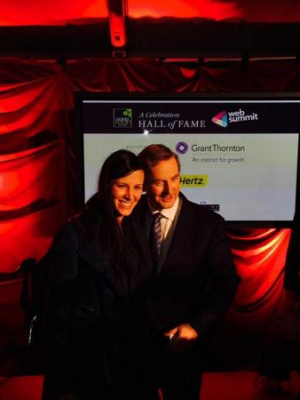
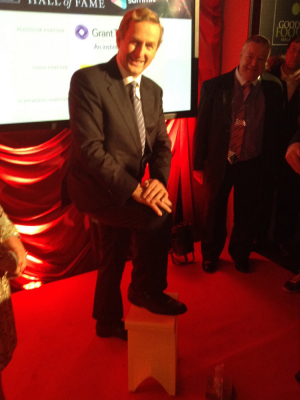
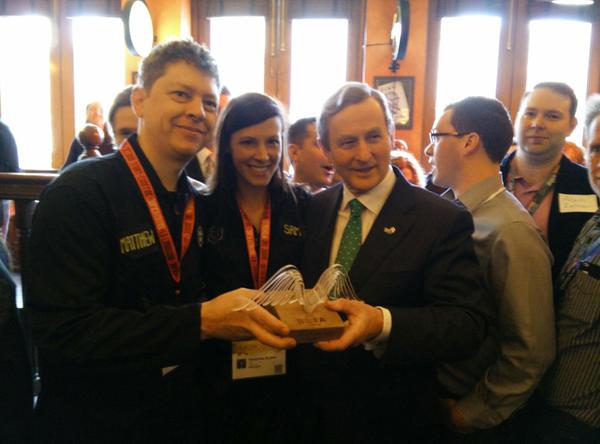
She also had the honor of  meeting the “Prime Minister” or Taoiseach Enda Kenny who posed with our traveling 3D printed stool.

Fast forward 4 months later, Samantha & Matthew had a chance to meet up with the Taoiseach in on St. Paddy’s day during his USA tour for the IDA breakfast during SXSW. They brought the BETA trophy and, of course another 3D printed stool!

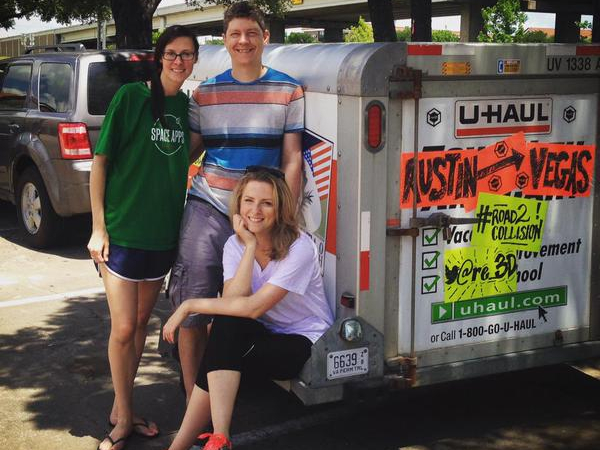
Shortly afterwards, Katy, Matthew and Samantha packed their bags and this time Gigabot for what promised to be an adventure on their self proclaimed #road2collison a.k.a. Collision in Las Vegas!

road2collision

The group was trilled to demo Gigabot for the Summit crowd in the USA along with some pretty slick 3D prints.  Again, we pitched….and this time won!

As part of the prize package, we were invited to be part of the 2015 START tour. This provided Matthew and Ernie the opportunity to head to CONVERGE/RISE. At RISE the duo re-connected with the Summit staff, launched our 2nd Great Big Gigabot Giveaway to give away a Gigabot to a group making a difference, learned a ton about Asian Manufacturing and Ernie took his first international trip! 

Which leads us back to Ireland…

We can’t wait to meet you and to demo Gigabot for the friends we made last year. We hope you will look us up if you are across the pond next week!

Here’s where you can find us:

  • Attending the Kick-off Welcome Dinner on Sun? We are too!
  • We’ll be giving a live demo at the Machine Summit at the Main Hall Complex Tuesday, November 3 from 15:00 – 16:00, with a specific demo slot on our from 15:15 – 15:30
  • We are exhibiting Gigabot at stand number S-130 in the START Village Area on Day 3 of the event, Thursday, November 5
  • After packing up Gigabot, we’re hitting the bus with the group heading to Surf Summit the November 6-8
  • We return to Dublin on the 8th and plan to spend a day visiting customers and/or anyone we missed before heading out late the next day!

Shameless ask

  • This year we are hoping to connect with press and influencers who can help us tell our crazy story. If you have a friend we should connect with, please email samantha@re3d.org!
  • Also, we need a pro-surfer to take our 3D printed surfer out on the waves during Surf Summit. Email samantha@re3d.org for details:)

See you soon??!

-Matthew, Katy, Gigabot and Samantha

  • @chief_hacker
  • @Katyjeremko
  • @samanthasnabes
  • @RE_3D

Gigabot Shapes Sound at Acoustics First

Acoustics First in Richmond, Virginia, USA

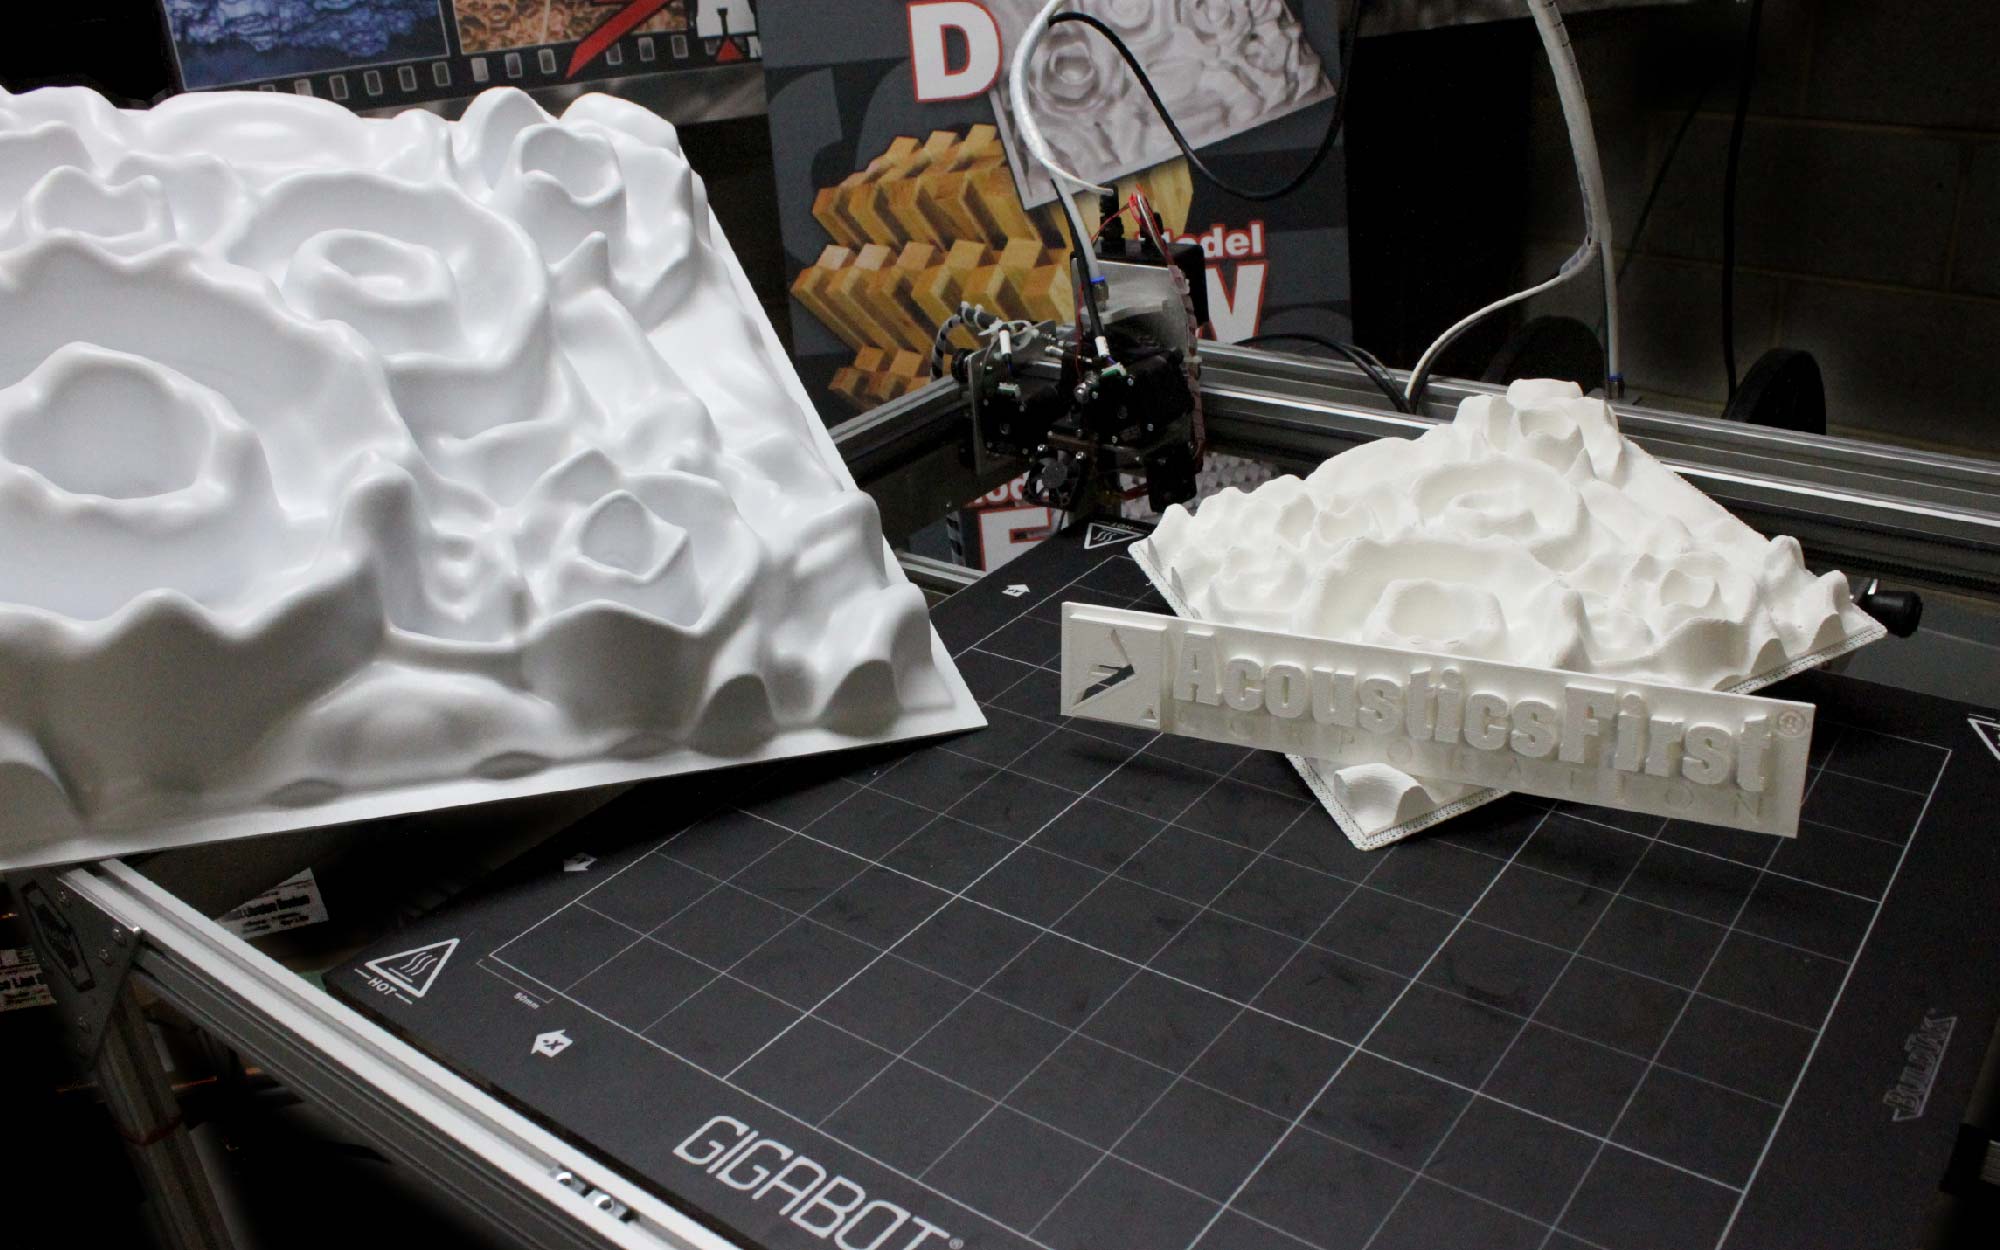
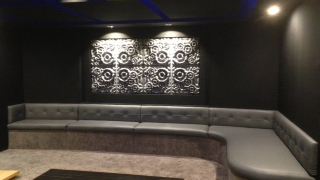
Acoustic Diffusers scatter sound and break up hard, contiguous reflections, allowing the sound energy to spread evenly throughout the space without interfering with the sound being produced.  They are used in many different environments: recording studios, audio mixing spaces, loudspeaker demonstration spaces, high-end home theaters, school concert and rehearsal spaces, churches, music venues, and some of the most renowned listening spaces in the world, which have stringent demands on their acoustic environments.  Our diffusers have been used in all of these and more.

listen

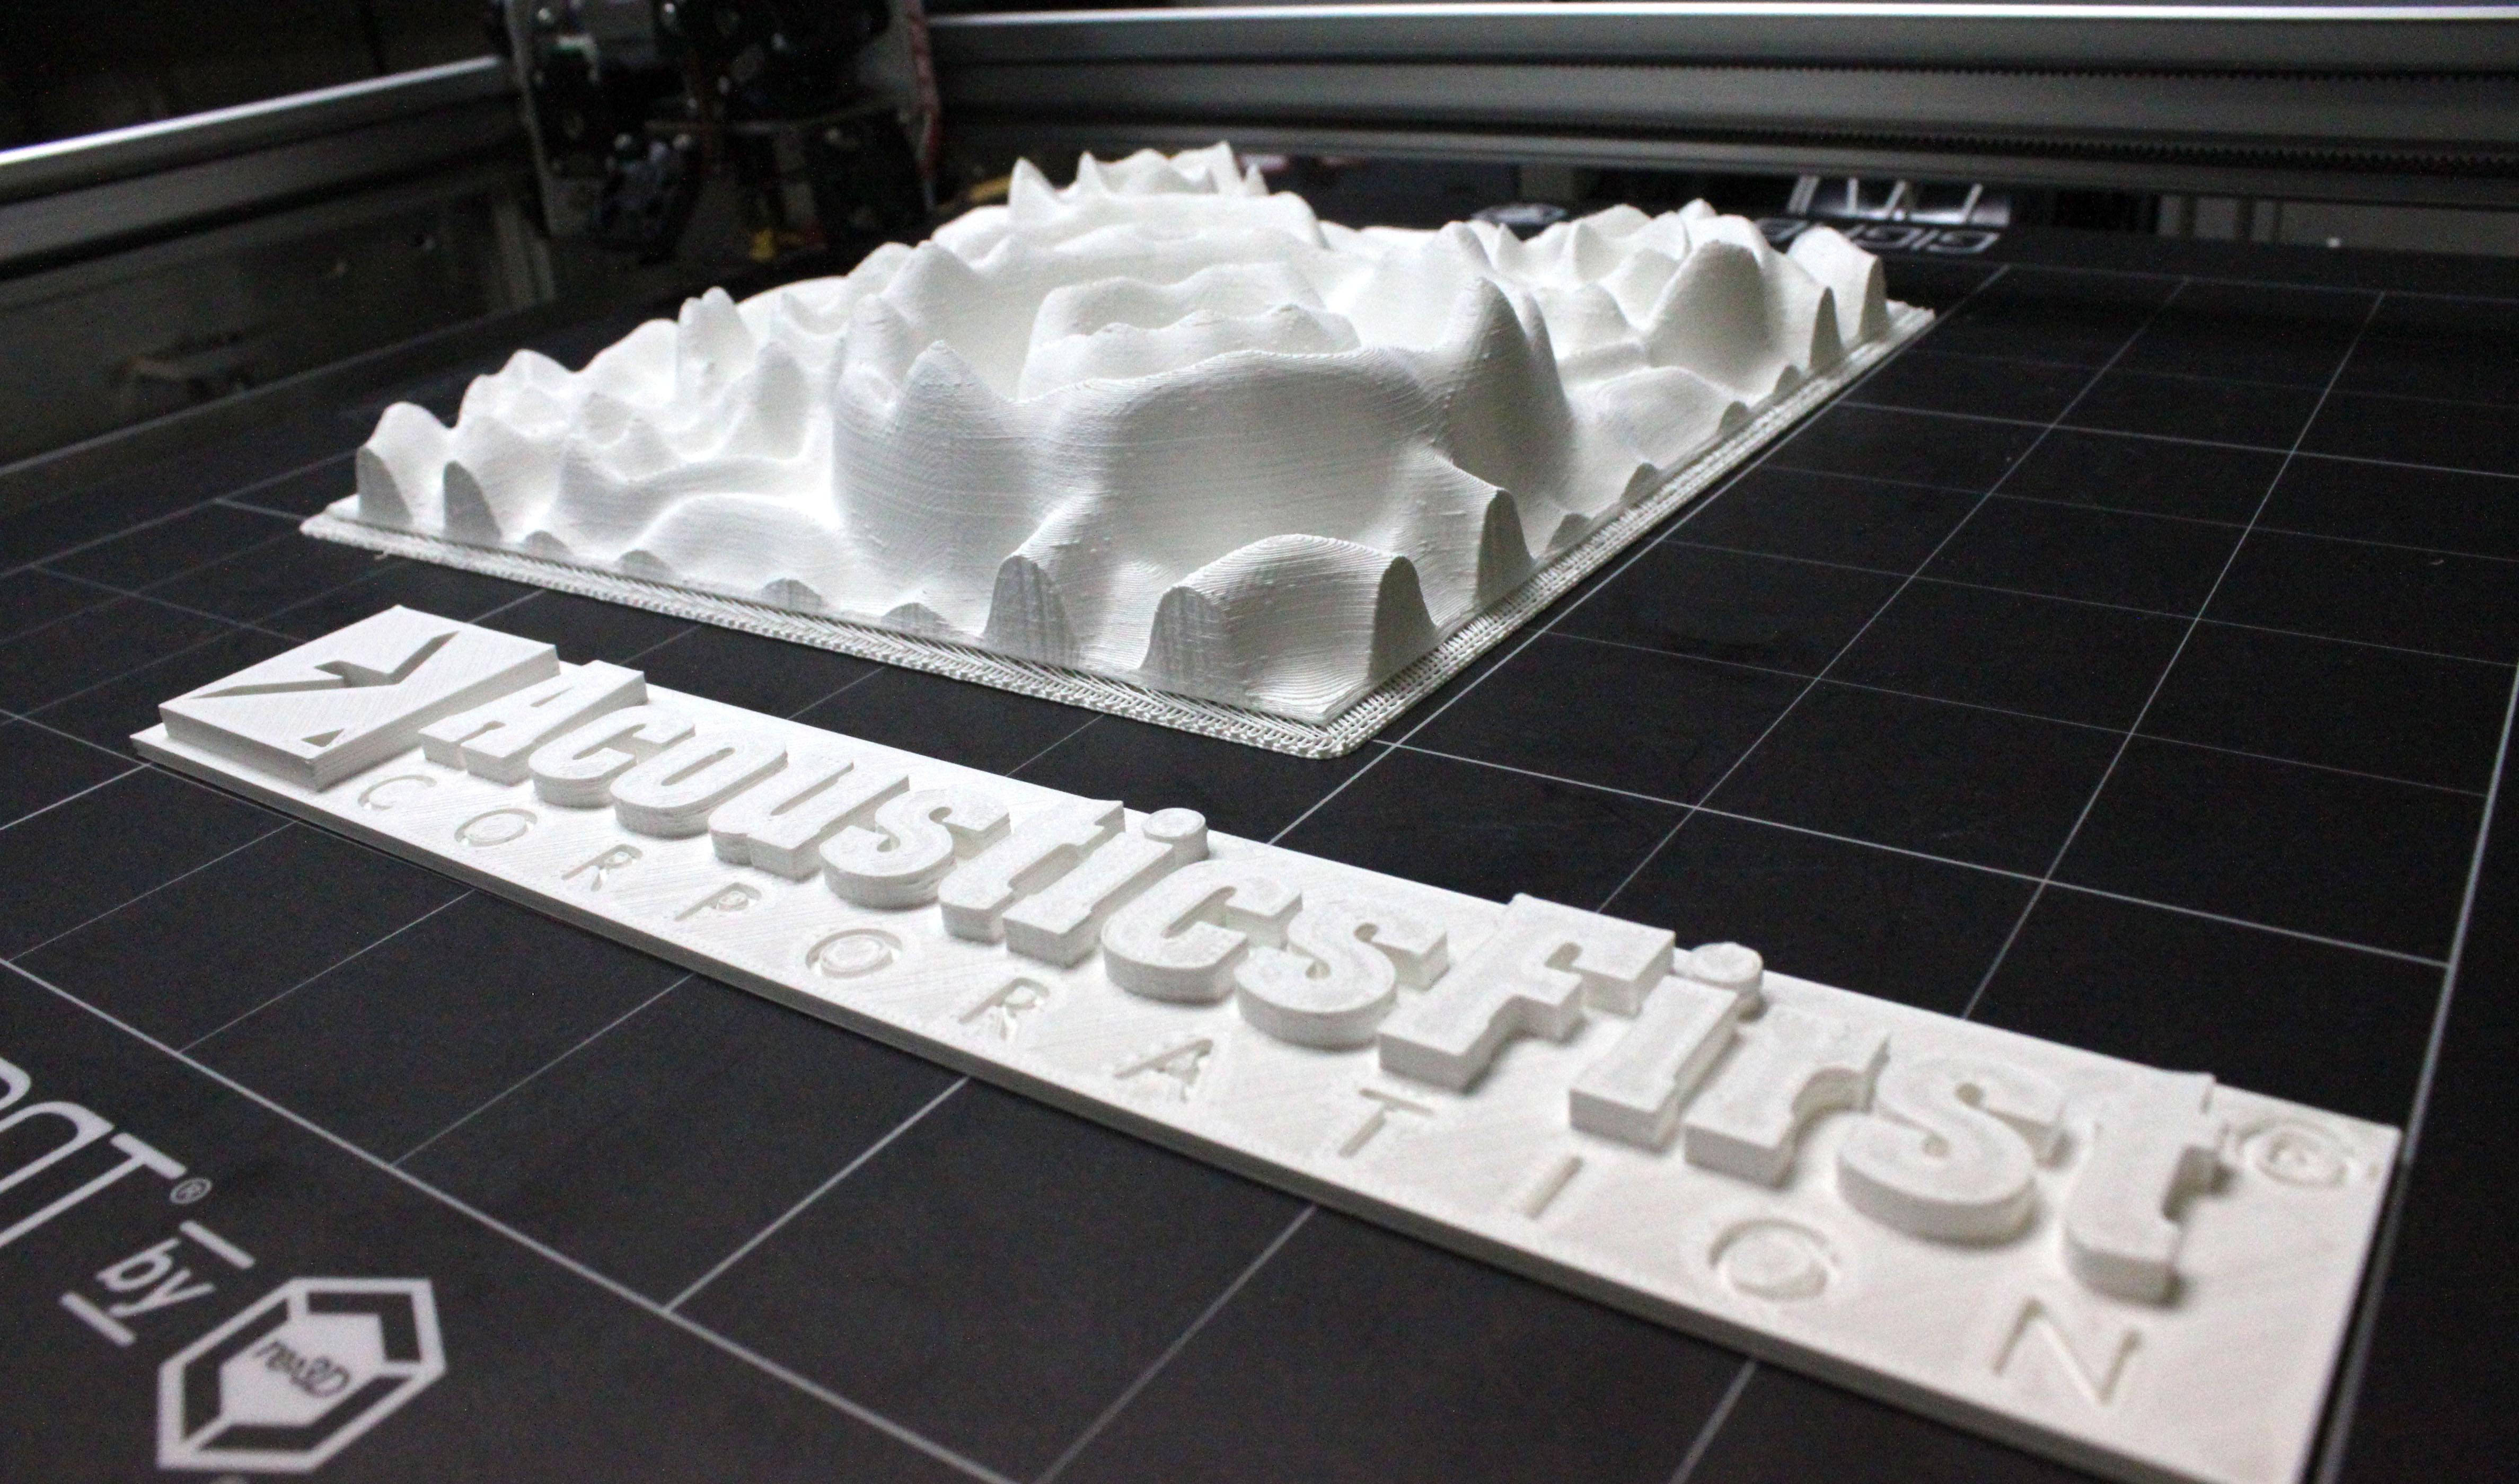
We have created a streamlined approach to developing diffusers: we have a virtual design and development process which includes the virtual modeling and testing to determine if it’s meeting our specifications.  However, it is invaluable to have a full-scale printed prototype in hand – allowing for real-world evaluation.  This is where the Gigabot comes into play.  It allows us to have designs in our hand at full scale, to verify our virtual development data under real-world observable and testable conditions.  With live prototypes in hand, we can measure the sound direction and intensity being reflected off the surfaces, which tells us if our development processes were successful, even before we go to production.

GIGABOT-SignD
"We are firm believers in the efficacy of rapid prototyping, and it integrates well in our model of virtualized design, testing, and geometry optimization before manufacturing."
Acoustics First - Atlantic

Our Gigabot has allowed us to reach out further and work on designs that may have been too complicated to realize in any other way, as well as saved us time and money in the design process.

This process has helped the industry immensely, as we can easily prototype and test designs that would have been impractical — if not impossible — to create any other way. This allows for real innovation and process evaluation, which then evolves into designs we can offer to customers worldwide.

-Jim DeGrandis, Acoustics First

My Great Big Gigabot Summer at re:3D

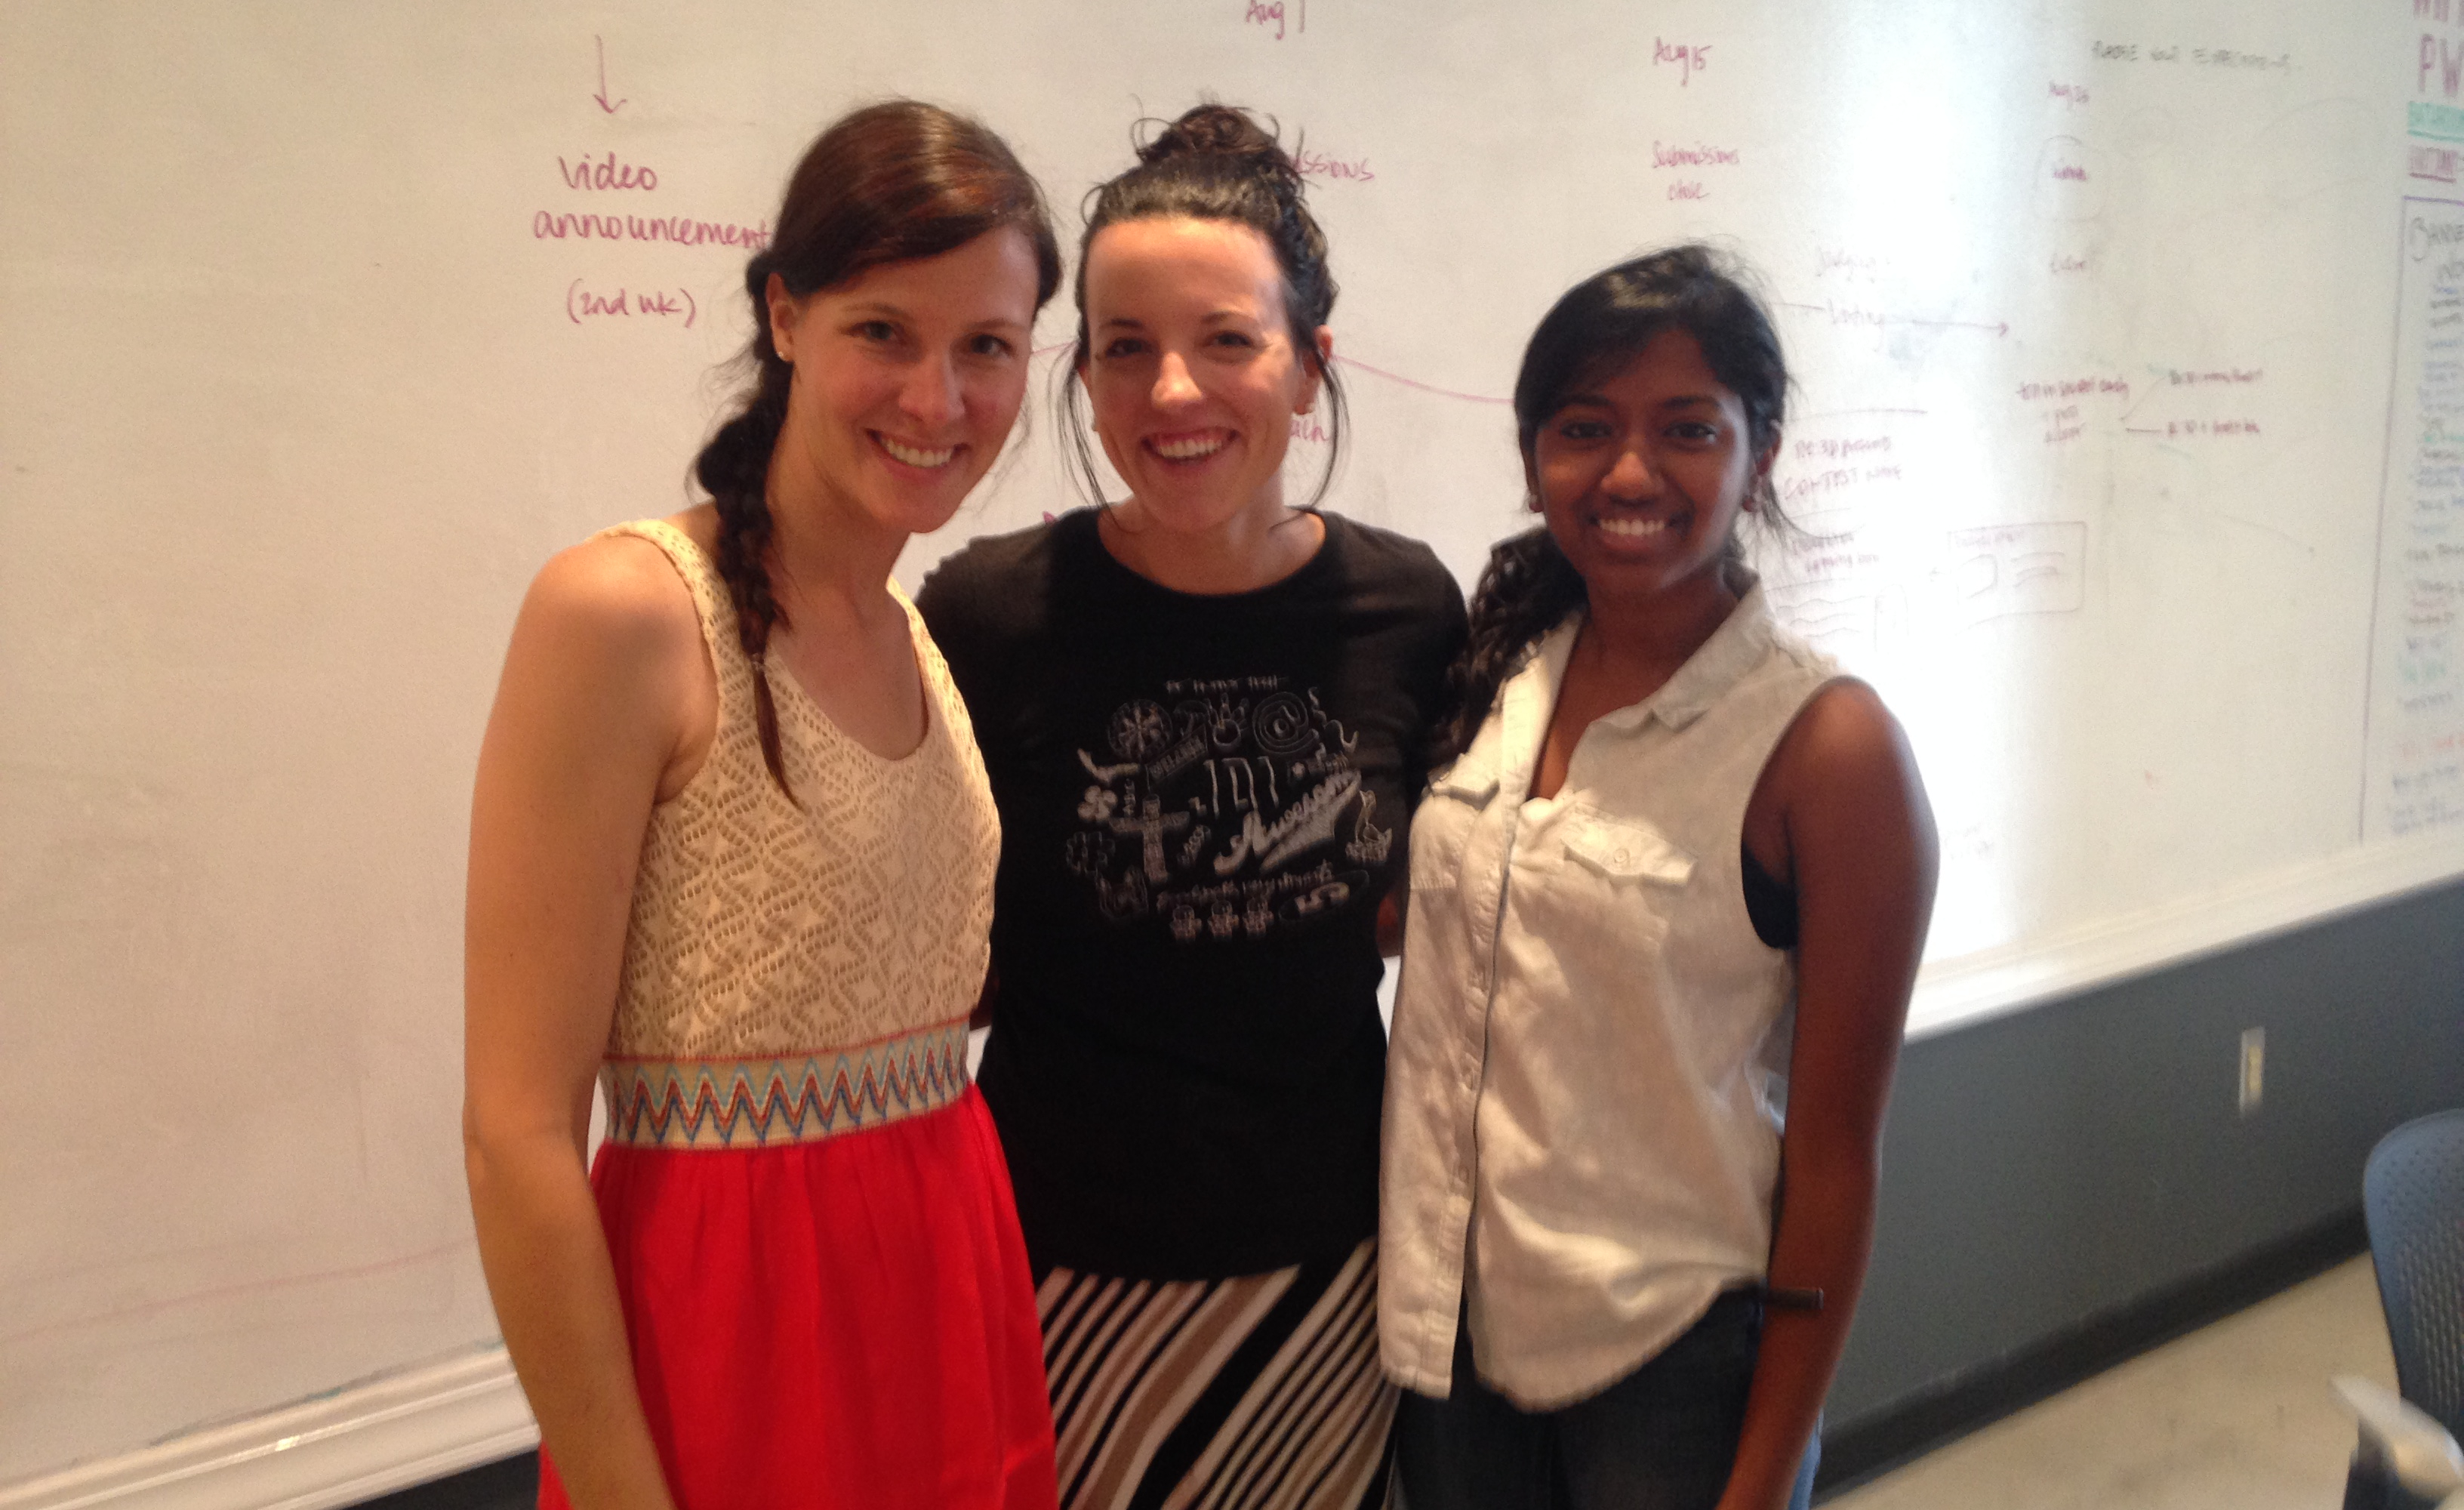
While applying for summer internships last spring, I did not imagine I would be as involved or as integrated into the company team as I was during my time at re:3D. This past summer, I got to explore and expand upon some of my own passions while taking on the role as the project lead for re:3D’s Great Big Gigabot Giveaway.

As I read the job description for film/social media intern position, I was excited that I would be able further explore my interest in creating videos. This is exactly what I did! This summer I worked with a video editing software called Adobe Premiere Pro CC for re:3D. Having prior experience with only Apple’s iMovie and Windows Movie Maker, I was eager to learn a more versatile software. My role as a summer intern soon evolved to specifically revolve around the second giveaway competition. re:3D was approaching the milestone of shipping out its 300th Gigabot, and the tradition of celebrating such a memorable moment is to give back to the community by giving away one of their industrial 3D printers to some with a vision to make a difference through 3D printing. You watch this year’s announcement video that I developed to announce the contest here.

I had the opportunity to work closely with Samantha and so many other amazing individuals through helping organize this competition. We recruited several amazing judges and in-kind sponsors, and I was astounded by the amount of support we got to help make this project possible. Even members of Tunapanda, the recipient of last year’s giveaway Gigabot, were happy to judge and sponsor this year’s competition. Check out all of this year’s judges and sponsors here if you haven’t already!

Pre-planning the competition with Jones Dilworth
Pre-planning the competition with JDI

Out of all the things I experienced during my summer at re:3D, my favorite was probably being one of the first to see the applicant submissions for the competition. Even though the applicants were very diverse in their backgrounds and ideas, I realized that they all had one key aspect in common: the passion to positively influence their communities. One thing I wish I could go back and change about the competition structure is the length of the submission period. We had several people with great ideas start their applications, but not as many people complete them. It was awesome to see all the people who put forth the effort to create a video to enter into the contest.  We also were honored to see the story posted on several industry blogs: 3Dprinting Industry, 3Dprint.com, and Techfortrade.

The purpose of the Great Big Gigabot Giveaway was to give back to the community by supporting an idea to impact society, and well, the 3D printing community certainly has a far reach. The recipient of the 300th Gigabot is Tochukwu, the man who is behind 3D Nigeria. This project plans to inspire a new generation of makers in tertiary institutions in Nigeria. Tochukwu and his team of makers hope to unleash the creative potential of these individuals and create value for consumers.

A big congratulations again to the winner and the runners up, Ability Maker and The Creator Program. You can view the incredible ideas of the entrants in the winner announcement video here or below:

All-in-all, I learned a lot this summer at re:3D from being directly involved on a project I could call my own. More importantly, however, I can definitely say that the best take-away was meeting such extraordinary people and cultivating those relationships. Looking forward to working on another project with re:3D in the future!

Sanchana Vasikaran

Blog Post Author
@v_sanchana

Free 3D Printable of the Week: iPhone 6 Plus VR Headset

Last Month we had the honor of seeing @MikeBattaglia featured in 3DPrinting Industry! Below is a re-post of the content by Michael Molitch-Hou.

~FRI, AUGUST 14, 2015 · FREE 3D PRINTABLE OF THE WEEK, VR

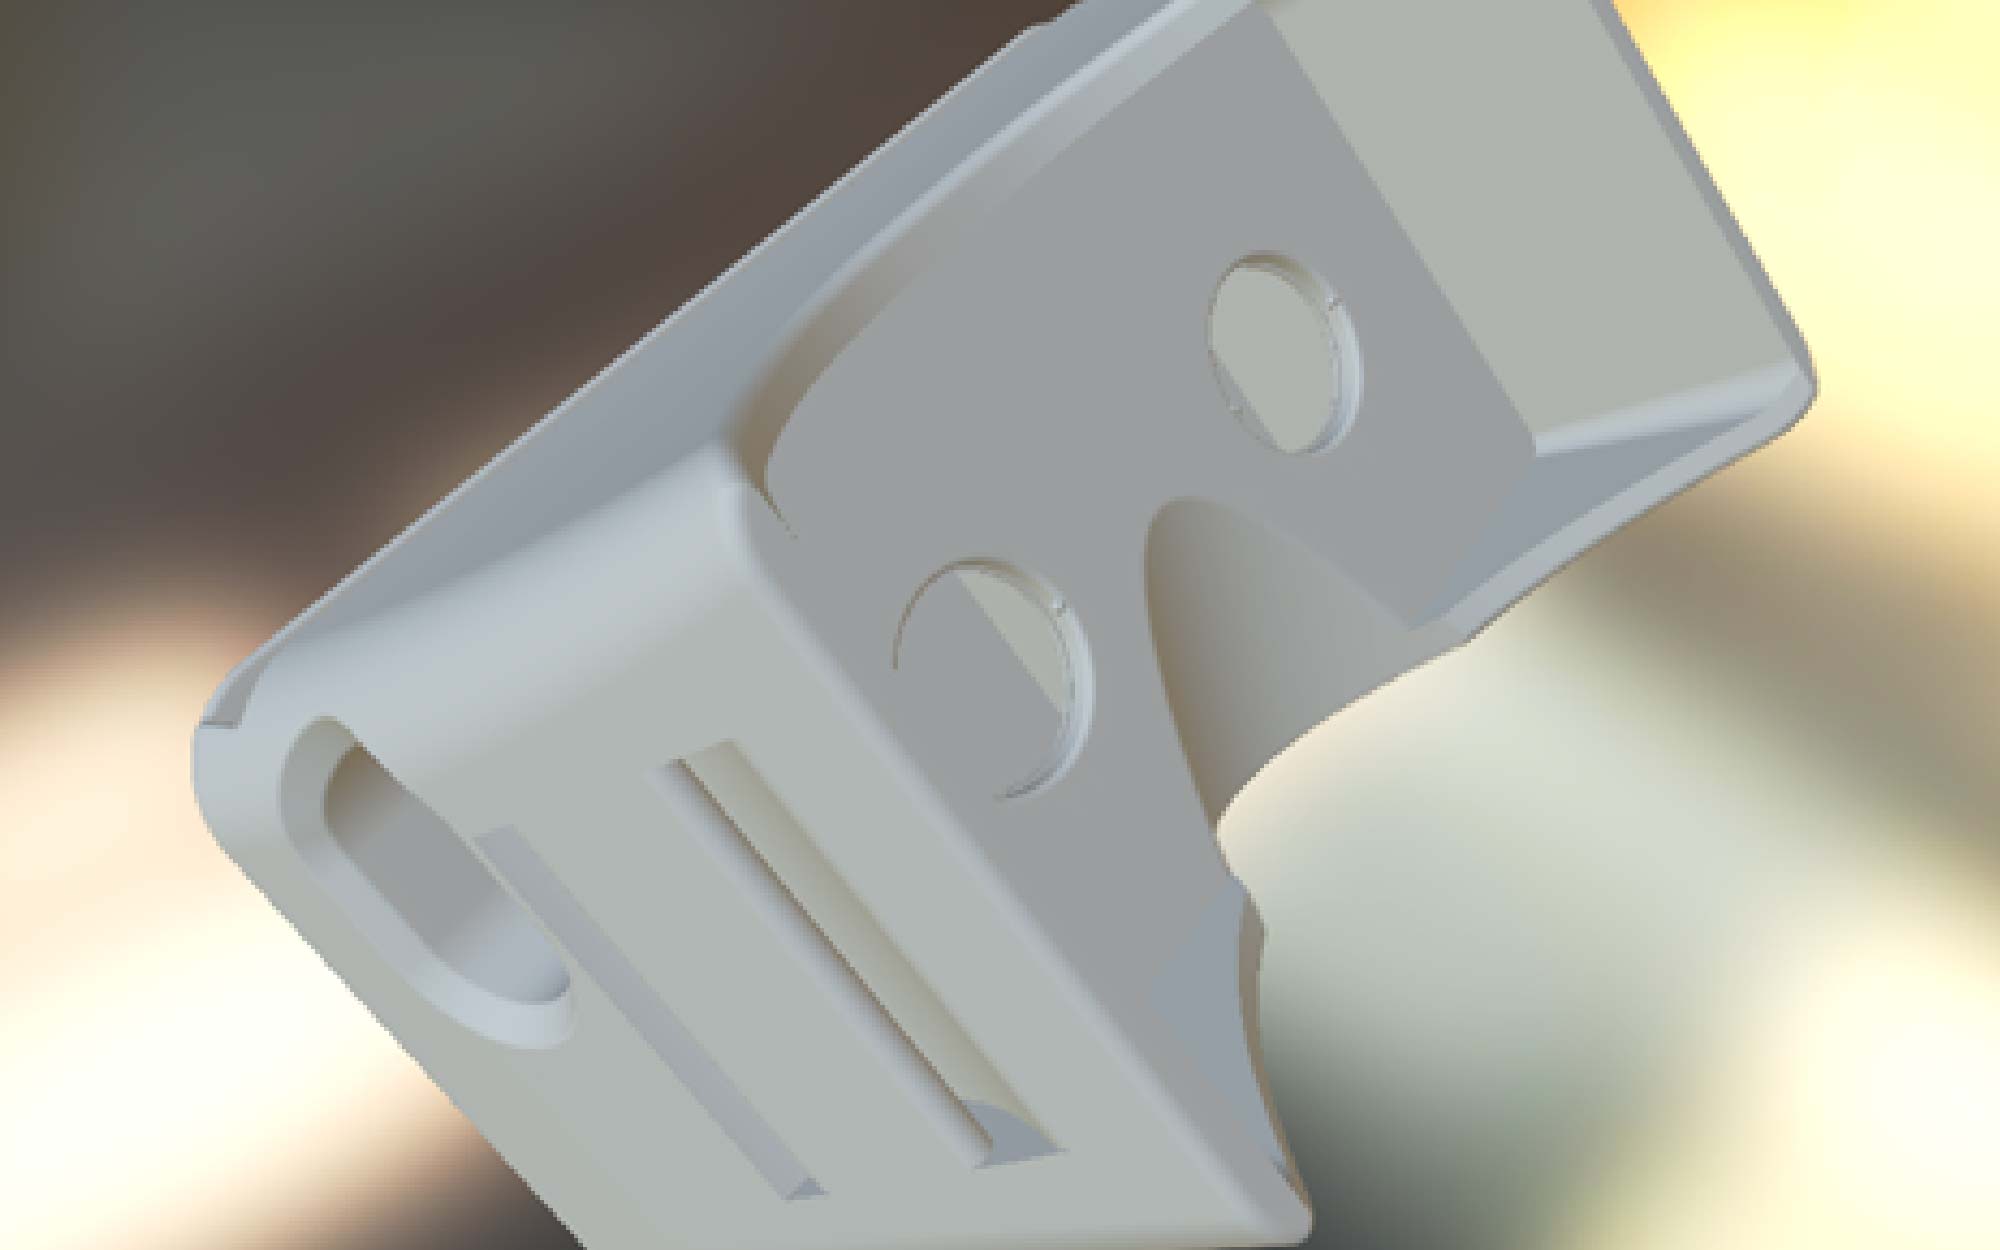
Many Google Cardboard headsets, and variations thereof, just don’t quite fit iPhones properly. And they certainly don’t fit the new iPhone 6 Plus. So, unless you’re planning on shelling out for a complete 3D scanner/VR system from Occipital, re:3D, the makers of the large format Gigabot 3D printer, has designed a 3D printable headset.

free-3D-printable-VR-headset

re:3D designer Mike Battaglia instructs you to, “Take your lenses and magnets from Google cardboard and port them over to this way sexier headset! Print with a raft, no support.” So, what are you waiting for?

~Michael Molitch-Hou

About the Author: Michael Molitch-Hou is Editor-In Chief of 3D Printing Industry and the founder of The Reality™ Institute, a service institute dedicated to determining what’s real and what’s not so that you don’t have to. He is a graduate of the MFA Critical Studies & Writing Program at CalArts, and a firm advocate of world peace. Michael currently resides in San Pedro with his magical wife, Danielle.

Mike Battaglia

Blog Post Author
@mikebattaglia

Four ways to maximize your social media reach at a fan convention

A few weeks ago, we had the extreme pleasure of being exhibitors at RTX 2015, a weekend-long fan expo for the local Austin production company, RoosterTeeth. If you follow us on twitter and facebook (which you totally should if you don’t), then you no doubt saw all of our content from the event. We were tweeting and posting up a storm! Can you imagine if we had Instagram too? We really would’ve been on a roll. If we ever went to an event again, implementing this platform into our social media strategy would definitely be at the top of our to-do list. We should probably look for an Instagram growth service similar to https://nitreo.com to help us grow our account and increase our followers before trying it for the first time at an event. We want to give ourselves and the event as much exposure as possible, and it seems to have worked in our favor so far.

The upswing in our content developed naturally because we realized that we seemed to be engaging really positively with the RoosterTeeth community, so we just continued to post and post. When we’re working an event, we typically get a modest 6-12 favorites or retweets on a post. However, we were seeing some of our RTX tweets get into the 50s. This isn’t astronomical by some perspectives, but it was out of the norm for us.

Moreover, traffic on our website usually dips down over the weekend, even when we work and promote our company at an event. However, we found our RTX tweets drove our web traffic unusually high.

It’s definitely worth admitting that our social media activity could have spiked because the kind of people who attended RTX are social media savvy. RoosterTeeth for the most part, produces gaming-centered content for YouTube. Although they produce some animated series, several podcasts, and have recently expanded into live action shorts, I would argue that any of the gaming series on their Let’s Play channel are the studio’s bread and butter. The studio represents very talented game players who have successfully garnered a rabid, international fanbase.

RoosterTeeth releases and promotes new content online only, therefore, the fans are used to being tied into the studio’s online presence. Also, because their talent is comprised mostly of twitch streamers and voice actors (people who make money by playing video games online for an audience), the RoosterTeeth stars have cultivated a strong online brand, out necessity to be successful at what they do.

Even if we got a lot of web traction precisely because we were tweeting to a convention full of internet nerds (that’s a compliment), I would really like to think we were also doing a few things successfully on our end. I’m going to try and and see if I can’t nail those things down a bit, so that any other fan expo exhibitor could hope to have the same success we did.

Create a compelling piece for the event that will turn your booth into a destination

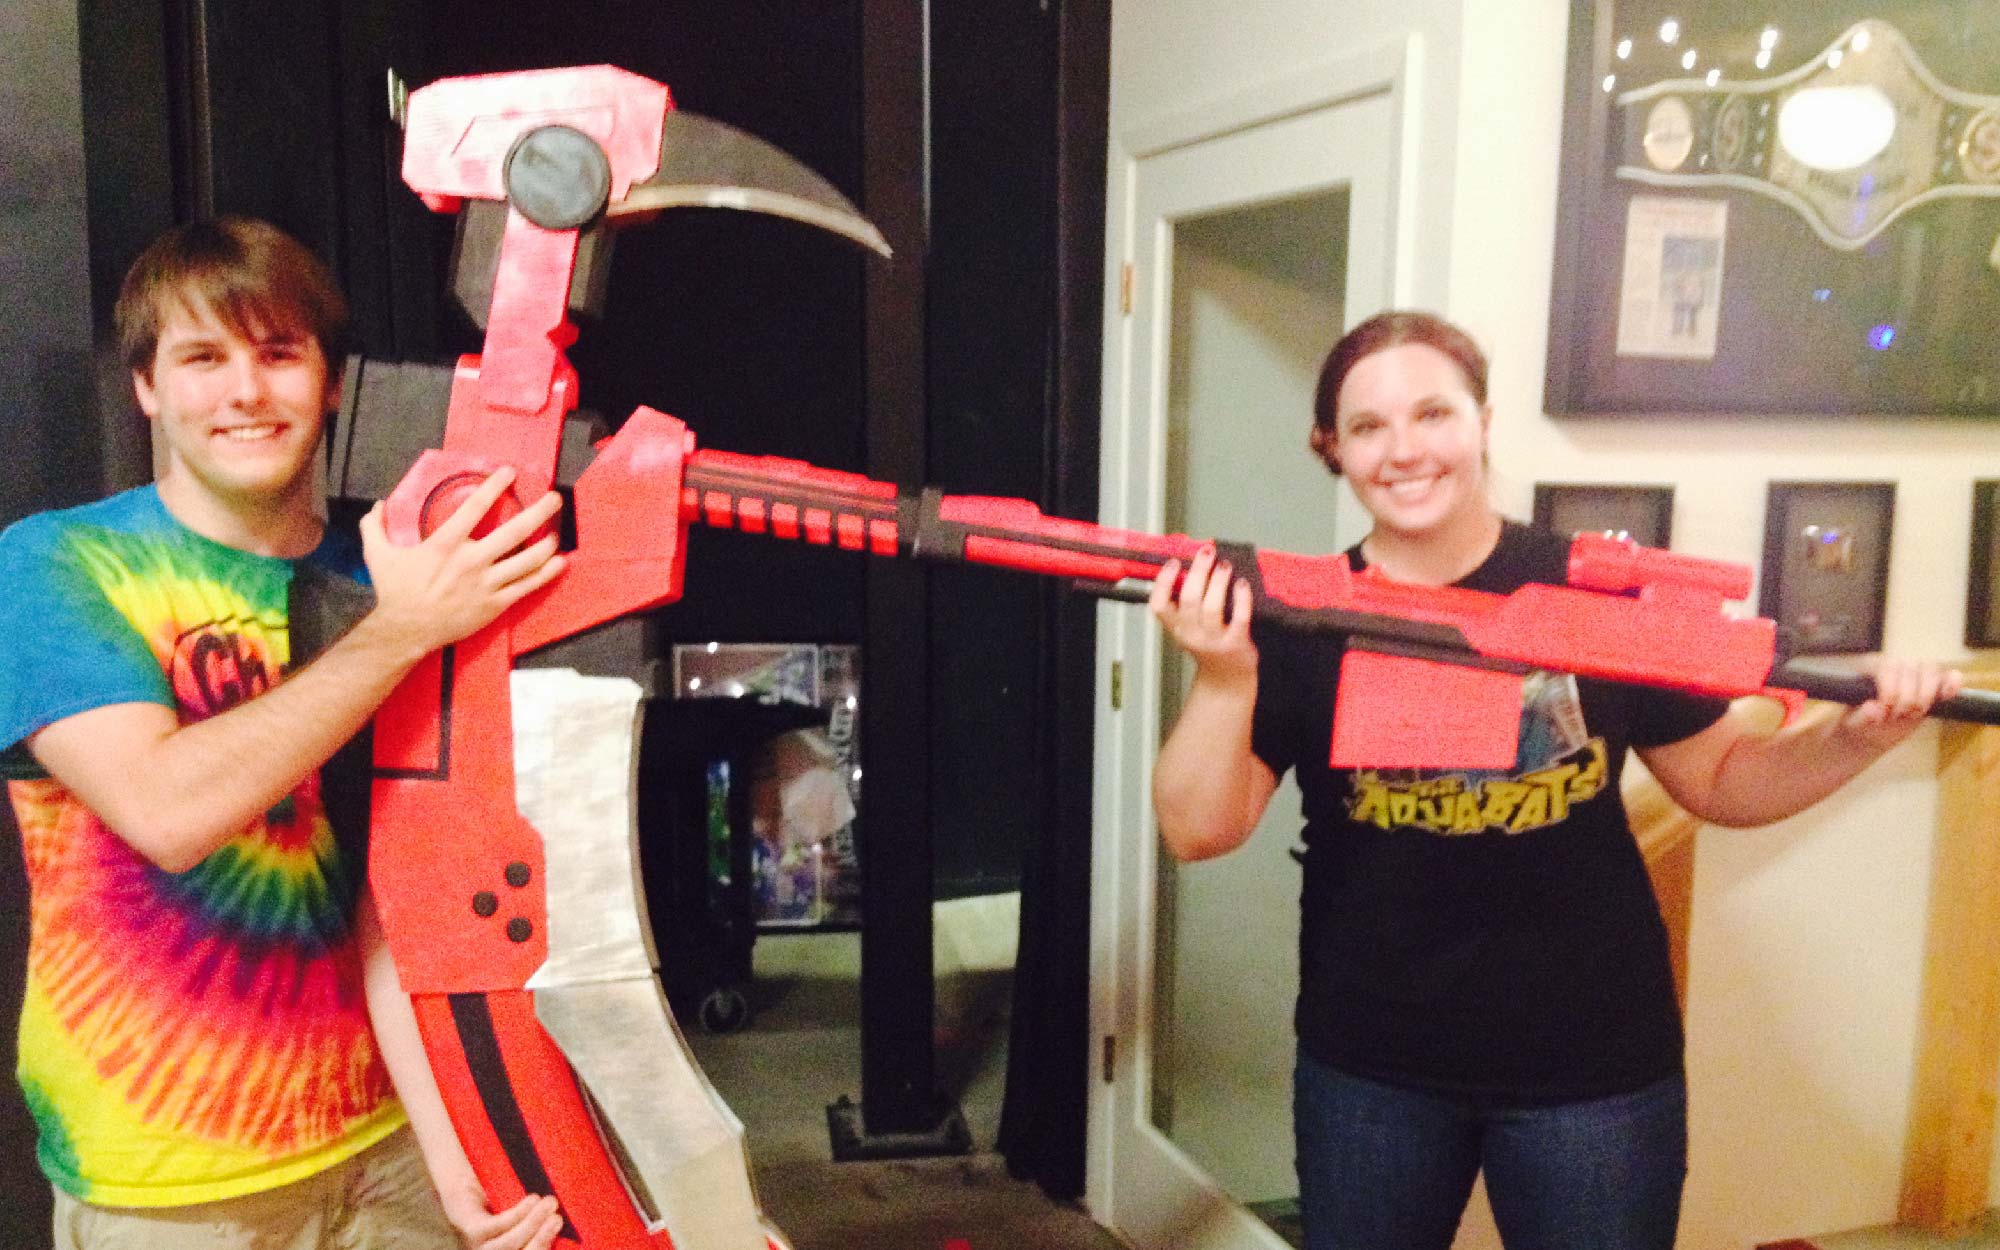
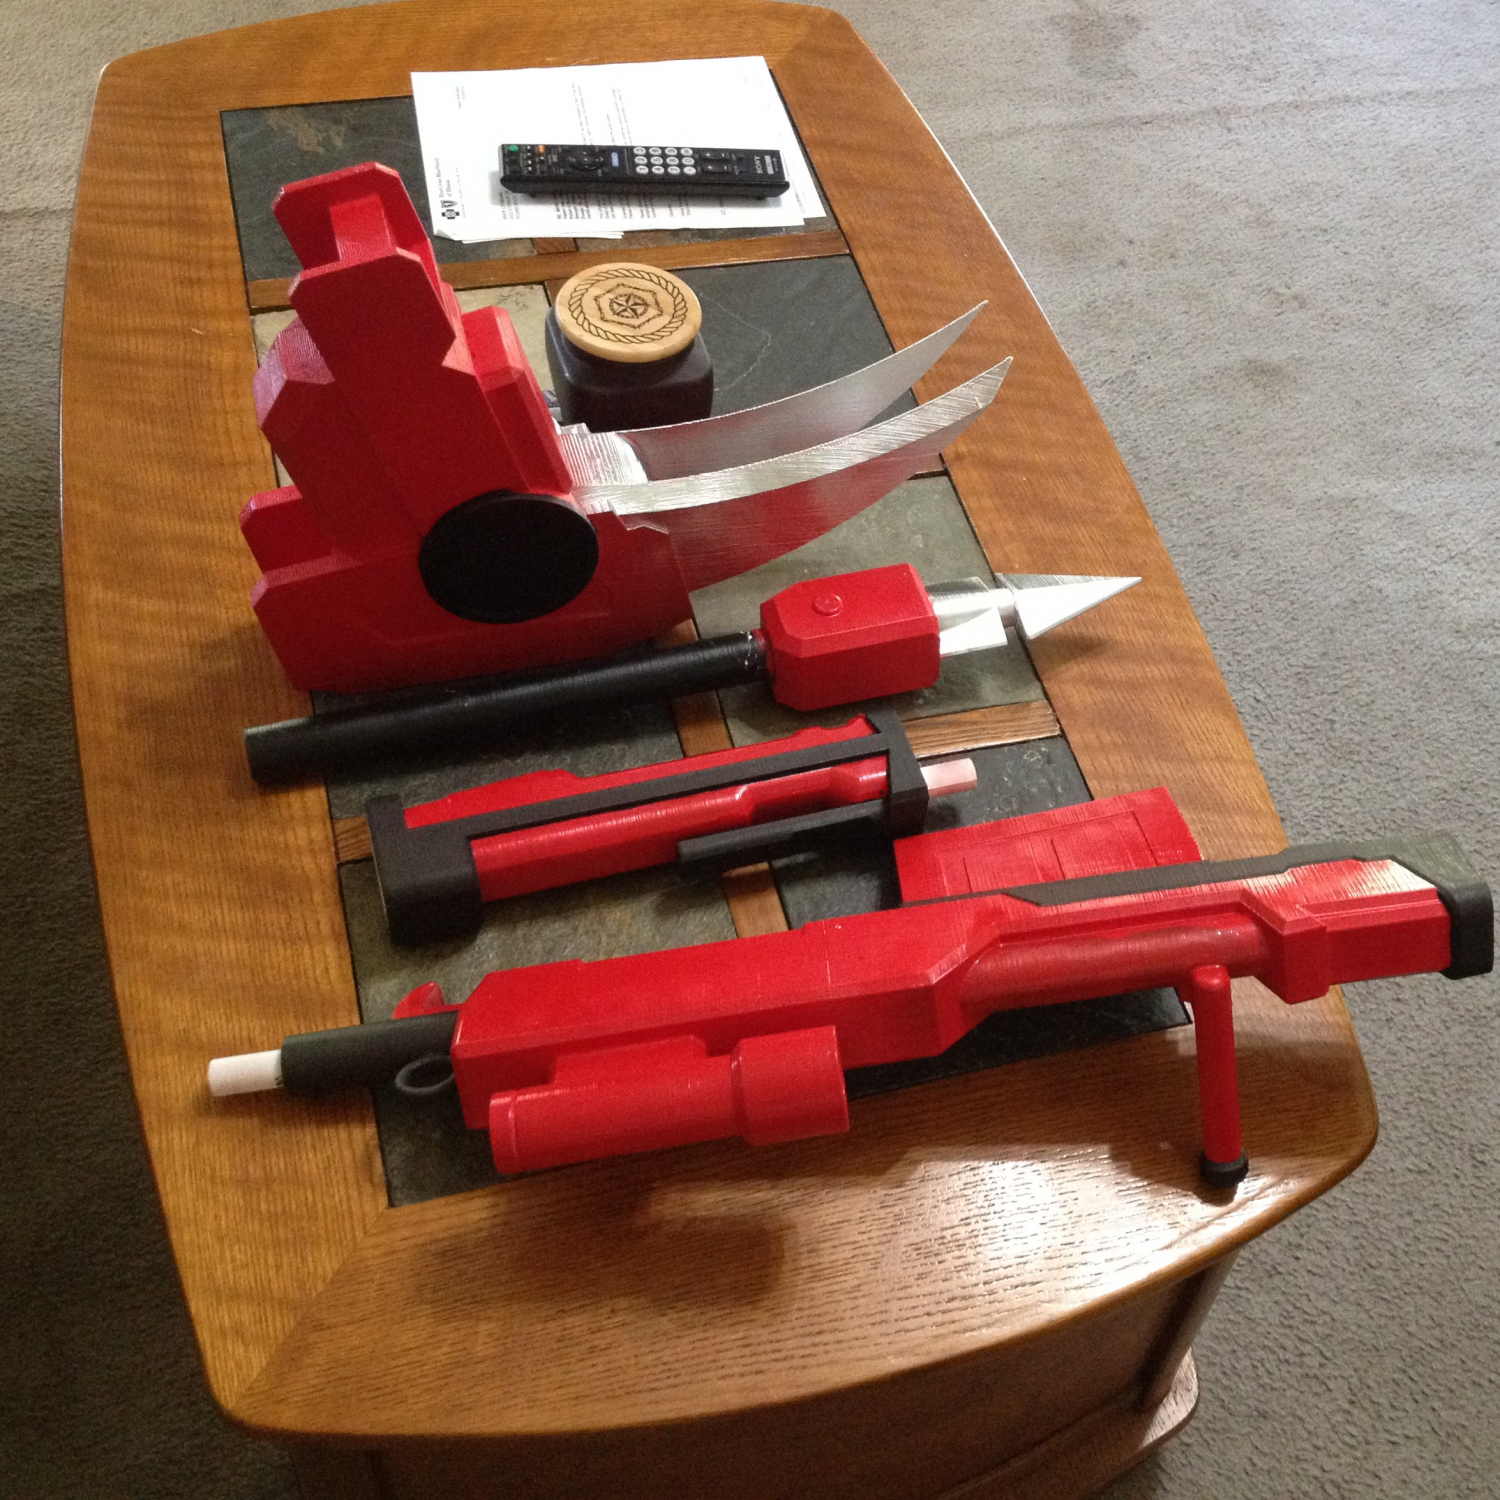
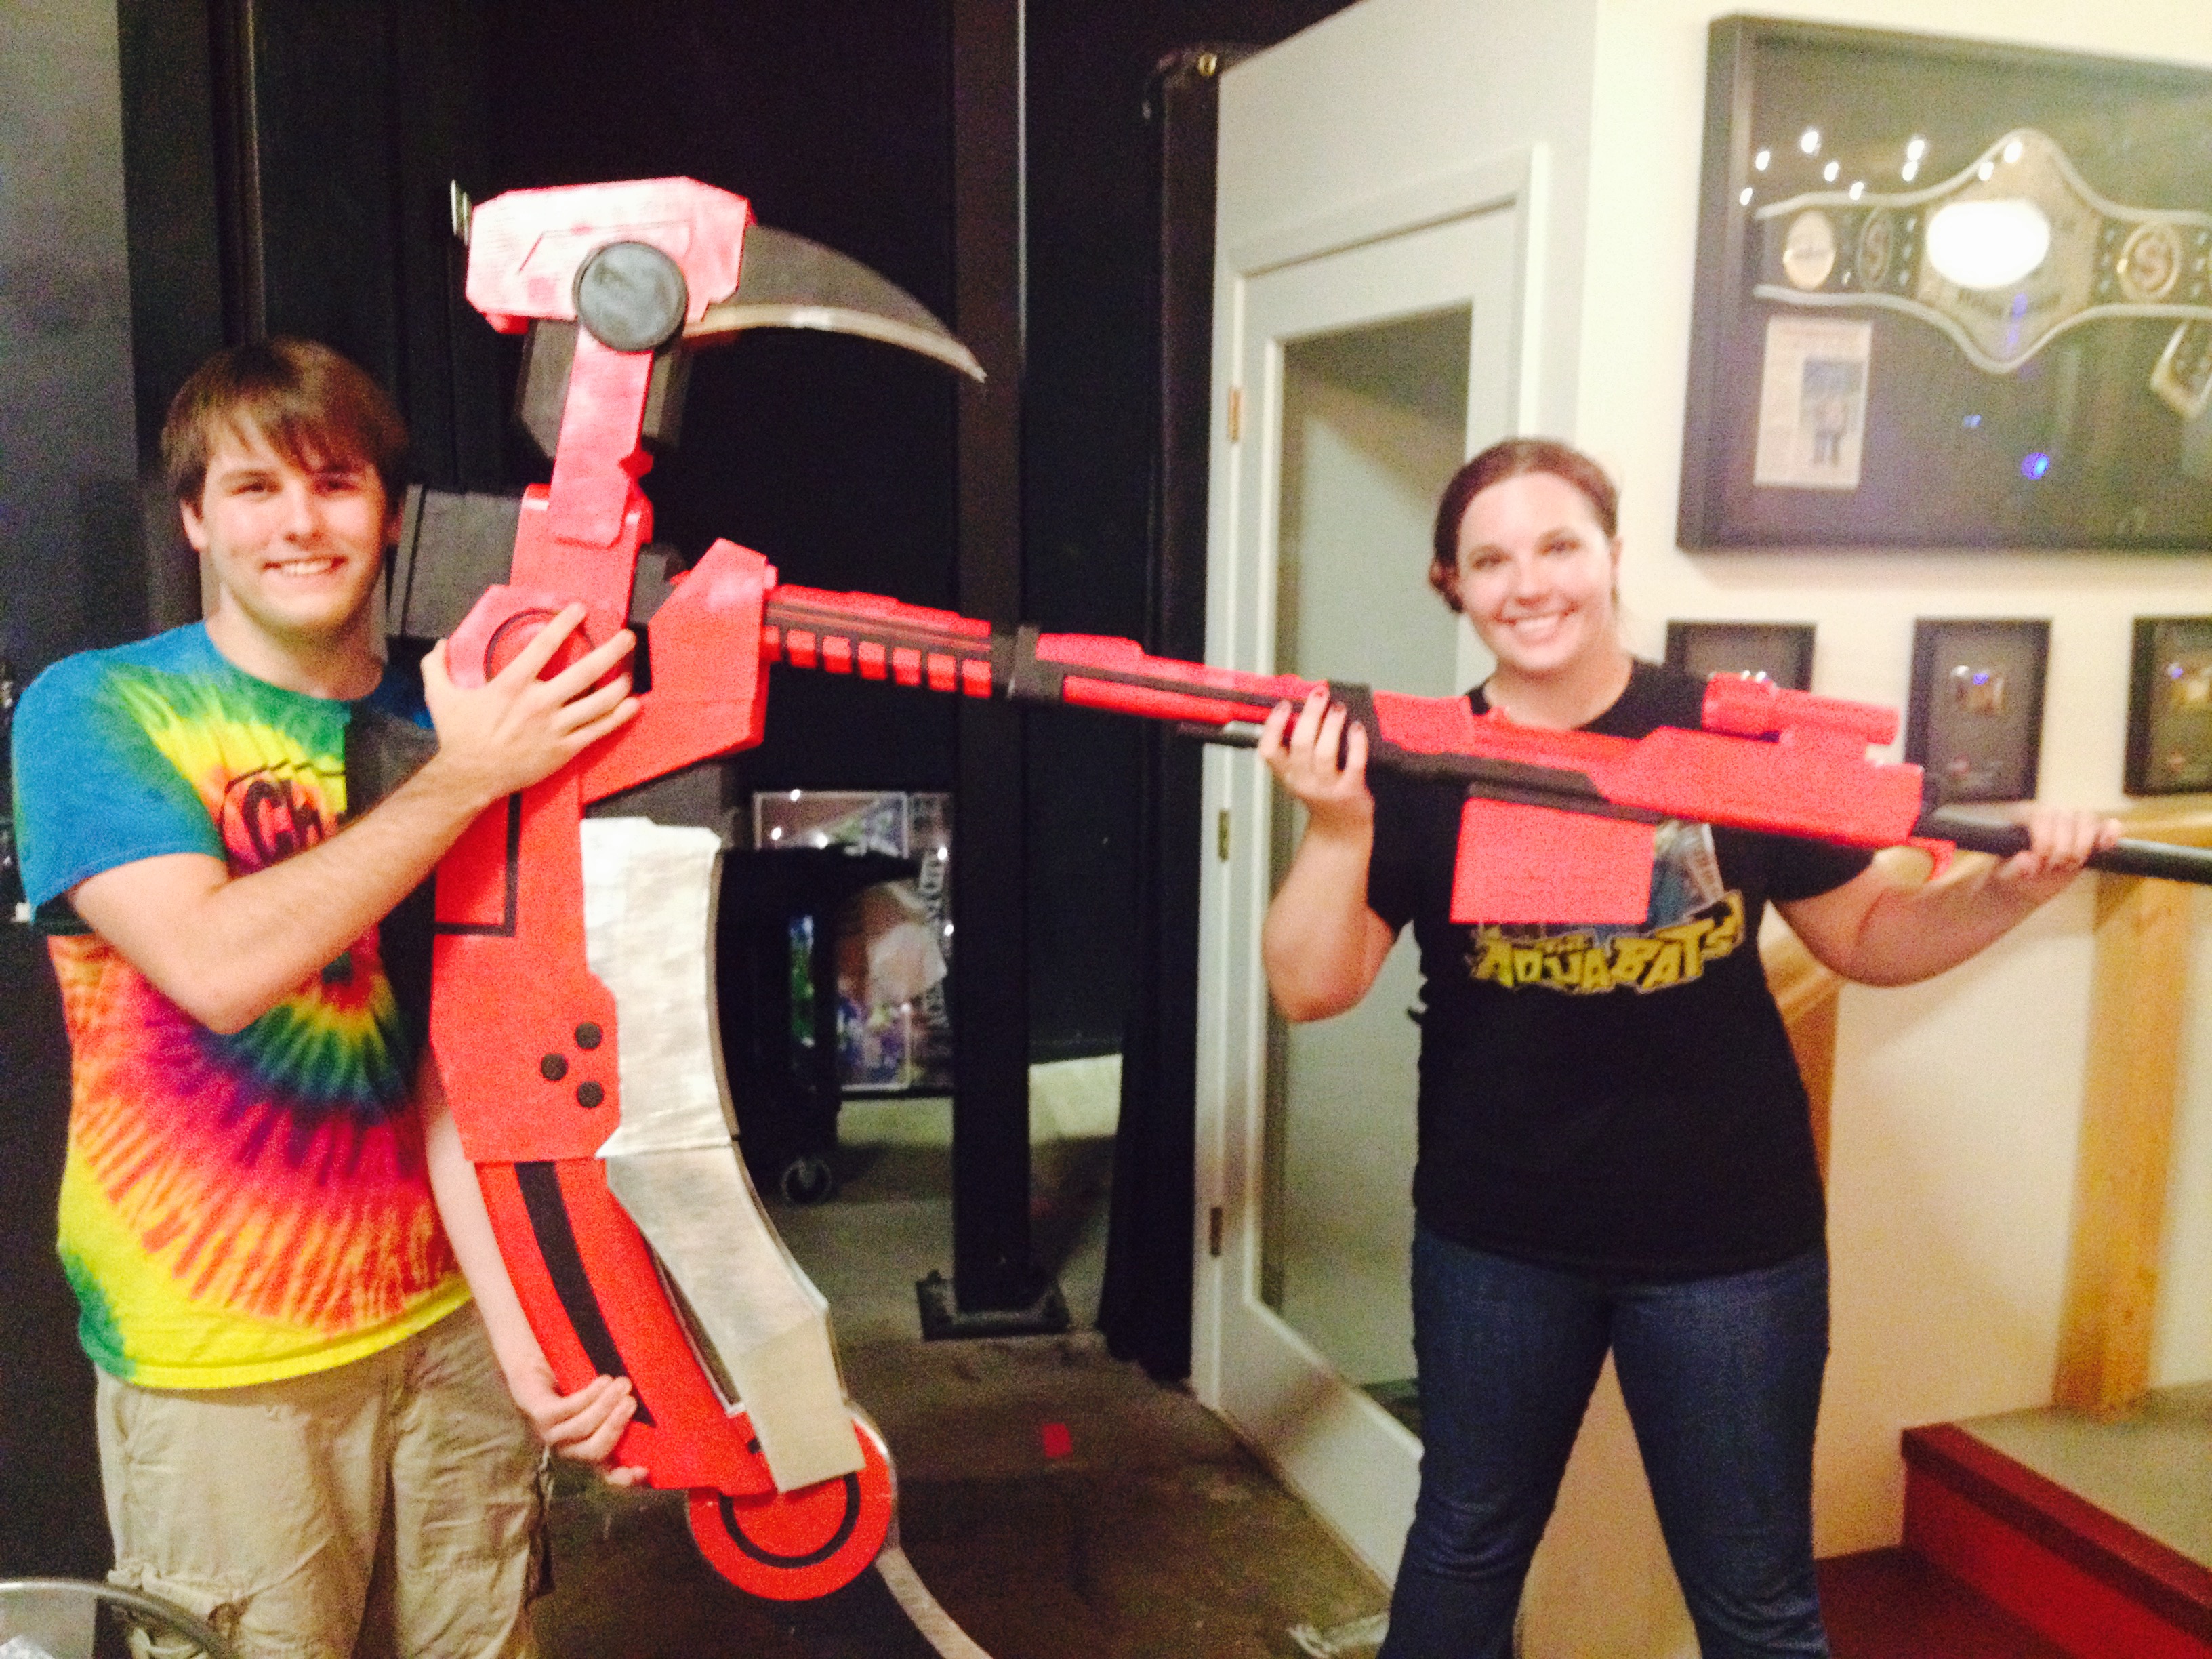
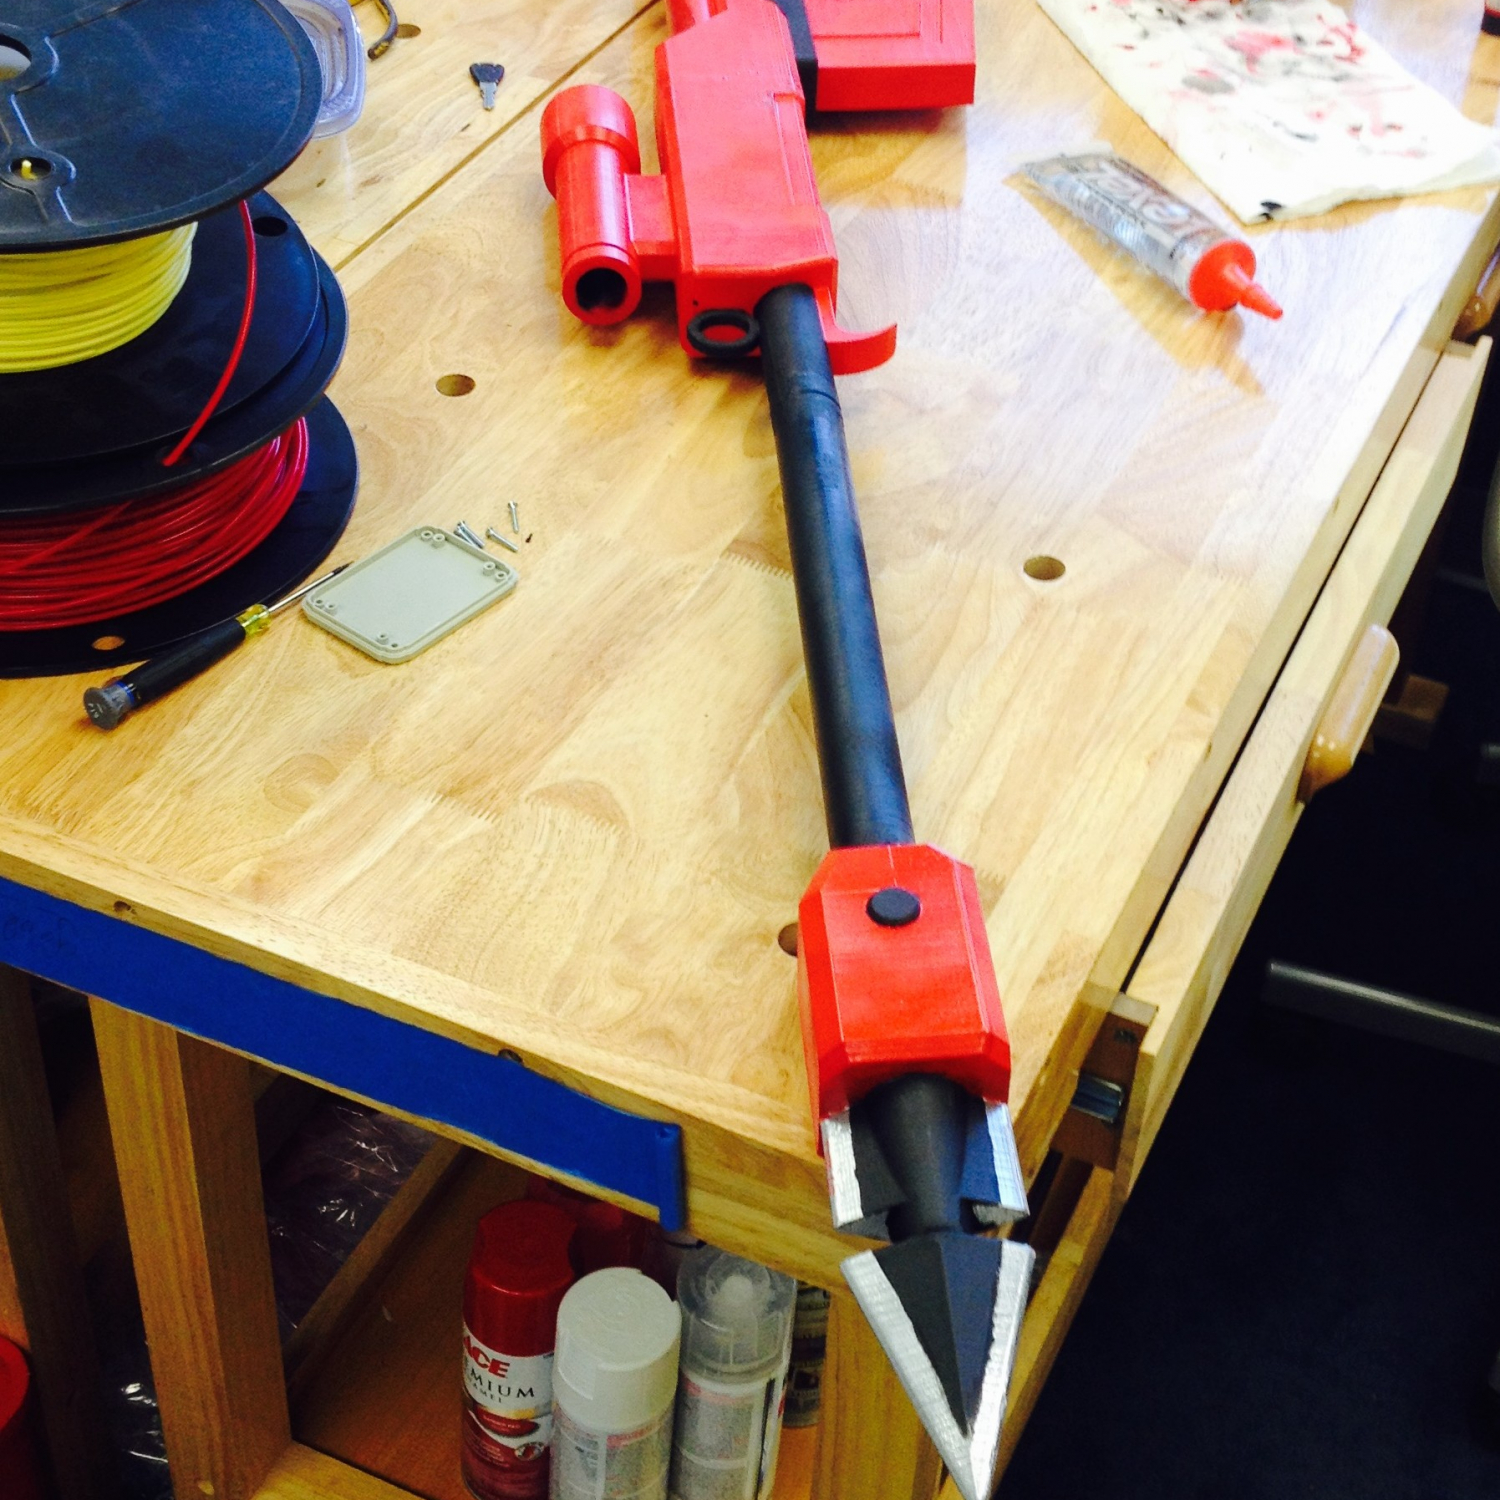
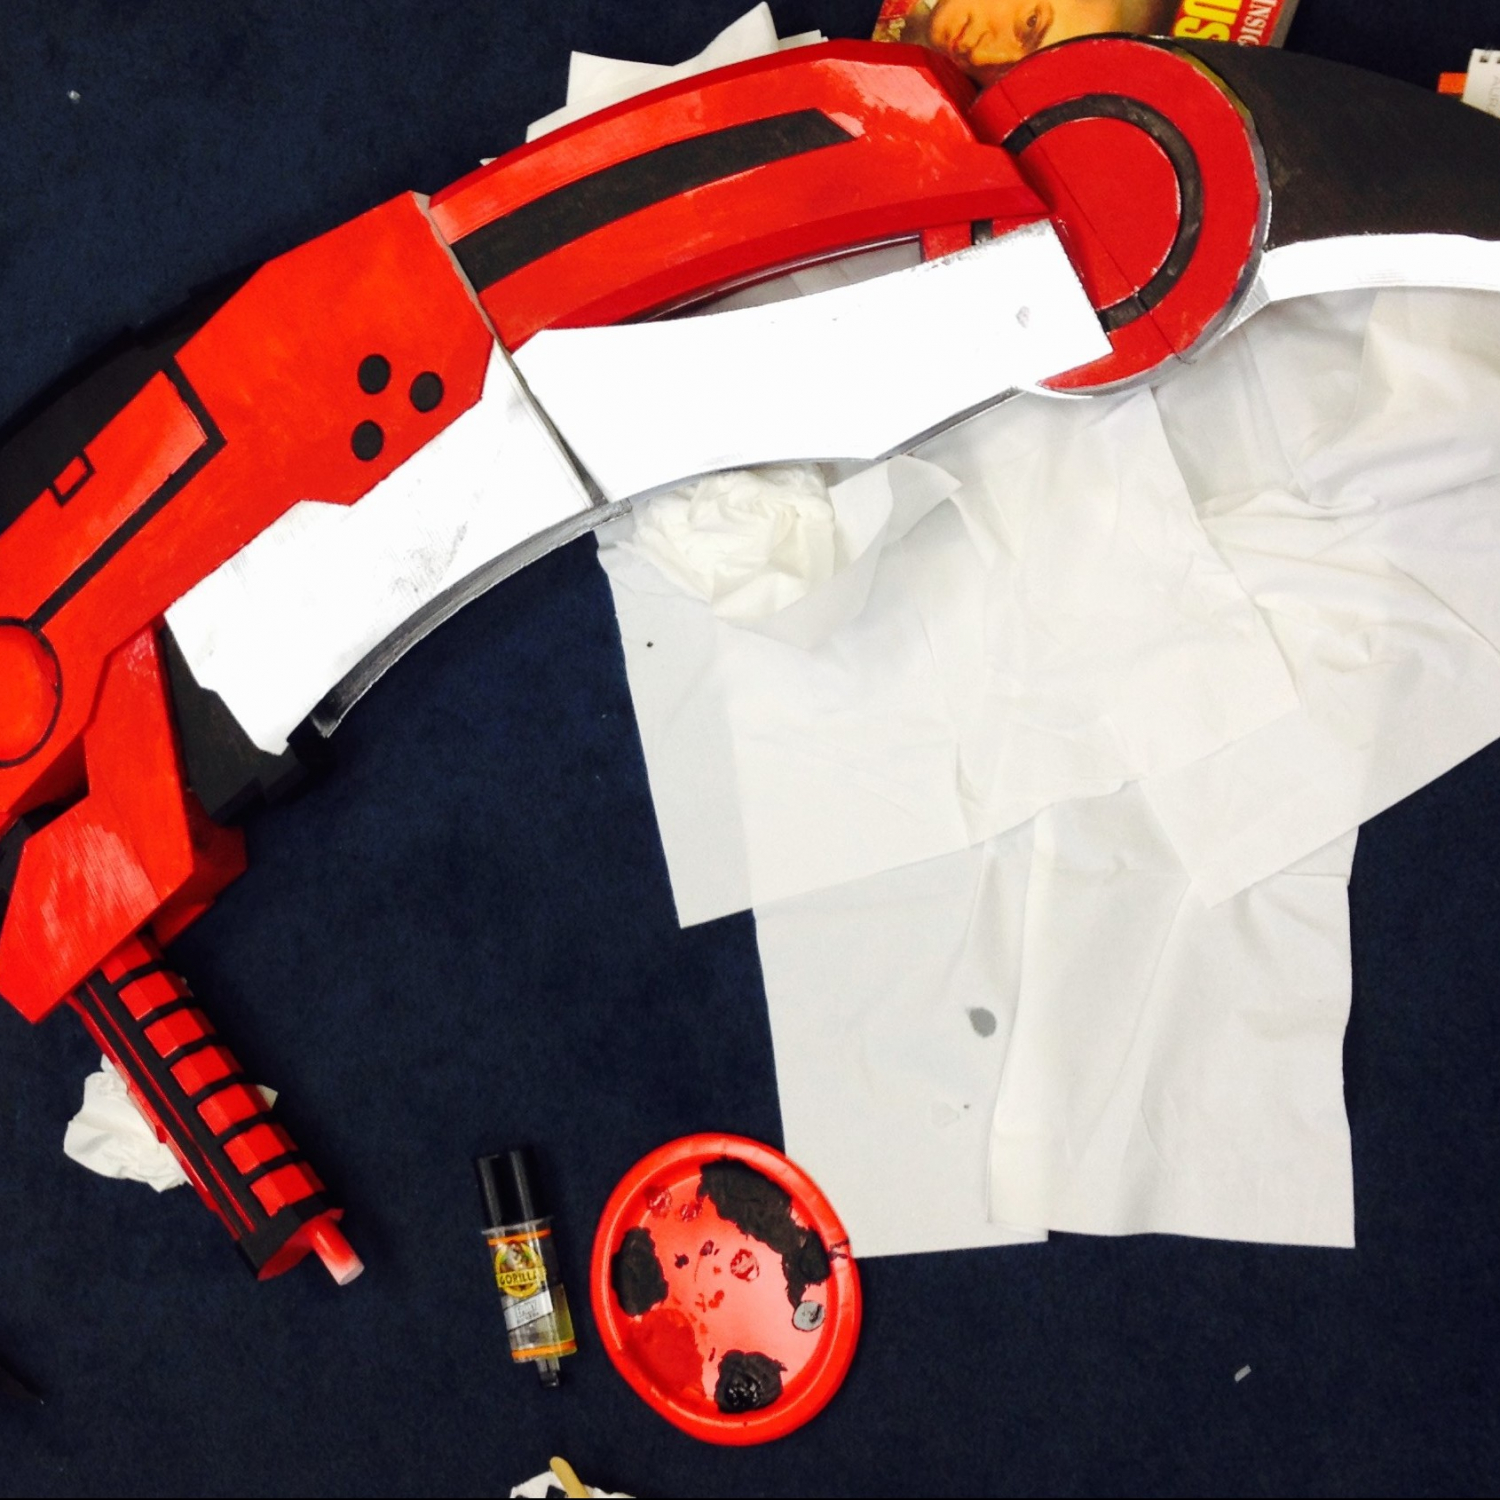
I think, by and large, the best thing we did was create a large, impressive print that we kept under wraps until a few days before the event. If you were keyed into our feed during RTX, then you saw the 6’x4′ scythe weapon our intern Jacob created especially for the expo.

This thing was going to be the perfect demo piece to show of Gigabot’s capabilities– it was huge and instantly recognizable. It would be really impressive if we could pull off making it.
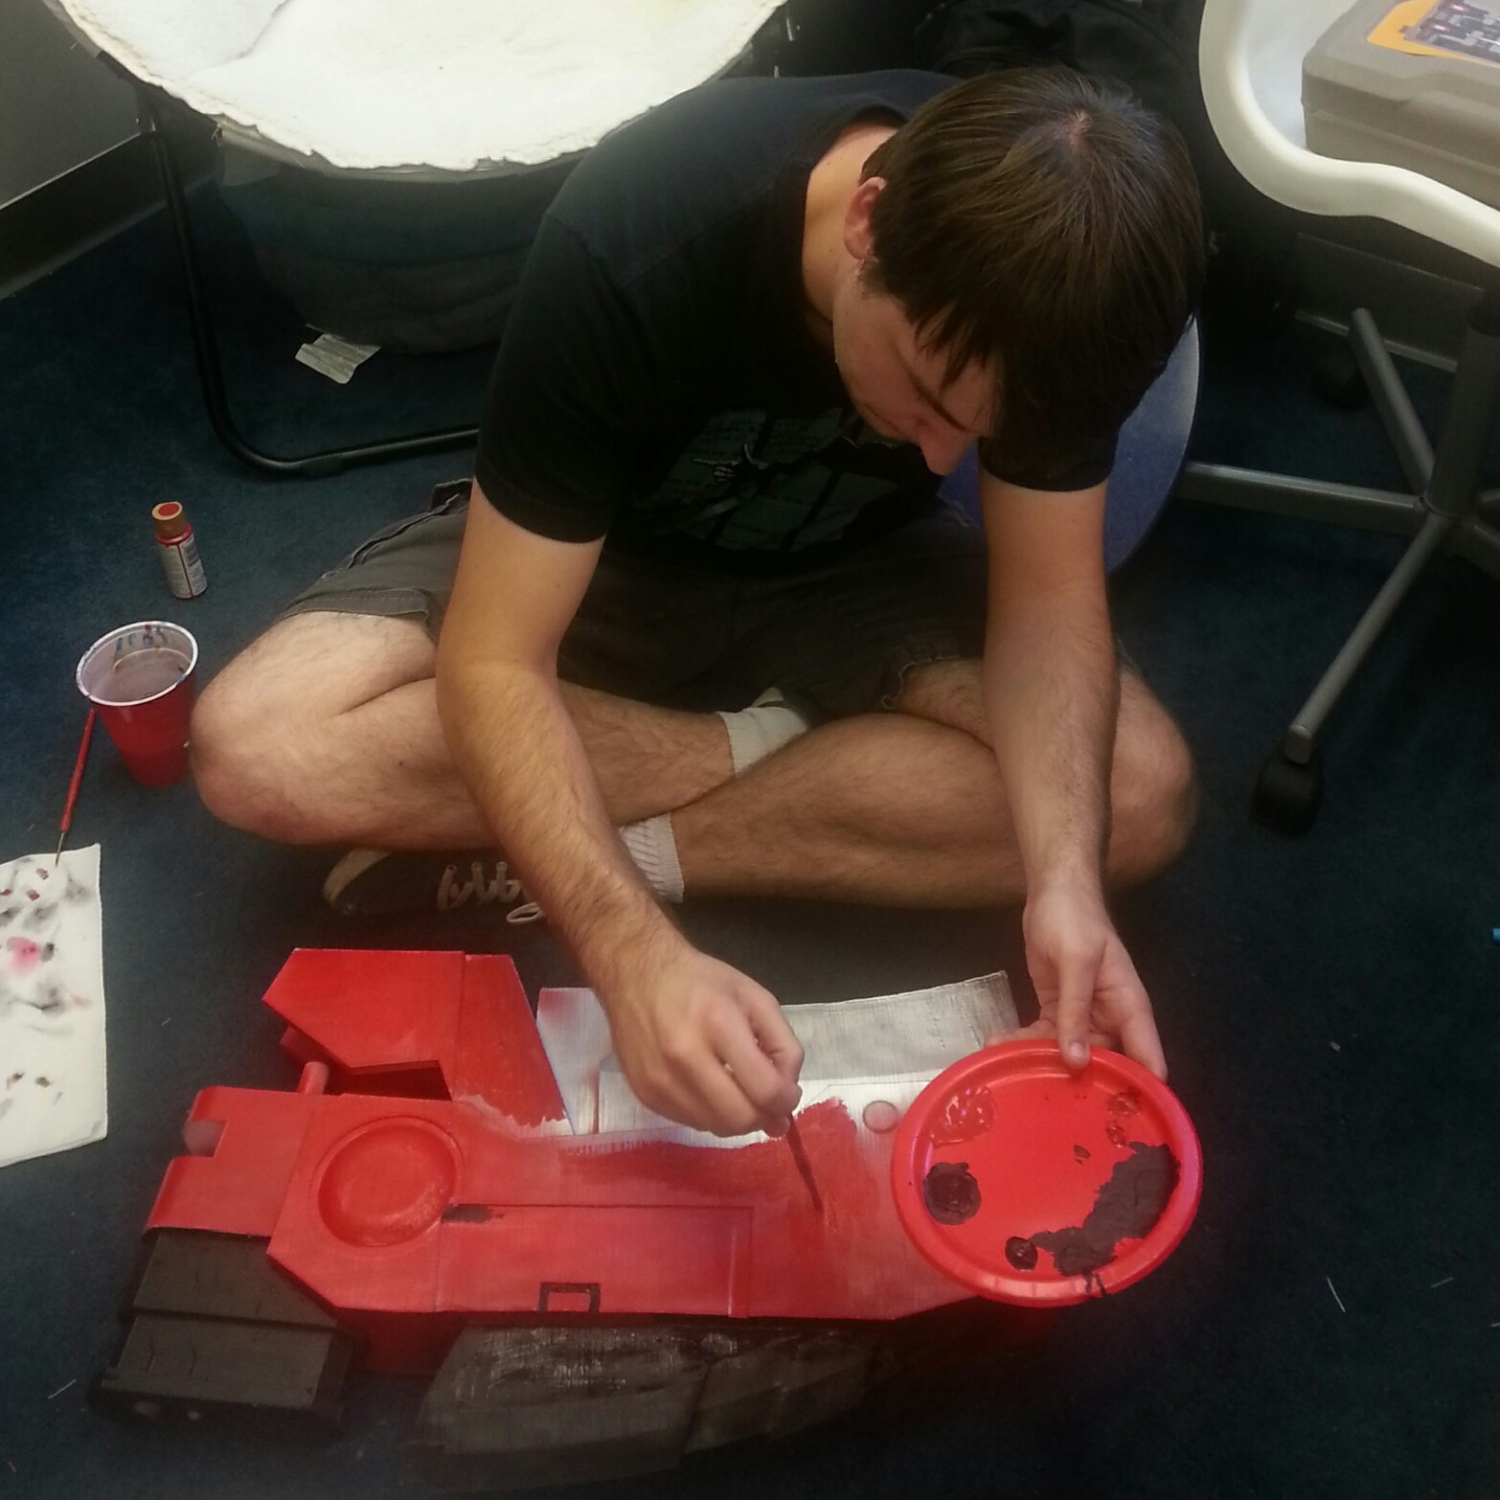
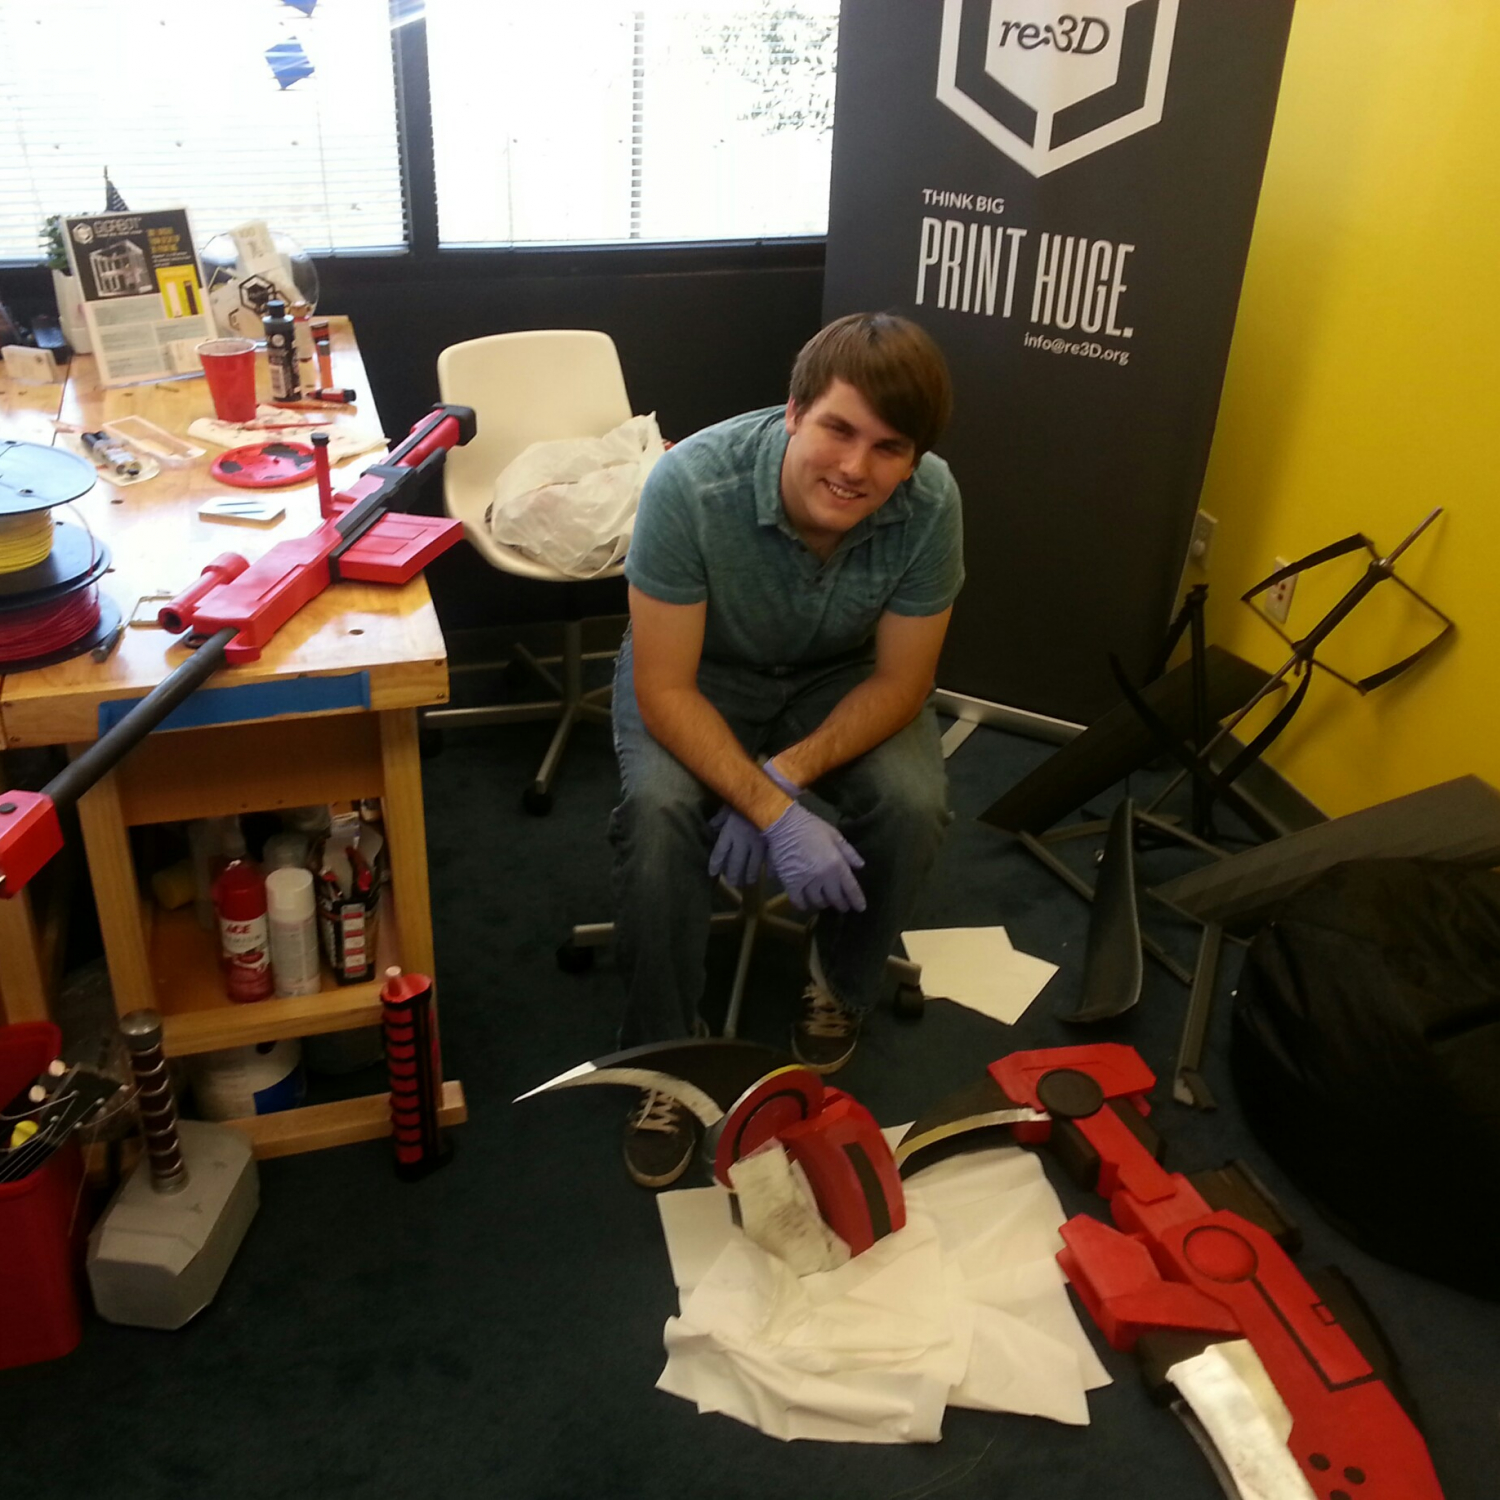
Luckily for me, one of the interns we hired this summer was super artistic and a big anime/cosplay fan, so I knew he’d be a great fit for this project. I drafted him as “my” design intern and asked him to design, print and post-process the Crescent Rose, all from scratch. The whole process took from June to August, basically all summer.

Two days before RTX 2015, a bunch of us from re:3D visited the RoosterTeeth studios, under the guise of dropping off their Gigabot. However, I told Jacob to come with and to bring the scythe, which was nearly finished at this point. The prop was looking great, and I had a hunch the show creators and animators would absolutely love to see it. Spoiler alert– they did.

This took some planning, but it was worth it. In March, as soon as I found out we’d be exhibiting at RTX in August, I started researching their most popular content, hoping there would be 3D printable prop. To my great delight, the RoosterTeeth original anime, RWBY, features an awesome weapon, called The Crescent Rose.

This tweet from one of RWBY’s writers and voice actors got hundreds of likes, and was cross-posted to the RoosterTeeth subreddit, where it got a lot of attention. There, I was able to interact with the RoosterTeeth fans, answering questions about our printer and letting them know they could come see the scythe in person at RTX that weekend.

To my great surprise, people actually did come! I had several people ask if “that was the scythe from twitter”, and I was pleased to tell them that it was! When we got a fan to show up at the booth, they were able to take a photo on their phone with the prop, which made our booth into a sort of event photobooth, and it made us a destination on the exhibit floor.

Choose the perfect giveaway print

Once at the booth to see the scythe, we had to give the fans a reason to stay and talk to us. Luckily, that’s sort of easy when the product you’re pedalling is a washing machine-sized 3D printer. To keep RTX attendees engaged while visiting our booth, we did live prints of these little achievement hunter boxes:

As an added bonus, we could tell the fans that these boxes were available to win, all you had to do is sign up on our print giveaway sheet! We got a record number of email address that weekend– something like 500 names we could add to our monthly company newsletter. I credit this to the fact that I picked out the perfect giveaway print.

The Achievement Hunter box, which I found on TinkerCAD, was small enough to be duplicated several times over the course of the event, yet large enough to be useful. A grid print of 4 boxes took 6 hours, and we were able to complete the print about 4 times over the course of the weekend, which meant we were able to elect 16 winners all weekend. Attendee-goers saw a lot of potential in the print– it featured the logo of one of RoosterTeeth’s most popular shows, and it was large enough to hold change, dice or jewelry.

Remember, people attend fan expos with the intention of buying collectibles. If you do some research and find out what the attendees at the expo will be interested in, you will have a line at your booth at 6pm the day the exhibit hall closes full of people who are hoping they will be some of the final people able to get something for free!

Prepare original online content for the event

Predicting that a lot of the expo attendees would be interested in the info, we had Jacob write up a “How-To” blog on his scythe. We pushed the blog on Saturday, the day we were scheduled to have our panel on 3D printing and cosplay, since the two were thematically similar. Every time someone asked a question like “how long did it take to print?” or “how many pieces is it in?” we gave them a business card and directed them to check out the how-to blog.

Another thing that really drove traffic was posting a link to the blog on the RoosterTeeth subreddit. I knew that fans were active there, because I had been trolling the subreddit for months in preparation for the event. Also, since a fan has posted Miles’ tweet of our RoosterTeeth office visit, I knew the scythe would be recognizable there.

As you can see, the post was not highly upvoted or commented on. This could have been because of the time of day I posted it at, or because I came up with a lousy title. I was bummed by what I perceived as the failure of the post until Samantha checked our google analytics.

BOOM! Look at the stats on Jake’s blog (line #3). What’s more, most of the traffic was coming from Reddit. So, unless someone else posted a link to Jake’s blog on some other subreddit (I couldn’t find evidence of this but you never know), it was my post that did it. I learned something interesting that day– it doesn’t matter how someone votes your post on Reddit, they’re still going to click through to your site. I bet that if everyone who clicked through to our blog had also upvoted/downvoted the post, our Reddit post would have faired a lot better than it did!

Get your team on the immediate favs and re-tweets!

One interesting data point we gathered from working this event was that our tweets faired much better when our team was able to immediately fav and retweet the company tweets from their personal accounts. It seems that Twitter’s algorithm favors content that is IMMEDIATELY interacted with, just as much as content that is showered with likes and retweets through out the day. So, keep your team in the loop with your tweeting schedule so they can back you up from their accounts!

That’s really it when it comes to our engagement strategy! We were able to get some photos with RoosterTeeth influencers, but that was mostly luck that no one could take credit for.

I’m hoping the re:3D team can repeat and tweak these practices in order to really make every event a home run when it comes to audience engagement. Soon enough, those website hits will turn into Gigabot buys, mark my word! All-in-all, I would say you need to do your research. As soon as you find out where you’re going to be, research the audience, attendees and keynotes. What you find here will help guide all of your choices when it comes to demo pieces, giveaway prints, and event-specific content.

Best of luck!

Rebecca Reinhardt

Blog Post Author
Gigabot, Wormholes & the Seattle Art Fair

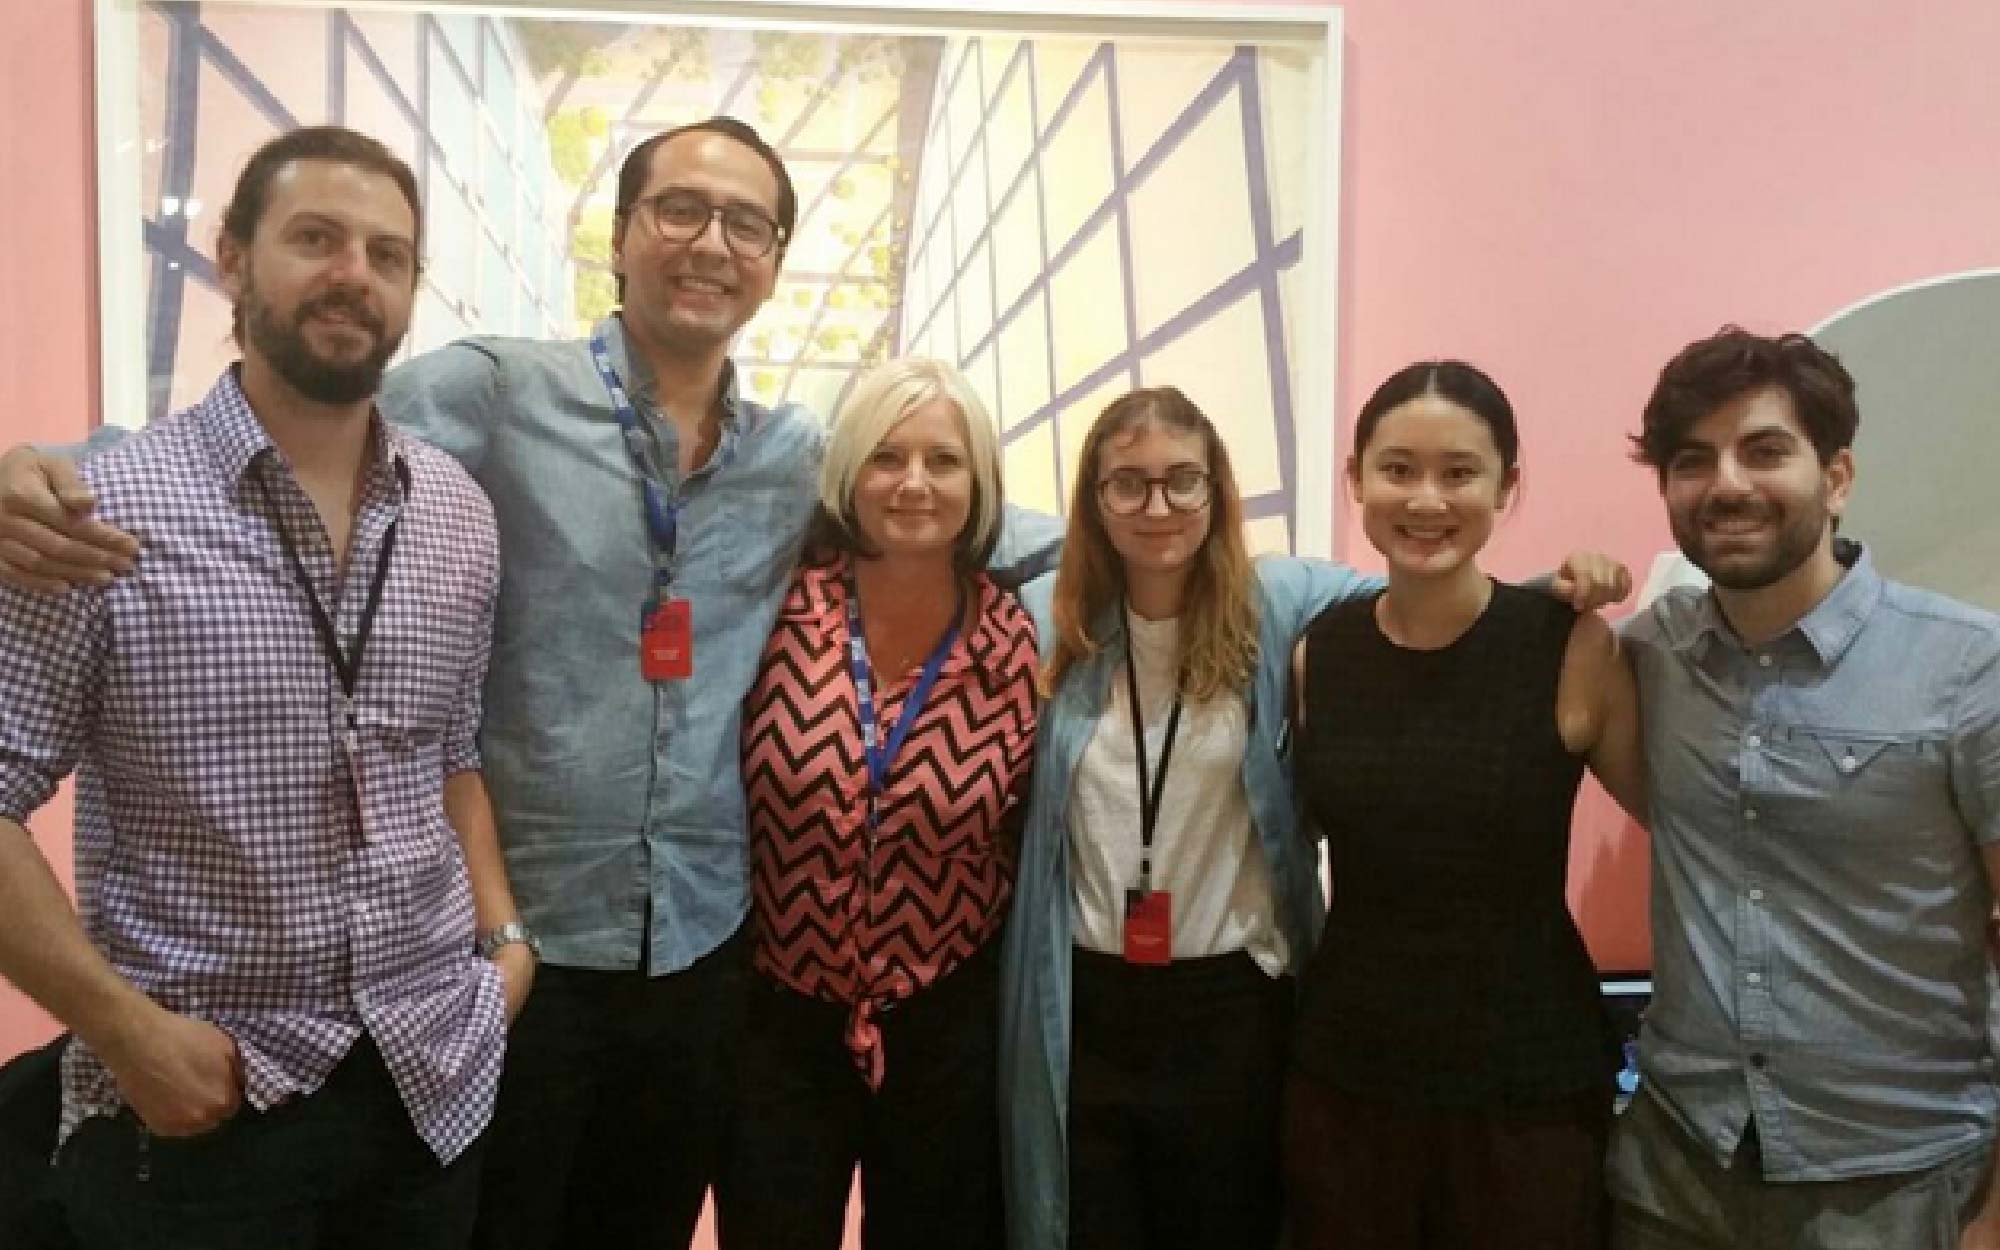
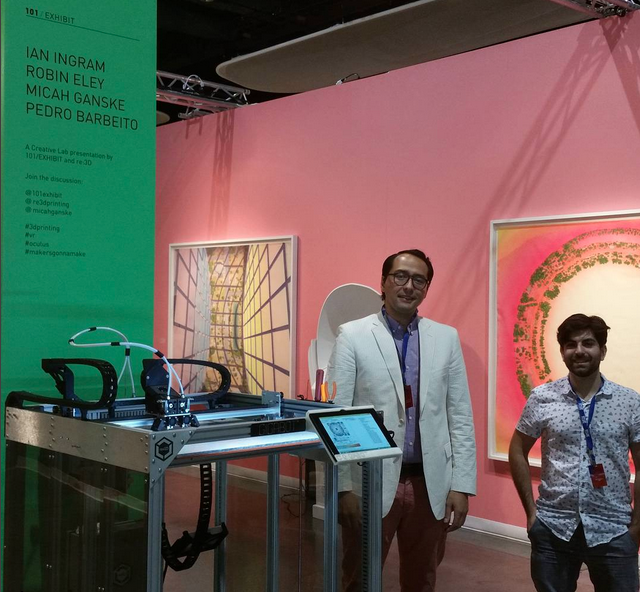
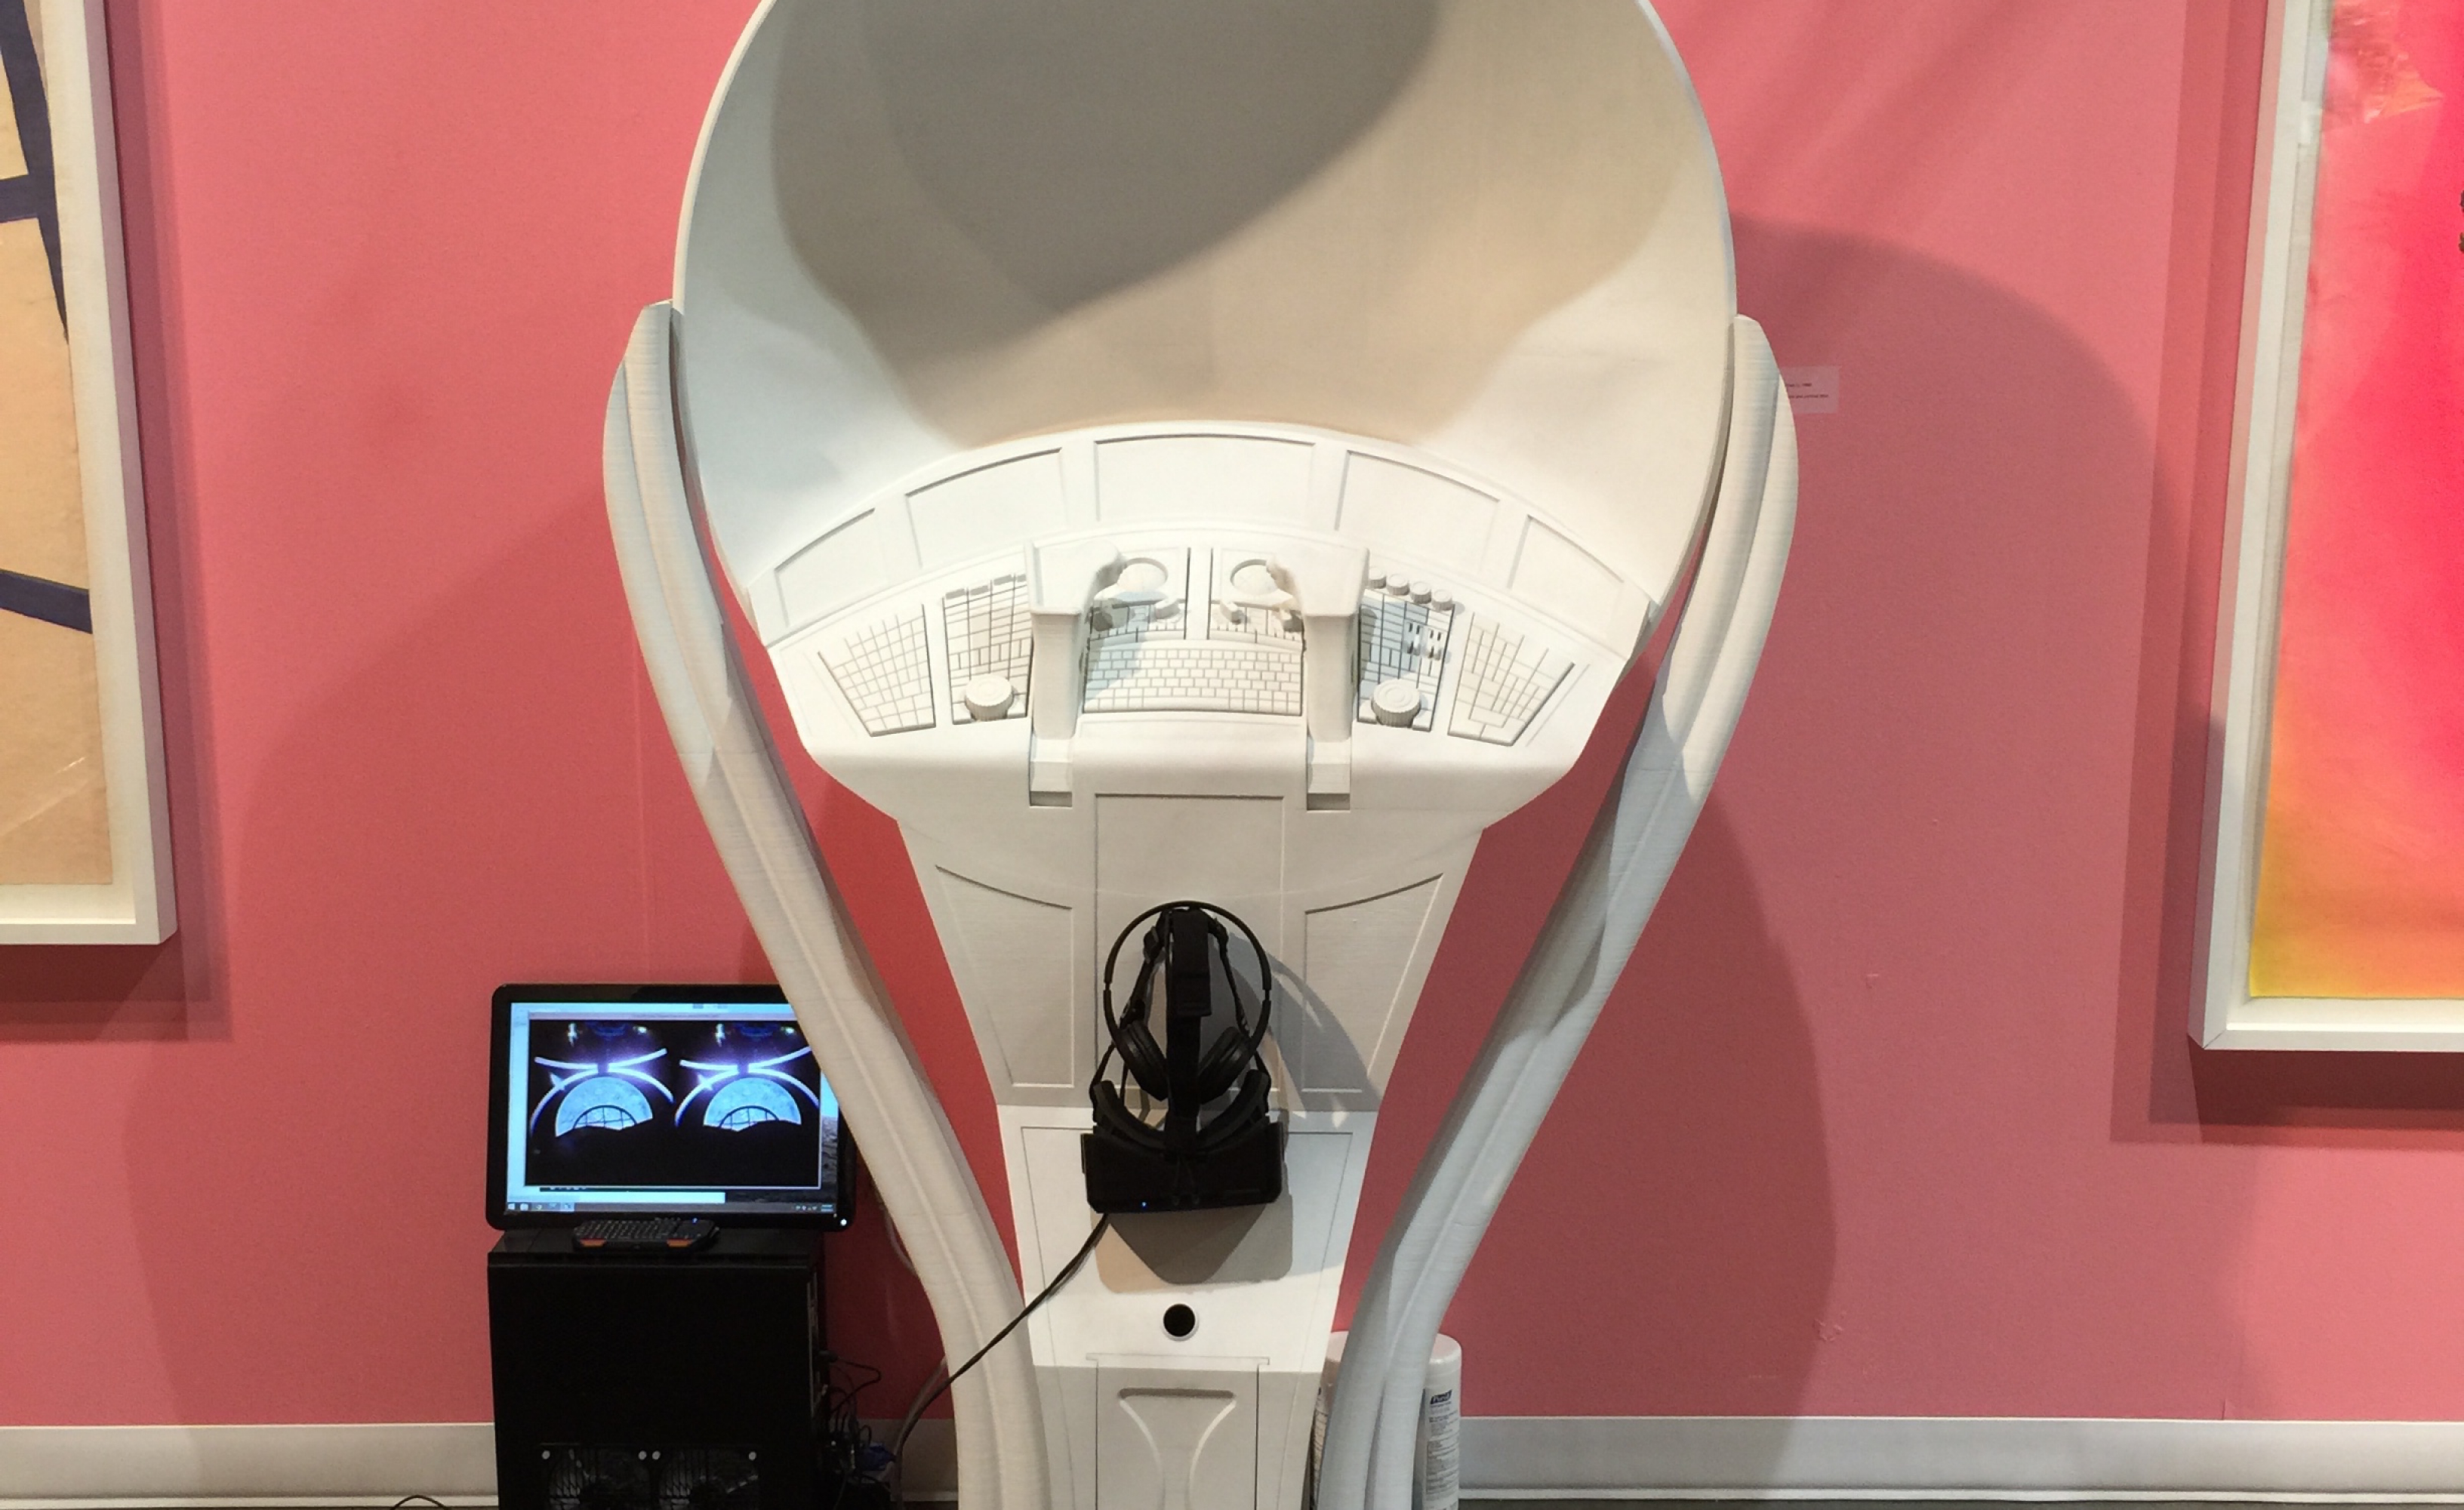
Last week, two Gigabots, Tammie &  I headed over to the Seattle Art Fair to work alongside Micah Ganske and 101/Exhibit gallery from LA. As many of you know, Micah Ganske works with 3d printing in many of his pieces and the Gigabot helped to print one of his largest new works.

seattle2

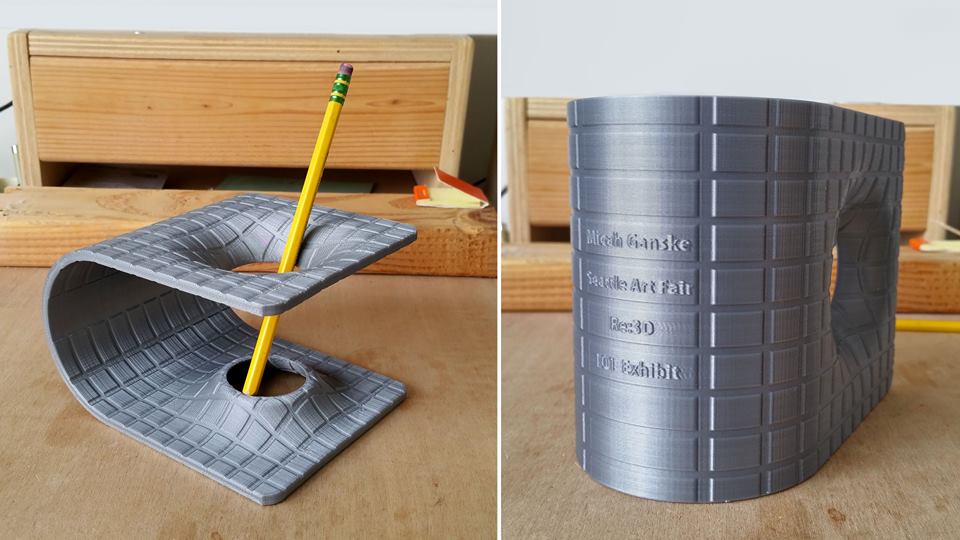
101/Exhibits graciously offered to fly us out to do some live printing of Micah’s famous “Wormhole Pencil Holder.”  A select few attendees were able to take one home for themselves!

wormhole2

It was really incredible to see the lines forming around Micah’s virtual reality console. We met a lot of artists and non-artists alike who were inspired by the possibilities of 3d printing as an art medium.

micahvr2
We also were honored to be mentioned in this great blog about Micah and Gigabot.
 
Thanks again to all who stopped by to talk to us!
 
Have additional questions about our experience at the Seattle Art Fair or wormhole printing? You can find me on twitter @MikeBattaglia.

Mike Battaglia

Blog Post Author
How I 3D Printed RWBY’s Crescent Rose

For a long time, my best friend Mason has been bugging me to watch Rooster Teeth’s animated show RWBY. Don’t get me wrong, I love anime, but I was already watching too many shows, and kept putting it off. Then, one day, re:3D’s cosplay enthusiast Rebecca asked if there was some way we could print the Crescent Rose (the instantly recognizable, 6ft tall scythe from RWBY). I immediately said yes, which made me finally binge-watch volumes 1 and 2 of RWBY on Netflix. Much to Mason’s delight, I loved it! I was super excited to make the scythe, not just because of my inner fangirl, but for the creative challenge of creating a 6 foot tall 3 foot wide scythe!
Rebecca and I debated for many hours about how to go about the design for the scythe. As you all might know, the Crescent Rose has the ability to transform into a more compact gun. We discussed the viability of this option ,and ultimately decided that because of the plastic we would be using and the laws of physics, that we should pursue making the best possible scythe-version of the Crescent Rose, and not worry about it transforming.

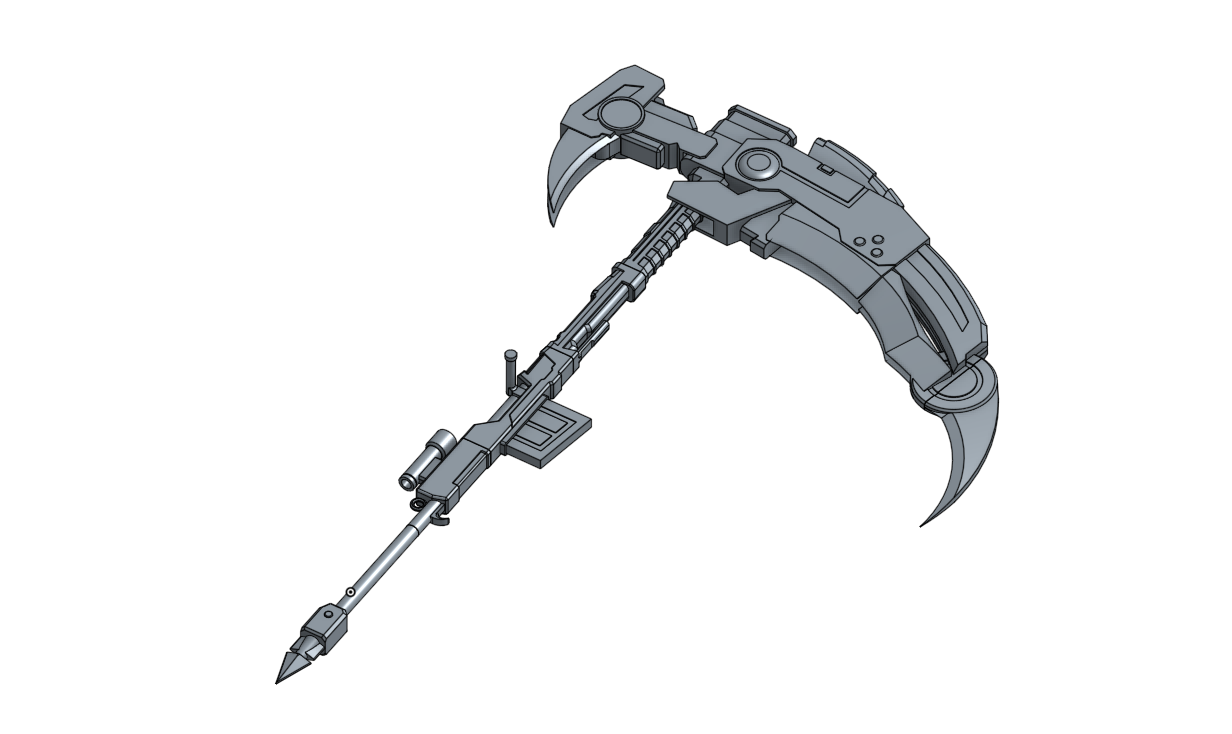
So, I threw myself into research. I spent many hours pausing the show and sketching, as well as staring at various other interpretations of the scythe on google images. I finally decided on a plan of action, and started modeling the scythe in Onshape, a beta CAD software.

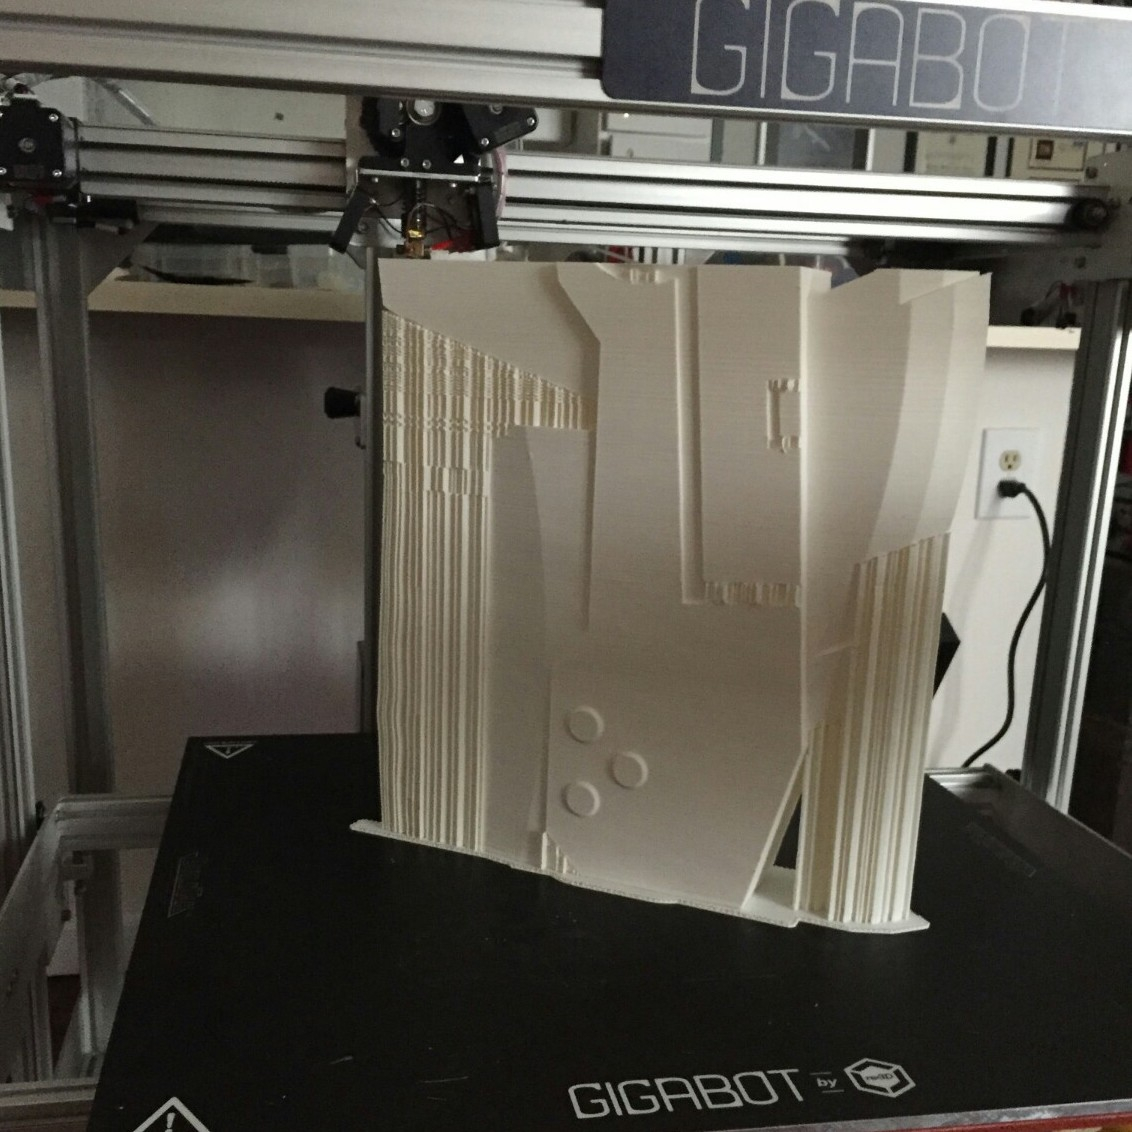
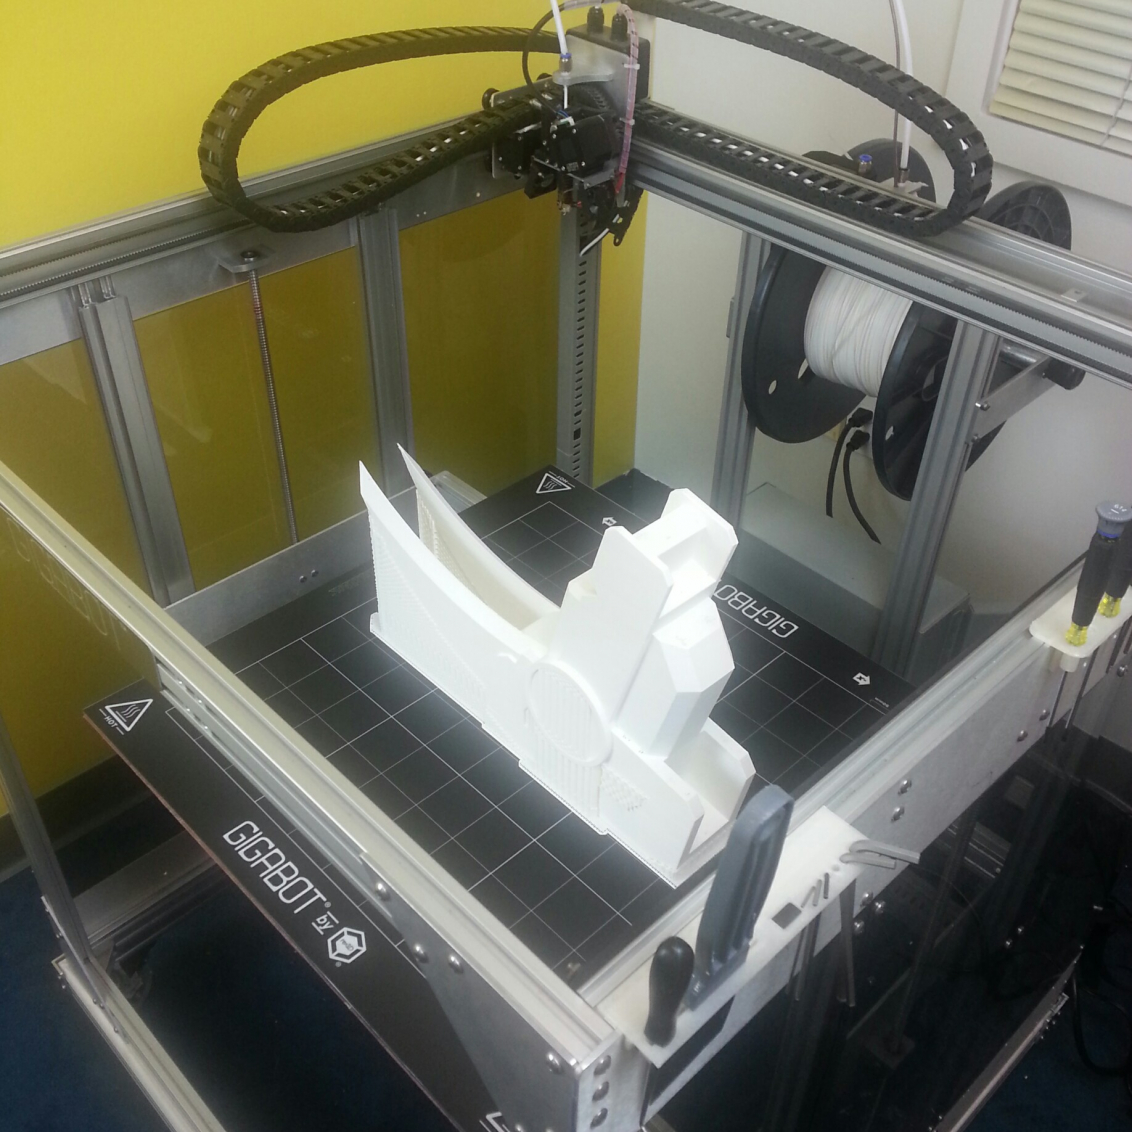
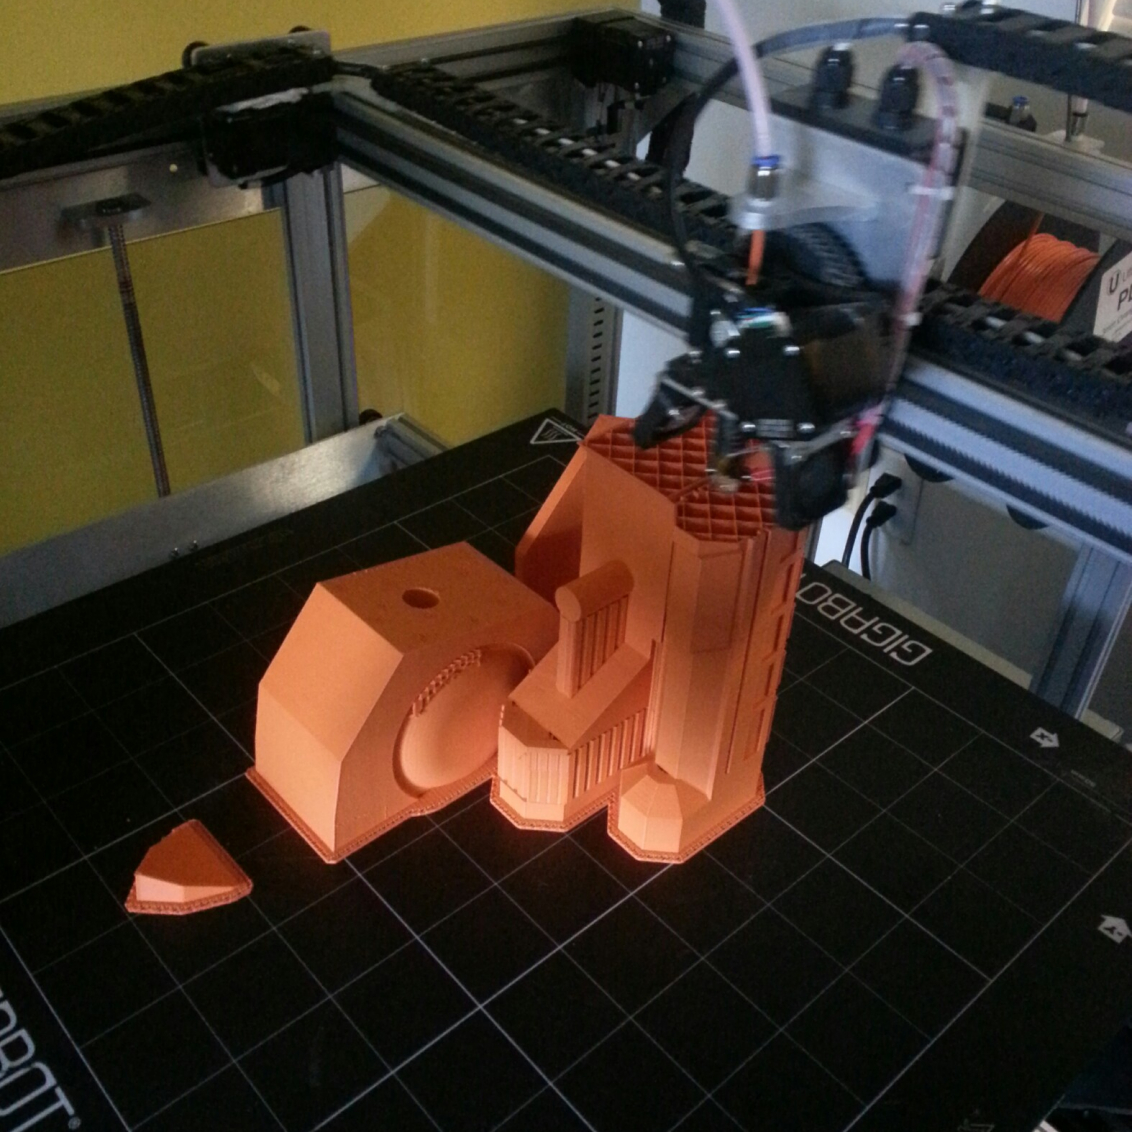
When using a 3d printer, it’s important to keep in mind how your piece is going to be printed. 3D printers start to print from a base layer up, and use supports for overhanging parts. Therefore, I modeled most of the scythe to be easily printed from a flat bottom. Although I could have modeled the piece completely true to the show, I gave up some minor design features so that my prints would be faster and use as little supports as needed. The Gigabot, because of its large print size of 8 cubic feet, allowed me to make the individual pieces much larger and easily create a life sized model of the scythe.

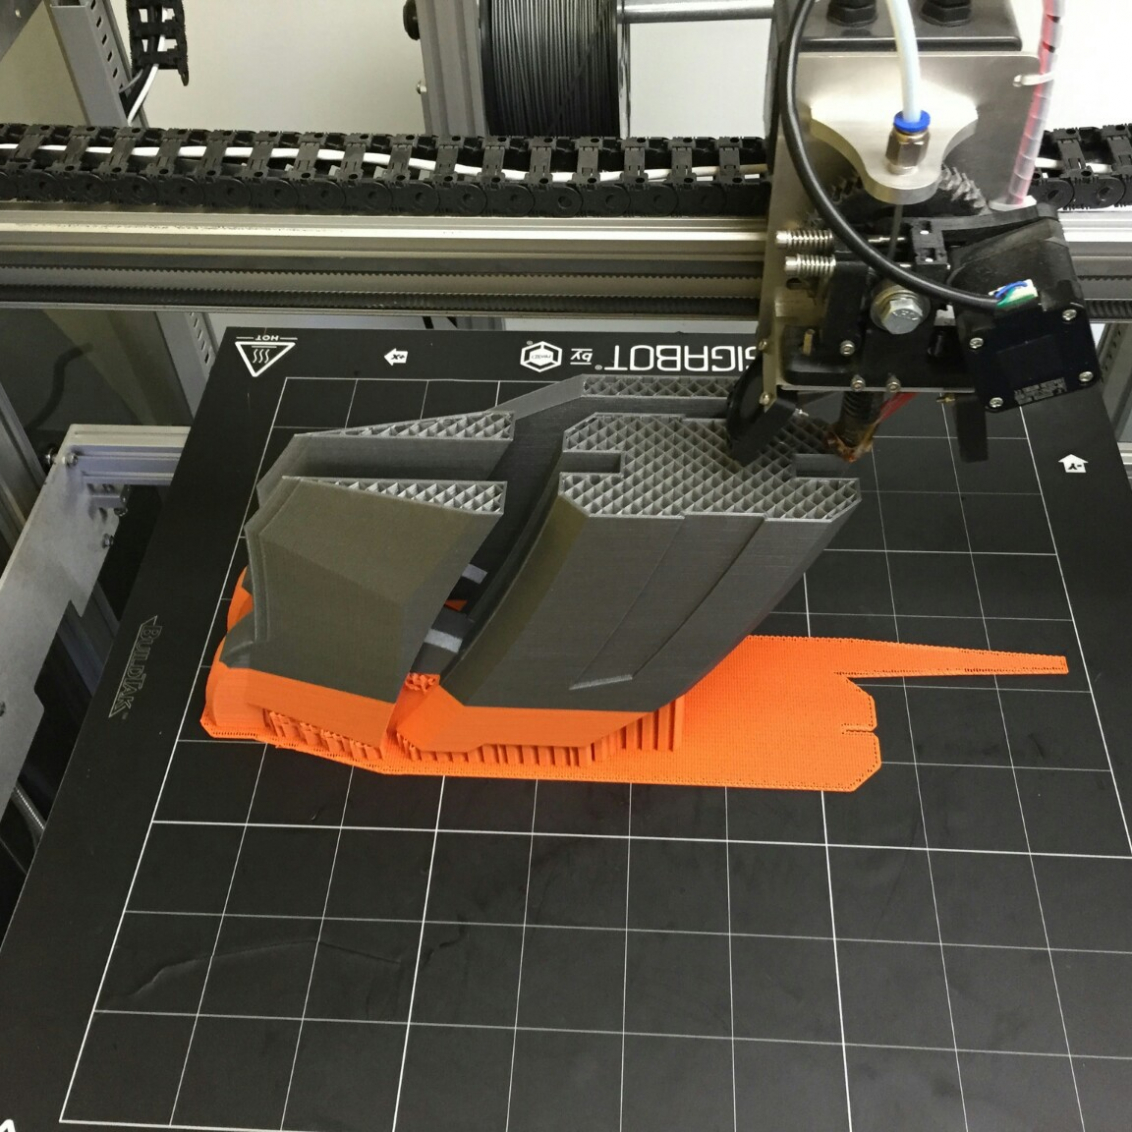
I made the model into 11 different pieces that could be assembled after they were pulled off the printer. I then printed these pieces using PLA on a Gigabot. I used different infills and layers for different pieces, 2-3 layers depending on how much strength I was going to need from that piece and ranged 5-20% infill depending on if I need the piece to be light or not. I usually heat the plastic at around 195-200 degrees Fahrenheit.

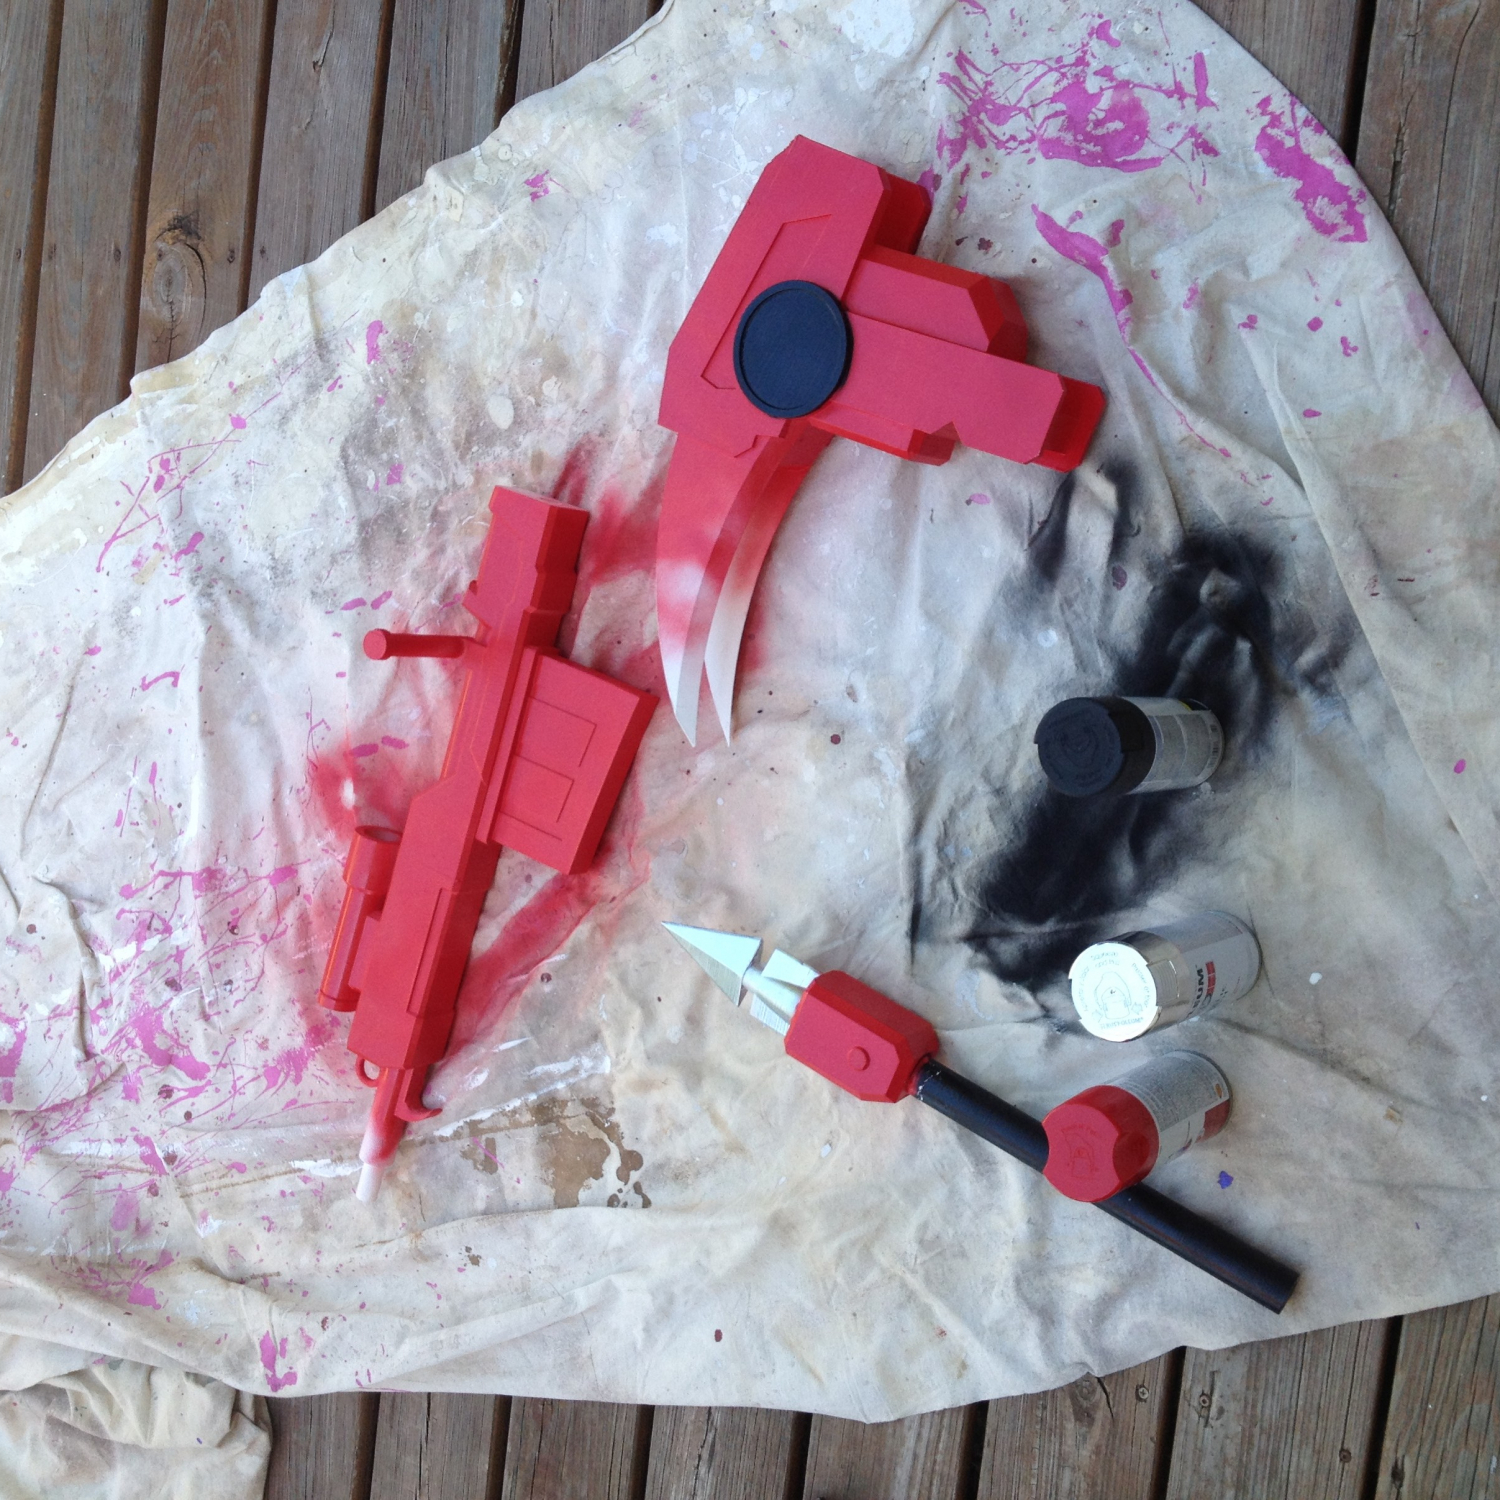
When assembling plastic pieces, together keep in mind in order in which you want to paint your piece, and the different bond strength of the glues or tapes you are using. For the Crescent Rose, I mainly used just basic Gorilla Glue super glue. For more stress intensive pieces, I used Gorilla Glue epoxy and clear caulk to give joints a more uniform look.  

After we had finished printing all the pieces, the next step was to remove all the support material. Then, I sanded down and fixed the smaller print errors such as place where there is a slight over-extrusion on corners or small print-shifts. Finally, I started painting! A timelapse of the process is available below.

I used a basic white primer spray paint that sticks to plastic. This created a good base layer on the models that I could paint other layers of spray paints and acrylic on top of. For the majority of the scythe, I used red and chrome spray paints and then used black and red acrylics and a paint brush to finish detailing.

My Crescent Rose actually ended up being a little too big, finishing at 6’10” tall and 4’4” wide. I had the outstanding luck to get to bring my scythe to the Rooster Teeth offices and, who should happen to walk by but the voice of Ruby, the very character who wields the Crescent Rose– Lindsey Jones!

Everything was not all roses and sunshine though. I had some large problems throughout the course of making this scythe. Some pieces ended up being more fragile than I would have wanted, and broke a few times. The overall size and shape of the scythe creates its own unique problem. Even though the material is fairly lightweight, the scythe acts as a natural lever where the fulcrum is where the staff meets the blade, causing a large amount of pressure and tension right at the joint. My solution to this problem was more gorilla glue and wooden and metal rods drilled into the plastic and hammered through to help support the weight.

Another huge problem that occurred during the print of one of the pieces completely failed on us. The head of the Gigabot extruder got clogged 48 hours into the 55 hour print. Fortunately, when a print fails, the print usually has a flat layer at the point of failure. I was able to measure the print, and edit my model accordingly so, so I could print only what was missing. The end result looks just like a filament swap mid-print. I credit the ease of this fix to the great usability of OnShape.

Finally, the last and probably worst problem I ran into was the Texas Summer Sun… This is a problem that is unique to people in the south who use 3D printers. Even though the plastic melts at roughly 200 degrees fahrenheit, your print will warp if left in your car or your backyard too long. This happened on the largest piece of the scythe and caused my really nice print fix to be extremely noticeable. I had to reheat my piece and to try and warp it back to a usable condition– with limited success. I decided at the end that the condition of the piece after I re-warped it was good enough to merit not reprinting 55 hours worth of plastic.

In order to save you some work modeling, I posted the files on Onshape so that you can print RWBY’s Crescent Rose too!

I’m unveiling the files at RTX at the re:3D booth prior to our Panel today (Aug 8th) on 3D printing & cosplay. You can check out the panel at 1pm at the JW Marriott, Room 303.

You can find me on twitter @jacobelehmann to discuss the process in more detail.

Below are the sources I used to help me create my model.

  • http://i.ytimg.com/vi/rST5VxiZ_gE/maxresdefault.jpg
  • http://goo.gl/9XzVMq
  • http://goo.gl/SsO63J
  • https://en.wikipedia.org/wiki/RWBY
  • http://goo.gl/r6x12t

Thanks for reading!

Jacob e lehmann

Blog Post Author
The Special Story of Mike’s Squirrel Guardian

Here are re:3D, our motto is “Think Big, Print Huge”. With the aim of bringing FFF 3D printing off the table top into the factory, we manufacture big machines that can print human-sized tools. Isn’t it funny, then, that our teammate Mike Battaglia’s most popular file on Thingiverse   is a small statuette of a squirrel?

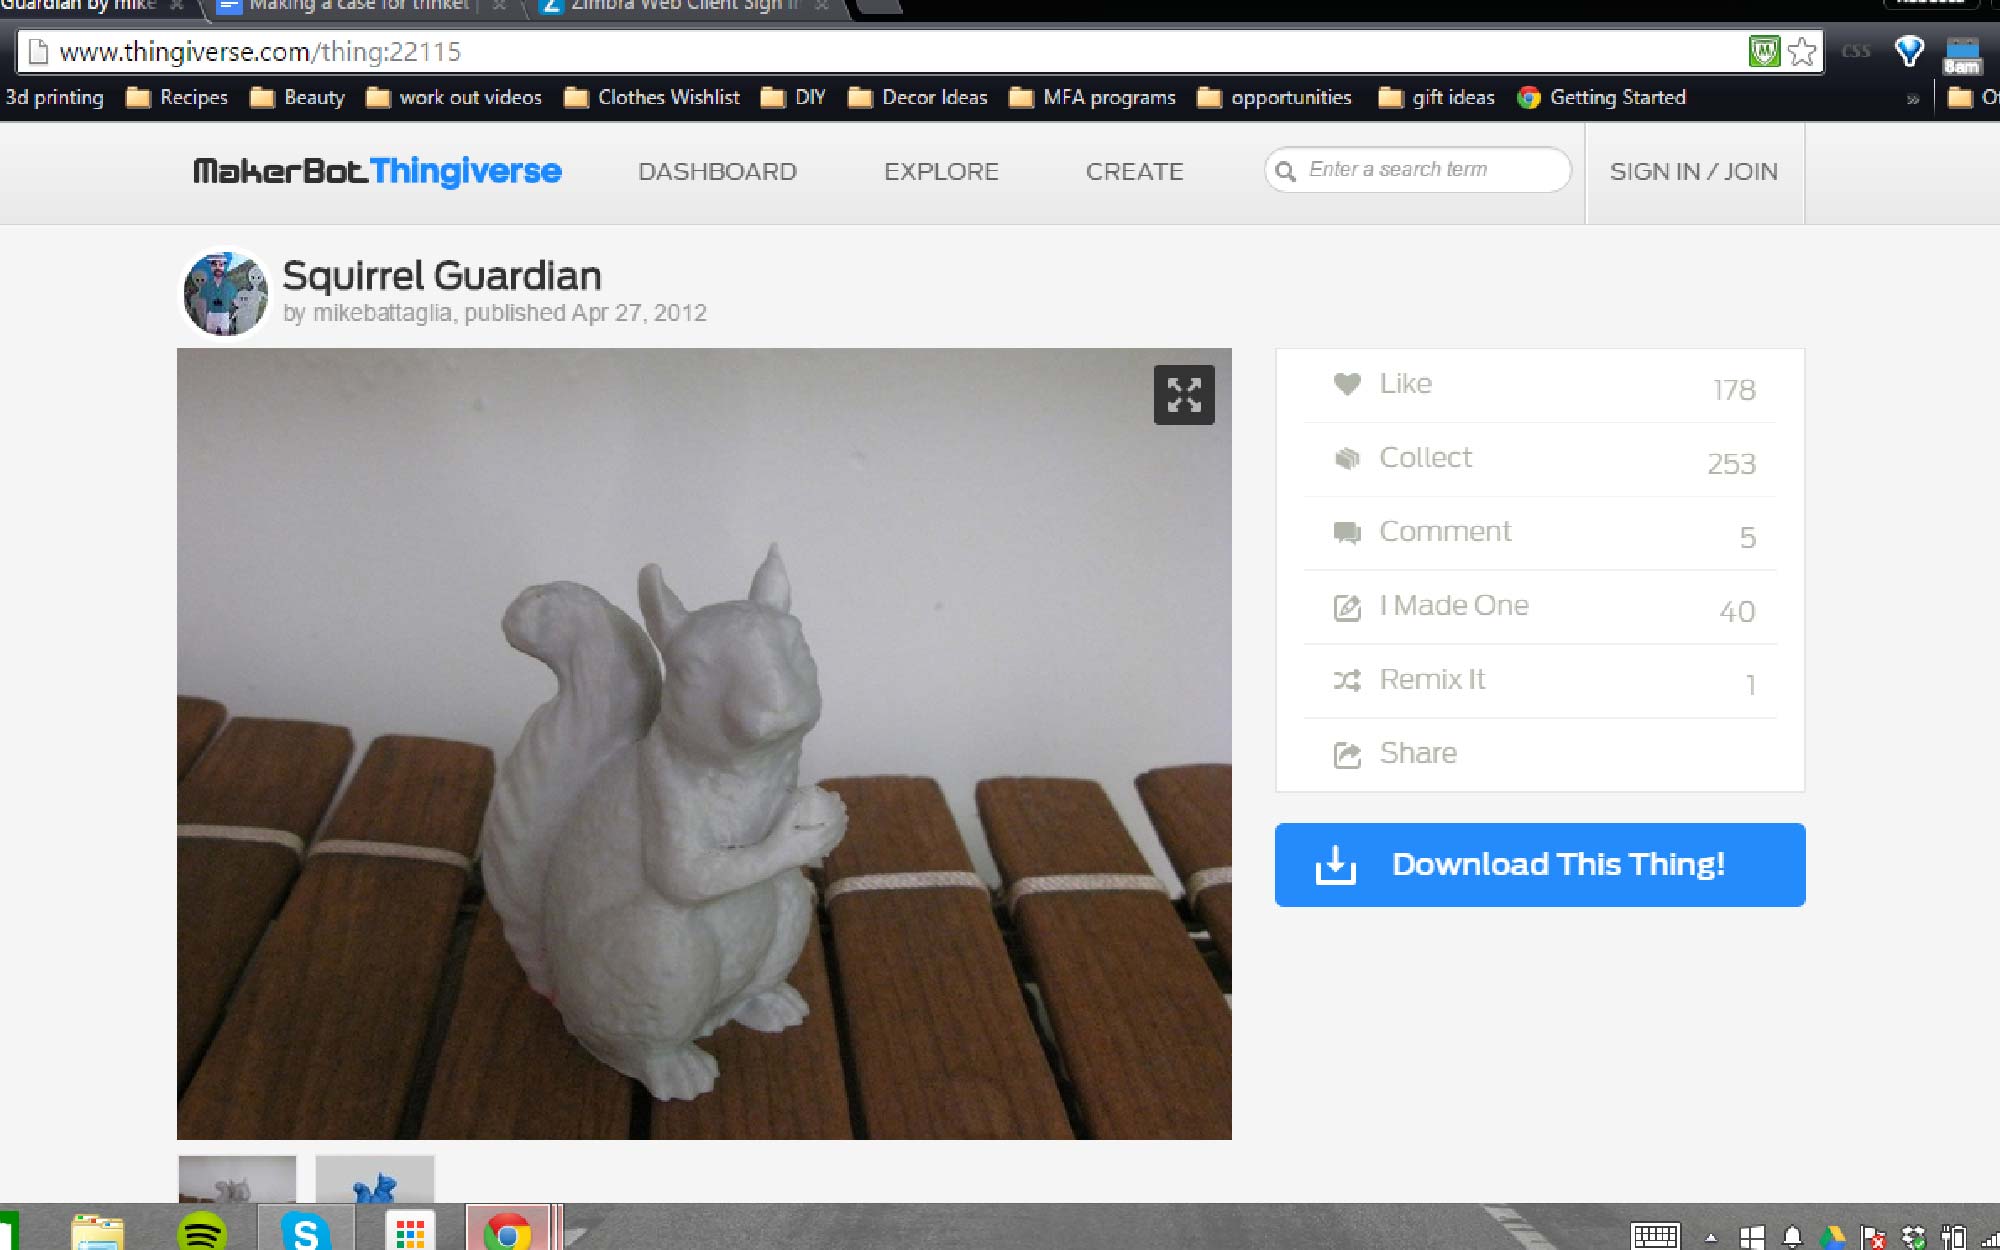
This squirrel statuette is actually a 3D scan of a real concrete statue Mike purchase from Marshalls in 2012. Mike figures he walked into the store that day to buy something completely inane, like some new towels or a bath mat. Little did he know he would discover so much more.

Although it was simple, this concrete squirrel statue spoke to him. He knew he had to have it, and because it had a tiny chip on it’s tail, it he was even able to haggle down the price.

The original squirrel was about one foot tall and lived on the back of Mike’s toilet in his apartment in Brooklyn. After a time, he began to dress it up, just to spice up the view from his urination station. One day, he decided he simply wanted more of them.

Mike got a real great scan of the statue from Autodesk’s 123 Catch, now ReCap Pro, sliced the file and fed it into his 3D printer. A few hours later, he had significantly increased his squirrel statue capital.

It is part of Mike’s workflow to put his designs up on a file sharing site like Thingiverse. He decided on the name “Squirrel Guardian”. The description he put was: “Print one squirrel for each room to watch over your house while you’re not there.”

How did Mike decide on this name and the description? In his own words:

“There already was a squirrel on Thingiverse, so I couldn’t just name it “Squirrel”. I also knew it seemed like a pointless piece, so I felt that if I gave this plastic object a job would make it seem like more than a trinket.”

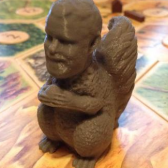
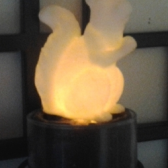
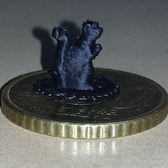
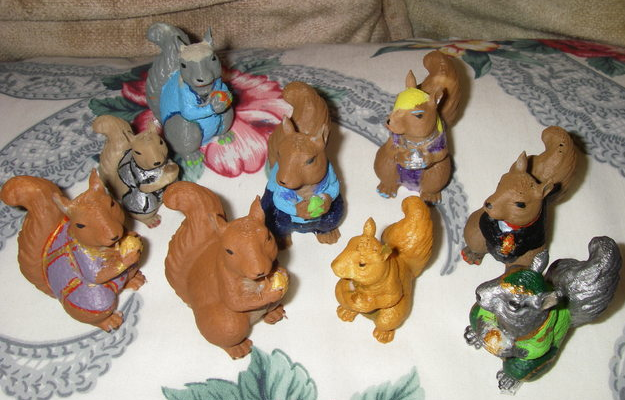
The Squirrel Guardian struck a chord with Thingiverse users, and one by one the downloads stacked up. At the time of publication, this file has been downloaded 3610 times, and 40 of those users have printed the model and uploaded a photo of it to the site. Users from Russia to California to Austria have printed Squirrels in a variety of colors and sizes. There is a Squirrel Guardian so small it can sit on a penny, a Squirrel Guardian made into a night light, a Squirrel Guardian painted up in people clothes. One user scanned his own head onto the Squirrel’s body. This same user also made it a cannibal squirrel, where one squirrel is eating another squirrel.

In my mind, the most incredible use of the Squirrel Guardian is by the Thingiverse user Squirrel_Whisperer, also known as Tom Schuck outside of the internet. Tom is recovering from a stroke, which left him with a brain injury. Before his injury, Tom was a 6-figure IT executive, but unfortunately his injury has left him unable to work any more.

Instead of letting his brain injury and limited mobility dampen his attitude, Tom became determined  to reinvent himself. Tom decided his “new” self would be an author and an artist. His inspiration: squirrels.
Tom’s said his fascination with these furry friends came about when he decided to try bird photography. Instead, he found that squirrels were much cuter and much more fun to photograph than the flitty and flighty birds in his yard. From there, his appreciation for squirrels began to blossom.
Around the same time as Tom discovered his love of squirrel photography, his son bought a desktop 3D printer and introduced Tom to Thingiverse. There, Tom found Mike’s Squirrel Guardian file and began to print them. Being able to hold Squirrel Guardians in his hands allowed Tom to imagine his favorite animal in fantasy roles, and he has since written two fantasy novels with squirrels as the main characters. The photos he has uploaded to Thingiverse are Squirrel Guardians he has painted to represent the characters in these fantasy novels.
Because of users like Tom, the Squirrel Guardian has become so much more than a figurine you could place on the back of your toilet. Squirrels are now a crucial part of Tom’s new identity. Now, people will approach Tom and say, “I saw a squirrel and thought of  you.” Now, because of his son’s 3D printer and Mike’s Squirrel Guardian, Tom can have as many little squirrel figures as he desires. This is a good thing for a man who has taken to the noble pursuit of self-reinvention following a traumatic life event.
tom

At re:3D, we try to print big, but I think what is most important to everyone on our team is that we print with a purpose. Sometimes, in the case of Mike’s Squirrel Guardian, the purpose of a print is unintended. He never could have imagined when he bought the original Squirrel Guardian from Marshalls that a man would use this same model to help him heal after a traumatic injury.
Mike’s Squirrel Guardian is not the most popular file in the history of Thingiverse, by any means. However, the Squirrel Guardian makes a compelling case for the usefulness of 3D printers, even ones at the desktop size. Too often I hear 3D printing skeptics and evangelists alike bemoan the fact that 3D printers are used only for the making of “trinkets”.  I believe that Tom’s story shows us that sometimes, these seemingly useless models can become extremely meaningful pieces in an individual’s life. Just because a model isn’t a tool or a part of a machine, it doesn’t mean it isn’t making someone’s life better.

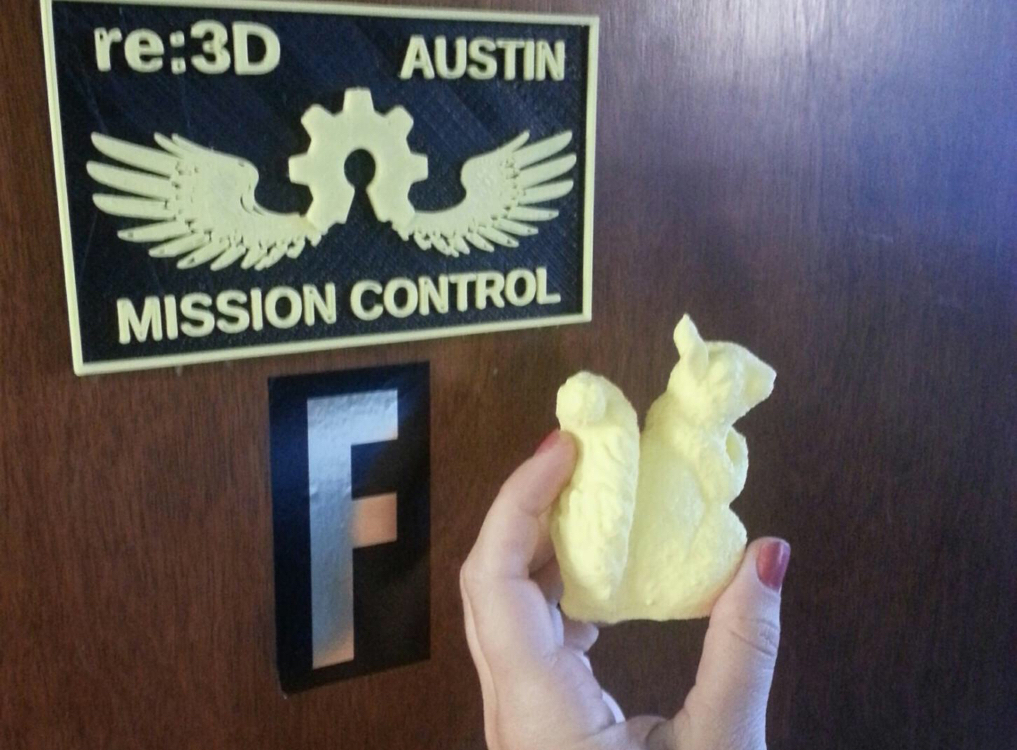
Our Austin office is christened by Mike's 3D printed guardian squirrel

When re:3D’s Austin team moved into our new office, one of the first things we did was set up a Gigabot and kick off a print. We knew, without a doubt, the first thing we would be printing would be a Squirrel Guardian.

Rebecca Reinhardt

Blog Post Author