#Road2Collision Take 2 & a Southeastern Roadtrip to Digital Now!

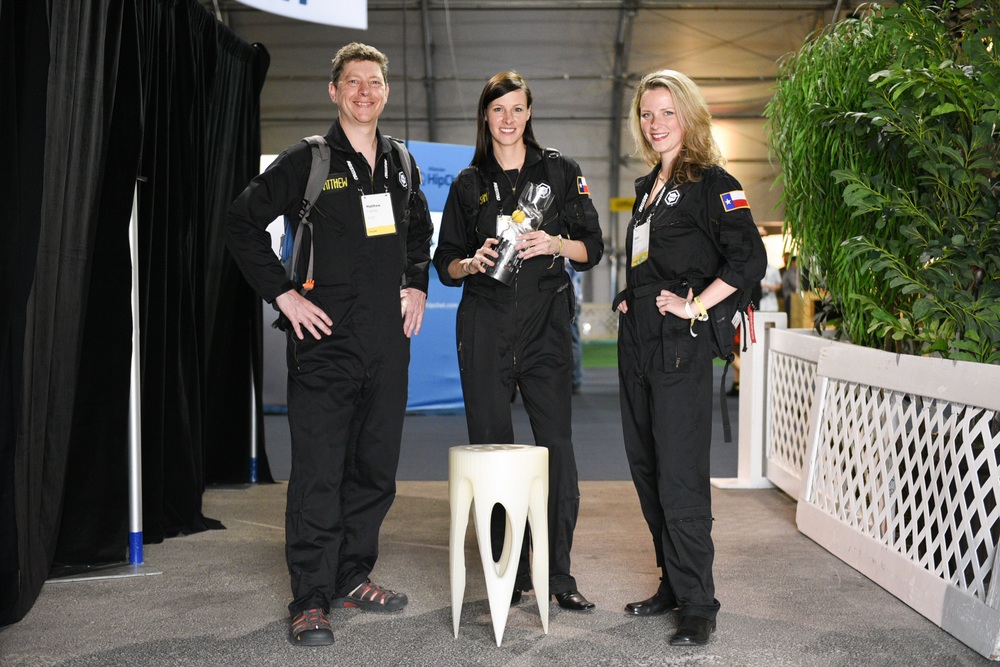
We still can’t believe that a year has passed since Matthew, Katy & I packed up Gigabot and embarked on an unforgettable adventure to Collision in Las Vegas. The week was a milestone for re:3D.

road2collision

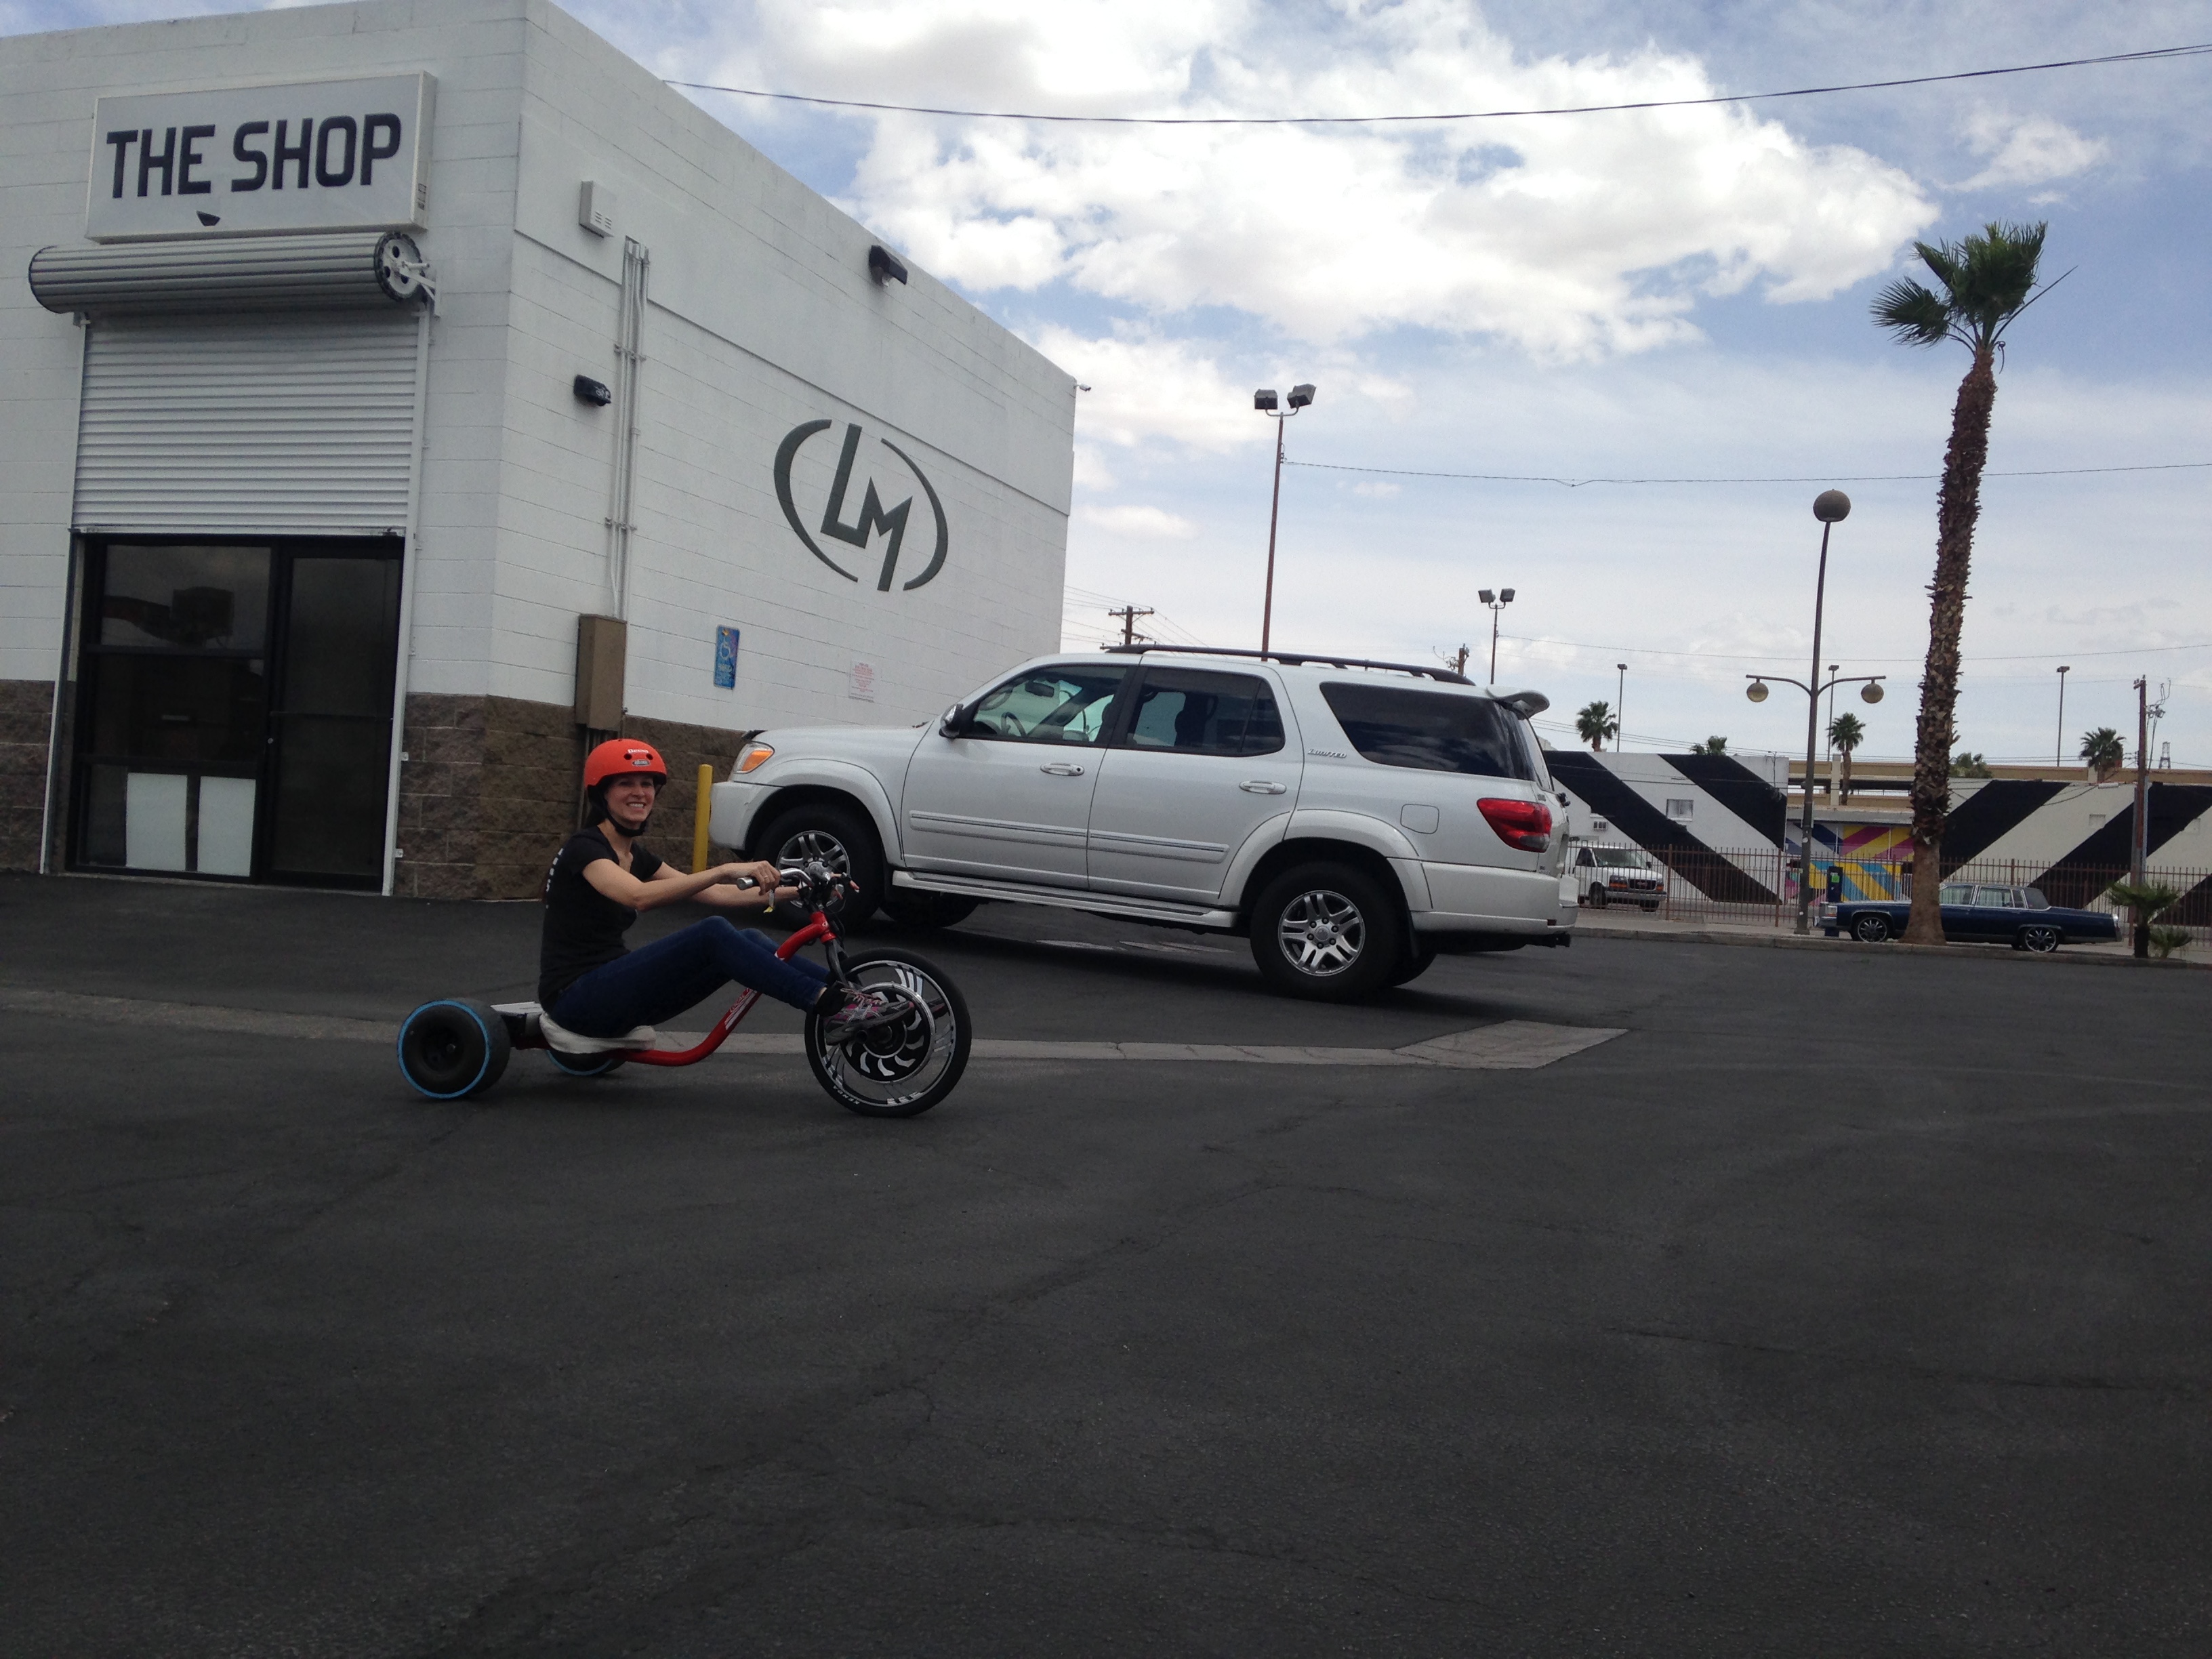
Not only were we honored to win PITCH, the same evening at an afterparty we had the chance to share our vision with Local Motors in an elevator (ironic, we know:), which consequently resulted in a tour the next day of the Las Vegas Local Motors Microfactory and several partnership conversations (stay tuned for more details!). We could hardly contain our excitement when the staff allowed us to take the Varrado Electric Drift Trikes out for a spin!

During Collision, we also finalized our acceptance in indie.vc, an inaugural cohort of 8 proudly bootstrapped companies. As the program launch was in San Francisco, just a few days after Collision, we made the real-time decision to continue driving from Las Vegas to Silicon Valley while visiting customers. Safely in San Fran, Matthew flew home while Lara & Morgan joined me & Katy for the indie.vc kickoff, the Bay Area Makerpro Event (thanks to our friends at OATV), and the San Mateo Makerfaire the following weekend. Katy & I then drove quickly back to Houston where I met up with Rebecca & Ernie for 4 days of Cosplay and 3D printing at Comicpolooza.

IMG_0830

It was a crazy season for our team as we collected requests that informed Gigabot Generation 3.0 while actively engaging with the community (which was well overdue!).  We learned a ton and grew a lot internally, while taking in the beauty of natural parks and inspiring Gigabot use cases our customers shared along the way.

IMG_0741

The journey revealed the importance of listening to those outside of our factory, and the value of sharing our experiences with friends & partners who can support our goals. For this reason, we are thrilled to announce a second roadtrip, this time throughout the Southeast United States as we return to Collision, cheer on this year’s winners, and also attend the Digital Now Conference in Orlando. Once again, we’re hoping to squeeze in a few customer visits and parks along the way.  Most importantly, we hope to catch up with new friends & old, and to possibly see you. We’ll be updating the itinerary below as the next two weeks evolve. Please email marketing@re3d.org if you’d like to set up time for coffee, a demo, some soul food or a beer! Also, to anyone looking to hitch a ride post Collision to TX, we’ll have a couple seats available if you don’t mind squeezing in with our large 3D prints!

TX Library Association

  • When: April 19th-22nd
  • Where: Houston, TX
  • More Info: http://www.txla.org/annual-conference
    • (The Austin team is enroute to do setup with Todd now who will remain in Hou with the gang!)
  • Follow Online: #txla16

Digital Now

  • When: April 21-23
  • Where: Orlando FL
    • Samantha Speaks at the Technology Showcase at 4:05pm on 04/21 with a Gigabot demo afterwards
    • A second Gigabot demo will take place at 9:55 on 04/22
  • More Information: https://www.fusionproductions.com/fusionnews/four-extraordinary-association-stories
  • Follow Online: #diginow

Collision

  • When: April 26-28th
  • Where: New Orleans LA
    • Samantha & Matthew exhibit Gigabot live at the START display: April 26 Booth S118
    • Hardware demo time: TBA
    • Matthew & Samantha will also be at the morning jogs and at night summit all week!
  • More information: https://collisionconf.com/
  • Follow online: @collisionHQ, #collisionconf, #road2collision

Forever Humbled,

Samantha, Katy, Matthew and the entire re:3D team

Katy, Sam & Matthew drive from Houston to San Fran demoing Gigabot & visiting customers (and a few national parks)

Testing MakeShaper PLA

Below are our notes that reflect our new open source filament testing. ASTM test samples are being created and in the upcoming months you can anticipate a summary on our website about our adventures in 3D printing material science. 

Material Tested: MakeShaper PLA

Manufacturer: MakeShaper PLA

Filament Diameter: 3.00 mm

Color Tested: Orange

Date Tested: 4/01/2016

OBSERVATIONS

Ease of use: Working with this filament was very enjoyable. It printed easily, was consistent and predictable. No breakage was noticed. The PLA appeared to be of a high quality.

Appearance: The filament exhibited a pleasing orange tone that even the greatest orange pantone haters on our team found appealing. A slight sheen presented when printed.

Size consistency: Awesome, less than 0.1mm within the roll, however the filament measured 2.87mm, not 3mm

Color consistency: Great, consistent throughout the coil.

SETTINGS

Print temperature: 190-215 C (suggested)/202C was used: nozzle / 60C : bed

Printer Used: Gigabot

Speed: 60 mm/s

Layer Height: 0.3mm

Infill: 15%

Type(s) of print surface used: PRINTnZ

List of test files printed: re:3D’s test files 1, 2, and 3 (logo, vase, and Benchy Torture Test). After April’s UX meeting, it was decided to also print a Moai as a 4th print.

You view watch a video summarizing our testing here:

FINDINGS

Odor: None

Bed adhesion (1: terrible – 5: fabulous!)

  • 5- Great adhesion was achieved with no temperature manipulation.

Stringing (1: lots – 5: none!)

  • 5 –No stringing was observed with our settings.

Shrinkage (1: lots – 5: none!)

  • 5- The filament extruded and cooled with no shrinkage.

Interlayer adhesion (1: terrible – 5: fabulous!)

  • 5- Perfect!
IMG_2556

NOTES:

  • The community is fortunate to have several PLA vendors to select from, however we’ve heard cautionary tales from many of our customers that all PLA is not created equal. MakeShaper PLA boasts that it is a high quality and dependable PLA.
  • Seeing that we offer a limited color selection in our store, we are always eager to test additional PLA sources in order refer customers to other reputable consumer retailers.
  • This material appears to yield consistent, quality prints.
  • Filament size consistency was excellent and no breakage was evident in the 1 kg roll we examined, suggesting it was well mixed.
  • No curling was observed in any of the 4 prints created.
  • We used the mid point of the temperature range that the manufacture provided (190-225C). No guidance was given for settings aside from temperature, so we used the standard Simplify3D profile on wiki.re3d.org.
  • The unboxing experience was well done and the recommendation sheet was professional.
    • A batch number was provided for traceability.
    • Manufacturer recommended settings were easily referenced on the enclosed documentation.

RECCOMENDATIONS:

  • After printing 4 objects in our protocol, I support MakeShaper’s claims that they produce high quality PLA and would recommend it to our customers.
  • Upon review, we would also recommend that we include this filament in our ASTM test sample research.
IMG_2553

Want to chat? Join our forum where we have initiated a thread about our experience!

https://re3d.zendesk.com/hc/en-us/community/posts/206511376-Testing-MakeShaper-PLA

~Happy Printing!

Samantha snabes

Blog Post Author

3D Printing A Superman Hood Emblem

Intern Jacob Lehmann shares on his recent DIY solution to personalize his aging Beetle.

My 3D printed Superman Hood Emblem

By: Jacob Lehmann

I work at re:3D and my job is to figure out and test cool and unique ways to use our 3d printers. I have 2003 VW beetle (and I love it) but some of the aesthetics have been worn and aged poorly over the years. So I had the idea to custom print a rear hood ornament. My amazing bosses thought this was a great idea and helped me to design and realize this idea.

It was hard to pick what exactly I wanted to make for my car. After running through tons of ideas I finally decided that because of the deep sienna blue of my vehicle that a superman logo would look amazing on it. This is a picture of my car after I peeled off the old rusty and broken VW emblem.

First I designed the hood emblem in a free Cad software called Onshape. You can access the tool at this link: https://www.onshape.com/ if you are interested. 

After slicing the file for printing, we put it on the Gigabot and watched it come to life!

And then we tested it on my car.  After looking at it closely, I decided I wasn’t happy with the size and printed a second to fill up the space better.

testingprint

Before we started we knew that the final solution wasn’t going to be in PLA.  In the Texas summer sun, thermoplastics such as PLA warp when left in a car, let alone on the boiling hood. Although this material is perfect for 3d printing because it melts at roughly 190+ Celsius, that very feature makes it hard to use outdoors, inside of engines, or pretty much anywhere that gets hot.

Thankfully our friends at Deep in the Heart Art Foundry (who own some of our Gigabots and use them in their lost wax casting) were more than happy to help us cast an alternative. We originally wanted to cast the piece in bronze and patina it, but they suggested that it would look better and be much lighter to cast it in Stainless steel. You can check out some of their amazing works of art here http://www.deepintheheart.net/. Here is the piece once we got it back (with a little bit of polishing).

unpolished

And after I finished polishing and sanding the piece.

polished

Here is the finished stainless steel piece next to the smaller PLA prototype.

Now all that was left to do was mount it on my vehicle. After cleaning the surface of my rear hood and the backside of the piece with some alcohol, and removing all the dust and grime, I placed some 3m double-sided tape on my car. NOTE: my bosses were concerned for my and other driver’s safety and have since purchased industrial epoxy.

3mtape

And finally, the beautiful hood emblem is complete and placed on my car. Now I can drive around fighting DC supervillains as much as I want.

final

Happy printing!

Jacob Lehmann

Blog Post Author

@jacobelehmann

You’re Invited: 3D Printing @ Sea!

Recently, one of our customers (and owner of Cruise Planners) invited us to support a 3D printing cruise. We are honored to participate and can’t wait to spend three days with you during this exclusive experience!

3datsea

About the Event

3D at Sea is the first of it’s kind 3D Printing Workshop and Seminar at Sea. This Workshop will feature 3D Printing Experts both teaching and speaking on a variety of relevant topics. There will also be opportunities for community impact work in Cozumel, in addition to general fun and networking!

Whose Invited

Anyone with a passion for 3D printing is welcome to join us on the Carnival Liberty out of Galveston on 10/8/16! Pam, the organizer, is also accepting applications to speak or teach a class until May 5th. You can share your interest on Facebook at: www.facebook.com/3datsea/  or email Pam directly at: pam.stewart@cruiseplanners.com.

See you soon?!

Samantha snabes

Blog Post Author

Filament Testing – Scorpion Flexible Nylon by Black Magic 3D

Below are our notes that respect our new open source filament testing. ASTM test samples are being created and in the upcoming months you can anticipate a summary on our website that reflects our adventures in 3D printing material science. 

Material Tested: Scorpion Flexible Nylon

Manufacturer: Black Magic 3D

Filament Diameter: – 2.85mm

Color Tested: Natural

Date Tested: 4/06/2016

IMG_2511

OBSERVATIONS

Ease of use: Those new to 3D printing may want to budget extra time when printing with Scorpion as it takes a little manipulation to perfect the temperature & retraction settings.

Appearance: The natural filament was clean and consistent. Prints matched filament color & opacity.

Size consistency: Awesome, less than 0.1mm within the roll.

Color consistency: Great, consistent throughout the coil.

IMG_2507

SETTINGS

Print temperature: 230-235 C (suggested): nozzle / 60C : bed

Printer Used: Gigabot

Speed: 50 mm/s

Layer Height: 0.3mm

Infill: 15%

Type(s) of print surface used: PRINTnZ with 3M Blue Painter’s Tape and 2 coats of Elmer’s Glue Stick

List of test files printed: re:3D’s test files 1, 2, and 3 (logo, vase, and Benchy Torture Test)

You view watch a video summarizing our testing below:

FINDINGS

Odor: None

Bed adhesion (1: terrible – 5: fabulous!)

  • 4- Great adhesion could be achieved, but required two coats of PVA glue stick, painter’s tape, and the highest heat setting suggested for the bed and nozzle.

Stringing (1: lots – 5: none!)

  • 4 -Stringing was observed across lettering, however doubling the retraction settings eliminated the problem.

Shrinkage (1: lots – 5: none!)

  • 4- Some curling was observed on corners of logo after removal. It is suggested that the print be allowed to cool down on the bed before taking it off.

Interlayer adhesion (1: terrible – 5: fabulous!)

  • 5- Perfect!
IMG_2508

NOTES:

  • A flexible nylon offers a lot of possibility to the 3D printing community
    • This filament appears to overcome concerns that both flexible and nylon materials are difficult to use.
    • With the right settings and adhesion hygiene, this material appears to yield consistent, quality prints.
  • NOTE: this filament required 2 coats of Elmer glue stick on Blue Painter’s tape applied over a heated bed, using the max range of bed and nozzle heat settings
  • Filament size consistency was excellent.
  • Curling was observed with only 1 coat of glue stick and was also seen after print removal when the bed was still warm.
    • It is recommended that the bed be allowed to cool before removal to mitigate curling after print completion.
  • The best testing outcomes were observed at the highest temperatures settings (235C -nozzle, 60C- bed) and using the speed (50mm/s) that the manufacture provided. No guidance was given for retraction, which we found we needed to double or standard setting in order to eliminate stringing across lettering.
  • The unboxing experience was well done and the recommendation sheet was very useful. 
    • No date stamp for production was listed, however a batch number was provided for traceability.
    • Manufacturer recommended settings were easily referenced on the enclosed documentation.
IMG_2510

RECCOMENDATIONS:

  • This filament is extremely impressive and more than exceeded expectations due to past expereinces working with nylons and flexible materials.
  • Upon review, we would highly recommend that larger, more complex prints be created to further investigate the potential this exotic, and much needed material provides.
IMG_2368

Want to chat? Join our forum where we have initiated a thread about our experience!

https://re3d.zendesk.com/hc/en-us/community/posts/206375086-Testing-Scorpion-Flexible-Nylon-on-Gigabot

~Happy Printing!

Samantha snabes

Blog Post Author