


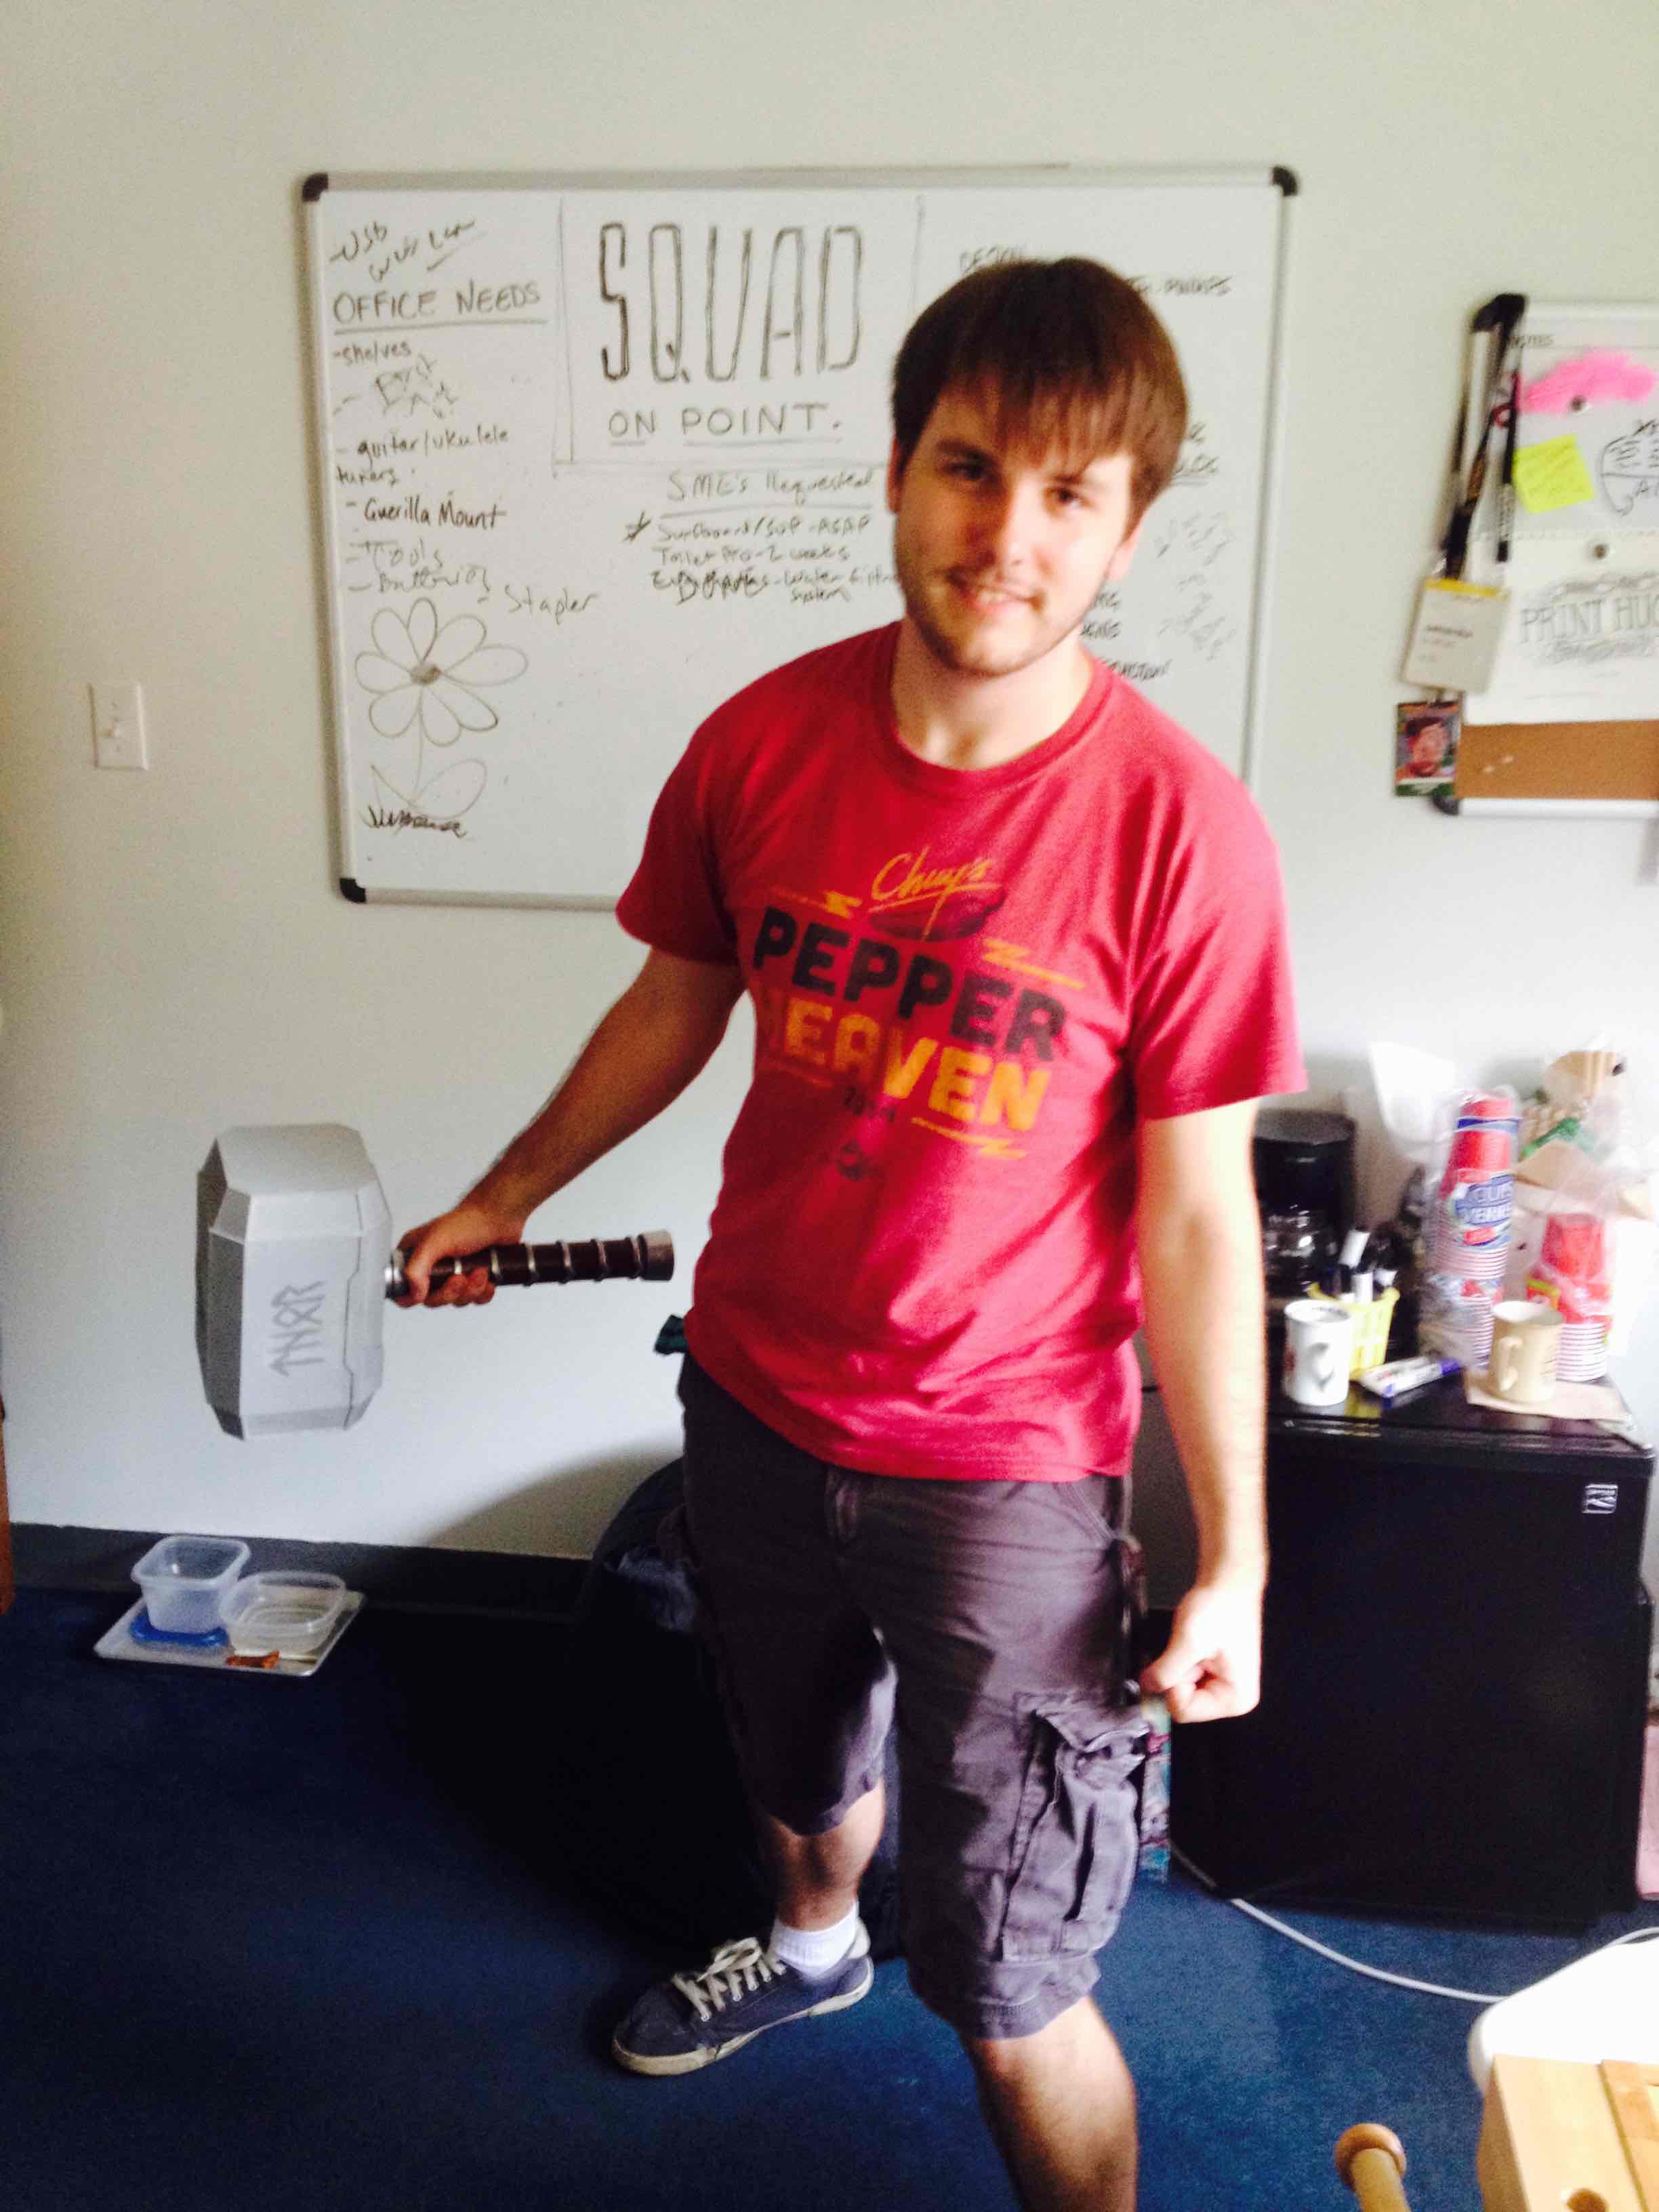
Jacob Lehmann is exploring 3D printing & cosplay during his summer internship. In his own words, he describes his design process for printing Thor’s Hammer Mjolnir
Are you tired of those pesky frost giants always ruining your day? Well fear no more! With The Thunder God’s Hammer Mjolnir, you will be able to make frost giant toast and butter them to perfection with a few extra bludgeons! Forged in the heart of a dying star or on a 3D printer (I forget which) this Hammer will always be able to tenderize your enemies with shocking ease, but only if you are worthy!
3D modeling in cosplay is great way to create large lightweight and durable props. Because 3D printing can create a shell on the outside and a mesh layer on the inside, the final product ends up being lightweight. This is great for cosplayers that want to carry around weapons that are bigger than their body all day at a convention. This also applies to full bodies of armor. 3D printing can also make higher quality props due to the ability to leverage better in precision of designs and symmetry than hand carvings or paper mache.
The Gigabot, due to its very large bed, is much better suited to printing cosplay props than a regular desktop 3D printer. Larger pieces means that there is less assembly at the end and an overall uniformity to the final model.
When I began the project I decided to make the hammer modular, meaning that it is comprised of multiple pieces that would be assembled at the end. I did this because it allows me to go back and change pieces if I want to and not have to reprint the entire hammer. This is also a good experiment for some of my later projects that will be larger than the 8 cubic feet build volume of the Gigabot. I wanted to practice with different designs as well as different methods of assembly.
My project helps to build upon and intersect with the techniques used by the artistic and inclusive cosplay community. It allows me to document the possibilities of 3D printing and provide alternative methods for creating props and wearables.
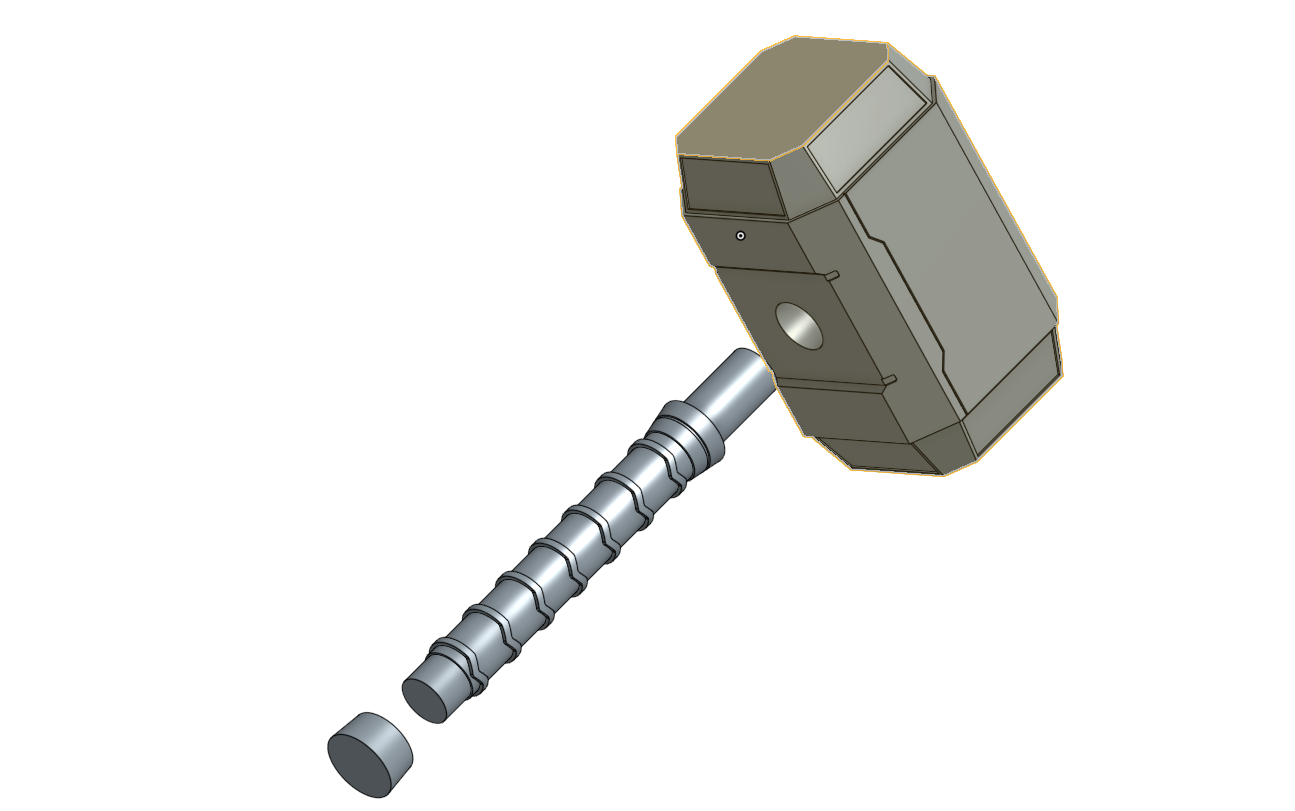
I modeled Thor’s Hammer on a Beta CAD software called Onshape. Overall it took me about 8-10 hours to complete the model with various iterations sucking up most of the time. Here are a few of the early models:
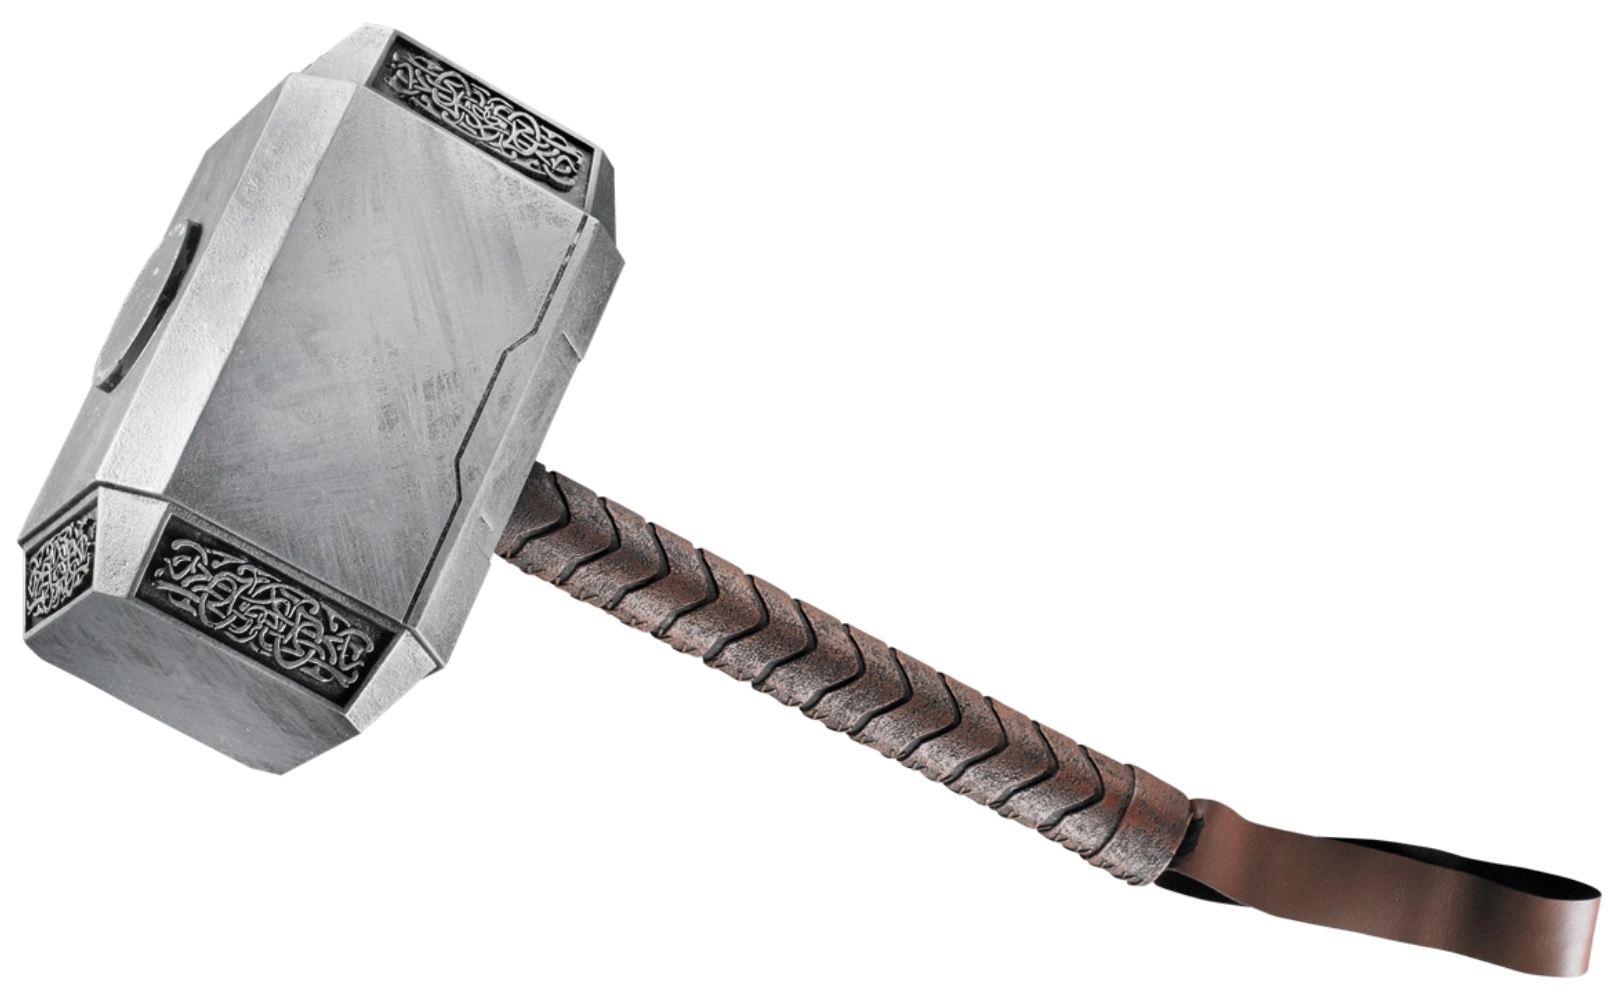
Both of these had some obvious flaws that I decided I didn’t like for the final product and I ended up sticking to the Marvel Cinematic Universe Version. The second picture shown above is one of the models where I did a lot of mirroring to save time on making the model and ended up doing a really intricate half of the model. When I mirrored the base it ended up being too long. Here is my final model:
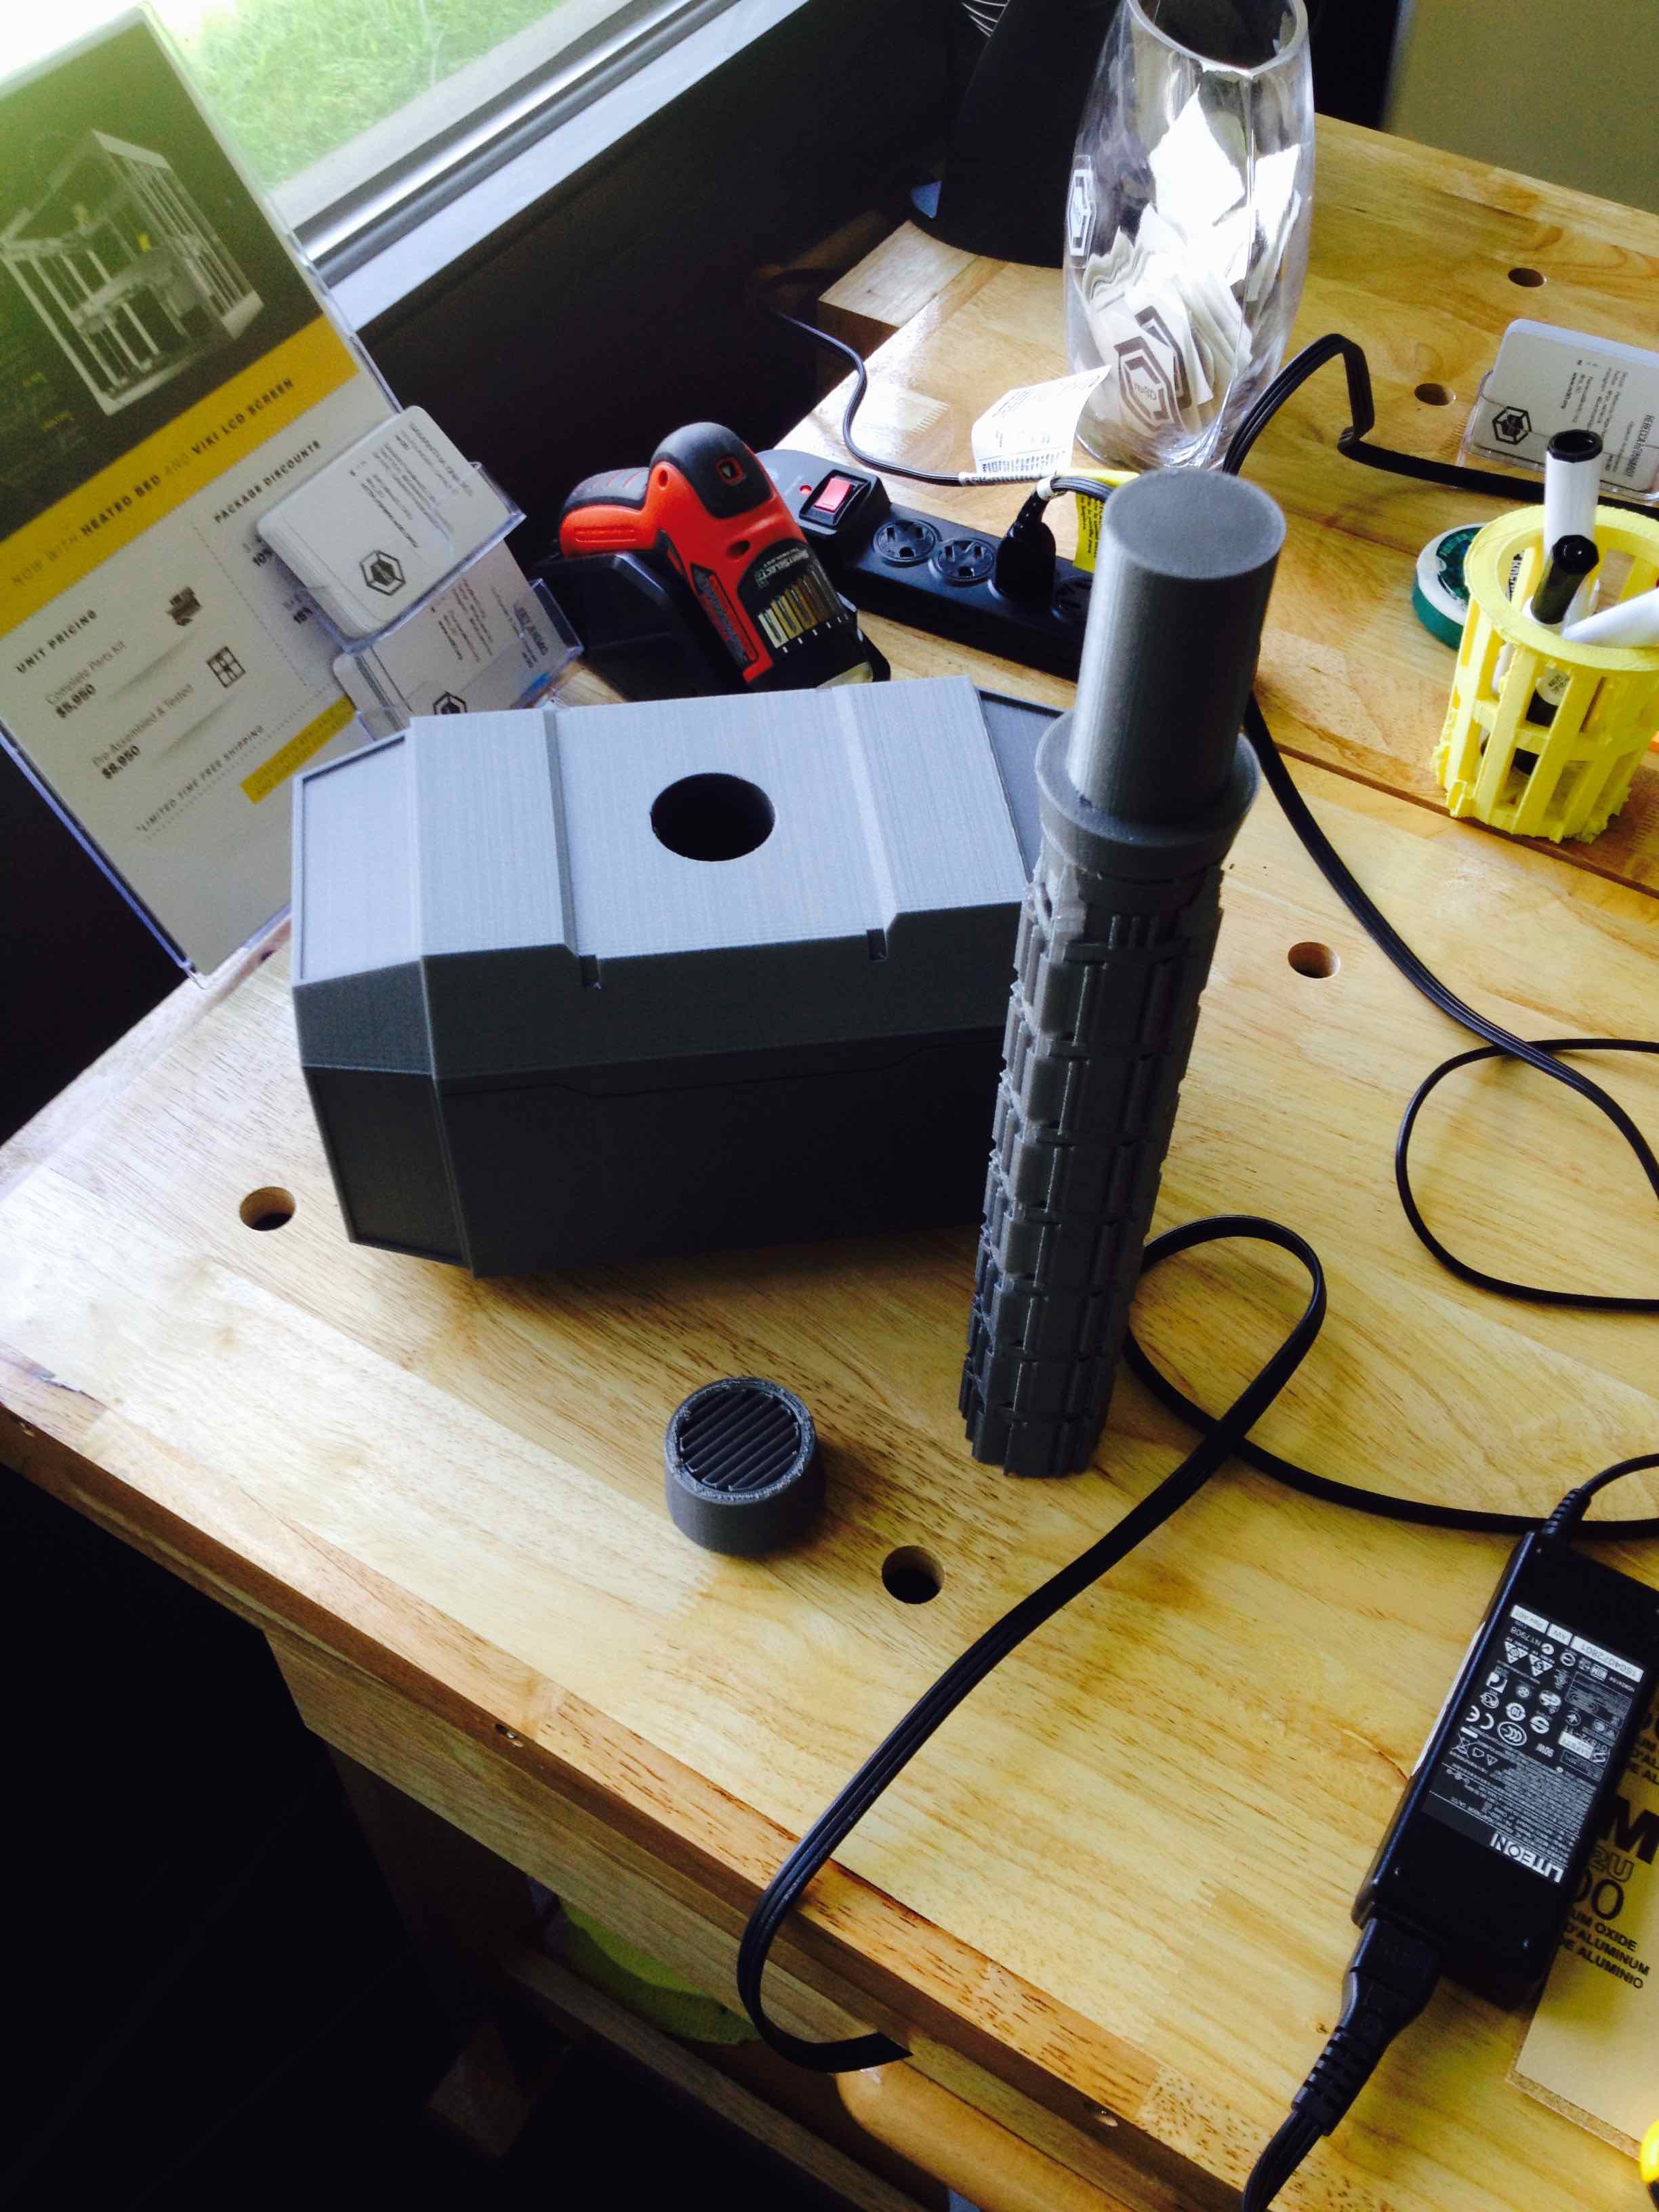
This file was then moved over to another software called Simplify3D where it was formatted for printing. All three pieces were printed on the same print on the Austin Office Gigabot and took about 18 hours to print from start to finish. I decided to print it in PLA because it is a lightweight, sturdy, and relatively cheap material. Here is what it looks like once it is printed with the supports and after I took off the support and assembled it using gorilla glue.
Then I began the post-processing to add color. I started by coating it with a layer of white acrylic paint but it took a long time and I wasn’t too happy with the result as it seemed kind of patchy and the acrylic did not stick to the PLA all that well.
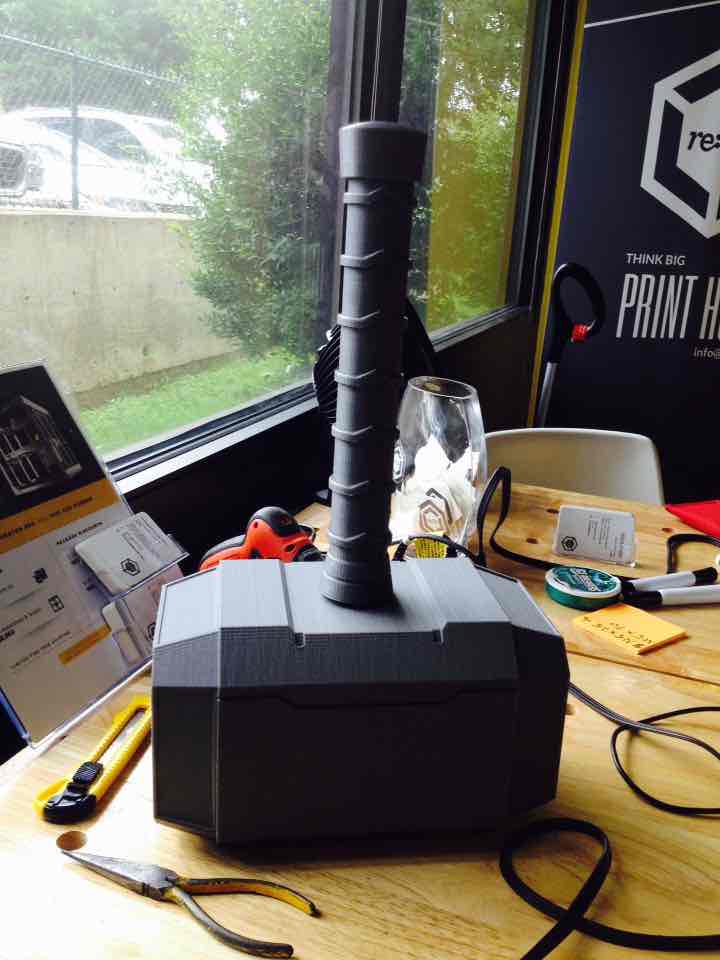
Then I decided to use a white primer spray paint to go over and cover the rest to make it more easily painted and used a chrome spray paint to paint the handle and give the ridges a metallic sheen.
This picture is slightly out of order because I ran into a problem at the end and had to repaint the handle. After the handle was chrome painted, I painted the “leather” with a burnt umbre brown acrylic paint.
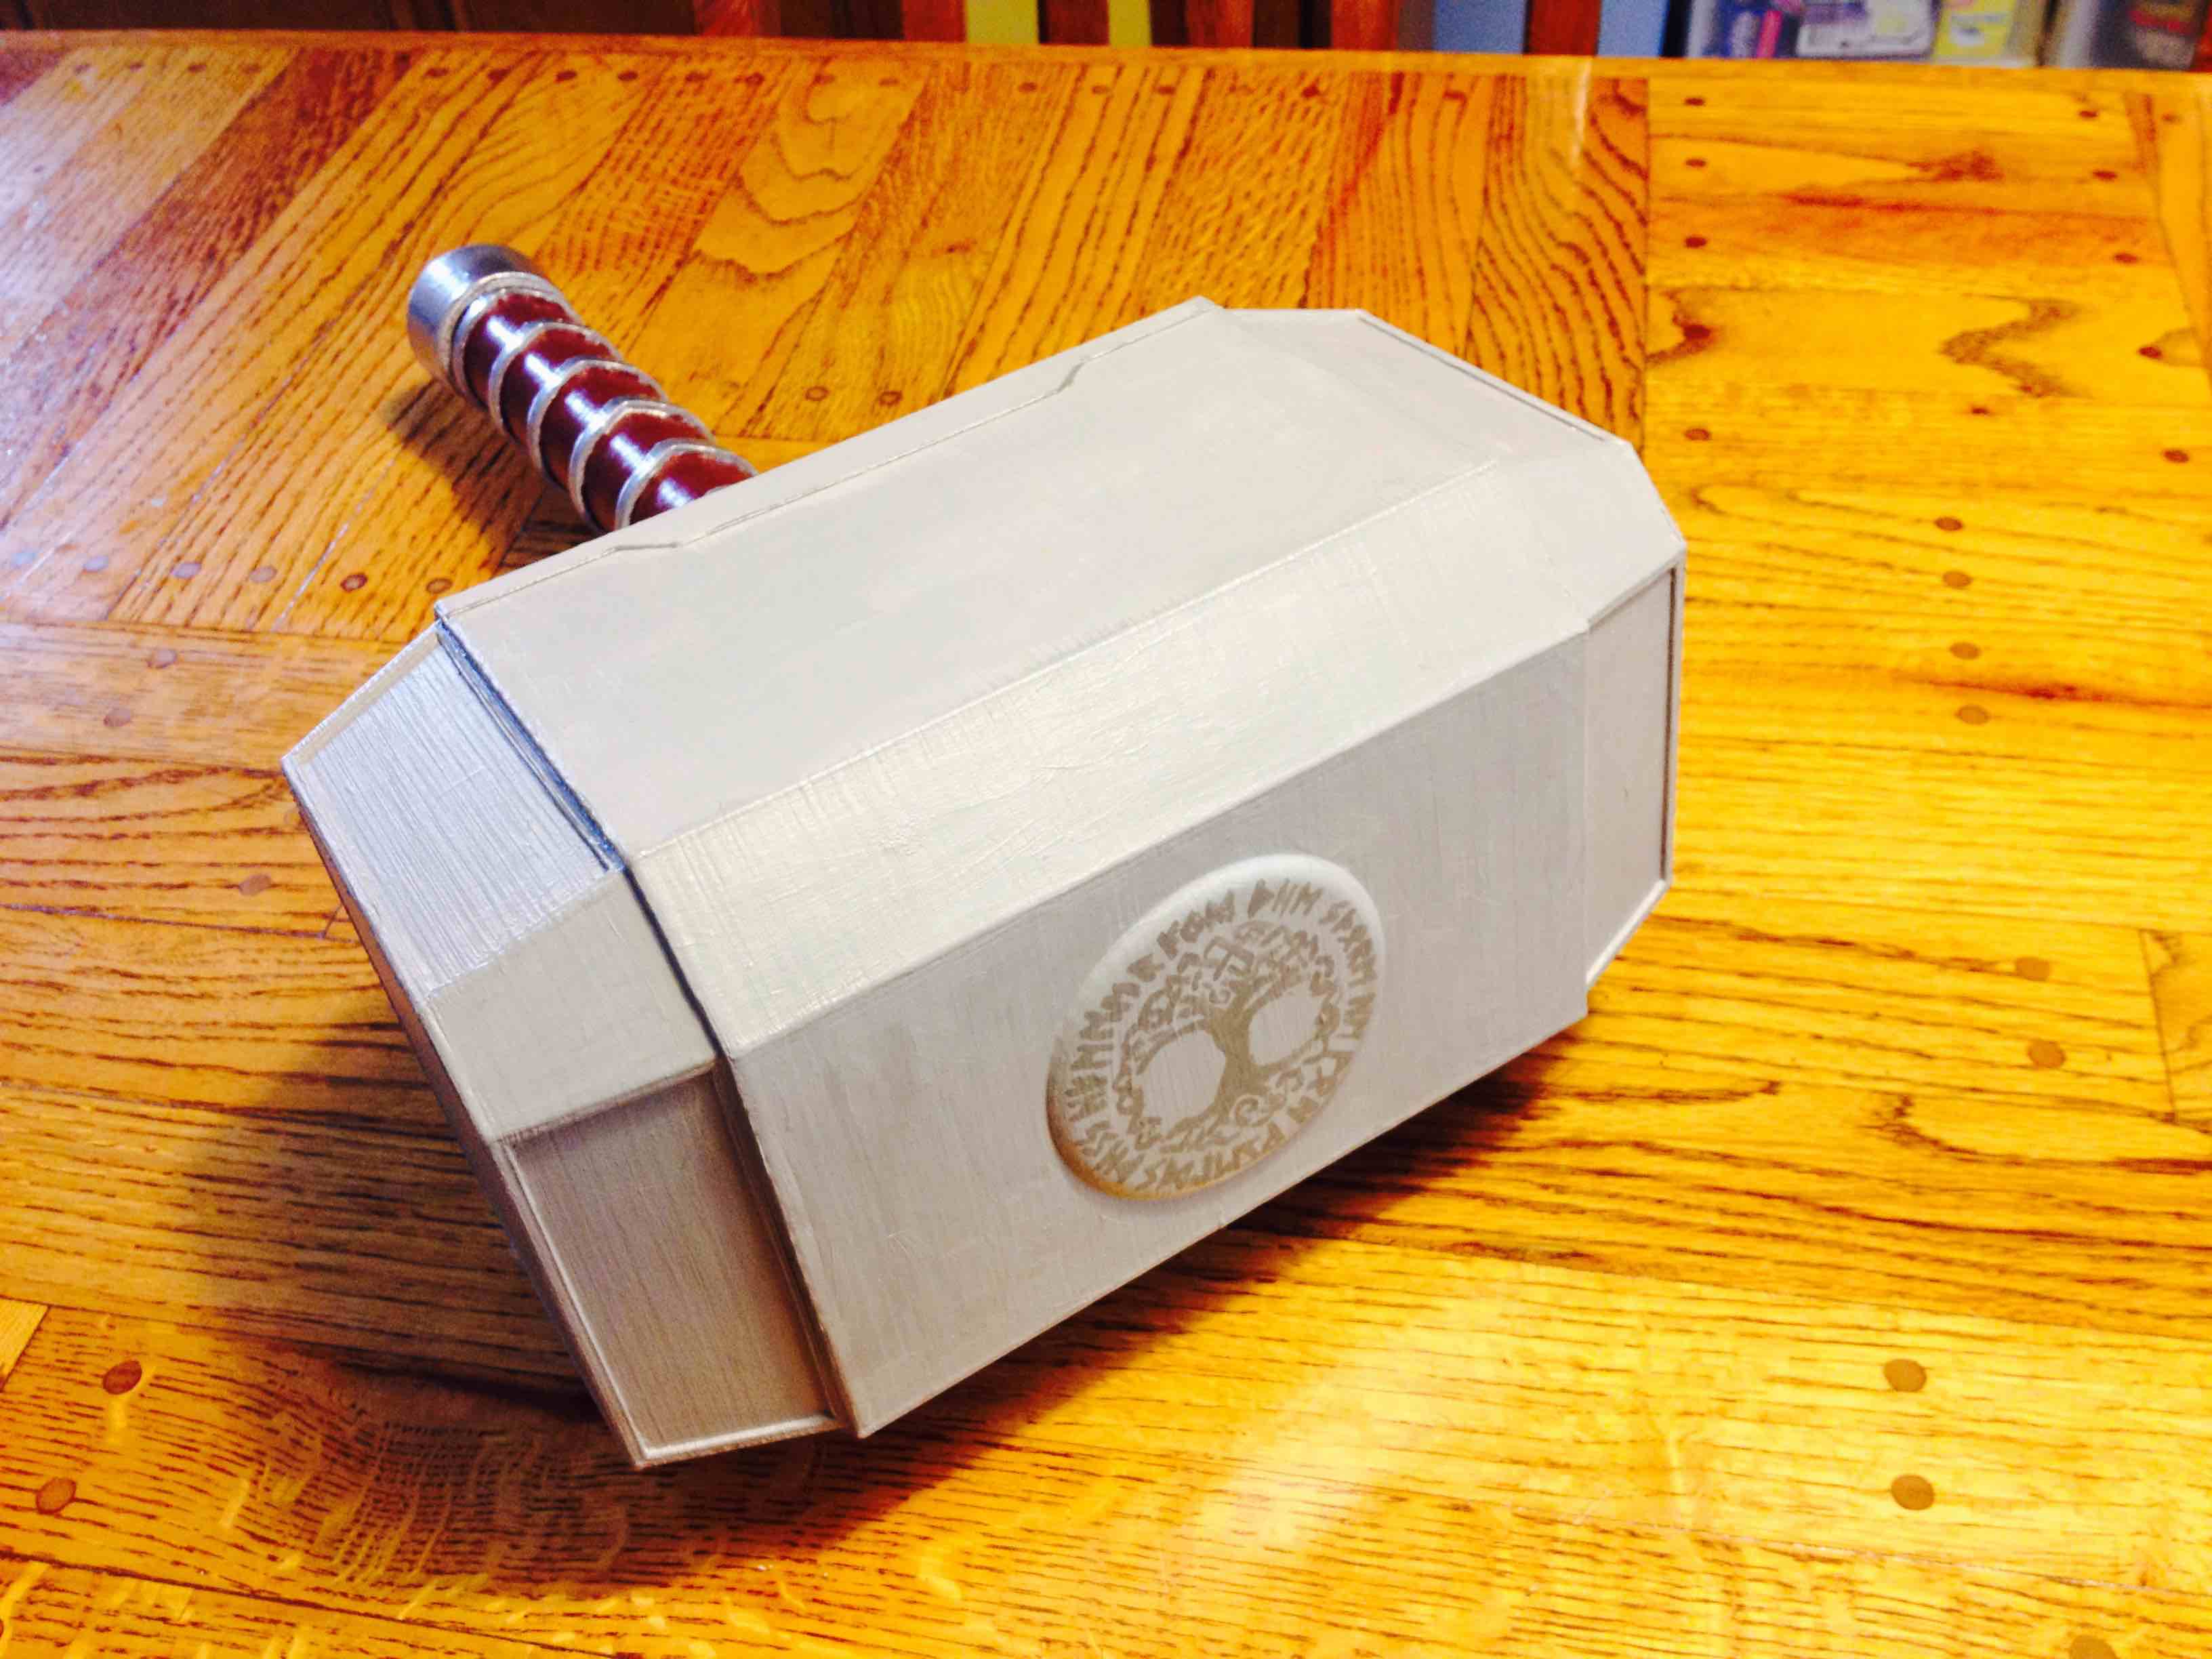
Then I finished painting the hammer with some personal touches added.
After going through the effort of glueing the pieces together, I decided it might be easier to print & post-process in one piece.
These are some of the resources I used when designing my hammer:
Jacob Lehmann
Blog Post Author
@JacobELehmann

Let’s be honest. 3D printing is hard. Not just because it builds (pun intended) upon the intersection of science & art. It’s a field that despite growing popularity, is evolving lightning fast.

For those of us at the affordable spectrum of FFF 3D printers (aka Cartesian hot glue guns), we kluge together whatever resources we have available to force a desired outcome. For me, a 3D printing newbie, this involves an impressive amount of hot glue, filament, 4 letter words, filament, sand paper, more filament, nail clippers and…..even more filament as I try, try and try again to push the limits of human-scale 3D printing.

As rather impatient non-engineer who just recently learned the difference between a Crescent and Allen Wrench, 3D printing has been quite a journey. My evenings and weekends are all too often filled with endless Internet searches in order to decipher forum lingo and to deduce how to maximize my chances of print success.
Admittedly I also have the benefit of an amazing team to give guidance and correction. Despite the advantage, I regularly make an incredible amount of mistakes as I try to be independent. I have a profound respect for those more fluent in large-scale 3D printing that model success after success online. However, I’m finding I learn more from the fracasos I inspire at least a couple times a week while currently supervising three Gigabots running 24/7.

So, in the sprit of transparency, and urging of my Coaching Fellowship Mentor Monica Phillips, I’ve begun to document my failures. My hope is that perhaps that these confessions help another amateur or, at least give my teammates & other lovers of additive manufacturing some comic relief.
Here’s the first of the series. If you’ll excuse the vertical video and amateur filming, we’ll do our best to post one a week to our What Not To Do YouTube Playlist, and perhaps coerce some other members of our team & community to share their laughs, tears, and lessons learned as we work together to take 3D printing to new dimensions.
~ High Five
Samantha Snabes
Blog Post Author
samantha@re3d.org
@samanthasnabes

Akshay Prakash is designing and 3D printing a full-sized, functional surfboard for his summer internship. In his own words, he describes his design process:
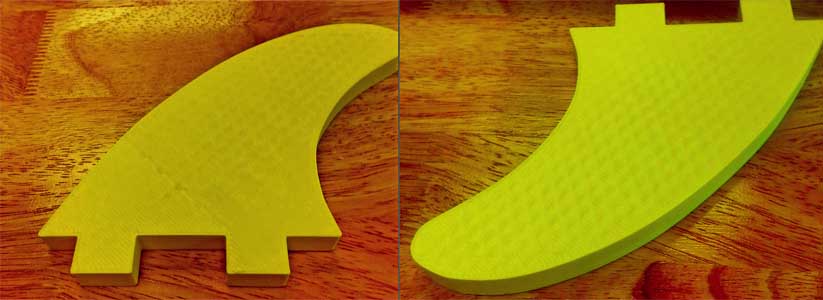
I just wanted to write this post to let you all know that the 3D printed surfboard project is going smoothly. I have finished the CAD modeling of the final product (video below) and hopefully will be printing the full scale model later in July. But for now, I am very excited to say that I have successfully finished the printing of an important part of the surfboard, the fin or skeg. The main function of the fin is to provide lateral resistance against the water such that, when turning, the tail end of the board does not slip out from underneath the surfer. In addition it allows the surfer to travel more easily in the direction in which he/she wants to move in.
Anyways, one of the concerns that I had coming into this project was the waterproof or tightness of 3D printed models, as well as their relative buoyancy when compared to the standard design of surfboards which is fiberglass encasing a foam core. What I was delighted to find out, after some tests with the fin that I had printed, was that 3D printed models with a 20% honeycomb infill with two solid layers on either side not only exhibits a similar mass to volume ratio as that of the fiberglass boards, but also is watertight without any post-production modifications.
Moreover, this, I hope, will have somewhat of an impact on the surfing industry. The current methods being used, i.e. the fiberglass and foam surfboards, often result in a large amount of harmful waste that is detrimental to the environment, whereas with 3D printing there is minimal waste, as you are only making the parts that you need, and in addition any excess can be burned off cleanly thanks to the properties of PLA. Furthermore, 3D printing paves the way for new levels of customization and experimentation allowing anyone with access to a 3D printer to design and implement their own fin, strap mount, or any other part they desire to alter based on their own wants and experiences.
Please share any suggestions for improvement!
akshay prakash
Blog Post Author
@akshay_1prakash

Pranathi Peri is developing a set of 3D printed, playable musical instruments for her summer internship. In her own words, she describes her design process:
When I was 5 years old, I remember walking into the music store, and immediately seeing hundreds of different instruments that were all foreign to me at the time. I had learnt a bit about music Here before visiting the music store but I didn’t have much knowledge about pianos. My Mother talked to the manager about purchasing a piano, while I explored all of the different instruments, getting a feel for each one individually. In that moment, I decided that instruments were something that I really found a natural passion for. This is the reason why I now play not only the piano, but also the guitar, and violin, and am self-taught in various other instruments as well. For this reason, I jumped at the opportunity to 3D print instruments.
As I explored the idea of designing my first 3D printed instrument, I had many questions and doubts. How do I alter the size to compensate for the material? Will the characteristics of a normally constructed instrument translate directly to that of a 3D printed instrument? Would it even work?
I took all of those questions into consideration, and through extensive research, I decided to design and print the most simple, straight forward instrument possible: a recorder.
Recorders date back to the early 18th century, and are still used today in elementary schools all over the nation. Do you remember playing “Hot Cross Buns” and “Mary Had a Little Lamb” on that small plastic flute? There’s your classic recorder. Traditional medieval and baroque recorders are carved out of wood by a skilled luthier, but are now mass produced in factories, usually being made out of a plastic alloy. 3D printing an instrument, is in a way, a bridge between traditional production, and factory production. It allows for the precision and quality produced by a luthier to be expressed, while truncating the large time and labor-intensive factors that factory production targets.
I looked at how the acoustics transmitted inside the recorder, and how various holes produced different tones, and decided that I would mesh these characteristics with that of a whistle. I was also inspired by the recorder design of Cymon on thingiverse.com. (http://www.thingiverse.com/thing:12301)
The final product that I created, is a combination of a recorder, folk whistle, and flute. Its tones and overall shape come from the recorder, the fact that it’s produced in one piece only (thanks to the GigaBot) and its various hole sizes are derived from the folk whistle, and its long, slender form, originates from the flute.
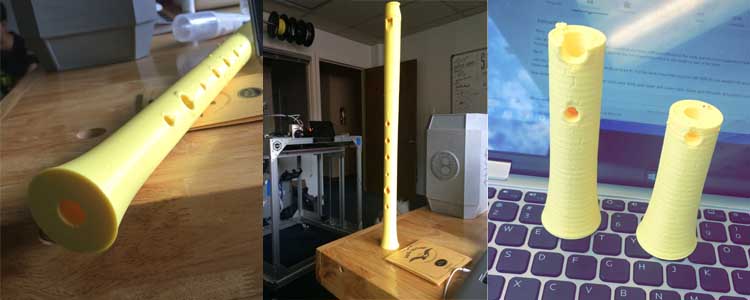
It works fairly well, being able to play “Hot Cross Buns,” and “Jingle Bells,” but with a few small upgrades and changes, it will be able to play louder, produce a more clear tone, and have a wider range of tone, as opposed to the more muffled, and slightly flat tone it produces now.
3D printing instruments like recorders, violins, guitars, and other instruments can be very helpful to our musical society. It allows for instruments that must be created one at a time by skilled luthiers, to be created by these precise 3D printers, while still being able to produce the same great sound. The amount of potential associated with the ability to 3D print instruments at home is unmeasurable. Not only does it reduce the amount of time taken to produce, (being built by a luthier versus being 3D printed) but it also opens the doors to a revolution in instrument material. Materials that could not be used by a luthier to make an instrument could be integrated into a 3D printer to create new, unique sounds that a traditionally produced instrument is not capable of making.
I learned, while creating this recorder, that there are many different variables and outside factors that go into making an instrument. Rather than tackling them all at once, it is both easier, and more efficient to start with implementing the most basic characteristics, and then working your way up.
Because of these lessons I learned, I’ve ventured into designing and printing a ukulele more confidently, and having less questions and doubts than before. 🙂
Pranathi’s Research Links:
I’d love to hear your feedback!
Pranathi peri
Blog Post Author
@PranathiPeri

If you’re a 3D Printing news junkie like me, you’ve probably noticed the upswing in articles about prints inspired by comic books. What you may not know is that the act of dressing up as your favorite comic book character for fun has an official name: cosplay. Cosplay is not a new phenomenon by any means. People have been cosplaying for years, if not decades. Cosplay is a huge part of nerd culture, and when I considered the amount of overlap between the geek-o-sphere and the maker movement, I realized it was only a matter of time before I saw these kinds of prints gaining serious traction on my favorite 3D printing industry publications.

Having identified this community as a potential sales vertical, the re:3D team ran a booth at Houston’s Comicpalooza to test the waters. Being moderately tapped into the nerd network, I felt I knew what to expect to see at Comicpalooza. However, I noticed that many of my coworkers in the hardware world subscribe to the world of non-fiction, and therefore this culture rooted in fantasy and fiction was foreign to them.
After hearing the same questions over and over all weekend– what is cosplay? why do people dress up like this? why are WE at a comic convention?— I felt some education was in order, not only for my own team, but for the benefit of any industry professionals who might be reading our blog.
This post will hopefully serve as a short guide to those baffled by cosplay and how the community is using 3D printing technology.
Time for some concrete definitions.
Cosplay happens when a fan dresses up as a character from a comic book, anime, manga, sci-fi or fantasy series. If you’re looking for a technical definition, the best I found online was “The act of gathering raw and ready-made materials to create a 3D object from a 2D reference.” As an article of speech, cosplay can act as both a noun and a verb:
Literally, the word stands for “costume play,” which should give you an idea of the whimsical nature of this hobby. But don’t misunderstand, people take their cosplays seriously. Authenticity is highly important in cosplay. If you can accurately capture and emulate the appearance of a character, it shows you are truly knowledgeable about your fandom. Often, a fan will work on a single costume for months, just to get every detail exactly right. A good cosplayer will never debut their costume before they feel it is “ready” to be seen by other fans. For this reason, the highest compliment you can pay a cosplayer is to ask them one simple question: “Do you mind posing for a photograph for my blog?” The answer will always be, “Of course!” Cosplays are meant to be shared.

The same appreciation that drives a sports fan to wear a jersey to a live match drives a fantasy fan to cosplay. At nearly any celebration of a fandom (such as a midnight movie premier or a viewing party for the premier of a serialized television show) you will see people in cosplay. The idea is to embody your favorite character to show appreciation or deep knowledge of a series. There is, of course, a bit of escapism at play– what Star Wars fan wouldn’t want to be Han Solo for a day?
What’s more, the cosplayer relishes the challenge of creating something seemingly impossible—to recreate a real, human representation of a fictional character. A fair amount of craft and skill goes into cosplay. Many cosplayers are also full-time artists and consider cosplay a legitimate form of artistic expression.

However, at the end of the day, I believe people are drawn to cosplay and Comic Conventions because of the community. A sense of acceptance and camaraderie is found amongst cosplayers on the Comic Con floor. It’s nerds admiring and appreciating the dedication of other nerds. You don’t get a sense of cliques– the Trekies don’t butt heads with the Star Wars devotees. Comic Conventions are celebrations of nerd culture. You go to meet friends, see celebrities, purchase collectibles, attend panels, and admire cosplay craftsmanship.
In case it hasn’t been stressed enough, I’ll say it again: authenticity is key in a good cosplay. Because one can achieve a high level of detail and precision in CAD designs, and because many fantasy characters are born from graphic design anyway (i.e. video games, anime, cartoons), 3D printing becomes a very attractive option to the serious cosplayer looking to make a legit cosplay. Another benefit of 3D printing is that you can tinker with designs until you achieve custom fit when it comes to armor and props. What’s more, 3D printing filament is sometimes more affordable per cubic centimeter than traditional cosplay materials.
And, much to my relief, Comicpalooza attendees understood our presence in their space. I couldn’t tell you how many people took one look and Gigabot and said “Wow! You could make great costumes with that thing!” Something that blows my mind about the articles I referenced earlier is that those human-sized prints were made on printers with a relatively small build envelope when compared to Gigabot. The cosplay community recognizes the advantages of Gigabot’s massive build envelope, and I hope they’ll be quick to adopt our technology.
The long and short of it is that 3D printed costumes and props are accurate, affordable, and increasingly common sights on the ComicCon event floor. Though it’s still a bit too early to tell, I think I can say that re:3D’s first foray into the cosplay community was a success. As I have seen our friends in the community sponsor cosplay artists and ask them to appear on their behalf at industry events, I wouldn’t be surprised if we began to see them appear alongside us at nerd culture events. We have all but finalized a booth at a second ComicCon in Austin this coming August, so stay tuned for more details on that as it is finalized. If you missed out on our giveaways at Comicpalooza, this could be your chance to enter to win again!

If you would like to chat about 3D printing and cosplay, find me on twitter @rpr_rebecca. I’d love to explore this more with you!
Rebecca Reinhardt
Blog Post Author

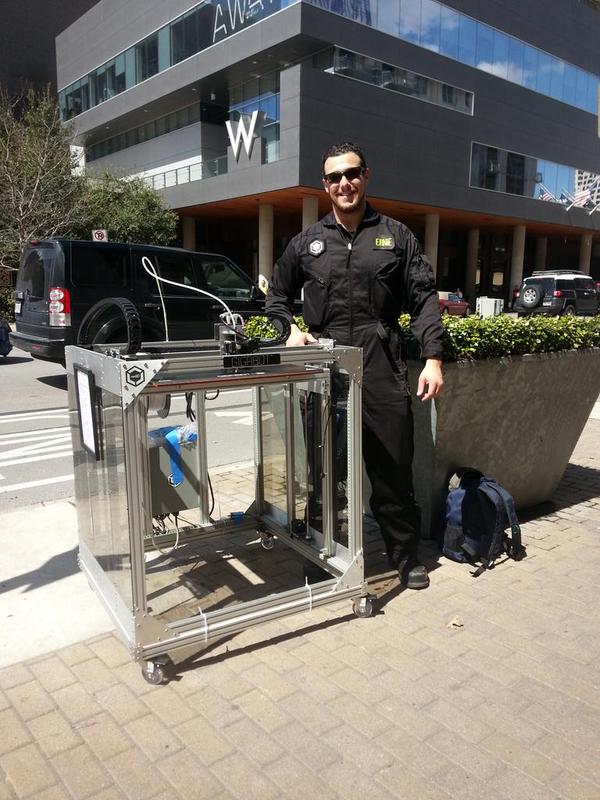
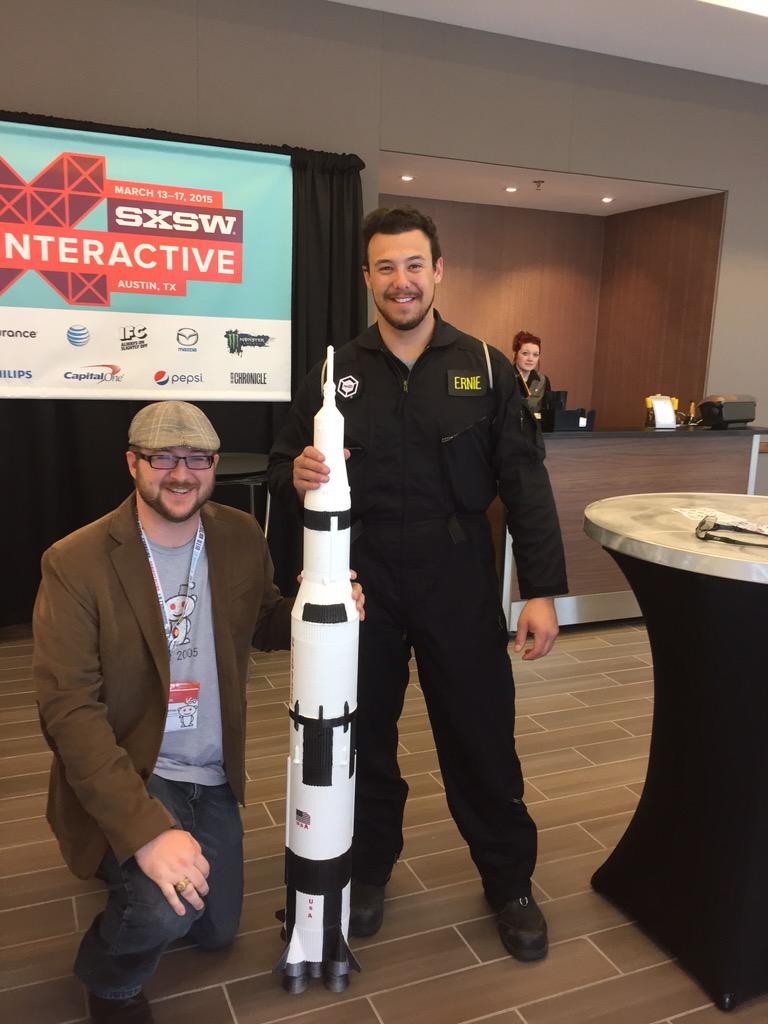
If you were out and about during SXSW Interactive, it’s possible you saw two flightsuited people running around downtown Austin with a nearly 5’ tall model of the seminal Saturn V, the rocket used in the Apollo program to bring human beings to the moon. We turned a lot of heads while toting this print around, which inspired us to share the story of how this Saturn V rocket came to be.
This was a print intended for the July 2014 contest on the r/3Dprinting subreddit. To enter the contest, all someone had to do was print and assemble the rocket and upload a photo of their print to the sub. There were no requirements for size, material or layer height– that’s where the entrant was free to exercise some creativity.
The model, designed by Real Absuridity, was really cool. It was realistic, detailed, yet tricky in that it had snap-together pieces that required no glue. Considering our roots at NASA, the print struck a chord with our Houston team, and they decided to give it a go.
Our rocket was printed in 5 parts, using PLA plastic. It ended up being 58.5” tall and 8.2 lbs. Here’s a breakdown of what went into each of the 5 pieces:
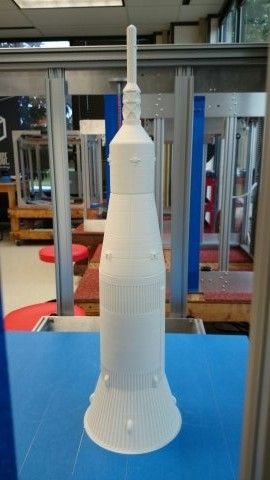
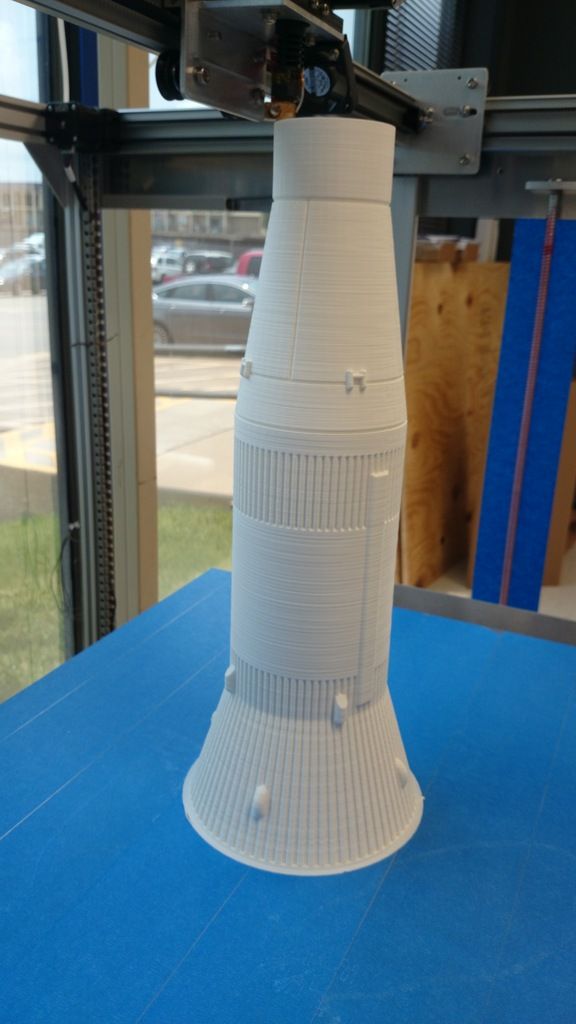
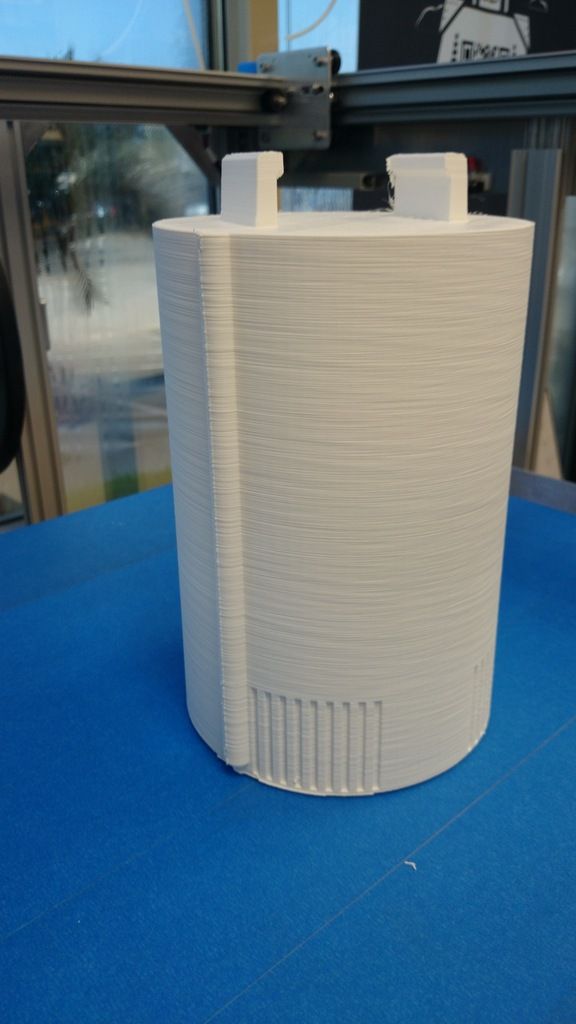
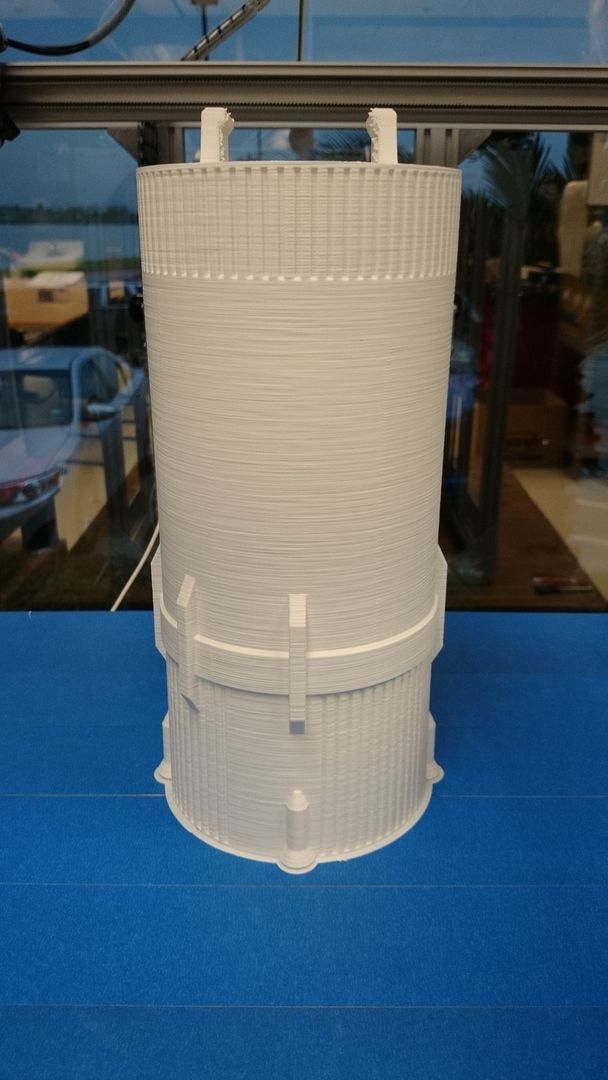
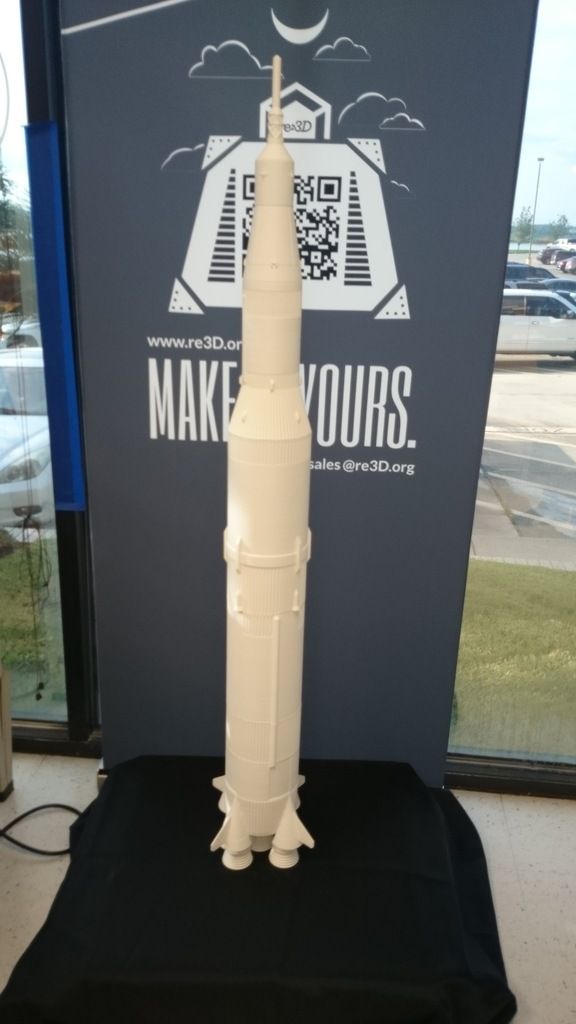
That’s a total print time of 243 hours and 40 minutes! The print went off without a hitch, despite the length of the print. Lastly, the rocket was painted and decorated to look more authentic, and then we declared it finished.
We got a late start on the contest, and underestimated how long the print would take, so we finished everything after the reddit contest was over. None the less, this was a fun project, we’ll be on the look out for future contests that spark our imagination.
Thanks for reading!
Rebecca Reinhardt
Blog Post Author

Yep, the rumors are true! The next round of re:3D internship openings are live!
The summer we will have a full cadre of interns spanning design, hardware, marketing, and software. Positions range from fulfilling creative to outright crazy projects and we can’t wait to get started with our newest batch of teammates when the program kicks off June 1st.
Think you’re up for the challenge? Check out all of the positions at: www.re3d.org/careers/ and submit your application here by May 10th!
Questions? Contact: info@re3d.org

As the re:3D team wraps up and recovers from what has been an amazing South-by-Southwest experience, we wanted to provide this special update on what we did, who we met, and address some questions people had about re:3D, Gigabot and OpenGB. re:3D’s coverage at SXSW was primarily during the five days of SXSW Interactive, and came immediately after one of those “too good to pass up” speaking opportunities at the Forbes Reinventing America Summit in Chicago.
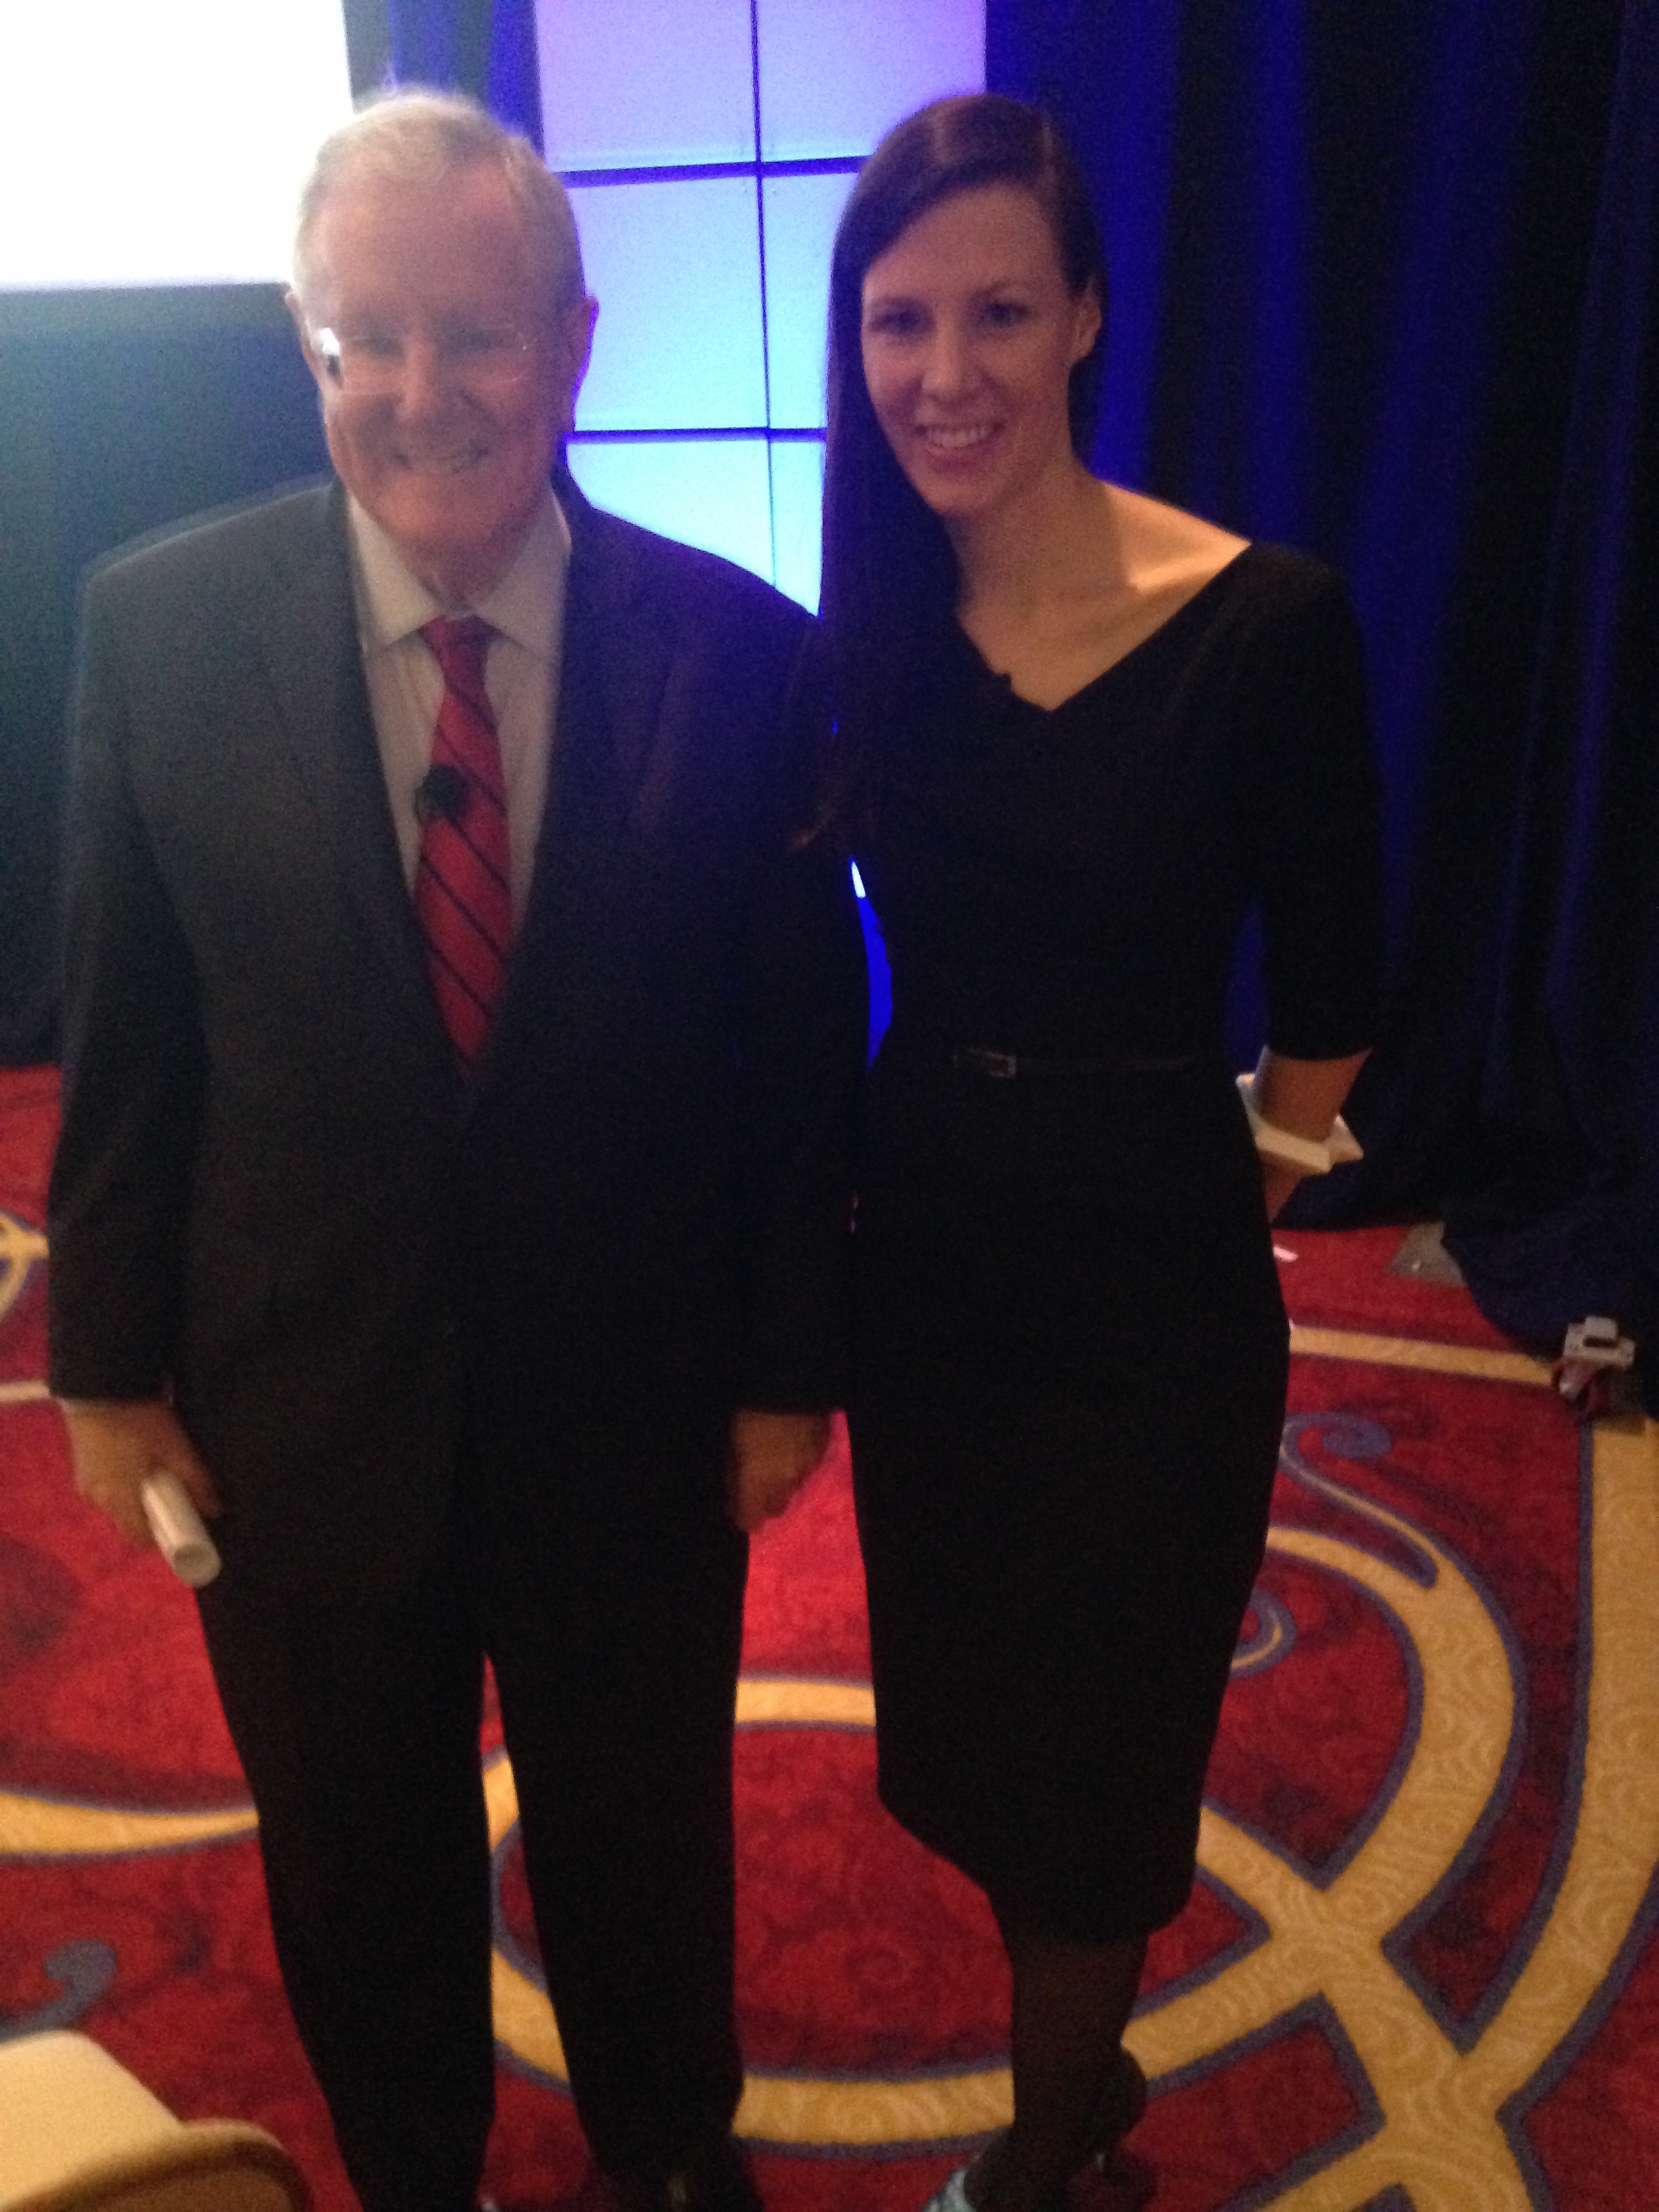
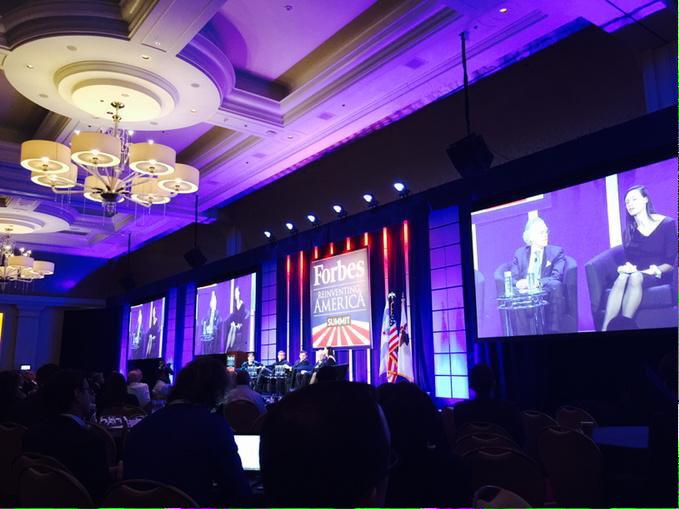
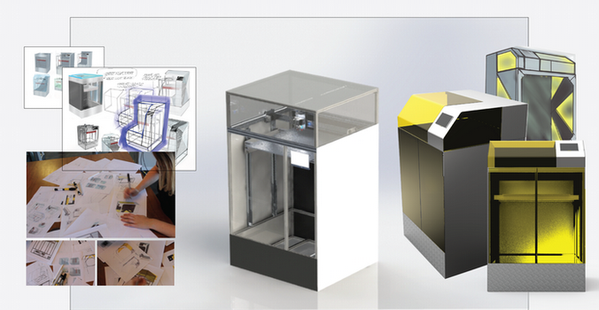
While Samantha was speaking on the Forbes panel, the rest of the team was preparing at two venues in Austin: SXSW Create, and SXSW Gaming. As a bonus we were also able to score enough of a footprint at Create to unveil our new Open Gigabot prototype, and launch our Kickstarter on the first morning of SXSW Interactive!
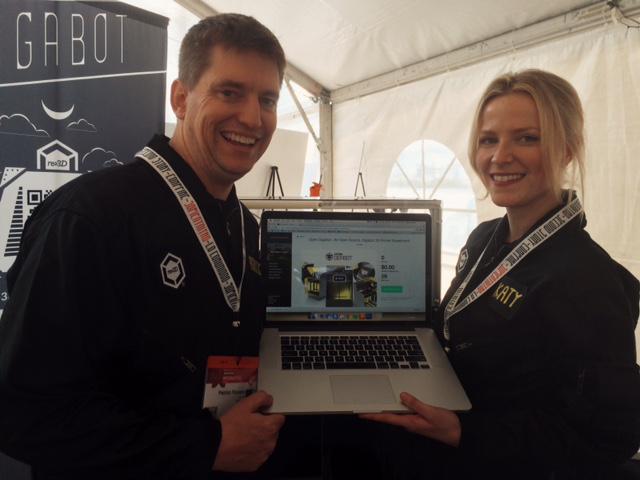
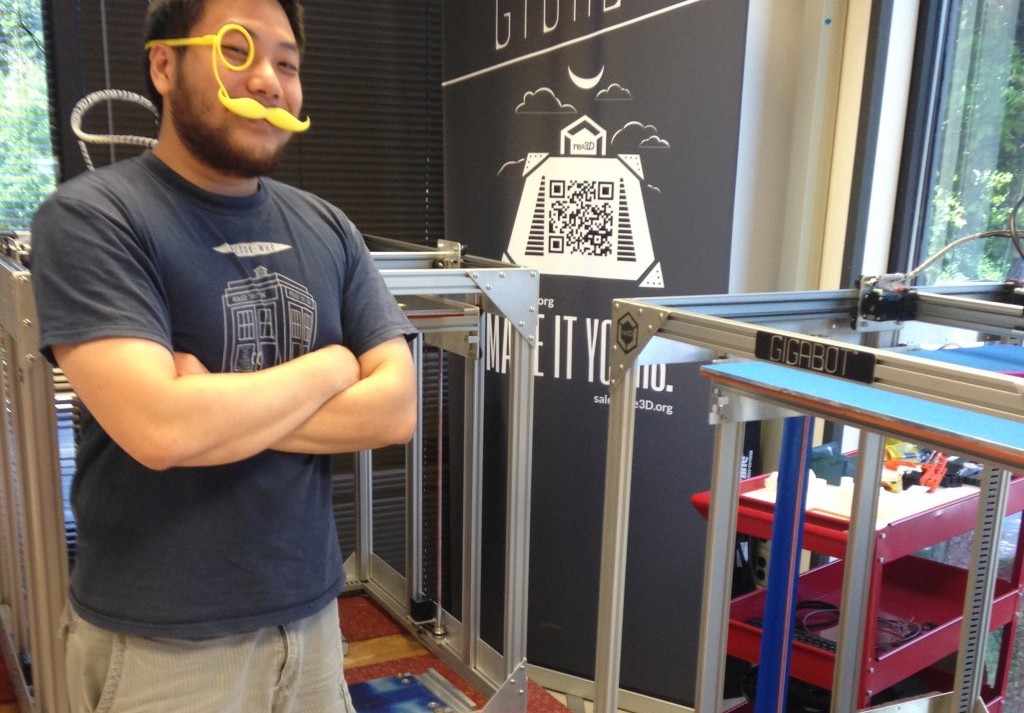
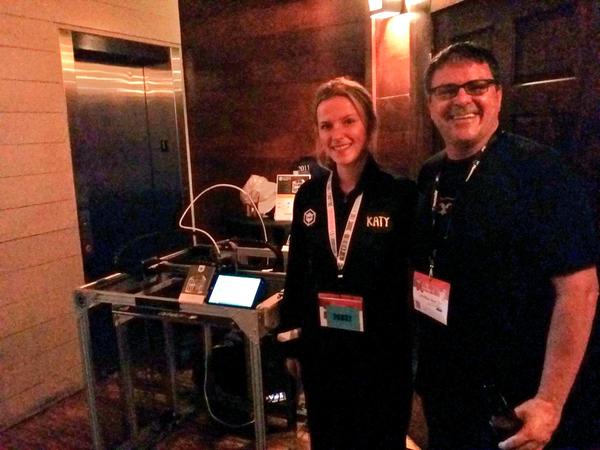
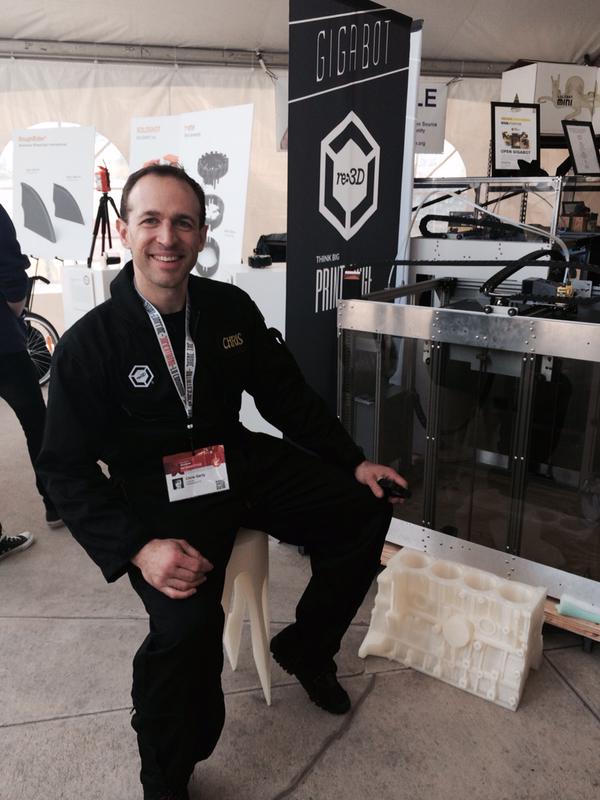
Starting with the most groundbreaking news first, after less than a week of being live, we are now halfway funded on Kickstarter for the new, experimental, Open Gigabot! The Lead Engineer for the OpenGB project, @PatrickFinucane, was on-hand to answer tons of questions, show off the touchscreen in action, and of course, lose his voice like the rest of us after 3 days of talking and sporting those swanky new re:3D flight suits. Stay tuned to the Kickstarter page, as Patrick and the OpenGB team will personally answer some questions that came up about the design process, delivery, and our unique approach to the alpha/beta testing program in the FAQ section and weekly updates.
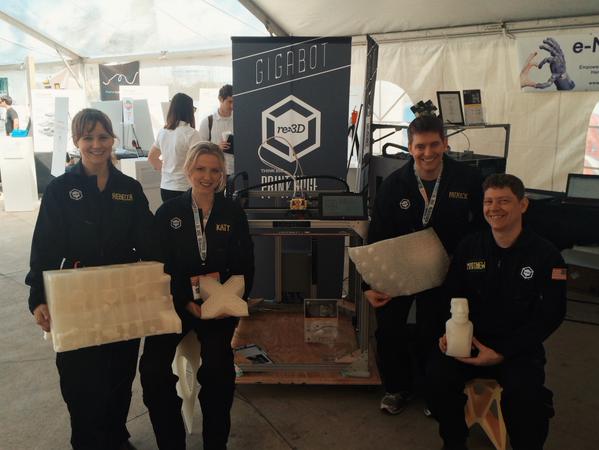
Taking a step back for a moment, you may have remembered that Gigabot was showcased at SXSW Create for the first time last year. We printed hats and swords, and mostly spread the news that we were now taking orders on our website after a successfully fulfilled Kickstarter campaign. This year was different. We were out in full force in our backyard, engaging with multiple communities in order to better understand our current and future community. In addition to the Open Gigabot Kickstarter launch, our team was invited to a very special event at SXSW Create: A Handathon, organized by the amazing folks at Hanger. Together with some other very well-accomplished 3D printing companies like Lulzbot we printed models of open sourced prosthetic hands provided by our friends at Enabling the Future to be assembled and presented to kids in need. We met some great pioneers in the prosthetic and 3D printing industries, but it was most moving to see the reaction of the attendees who might not yet have realized this great potential application of 3D printing. Open source movements have never been too shy to tackle big problems in the world, and this is no exception. We’re proud to help this movement grow and evolve with the help of the medical industry around the world.
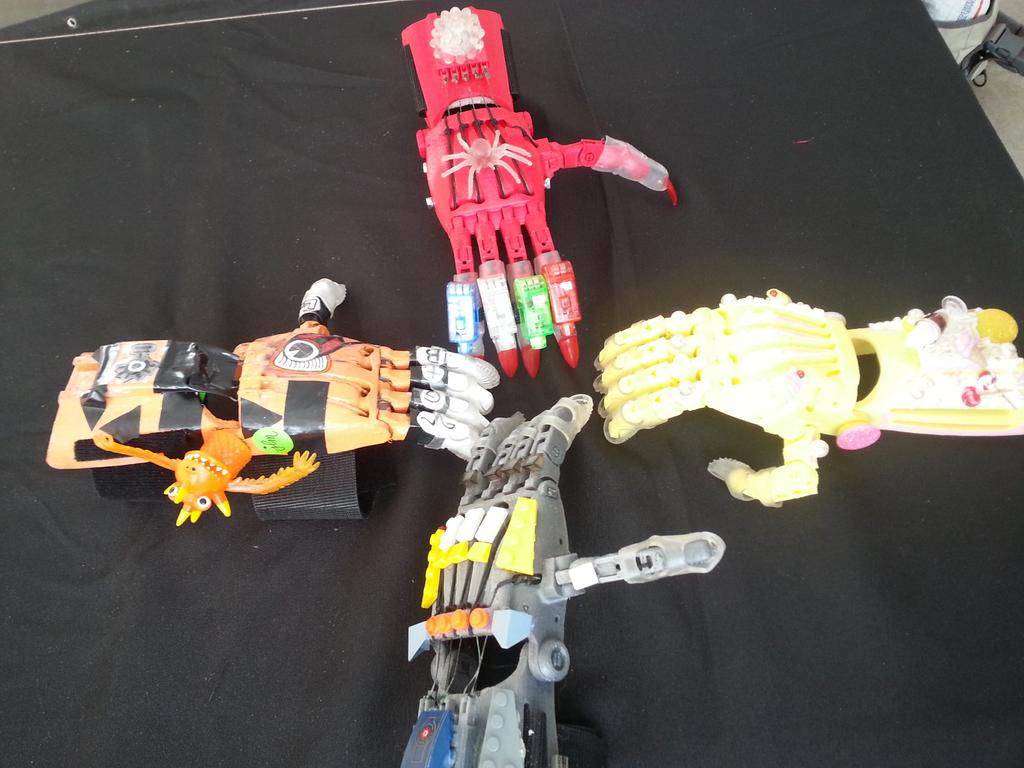
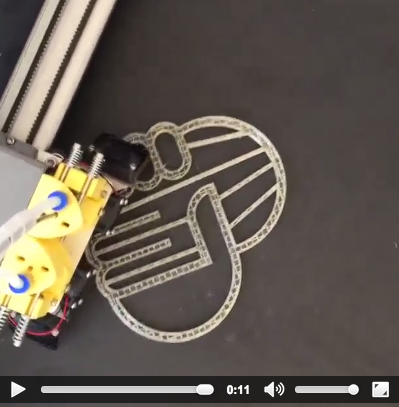
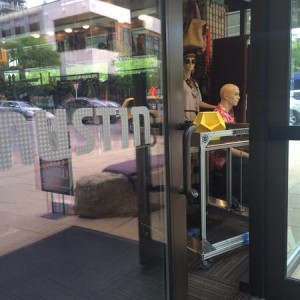
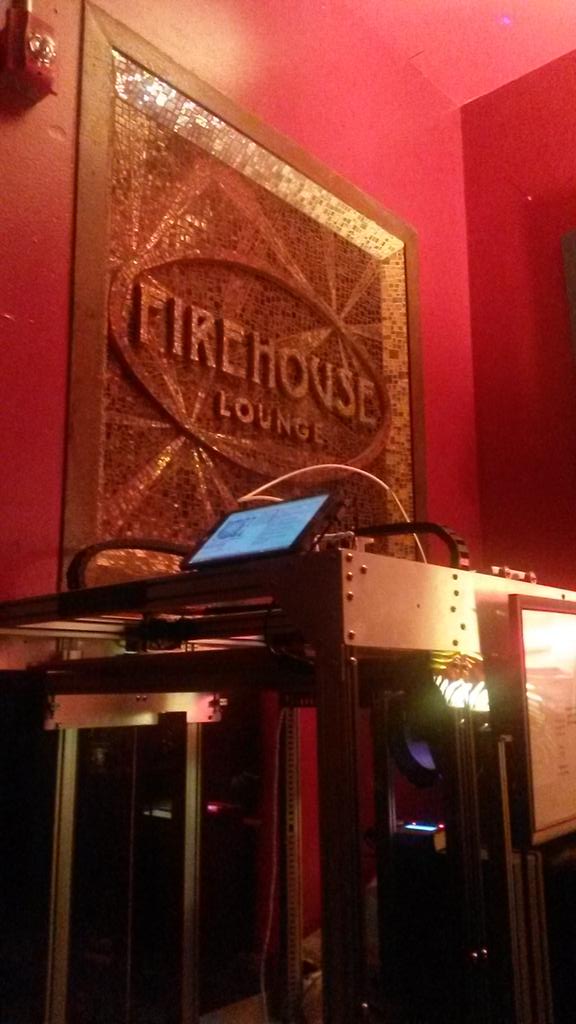
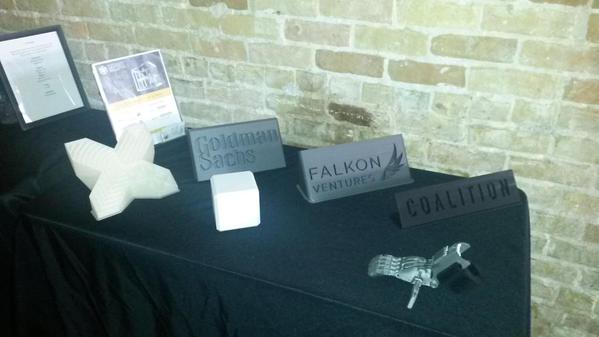
Leading up to SXSW Interactive, we also had the opportunity to print some hands with our friends at Austin Rocks and Toy Joy, who added some local flair to the prints. Gigabot loves showing off in the store front window and generating pre post SXSW buzz. With a half a dozen hands complete, Gigabot took a stroll down Sixth Street to join our Capital Factory sister company, OwnLocal, as well as the Knight Foundation for the 2nd annual News and Schmooze, a mixer for media startups, investors, and companies at Firehouse Lounge. Some great conversations around social impact were generated and we were thrilled to cross paths with our friends at 3D Hubs. The next day Gigabot had the chance to hang out at Speakeasy with our friends at Falkon Ventures, Goldman Sachs, and Collision.
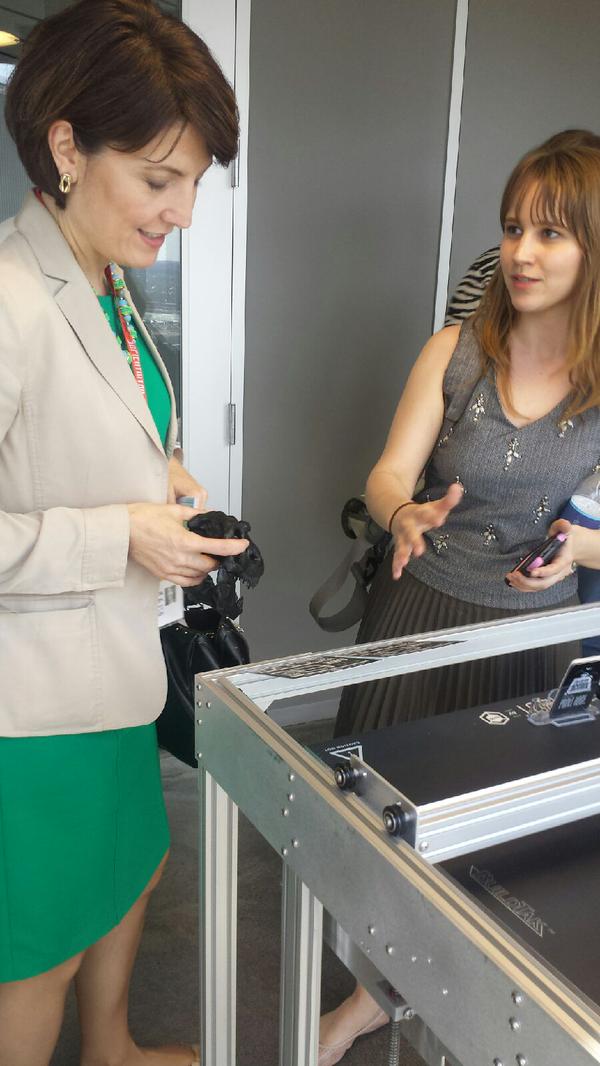
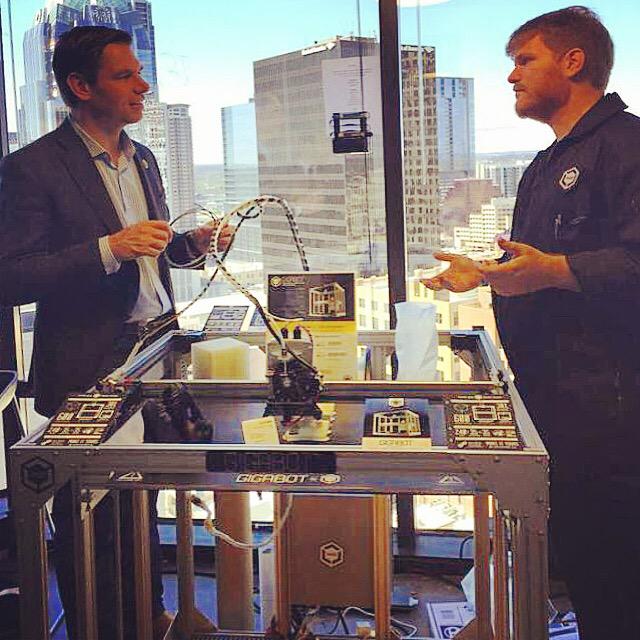
Just two blocks away, the Capital Factory Gigabot was hard at work creating bottle openers live at the Google Next Wave for Entrepreneurs VIP lounge. Todd did an amazing job interacting with influencers including the Huffington Post and Rep Swalwell while Rebecca rocked a roundtable with on women in tech with Rep Morrison.

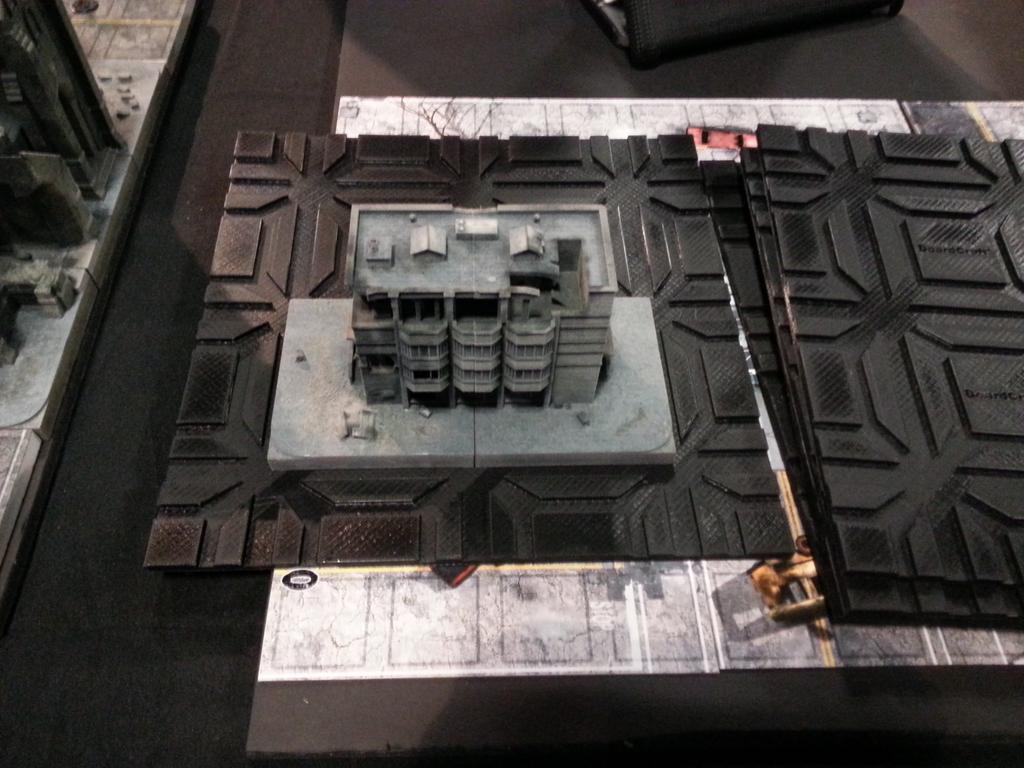
Now, let’s pick up a 12-sided die and move down the riverfront to the Palmer Events Center. Gaming at SxSW was a new community experience for us. Most of us consider ourselves familiar or even experts on certain genres of gaming, but we were blown away by the diversity of gaming experiences at the event! At SxSW Gaming, we partnered and shared a booth with Advanced Imagination, an innovative company about to release their own Kickstarter for a tabletop3D game, called Boardcraft. Our booth had a combination of a 2D version of the game, “Necro-Virus”, laser sintered models from a $100K+ machine, contrasted with models printing out live on our $9000 Gigabot – a fused deposition manufacturing (FDM) printer that could fit well in a home or local makerspace. It was really great to be exposed to the vibrant and diverse gaming community, and hopefully they enjoyed seeing the Gigabot in action with @gerty.
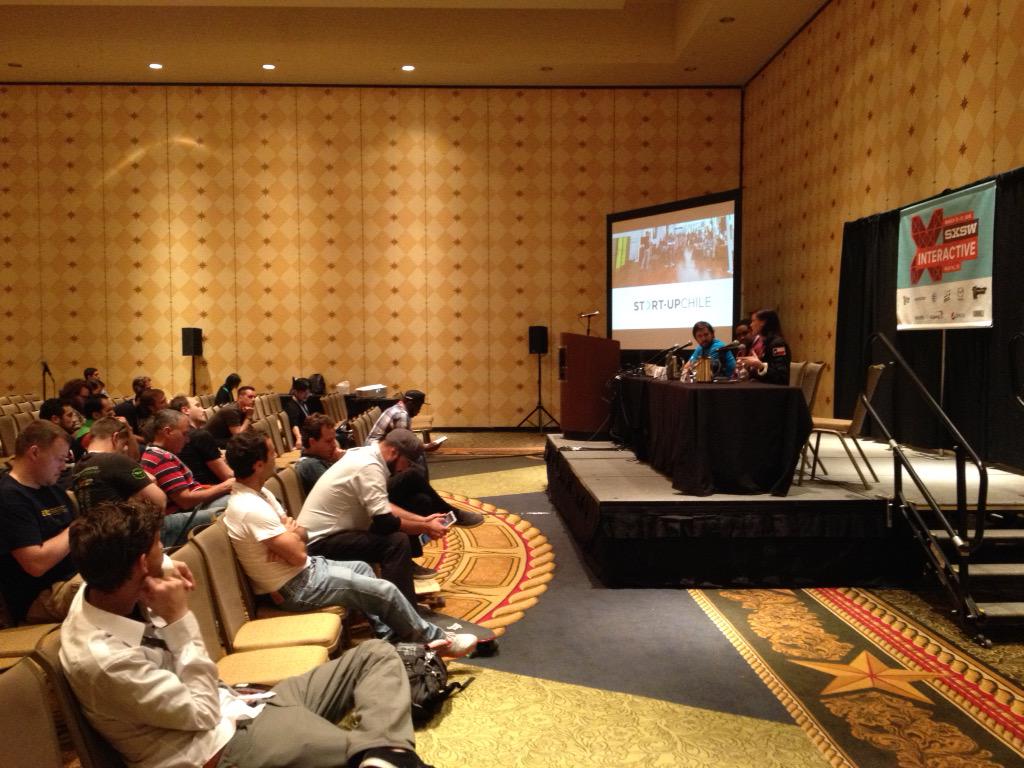
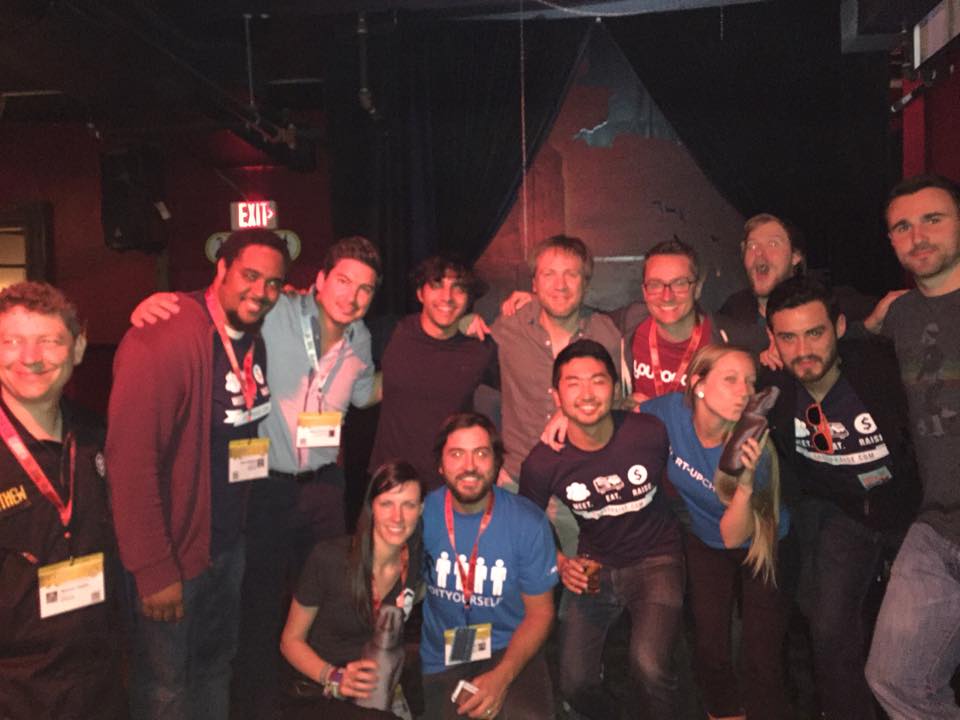
Saturday was also a big day for community engagement. In addition to engaging his fans at SXSW Create, he took time out to facilitate the SXSW 3D Printing Meetup. To hours later, @samanthasnabes shared our Start-Up Chile experience at our first panel titled “Building a Start-Up Ecosystem from Zero“. That night, we had some beers with our Chilean friends at a Start-Up Chile reunion. Along the way, Jimmy Kimmel took a selfie with some 3D printed moais from Sketchfab we gifted to our Start-Up Chile co-panelists.

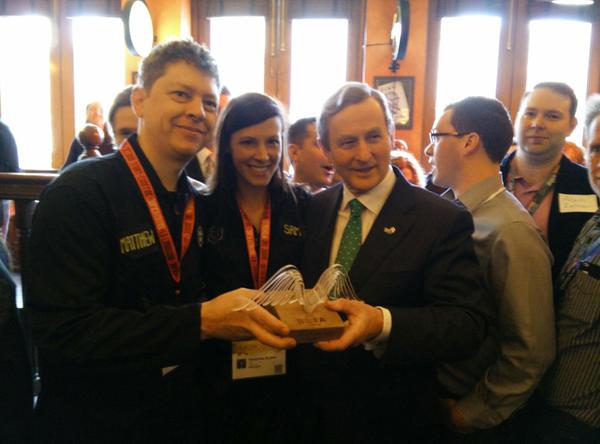
Our last special appearances didn’t include Gigabot, but did involve some big prints. On Sunday morning we were honored to attend the IDA “Business Leaders Breakfast” with Ireland’s Prime Minister to reunite post Web Summit with Enda Kelly and take another selfie on a Gigabot printed chair.
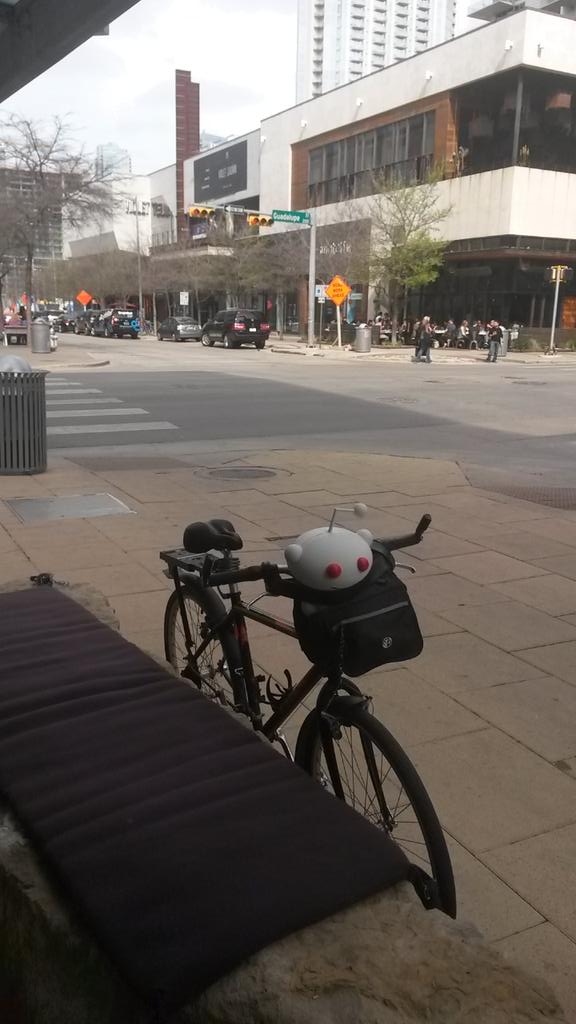
Just a few short hours later, we were out again with a 6 ft, 3D-printed Saturn IV rocket, as well as the world’s largest 3Dprinted Snoo (aka, the Reddit Alien!). Snoo was a big hit at the Reddit/ Daily Dot event, and has consequently been kidnapped in exchange for for Karma!
To wrap up the event, @katyjeremko attended the SXSW Innovation Awards on behalf of the OpenGB and our Innovative 3-DIY nomination. We didn’t win, but were thrilled to see Project Daniel | Not Impossible labs accept the well deserved award. The next day @larajeremko was at yet another award ceremony where she rocked a pitch at the Austin National Hardware Cup, and our friends at Curb Energy took first place.


Now that we have had a chance to catch a few hours sleep, we’re taking a moment to followup on the conversations we had and to capture the feedback you provided. In talking to our community, we encountered a few common questions. The most consistent questions were:
“Why are you doing another Kickstarter?”
The answer lies in our pursuit of continuous innovation. As a small hardware company, it would be easy to get bogged down in finding the best way to manufacture and support the active life of our current product, and be driven only by specific customer suggestions on how we can improve the next models. At re:3D, we have the added challenge and benefit of being a bootstrapped company (in a funding sense). This means that an R&D budget is not won in a boardroom, it is won in front of our customers. Kickstarter is the natural way to get in front of our customer as early as possible with a set of advancements, and ask if this package of features are something the community wants and needs. Judging by discussions with our customers, partners, SxSW conversations, and our current funding level after 7 days on Kickstarter, the early indication is a resounding “YES!”
Another question came up a few times was actually from Gigabot owners and people considering buying our current two-week-lead-time machine:
“What is the difference between Gigabot and Open Gigabot and can we expect OpenGigabot to be a regular product offering”
Currently OpenGB is an experimental Gigabot that we’re co-developing with the community. As a backer, you’re getting the first edition production model and are part of an exclusive beta-testing group. @MikeBattaglia, our Customer Service Guru and OpenGB Usability Engineer sums this up best from a customer email earlier in the week: “We are definitely not the type of company to leave existing customers in the dust!”
We listen to our entire community as we decide which features to develop and incorporate into our large format printers. Once these offerings are past beta testing and have installation instructions and video tutorials, we will consider migrating them over to our flagship Gigabot offering based what the community prioritizes. We also choose some beta testers from time to time in our community, so if you are interested, please email us at engineering@re3d.org!
This has been a longer update than anticipated when it was started, but there has been a ton going on in the past week and you need to hear it all. Between SXSW, OpenGB’s Kickstarter, numerous speaking engagements, partnership opportunities, and a constant focus on the well-being of our rockstar employees and customers, I’m personally amazed every day at what we can accomplish together, and can’t wait to see what lies around the corner!

Chris Gerty
Blog Post Author

It’s seems like it was only yesterday since we launched Gigabot on Kickstarter at SXSW in 2013. Two years later, both our Austin and Houston teammates have returned to reflect on the past and look to the future with Gigabot, OpenGigabot, and a few surprise announcements. We’re also honored to be considered for a SXSW Innovation Award and can’t wait to share 3D printed prosthetic hands, board games, a huge Reddit Alien, giveaways and some crazy furniture with the friends we encounter in exhibit halls, tents, bars, hotels, and retail stores. If you plan to attend any of the events below, please say hi or share a Gigabot selfie online!
Here’s a list of where you can expect to find Gigabot and the re:3D gang:
Want to invite Gigabot to your Film or Music Event? Contact info@re3d.org to chat!

We’re incredibly flattered to be nominated for SXSW Innovation Award! The other nominees are amazing and we can’t wait to meet them! Check out the clip below to meet the team below and feel free to show your support by using the following social media mentions : @re_3D #openGB #InnovationAwards. Also, check back for a not-so -surprise Kickstarter campaign for OpenGB during SXSW where we will be seeking your feedback on what you want in Gigabot going forward!!
Forever grateful:
Are you ready for a new 3D printing adventure? Join the team! APPLY NOW