Creating Custom Architectural Features with māk studio

The māk studio building is a rather nondescript structure in an industrial area just east of downtown Houston. It may not look like much from the outside, but the innards are a different story. This, in a way, is what they have the power to do for their clients, transforming a space that otherwise might pass by unnoticed into one that demands attention.

māk studio’s tagline is simple and to the point: “Make design possible.” They design, build, and manufacture beautiful spaces, functional objects, furniture, and surfaces tailored to commercial brands. The design doesn’t just stop with the structural design, as mentioned more below, interior design is a factor too. The use of such designs as Fine Art America posters, wall art, paintings, eye-catching color, etc. is very important and can give a certain feel to an area.

The founders, Liz Cordill and José Aguilar, met while practicing architecture in 2013, and have spent nearly three decades between the two of them as practicing architects. They began hitting roadblocks, however, when it came to actually fabricating some of their more complex ideas.

“There was this disconnect between the design industry and the construction industry where the design industry was developing these really cool concepts and the construction industry was not quite keeping up,” explains Aguilar. “We found an opportunity there to really focus on that niche and just offer that as a design and fabrication service.”

māk was their answer to this hurdle.

“We started this business – José and I – because as practicing architects we were finding that some of the things that we were designing, the technology wasn’t there to fabricate it,” says Cordill.
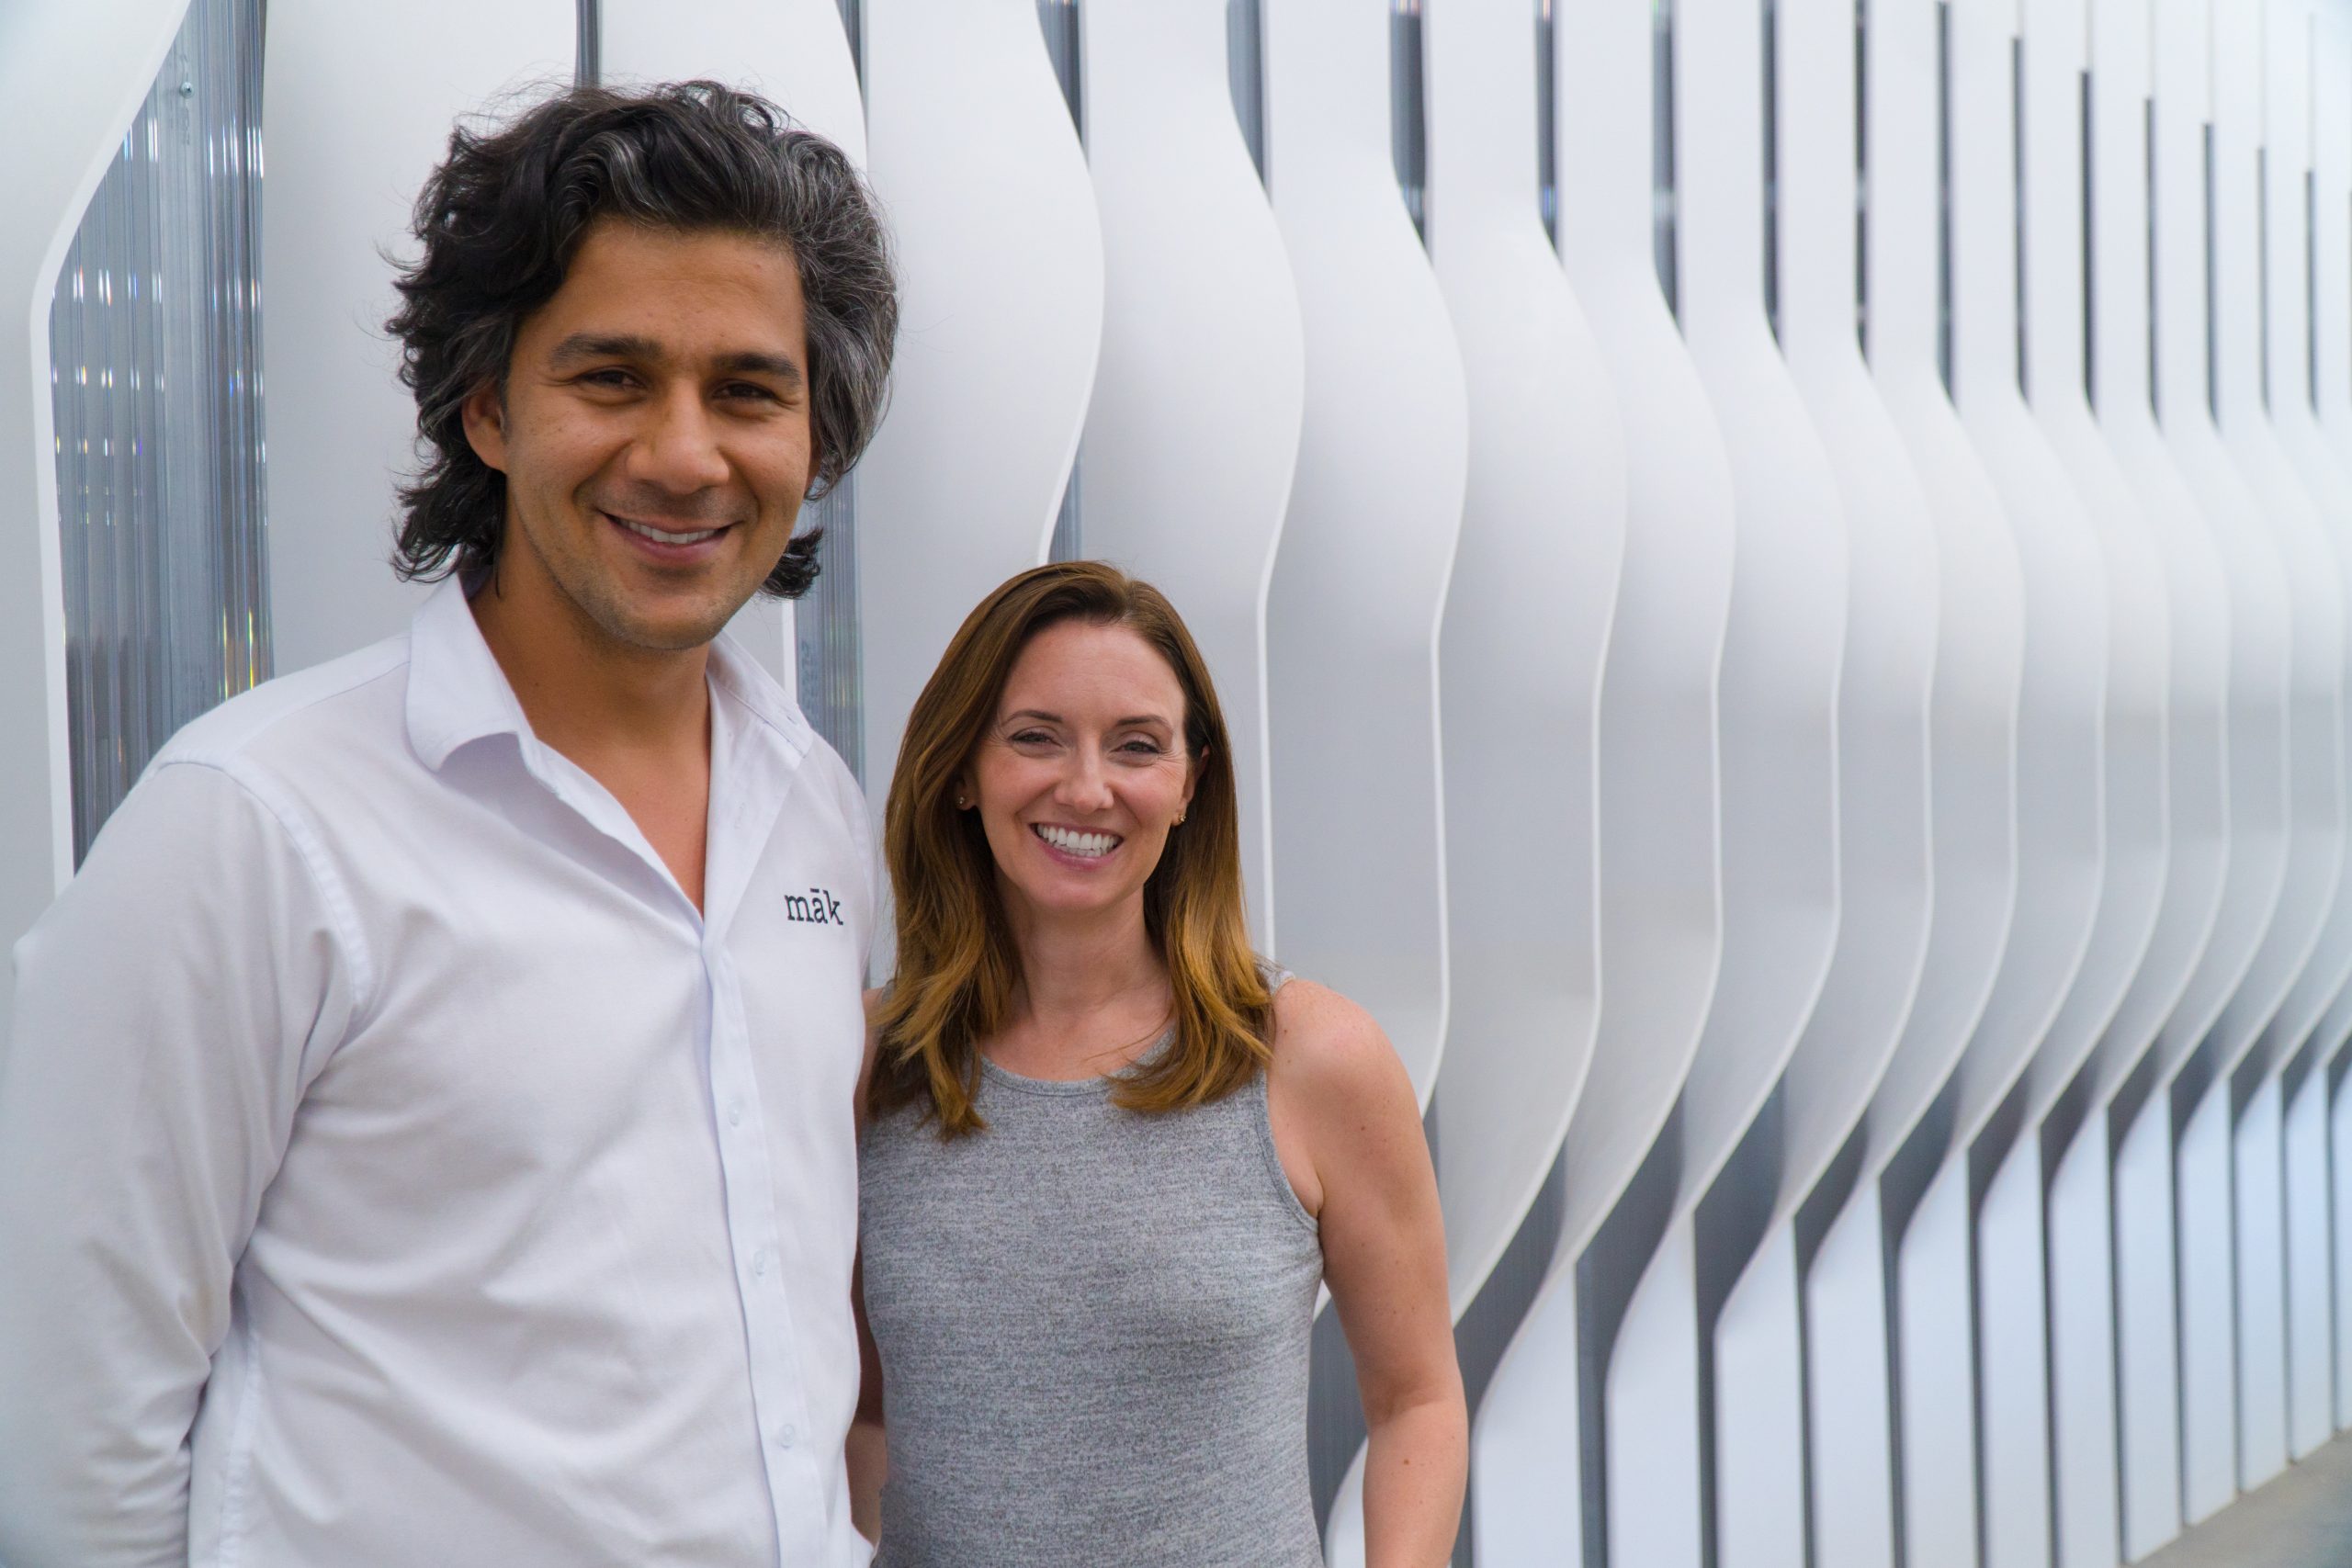
Cordill and Aguilar started with one machine and grew into the 16,000 square foot facility they occupy today. A massive fin wall separates their production floor from the front portion of the office and showroom where the design and prototyping happens. They can take a concept directly from CAD file to physical form using the array of tools at their disposal – from CNC routers to thermoformers – without leaving the building.

Gigabot enters the building

māk studio is a team of architects, industrial designers, interior designers, carpenters, and fabricators; conceiving and creating custom concepts is their specialty. Sometimes, the toughest part of the process can actually be the sale.

The architecture industry used to rely on line drawings to communicate building concepts – a format that Cordill said could be exceptionally difficult to wrap one’s head around. The industry was quick to jump on the 3D train, taking their work into the realm of CAD. But for as photorealistic as these architectural renderings can be, these too are subject to interpretation, says Cordill.

This was something the architecture industry had remedied with hand-built models. “We used to actually build physical models, with cardboard and chipboard and things like that,” recounts Cordill. And while māk wanted a medium that would allow their clients to accurately understand how a particular feature would look and feel in their space, the time sink of laboring over a cardboard model for hours or days didn’t make sense.

The same issues apply to the custom furniture that māk creates today. In order to solve this issue, they turned their sights to 3D printing and ended up getting a Gigabot.
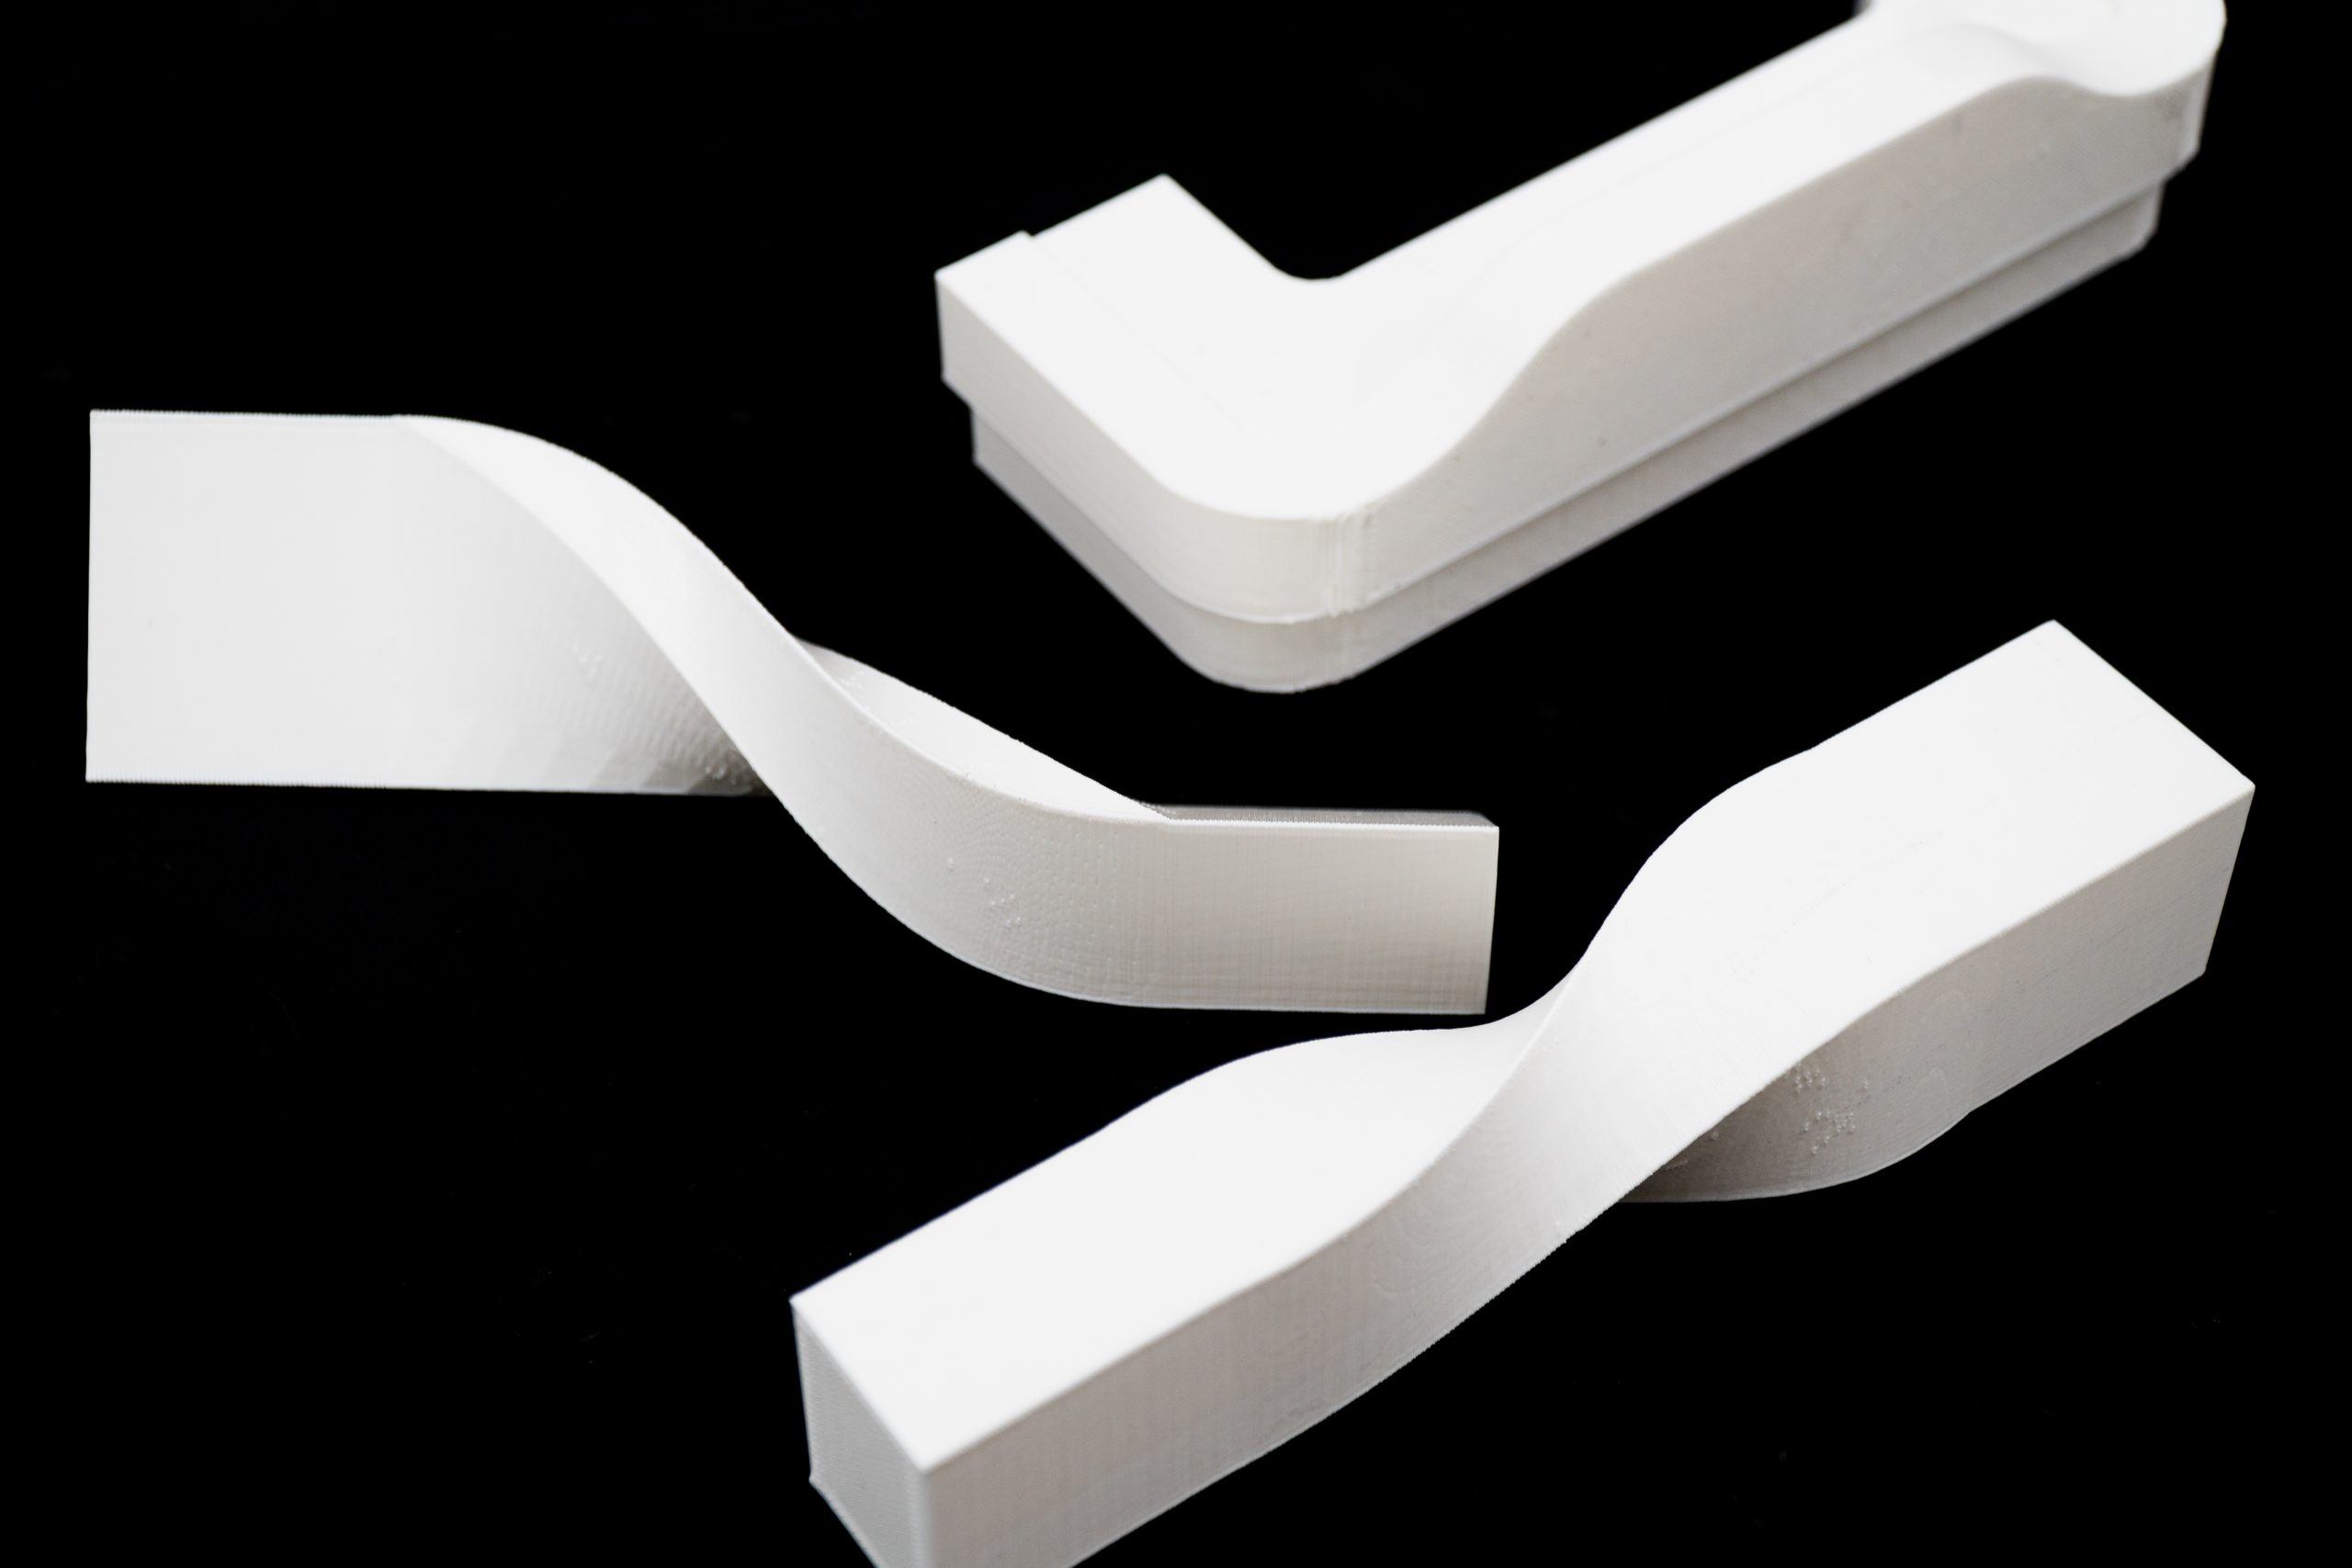
“Having the 3D printer is much more valuable because it’s a faster tool,” says Cordill. “We can set it to work and we don’t have a person sitting there cutting cardboard – and themselves – with an Exacto.”

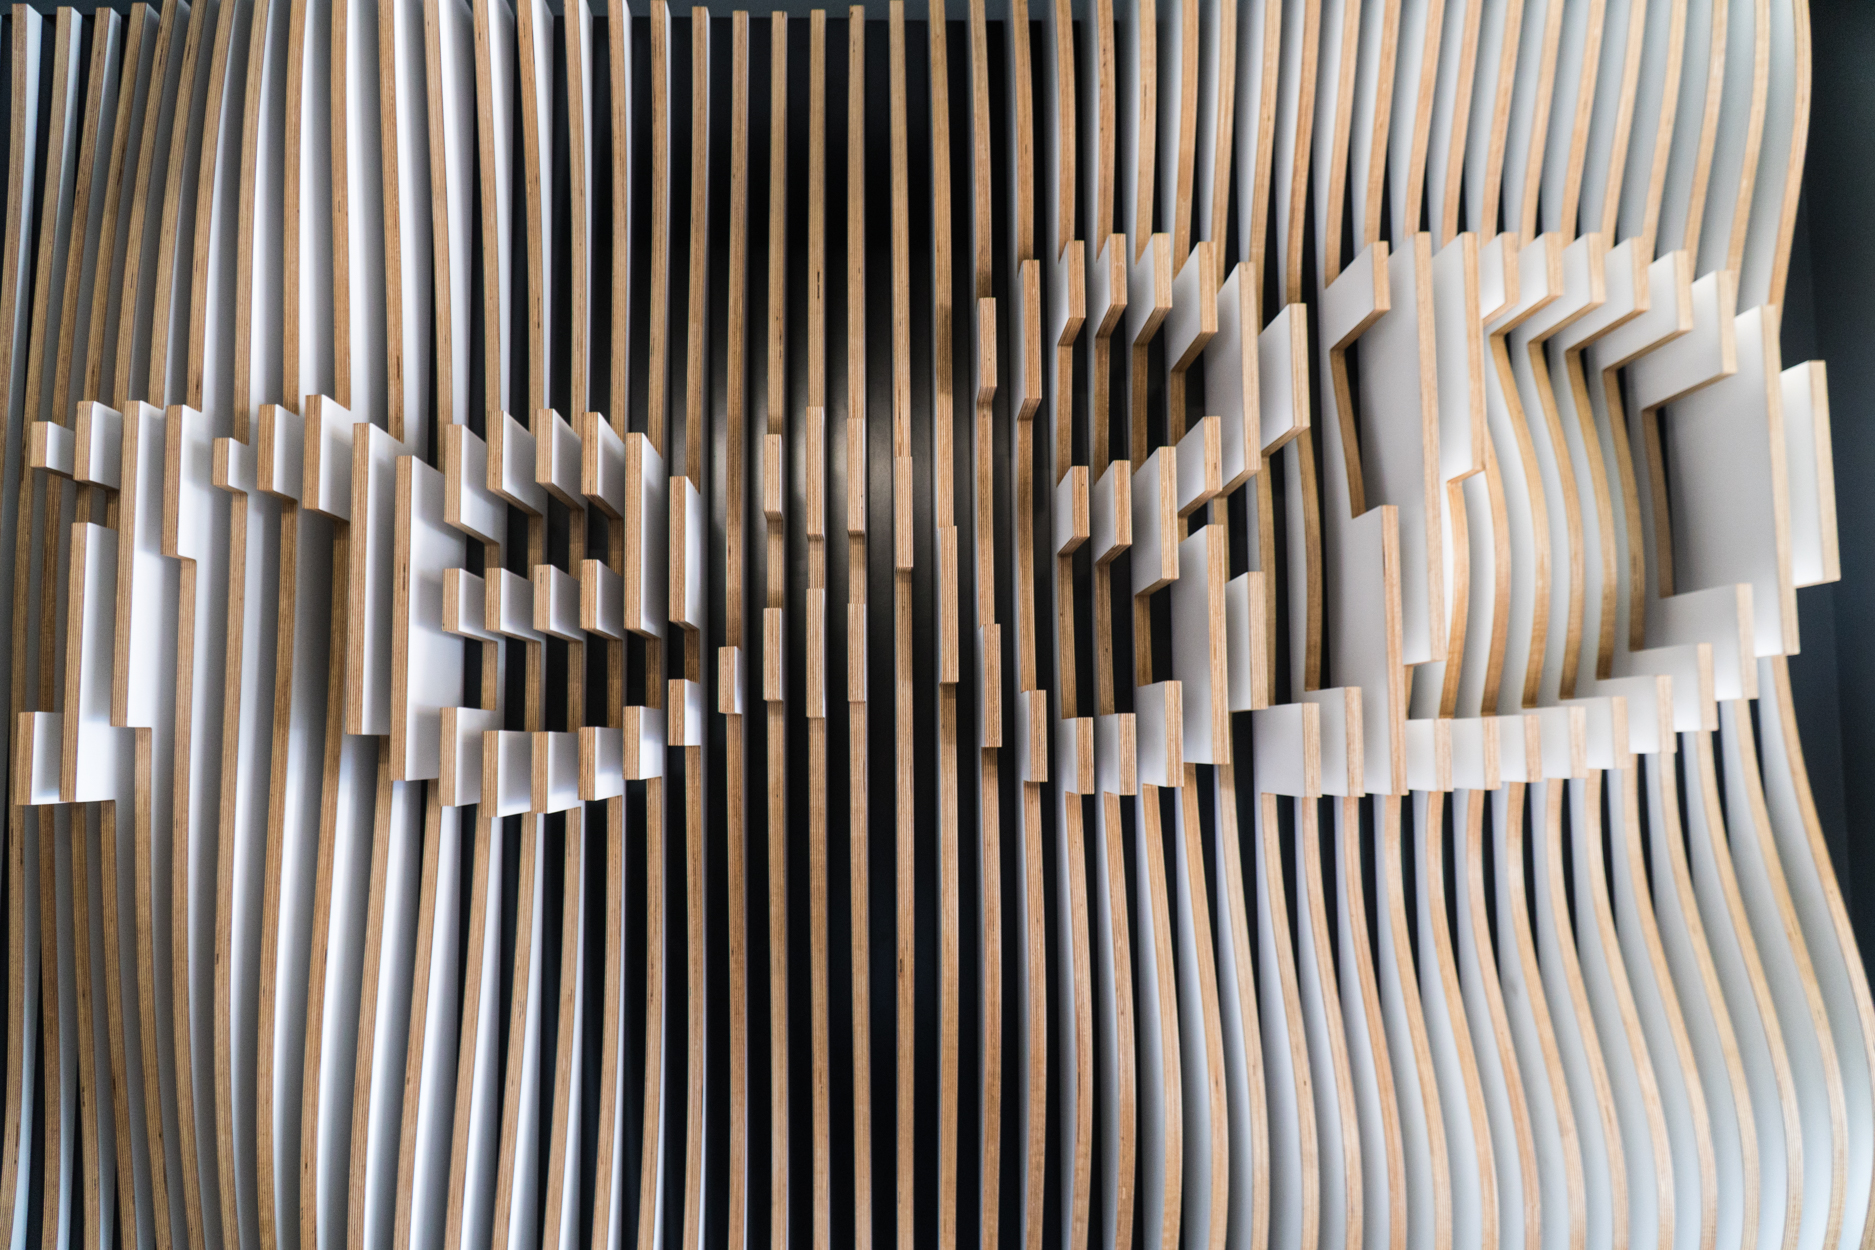
A custom wall for the re:3D factory

“The Gigabot is really core to how we do things here,” says Aguilar. “From our sales efforts, to our marketing efforts, to actually solving problems for our clients.”

One of Mak’s recent customers was none other than the re:3D Houston factory.

“Designing these walls is a lot of fun.” Polli Bush is Mak’s Project Manager. She walked the re:3D team through the māk design portal user interface, aiding us in the design of several iterations of a logo fin wall.

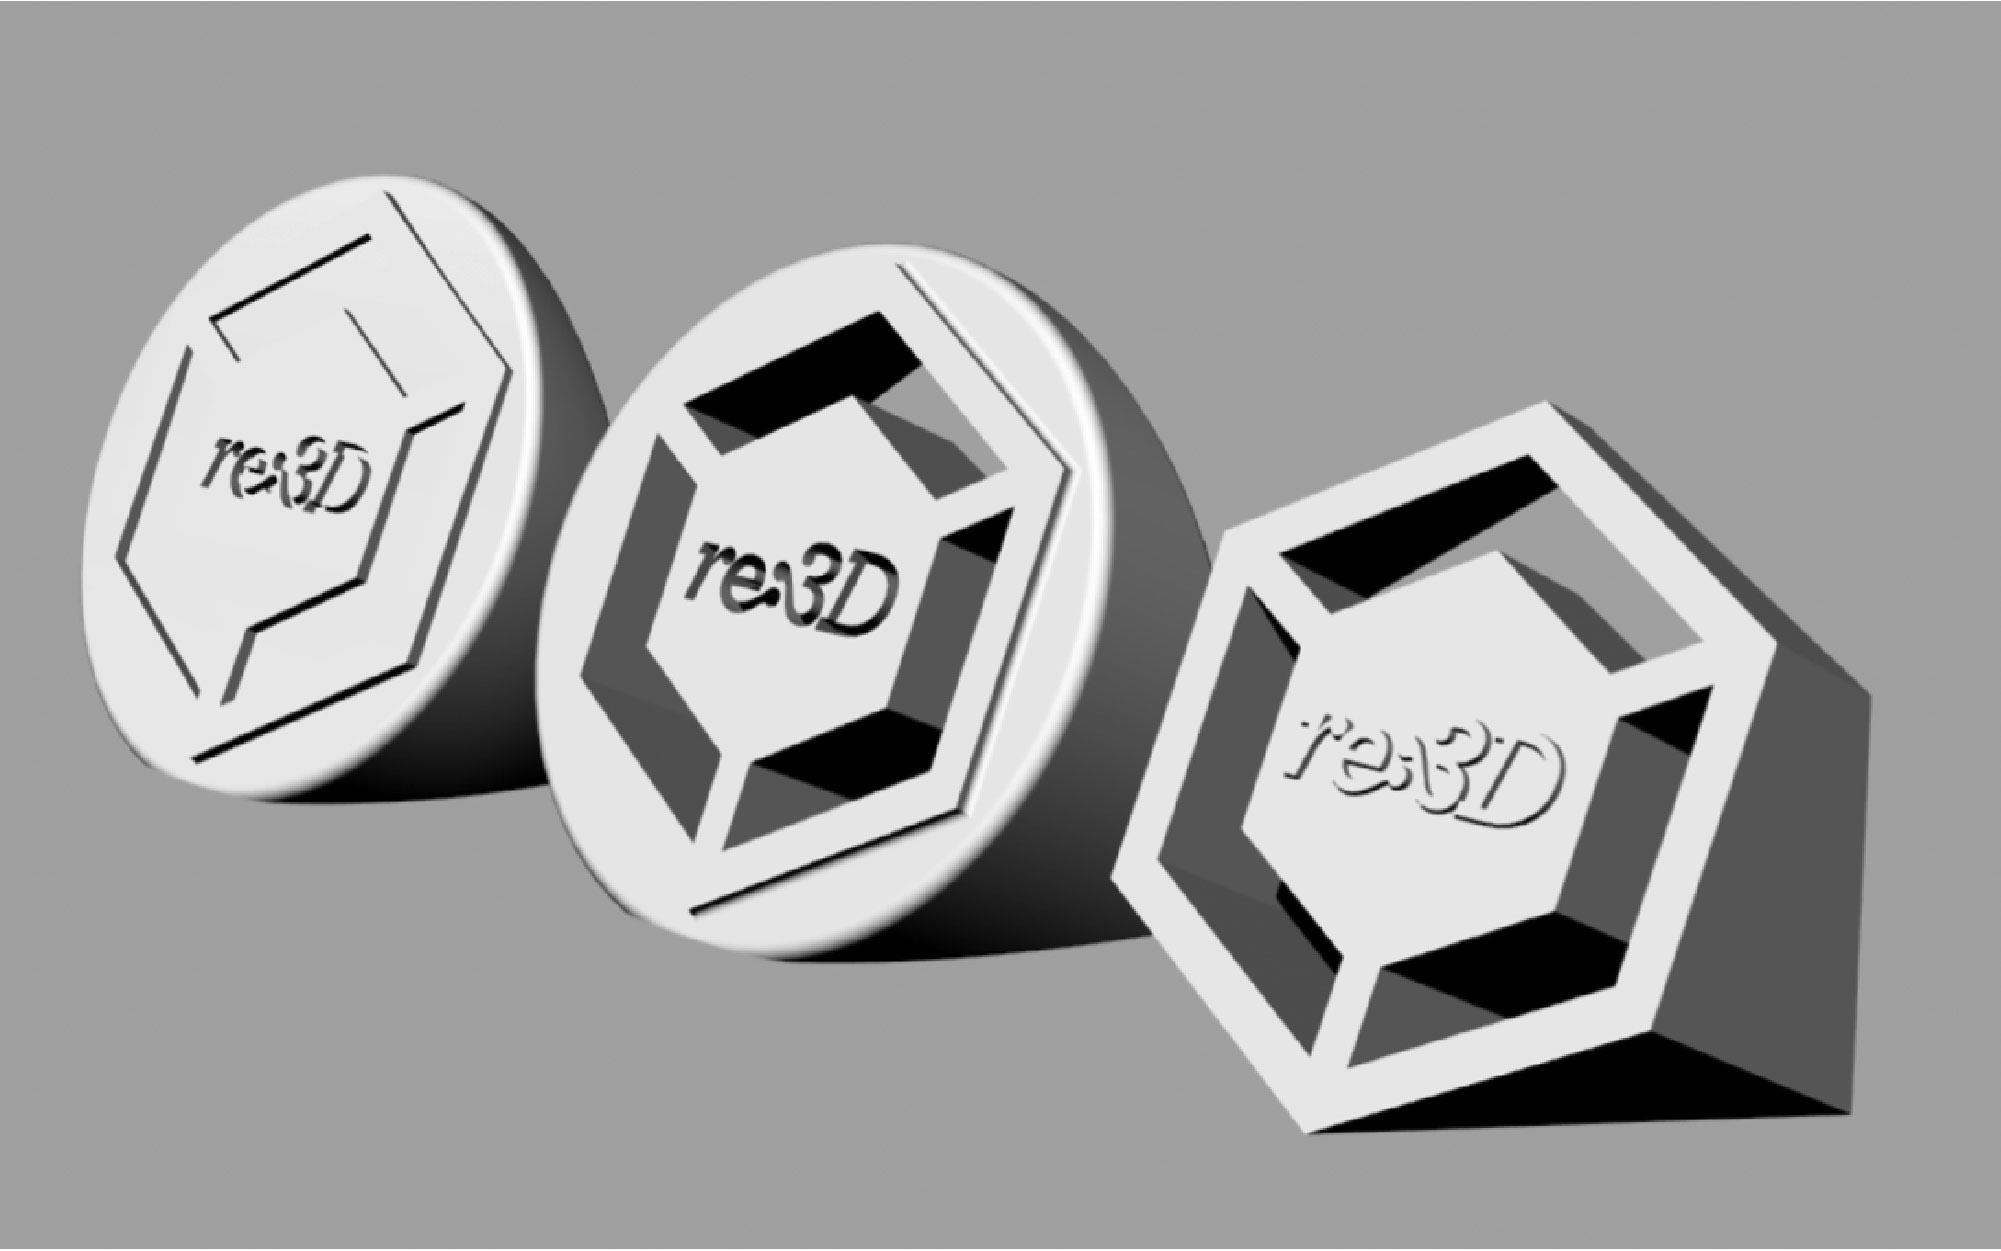
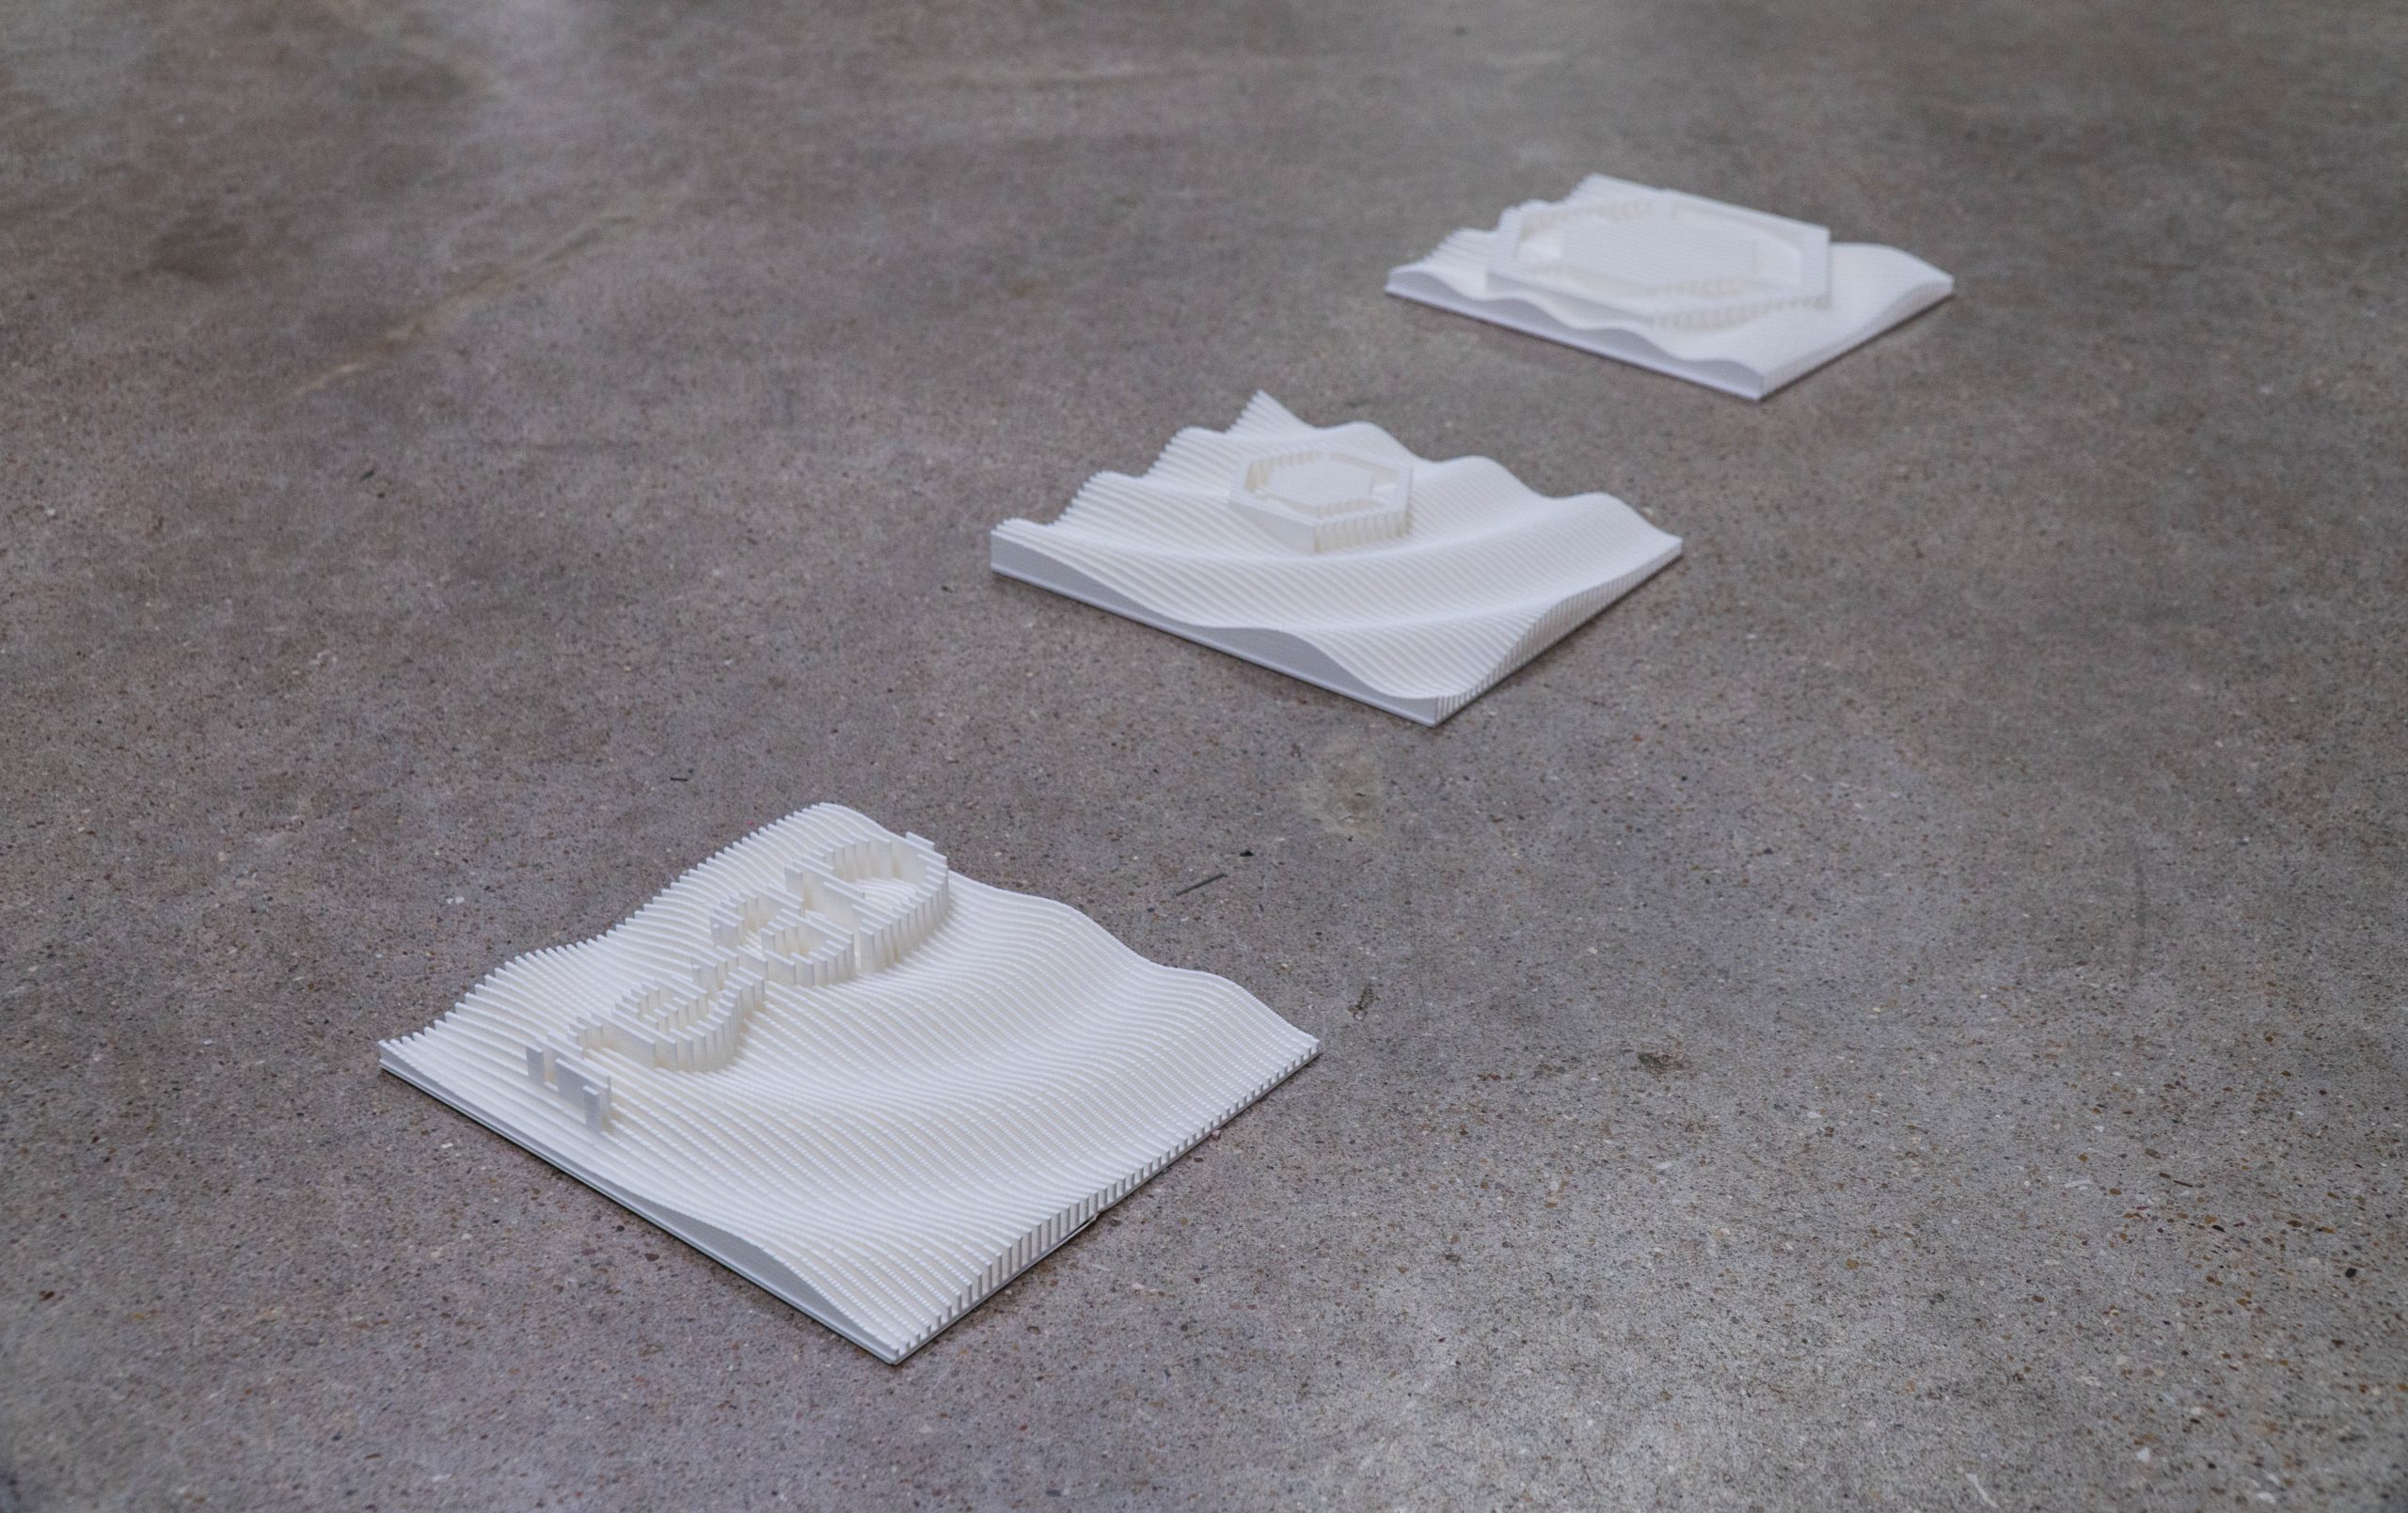
Once we created three versions, we were able to export STL files of each option and print them in-house on Gigabot. The final decision was put up to a company-wide vote, and with the winner chosen, māk got to fabricating.
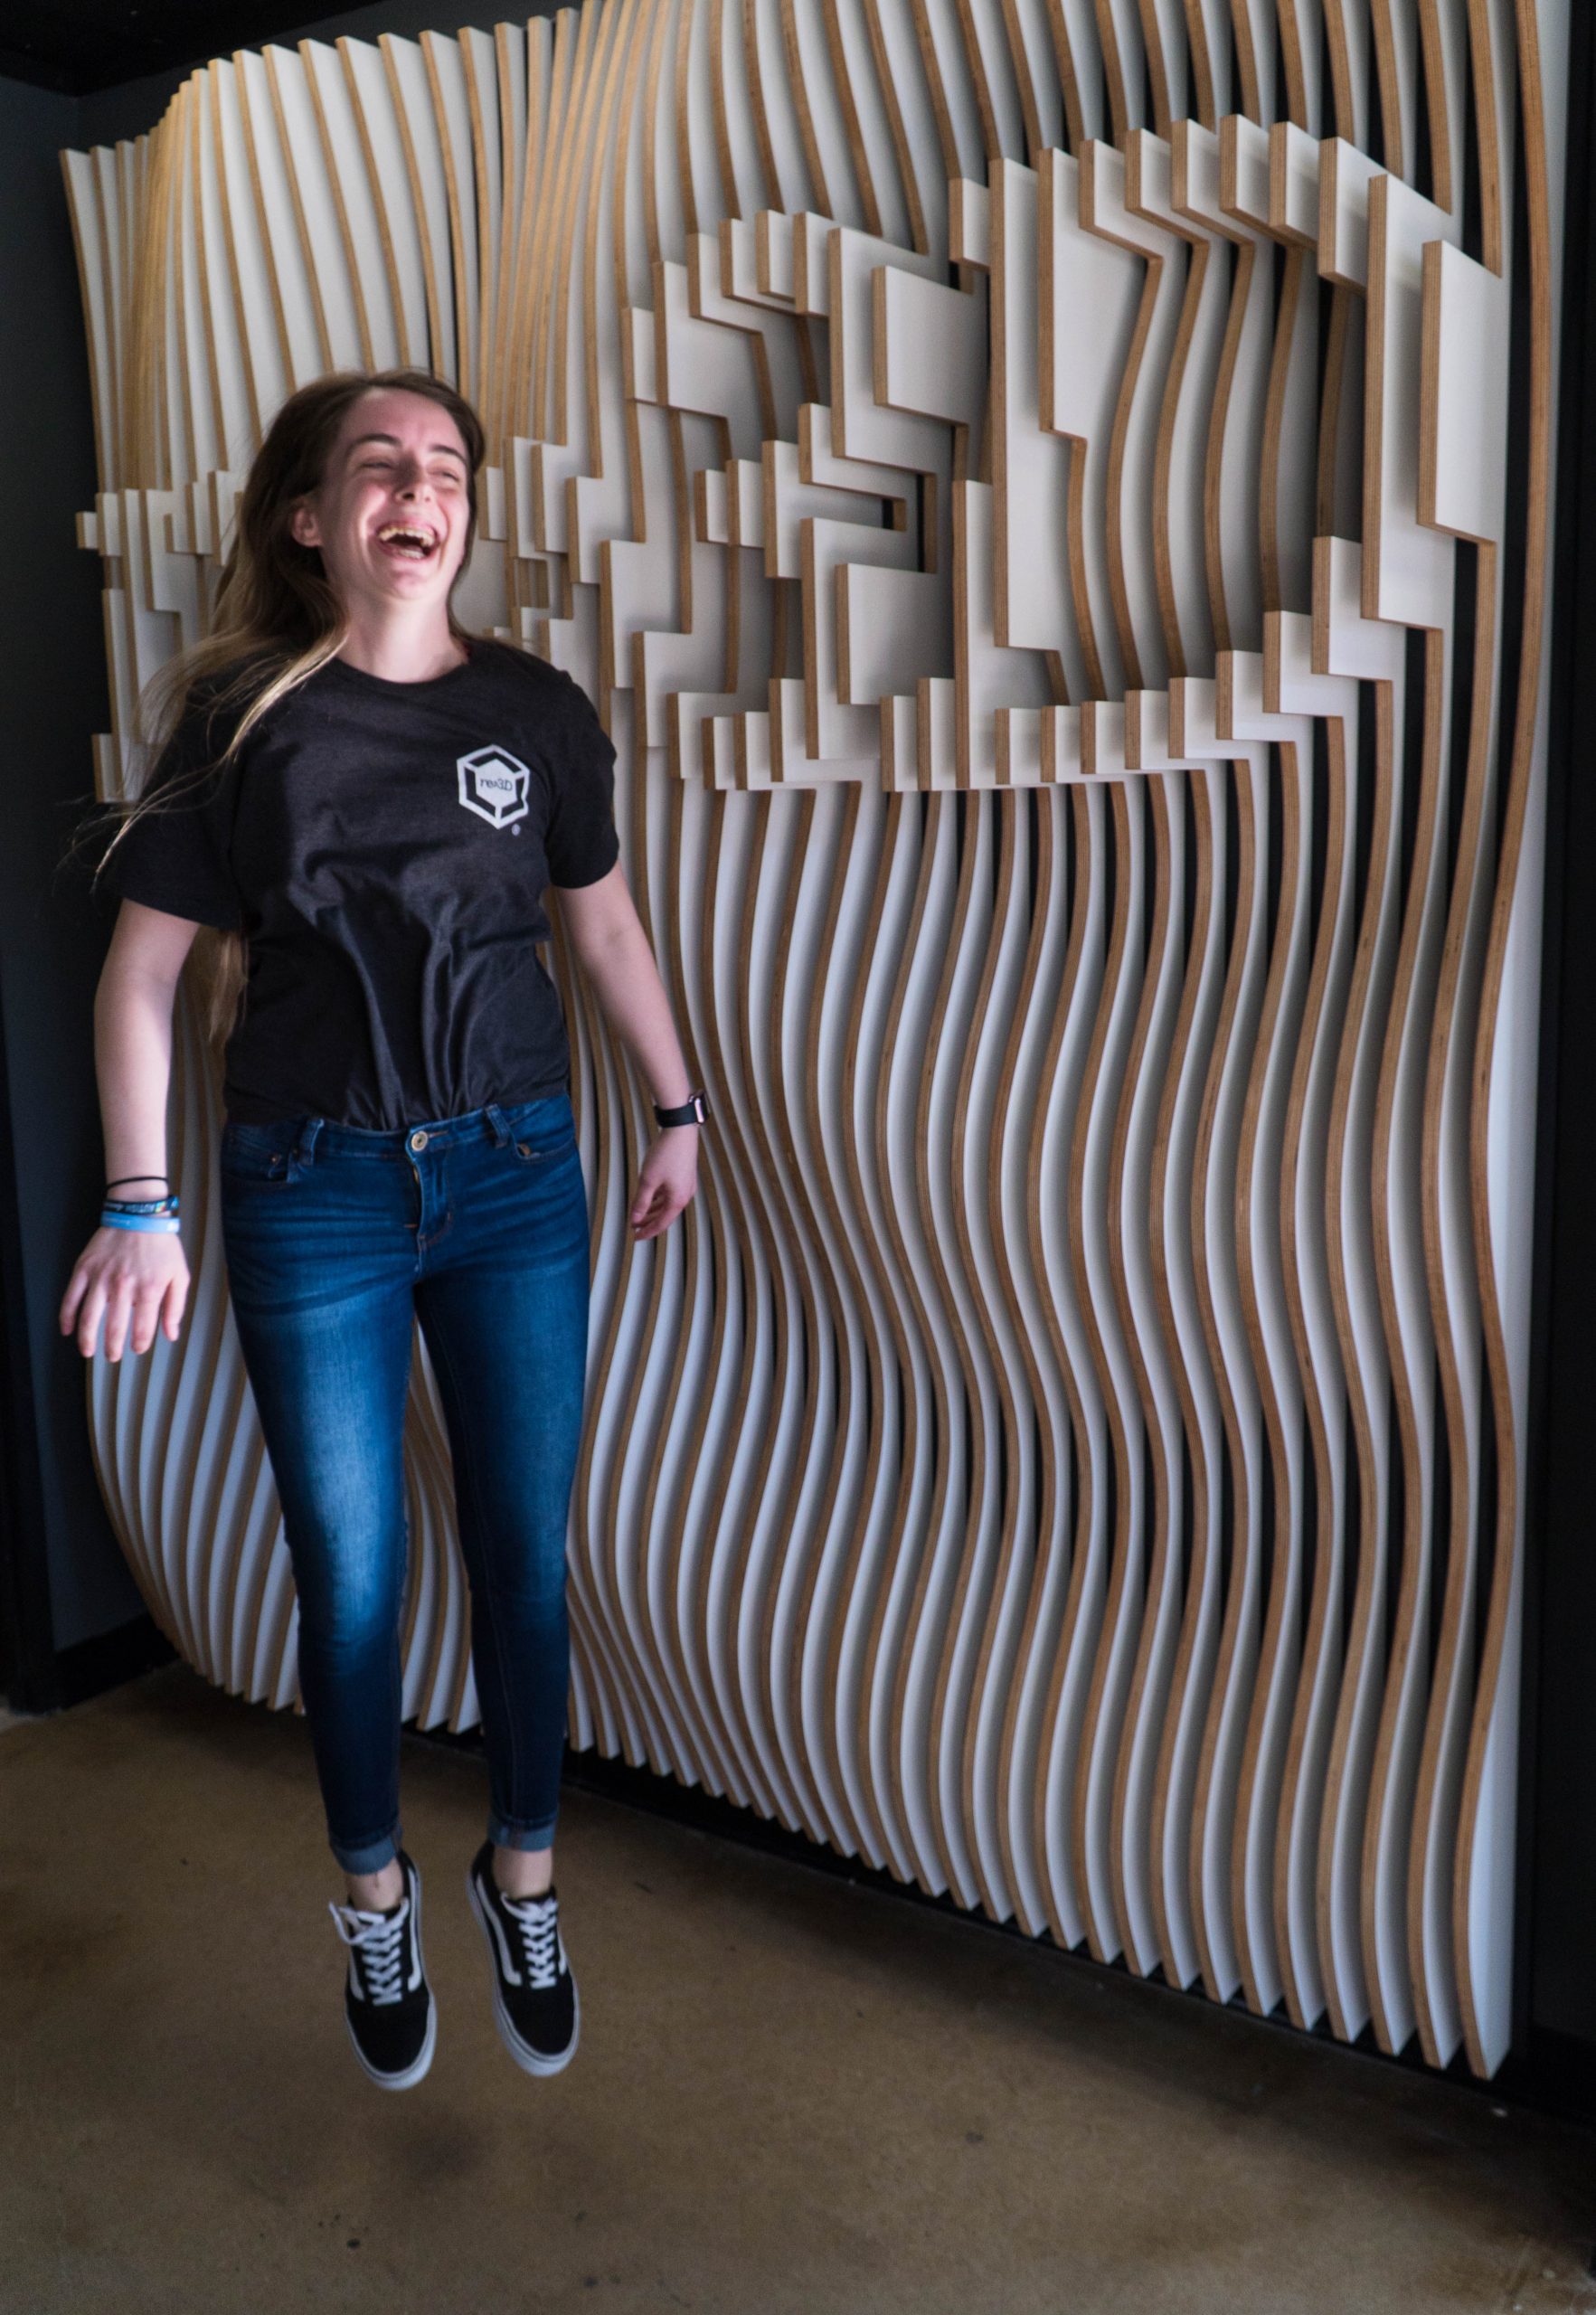
The install took no more than an hour: the māk team put together the mounting system of the wall and showed our group how to slide the wooden fins into place. The rippling design took shape before our eyes as each unique slat was added.

Bush explains how the design process has evolved from the pre-3D printer days at Mak, highlighting their ability to rapidly prototype and create accurate scale models of designs. “The technology of 3D printing makes it a lot easier for people to believe in what they’re going to get,” says Bush. “It’s proof of concept in our industry.”
Using 3D printing to solve complex problems

“At the end of the day, we’re problem-solvers for our clients,” says Aguilar.

māk does everything in their power to make their clients visions into reality, using the arsenal of cutting-edge production tools at their disposal. Gigabot fits into this lineup of problem-solving machinery, but Aguilar explains that it can also serve as a check for them.

“We’ve got clients that come up with some really cool stuff, and sometimes it’s very complicated to build,” he says. “If we can’t 3D print something, most likely it’s gonna be really, really hard to actually make it in bigger components. So it actually keeps us in check. If we can 3D print it, that means that we have the logic to actually build it.”

On the other hand, he remarks, if they have major issues with 3D printing scale models, it can serve as an initial sign that perhaps the design needs to be reworked.

Gigabot can also bridge the gap where other production tools may falter. Aguilar tells the story of a custom light fixture they’re working on with a client, where 3D printing is serving a role in producing the final piece. “We’re studying the idea of doing this faceted light that would be really hard to do without printing,” he says. “It would be very, very time-consuming and it would make the project unattainable.”

Camilo Reinales is a Designer and Fabrication Assistant at māk working on the light project. “This custom light opened the idea of ‘maybe we don’t need to use the traditional fabrication methods, maybe we could start exploring additive manufacturing alternatives.’”

They’re experimenting with printing the pyramidal structure of the fixture in PLA and casting in metal. “For the geometry that it has, it would have taken a lot of time and skill for a craftsman to create,” explains Reinales. “But with 3D printing, the cool thing about it is that if you can model and print it, like 75% of the job is done.”

They printed a functional scale model at 75% infill – a 37 hour print – so they could actually hang items from the structure as they go through testing. The final light will be twelve by fight feet.

Bigger, faster

Aguilar muses about his journey from small, desktop printing in architecture school to where they are now at māk . “I always want to print a little bigger, a little faster. This was a really great aspect of Gigabot.”

The technology is now so enmeshed in their process Aguilar can hardly picture a time before 3D printing. “[Gigabot] is kind of core to our DNA how we do things here,” he reiterates. “It’s just part of the process. Every project is somewhat touched by [it] right now.”

Cordill reflects on how 3D printing has enabled them to offer products and services to a wider swath of clients. “You can see some of these sort of fancy designs and people think, ‘Oh, that’s really, really expensive. I can never have that in my space,’” she muses. “But our goal is to really make it more accessible to everyone, so that you’ve got access to creating something unique that’s your own, using these design tools.”

It’s clear that at the core of māk is a desire to continue pushing the boundaries of what is possible in their field – after all, that is how the company came to be in the first place. They accomplish this with a pioneering mentality and a pursuit of new tools and technologies that enable the creation of ideas that would otherwise remain unmakeable.

On the relatively recent addition of 3D printing to their production floor lineup, Aguilar muses, “It really has helped us keep up with where the industry is going, where the technology is going, and how do we invest in this technology in the future?”

Learn more about māk studio: https://www.makstudio.us/
Morgan Hamel

Blog Post Author

Trash to Treasure: from Reverse Pitch to ReStore

The dream has been the same, since the beginning of re:3D, to create a 3D printer that could print from trash. There was a problem though, first we had to create a printer (the Gigabot), and then we had to figure out a way to print directly from plastic waste (Gigabot X).

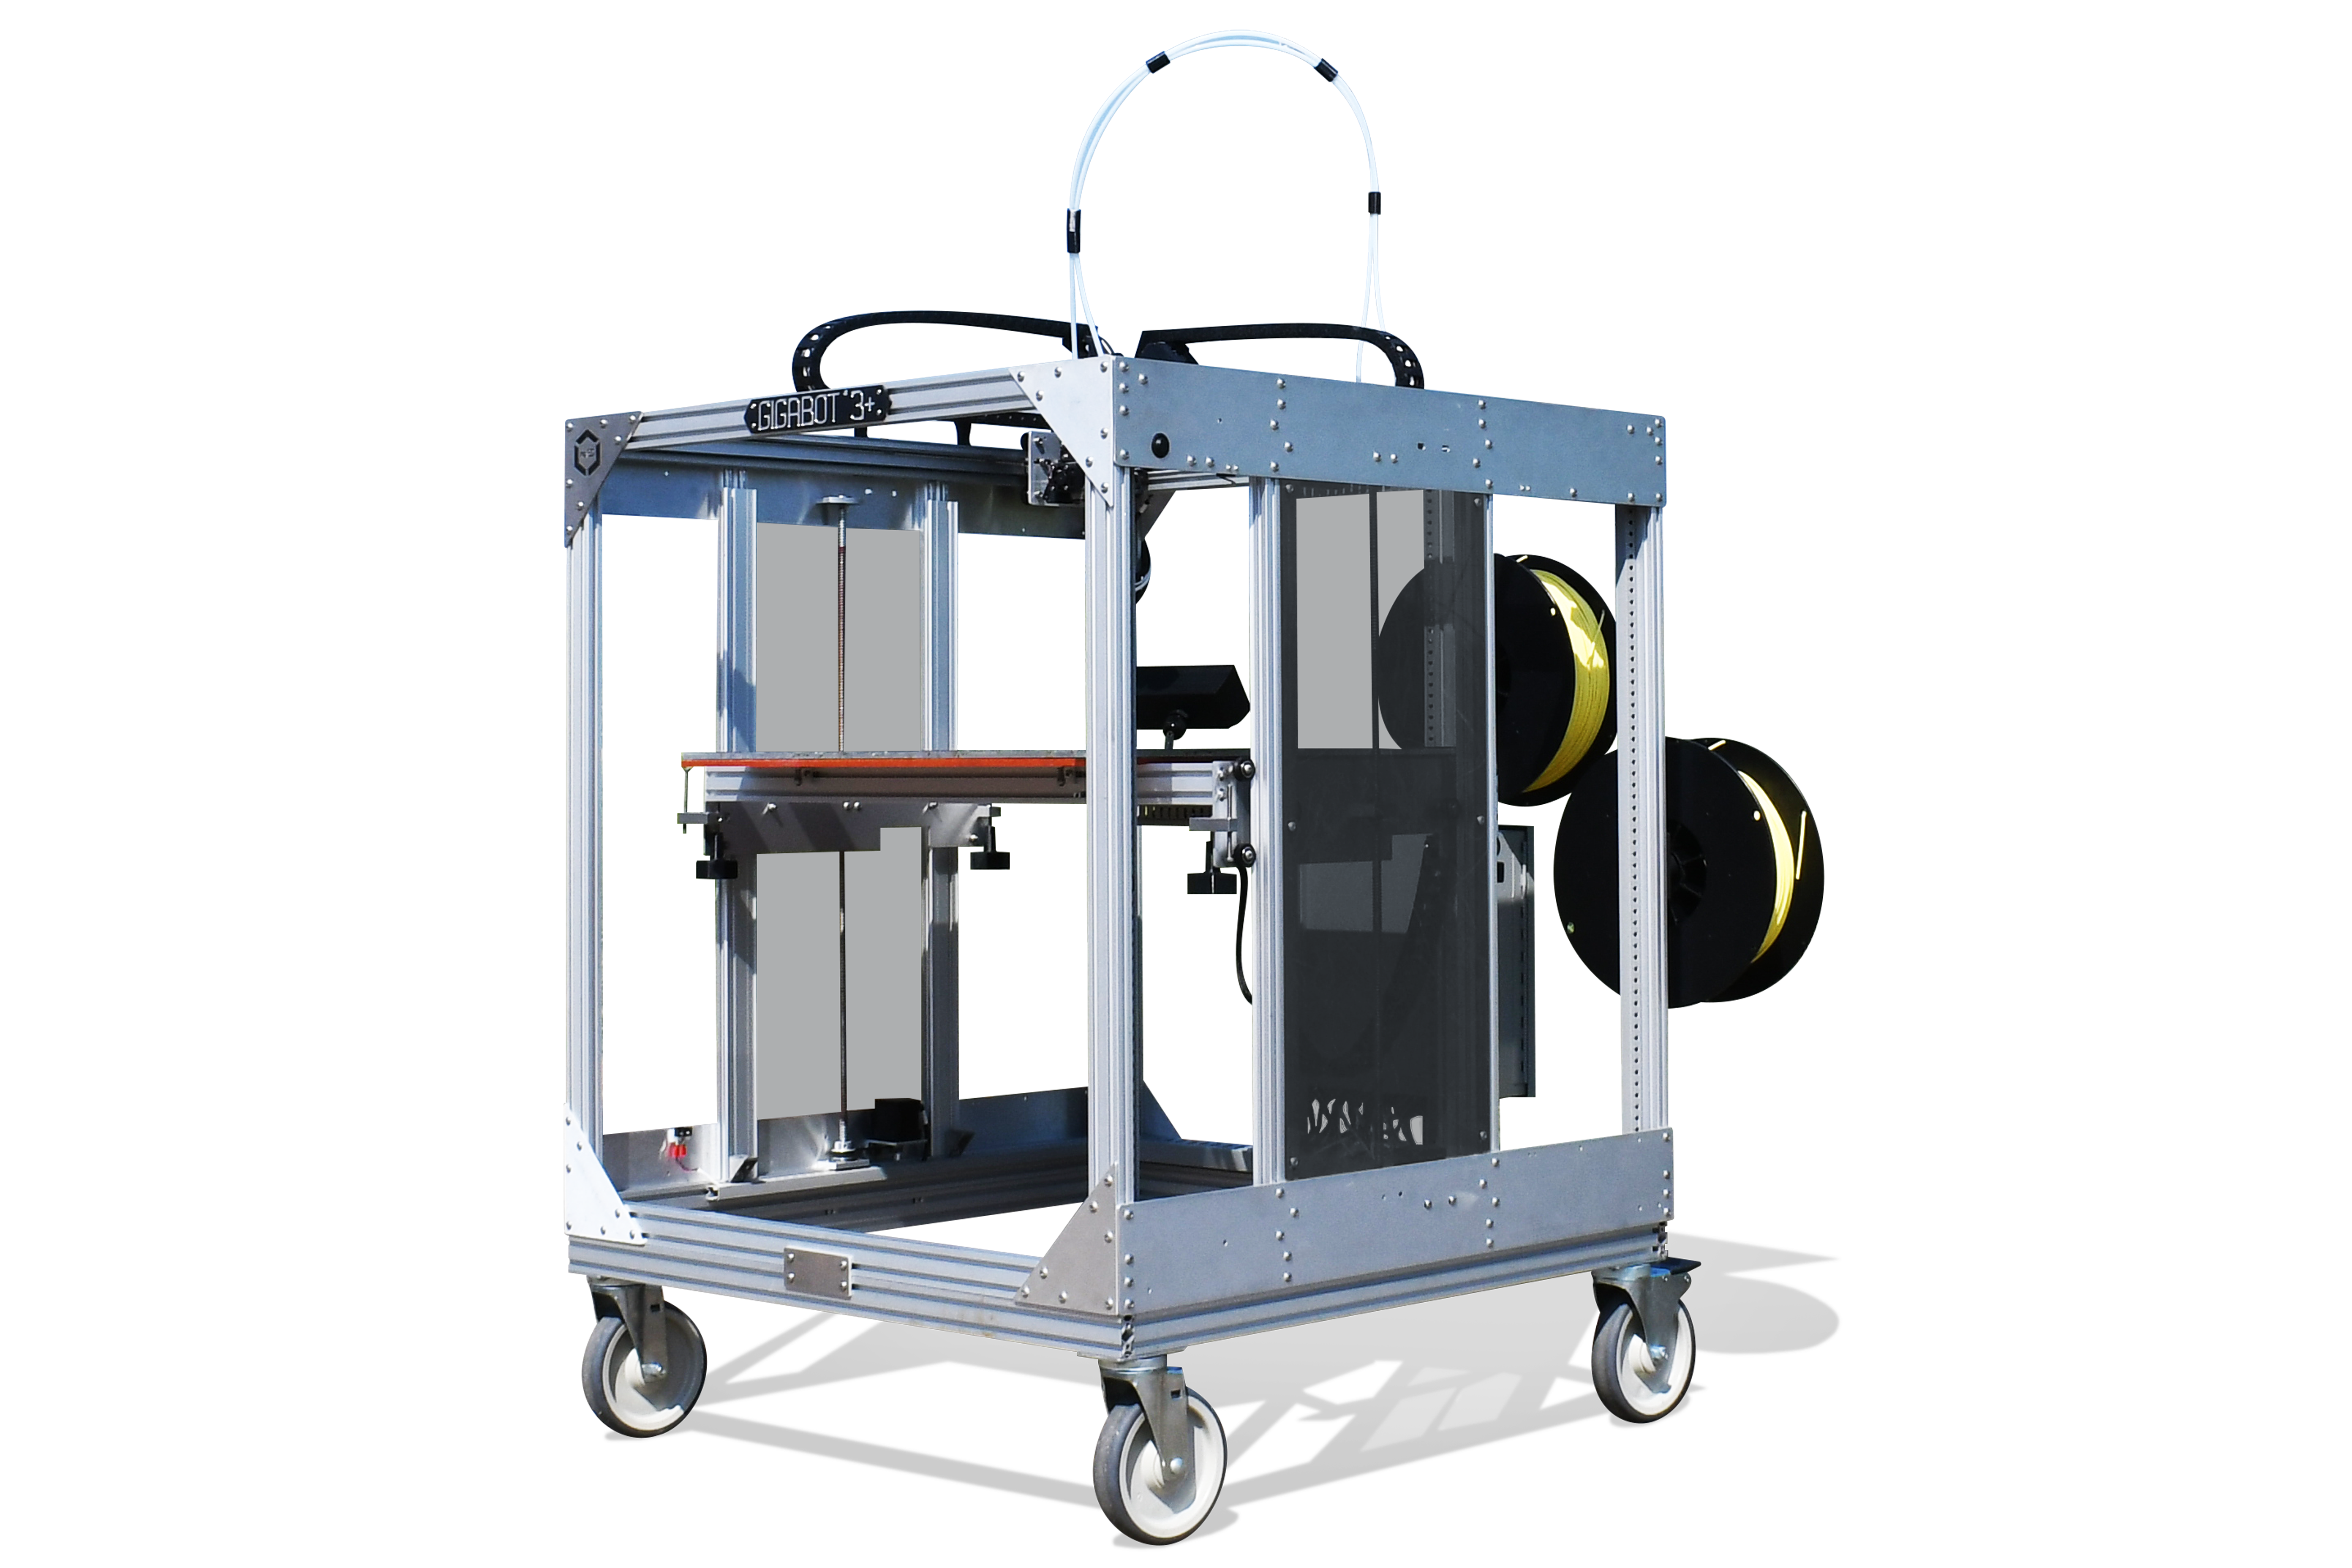
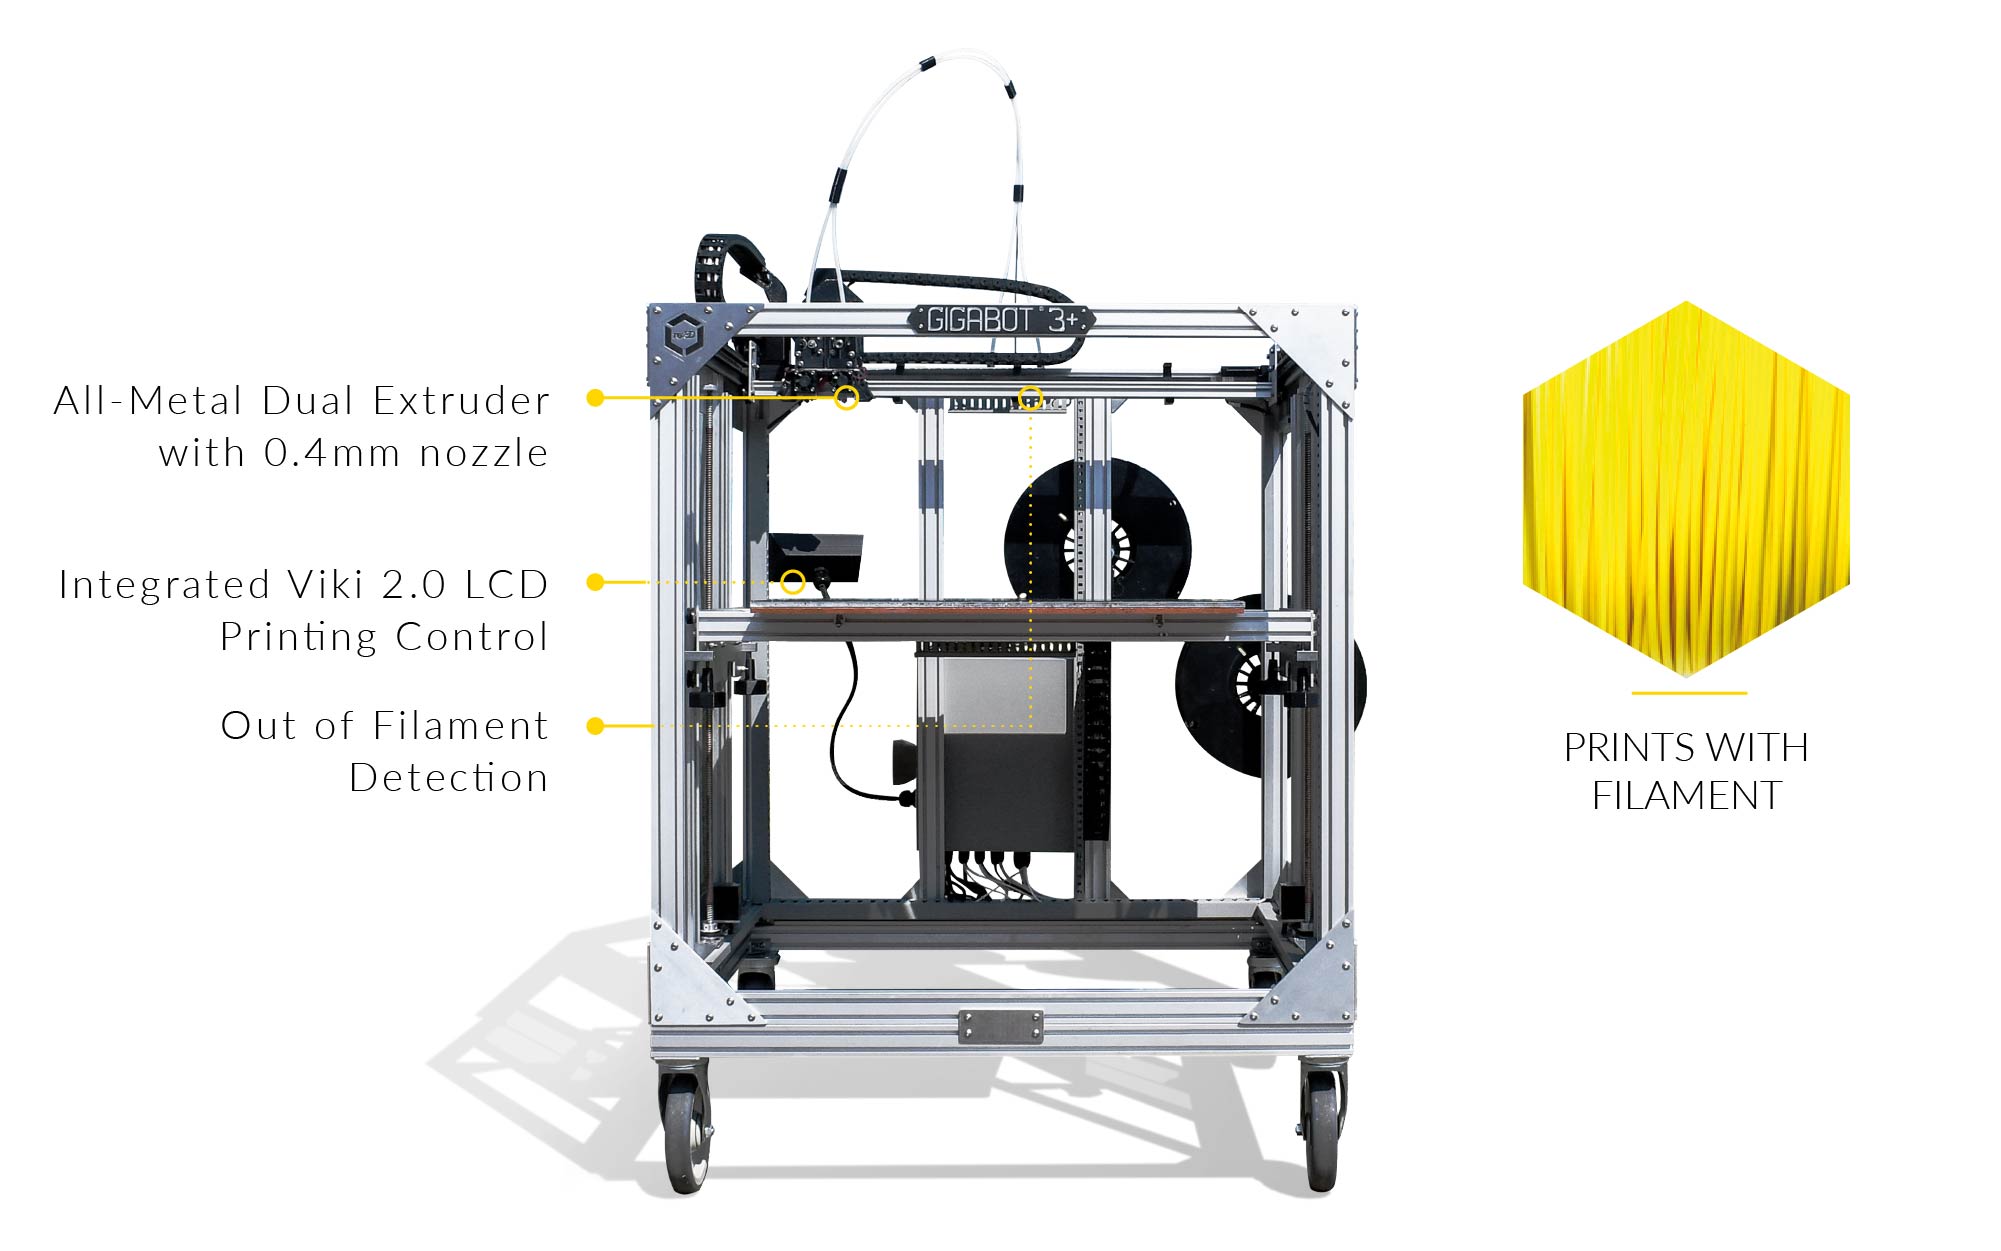
The Gigabot filament fed 3D Printer

So the first part of the dream was to create a large-scale, industrial 3D printer that was open-source and affordable, which is just what we did. The creation and sales of Gigabot has allowed re:3D to become a viable, profitable company. However, as a boot-strapped startup, finding more money, especially for R&D hardware projects was always difficult. But we never stopped believing that we could do it.

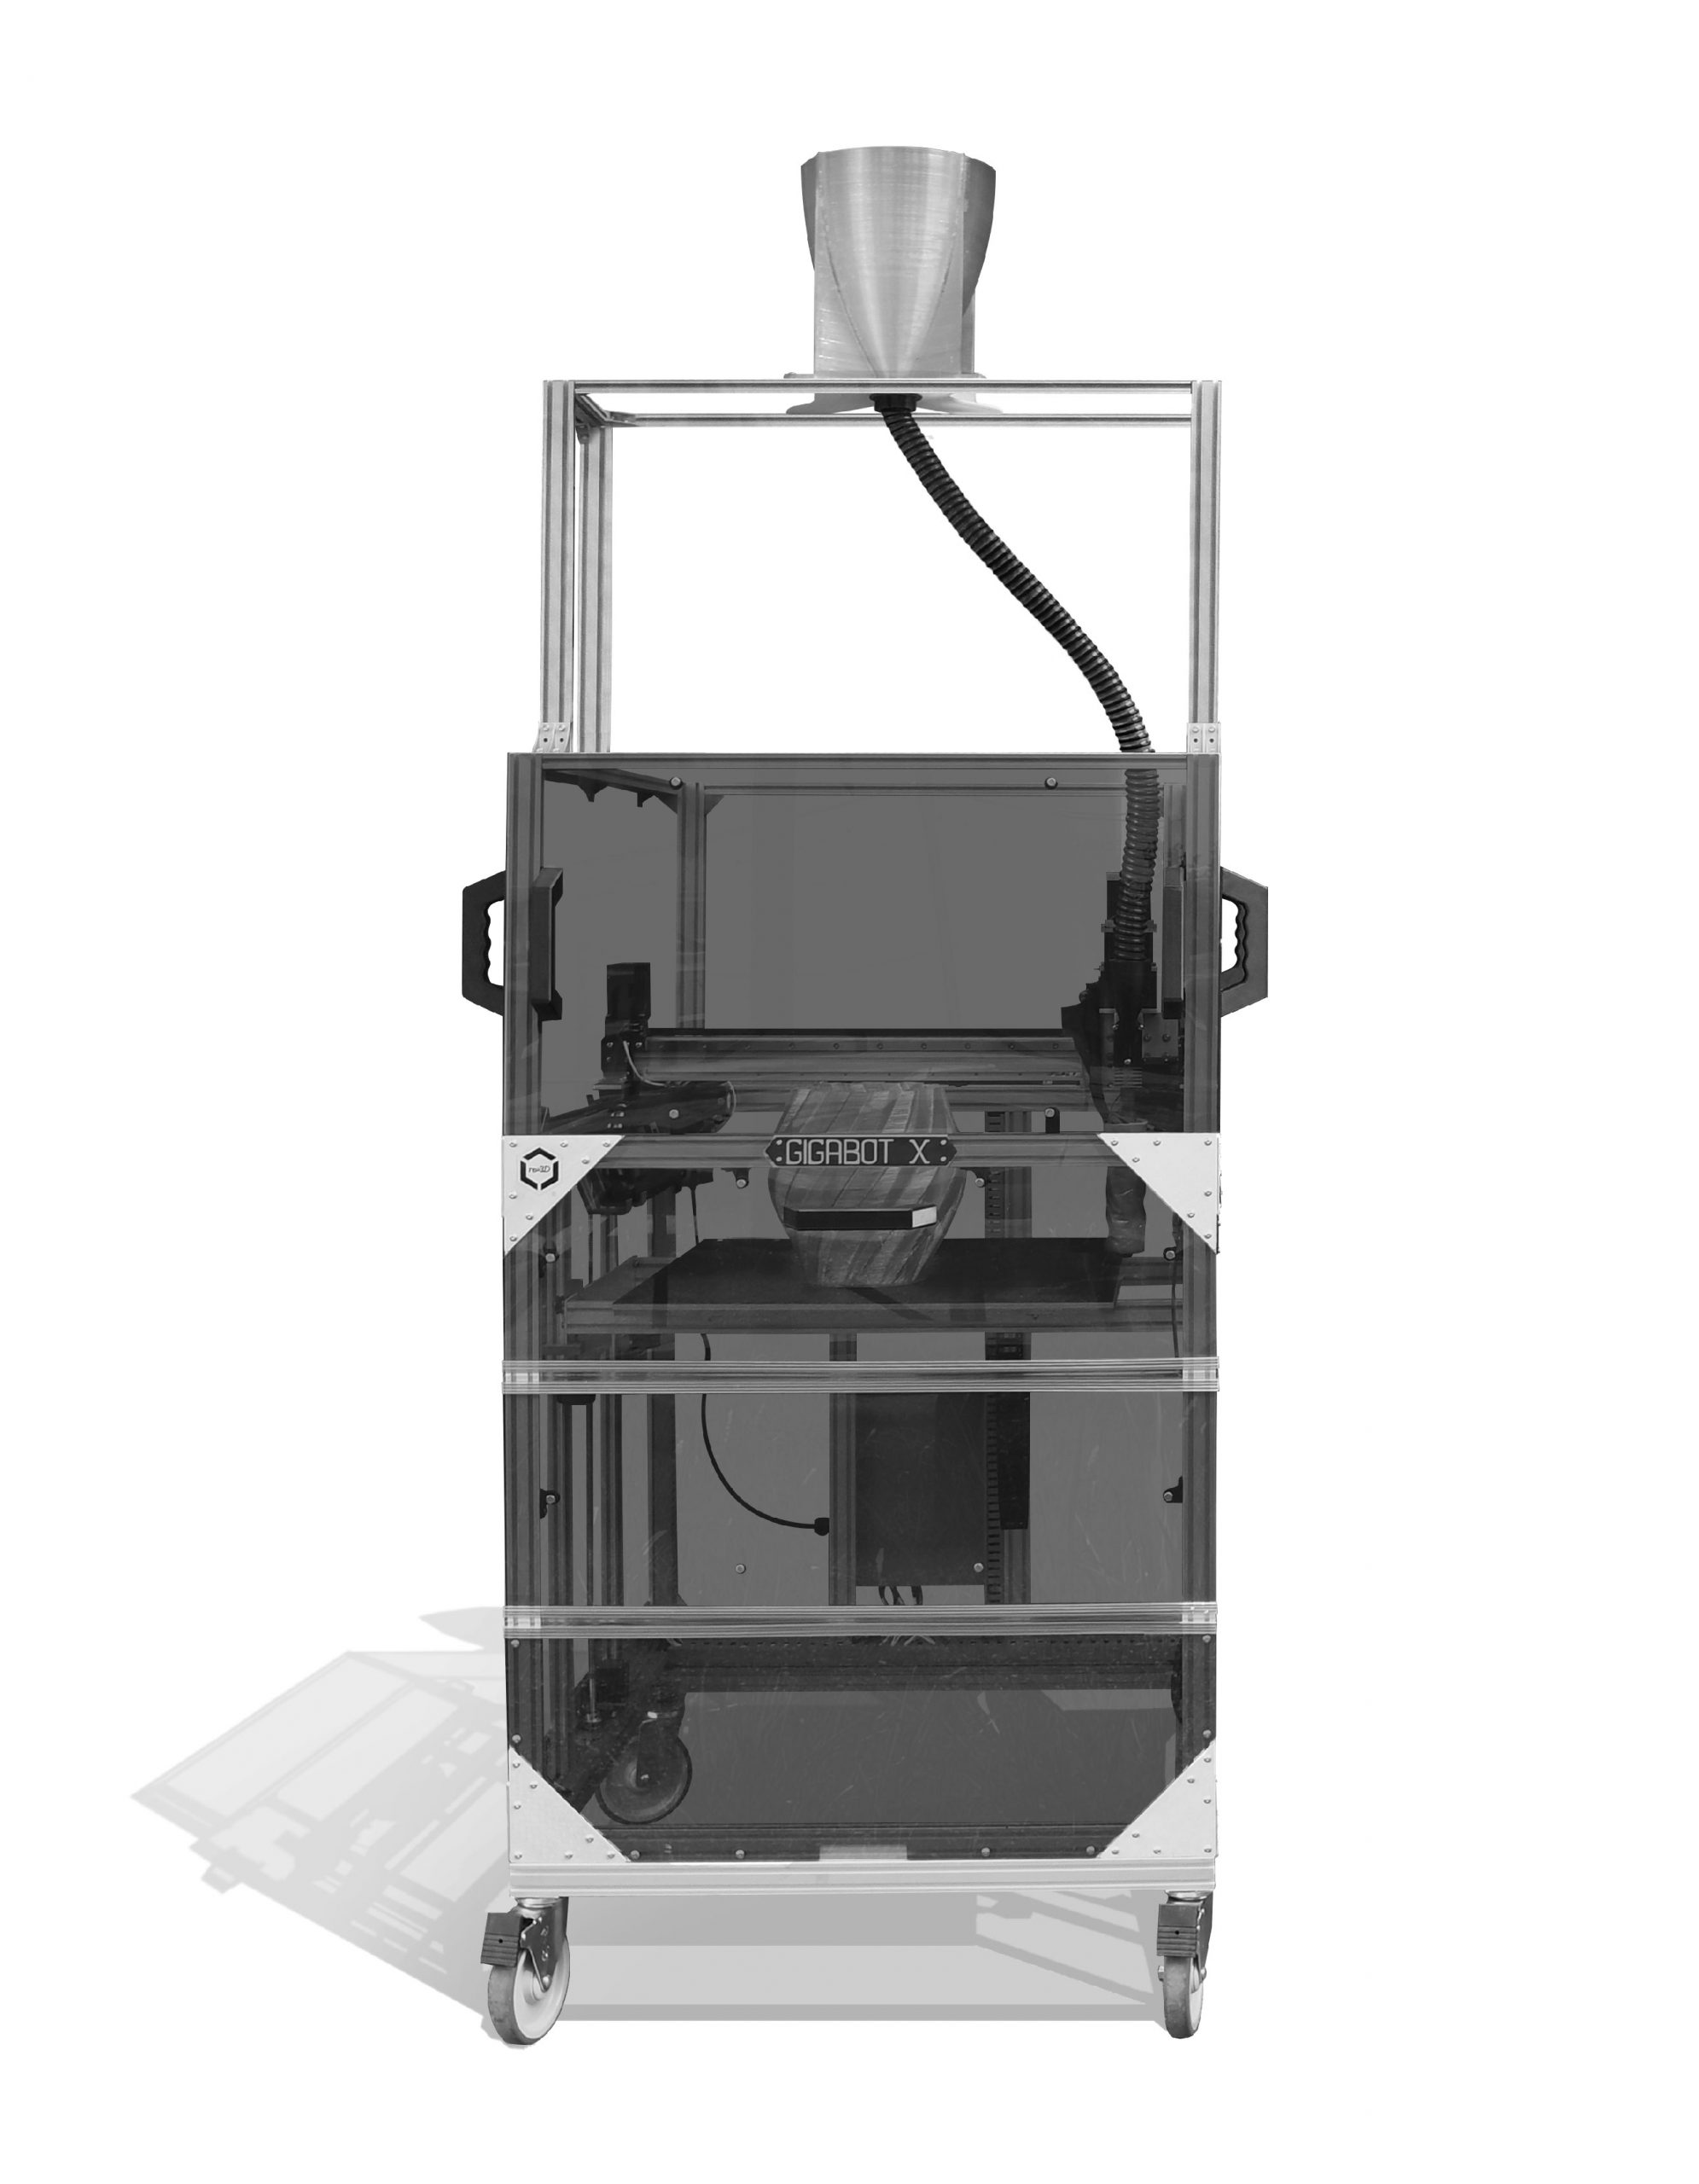
Two years ago we had the perfect opportunity to finally fund the creation of our Gigabot X 3D printer. The first was the WeWork Creator Awards, which awarded us the ability to expand our team, our facilities, and our R&D budget. The second was a Phase I SBIR (small business innovation research) grant from the National Science Foundation (NSF). The NSF grant was specifically for the creation of a 3D printer that could print from plastic waste. Subsequently we have received a Phase II award for this project to continue to develop an entire ecosystem to grind, dry, and feed plastic waste into the Gigabot X (GBX) printer that was developed as part of the Phase I grant. The dream was alive! The GBX was real!

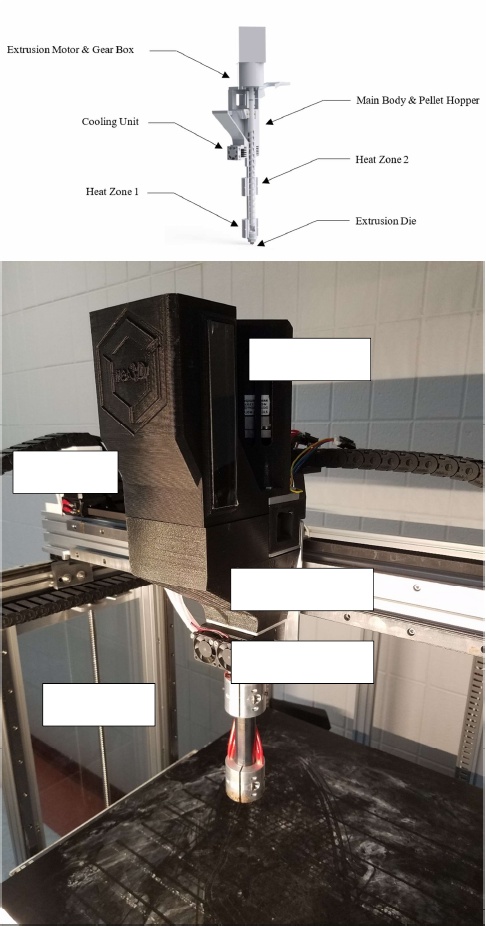
The Gigabot X, pellet printer

Reverse Pitch:

Each year, the City of Austin, and specifically the Austin Resource Recovery department hosts an event called Reverse Pitch. Reverse Pitch is unique because it looks for companies within the Austin community who are creating waste that could be put to use in other areas or other businesses. The event starts with the Reverse Pitch, where the companies who are creating waste, pitch their product (trash) to businesses, entrepreneurs, or anyone interested. They talk about the quantities, the types of waste being produced, and any other pertinent information that might be useful.

Next, those who are interested in using one or more of the pitched waste-streams, put together a presentation and create a business model/use case around either creating or augmenting their business using the waste.

This past year one of the companies, HID Global, was pitching plastic polycarbonate (PC) sheets. They were the result of creating ID cards in their factory, and they were producing it in staggering amounts. The challenge was to figure out what we could do with it. I had the opportunity to go up to North Austin and tour the HID Global facility (which is amazing!) and see the process, meet the people, and get to know the waste-stream and company a little bit better. It is really amazing that this billion dollar company would be so warm and welcoming.

PC is a very common 3D printing feedstock. Our filament printing Gigabot prints with PC on a regular basis, in fact we use PC printed parts in all of our Gigabot printers. So I knew that it would be possible to print with this waste stream. Next, the entire process for HID to create their ID cards is done in a ‘clean-room’ environment, so we knew that the waste was extremely clean – another advantage because dirt can cause clogs and other issues in the printing process.

I made the pitch for a line of furniture, home goods, and art pieces to be printed on GBX directly from the HID PC waste. It was an idea that I called, Design: by re:3D. And, we WON! It was extremely exciting to win the pitch competition, and we received $10,000 to jump-start the idea (You can see the video here).

But then the joy turned into nervousness – we needed to divert 2,000 lbs of HID PC from the landfill, and quickly! What were we going to do with all of this stuff?

Serendipitously enough, one of the judges for the Reverse Pitch just so happened to work at the Austin Habitat for Humanity ReStore. We struck up a conversation after the competition, and set up a meeting with their team to discuss the idea of turning trash into treasure, and then selling it at the ReStore.

Talk about a dream scenario!

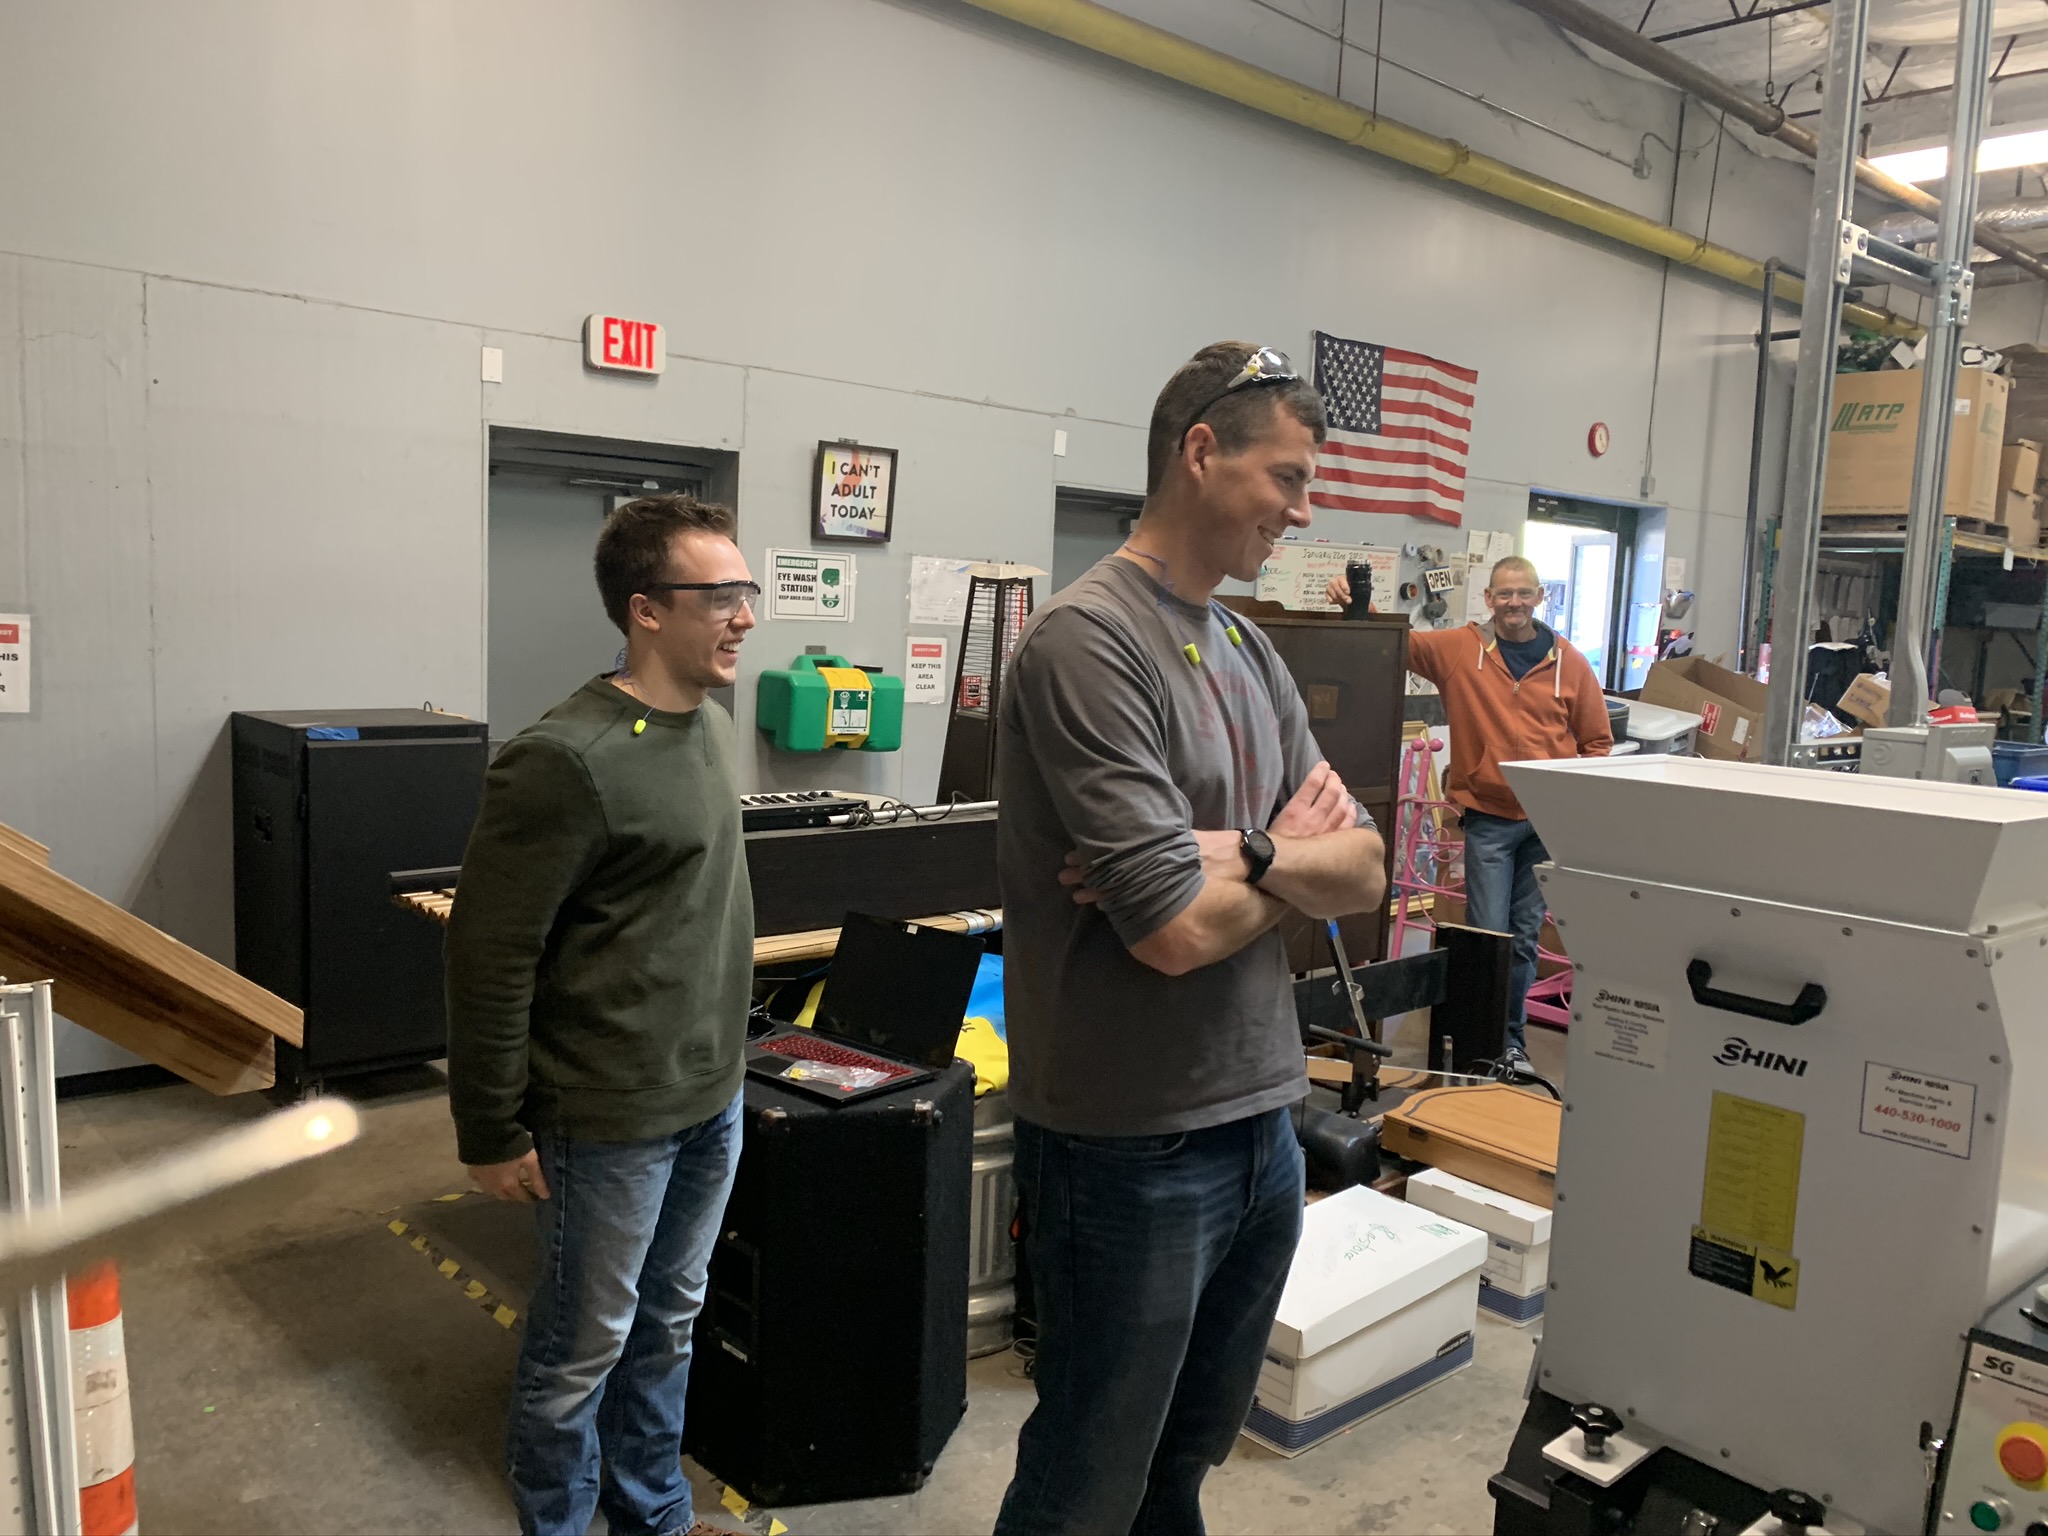
It has been a lot of work to get to this point, almost a year later! The ReStore allowed us to install a small industrial grinder in their back room, and allowed us to send interns over to spend HOURS grinding away at the 2,000lbs of PC that we had picked-up from HID.

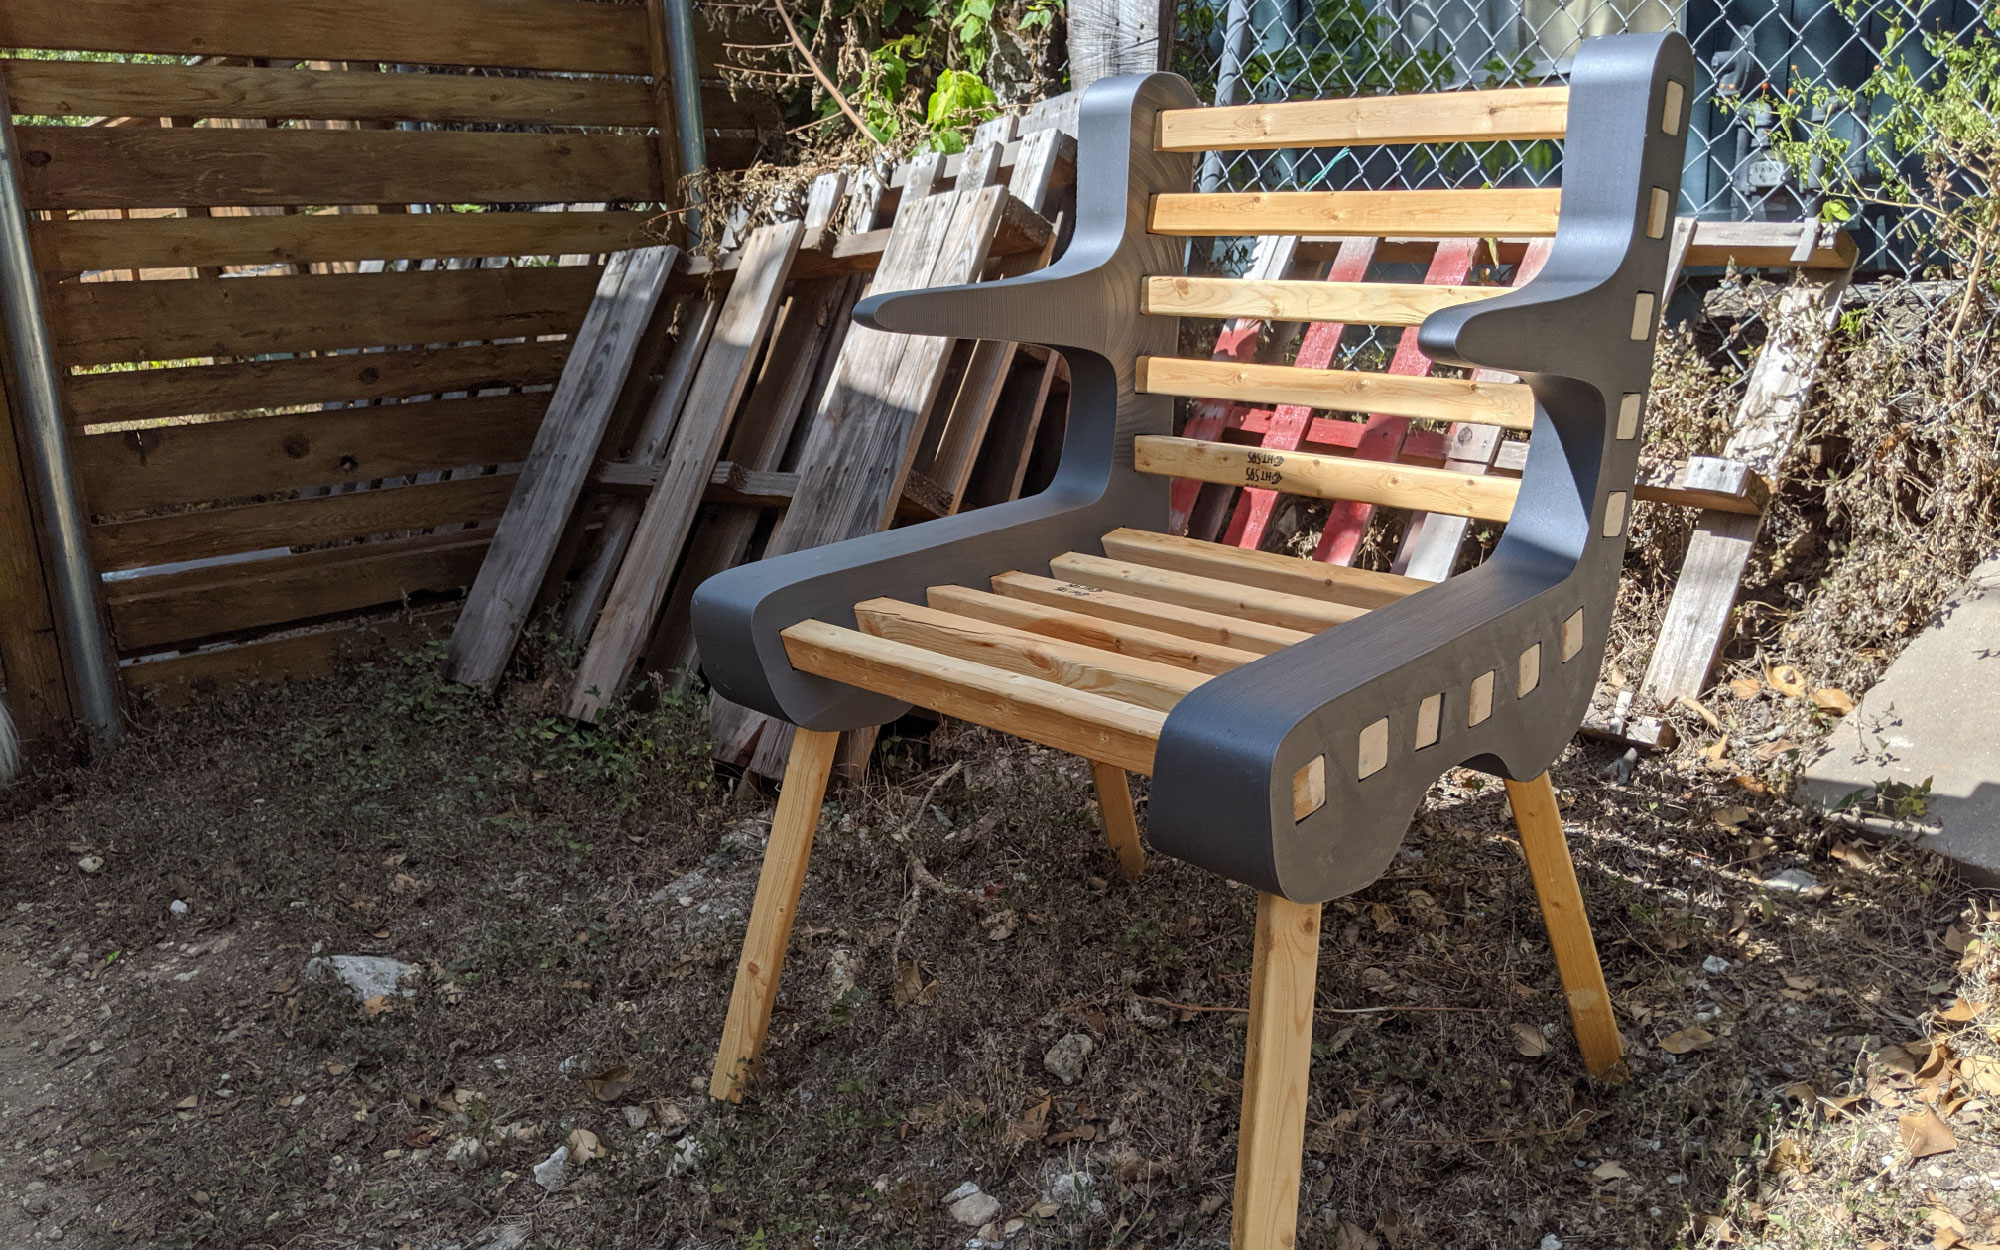
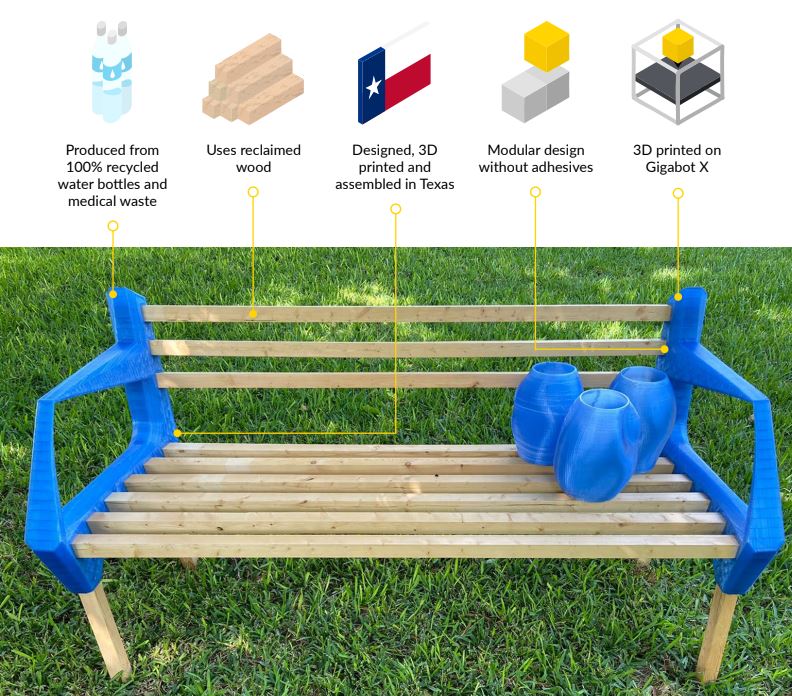
We are so excited to announce that the first pieces of furniture are being displayed and put up for silent auction at the ReStore today! These pieces have been printed from waste plastic, this first batch is from plastic water bottles specifically. As we progress with our technology, and hone in our printer settings we are confident that we will be able to print objects from the diverted PC. We have successfully printed small vases and other objects, and we are going to be moving up to furniture shortly.

We are really looking forward to growing our relationship with the Habitat ReStore. And we are so thankful for the continued support from the City of Austin, the Austin Technology Incubator (ATI), and all of the many many more people who have believed in our story and helped us along the way. We look forward to continuing this work, diverting more trash from the landfill, and growing our business and team here in Texas.

On designing this collection:

By Mike Battaglia

When looking around reStore, I was looking for something that would usually be in stock and was an easy shape to design around. For my first piece I settled to design around 2x2s after seeing a bench outside made entirely of them.

The first design relied on glue to keep it together and I ultimately decided that this wasn’t sustainable. To complete the loop, I wanted the chair to be able to be disassembled, ground up, and turned into new feedstock for GBX. The second design had screw holes so that the 2x2s could be fastened and removed/disassembled. I definitely prefer this design but have already moved on to other ideas that will be even easier to assemble.

Lead Designer: Mike B. Assembling Furniture

Designing for GBX requires adding a little bit more tolerance than you would for a regular print. The layers are larger and slightly less consistent. I learned the hard way when realizing that the tolerance I had designed in was not enough, and had to plane down each piece of wood to fit.

Currently I am experimenting with 3D printed molds for pouring reclaimed cement+polycarbonate scrap into to create side tables.

Check out a quick video about the furniture:

What do you think we should make next? Email: info@re3d.org and let us know!

Mike Strong

Blog Post Author

Creating Water from Air: WATRIC Energy Resources

Karlos Miranda was in his first year at University Of Puerto Rico Mayagüez Campus when Hurricane Maria hit.

Bringing with it 150 mile-an-hour winds and several feet of rainfall, the storm devastated Puerto Rico, destroying homes and wiping out power across the island. But it was the destruction of the water system that made the biggest impression on Miranda, spurring him to action.

“I remember the first time I went out looking for water and saw the lines of people waiting for an oasis truck. It was a never-ending line of people desperate to fill their containers with water,” he recounts. “All these people – me included – were lucky to live in a place where water trucks were able to come, because there were others in more isolated areas or places with blocked roads who did not have access to water for a longer time.”

It jolted him that even the people who were seemingly well-equipped for such a natural disaster – homes with solar panels and backup generators – were crippled by the loss of running water. “After Maria, many Puerto Ricans started buying electric generators or moving to renewable energy to decrease the impact of a blackout, but when it comes to water there is not much to do in order to be more resilient.”

The relief effort was also woefully botched: who can forget the image of thousands of water bottle pallets left to expire on a hot runway in Ceiba?

“We saw a need after the hurricane: a need in water transportation, a need of micro-grids, and a gap in home-sustainability products,” Miranda says. “The need for an alternative water source – it was very obvious in that moment.”


Finding Solutions to Problems Exposed by Maria

As a student in the mechanical engineering program with a penchant for tinkering, Miranda often attended on-campus workshops for startups. One such event was put on by a local organization, Parallel18, which hosts a five-month program in San Juan that provides grants and mentorship to young companies in an accelerator-like format. Under the Parallel18 umbrella is Pre18, a program for even earlier-stage startups that may still be in the prototype phase.

Miranda pitched his idea and was accepted into Pre18’s second cohort.

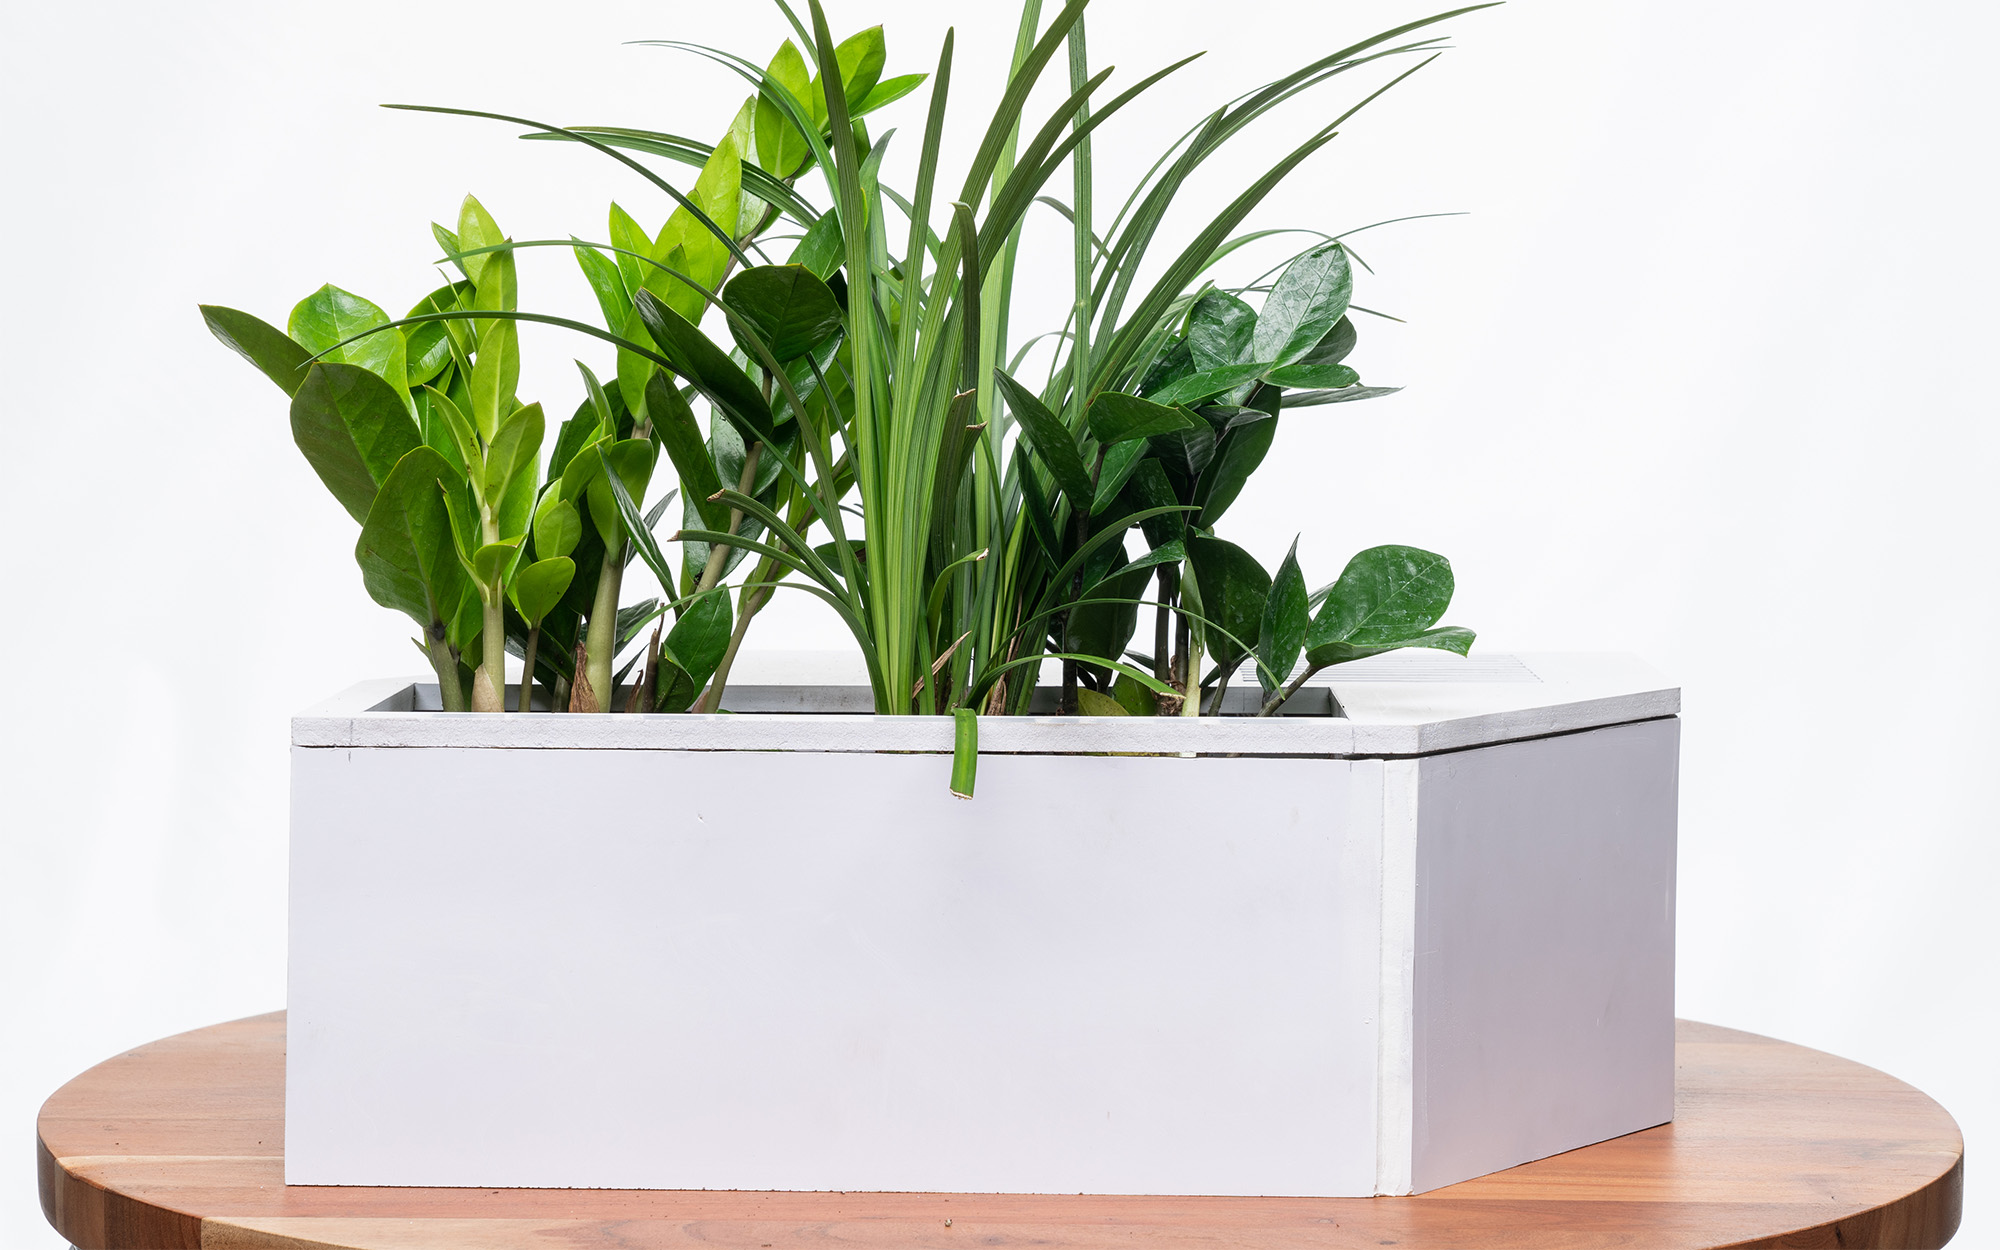
That idea is now WATRIC Energy Resources, Miranda’s answer to the lack of off-the-grid systems for use in the event of a natural disaster, or simply to improve one’s carbon footprint. WATRIC’s mission is to develop home solutions, accessible to the average Puerto Rican, to extract potable water from the surroundings so that water security is never a concern.

“[Maria] has been in my mind since, and is what motivated me to start looking for future solutions in water access because…I am aware that this same situation could happen again to Puerto Rico, and any place prone to natural disasters like hurricanes.”

Miranda is working towards this solution through the creation of WALT, a wall-mounted device that condenses naturally-occurring moisture in the air, turning it into liquid water. Using the surrounding air, the technology makes use of the Peltier effect – in conjunction with software to allow the system to adapt in a wide range of environments – to generate one to two gallons of drinkable water a day.

“A technology like WALT could mean relief in a natural disaster that causes a water blackout,” Miranda explains. “We also think about WALT as part of the effort for achieving independence from the grid. We want to bring the same relief that people have when they can generate their own energy at home, but with water, and a future in which total home independence from the grid is a possibility.”

A Growing Startup Community in Puerto Rico

Over the course of about six months, Miranda was able to move rapidly from idea stage to workable prototype thanks to the help of a growing startup community in Puerto Rico, one which has blossomed from the rubble of Maria as local entrepreneurs sprang to action to create solutions to problems left exposed in the wake of the storm.

“Here in the island, this is – I would say – the first time that the startup community is really having growth,” Miranda muses. 

One such entrepreneurial hub fueling this renaissance is Engine-4, which, at 24,000 square feet, is the largest coworking space in Puerto Rico. Housed in an old civil defense base, its mixed-use facilities are home to an array of equipment like soldering tools, oscilloscopes, and 3D printers. Miranda found himself at the space by way of Parallel18, where he met a fellow member – also part of the Engine-4 world – who introduced him.

He was blown away by the facility. “I didn’t know that they had so much resources in there for hardware prototyping and for hardware start-ups,” Miranda recollects. He was more accustomed to seeing young, software-focused companies, both in Puerto Rico and in the news in general. “Hardware start-ups are more difficult and less common in the island…so I was impressed that [Engine-4] had all these resources, 3D printing, everything.”

Both Parallel18 and Engine-4 host Gigabots for their members to use as a prototyping and design resource. Miranda took advantage of the two locations during the creation of WALT, printing full-scale models that dwarved the build volume of his desktop 3D printer at home.

“With these kinds of programs, we not only have the funds, we have an alternative to use resources directly,” he explains. Pre18 provided them with monetary grants, and, equally as beneficial, Engine-4 offered them access to machinery that would have otherwise been prohibitively expensive.

Miranda doesn’t know how WATRIC would have gotten to a final design without 3D printing.

He describes the early design stages, modeling the unit using CAD. “We thought that it was functional in that moment,” he recounts, “but it wasn’t until we had the physical prototype actually printed that we were able to improve it and to see what needed to be changed.” The phenomenon is all too common for product designers. A 3D design that seems watertight on a screen immediately gives up its flaws once its form enters the physical realm.

“Prototyping is our daily activity,” Miranda says. “3D printing is helping us to iterate. When we make our prototype, we see where we need to improve.”

The model they printed at Engine-4 clocked in at around 26 hours, designed specifically to allow them to move seamlessly from 3D printing into injection molding.

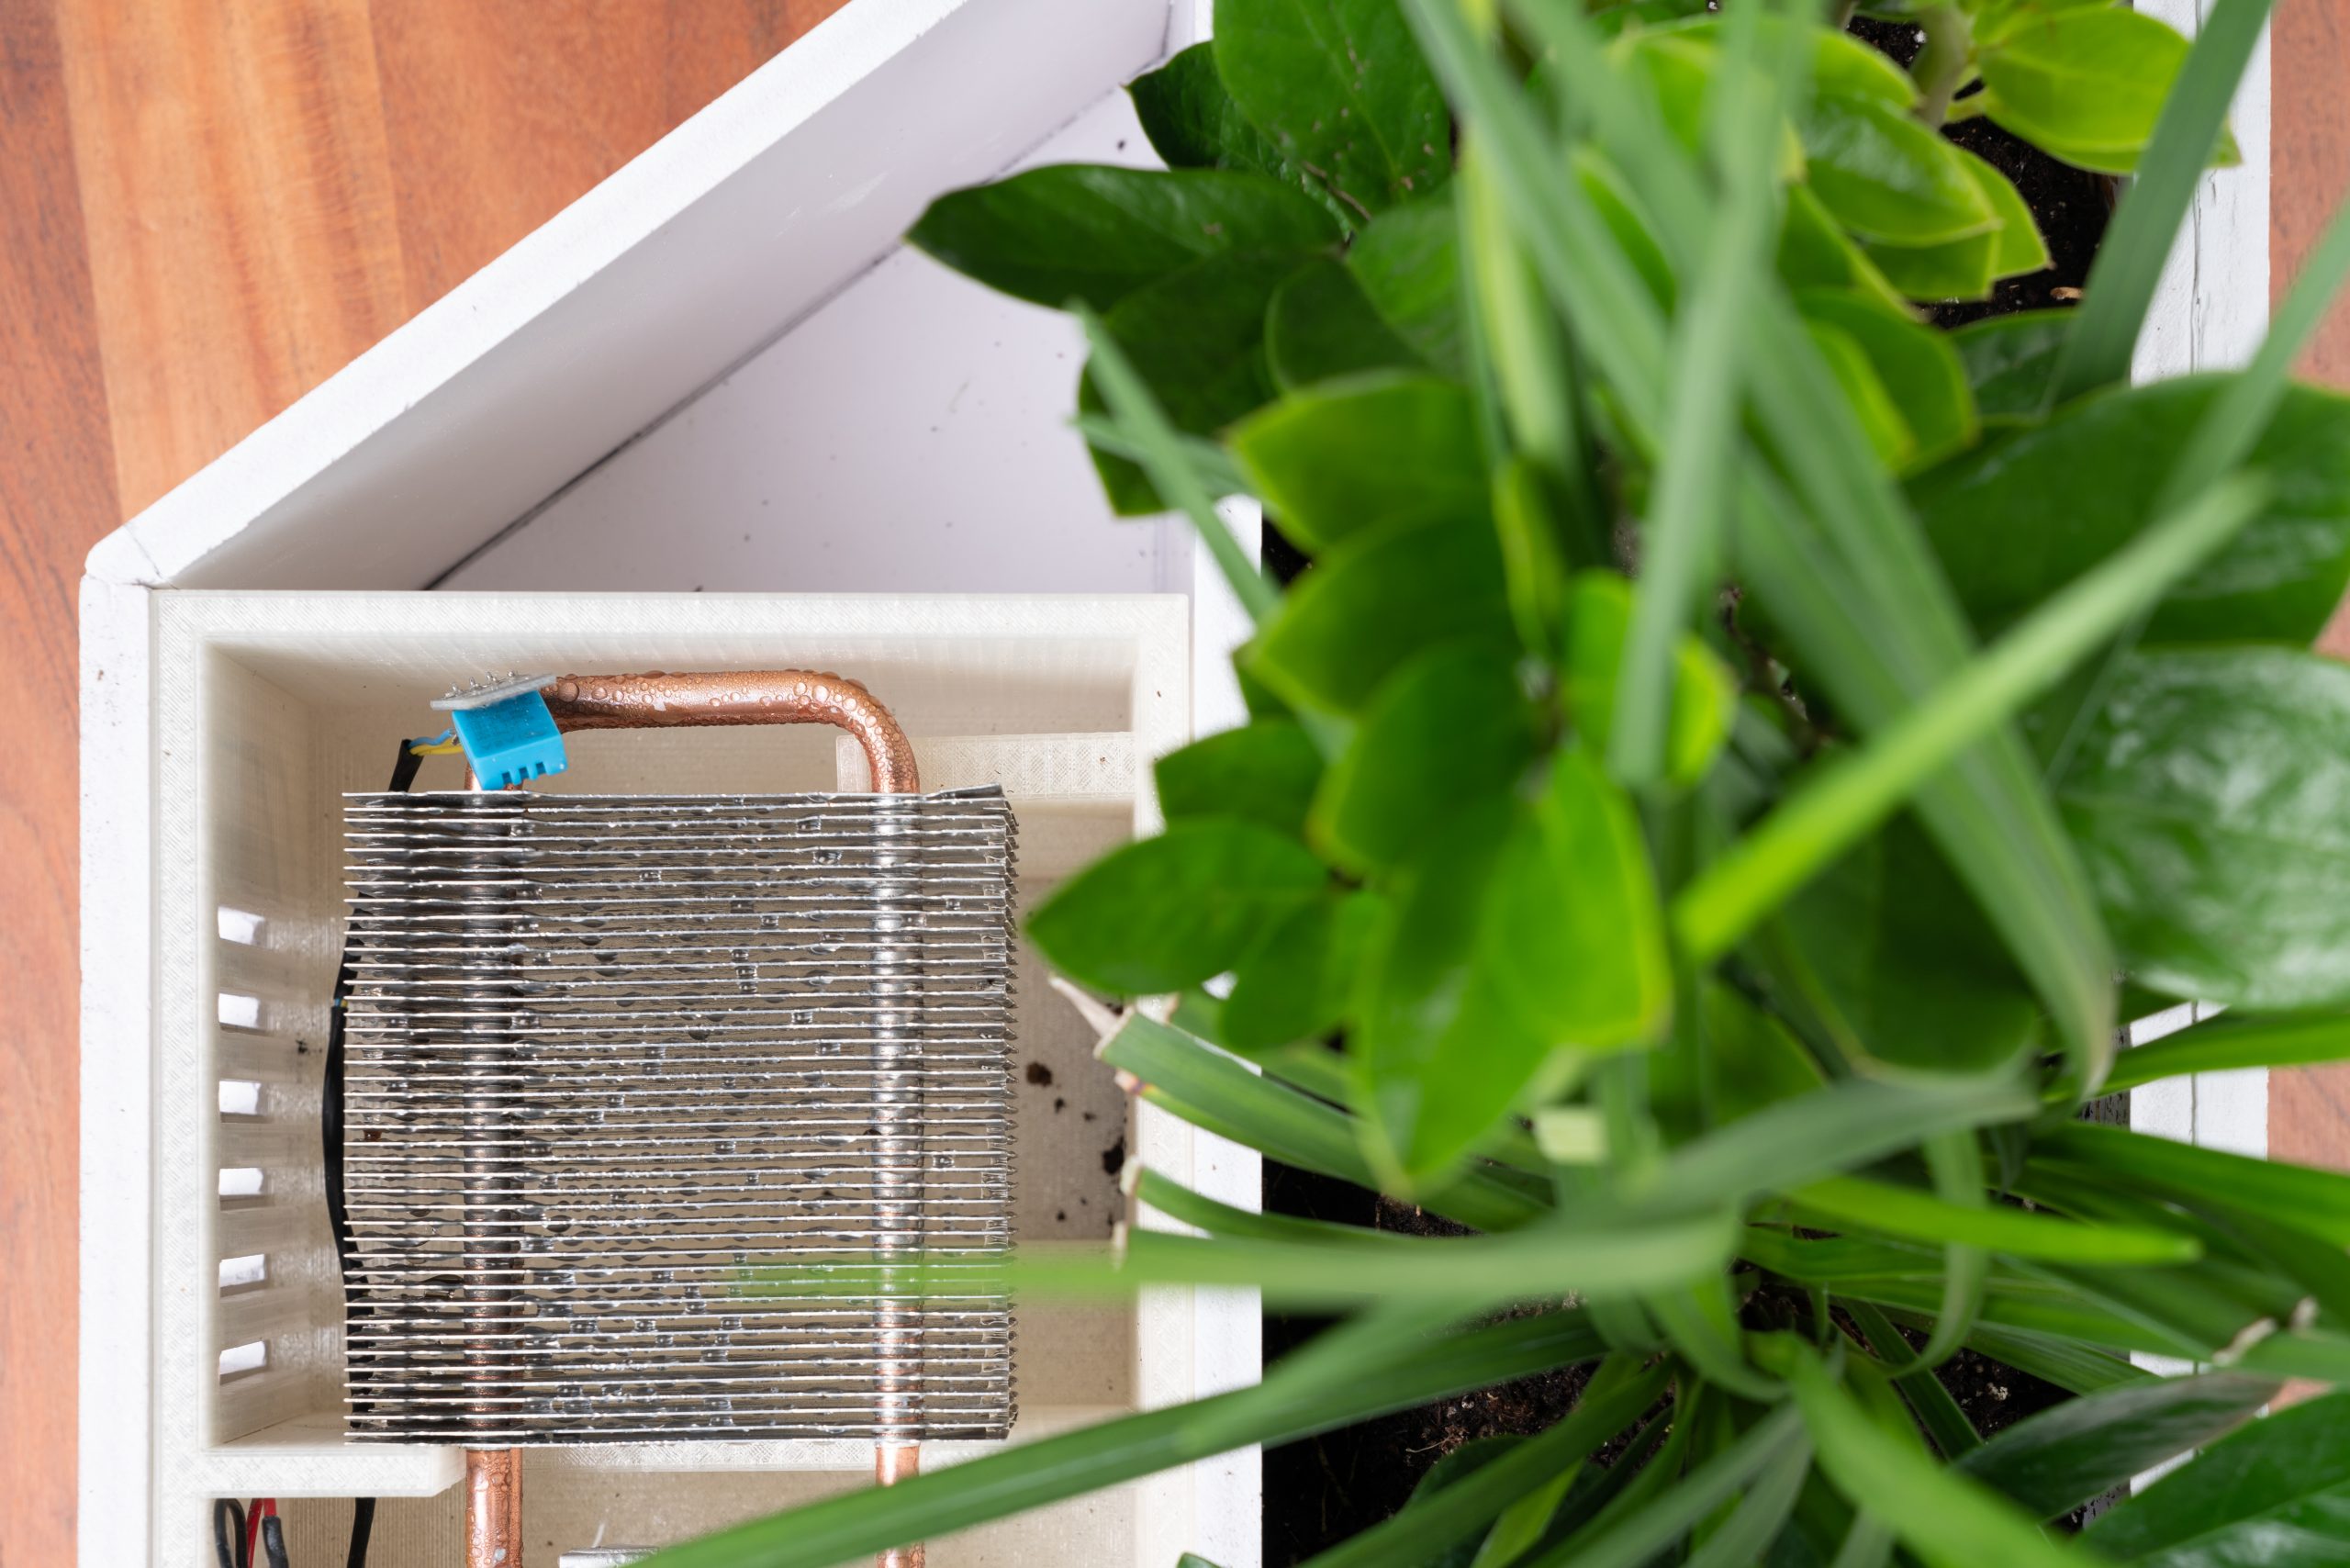
While WATRIC Energy Resources finishes the development and scaling of their drinking water product, they have created a smaller, spinoff version to get people a taste of their technology’s capabilities: a smart indoor plant watering system called WALTY. They will be launching a Kickstarter for this product, using funds raised to move forward with their larger mission of potable water-producing systems.

Follow WATRIC’s progress and get notified when their Kickstarter launches, at https://watric.com/

Morgan Hamel

Blog Post Author
How to Turn Your 2D Logo Into a 3D Print Using Rhino

Everyday we see logos wherever we go. Whether it’s a billboard, flyer, or even a blimp, there’s a good chance it has a logo. One place logos are appearing even more is on 3D prints. 3D printing makes it possible to design and print a variety of objects with a logo stamped right on it. Although it sounds complicated to turn a logo into a 3D print, the process is easy!

You may have seen our previous tutorial on turning a logo into a 3D print, but over the years we’ve come up with even more tips to help your logo shine. In this updated tutorial, you’ll learn how to take a logo from an image to a 3D print.  In this demonstration we’re going to use Rhinoceros 3D, but there many tools including SolidWorksTinkercadFusion 360, or Onshape that could achieve a similar result.

Before you begin, you will need a vector file of your logo (usually in .ai, .dxf, .svg, or .eps format). If you don’t have a vector file, you can convert your raster file (.jpg, .png, .bmp) using an editor like Adobe Illustrator or Super Vectorizer. Online converters exist as well that automatically take your raster image and turn it into a vector image. In the tips and tricks section later, we will show you a third way to convert a raster file directly in Rhinoceros 3D!

How to Make a 3D Logo

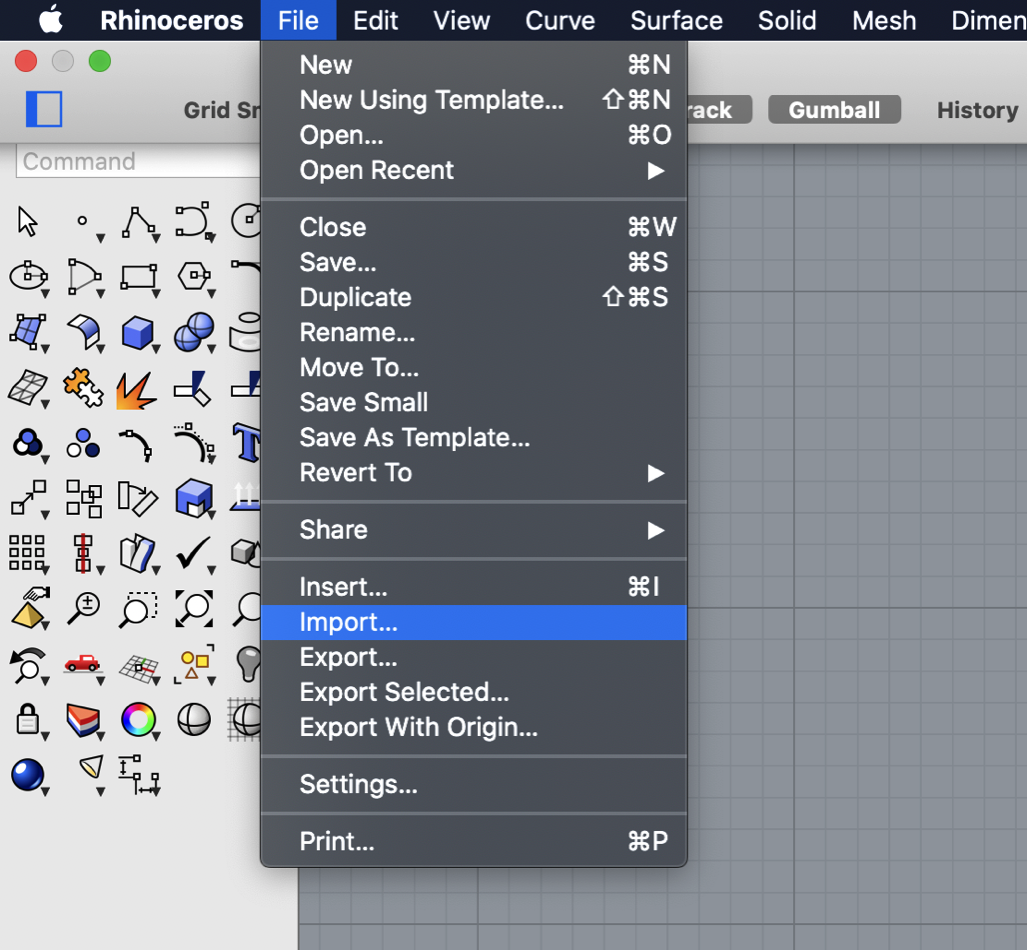
Once you have your vector file, start Rhino 3D (or your CAD software of choice) and import your vector file. If your logo is flipped or upside down, you can use a simple mirror command to reorient the logo. Sometimes a vector file will leave a border when imported. Be sure to delete these border lines too! What you should be left with is the logo design you want to use.

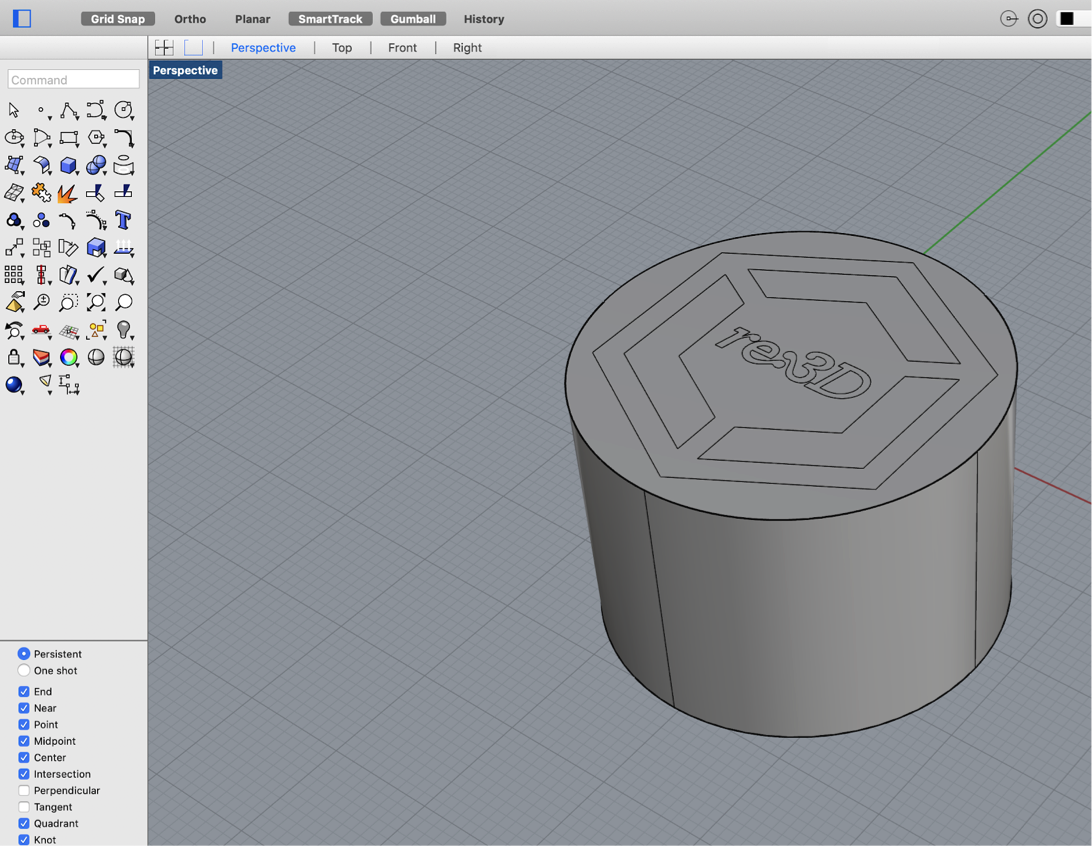
Next, choose a shape you want your logo to live in. This can be whatever you want, so don’t be afraid to get creative! In our example, we are housing our re:3D logo inside a circle. Once you have your shape finalized, extrude it outward. The extrusion length should be around half to two-thirds the height of your logo. We will use this shape later to make a platform for our logo.

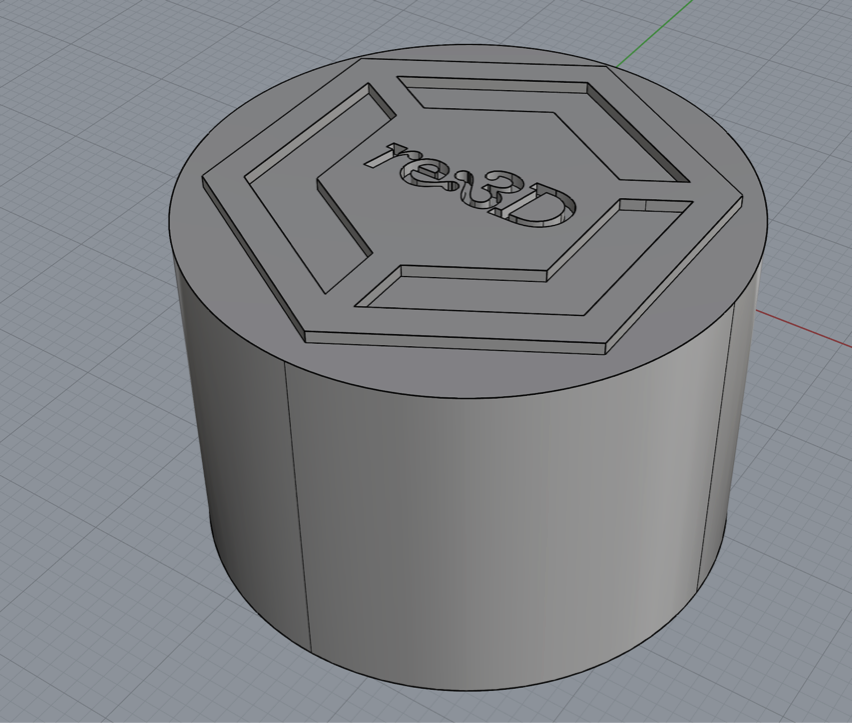
With your shape extruded, you now want to make your logo pop! You have a choice here, you can either extrude your logo outward or cut your logo inward. In our example, we extruded the re:3D logo out of the cylinder’s face. Be sure you don’t cut or extrude too far, or your logo will be hard to see on the final model. The example we have is a good distance for most logos if you’re unsure.

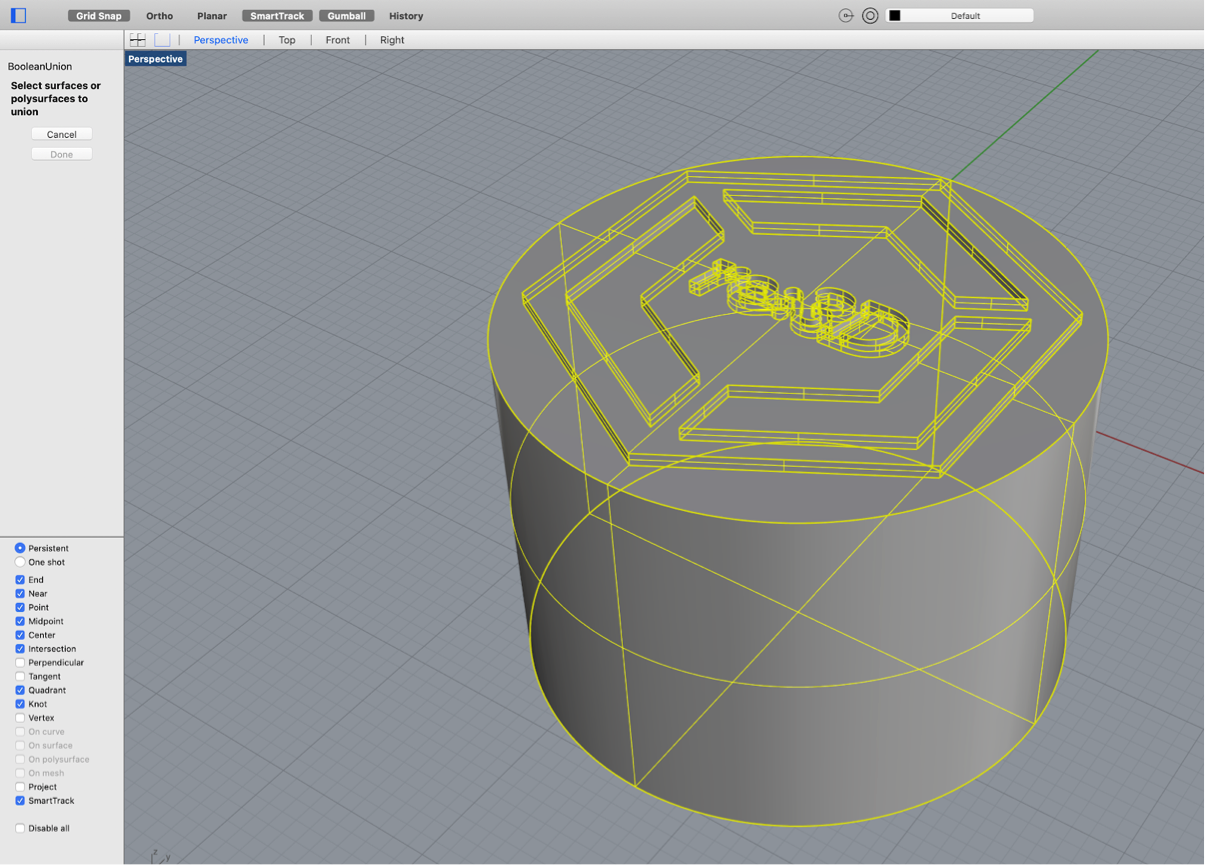
You now need to make your model solid. Although your logo may appear solid on screen, 3D slicing software will get confused if we don’t join together and solidify all the parts of our model. To join everything together, we perform either a boolean union or boolean difference to remove all the overlapping borders and make our model solid. This is important: if you extruded your logo from your shape, perform a boolean union. If you cut your logo into your shape, perform a boolean difference. Mixing these up could ruin the work you’ve put in so far!

Next, you need to rotate our shape how you want it to sit on a table. Rotate the model so the logo is facing slightly upward. Not only does this make it easier to see your logo, it also helps eliminate overhangs once you print it. Once you’ve positioned your logo how you would like it, look at your logo from the side and draw a horizontal line. Use Rhino’s trim command to cut through your shape and the cap command to seal the hole. For some CAD software, this step may look different.

You now have the basic shape of your tabletop logo! From this point, you can get creative and slice more off your model using the same trim and cap method. Depending on the design of your logo, you can use design features to support your model. For example, we use the shape of the re:3D hexagon to support our final model. Once you’re satisfied with your logo design, export it as a .stl file, slice it in your slicing software, and print it!

Here are a few tips and tricks we found when designing a logo print:

  • If you don’t have a vector file, you can use your CAD software to fix this! In Rhinoceros, import your logo by going to View → Background Bitmap → Place. This inserts your image on the plane and lets you trace out your logo using a sketch!
  • If you want your logo to sit up straight like a sign, extrude or cut your logo at an angle to eliminate any overhang issues.

A video of the process is also available below:

Still unsure about making your own 3D printed logo or looking for a more complicated design? Don’t worry, we can design and print your logo for you!

Happy Printing!

Mike battaglia & brian

Blog Post Author

Pamton 3D: Advice from a Contract 3D Print Business Veteran

“If the house catches fire, screw the diamonds – I gotta bring my steps.”

The stairs leading to the basement of Pamela Szmara’s house are what she’s referring to, and it’s what’s on them that’s so valuable. The treasure trove is visible only once you reach the bottom and look up. Covering the exposed wooden portions of the staircase are pen marks: WiFi networks and passwords, login information to unnamed accounts. It’s a physical password manager.

It may seem like an odd solution, but it fits neatly into the package that is Pam, owner of 3D printing service bureau Pamton 3D.

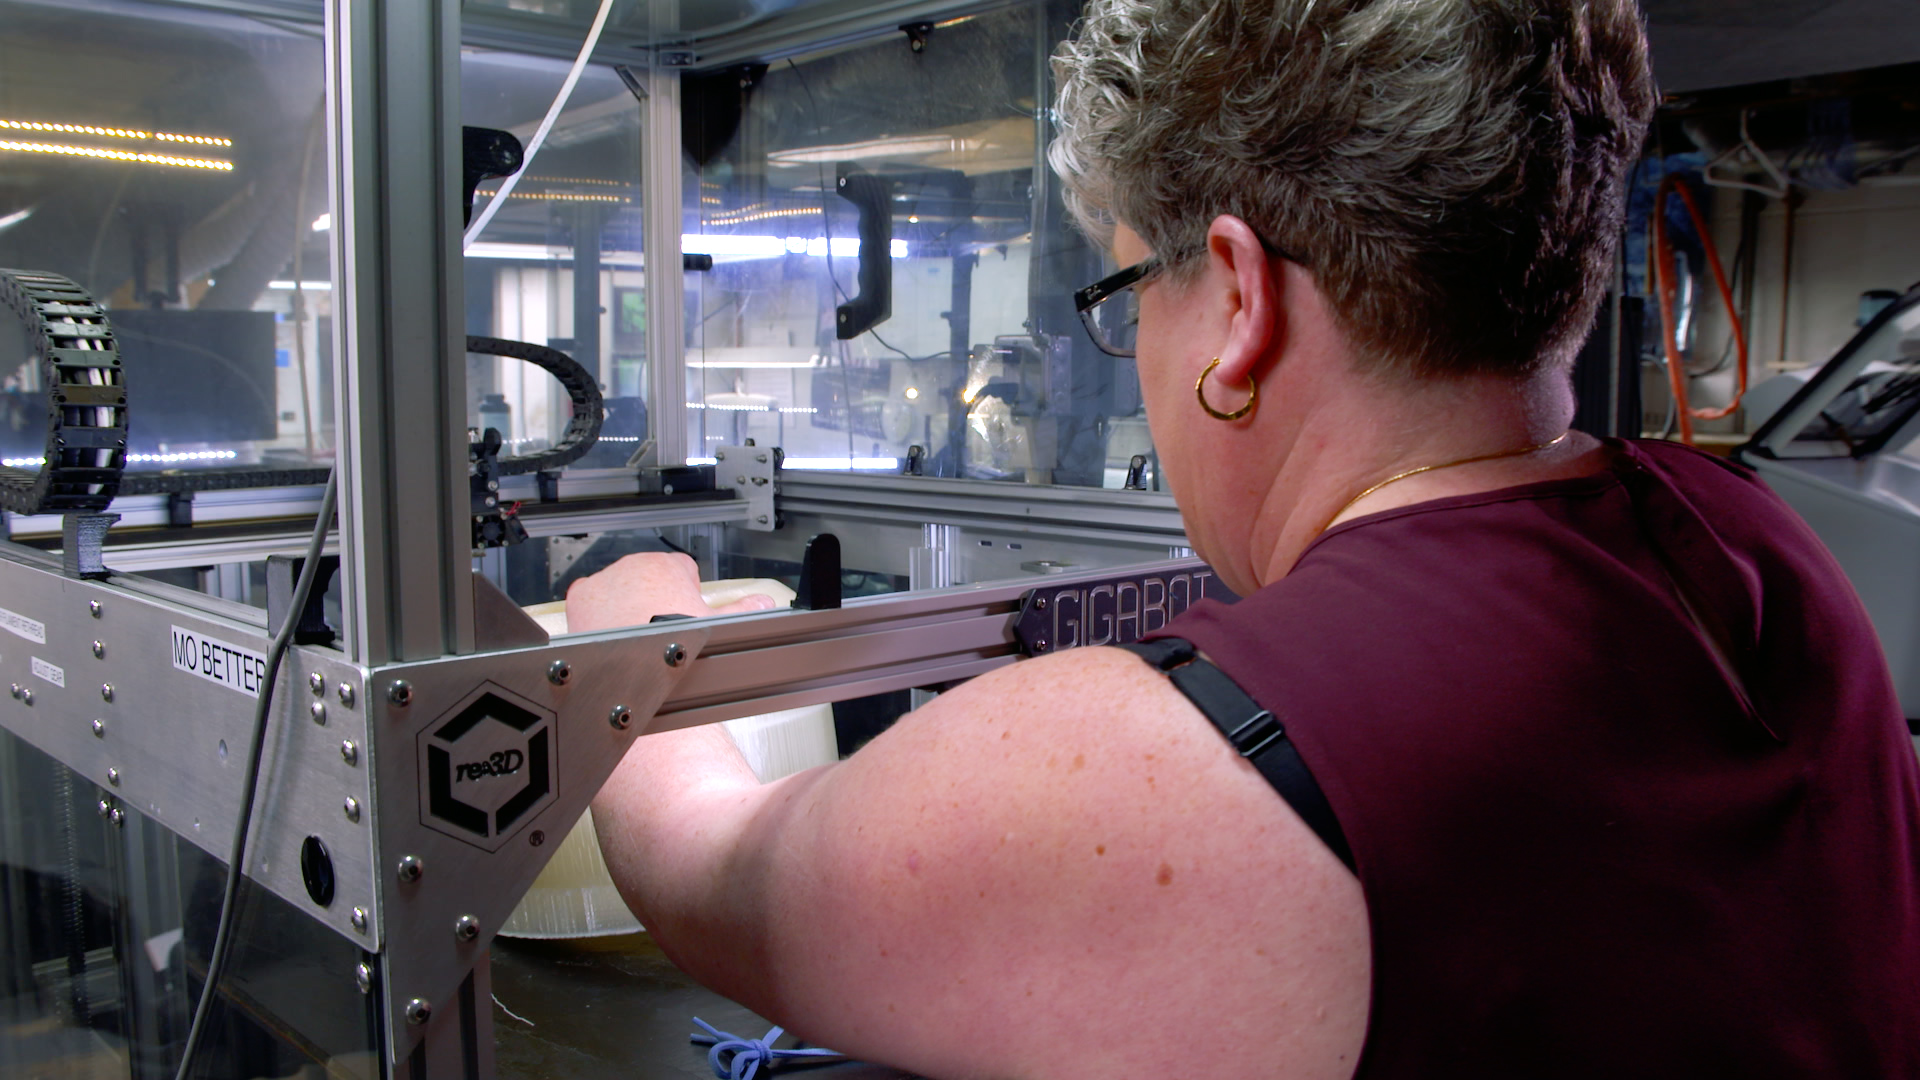
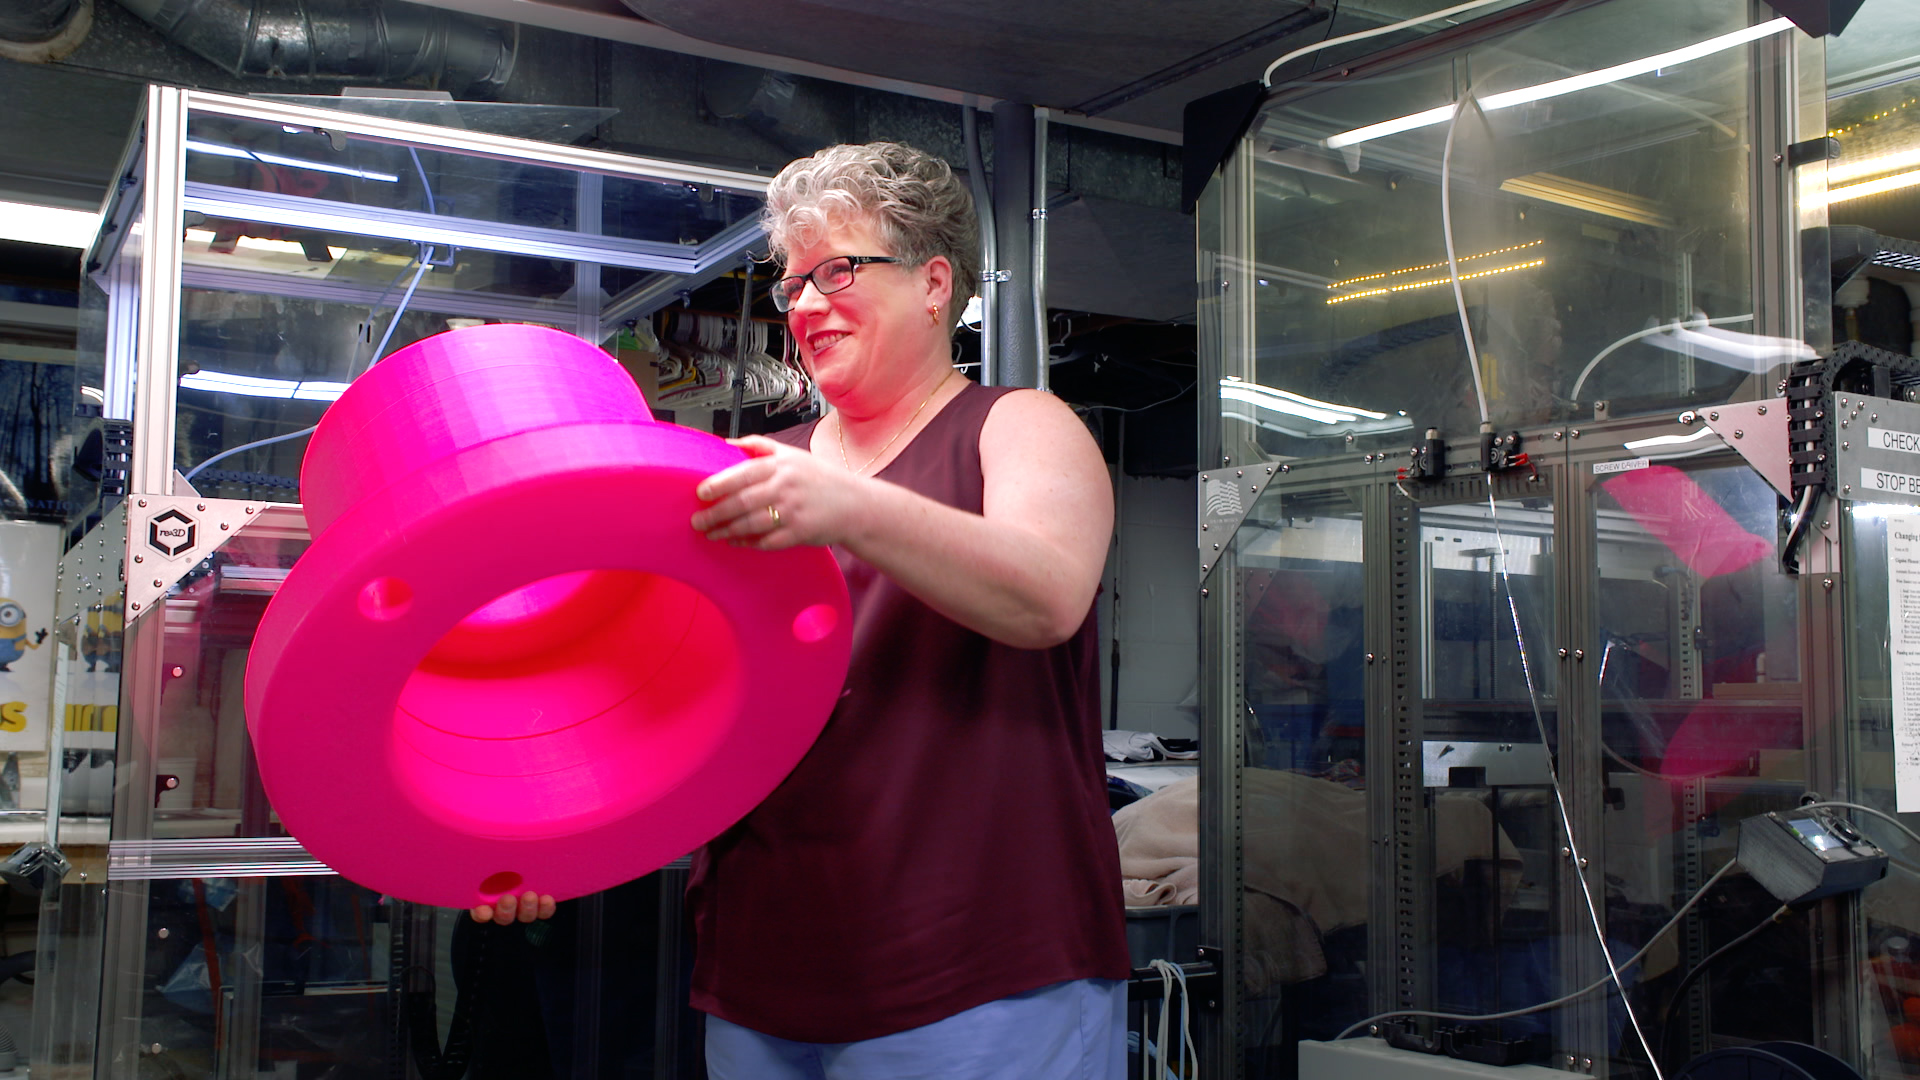
The basement is home to an ensemble of 3D printers, among them two Gigabot XLT’s, to whom Pam affectionately refers as “the girls.”

“Our Gigabots are named,” she explains. “They’re Gigi One and Gigi Two.” Spelled G-i-g-i, she clarifies, but pronounced GG.

“And when the third one gets here,” she continues, “she’ll be Gigi Three.”

The Start

Pam and her husband Tony got their start in 3D printing roughly two decades ago by way of teeth.

“I’m a Certified Dental Technician,” explains Pam. “And dentistry embraced additive manufacturing.”

The introduction happened early in Pam’s career, working with Great Lakes Orthodontics, which paved the path of additive manufacturing in her life. She learned the ropes on PolyJet printers; dentistry requires ultra-high resolution that is not doable on most filament-fed, or FFF, machines. After working with Great Lakes Orthodontics for nearly 30 years, Pam ended up forging her own path, starting Pamton 3D almost ten years ago. She credits her first non-dental 3D printing job to JollyPets, a name that remains special to her in the company’s history.

As business grew while the Pamton production capacity remained the same, Pam realized something needed to change. “With the PolyJet printers, we were limited in size and materials,” she explains. “That was the big push for us to branch out into other areas of additive manufacturing.”

The Pamton production bunker lies beneath a house on a quiet residential street in Youngstown, Ohio. Pam talks of the struggles of the Rust Belt city, and praises the revitalization that Youngstown-based America Makes, a national accelerator for additive manufacturing, has brought to the landscape.

It was at an America Makes convention that Pam crossed paths with re:3D cofounder Matthew Fiedler. She bought Gigi One on the spot.

The build volume of Gigabot allowed them to better keep up with the demand of their growing contract print business by offering not only options for people looking to do larger prints, but also by doing small production batches for clients. It wasn’t long before they again found themselves pushed to their limits of production capacity, and Gigi Two entered the picture.

“We needed it. The workload…” Pam pauses. “It was amazing. You never turn down an opportunity to be involved in a project. And what was happening is that the deadlines were coming too close. And that’s a great problem to have.”

Having two Gigabots has taken a lot of stress off their plate: they’re able to run multiple projects at one time, break batches between the printers, and offer large-scale capabilities to their clients. “The advantage of the Gigabot has always been size. The companies are able to come to us with these large parts,” she says. Their longest print clocks in at over three weeks.

“The size is the thing that really sells a lot of the clients,” Pam says. “‘Woah, you can print it this large?’ ‘You can print that many pieces?’ Well yes, we can. And once companies hear about this, the work will continue to follow.”

And follow it has. Pam recounts the early days of their jump into large-scale filament printers, musing that life has never been the same since. The trajectory of their workload has been trending upwards ever since. “We had grown to where we needed the second printer,” she says, “and where we’re at right now, we will need a third.”

The Work

“From soup to nuts” is how Pam describes the Pamton 3D business model. “If it fits, we’re gonna print it,” she says.

They have done projects for large manufacturing facilities and for students, steel mills and environmentalists, construction companies and building restoration teams, for entrepreneurs who want to prototype as they bring a physical product to market. Pam recalls a job producing models for an environmental organization working to educate the public about how water should flow away from their homes and into reservoirs in order to better control pollution.

They’ve helped old industries threatened with obsolescence to replicate parts they need that are no longer being manufactured, components with no drawings or STL files. “We’re breaking new ground for them, and that’s the really exciting area of additive,” Pam muses.

The darling of their client list is NASA Glenn, who approached them at a large additive manufacturing show in Cleveland looking to produce batches of prototypes of the new Compass Satellite.

Pam realizes that it might not make sense why one of the foremost scientific research institutions in the nation turned to a basement production facility to fulfill an order that they surely must have the capability to do themselves. Yes, NASA is doing 3D printing, Pam confirms. But – “The volume of parts that they needed,” she pauses, “they never would have been able to keep up with it.” 

The beauty of Pamton 3D is that the task no longer falls on the business owner’s shoulders, whether a budding entrepreneur or a behemoth like NASA.

The Advice

“These are not plug-and-play instruments, they’re not plug-and-play toys,” Pam says, of 3D printers.

“You’re watching these four-year-olds on YouTube with the printer that their parents bought them…and it shows this four-year-old put the filament in and – whiz bang – there’s the part.” Pamton steps in to fill the chasm that lies between the internet persona of 3D printers as magical creation boxes and the reality of technology that takes time and dedication to master.

“With Pamton being a service bureau, we take the stress and the frustration away,” Pam explains. “It’s our job to make sure everything is running smoothly when the business owners are going to sleep at night.”

She means this quite literally.

The analogy of her Gigabots as “her girls” is more than just cutesy anthropomorphizing: the time the printers take up in her life and the attention she gives them is somewhat akin to children. “It’s like having a baby in the house or a new puppy in the house: you have to just get up and check on these things,” she explains. “It’s just a little bit of reassurance when you wake up in the middle of the night and just take a look at it and say, ‘Yep, everything’s running good,’ and you go back to sleep.” For bigger jobs or ultra-time-sensitive projects, she and Tony will take turns babysitting the printers practically around the clock.

They’ve gotten much unsolicited advice on the topic of their basement as company headquarters, and Pam can agree that there are drawbacks. “But,” she says, “there are more pros than cons.” The ability to simply pop downstairs in the wee hours to check on a print – this is their advantage. “At 2 o’clock in the morning when the filament needs to be changed, it’s being changed.”

With this all-hours accessibility, she explains, they can quote clients ultra-competitive turnaround times on projects. There is no way to speed up a print beyond its inherent print time, of course, but their down-time between batches and jobs is slim to none. Says Pam, “We lose no time.”

Of course there are disadvantages to living with your work, she acknowledges. “It’s always there,” she explains. “They take maintenance. It just isn’t something that’s a walk through the park.”

For anyone toying with the idea of bringing a 3D printer home to start a business, she’s quick to jump to advice. “Try it,” she says. “If it doesn’t work out, you can always move it to another facility, but it’s something to consider.” But, she stresses, don’t underestimate the work this will entail. “It is time-consuming, and if you’re not willing to invest the time and the money into this, it will not succeed.”

Pam has more words of wisdom where this came from, and with over twenty years in the additive space – both with PolyJet and FFF printers – she’s a good person to give it.

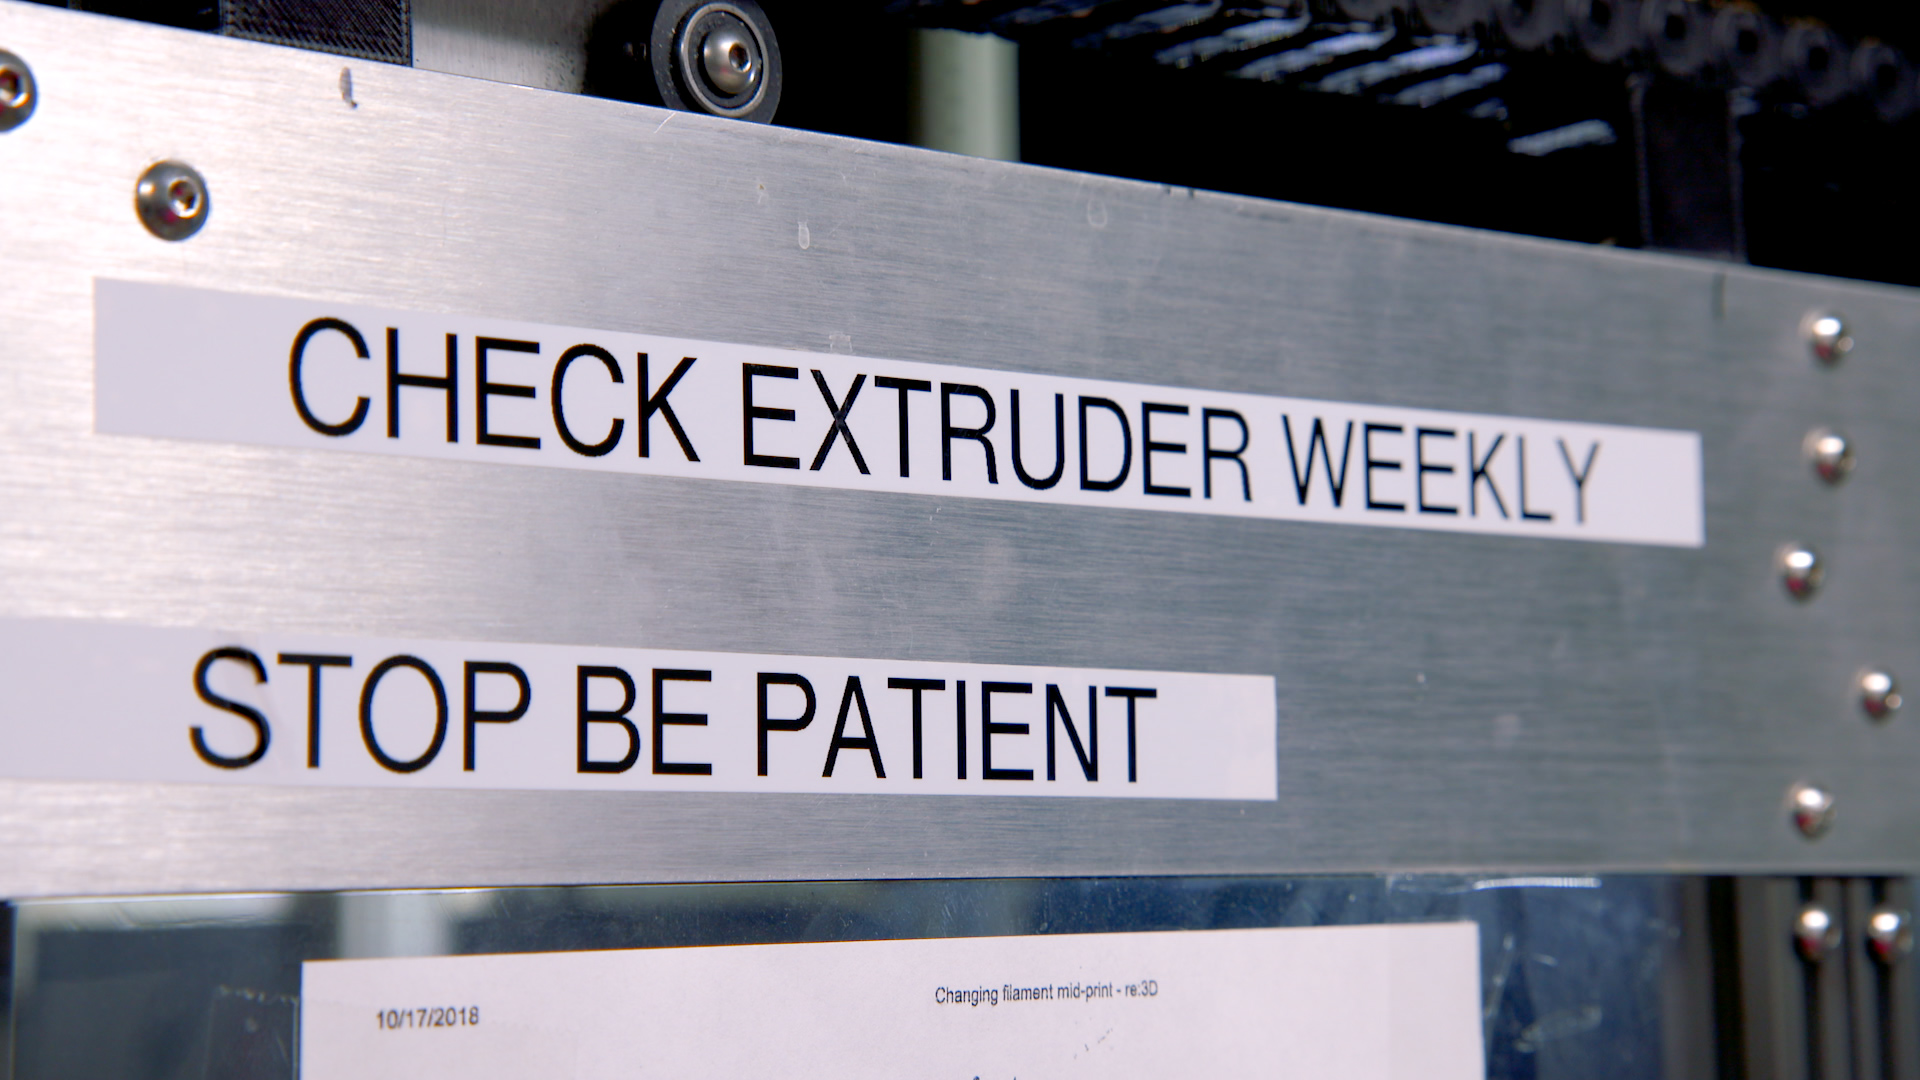
She gives herself a dose of her own advice every day in the form of helpful reminders stuck to the side of each printer. They range from technical prompting – Clean gear after filament rethread – to attitude checks – Be patient.

“Be patient,” Pam says. “I cannot stress that enough.”

This mantra becomes all the more important when a deadline is rapidly approaching and she has a customer breathing down her neck. When something unexpected goes awry, calm amidst the chaos is what allows her to maintain a cool head as she works her way down the checklist of what could be causing the problem.

As far as other advice for people new to 3D printing, Pam stresses not skimping on quality, both of equipment and of materials. “Filament will make or break you,” she says. She understands it can be tempting to go with the budget option. Don’t, she says. “It will catch up with you in the end.” She found a filament she likes and has stuck with the manufacturer, maintaining a close relationship with John Hosbach of Village Plastics. “John knows his filament,” she says. “It’s unbelievable. Our prints look like spun silk when we get finished with them.” 

Pam has come to understand that 3D printing is never an exact science, and that with so many factors playing into print quality – from filament source to the weather that day – even experienced additive manufacturing veterans can wake up to a spaghetti bowl. Starting with a level playing field in the form of reliable equipment and materials rules out preventable problems that will save valuable sanity in the troubleshooting process. “That’s a great starting point, to have good equipment and good filament,” she stresses.

“But,” she goes on, “patience is by far the most important thing you need to have.”

The Lessons

“Oh, the printers will teach you lessons every day.”

The past twenty years of additive manufacturing have been a journey of learning for Pam. “You have to be teachable,” she says. “Once you realize that, then the sky’s the limit. But if you always feel that you know it all, then you’ll never grow, you’ll never advance.”

It helps, Pam says, that the 3D printing community is so supportive and eager to assist their peers. “With this particular community of individuals that we’ve met, everyone is very helpful,” she muses. “YouTube videos, directions – people are willing to talk and willing to help you, which is a huge asset. And when you have a support team like that, it makes you want to grow.”

The pace of the industry can sometimes be overwhelming, she says: technology changes at such a clip that it’s hard to stay at the forefront of it all. “But yet, at the same time, everyone’s been so helpful,” she says. “Like, ‘Hey, did you hear about this new material on the market?” Or, ‘What’s the temp on your extruder? What’s your speed?’ It’s an incredible community to work with.”

The payoff is reflected in the work they do. A 500+ hour print under their belt. NASA on their client list. Fluency in a wide lineup of materials, from flexible filament, to Nylons, to Teflon. “None of this was ever dreamt of when we bought the first printer,” Pam says.

It’s clear that the journey has held its fair share of ups and downs, but it seems that the right attitude is at the core of it all. “Additive will teach you patience,” she reiterates. “Additive will teach you persistence. Additive will keep you on your toes 24/7.”

She maintains a very even head about it all, and recognizes that things could change at any moment for her. “It’s terrifying and at the same time it’s exhilarating. When things are rolling, life is great.”

When I asked what advice she would give to a new 3D printer owner who was thinking about starting a business like hers, her response was quick.

“Make sure you have a lot of liquor in the facility.”

Learn more about Pamton 3D: https://pamton3d.com/

Morgan Hamel

Blog Post Author
An Update: 3D Print Blobbing and How to Fix It

Maybe you’ve read our blog from several years back about improving a 3D print’s surface quality by reducing the triangle count of your STL file, or maybe you’ve just experienced some surface blobbing on a print and are looking for an explanation and a fix.

Well, you’ve come to the right place! This update blog will serve as both a complement to our original post, as well as a jumping off point for anyone experiencing issues described here.

Have you ever had the problem of little filament blobs dotting the surface – like in the picture below – ruin an otherwise great print?

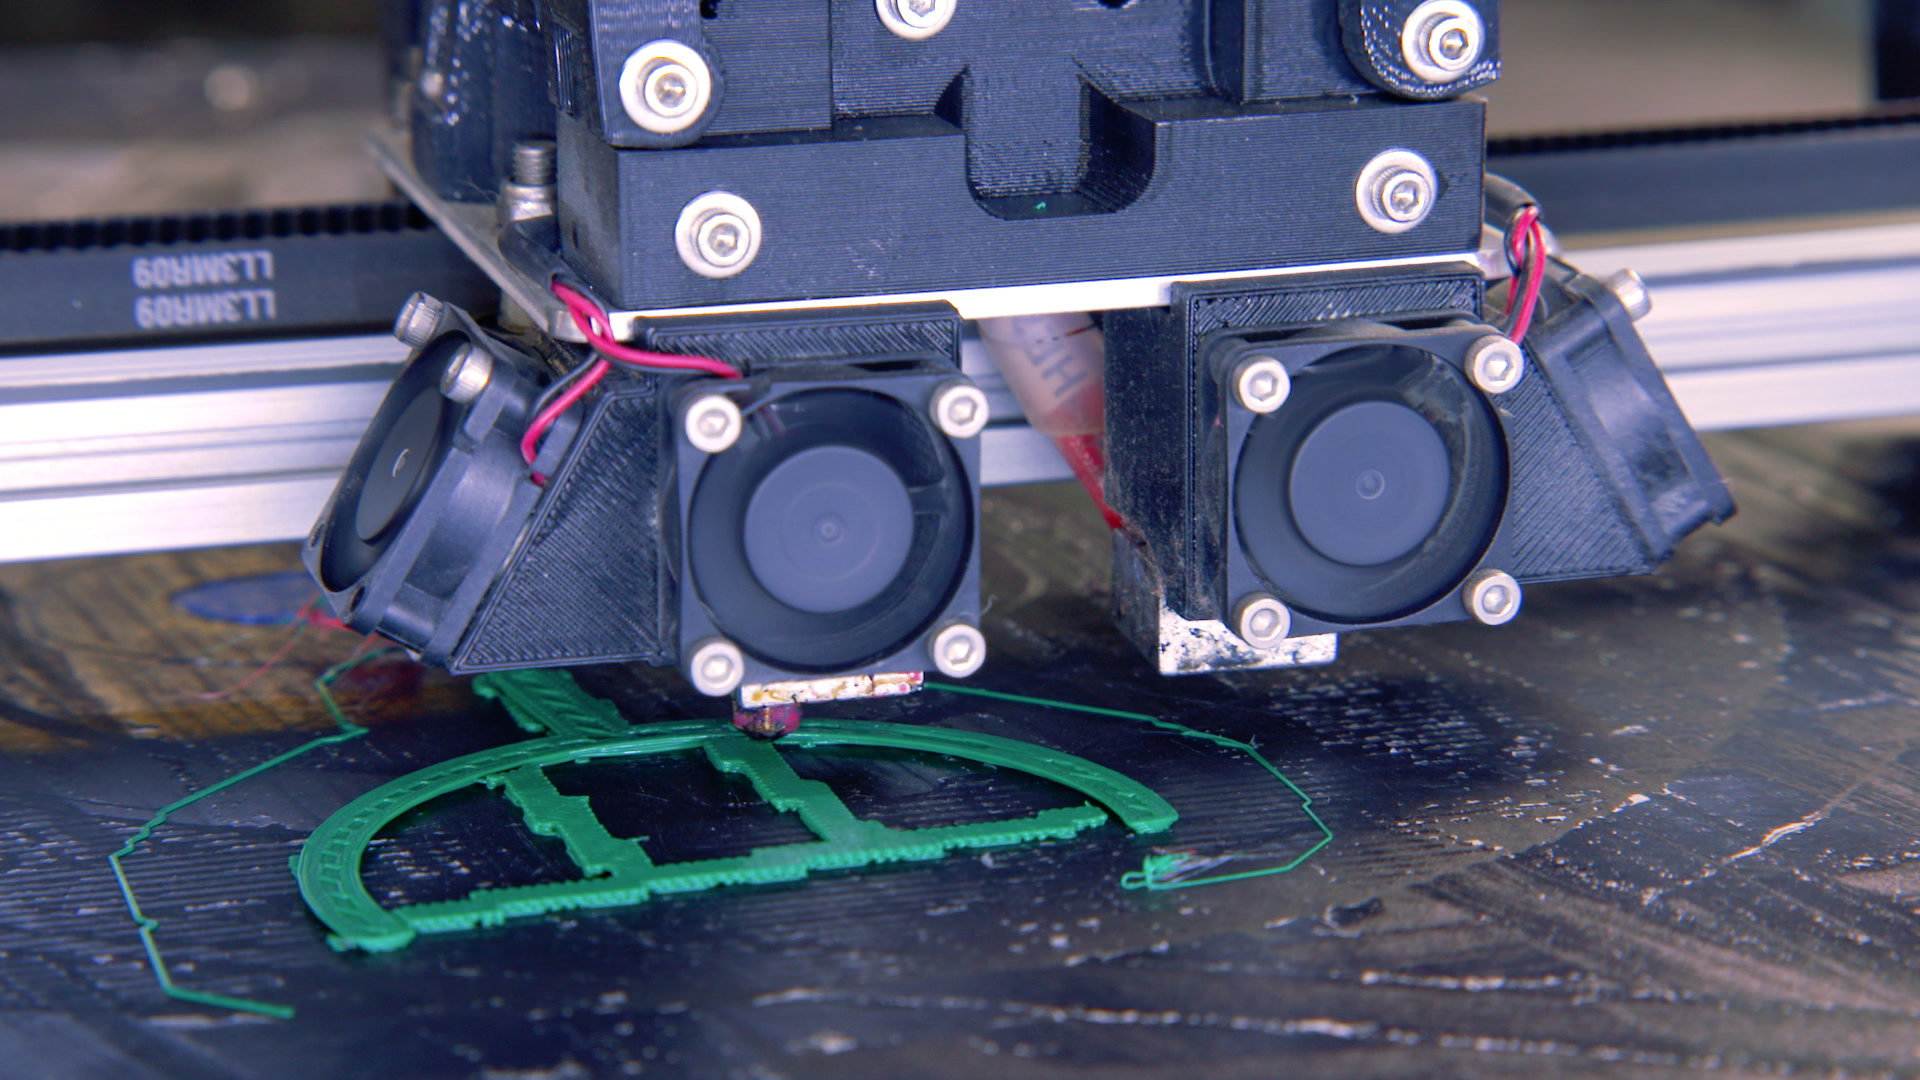
Those blobs are due to a buffering issue. There is a speed at which the board feeds the printer information and a number of commands it holds in the queue. It’s like a restaurant putting out orders for people to pick up. There’s speed at which they make the orders, and only so many spots for orders waiting on pickup.

If the printer comes to a bunch of really quick moves, it clears out all the stored commands and has to pause a second to wait for more. That pause lets some plastic ooze out and create one of these blobs. Having fewer triangles equals fewer commands to make the same shape, so the average move is longer. This is one solution to the blobbing problem.

Another fix is to increase the buffer size (room for more pickup orders) or speed. We have been playing with buffer size since it is a setting in the firmware. The buffer speed depends on the capability of the board, so that would require a hardware upgrade to be faster.Lowering the mesh count on a model helps ensure that the printer can achieve its best performance for that print. You are modifying the part to match the capability of the printer. STL files are just a list of triangles that occupy a 3D space – curves are stored as a series of tangent triangular planes. Smaller triangles give a more accurate interpretation of the curve. So long as the facets are smaller than the printer can actually print, the result is a smooth curve. Technically you are degrading the mesh curvature. It’s the same as the transition from analog to digital. Analog is more information, but it overloads the system which makes digital better.

When we wrote the first article on this topic, we changed our firmware to have a large buffer for prints via SD card. Gigabot’s board can only support a certain buffer size, so that buffer space was taken from the USB. We recommend Gigabot users to print via SD because it has a larger buffer size and it also avoids other complications involved with keeping a computer connected to the printer. Recently we have been working on a touchscreen interface for Gigabot, which communicates over USB. We started to see print quality differences in SD card prints versus touchscreen prints in the form of globs on curved surfaces. Changing the buffer size for the USB is one of the changes that will roll out with the new touch screen.
 
Join the conversation on our forum if you want to continue this discussion with us!

Morgan Hamel

Blog Post Author
High-Voltage Innovation: Creating Tools and Training Models with a Utility Company

Here’s a question: when was the last time you thought about what happens when you flip on a light switch?

We take for granted this everyday miracle without much thought to what goes on behind the scenes to make the lights turn on. Only once the power goes out do people suddenly take notice of this invisible luxury that our daily lives rely on. Lighting our homes, charging our devices, refrigerating our food, powering hospitals and public transportation and the nation’s economy – life as we know it hinges on the seamless, invisible flow of electrons we call electricity.

But, perhaps, everyone once in a while, you have taken note – maybe while driving on the highway past towering transmission lines stretching as far as the eye can see – of the massive system around us that goes mostly unnoticed on a daily basis, and how little you know about how that system functions.

Today’s story may change that for you.

The electrical grid in this country is over a century old. The first commercial central power plant in the US – Pearl Street Station in Manhattan – opened in 1882 and served 82 customers.¹ Today, the US electrical grid is made up of over 7,300 power plants and 160,000 miles of high-voltage power lines, serving over 145 million customers.²

The focus of our story today is one of the largest of the roughly 3,000 utility companies keeping the lights on in the US. (Due to company policy they cannot disclose their name in external-company features and thus will remain nameless in this article).

Making safety a priority with hands-on training

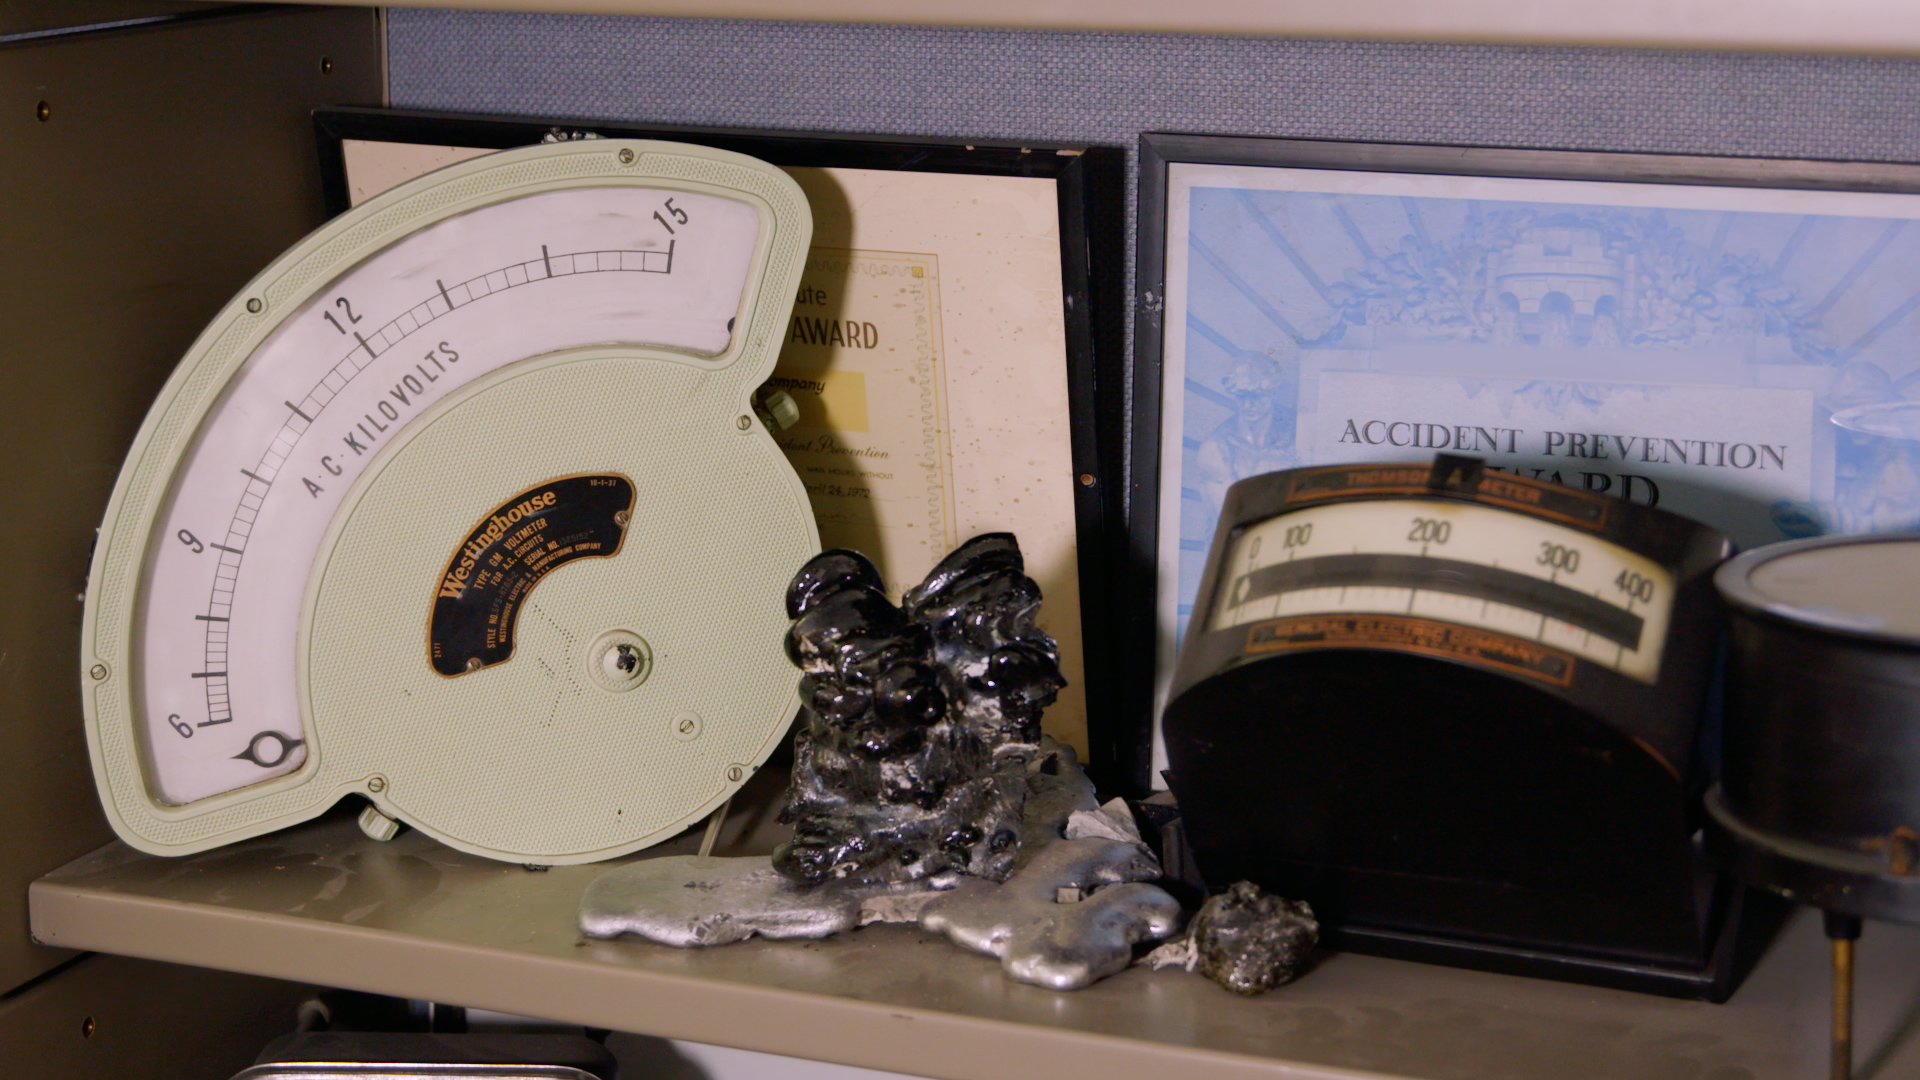
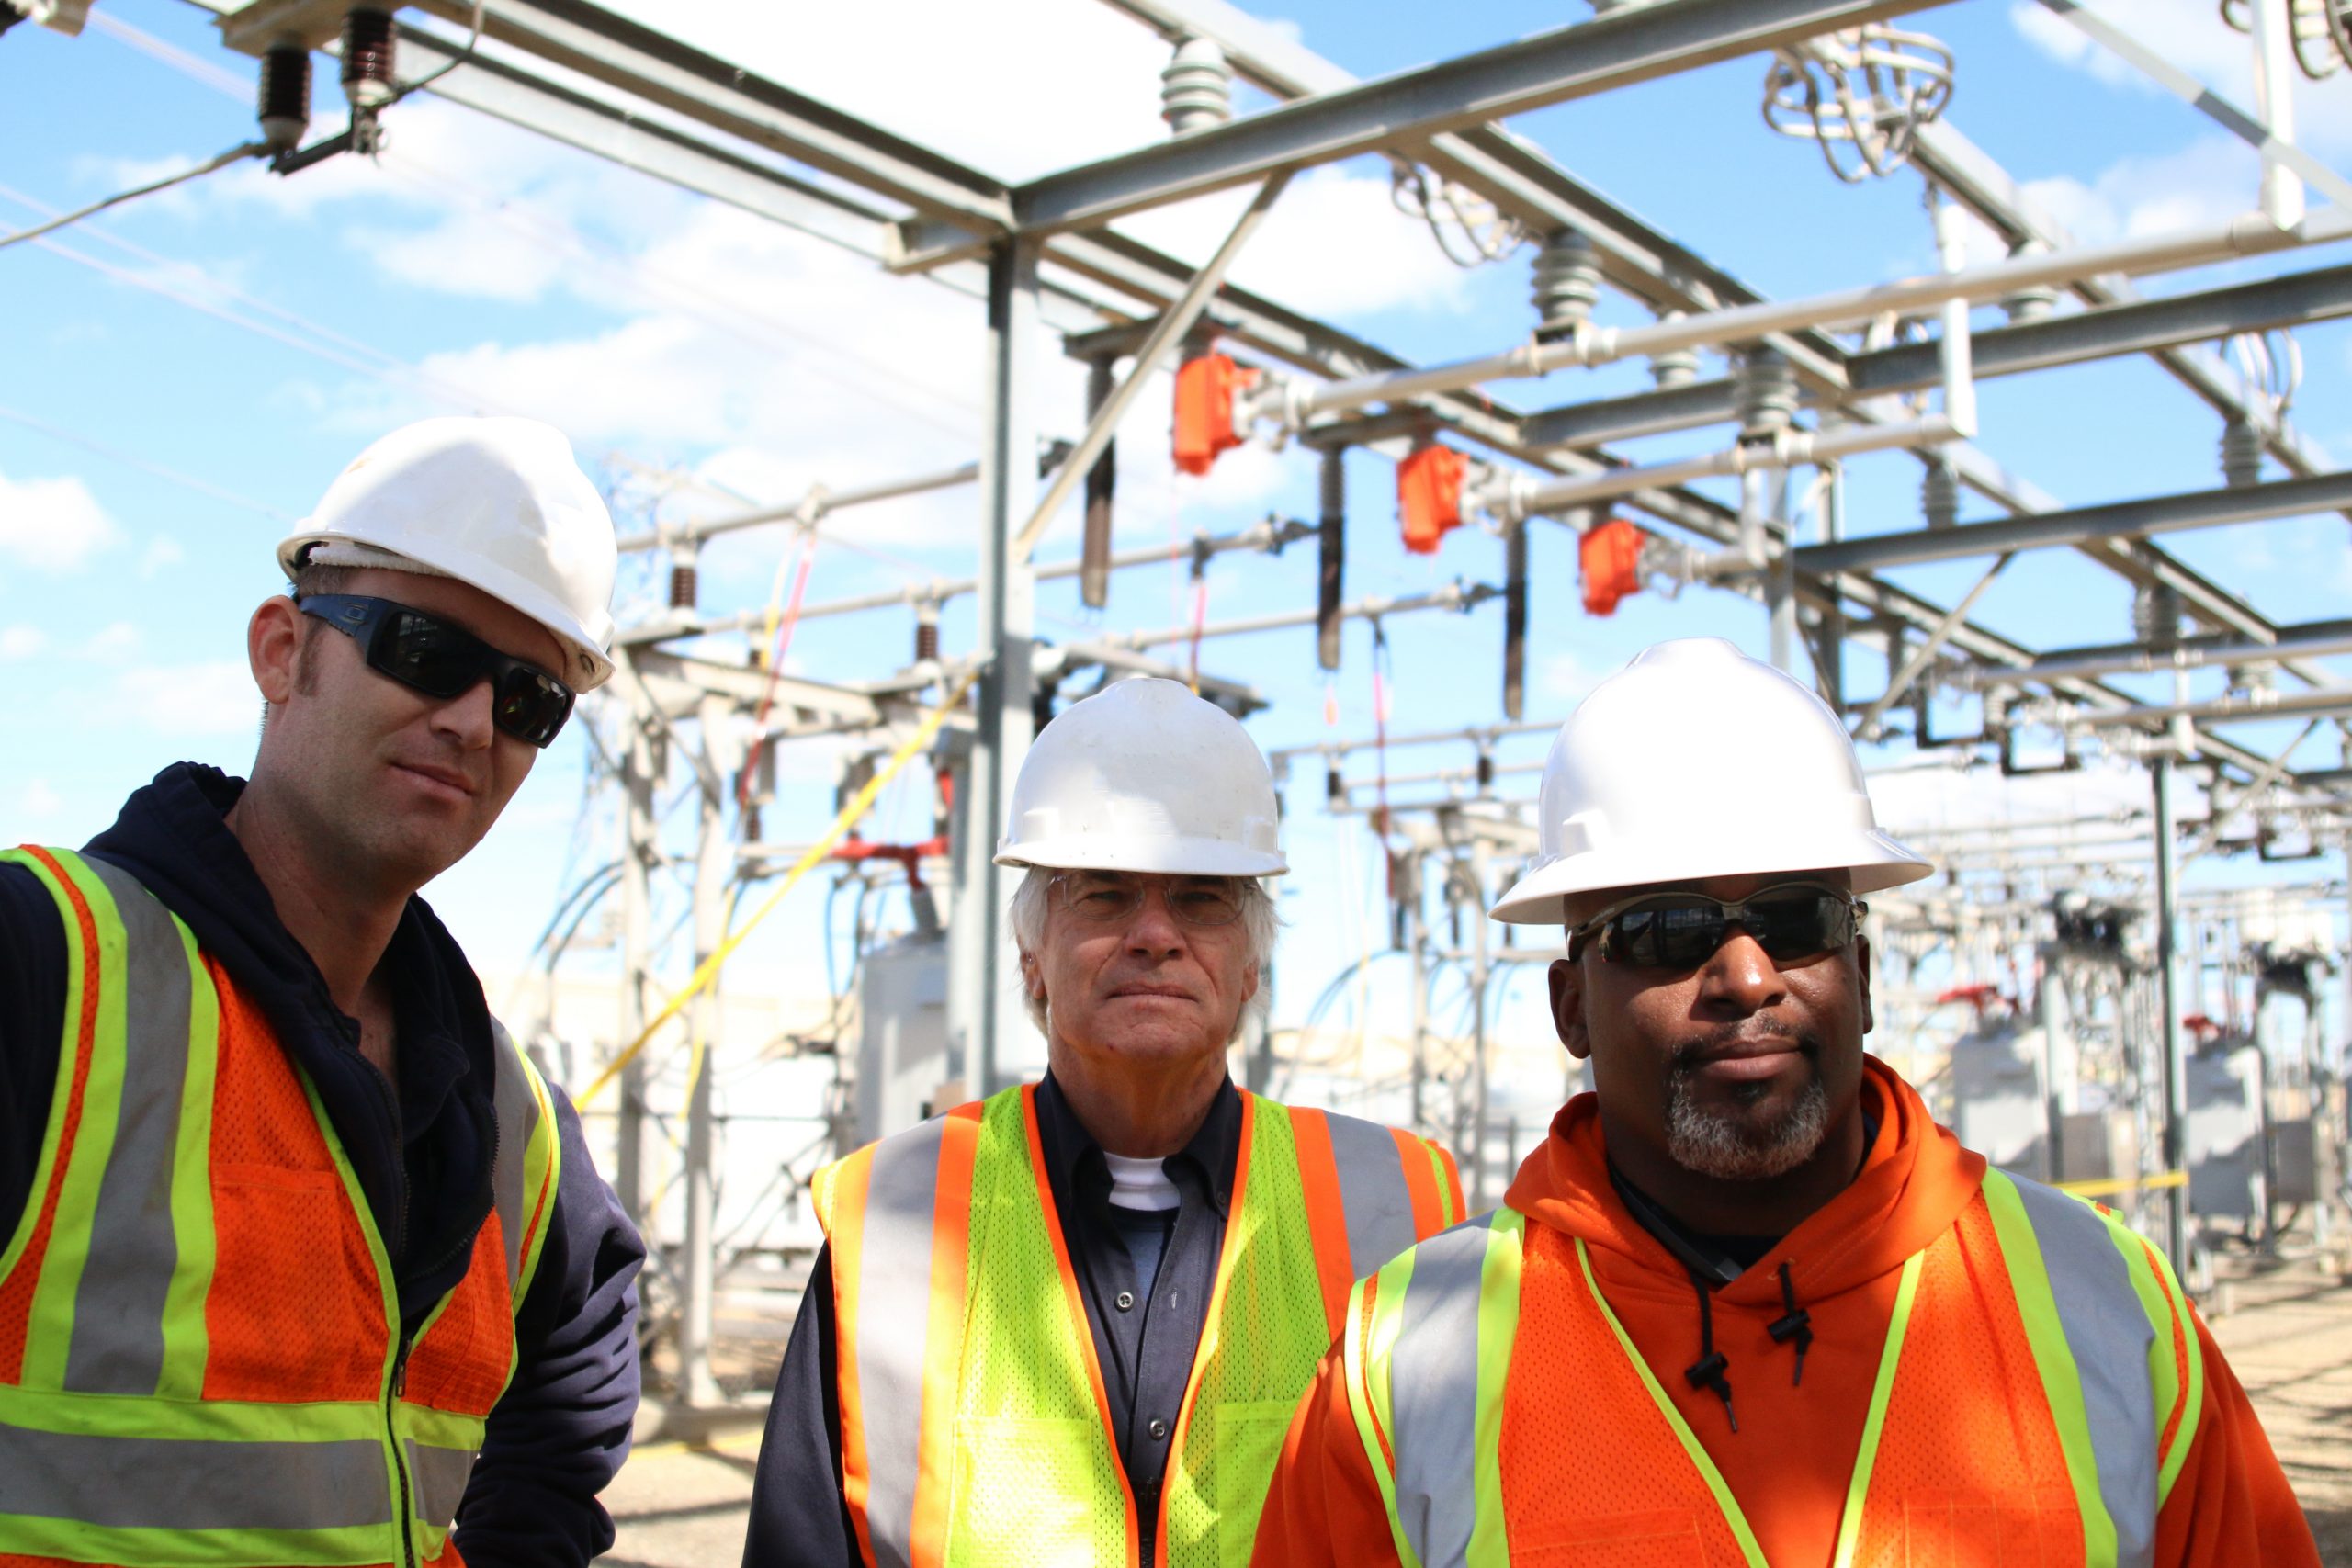
Jim Patchen is a high voltage work methods specialist for said utility company. His job is to develop procedures on how to work safely around high voltage. His office is a veritable mini-museum of utility relics from a bygone era.

As equipment from the field has been retired over the years, he’s rescued treasures from a certain fate as scrap metal. Artifacts like ammeters, voltmeters, control switches, and molten and re-hardened piles of metal from errant tool mishaps start at the floor and line shelves up to the ceiling.

As for his collector’s habit, Patchen explains his motivation behind this essential preservation of history. “It is important to understand the legacy of this industry,” he says. “Early on, work methods and tools were quite primitive, but over time they have evolved. It’s good to know where you came from so that you know where you’re going.”

The job of every utility company is to generate electricity and transport it to customers. This is, of course, a highly simplified explanation, but the general flow is as such: electricity is created at a generator – taking the form of power plants, hydroelectric dams, solar panel arrays, or wind turbines – transported along transmission lines, and distributed to communities for end use.

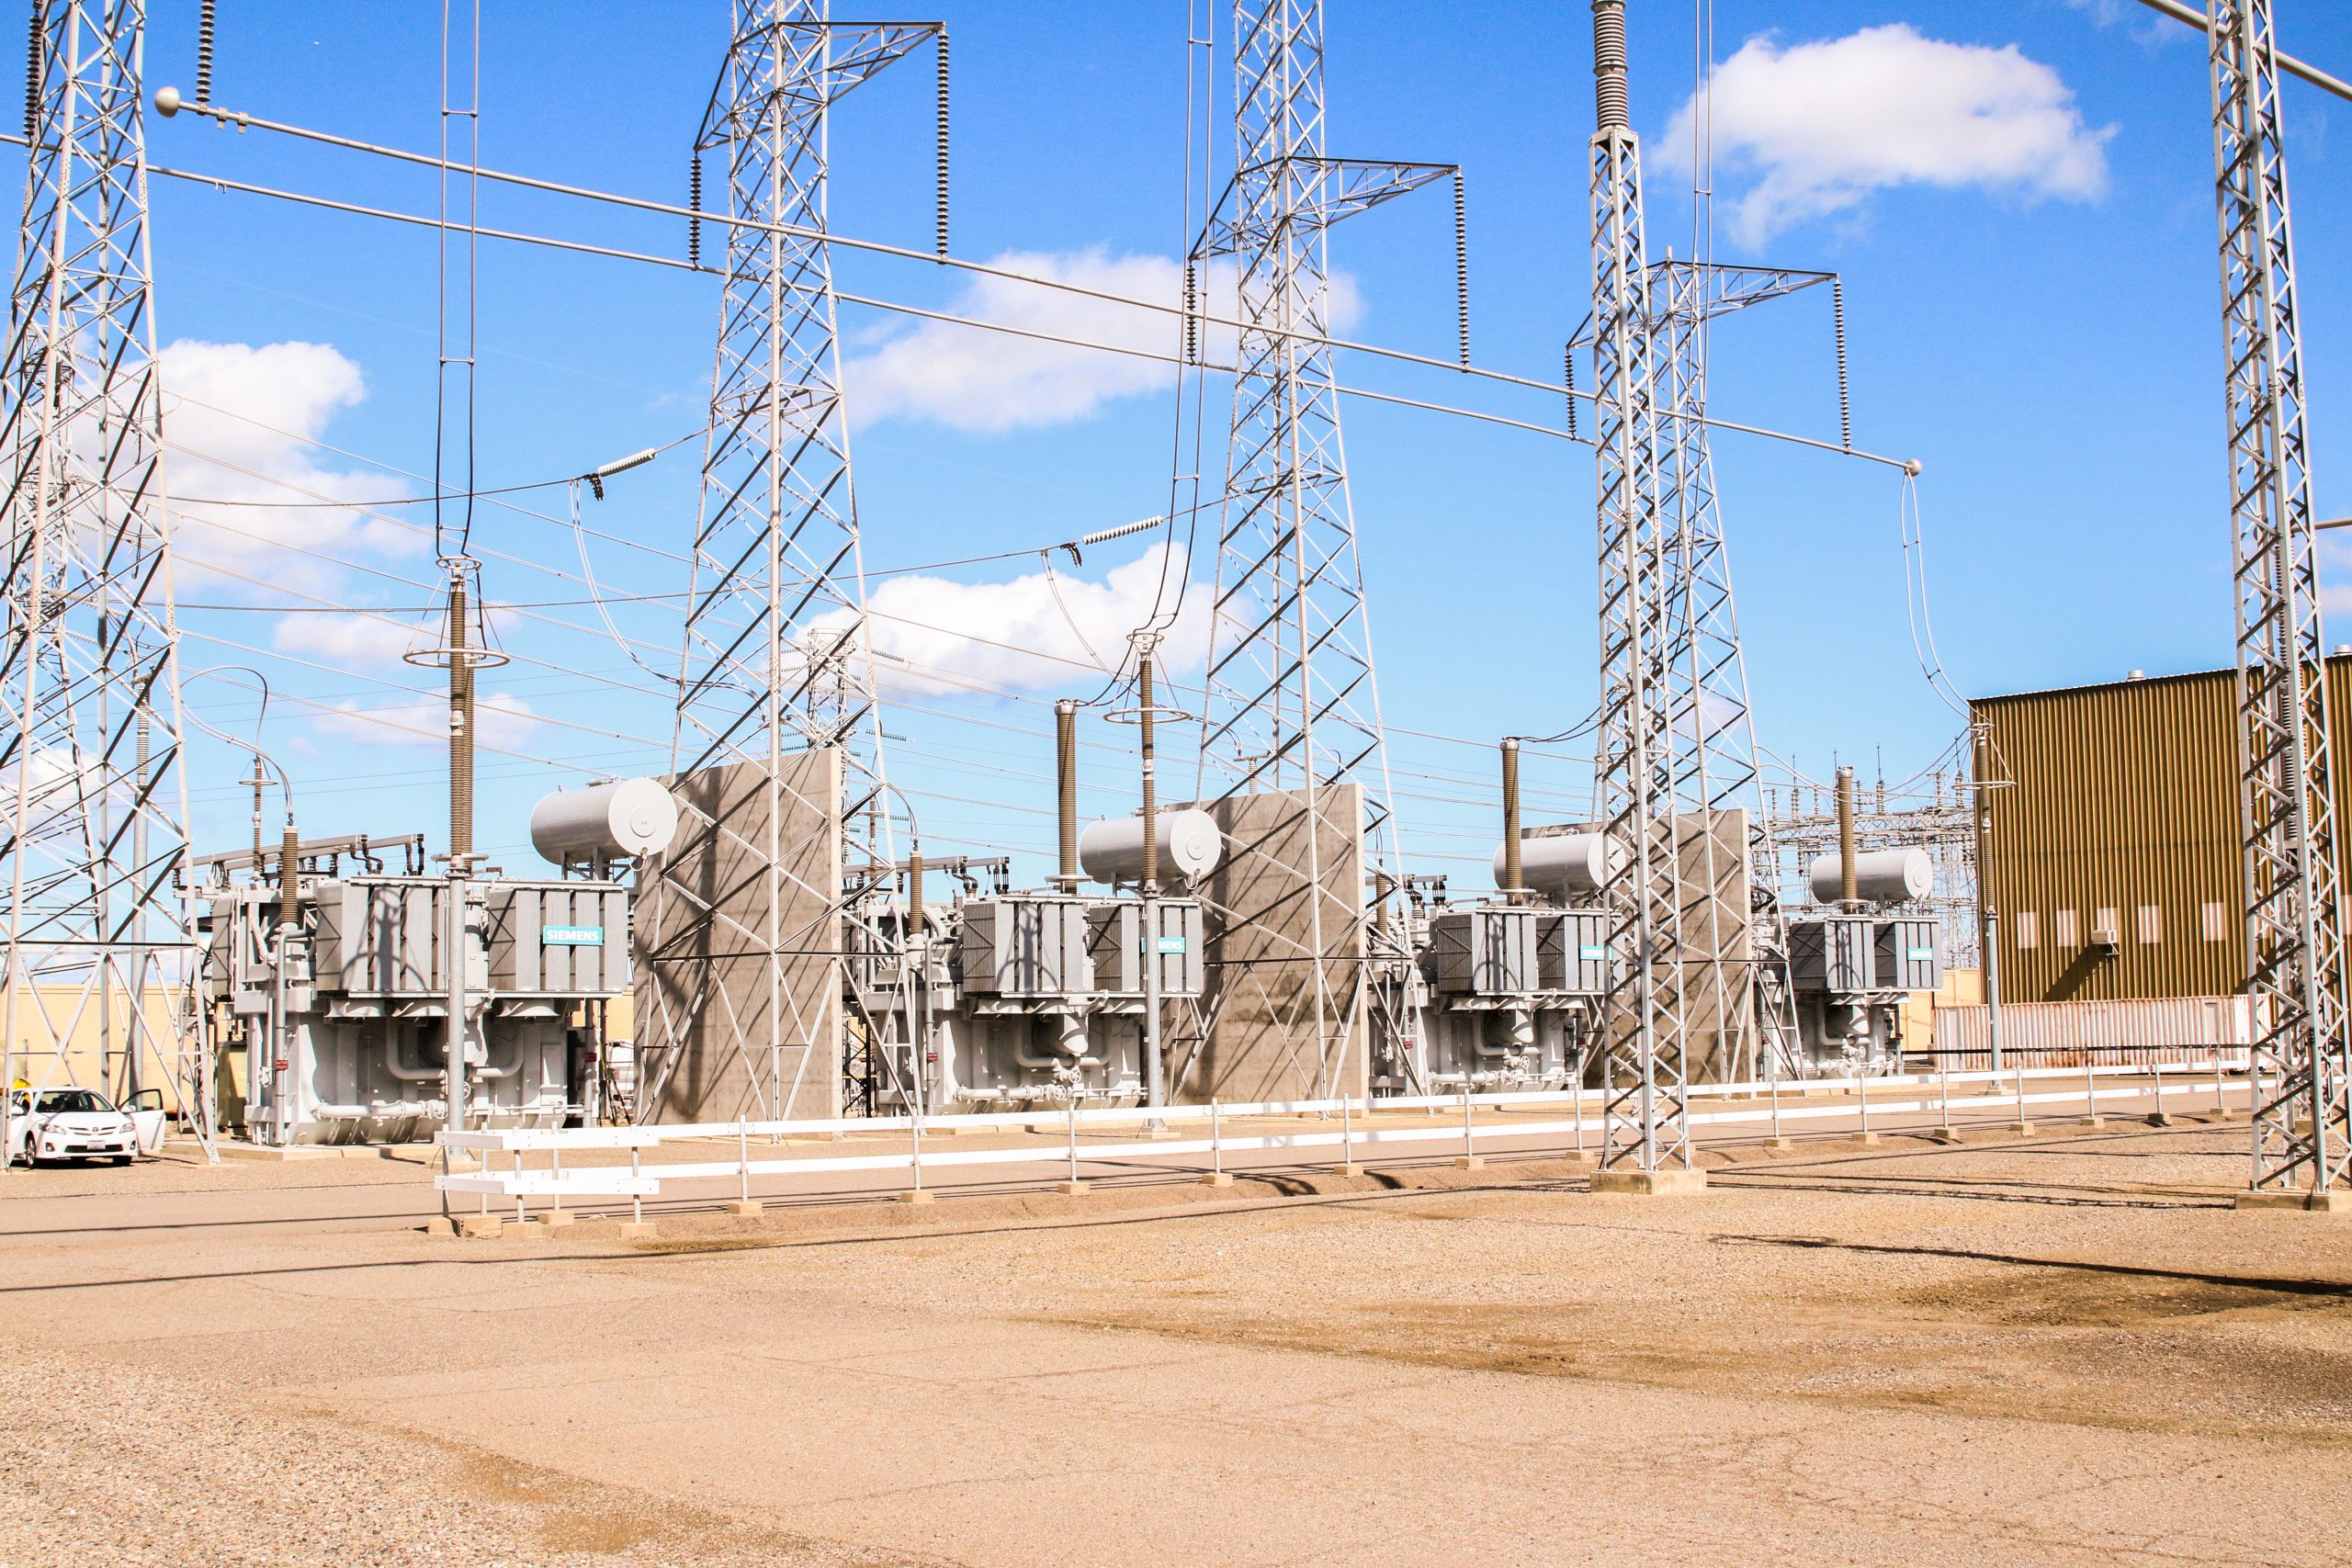
Along the way are substations – the large, somewhat hectic-looking clusters of wires and electrical equipment you may notice while driving on the highway – which transform the electricity into high voltage for fast transport along transmission lines and into lower voltage for its final use in homes and businesses. Far from the chaos that they can appear to be to the untrained eye, substations are meticulously-organized, well-oiled machines that are crucial components of the electrical grid. And while designed for maximum safety of workers, they are also extremely high-voltage environments, which inherently pose a unique set of dangers to those in the vicinity.

“Working in a substation is difficult,” explains Patchen, “because it’s many, many circuits coming into one small location, so the high voltage environment is really concentrated. We have to work really [safely] around that to prevent injuries and incidents that could affect the grid.”

This particular utility company has over 1,000 substations in its service territory. As a work methods specialist, Patchen’s current role revolves around creating procedures to ensure the safety of workers in addition to the integrity of the grid and the power they’re providing to consumers. “If you make a mistake in a substation, you can impact thousands of customers,” he explains. “If I drop a screwdriver in a substation, I can take out 90,000 customers. So, everything we do is critical.”

Workers at the company go through a roughly three-year apprenticeship of rigorous training on how to work safely in such an environment. “Traditional training involves PowerPoints and lecturing,” explains Patchen. Unfortunately, he continues, the retention rate of knowledge taught in these sorts of settings tends to be abysmal. Their goal is to incorporate more tactile learning to keep students engaged throughout lessons.

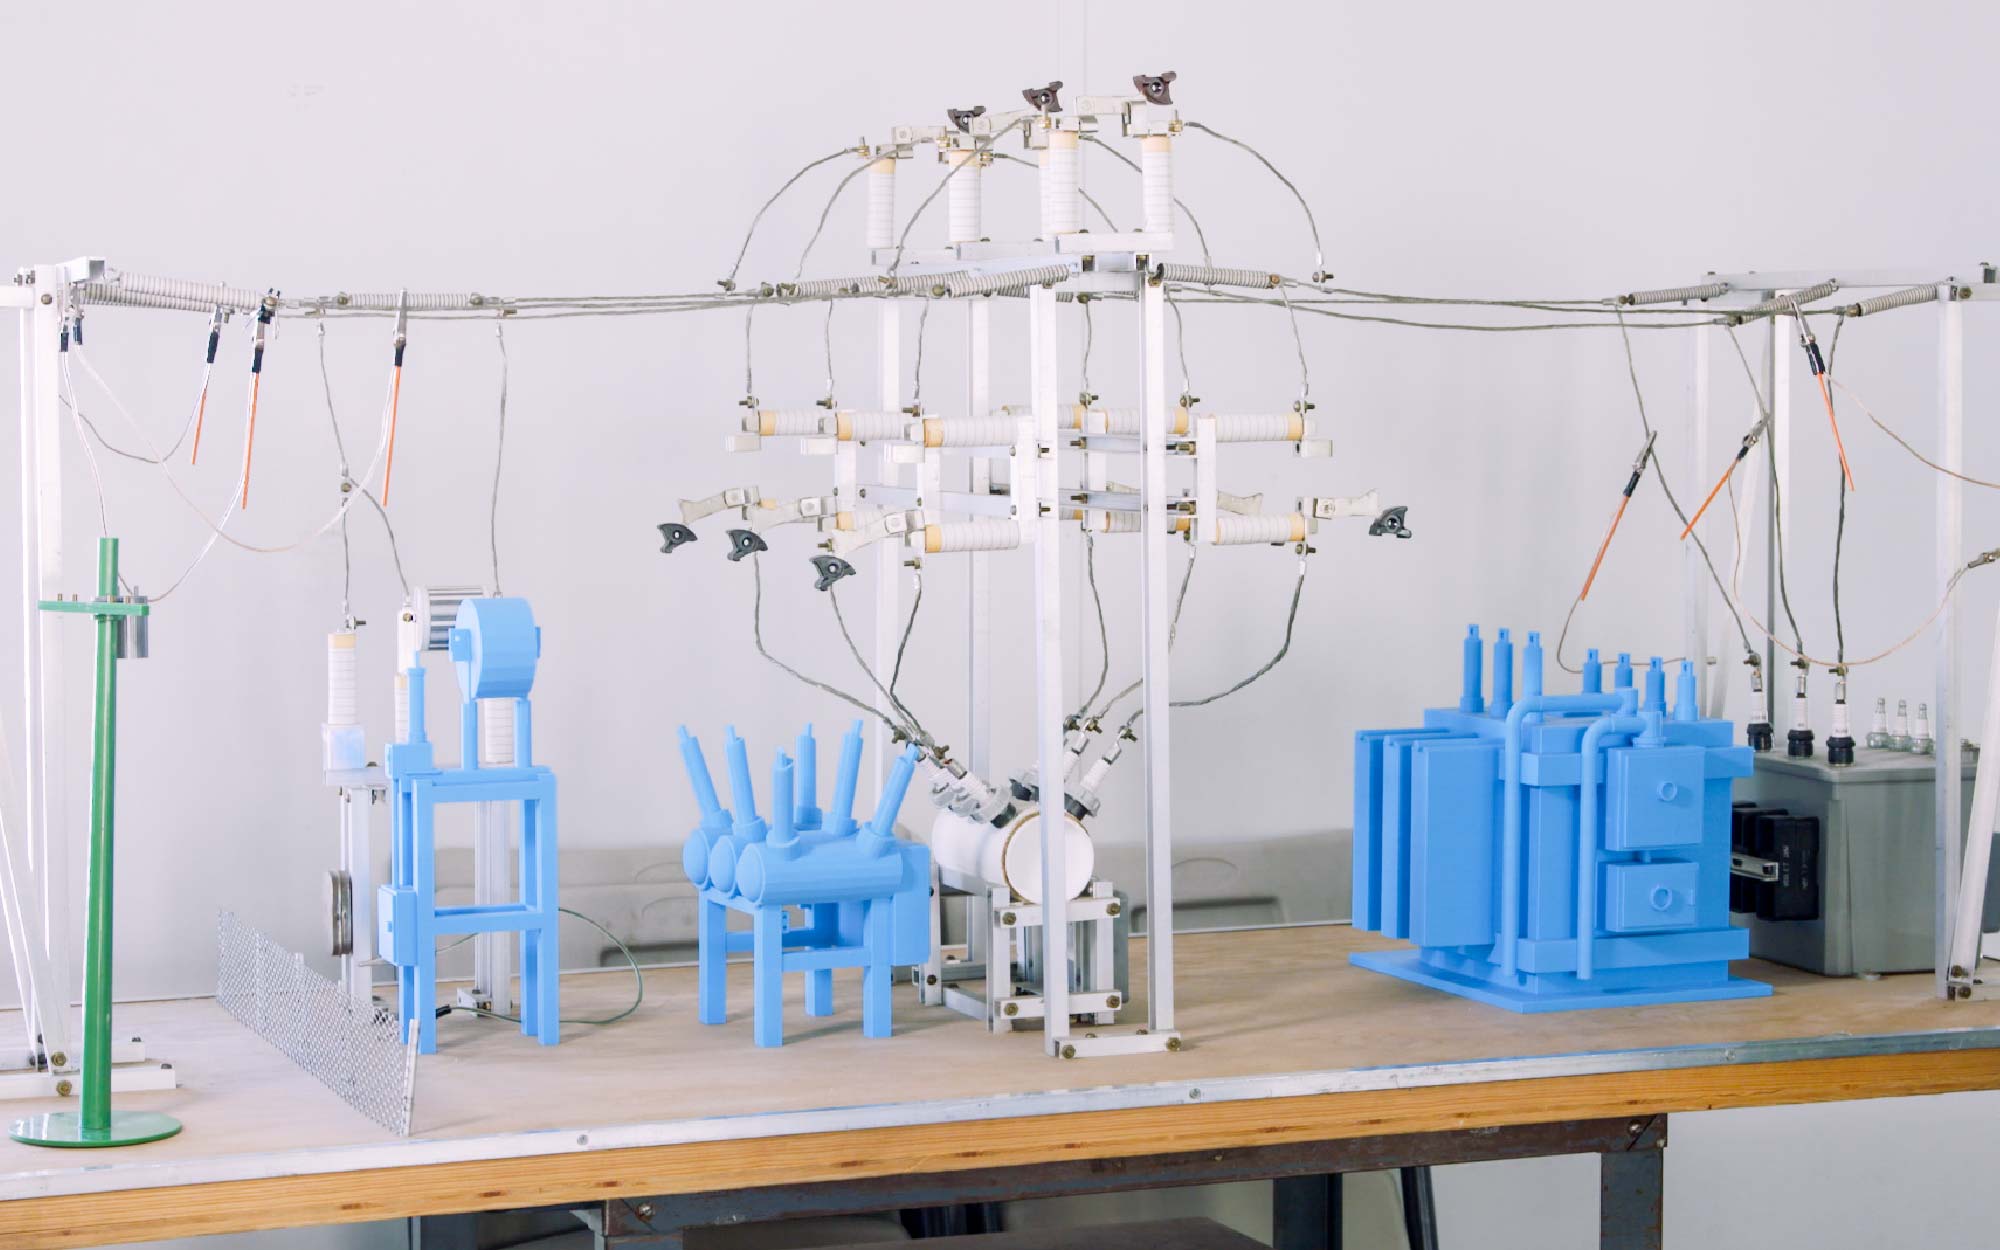
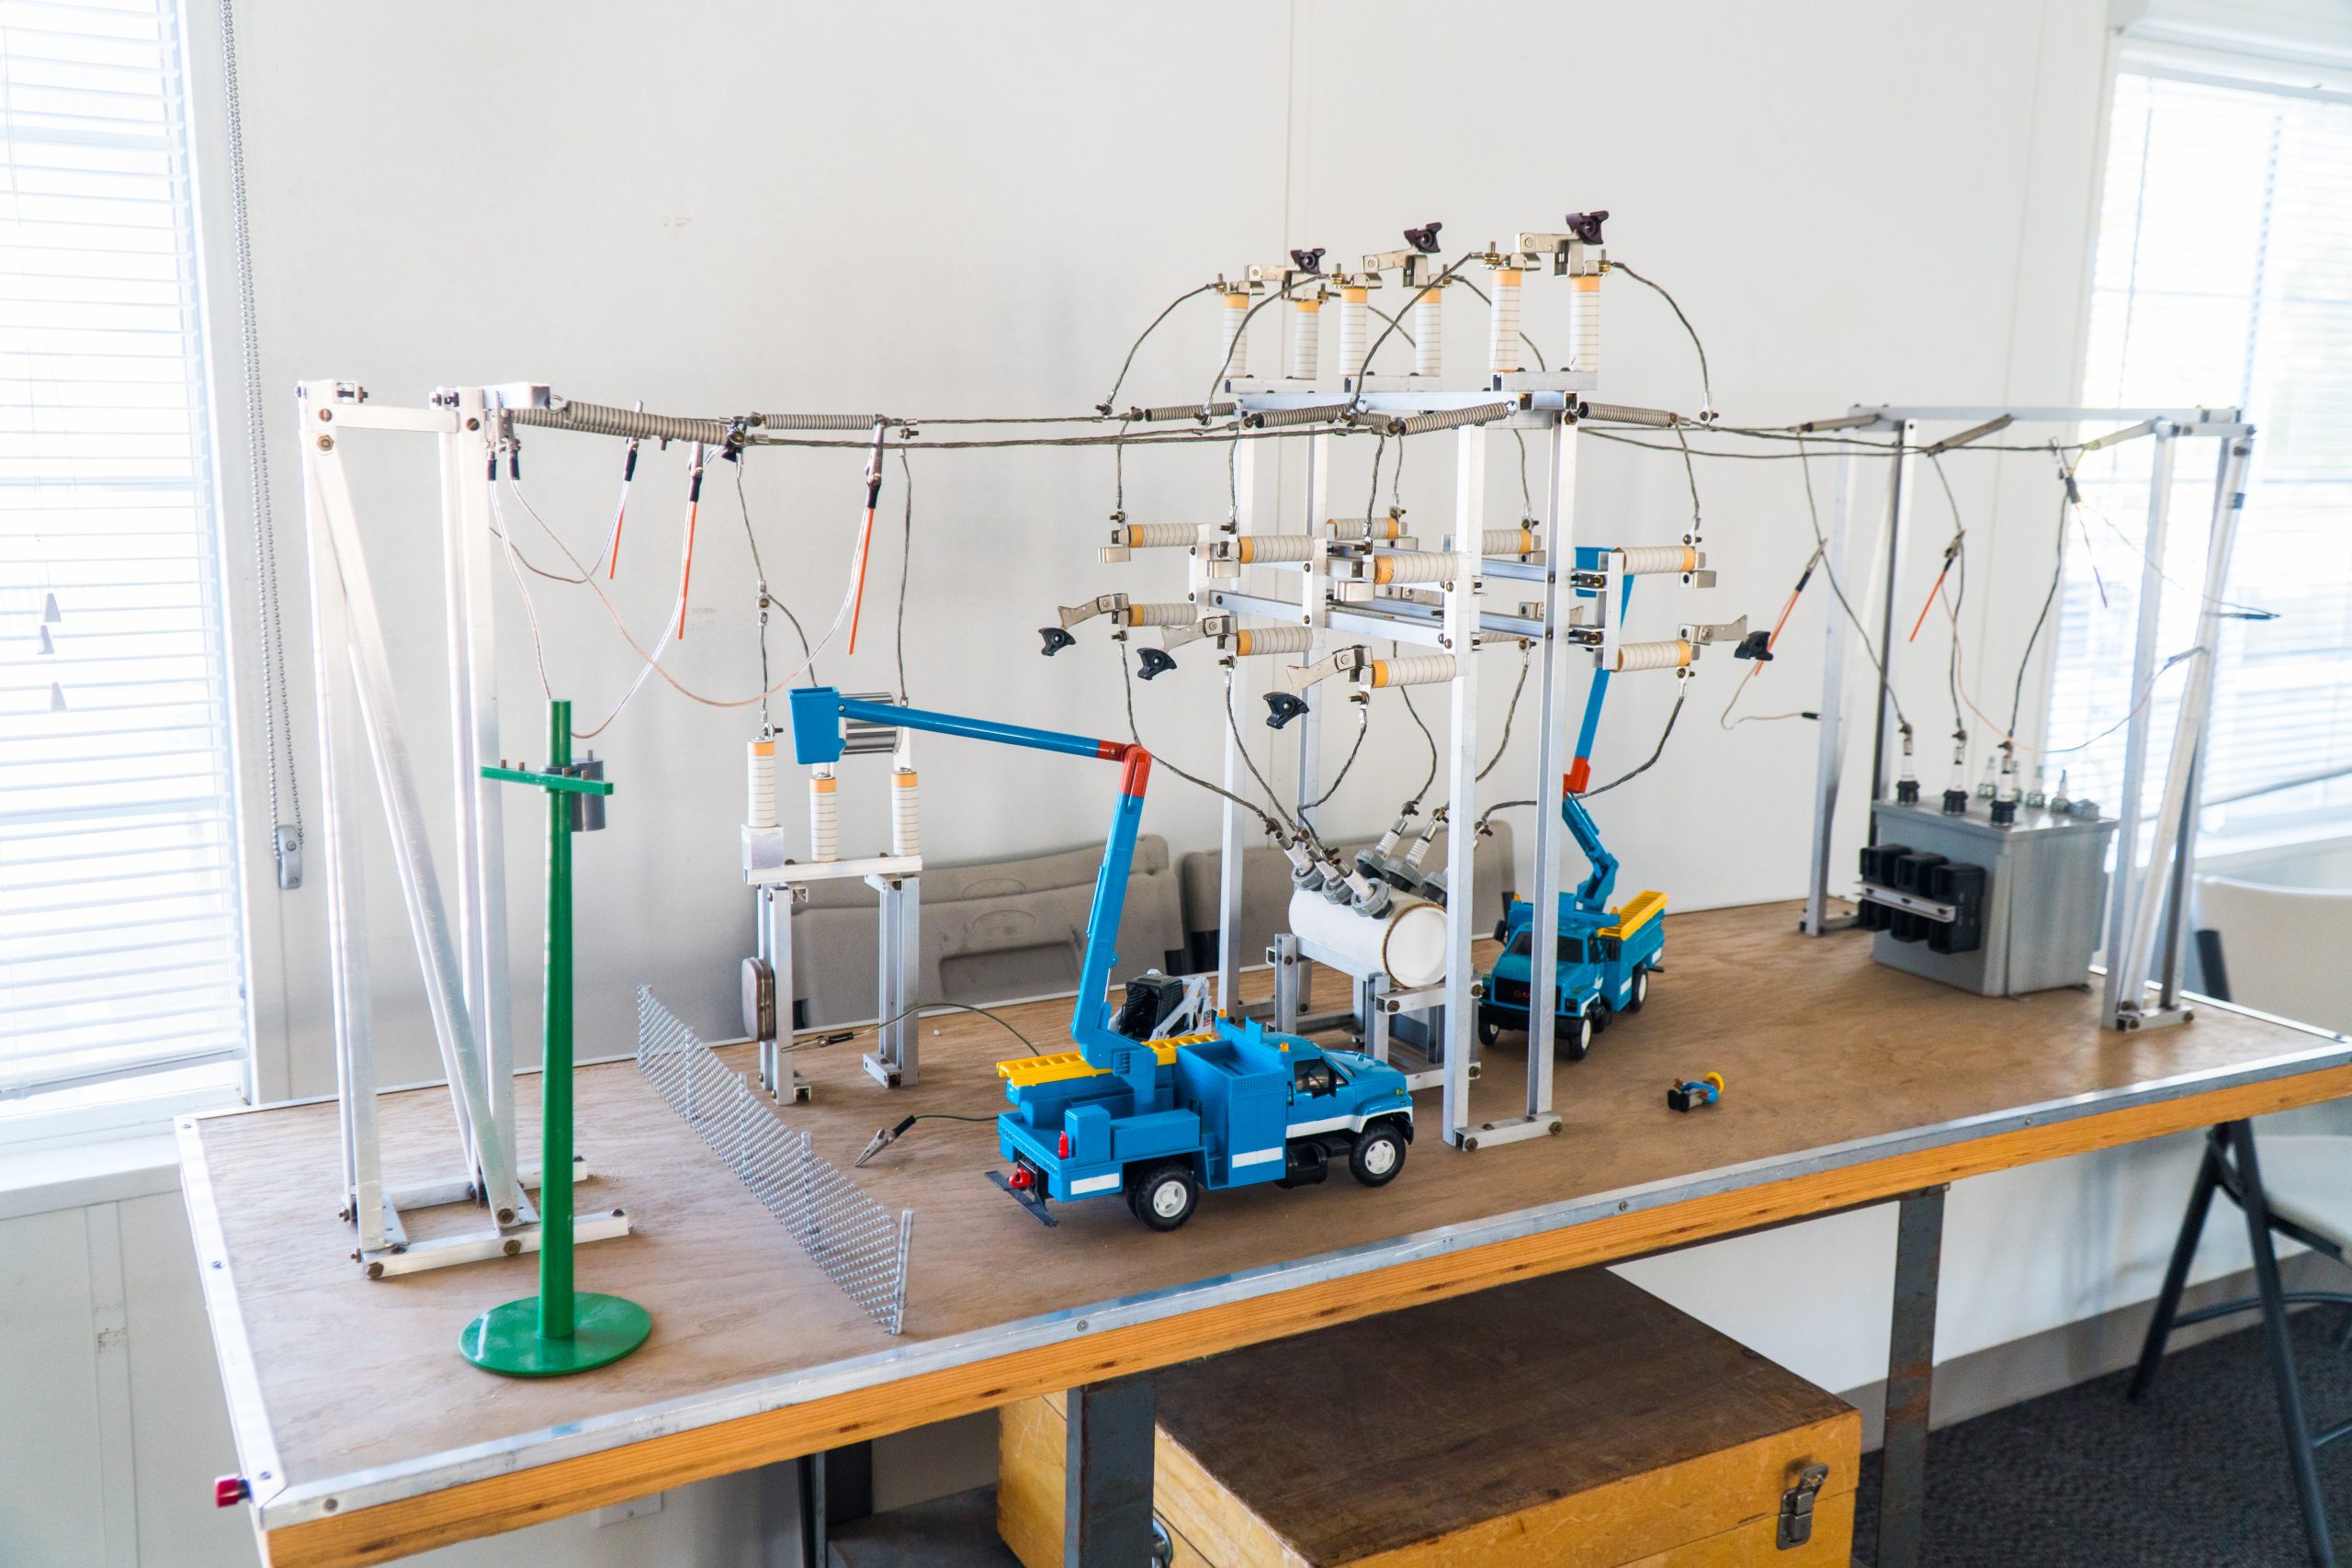
There is always hands-on training out in the field for all students in the apprenticeship program, but the company wanted the ability to bring this type of learning into classrooms on a daily basis. They saw the value of using scale models of real-world equipment on which students could practice skills like protective grounding in a safe, unenergized environment. The models give students the opportunity to test their proficiency, and teachers the ability to confirm that their lessons are getting through and sticking. “They’re able to practice and prove their understanding of what they’re being taught,” explains Patchen, “and then you’re able to validate knowledge that way.”

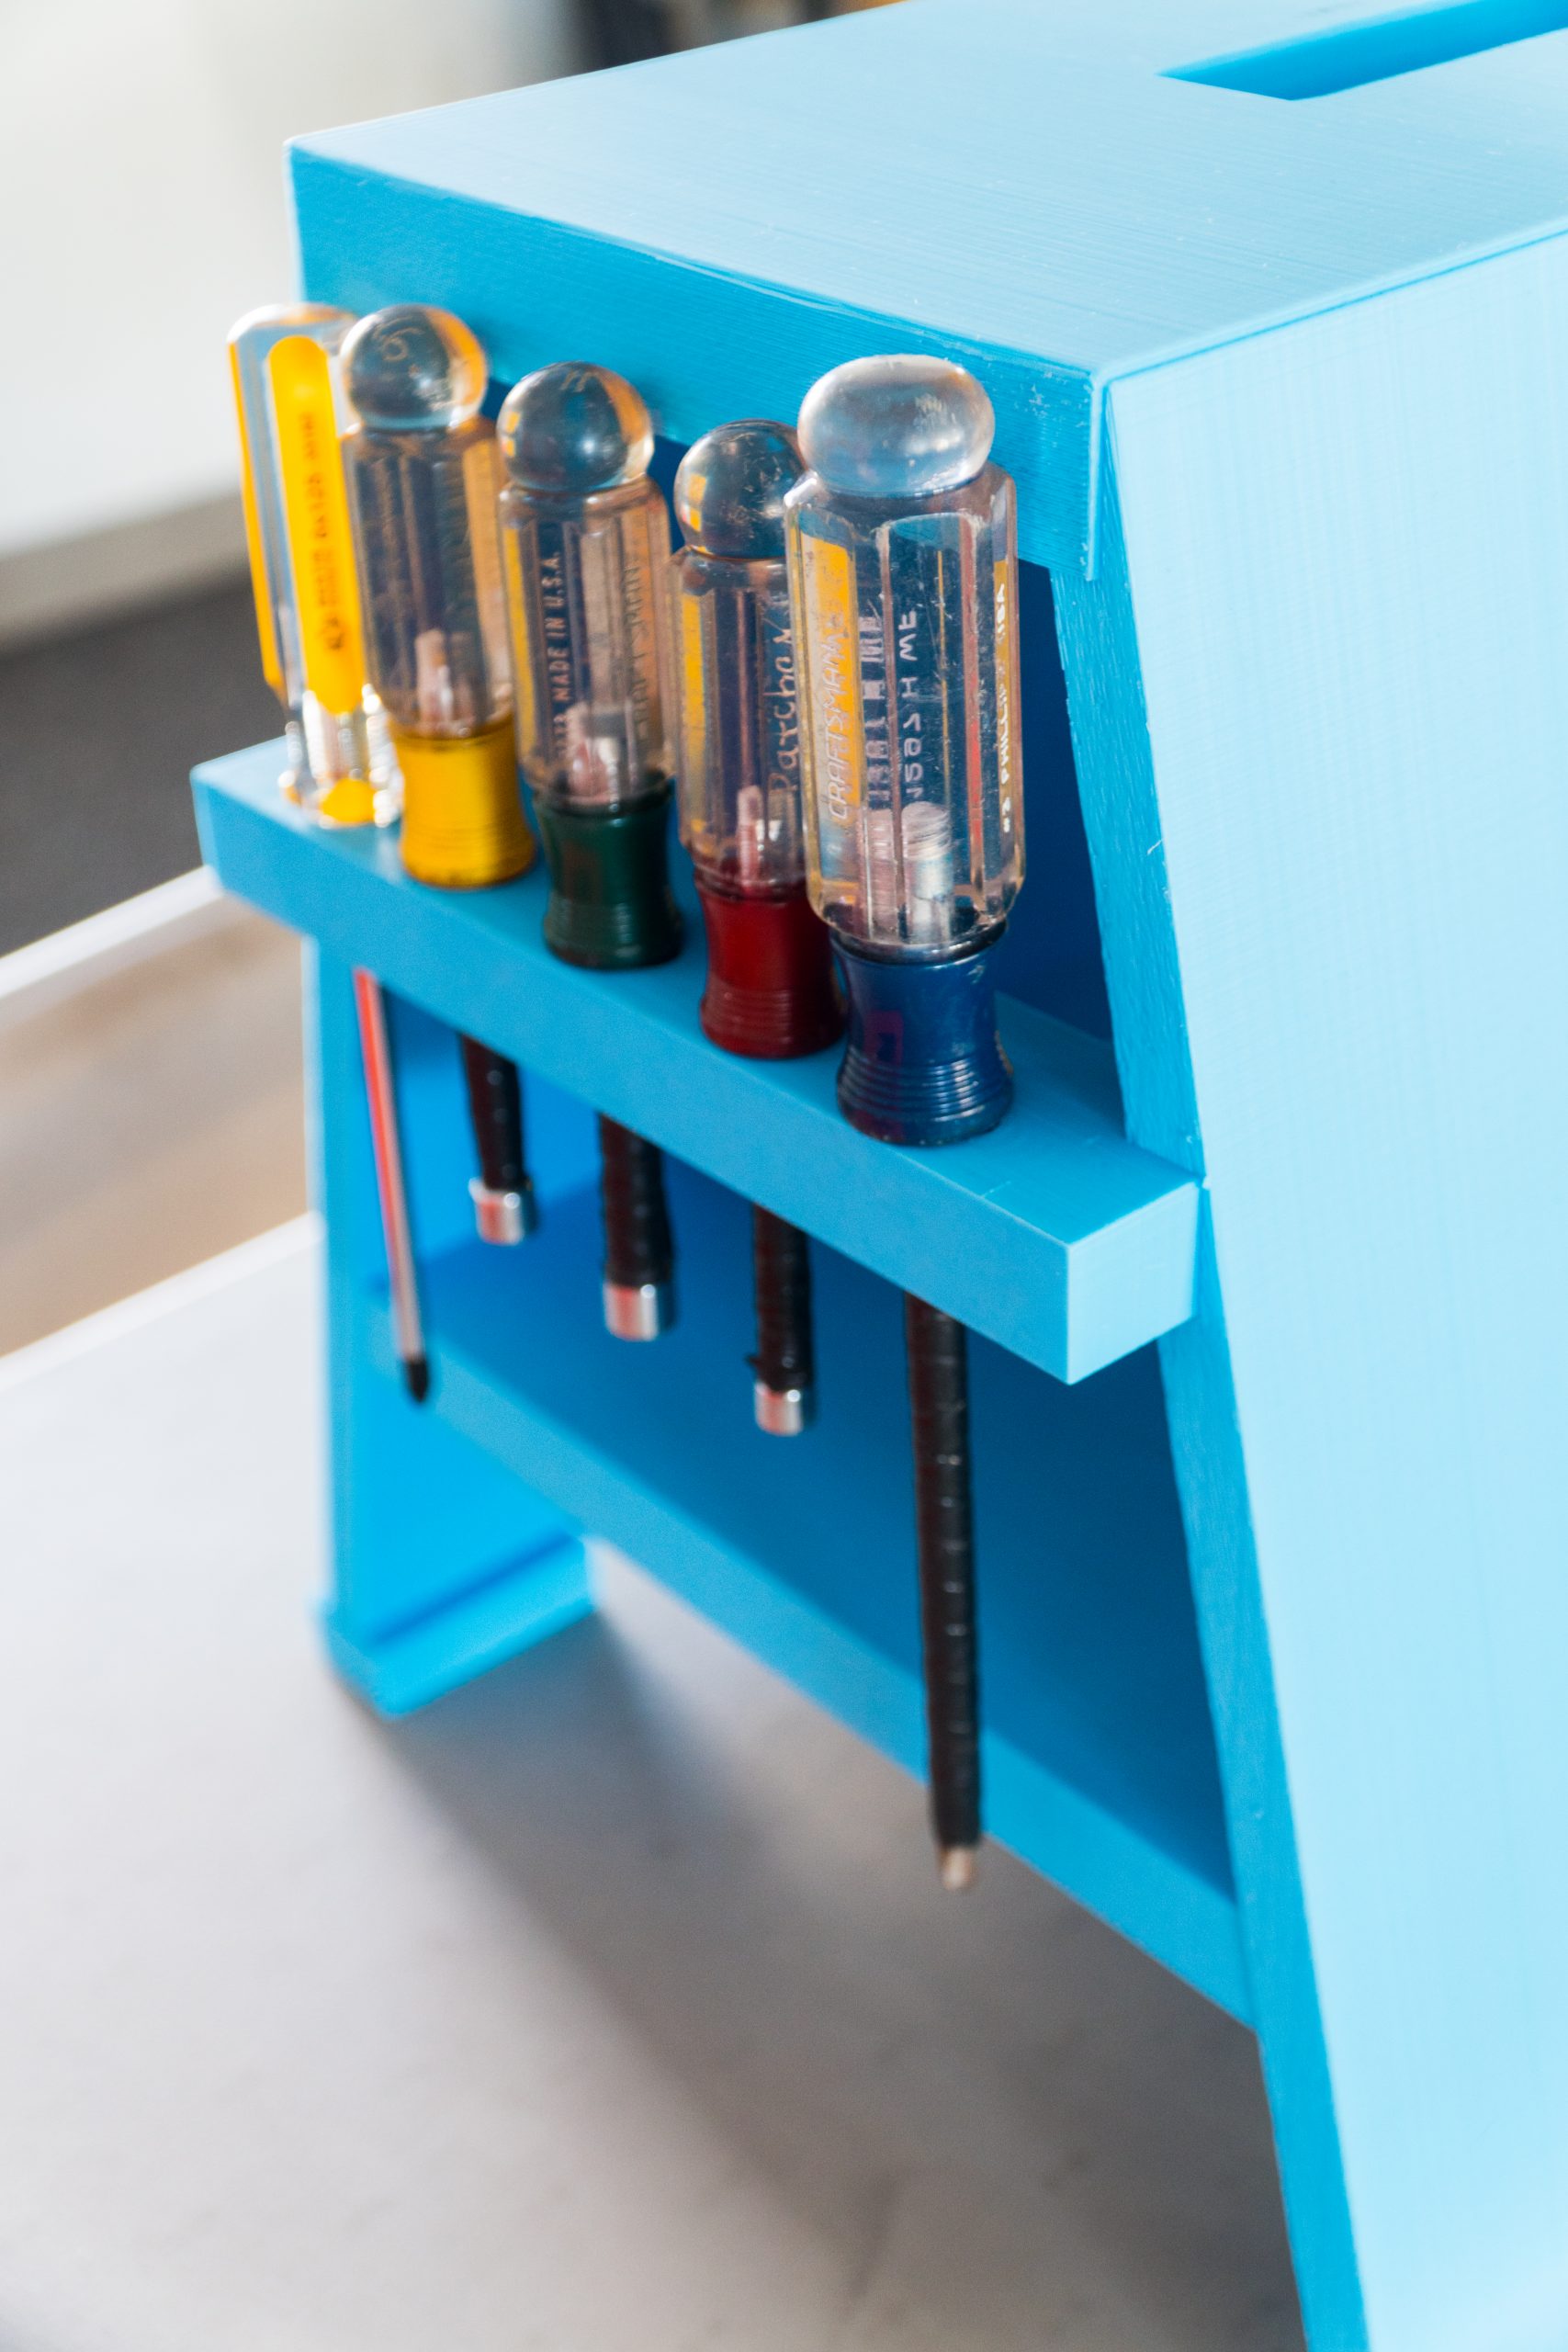
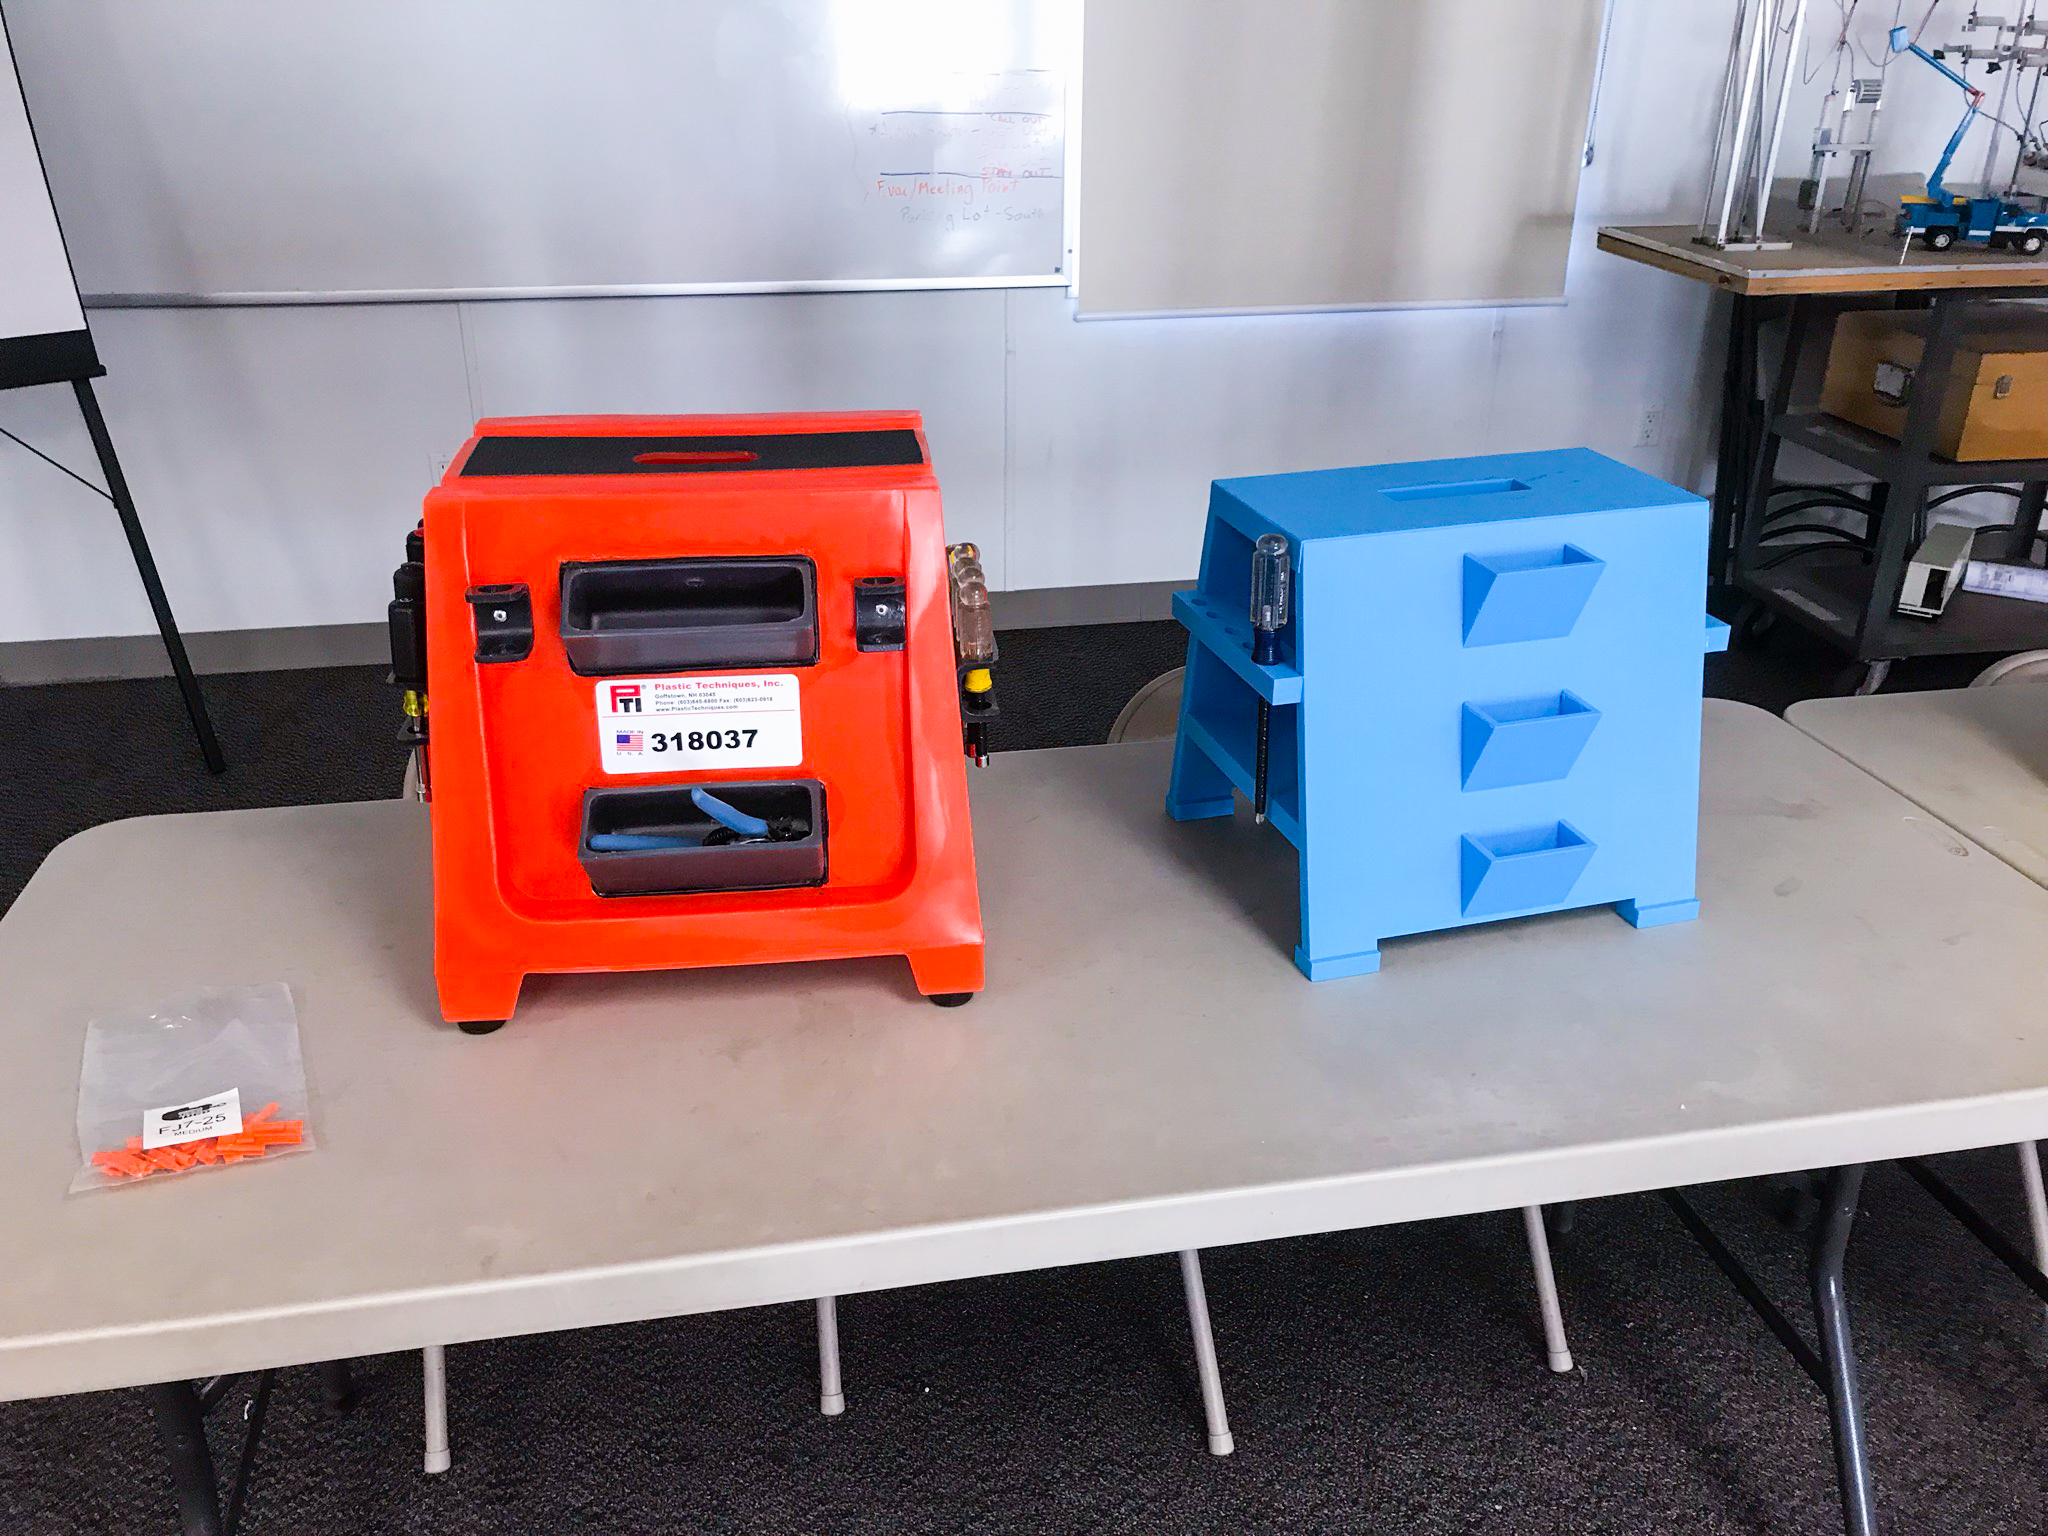
Patchen began by building these training models by hand. He estimates that he created his first substation model in 1999, using components that he found at the hardware store. Cardboard tubes and spark plugs come together to form a miniature substation on which students can practice, with no danger of a deadly misstep.

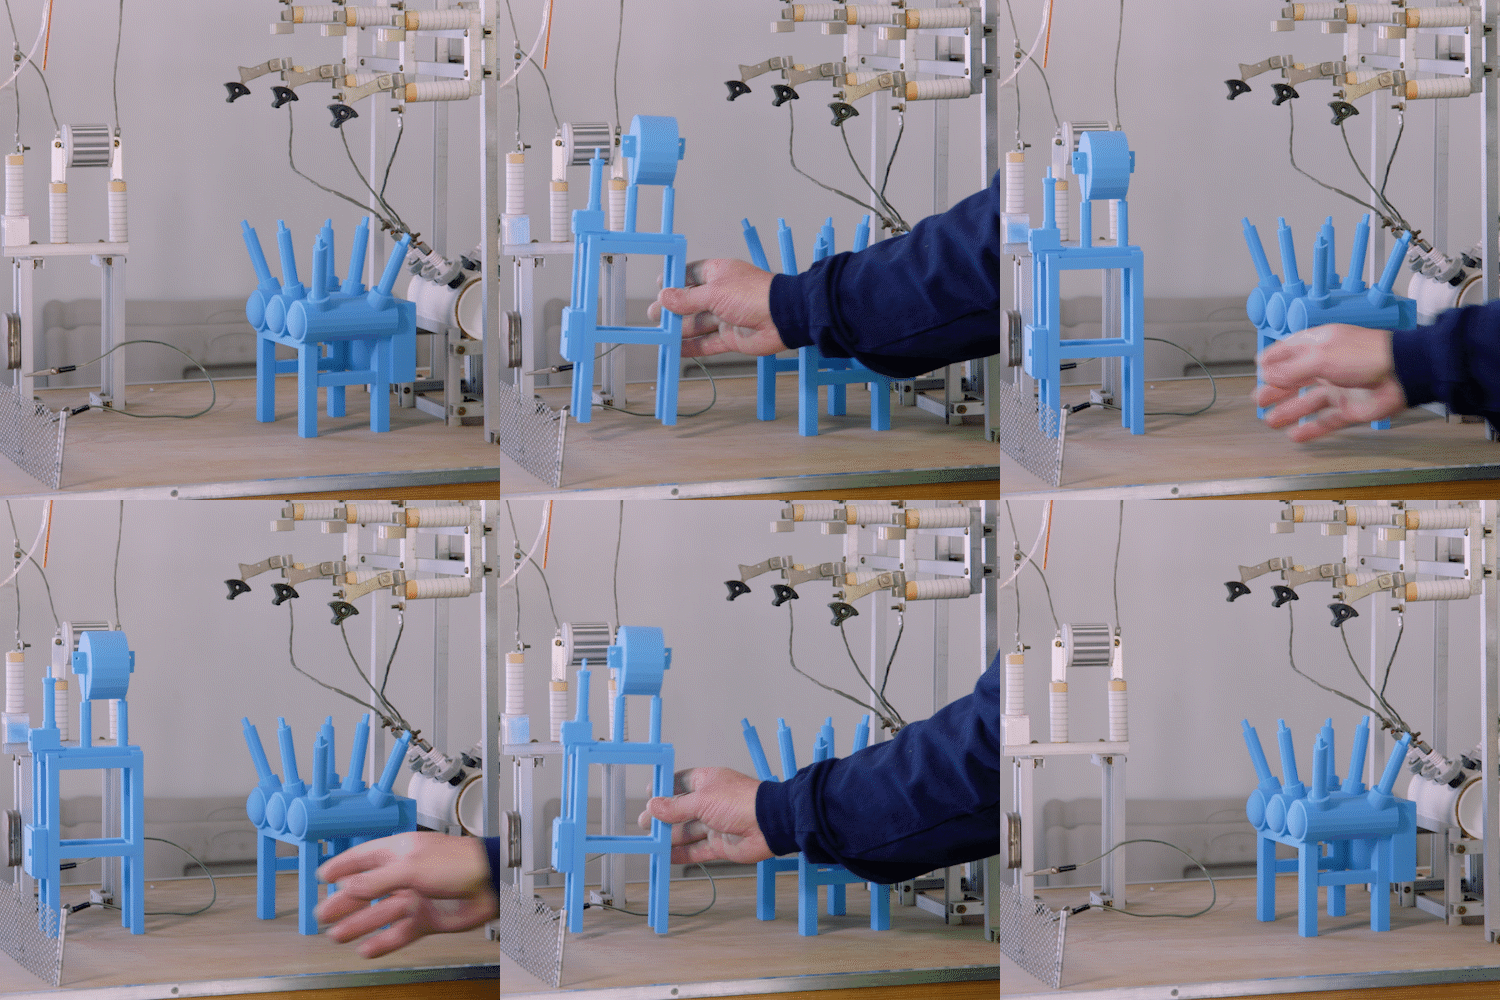
When Patchen caught wind of the powers of 3D printing, its potential to be applied to his work was immediately apparent. “When 3D printing came into the picture, we thought, ‘Oh man, we could really make these models much more realistic.’” He also saw the opportunity to start reproducing models for other locations at a pace that just wasn’t feasible when he was building each one by hand.

“If I was gonna buy a printer, I wanted one with a big print platform,” Patchen recounts. Their size requirements are varied, he explains. Sometimes their prototyping needs are small-scale, but other times they want the ability to create large objects that would dwarf the average desktop printer. “We wanted…a single purchase that would best fit both those kinds of parameters,” he says.

He did his research and found re:3D. “The Gigabot was amazing because of its large platform and the ability to print small and large, no matter what our needs might be.” Patchen is now in the process of 3D modeling his original substation in CAD and printing out its 21st century cousin.

Patchen explains that the company recently invested in a state-of-the-art training facility, where he sees abundant opportunities to use their Gigabot for educational purposes. “Our goal as a utility is to be a leader in our industry,” he says. “In order for us to do that, we have to lead in safety, innovation, and technology. We believe that 3D printing is gonna help us get there.” 

Tool creation from then to now

One challenge of the work is that, between different eras of design and the wide range of equipment manufacturers, a single type of equipment may have several different designs out in the field.

Because of this, there is not necessarily a one-size-fits-all tool for every job and every company. This can leave utilities to do their own tool creation when needed, to make the job safer and more efficient for workers and keep power flowing to their customers. Oftentimes, workers see areas for improvement, opportunities for a new tool that doesn’t exist that would make their jobs easier.

“When I first hired on, I was a high-voltage substation electrician. I worked in the field for many years,” explains Patchen. “If you had an idea for a tool that you wanted to create, you would have to draw it on a piece of paper or a napkin and bring it down to a local machine shop, and then they would do their best to build it.” That process, Patchen recounts, could take weeks to months – and that was just to get an initial prototype.

Anyone who’s been through the development of a product knows that the back and forth of the process – when not done in-house – can be quite costly in both time and capital. The first iteration comes back – often after a lengthy lead time – and design flaws become apparent. Revisions are made and submitted, and the process is repeated. More waiting, more money.

“Today with 3D printing, you can take your ideas and concepts and prove them out,” Patchen explains. “The average person can change the industry.”

3D printing cuts down on the tool design process in both the time and cost departments. A design can be printed and reworked on repeat until all the kinks are ironed out. “Then,” Patchen explains, “I could go spend the money at the mill or the machine shop, and it’s actually effective spending at that point.”

It goes without saying that this also slashes a massive amount of time from the process. They can internally turn around dozens of 3D printed iterations and settle on a final design in less time than a machine shop could get a first version back to them. “It’s a very cost-efficient way to change the industry using the field employees’ input.”

The challenges of tool development

Nowadays, Patchen’s tool creation process typically involves a manufacturer, so that when a design is finalized it can be mass-produced and made available on the market to any utility company who may also have a need for it.

There are several challenges that Patchen is confronted with when he’s approached with a tool idea from a field employee.

The first is the broad range of equipment designs that they’re making these tools to service. “In these substations, there’s stuff that was built in 1920, there’s stuff that was built last month,” he explains. This means that the same device with the same function can take different forms depending on what era it’s from. “When we have to build something, we want to make it fit all of those,” he says. “We want to be able to make one product, one time, and do it right.”

The second challenge is their partner in tool creation: the manufacturers. Patchen starts the process by approaching a manufacturer with a tool concept, they come back with an initial design, and the utility workers trial it out in the field. This, Patchen explains, can be tricky with manufacturers who aren’t in their line of work. “A lot of times, when the manufacturer’s trying to understand what your needs are, they’re not in the field, they don’t work in your environment,” he says. “They make tools, [but] they don’t understand how you’re using them.”

This can result in tools that are inconvenient or awkward to use and therefore difficult to actually put into practice, defeating the purpose of creating them in the first place.

With 3D printing, Patchen found a solution to this flaw in their design process. “When you get an end-user involved in creating prototypes, you’re really closing the gap on the amount of time and the cost it takes to create useful tools.”

Now, he and his team handle the early stages of the process, modeling CAD files and printing initial prototypes in-house. By the time they approach a manufacturer with a tool concept, they have a 3D printed prototype that’s already been put through the ringer out in the field. This allows them to leapfrog several steps ahead in the production process. “3D printing has enabled us to improve our innovation when it comes to creating new tools or specialized tools across a very diverse line of equipment,” he explains. “We’re able to come up with concepts, print the prototypes, and trial them out in the field, so when we communicate back to our manufacturer, the data is more accurate.”

Rather than discovering a design flaw after something has been expensively injection-molded, Patchen and his team can work out the kinks on their end and ensure the design they send to a manufacturer is accurate from the get-go. All that’s left to do at that point is create the tooling to mass produce it. Says Patchen, “It saves [the manufacturer] money, it saves us money in the long run, and lots and lots of time.”

At the 2019 ICUEE conference in Louisville, Kentucky – the largest utility and construction trade show in North America – four tools Patchen and his team helped design were on display. It’s a big honor at such a lauded industry event, but his focus remains on safety and sharing innovation so that other utilities across the nation can benefit. “I’m not trying to make money,” says Patchen. “I’m just trying to make it better for the employees in the field.”

Sparking industry innovation through new tool creation

Where taking a tool from concept to a purchasable physical product used to be a months- to years-long process, Patchen explains that 3D printing has given them the ability to slash that development time down into the weeks. “That’s huge when it comes to our type of work where we’re in such a high-voltage, dangerous environment.”

Much of the challenge and danger of the job stems from the simple fact that a utility company’s singular focus is keeping the lights on.

When equipment needs maintenance, they do what they can to keep the power flowing. This means that workers are almost always working near energized, high-voltage equipment – hence the necessity of Patchen’s job. And although there is always an inherent level of risk to a job which necessitates working in close proximity to high voltage, Patchen’s aim is to protect workers through the development of new tools, training, and work methods.

“Technology is changing our industry,” says Patchen. “Every six months, there is something new.” The blistering pace of innovation lifts the industry as a whole, but the challenge, Patchen explains, is staying on the forefront of that.

“We don’t want to sit back and just watch that happen. We want to be a leader in that,” he explains. “3D printing gives us the ability to be part of that process – to lead innovation.”

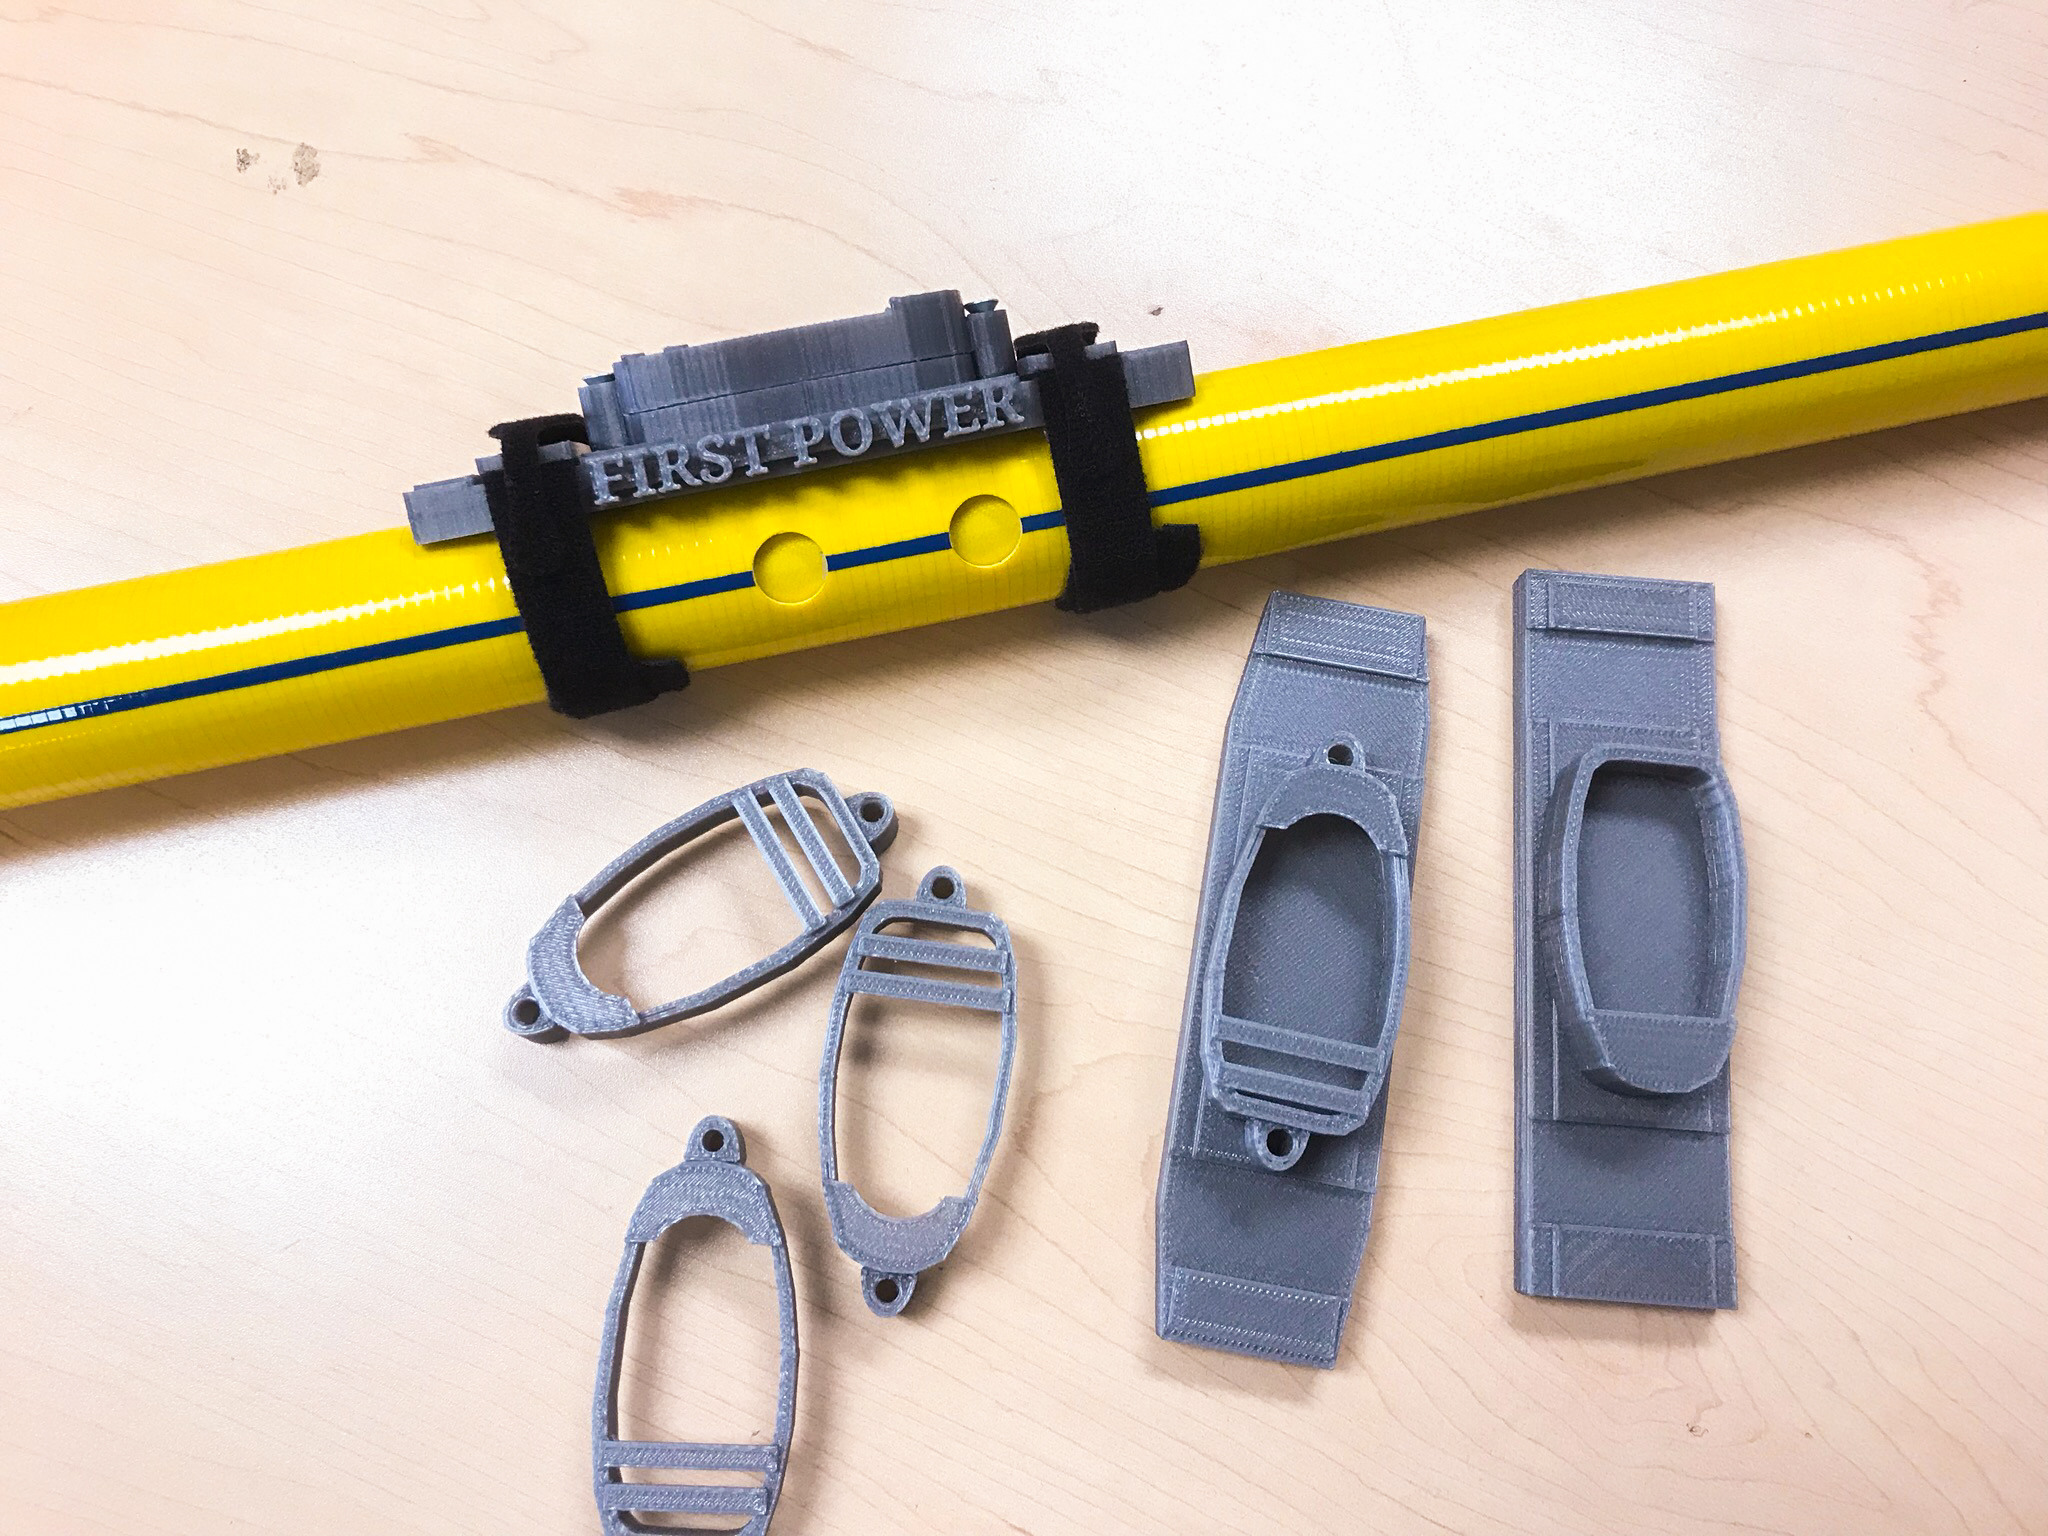
One ubiquitous tool used in the field is a live line stick, commonly known in the business as a hot stick. The lengthy, fiberglass poles allow utility workers to perform a variety of tasks on energized equipment, insulating them from the electricity and keeping them at a distance from machinery in the case of a malfunction or electrical arcing. The end of the stick operates as a mount for a variety of different accessories that serve a wide range of purposes, like pulling fuse and operating switches. 

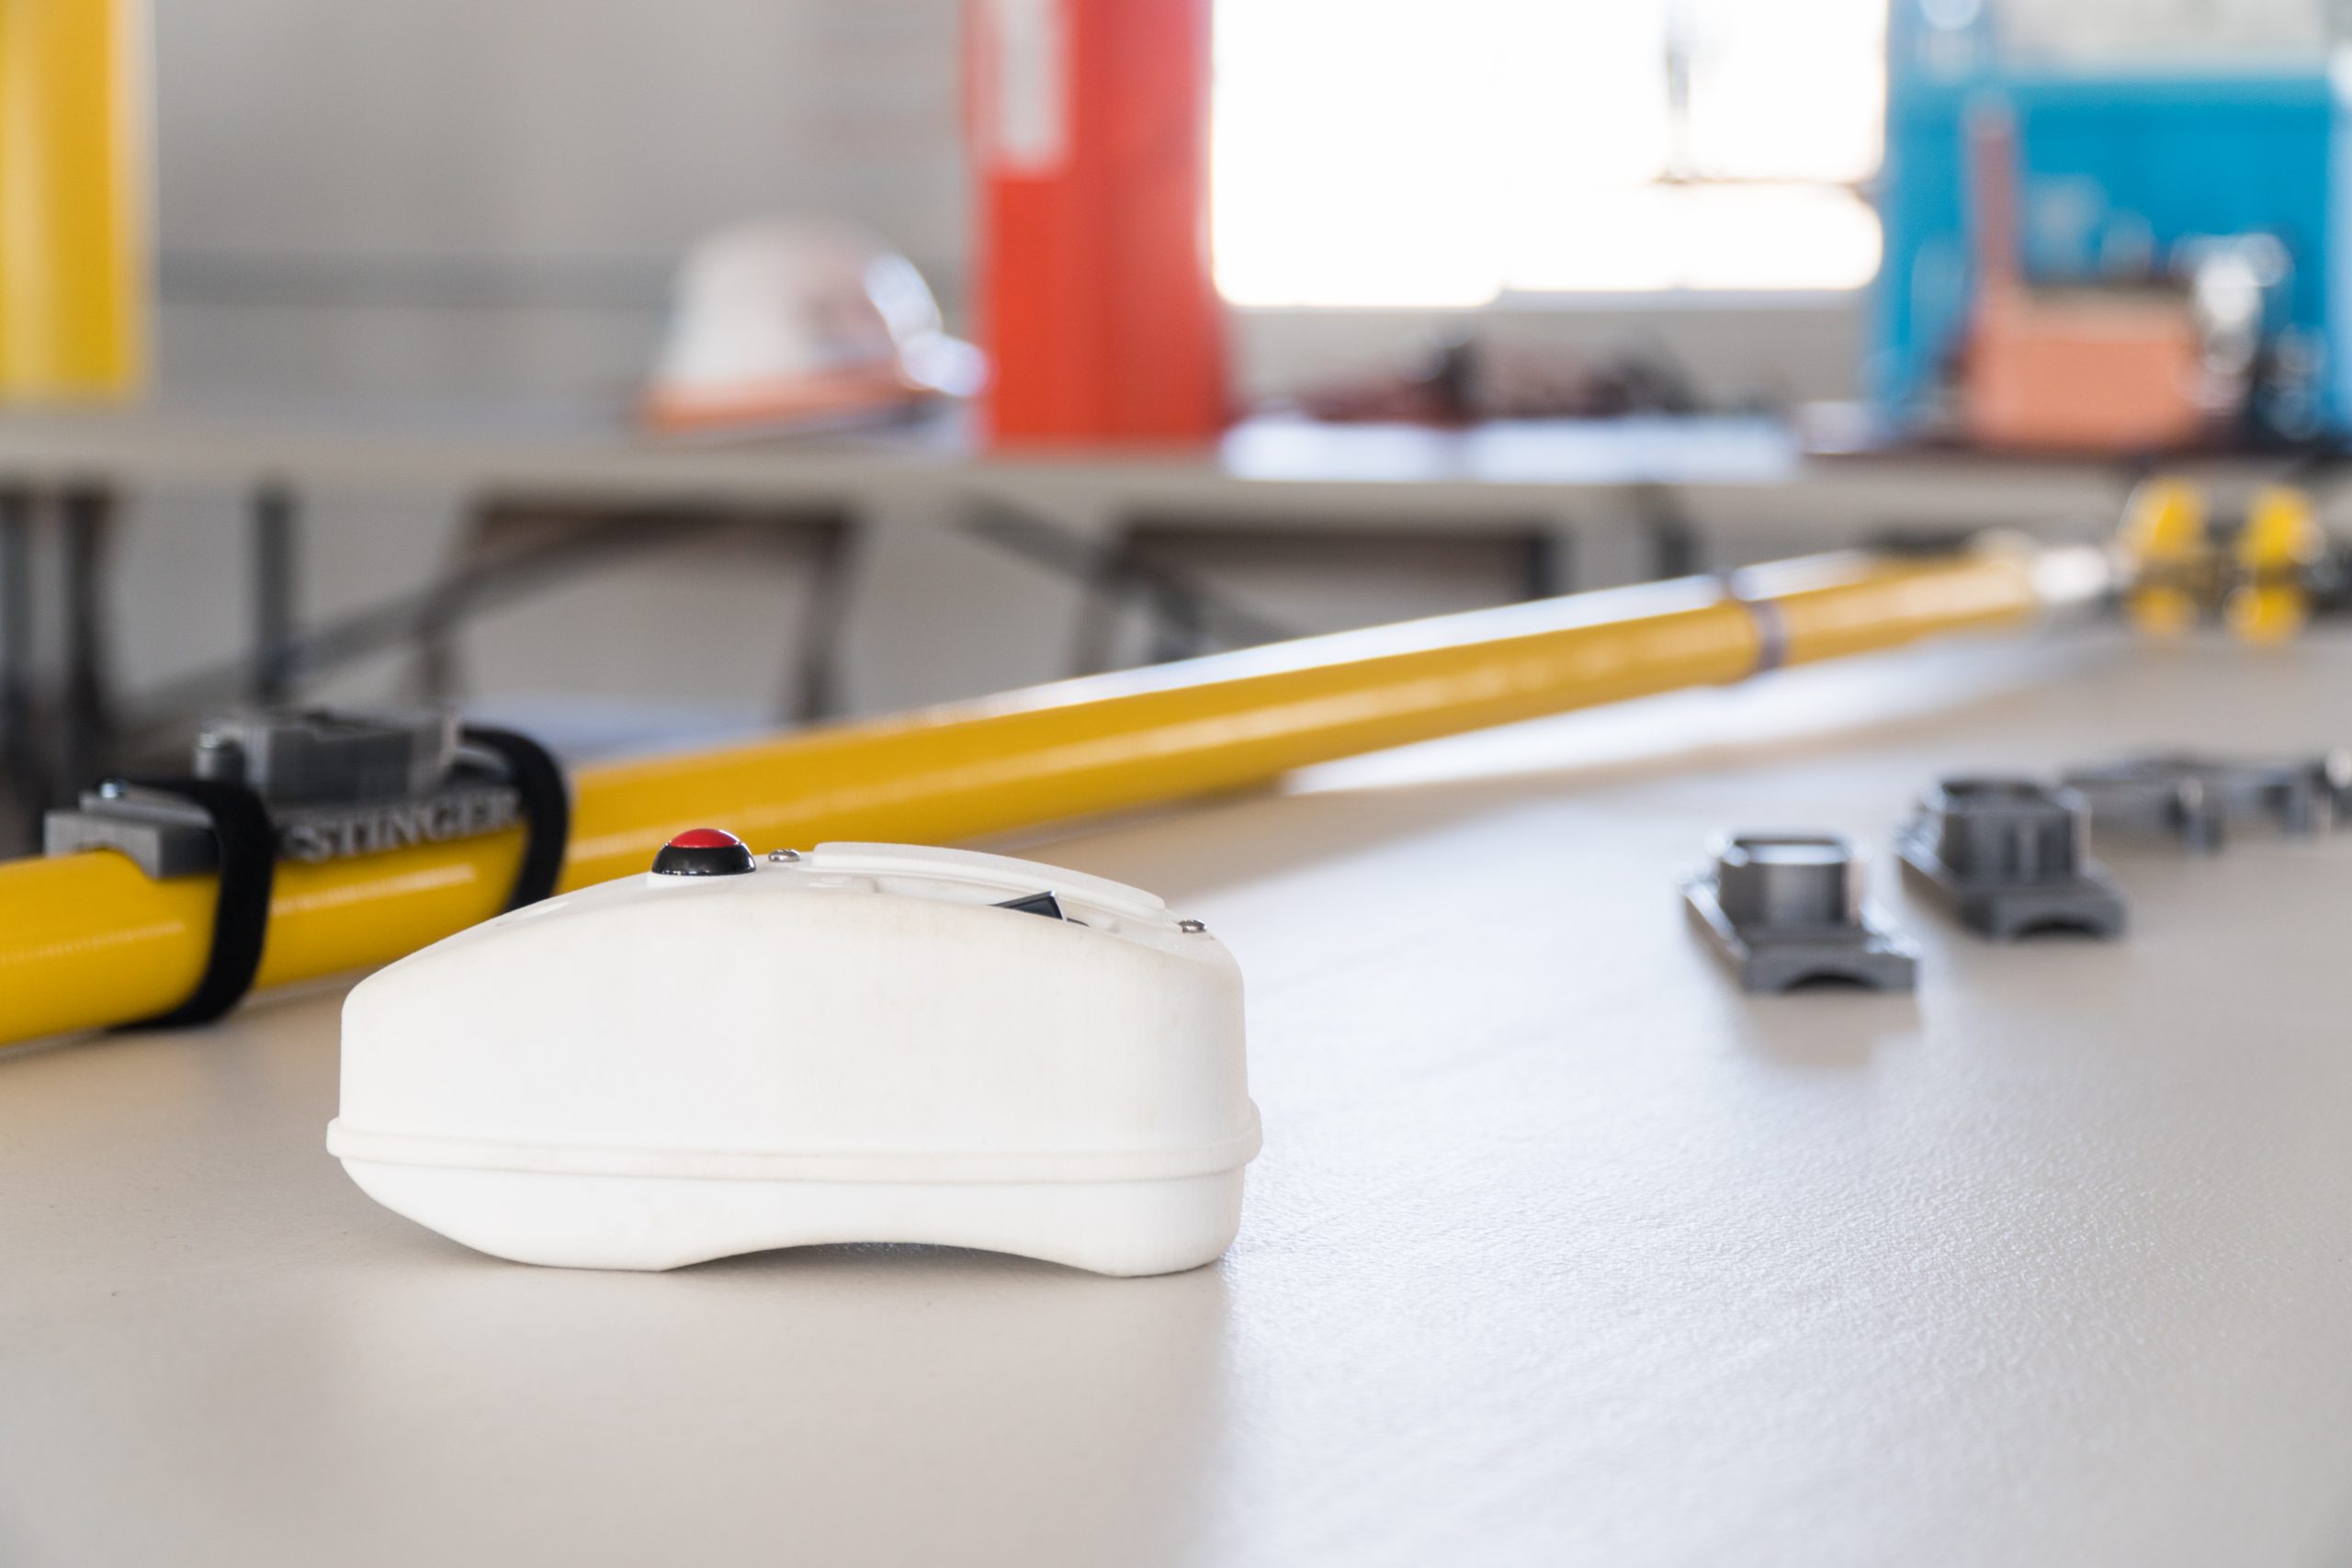
One hot stick variation that Patchen’s team uses is a switch lubricator. Workers were struggling to open sticky switches, often having to use a stick to forcibly hit at a switch five or six times. They remedied this with a hot stick that dispenses lubricant onto a switch so that it can be opened easily with one knock.

Part of the design is a control unit, mounted on the opposite end of the hot stick, with a button for the user to dispense the lubricant. The unit the manufacturer sent was large and clunky: a worker had to remove a hand from the stick in order to get to the button, sacrificing dexterity.

Patchen designed a new mount with a slim profile – probably a quarter of the size of the original unit – enabling the stick operator to keep both hands on the pole and simply move a thumb to hit the button. “We were able to use our 3D printer to create this new prototype that’s much more ergonomic and gives the end user more control when working in an energized, high-voltage environment.” Printed on their Gigabot and mounted to the pole with velcro straps, the new unit Patchen created is being adopted by the manufacturer as an option on new purchases.

Gigabot has opened a door for Patchen and his team, and the tool requests are streaming in.

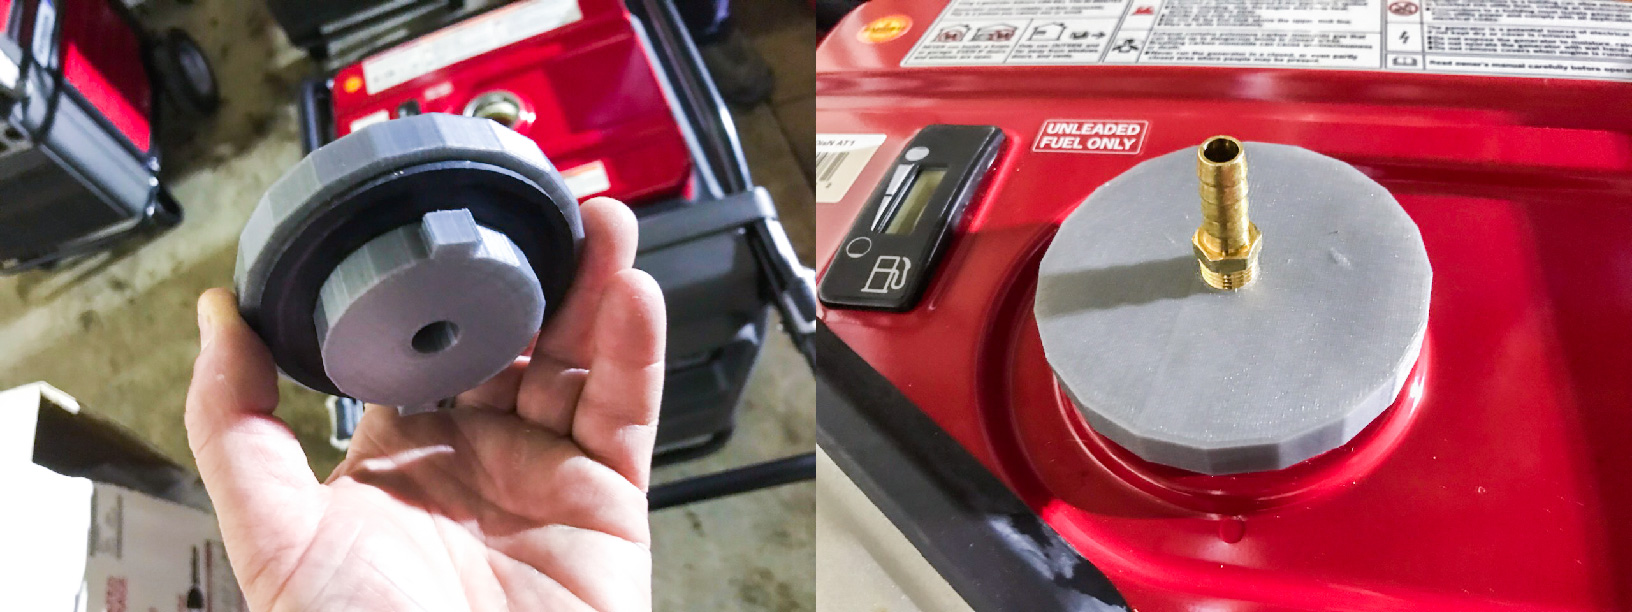
There was the gas cap to attach a generator to an extended time fuel tank, out of stock when they desperately needed it during a widespread emergency and power outage. Patchen 3D printed it.

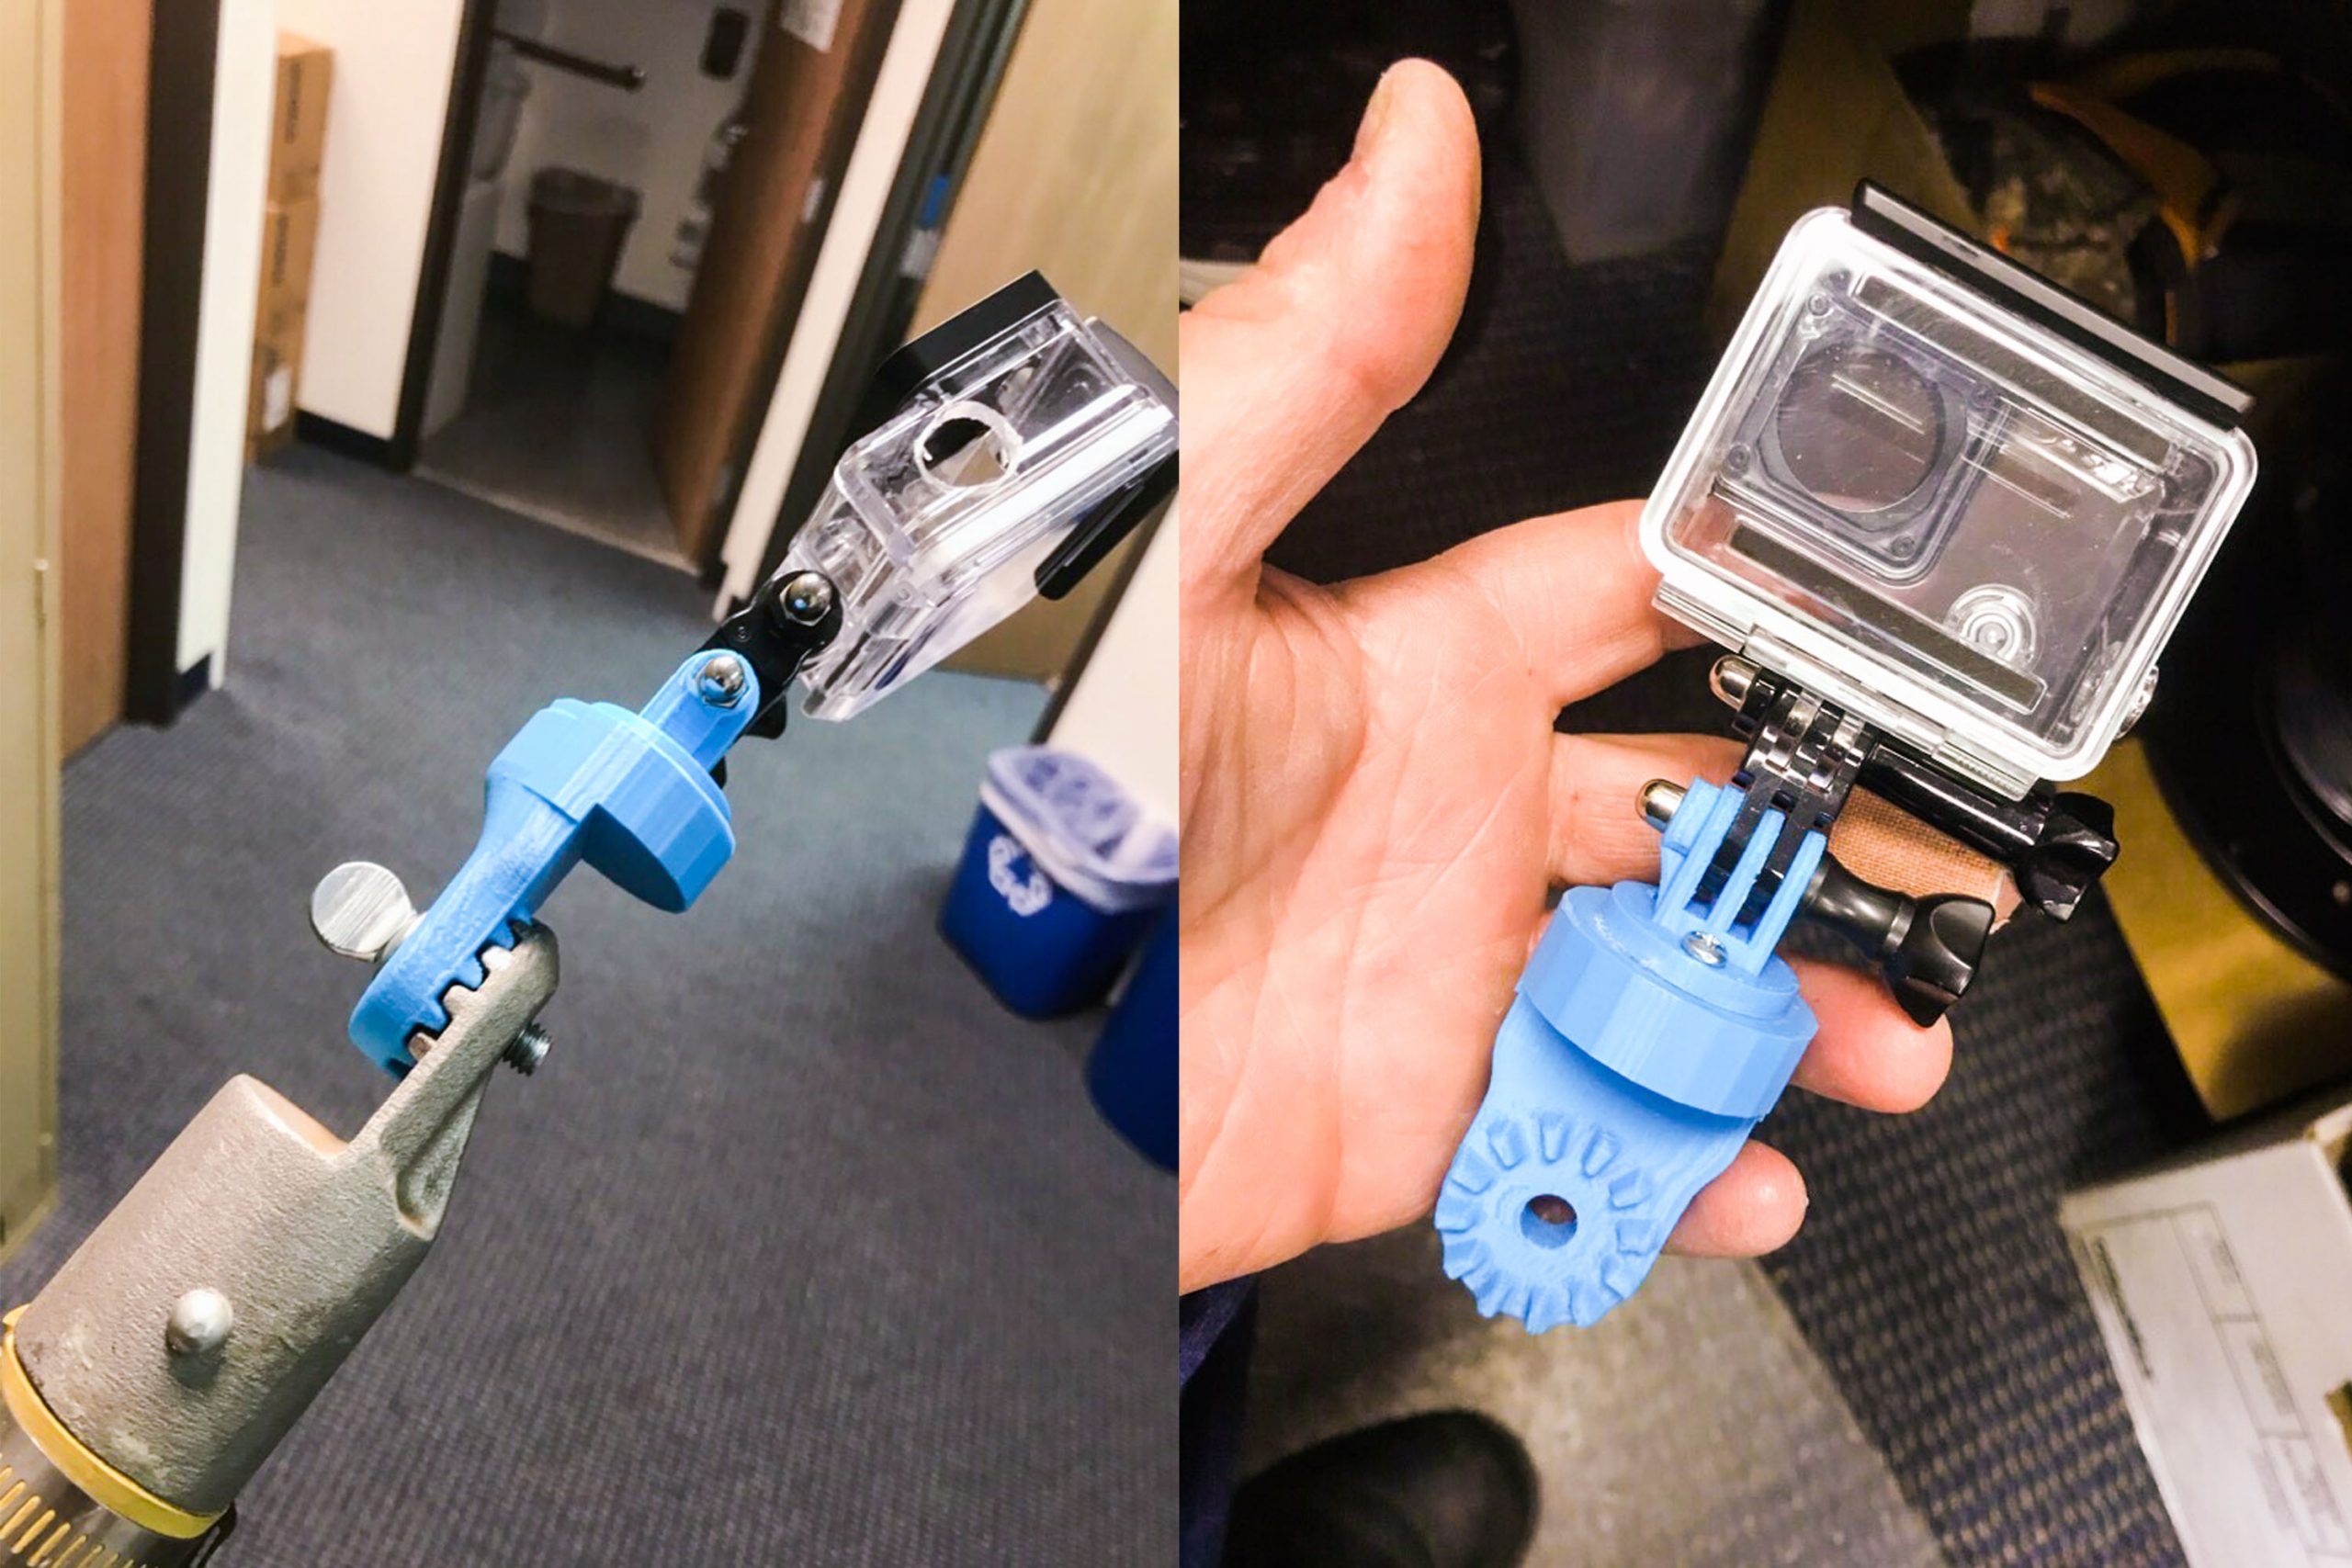
There was the camera mount hot stick used to inspect energized equipment that carried a price tag of nearly $500. Patchen printed it. Their 3D printed version of the mount attaches to other sticks they already have, at a grand total of $1.67 apiece.

The list goes on.

“We were recently approached by several field crews to create a special plastic cover that would protect them in high voltage environments,” Patchen says. There was no product on the market that fit the bill, so he got to work on a design with a manufacturer.

The equipment that needed to be covered took a wide range of forms in the field, complicating the product development process. Patchen gave the manufacturer drawings of the equipment and their product idea. Eight months later they still didn’t have a workable prototype.

Patchen stepped in. “I used my 3D printer, made a prototype, and got the product finished within three weeks. Now it’s actually purchasable on the market.”

But perhaps Patchen’s most impressive project of all is a small, unassuming plastic hook.

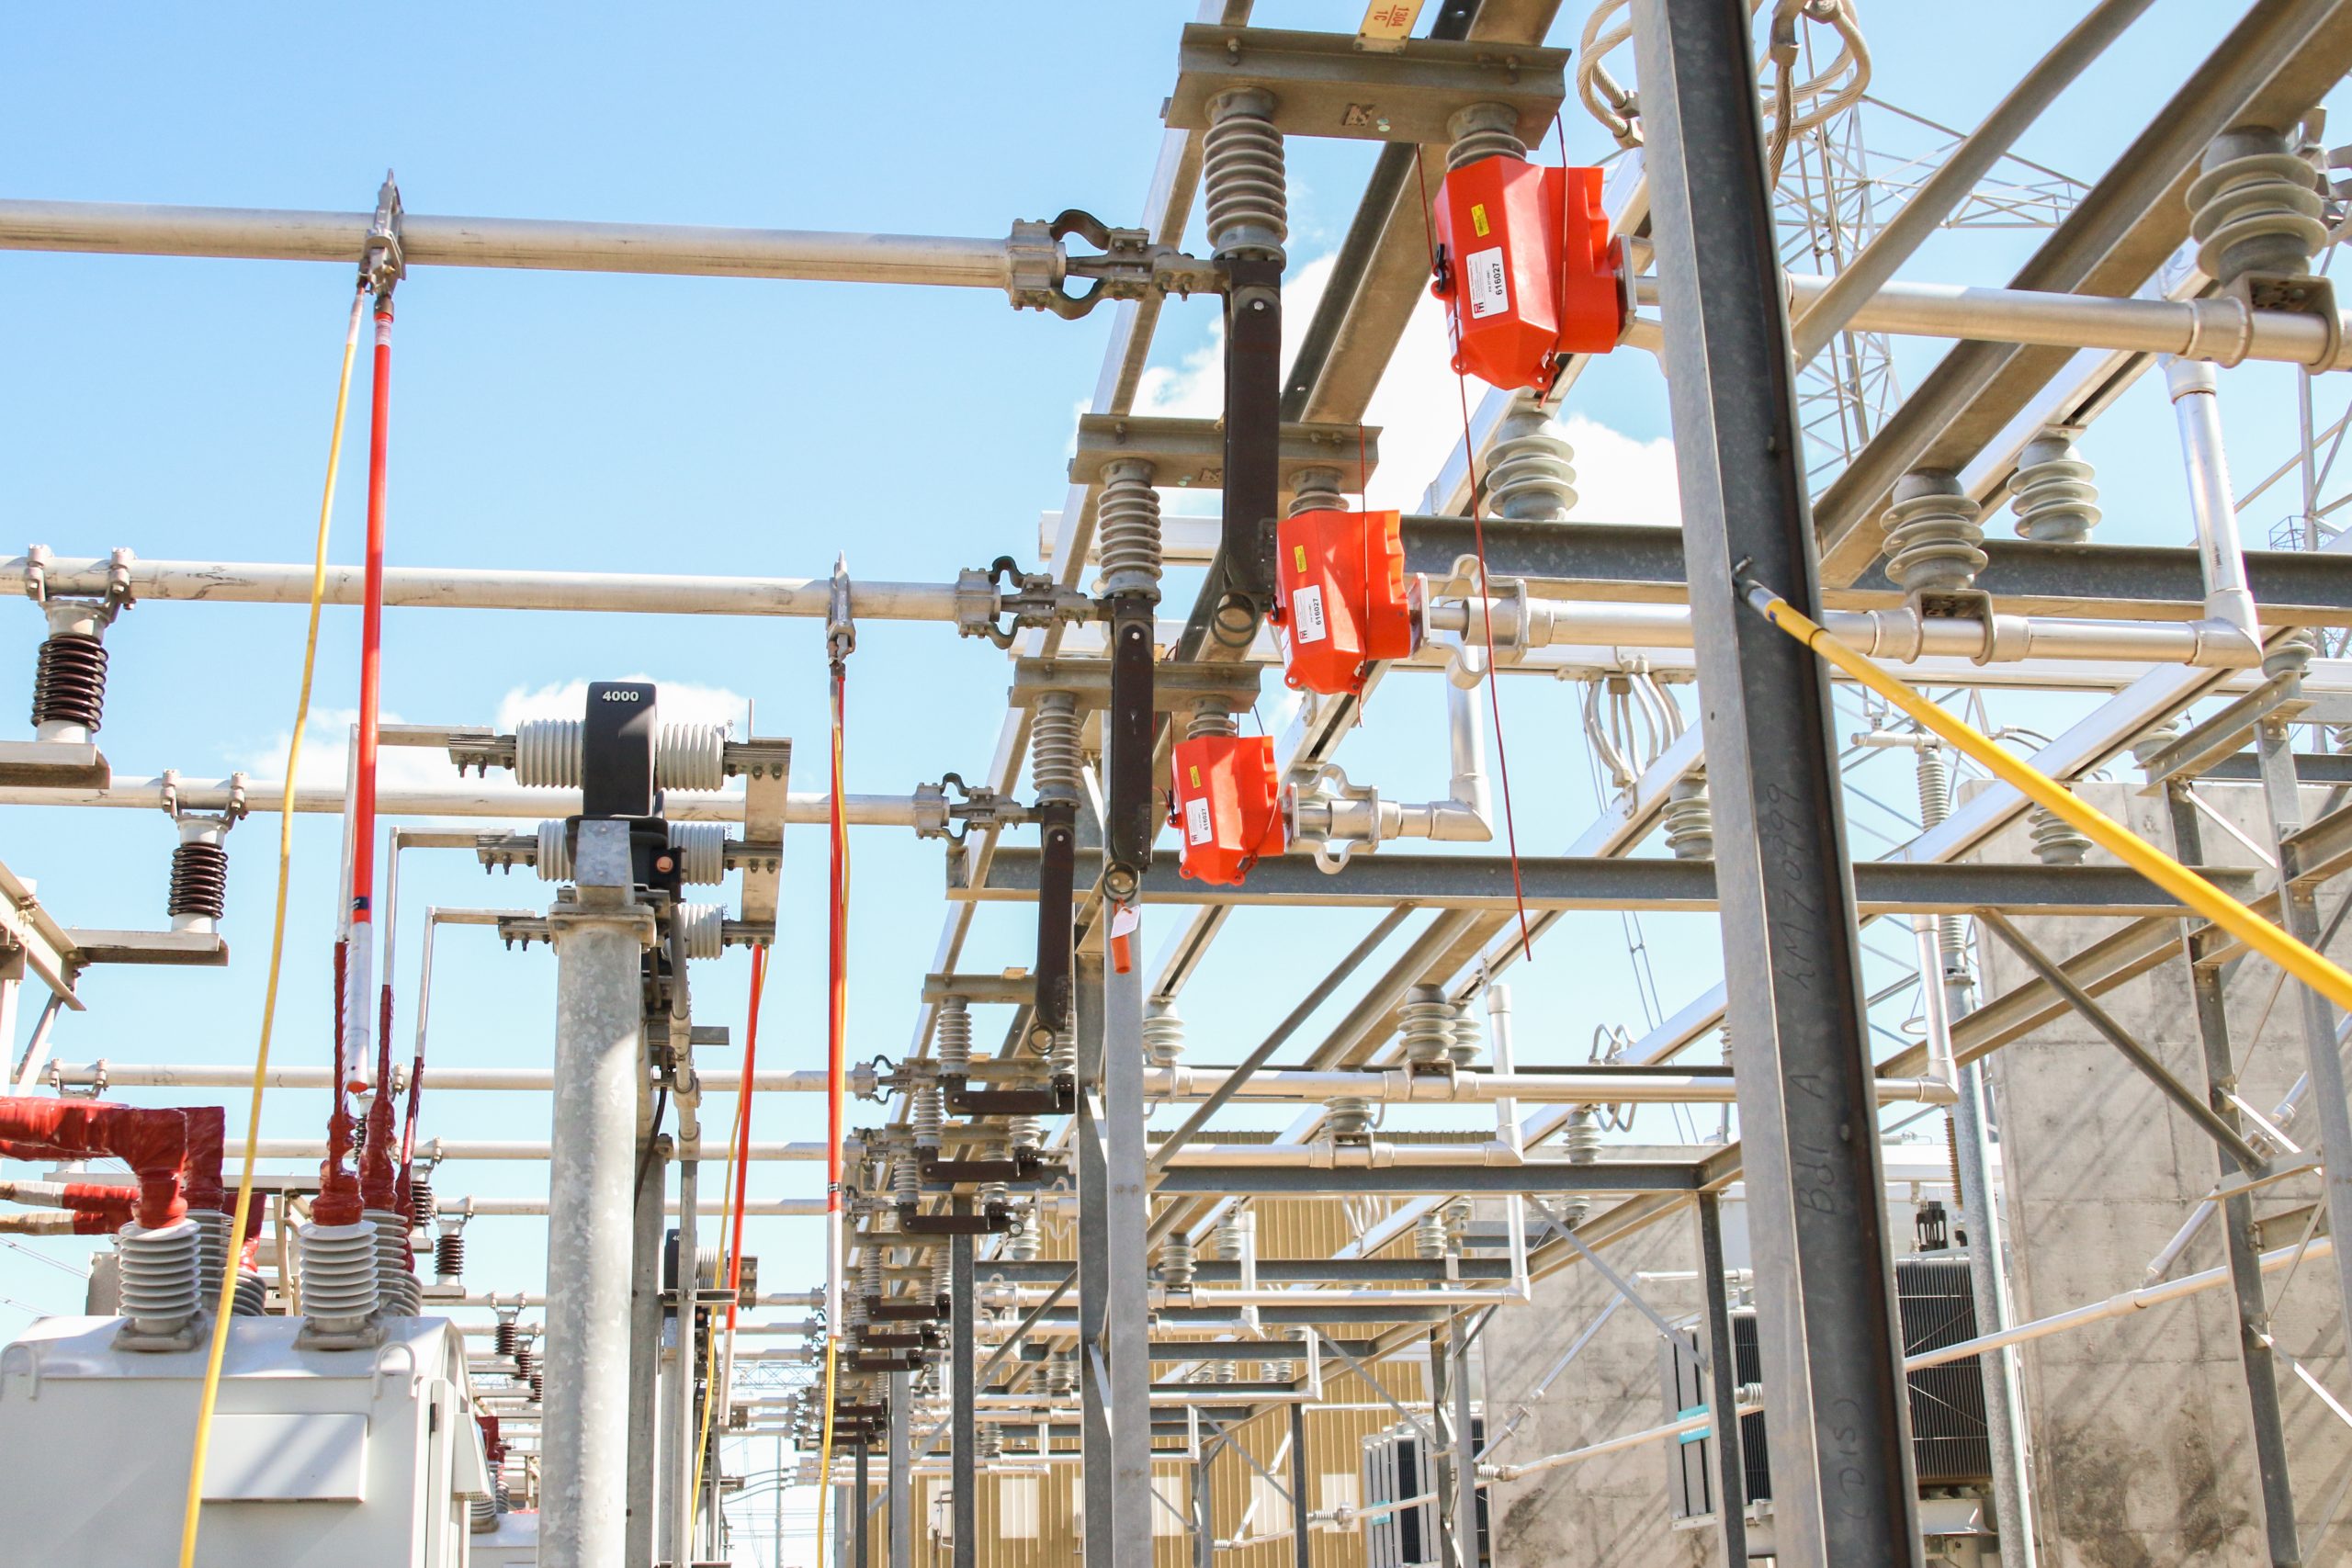
He and his team were confronted with a scenario in which they needed to perform maintenance on a 500 kV substation. “In our system, the highest voltage that we have – and one of our most critical circuits – is the 500 kV,” he explains. “To clear that equipment or take it out of service, we’d have to de-energize the whole grid, which can be quite costly – tens to hundreds of thousands of dollars.”

A teammate came to him with an idea to circumvent the clearance with the help of a specially-designed plastic barrier which would allow them to safely perform maintenance without shutting down the system.

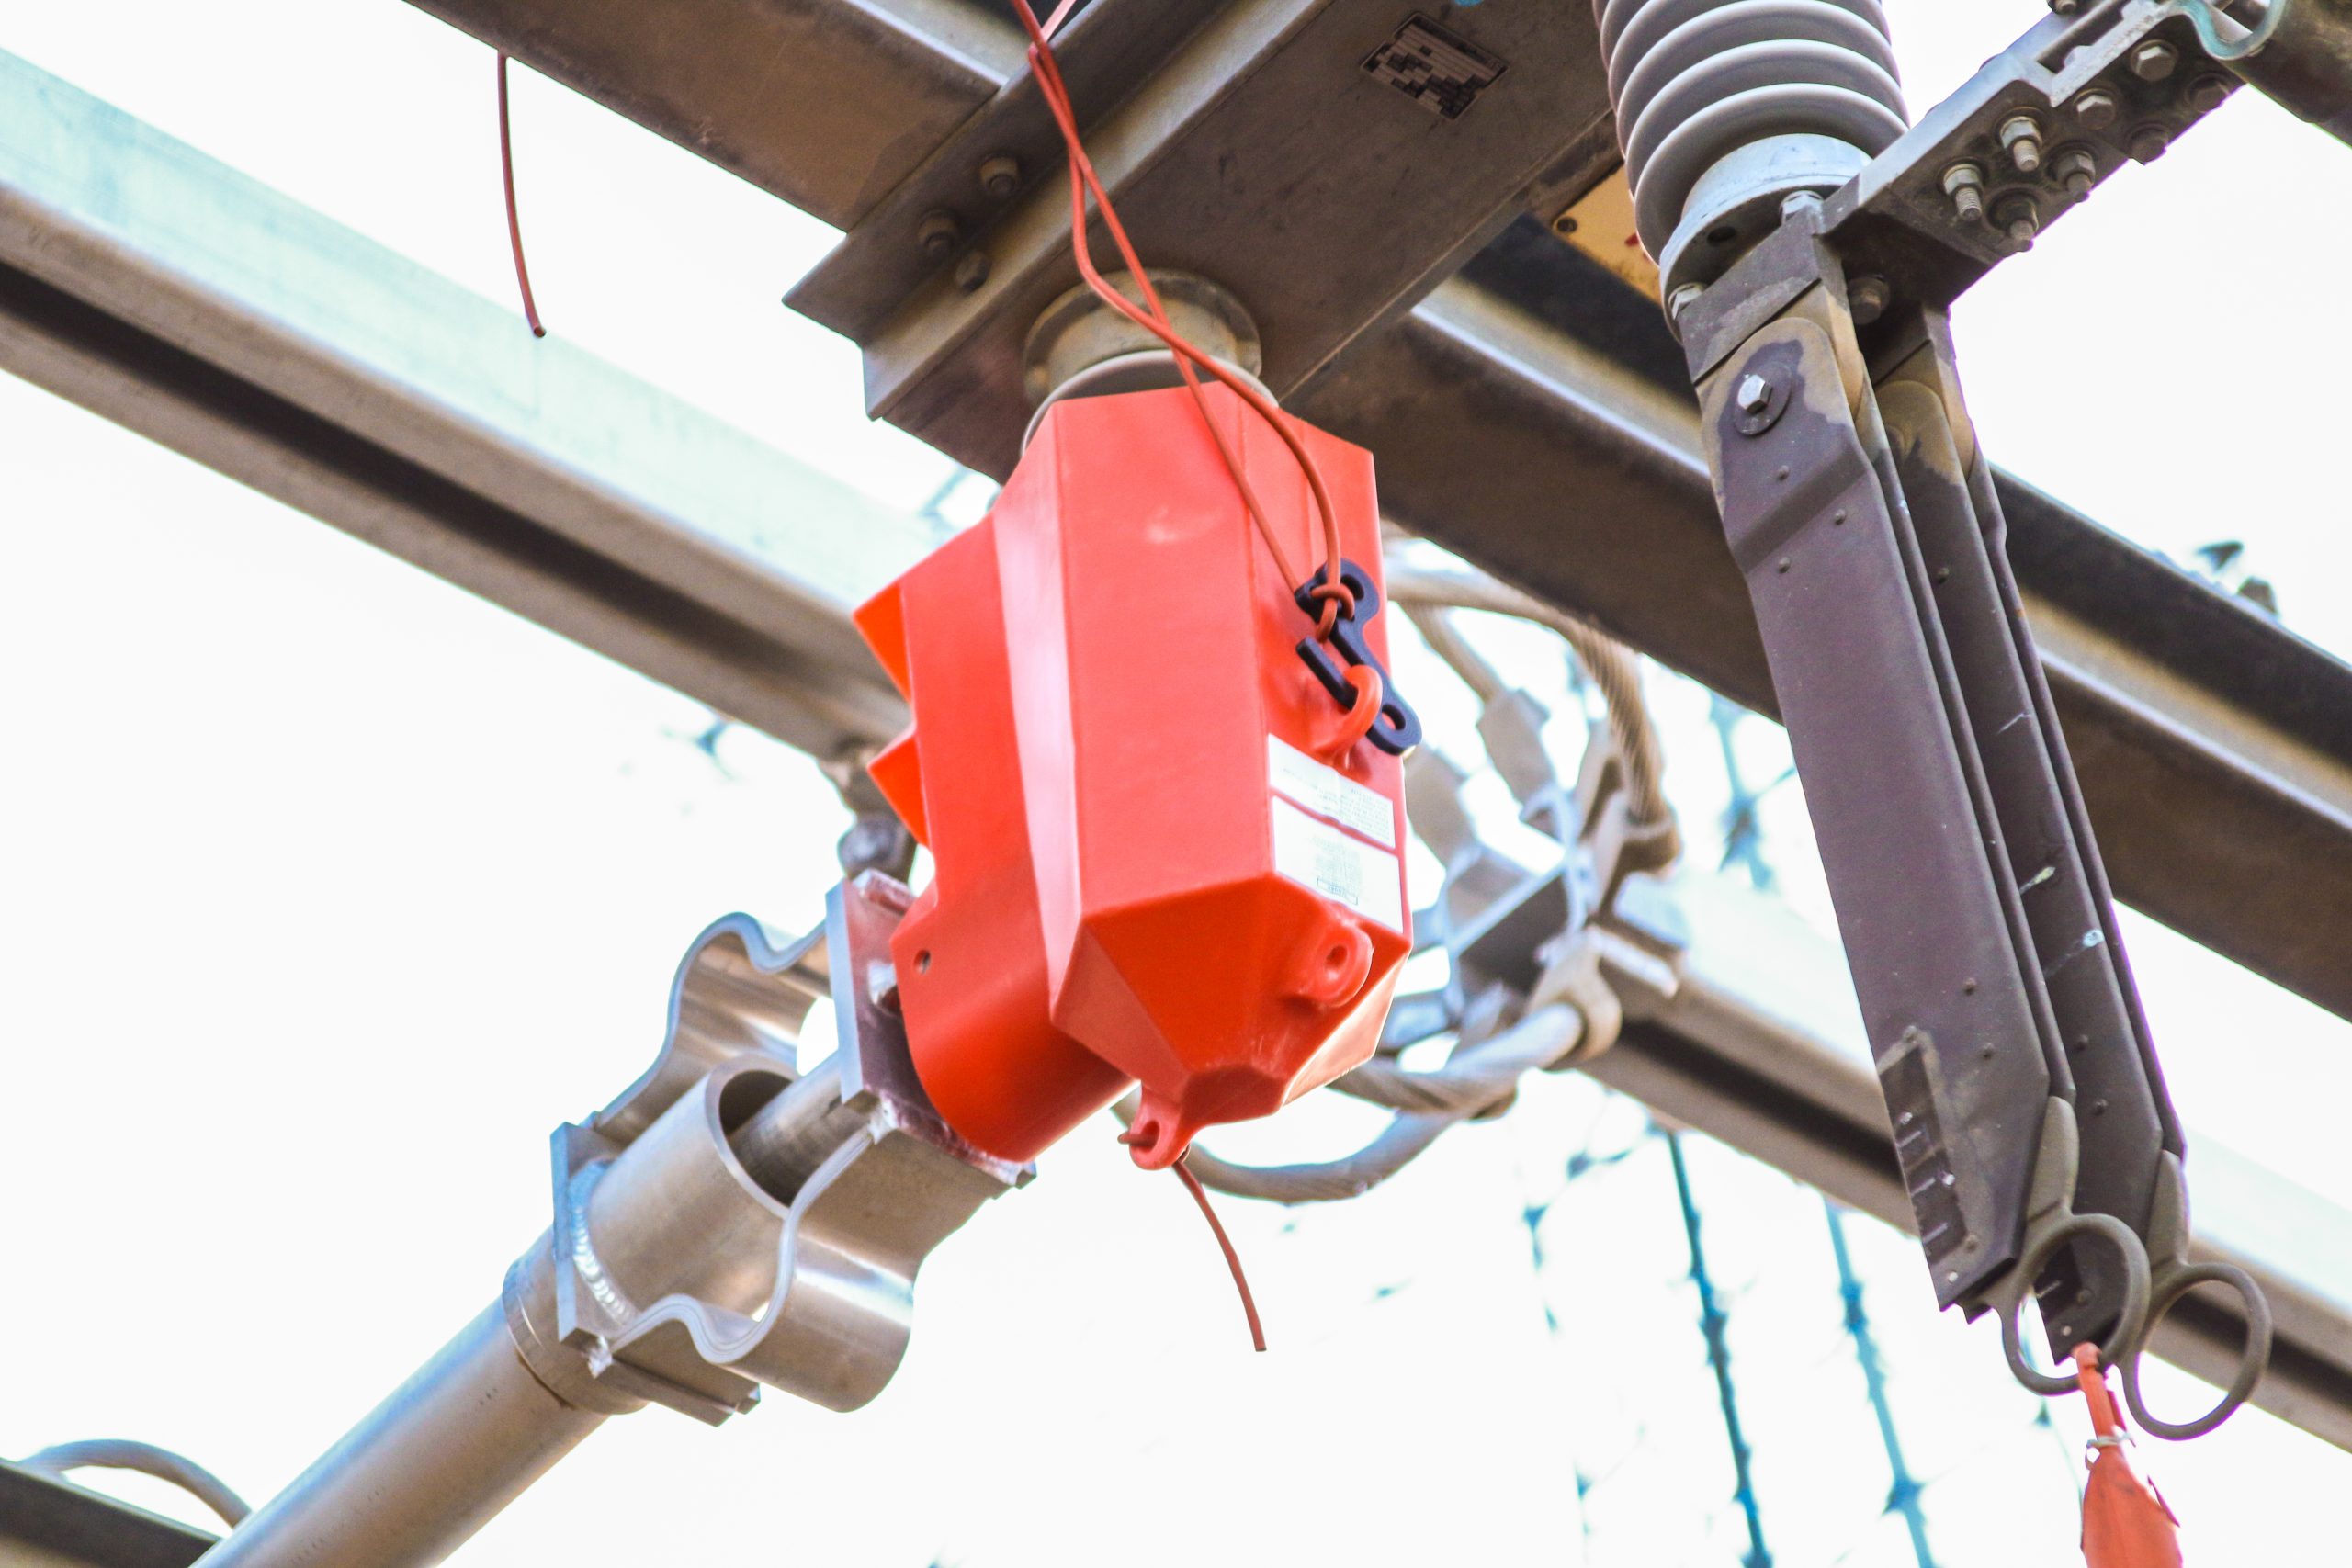
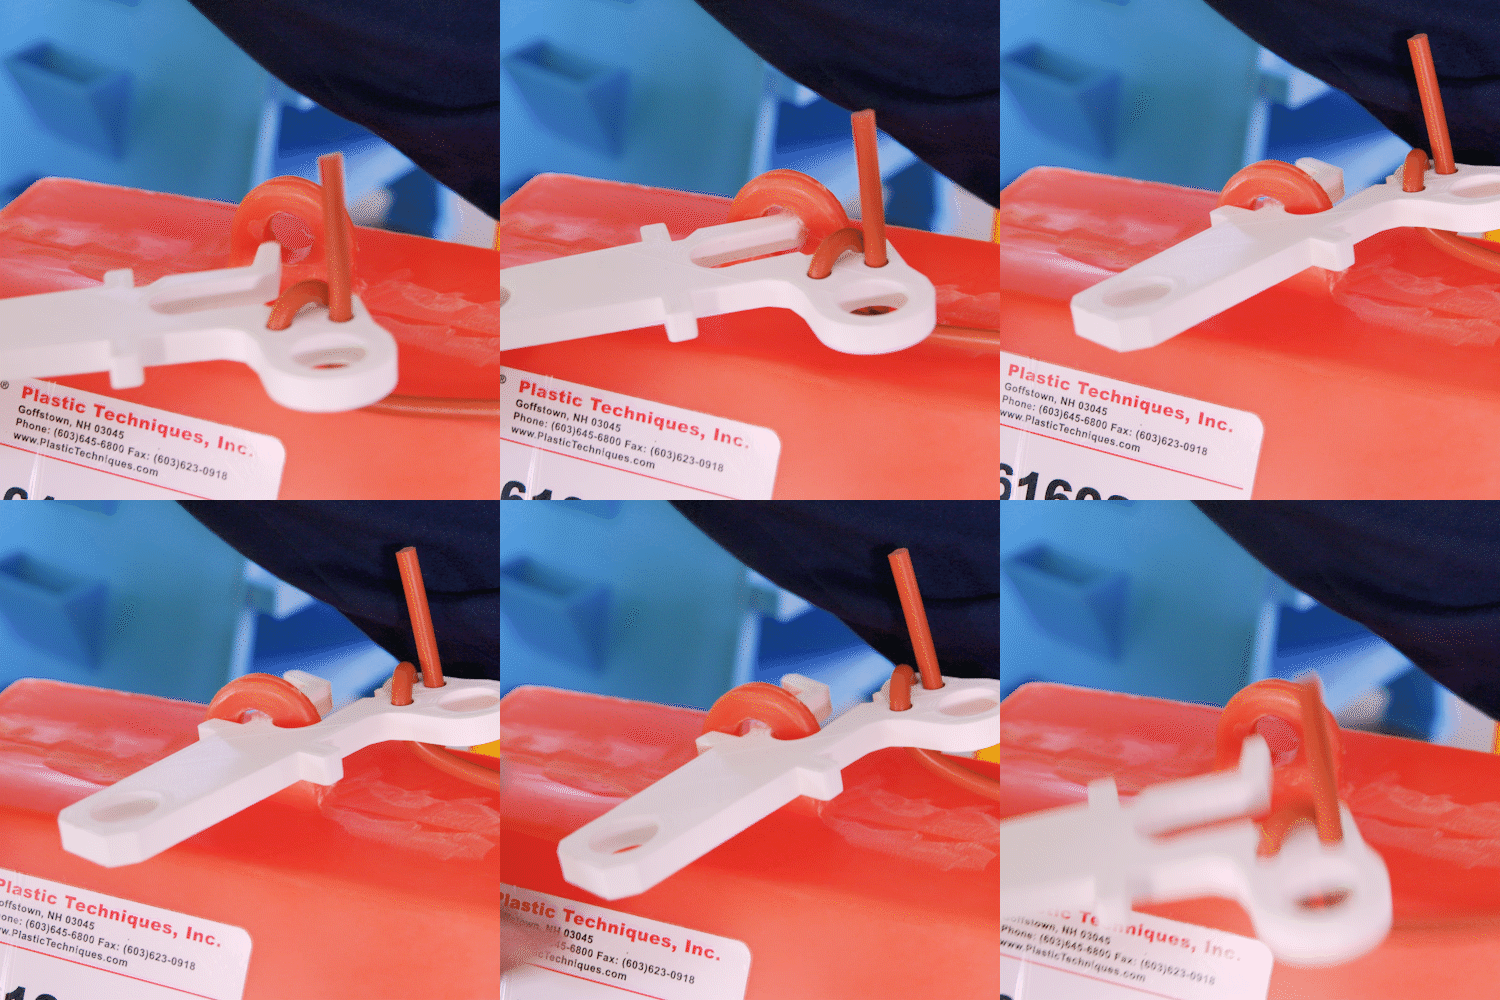
The solution came in the form of a rectangular-shaped, high-voltage plastic cover, which would enclose each of the 13.8 kV circuits that connect to the main 500 kV bank. The covers would be mounted from below and secured in place with rubber rope and plastic hooks. The hooks that the manufacturer sent with the covers, however, posed a problem.

Maneuvering from the ground at the end of a 14 foot hot stick, a worker had to insert one end of the hook into the eyelet of the plastic cover in order to fasten it. Workers were finding the hook’s design difficult to navigate into place at such an angle.

Patchen took the feedback from the field employees, reworked the hook’s design, and printed out a new version on their Gigabot. The slight tweaks to the hook’s form were a game-changer. Where workers previously had to fight the old hook into the eyelet at an awkward angle, the new design naturally wants to snap into place.

“This small, plastic hook took about three hours to print, and it cost around five dollars.” Patchen can’t underscore its value enough. “We were able to take that [3D printed] hook and share it with other crews, and we avoided many, many 500 kV clearances because of it. This small, five dollar device saved us hundreds of thousands of dollars.”

He smiles and gestures towards their Gigabot. “That’s paid for the printer quite a few times.”

Morgan Hamel

Blog Post Author
Optimizing the Properties of Recycled 3D Printing Materials

Below is a repost produced by 3DPrint.com last year, which highlighted our first peer reviewed paper on Gigabot X. You can view download the research, along with other papers under the Gigabot X section at https://re3d.org/gigabot. 

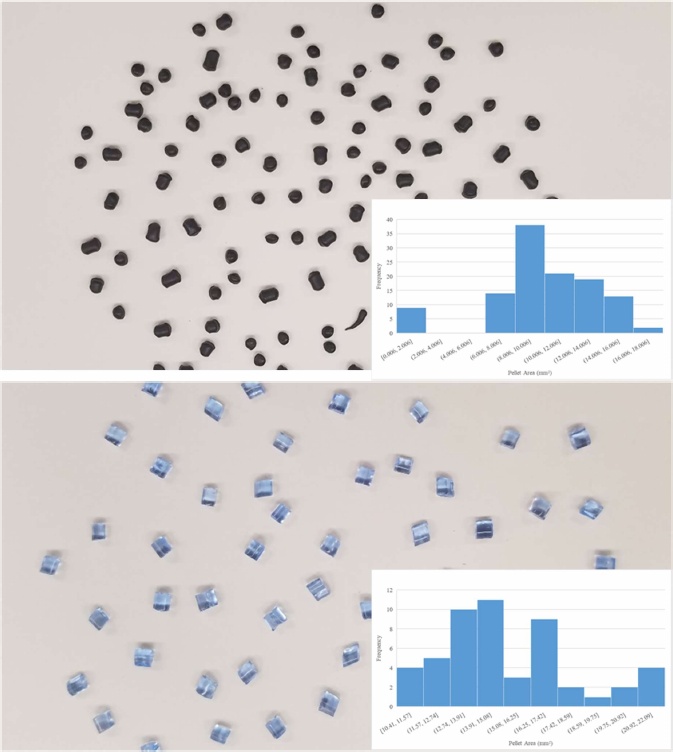
Top: virgin PLA, bottom: recycled PLA

In an attempt to mitigate the environmental impact of 3D printing, several organizations have taken to creating recycled filament, made not only from failed prints but from water bottles and other garbage. Inexpensive filament extruders are also available to allow makers to make their own filament from recyclable materials. Not only does recycled filament help the environment, but it also helps 3D printer users to save money and be more self-sufficient, making the technology more viable in remote communities.

3D printer manufacturer re:3D has been working on making their Gigabot 3D printer capable of printing with recycled materials, for the purpose of helping those in remote communities to become more self-sufficient. In a college paper entitled “Fused Particle Fabrication 3-D Printing: Recycled Materials’ Optimization and Mechanical Properties,” a team of researchers used an open source prototype Gigabot X 3D printer to test and optimize recycled 3D printing materials.
In the study, virgin PLA pellets and prints were analyzed and compared to four recycled polymers: PLA, ABS, PET and PP.

Top: Recycled ABS, bottom: recycled PET
“The size characteristics of the various materials were quantified using digital image processing,” the researchers explain. “Then, power and nozzle velocity matrices were used to optimize the print speed, and a print test was used to maximize the output for a two-temperature stage extruder for a given polymer feedstock. ASTMtype 4 tensile tests were used to determine the mechanical properties of each plastic when they were printed with a particle drive extruder system and were compared with filament printing.”

The Gigabot X showed itself to be able to print materials 6.5 to 13 times faster than conventional 3D printers depending on the material, with no significant reduction in mechanical properties. This is significant because each time a polymer is heated and extruded, whether during the filament creation process or the 3D printing process, its mechanical properties are degraded. One option to reduce degradation, the researchers explain, is to 3D print directly from scraps, or particles, of recycled plastic.

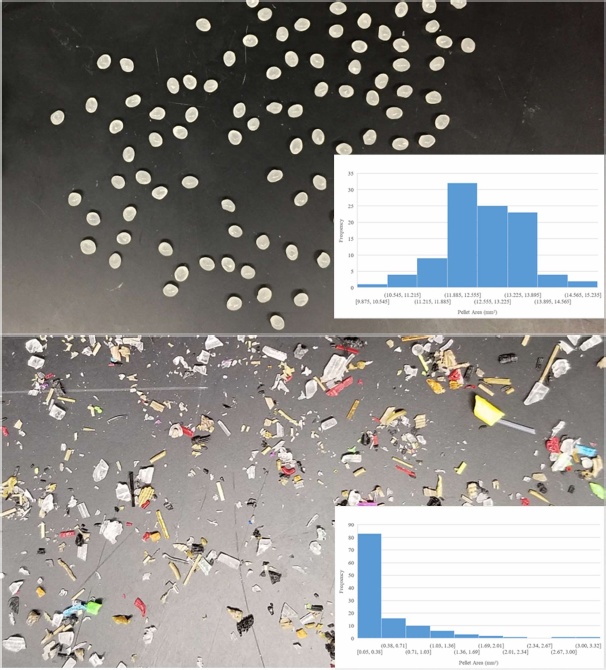
The Gigabot X was also capable of 3D printing with a wide range of particle sizes and distributions, which opens up more possibilities for the use of materials other than pellets and filament. The processing of the materials was minimal – they only needed to be cleaned and ground or shredded. Mechanical testing using tensile strength was performed and showed that the polymer properties were not degraded; however, the researchers suggest that further mechanical testing should be performed to test properties such as compression, impact resistance, fracture toughness, creep testing, fatigue testing, and flexural strength.

There are a few limitations with the prototype Gigabot X, including lower than normal resolution in the XY plane. Due to the high heat transfer rates from the large contact area of the printer’s hotend, parts that are less than 20 mm x 20 mm cannot be 3D printed reliably. The Gigabot X also currently lacks a part cooling system, so it is limited in the geometries of parts that it can print. However, it is still a prototype, and so can be considered a work in progress.

Authors of the paper include Aubrey L. Woern, Dennis J. Byard, Robert B. Oakley, Matthew J. Fiedler, Samantha L. Snabes and Joshua M. Pearce.

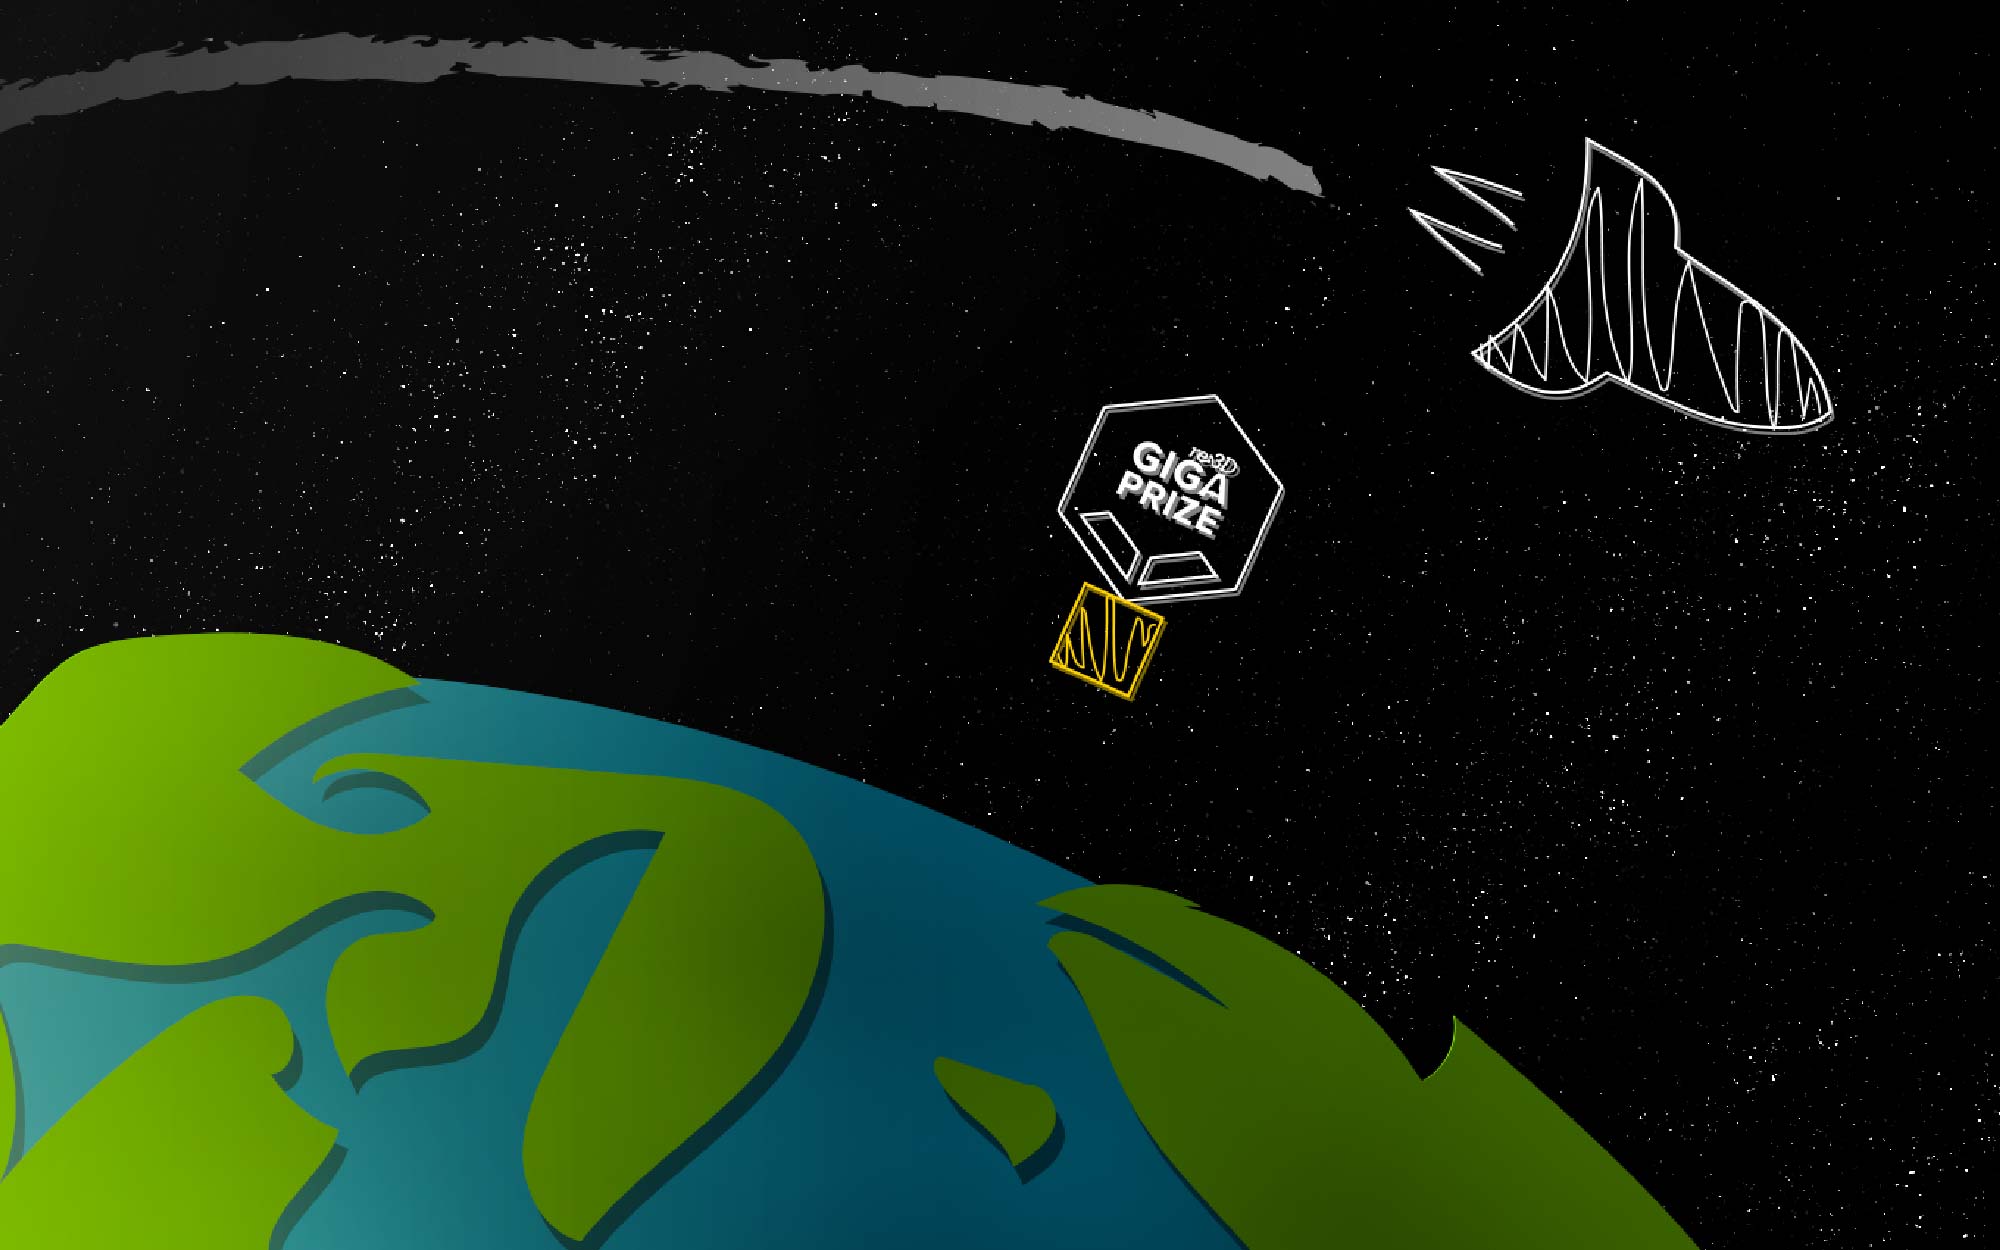
The Gigaprize is Live!

The re:3D Team is honored to be accepting applications for the next Gigaprize recipient through 11:59pm CT Dec 20th 2019!

What is the Gigaprize?

The Gigaprize is a competition we run to support other groups committed to building community, one layer at a time. For every 100 Gigabots we sell, we donate one unassembled GB3+ FFF 3D printer to an organization that will be using it for good.

Gigabot 3+ FFF 3D Printer

How do you apply?

The competition is simple: make a video explaining how you or your organization could benefit from receiving a Gigabot 3+ FFF 3D Printer. What would the technology enable you to do? What would it mean for your company and its mission? What impact would it have on your community? Don’t worry about production quality – you can shoot the video on a cell phone – we’re interested in what you’re saying, not how you look while you’re filming.

Email info@re3d.org with a link to a YouTube video that describes how you would use a Gigabot to make a difference in 3 minutes or less by the deadline.

How do you win?

Apply early and tell your friends! As soon as videos are received, they will be posted below so we can help share your vision with the community. Judges will be evaluating submissions for the following criteria:  feasibility, originality of the idea, drive & dedication. Number of video views and unique comments on the video will also be considered through Dec 19th. After deliberating with the judges, a winner will be announced on our website on Dec 31st and your Gigabot will ship two weeks later!

We can't wait to hear your BIG plans for printing HUGE!

Terms & Conditions: re:3D reserves the right to remove any videos that contain offensive content. The winning Gigabot will ship in Jan 2020. Shipping and duty will be provided by re:3D. Questions can be directed to info@re3d.org.

Who are the amazing applicants?

The first submission was just received! You can view Sanipro’s vision to prototype better hand-washing systems for displaced persons below:

The second submission is live! Checkout ICON’s work to use waste materials to support construction and empowerment in Cameroon!

Wow! This submission from Inspire Africa in Nigeria has an inspiring vision for new job creation!

OGRE Skin Designs has big plans for Gigabot to protect those that serve!

A large printer could for 3D Africa could really help their prosthetic projects scale!

This all girls school has huge plans for exploring careers in STEAM!

Hear how young women in Kenya would use Gigabot to explore a future in tech below!

The youth at this Cameroon Innovation Lab could do amazing things with a Gigabot 3+!

UAV Innovation Taking off at United States Air Force Academy

Download our whitepaper on 3D printing and drones

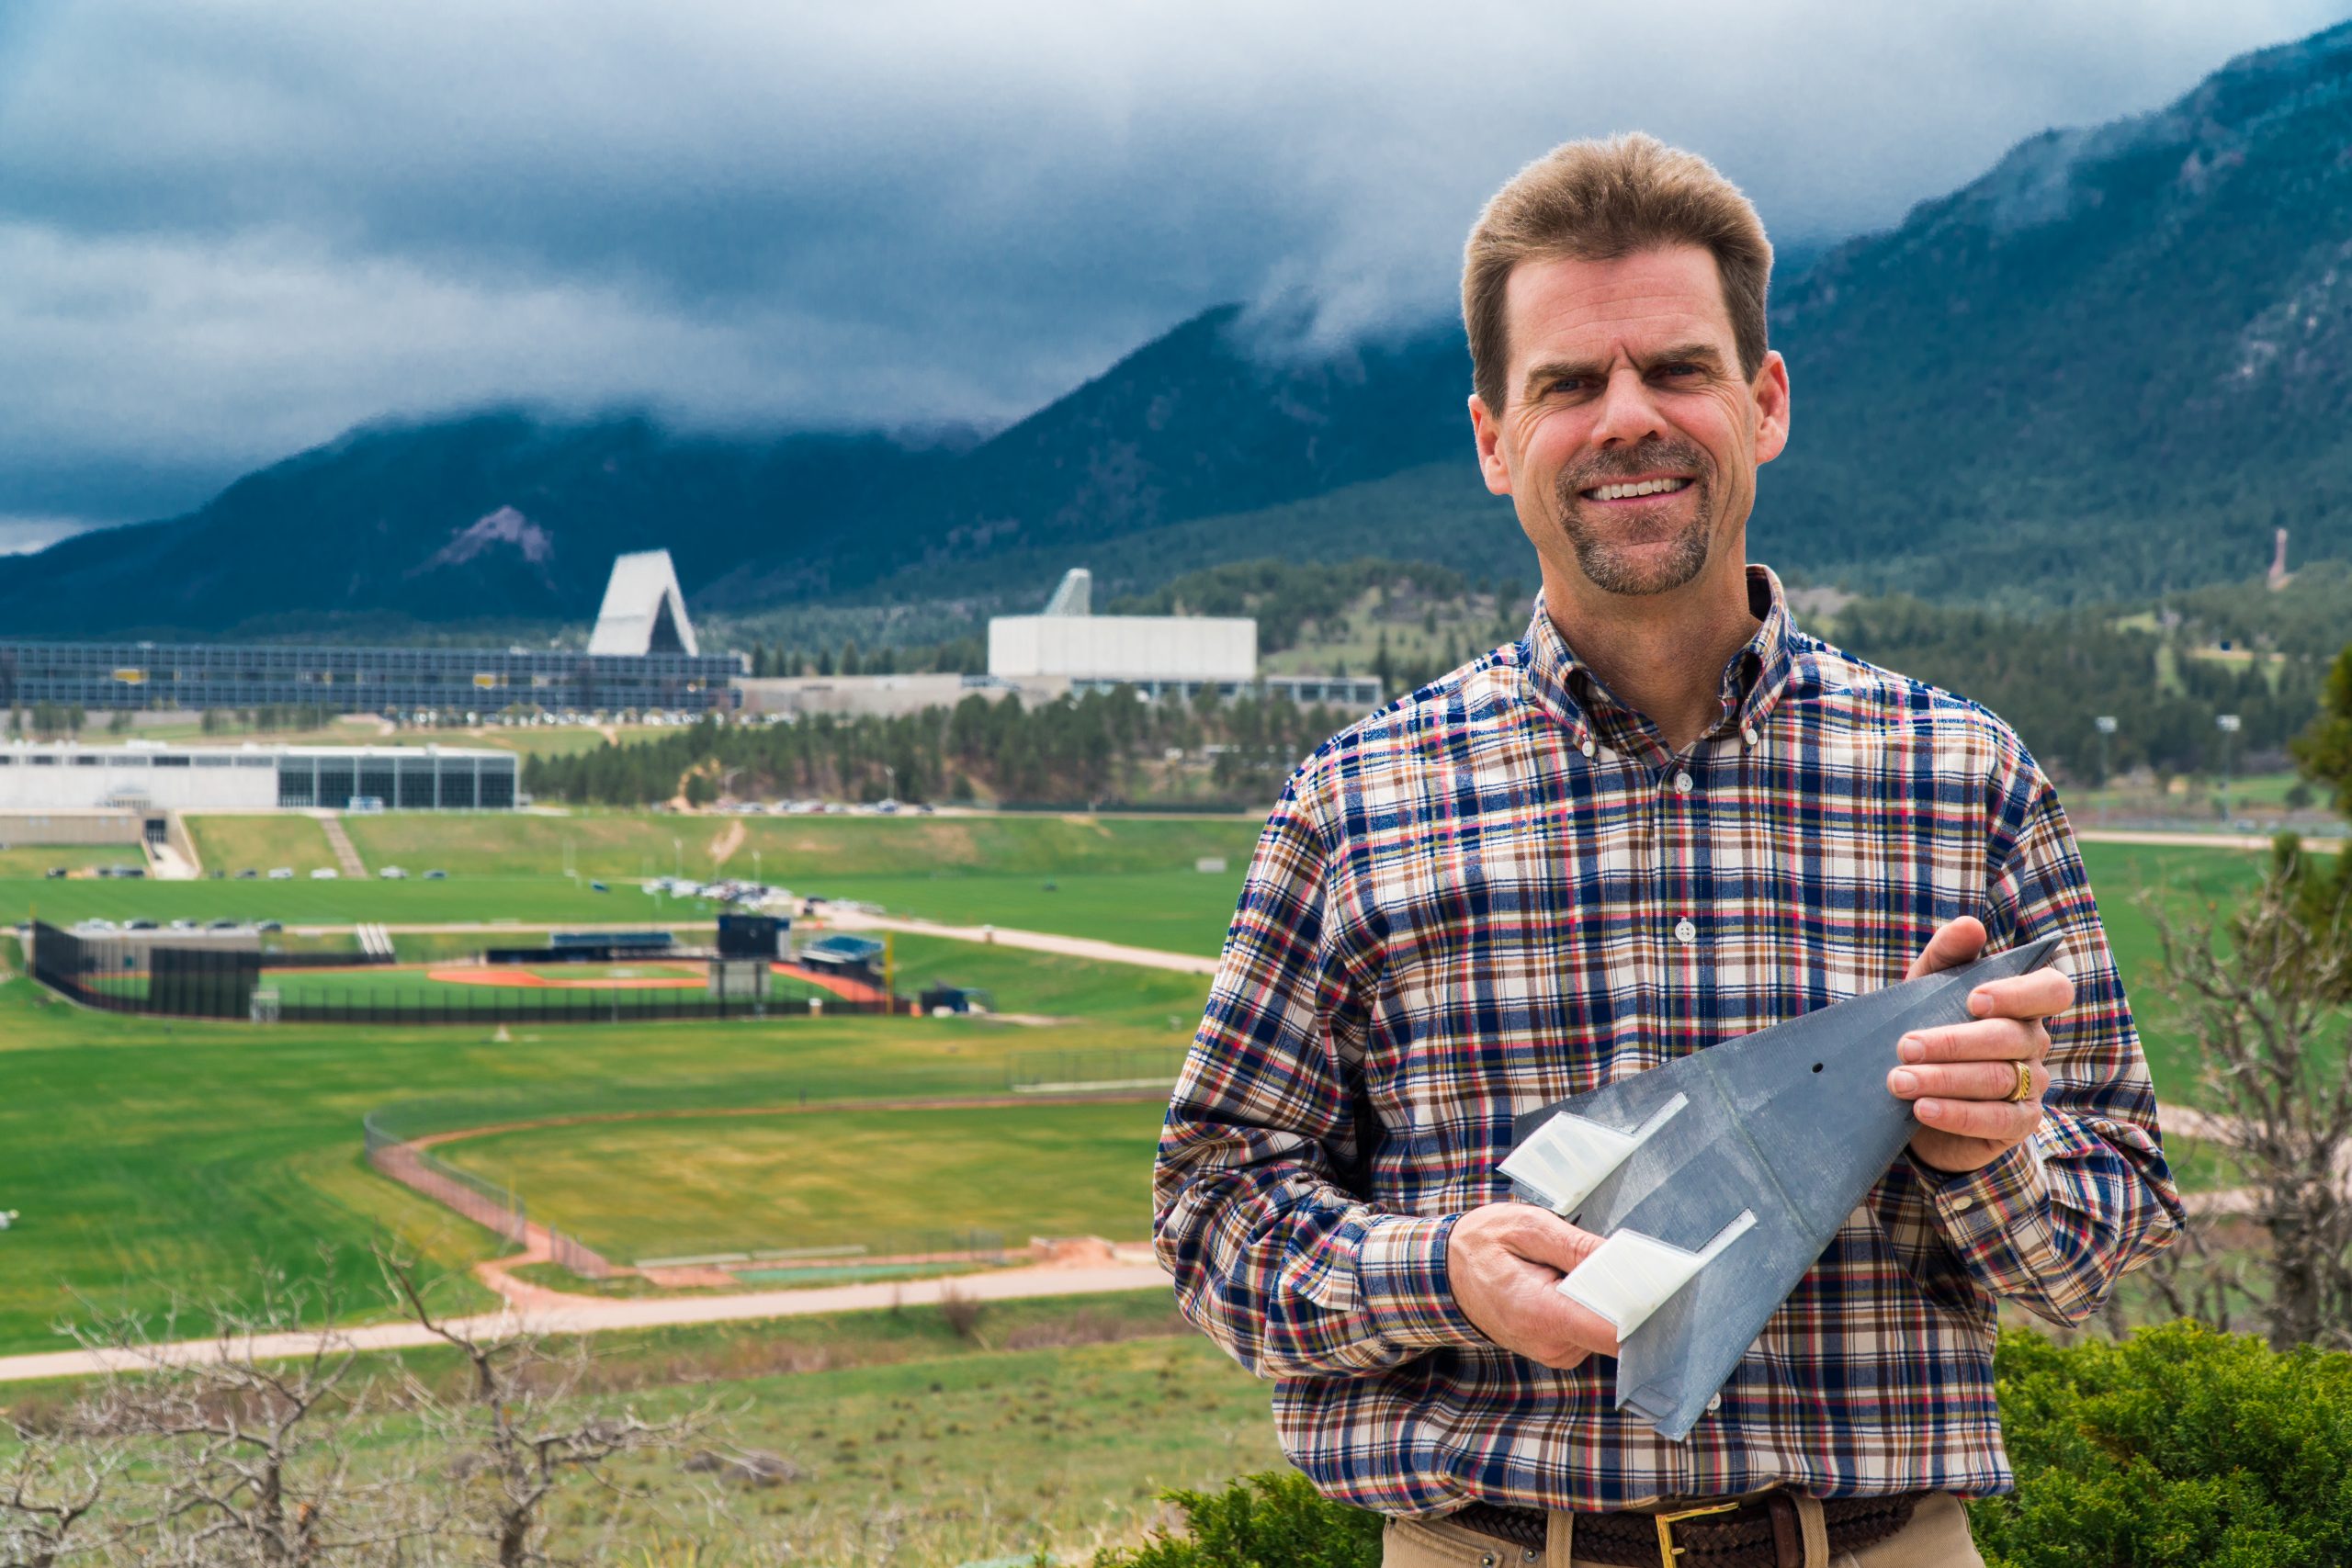
Steve Brandt has been flying airplanes for 20 years. F15s and F16s, mostly, with ten years as a test pilot flying new systems for the Air Force.

Given his history, it’s curious to hear him describe the latest tenure of his career. “I always like to say I’ve flown more first flights since I’ve been here in [four] years than I ever flew actually flying airplanes,” he says, “because just about every airplane we build has never been flown before.”

Brandt leads the Unmanned Aircraft Systems Flight Test Research at the United States Air Force Academy. The elite institution – perched idyllically in the mountains ten miles outside Colorado Springs – is home to just over four thousand cadets pursuing degrees ranging from business to engineering. They will also graduate as Second Lieutenants in the Air Force.

The experience cadets go through at the USAFA, Brandt underscores, is unparalleled – even among the ranks of engineering behemoths like MIT or Ohio State. “There’s probably not another undergraduate senior in college that gets this kind of experience,” he says. “The Department of Aeronautics here is definitely the most well-equipped aeronautics lab in the country, especially at the undergraduate level.”

The Academy is home to impressive manufacturing labs, multiple levels of wind tunnels – from lower-speed options all the way up to supersonic (Mach 4.5, or four-and-a-half times the speed of sound, or 3,425.43 miles per hour) – a huge airspace for flying, and a long list of faculty and researchers to mentor cadets through their studies.

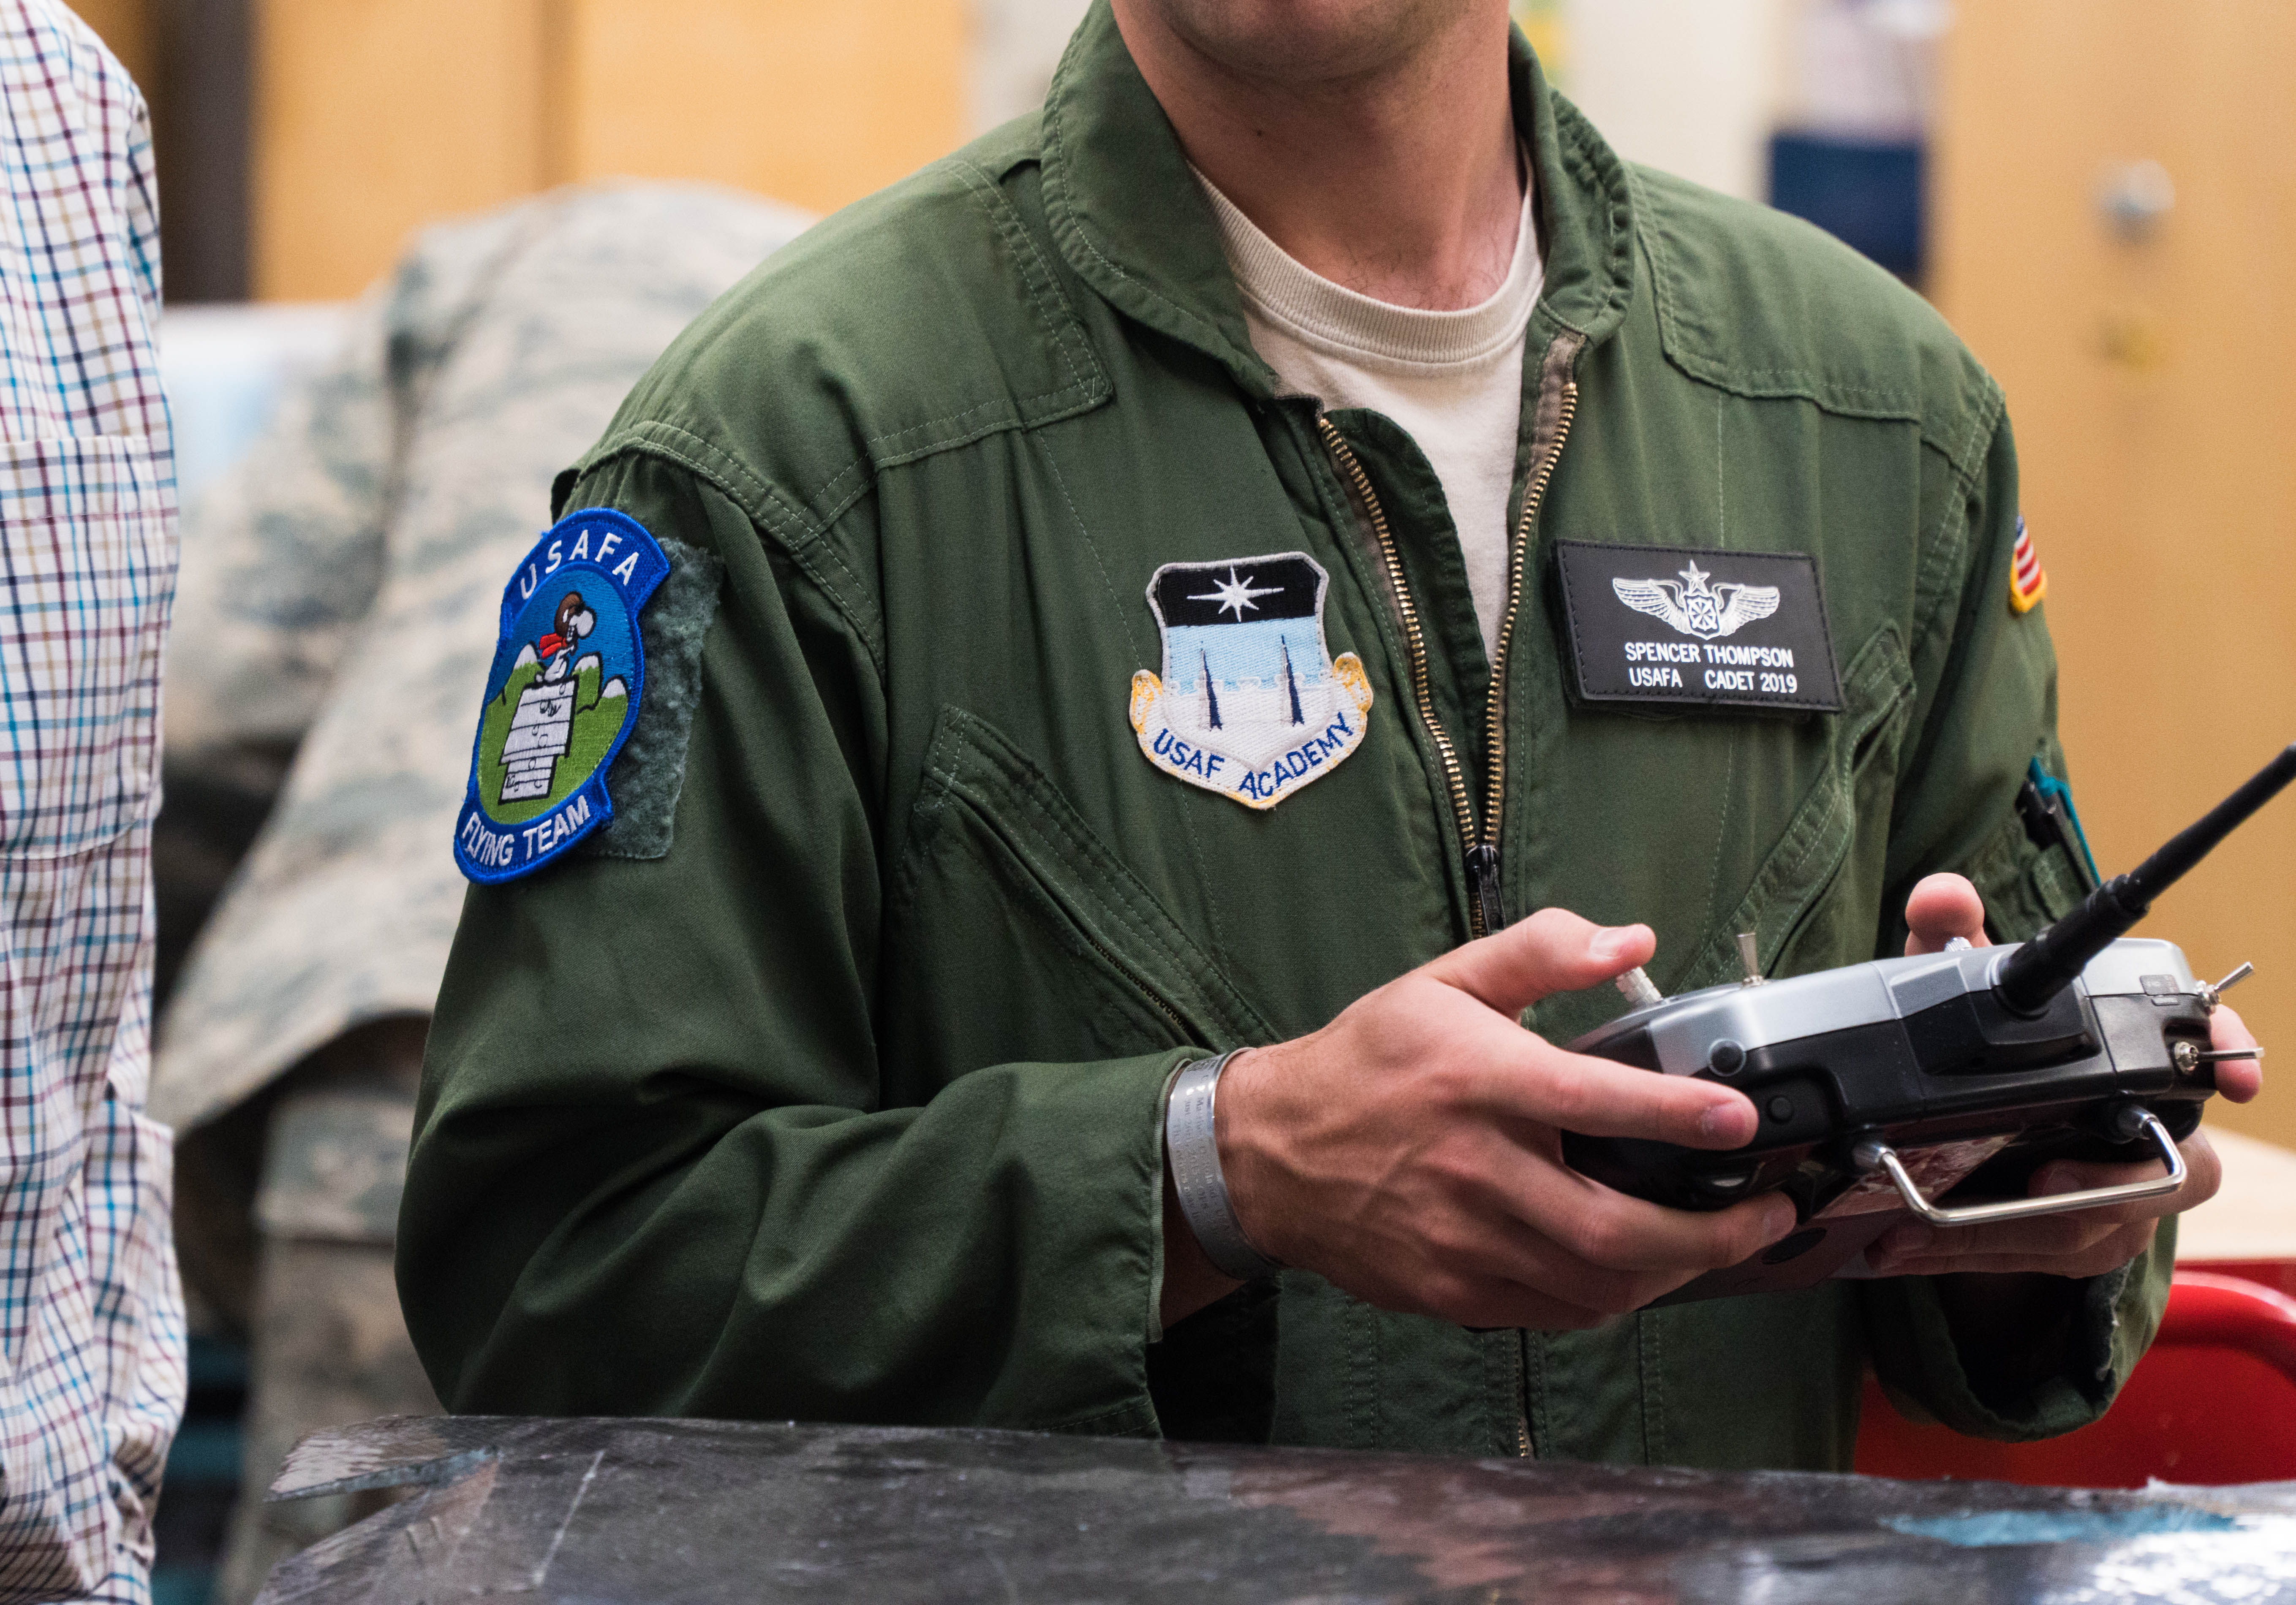
Cadets march their way through the Aeronautics Major, which culminates in conducting a capstone project of designing, building, and flying an unmanned aerial vehicle, or UAV, under Brandt’s watch.

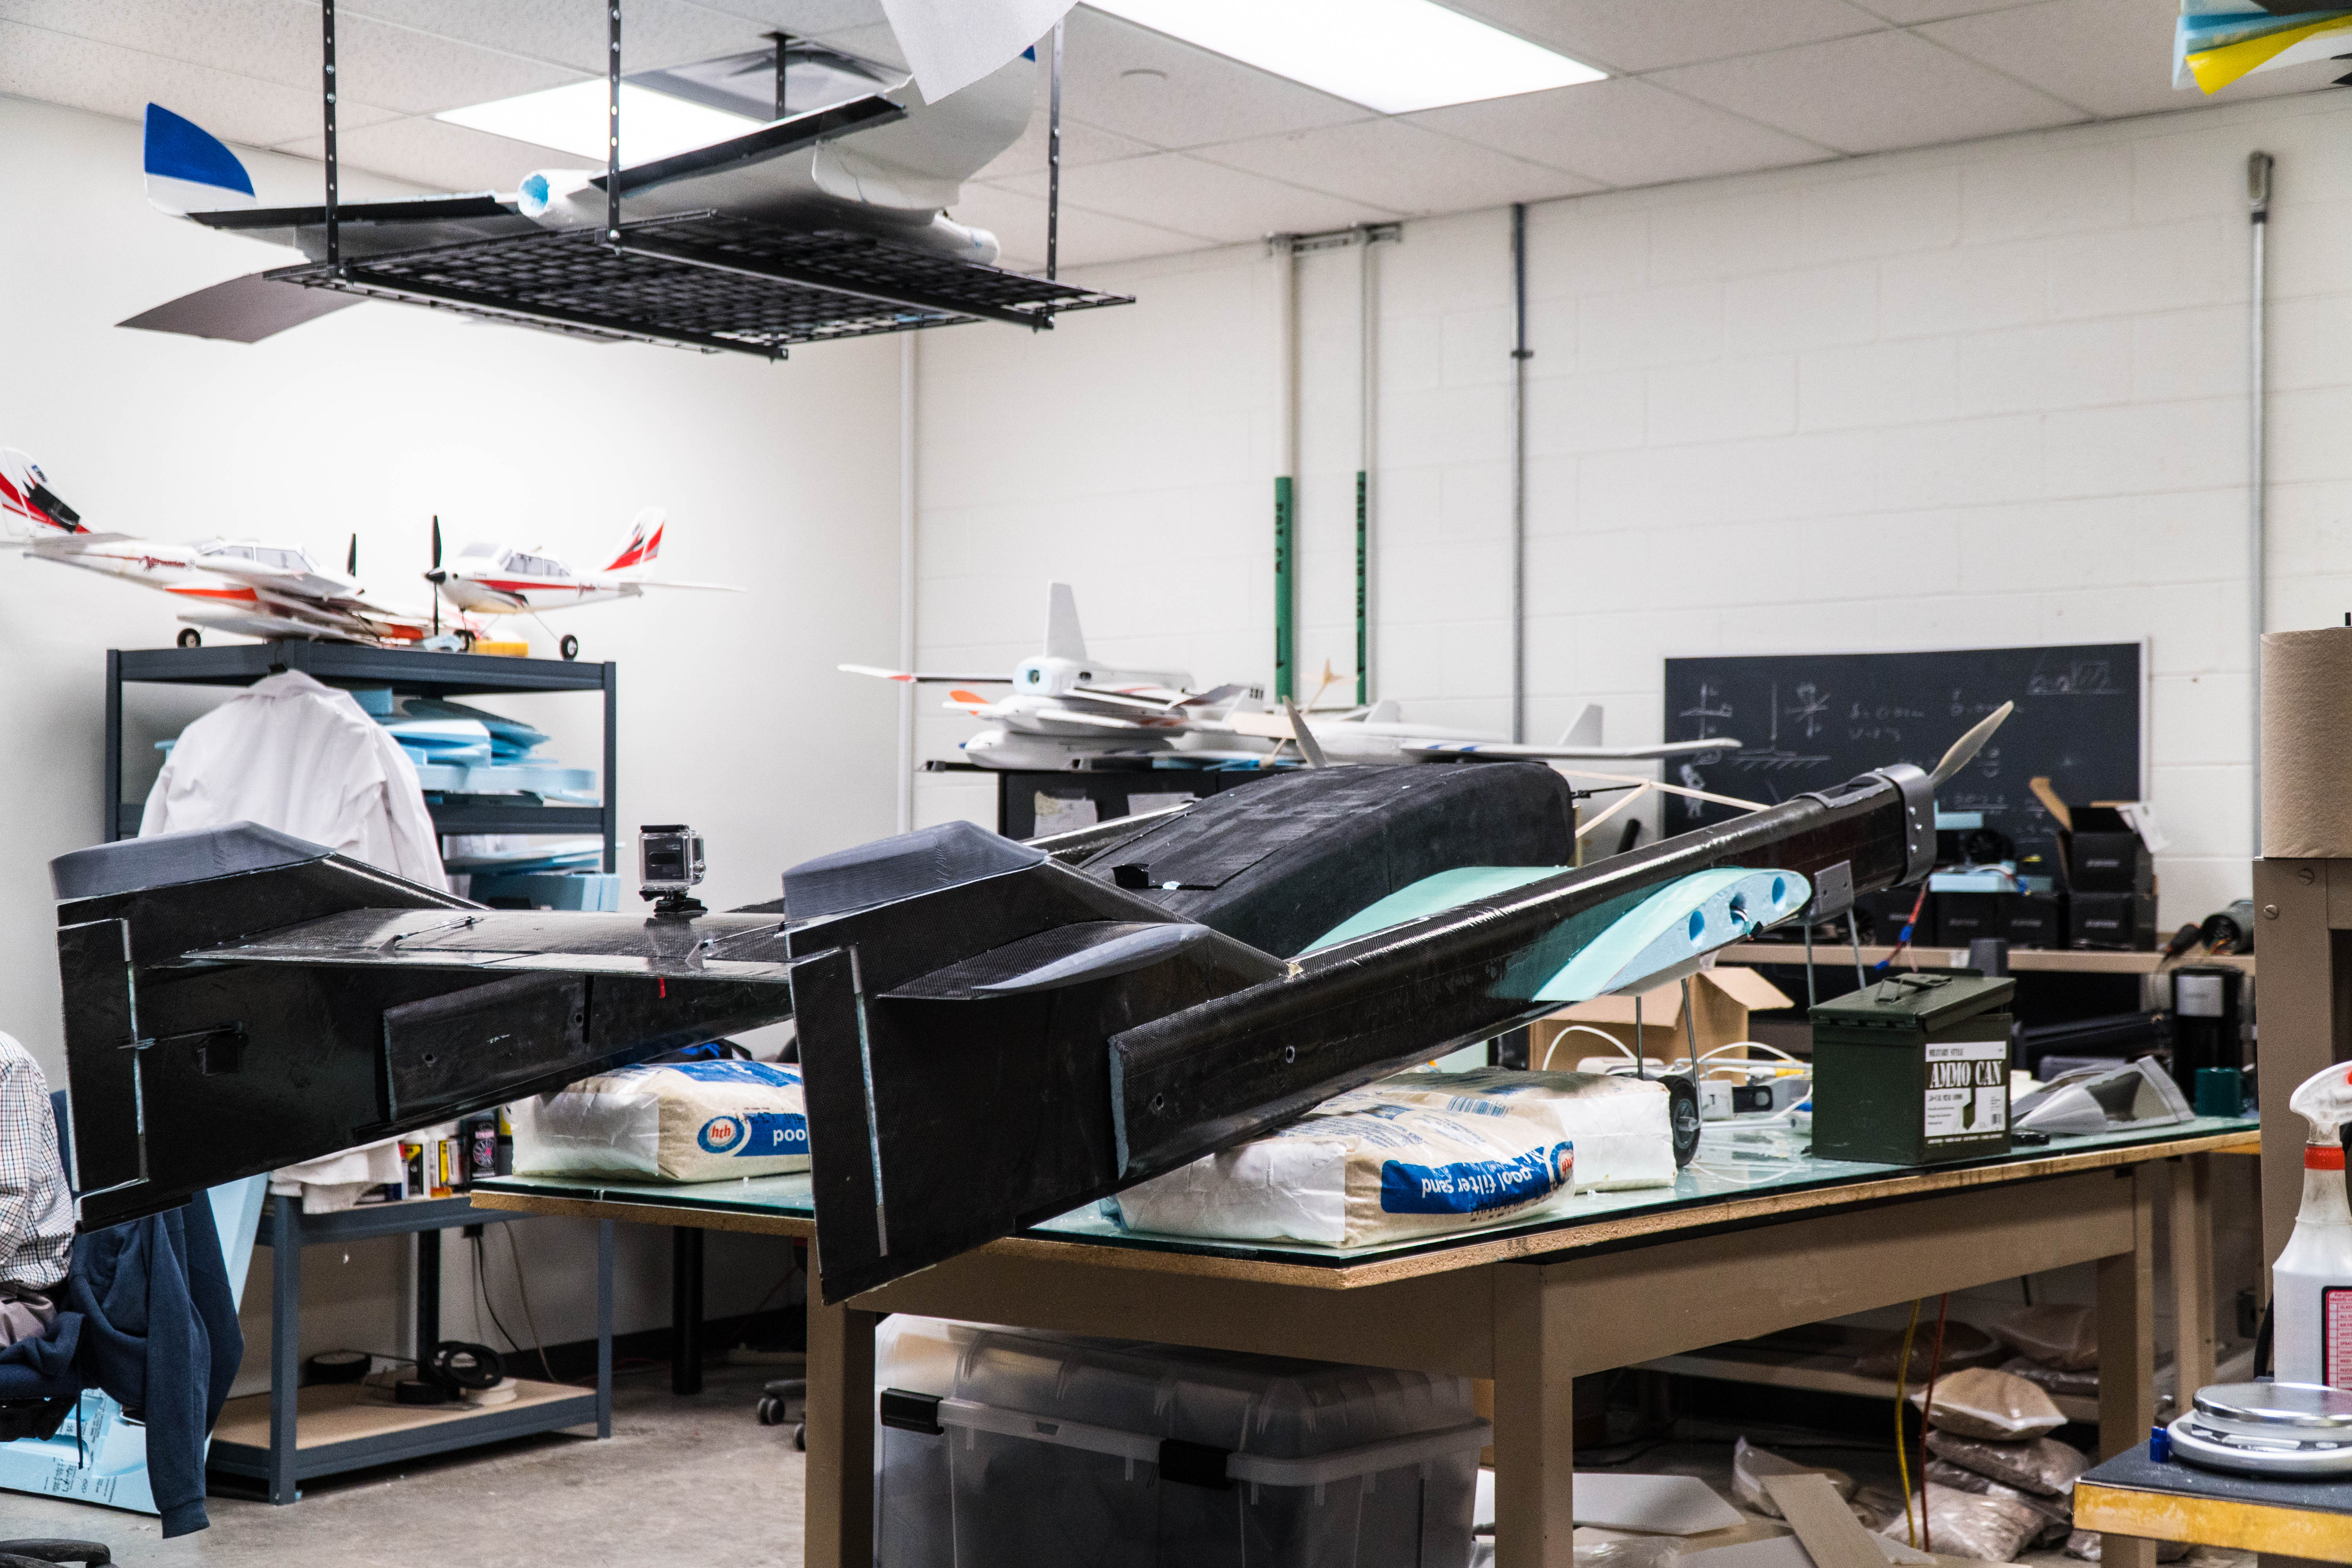
The aircraft that the cadets build and fly are not the balsa wood models of your childhood. They boast wingspans ranging from two feet to over five, retractable landing gear, jet and electric fan motors, and autopilot systems. They take off down runways, shoot off bungee cord launchers, and are released off the top of trucks while driving. 

“Everything we do here in the design of the airplanes is not normal,” says Brandt. “It’s abnormal.”

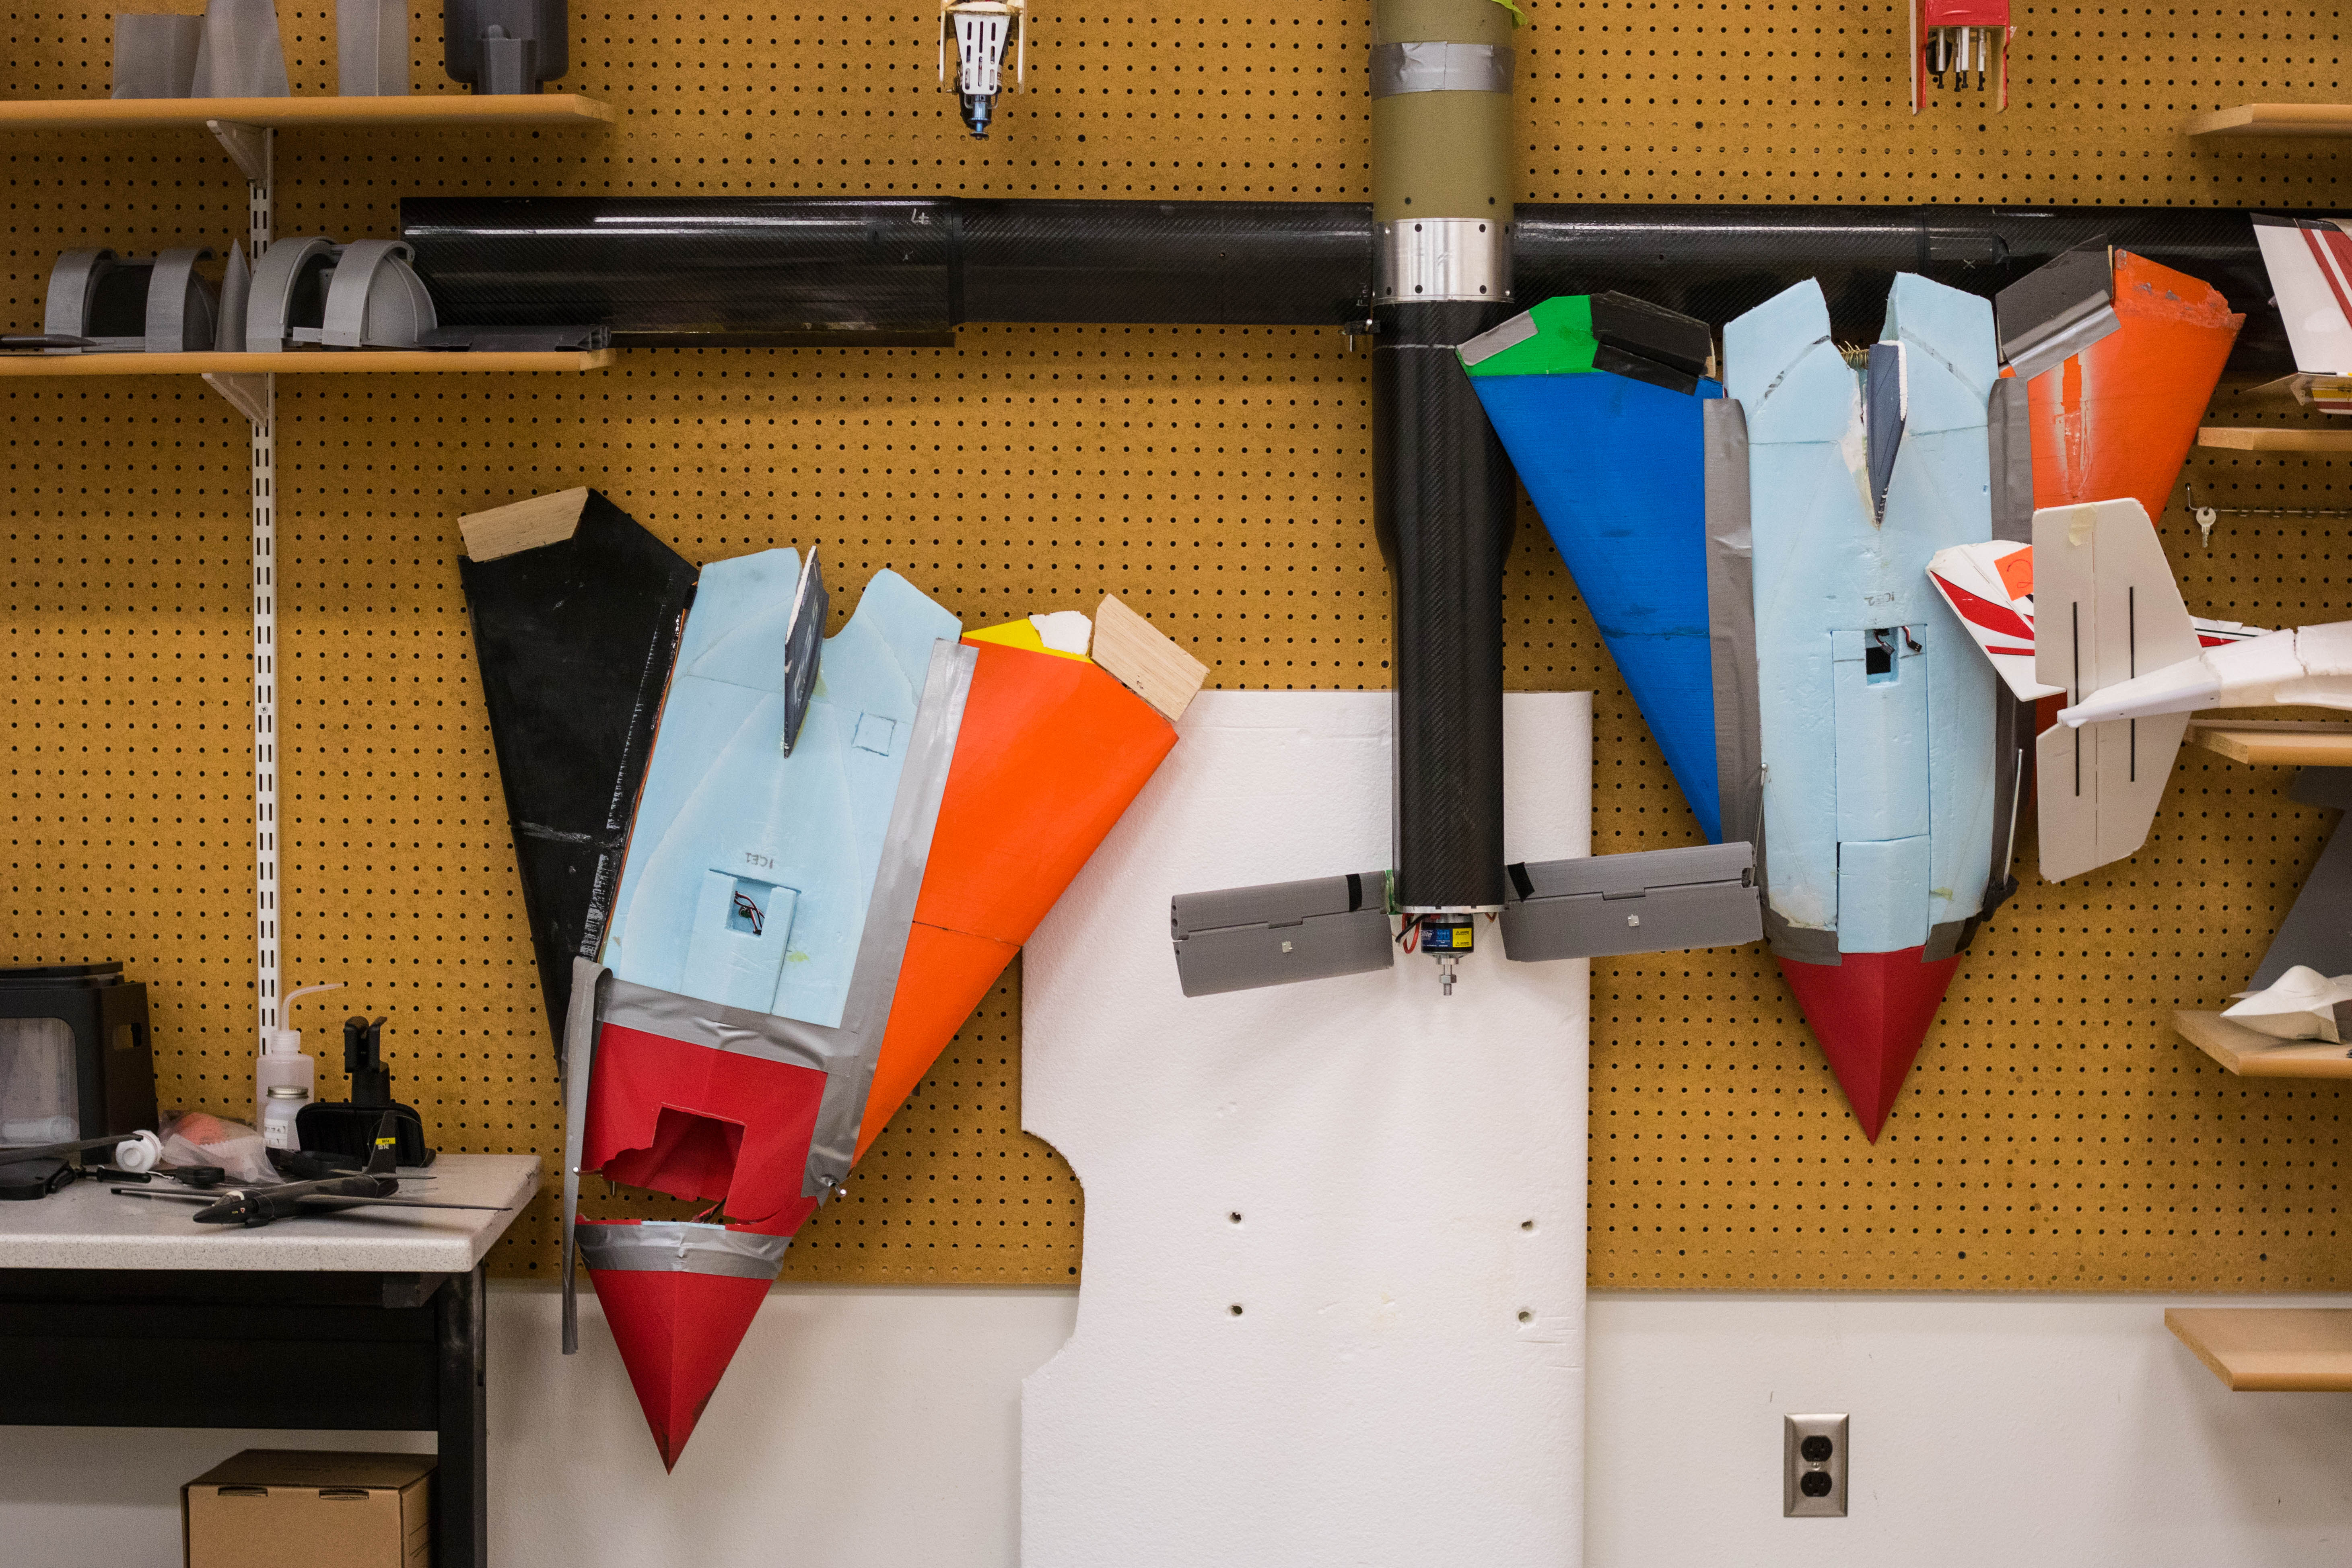
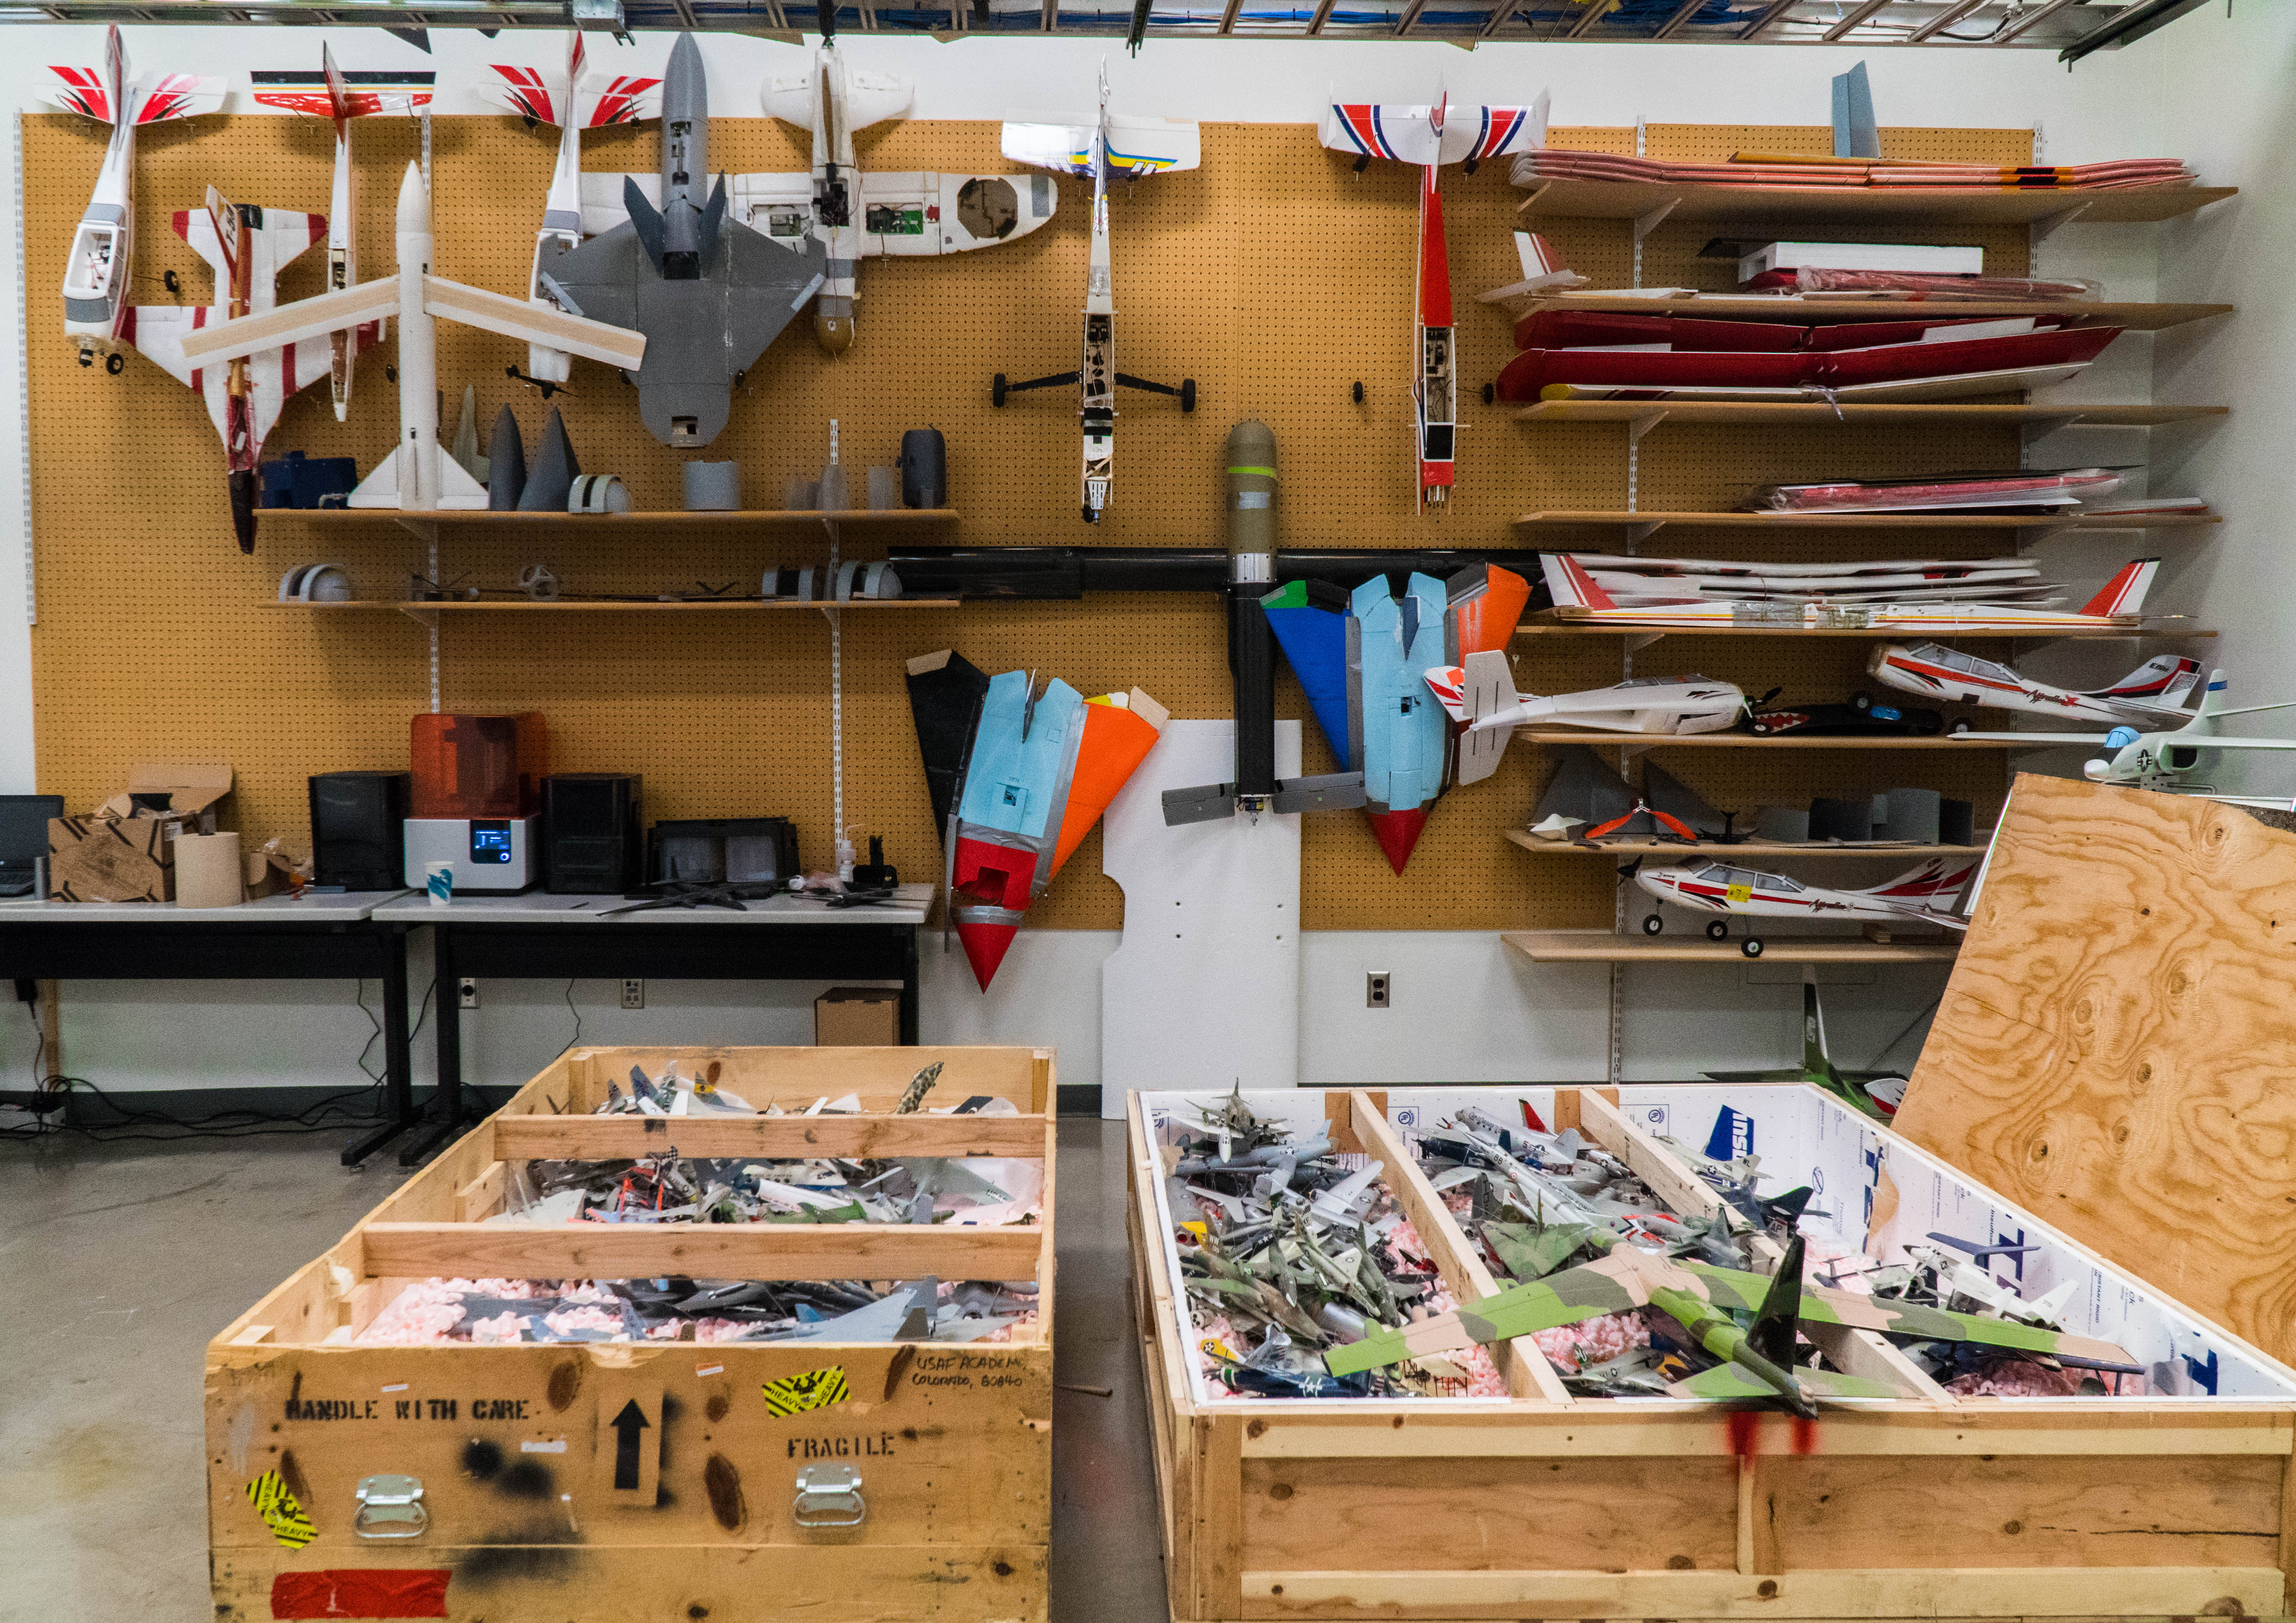
The aeronautics workshop is brimming with bodies of aircraft – spilling out of workshops and lining hallways and filling shelves up to the ceiling – that don’t exist in the real world…yet. “We’re doing cutting edge things. We’re trying to make airplanes do things that haven’t been done before,” Brandt explains. “When everything’s not normal, 3D printing is the solution, in so many ways.”

Designing One-of-a-Kind Aircraft

Lieutenant Colonel Judson Babcock is an assistant professor at the Academy currently teaching the senior capstone aircraft design course. This, he explains, is where students take on a project from a customer like the Air Force Research Lab and have the challenge of creating an entirely new, unique aircraft to meet a specific set of needs.

One such undertaking is a personnel recovery system: an airplane designed to rescue a fallen soldier from enemy territory using a retractable capsule released from the nose of the vehicle midair. Another is a supersonic air refueling tanker: a stealthy, high-speed craft capable of zipping into enemy airspace above the speed of sound, slowing down to refuel fighter jets mid-flight, and buzzing back to safety.

In the past, Babcock explains, UAV construction at the Academy typically happened in the mediums of balsa wood and foam. But with the unusual vehicles they’re making, traditional fabrication techniques are not always ideal. “Indeed, our students are making aircraft that have never flown before,” he says. “They’re unique shapes, unique designs, and unique structures.” All qualities, he explains, that render them “difficult to construct by hand.”

Pushing the envelope as they are, the Academy works to stay staying cutting edge with their facilities and technology. It was several years ago that 3D printing blipped on their radar.

Brandt and his colleagues in the aeronautics and mechanical engineering departments were researching methods that could increase their efficiency and accuracy in the aircraft design process. “Pretty much everything we design has got uniqueness to it,” he explains. “We can’t go buy something off the shelf.”

Brandt was aggressive about bringing 3D printing to the Academy for the technology’s ability to manufacture parts quickly and accurately: the technology could give them the ability to create these unique components in-house for rapid prototyping of aircraft.

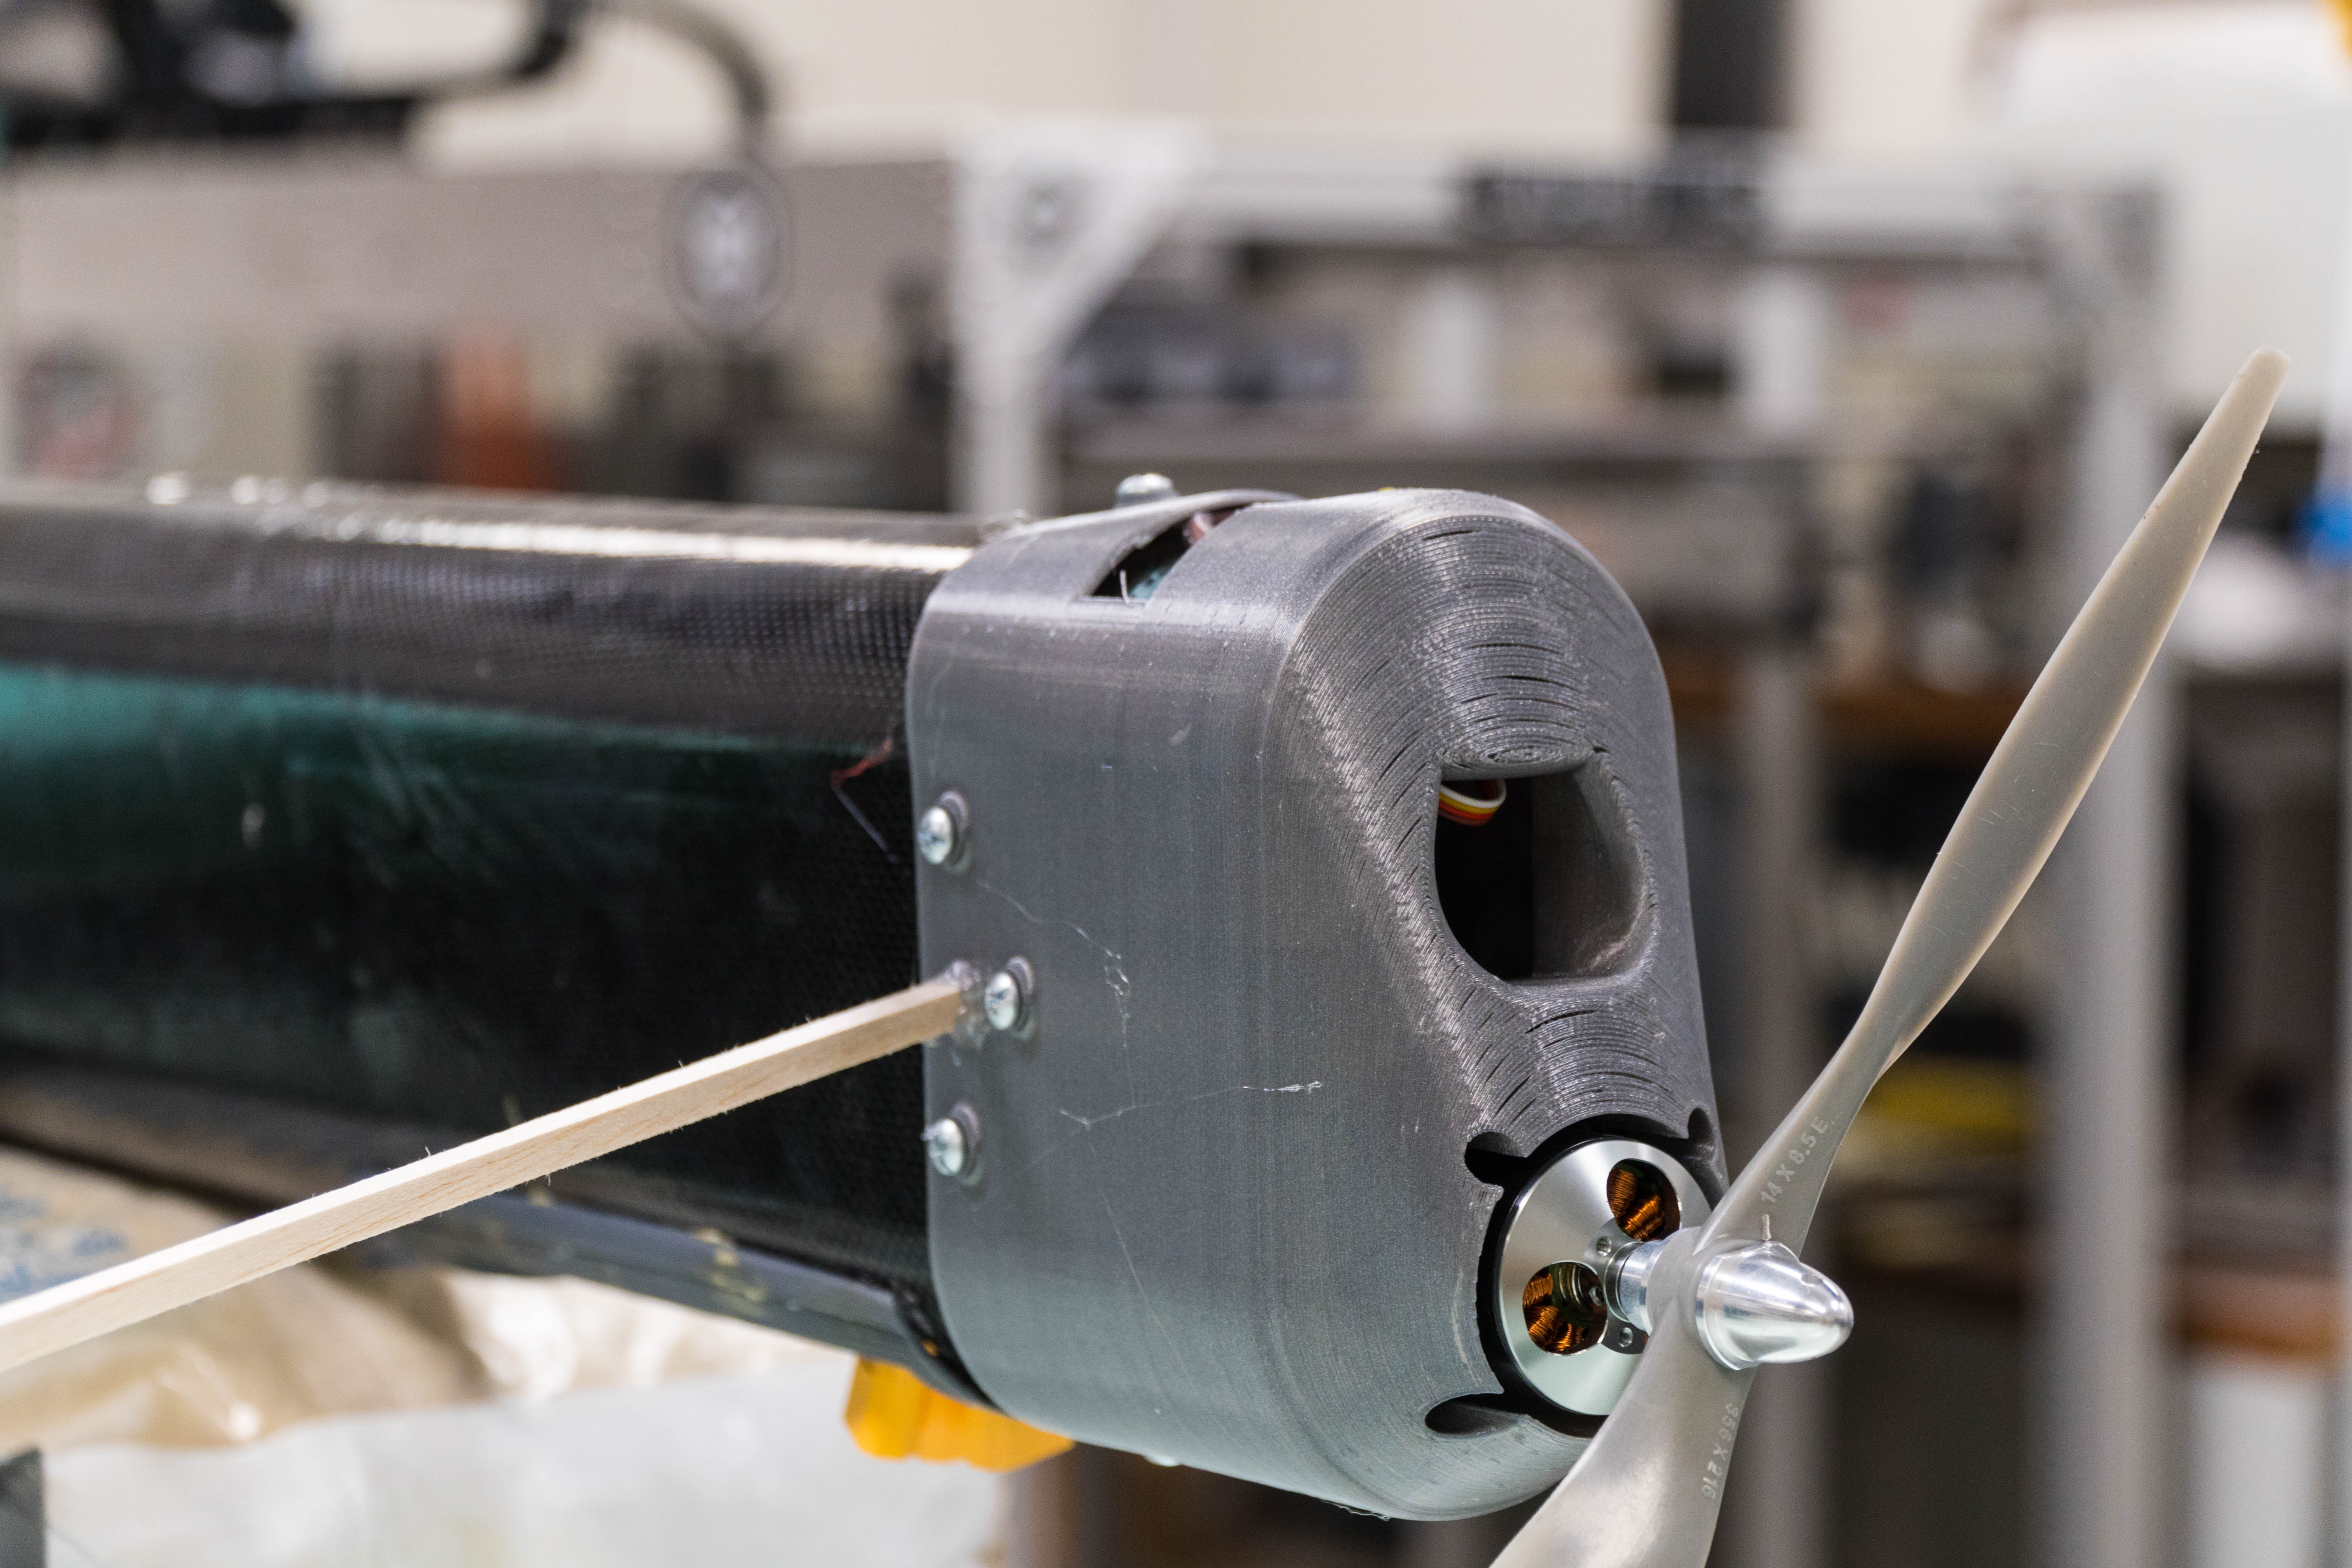
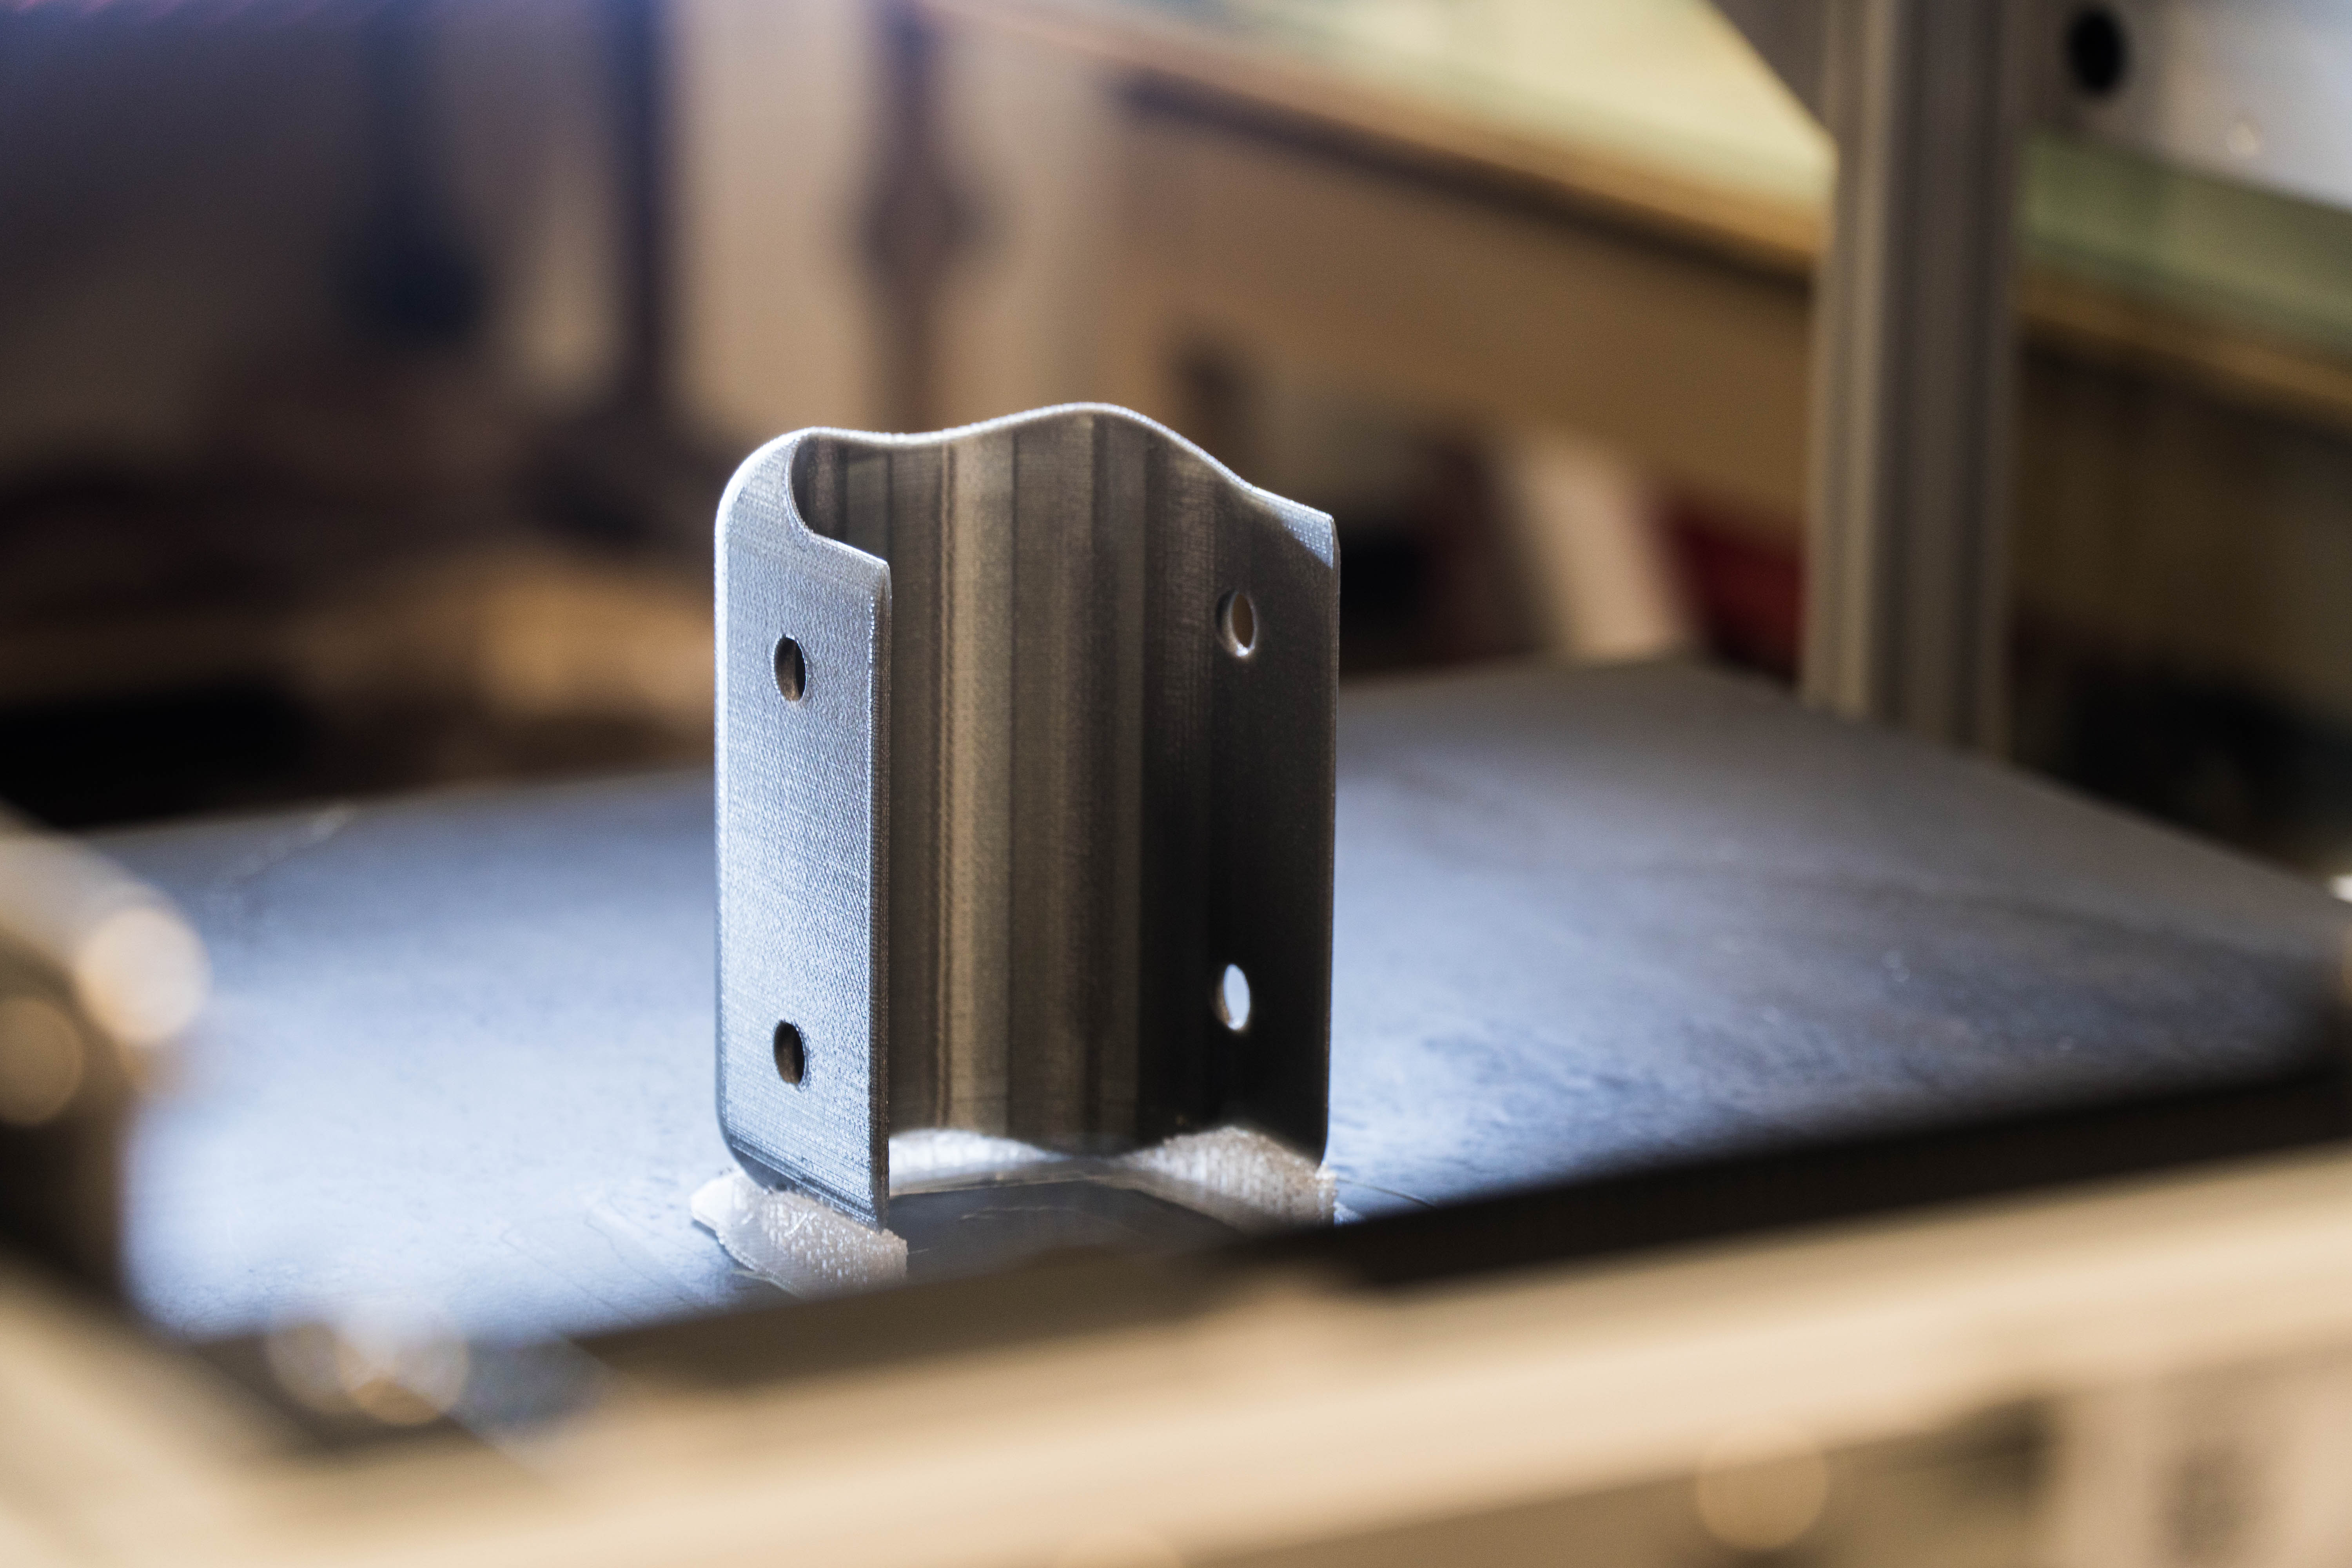
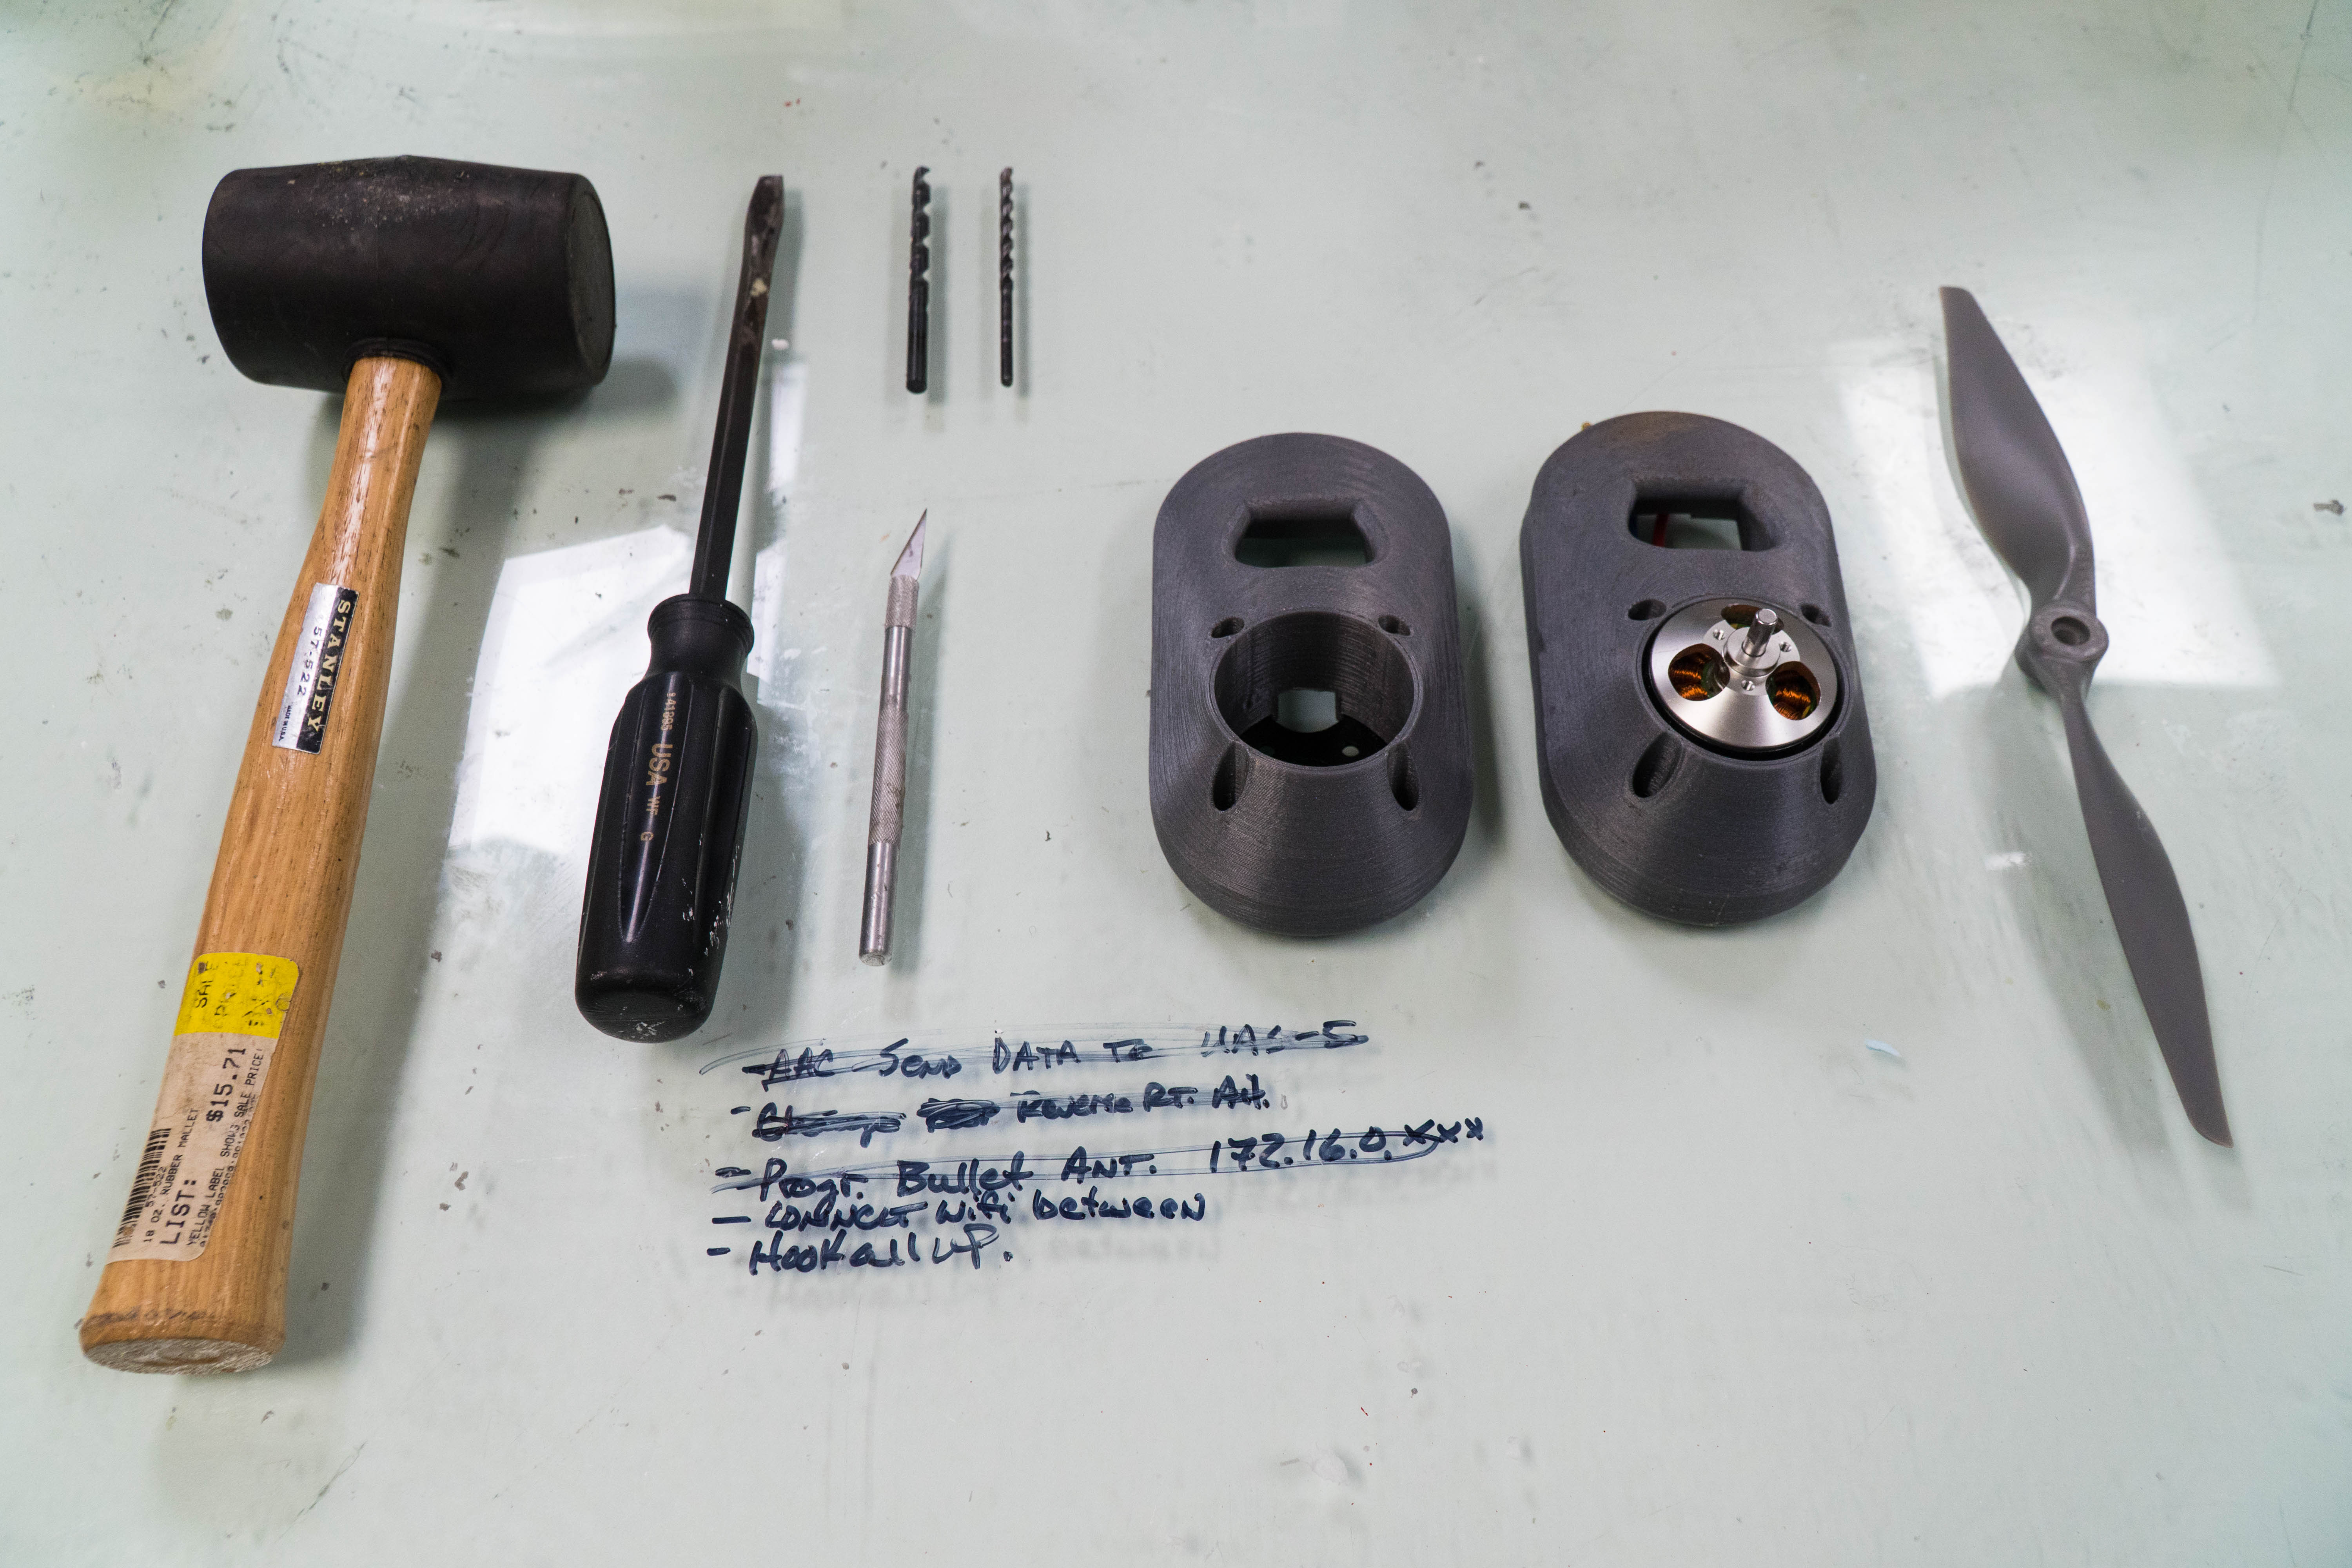
“The value added to being able to print the parts over anything else is that there’s detail that can be made without flaw,” he says. “I can build holes exactly where I want the holes to be for a motor mount; I don’t have to machine it out of a piece of aluminum and spend a lot of hours and it be a lot heavier than it needs to be.”

As the Academy set its sights on bigger planes – “things that are two, three feet in breadth, and two, three feet tall,” Brandt recalls – he began looking for a printer with a build plate to match.

“I found the Gigabot, and it was the only big printer that I could find that had the volume that we started to think towards,” he recounts. Brandt saw a large-scale 3D printer as their ticket to print bigger sections of sizable aircraft with ease. Rather than having to break a component into multiple pieces to fit onto a small printer bed and connecting the parts post-printing, they could print entire plane sections in one go.

“When I found [Gigabot], we sat around and said, ‘Should we make this investment?’ One of our machinists said, ‘If we’re going to do it, get the biggest one, because you’re not going to want to print smaller.’”

Incorporating 3D Printing into the Airplane Design Process

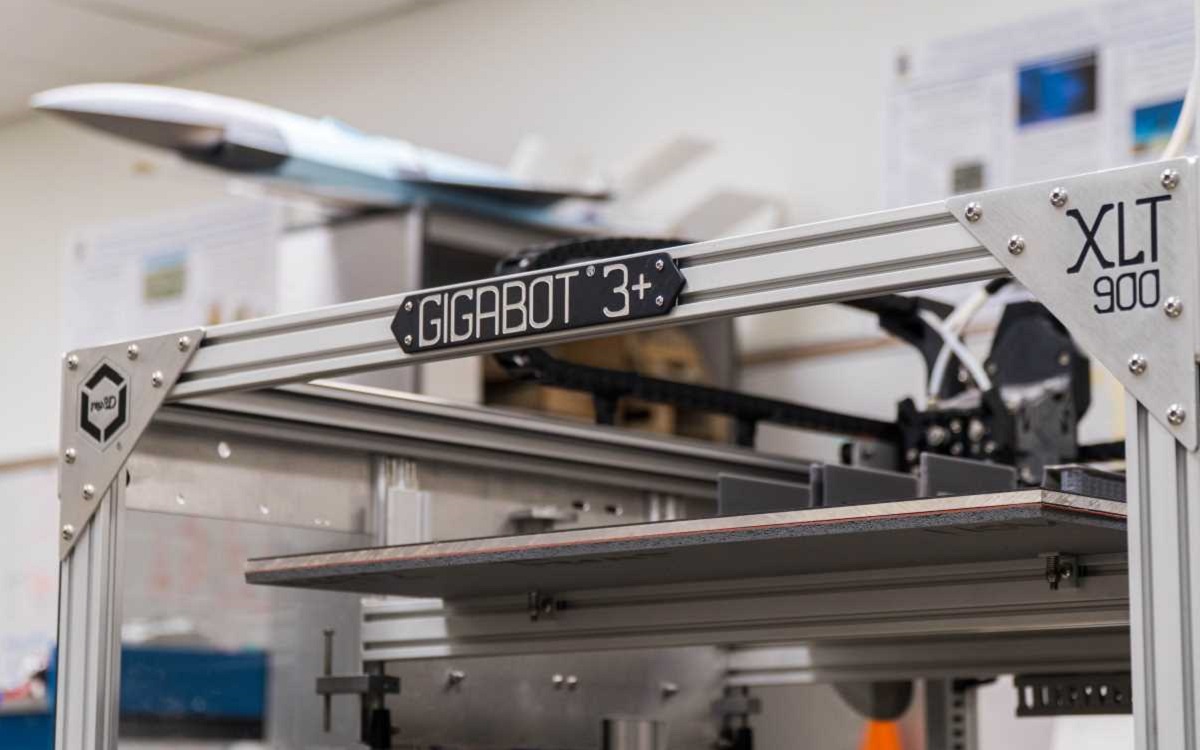
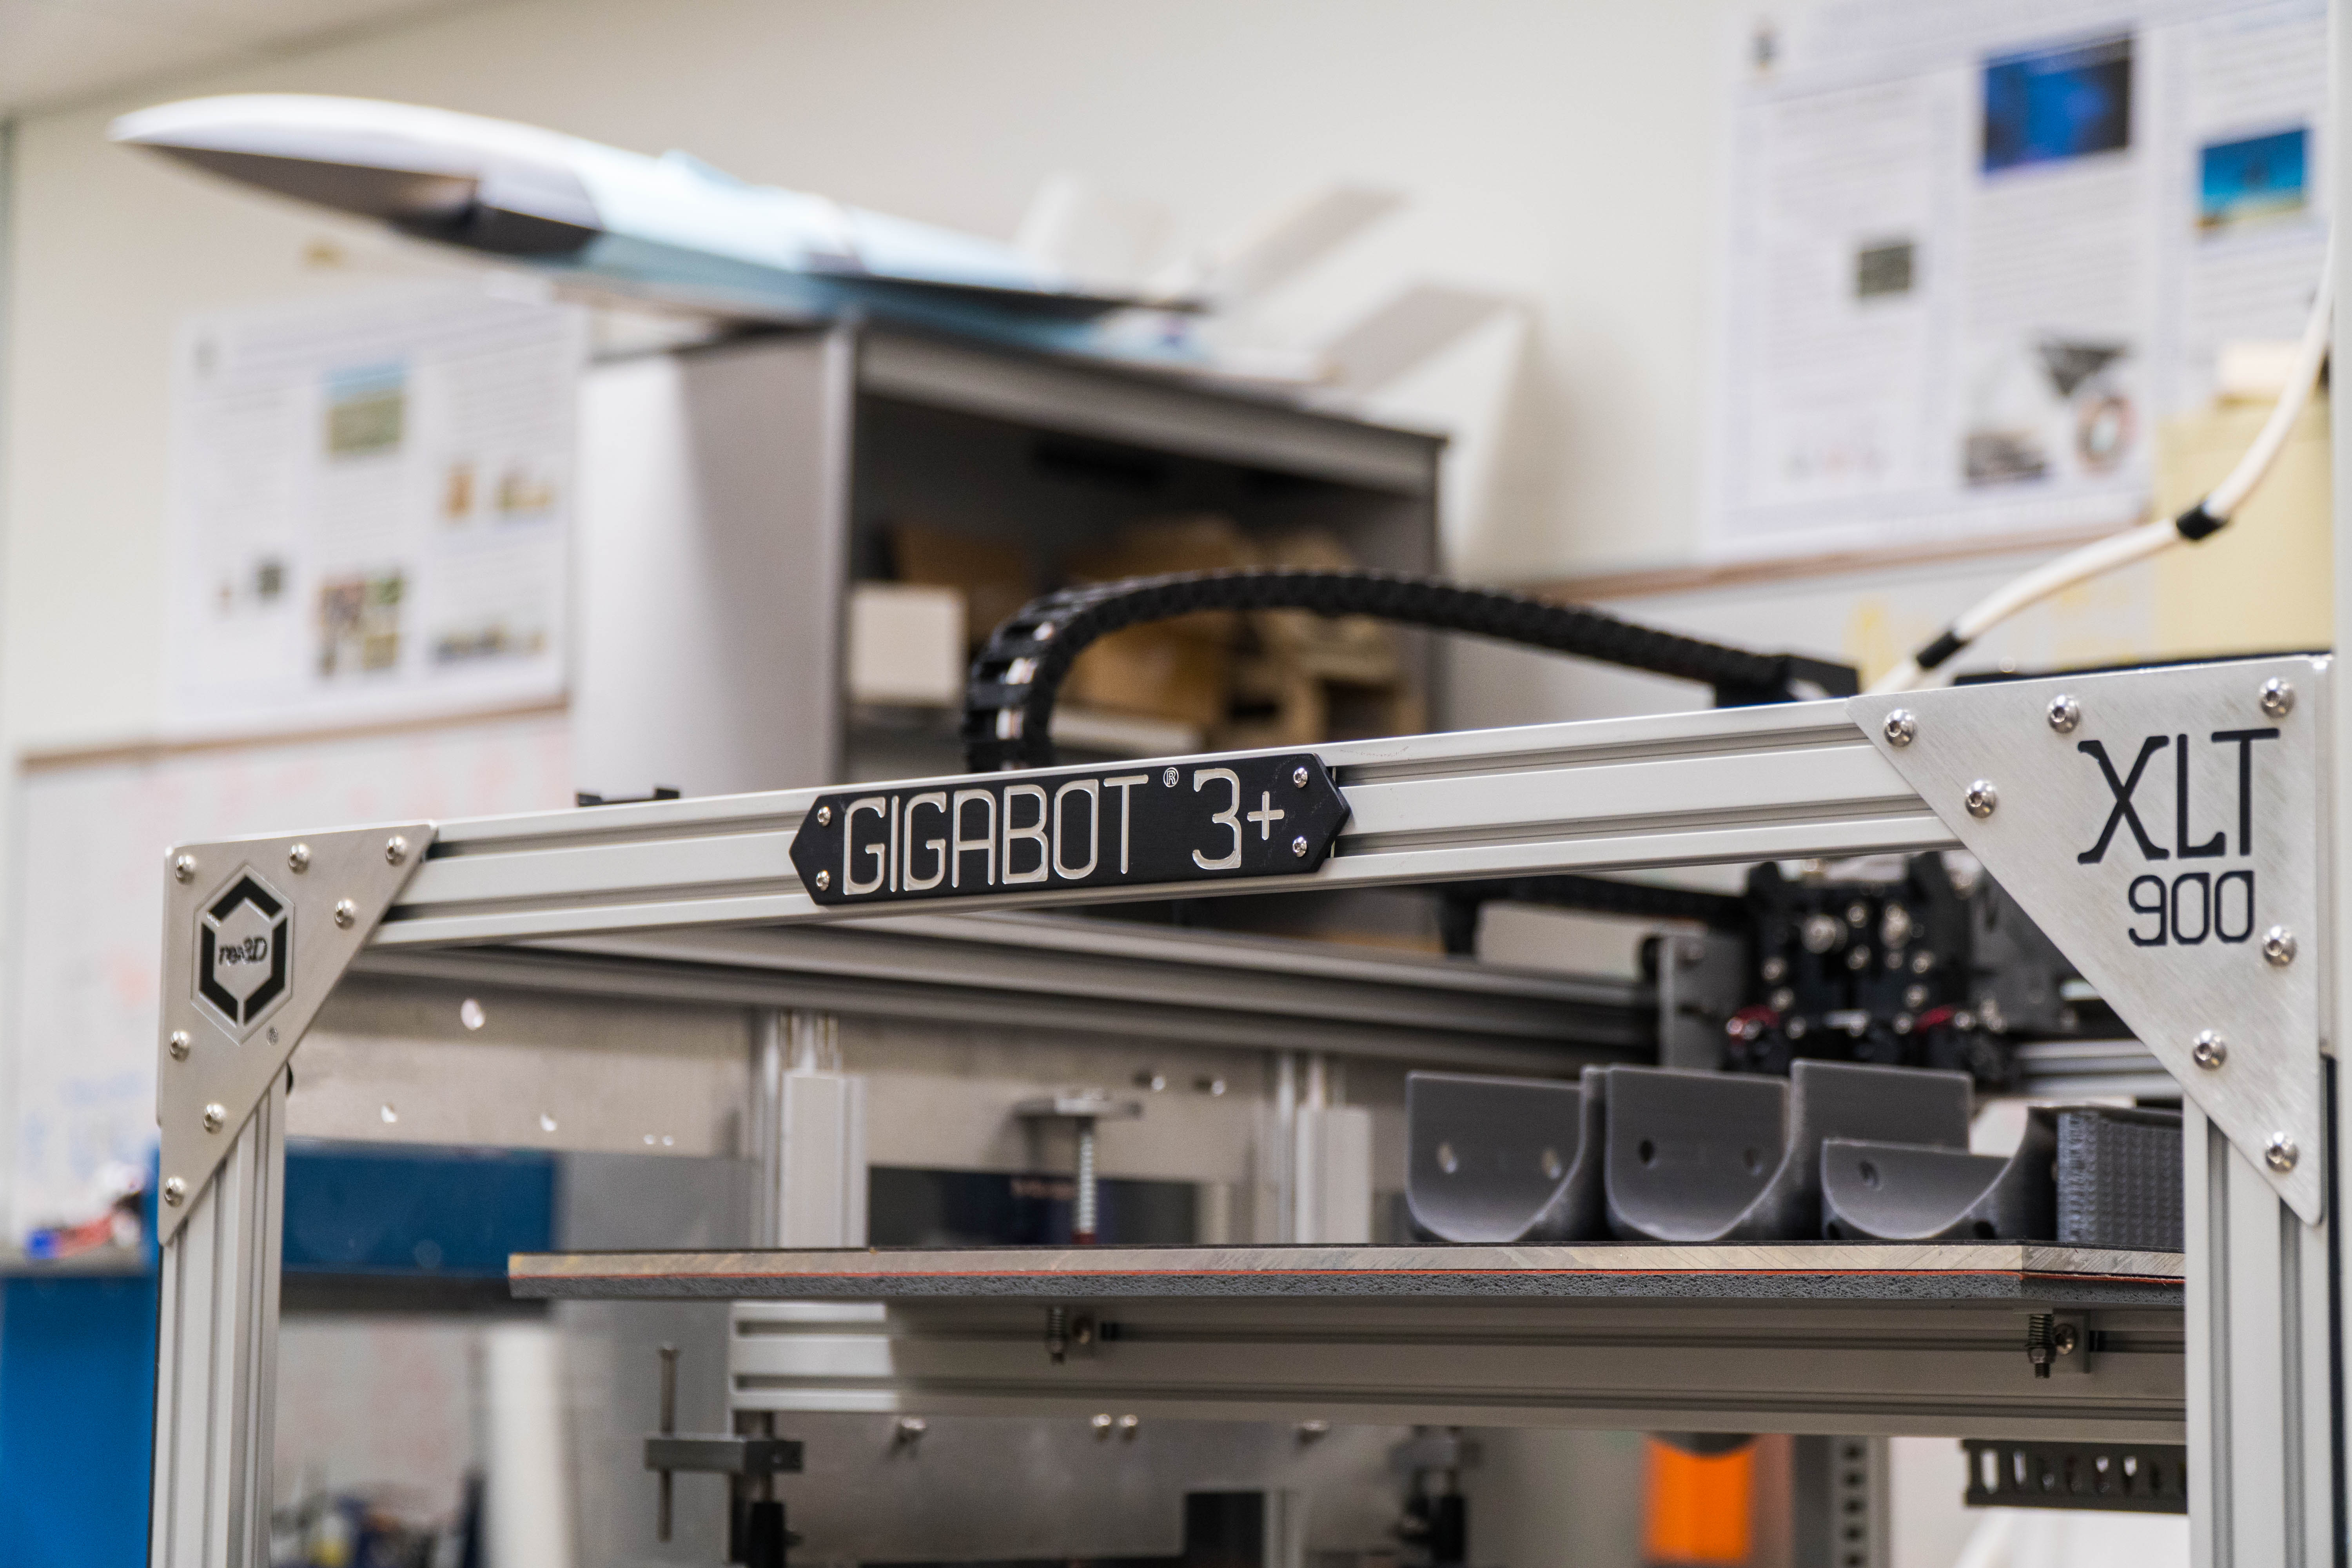
The Air Force Academy invested in a Gigabot XLT, and with it, over 14 cubic feet of build volume. The printer purchase has paid off.

“To say that we use our Gigabot all the time is pretty much an understatement,” Brandt laughs. “It runs every day; there are times when it runs non-stop for three weeks.”

They use 3D printing to produce a multitude of parts in a variety of steps throughout the aircraft design process.

The first phase is the wind tunnel. Cadets take the CAD model of their concept craft, print it, and subject it to the rigors of wind tunnel testing to assess its aerodynamics in advance of flight. “We can validate the design in a wind tunnel with a 3D printed model, and then take it to the next scale and validate the fact that what we learned in the wind tunnel is accurate,” explains Brandt.

Once they confirm that the aerodynamics and stability of the aircraft are suitable, they’ll take the same CAD model, scale it up, and construct it with the help of 3D printing. Brandt goes on, “The only way to do that is to be able to develop the same airplane at a larger scale, and that requires a big printer that allows us to print larger parts so the accuracy is there in the design.” The successful scaling-up of a wind tunnel model is really only possible in the age of CAD and 3D printing. A balsa wood or foam model may pass wind tunnel testing only to fail on the runway because its larger, hand-constructed cousin didn’t quite match the geometry of its wind-tunnel brethren. 

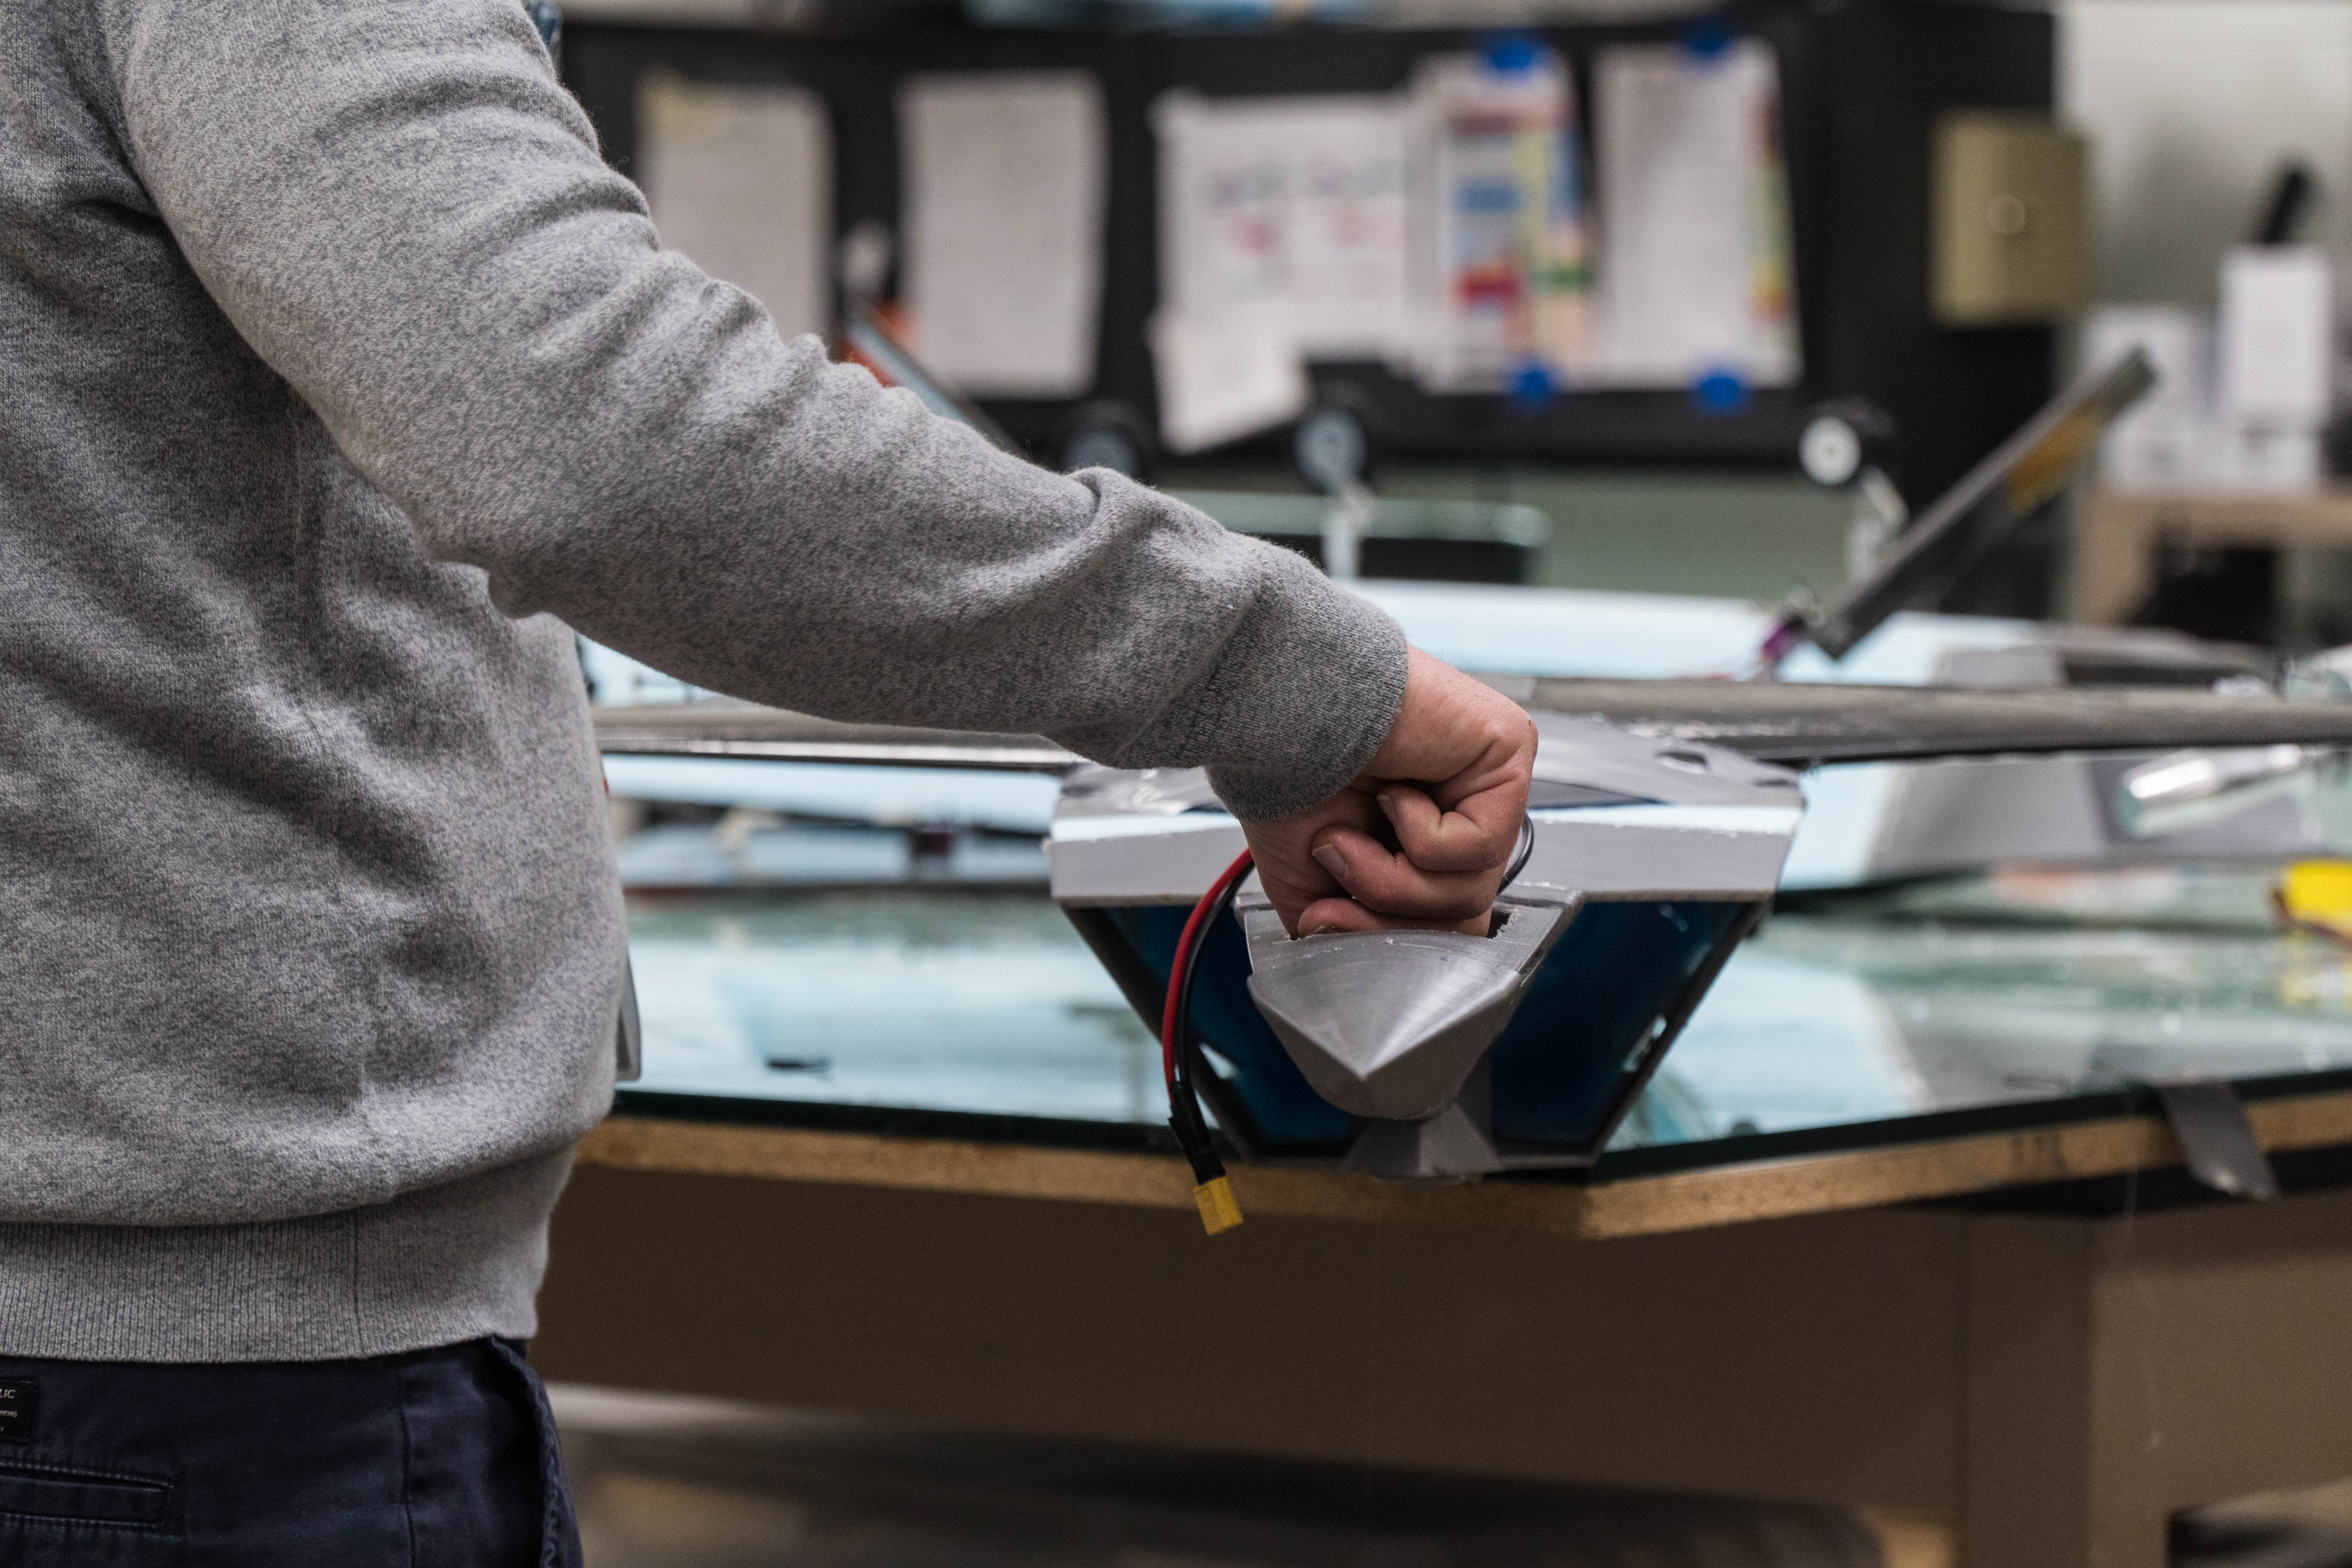
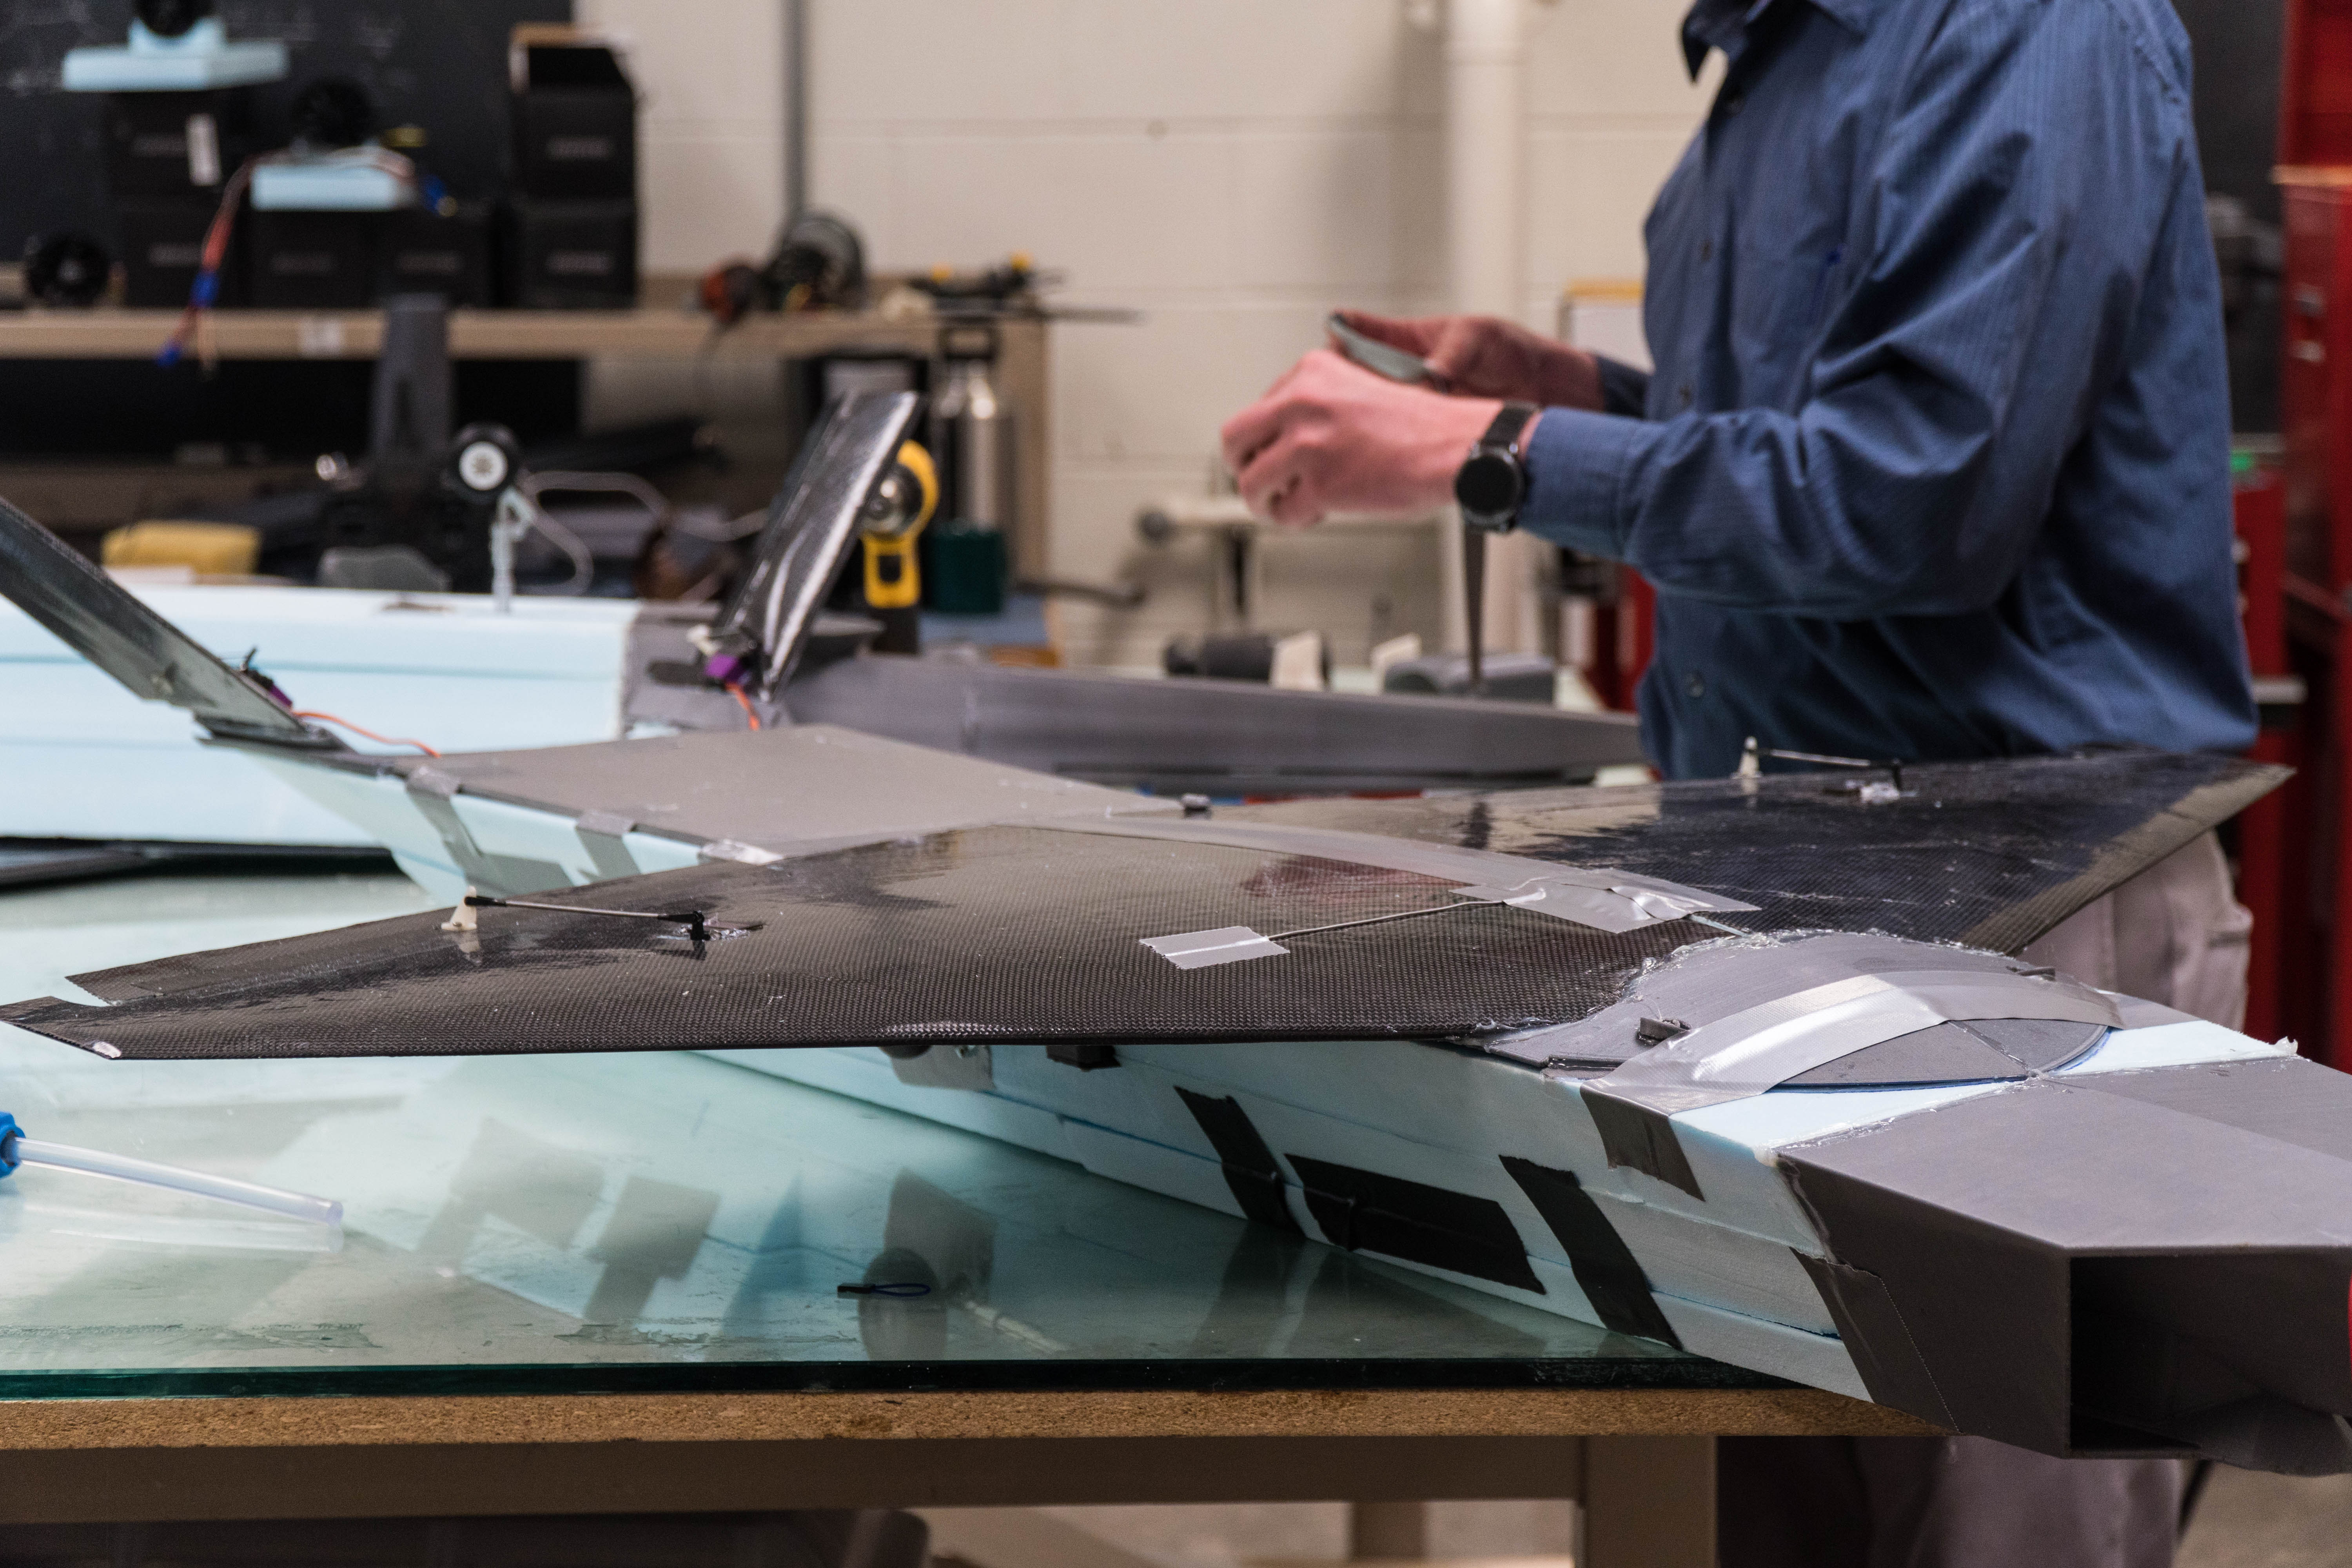
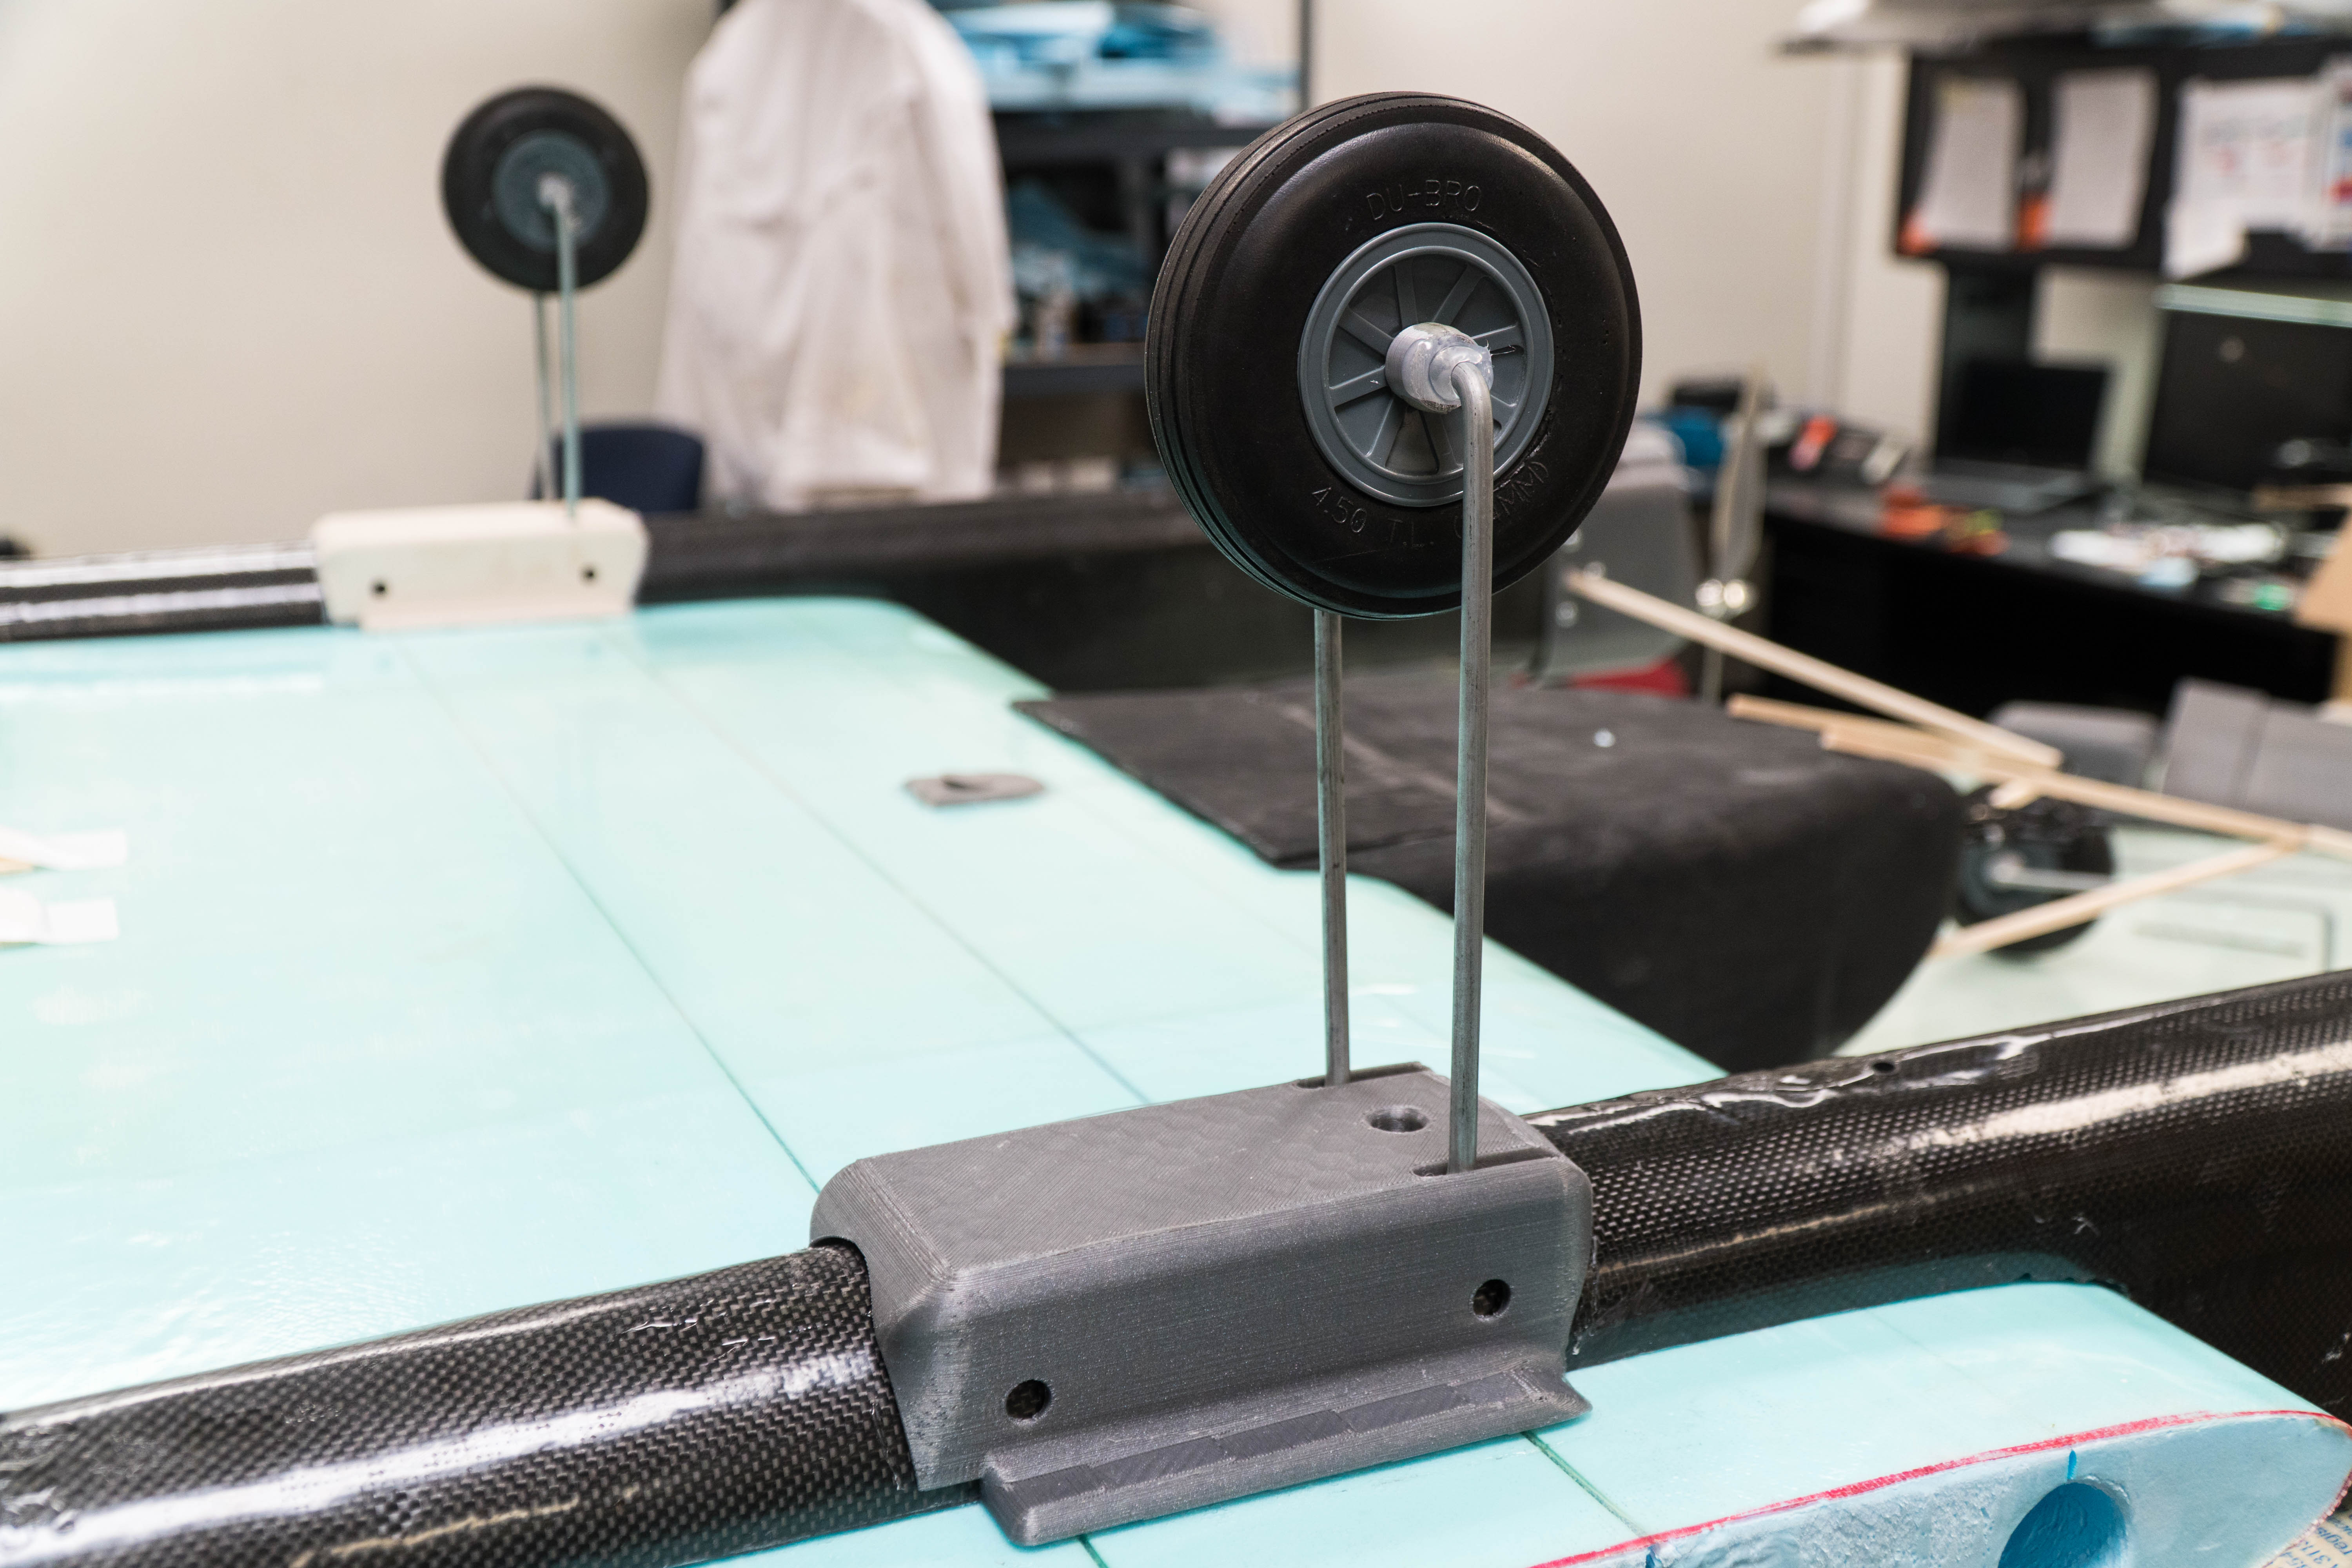
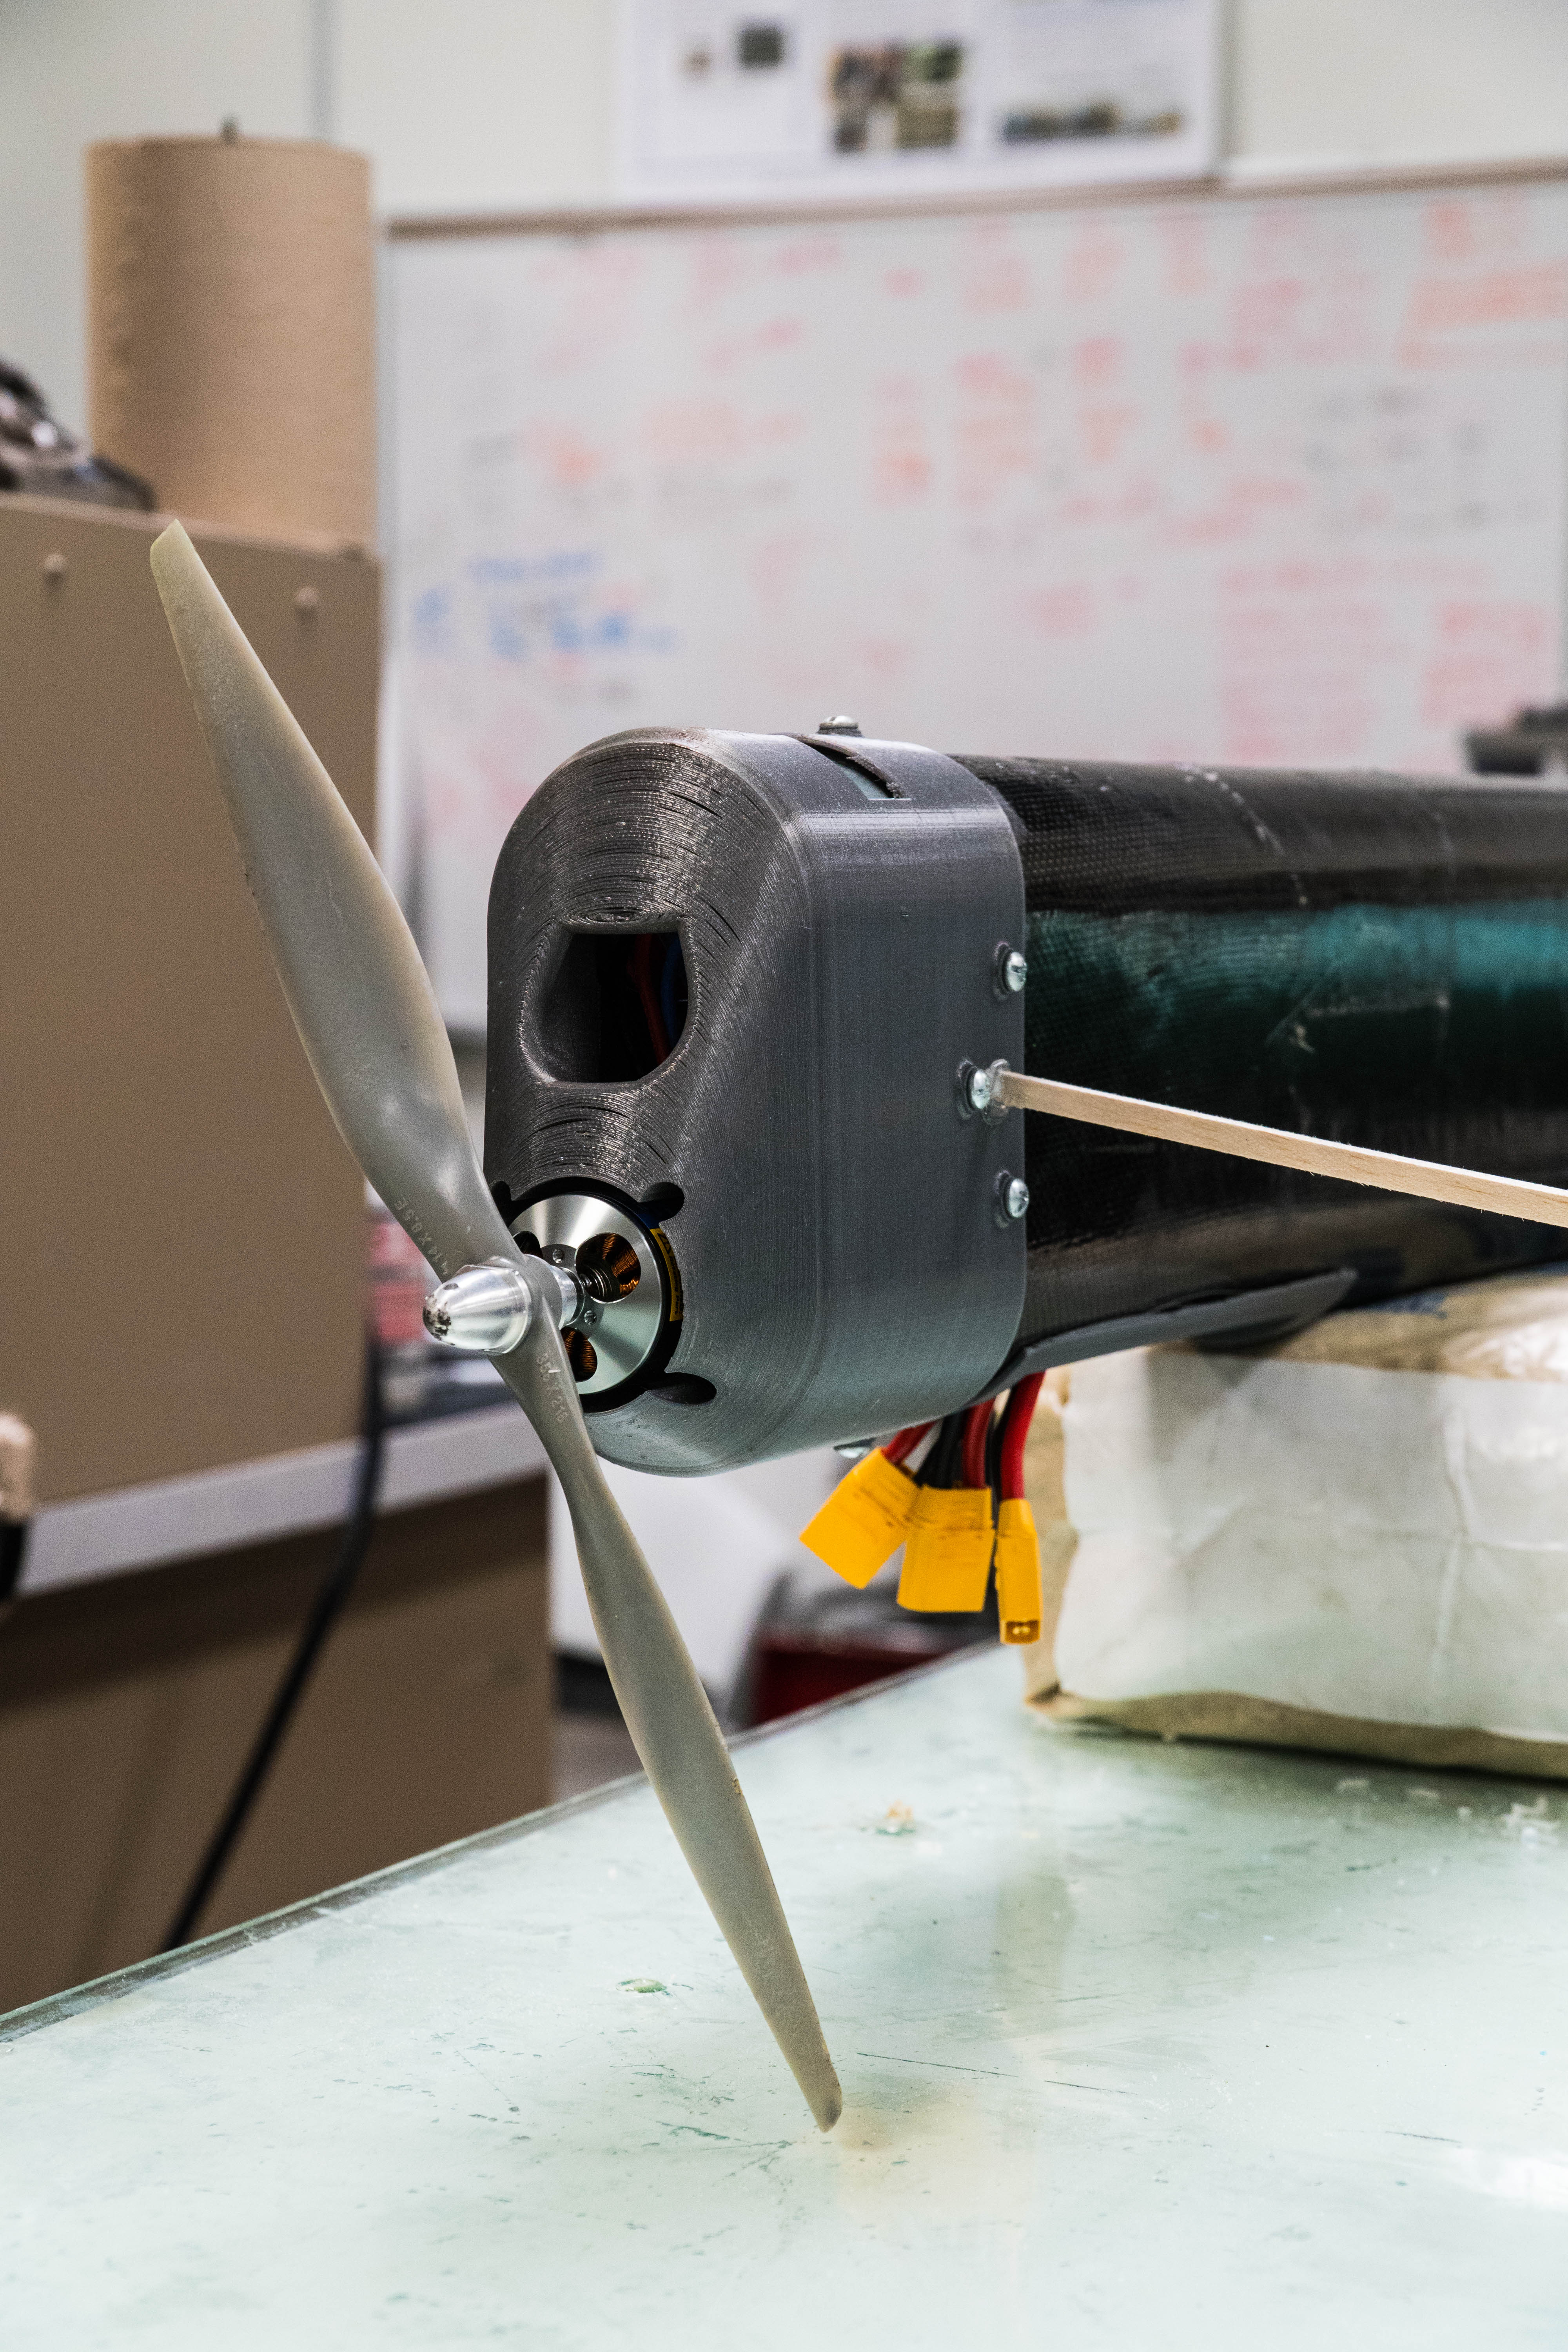
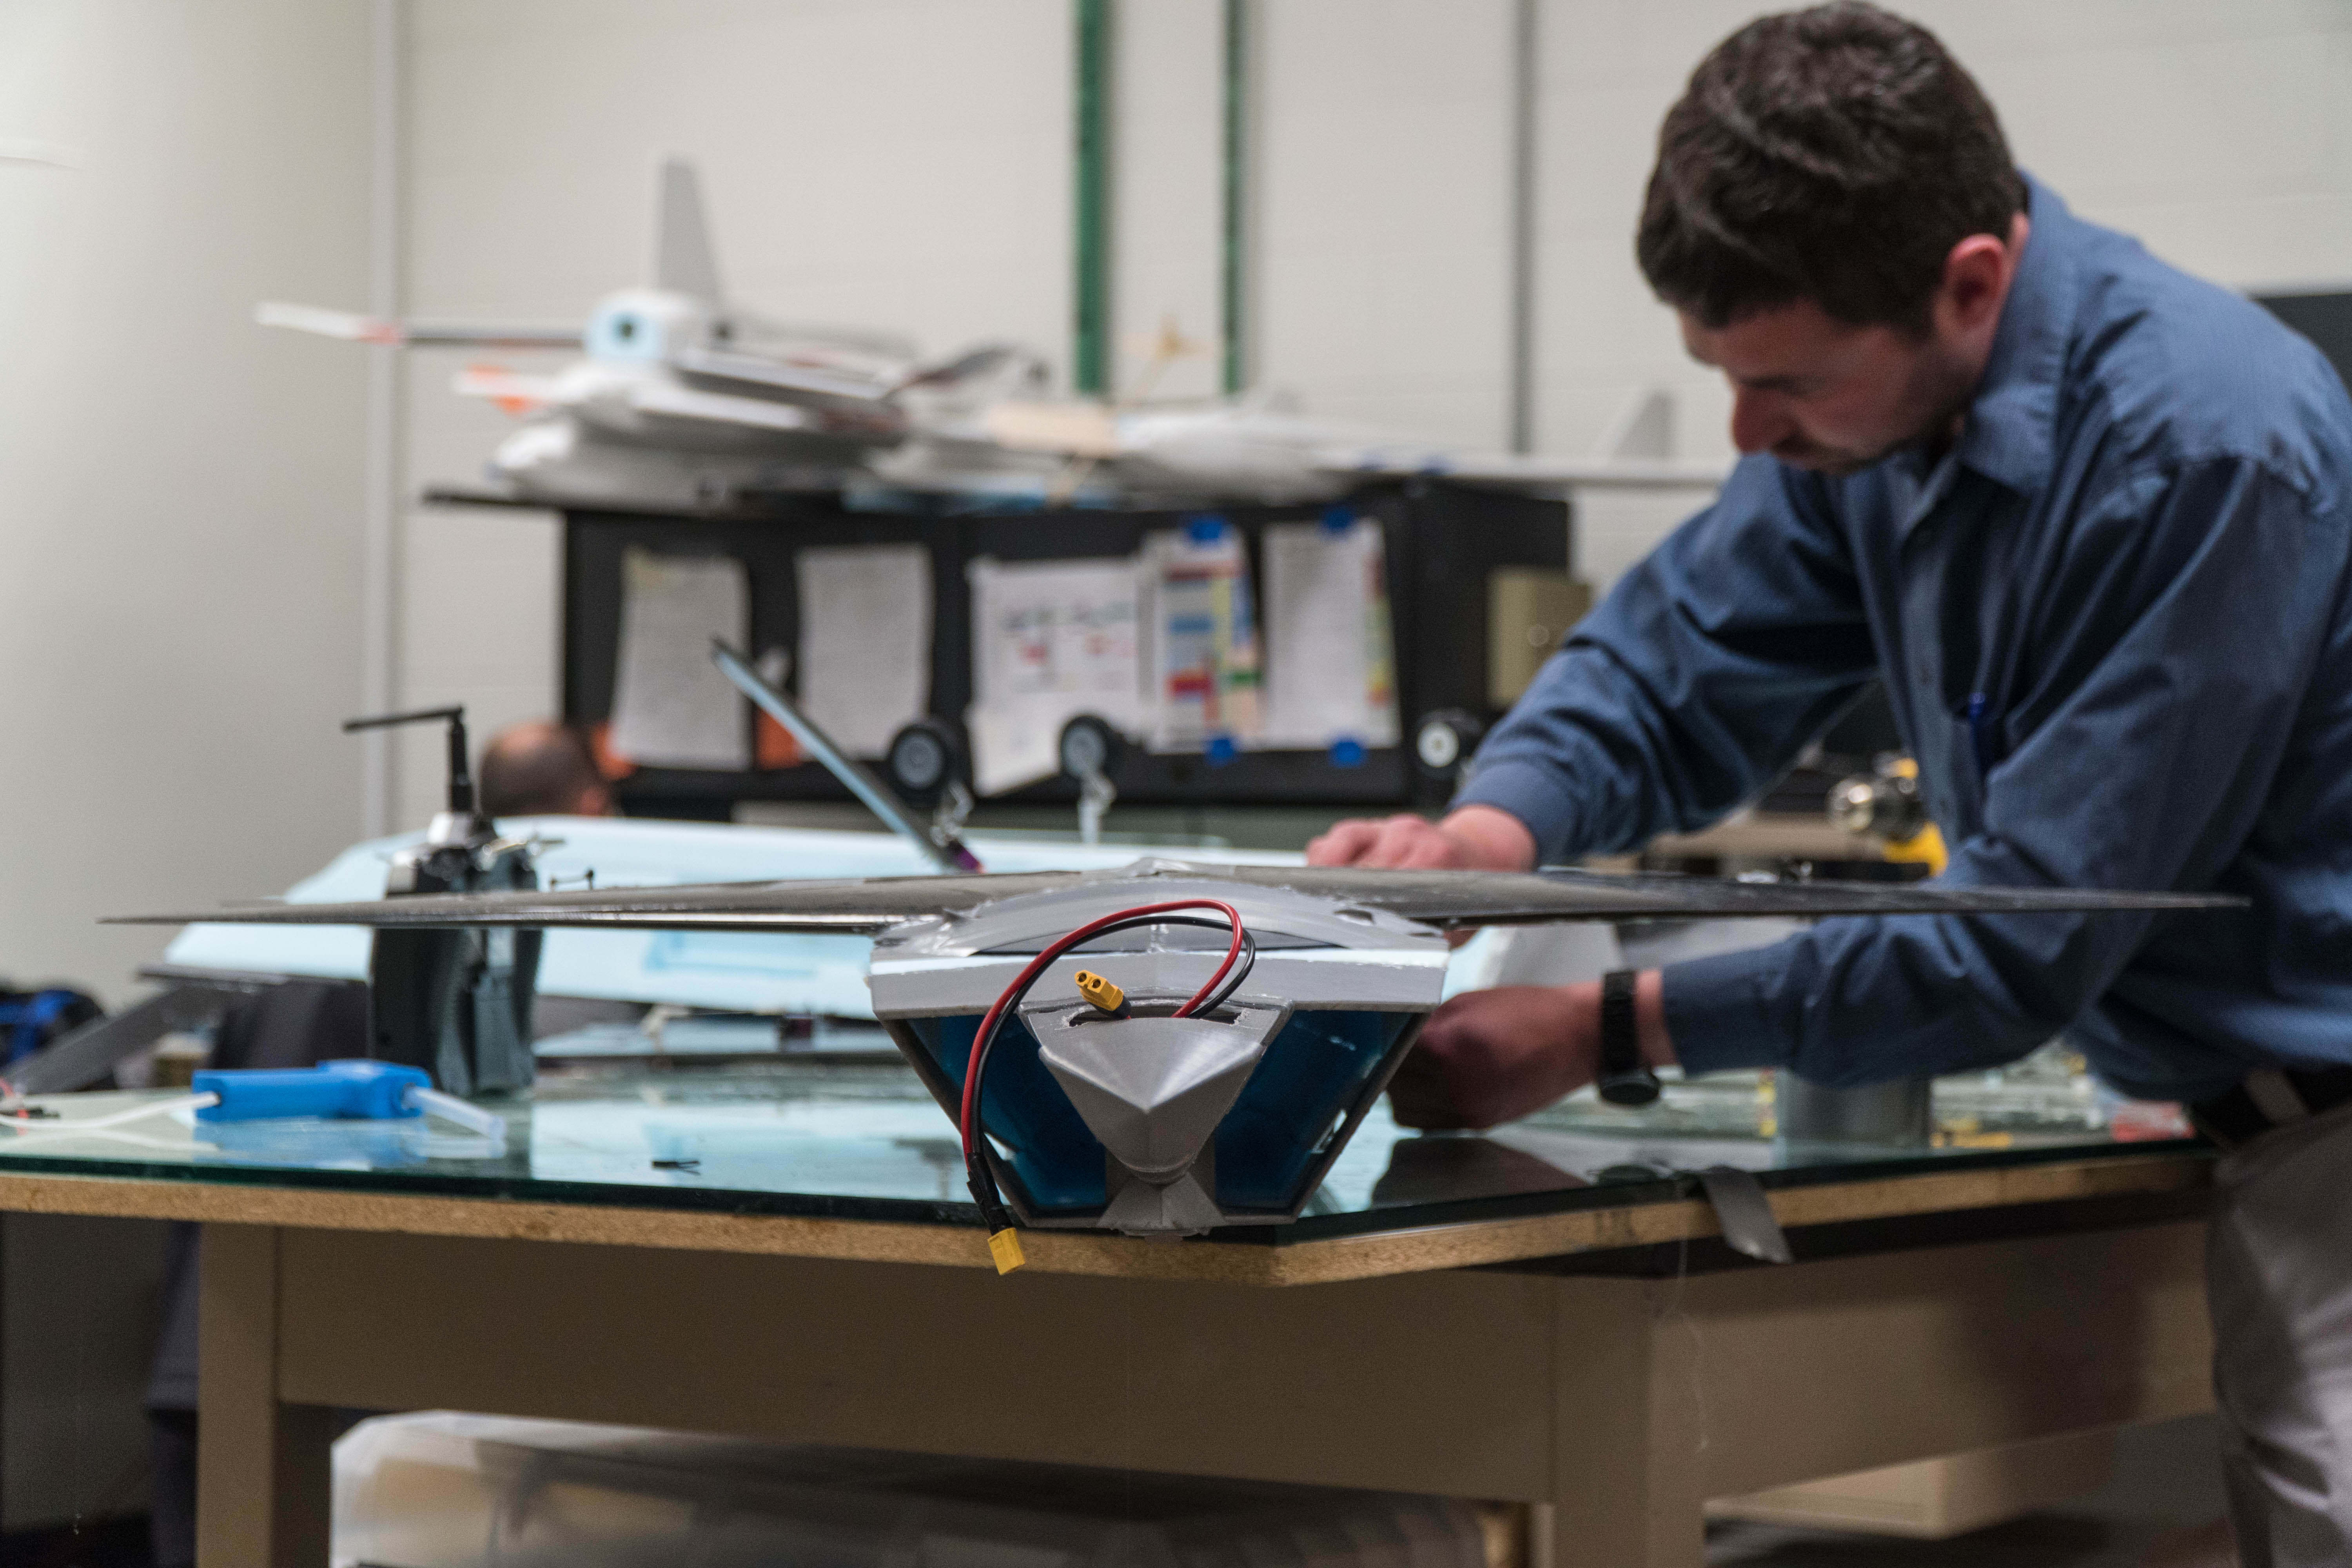
Fuselage, tails, motor mounts, landing gear interfaces, control services for wings: all of these unique components are printed and assembled – along with batteries, servo motors, autopilot, and carbon-fiber-wrapped foam – to create a fully-functional aircraft.

“We can take the novel designs that our students create, put them on a 3D printer and assemble them together,” explains Babcock, “and we can have a totally unique design – a new aircraft that the world has never seen before – that hopefully meets the requirements that the customer gave us when we set out on that process.”

The Benefits of 3D Printing in UAV Testing and Design

3D printing is now a staple within the USAFA Aeronautics Department, and with it has come a bevy of benefits.

“We break airplanes a lot,” explains Brandt. These are planes that have never flown before that may take a little practice to get the hang of operating. Babcock echoes the sentiment. “Part of the learning process our students go through is failure,” he says. “Inevitably, when they’re creating an aircraft, something will happen and the aircraft will crash or be damaged in some way.”

Because of this, both Brandt and Babcock stress, the cost of plane production – in the form of both raw materials and labor – is extremely important to the Academy.

“That’s where 3D printing really has an advantage for us,” says Babcock. “Typically it would cost hundreds of dollars to produce scaled models of these aircraft. With 3D printing, we can produce a model on the order of $5 instead of $500. It’s literally 100 times cheaper than other construction methods we have available to us.”

Turnaround time is also of concern. They’ve found that 3D printing allows for quick crash fixes in addition to rapid design iteration in the early development stages.

“It happened this semester with my cadets,” Babcock recounts. “We put their aircraft in the wind tunnel, and it didn’t have the stability that they had predicted before we printed the model. We had to make a design change.” The group went back to the drawing board with their CAD model, made some tweaks, and printed a new prototype for the wind tunnel. The plane was ready for re-testing by the next class and passed with flying colors.

Staying on schedule is crucial not only given the cadets’ looming graduation day, but also for the customers who are ultimately relying on the results of this testing to move forward with a real-world project. Babcock adds, “It’s only because of 3D printing that we’re able to do a rapid turnaround on our design iterations and solve problems fast enough so that we can get to the goal of actually flying a prototype for the customer.”

Once cadets’ planes progress past wind tunnel testing, 3D printing also comes into play as they begin flying outdoors for the first time. The technology allows them to quickly repair crashed crafts and get them swiftly back in the air.

“One of the beauties of having a 3D printer is I can get a part at two in the afternoon, I can slice it, get it on the printer, it can print all night, and by the time the students come back the next day, they have a part in their hand,” says Brandt. “That’s the way the world works today, and that’s what we should be showing them.”

The technology functions as on-demand inventory when they have to mend broken aircraft. Once the CAD file is created, there’s no manual labor, nobody whittling balsa wood into the wee hours. “With 3D printing, we have a repeatable process that is hands-off where we can manufacture the replacement parts we need on an as-needed basis,” Babcock explains. “We don’t need to do a large bulk order of parts in advance; we can print new parts to repair the aircraft as accidents happen.”

A Challenging Atmosphere

“One of the biggest challenges of building airplanes, especially at the scale that we fly them: every single ounce matters.” Brandt explains that cadets have an extra obstacle working against them: they’re flying in a challenging atmosphere – literally.

The Academy sits at 7,200 feet elevation. It’s more difficult to take off and fly an actual airplane in these conditions, let alone a small vehicle that doesn’t have the capacity to carry a large engine. “Developing lift – which is what we need to do – is harder at this altitude,” says Brandt. “It’s a very challenging place to fly, yet we do it pretty successfully over and over.”

“And the speeds?” He smiles. “They’re fast.”

The aircraft they’re building are typically in the range of five to fifteen pounds, cruising at speeds between 30 and 80 knots – roughly 35 to 90 miles per hour. So not only do their designs need to be lightweight, they need to be strong.

3D printing affords them the ability to design and create parts in a way that traditional manufacturing or hand construction often does not, and also to adjust print settings to maximize a component’s efficiency in both volume and weight. “A 3D printed part can meet all of those contours, yet still have the strength that we need to be able to put it on an airplane and have the structure that we need to fly,” says Brandt.

Enabling Innovation with Cutting Edge Technology

3D printing is a relatively recent addition to the arsenal of manufacturing capability at the Academy, yet the headway they’ve made since bringing the technology on board is impressive.

“This capability here has really just been developed over the past four or five years of building airplanes at the volume and scale that we’re doing,” says Brandt. “We used to get three or four – maybe five – airplanes built a semester; maybe two or three of them would fly – maybe.”

Now, he explains, they have the means to significantly increase both the quantity and quality of production. They’ve essentially doubled their numbers – building, by Brandt’s estimates, somewhere between eight and twelve airplanes a semester. “And why can we do that? It’s because we have the design tools and the manufacturing tools to do it.”

It’s a boon not just to the Academy but also their customers – like the AFRL – who rely on their aerospace expertise. “I think the most invigorating thing to me is that we provide – as best as we can – a product to a customer in a very short turnaround time,” says Brandt. “3D printing has enabled us to build airplanes that are what the customer wants. The only way we do it with the level of precision and accuracy that we do it today is because 3D printing has infected it so much.”

Inspiring Future Airmen

At the end of the day, the Air Force Academy is just that: an academy.

Its mission is “to educate, train, and inspire men and women to become leaders of character, motivated to lead the United States Air Force in service to our nation.” And what better way to do this with the next generation of pilots and flight engineers than with the challenge of designing, building, and flying a unique aircraft that solves a real-world need?

“When you design an airplane, it’s built on a computer screen somewhere,” Brandt muses. “We’re going to take that CAD drawing and turn it into a real airplane. It suddenly jumps off the screen, and now they’re holding a real piece. The fact that we can do that quickly with a 3D printer is amazing.” Babcock has also seen how the technology has impacted the learning process for cadets. “It really makes the world come alive for them.”

When the cadets’ planes finally leave the theoretical realm and go wheels up, “the whole learning loop is closed,” explains Brandt. “All of the learning comes together, and they go, ’Wow, I really do understand how an airplane flies, I understand how it works, and I also understand that – even at this small scale – these things are very complex.’”

The majority of the USAFA graduates will go on to become pilots. This experience of designing and flying scaled-down jets, Brandt explains, “gives them a greater appreciation for how those things operate, and the complexities that they inherently have inside of them.”

As for the “inspire” portion of the equation, Babcock has seen enough cadets go through the process to understand that box is being checked.

“You have to realize these cadets have worked for four years in an extremely demanding environment: extremely rigorous academics combined with extremely rigorous military training and athletic requirements,” he explains. “In their last semester here in this capstone design class, everything comes together, and they design and build an aircraft from scratch that has never existed before to meet a unique customer need.”

Toward the end of the semester is when they first send their designs skyward. “When it actually all comes together and works for the first time, you just see it on the students faces,” explains Babock. “It’s an indescribable feeling where all of their four years [have] come together to reward them with this moment where they’ve actually made an aircraft and flown it. And it actually matters because there’s a customer out there that needs this aircraft to meet a certain requirement. It’s really a special feeling for them.”

Brandt recognizes that the Academy has taken a lot of chances as they plumb the boundaries of what can be done with regards to new aircraft development.

He references back to his statement about the unparalleled educational experience that the USAFA provides, even when compared to other top-tier engineering institutions of the country. “Their level of innovation is not the same as what we do here,” he adds. “We take big risks because we want great return, and we’re willing to take those risks to give the cadets the best experience that they’re supposed to get at the Air Force Academy.”

Brandt and Babcock both reflect on the profound effect that 3D printing has had at the Academy, for cadets as well as the customers for whom they’re creating aircraft.

“In terms of performance and reliability and cost,” says Babcock, “3D printing has changed how we operate around here for the better, because it’s beat all of the previous methods hands down in all of those categories.”

Download our whitepaper on 3D printing and drones

Morgan Hamel

Blog Post Author