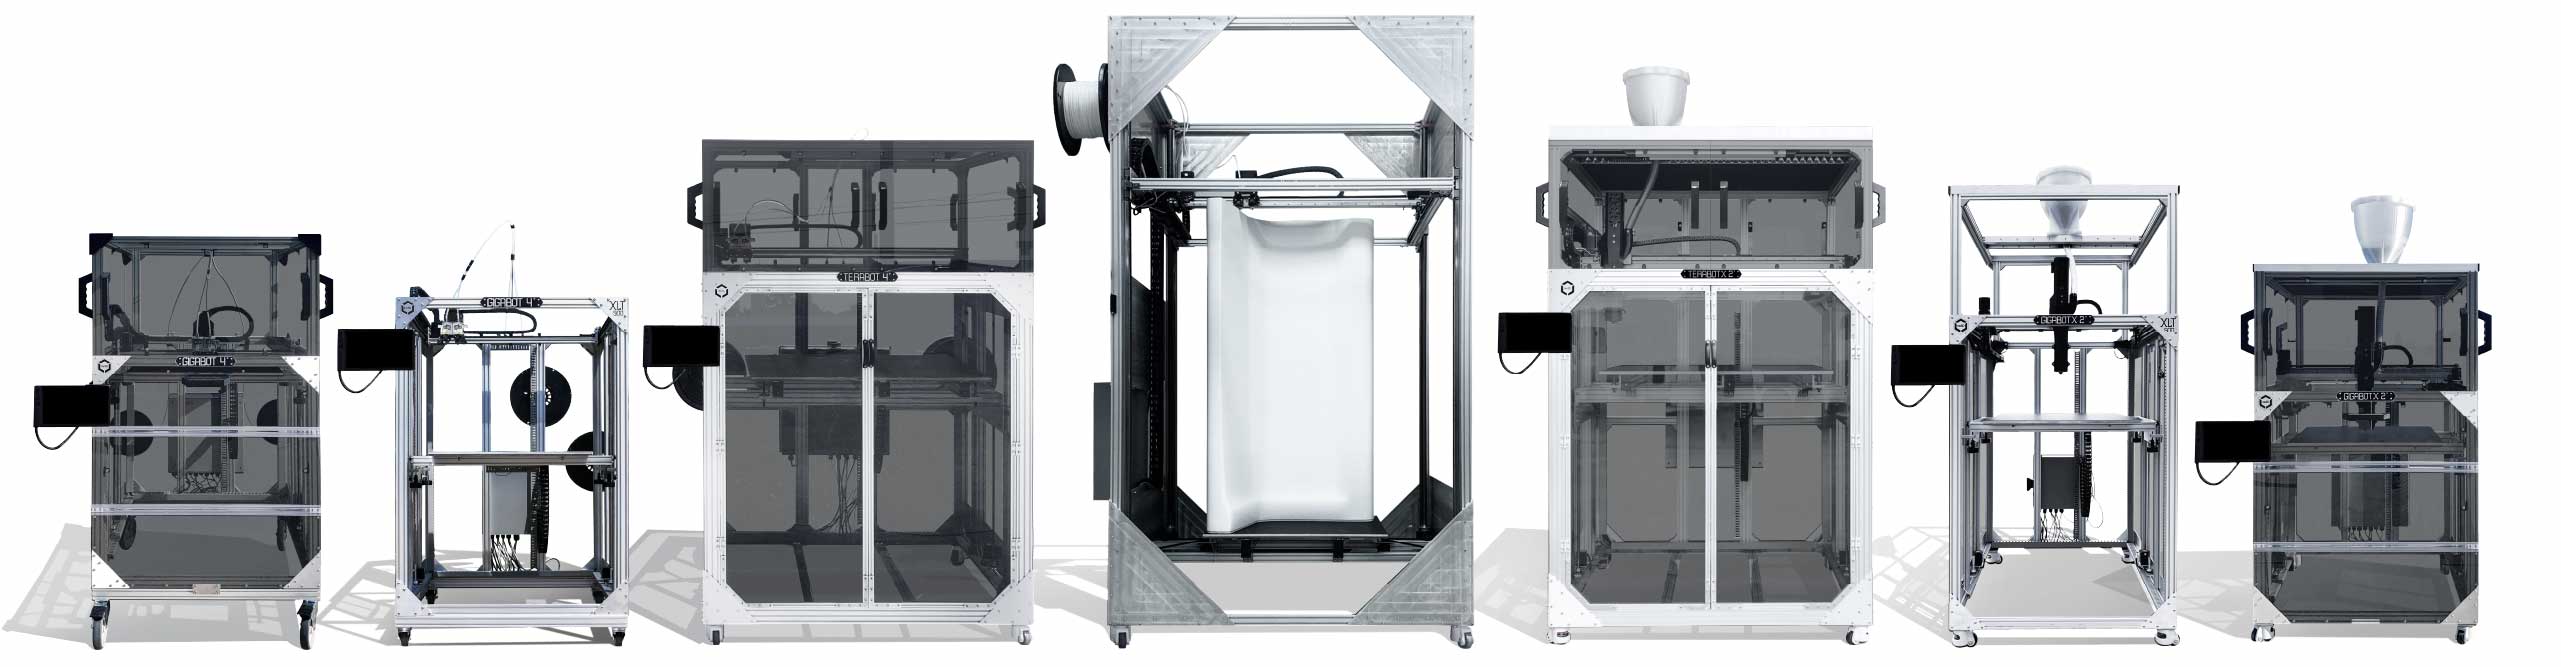
Hello, Giga Friends! Happy summer from Texas! It’s been an amazing few months since we released Gigabot 4, Terabot 4 and GigabotX 2 at the start of the year. We’ve reconnected with many long-time Gigabot owners seeking upgrades, taking advantage of our free parts for older machines (don’t know about those? Get on our mailing list!) or purchasing new printers to add to their Gigabot family. We’ve also met many new owners doing fascinating projects with 3D printing as we continue to roll out our most advanced Gigabots, yet.
The re:3D team has grown quite a bit, and on the engineering side, new teammates have taken on the task of putting fresh eyes on our parts and firmware to continue to iterate and improve our newest version, especially taking into account the feedback you have shared with us as beta testers and new owners. As such, we’re excited to share some updates with you on the progress of a few projects. As an open source company, we’re happy to report where we are in development of new tools and features for your 3D printers, stress testing and implementing them on Gigabot as they mature.
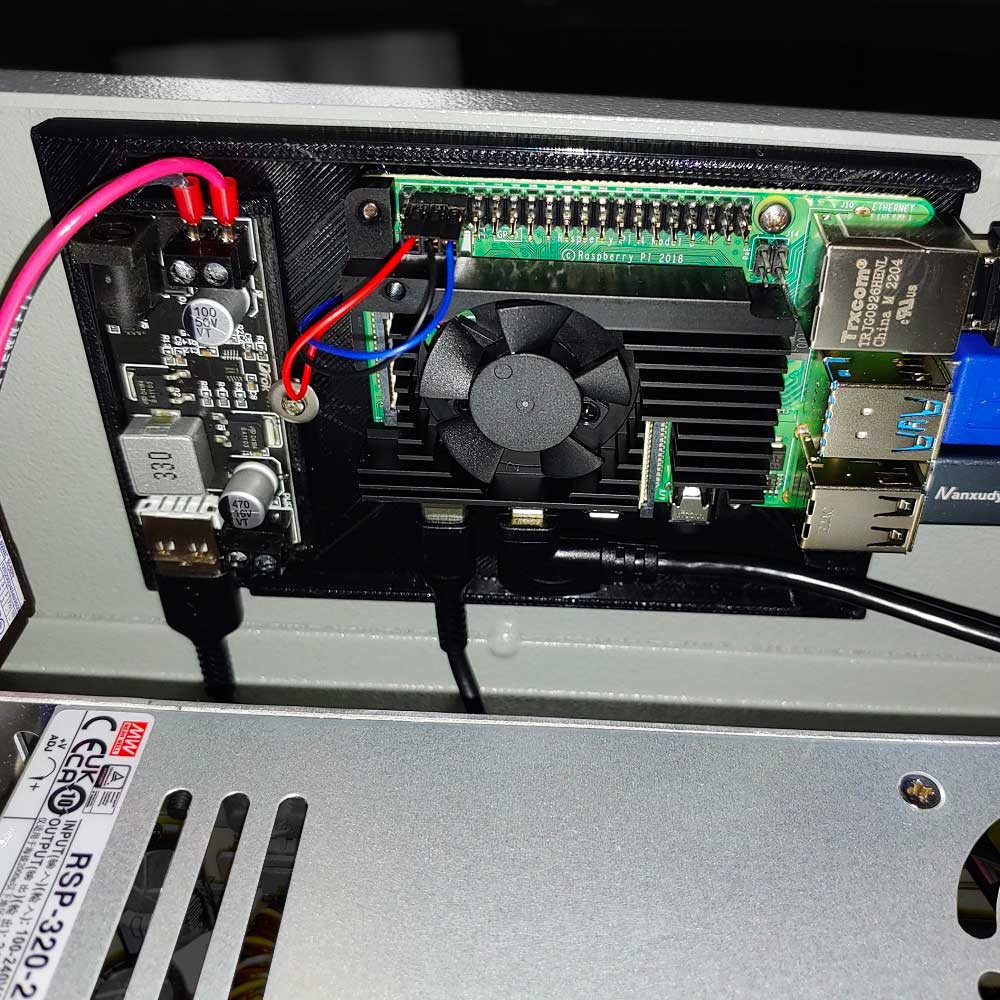
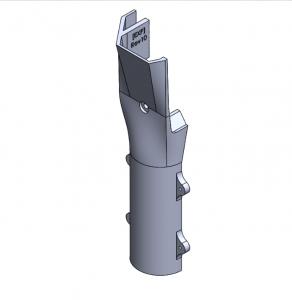
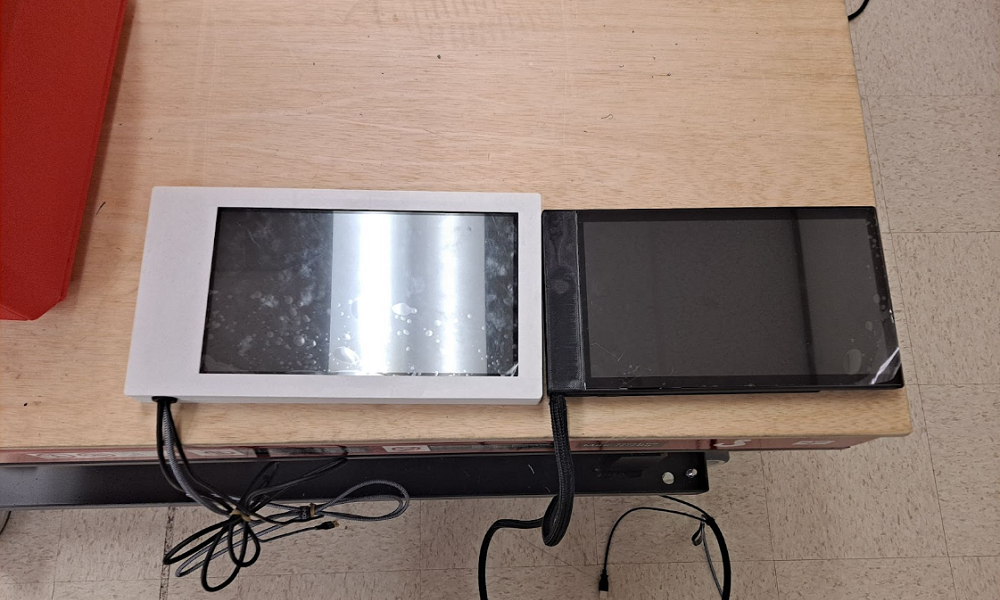
Touchscreen Case – Project Leads: Sami Hill and Alejandro Leal
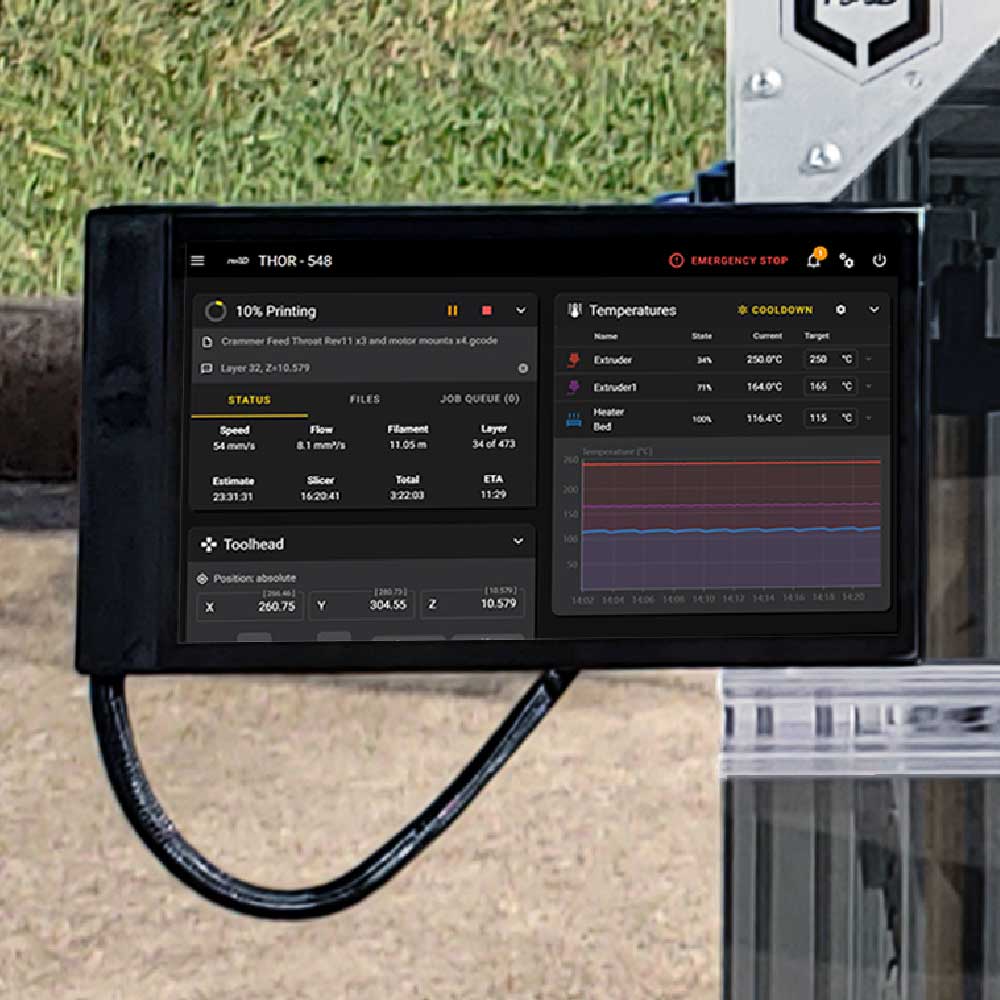
With the release of the new versions of the 3D printers came the exciting addition of the full color, front mounted touchscreen, and it’s been a huge improvement for user interface over the previous VIKI controller. This is a work in progress update, and this case will be released as soon as it is fully tested. We’ve identified three main areas in which we’re iterating for an even better user experience:
- Case Durability and Rigidity
- Cable Connection to the Touchscreen
- USB Drive Connection Point
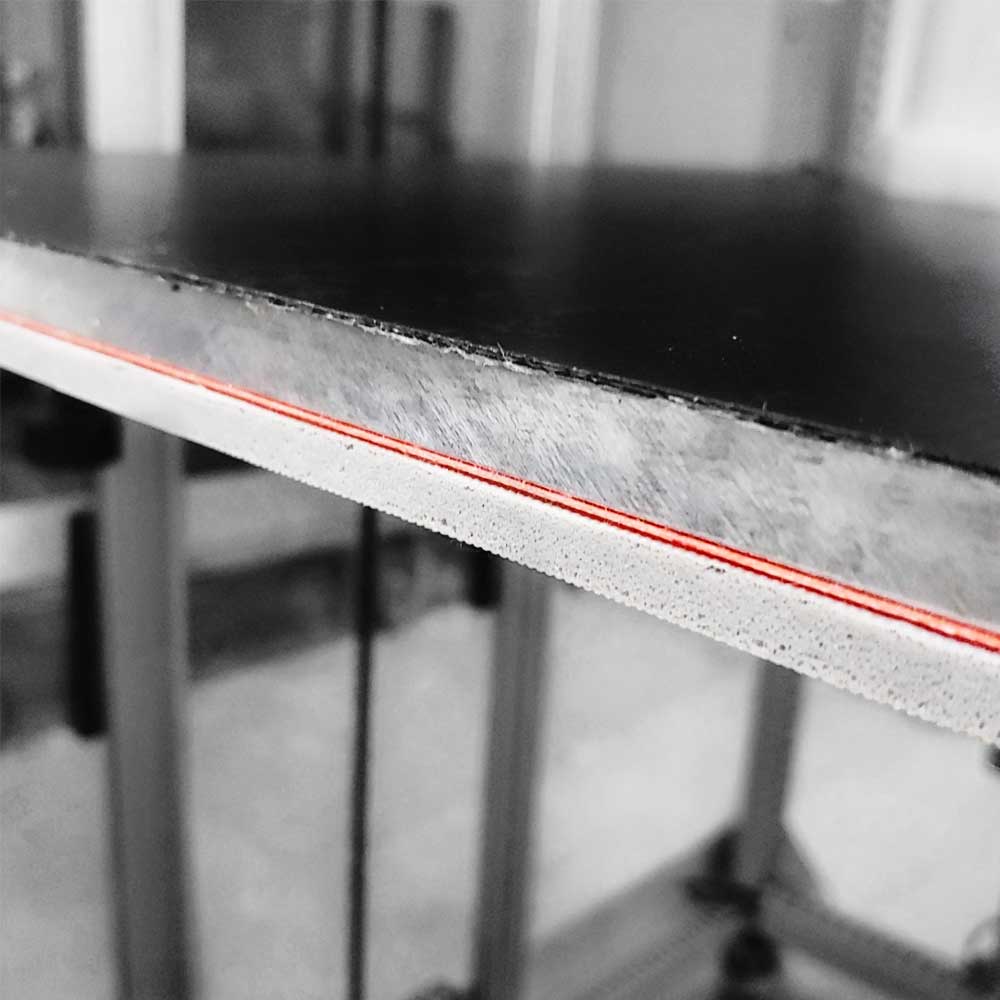
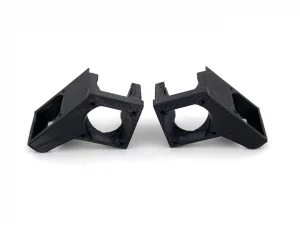
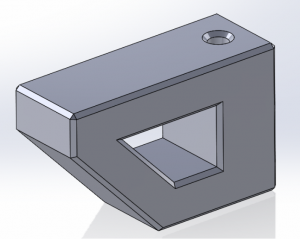
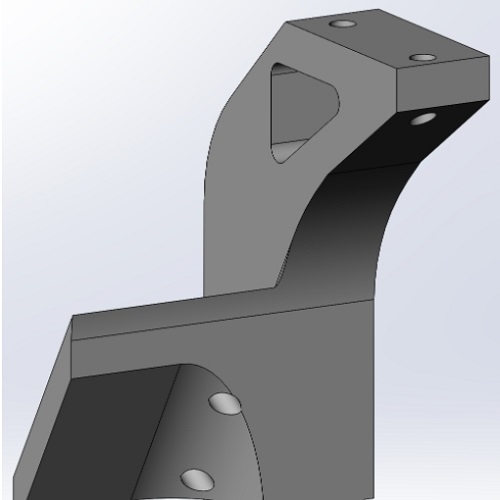
Case Durability and Rigidity
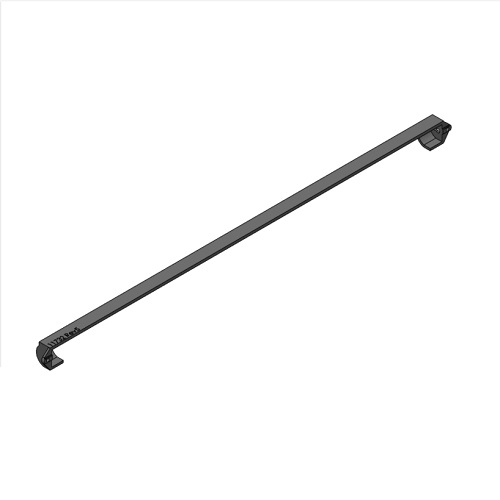
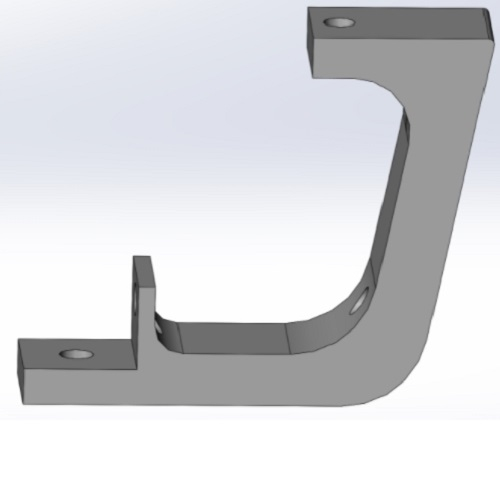
We want this case to protect your touchscreen from bumps and falls as well as stay rigid when the touchscreen pivots on the mounting arm. As such we’ve thickened the case and bezel, putting more protective material around the sensitive electronic parts.
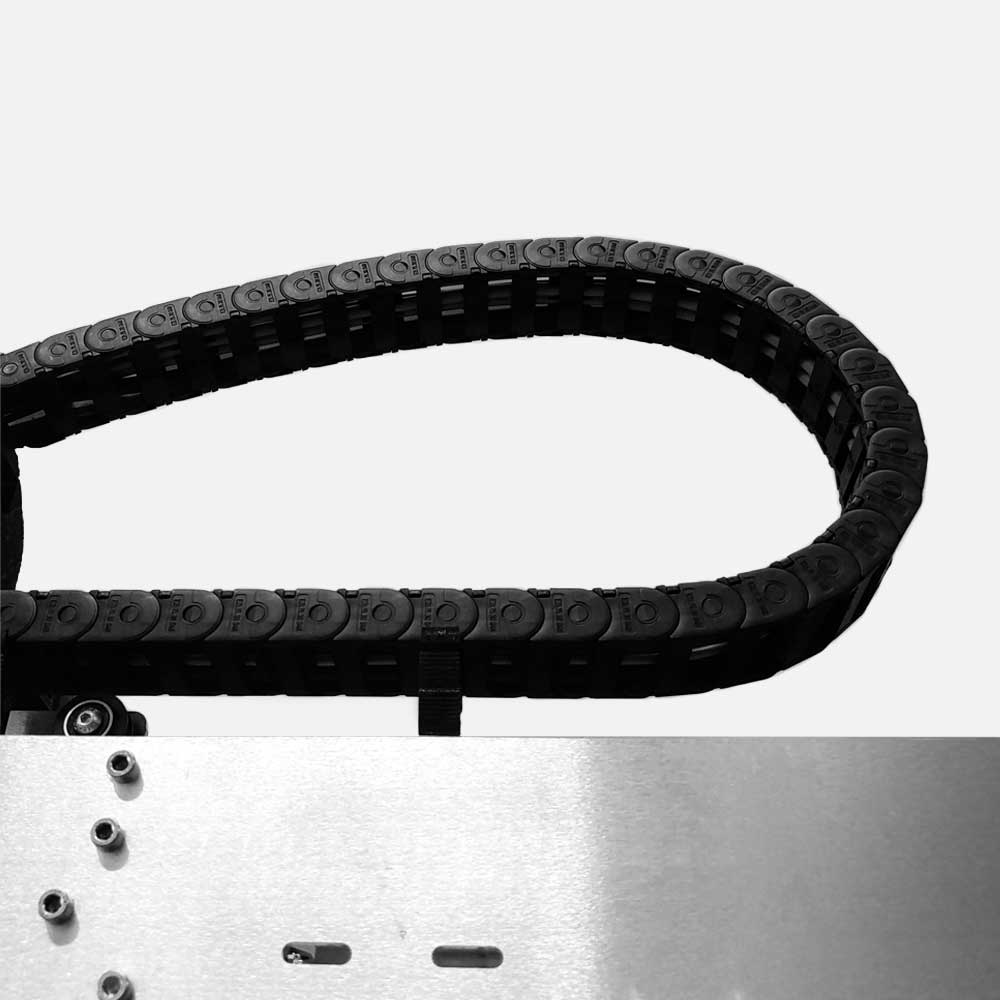
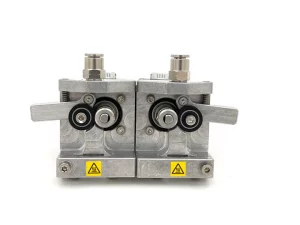
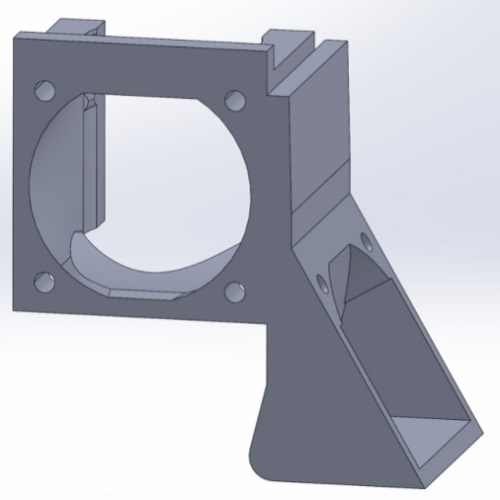
Cable Connection to the Touchscreen
Inside the thickened case, there is new cable routing to make sure cable bends don’t exceed their minimum bend radius, and we have added a cable sleeve at the entry point to minimize abrasion on the cables as the case moves.
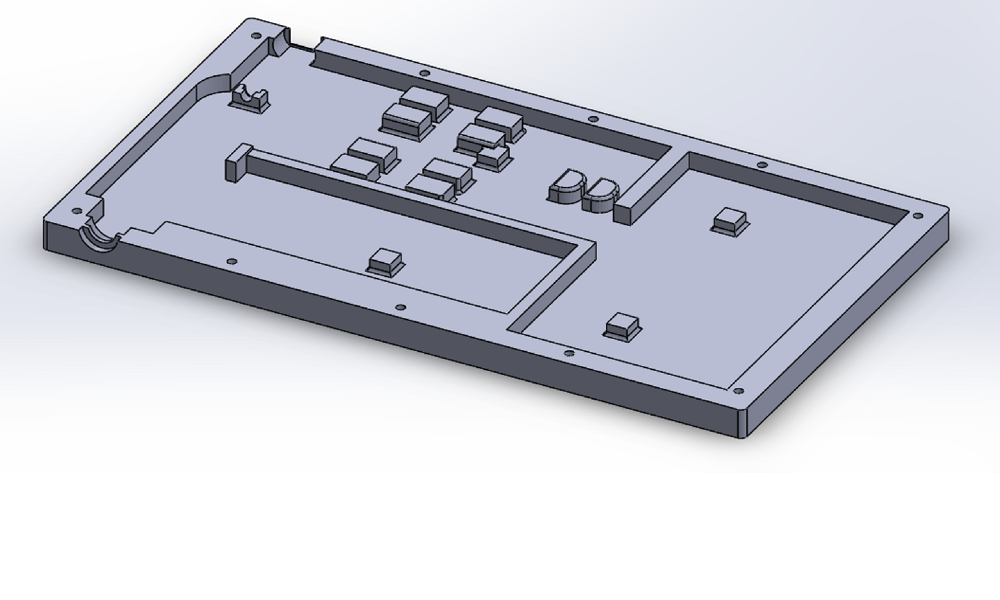
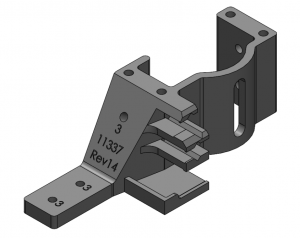
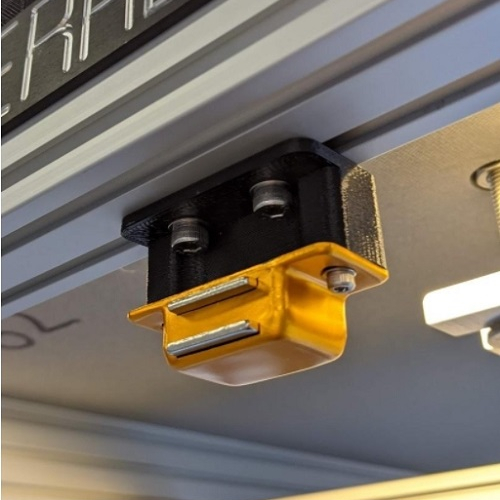
USB Drive Connection Point
One of your common pieces of feedback is that the USB drive slot on the touchscreen is sometimes misaligned with the case. We’ve added internal bracing to that slot so the cable stays put and cleanly receives USB drives to load files onto the 3D printer.
Simplify3D v5 – Project Lead: Jordan Smith
The release of Simplify3D v5, our preferred slicing software, came with some great new features we’ve been testing on Gigabot. We’ve been most especially excited by the new infill and support patterns allowing quicker, cleaner support removal and morphing infill for stronger internal structures and better top layer finishes. Simplify3D v5 also added support for Klipper commands, which we’re excited to explore. Alongside the new software release we now have fully tested Simplify3D v5 FFF profiles available for your Gigabot 4 3D printers.
Klipper Software – Project Lead: Mitchell Mashburn
- Improved error handling for the max31856 temperature sensor
- New modules added, notably exclude_object which allows skipping an object on a multi-part print
- Various bug fixes
- Data structure change
- Improved update manager
- Improved metadata parsing for Simplify3D V5.
- Various bug fixes
- Option to change date & time format in settings
- Add jobs to queue in batches
- Send PAUSE at a specific layer change
- Various bug fixes
- Webcam/timelapse integration
- Simplify3D v5 thumbnails
- Support for SD card looping to run continuous prints/gcode – M808 command
- Removed screensaver on touchscreen
- New and improved scripts to automate software upgrades and maintenance.
- System dependencies upgrade
- Image compression upgrade. (now not limited to balena etcher 1.5.15)
- Update and version control improvements
- Path changes.
- Various bug fixes
- Minor UI changes – macro placement, panels, etc
- Updated README
Charlotte craff
Blog Post Author