Material Testing & Heat Treating Natureworks PLA 3D850

The notes below reflect our new open-source filament testing protocol. After evaluating the printability of Coex PLA Prime/PLA 3D850 on Gigabot, I decided to experiment with a heat treatment process.  

Manufacturer:  Coex    

Filament Name:  PLA Prime

Color Tested:  Natural

Date Received: 6/10/2016

Date Tested: 6/16/2016

Ease of use:   Excellent

Appearance:  Clearer than regular PLA

Size consistency: Great

Color consistency: Great

Odor: None

Manufacturer’s recommendations

  • Speed: none given mm/s
  • Temperature: has a higher MFI so should be able to print slightly cooler than regular PLA C
  • Infill %: any
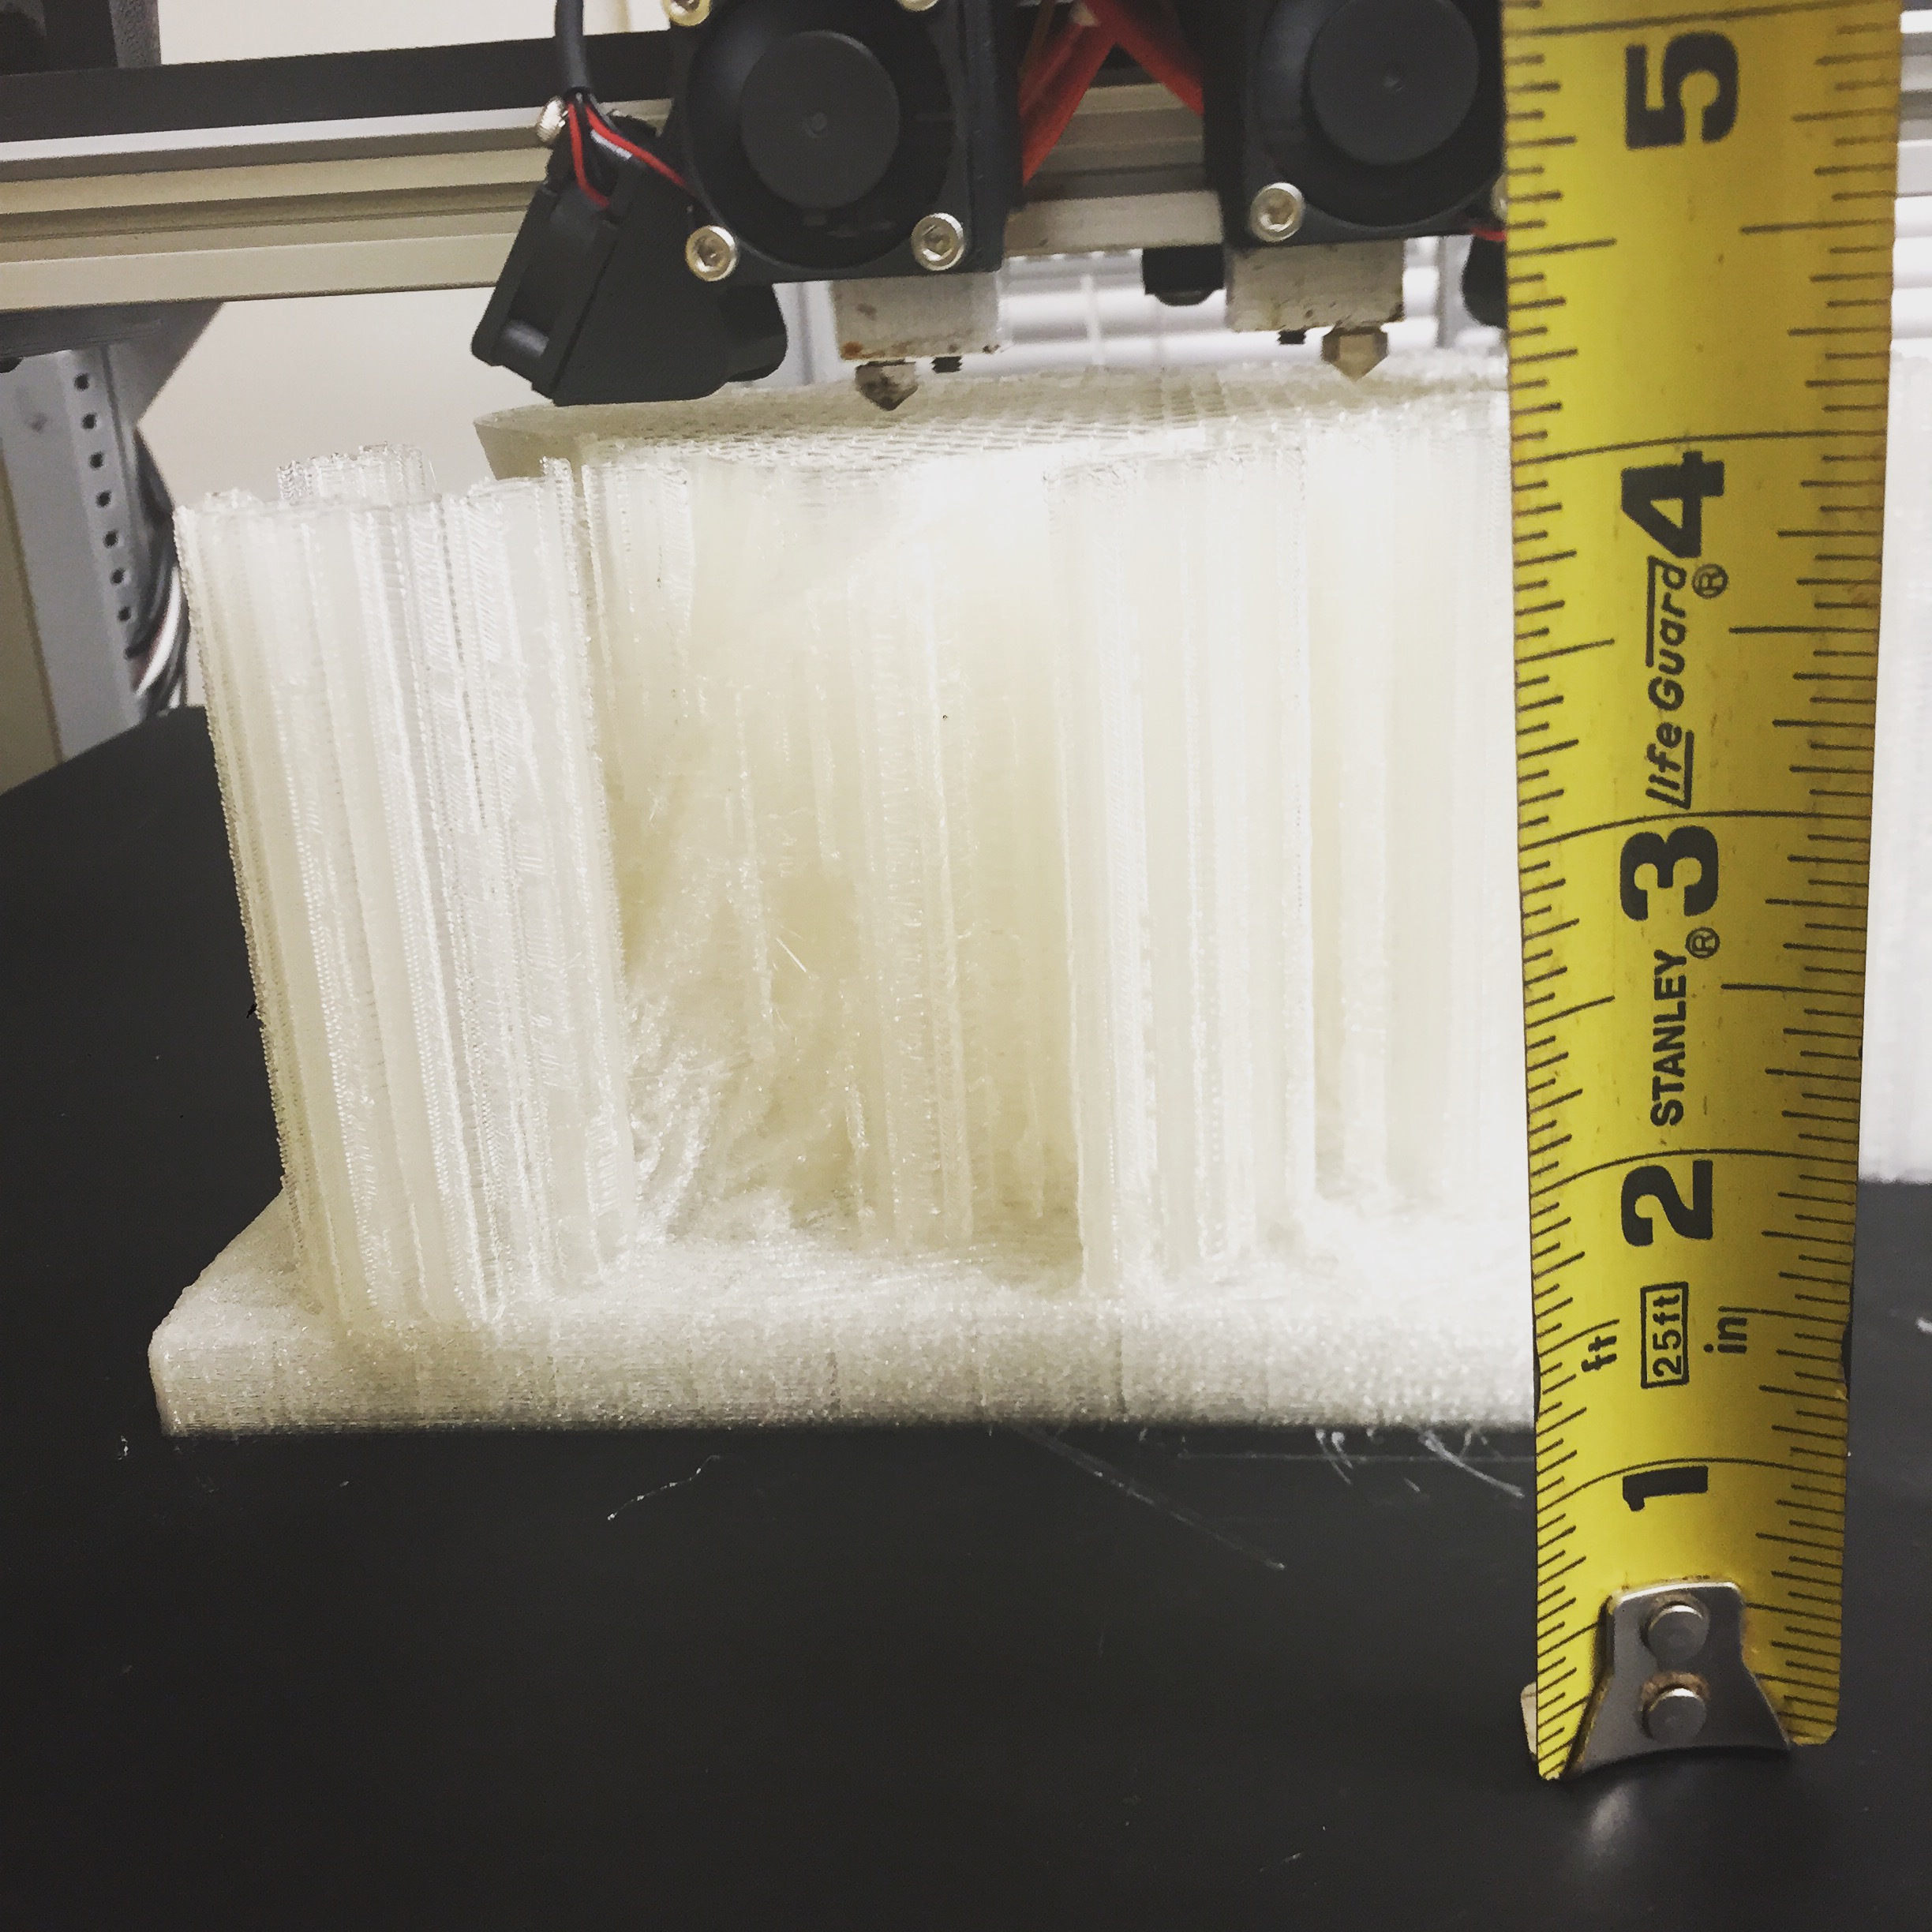
  • Layer Height: tested at 0.3175mm
  • Printer Used: GB # 004
  • Print temperature used: 200 C (nozzle) /55C (bed)
  • Speed used: 60 mm/s
  • Layer Height:0.3175 mm
  • Infill: 15%
  • Odor: none
  • Type(s) of print surface used: Print n Z

FINDINGS

Bed adhesion (1: terrible-5: fabulous!)

   5

Stringing (1: lots -5: none!)

   4

Shrinkage (1: lots-5: none!)

   4: None!

Interlayer adhesion (1: terrible-5: fabulous!)

   4: Perfect!

The technical datasheet for the pellets that the filament is derived from can be found here.

I suspect that most, if not all the temperature resistant PLA uses the 3D850 as its base. There is very little information out there for recommended heat treat methods.

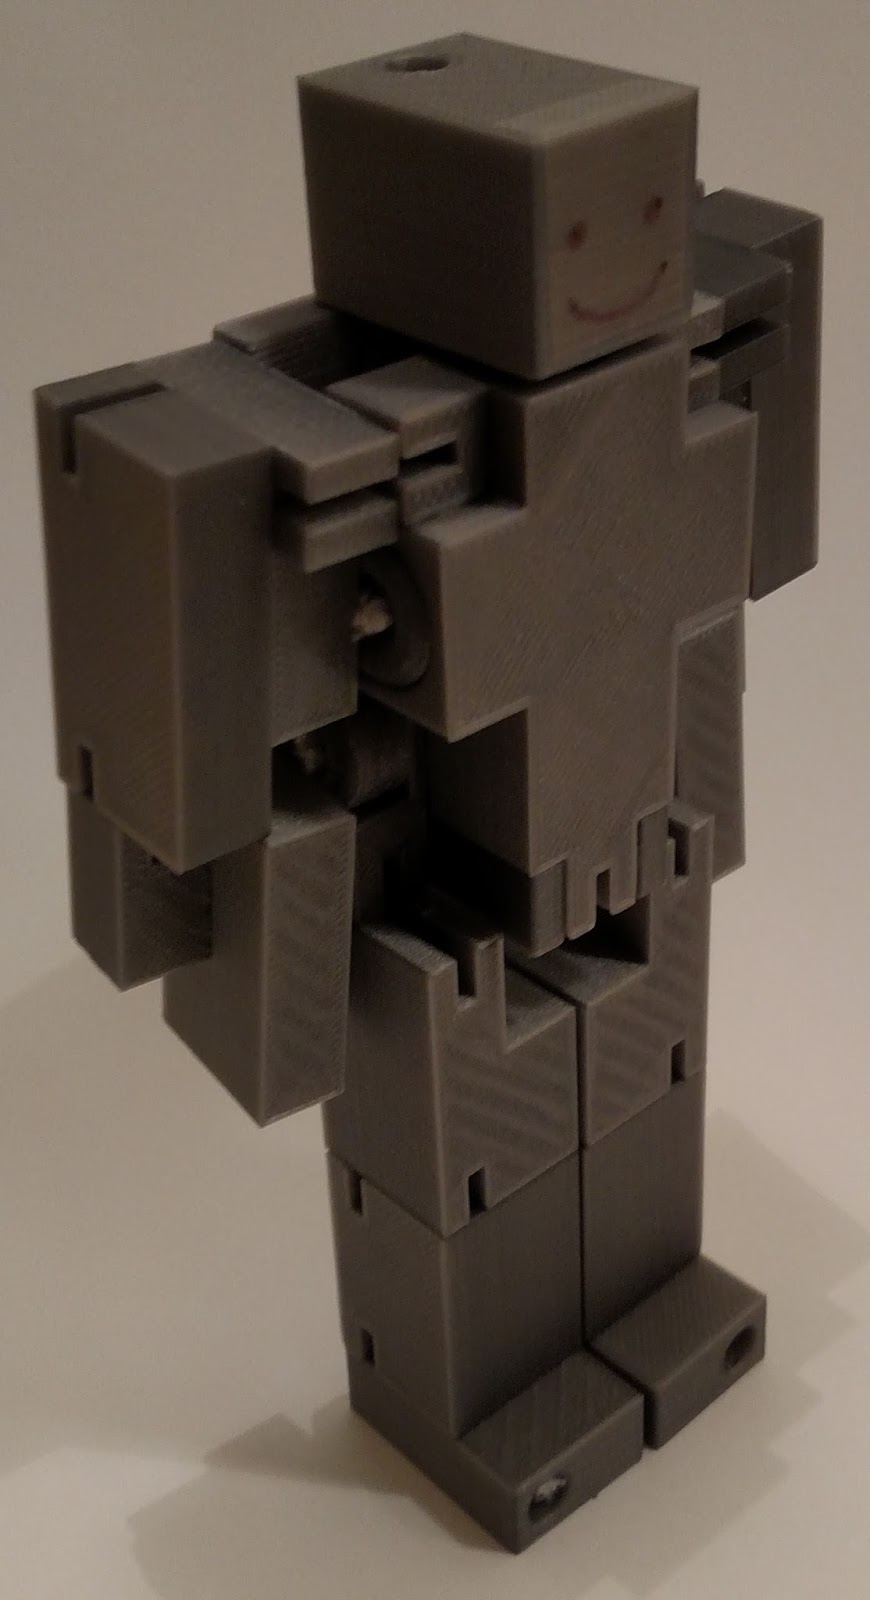
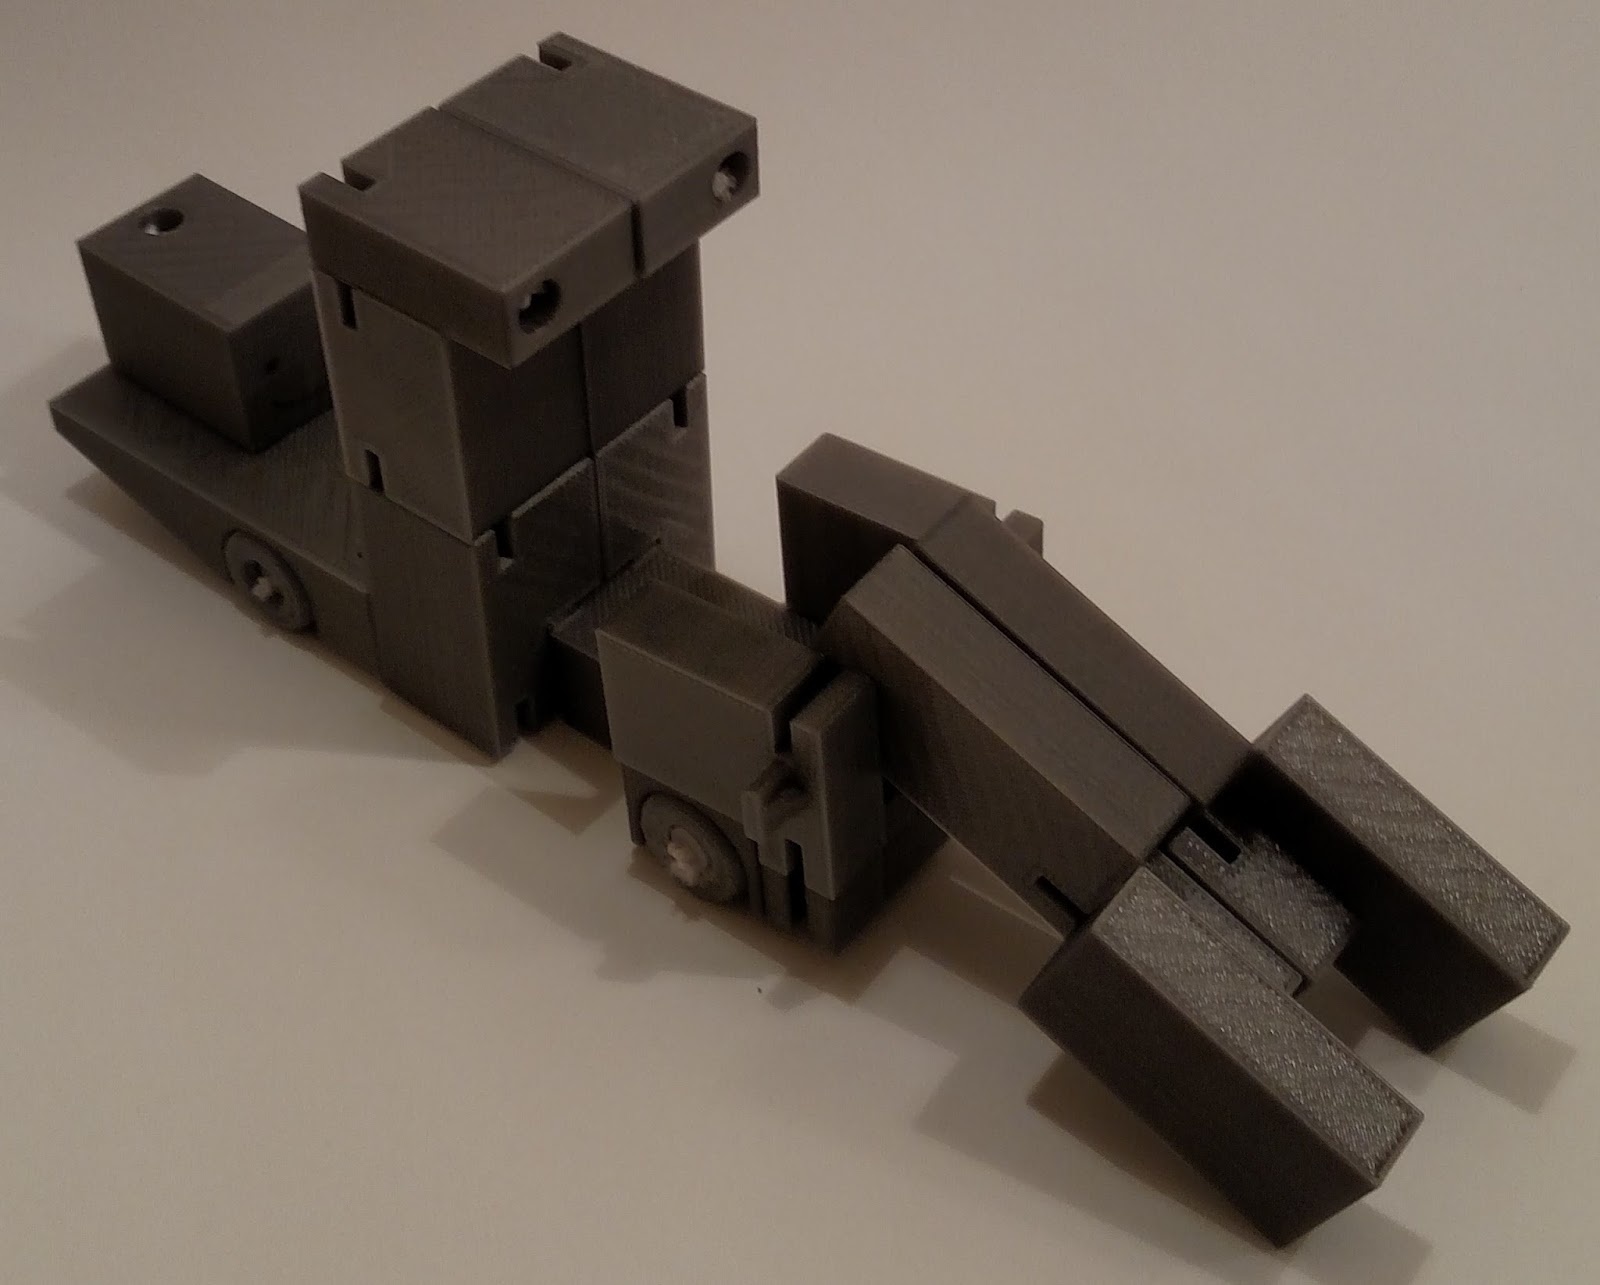
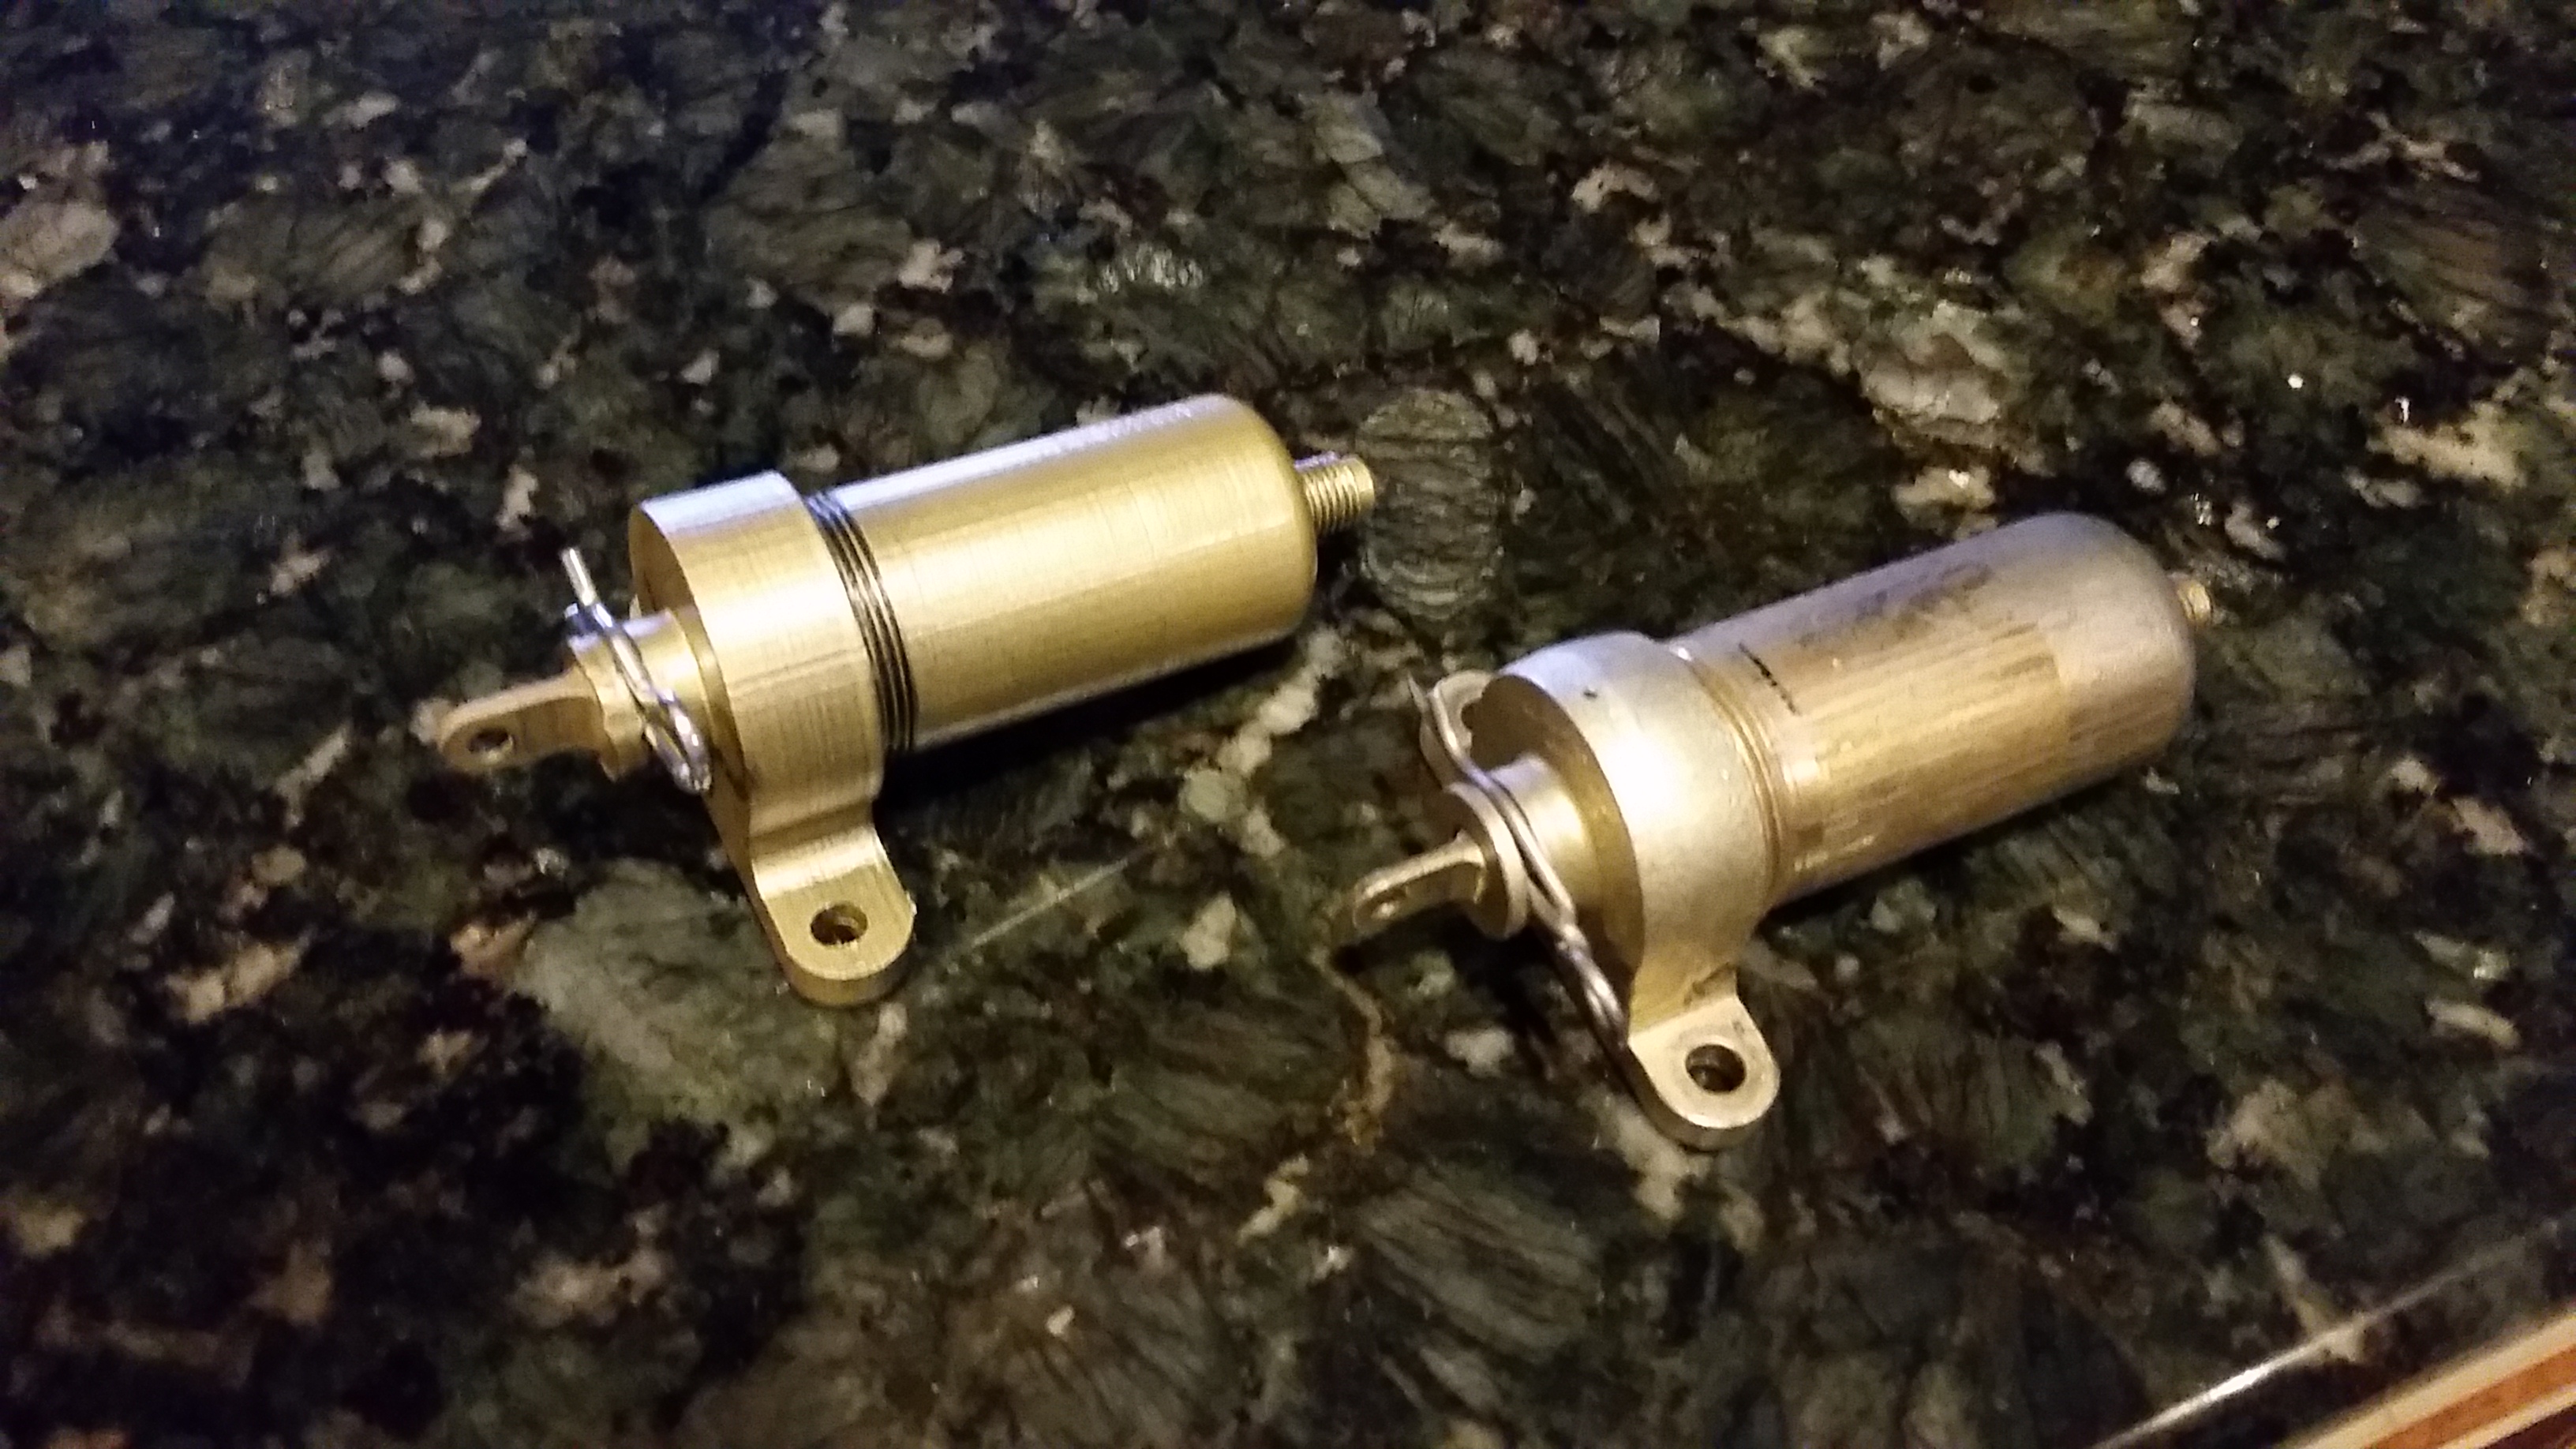
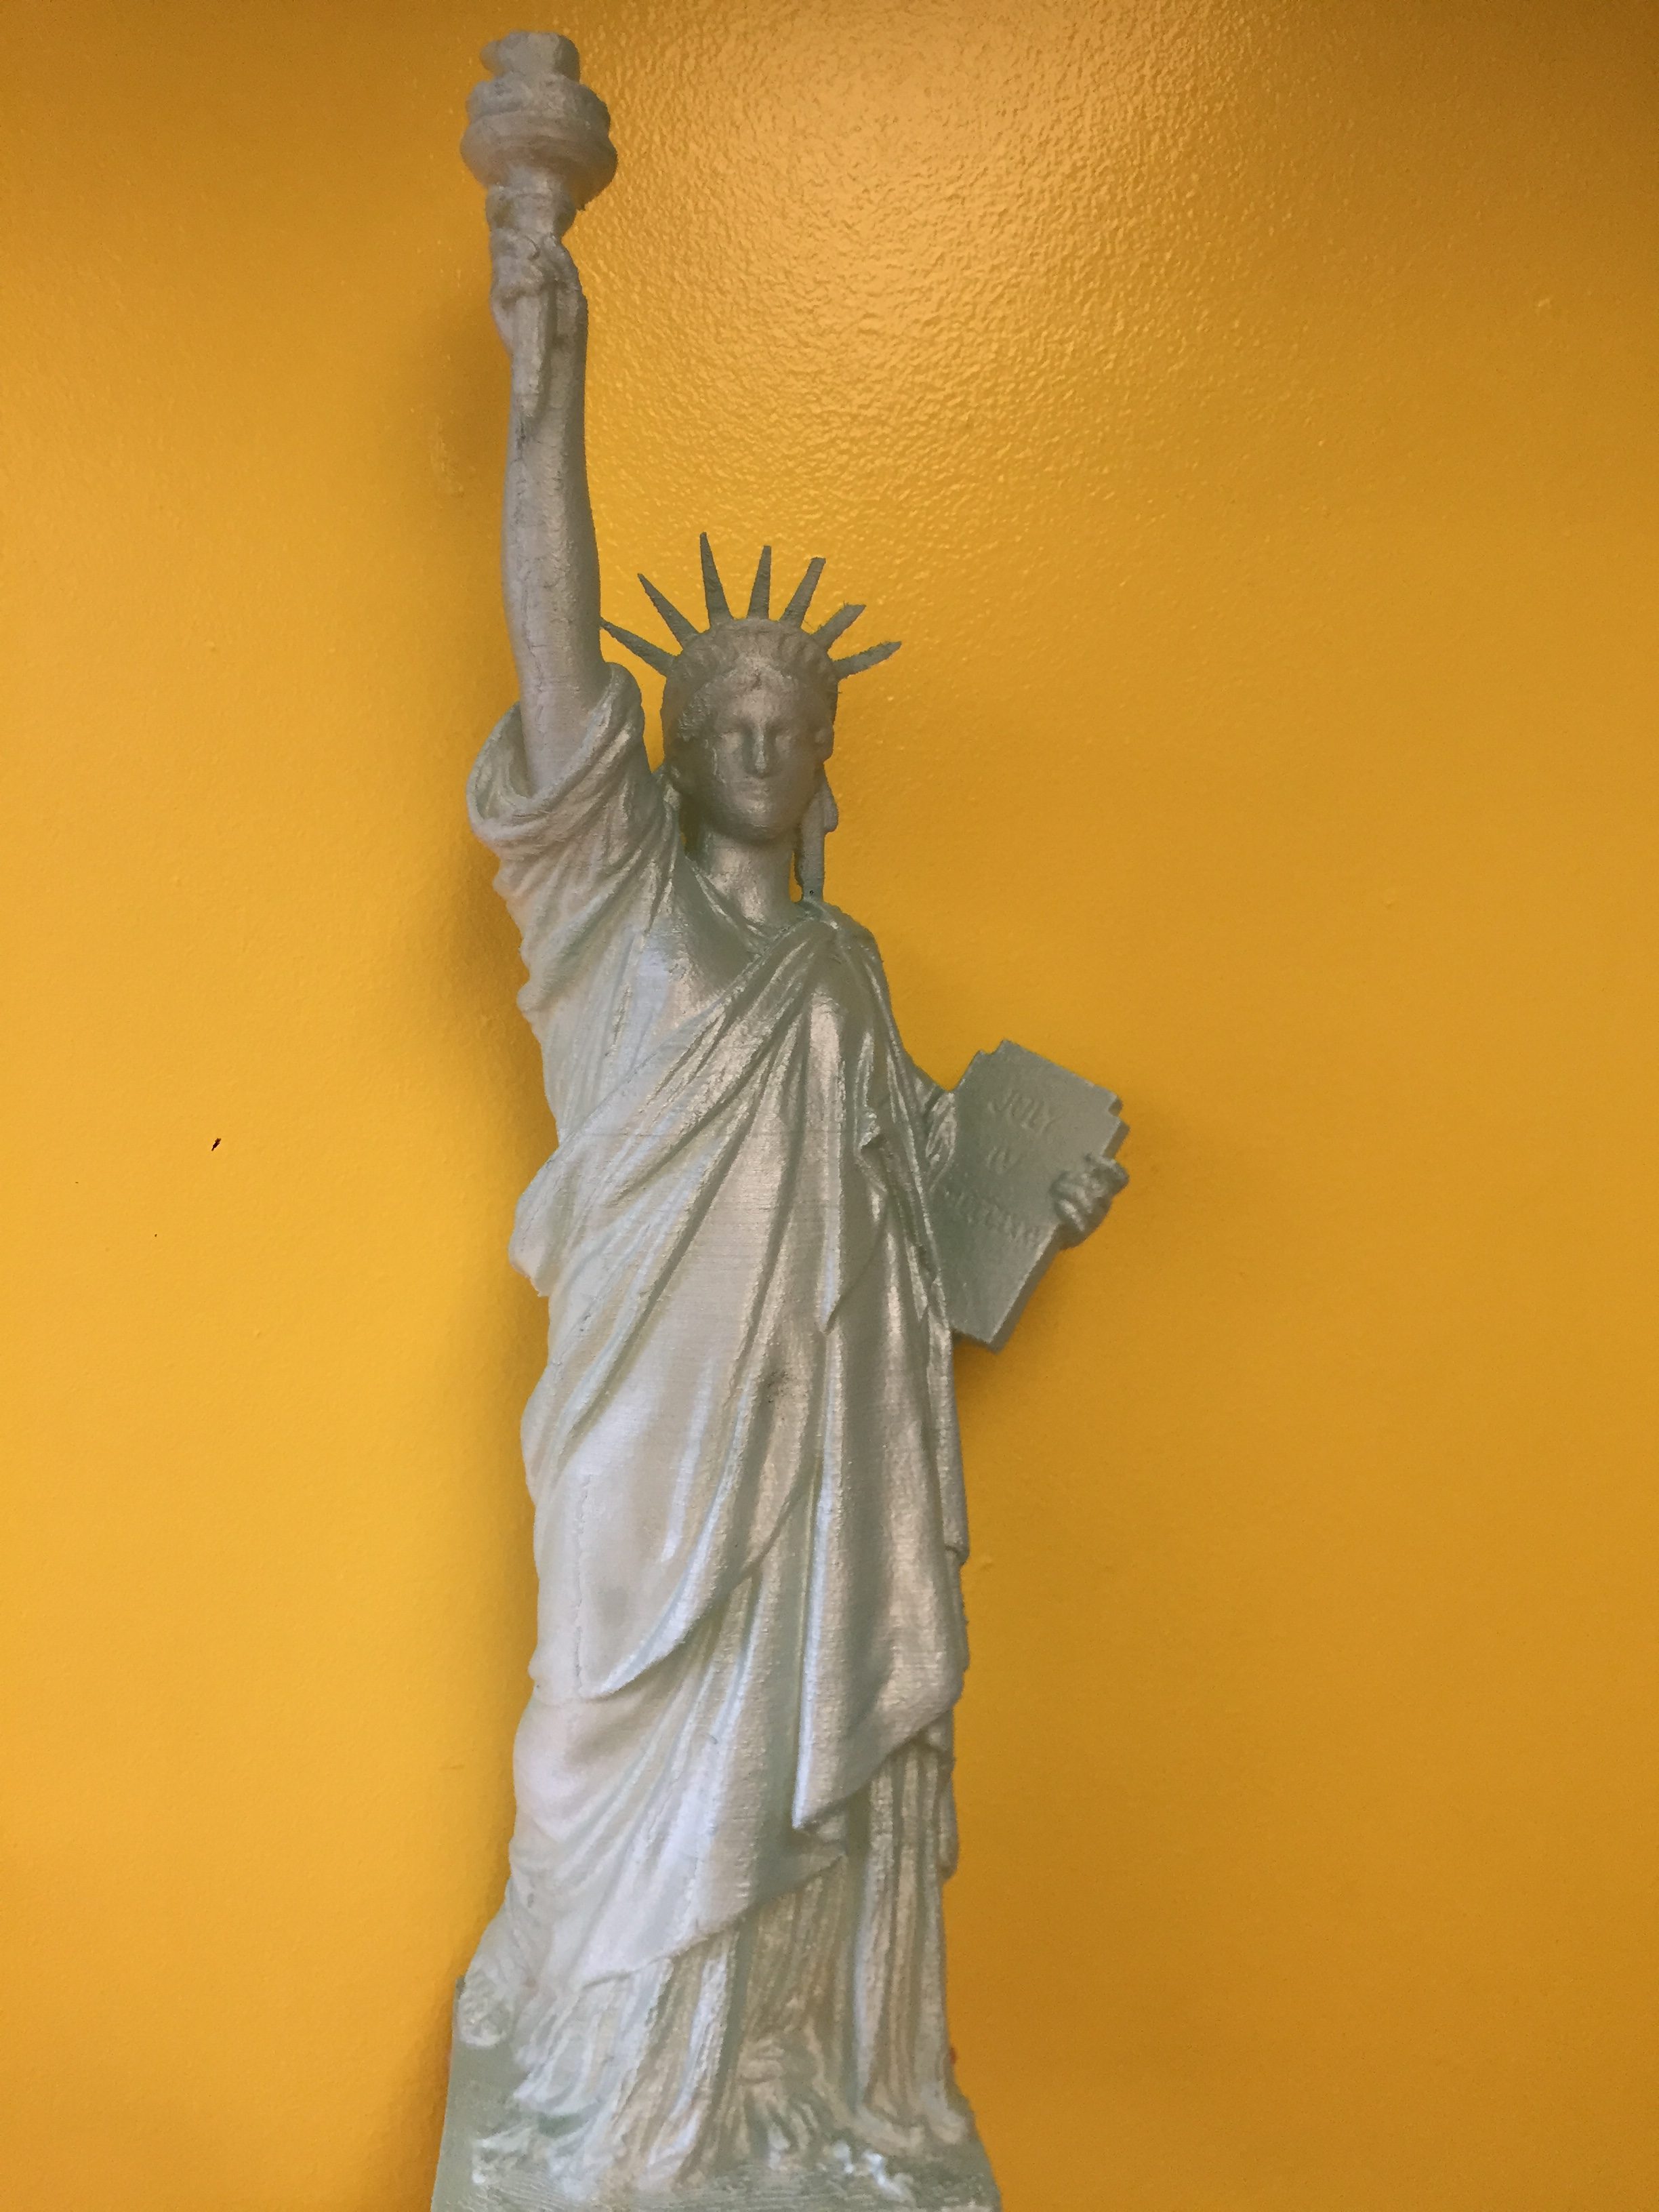
Here are a couple pictures from a recent experiment I did with Natureworks PLA 3D850 that claims increased crystallization with heat treat. I used a wall oven to heat treat the parts at 200F but please note that I did not verify with a second thermometer.

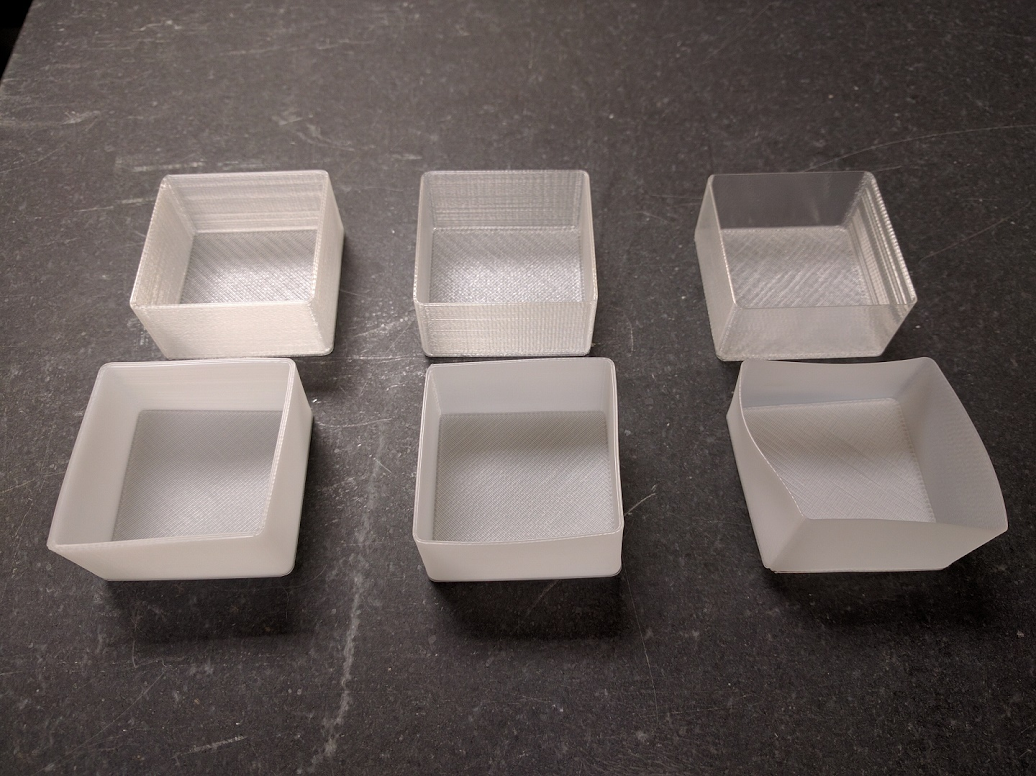
The three parts on the top row are not heat treated and the three on the bottom row are heat treated at 200F for 15 minutes. I placed the parts into a cold oven and let the oven heat to temp and maintained temp for 15 minutes then removed the parts to air cool. The color change and warping happened while the parts were in the oven not after they were removed.The top two parts were made with one perimeter (0.48mm width). The center two are two perimeters and the bottom two have three perimeters. Interestingly enough the part with two perimeters warped the least. I also heat treated a couple objects with more structural integrity and found little to no warping (small 5″ Moai statue and the re3D logo placard).

I think the next steps are to control the rate of heating to see if the amount of warping can be reduced. Would love to hear other’s experience with heat treating the PLA 3D850.

Further information about annealing PLA is here: http://www.4spepro.org/view.php?article=005392-2014-03-28
 
Quesions or Comments?
  • Share your thoughts on the materials section of our forum:
    • https://re3d.zendesk.com/hc/en-us/community/posts/206087383-Natureworks-3D850
 
Happy Printing!

Matthew Fiedler

Blog Post Author

Designing a Transformer Toy

The great thing about designing a huge 3D printer is being able to support your friends & family bringing their ideas to life. Below, Nathan, the nephew of Chief Hacker describes how he designed this awesome transformer toy that was printed on Gigabot in one print job.

This transforming robot was based on transformers kids toys. I had played a lot with Transformers toys in the past and desired to make my own design. The concept of pieces held together by elastic was inspired by some transforming wood toys that I had seen on the internet. Before making this design I had experimented with making robots figures similar in concept out of cardboard and rubber bands.

~Happy Printing!

Nathan aka na gr

Blog Post Author

How My Gigabot Fixed the Power Wagon

One of the realities of owning an old car is that they tend to wear out with time. In my case I am the fortunate owner of a 1949 Dodge Power Wagon that was originally purchased new by my grandfather Leo.

It happened last week when I first started the engine that I smelled the unmistakable odor of leaking fuel. Upon a little investigation I found the fuel bowl gasket had given up it’s ghost and was no longer providing an effective seal between the fuel pump and the sediment bowl. After calling a few automotive parts stores it quickly became evident that parts for a 1949 Dodge were not kept in stock.
 
Lucky for me and my normally trusty Power Wagon I have a Gigabot 3D printer and a stock of TPU filament from Fenner drives (https://ninjatek.com/) that I hoped to use for manufacturing a suitable replacement fuel gasket. A quick investigation of the chemical resistance for the TPU filament showed an “A” resistance to gasoline and I quickly set off to create the CAD model for the simple gasket. A few minutes later I had the Model processed for 3D printing using Simplify3D and was pressing the Print button on Gigabot.

The gasket was printed in under five minutes and I felt a great sense of accomplishment as I installed the gasket and started the old truck. No more leaking fuel and just for safe measure in another five minutes I had made myself a spare!

~Happy Printing

Matthew Fiedler

Blog Post Author

Reconstructing Aircraft Using 3D Printing

 Taking Flight with an Idea

“I thought about this for about a year and a half before I finally pulled the trigger.”

Ben Gimbert was an airplane mechanic for 32 years before he got a Gigabot and jumped into his next career foray.

“I went to a government boneyard out in Arizona where they have whole decommissioned airplanes; I wanted to collect ejection seats and flight sticks. That’s how this whole thing got started.”

The particular site that Ben went to is AMARG, the 309th Aerospace Maintenance and Regeneration Group. It’s an incredible space to look at photos of – rows upon rows of neatly arranged airplanes that look like toys organized by an obsessive-compulsive child. The facility typically has around 4,200 aircraft onsite at a time.

“They’ve got airplanes, helicopters, missiles… Once the planes are deemed for destruction, they’re sent to the smelter across the street,” Ben explains. “It’s kind of like watching your favorite sports car get chewed up.”

Ben isn’t the only one who feels this way. There are groups of aviation fanatics who snag portions of planes – or entire aircraft – before they meet their fiery demise. And this is where Ben saw his opportunity.

Giving Wings to a New Career Path

“There’s a gentleman up in Rochester, New York who has an Egress cockpit simulator, primarily used to train pilots how to eject from an F-4. His was the worst of the worst – it had stuff pulled out and cut off of it. He was missing some key parts for the ejection seats in the cockpit.”

Ben explained that this gentleman’s options for the reparations were limited. “Ejection seats from that era had analog mechanical timers on them; they’re more complicated. There were timers and brackets that he didn’t have on his seat.”

The only option was to find another complete seat from which he could pull parts, something that was going to be difficult and costly – “in the thousands of dollars” – for just a handful of parts.

Ben just so happened to have one of these seats, so, using his as a reference, he modeled all the necessary parts in CAD and started printing them out on his Gigabot.

ejection seat
The ejection seat Ben reproduced parts from

“I double checked the fit on my seats and sent the parts over to him,” Ben recounted. “He was just tickled to death that this machine could make parts like this.”

Ben continues to use his Gigabot to help out fellow aircraft enthusiasts recreate cockpits, printing parts for ejection seats, gun sights, and static scopes.

OLYMPUS DIGITAL CAMERA
F-4 Phantom cockpit which includes a scope Ben reproduced

It’s a whole niche market, he explains. “There are people who have cockpits they use for photoshoots. They have the flight suits and helmets, and at air shows they’ll dress you up and take a photo of you in the cockpit.”

Ben’s F-4 Thunderbird cockpit photo setup at an airshow

His Gigabot also fuels his own hobby – Ben has an F-86 Sabre for which he is making parts.

Ben’s F-86 Sabre

Large-Scale 3D Printing for a Niche Market

Ben had originally placed an order for a smaller, desktop 3D printer before changing course for Gigabot.

“Most of the other printers were just too small for what I wanted to do without having to stitch stuff together. They were too small and too expensive for what they are, in my opinion,” Ben explains

“I didn’t want to be making trinkets. What I like about the Gigabot is it’s big,” he says. “I guess everything’s bigger in Texas.”

And for what Ben was looking to do, there really wasn’t another option – it was either 3D print the parts or fashion them by hand, something he hardly even considered as an option.

F-4D Gunsight/Radar Scope

“If I had to hand-make one of these parts, it would just be way too many hours,” he explains. “It would be so tedious for an amount of money that wouldn’t make it worth it.”

Ben picked up CAD just so he could design these custom parts and print them out. “They’re not objects you’re going to find on Thingiverse,” he says. And despite the learning curve of CAD and 3D printing, it was still a no-brainer for him.

A gas initiator Ben fashioned in CAD for a client that could not find an original unit. On the right is the original, and on the left is the one printed by Gigabot

“You’re saving a good half on time and money using Gigabot rather than doing this by hand.” He takes a deep inhale and sighs, “If I had to make one every time by hand, I probably wouldn’t even make two of ‘em. I mean seriously.”

As for how Ben feels about his new entrepreneurial path in life, “I just found a need and figured out how to solve it,” he explains. “This has happened to me before: I get an idea, and before I can act on it, someone else is doing it. And they’re the one making money on it and you’re not.”

His next challenge? Expanding the niche, he says. “I want this Gigabot running around the clock.”

Morgan Hamel

Blog Post Author

A Beginner’s Guide to Scaling Your Favorite Print

Odds are if you have a Gigabot you've discovered that the only thing better than 3D printing your favorite open source model, is printing it as big as possible!  In honor of Independence Day, we've scaled an impressive scan of a Statue of Liberty to almost two feet tall, while highlighting a couple of tricks we've learned along the way:).

Step 1: Find Your File

Knowing I wanted to print something patriotic, I conducted a quick search for “statue of liberty” on Yeggi, which yielded multiple results spanning several 3D file sharing platforms.  The Statue Of Liberty Bronze Model by jerryfisher quickly caught my eye, and being a huge Sketchfab fan, I clicked on https://skfb.ly/CONx. The impressive scan of a bronze Statue of Liberty had been downloaded over 200 times and the creator has produced several other awesome files, giving me confidence the file was print worthy.  I was also pleased to see the file was available for sharing through redistribution through Creative Commons licensing.

Step 2: Optimize for Large Scale Success

Once I downloaded the file, I opened it in Simplify3D, our preferred visualization and slicing tool. While centering the file on the build plate and inspecting the print, I noticed the bottom of the design had a slight curve. As I desired a level base to better support the future large statue, I borrowed a trick from Chief Hacker’s cheatsheet.  By lowering the print slightly into the bedplate until the upper part of the coven curve hit the platform, I was able to “cut off” the curved portion of the bottom, rendering it flat after slicing.

Due to the multiple overhangs (including Lady Liberty’s arm), the design required signifiant support material. Based on experience, I recalled that support material over 12 inches could be a little unstable, but after consulting with Chief Hacker, I learned this could be overcome by adding a -45 degree support angle in the support tab of Simplify3D. By alternating the angle, the supports would have more structure and be less wobbly.  I also decided to add a process setting to decrease the speed when printing the crown in order to give the tips more time to cool after seeing some prior fails with similar geometry.

IMG_3109

With these minor manipulations, I was ready to slice and get started! Two filament swaps later I was loving the out-of-filament detection feature on Gigabot Generation 3.0 and diggin my very own Statue of Liberty. Admittedly, it took a little time to remove the extensive support material (and I broke half of a piece of the crown), but the end result was more than worth it!

IMG_3114

Step 3: Personalize Your Masterpiece

The only thing missing was Liberty’s iconic color, which I sourced after a couple of trips to local hardware stores. Sea Mist Rustoleum metallic spray paint did the trick and resulted in a great finish! We’ve had the most luck using spray paints intended for plastic when post-processing PLA, but find dry times between coats need to be extended (or at least when spray painting in the Texas humidity). Also, be sure to remove all the support material before applying a coat of paint as all support artifacts stand out when coated!

We love having our own Lady Liberty in our Austin office.  Huge thanks to Jerry Fisher for sharing this fabulous Statue Of Liberty Bronze Model licensed under CC Attribution!
Want to download the file? Check out https://skfb.ly/CONx

~Happy Printing!

Samantha snabes

Blog Post Author

@samanthasnabes