Making a 3D Printed Bicycle Prototype

Last summer, Patrick Fiedler developed a 3D printed bicycle prototype for his summer internship.  In his own words, he describes his design process:
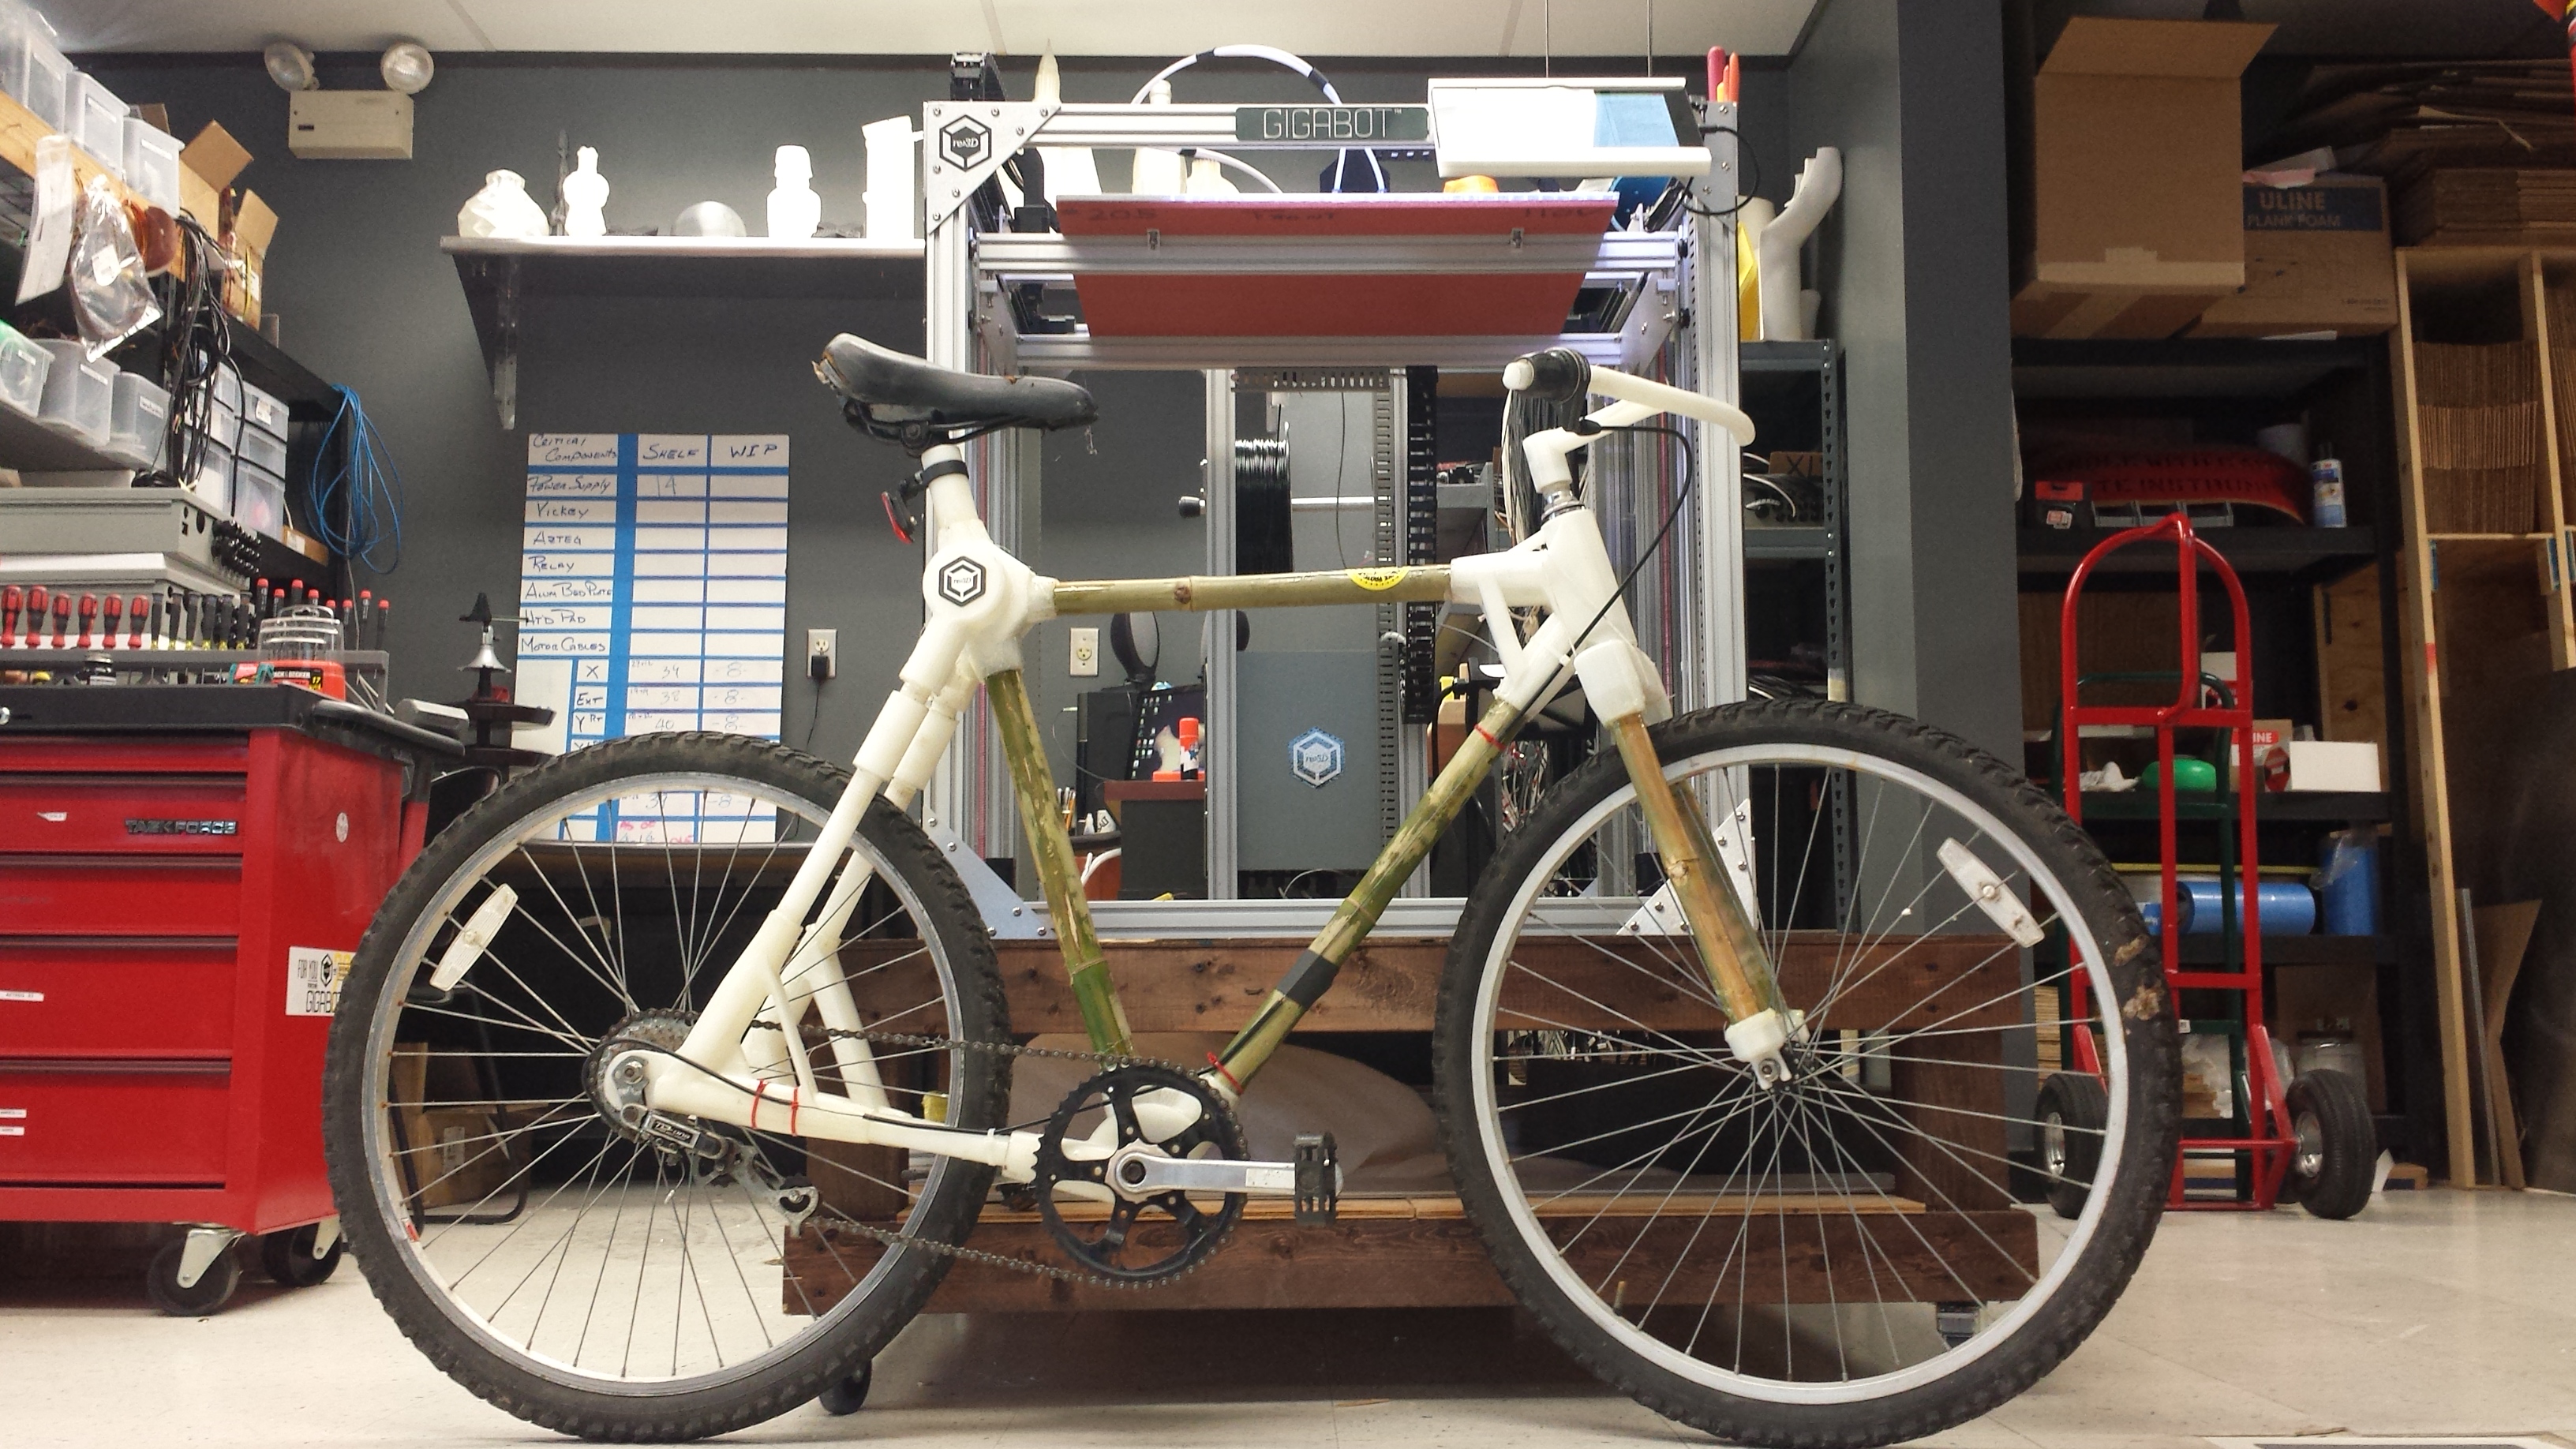
Have you ever wondered how 3D printing, renewable resources, and transportation all fit together? Although there many possible combinations, one instance is the 3D printed bicycle project that I worked on last summer. I had the wonderful opportunity to intern at re:3D in Houston, Texas and got the chance to work on this awesome project with the intention of answering this question: Is it possible to 3D print a working bicycle? I set out to do just that. With the large format possibilities of the Gigabot and wide range of filaments compatible with the Gigabot’s re3D hot end, I had the means to get started answering this question. The following is a brief review of my project that I wanted to share with the 3D printing community.

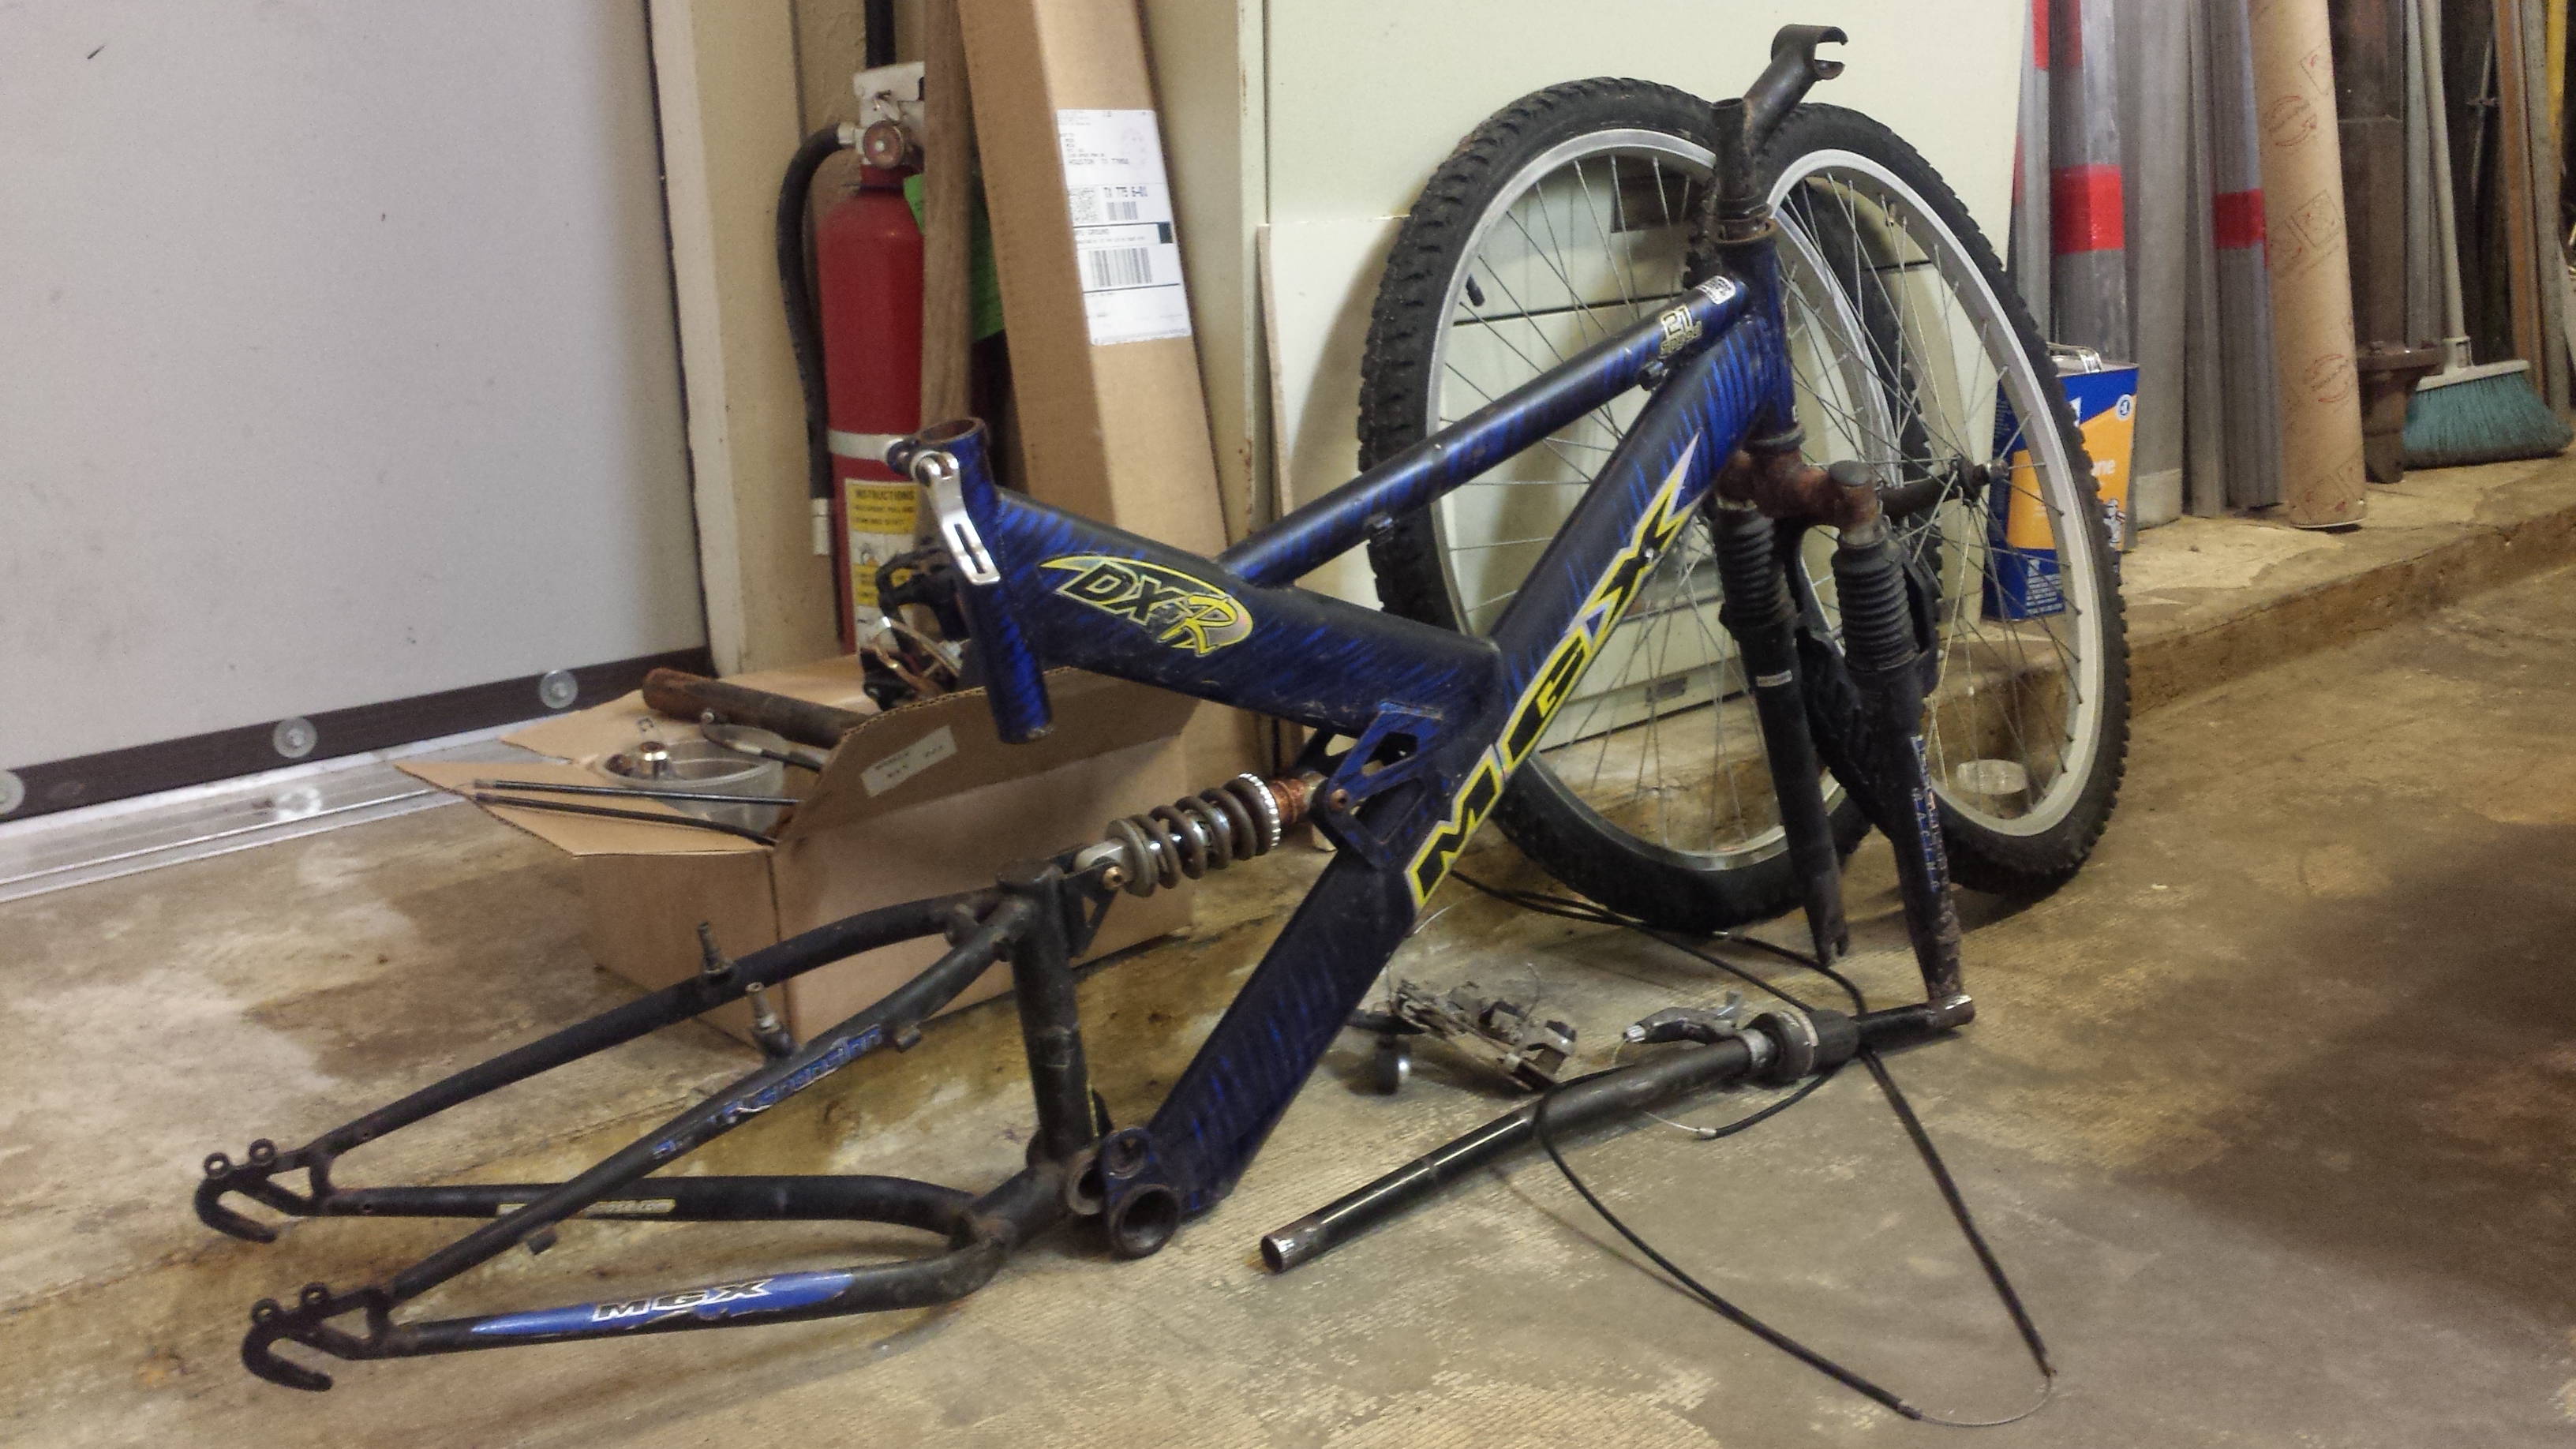
First, I deconstructed a MGX bicycle I found laying around. I analyzed its components and assembly mechanics thoroughly. I had to decide what could possibly be replaced with customized 3D printed components. The most likely option was the frame. With the customizability that comes with any 3D printed piece, I could easily use the modular nature of bicycle parts to attach them to my frame and roll from there (hopefully literally).
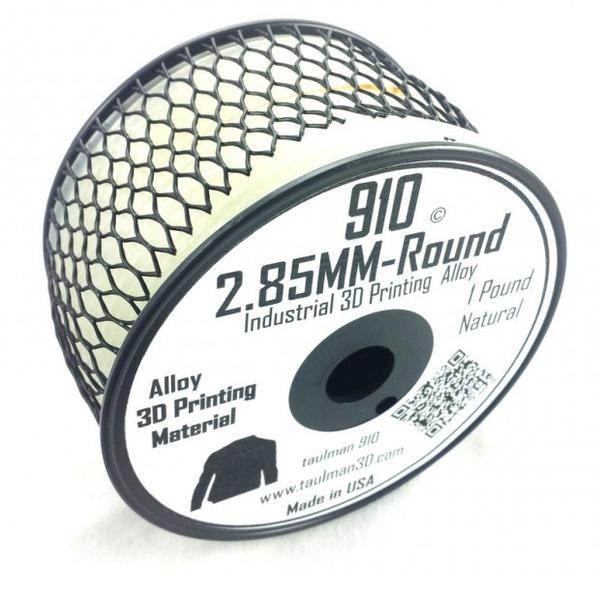
I set out to choose a good filament for frame construction. Thankfully, I had already been making ASTM tensile test samples for research re:3D was doing with Dr. Scott Fish at the University of Texas at Austin. Some of the most common filaments: ABS and PET tend to be brittle so it would not be ideal for a bicycle that experiences many dynamic forces and needs the ductility to flex as well as strength. I settled on Taulman 910 filament which combined the durability/elongation of nylon and the strength of co-polymers.
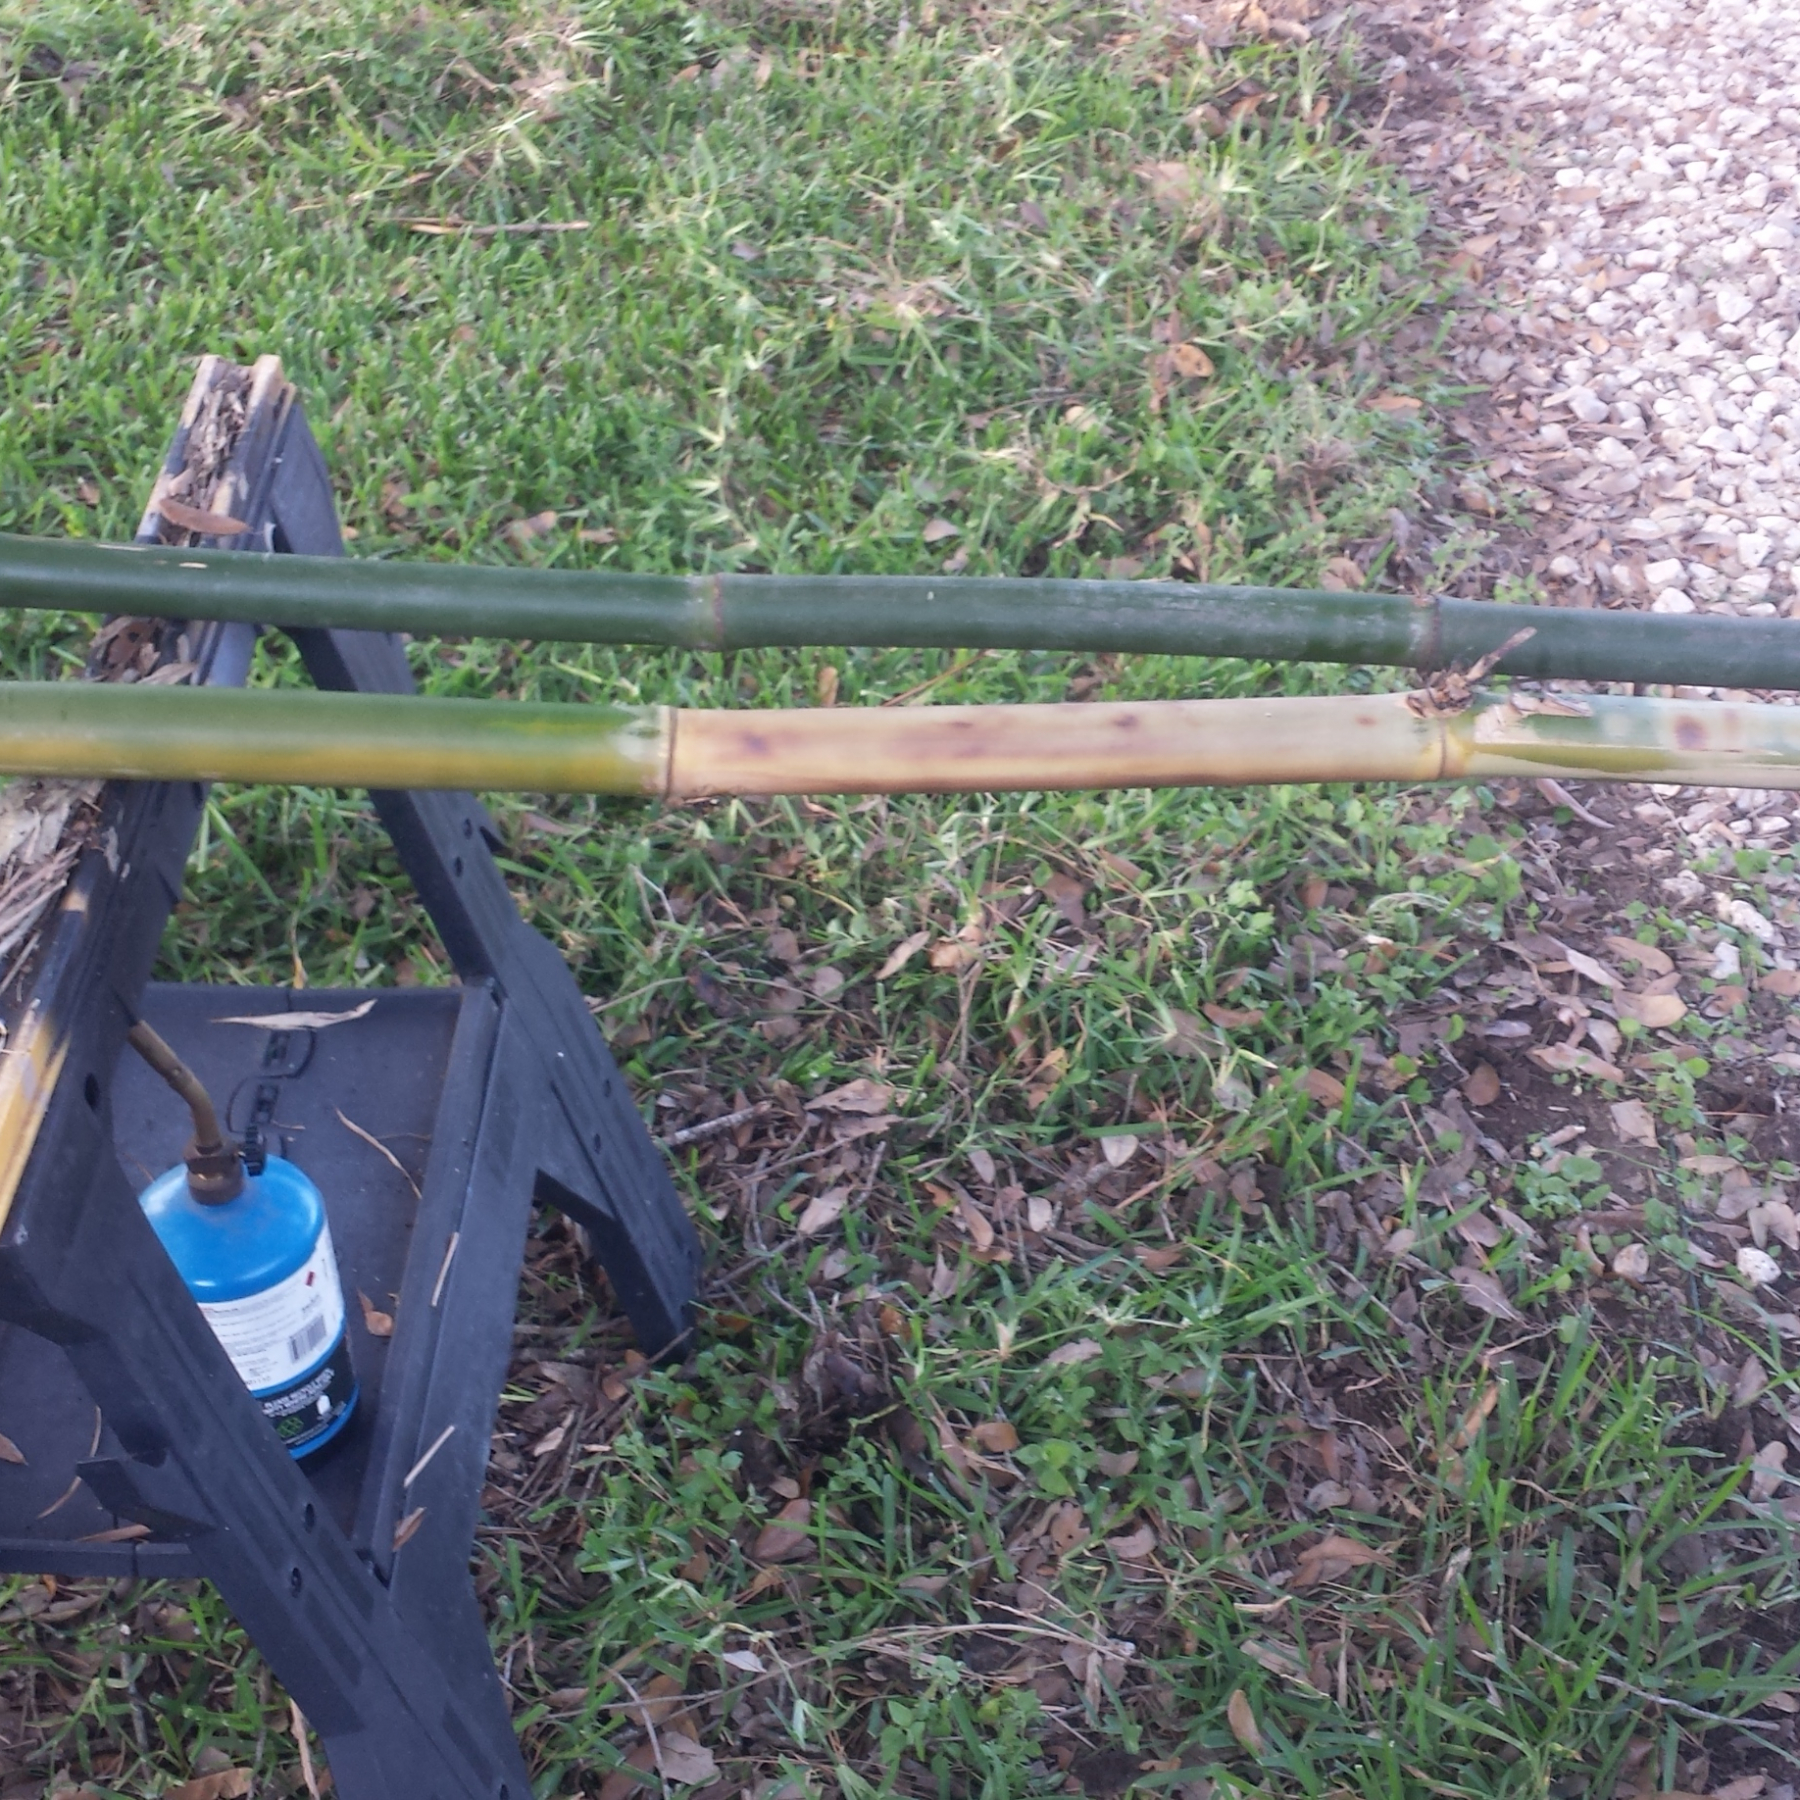
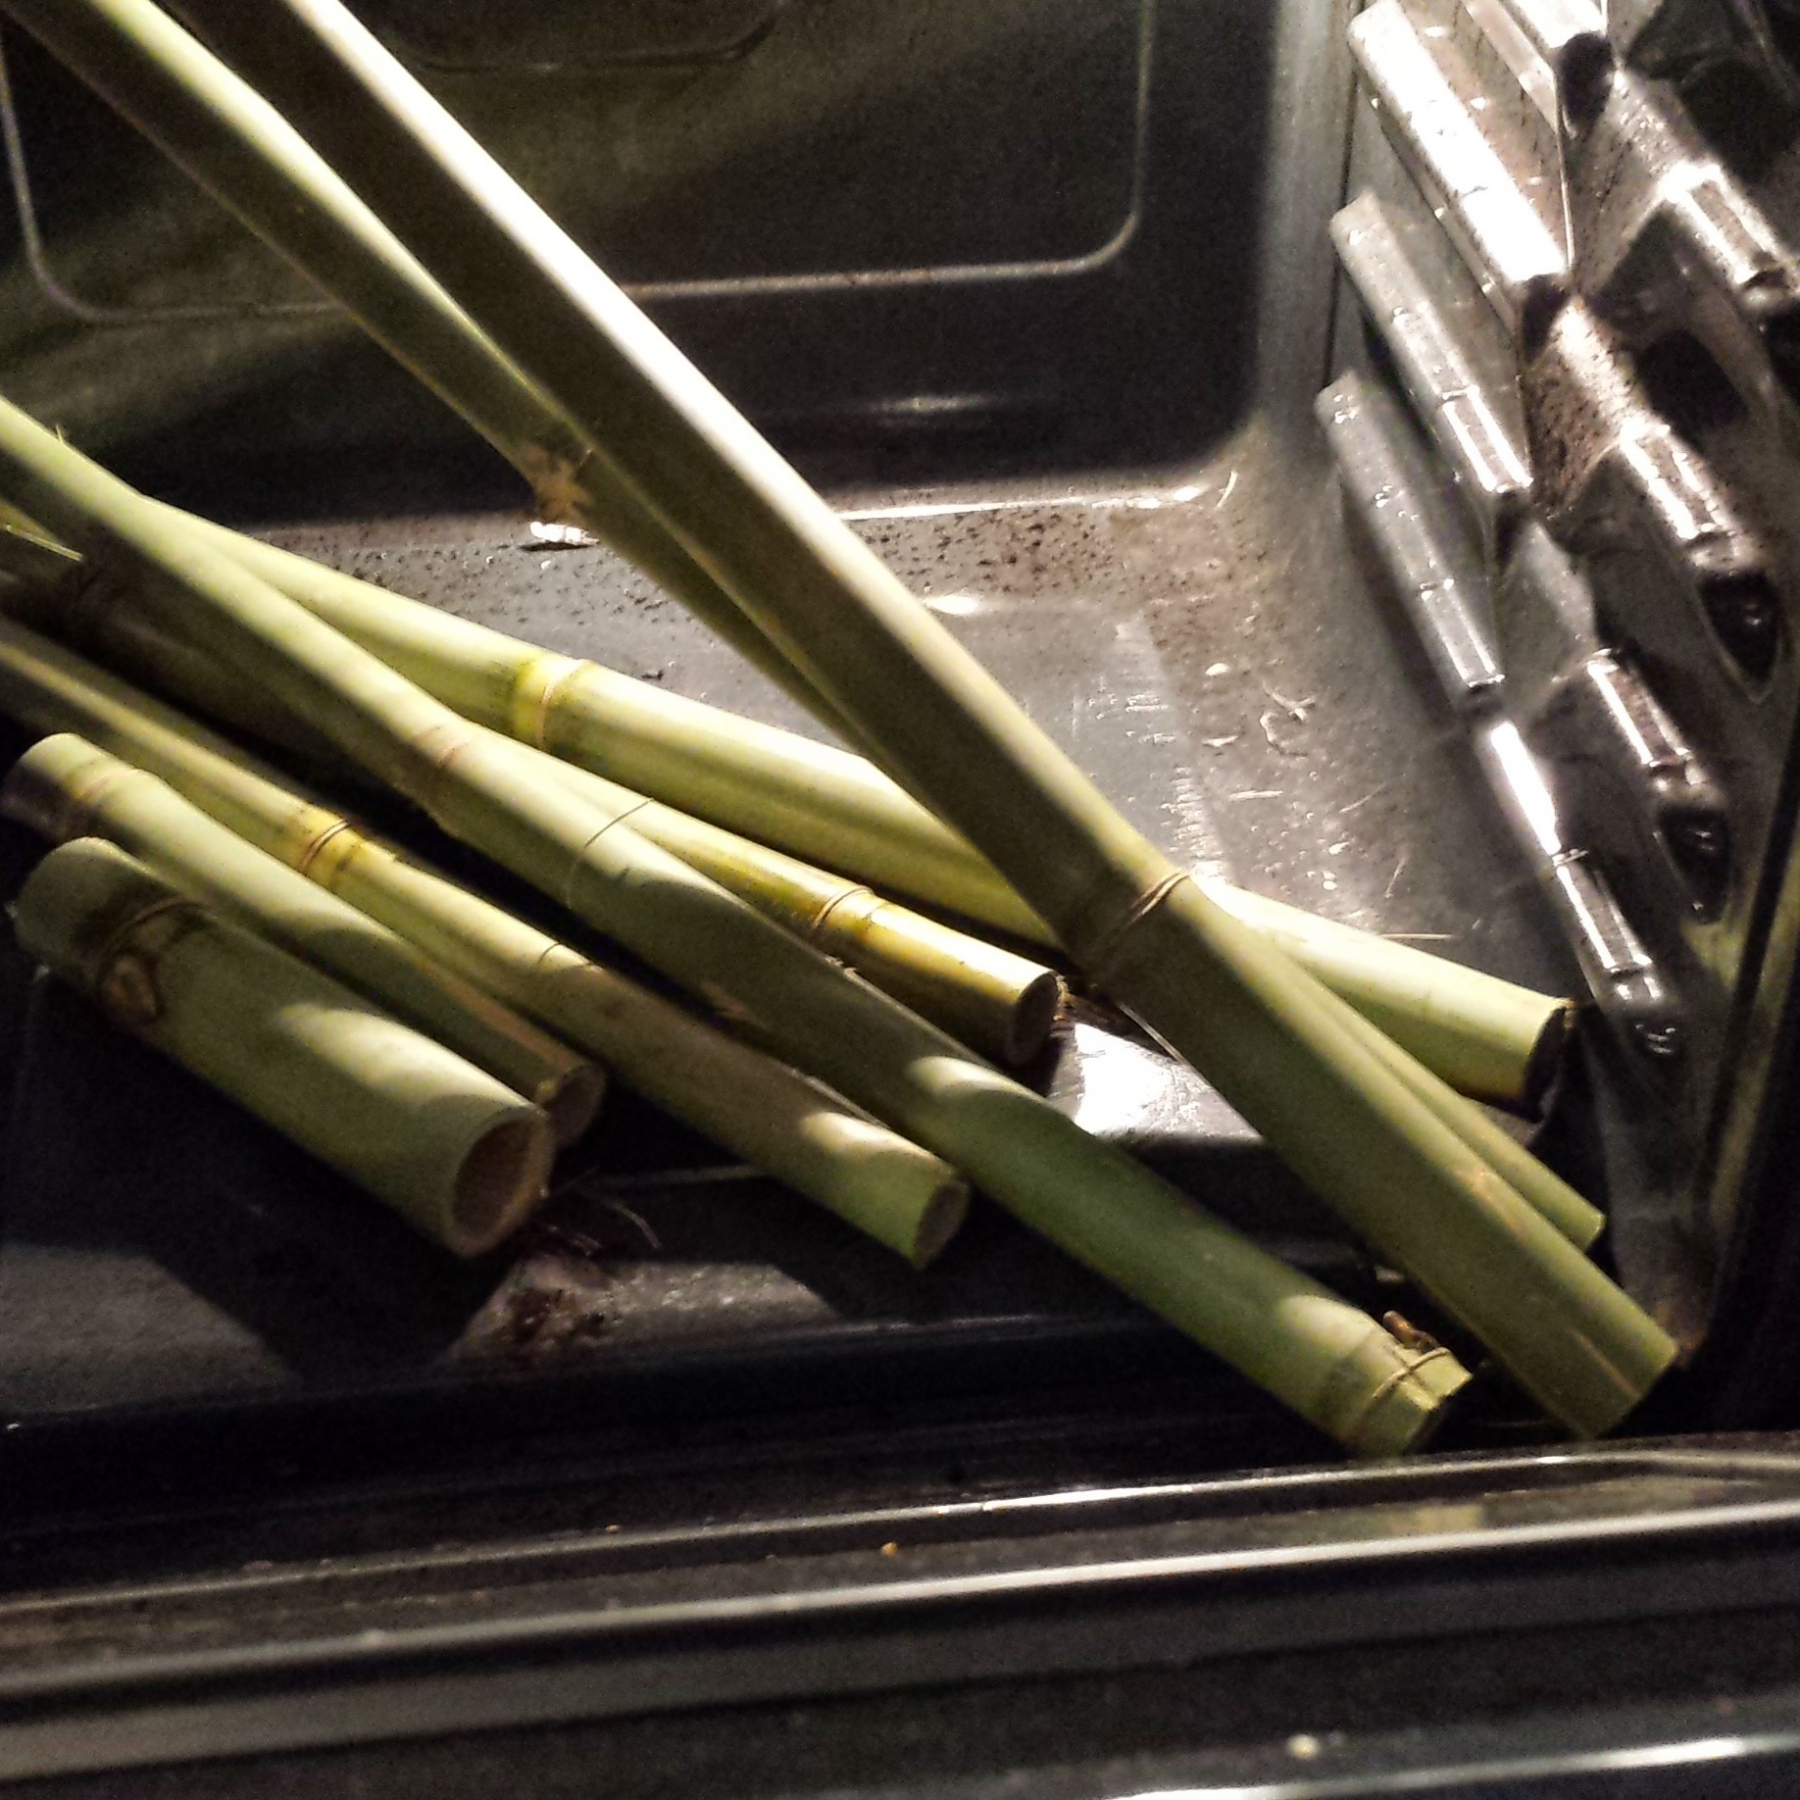
I printed a couple tubes with Taulman’s 645 Nylon filament which seemed pretty strong and had the ability to bend by hand without cracking. However, I realized that a 3D printed tube is much more expensive than metal, and there might be a better material to do the job. I need look no further than outside my bedroom window where a grove of bamboo plants grew flourishing in the humid hot Houston summer. Bamboo grows so fast and is so strong that it would make a perfect renewable tube for the bicycle. I set to work chopping down some plants and then trying various forms of heat treatment from a blow torch, to the oven. A few burnt ends and one smoky kitchen later, I had (somewhat) dry tubes to work with. For those intending to work with bamboo, I suggest either letting them air dry in a dry place out of the sun or at very low temps in an oven with no part of the bamboo touching the oven sides.

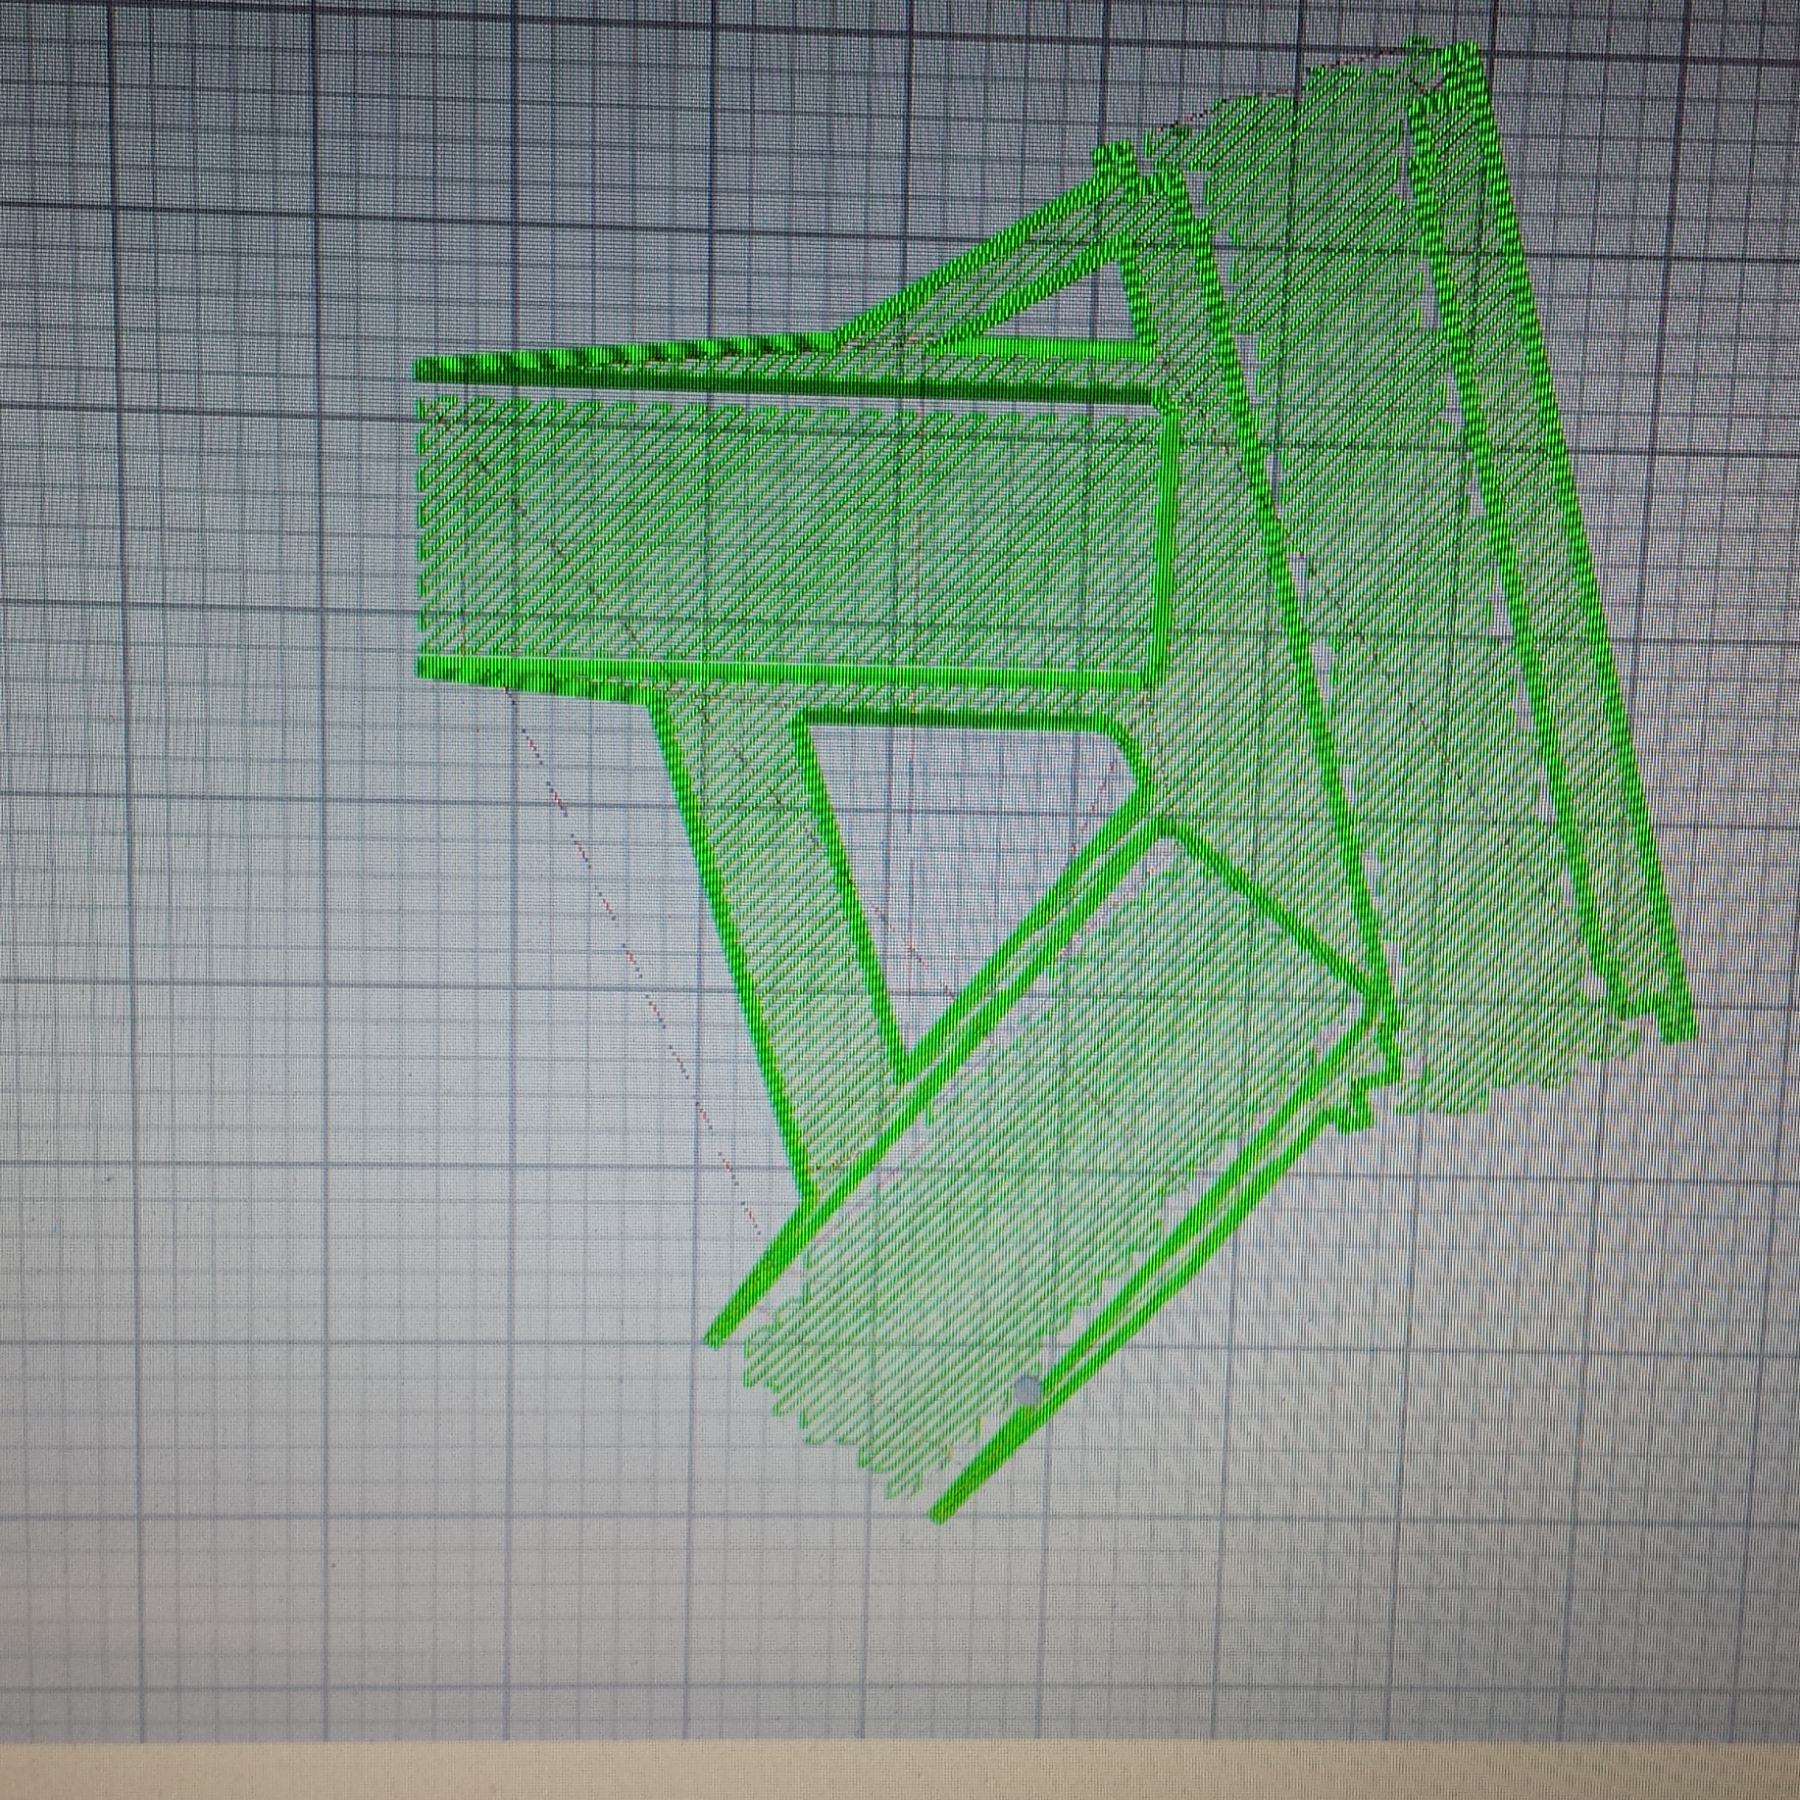
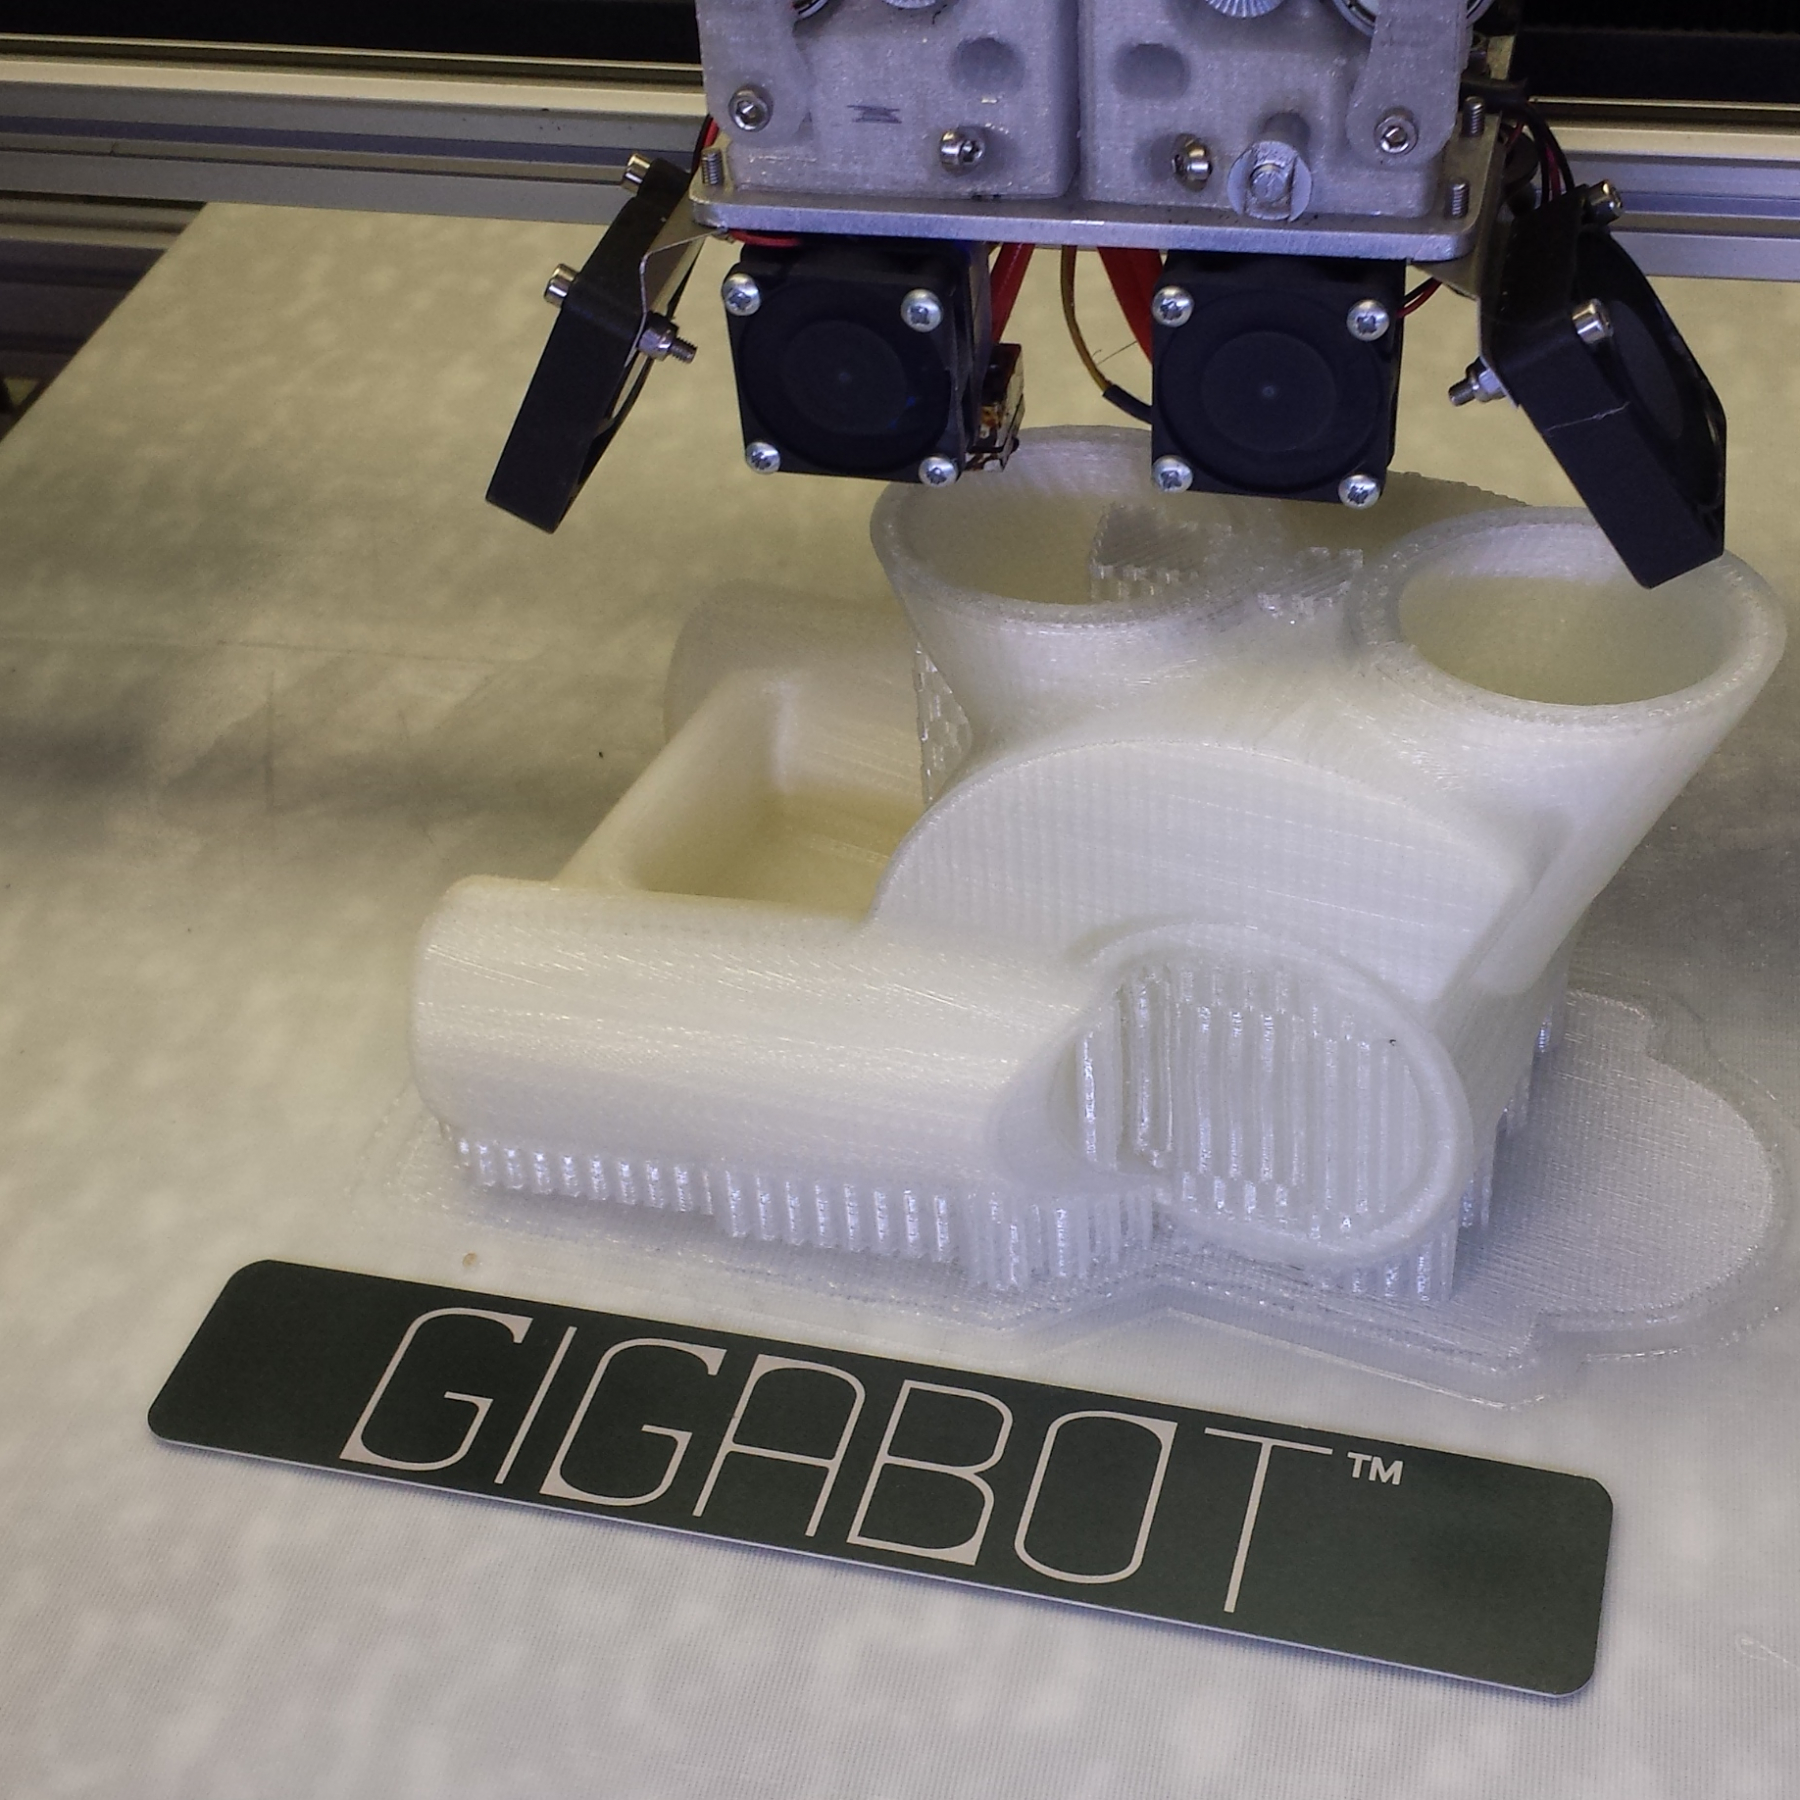
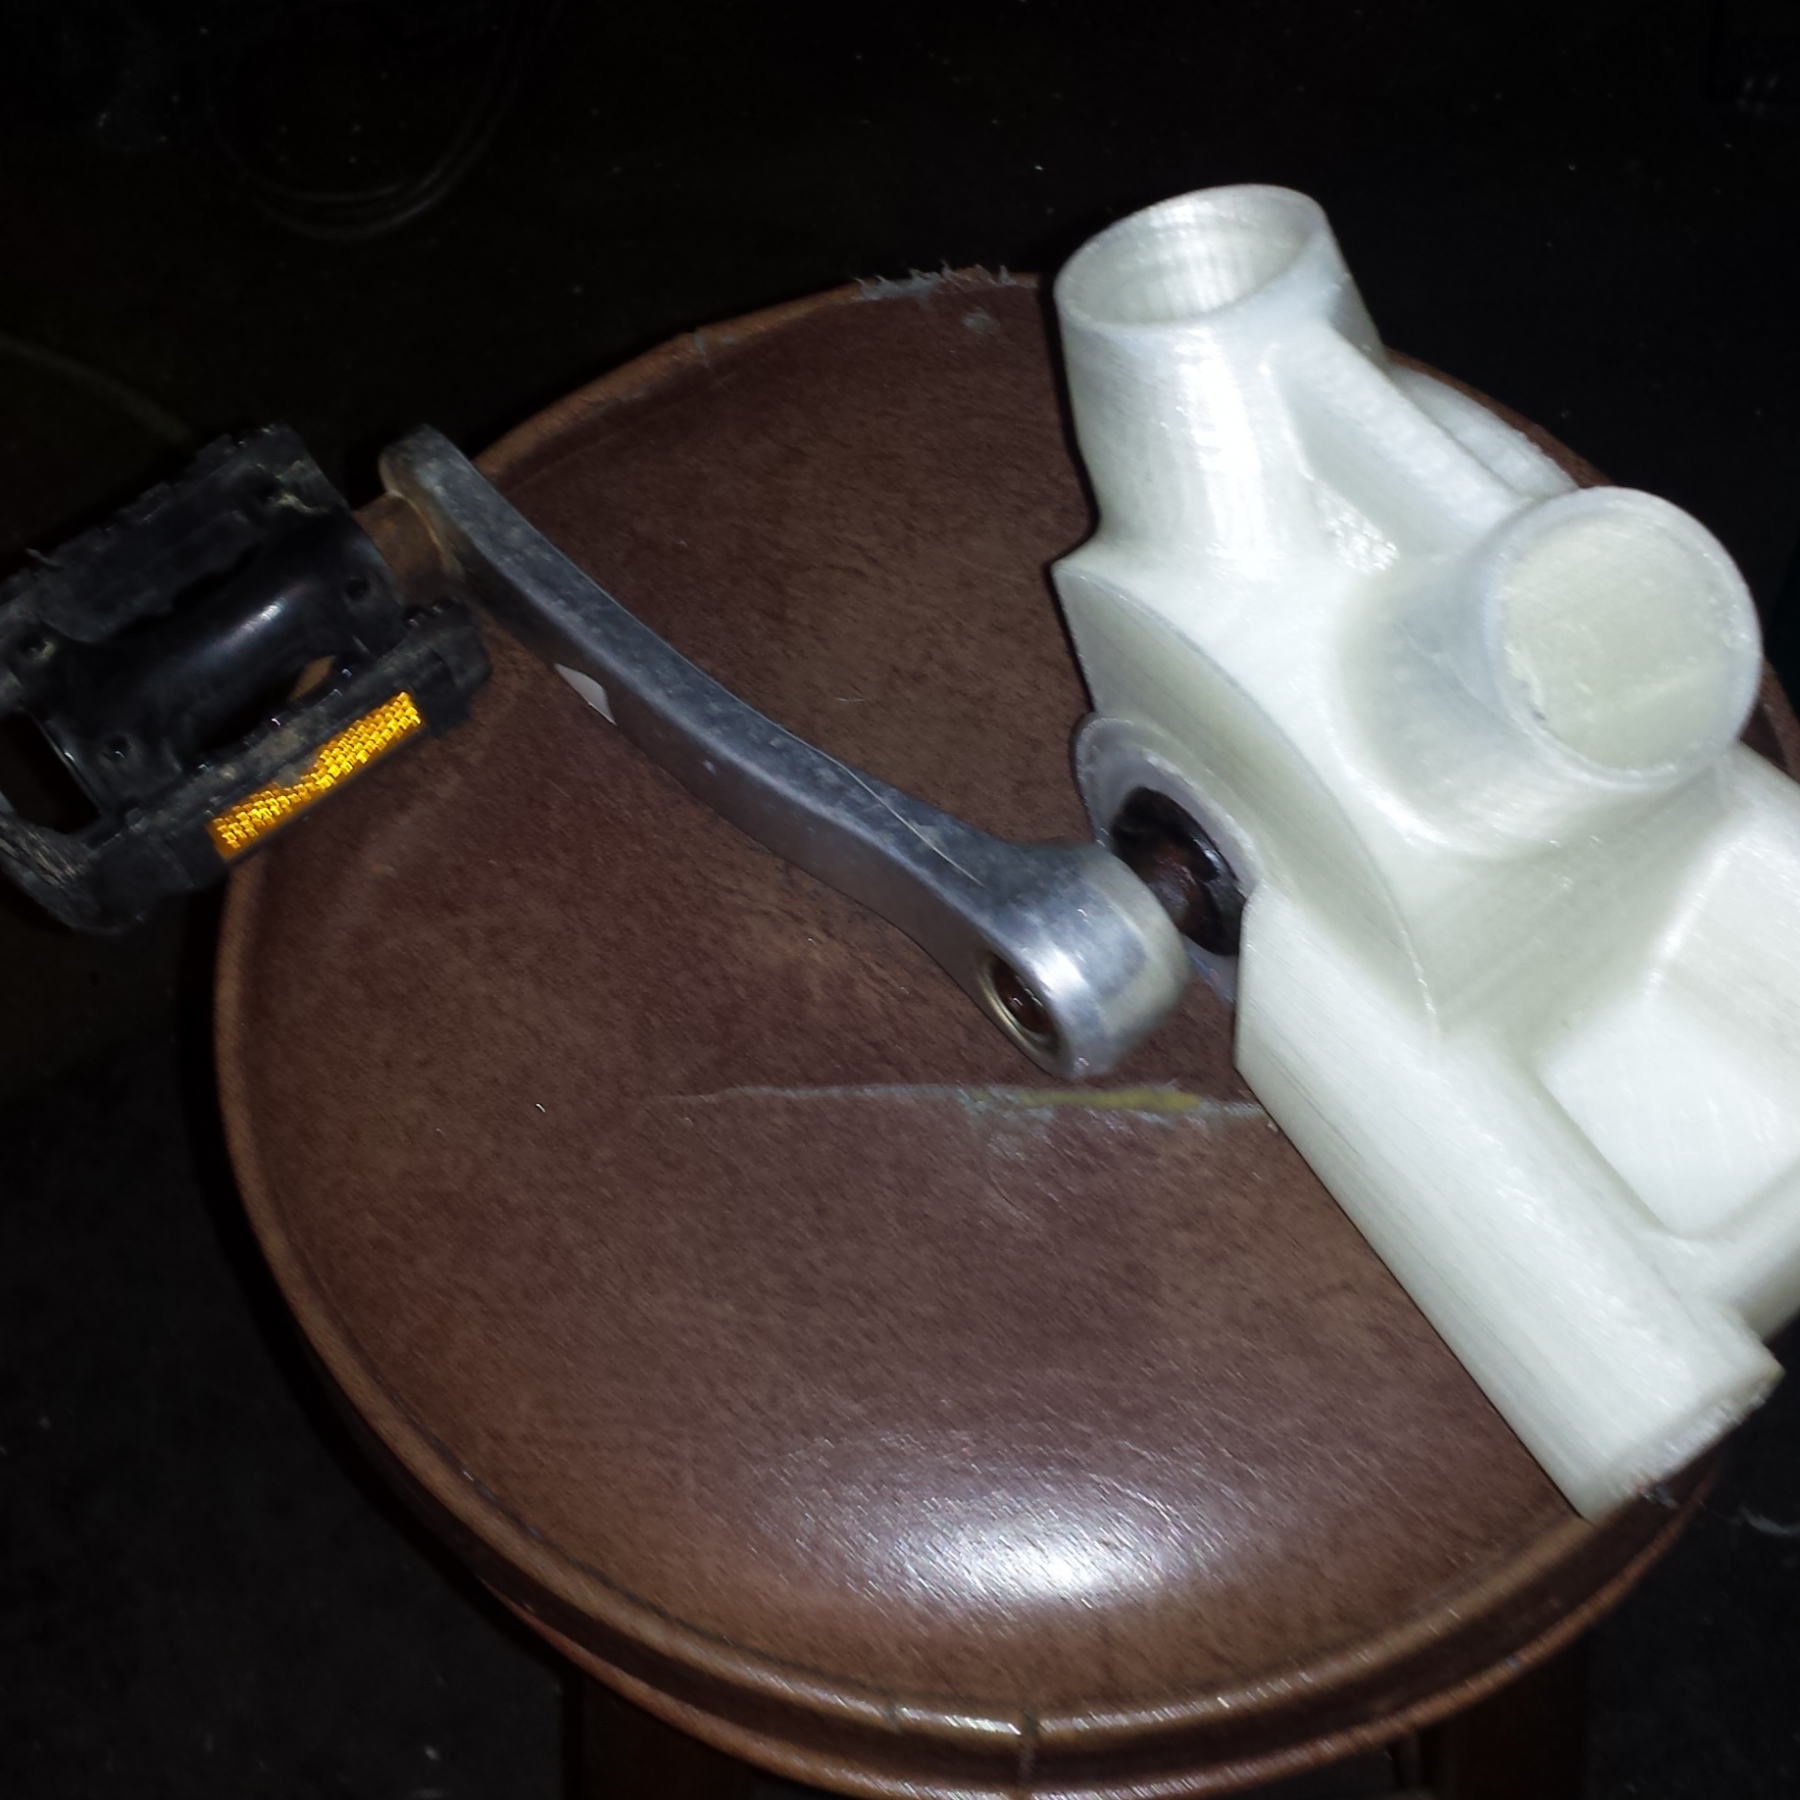
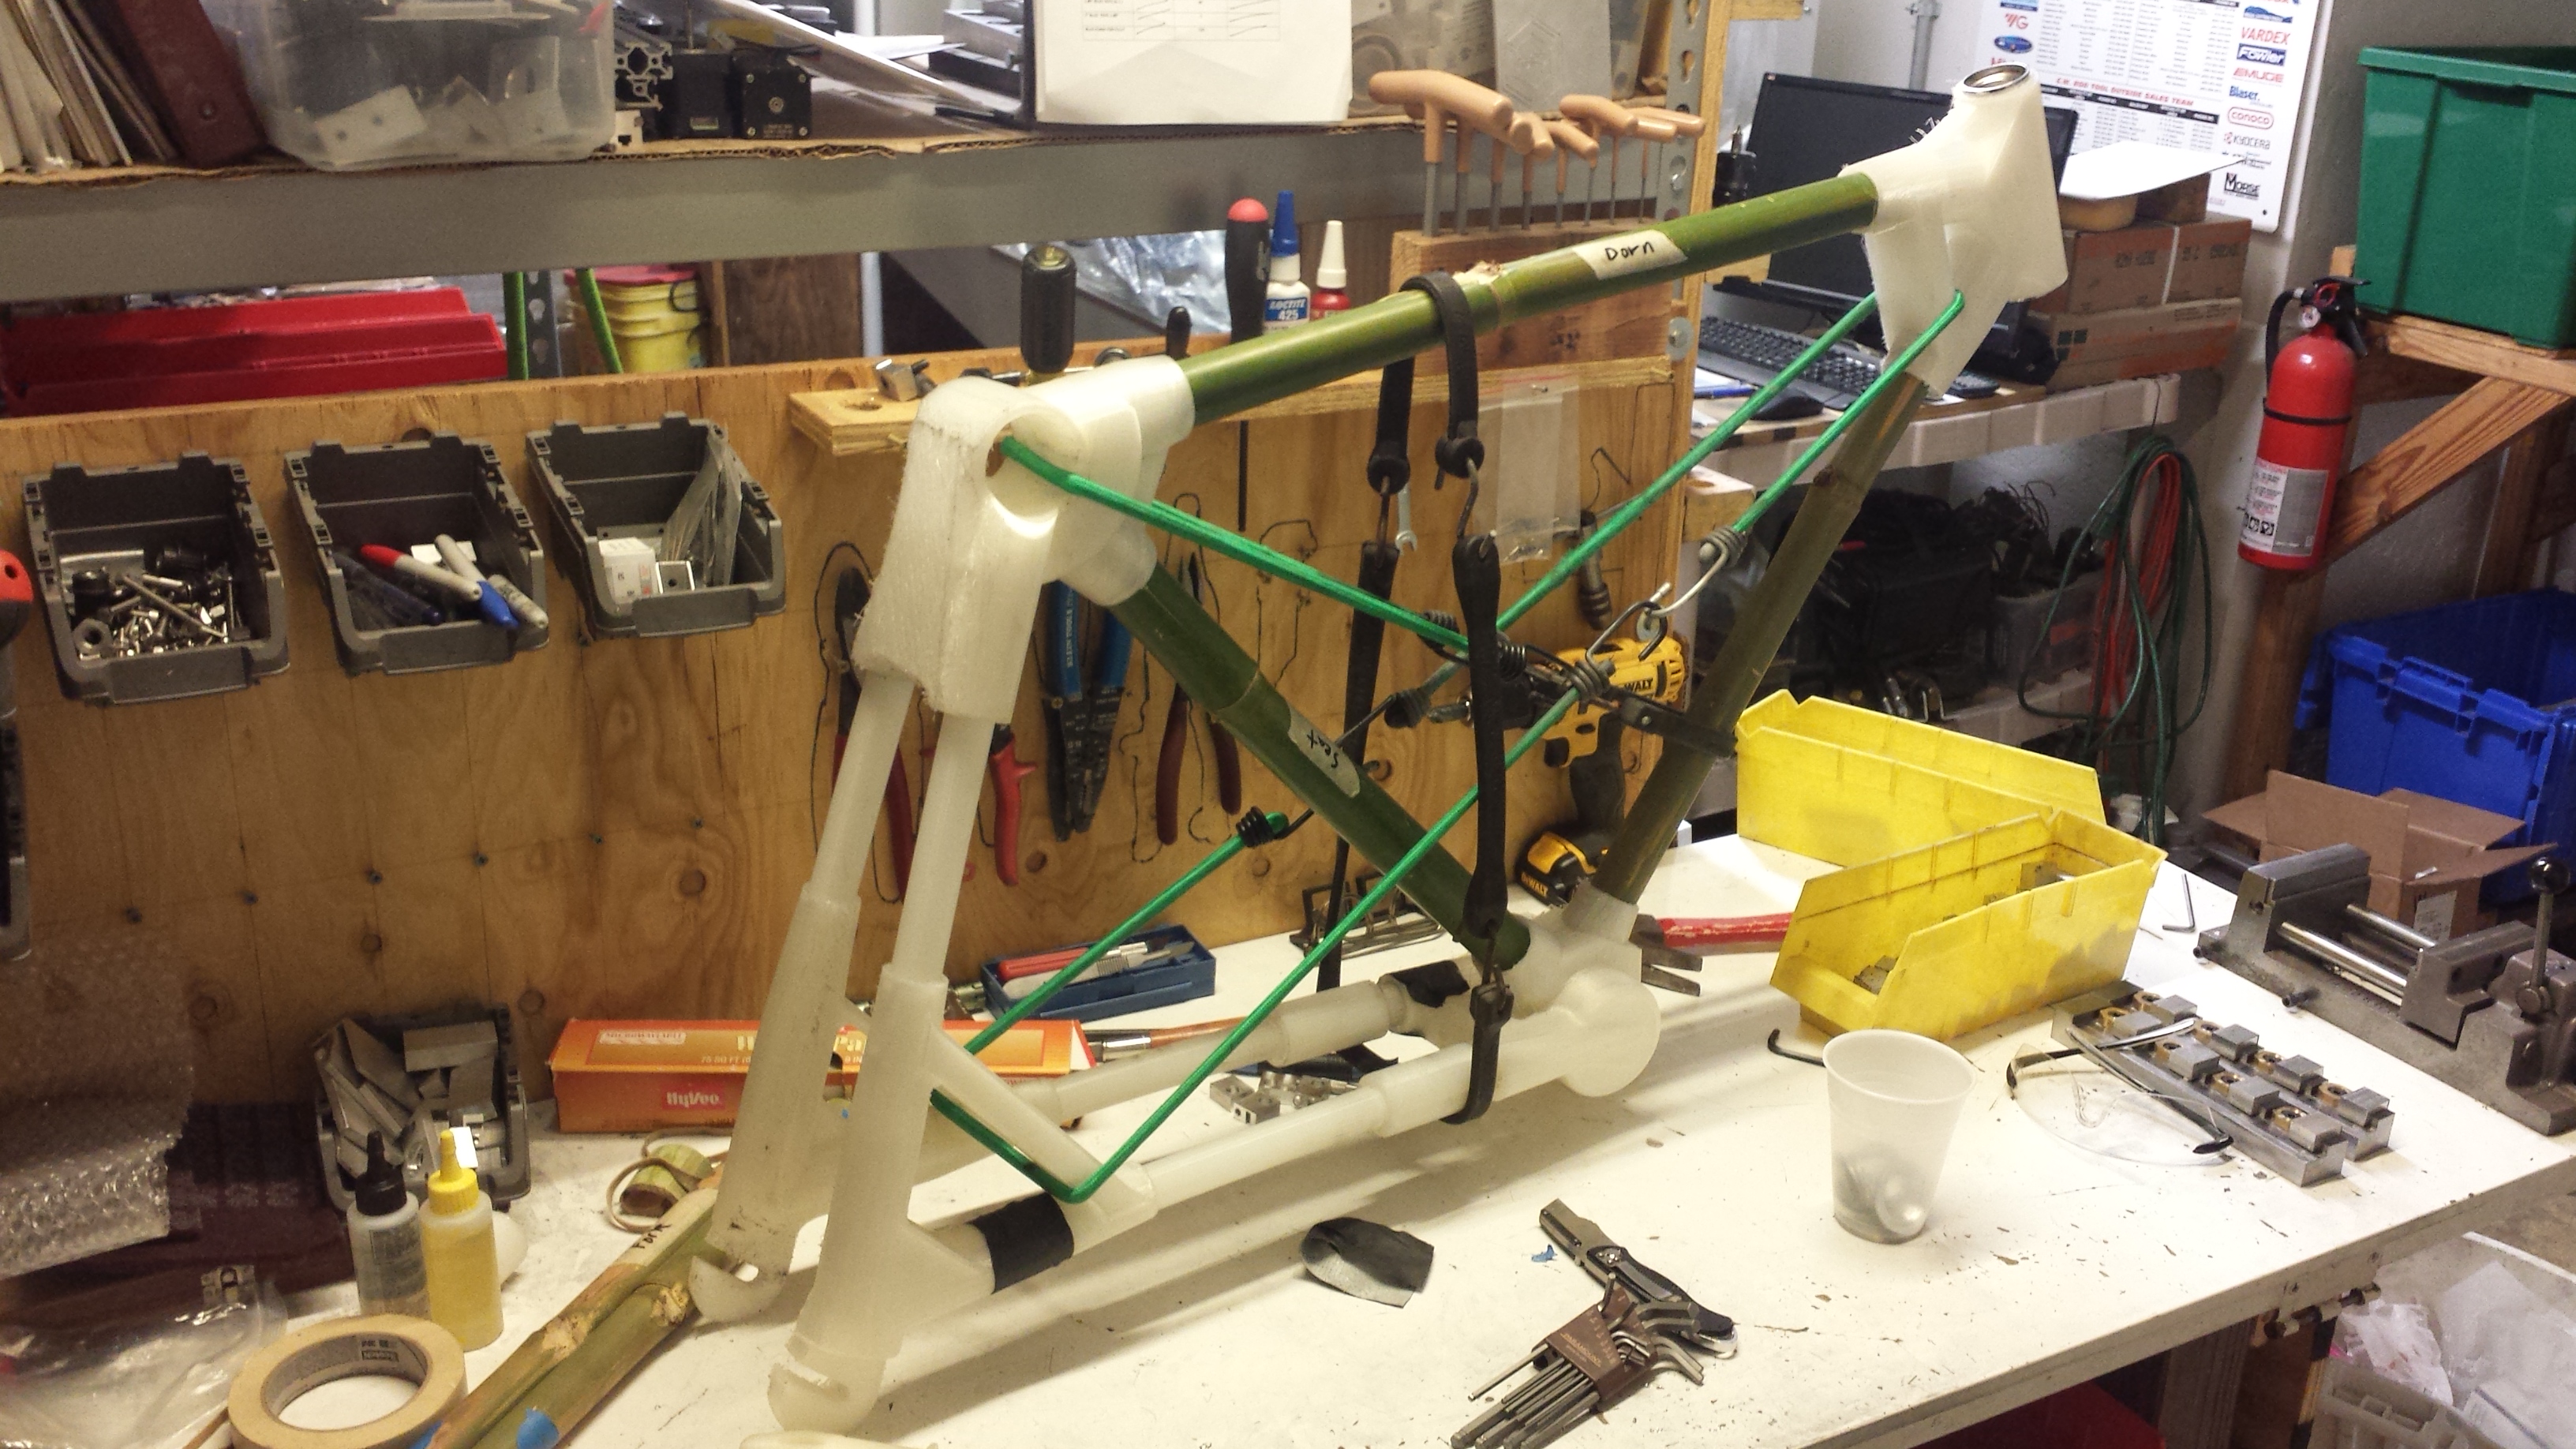
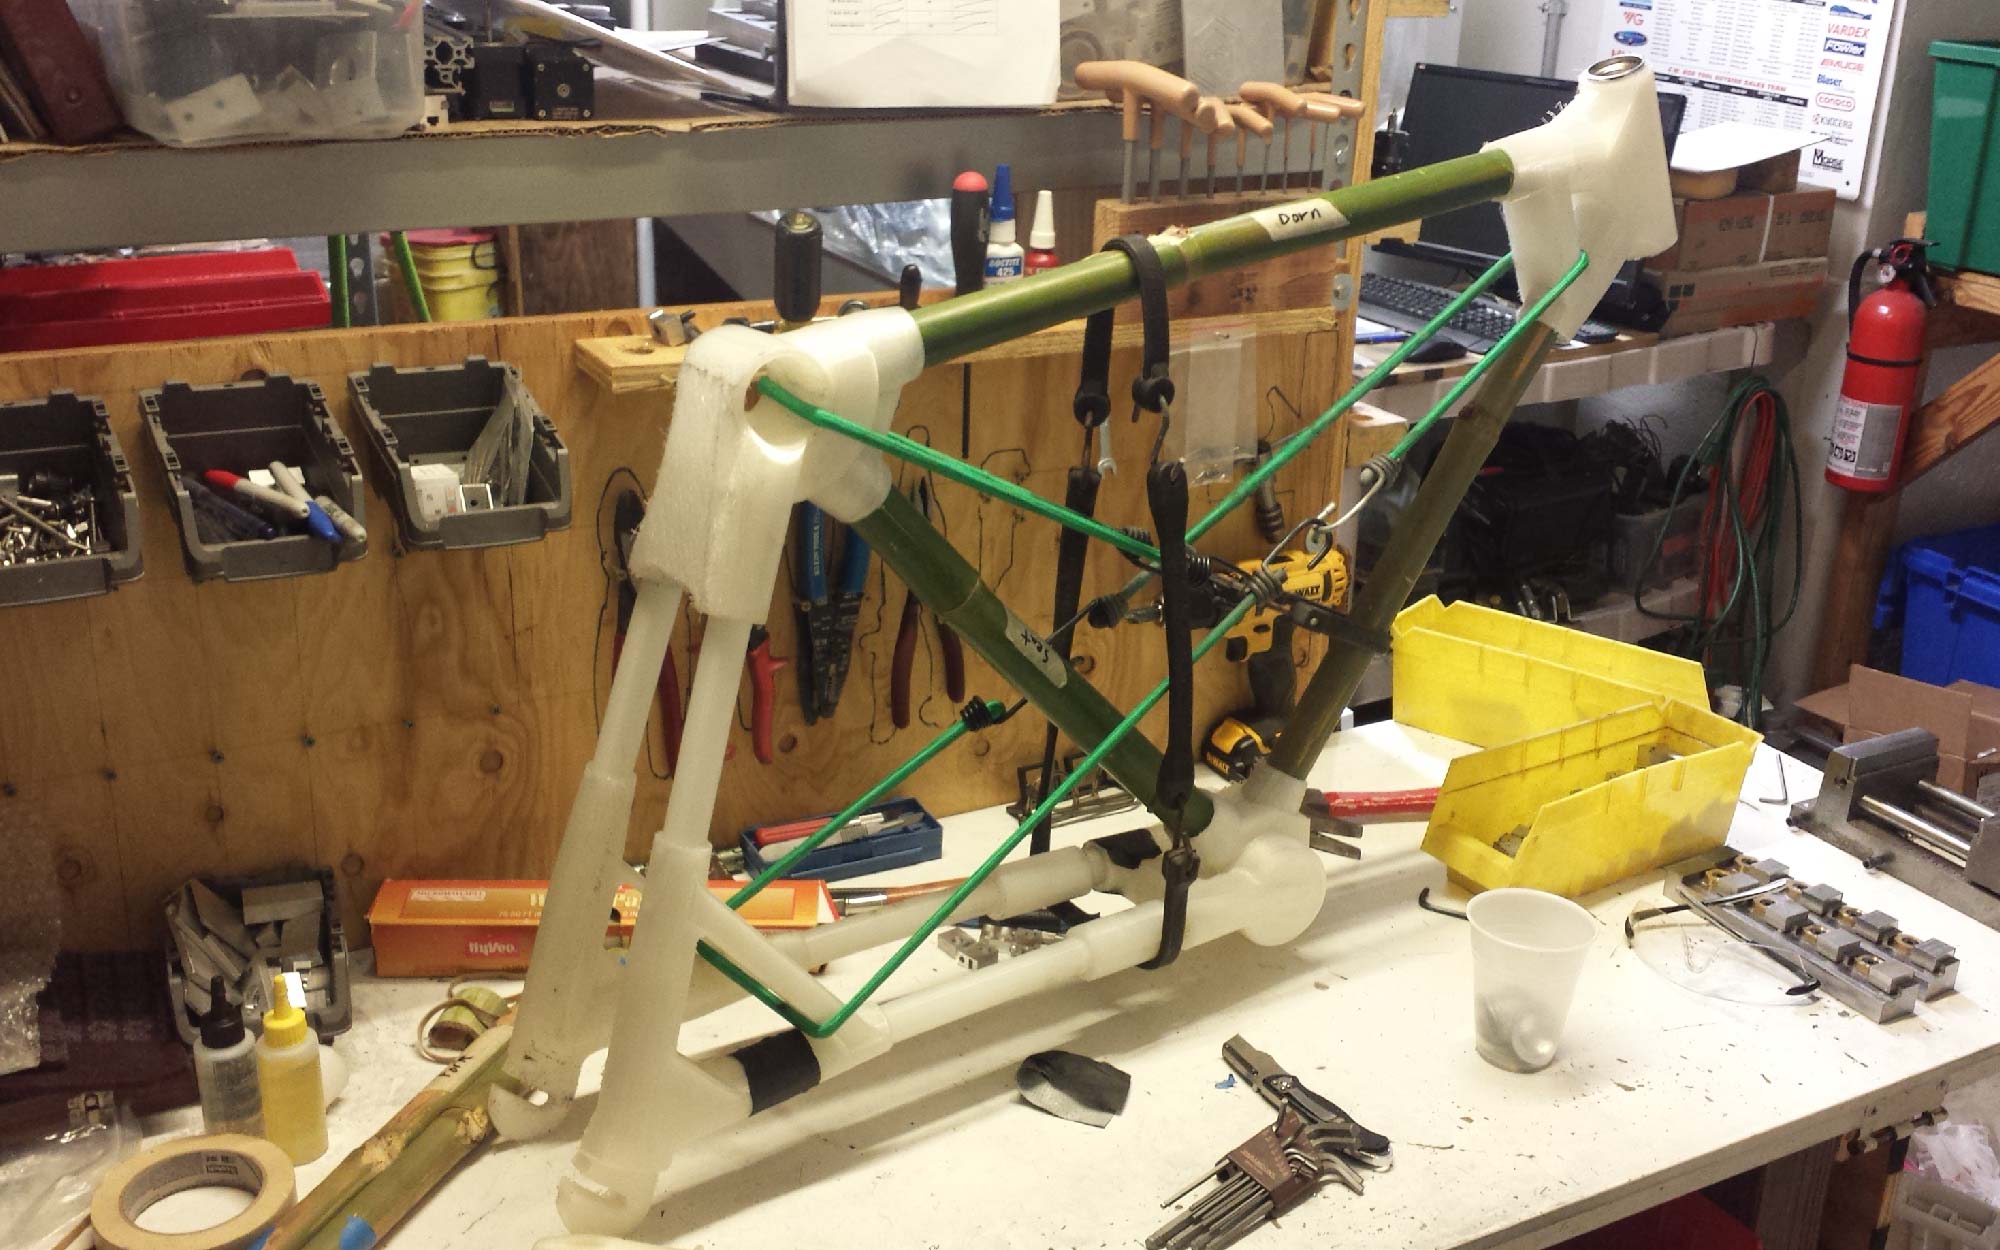
To connect these tubes, I used the Taulman 910 to create modular connector pieces. The pieces were custom printed with receiving holes for the diameter of the bamboo pieces I had cut earlier. The nice thing about 3D printing these parts is that you can conform to the exact geometry of your bicycle dimensions and the tubes you decide on using. Using the Simplify 3D program, I was able to examine my layers to make sure the path of my support structure would work out alright. The connector piece shown here is the bottom bracket where the pedal cranks, down tube, seat tube, and chainstays connect.

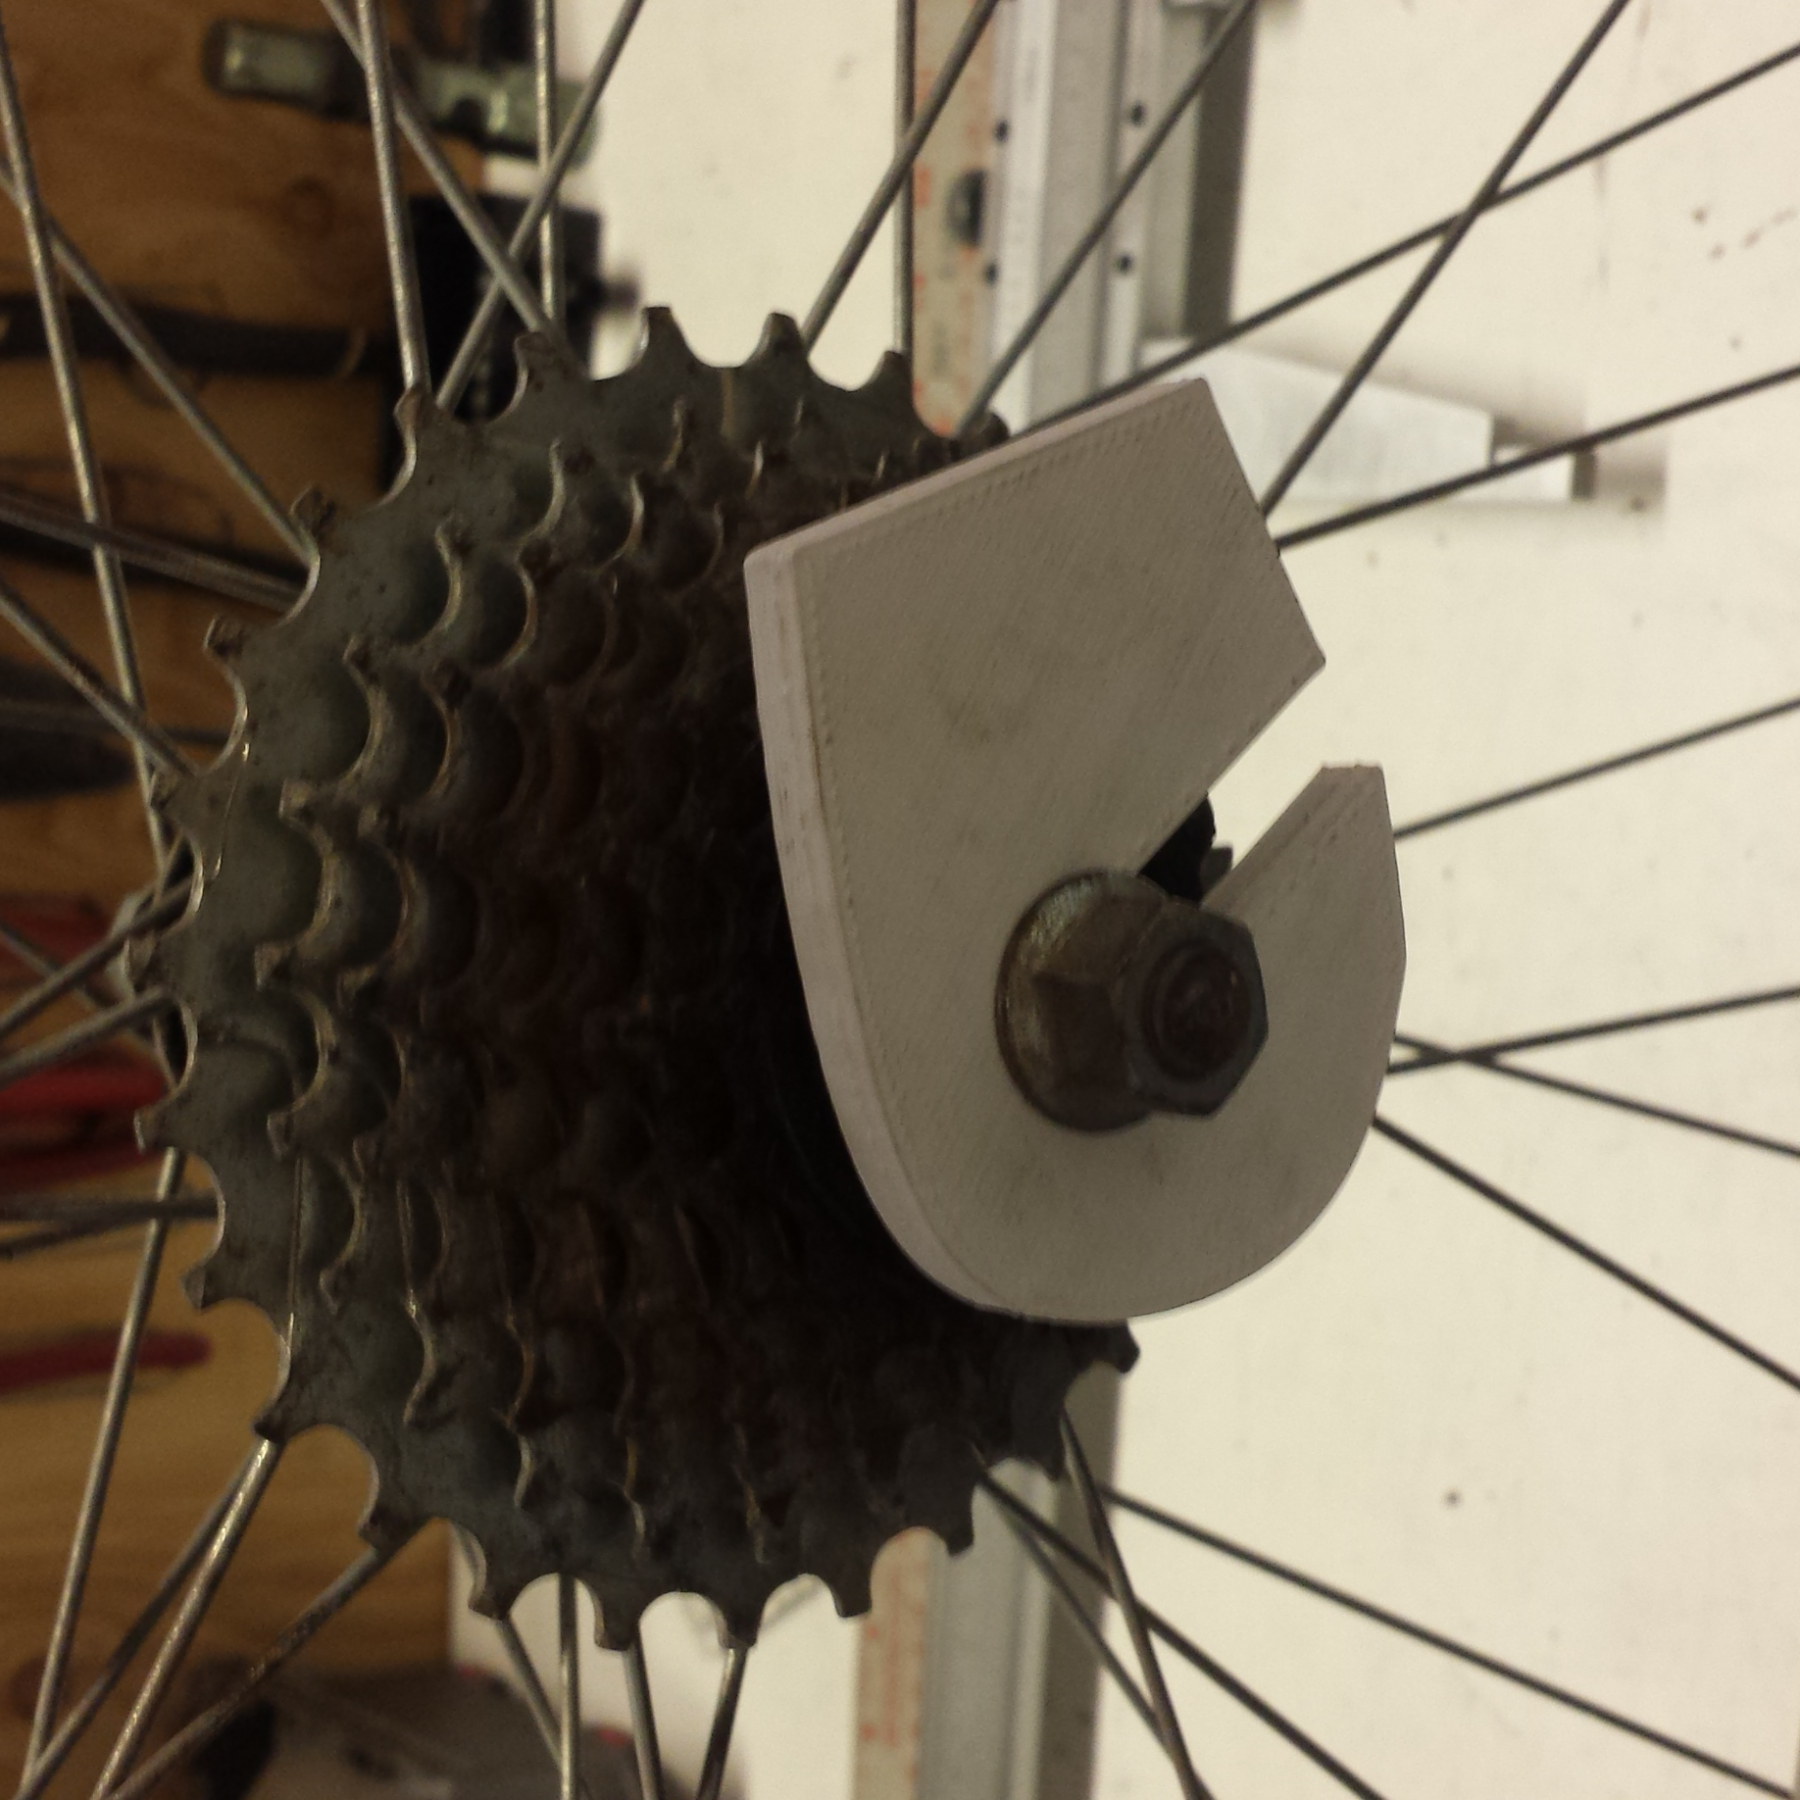
Interfacing with the rest of the components was the next challenge. The bicycle wheels clamped onto fork shaped dropouts which were easy enough to print. The real fun was going to be putting the crank arm bearings and the headset on. I decided to try a press fit approach for the crank bearings. The 910 was ductile enough to press those bearing right in there. Nothing to block rotation. In addition, I found out that you can machine 910 prints. The headset nuts have threads on the internal diameter that needed to thread onto the frame. I threw some of my 3D printed tubes on the lathe, turned them down, and added some threads. It worked much better than expected. Just remember to make your wall thickness large enough so that you don’t machine into the infill.

The bamboo tubes, the 3D printed tubes and connector pieces all slid together nicely with only a minor fit problem. I forgot support structure on one of my rear dropouts, thus I heated it in some hot water to make it malleable enough to bend back into the proper shape. Everything was adhered together with a two part epoxy and held in place by my bungee cord fixture.
The end product looks much like a real bicycle and may have had the chance to ride like one. A few technical problems kept this prototype from being fully functional. There was some interference along the chain path to prevent usage of some of the gears. Also, the 3D printed tube that runs through the headset above the front fork failed under the large moment that is created by the front fork acting as a lever arm. The rest of the frame, however, was very strong and was able to support weight.
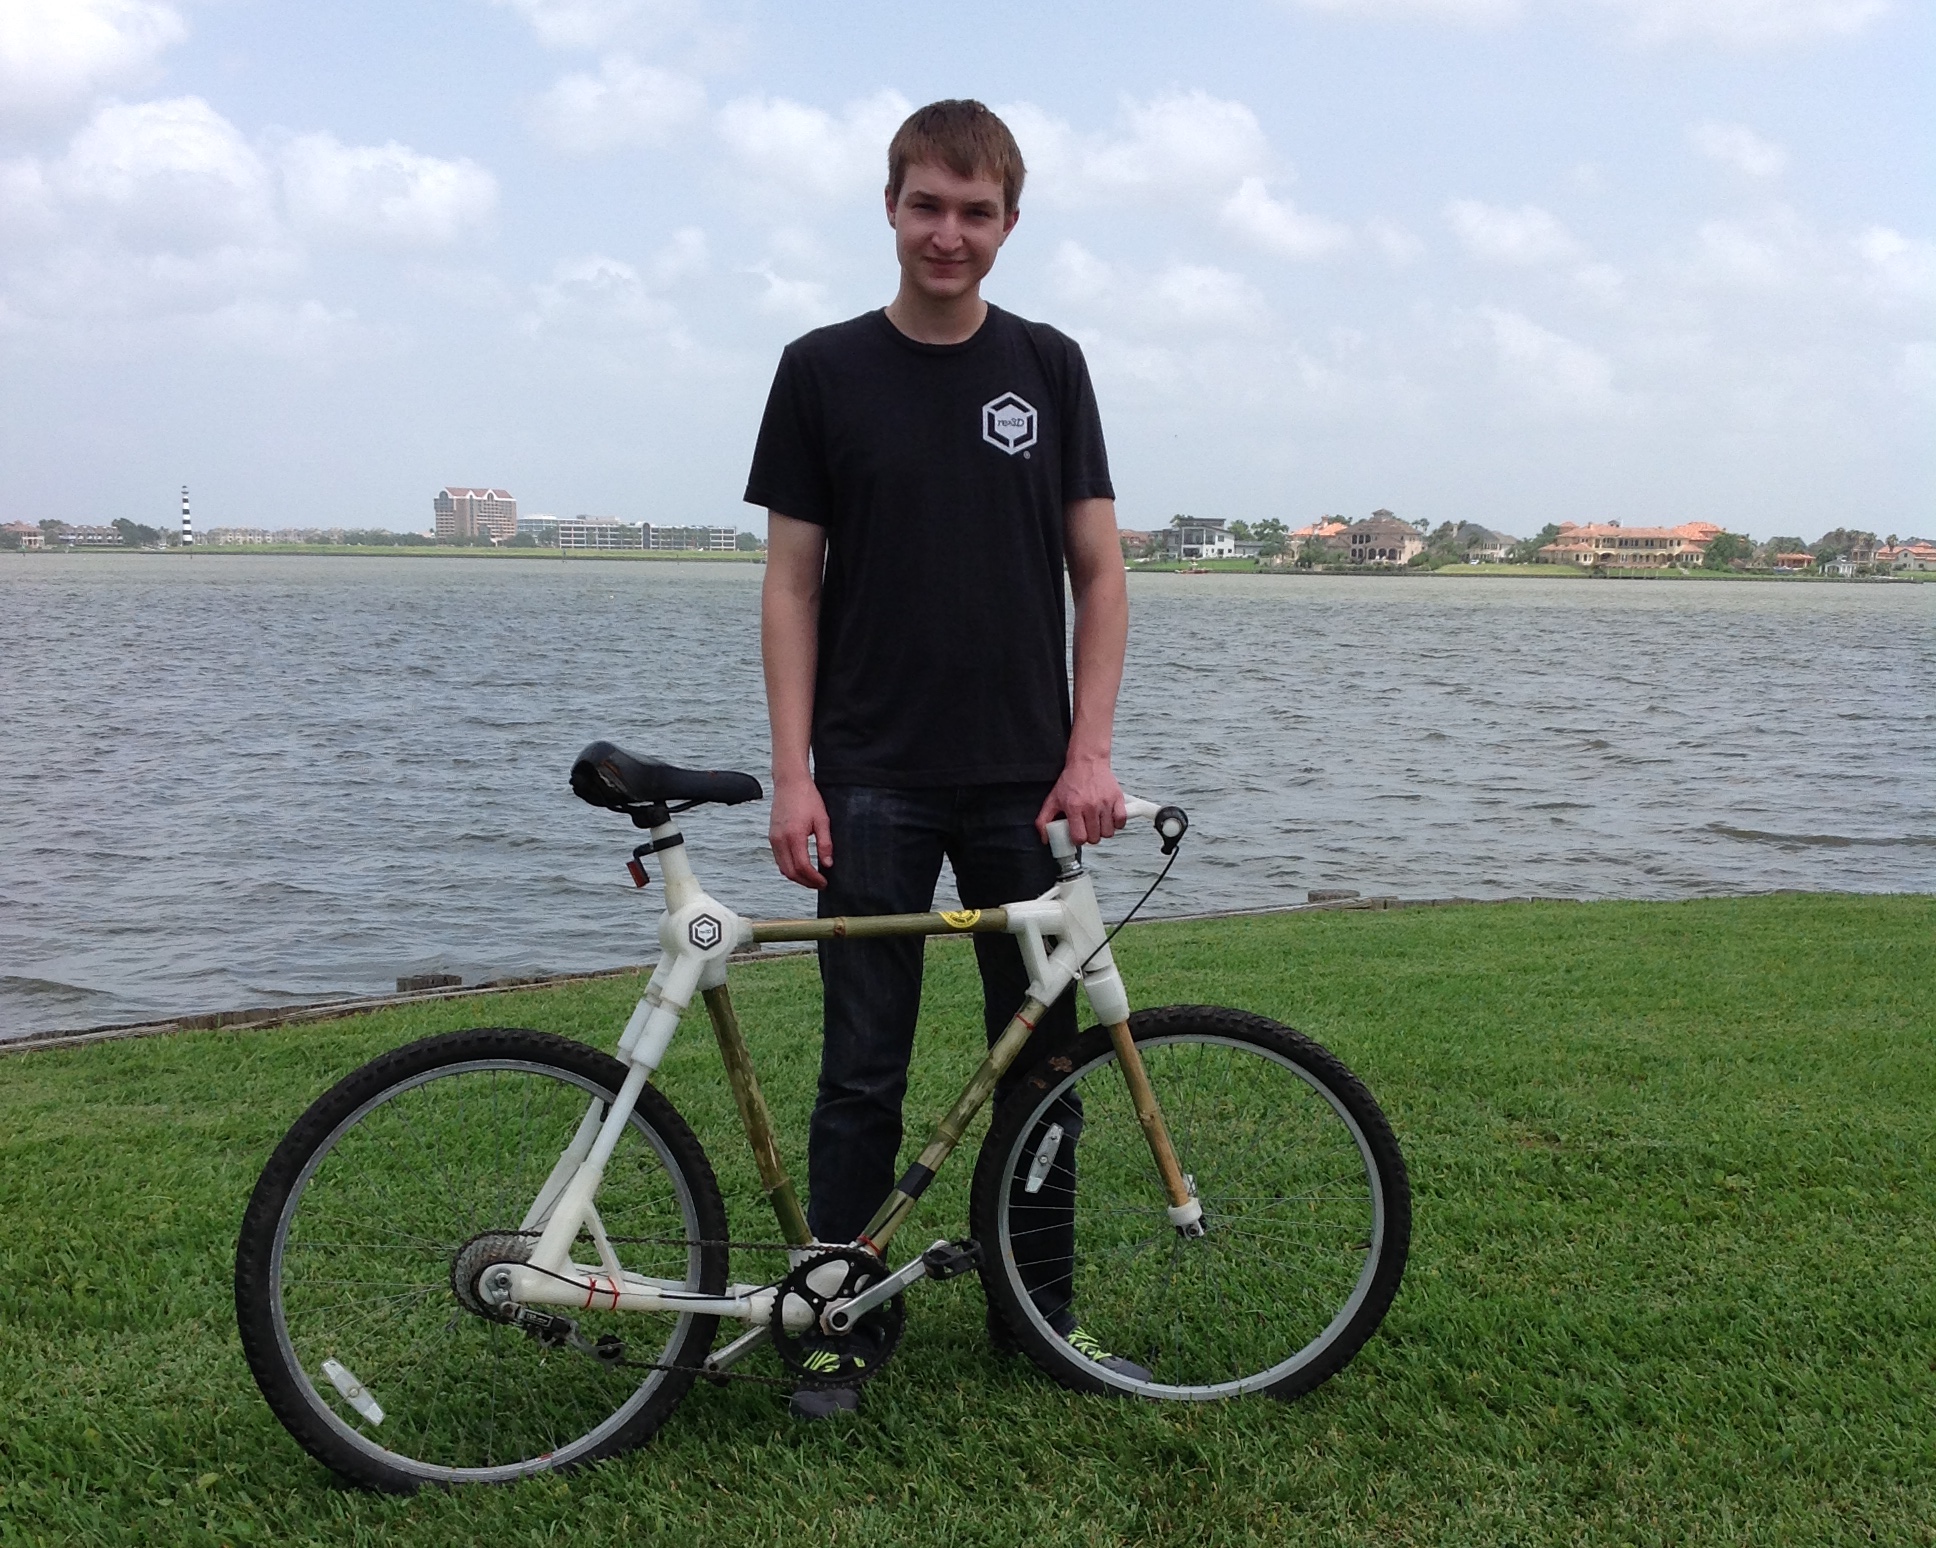
At the end of my time in Houston, I was very surprised at how far the bicycle was able to come along thanks to the structural properties of the Taulman 910 as well as the large format printing capabilities of the Gigabot. If I were to do it again, I would use as much bamboo as possible so it could be renewable. I would also focus on how little plastic material would be needed to make strong connectors, possibly experimenting with more renewable filaments such as PET despite its limitations. Although it wasn’t completely functional, I am confident that yes, it is possible to create a working 3D printed bicycle. One aspect I did like about the modular design was its ability to conform to the exact dimensions needed. All that would be needed would be to change a couple of angles and bamboo tubes lengths, and you would have the geometry for any human rider. You could have a bicycle custom fit to you without needing to settle on a typical configuration. In addition, I liked how easy it was to put together. Anyone with a 3D printer, a bamboo conducive climate, and a nearby bicycle parts repository (like the Austin Yellow Bike Project) Keep your eyes open as I have seen others who are working on their own 3D printed bicycles as well.

All in all, this project was a large amount of fun and made for an amazing summer with the Gigabot 3D printer!

Happy Printing!

Patrick Fiedler

Blog Post Author
Want to continue the research? Apply for an internship at re3d.org/careers!

Materials Testing: PLA++, PLA, & n-vent

With some new filament in the office, I took the opportunity on a recent visit to Houston to do some materials testing, also known as breaking things, which happens to be my specialty.

My main goal was to test out a new filament called PLA++ by Breathe-3DP and compare it to the regular PLA we use. As they describe it, the second “+” is for functionality – where normal PLA snaps, their PLA++ stays strong. I wanted to see that for myself.

To spice things up a bit, I threw some n-vent into the mix, which ended up adding a nice third dimension to the spectrum of strength we saw.

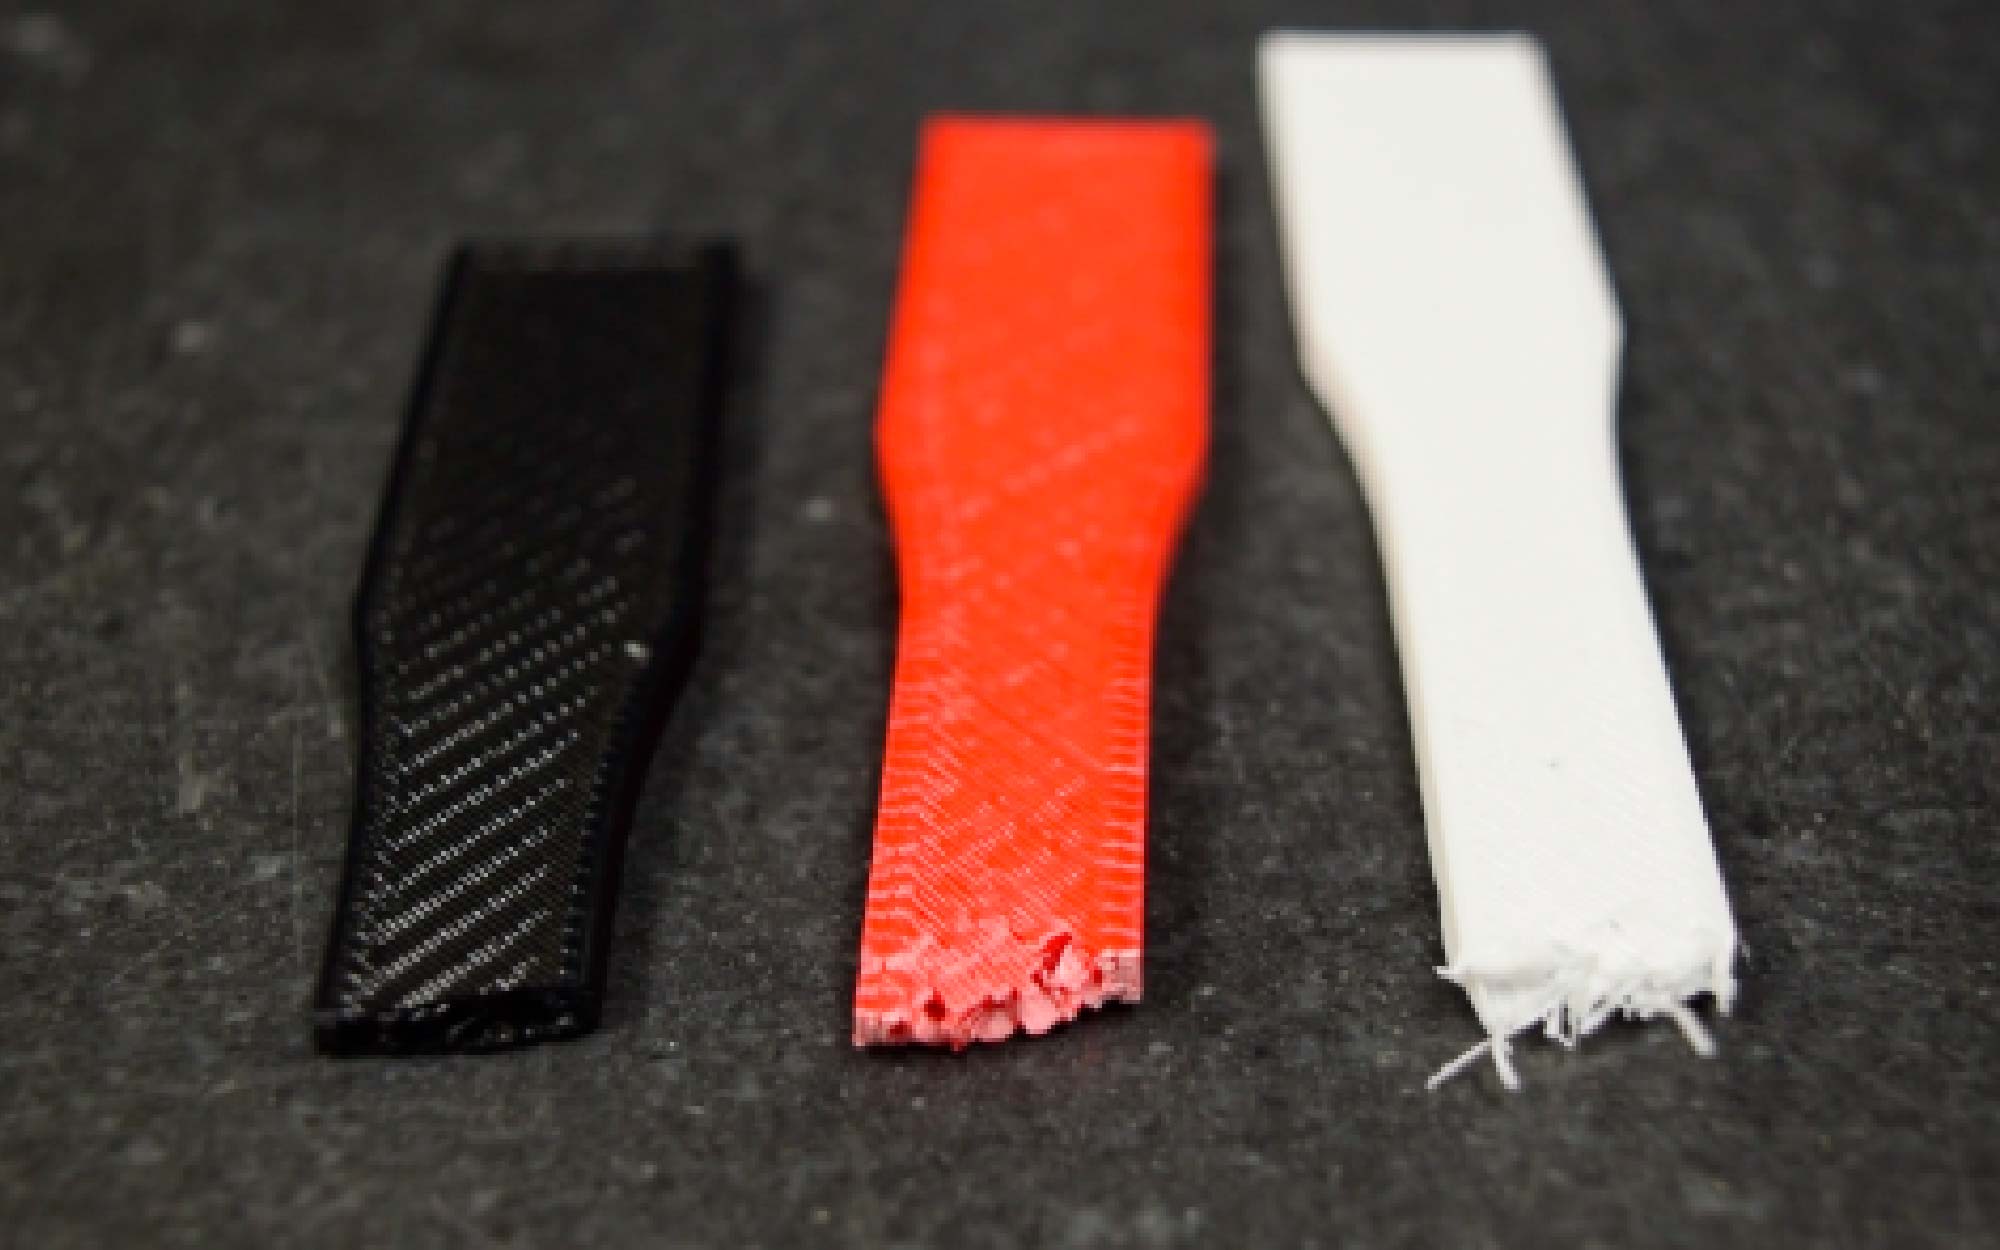
I printed out a handful of the ASTM Tensile Test Specimen, dubbed the “dogbone” in the office, and got to breaking things. The PLA++ was first on the chopping block.

You can see in the video that I’m able to get the dogbone flexed into a nice St. Louis Gateway Arch shape – it had a good amount of give to it. I could feel the material bend under my fingers; in the video you see the edges in the center start to turn a slight white color as the print flexes. Only once I move my thumbs to the outside of each end and force the two together does the center finally give.

Even once it does finally break, only the top of the print has actually split – the bottom is still attached. It takes me ripping the two apart to separate the two halves. You can see in the video how much the print has curved due to my bending it, and it retains that bend even after it is broken.

The flexible nature of the PLA++ becomes more apparent when compared to the standard PLA test. PLA, our choice filament around the office, is known for its ease of printing, but also its brittleness.

I’m able to flex the PLA dogbone a fair amount – further than I expected, but not as far as the PLA++ – but its reaction to this flexion is explosive and violent. You can see pieces rocket off once the print reaches its breaking point, loud enough to make one of our engineers in the room jump and whip around to see what new trouble I was getting myself into.

Last up was the wild card, Taulman’s n-vent. What seemed promising to me was its ease of printing yet also its toughness and resistance to high temperatures.

The n-vent wouldn’t quit. I bent it one way, then the other way, then back the first way, flexing it beyond where the PLA++ made it. When it finally gives up the fight, it’s a slow, unceremonious break. With the outer edge finally split, I’m able to flex the two ends until they touch, and even then the dogbone wouldn’t break in two.

You may notice a hand model swap at different points throughout the video – our lead engineer jumped in for a piece of the action – and the n-vent put up just as much of a fight for him. He bent the two halves back and forth several times before forcefully ripping them apart.

In the close-ups at the end of the video you can see the stringy infill of the n-vent print, the internal structure which kept the two ends hanging onto each other so well. In contrast, the standard black PLA shows a clean break – unsurprisingly – after the gunshot-like force by which it broke. The PLA++ shows an edge somewhere between the two – not stringy like the n-vent, but with a rougher edge than the standard PLA, due to the slower, bendy break it experienced.

In the end, the n-vent won out in overall toughness, with the PLA++ a close runner-up; though the PLA++ has a leg up in the “ease of printing” category. The standard PLA continues to be a favorite around the office and strong recommendation from our engineers to our users due to the fact that it prints so well and easily. For design and prototyping it does the trick – it’s only once you venture into working prototypes that require some strength or temperature resistance that you may run into issues with it.

In conclusion, each filament has different strengths that lend it well to different applications – it’s all about choosing the right one for your particular project.

Morgan Hamel

Blog Post Author

Crazy 3D Prints: Making a Ping Pong Paddle

What do 3D printing, a table tennis, Gigabot and PETT have in common?

An amazing use case for custom, functional outdoor prints!

Until recently, printing large objects on FDM 3D printers was limited to small scale objects subjected only to controlled, room temperature environments. However, with the introduction of high strength materials like those offered by 3D printing filament expert taulman3D, making functional objects that can weather the Texas heat is now a possibility.

Enter t-glase. This material prints like Bridge Nylon, but with almost no shrinkage. You can learn more about the main features of t-glase on the taulman3D website. We heard about t-glase during a call with Tom Taulman when we shared a need of another local start-up seeking to 3D print custom table tennis paddles. Originally they attempted to 3D print their original design at the University of Texas. After several failed attempts to fit a set of paddle parts on a desktop printer, a local professor suggested they speak with us. In our conversation, we learned a lot about table tennis and the amazing potential 3D can offer those looking to customize paddles!
 
Uberpong™ makes custom ping pong paddles by blending art and design with the sport in a revolutionary approach that goes beyond the game itself. Uberpong also introduced us to Pongtopia, an app to find ping pong tables around the world. As you can see on Pongtopia, table tennis is played both inside & outside, suggesting that in addition to needed a high strength material with a little give, we also needed to source a material that wouldn’t warp or crack in heat or cold playable weather conditions. This would be similar if we were printing a regular sized tennis racket that would be used by a tennis coach for beginners sessions for example, so it’s good to bear in mind the material that needs to be used must be hard wearing.
 
In support of the experiment to see if ping pong paddles could be successfully printed on Gigabot, Tom shared some red t-glase samples. We printed Uberpong’s original ping pong paddle 3D design at our Houston office on Gigabot live during our June Open House with Hubs. It was an awesome opportunity to have 3D printing veterans weigh in on the outcome & settings.
 
The experience was hugely educational. As seen on the paddle on the left, I originally forgot to use a glue stick on the print surface to increase adhesion. Also, initially I printed a little too low at 225 degrees Celsius. After getting some guidance from the t-glase webpage, I increased the temperature to 235 degrees Celsius which resulted in a better finish. Using 235 degrees Celsius and a glue stick, the second paddle turned out great. Unlike the paddle on the left, which has a slightly rough temperature until I increased the temp and curling from the lack of a glue stick, the right was firm, glossy and completely flat.
 
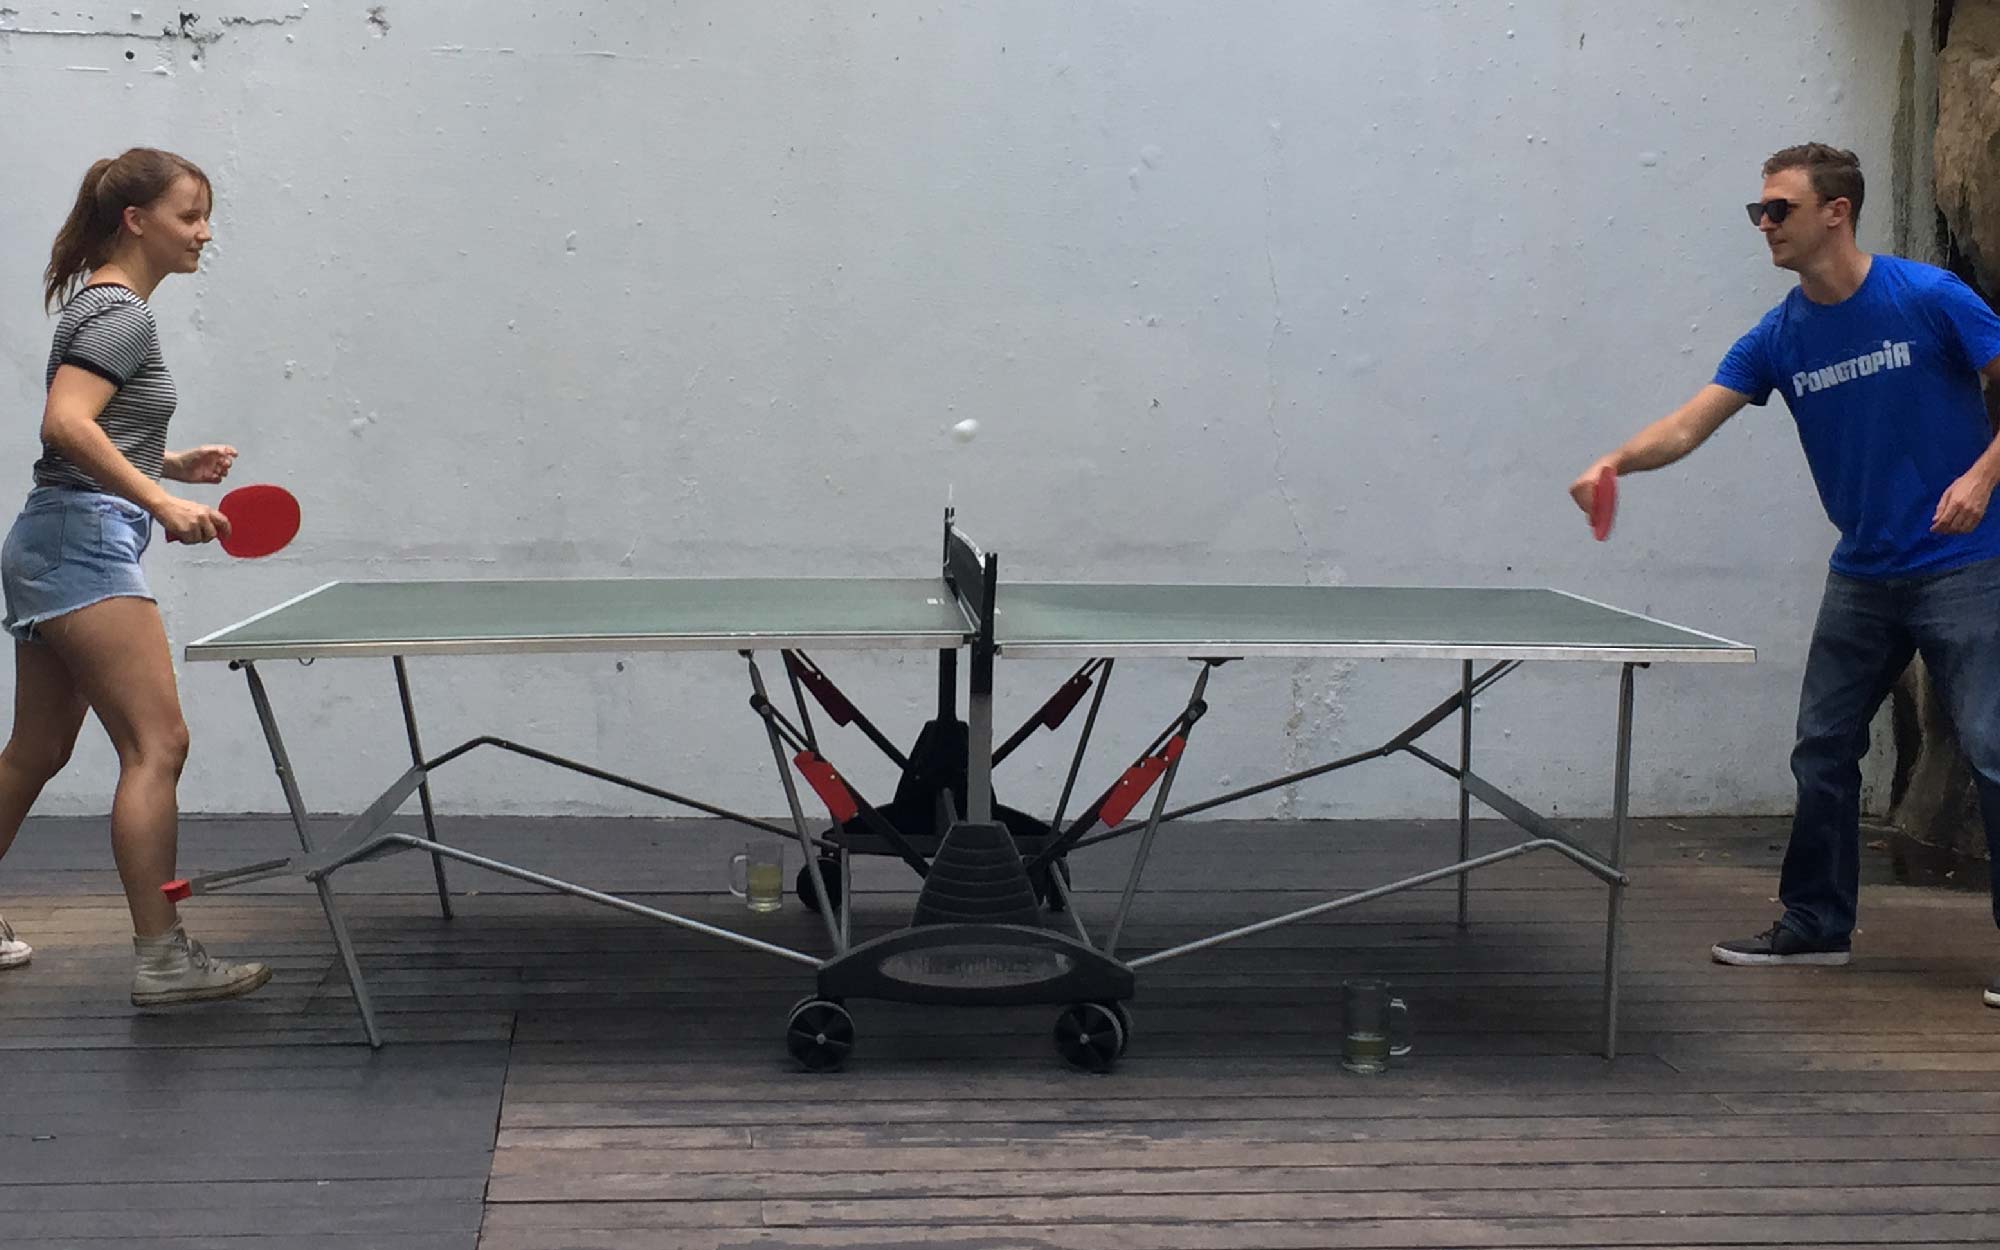
With the paddles complete I drove them to our Austin office, which is nestled downtown near Pongtopia. We agreed that the next step would be to find a proper table tennis facility to test the prints. Using their app, we discovered Easy Tiger, a casual hot spot with multiple tables set up on their patio. Prior to meeting up, I took the initiative to glue the handles together with Gorilla Glue, and press them in a vice overnight. While the adhesive was plenty strong, I neglected to consider the foam that Gorilla Glue inspires, so as you will see in the videos below, the paddles were a little less aesthetic than they could have been with clear superglue!

After playing a match and drinking a couple of pints of cider at Easy Tiger in Austin, Rebecca and Dave shared their musings on the paddle performance and applicability for 3D printing in table tennis.

Overall, despite my adhesion and profile hiccups, we give taulman3D’s t-glase two thumbs up! We’ve even decided to resell t-glase on our shopping site! The ping pong paddles were firm, but offered a slight give. Despite the 100 degree Farhenheight Texas heat, we weren’t worried about the paddles deforming in the rays. This new material gives table tennis players worldwide a unique opportunity to customize their paddles. We can’t wait to follow Pongtopia and see how 3D printing and this industry evolves!

Want to chat with the users? Reach them here:

  • David Lowe at Uberpong/Pongtopia: dave@uberpong.com
  • Rebecca, a Gigabot Ambassador: rebecca@re3d.org

Looking to chat with the t-glase wizard?

  • Tom Taulman- taulman@taulman3D.com
 
Happy Printing!

Samantha Snabes

Blog Post Author