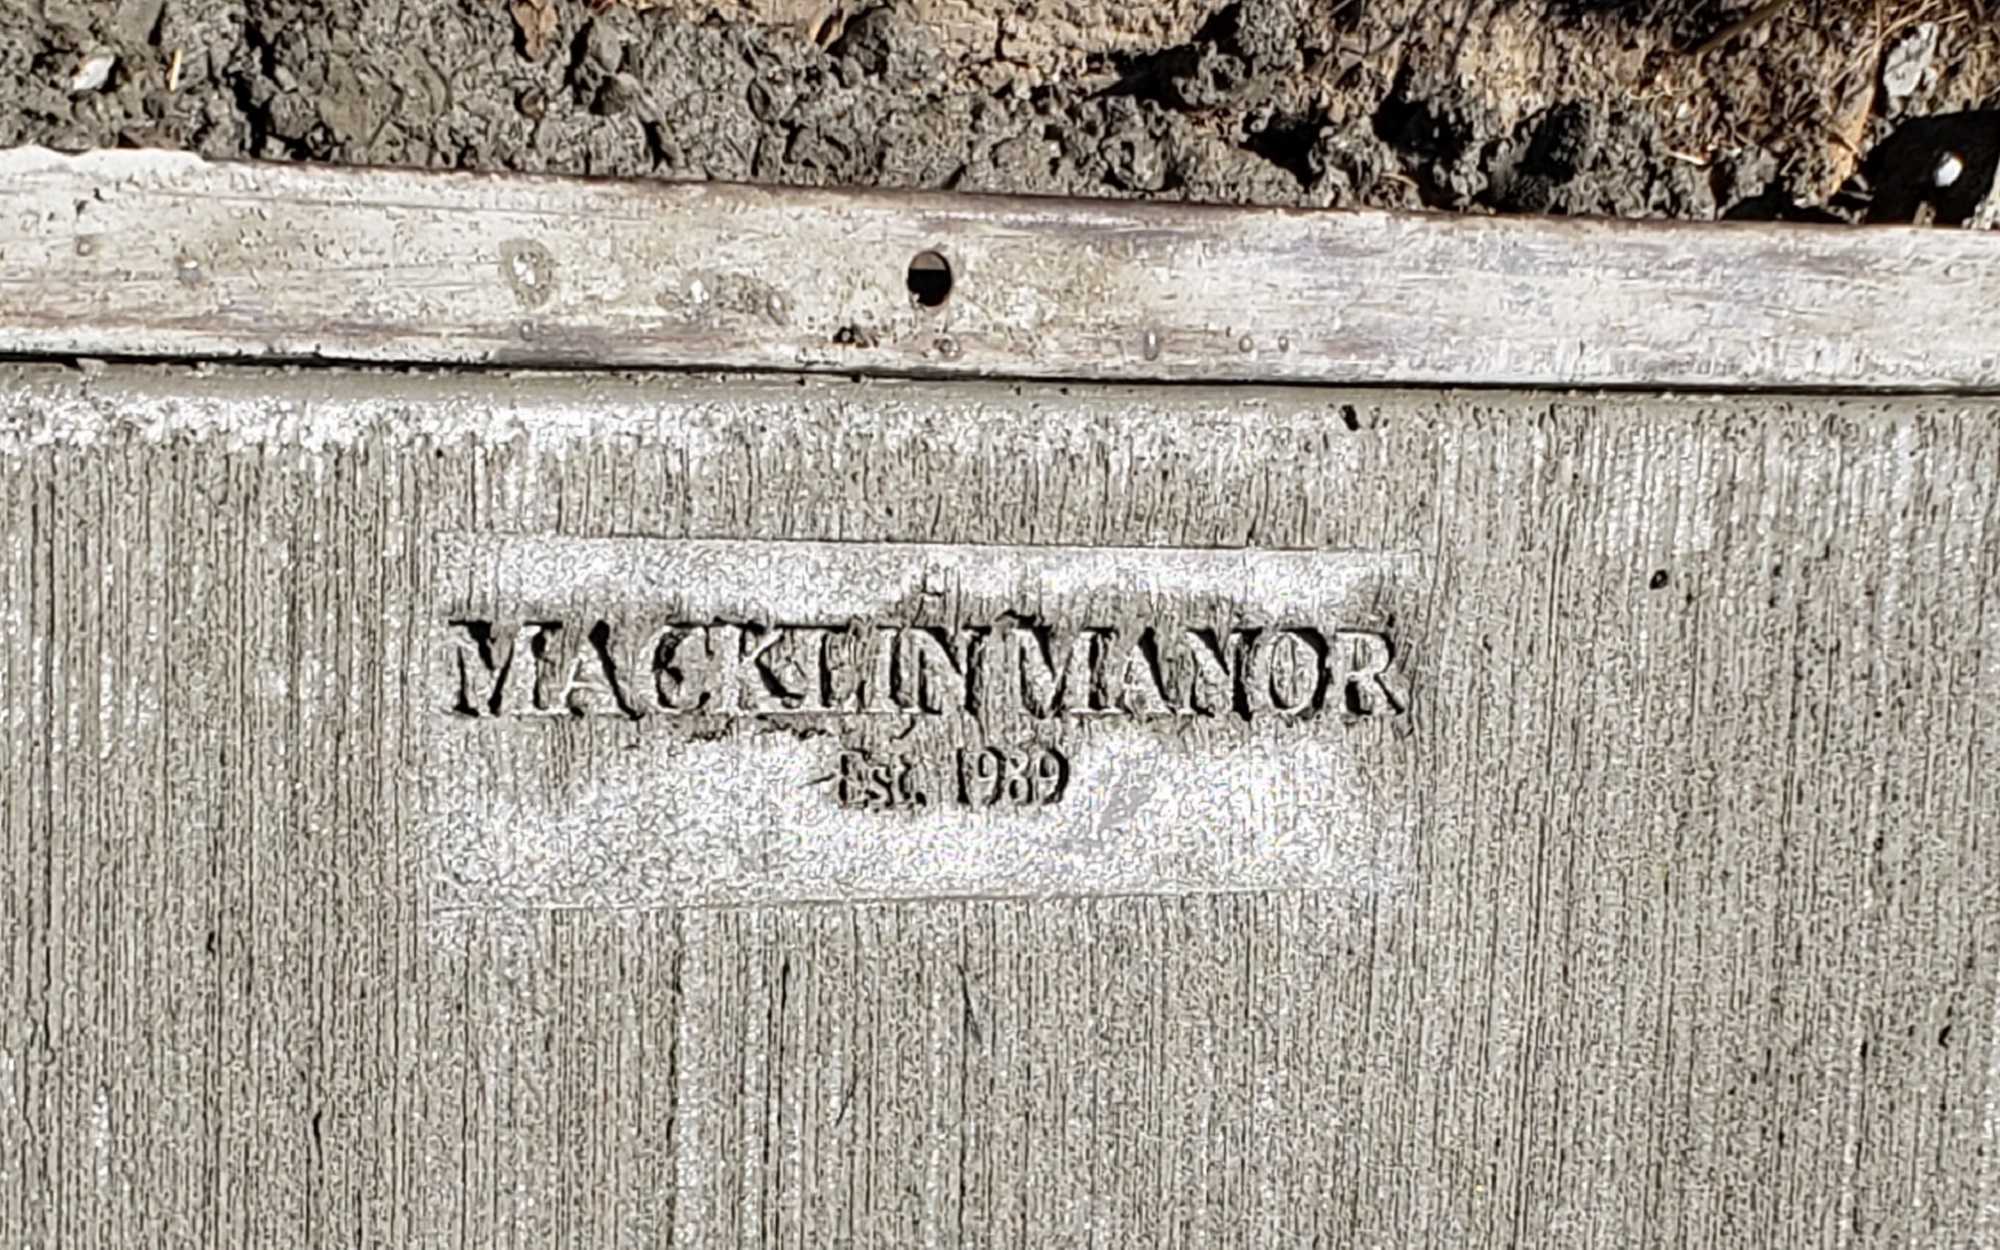
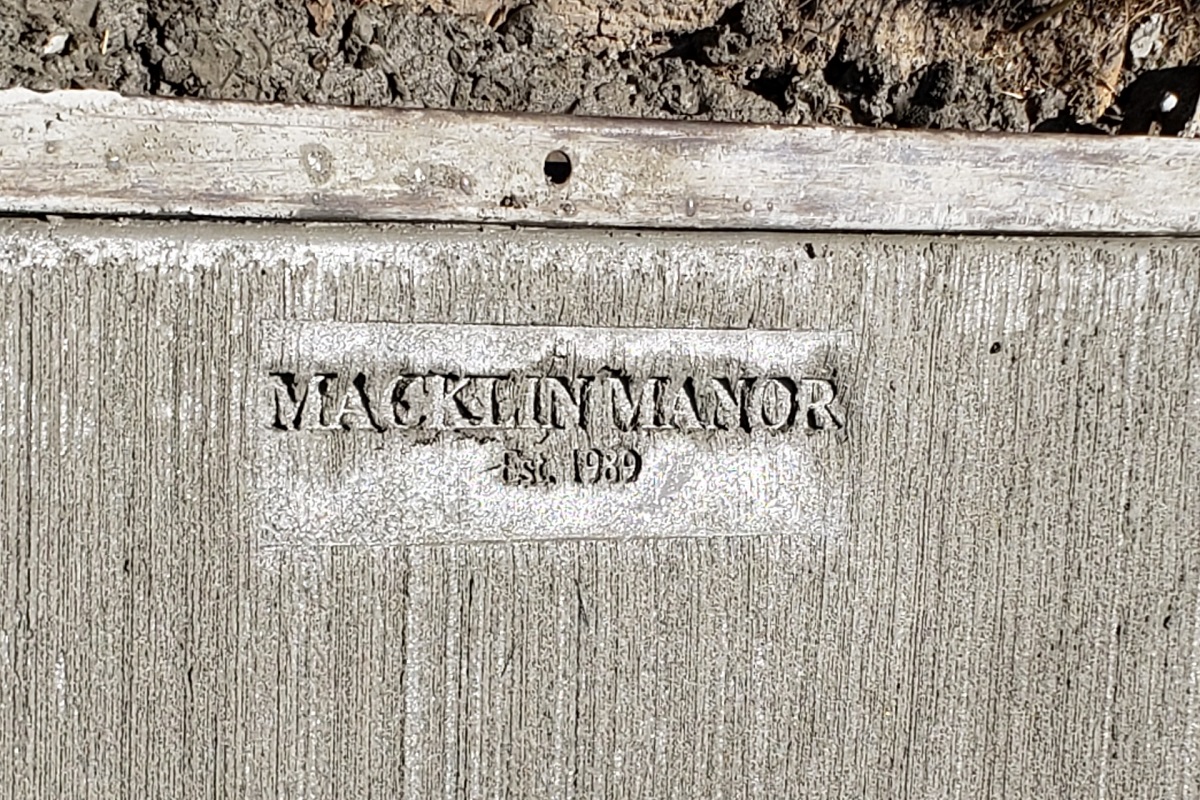
Pressed into the concrete outside the newly remodeled Holy Trinity Missionary Baptist Church in Youngstown, Ohio is a distinctive embossment, “Macklin Manor, Est: 1989.” The notation was added to honor the church’s long-serving pastor, Reverend Lewis Macklin II, a much-beloved community leader in Youngstown. What isn’t obvious about that marker however, is that the concrete stamp that made it was 3D printed.
Concrete stamping has been around since the 1950s, and the earliest stamps were made of sheet metal or even wood. Modern concrete stamps are made from molded polyurethane and have patterns that can make concrete look like brick, tile, or stone. Custom stamps are traditionally used to add company logos, building numbers, etc., but the lead time to create one is upwards of one to two months. What do you do if you need a concrete stamp and only have a few days before the cement trucks arrive? You call someone with a really big 3D printer, and in Youngstown, for Holy Trinity Church, that person was Pam Szmara.
We recently spoke to Pam Szmara with Pamton 3D Printing about the Macklin Manor project, and she shared this how-to, modified from Formlabs instructions, for how you can make your own custom concrete stamp.
Here's Pamton 3D's advice:
We recently completed a project that required us to design and 3D print a stamp capable of personalizing a concrete stone at Macklin Manor in Youngstown, Ohio. We enjoyed the project and are excited to have the capability to make small or large personalized concrete stamps for our clients’ residential and commercial projects.
So, how do you do it? How can you use additive manufacturing technology to help you personalize or preserve the history of your buildings, projects, or events?
Here’s a quick rundown of the process.
1. Draw your stamp digitally using a vector file format. You can use a software program like Adobe Illustrator or a free program like Inkscape to do this. When you have the design complete, save it as a Scalable Vector Graphic (.SVG) file, which can be imported into a CAD software to make the 3D model. Alternatively, sketch the drawing directly in the CAD software.
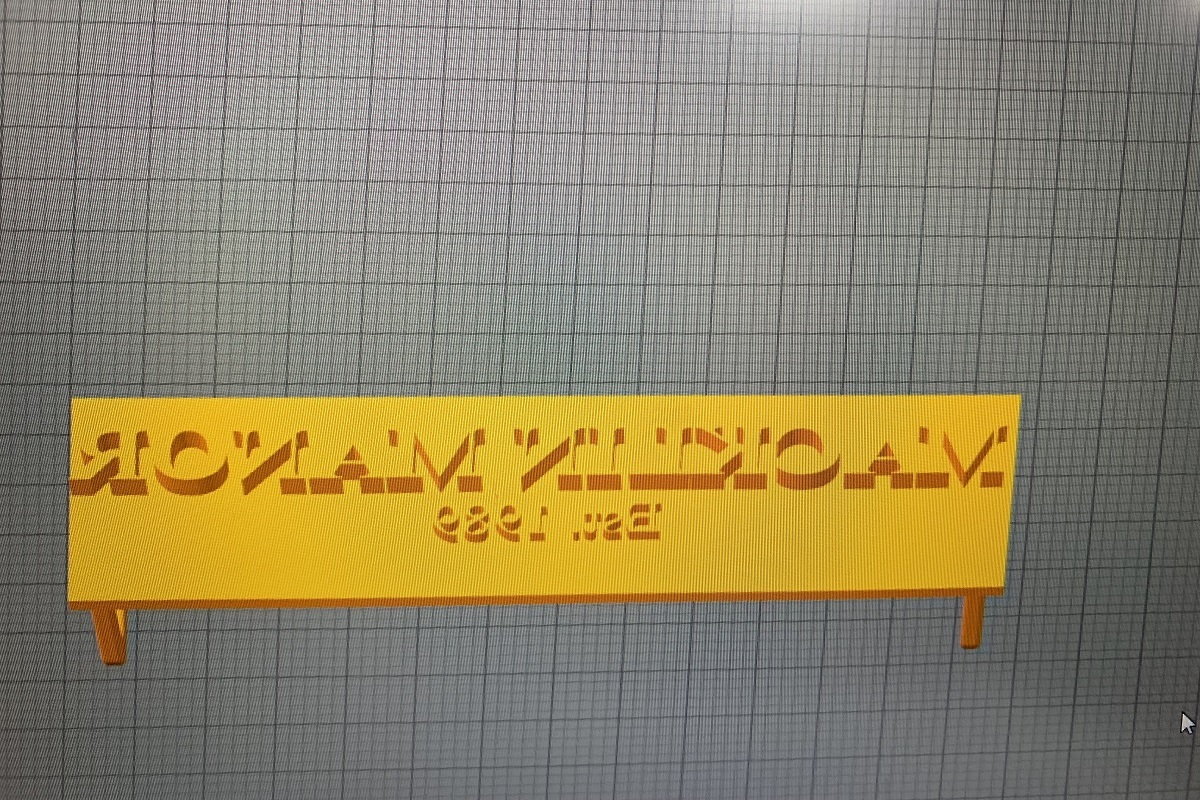
– The final design must be mirrored so that the stamp itself is the reverse of what will appear on a stamped surface.
– Use large, widely-spaced lettering and thick details so that the features read well in concrete.
2. Convert the vector design into a 3D model. Using 3D modeling software like Fusion 360, Onshape or Tinkercad, convert your two-dimensional .SVG file from a curve to a mesh. Then, extrude the mesh to make a 3d shape.
3. Add a backing plate. Add a rectangular backing plate to the shape. This will give you a flat, sturdy surface to stand on as you press the design into the concrete. We recommend the design fill up 80% of the rectangle.
4. Optional: Add a stamp handle. A handle will help you easier position and remove the concrete stamp, however it will make your stamp require support material when you print it, so this is why it’s optional. The handle should be a C-shape attached to the opposite side of the backing plate from your design. Make the handle thick and robust, so it won’t snap when it has to resist the suction of the concrete.
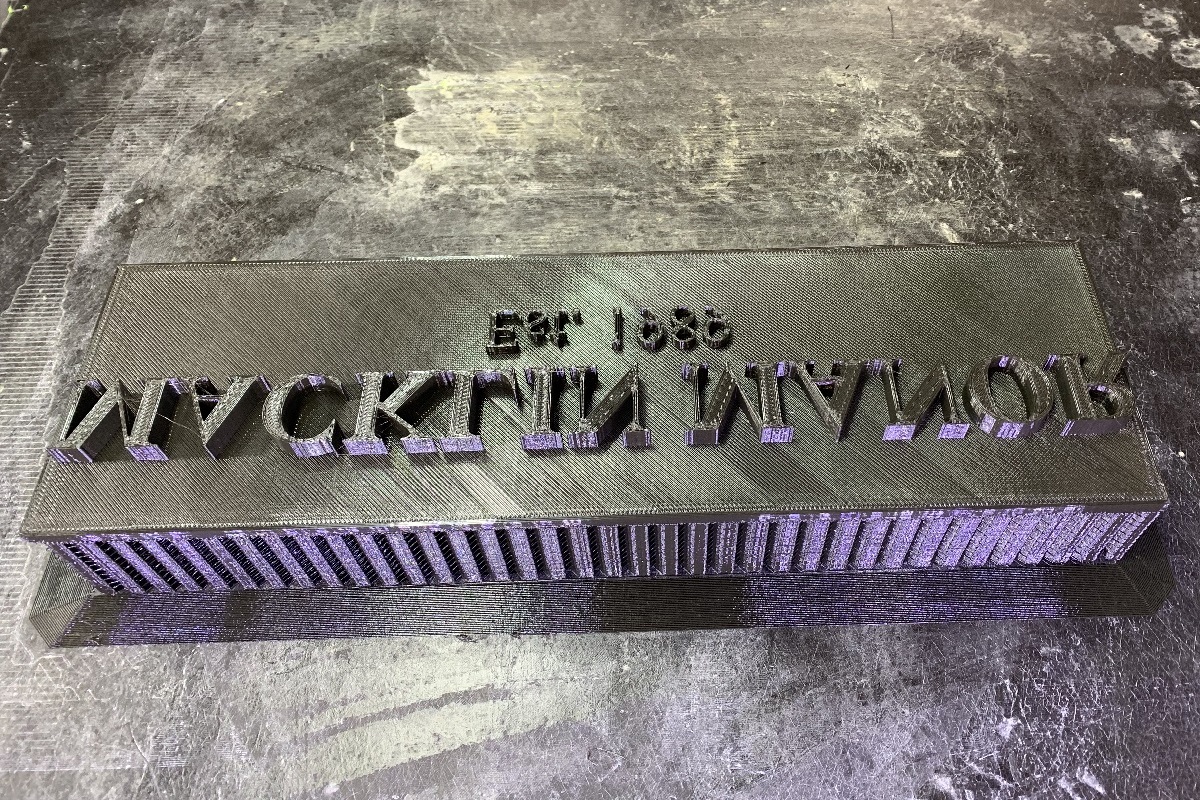
5. Export the file as an .STL file and slice your print. For the Macklin Manor project, we used a good quality PETG to print the stamp. You can also use a TPU filament like Ninjaflex Cheetah, to make the stamp flexible, but that does have a higher material cost. Whatever you go with, position the STL to print with the handles down, and the design facing up. Slicing at a standard resolution (0.3mm layer height or similar) is perfect for a concrete stamp.
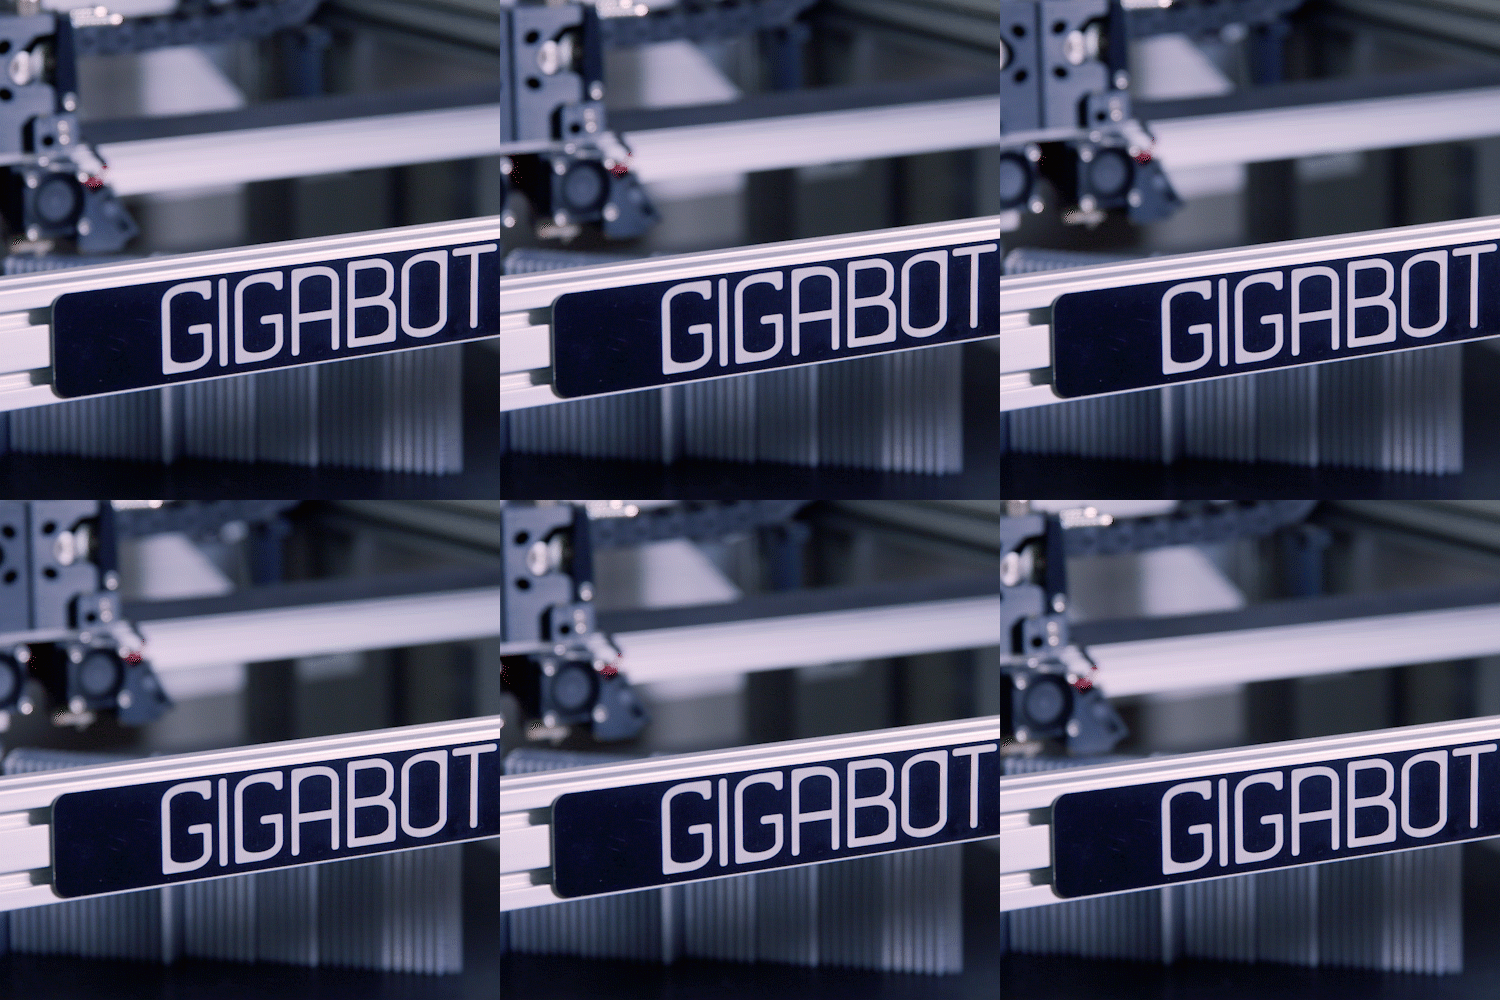
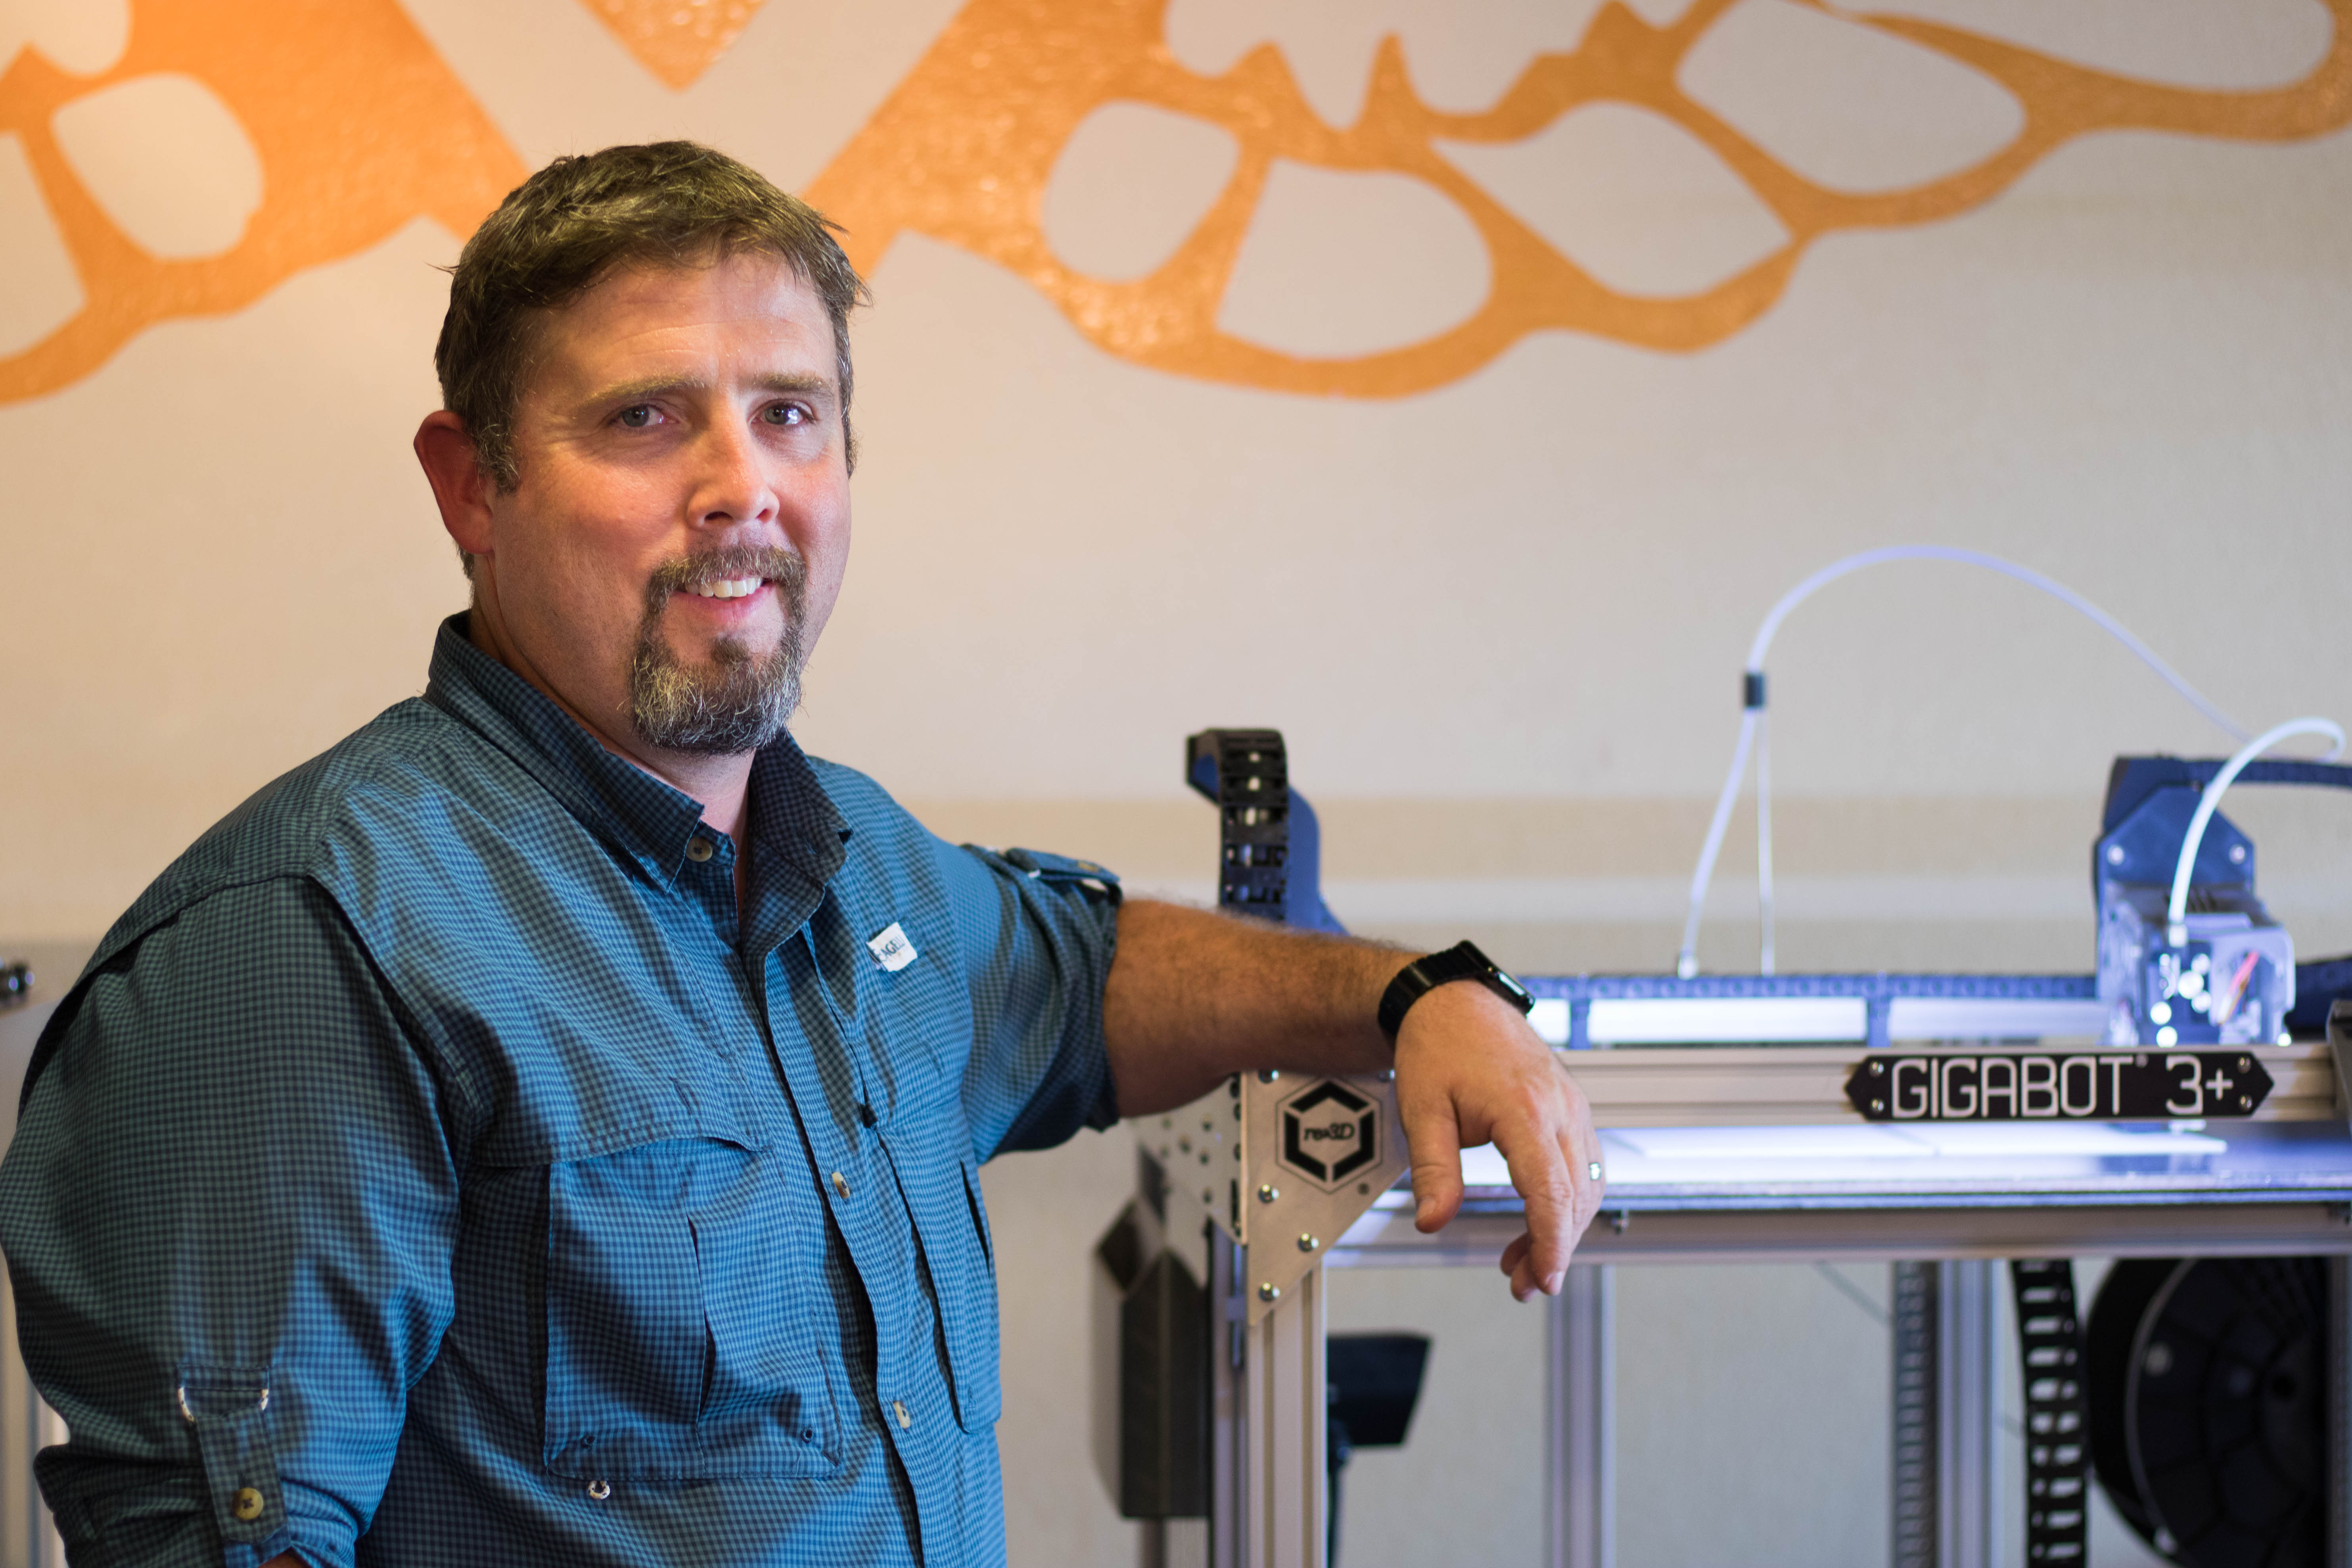
6. Start the presses. It’s go time. Print your stamp on a large format 3D printer, like the re:3D Gigabot 3+ we use at Pamton 3D. Depending on the size of your stamp, it will take half a day or more to print your stamp, so crack open a beer and relax.
7. Start stamping. Now’s the time you’ve been waiting for. When pressing it into concrete, stand on the stamp if necessary, and if you mess up, pull it out, hose it off, and try again! You can use your new concrete stamp for whatever you want. You’ll be able to make your mark on all kinds of business or personal projects.
Not wanting to make it yourself? Next time you need a custom stamp for your concrete project, we’re ready to help. Get in touch with Pamton 3D for a free quote or to talk about your 3D printing needs (but maybe give us a bit more than a couple days’ notice!)
Not in Ohio like Pamton 3D? re:3D Design and Contract printing services ship worldwide, and we’re always available to provide you 3D printers, 3D prints or 3D models to meet your needs.
Charlotte craff
Blog Post Author
