The Greneker office strikes me as a place you wouldn’t want to be stuck wandering at night, what with the bodies lurking around each corner. I scheduled my visit for early afternoon.
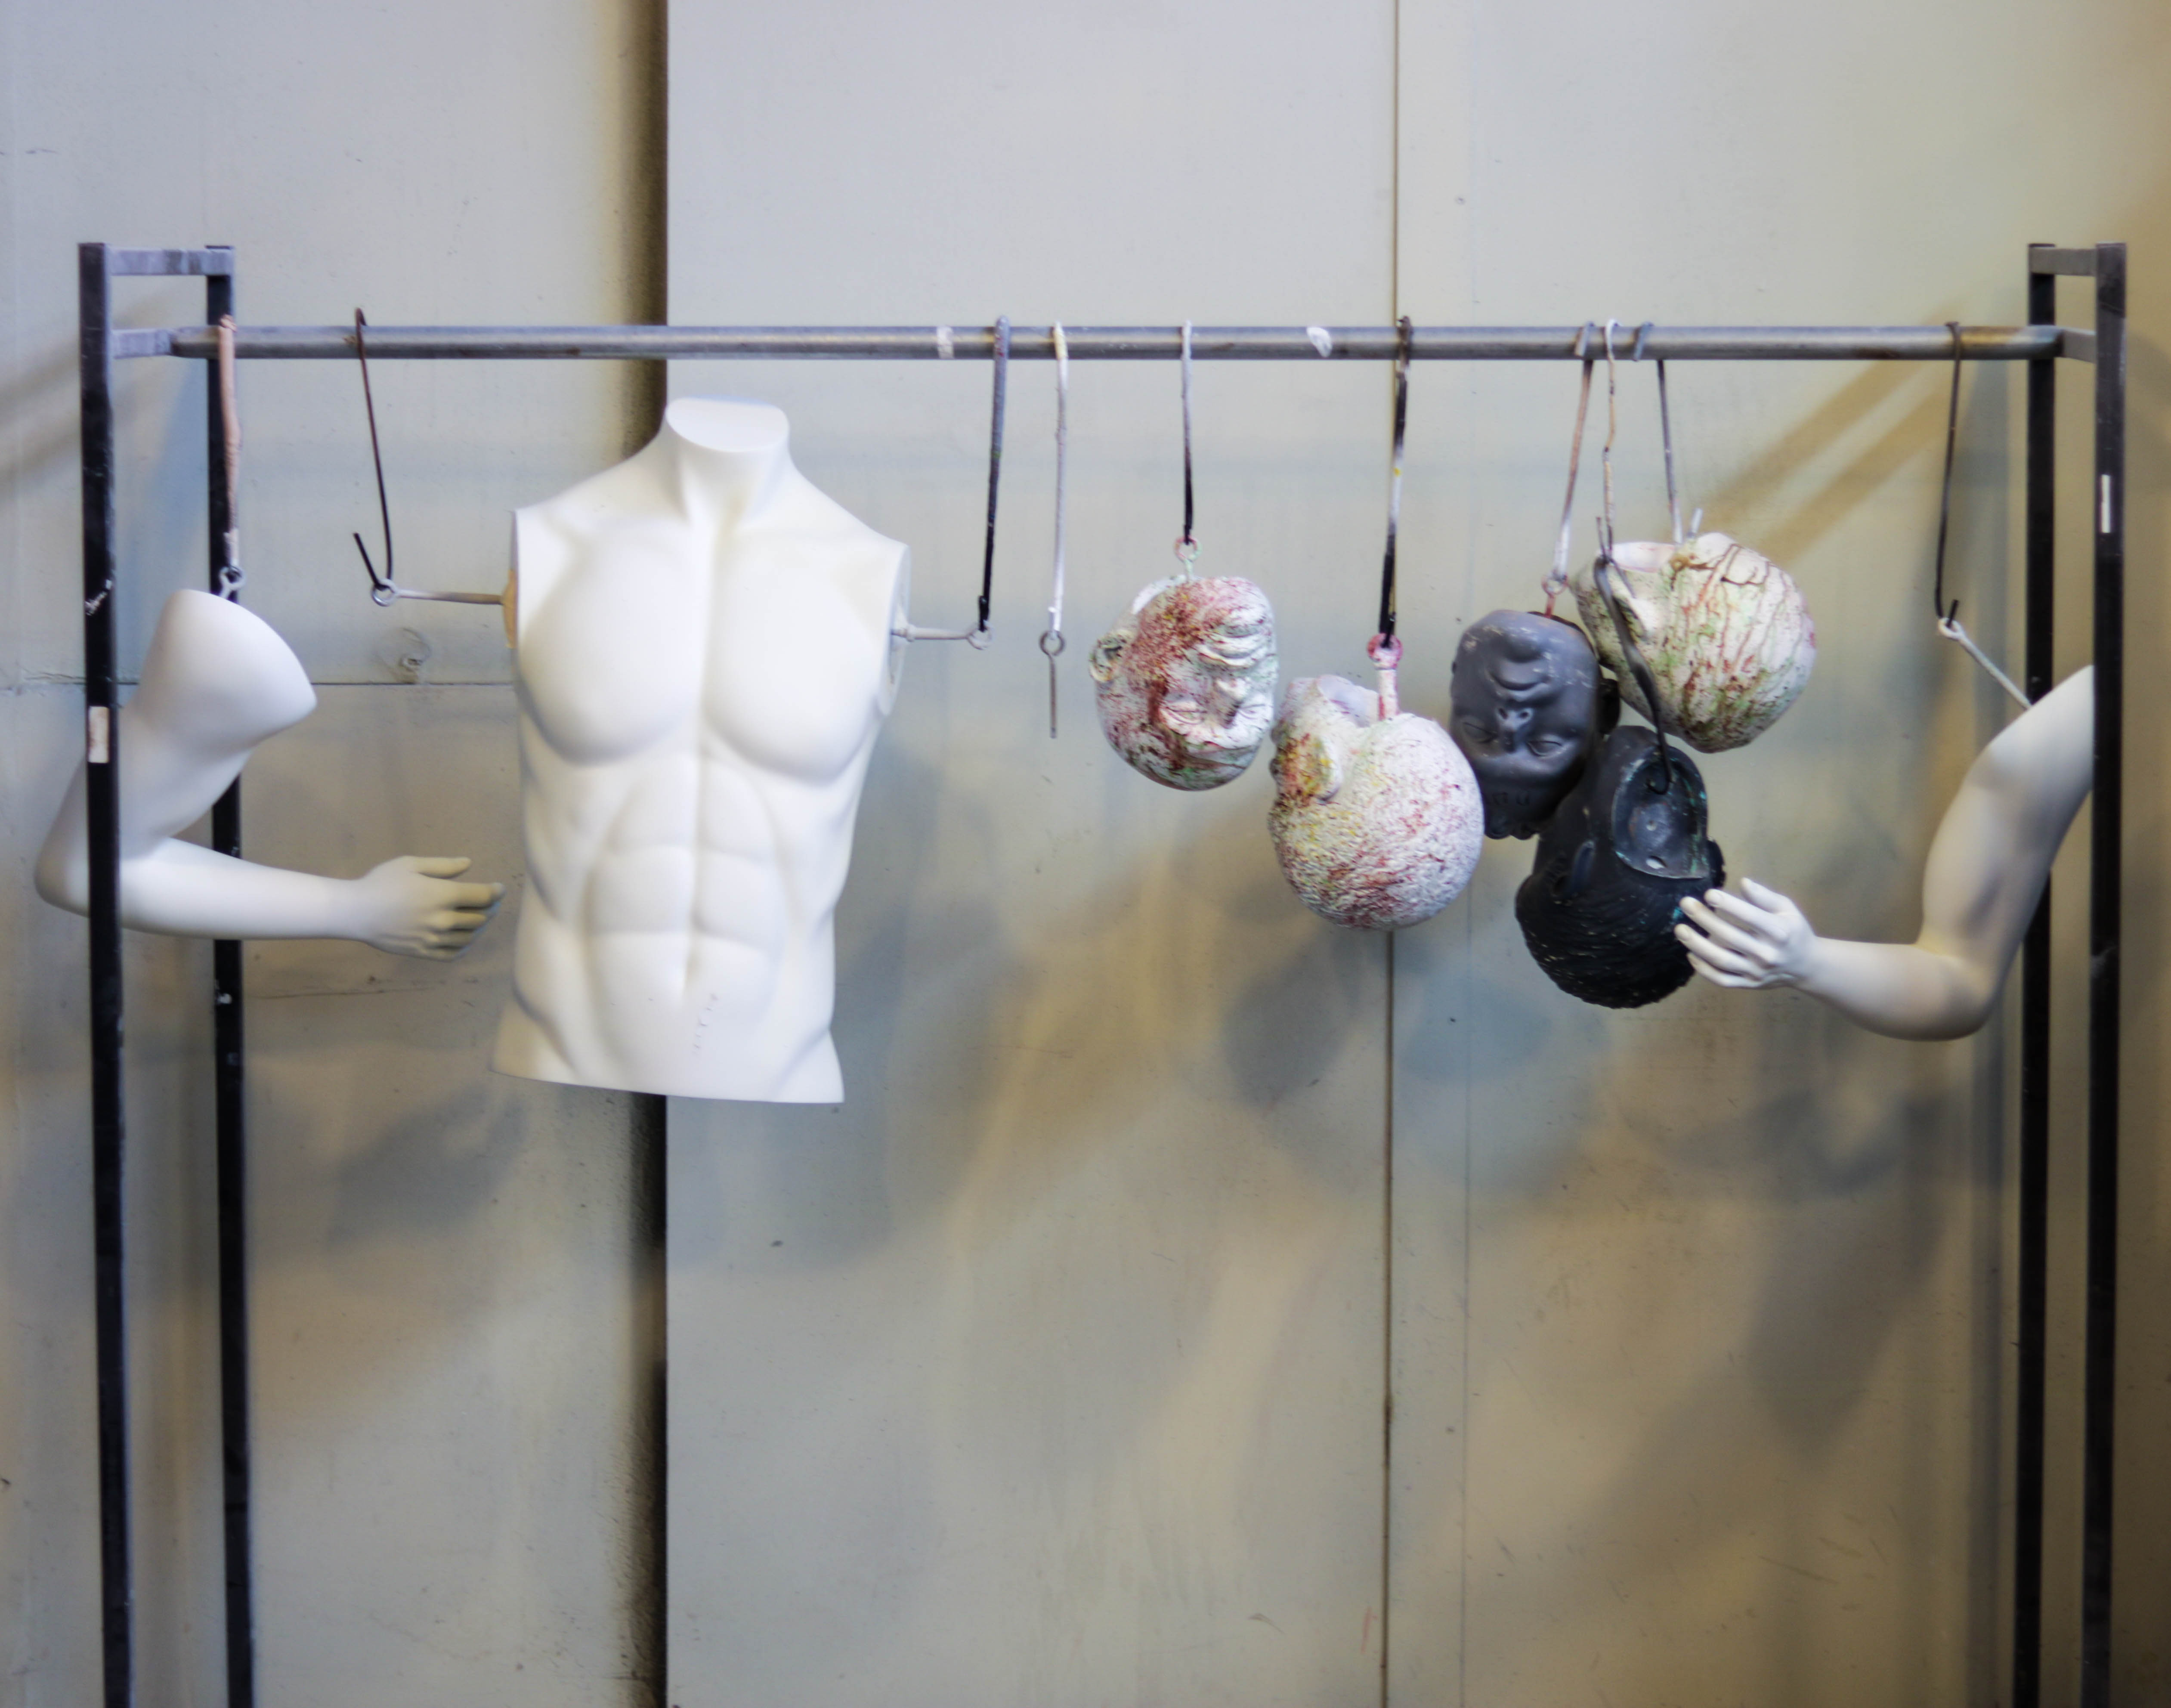
Greneker is a mannequin manufacturer based in Los Angeles, California. They’ve worked to stay cutting-edge in their industry since they started in 1934, always keeping pace with the latest groundbreaking materials and manufacturing methods, like moving from plaster to fiberglass around World War II.
They’re proving that even an entrenched player in the game isn’t too old to learn new tricks: their latest foray is into the worlds of digital and 3D printing.
Steve Beckman is President & COO at Greneker, and he’s been a part of the evolution of the company over the last 2+ decades as they’ve set themselves apart in their industry.
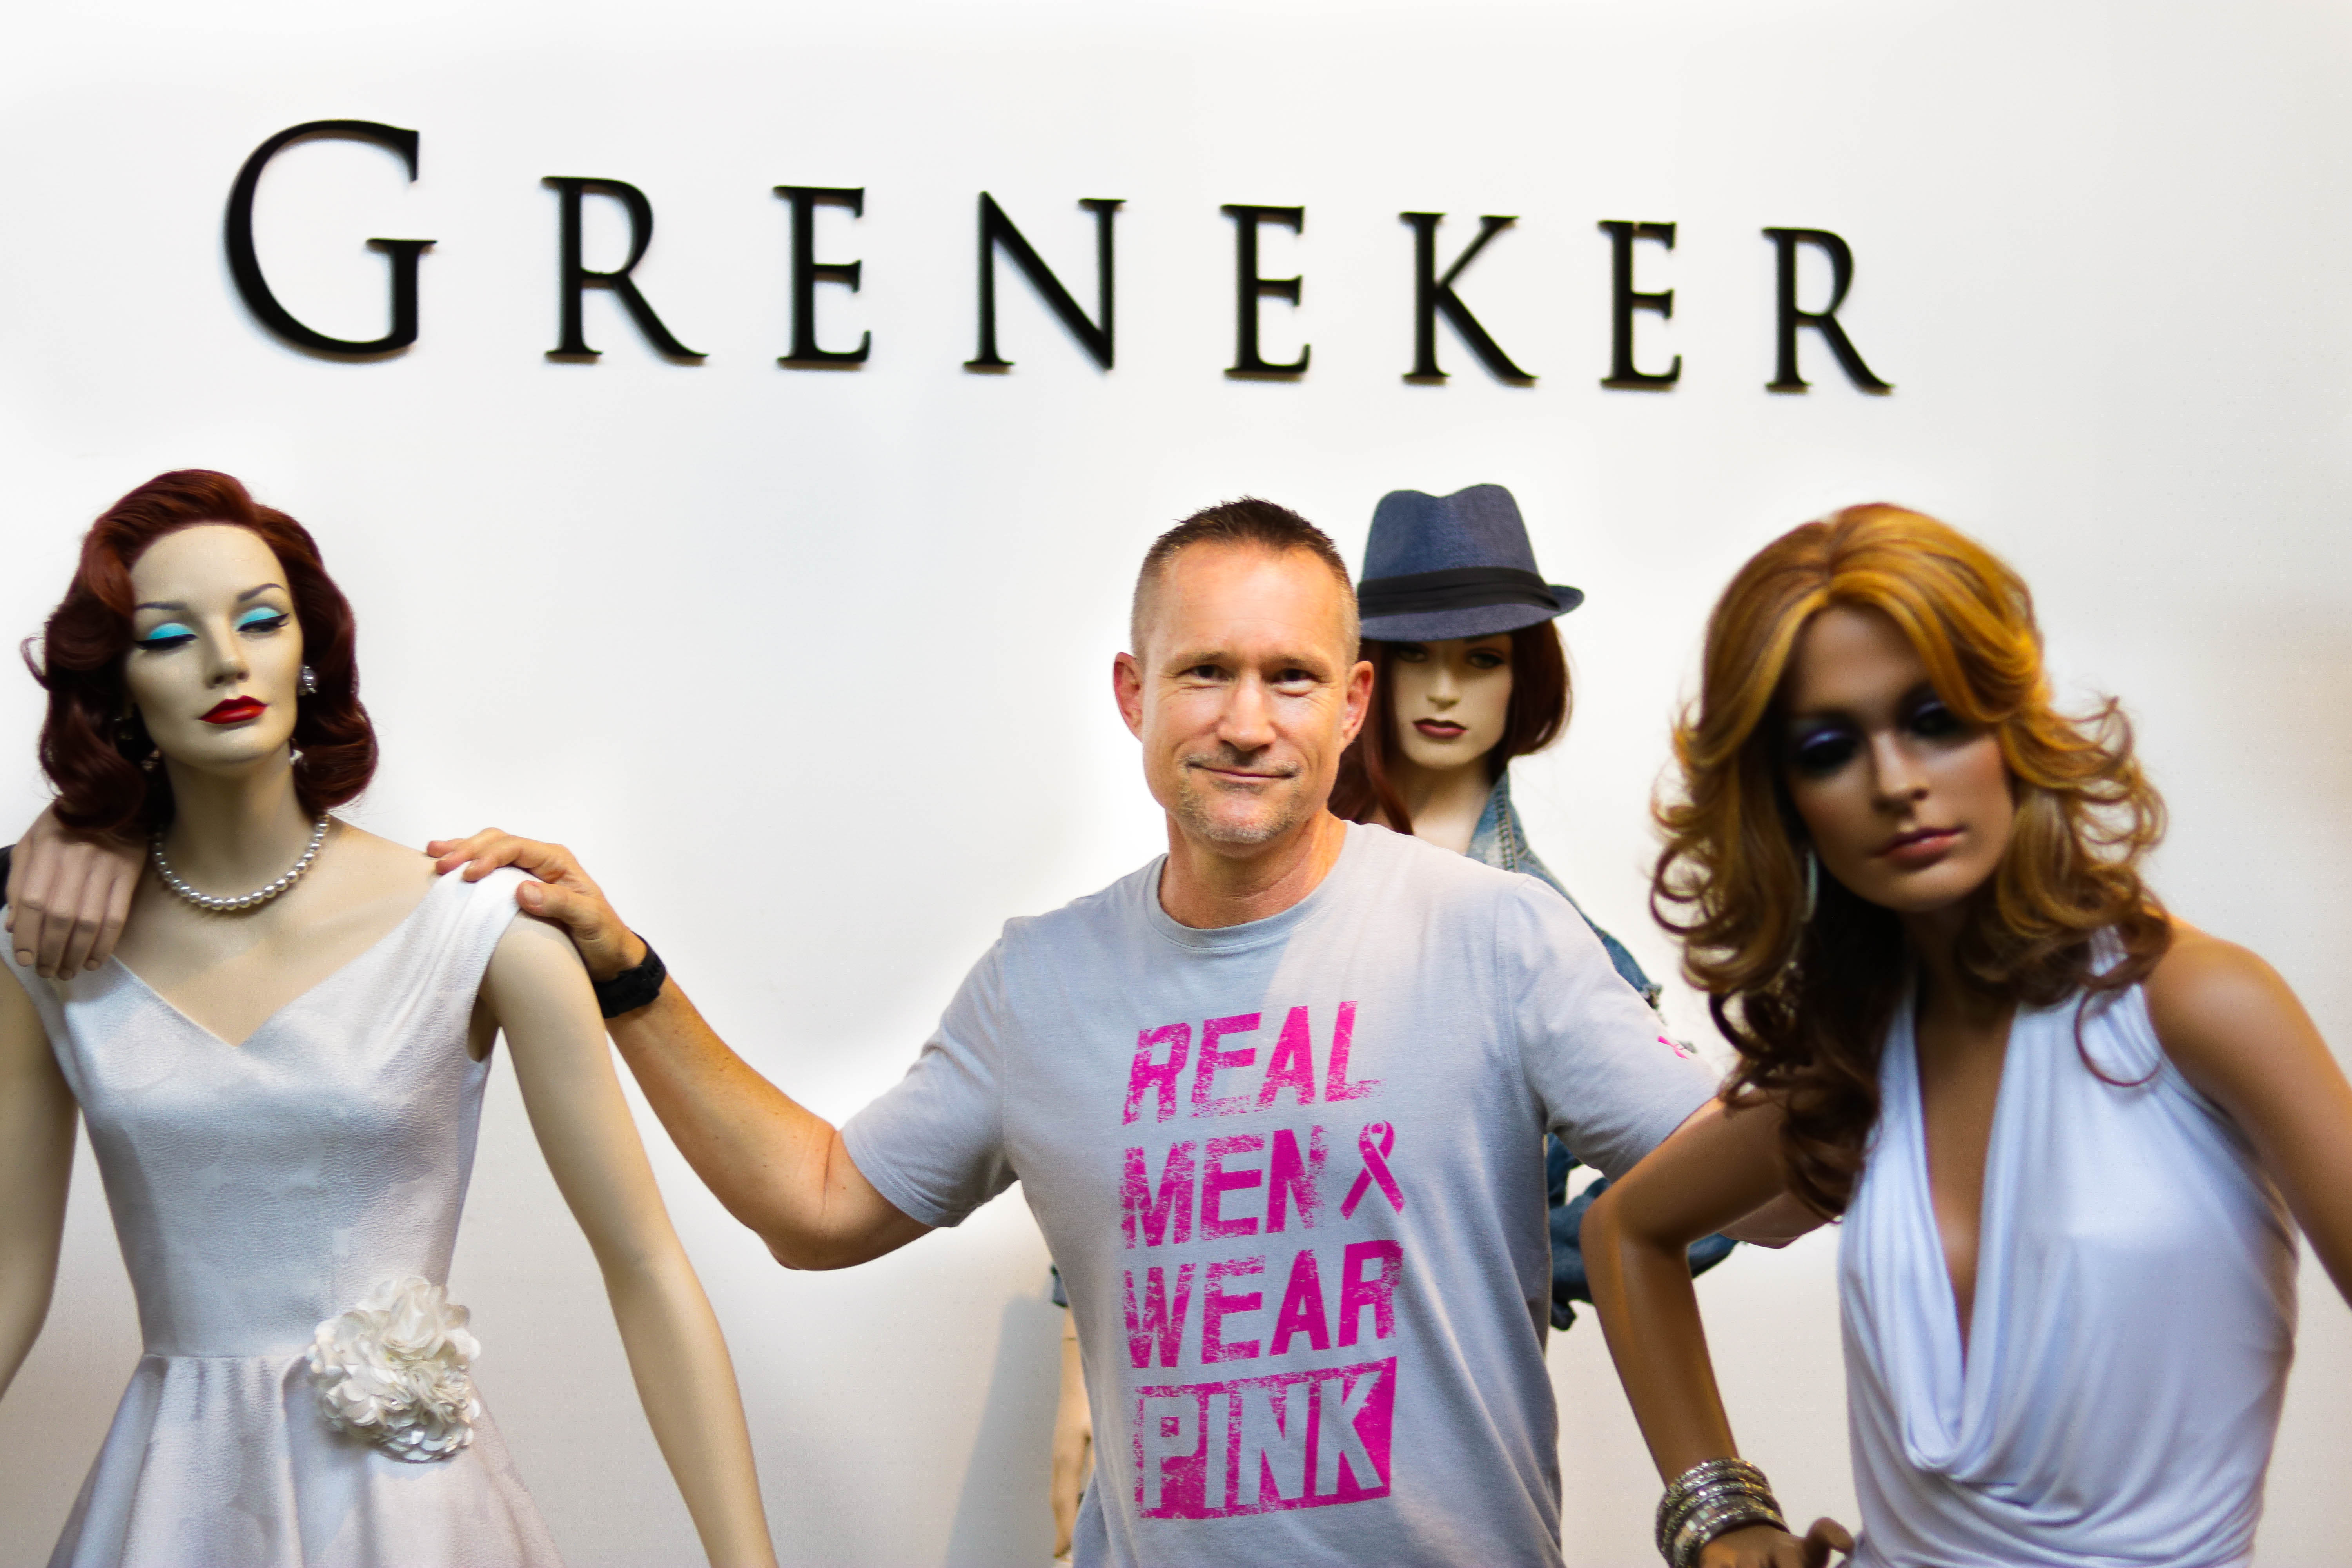
When I started with this business, we would get together as a group, we would look at the trends in the marketplace, and we would develop a line based on what we saw happening in the marketplace at that time.” It was a big gamble – the process was both costly and time-intensive – but that was just business as usual for them. “That was done with clay sculpting, so we would start with armatures and clay, go through the process ourselves, create an entire line of mannequins, and really just kind of rolled the dice and hope that it would sell to that market.”
Whereas they began by working independently from apparel manufacturers, Greneker found themselves doing more and more custom work for specific clients. They found their niches in the athletic wear and plus size markets, and working with big-name clients like Under Armour and Adidas in the clay design process provided its own set of challenges.
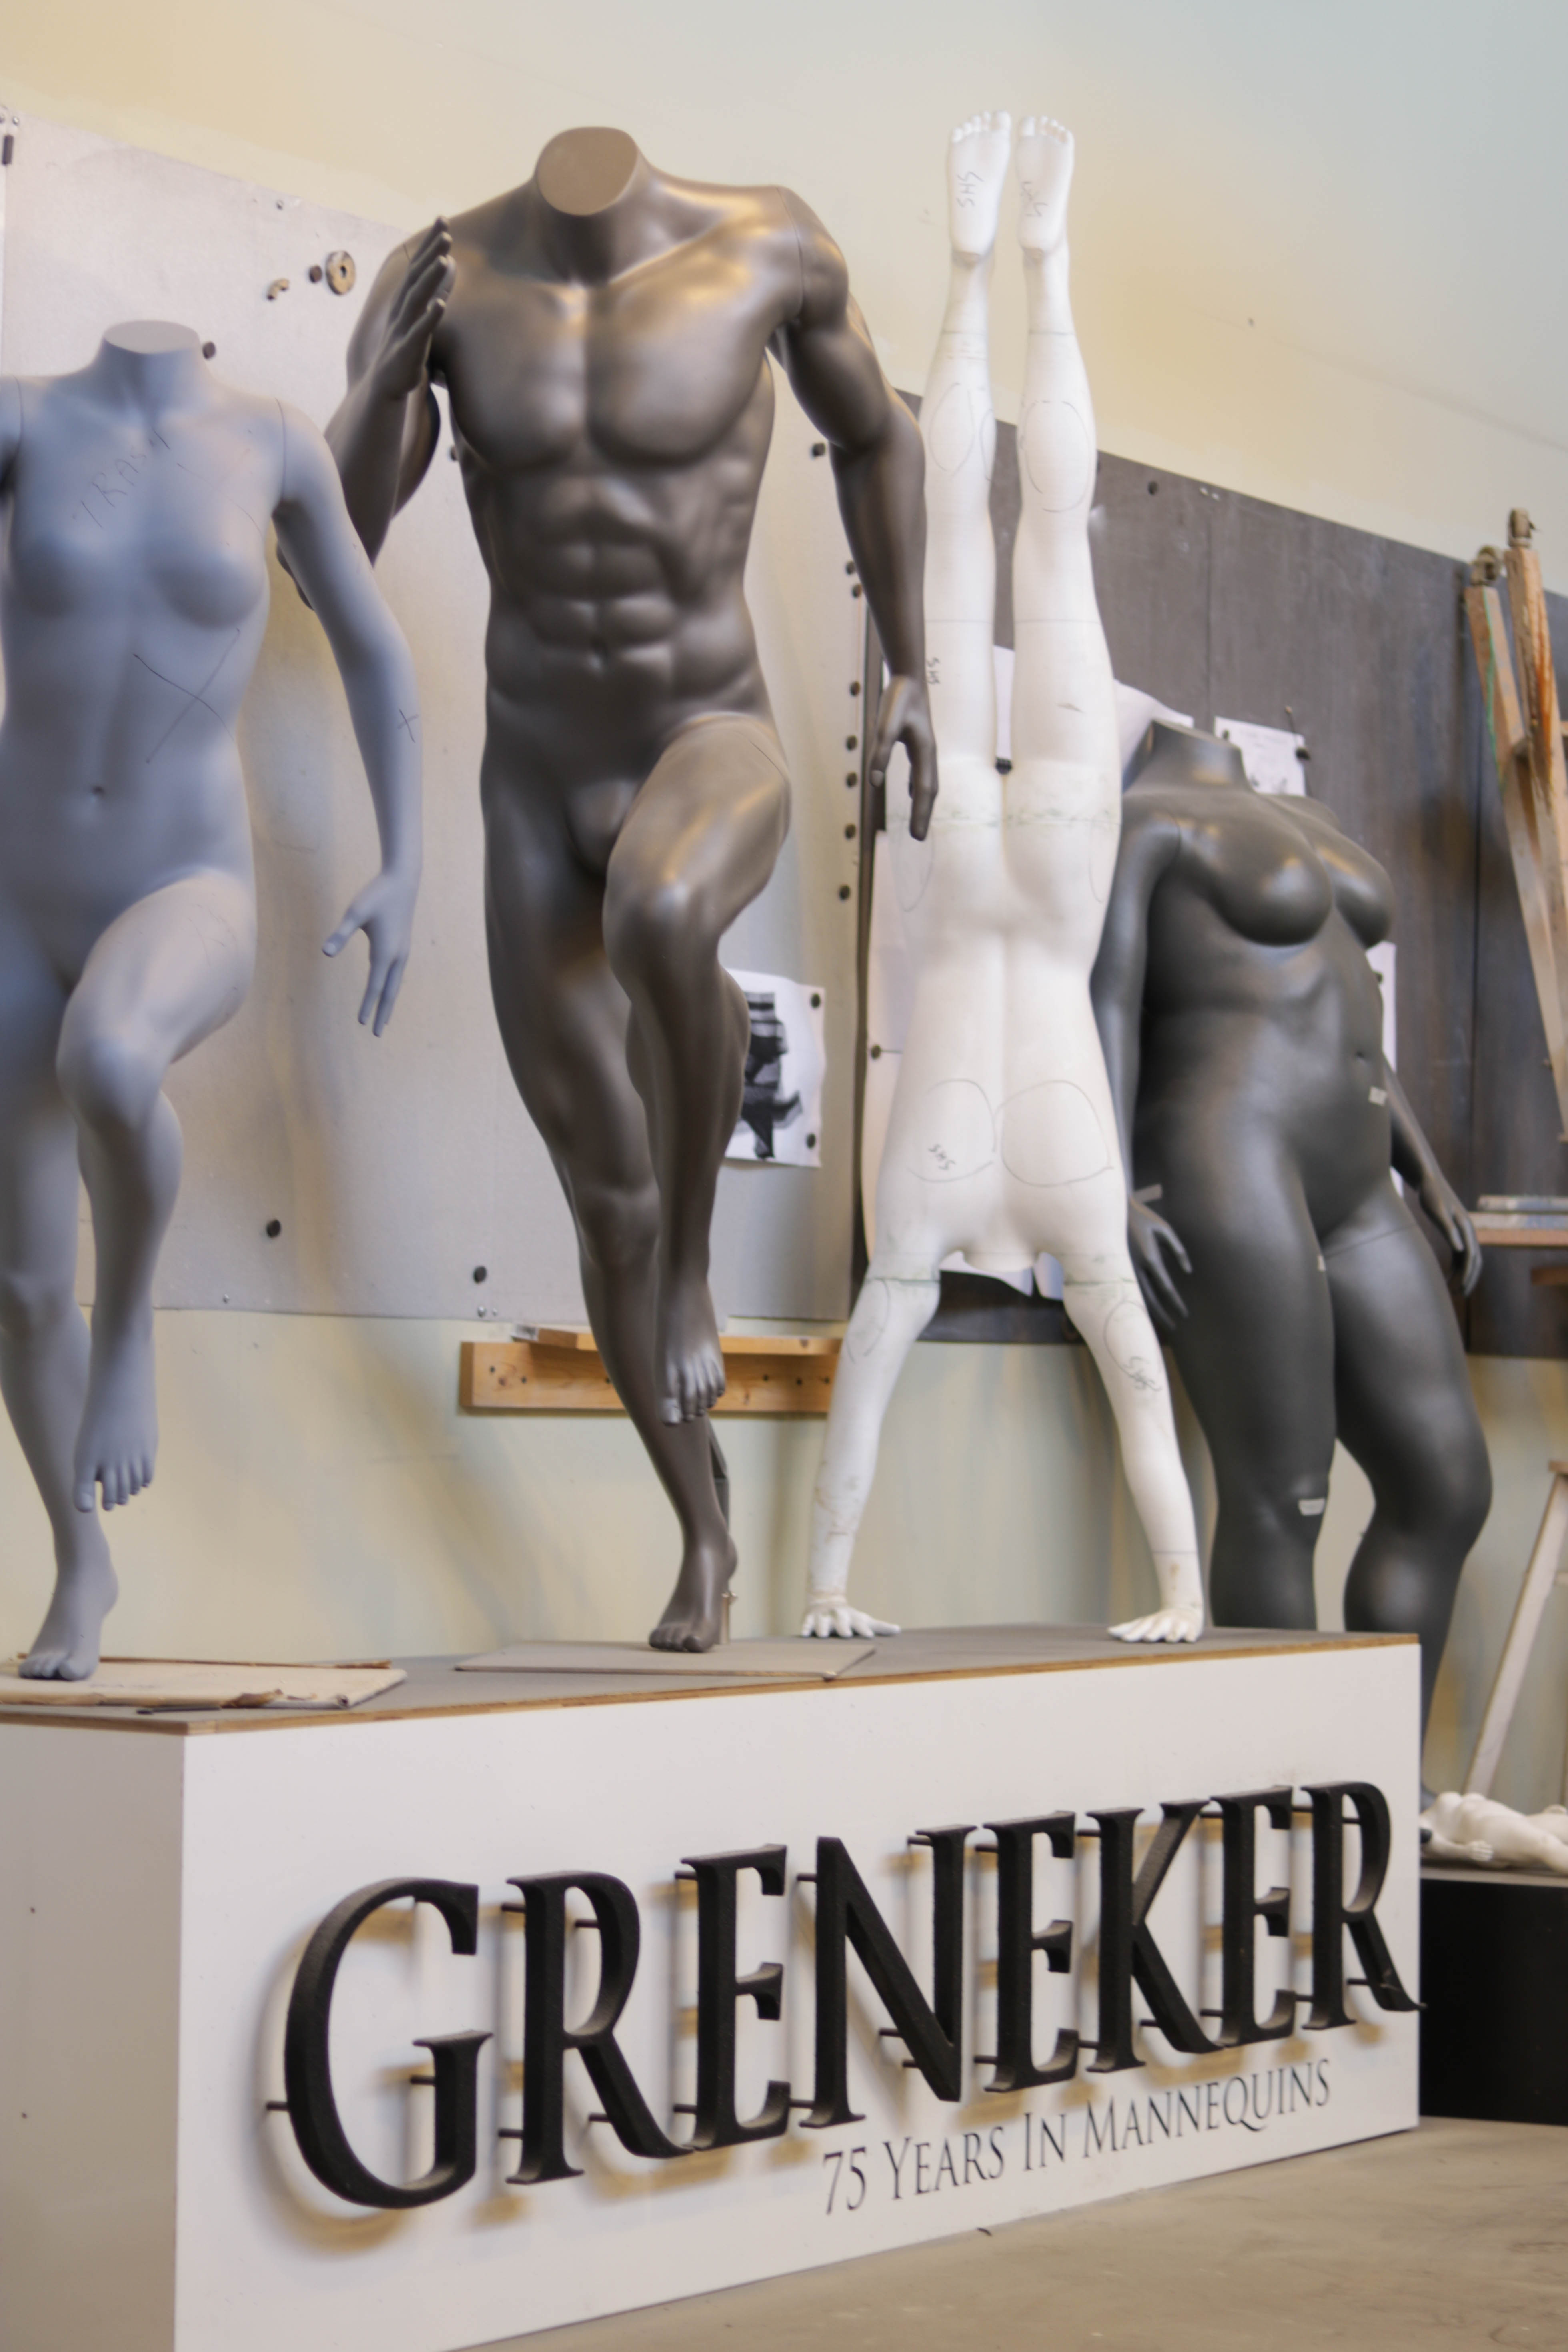
“It was a very long process to develop a line of custom mannequins,” Steve explains. “We would have to spend a great deal of time upfront with a client trying to figure out what they were looking for, what the poses were, what the dimensions were, what sizes these pieces were. The armatures would be set up by hand, the sculpting would be done by hand in clay. It would require several visits of the client on premises before we got an approval to move into the molding process to begin production.”
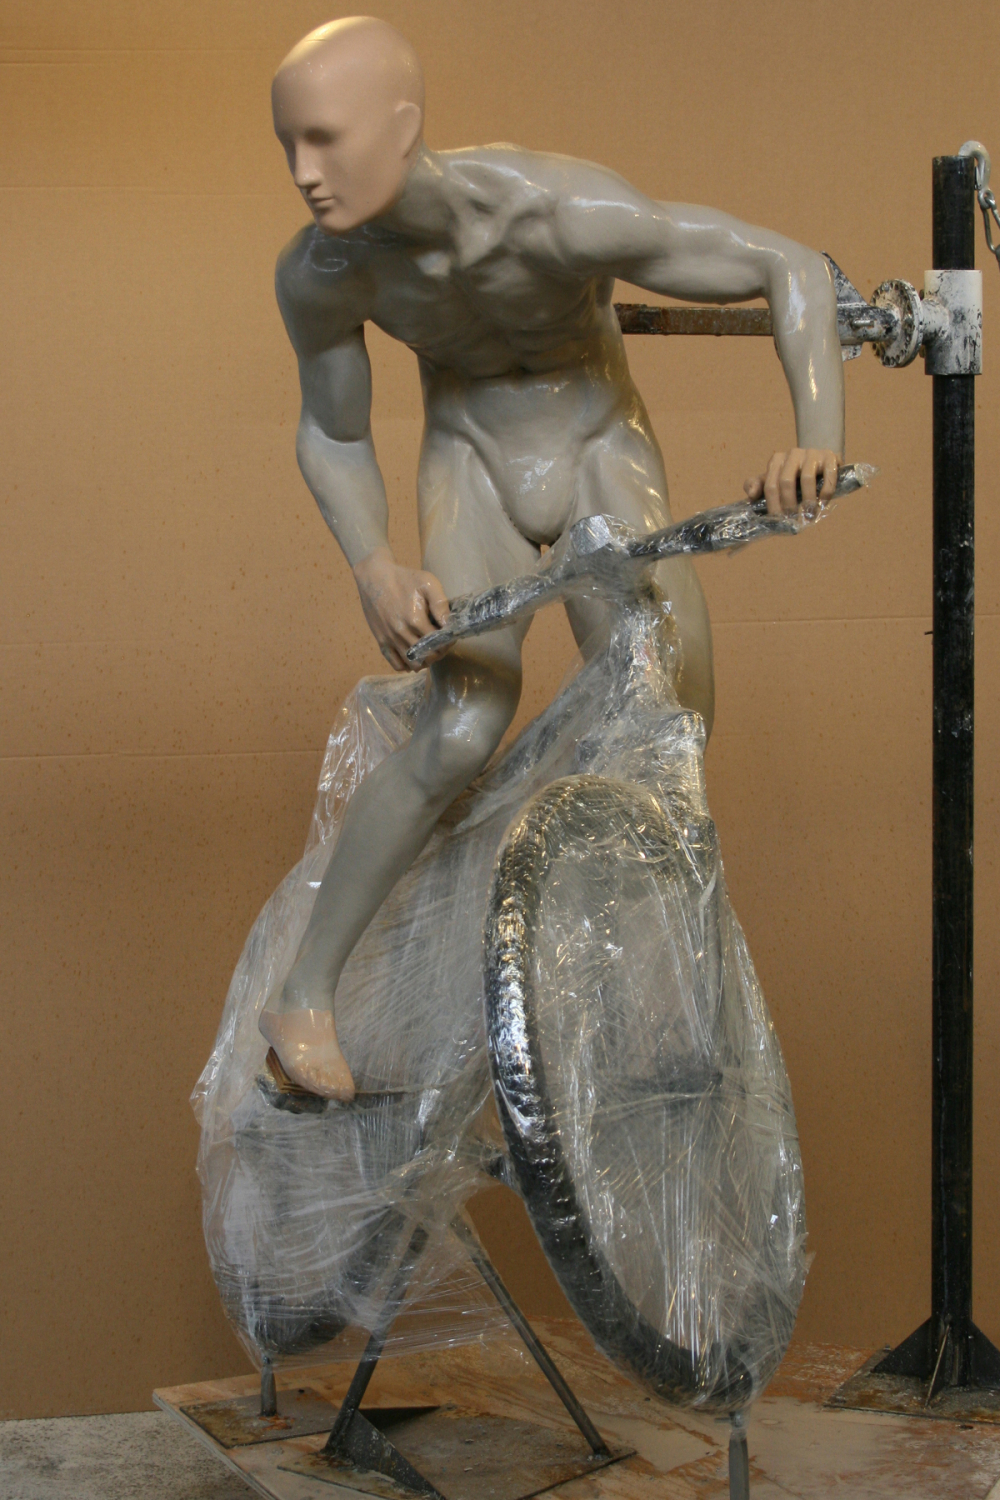
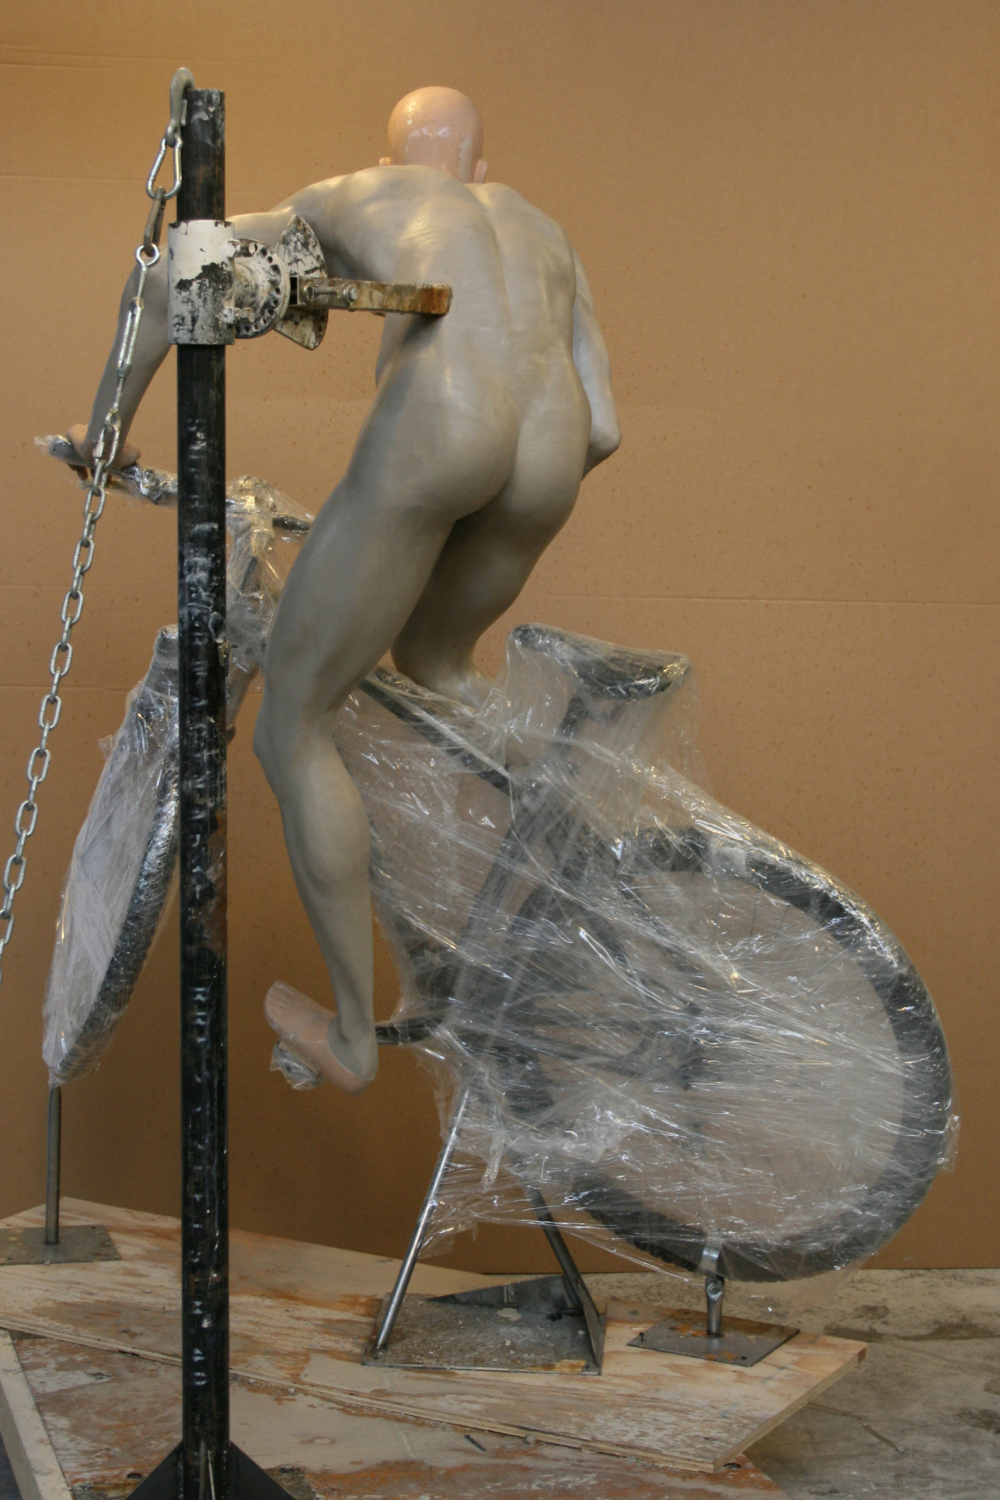
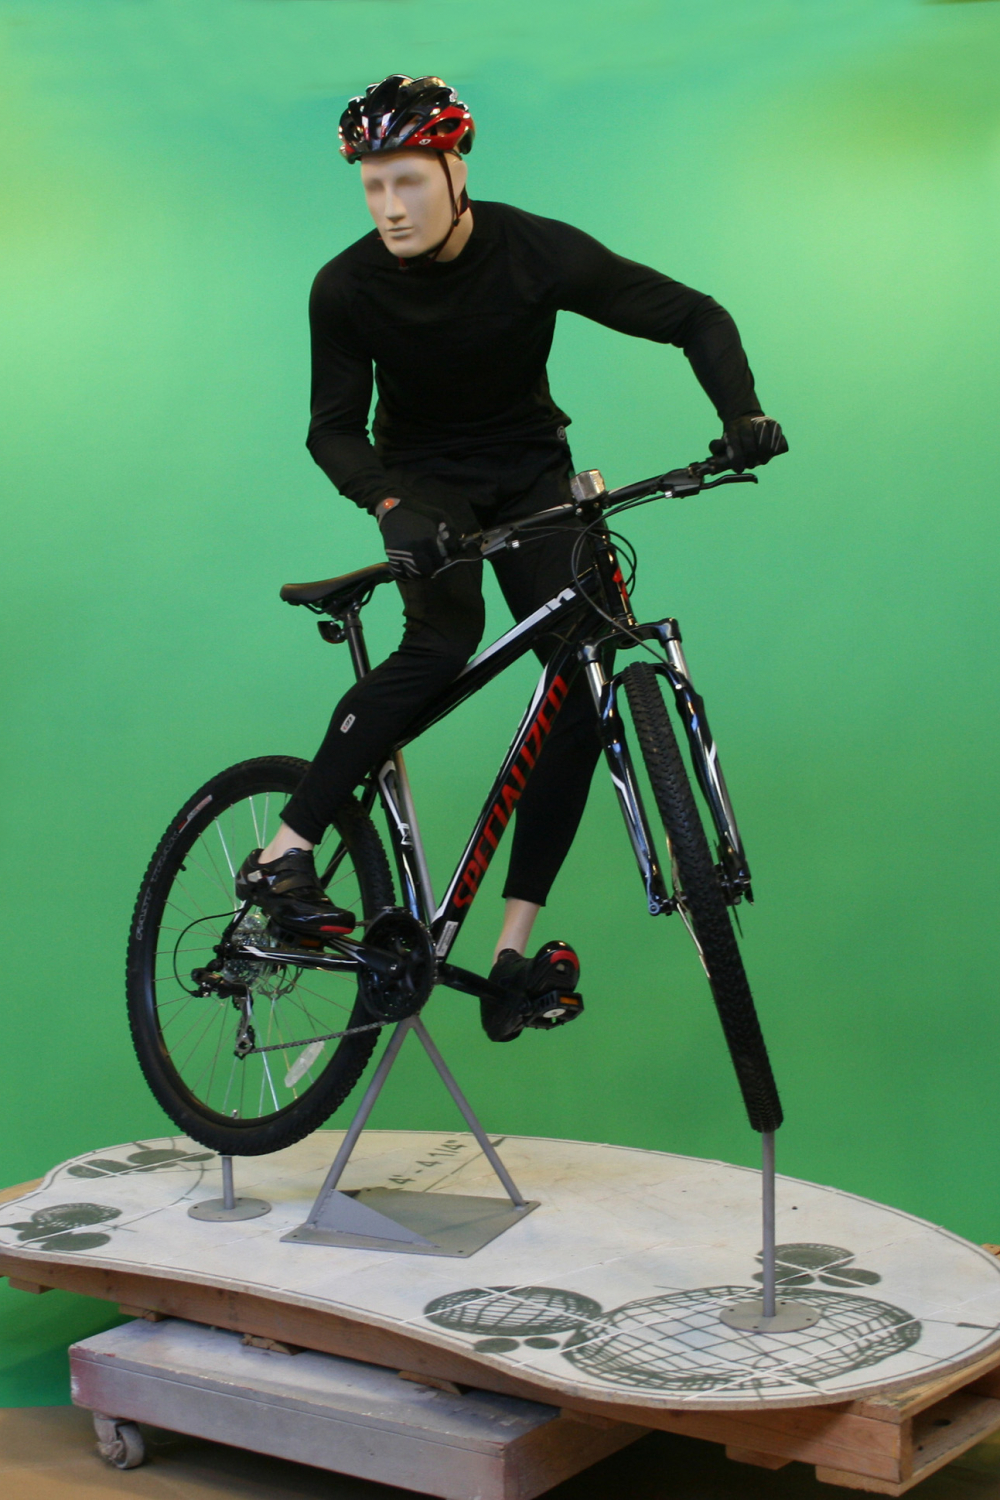
When working with athletic apparel clients, the challenges multiplied. As they started to get into sports-specific activities, posing came to be of utmost importance. “The poses are either accurate or they’re inaccurate,” Steve says. “If you try and put a golf mannequin in a golf shop and he is not in the proper position, the mannequin will be ripped apart by patrons.”
If you want to talk with someone about whether Greneker is in fact a creepy place to be stuck at night, Daniel Stocks is your man. As Senior Sculptor at Greneker – or Sculptor Extraordinaire, as Steve tended to refer to him – he’s the one responsible for following through on all those client requests.
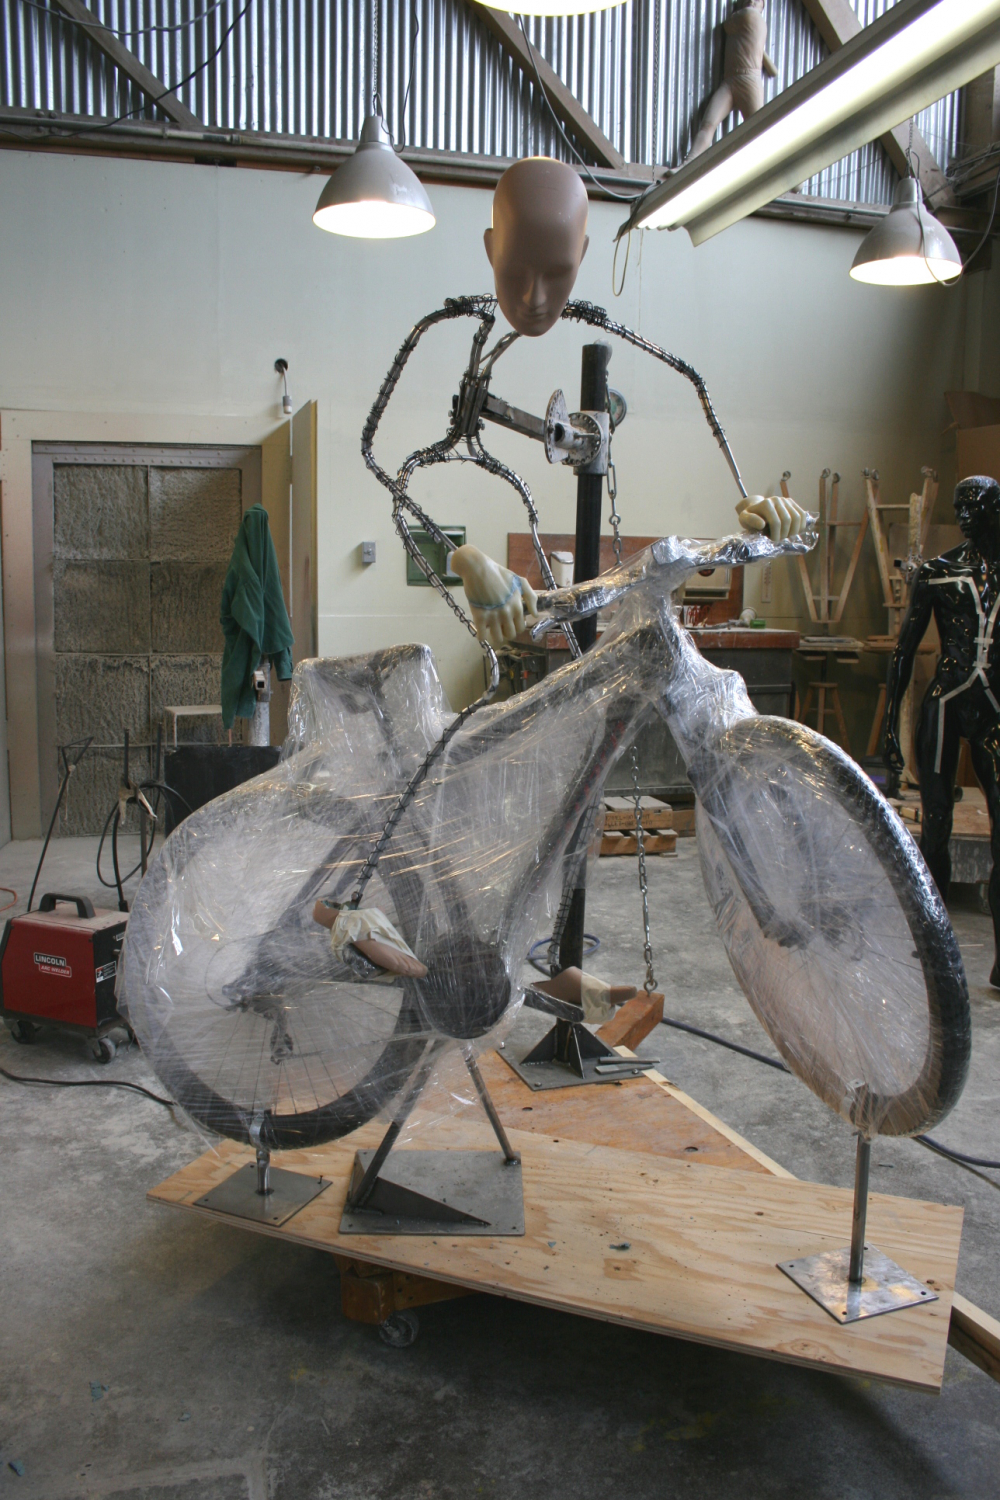
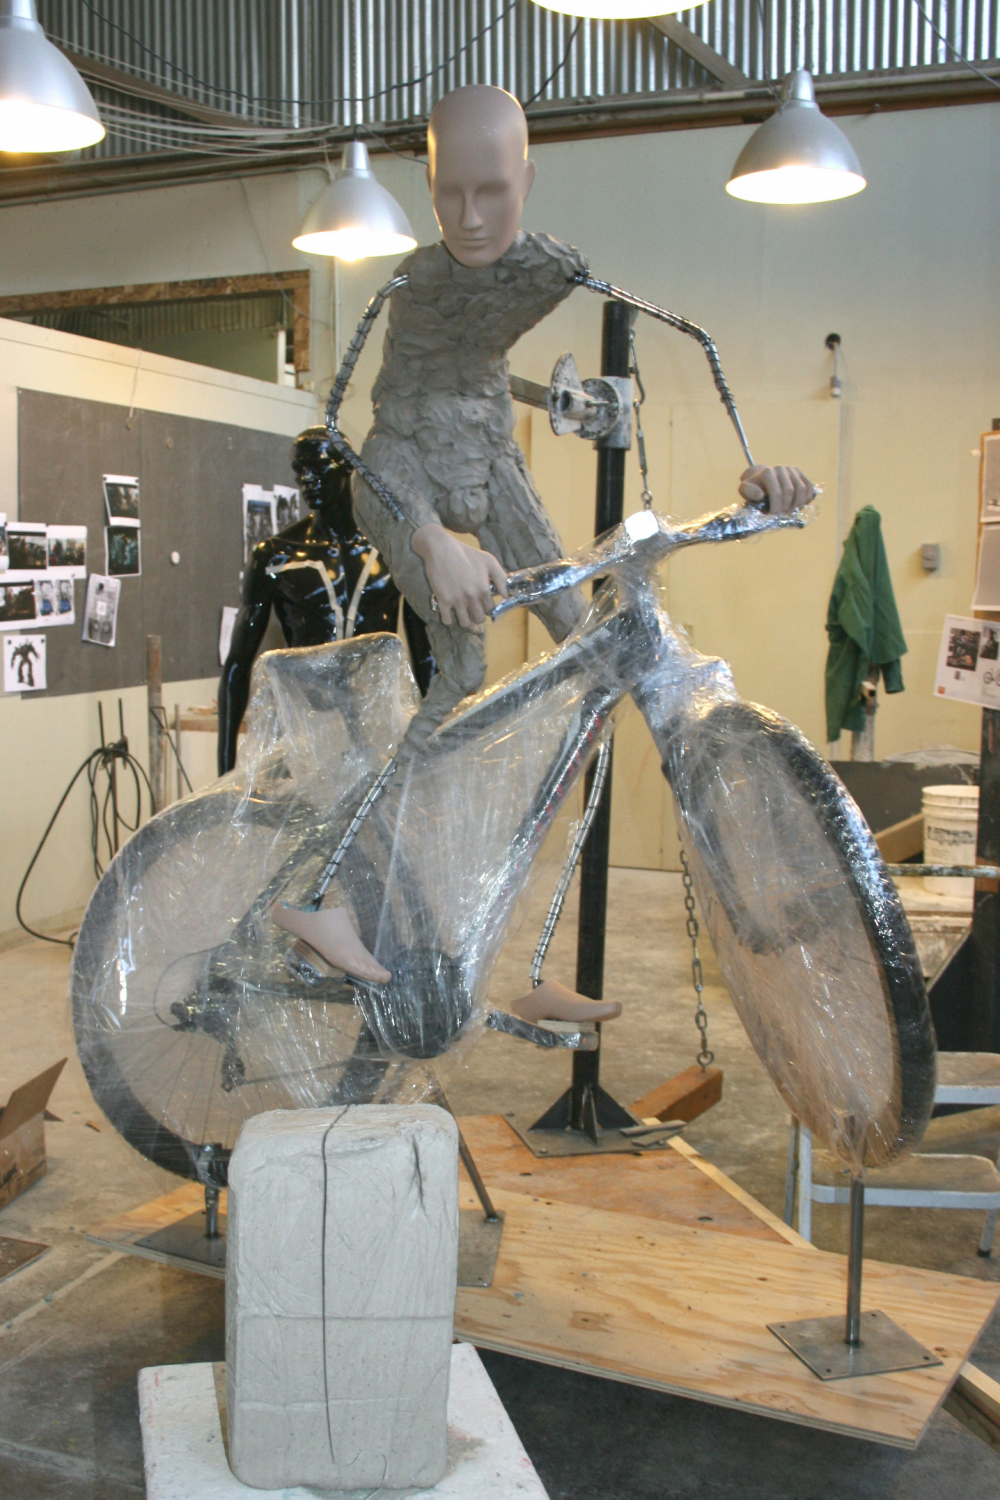
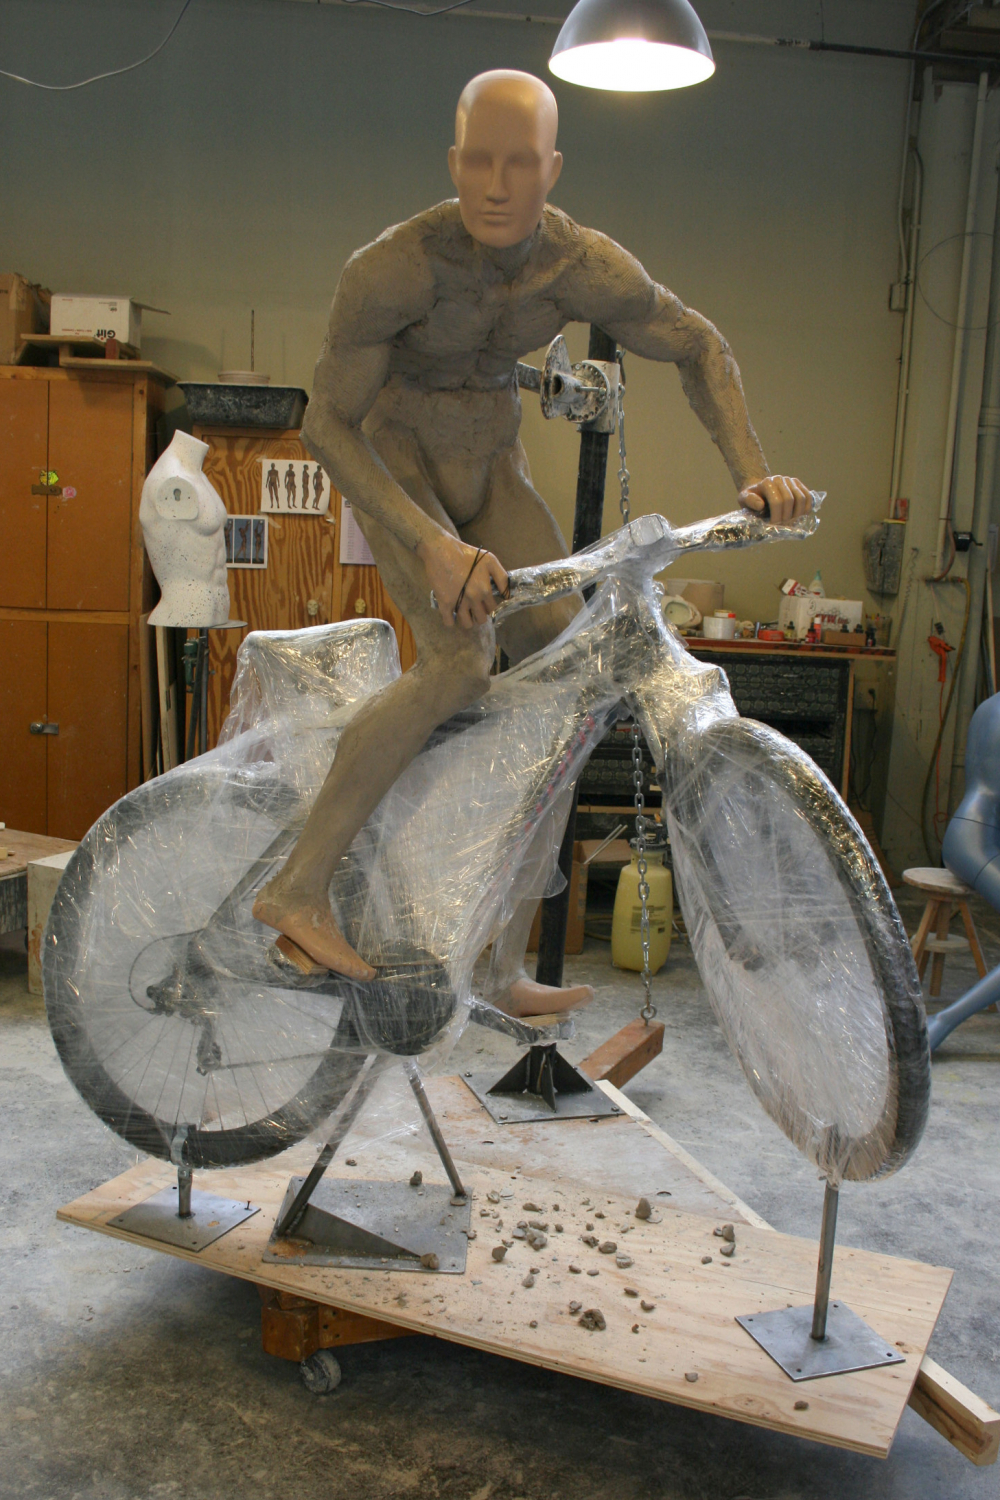
“A lot of the time I would work late at night making all these adjustments and changes while the people are in town so that they [could] see it the next day,” Daniel recounts. And that was after starting from scratch on the figure: constructing a metal armature and building up the clay by hand.
True to their trailblazing past, Greneker began searching for ways to update their process and make themselves more efficient.
“We started to look at digital as a way of creating these pieces, and creating them precisely and accurately,” Steve recounts. “We’ve now moved from clay sculpting to everything being 3D printed, which has helped us in a myriad of ways.”
The 3D Printed Mannequin Challenge
Greneker dipped their toe into 3D printing with a smaller-scale CubeX and quickly realized the potential of the technology.
“We felt as a company that this was the direction that we needed to take, and we needed to go full steam ahead before some of our competitors became aware of the technology and started utilizing it,” Steve shares. They wanted to gain the competitive advantage before others caught wind of what they were doing. “And that’s one of the things we have done, we’ve positioned ourselves as the experts in this type of mannequin design.”
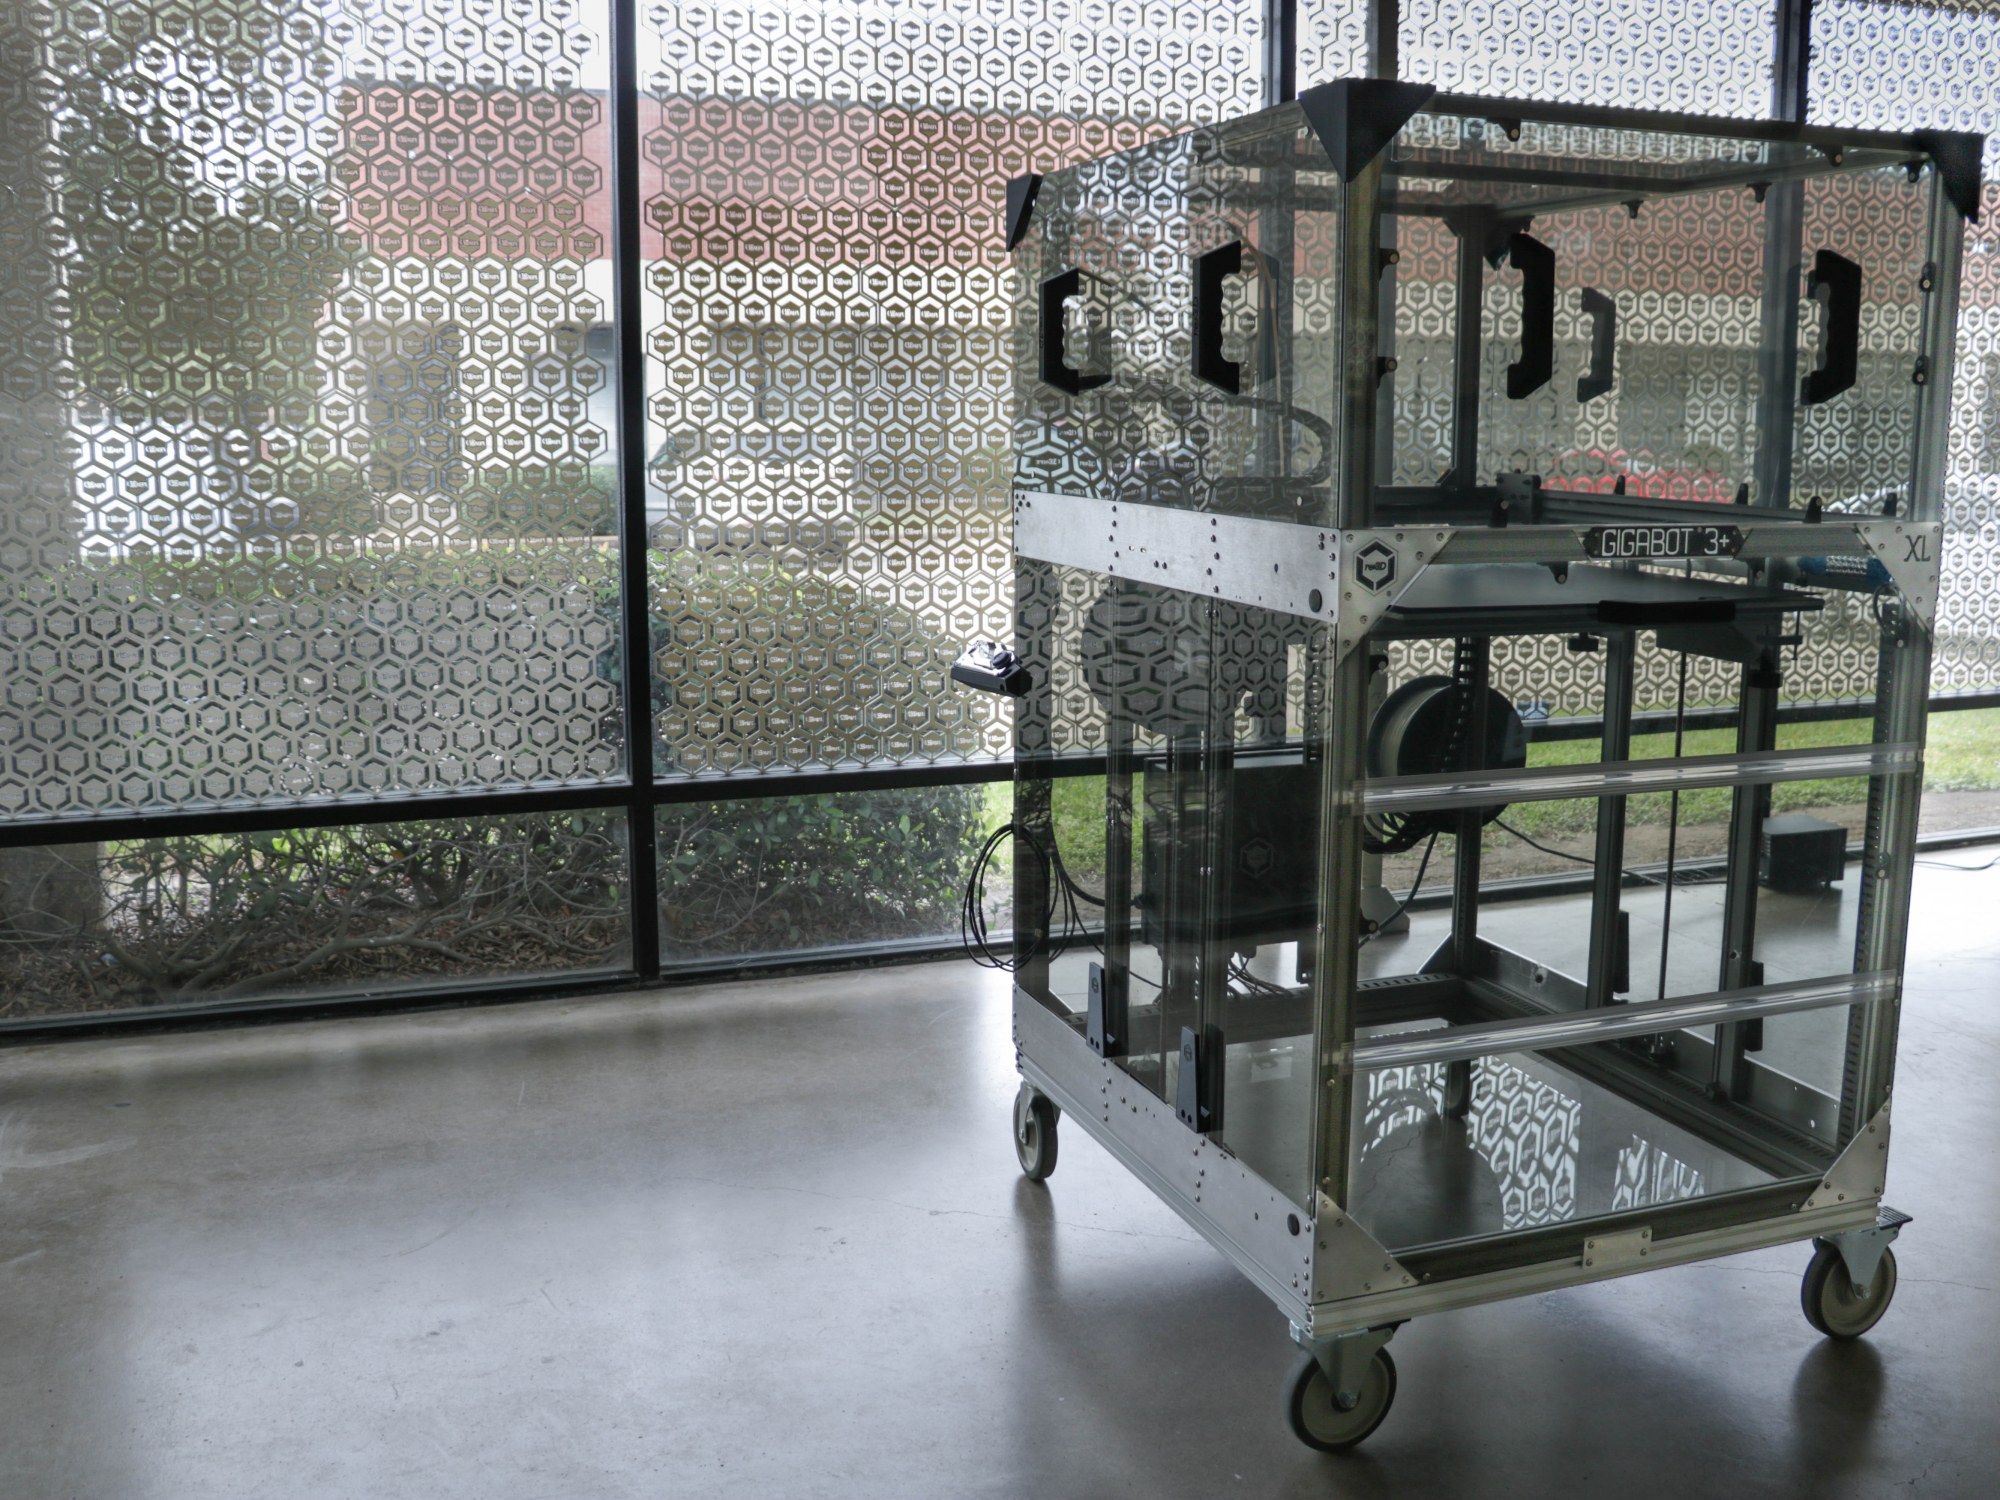
They purchased a few other small 3D printers, and then Daniel began the hunt for a large-scale printer with the right price tag. He came across Gigabot.
“Well, there was really nothing else on the market within a reasonable price point that would make pieces big enough for a full body,” Daniel muses.
“We selected the printer based on, again, the human body,” Steve explains. “We’re a mannequin manufacturer. We wanted larger printers to be able to print torsos and legs.” Their 3D printer arsenal includes a range of machines, from small-scale printers good for the details on hands and faces, up to the large size of Gigabot for cranking out large pieces.
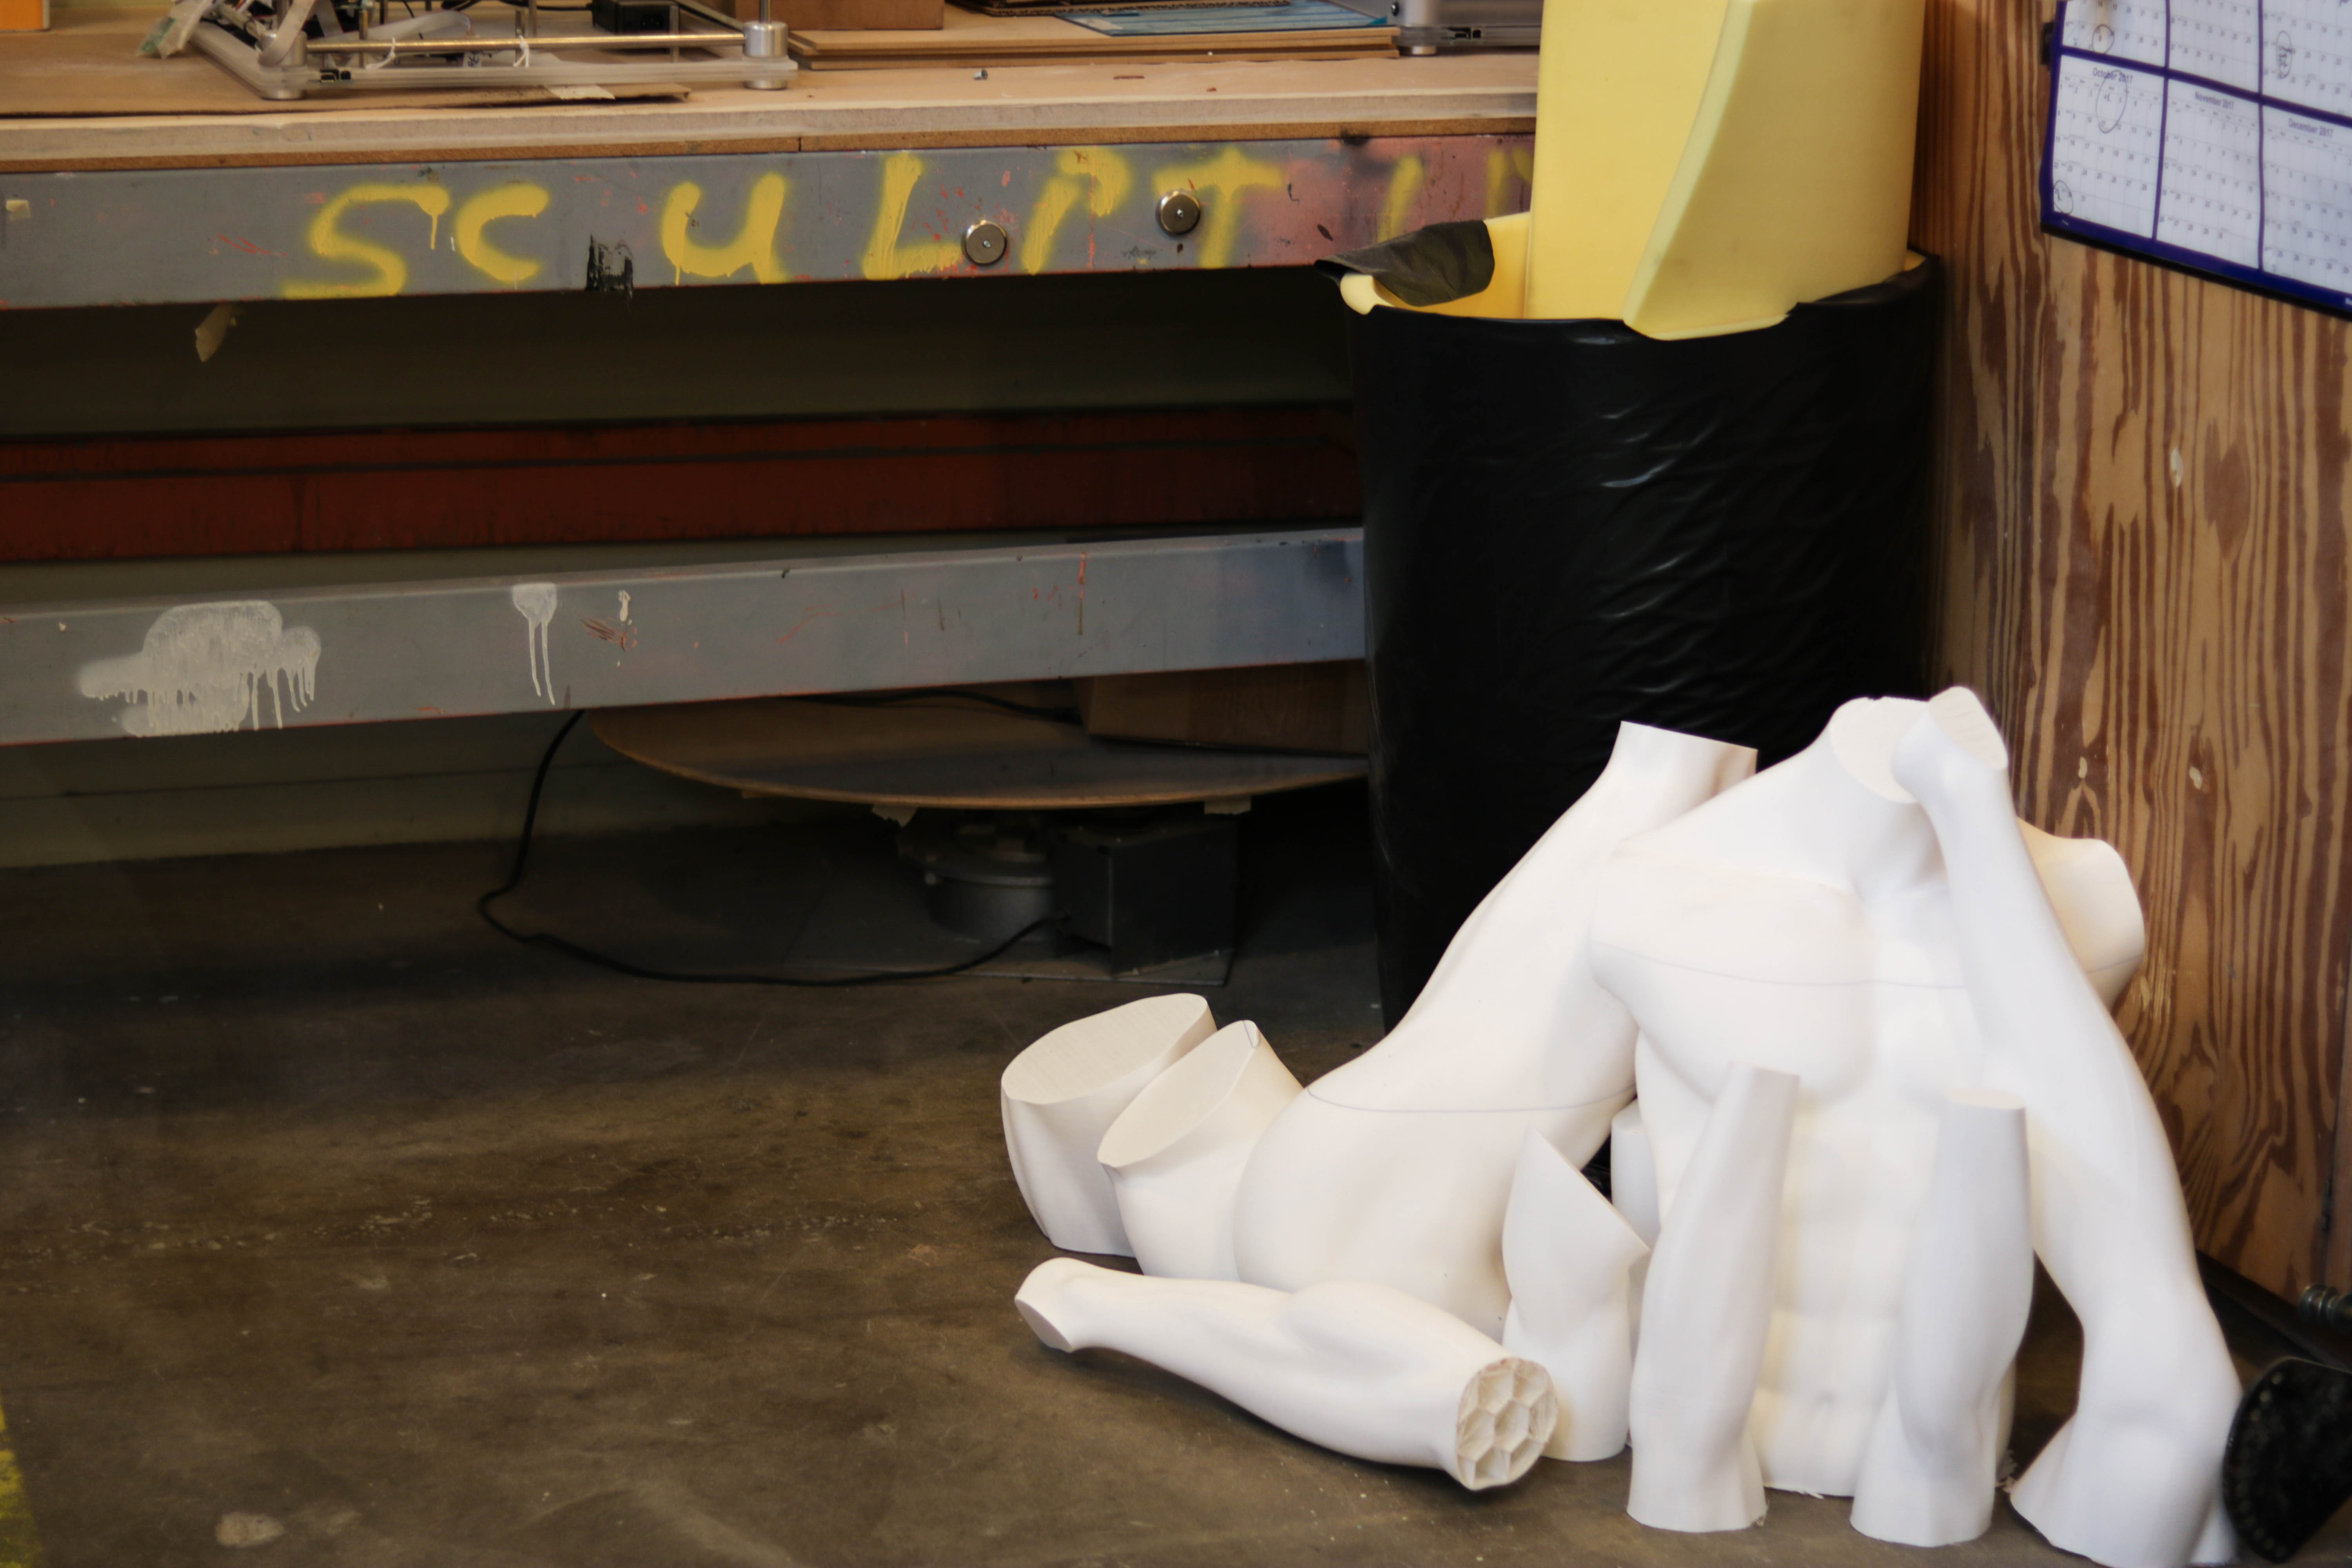
“The challenge for us and my challenge to Daniel was to get a full-sized mannequin printed in one day,” Steve smiles. “It takes about 250 hours of print time to print a mannequin. In order to print it in one day, it was going to take a bunch of machines.”
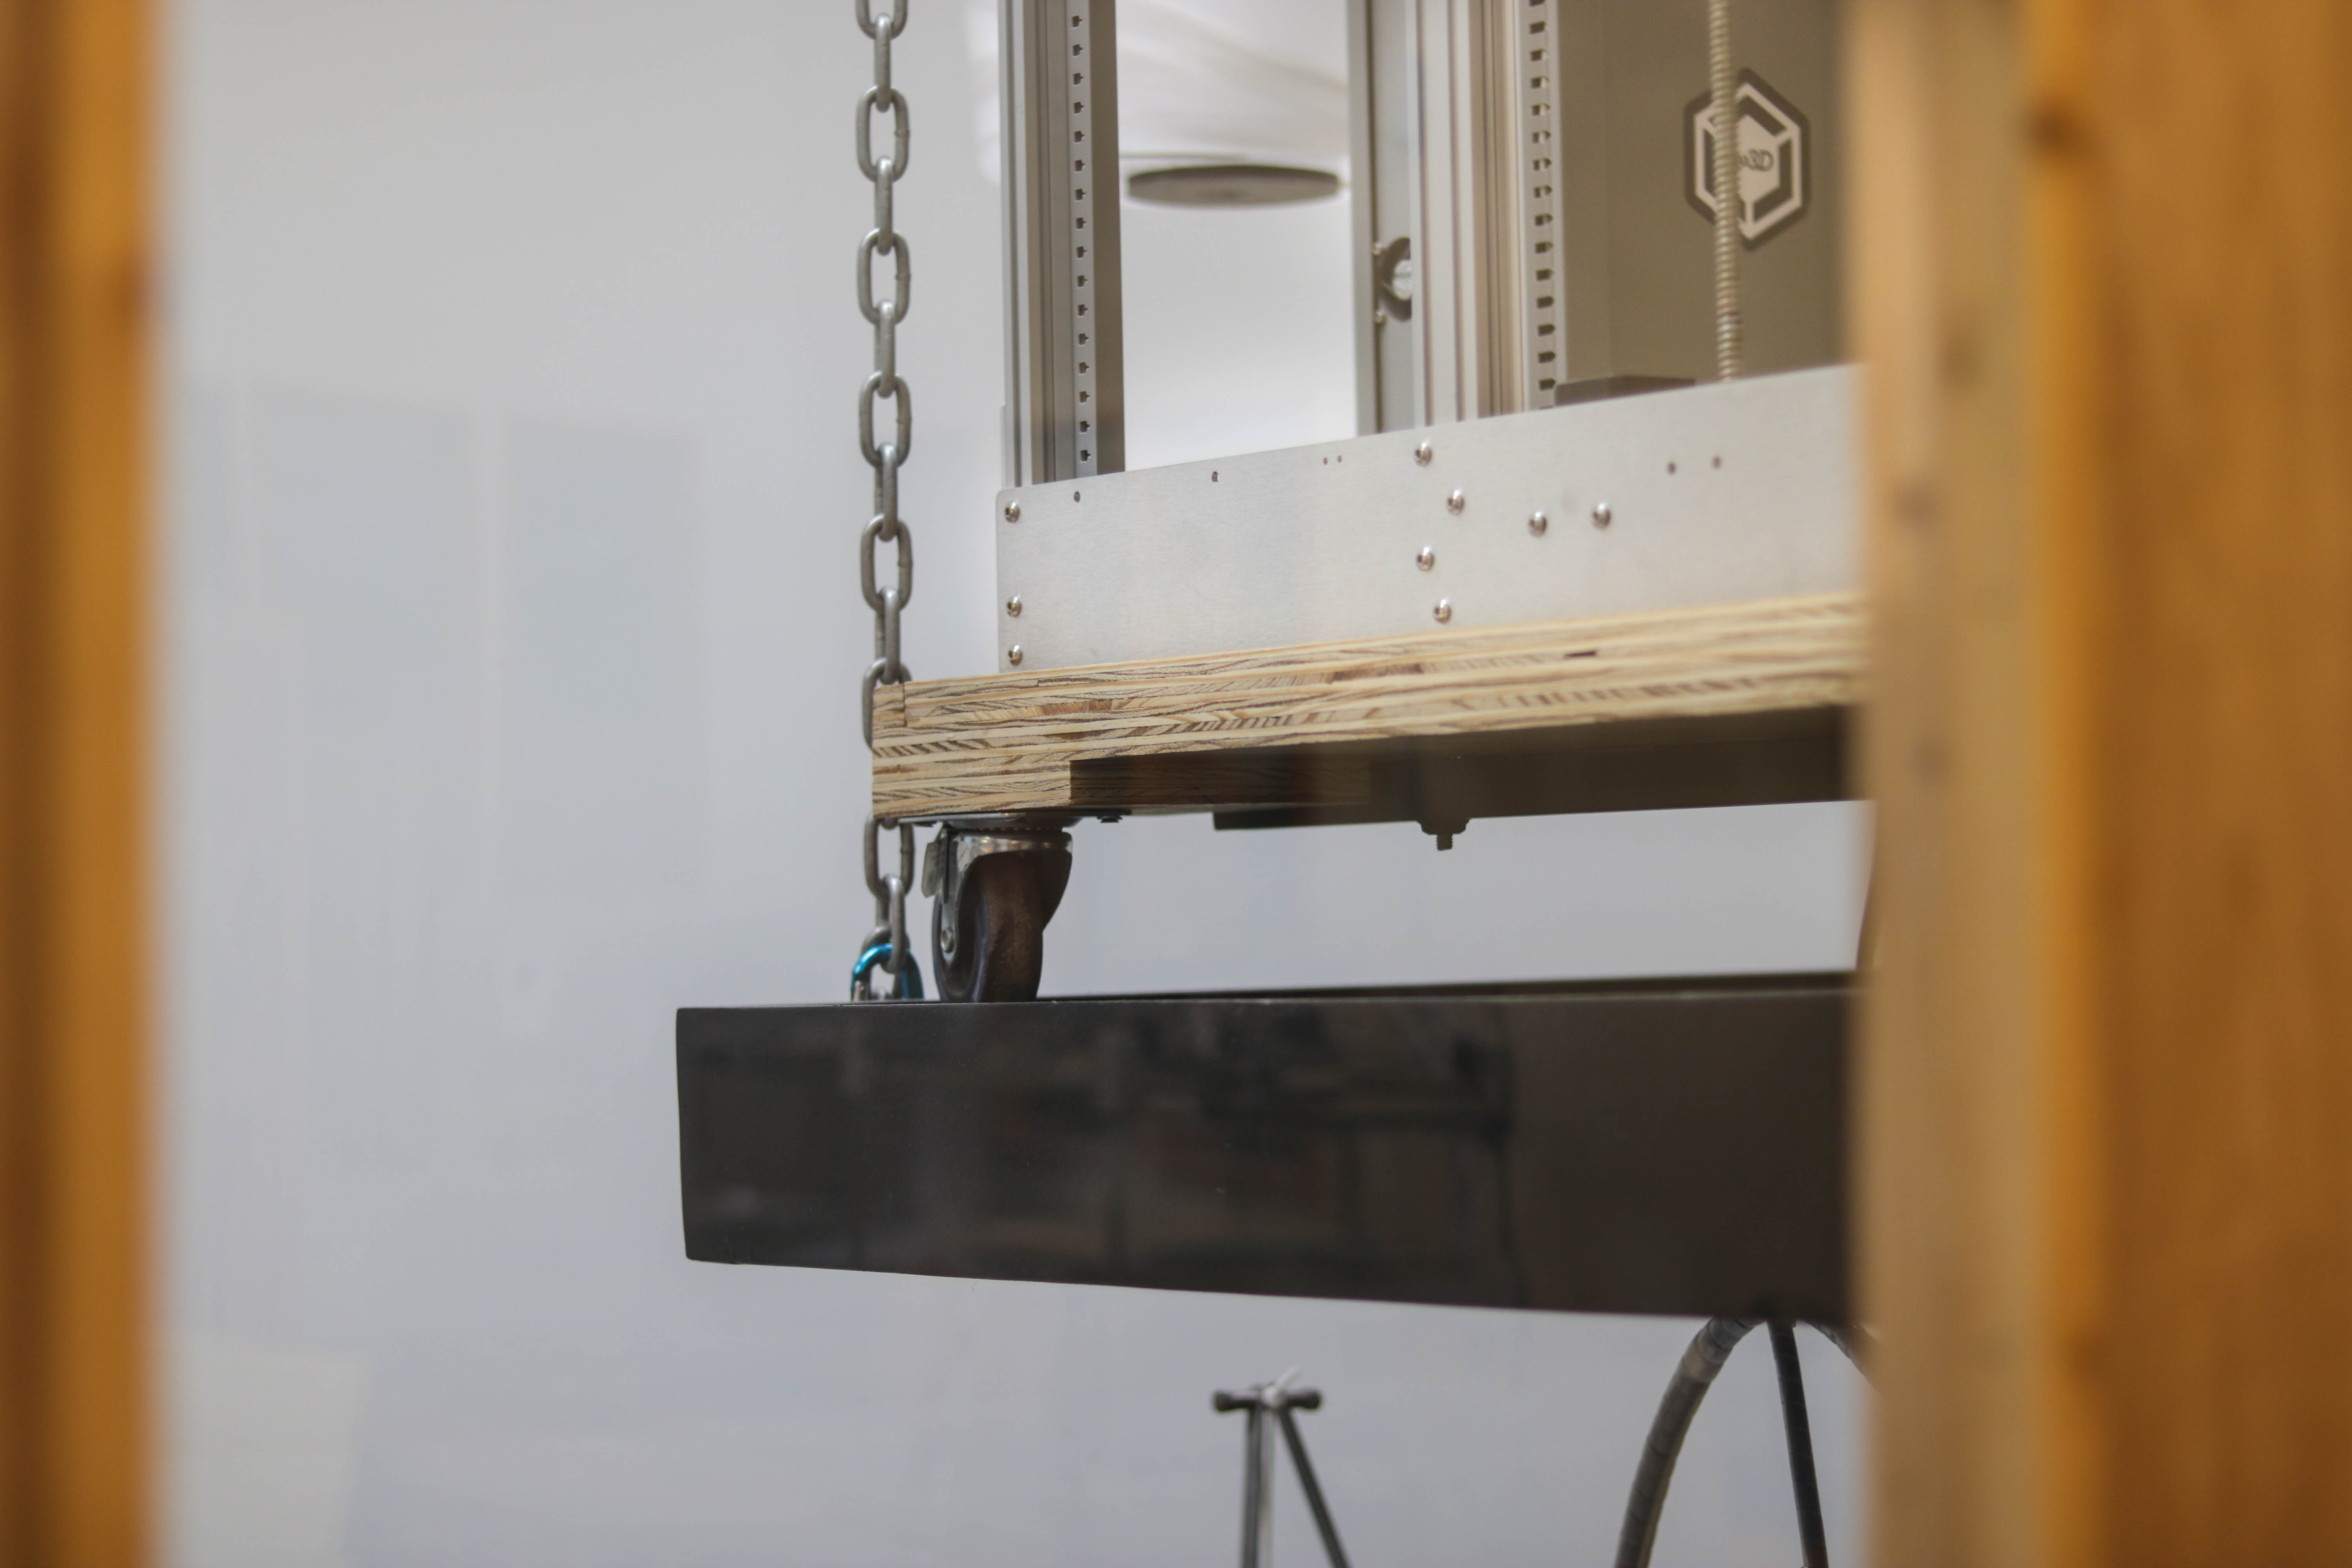
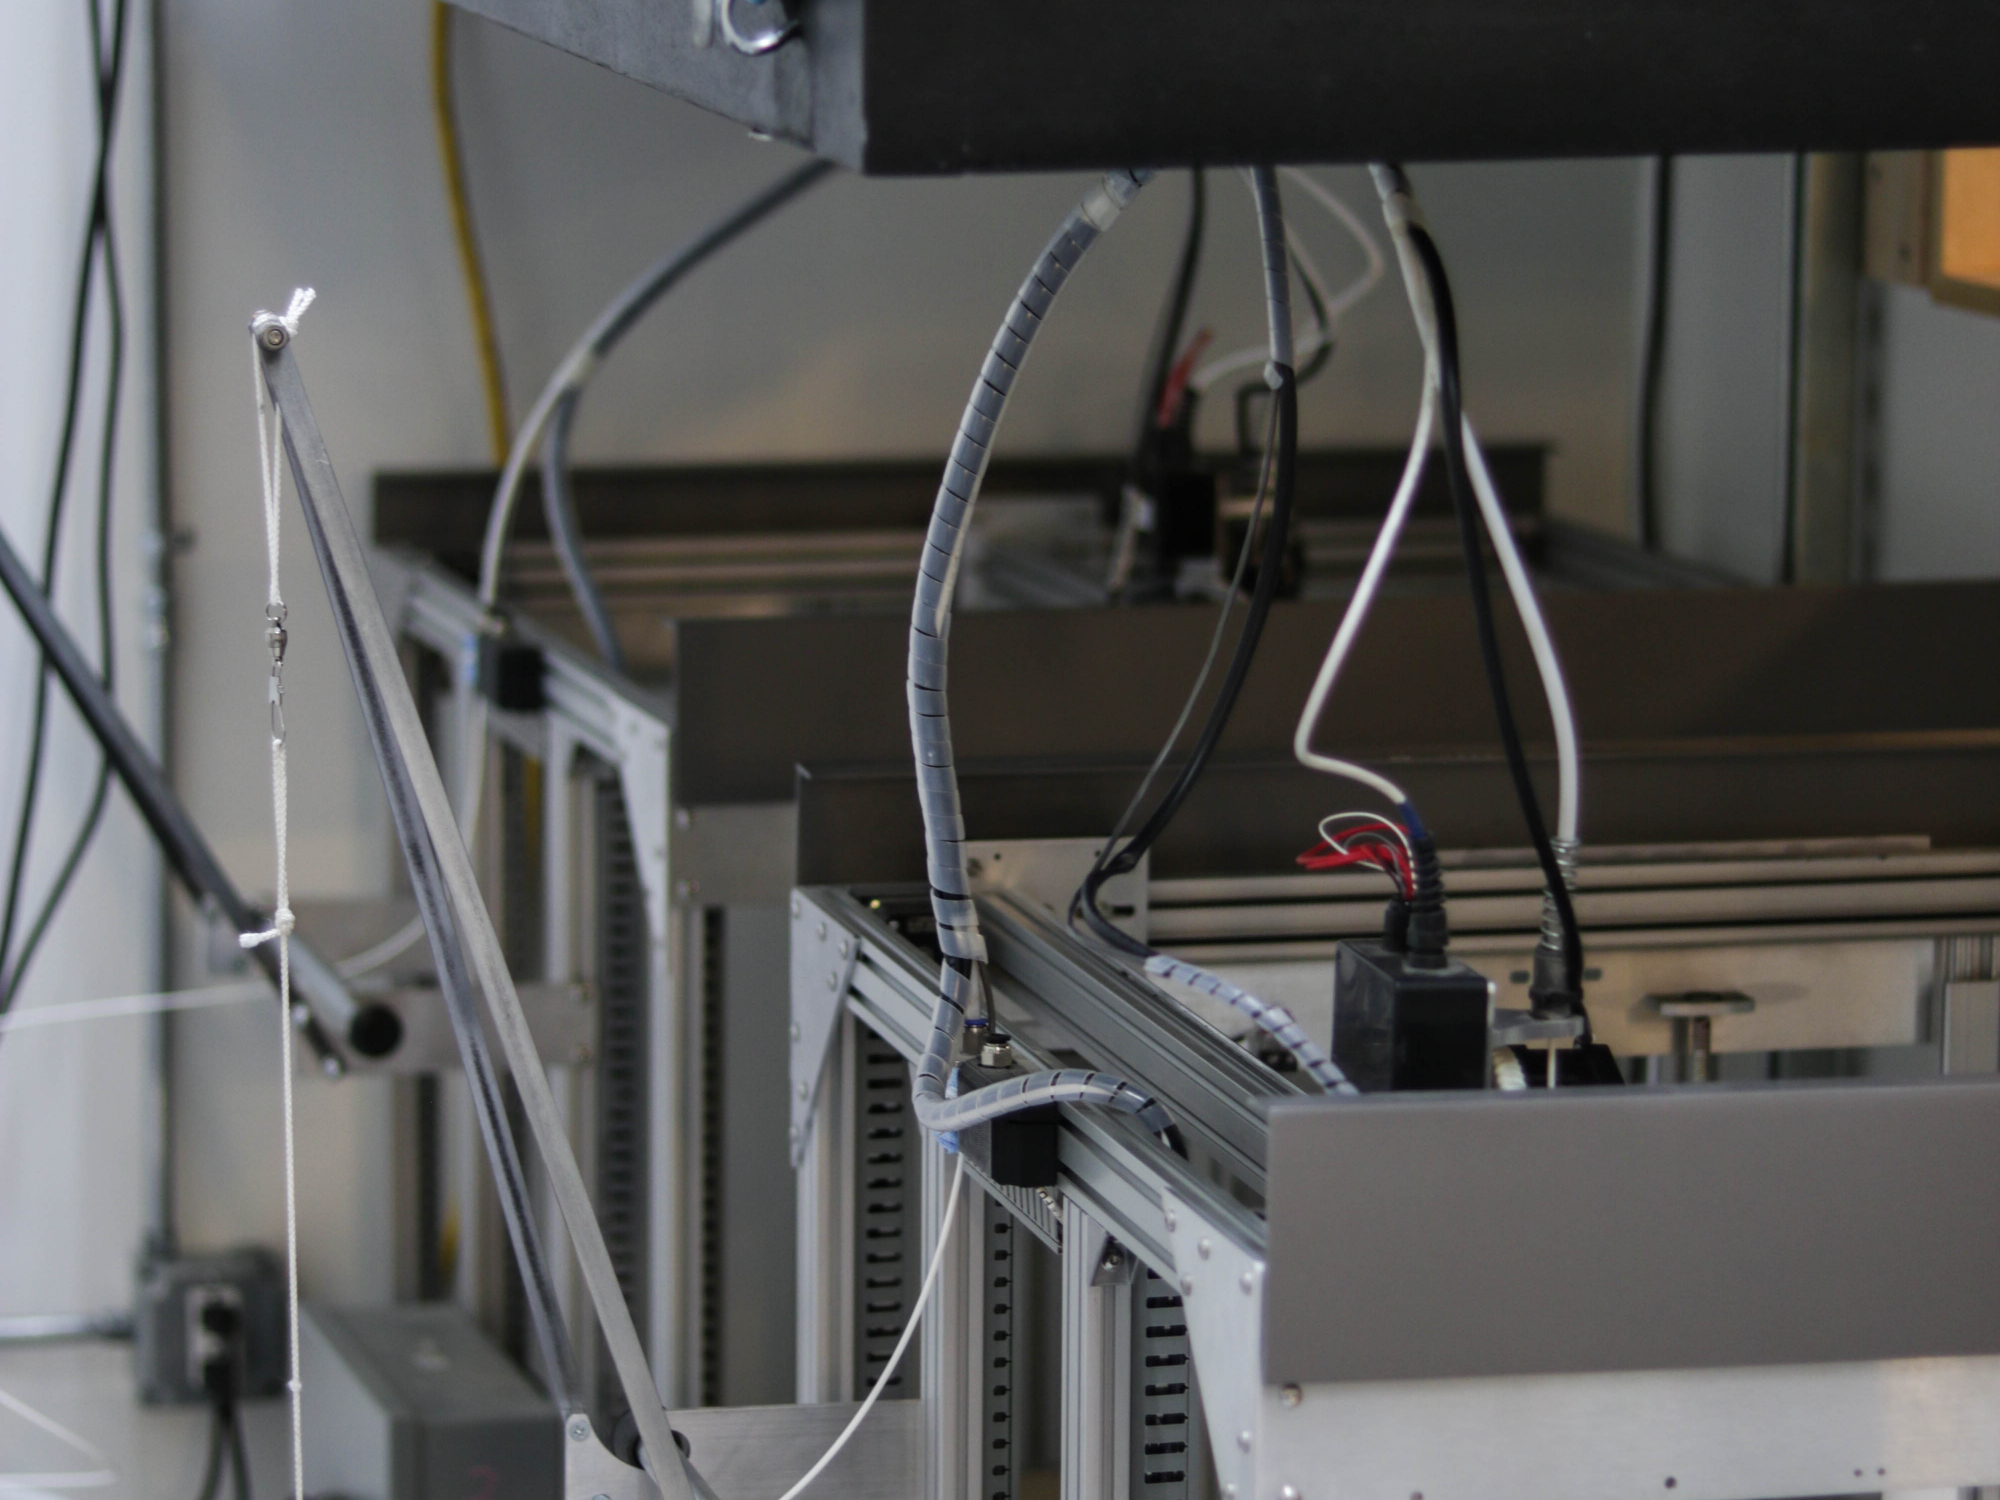
Take a stroll through their office and you’ll come across the realization of this dream: a separate room tucked within their main sculpting area which they built specifically for 3D printing. “The Gigabots work fantastic for large-sized pieces, so we bought a bunch of them,” Steve recounts. Greneker is now up to four Gigabots – stacked two-by-two and suspended from the ceiling – which they house in this room along with their smaller-scale machines so they can run 24 hours a day.
“Before 3D printing, it would’ve been just unthinkable to make a mannequin in a day,” Daniel muses. “Now it’s actually possible.”
“A Myriad of Benefits”
Steve explained that the benefits that came with moving from clay design to digital and 3D printing have been numerous. The biggest savings may be from a time standpoint – they’re cutting from every aspect of the preproduction process.
“We save time throughout the entire process,” he shares.
Because everything is now digital, they no longer have to bring clients in to see mock-ups in person during the design process. “Instead of having clients visit, we can have video conferencing now, which accelerates the initial consultation period greatly,” Steve explains. “The client can sit on the other end – whether they’re across the country or across the world – and in real time we can make those changes and those tweaks to make these pieces exactly what they’re looking for.”
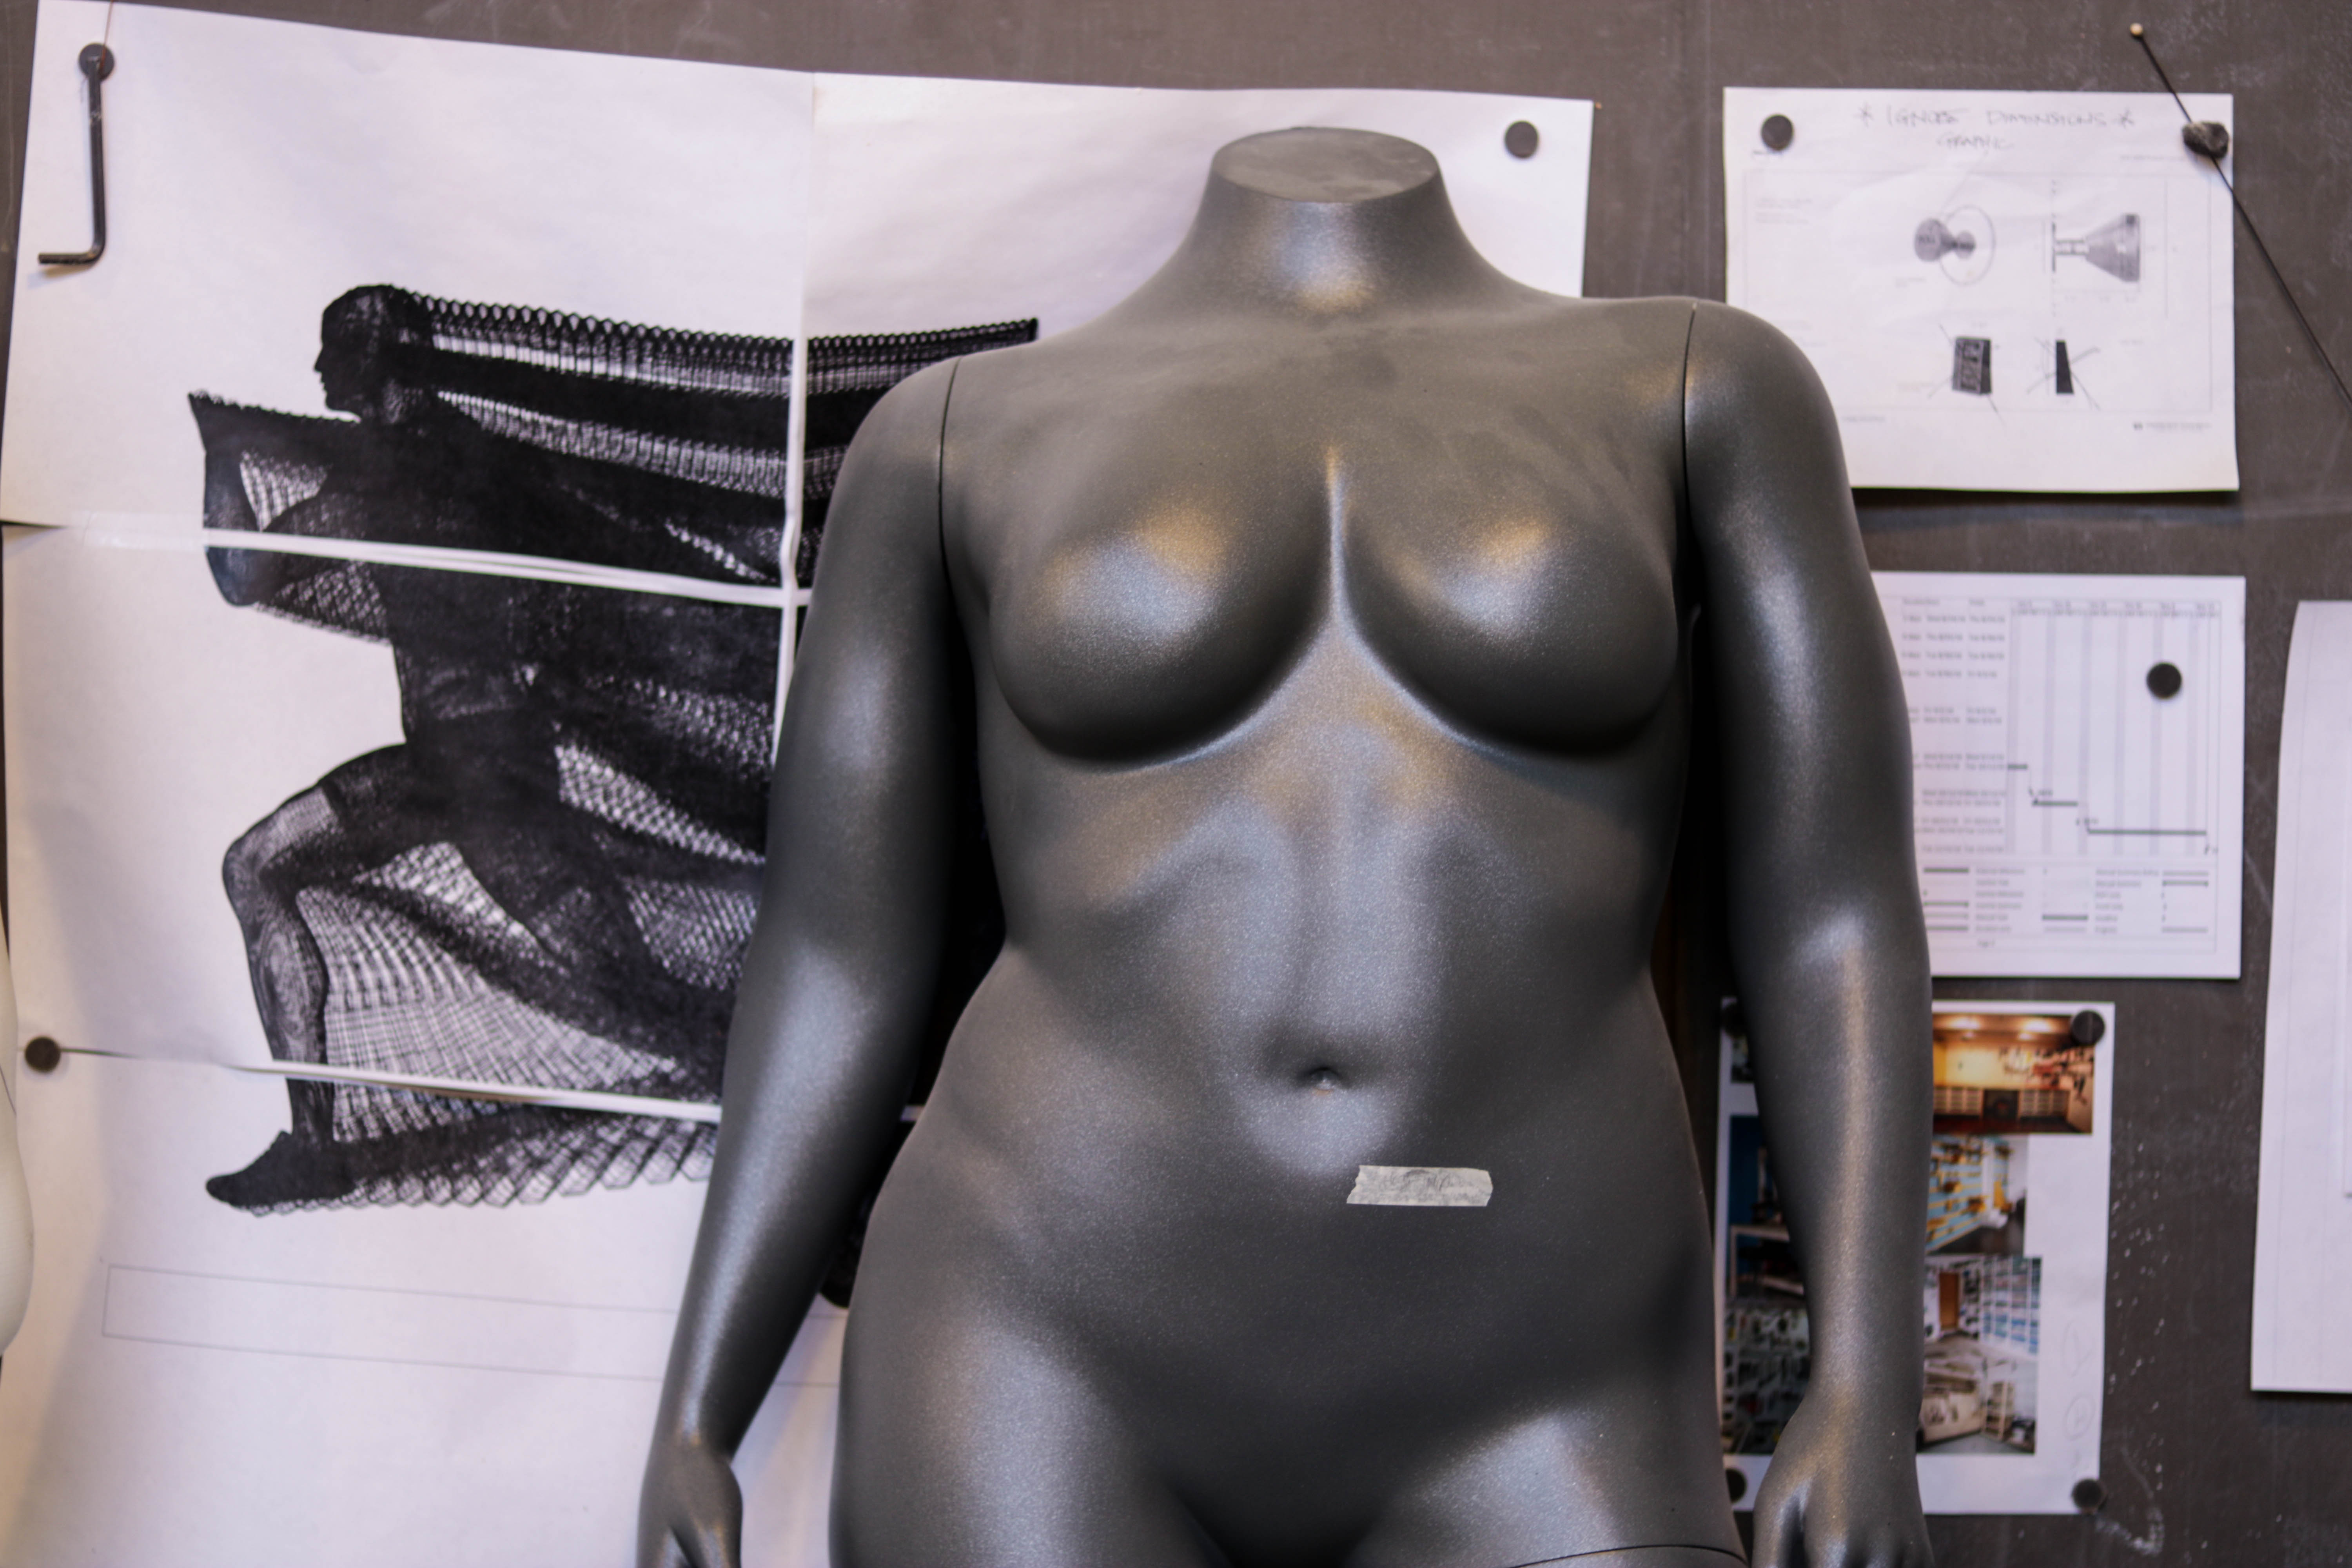
Daniel is particularly happy about this aspect as well. He still sometimes has to work on a time crunch, he explains, but “it’s less physical and it allows a lot more flexibility,” he explains. “If I have to, I can work from home on the computer and makes adjustments. It’s a lot quicker.”
“What,” you may ask, “does he mean by ‘physical?’” Miniature, scaled-down models of a mannequin to show clients weren’t possible before 3D printing, because the mini and full-scale versions can differ so much when working by hand in clay. So, as Steve recounts, the sculptors had to work in full-size clay as they went through the tweaking process, often while the clients were there in person. He explains, “We would bring the client in and then the sculptors would wrestle with the clay in front of the client until we got it to where it needed to be.”
No more mannequin manhandling. “With 3D printing, we take the digital model and we’ll produce a scaled model, usually about 18 inches tall, and then we can send that to the clients,” says Steve. “They can make sure that all the measurements fit where they like and that the posing is what it needs to be in. Once we get the sign-off at that point, then we produce a full-scale 3D print.”
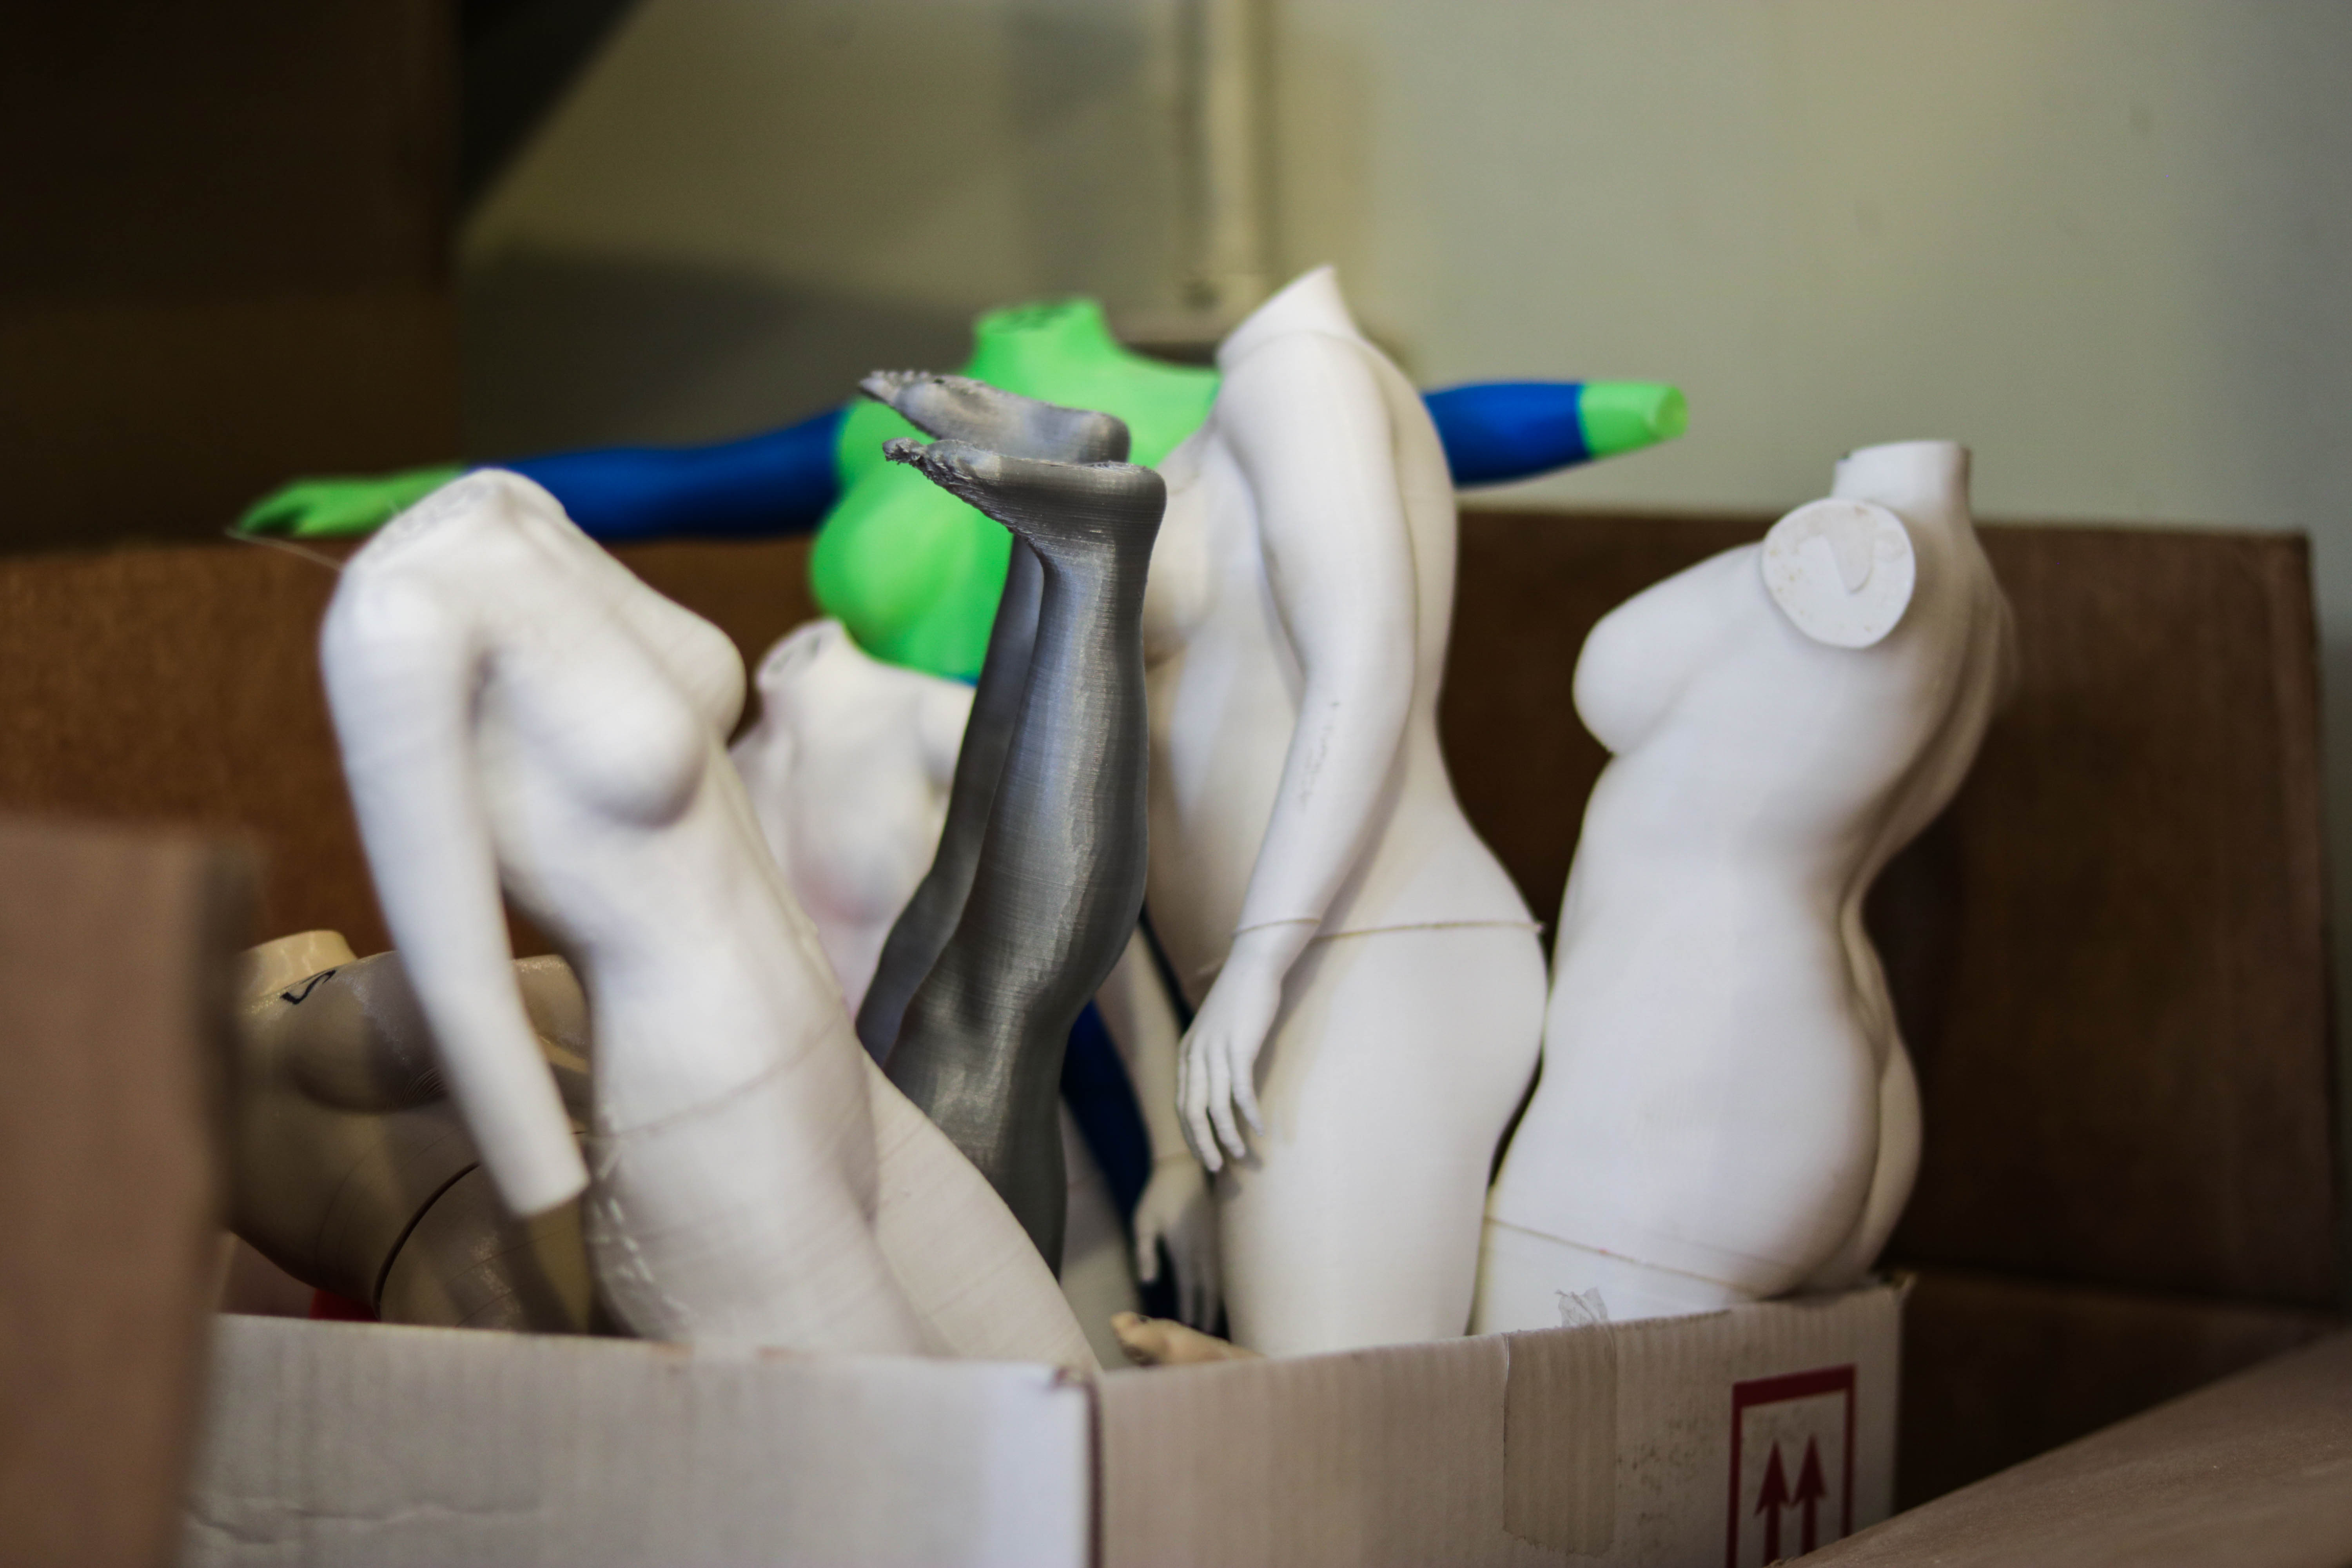
Greneker will print a full-size version of the mannequin, which, with a little sanding and painting, will function exactly like the final mannequin, albeit not in the final material. That gets shipped to the client where the stakeholders can review the piece exactly as it will look in production.
This is immensely helpful for another portion of the process: the sign-offs. In the past, Greneker had struggled to get all of a client’s decision-makers in the room at once. “We would have a group of people come visit us that may or may not represent all of the stakeholders involved in the development,” Steve explains. “Ultimately, whatever approvals or opinions we received at that point could be superseded by someone else that hadn’t been here.”
That frustrating portion of the process is completely removed now. “With this new process,” Steve says, “the model goes in front of everybody, so it’s there for everyone to look at. You get a much, much tighter buy-in much more quickly.”
And of course, in the actual design process itself, the digital realm has also proven itself to be a clear winner over clay. “If you do something in clay, you do it by hand,” says Steve. “You can’t necessarily repeat that.”
No one is likely a bigger fan than Daniel. “It opens up a lot of new tools,” he explains. When designing a head, for example, he can take advantage of the symmetry tool in CAD. The work he’s done on one side of a face is automatically mirrored to the other. “Before, working in clay, we would have to try to make adjustments – ‘Which ear is higher? Are the eyes straight?’ Things like that it makes much simpler.”
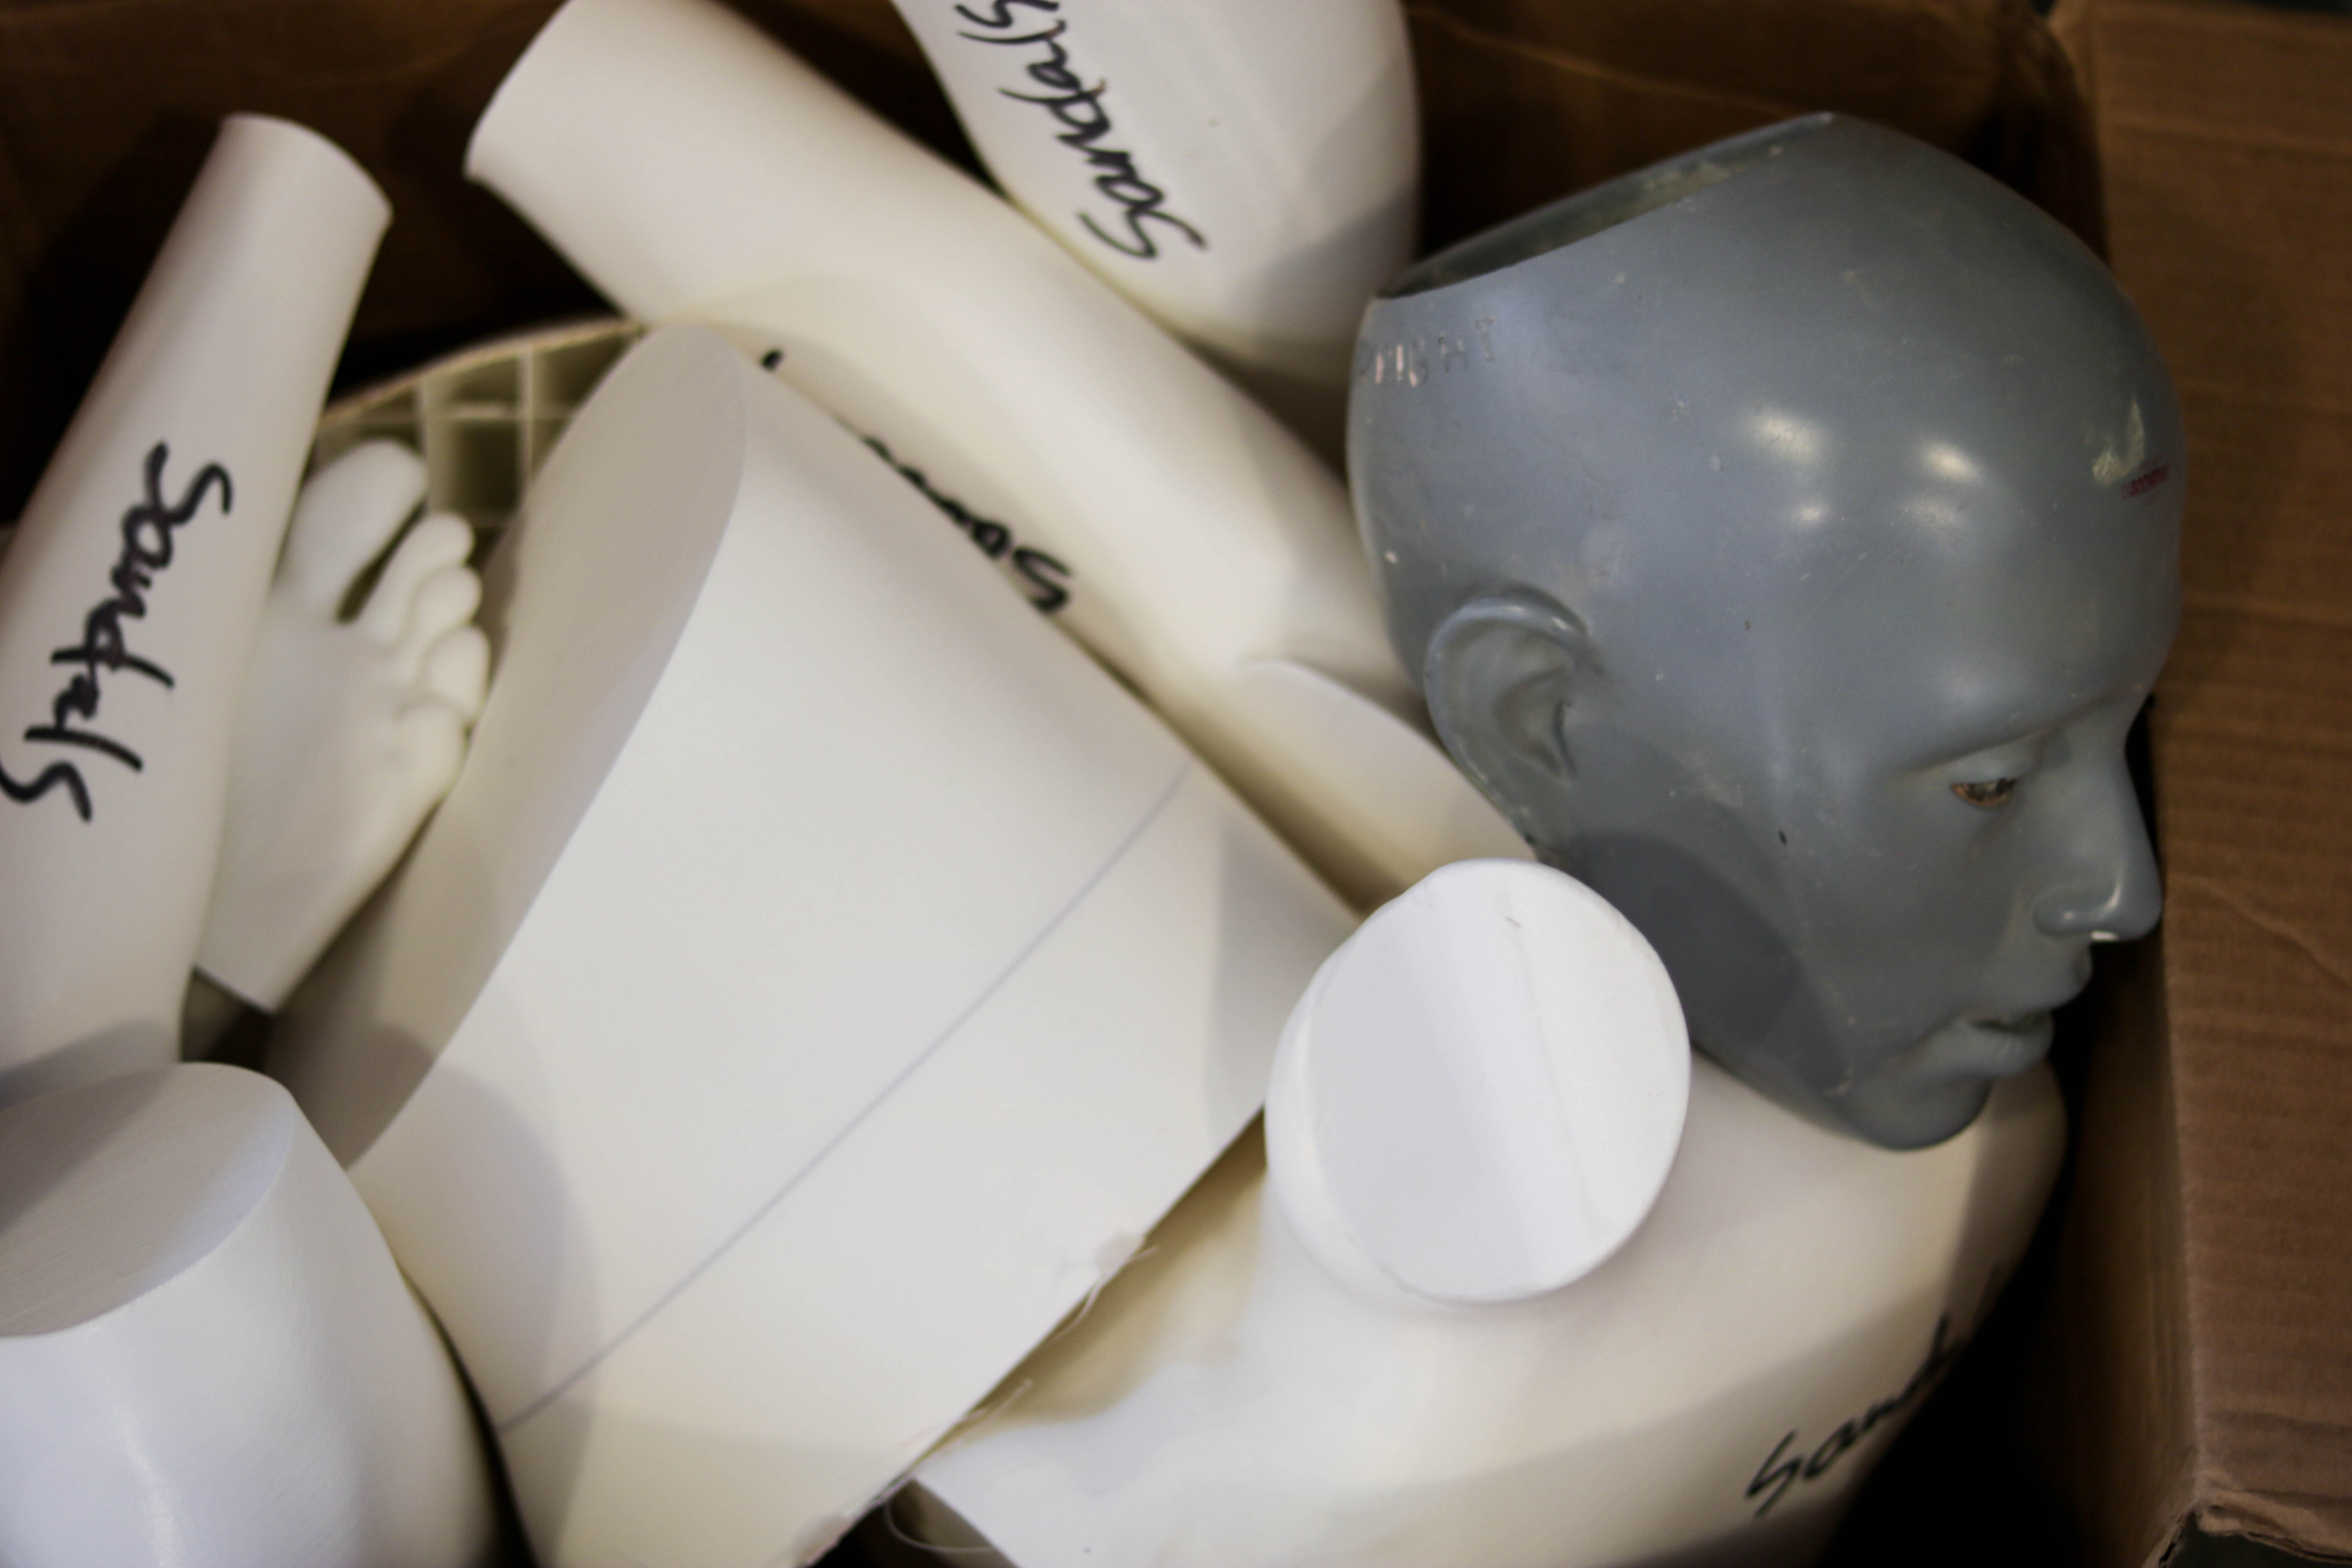
It also aids with consistency and continuity if different sculptors are working on the same body. “If I have a large project and I have three sculptors working on it, because it’s three sets of hands, it may not look identical,” Steve explains. “With the digital design, we don’t have to worry about that. The design is the design and you can move it, change it, scale it, but it’s always the base design and it’s always obvious what it is, no question.”
The slashing of time from every part of the preproduction process goes hand-in-hand with cost-cutting. “Internally for the business, the change has been much more cost-effective,” Steve shares. “When I started, we would create lines based on – when it’s all said and done – it’s spaghetti on the wall. It’s our best guess of what was going to sell. We don’t have to do that any longer.”
That gamble used to be a risky one.
“When we did it in clay, you had to commit to it. Clay’s only got a very limited shelf life,” Steve explains. With CAD replacing clay at Greneker, there’s no more wasted effort and materials going into a design that doesn’t sell. Now, Steve says, “We can put a design that we think is cool together digitally and it can sit there as a model until there’s a market and a place for it.”
An Industry in Flux
“The apparel retail industry is in a great deal of flux right now,” Steve explains. “Online sales have really started to affect their brick and mortar sales. I don’t foresee some of the large scale roll-outs in malls in the near future, but what we do see is the need for smaller runs of more specific posing.”
And this – thanks to their calculated research and work – is where Greneker excels.
“What we see going forward is we need to be much more nimble, much faster, and much more cost-effective on the development side so that the retailers can afford to bring in specific mannequins for specific markets,” says Steve.
Greneker’s hard work to modernize and streamline their mannequin production process has paid off. “The marketplace is requiring speed to market. Everything has got to be done sooner rather than later,” Steve explains. “When we would sculpt and create a new line by hand, the process could take upwards of six months in preproduction. In 3D printing, now we’ve reduced that process to where it can be as short as just a few weeks.”
The tedious parts of their old process -the gambles on trends, the risk of botched posing, building up new armatures and clay bodies by hand, the endless on-site client visits to make tweaks and get approval – all of that is now off their plate.
“Right now, we’ve just finished realizing our first set of goals with 3D printing,” says Steve. “Our future goals: we’re going to bring in as many printers as it takes to be the absolute fastest to market as we can be. We want to stay ahead of our competition.”
Learn more about Greneker: greneker.com
Morgan Hamel
Blog Post Author
