And The Winner Is… Results of the Fast 3D Printed Furniture Challenge

As you may have seen, we launched a global 3D printing furniture contest this summer in pursuit of finding a 3D printed solution to quickly assemble furniture in preparation for this year’s hurricane season. Called the “Fast Furniture Challenge”, we opened up this problem to our global community in exchange for a $250 cash prize.

Applicants were judged on a set of criteria including print time, cost, materials restrictions, weight load, and ease of assembly. Winning prints had a print time of under 48 hours, cost less than $20 to print, and were easy to assemble and disassemble using only pre-cut wood from Home Depot for the final piece of furniture to hold at least 150 pounds.

Participants submitted .STL files and digital presentation boards and our team judged the designs based on each design’s creativity, presentation board, .STL quality, estimated print time and ability to print without supports. The top designs were then printed and put to the test – the final product was judged on the ability to withstand 150 pounds, how easy it was to assemble and the cost of the print.

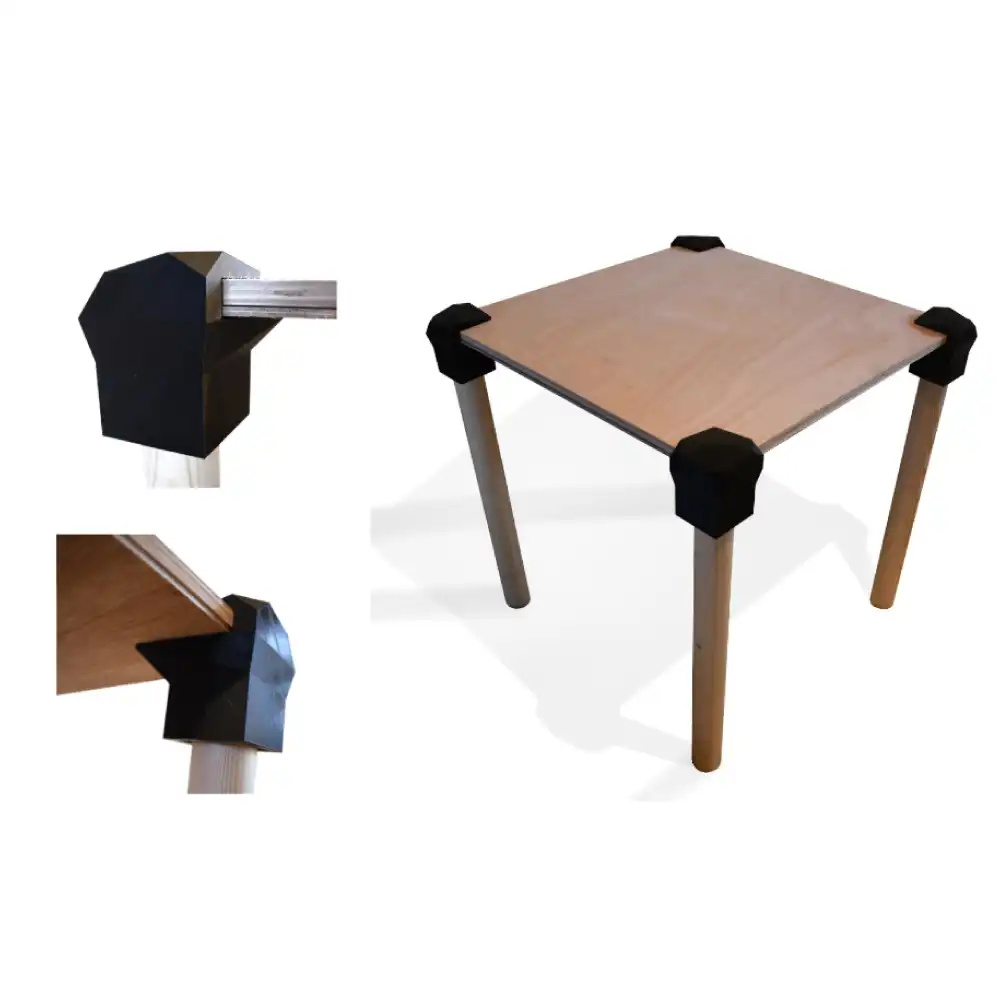
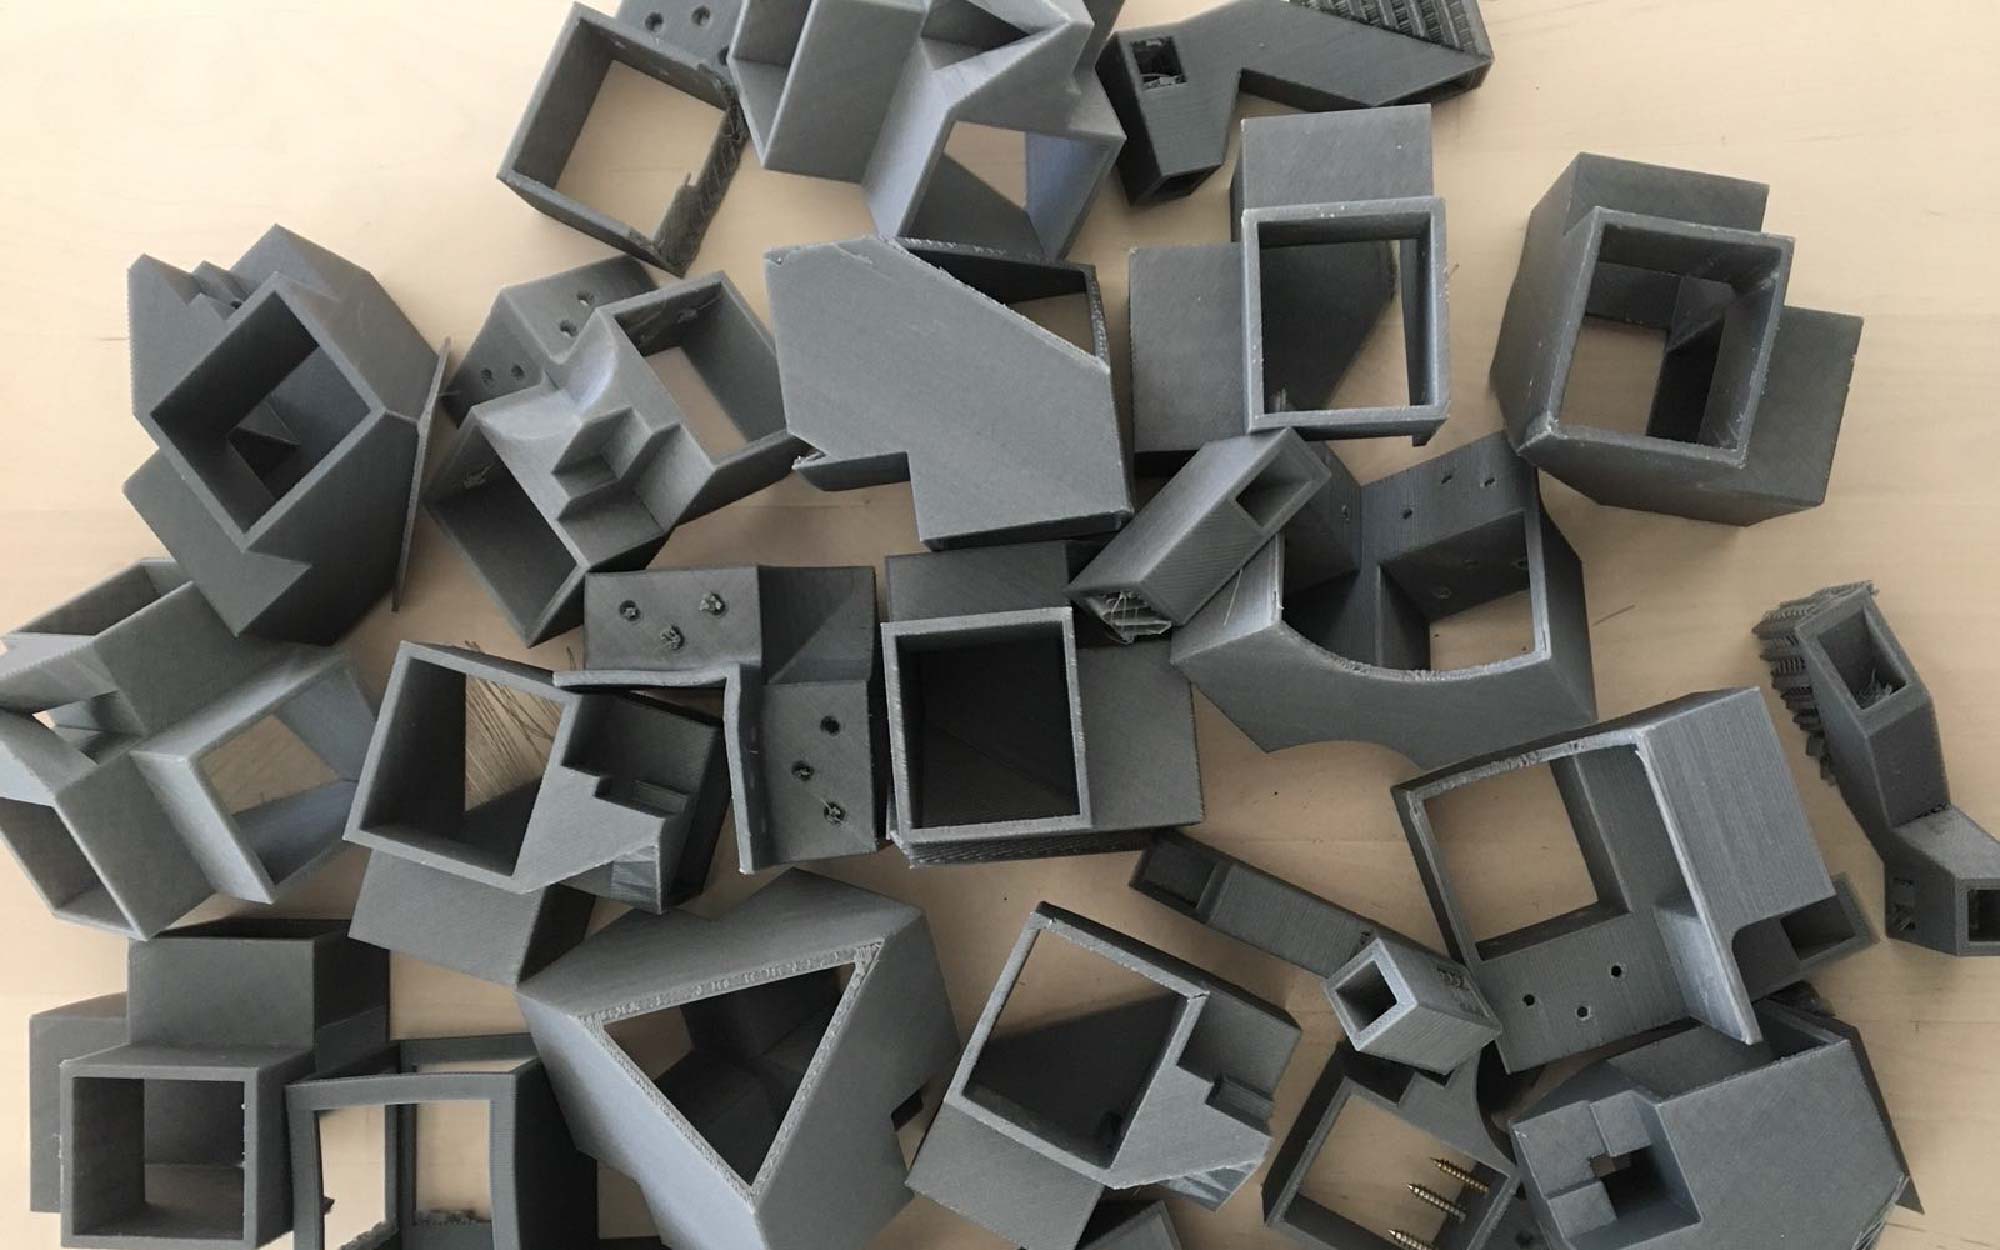
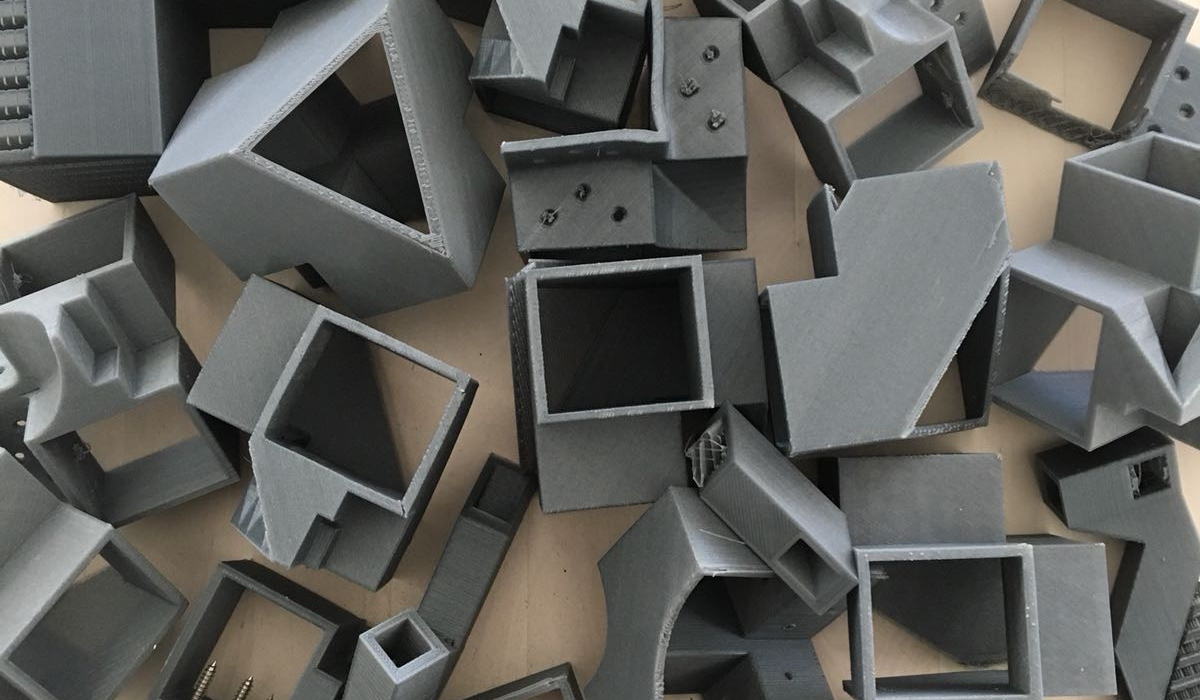
We’re excited to announce our winner…drumroll, please…Sylvain Fages!  Sylvain’s design printed a set of joints (4 joints = 1 table) in 12.08 hours, using 1.07 lbs of PLA for a $20.21 material cost. The prints had 15% rectilinear infill and no supports were needed. Also, shout out to the runner-up: Daniel Alvarado from ORION.

Below you’ll see some snapshots and assembly footage from Sylvain’s winning design and the final product our teammate Alessandra put to the test.

Reviewing Design Boards & .STL files

Sylvain submitted two design presentation boards (you can also access the original Sylvain Designs PDF).
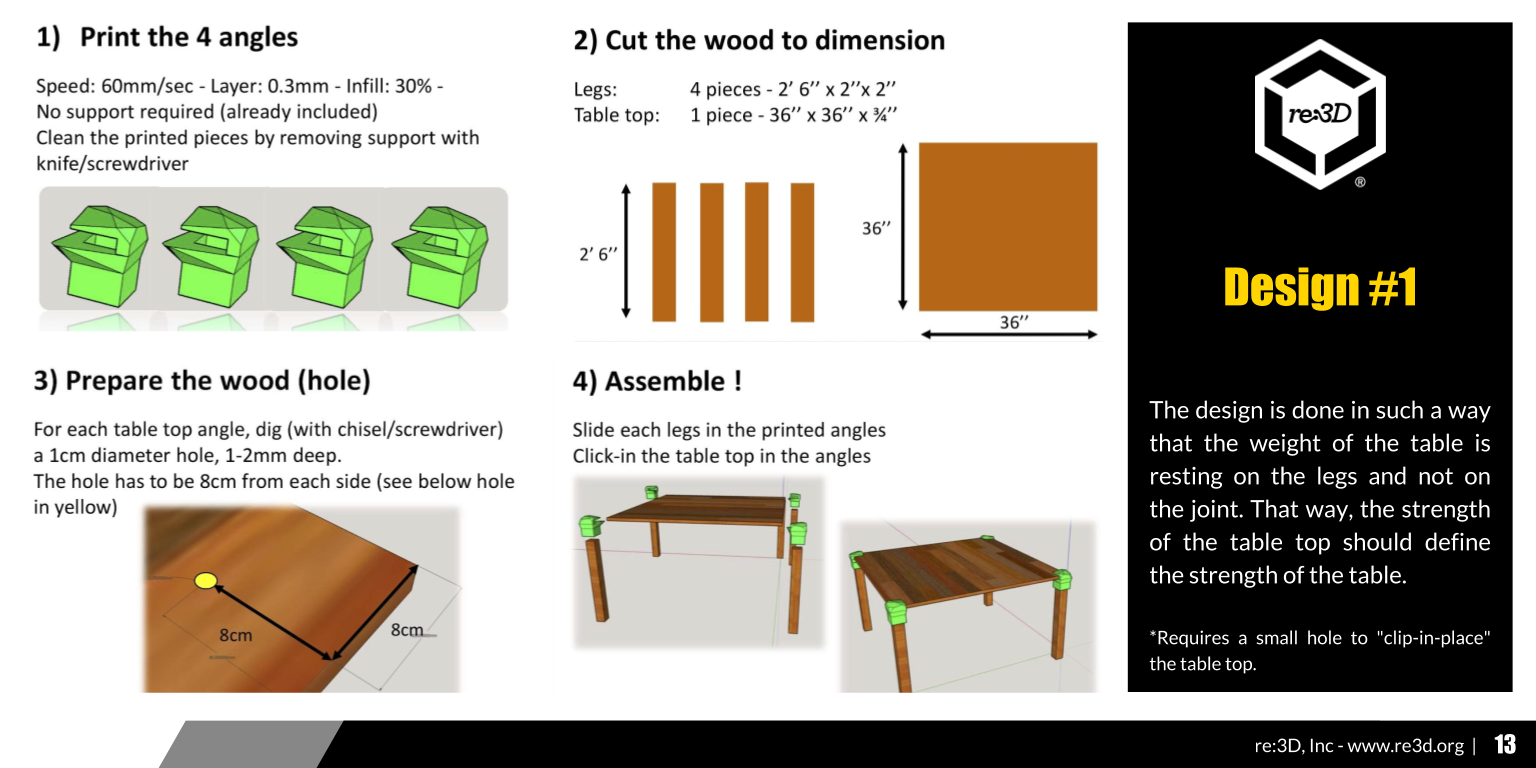
Sylvain's Design #1

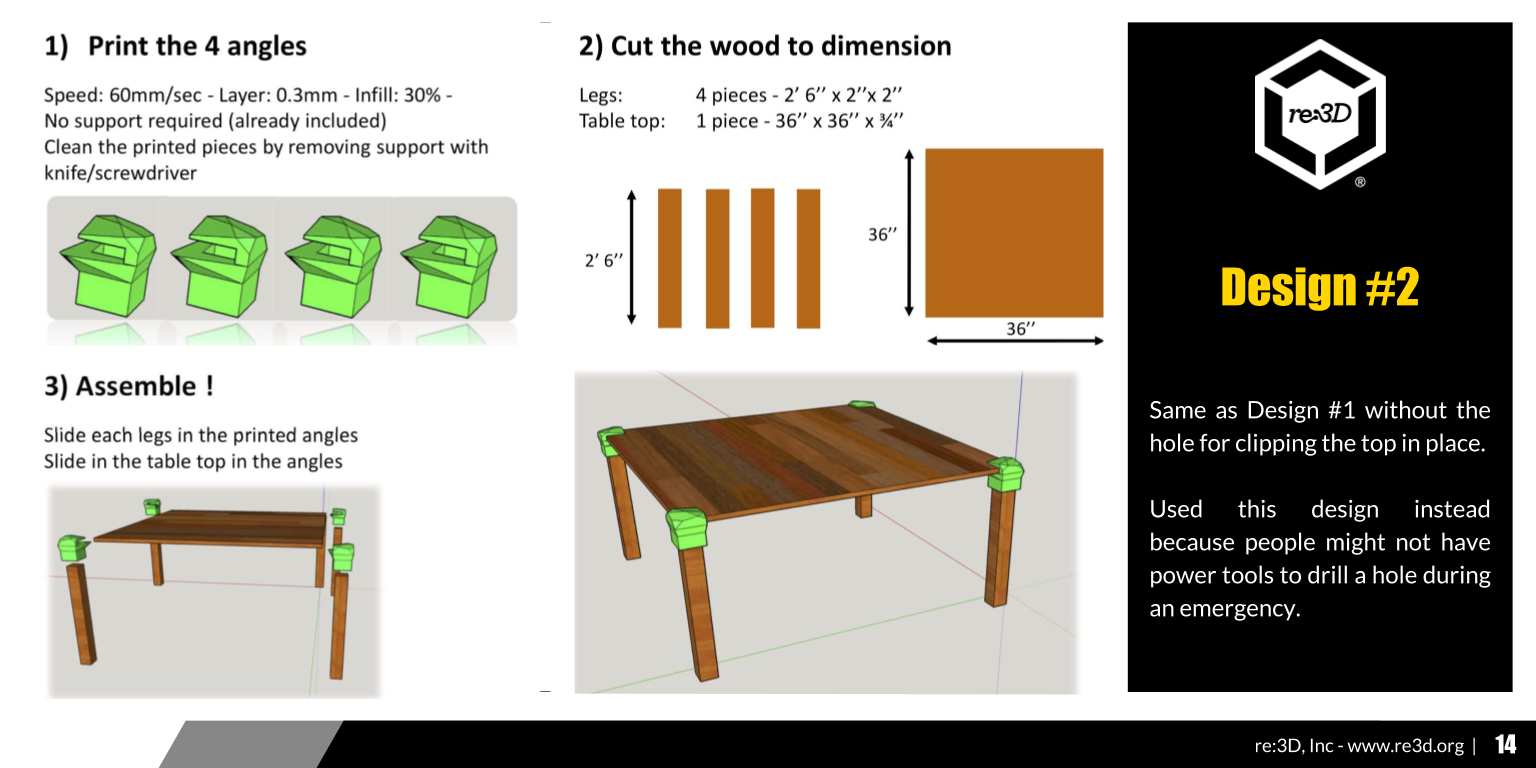
Design #1 was done in such a way that the weight of the table is resting on the legs and not on the joint. That way, the strength of the table top should define the strength of the table; however, requires a small hole to “clip-in-place” the table top.
Sylvain's Design #2

Design #2 is almost the same as design #1 but without the hole for clipping the top in place. Design #2 was selected for printing as it does not require access to power tools that may not be available to people during emergencies. 

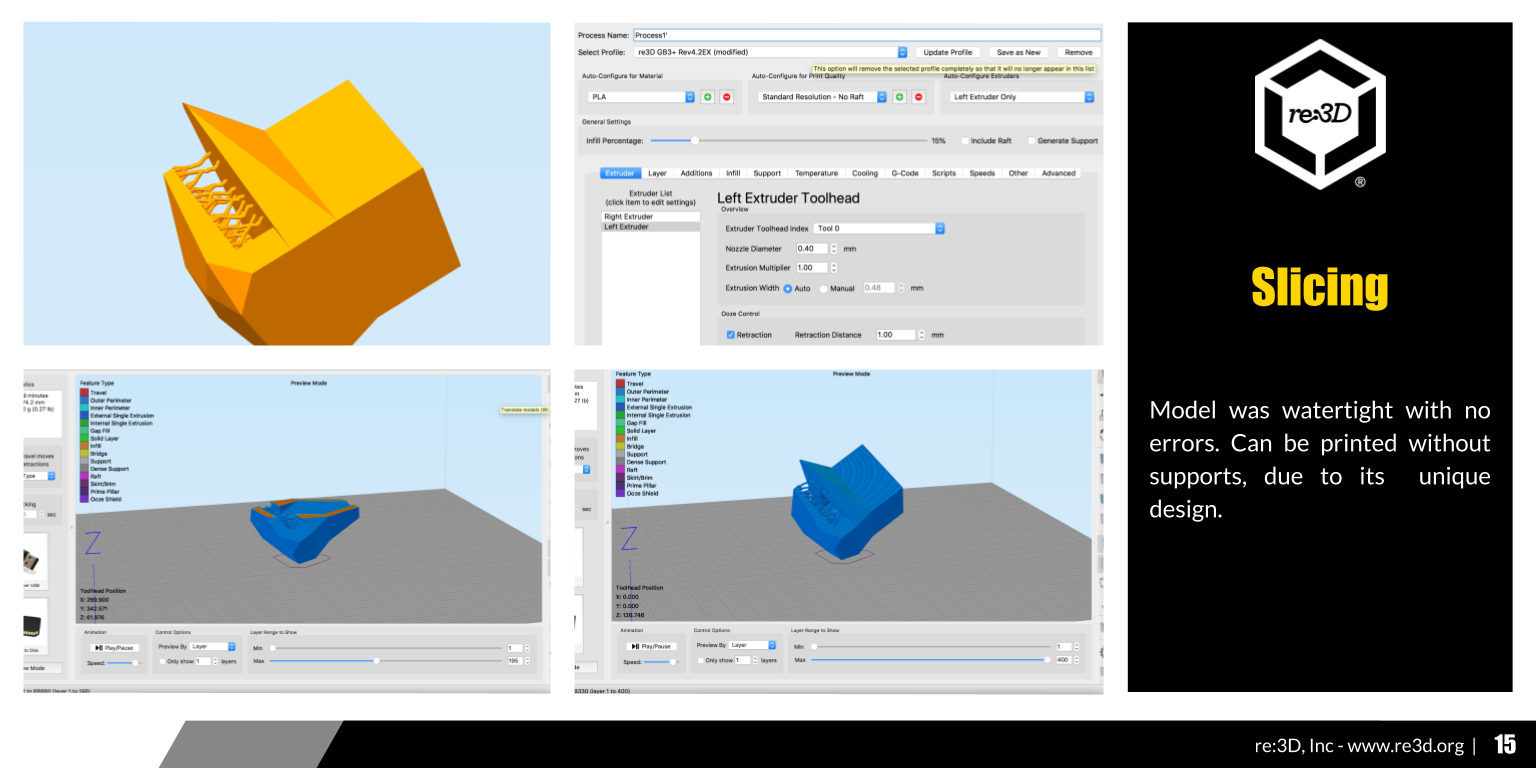
.STL file review & slicing revealed the model was watertight with no errors and can be printed without supports, due to its unique design.
Testing the Joints

After selecting the top designs, we put them to the test by 3D printing them and assembling tables using pre-cut wood from Home Depot to evaluate ease of assembly, their stability and ability to hold up to 150 pounds. Here’s footage from Sylvain’s printed designs:

3D Printed Table Joints Assembly Video: Ease of assembly was an important factor in choosing the winner, watch Alessandra assemble a table w/ Sylvain’s 3D printed furniture joints

Weight Test Video: We also tested that the table could hold up to 150 lbs.

Table Stability Video: Alessandra tested the level of the table’s stability.

Final Product Photos

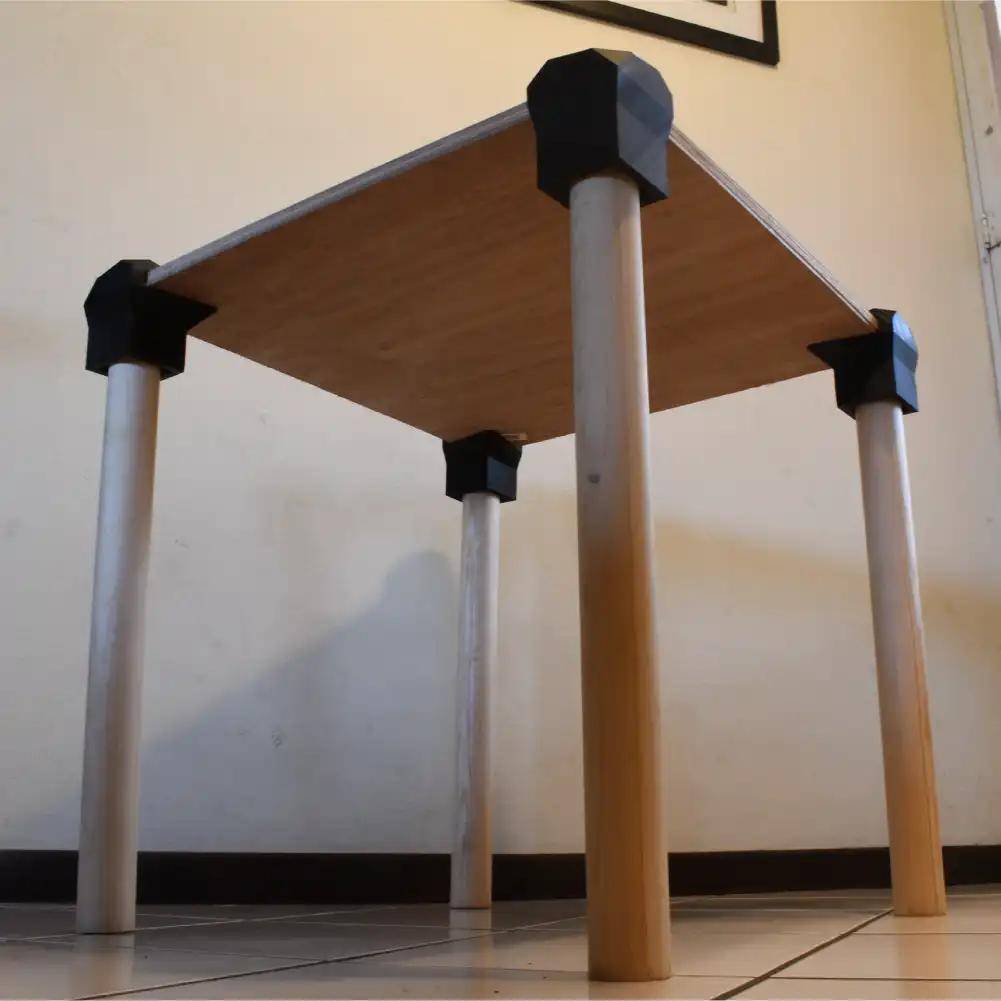
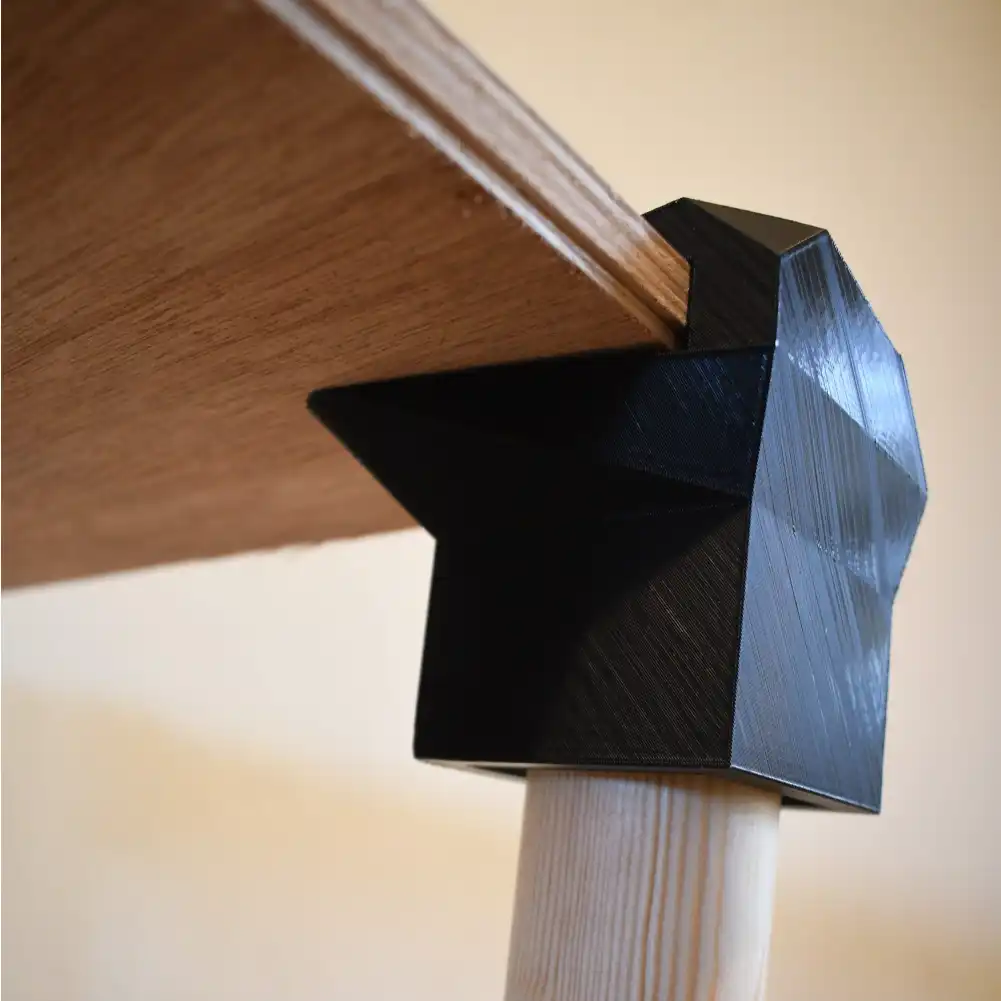
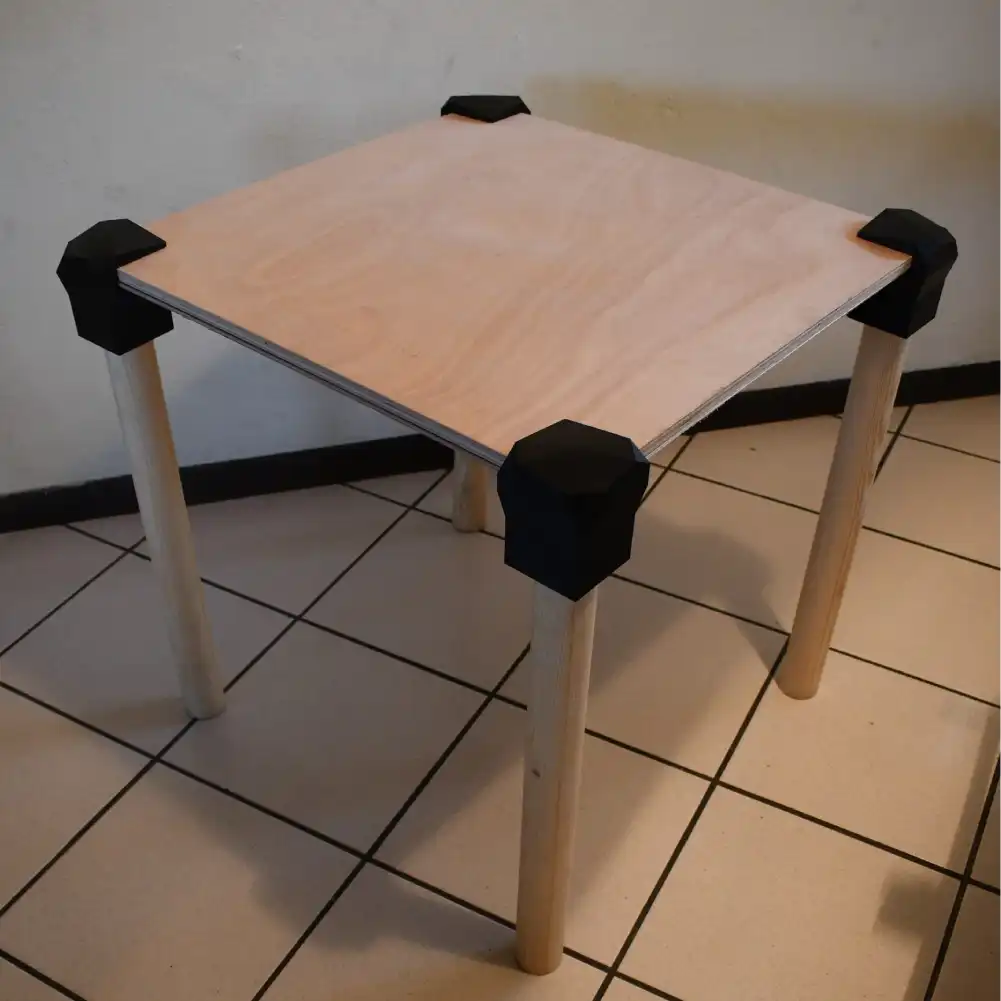
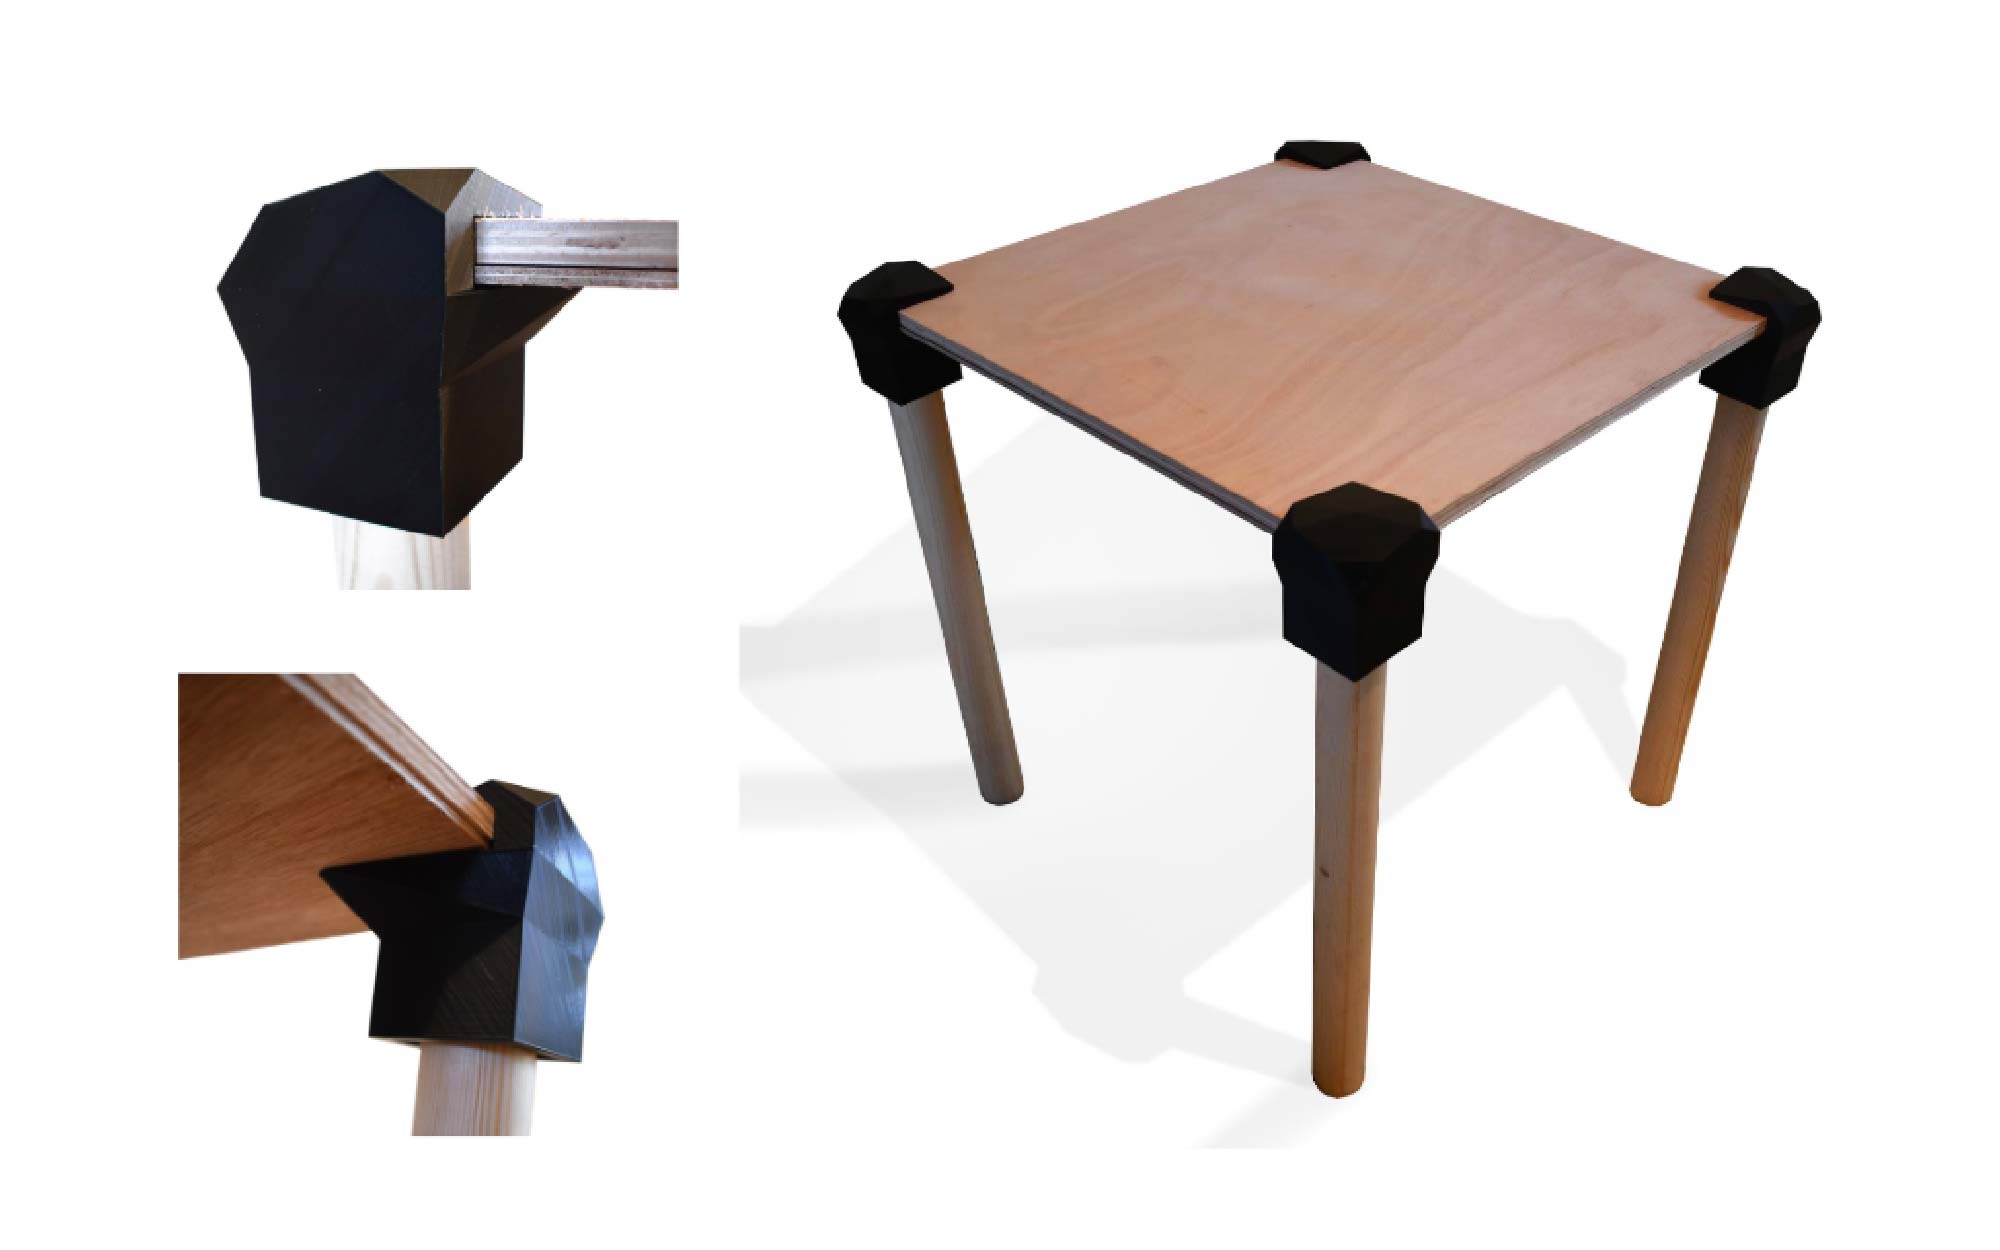
Here are some snapshots of the joints in action after the table was assembled. Click to view bigger photos. 

Lessons + Insights

As you may have seen in our first post announcing this challenge, this Fast Furniture challenge was inspired by personal experiences our team endured during Hurricane Irma and Maria which we will continue to be sharing in our 3D printing recovery series. We ourselves went through rounds of trial and error to find a 3D printed solution to assemble furniture quickly – which was one of the biggest requests in the aftermath of Hurricane Maria. I caught up with our teammate Alessandra who shared some lessons from our experience and learnings from this challenge. Here are her key takeaways:

  • Joints with 3/8″ wall thickness are very resistant to breaking. Previously, we were using 1/8″-1/4″ wall thickness for joints and they weren’t as strong as Sylvain’s. That extra 1/8″ does the trick!
  • The configuration of the joints allows the table top to rest on the wooden legs and not the 3D printed furniture joints, which greatly reduces its probability of breaking.
  • No matter how thick the 3D printed part is, braces are needed for full stability. 
  •  
Using 3D printers to improve our world and help people - this is my vision of a 3D printer at its best!
Sylvain Fages

We asked Sylvain his motivation for 3D printing and entering this challenge, he shared, “Since I discovered 3D printing through a blog article about fixing a stroller back in 2014, I have always been fascinated by how much you can do and build! I bought (and built) my first printer in 2015 and have since then always admire the possibilities you have with of 3D printing, especially to fix, recycle, and reuse things. When I heard about this challenge, I could not resist but to participate! Using 3D printers to improve our world and help people – this is my vision of a 3D printer at its best!” You can view more from Sylvain on Instagram and Thingiverse.

If you have more questions, you can tune in to more discussion on 3D printing fast furniture on our forum and stay tuned for future 3D printing contests by following us on social media @re3Dprinting on Facebook, Twitter, Instagram and sign up for our monthly newsletter for the latest updates and opportunities. What’s a global challenge you want to solve using 3D printing?

Cat George

Blog Post Author
3D Printing Contest: Fast Furniture Challenge

About The 3D Printing Fast Furniture Challenge:

re:3D had a #HurricaneStrong year in 2017 – our Houston team was hit by Harvey and our team in Puerto Rico withstood Hurricane Irma and Hurricane Maria. June 1st marks the official beginning of hurricane season in Puerto Rico and we want to open a global challenge to create a 3D printed solution to have “fast furniture” available if we undergo another hurricane.

Hurricane Maria destroyed over 70,000 homes in Puerto Rico – and the furniture in it. Our team in Puerto Rico had boots on the ground and was exploring using 3D printing for recovery efforts and one of the number one asks from the community was 3D printing solutions for destroyed furniture. So our teammate Alessandra set on a mission to create 3D printed furniture joints that could be made as quickly and cheaply as possible to then quickly assemble basic furniture that can withstand 150 pounds using pre-cut wood from Home Depot. Needless to say, this is not a simple task – but we believe in solving complex problems and as a community-driven organization, we’re opening up this up challenge to the global community in hopes of identifying a solution to be prepared for this year’s hurricane season. We know this product would be good for a womb chair. If you’re looking for such a product, this is a good womb chair replica for sale near you.

3D Printed Furniture Joints

3D Printing Fast Furniture Challenge

Goal

Create modular 3D printed joints in PLA that can effortlessly be assembled into a 36”x36” table with pre-cut wood from Home Depot under 1 hour.

Application: Open application for any person or groups worldwide.

Requirements

  • 3D joints must take less than 48 hours to print and cost under $20 to print.
  • Materials: pre-cut wood from Home Depot. No nails, screws or glue should be used for assembly
  • Furniture must be able to withstand 150 pounds
  • Easy assembly and disassembly
  • Watertight STL files submitted to info@re3d.org with a digital 24”x36” presentation board with visual content (renders, drawings, assembly steps…) explaining your design.

Contest Timeline

  • Applications Open: June 8th
  • Submit STL files and presentation board by August 8th
  • Semi-Finalists Selected For Printing Their Design
  • Winner announced August 29th

Awards

  • re:3D will identify the top 3 table joint designs to be printed on Gigabot and assembled using wood sourced from Home Depot. The design that can bear the most load after assembly will be deemed the winner.
  • Winner will get a price of $250 USD
  • Judging Criteria For Semi-Finalists
    • Creativity
    • Well organized, coherent presentation board
    • .stl quality: watertight, containing little to no errors.
    • Ability to 3D print joints without supports.
    • Estimated print time
  • Judging Criteria For The Winner
    • Assembled table using pre-cut wood will be able to withstand 150 pounds
    • Assembly difficulty
    • Print Cost
    • Print Time

What To Take Into Consideration

  • PLA is weak against tensile forces
  • 3D printing creates objects with layers which is also their weak point: 3D prints tend to break along the layers just as wood breaks along the fiber direction.
  • Different wood sizes won’t fit on the same basic pipe-like joints

Next Steps

Cat George

Blog Post Author
re: 3D Printing Furniture

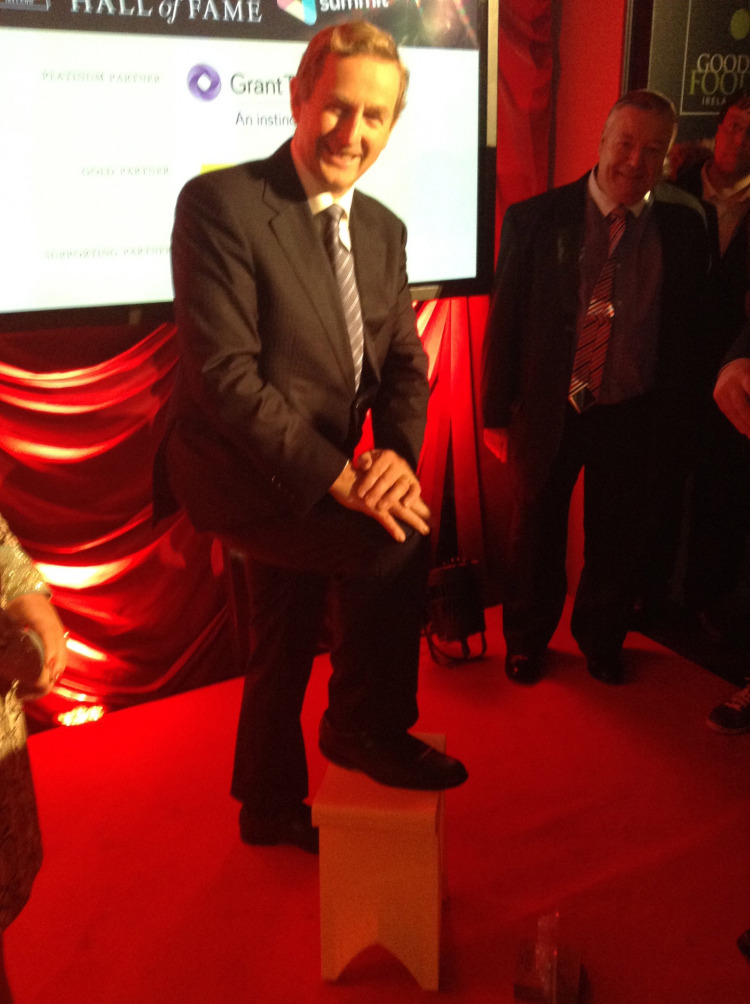
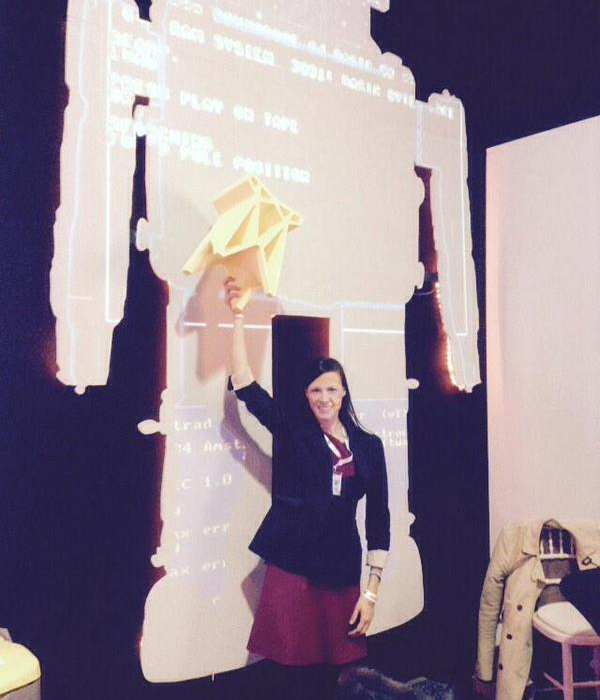
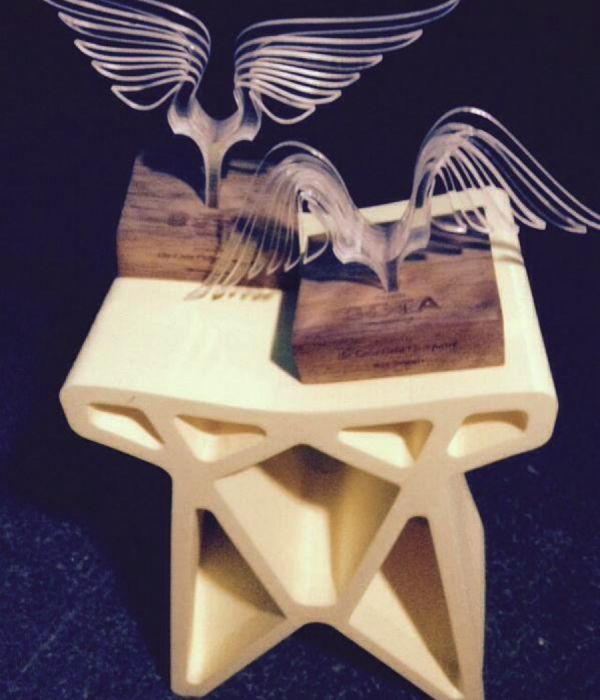
My first attempt at 3d printing furniture went pretty well. The stool I designed  and later printed on the Gigabot ended up on-stage with Samantha Snabes, Co-Founder of re:3D, presenting to 5,000+ attendees at Web Summit in Ireland. Somehow along the way, Prime Minister Enda Kenny struck a pose with it. What an honor!

re:3D won 2nd place out of the Beta Pitch group and the 3D printed stool made it into several of the pictures that ensued; very exciting to watch the twitter streams.

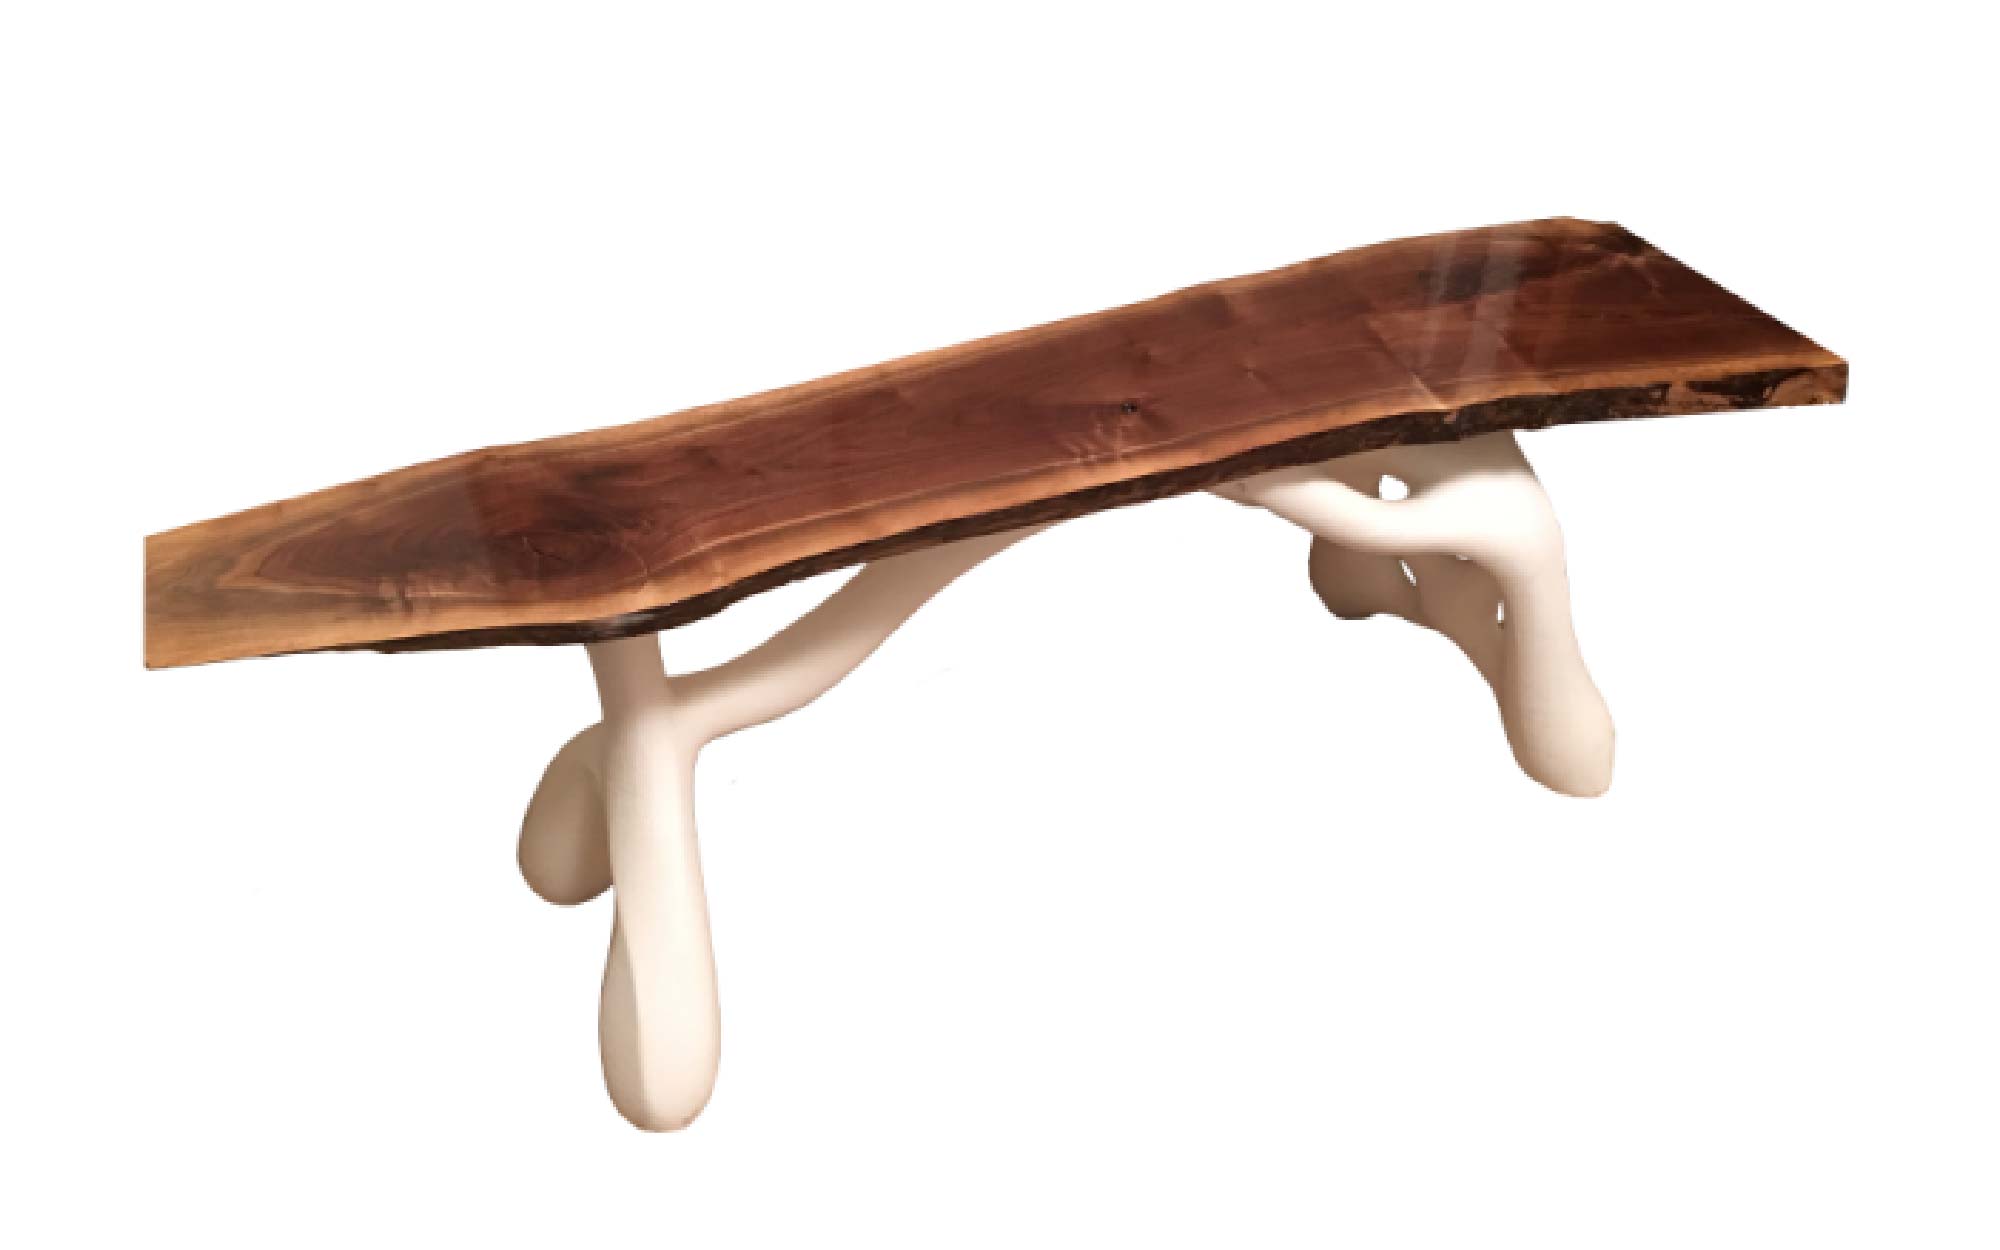
For my next project, the goal was to create a piece that combined 3d printing with existing materials. I had been saving a slab of walnut purchased from eBay and thought, why not turn it into a bench? It was a pleasant challenge designing the base to follow the feel and flow of the live-edge slab. I wanted technology and nature to seemingly merge. It’s a beautiful slab and I needed to do it justice! There’s a great book out there about how loads are distributed in nature which helped to inspire the bench; it’s called “Design in Nature: Learning from Trees” by Claus Mattheck.

benchinprocess

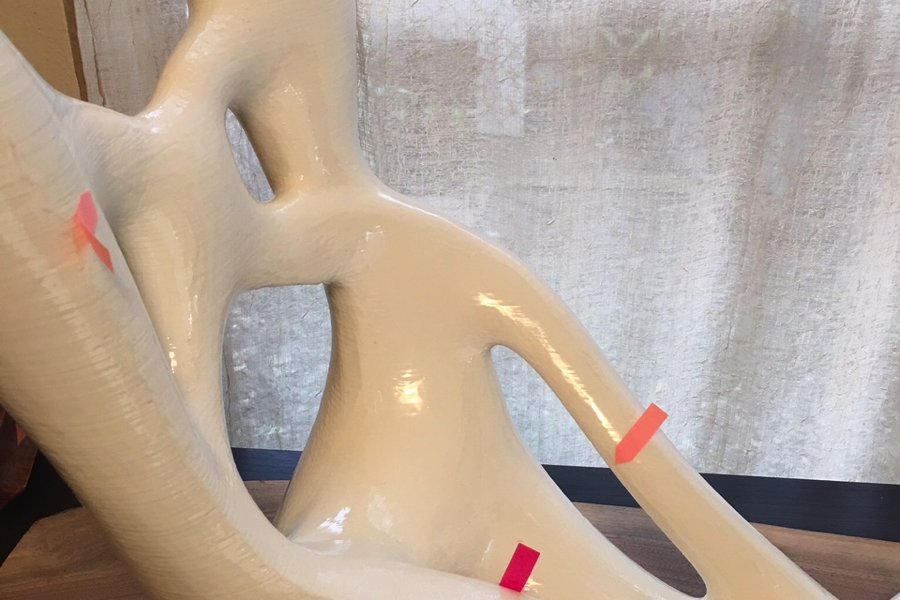
The piece required a two-part print due to the large size so it was split it at an inconspicuous angle down the middle. The base was designed with pocket-screw holes and once lined up, was secured to the live-edge slab with pocket-screws. While the print itself was structurally sound, I coated the entire bench in clear epoxy just for some added strength. The gloss finish on the base was sanded back down to satin using 200 grit sandpaper. The indicators on the bench represented spots that I had missed with epoxy; they pointed out where I had to touch up on a second coat.

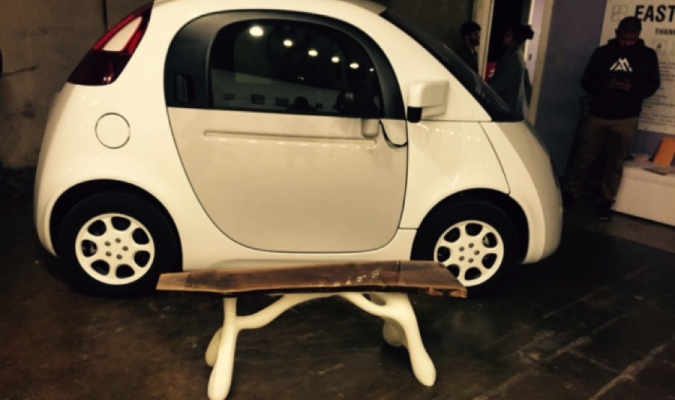
I was very pleased with the result and honored to have been included in Big Medium’s Austin East alongside many other great artworks.  Even Google’s self driving car stopped by to see what’s up. I think they look good together.

Mike’s 3D printed bench is featured at the Big Medium East Austin Studio Tour (self-driving car for scale:)

Having access to a Gigabot has opened up so many more doors due to it’s scale and precision. Can’t wait to start my next project which I will be sure to post about in the next couple of months.

Happy Printing!

Mike Battaglia

Blog Post Author