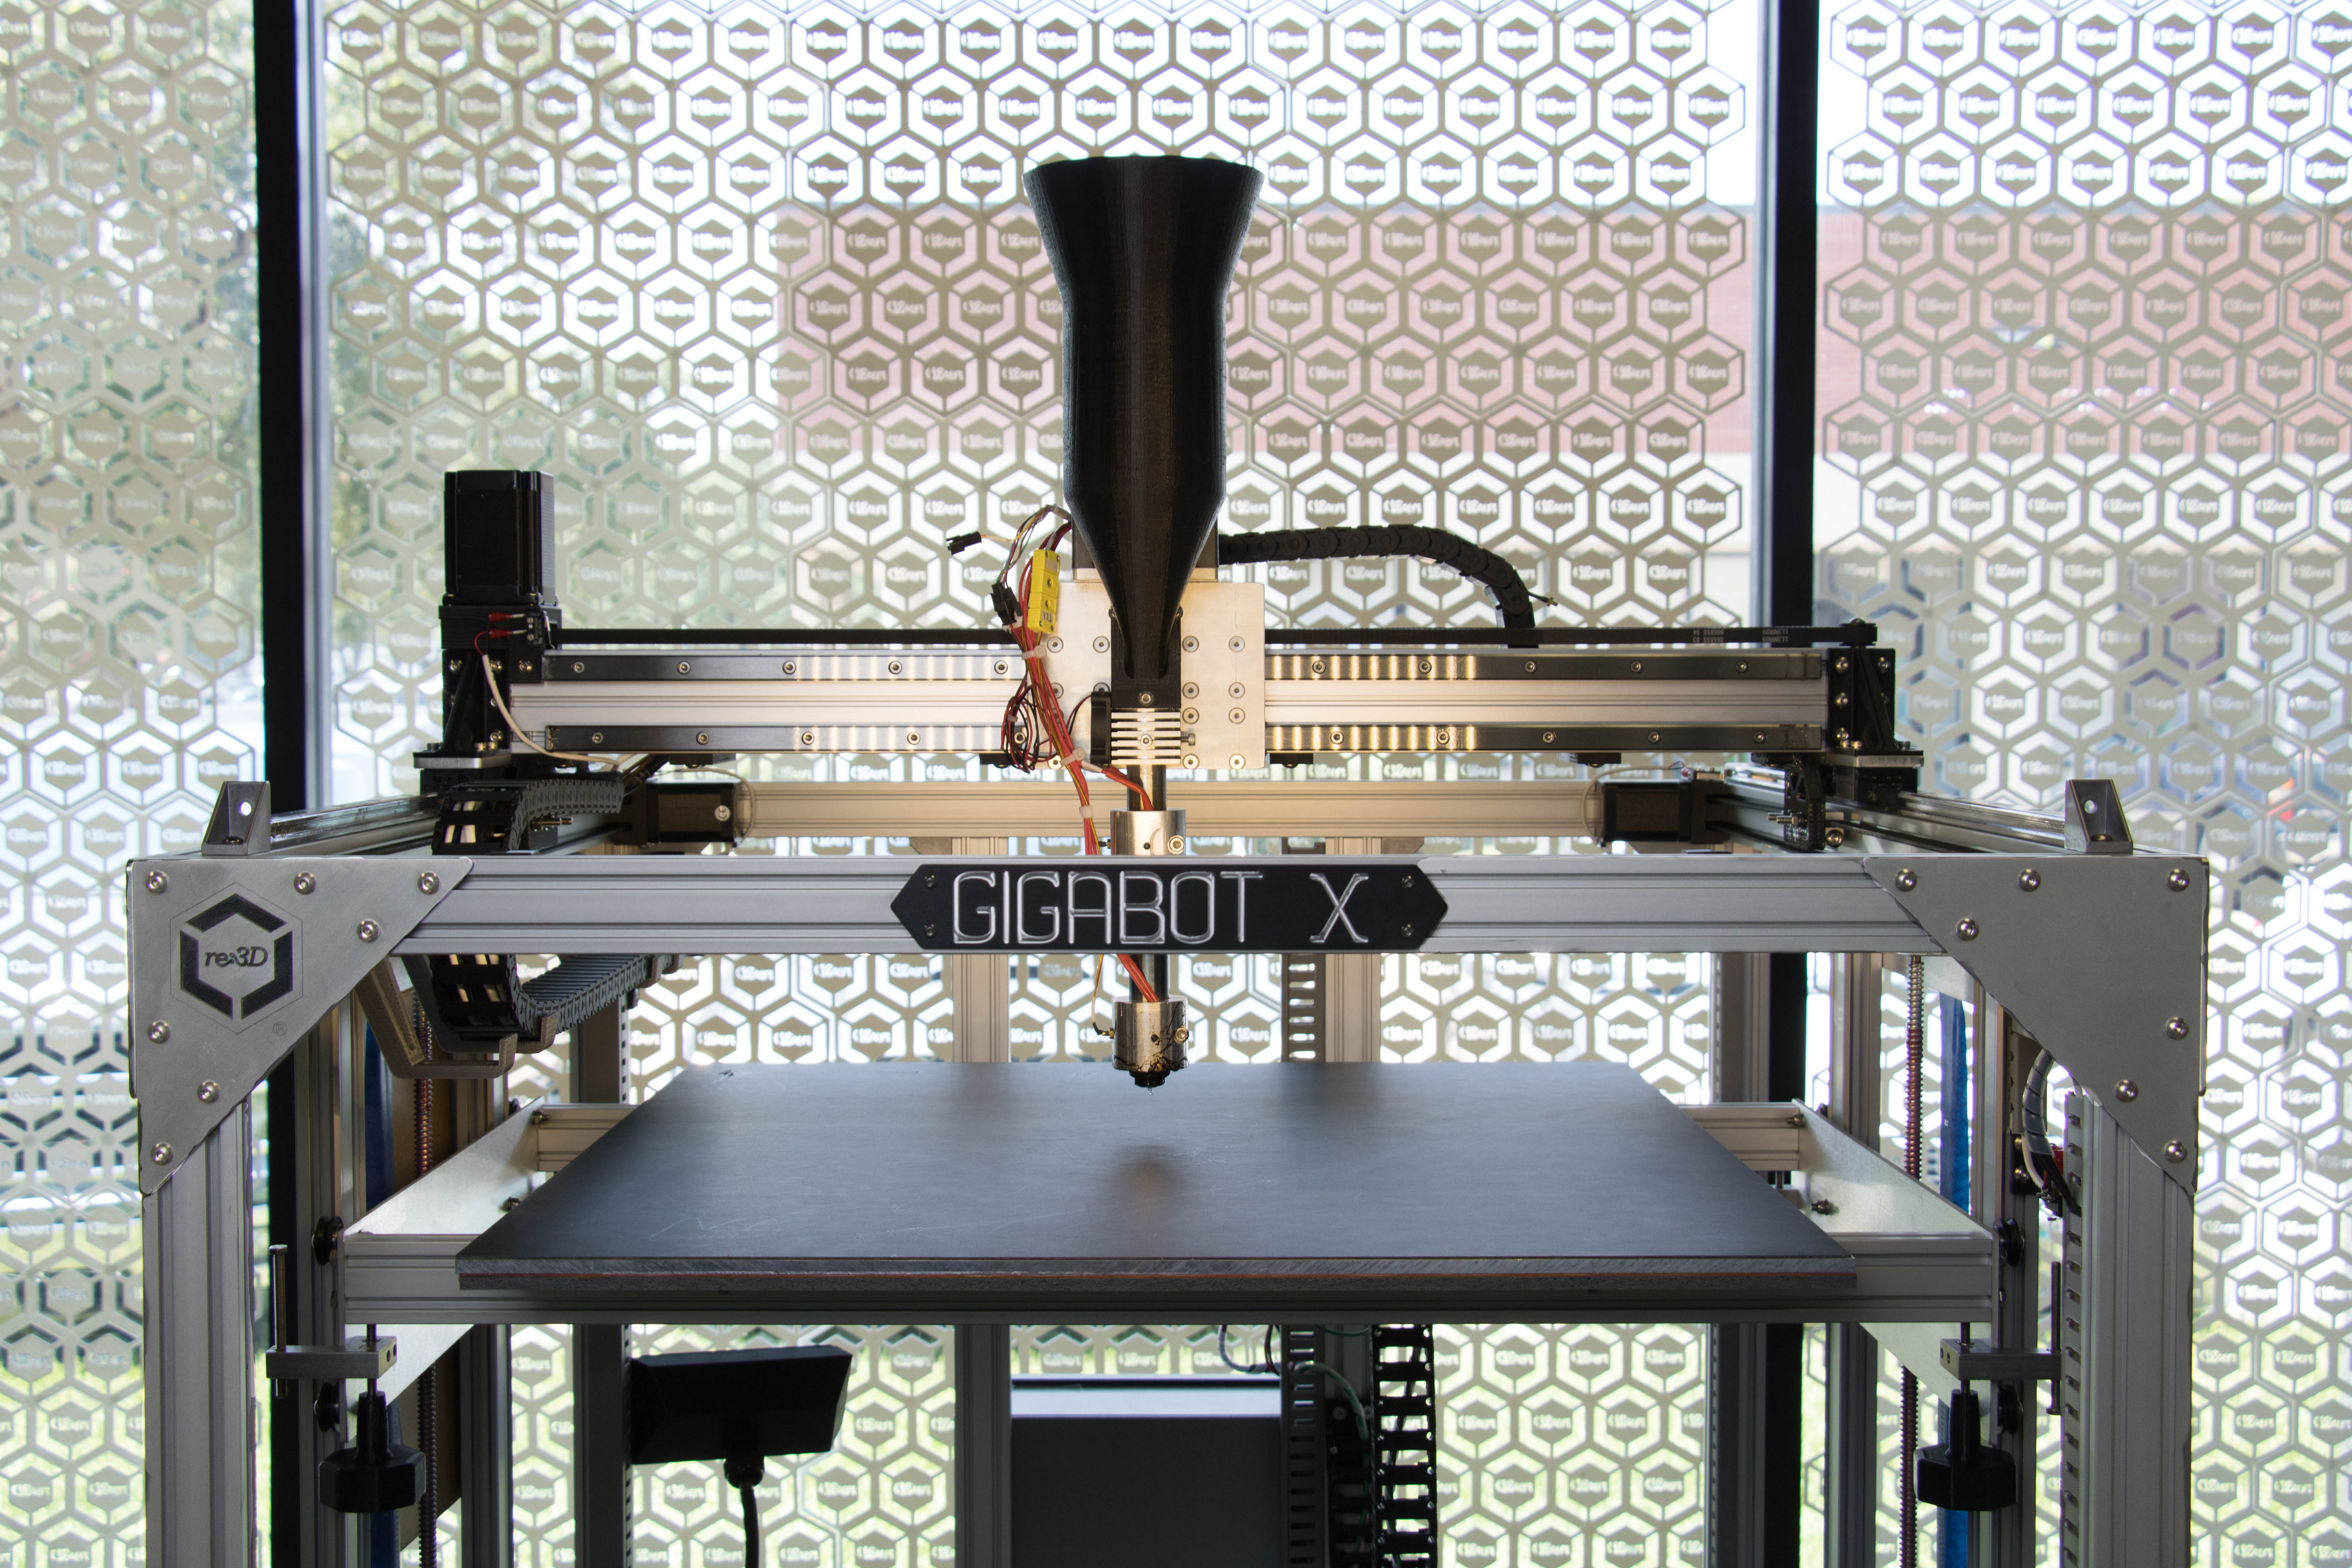
Hot off the 3D printing press, it's a Gigabot X update!
It’s been about four months since we closed out a successful Kickstarter campaign for our pellet printer, Gigabot X, on April 23rd. Since we last touched base with you, our engineers have been hard at work making improvements to the design for our Kickstarter backer beta testers.
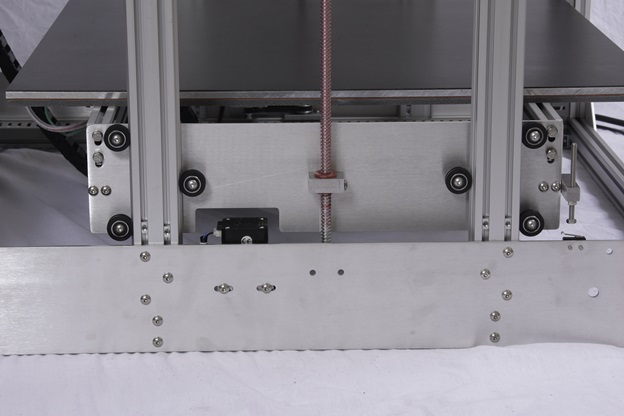
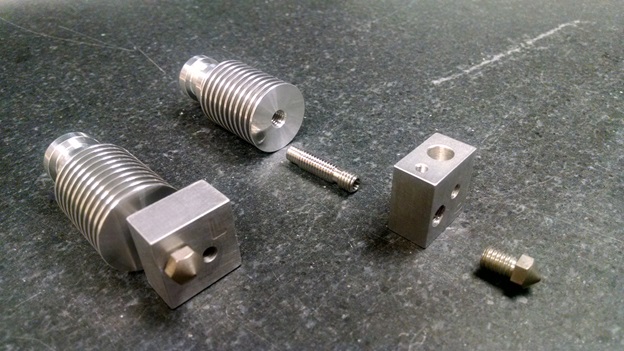
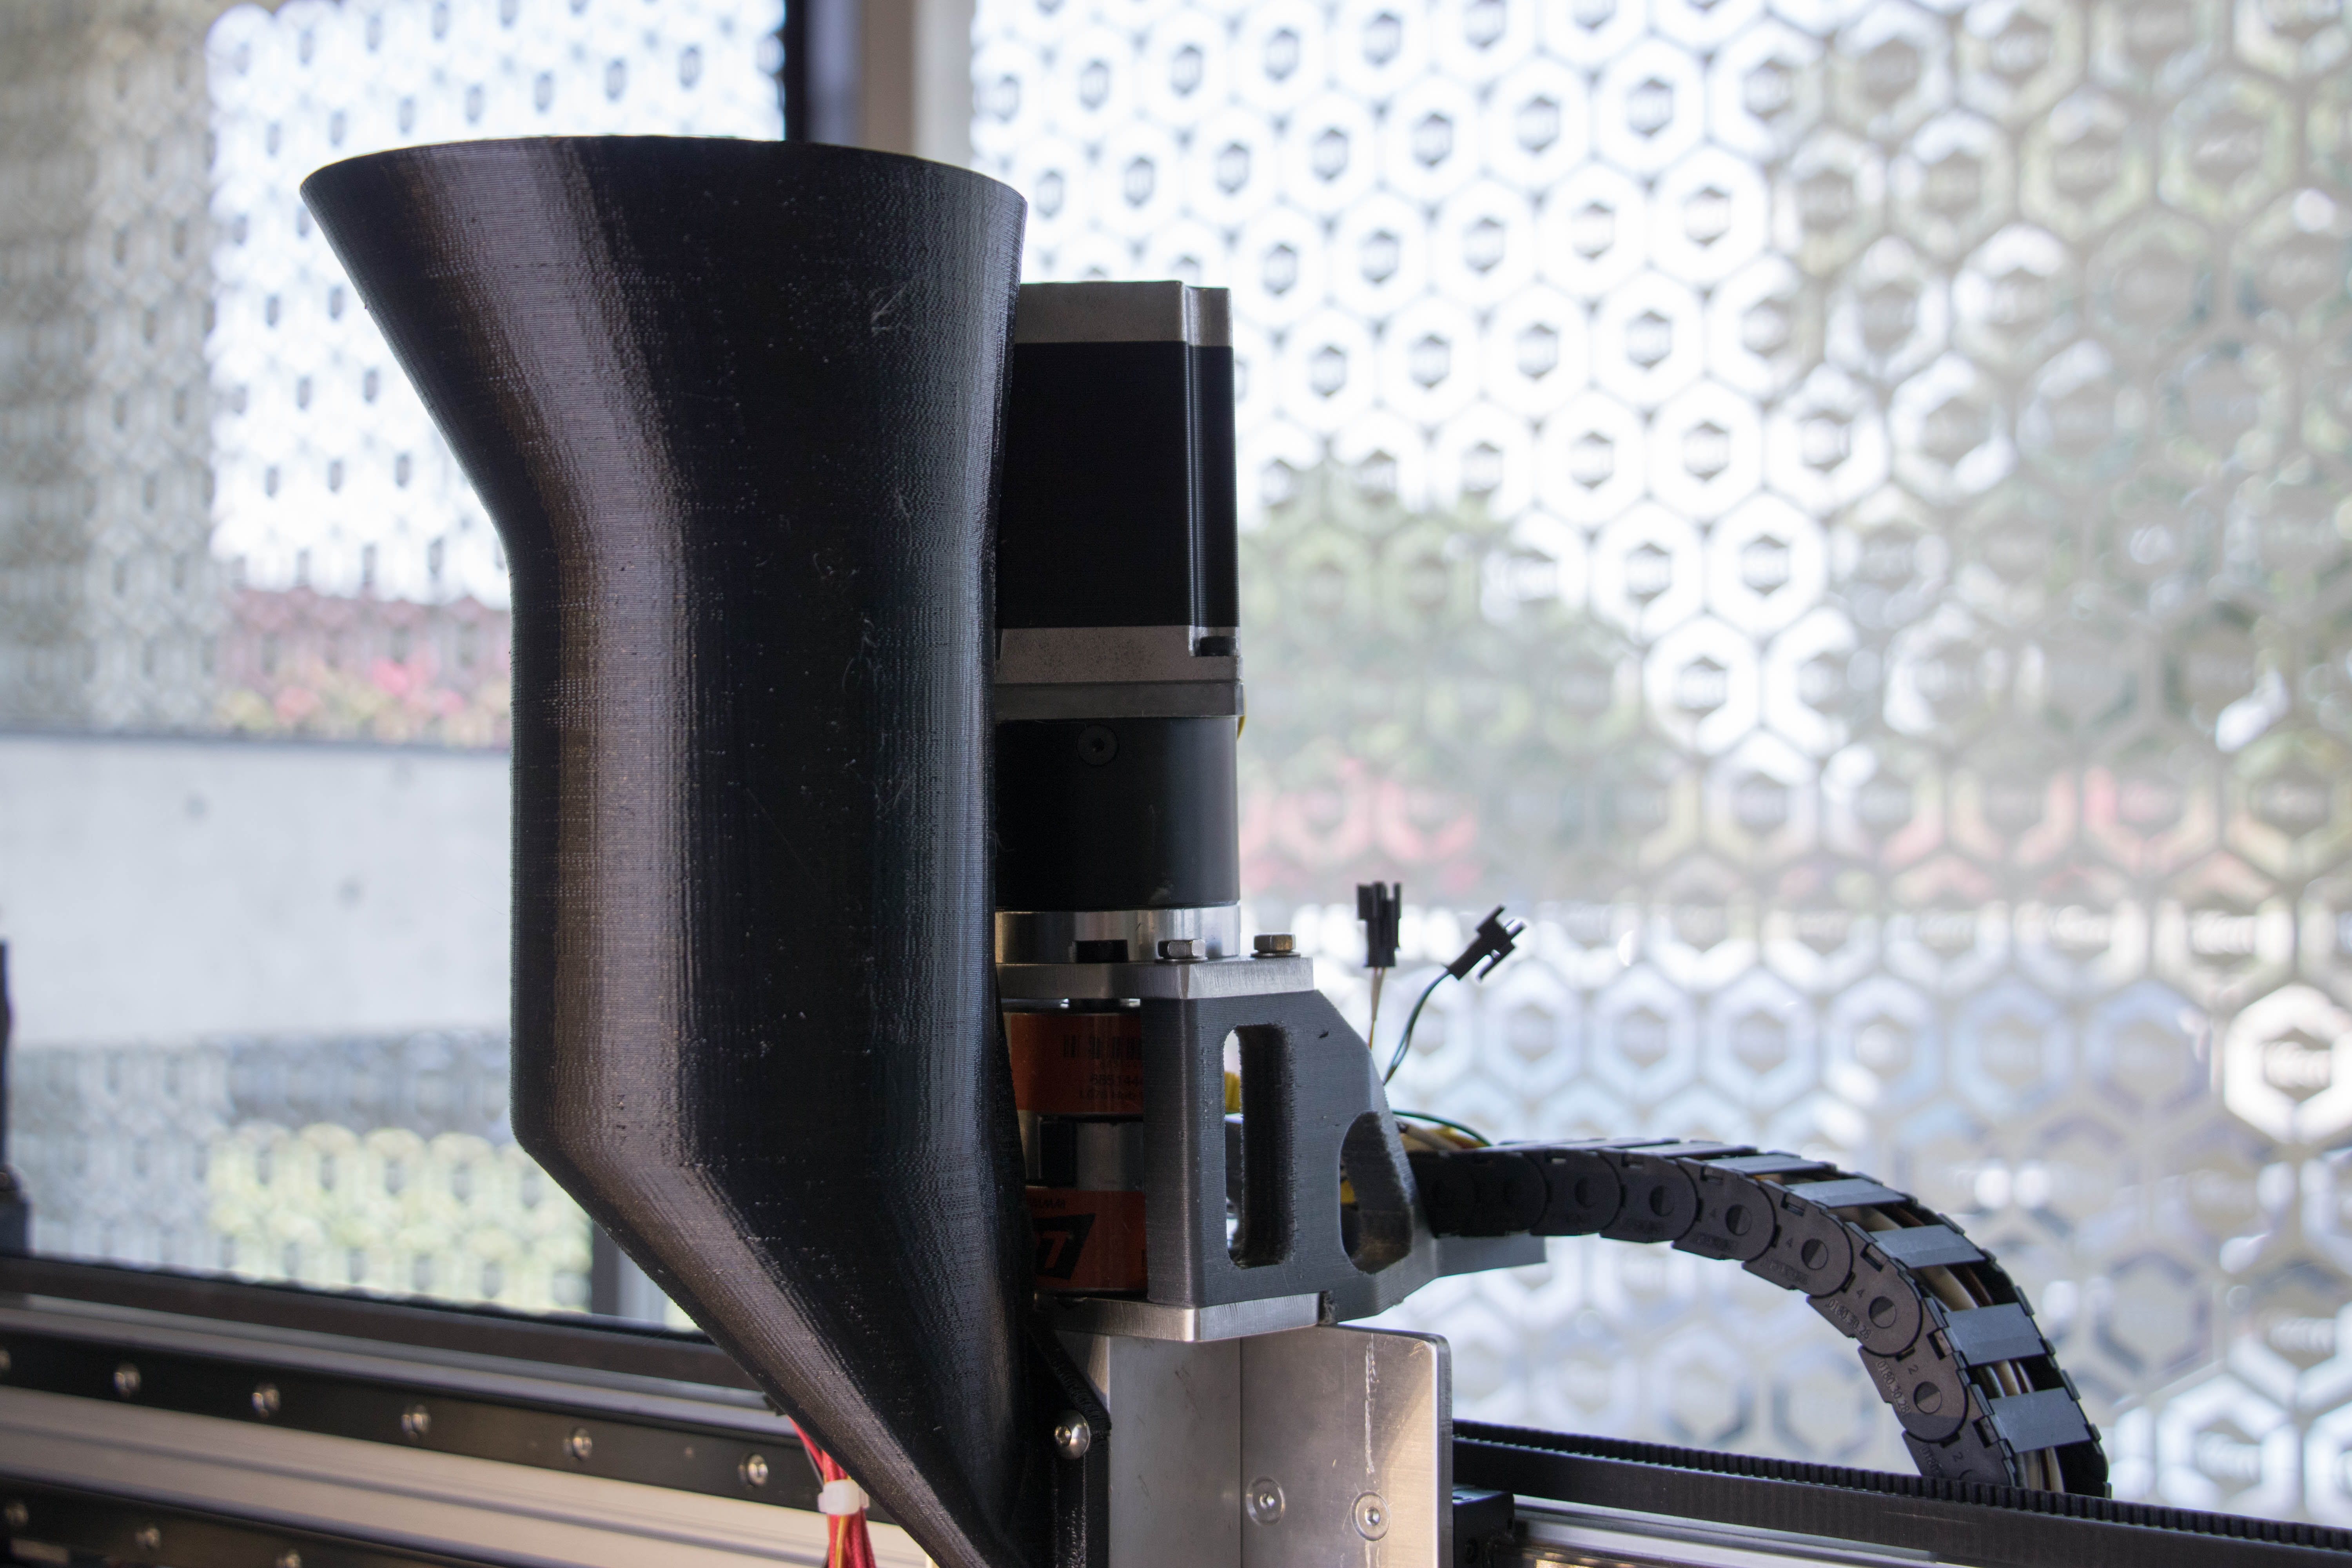
The main focus of the redesign has been the extruder, which has been completely overhauled over the last several months. There’s a new metal extruder body, improved wiring of heaters and the external motor driver, and a redesigned screw for more consistent extrusion.
Some previously 3D printed components within the extruder body were switched to metal for the purpose of durability. Originally printed for ease of testing modifications, our engineers found that some components weren’t lasting as long as they’d like to see due to the tremendous forces being generated within the hopper as the screw extrudes pellets. Now that the design of certain pieces is more final, we started machining certain components in metal to better deal with wear and tear.
The modular, 3D printed hopper has also seen significant changes. With the previous design, our R&D team found that the amount of pellets being pushed through by the screw was much higher than they expected – and wanted. They increased the size of the hopper to slow down the rate, which also provides the dual benefit of not having to replenish the pellets as often.
The first Gigabot X prototype took a trip up to Michigan and is currently residing at Michigan Tech University, where a group of students are performing material testing research as a collaboration supported by our NSF SBIR Phase I. Some of the materials they’ve been validating include PLA, PET, polypropylene, and ABS, in both recycled and virgin forms. One of our favorites we’ve been printing with is recycled PET, better known as the common disposable water bottle.
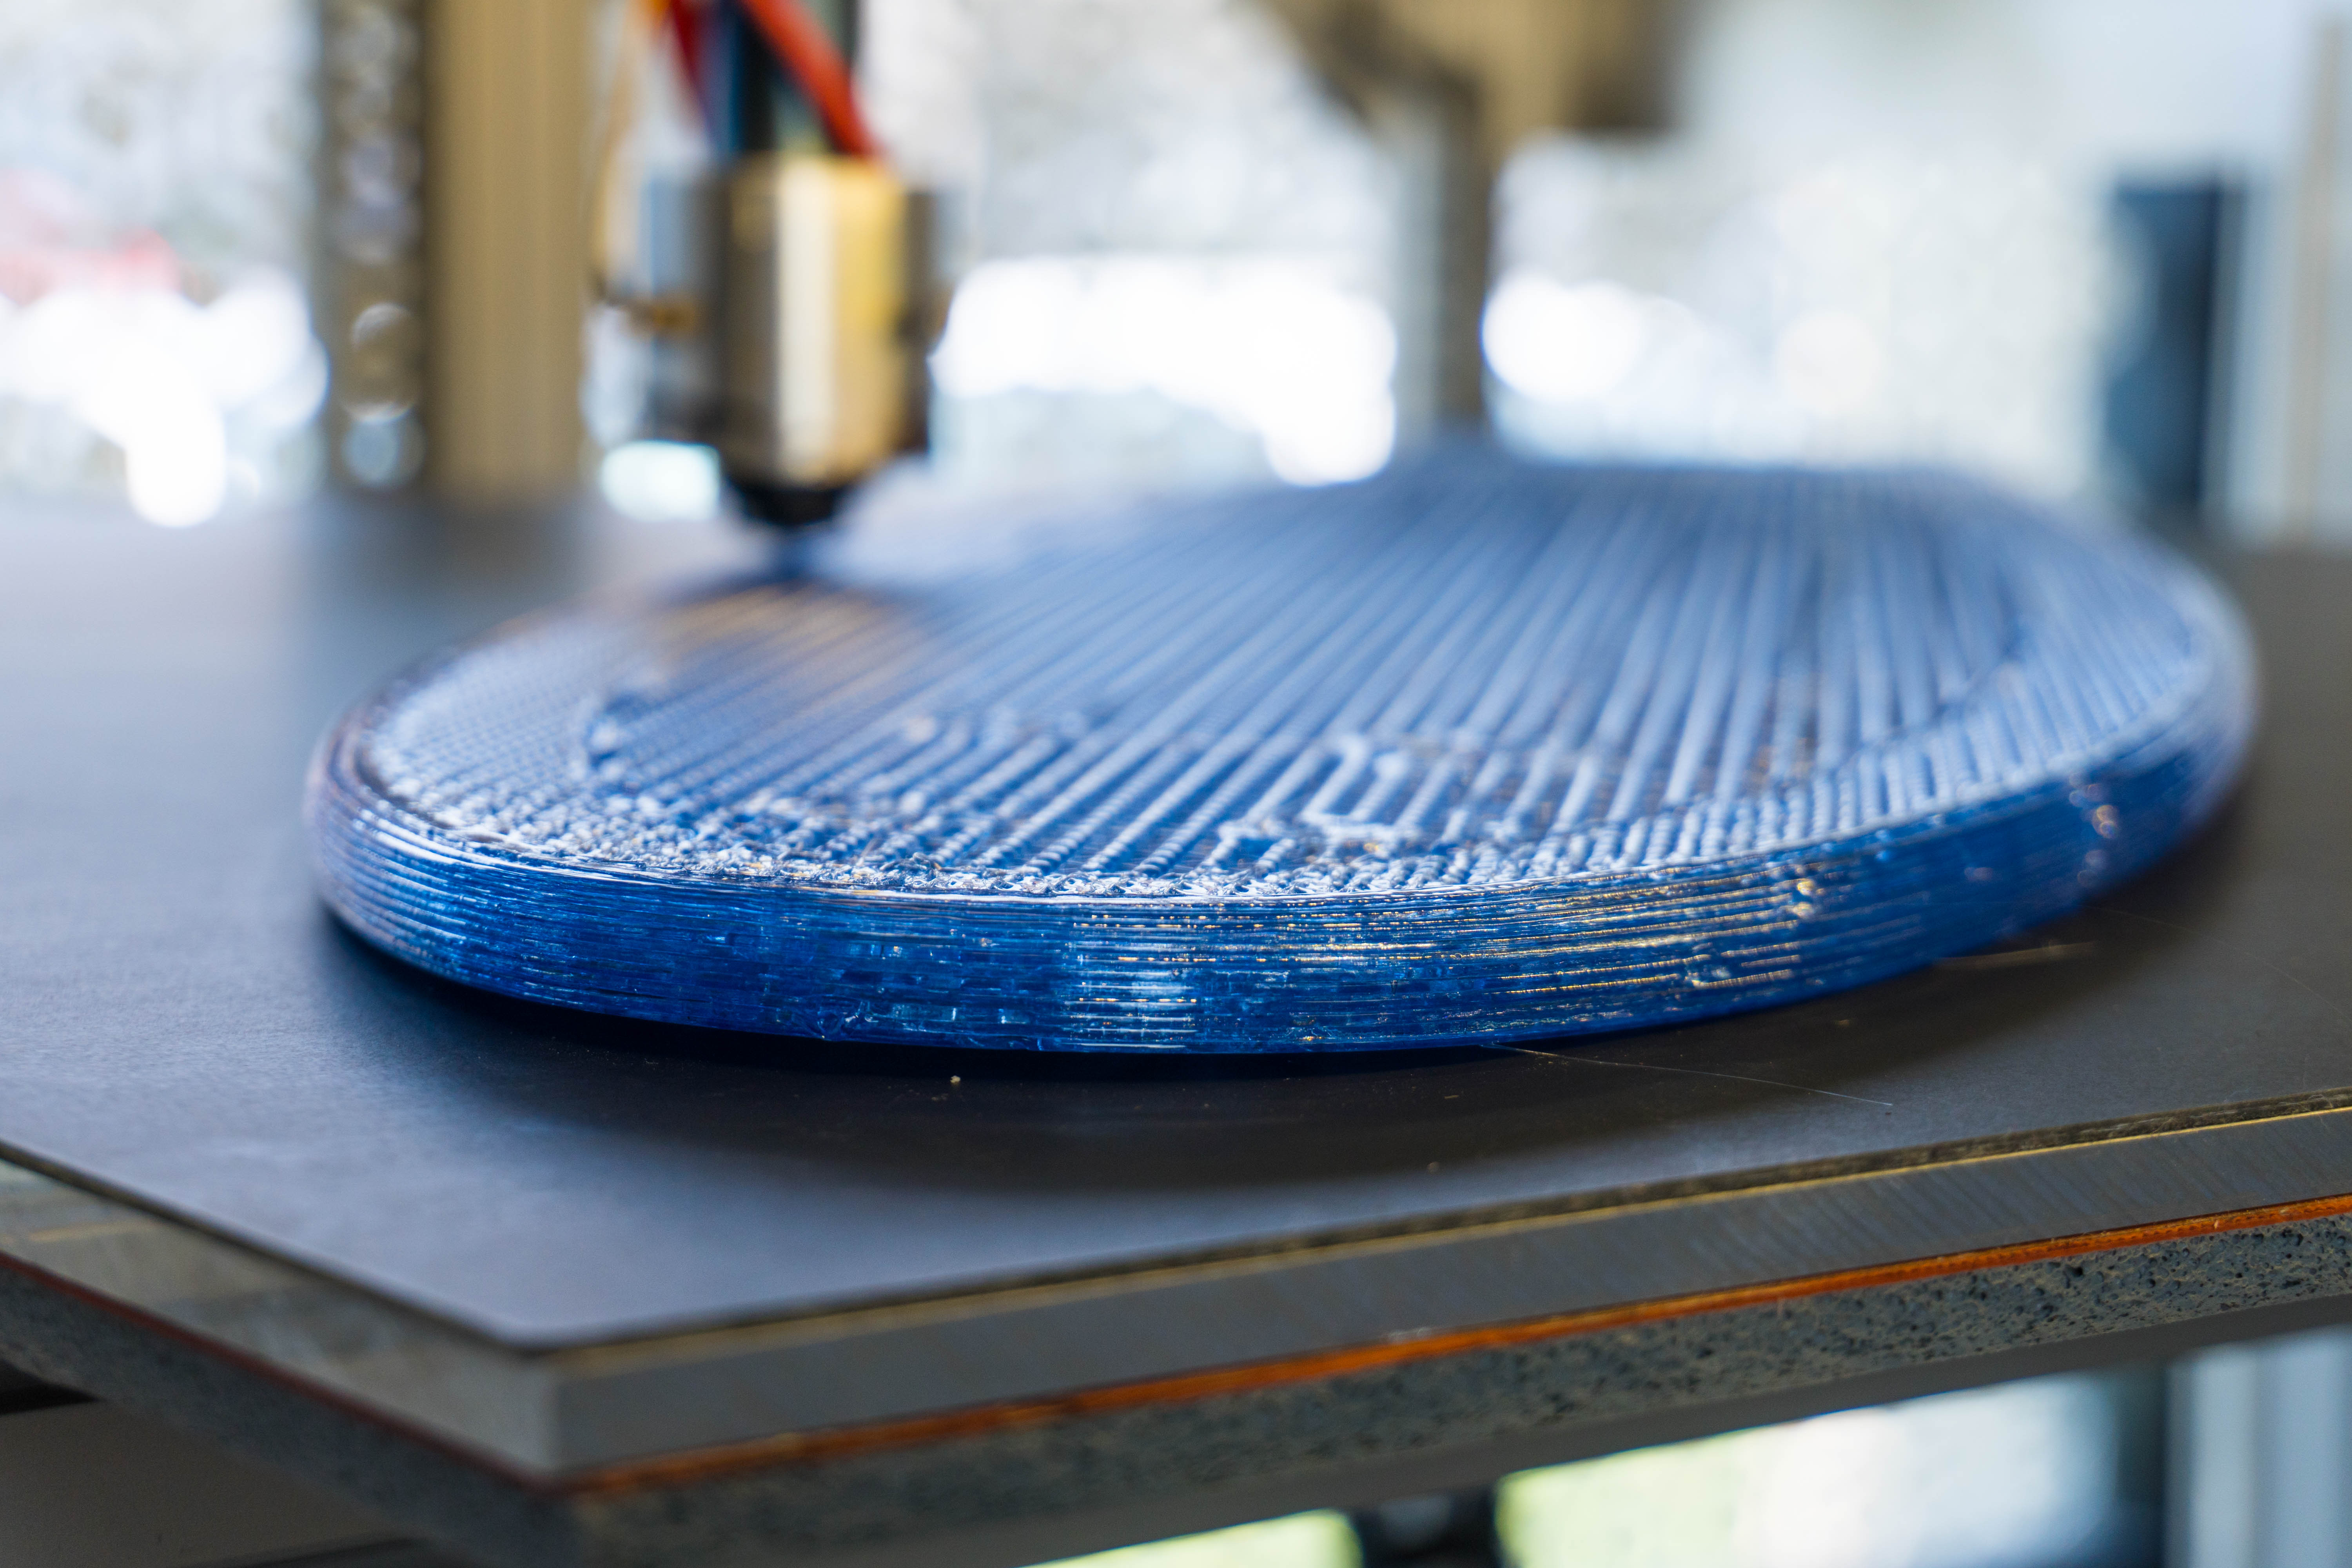
Michigan Tech has also done us the incredible service of creating improved Slic3r profiles for these materials. The profiles are working fantastically on the new Gigabot X in the Houston office, and we’re seeing improved quality of prints thanks to them. Backers will benefit from these profiles, which have improved the overall printing experience greatly.
Another thing our team is particularly excited about is that the MTU students were also able to 3D print with multiple sized pellets and have also been experimenting with printing directly with ground-up plastics with success. These results were then submitted to a peer-reviewed journal, and we would love to invite the community to check out the research in Materials. You can also share questions and comments with us on the Gigabot X forum by creating an account and logging in.
Testing of Gigabot X is still ongoing and small tweaks continue to be made, but things are moving along well. Over the next three to four months our team will be rounding out testing, cleaning up and finalizing the design and documentation of the machine, and getting the first bots ready for backers. Our team is really excited for the moment that we get to put this technology into the hands of our early adopters.
As re:3D R&D Intern Robert Oakley put it, “I’m really looking forward to seeing what people make with it… It’s really cool to see when people start figuring out how to use our printers to make cool objects that we haven’t thought of before.”
Stay tuned for an upcoming post about what Gigabot X was printing in the video above!
Morgan Hamel
Blog Post Author