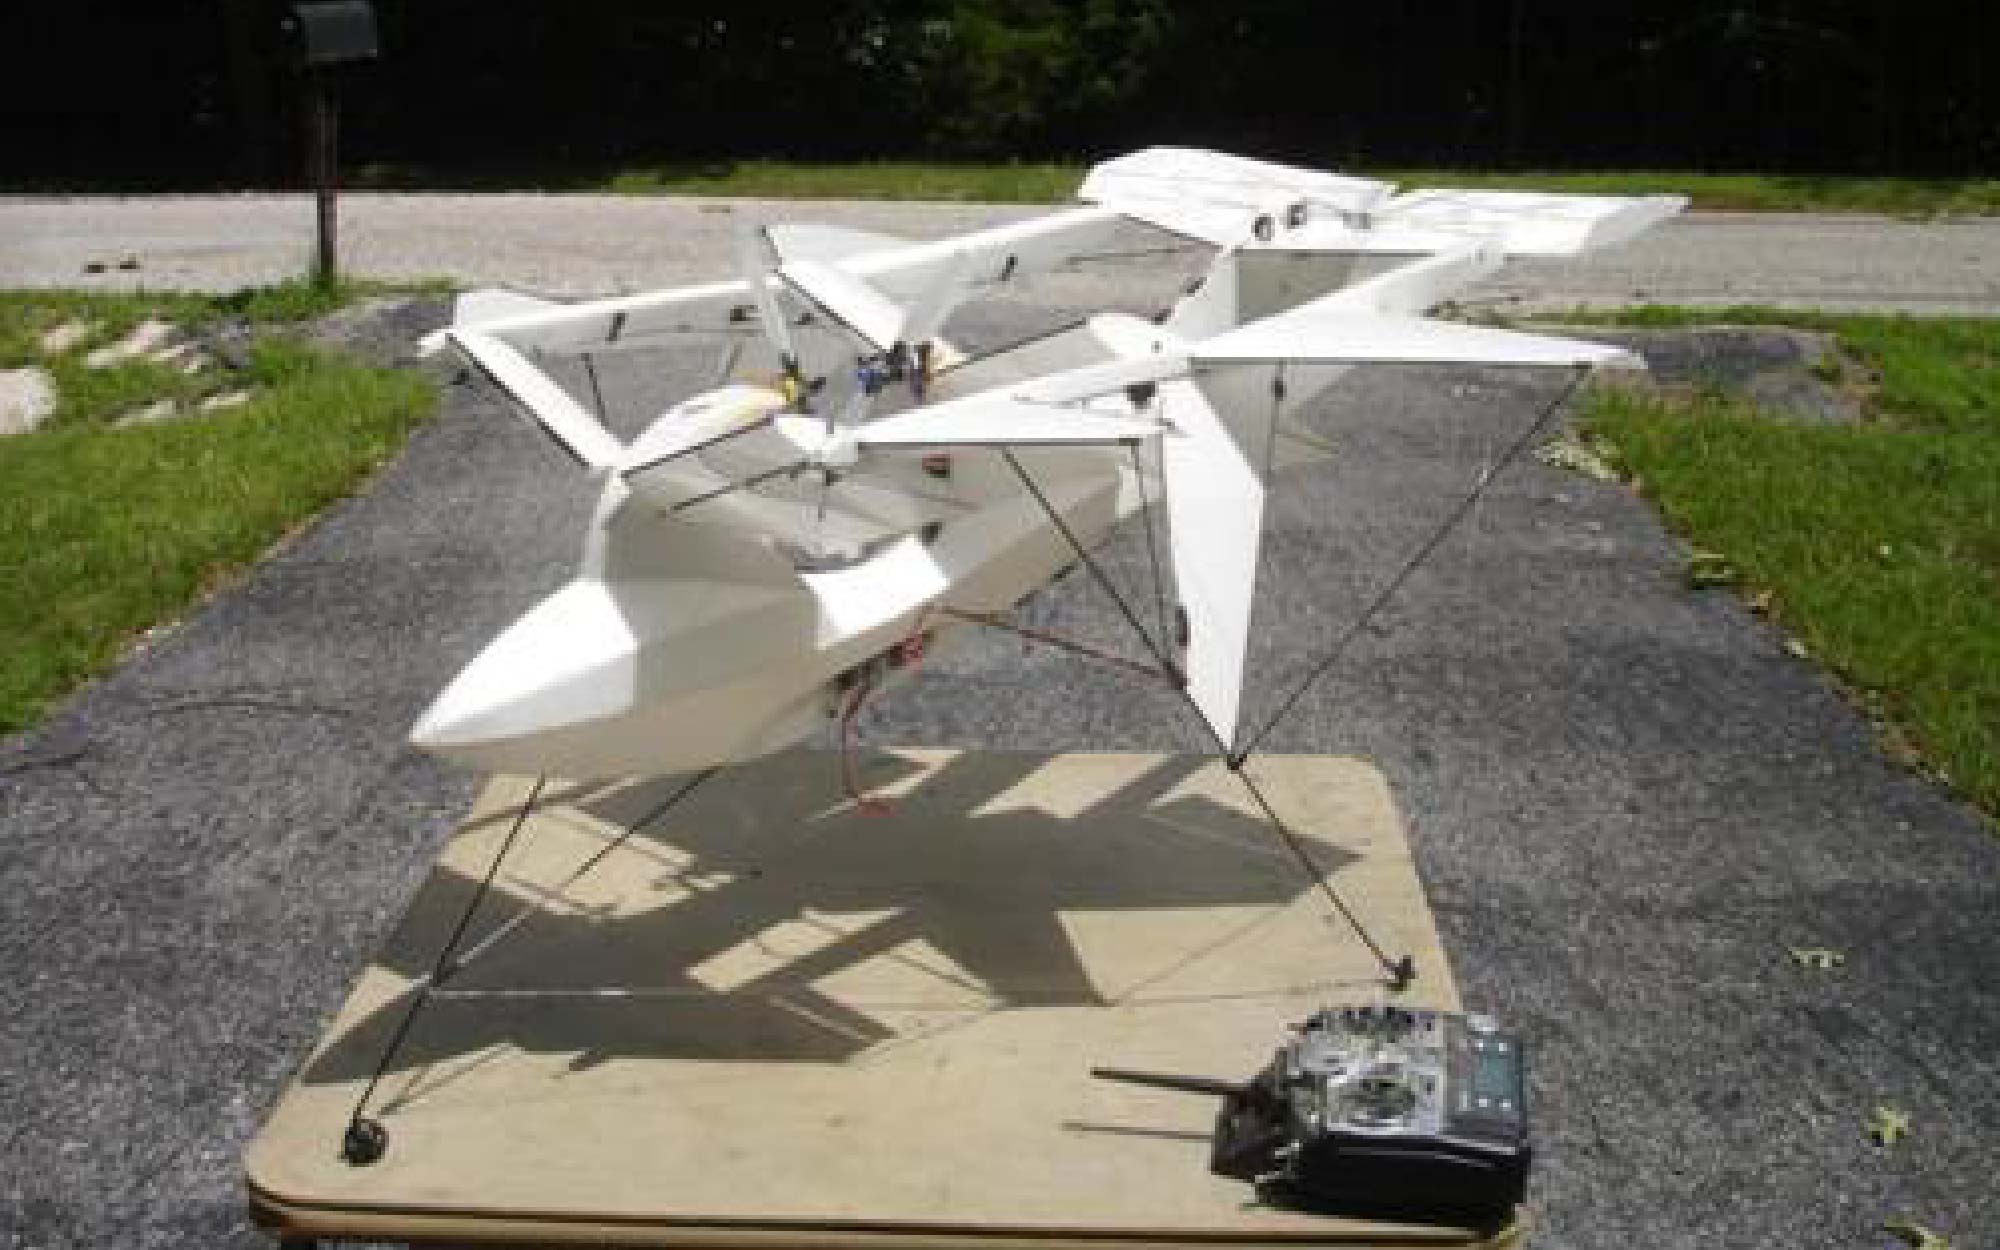
Hi folks, I’m Dave Sanders of protatypical.com and I’d like to introduce you to the “Flyfish” or at least that’s what it’s called for now and it’s my first project with a 3D printer.
This is just one of many proof concept prototypes that I’ve wanted to make but didn’t really have a good means to do so until now thanks to my Gigabot. The Gigabot’s large build capacity and ease of use allowed this model to be produced successfully as a second draft. As a matter of fact it was one month to the day after I received my machine that the first draft was done in grey (as seen above).
It is a testament to how straight forward re:3D’s assembly instructions are and how easy it is to install and use the software if you consider that I had absolutely zero experience with 3D printing. In the past my greatest design considerations when developing a prototype “what kind of materials can I use to get the desired attributes and how to design the model so that it can be fabricated out of those materials”. Now that I can make any shape I can think of out of plastic it is now possible to get the desired properties out of the design itself. For example the strength to weight necessary for a wing can be designed in through the use of thin skin and walls and an inner honeycomb. Previous prototypes had to be designed around the material used and often required external reinforcements which usually did not enhance the aesthetics of the model.
(A video produced for the patent examiner of this concept vehicle in a flight simulator can be seen here: http://youtu.be/zalwY5rkbKk)
With this new design approach it soon dawned on me that the caveat is that the parts have to be “designed to be printed”. For example the Flyfish which was the easiest of my prototypes to attempt because of its simplicity.
The rudder is a tube shape and when I first ran a print it came into Netfab on its side and then Slic3r layered it that way so the print did work but it wasn’t very good. Once it was rotated to a flat side in Netfab and then sliced that way it printed beautifully. So then it became obvious that the other parts would also need to be “designed to be printed”. The bottom part of the hull could be printed in halves which would lend itself to a good lay up and then glued together however they would need support material added in certain places.
The top piece, “the seat with the top of the shroud and handle bars” because of the overhangs would do best if layed up longitudinally from front to back however it would also need a “printing stand” designed into the piece itself in order to do that. On the first draft you can see from the previous pictures the stand wasn’t really set up to cut off very smoothly so on the second draft that was taken into consideration as you can see in the images above.
Apparently the need to design the “build stand” into the piece may be unnecessary with this new software that Matthew at re:3D was telling me about called “Simplify3D”. I can’t wait to try it out because it is supposed to allow the user to customize the support material much more readily.
As for future projects the vertical flight capable aircraft is definitely on the list, but the next one on the burner is another concept vehicle that I’ve wanted to build for a long time and now can, have a look:
After that there is a design that I already have a model for in a 3d graphics program that was used to produce posters but would make an excellent show piece for a 3d printing portfolio. One of them will have to be imported into Solidworks, corrected with collision detection, modified to be assembled and then exported part by part to be printed. So sometime down the road when I have the different color plastics to make one it should be fun.
