This is a tutorial on how to reduce the amount of triangles in a file for print quality using Autodesk Meshmixer.
While test-printing a large design at a much scaled-down size, I noticed an issue with print quality and wanted to share my experience remedying it, for those of you who have seen something similar happen in a print.
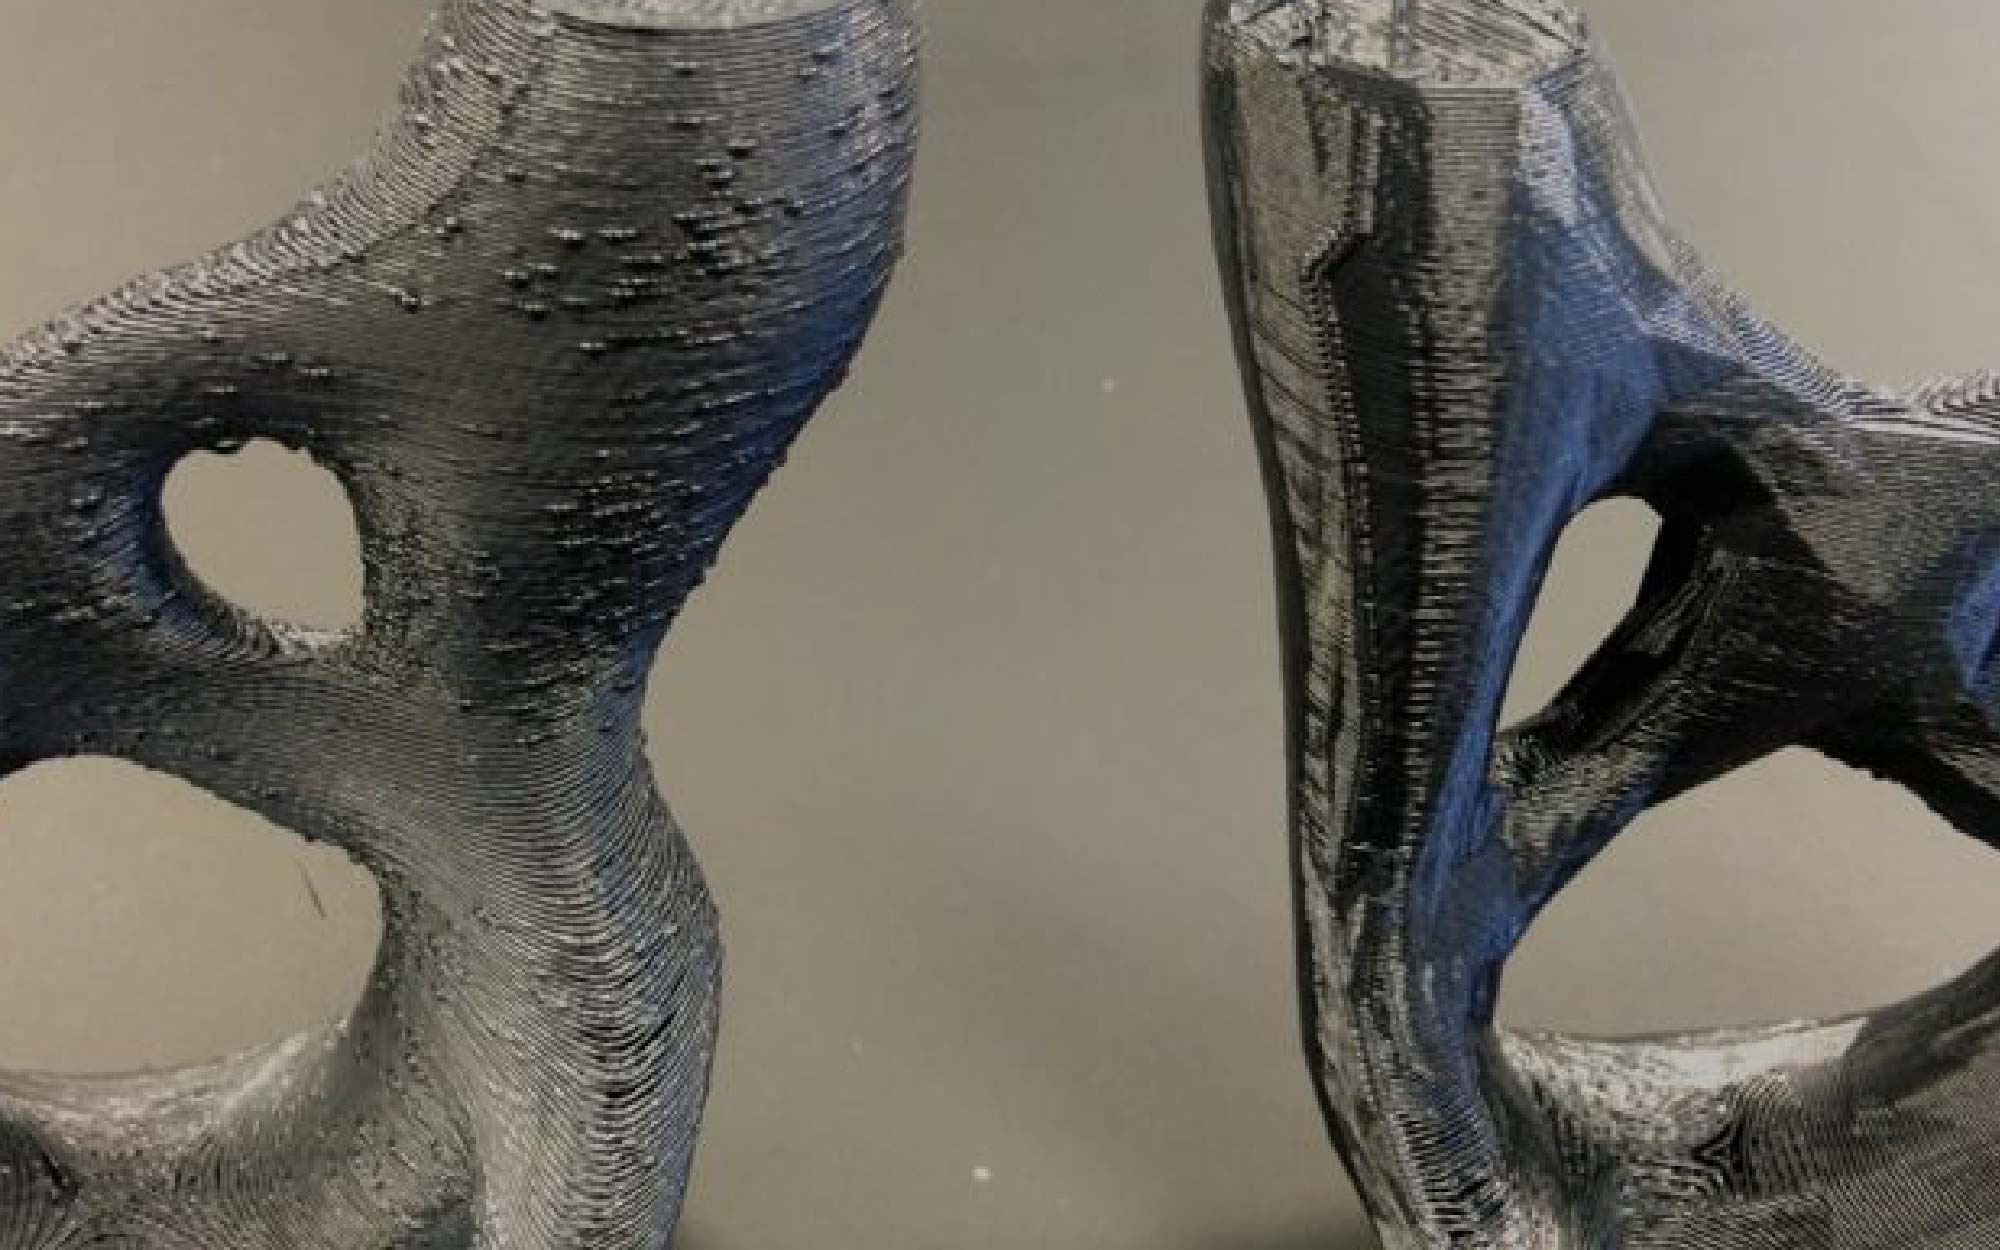
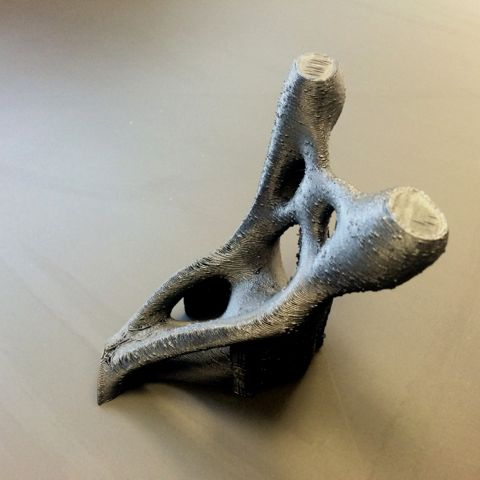
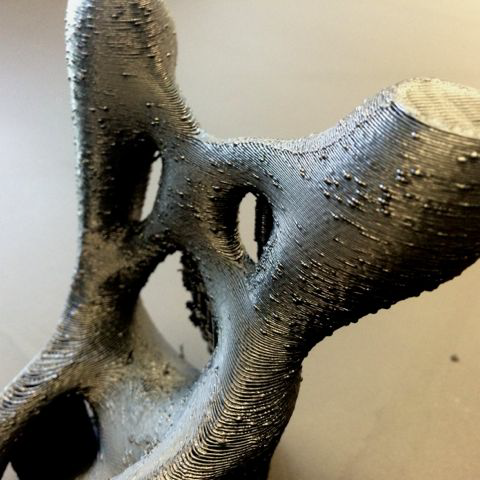
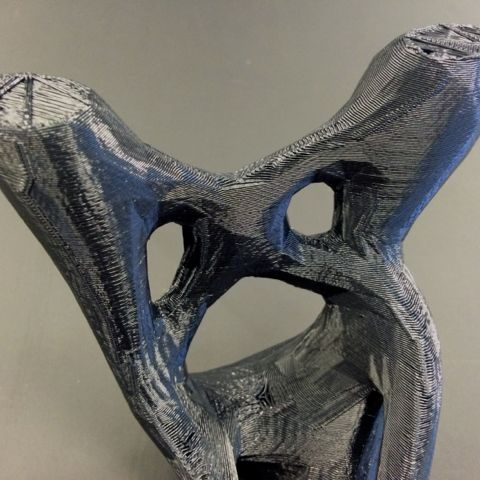
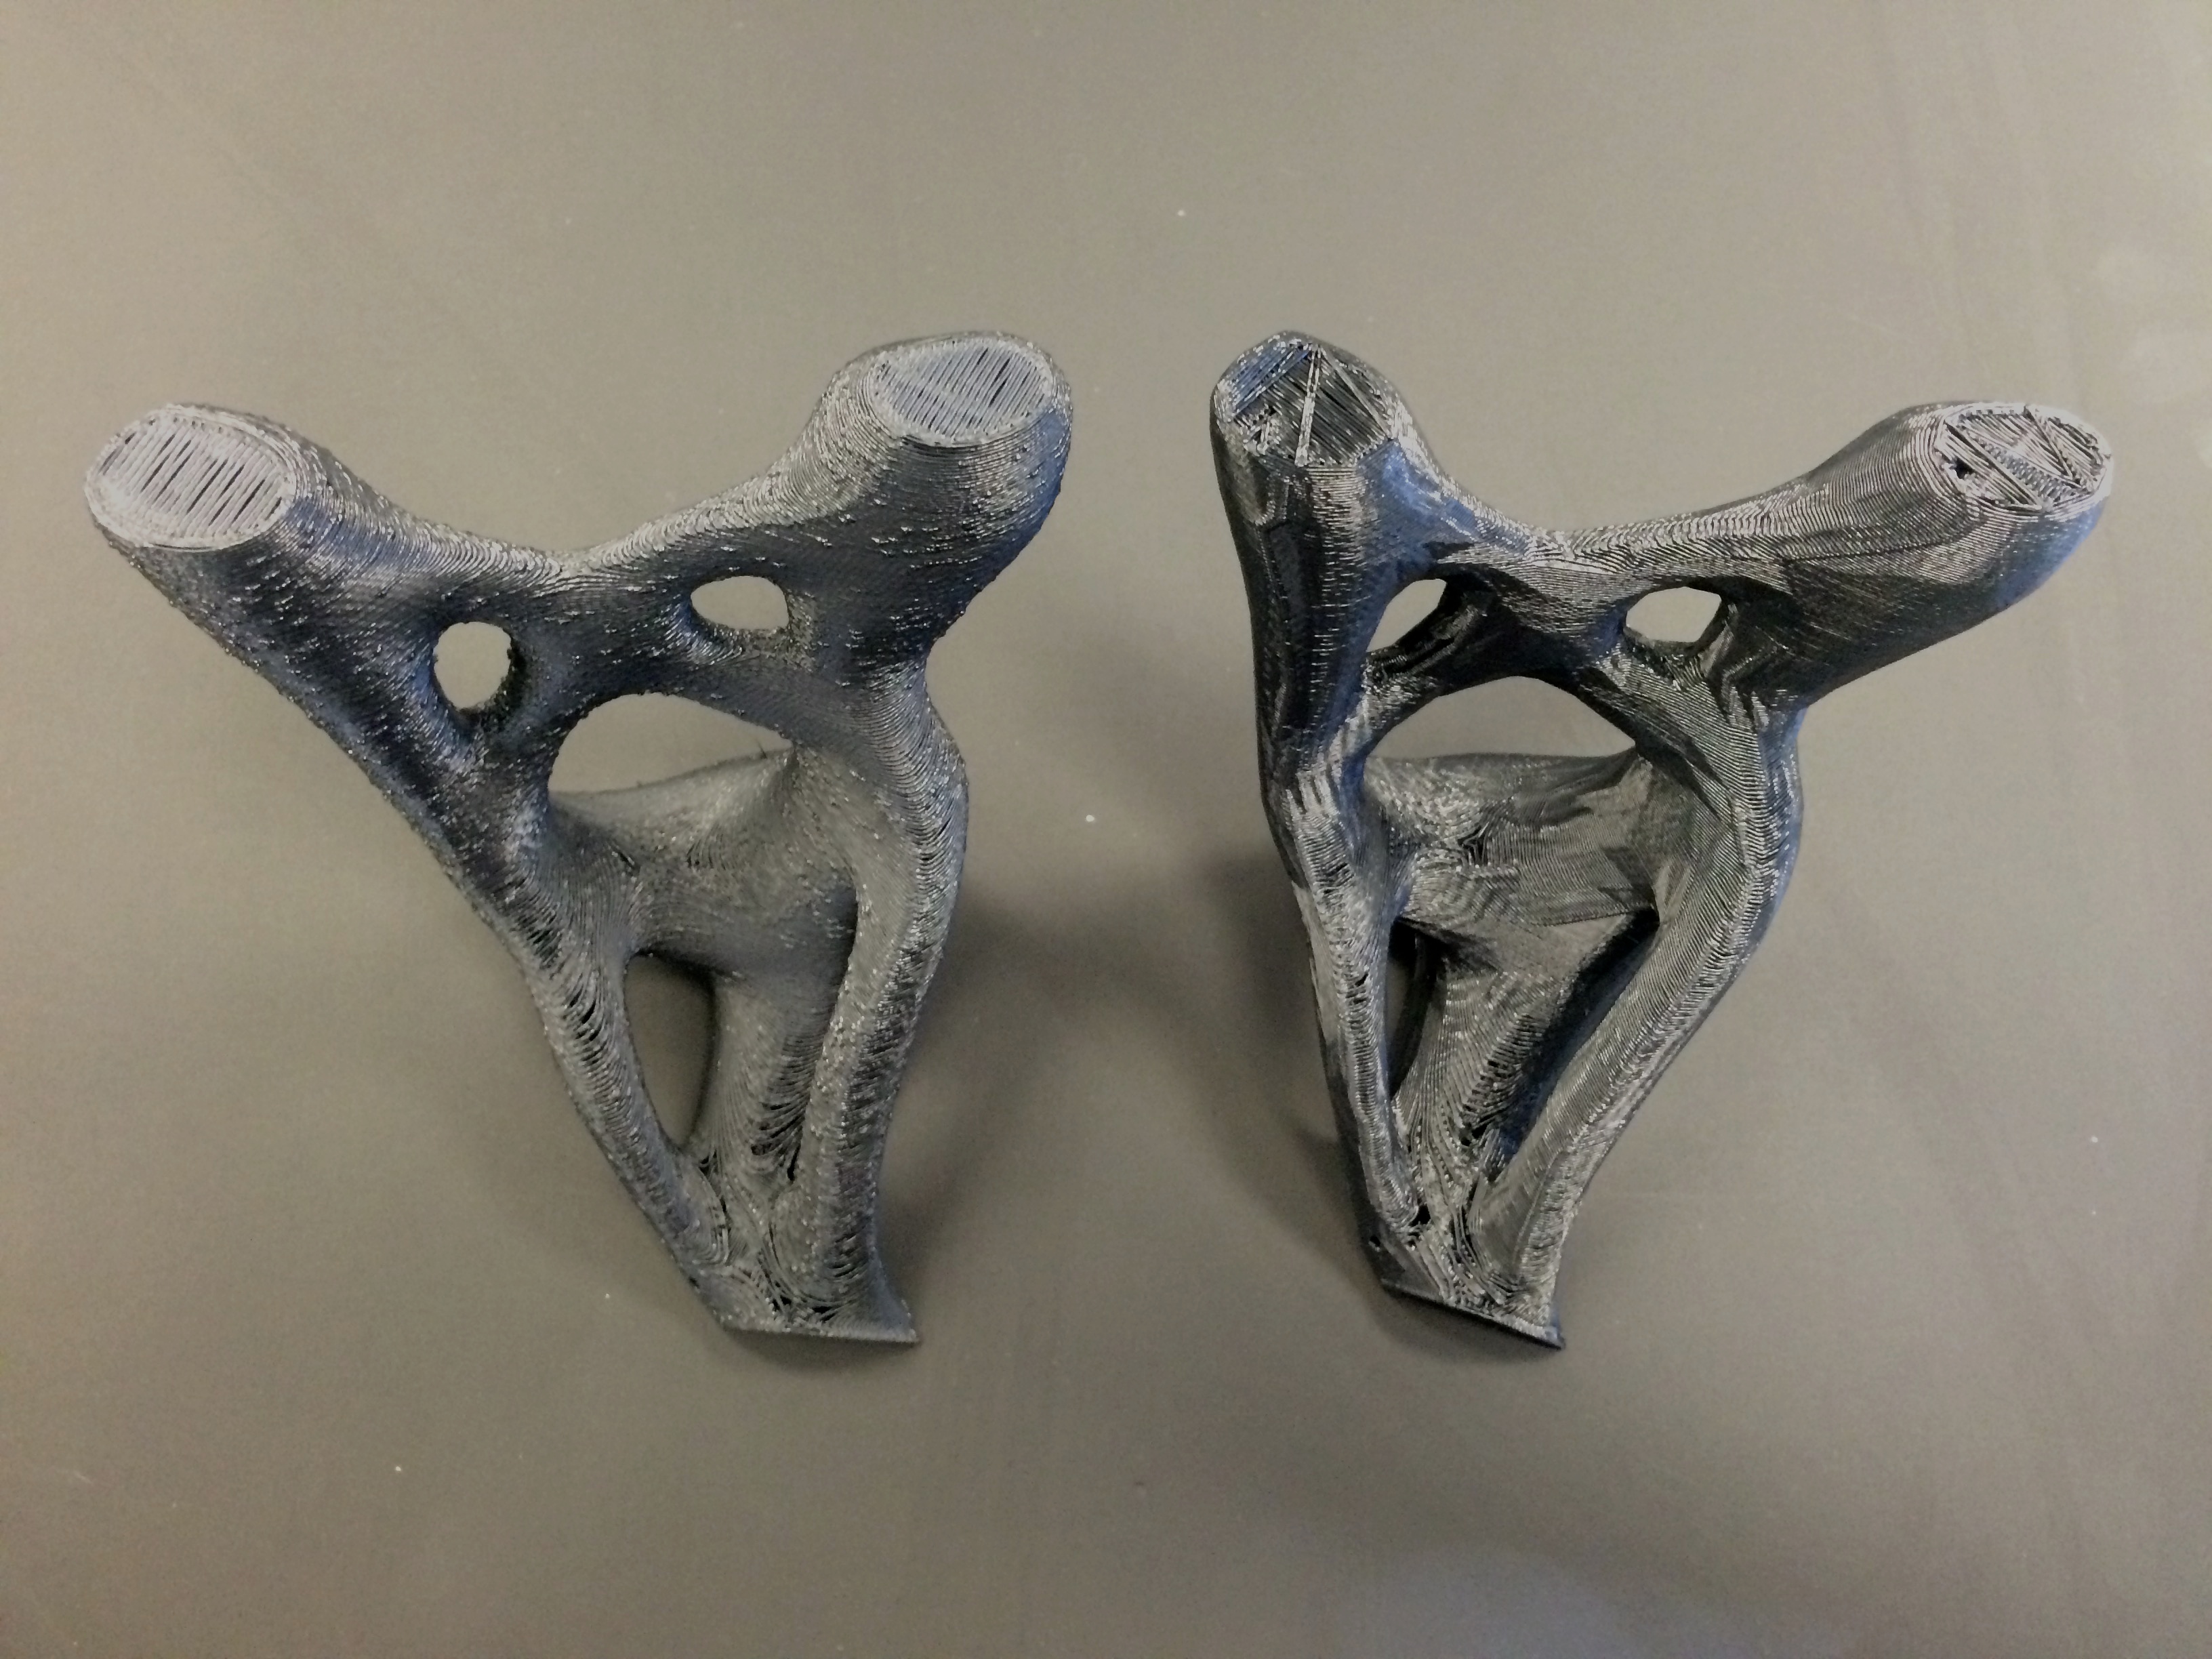
Below is a picture of the first print of this scaled-down object. You can see tiny globs of filament dotting the surface of the print. What is causing this?
First it helps to know what is behind an STL file. An STL file breaks the surface of 3D object into many little triangles to form the surface geometry — this is done automatically when you convert a CAD file into an STL file. Here’s what that looks like.
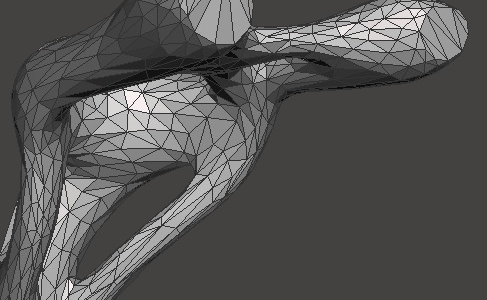
The more triangles in a part, the smoother the curves of the surface will be, but also the larger the file size, the longer the slicing time, and the longer the build time. Conversely, fewer triangles in a part means it will slice and print faster, but the curves will look more faceted.
Here’s what happened in this particular instance. We took a very large file — 443.13mm x 503.32mm x 434.38mm — and scaled it down to 25% of the original. The original large file had 103,970 triangles, and all these triangles remained even as the size scaled down. This meant that we now had the same amount of triangles for a part one quarter the size. The little globs of filament you see on the surface of the print were the result of the printer processing all of these triangles, pausing just long enough at certain vertices to allow a little extra filament to ooze out and form a small blob.
So I tried a test.
Using Autodesk Meshmixer (it’s free), I reduced the amount of triangles in the print to see if that would fix the blobbing problem. You can read a tutorial by Hubs about reducing triangle count in prints; here’s the basic process:
Import your file into Meshmixer, click Select, and double-click your object to select it.
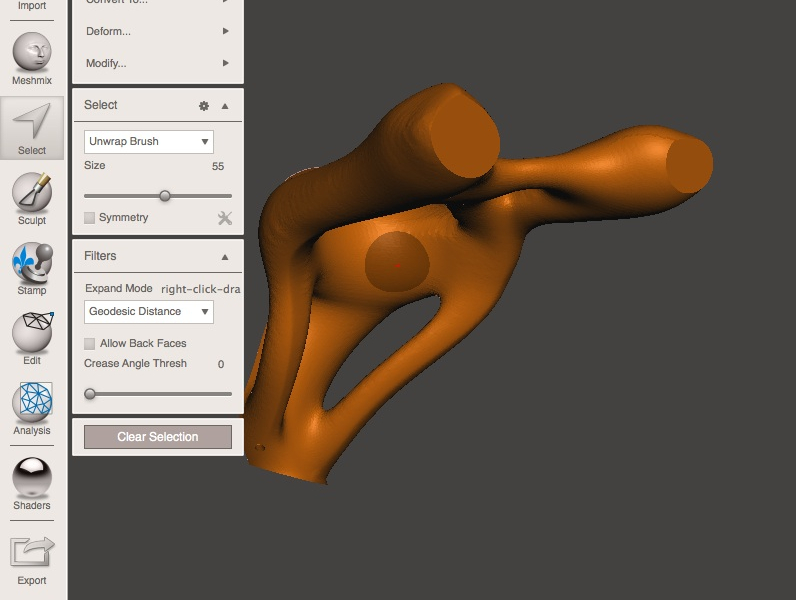
Click the drop-down menu next to Percentage and select Triangle Budget. You can now either slide the Tri Count slider up and down, or double-click the number and input a specific number.
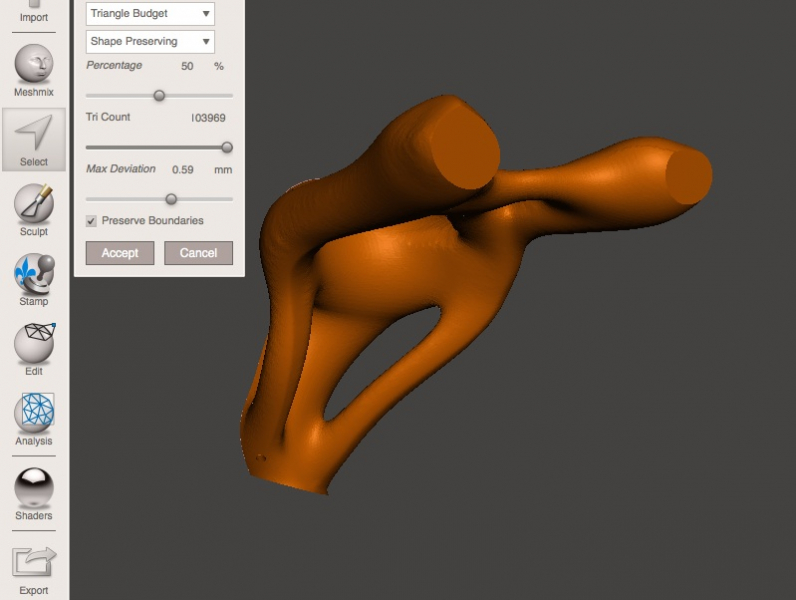
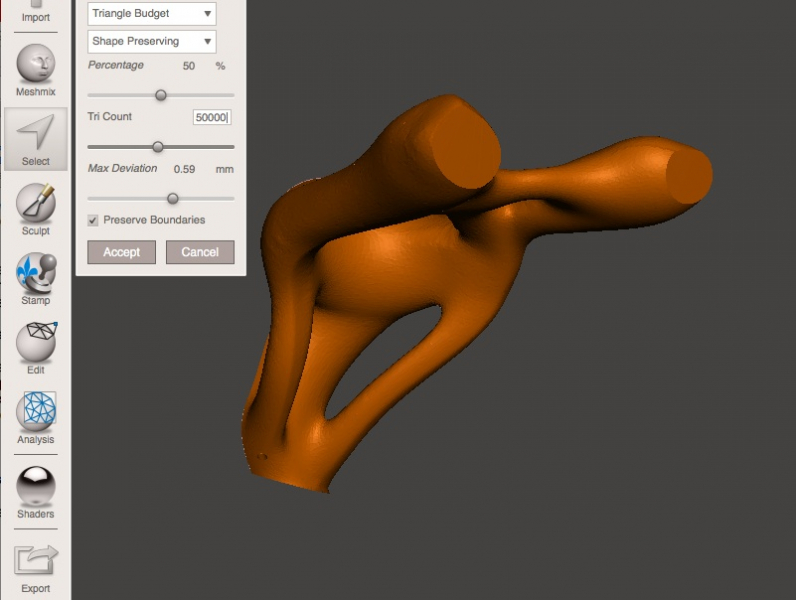
Cut the amount of triangles by more than half, down to 50,000, and you can hardly see a degradation of surface smoothness. You could do this and improve the blobbiness without sacrificing the smooth curves of the object.
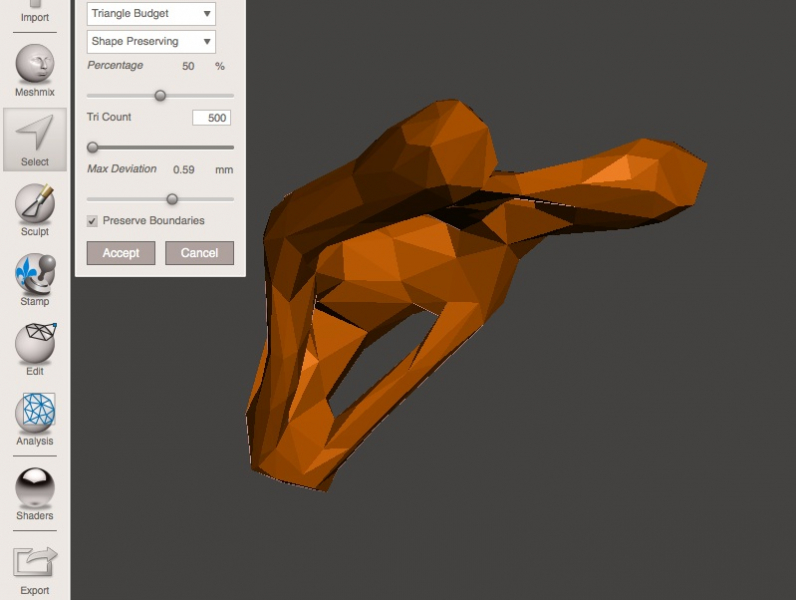
To show the extreme end of the spectrum, look what happens when we drop the triangle budget down to 500. You can still make out the basic shape of the object, but its smooth curves have been lost underneath a sharply-faceted surface. This is because there are less triangles, so we now see the polygons rather than the smooth mesh they normally form.
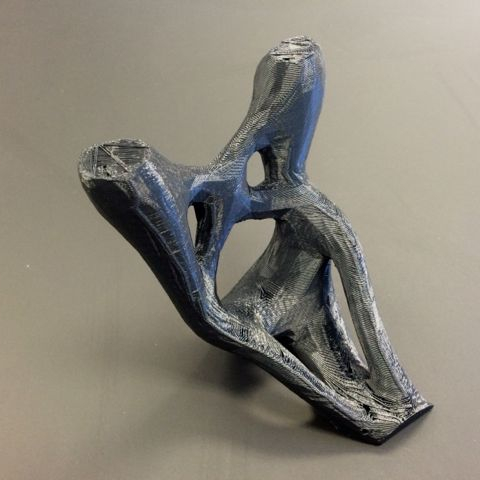
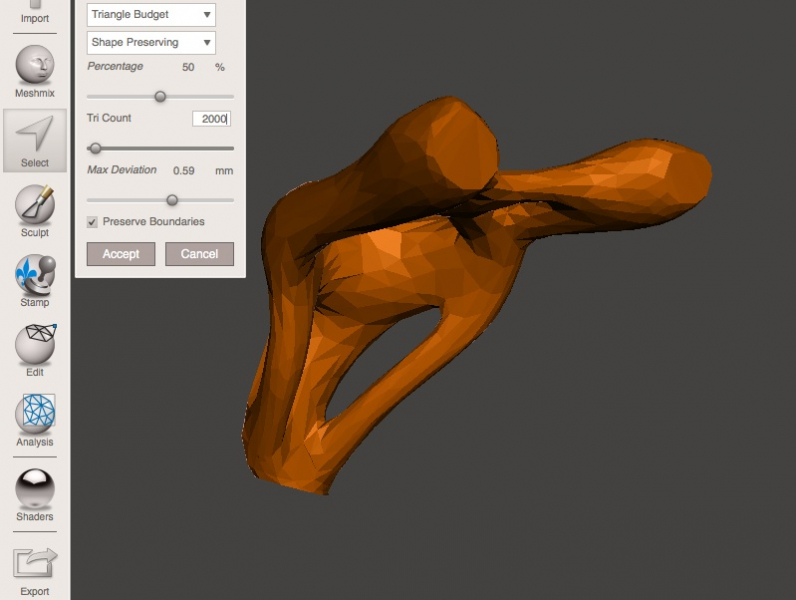
I wanted to show something more on the extreme end of the spectrum, so I set the triangle budget to 2,000 and exported the STL file.
Here’s how the final print turned out — no more filament blobs. You can see the faceted surface, almost as though it’s a chiseled sculpture before being sanded. We kind of like the geometric look! But remember, we did this to demonstrate the two extremes: if your goal was to maintain the smooth curves of the original design, you could have reduced the amount of triangles significantly without swinging this far to the other end of the spectrum.
If you ever see filament blobs like this, try out the above steps to reduce the number of triangles in your print to improve the quality. Or, play around in Meshmixer just for the fun of it — maybe you like this geometric style as much as we do.
Happy printing!
Morgan Hamel
Blog Post Author
