It’s one thing to have your company’s or school’s logo on a T-shirt, but have you ever wanted to make a 3D model of your logo to use as a keychain, business card, or maybe a coffee table? In this blog I’ll show you the process I use, and how (kind of) simple it can be. No, really, I’ll keep things basic and in all cases rely on much smarter people and tools than I could muster up myself.
Of course if you have any other suggestions for a better method, corrections/clarification to this method, or are skilled in the “complicated” ways of doing this, please leave comments on the cross-post on our Facebook page or G+ Community.
So, let’s get started.
Step 1: Find a logo
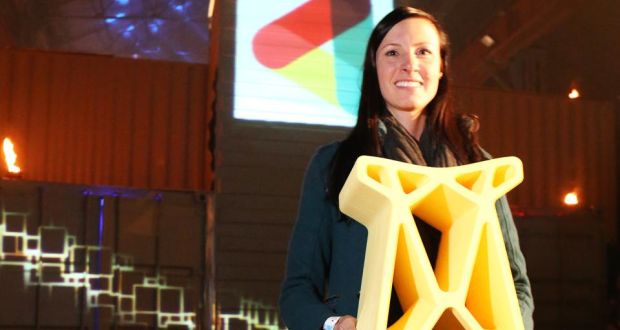
Say you have a really cool company and one of your co-founders is a ninja of design. Chances are you have a great 2D logo that is just screaming for access to that 3rd dimension. In this example, we’ll use Katy’s re:3D logo. Make sure you have your file saved locally as a .png, .jpg, .gif, or .bmp. These filenames are of the “raster” variety (think pixels on a TV). The clearer the image the better, because we’re about to convert these raster files to vector files (think connect-the-dots meets color-by-number).
Step 2: Convert your image to a vector format.
There are a bunch of ways to do this in expensive (and probably inexpensive) image processing packages, but I found a pretty solid online converter that does enough to get us by without knowing anything about layers and paintbrushes. Go to http://image.online-convert.com/convert-to-svg and upload your image file where it says “Upload your image you want to convert to SVG:”. Select the “Monochrome” checkbox to help prevent it from getting too confused. Click on “Convert File”. Your .svg version should download to your default directory. Note where this is since you’ll need it in Step 5.
Step 3: Create a new 3D model using Tinkercad.
Go to https://tinkercad.com/ and sign up for a free account. I guarantee you’ll use it again. Once you have an account, and have either skipped or run through the actually pretty useful tutorials, start with a fresh palette using the “Create a Design” button from the dashboard.
Step 4 (optional): Customize your palette.
You’ll be presented with a blank grid, and a random name will be assigned, like Ominous Seapod or something. Click on the “Design” menu, and then “Properties”. Change the name to “3D Logo” or something similar and more original. Choose the visibility and license you want, and then save changes.
Step 5: Import your vector file.
On the right side of the screen you should see an “Import” section. If it’s not already expanded, click on the triangle to do so. Then click “Choose File” and point it to your .svg file created in step 2.

Step 6: Genesis!
Here’s where you need to experiment a bit. Depending on how much resolution you kept in your original file, the model may completely overwhelm the design space. For now, choose values of 5mm for the height and 20% for the scale. This will make sure that you can at least tell if your model ended up on the canvas (and it doesn’t just cover the entire field of view with a single face. For rescaling, if you want to maintain the 5mm height, it’s much easier to just re-import at a different scale, rather than scale with the Tinkercad tools on an over/undersized model.
Step 7: Tweak your model from within Tinkercad.
This is where the tutorials from Tinkercad are useful. Use the zooming and pan/rotate tools via your mouse or trackpad to analyze the model, making sure that all of the detail you need is there. If you see too much missing or some jagged lines, try to find a higher resolution image to start with, and go back to Step 2 and try again.
Adding bits: Tinkercad will also let you add a platform (or anything else) on your model. This can be useful if you have letters in the logo that float free when converted to 3D. Those free-floating insides of “O”s and “A”s will float right off the final product when you 3D print it out, so best to find some way to tack it down. The easiest way to do this is to create a “Geometric” shape from the right sidebar that is an approximate shape of the logo (rectangle, circle, etc.), and give it a dimension of 2mm high. Place it on the platform next to your logo, size it right, make sure it has the same bottom level, then move it right on top of your logo. When both pieces look like they fit, select both at the same time (by simply dragging a select box around the entire thing), and click on “Group” above.
Subtracting bits: If you needed to put a hole somewhere on the model for a keychain, cup holder, etc, all you need to do is follow the above process, but make it a hole instead of a “color”. Use the buttons at the top right to do this. When you “Group” your logo with a small cylinder that spans the height of the model, voilà! It’s a pendant!
Step 8: Export as an .stl file.
This step couldn’t be easier with Tinkercad. Click on the “Design” menu, then “Download for 3D Printing”. Select “.STL”, and the file will start downloading immediately.
Step 9: Find yourself a 3D printer.
They’re popping up everywhere these days: your local library, makerspace, Earth-orbiting laboratory… wherever you are, you’re probably not too far away from a 3D printer with some spare time on its nozzle. If you can’t find one nearby, you can of course order a 3D printer of your very own (we recommend this one, especially if you go the coffee table route) or have someone else print it via a service such as Hubs or Shapeways.
Step 10: Don’t stop customizing!
The skills you’ll learn and feeling you’ll get by going end-to-end in making something that never existed before is like no other. Welcome to the world of mass customization, where you don’t have to make 10,000 of something in order for the act of designing it to pay off. Make some new models.. iterate, experiment, and most importantly, share it! If you make something awesome consider posting it on a model sharing platform such as SketchFab and sharing the link here in the Facebook or G+ comments.
Chris Gerty
Blog Post Author